Looking excellent so far John.
2 Likes
Cheers mate, its a pretty steady build so far. Nothing to get you worried with fit or going together. I have noticed a few things that RFM got a bit wrong from Ref images, but nothing that really detracts from the kit.
2 Likes
RFM put out really superb kits. I’m working on their M4A3E8 kit right now. The fit and engineering is amazingly good. I’ve got the hull, turret, and running gear all done with no putty at all, the fit is that good. Just have to add the little details now.
2 Likes
Agreed, their Cr2 was superb.
1 Like
Flipped back over to get a bit more done on the V2 …
More turret parts added.

This was and will be pretty much OOB, but as I was looking over ref images on Olivier’s @Bison126 site with his very extensive walkrounds (highly worth bookmarking for ref sources) i noticed a few simple things I can add to give it a more genuine look…
7 Likes
What do you think of the RFM plastic? I sometimes think it is a bit on the soft side and shrinks a bit too much when reacting to glue, thus making “ghost seams” at the joints.
2 Likes
I’ve only done 2 RFM kits, this and the Cr2 a while back. The Cr2 was fine, no issues throughout the whole build.
This one do far isn’t showing any major issues so far but I haven’t got stuck into the hull yet.
There have been a few parts on the turret areas that showed some soft plastic, the rear upper hull to lower hull angled section went a bit soft when it was being glued and I a needed to sand it back into shape once dry and the plastic on the blast panels was pretty soft and I almost carved a chunk out but stopped just on time … Only think I can see so far I may be disappointed in is the link and length track… Would of preferred indi links like the Cr2 as they were a breeze to put together…
3 Likes
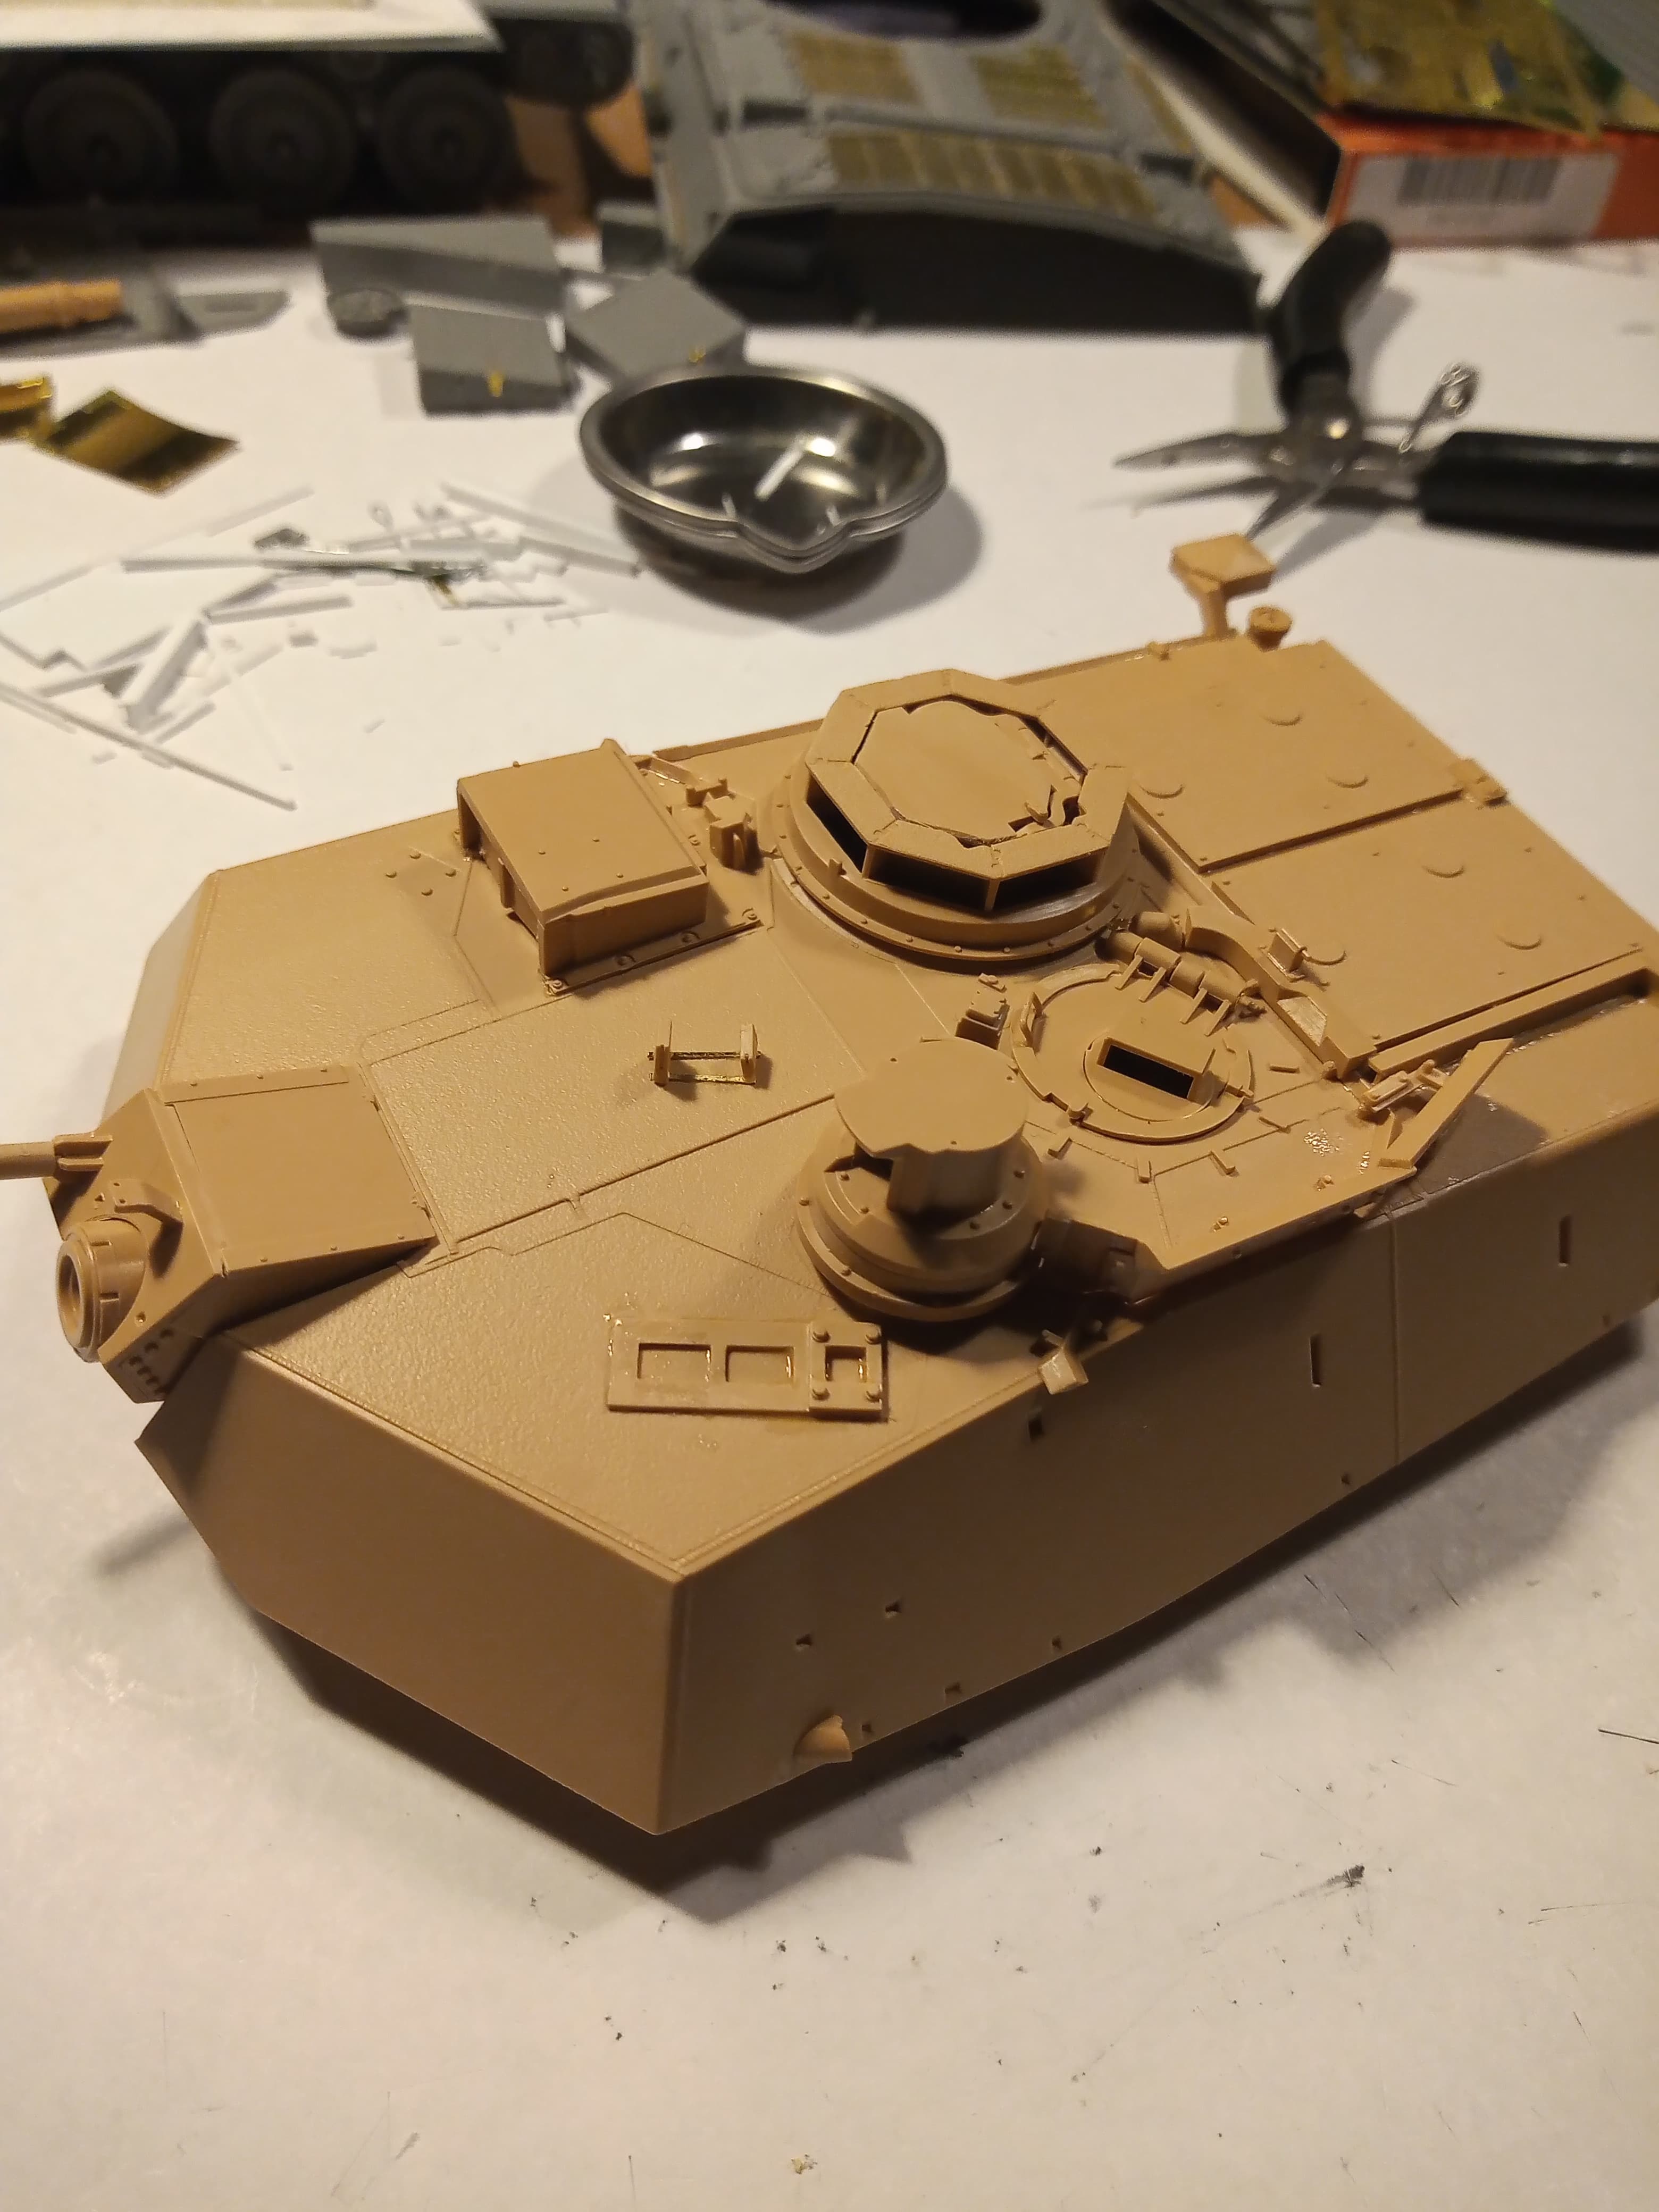
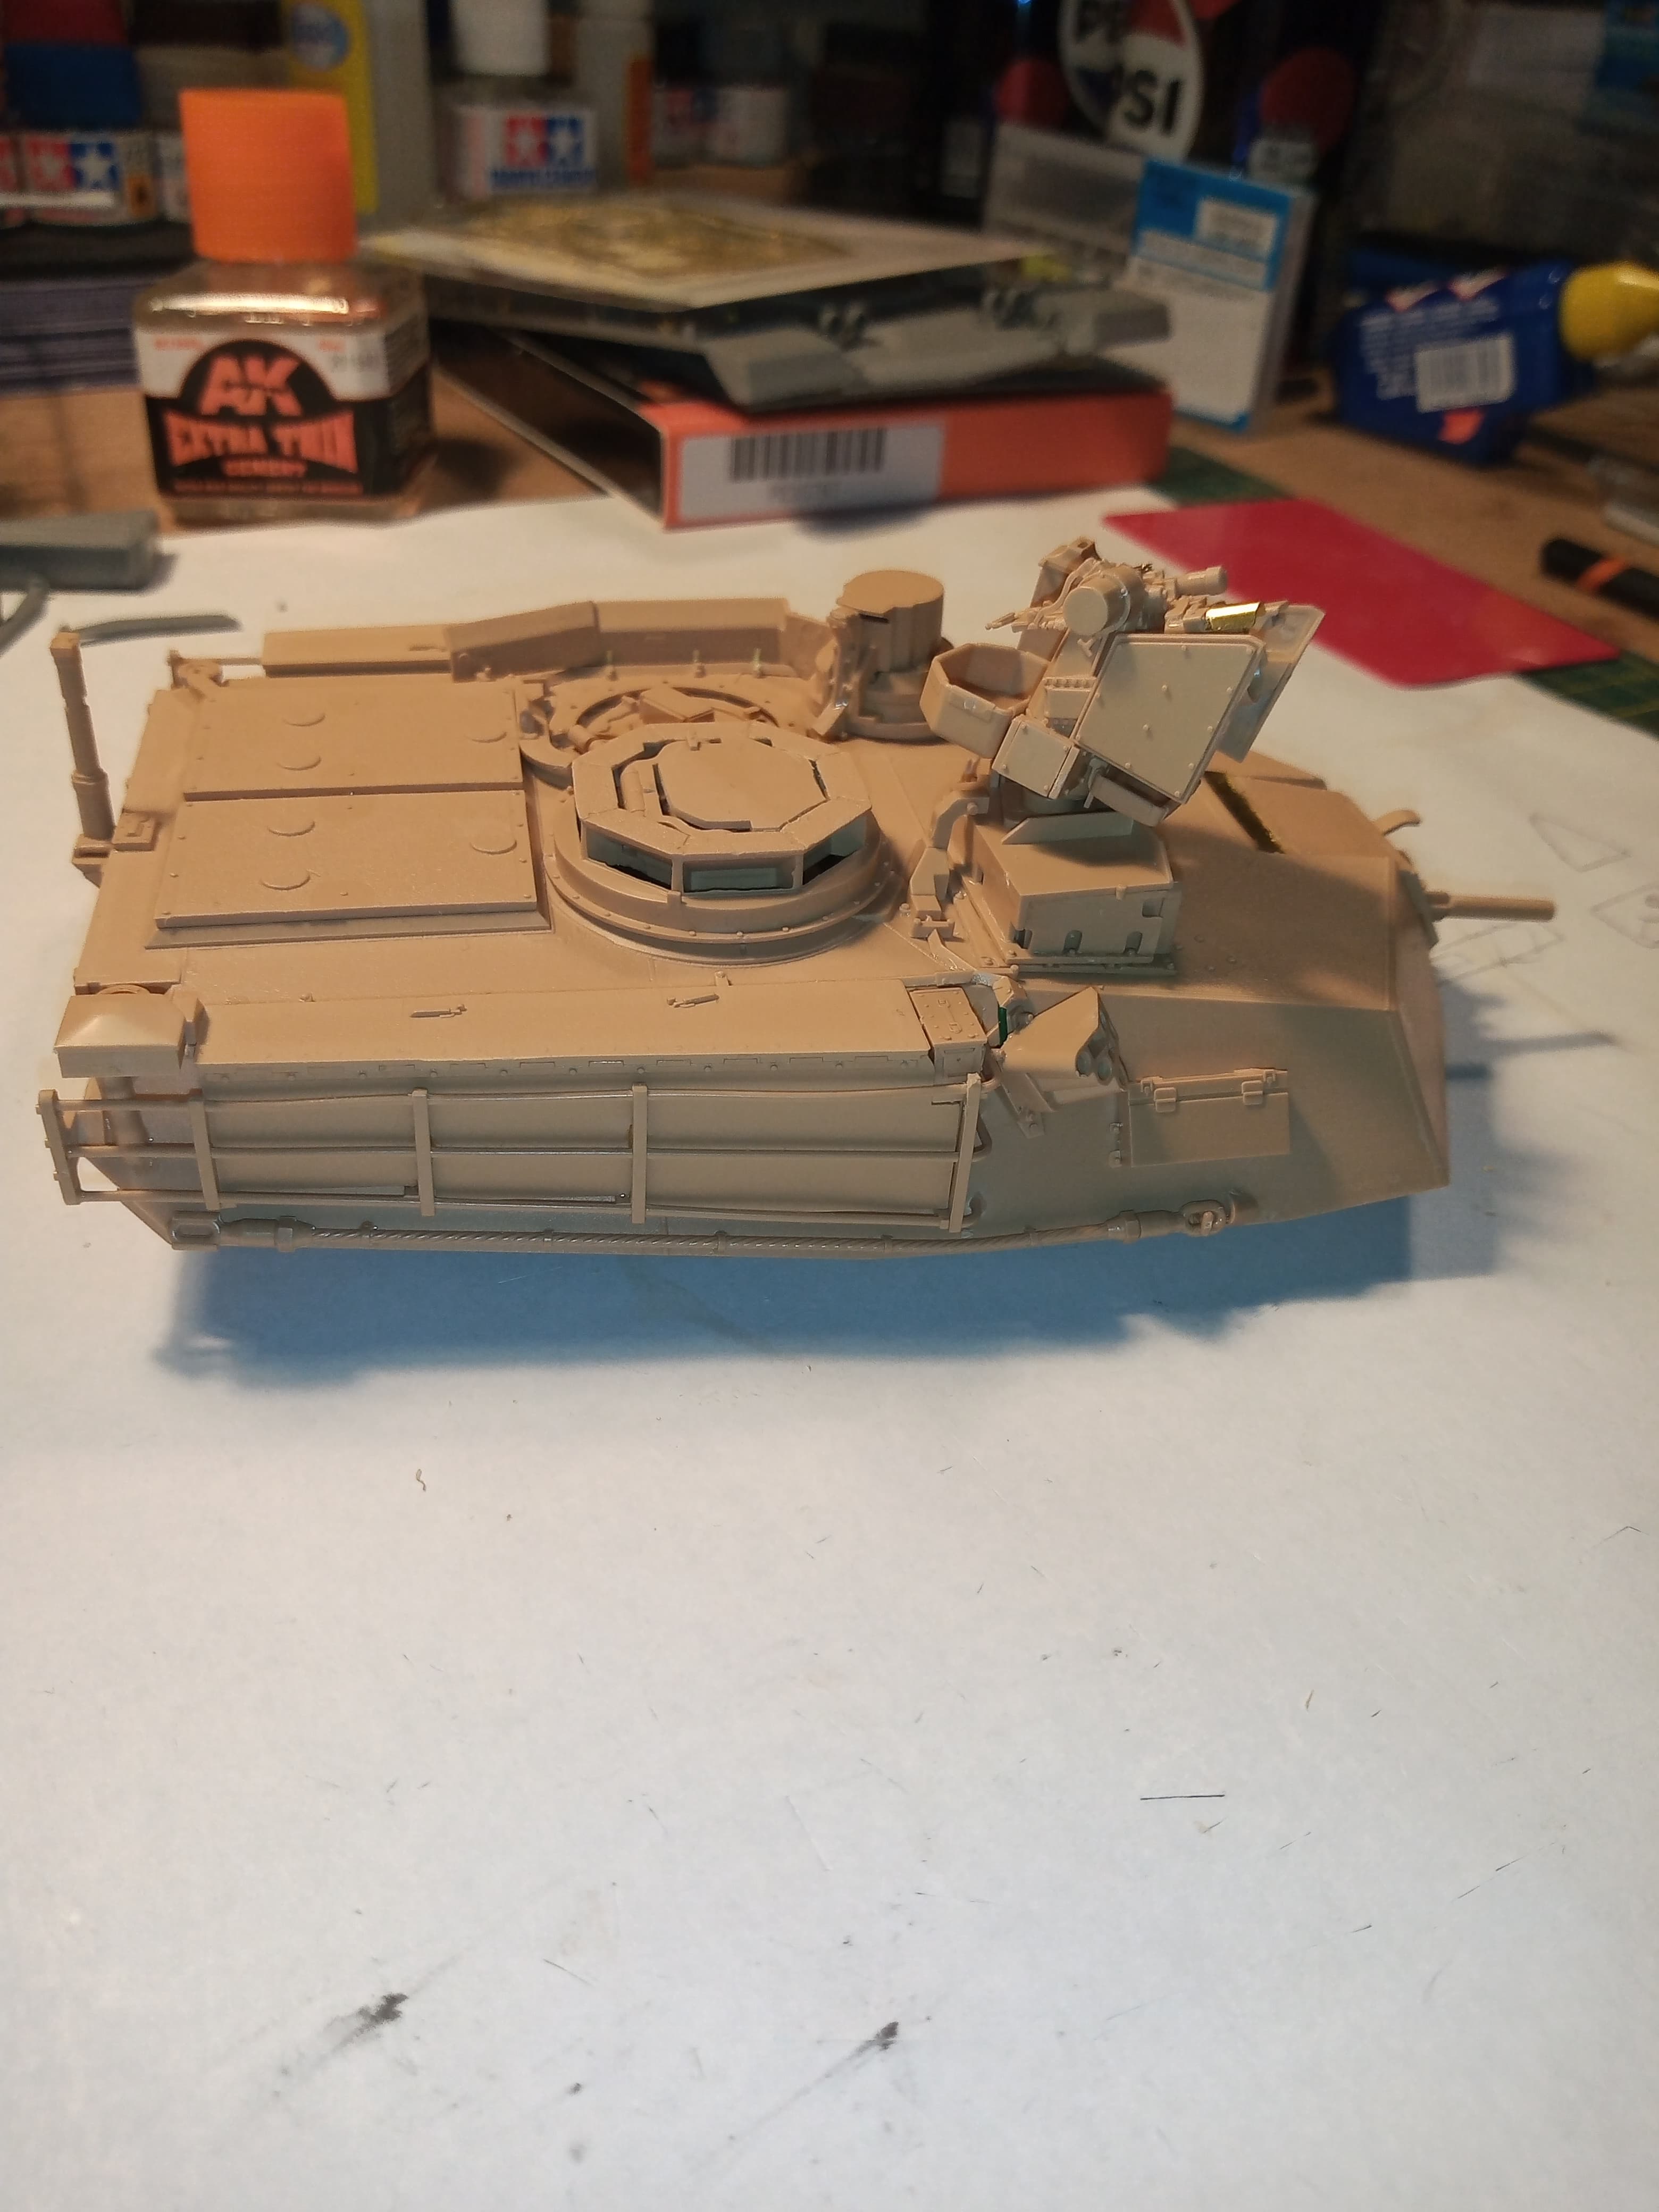
Turret is coming along nicely.

Most of the big bits are on now, and I can make a start on the baskets, MBSGDs etc. going to leave all the fragile bits off until the final stage just prior to priming
Will be leaving the Comd cupola off until near the end as i want to paint that before I add the optics. I’m going to cut down pieces of Yorkie choc bar wrapper and glue them to the front face as they have some nice colour variations which looks good.
3 Likes
I used red mylar party confetti on the optics of my M1A2. It’s kind of a shocking contrast on a CARC tan vehicle but I think it works tremendously.
3 Likes
Now, this is going to be a pretty much OOB build… But there were a few tiny things I have found that I can do without going over the top.
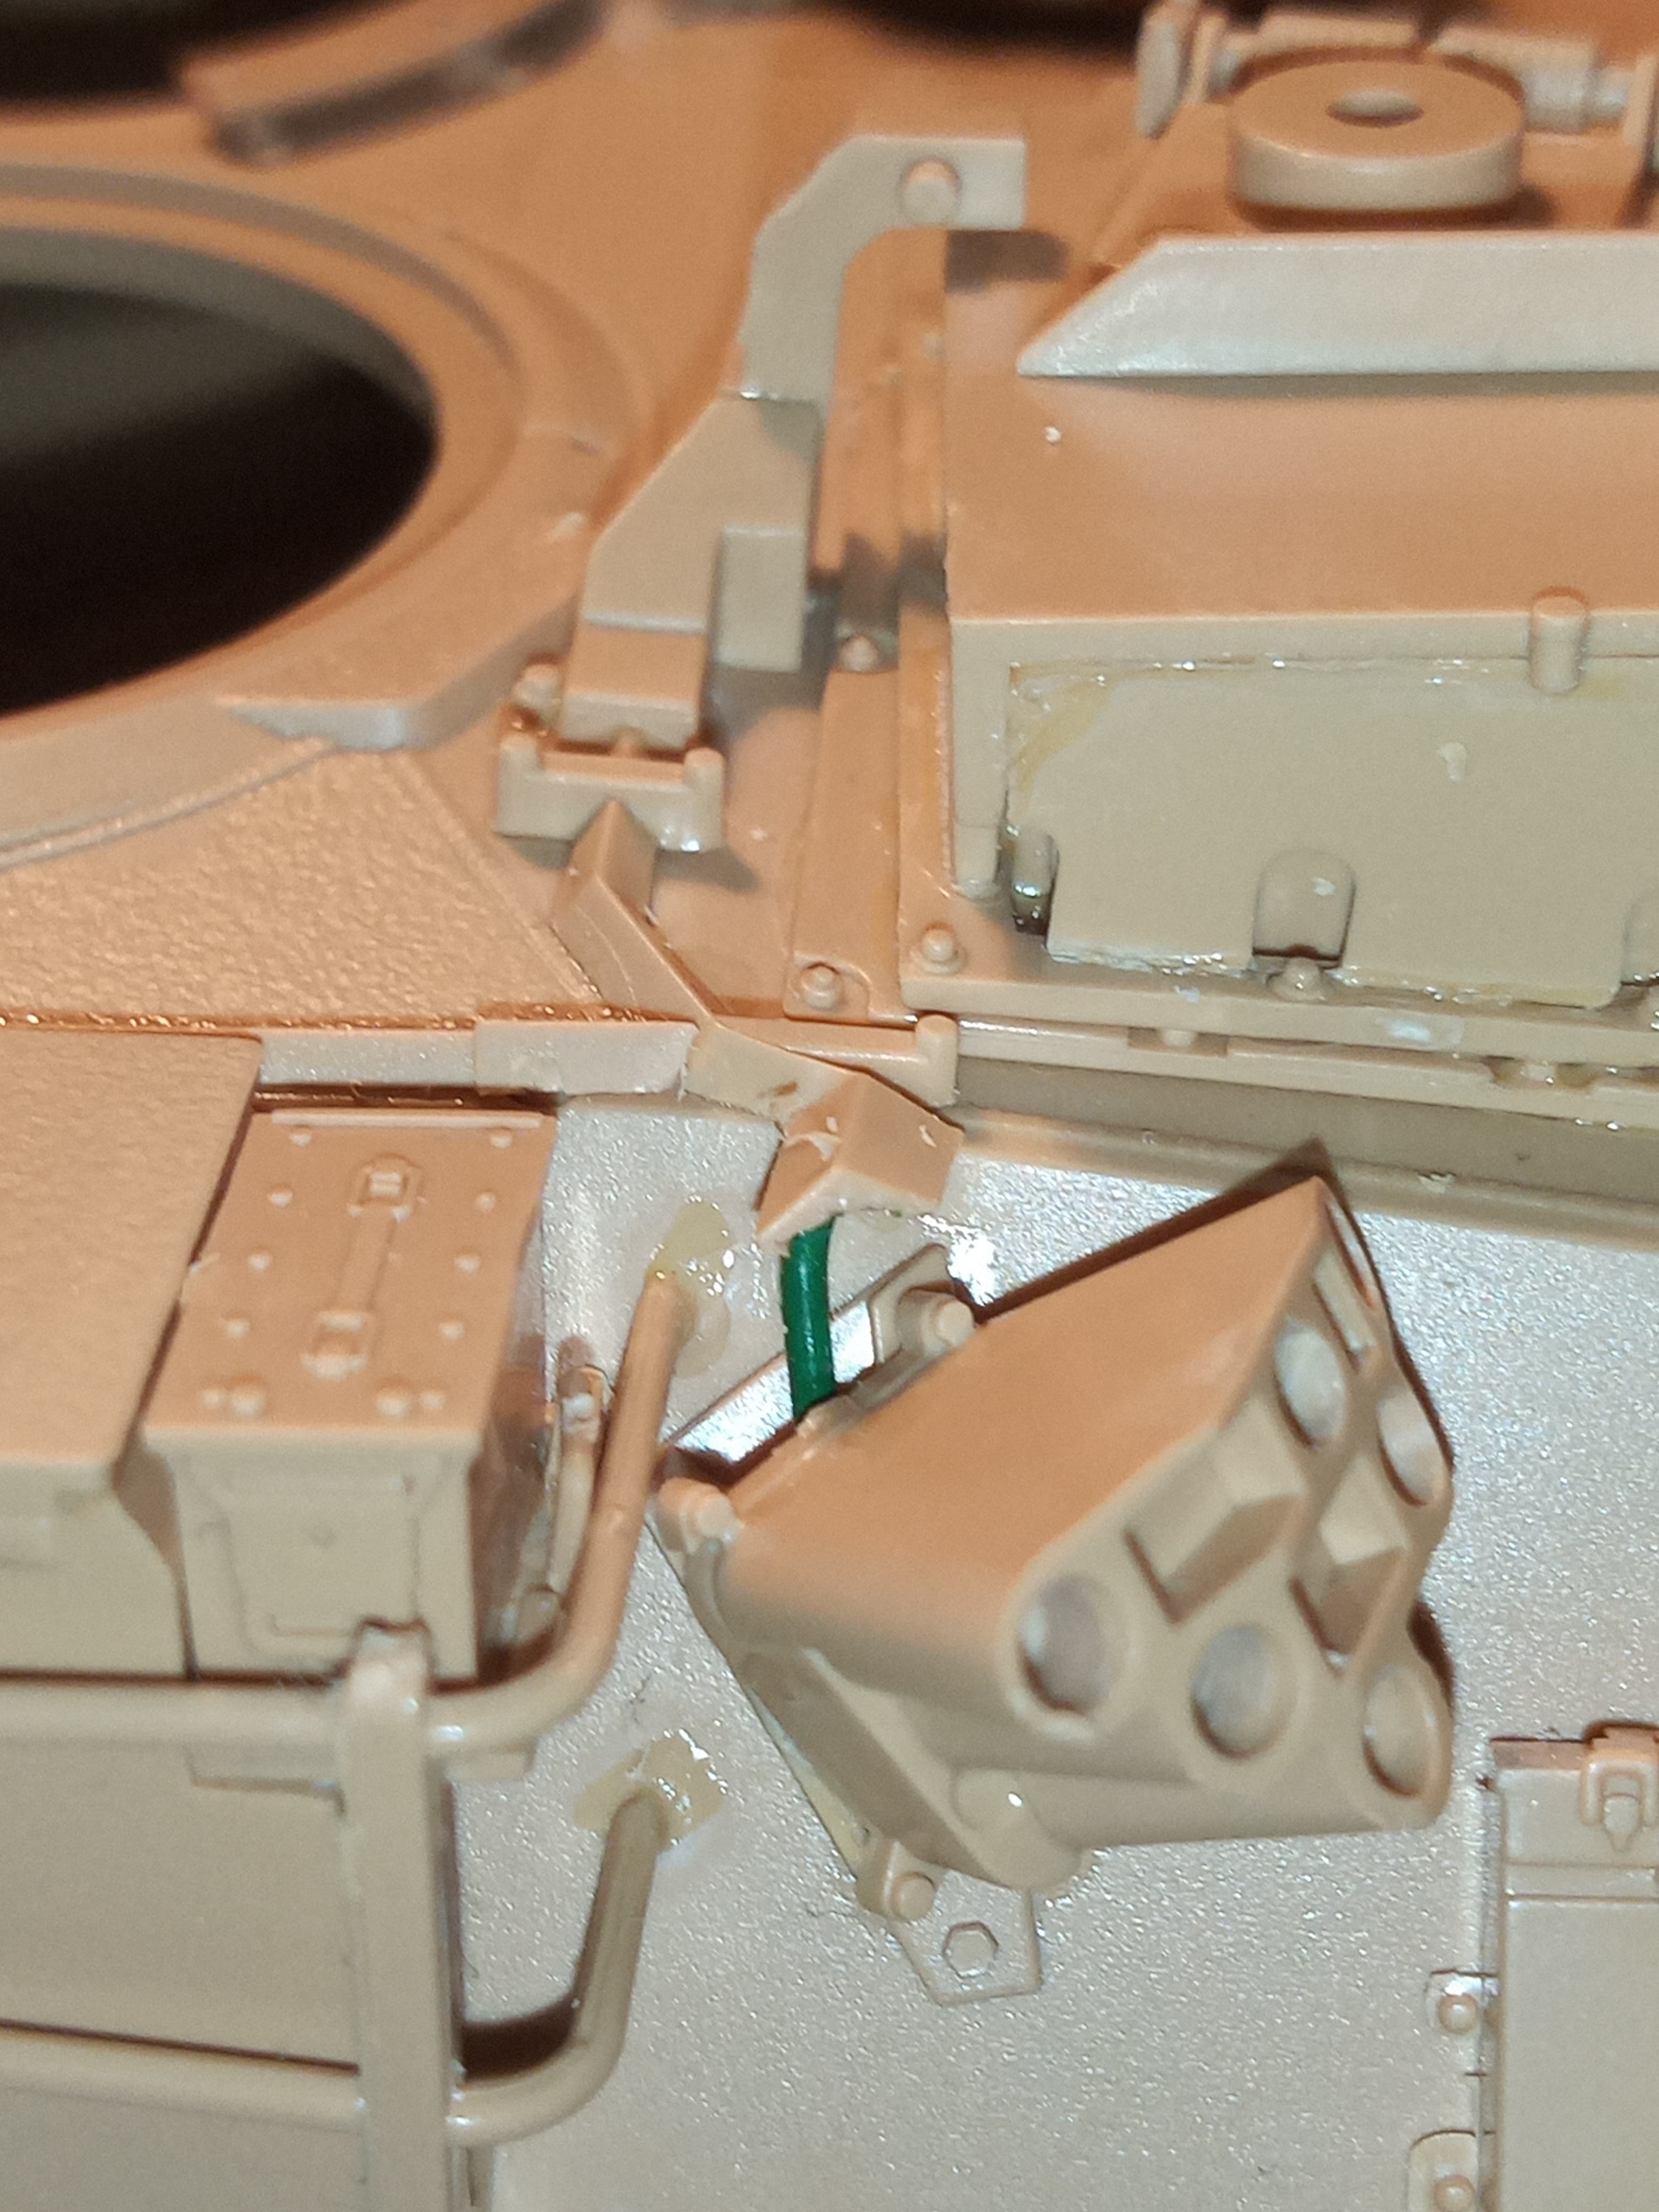
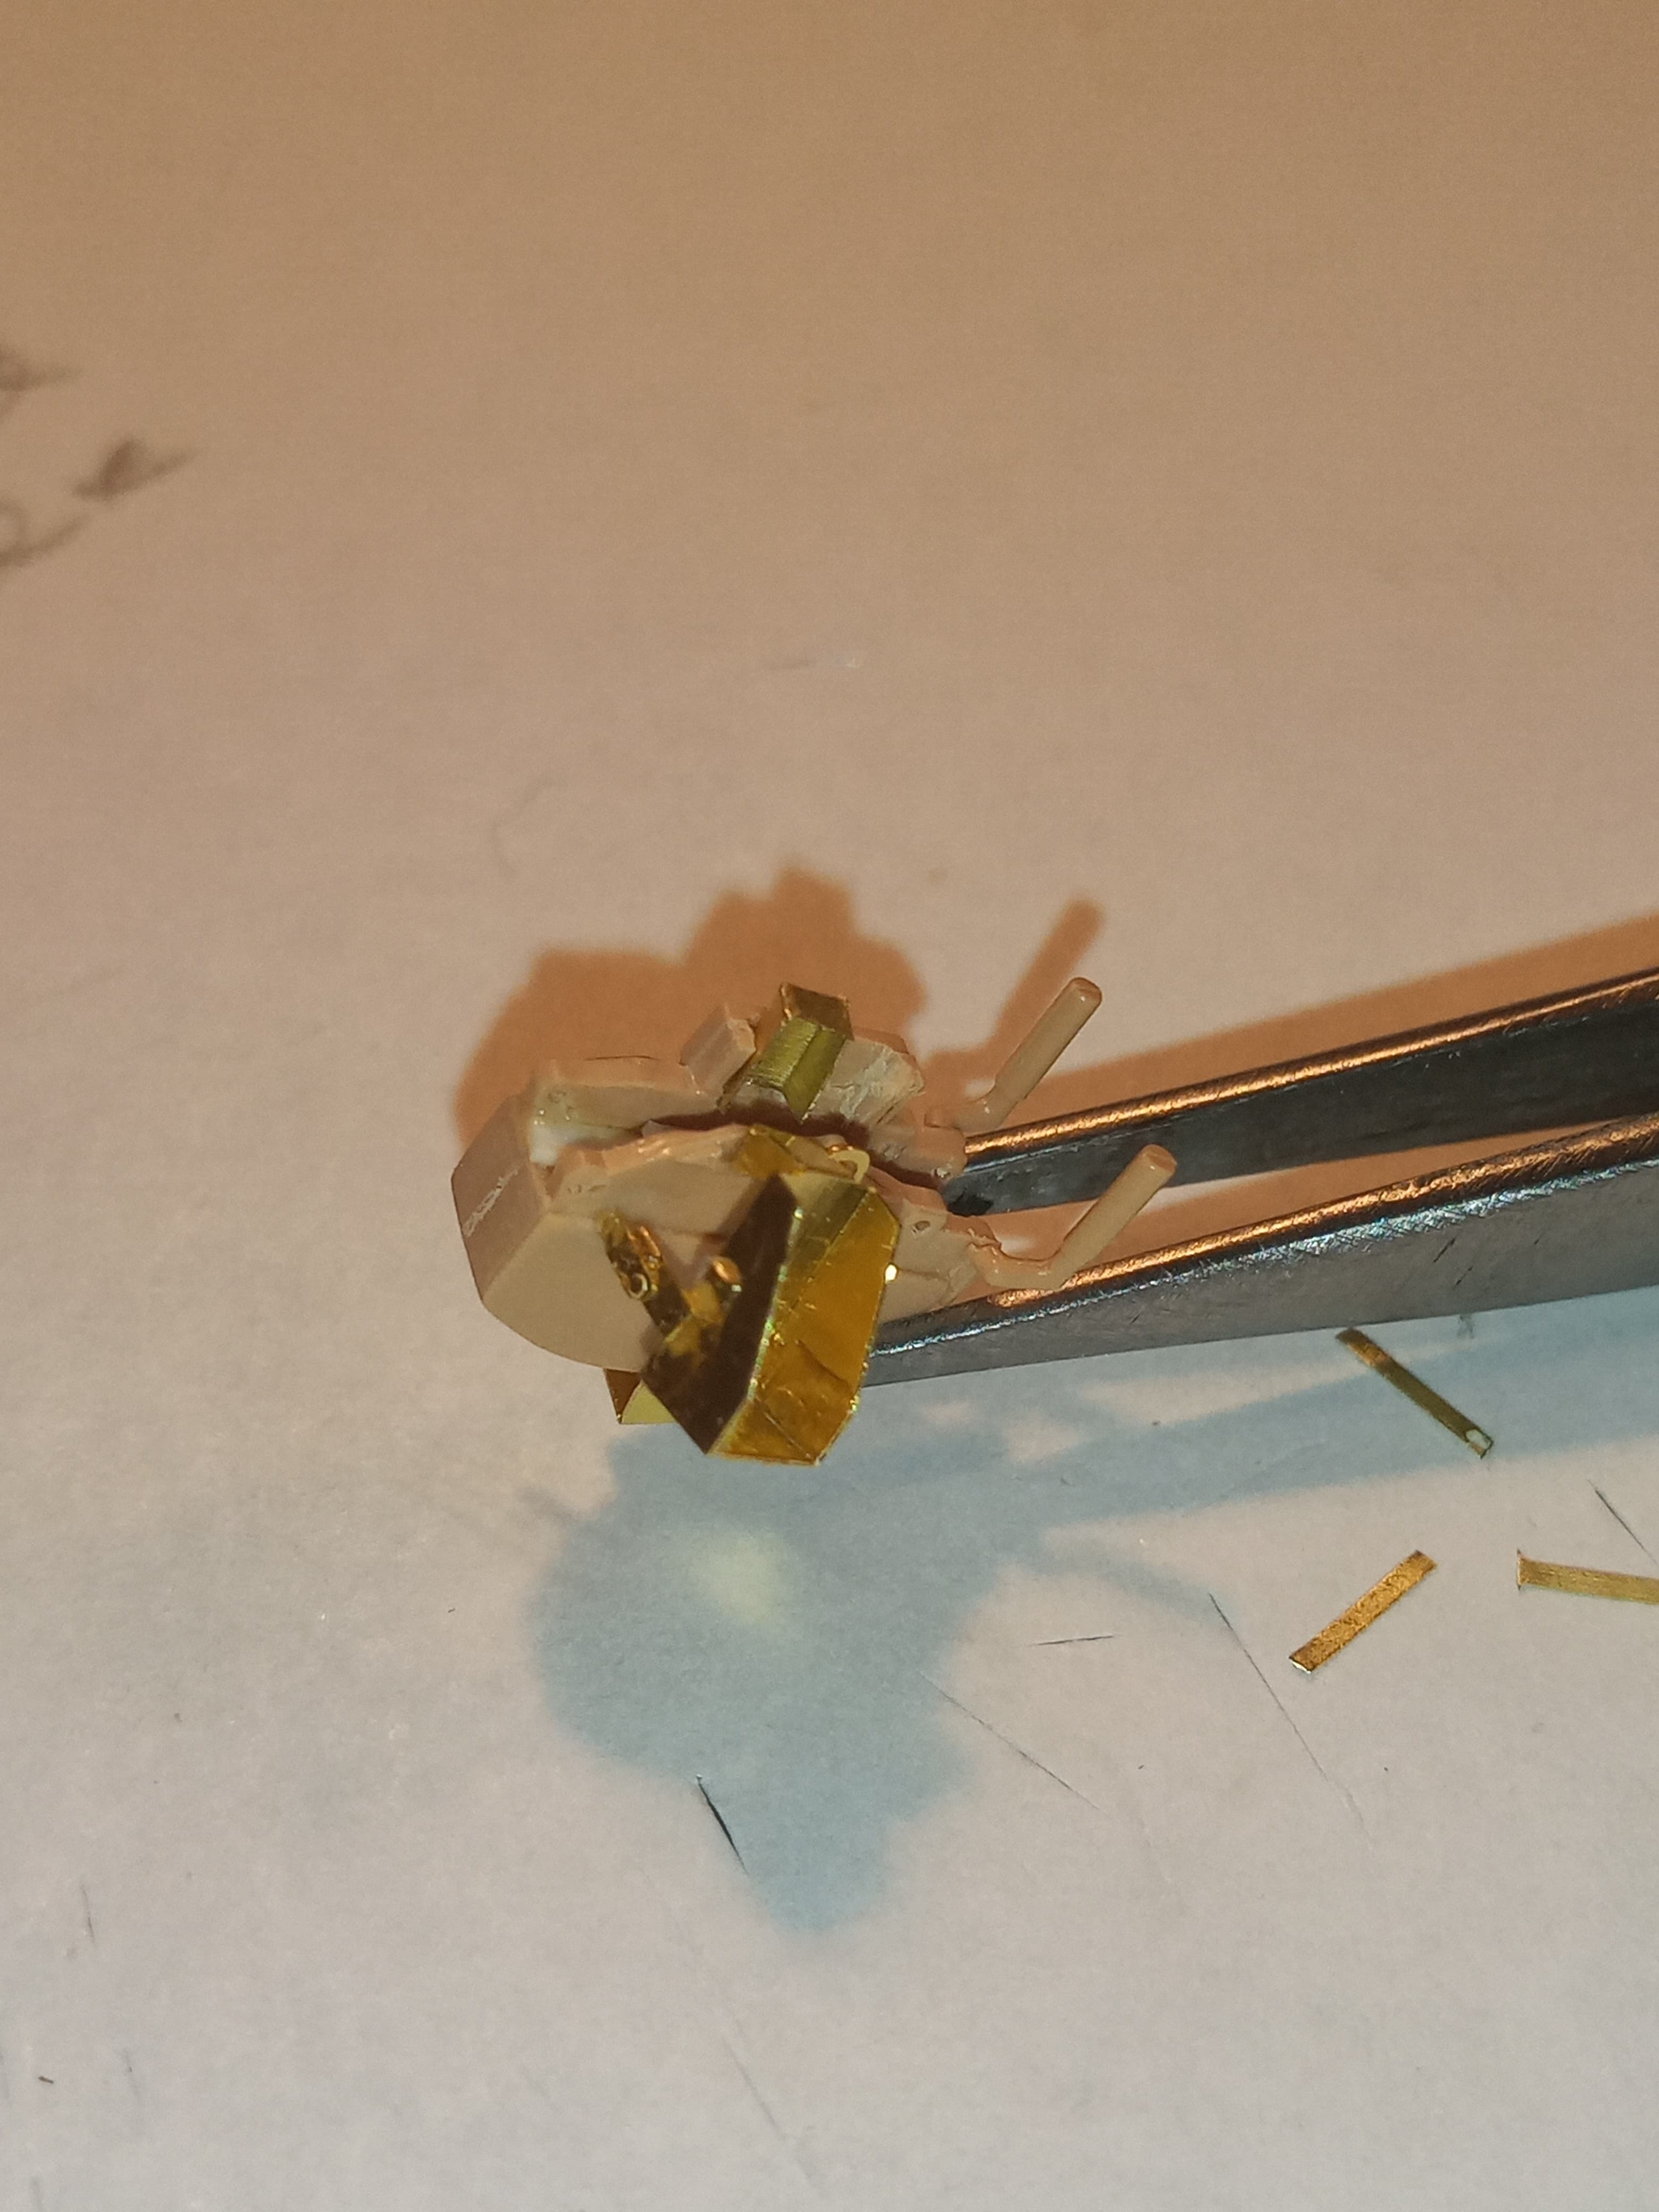
I decided to leave the loaders MG off and just have an empty cradle, so I have tweaked that a bit. Thinned out the RH side where the link guide is, and cut that
off completely and replaced that with a spare bit of cut and shaped PE.


Also drilled out the holes for the mounting pins and added PE chain for the front pin (which I need to add still)
I also tried to replicate as best I could the the top section of the curved bottom area where the link and empty rounds collect.

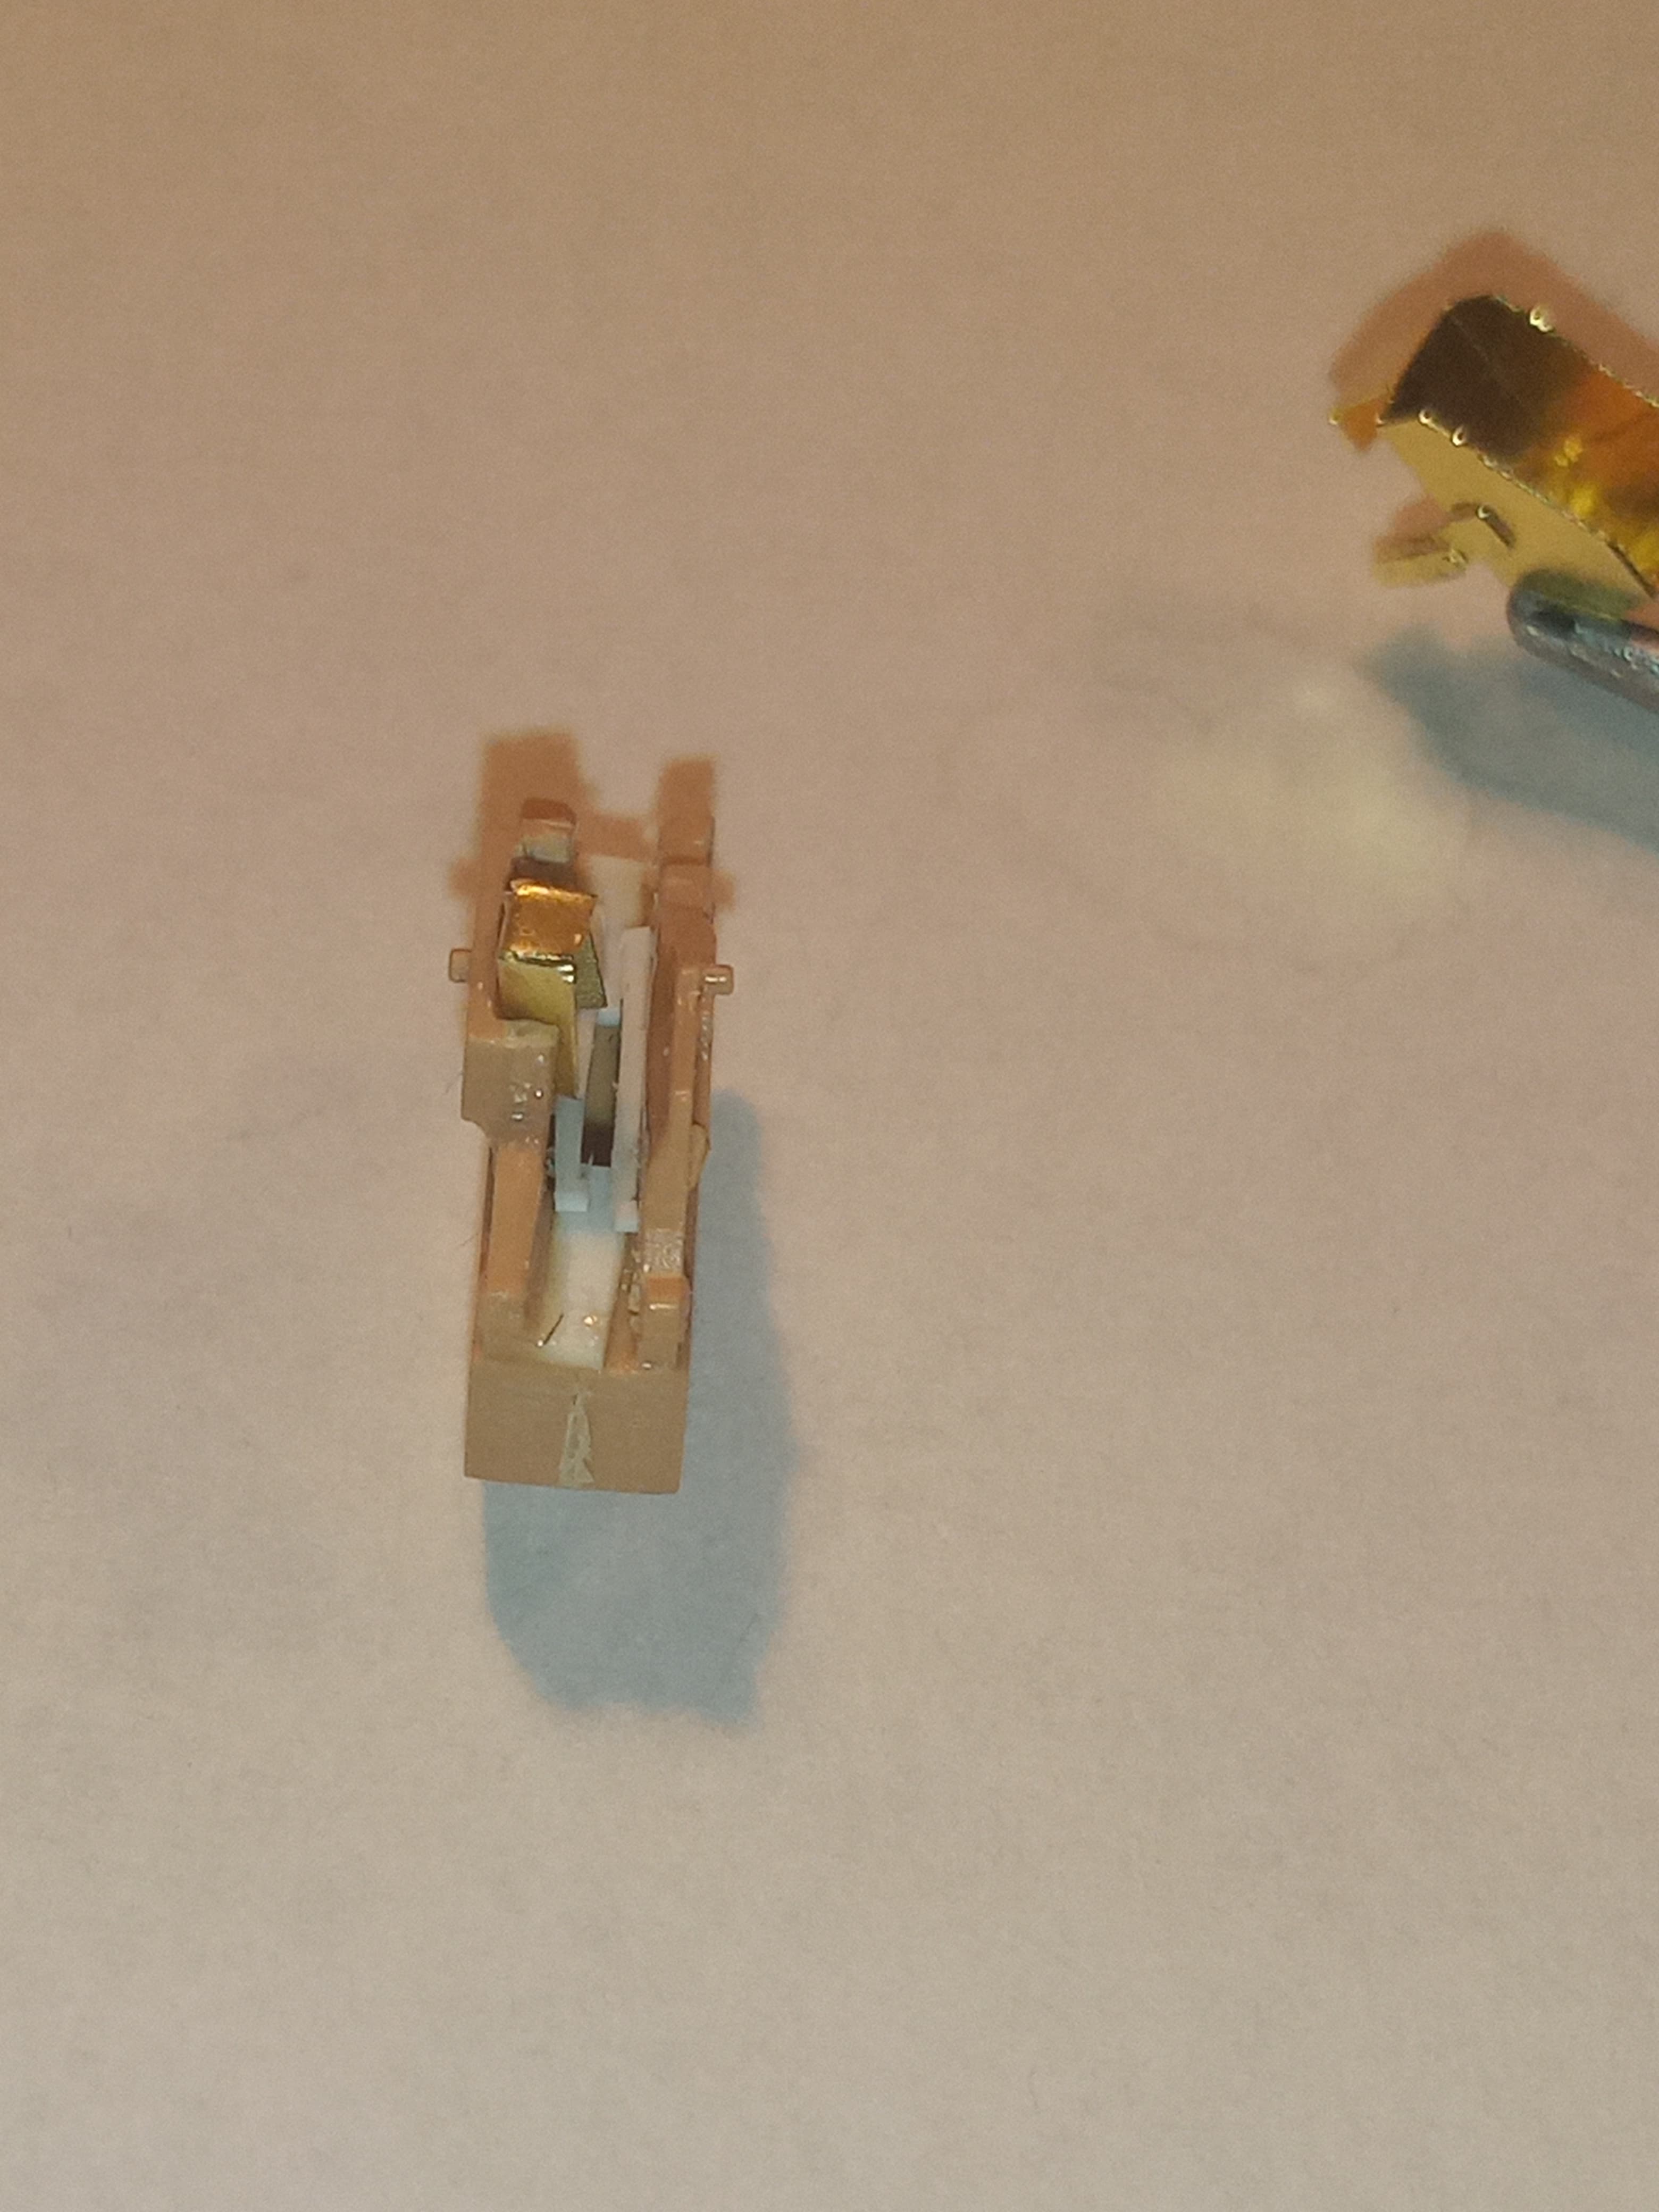
And made up the kit PE ammo box holder.

Most of the other little tweaks will be cables etc where I can add them and a few bits on the turret that I noticed
One thing I did notice which I don’t know if RFM got wrong or some V2s have that type fitted is the mount for the loaders MG. The ones I have managed to see with the armoured shield fitted, have a totally different mount to the kit one (best view I have seen is the one in Olivier’s @Bison126 walk around) … That’s a question for the M1 gurus… ??
6 Likes
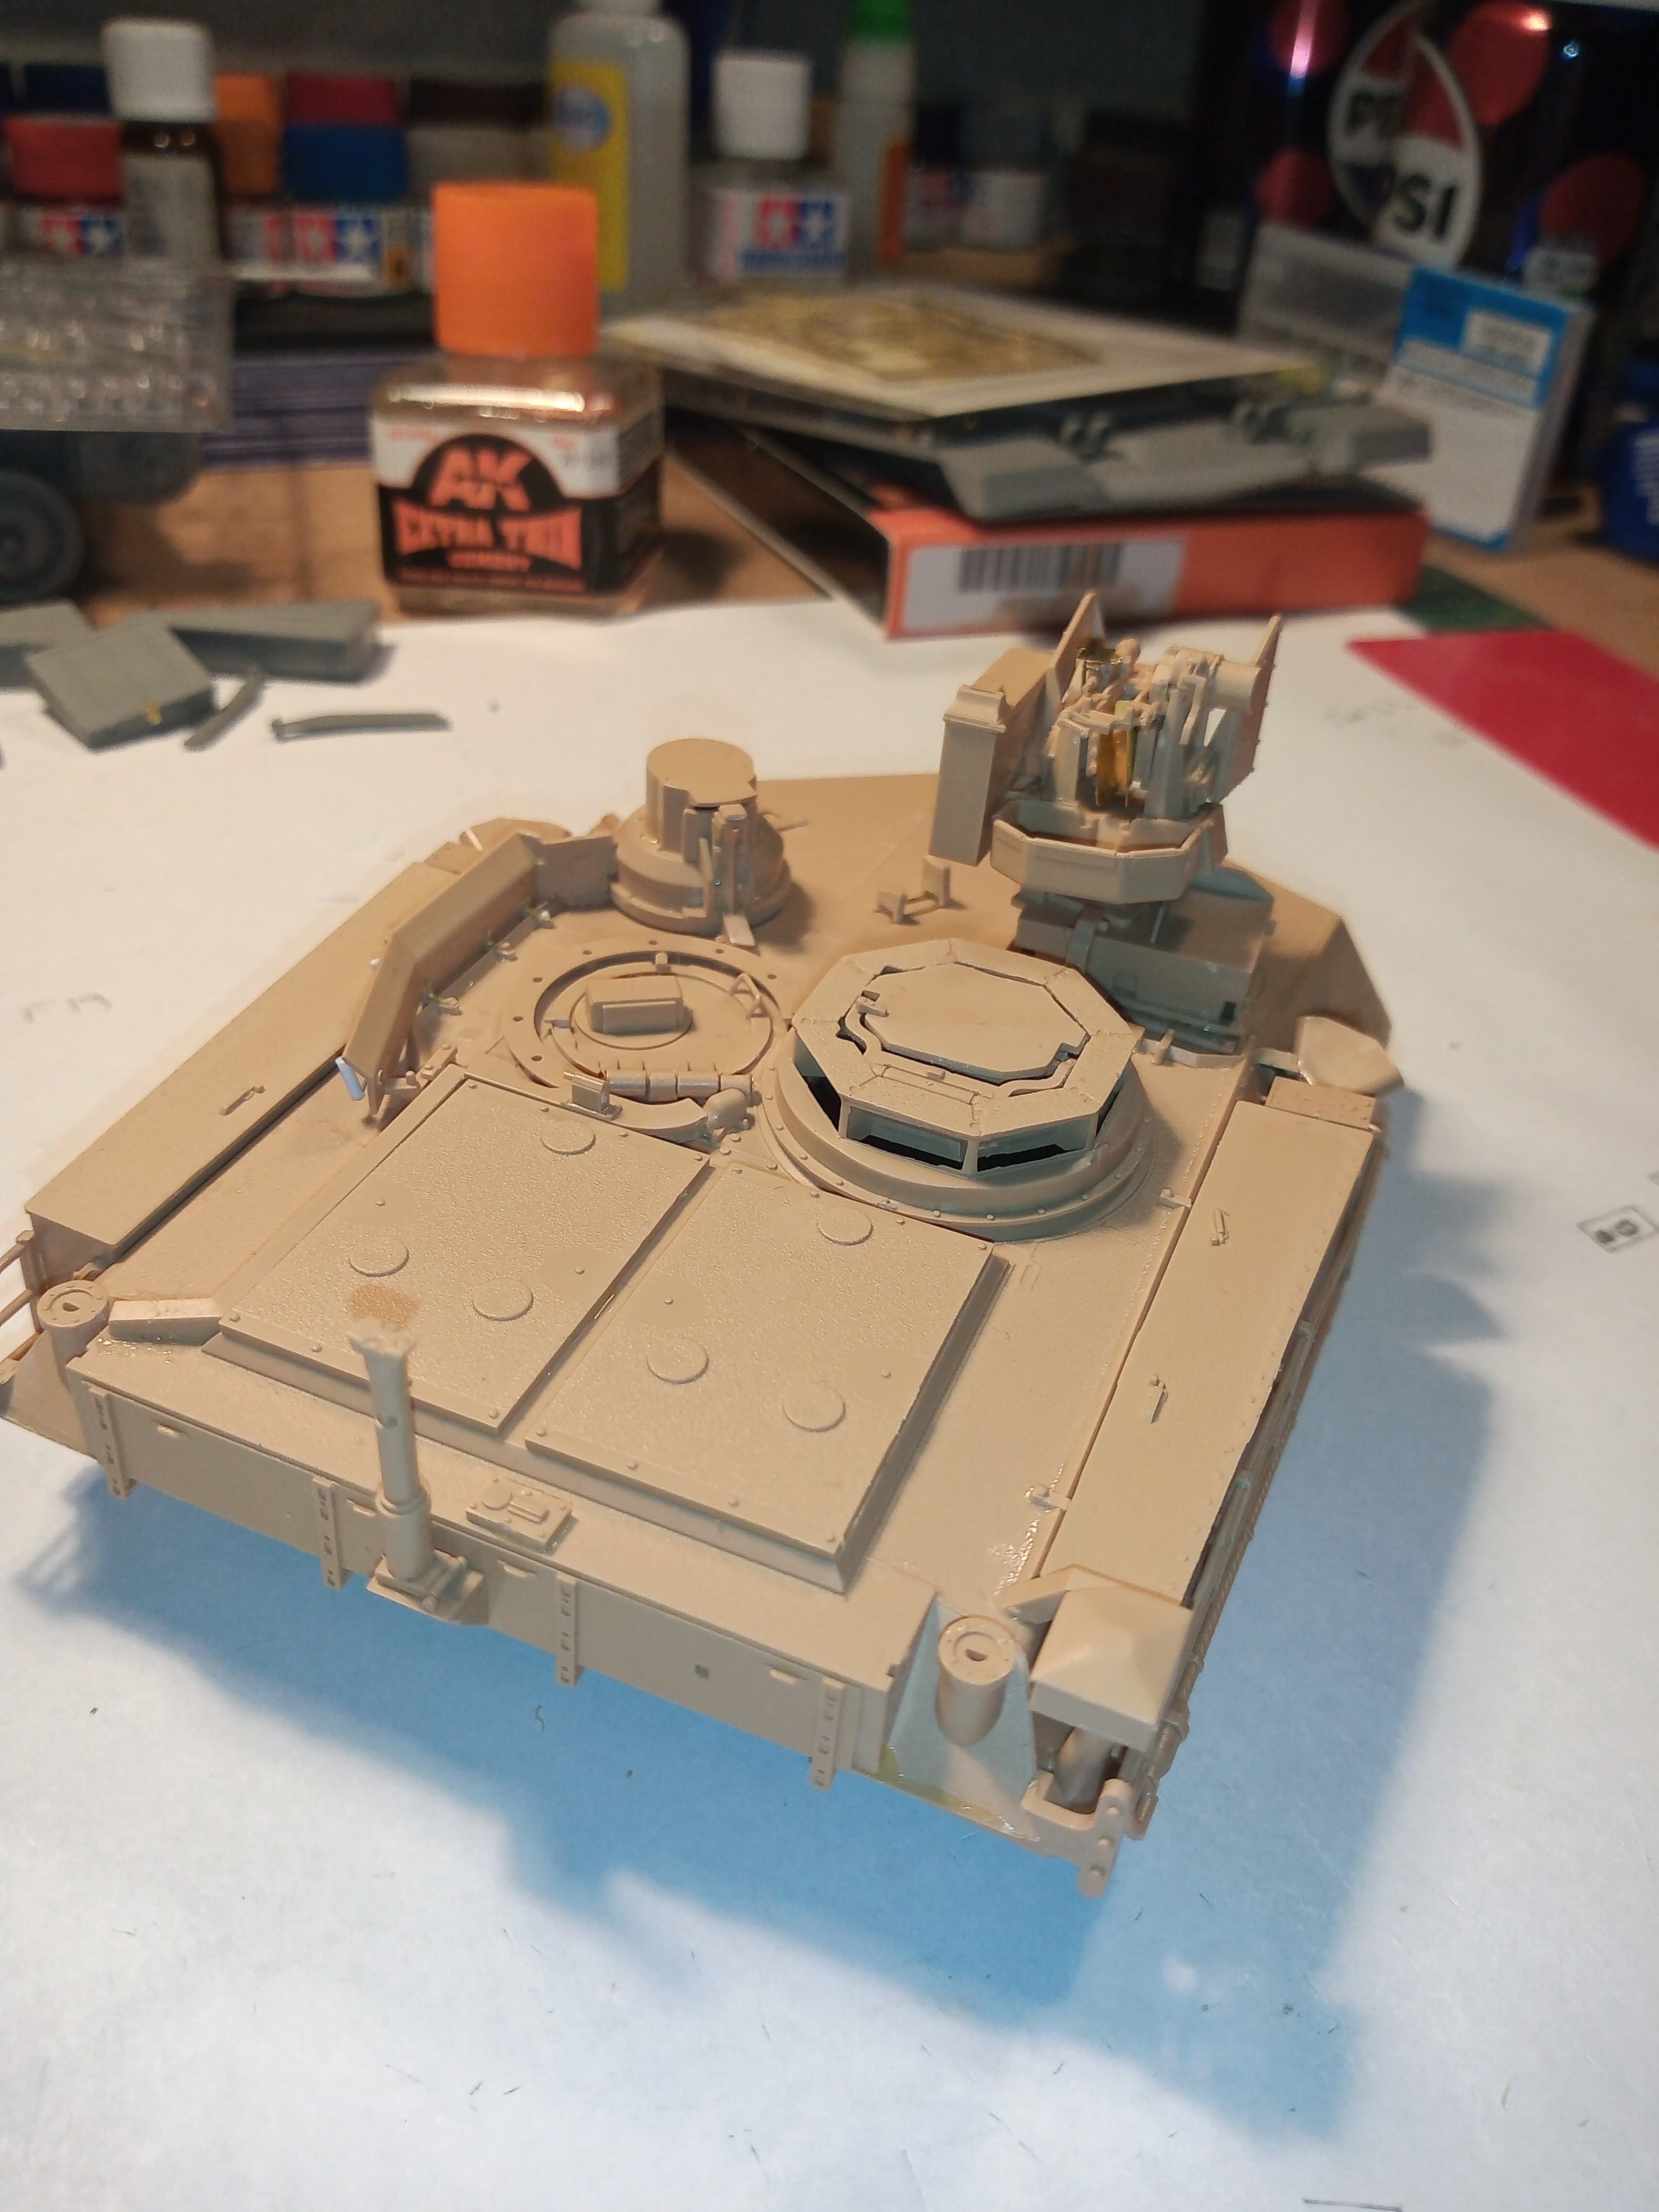
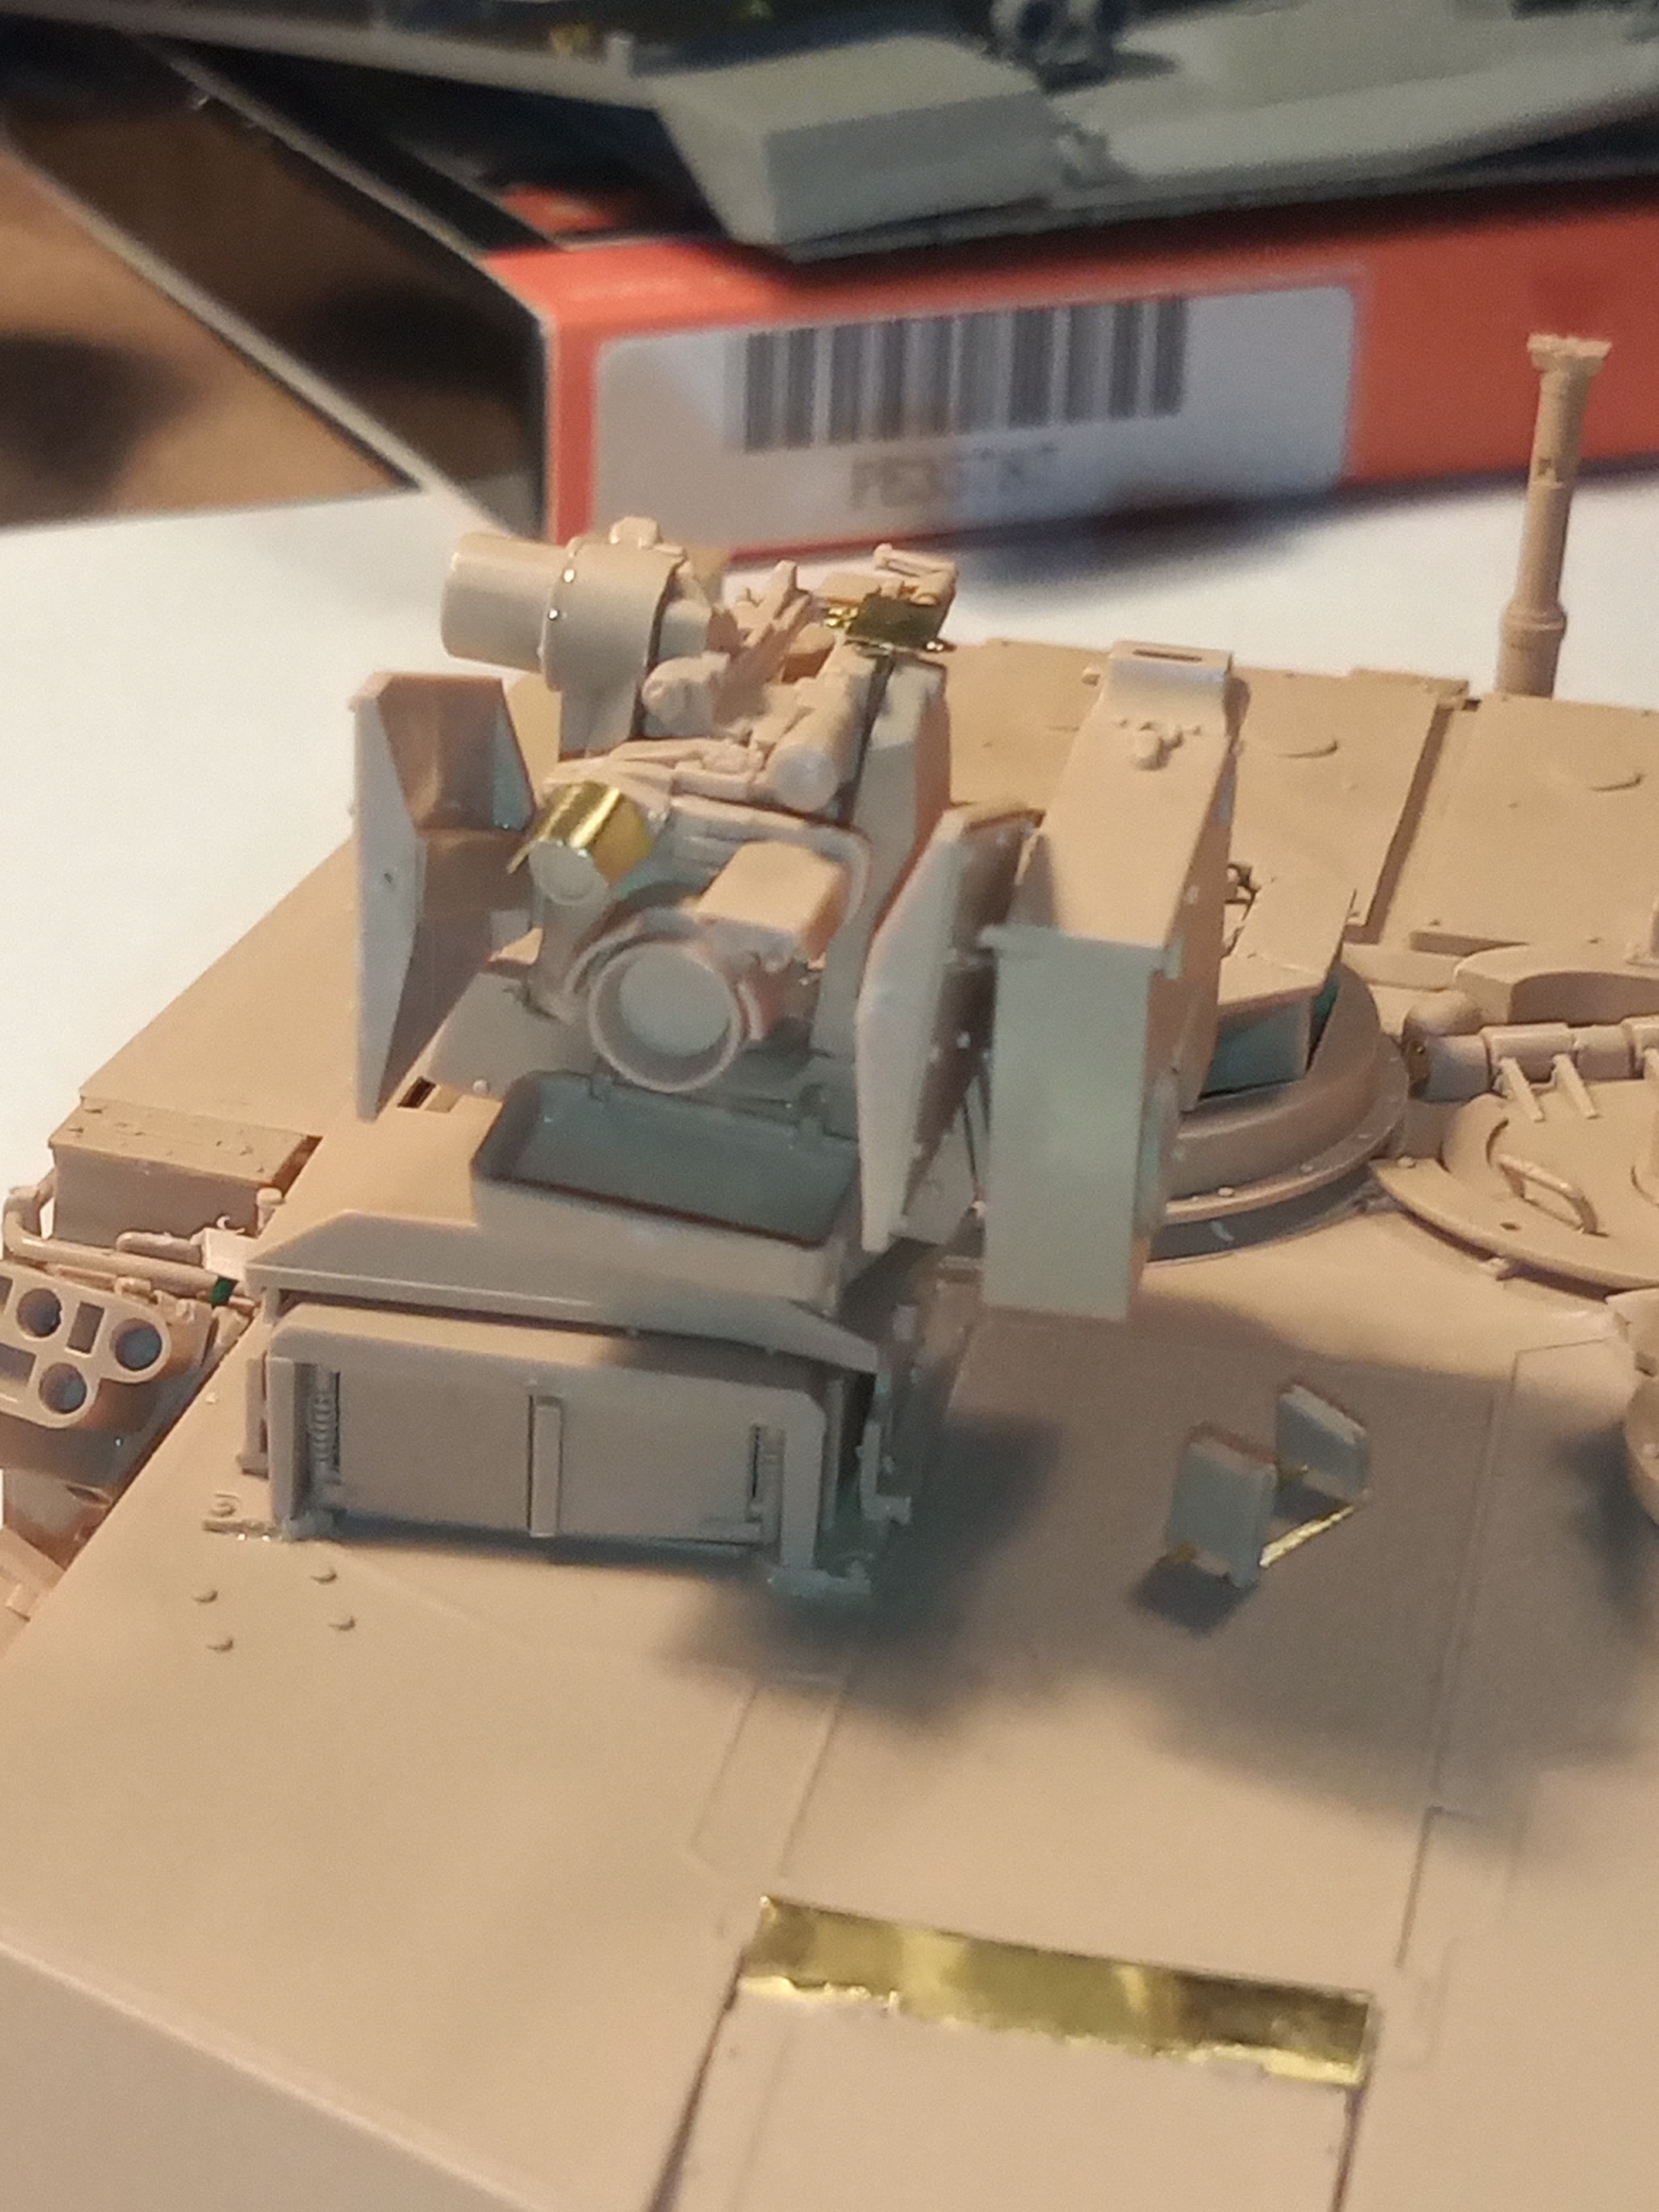
Got some decent progress made tonight…
This pile of 26 bits, not including the .50 parts will make up the RWS…

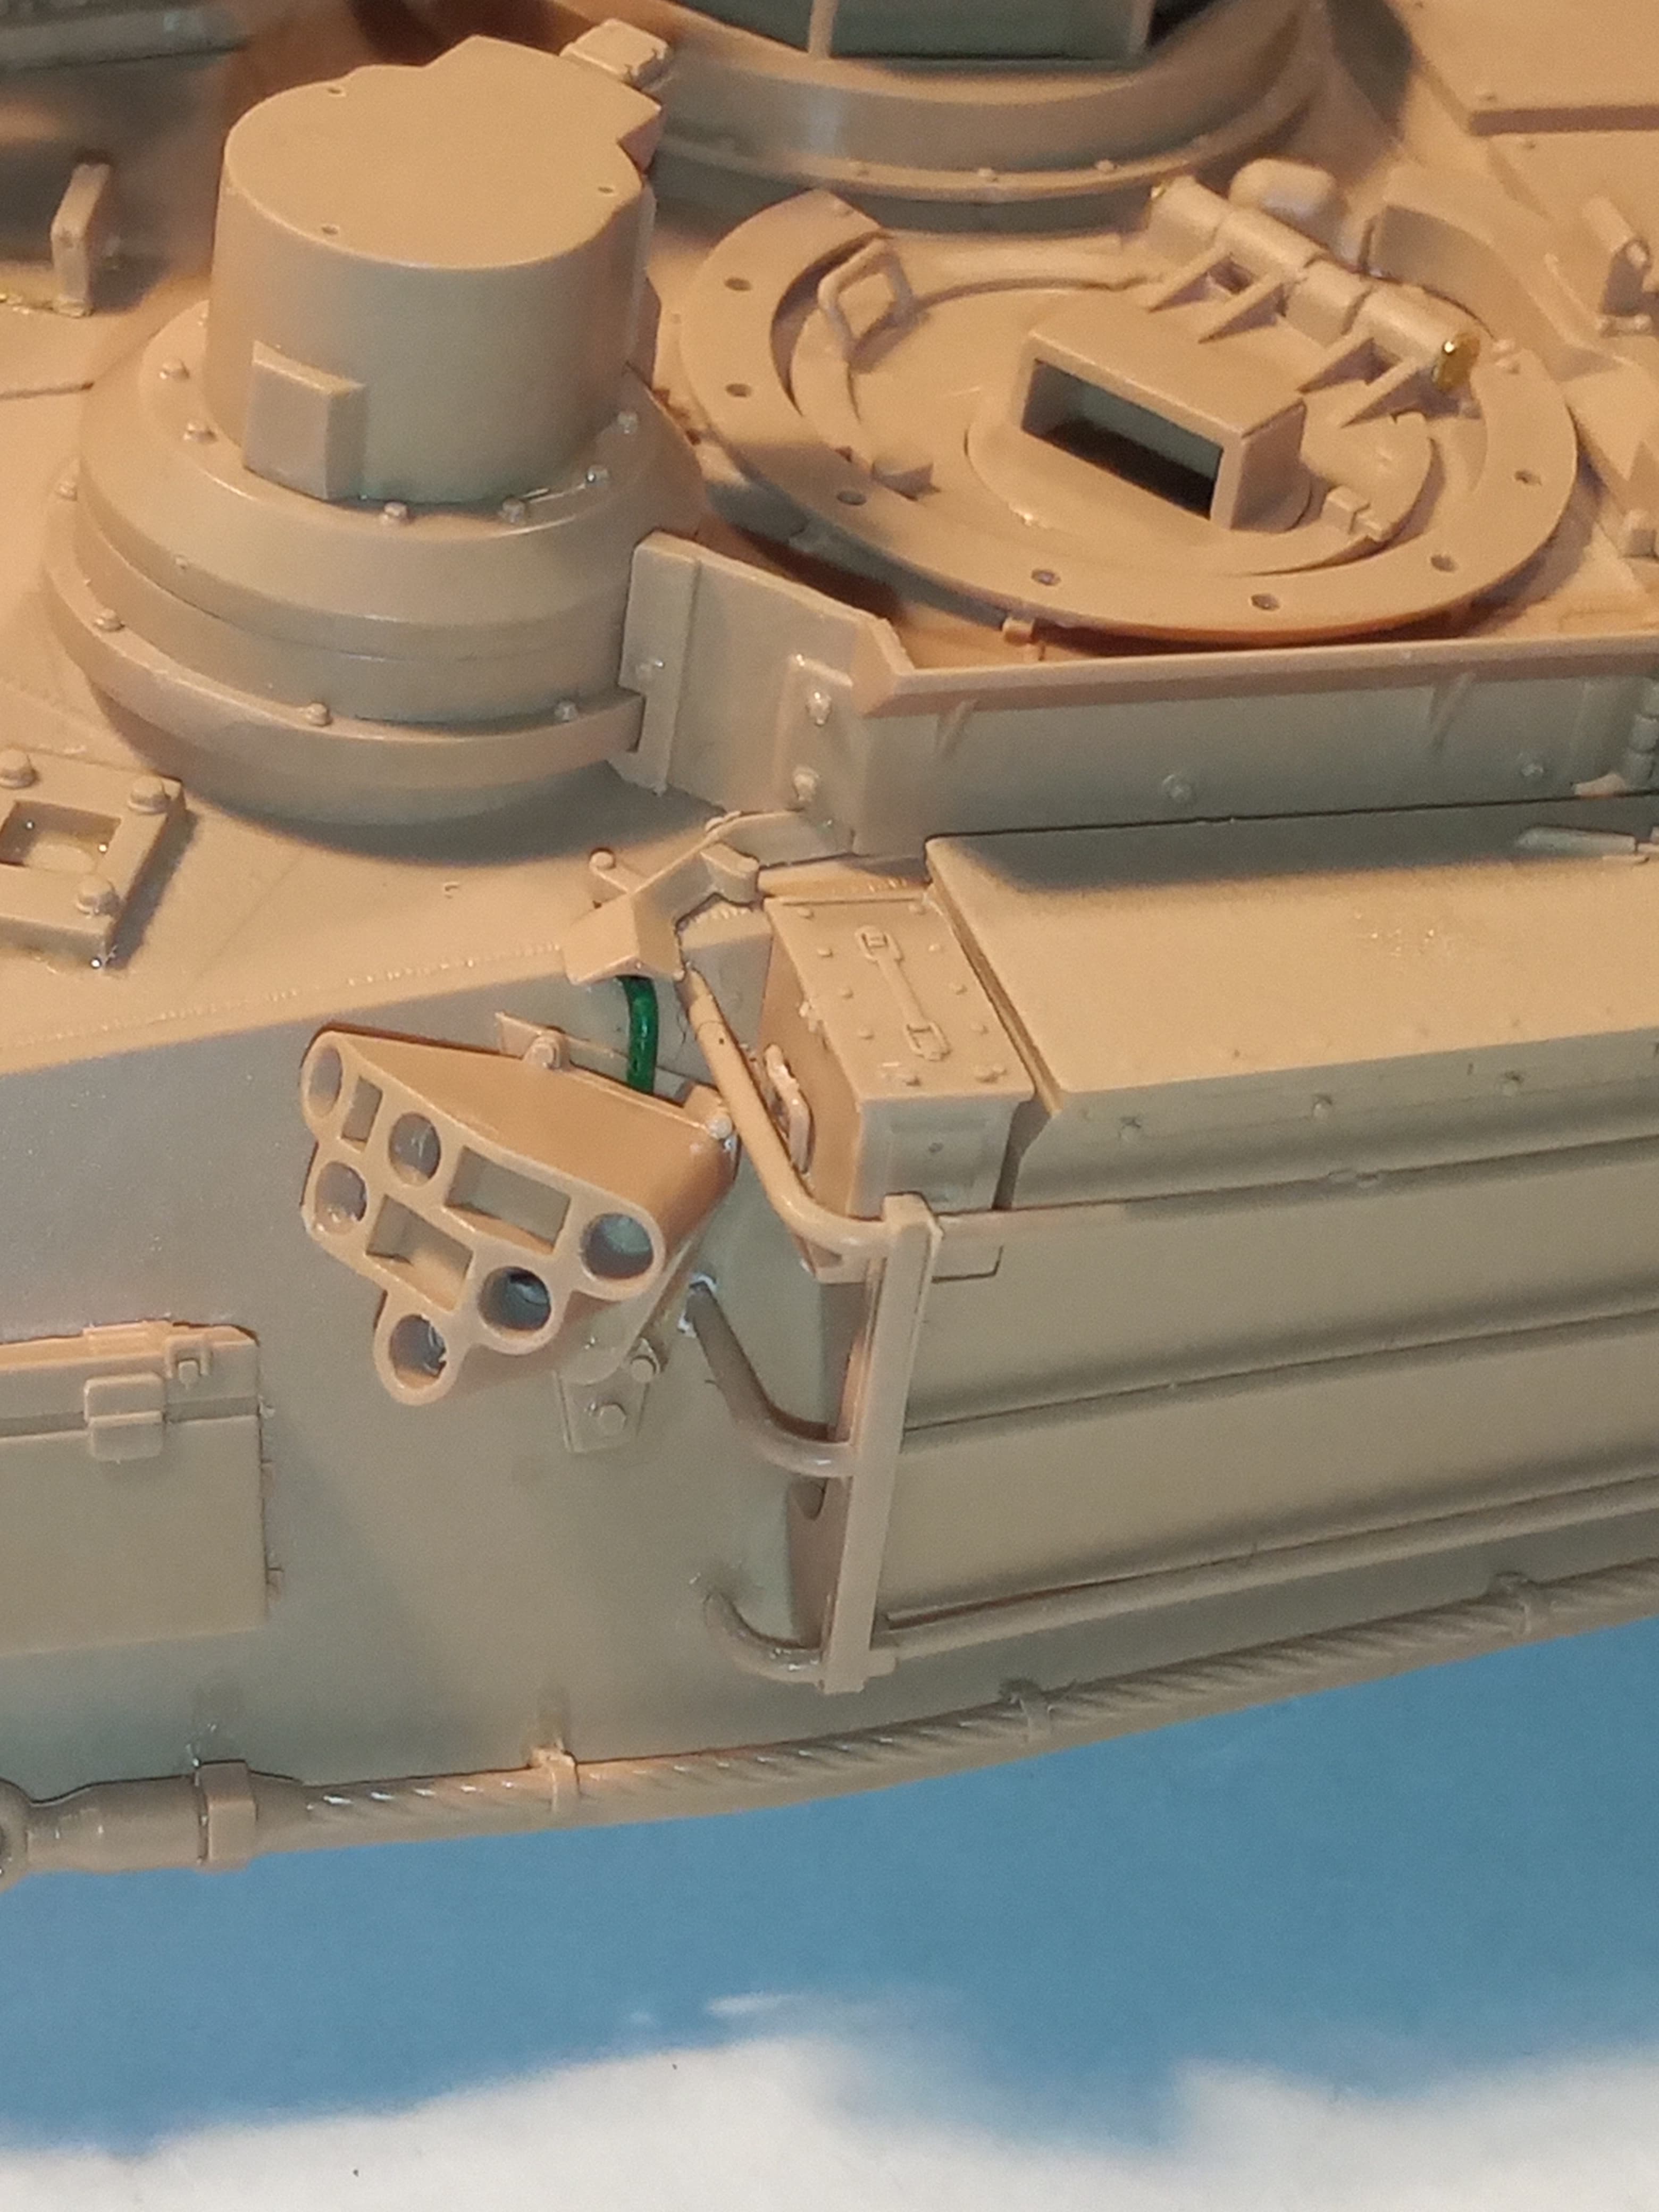
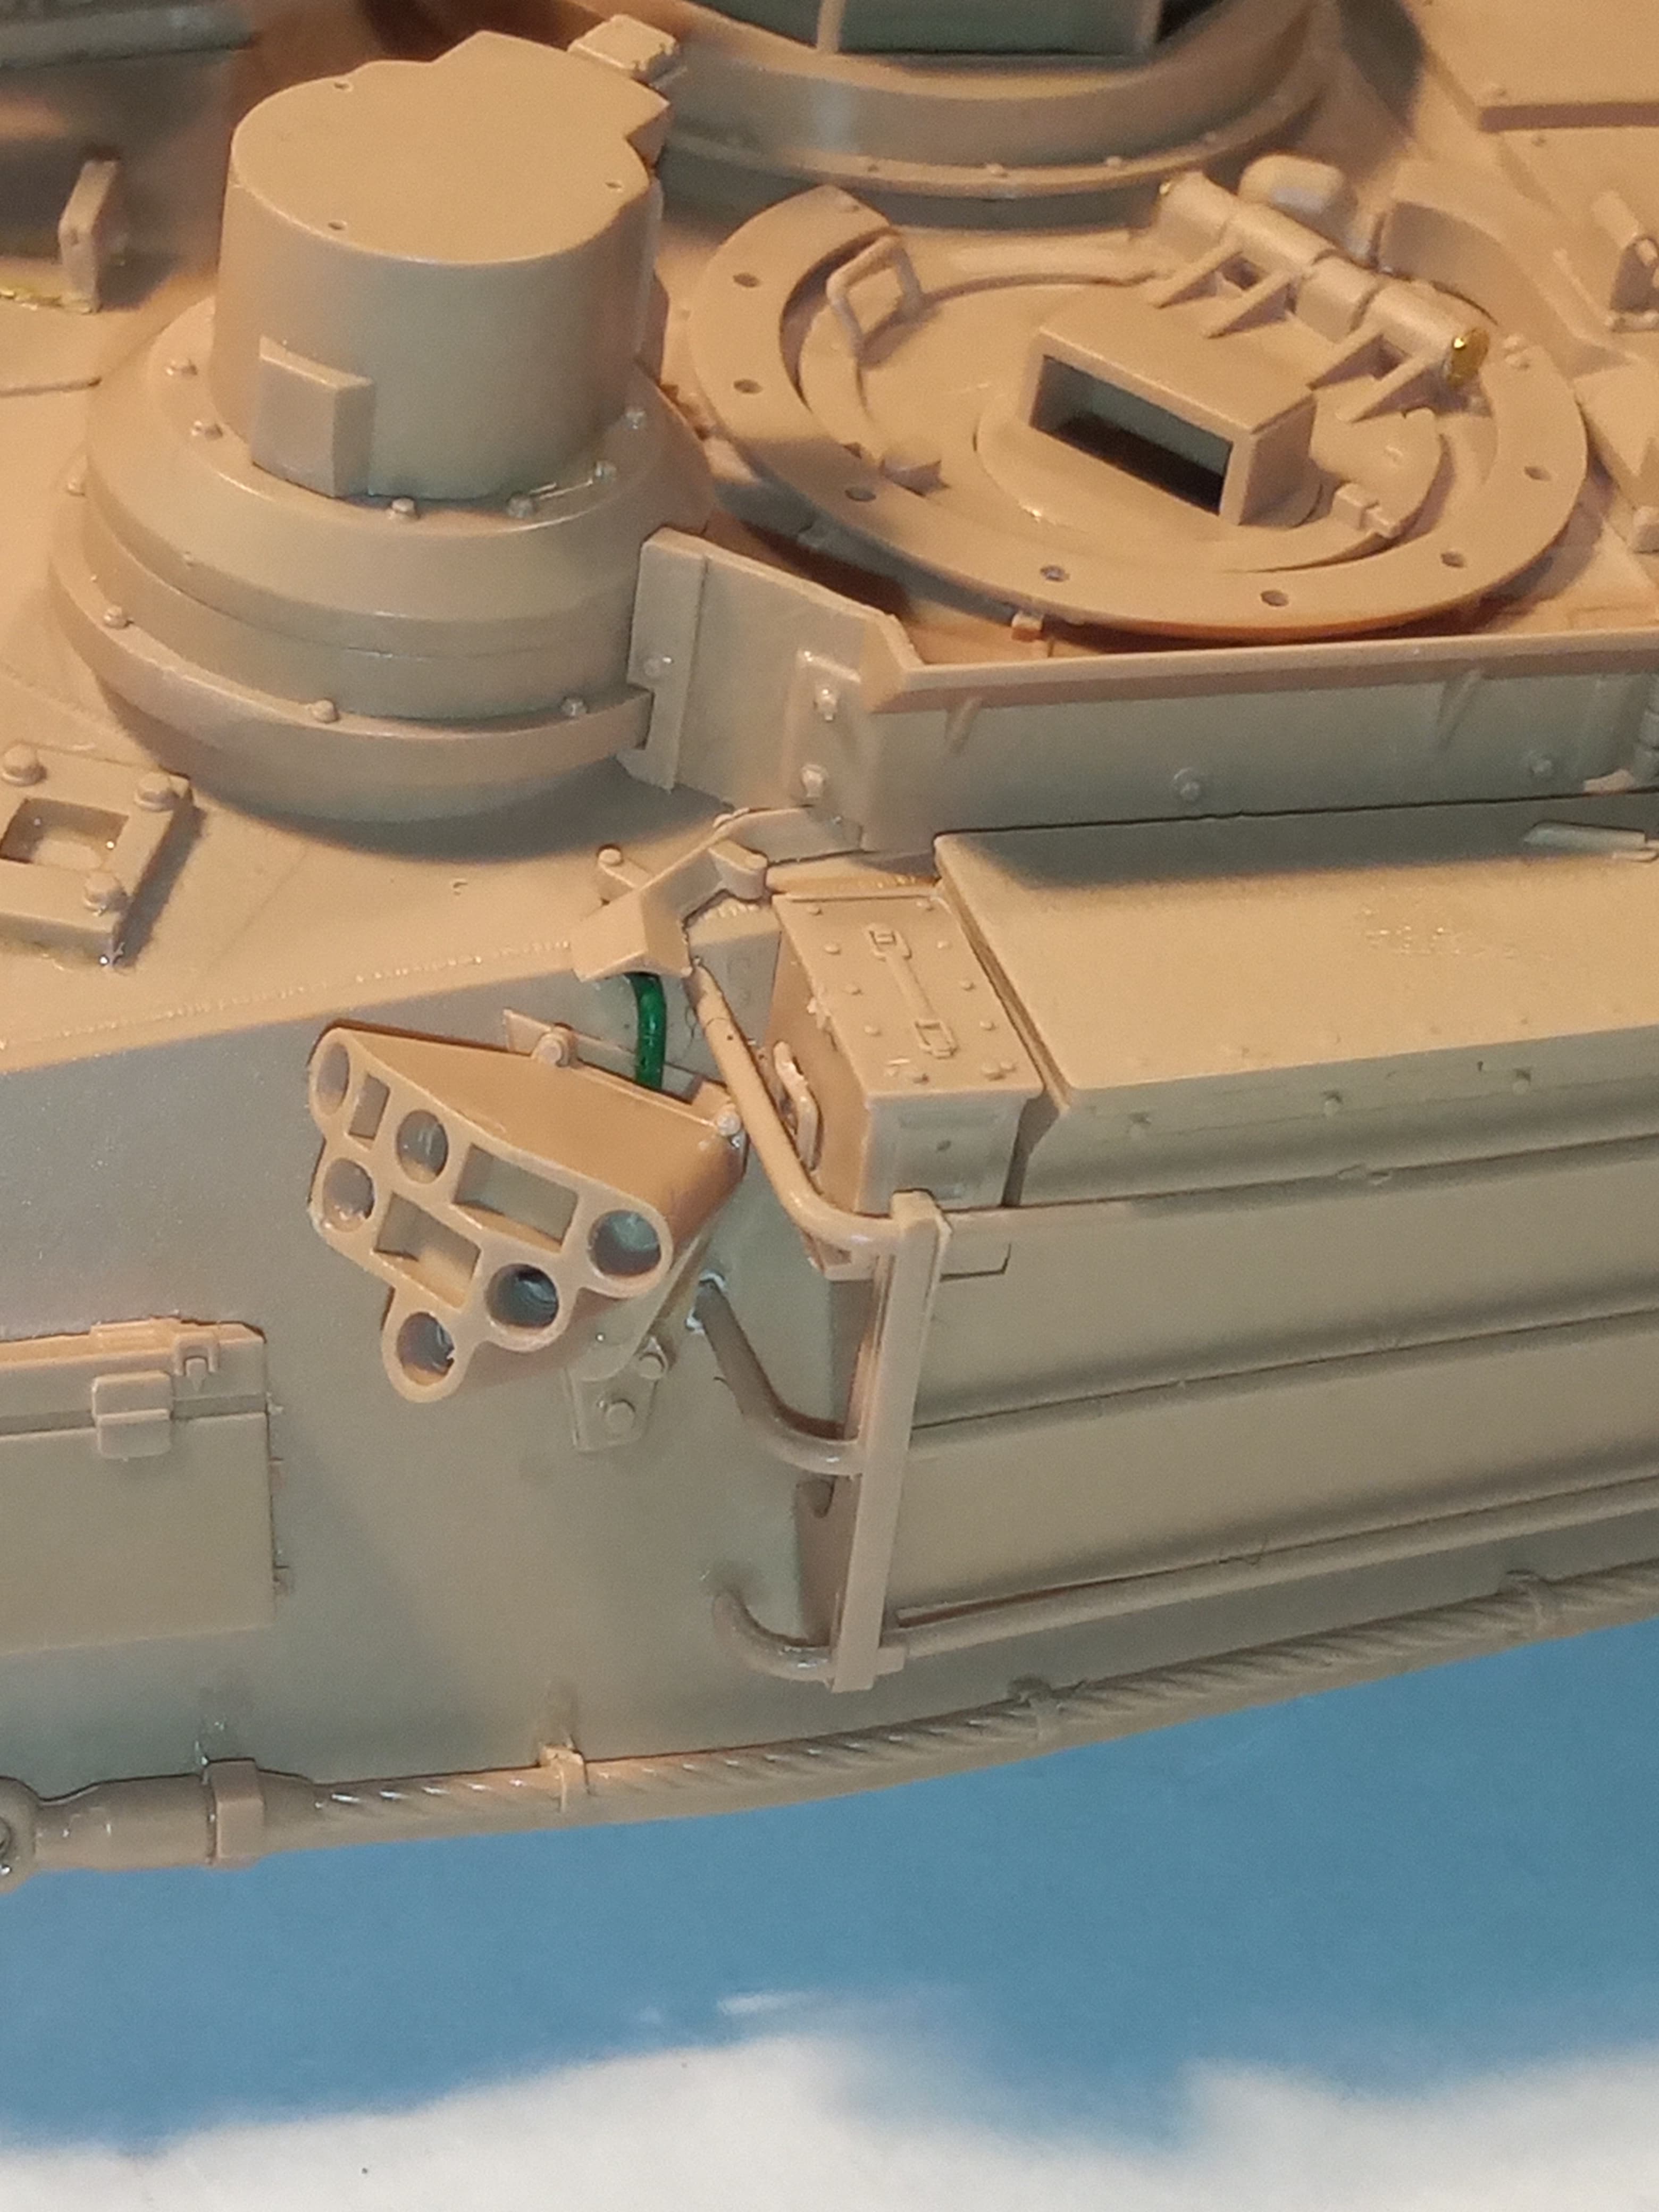
Put together the the MBSGDs and added some cabling for both sides and also drilled out all the pots.

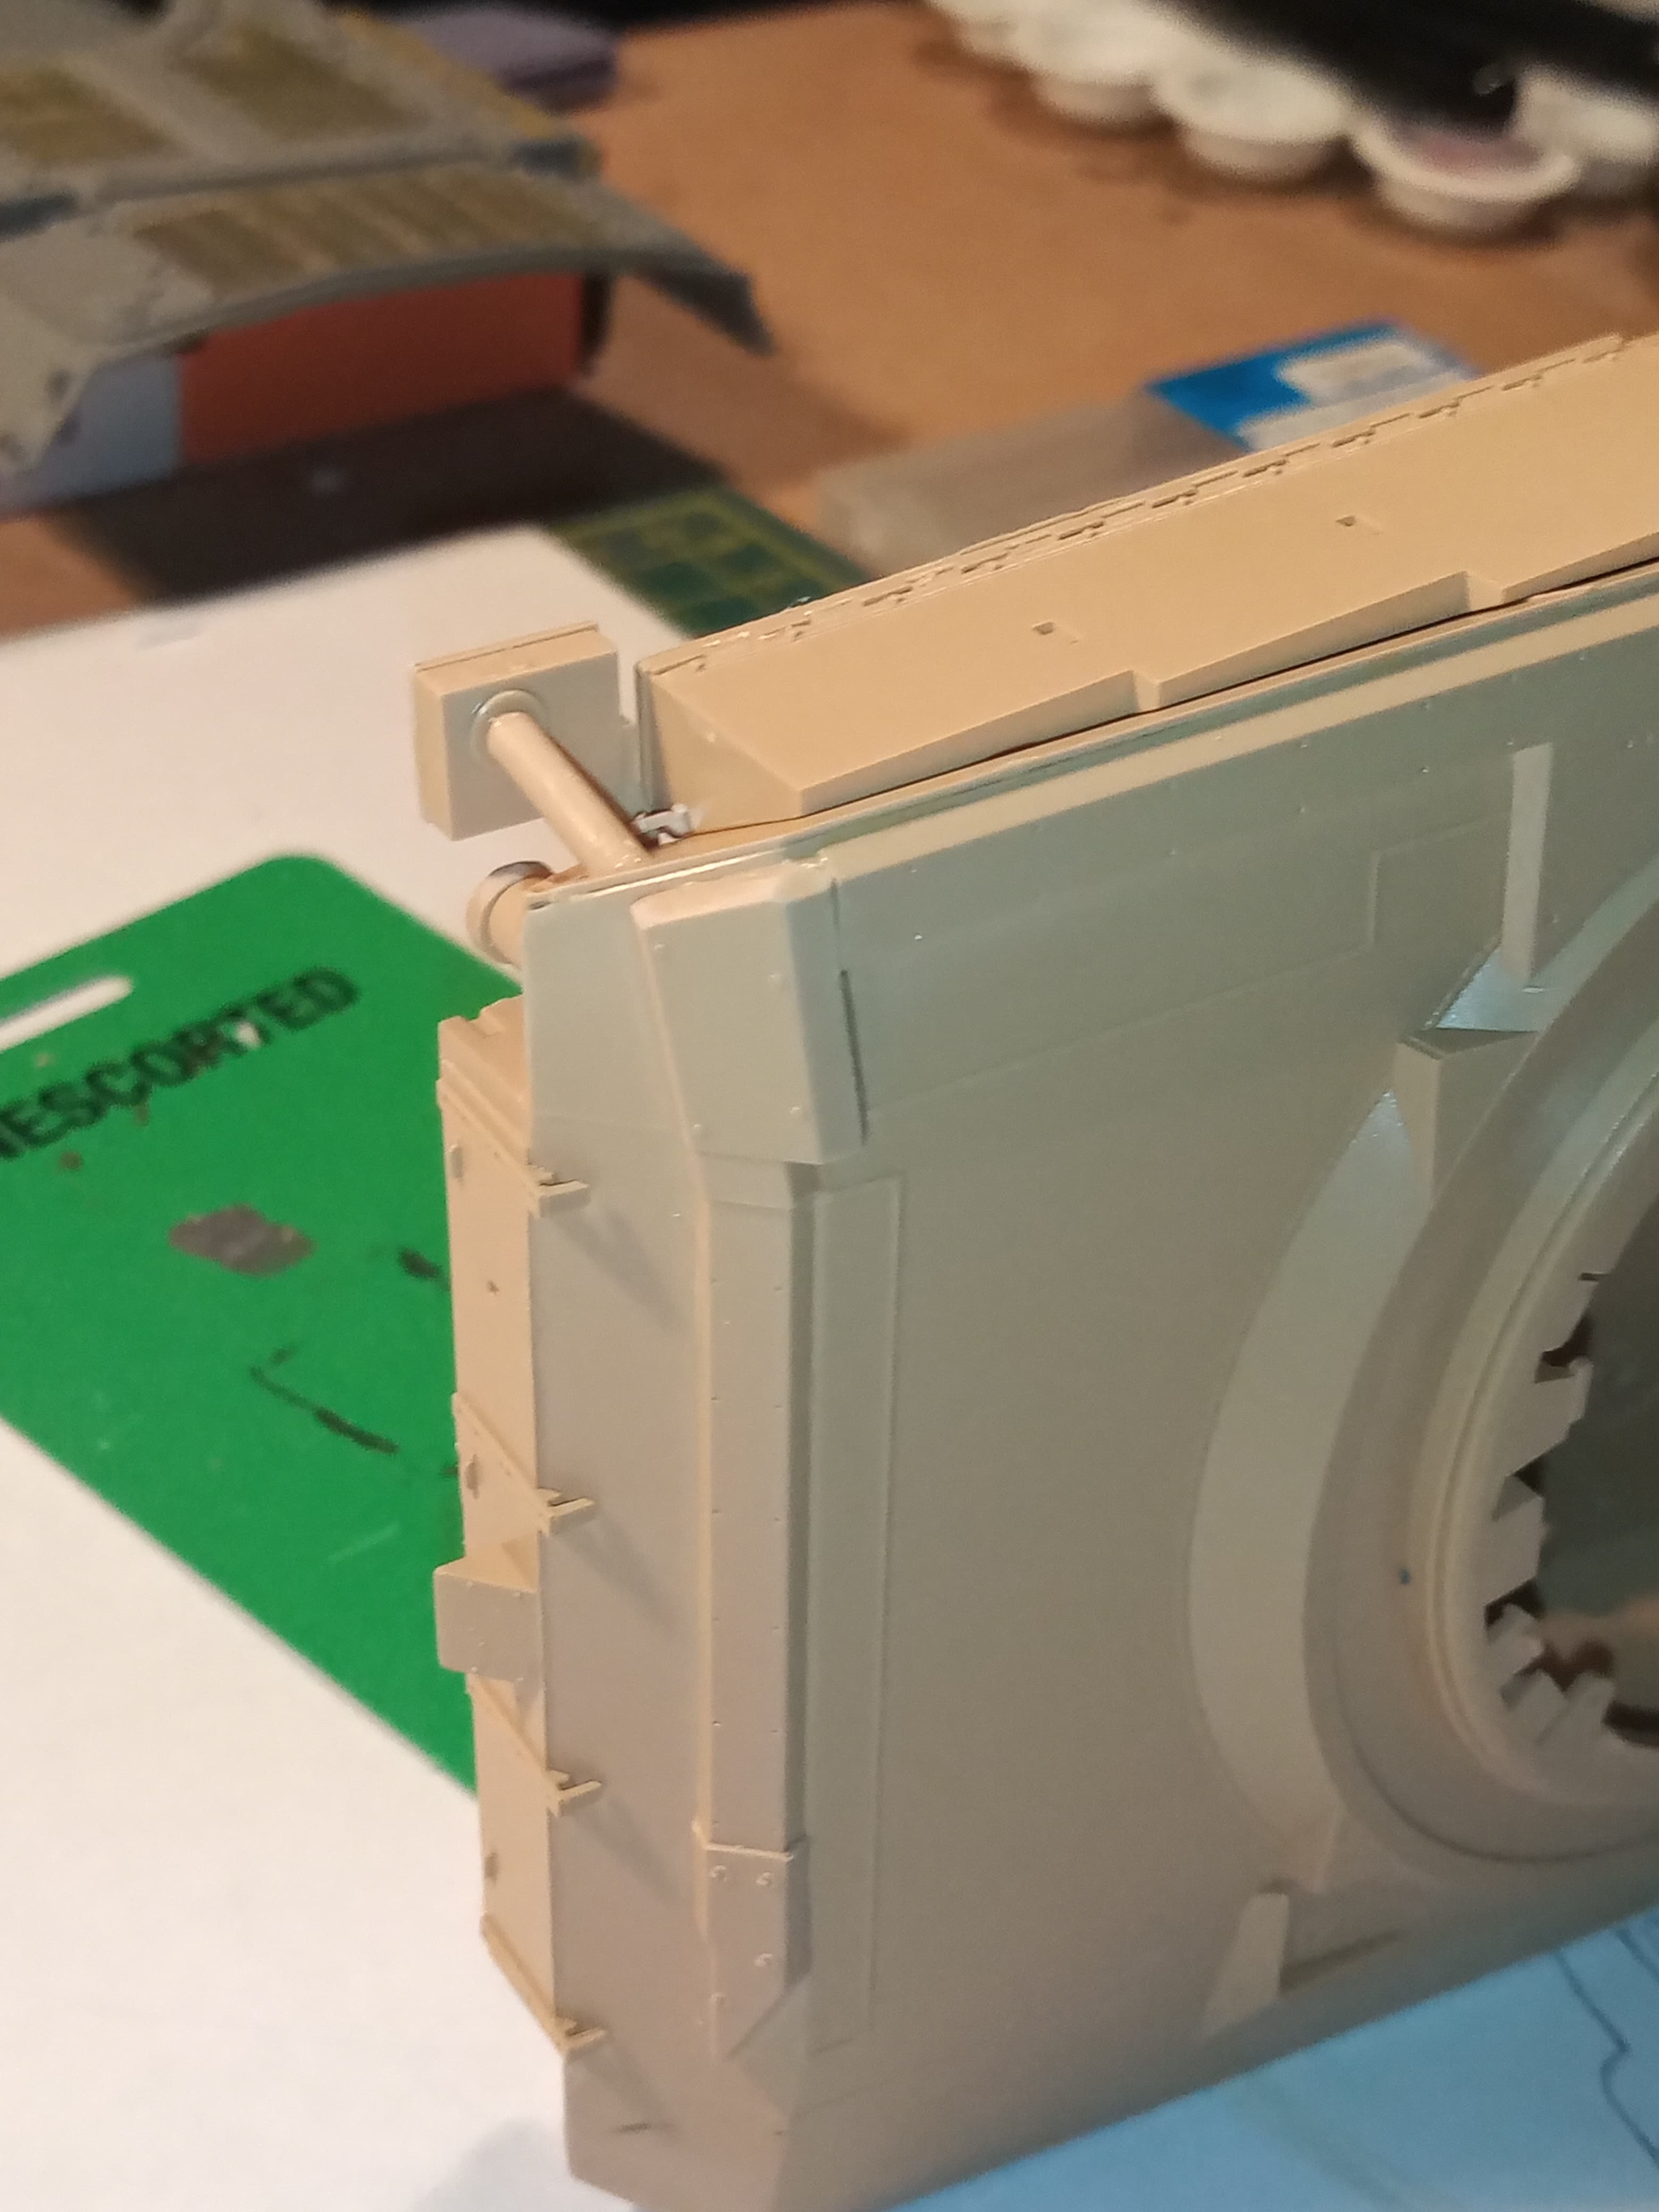
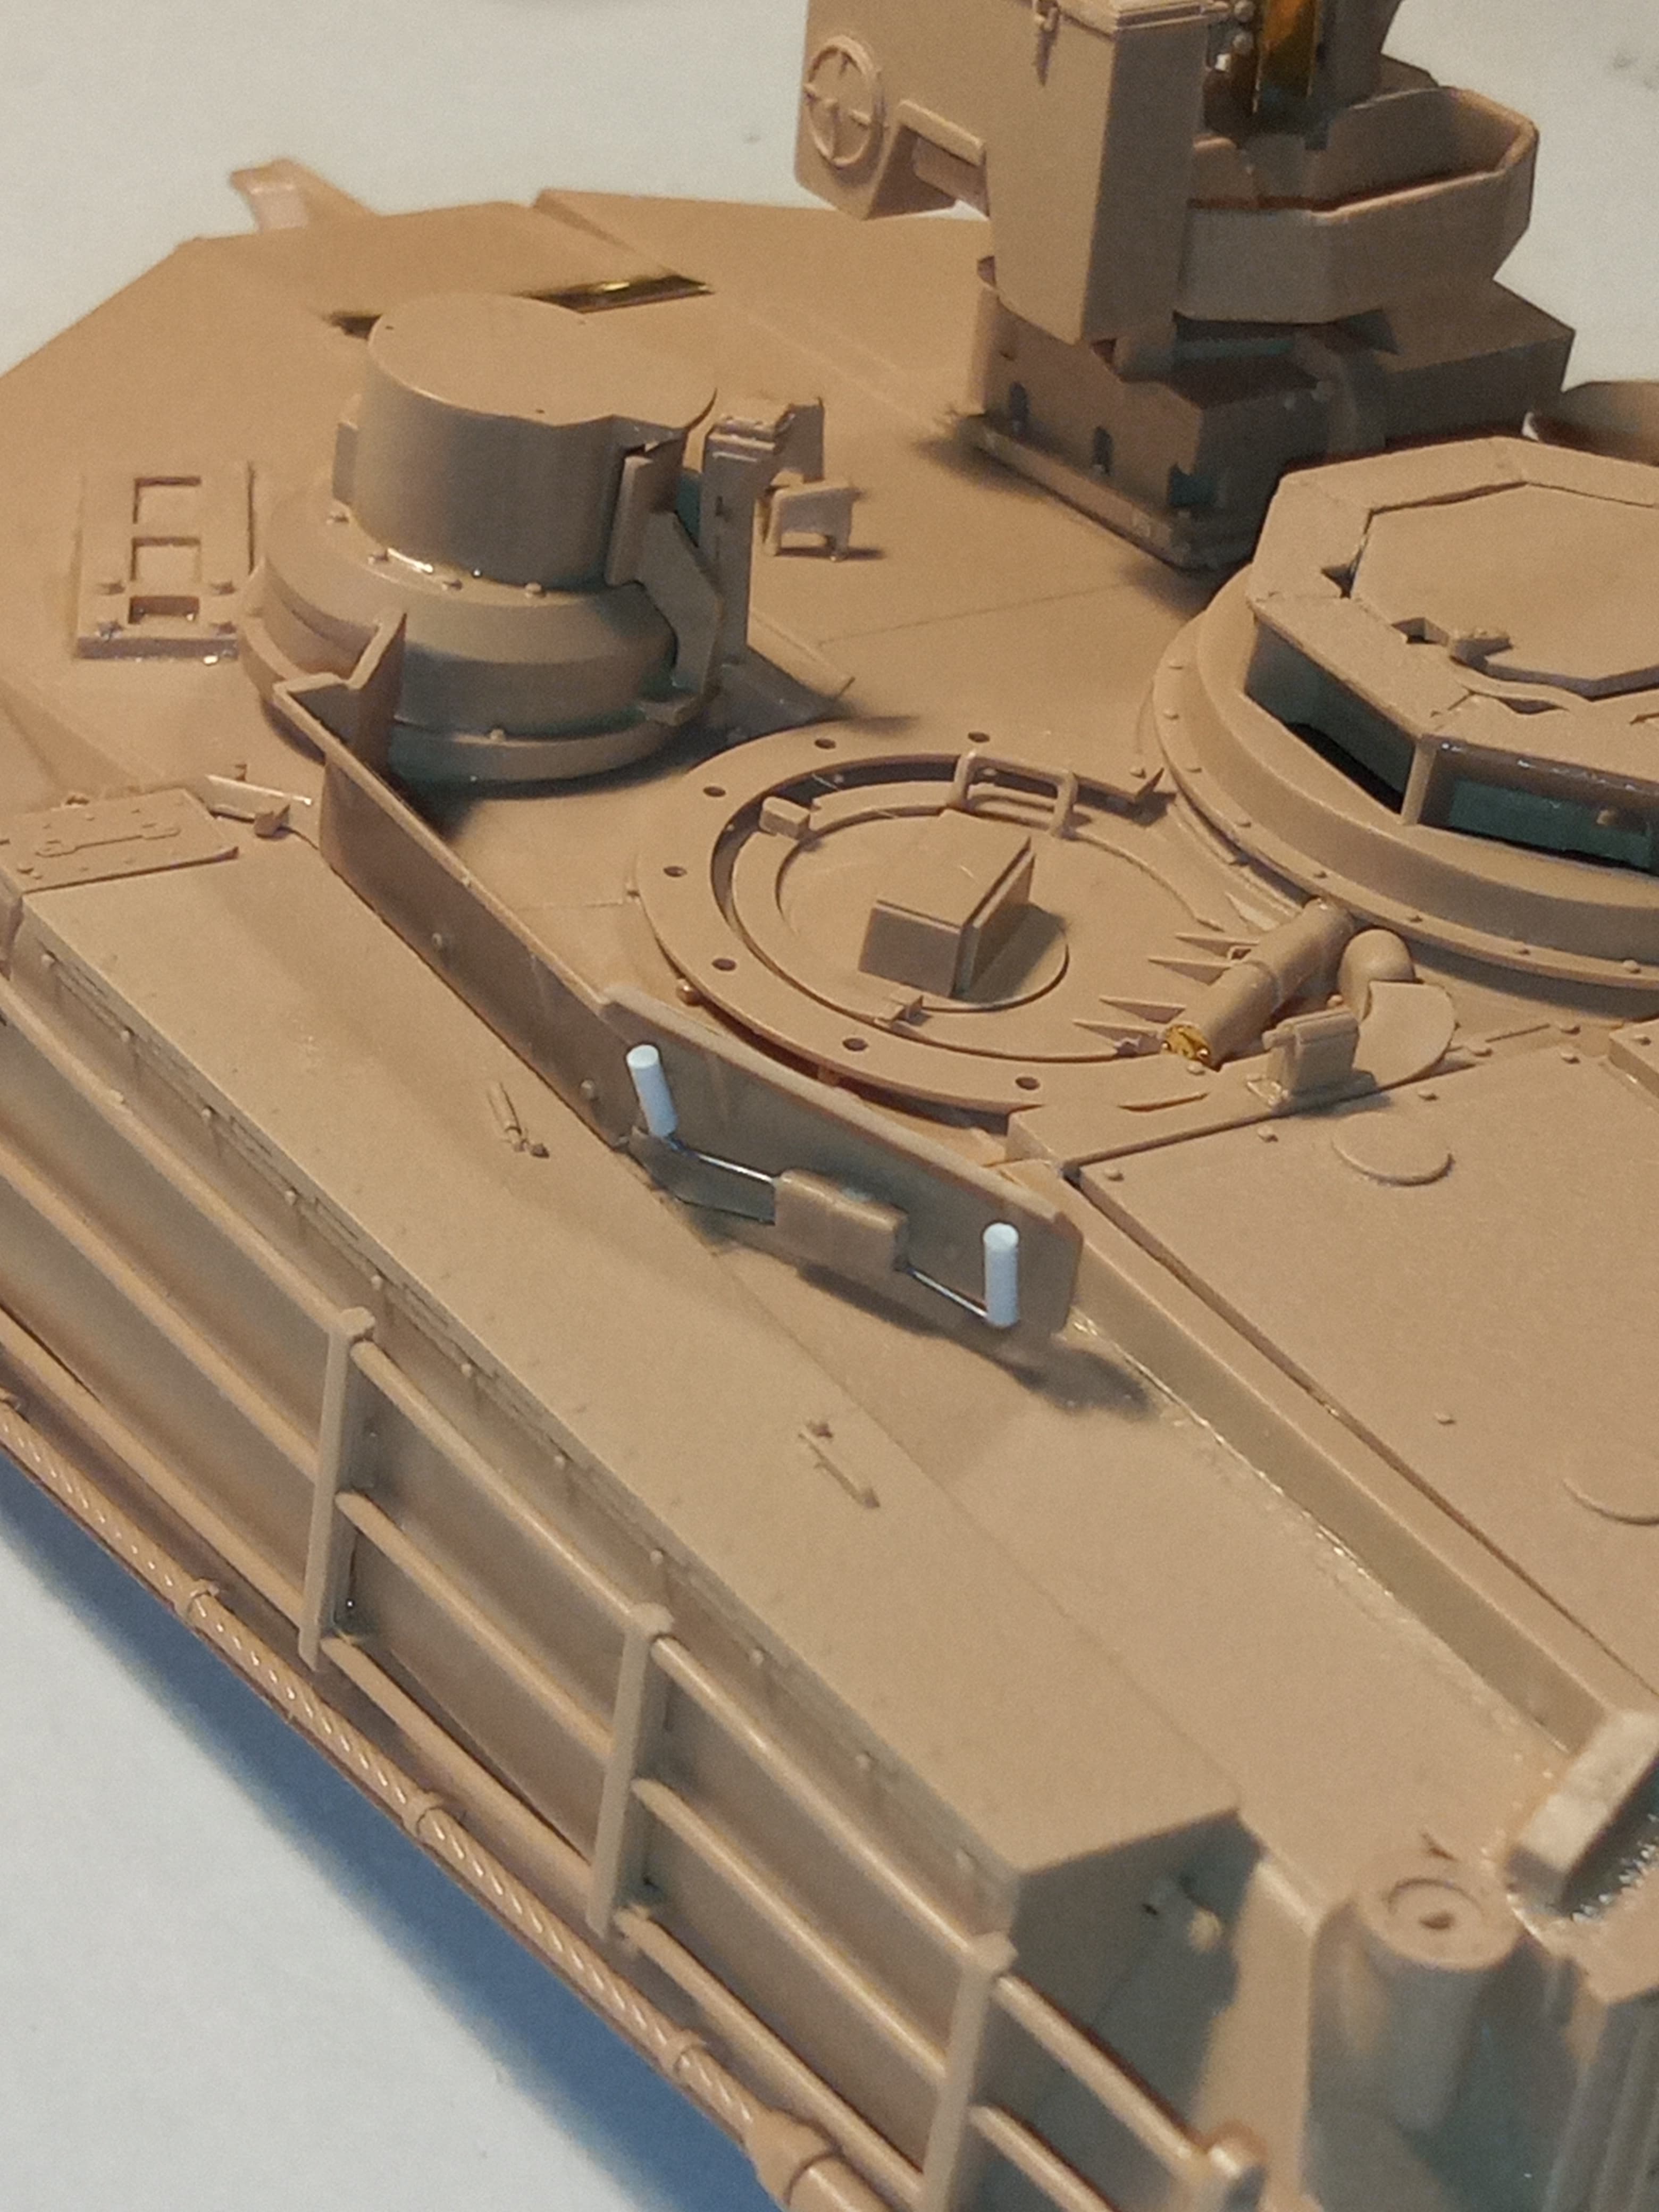
Also added the side bin protection bars.
Added the securing strips to the mounting points on the loaders armoured panels.

Also added these handles/grips to the rear armoured panel… Not sure what they do.

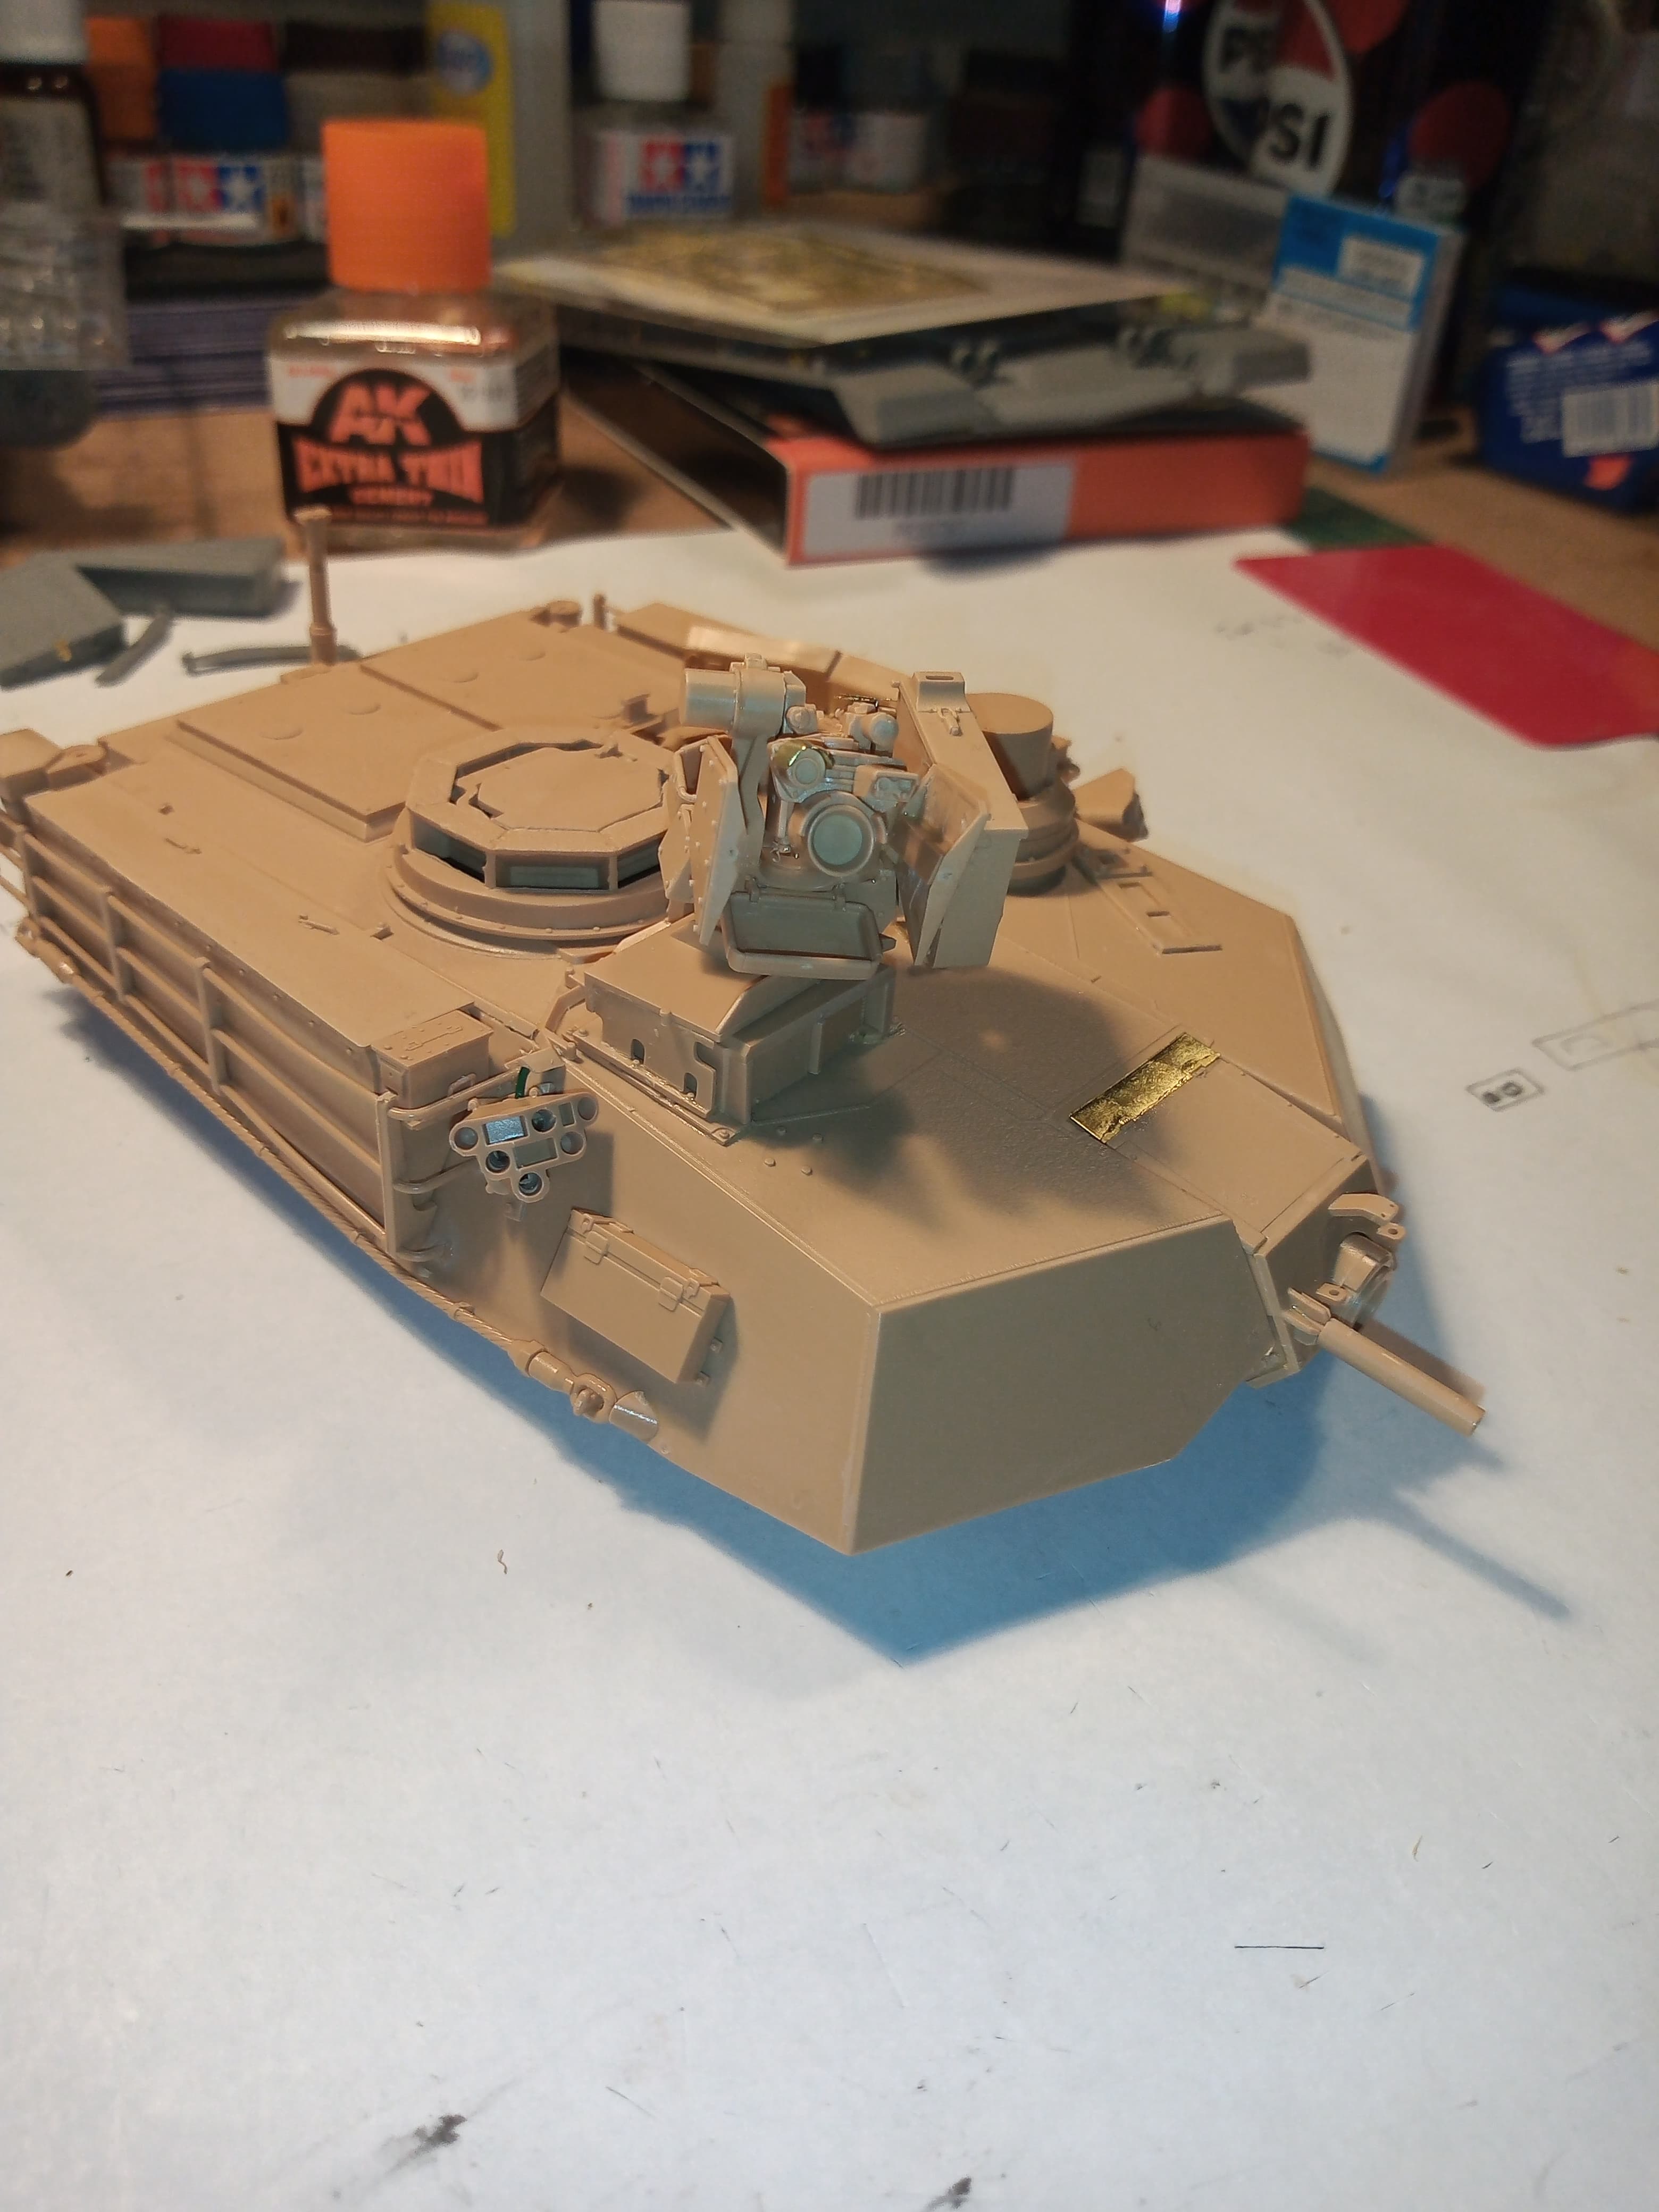
Few more shots of the MBSGDs
And the RWS … It looks a little lopsided as the mounting pin is a bit small in the hole so may have to glue it in place.
MG isn’t fitted at the mo, and I may leave it out as the mount and cradle is pretty nicely detailed… Still to fit is the sight lens but that will be at the end before painting…
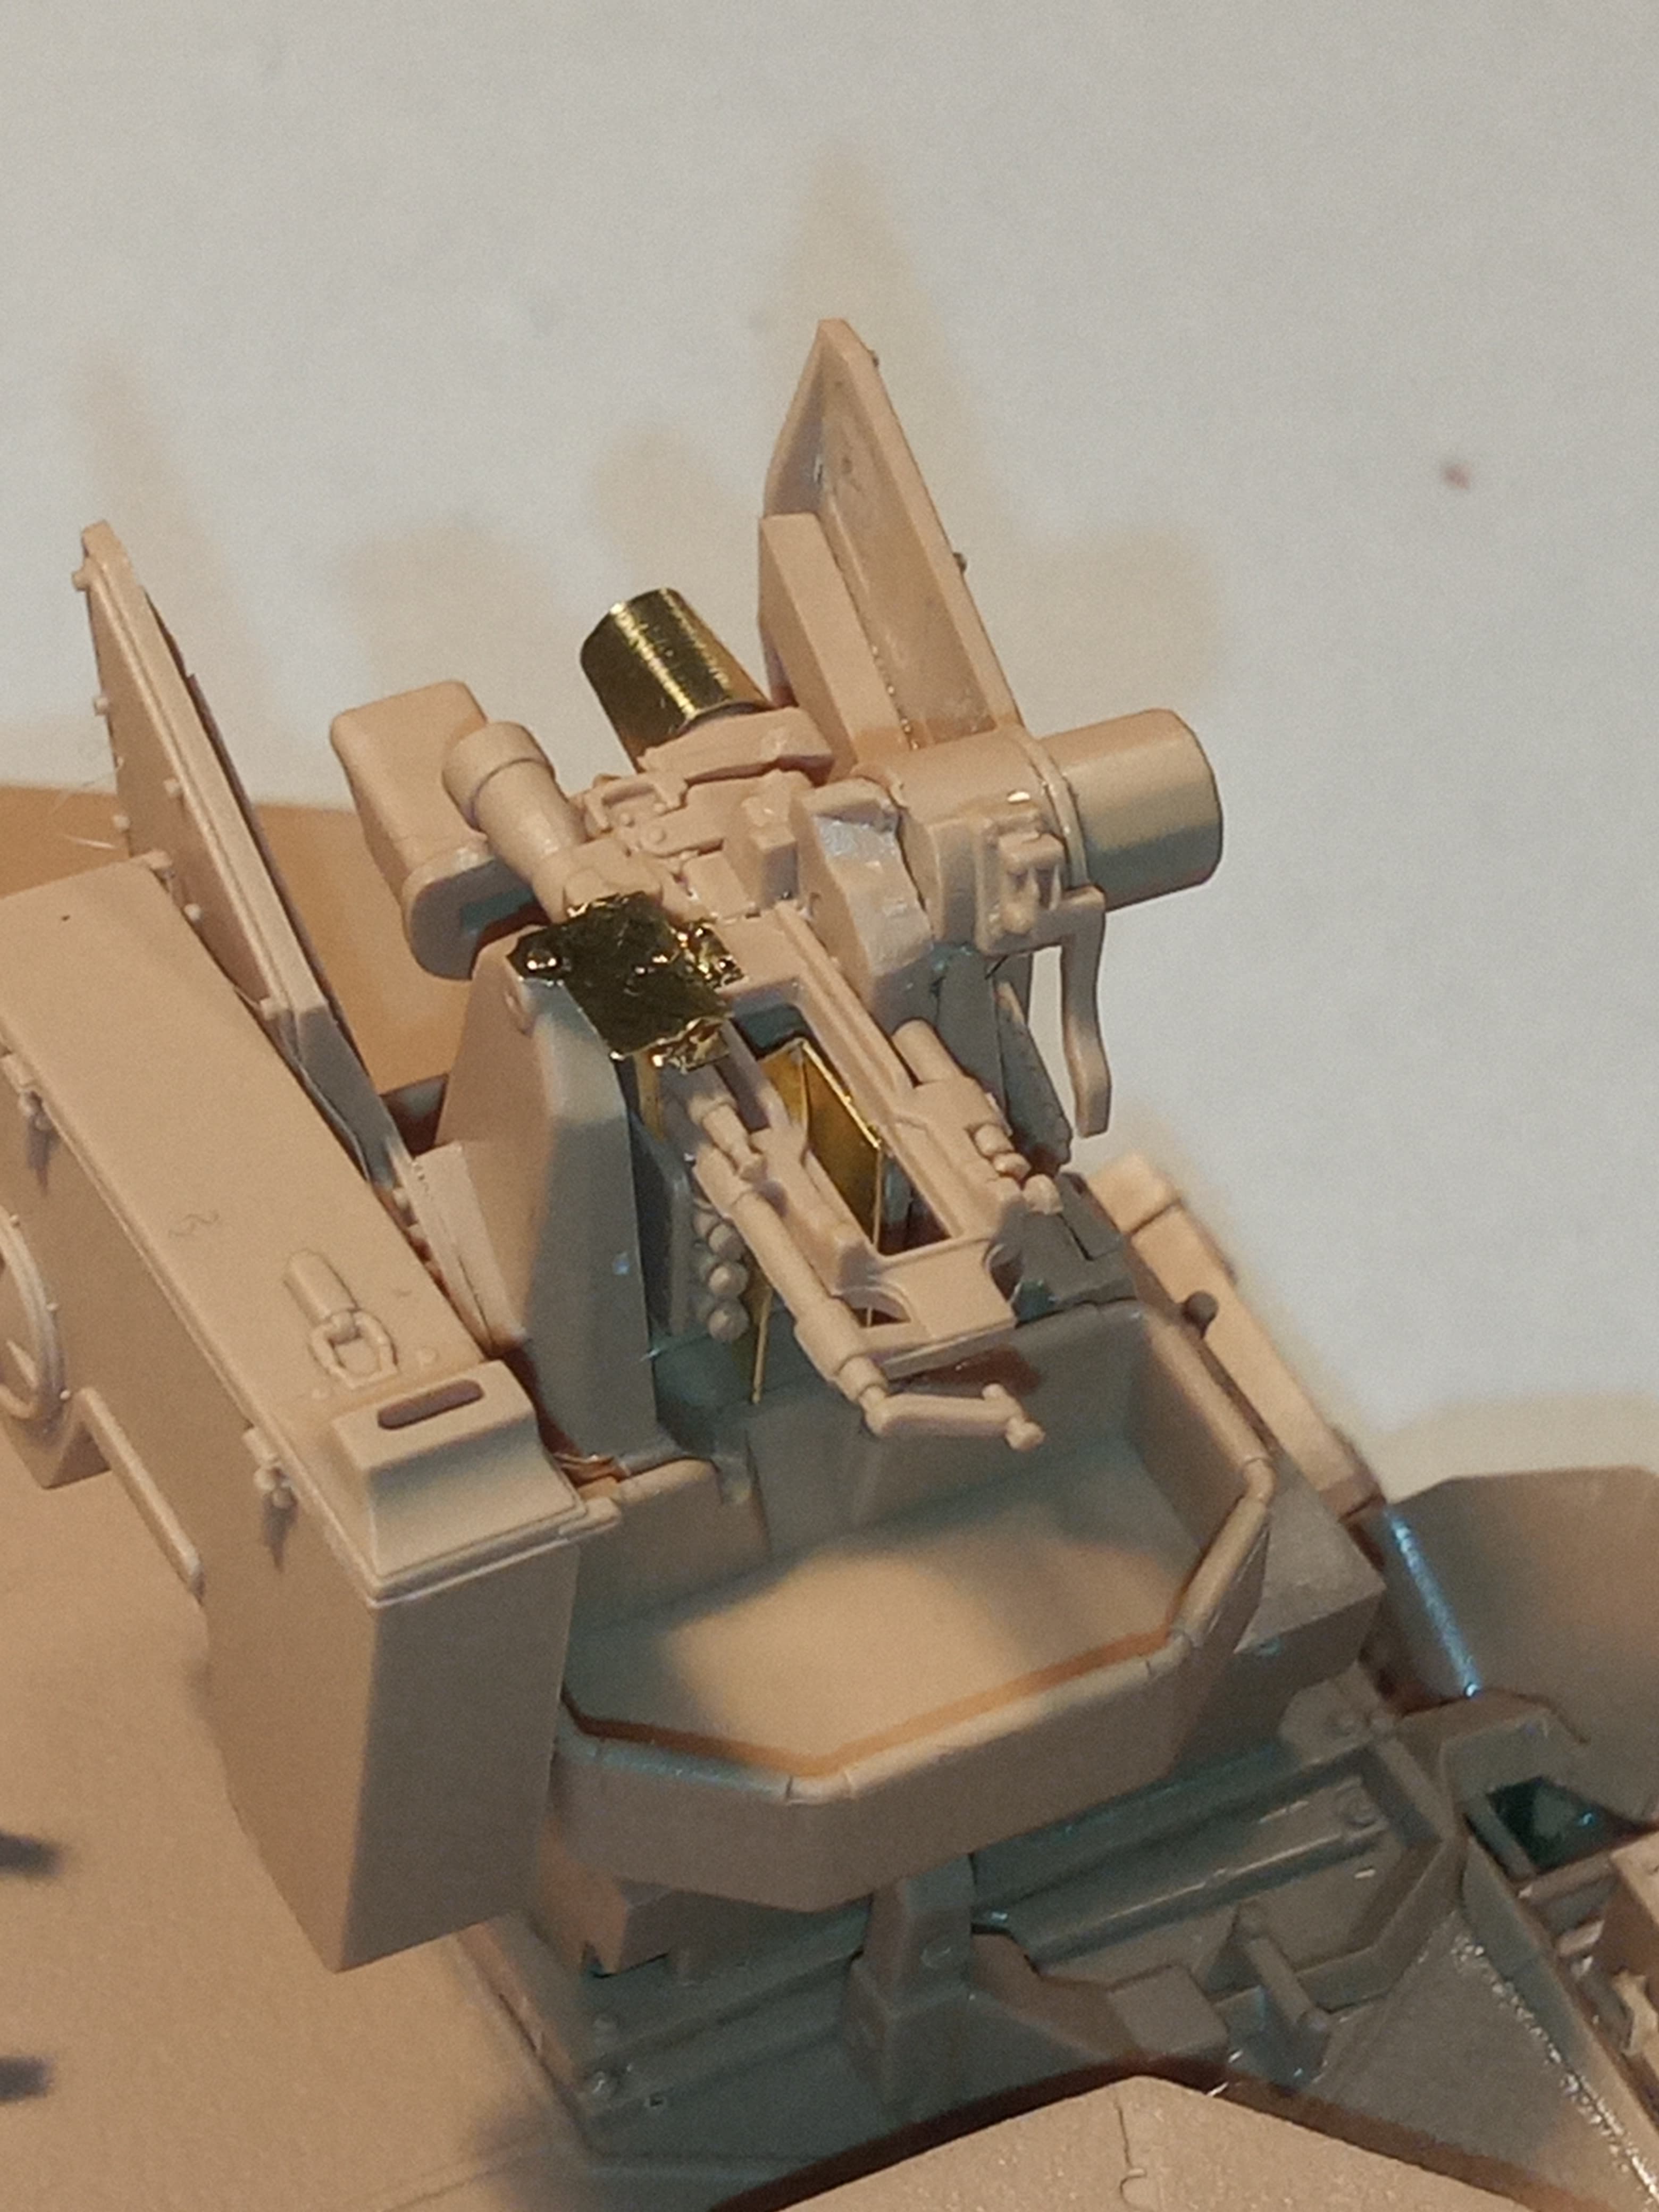
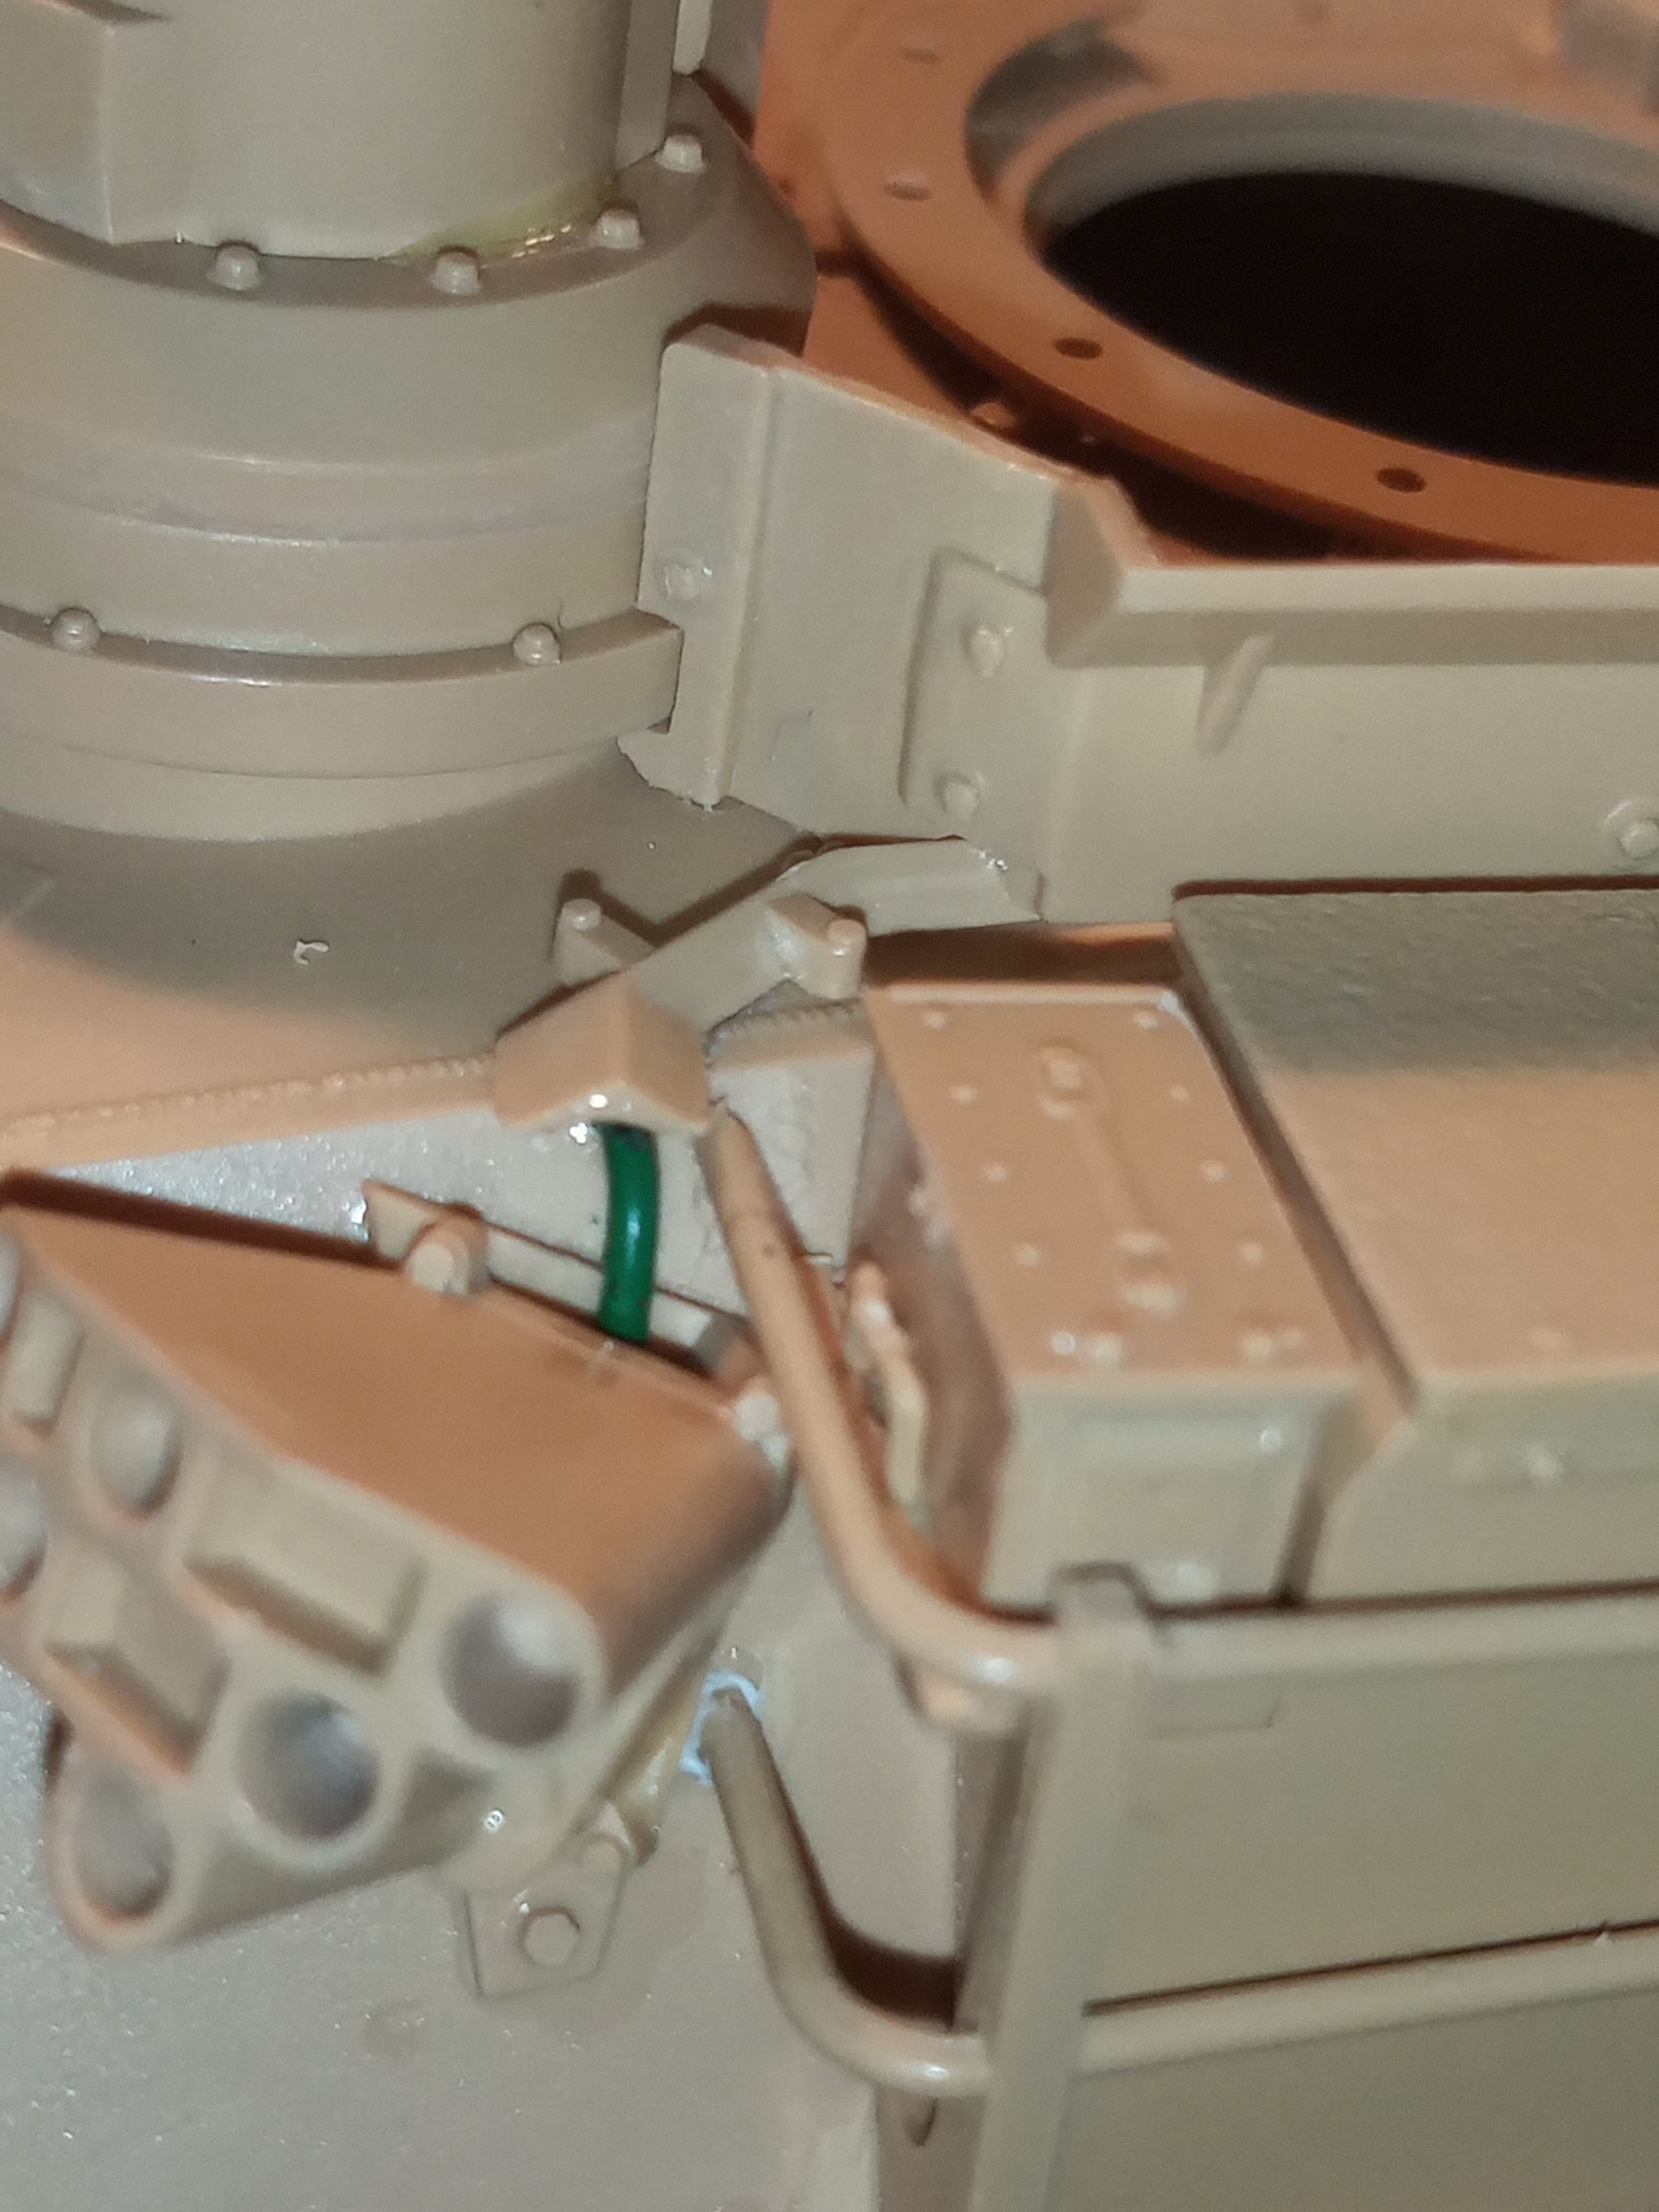
And I finished the loaders MG mount

Pretty happy with how that came together…think the rear basket is next ![]()
9 Likes
Nice work. I really like all the small details.
1 Like
Nice work all around John. That RWS is beautifully detailed. I can see why you’re thinking of not mounting the .50. The gunners cradle is gorgeous!
2 Likes
I think I will leave the .50 off … my plan was to go with zero stowage apart from the 2 jerrycans on the rear basket and the spare roadwheel then just give it a very light dusting all round. Still undecided on the final colour … sand or 3 tone … I suppose plain Jane green could be an option as well ?
2 Likes
Ok … A few questions for M1 gurus …
You get 2 choices of antenna …
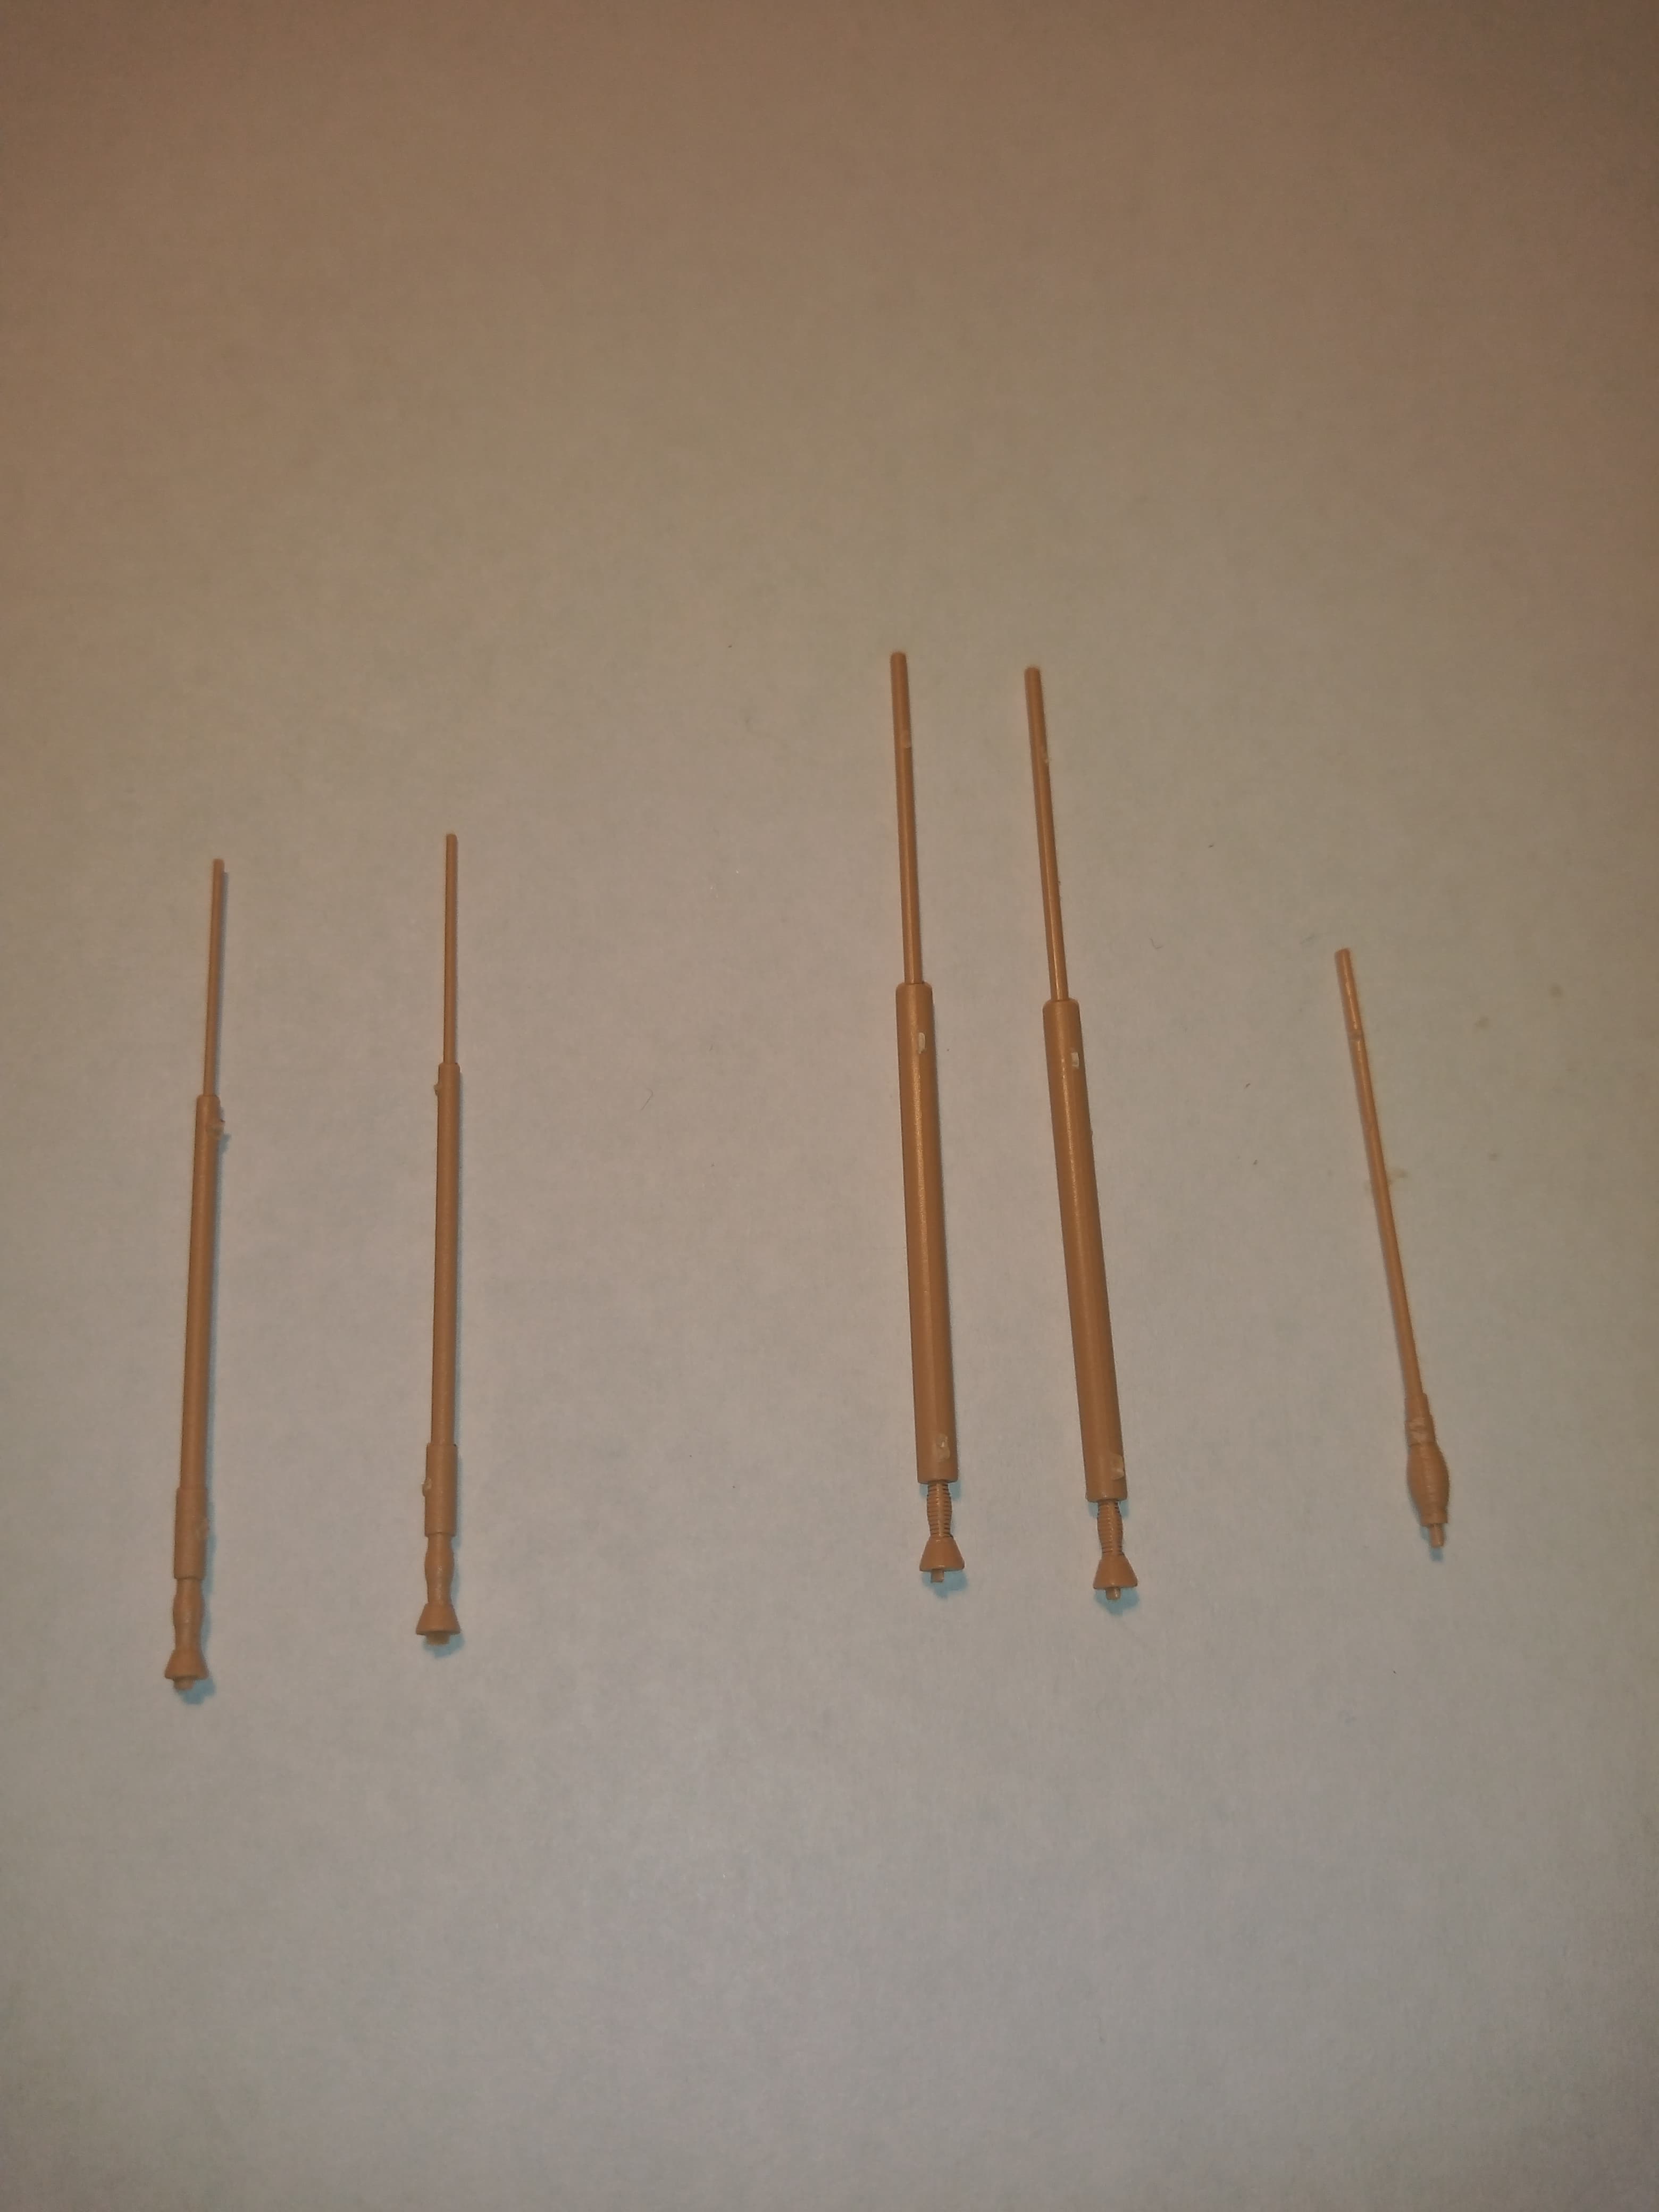
Which is best or does it seriously not matter? And can you mix and match ? Also, what’s the 3rd one on its own ?
Next, which mudguard type is correct for the A2 SEP v2 ?

And thirdly, borrowed from Rob @18bravo …

Can I use just this type of side skirt (as it’s in the box) without the plates fitted and without the turret mounts … Only as a visual point of a being a bit different… If it’s out the question that’s fine …
All help appreciated ![]()
1 Like
Not sure what the antennas on the left are supposed to be. The antennas in the middle look to be the newer, stepped Long-Range VHF antennas (red arrows). The middle ones could also be IED Jammer antennas if the upper rods are removed (green arrows). The one on the right looks like an EPLRS tracking antenna which is on a pole mount on the left rear, sloped part of the turret, just in front of the turret basket (orange arrow). Also, the sand tank has the more common thin SINCGARS antennas (blue arrows) as the bottom pic also has.

The front fenders could be either way as M1A2 SEP v2s were built/rebuilt from older hulls and whichever fender was on it/available was used.
You can go with smooth skirts and turret sides as this is the most common. The side skirts with the mounting brackets and plates could be used as shown in the pic., or the ERA blocks and tiles could be installed as a tank in training since no M1A2 SEP v2s have seen combat.

3 Likes
Thanks Gino. All very helpful … Will go with the red arrow version and plain skirts ![]()
1 Like
For the mudguards:
Most photos show fenders without the recessed X on sep V2. The ones without the recessed X were more common on M1IP.
There are photos showing the recessed X on one or both fenders, so you choose whatever you want.


2 Likes

Now I like the idea of fitting one with the X and one without … ![]()
3 Likes