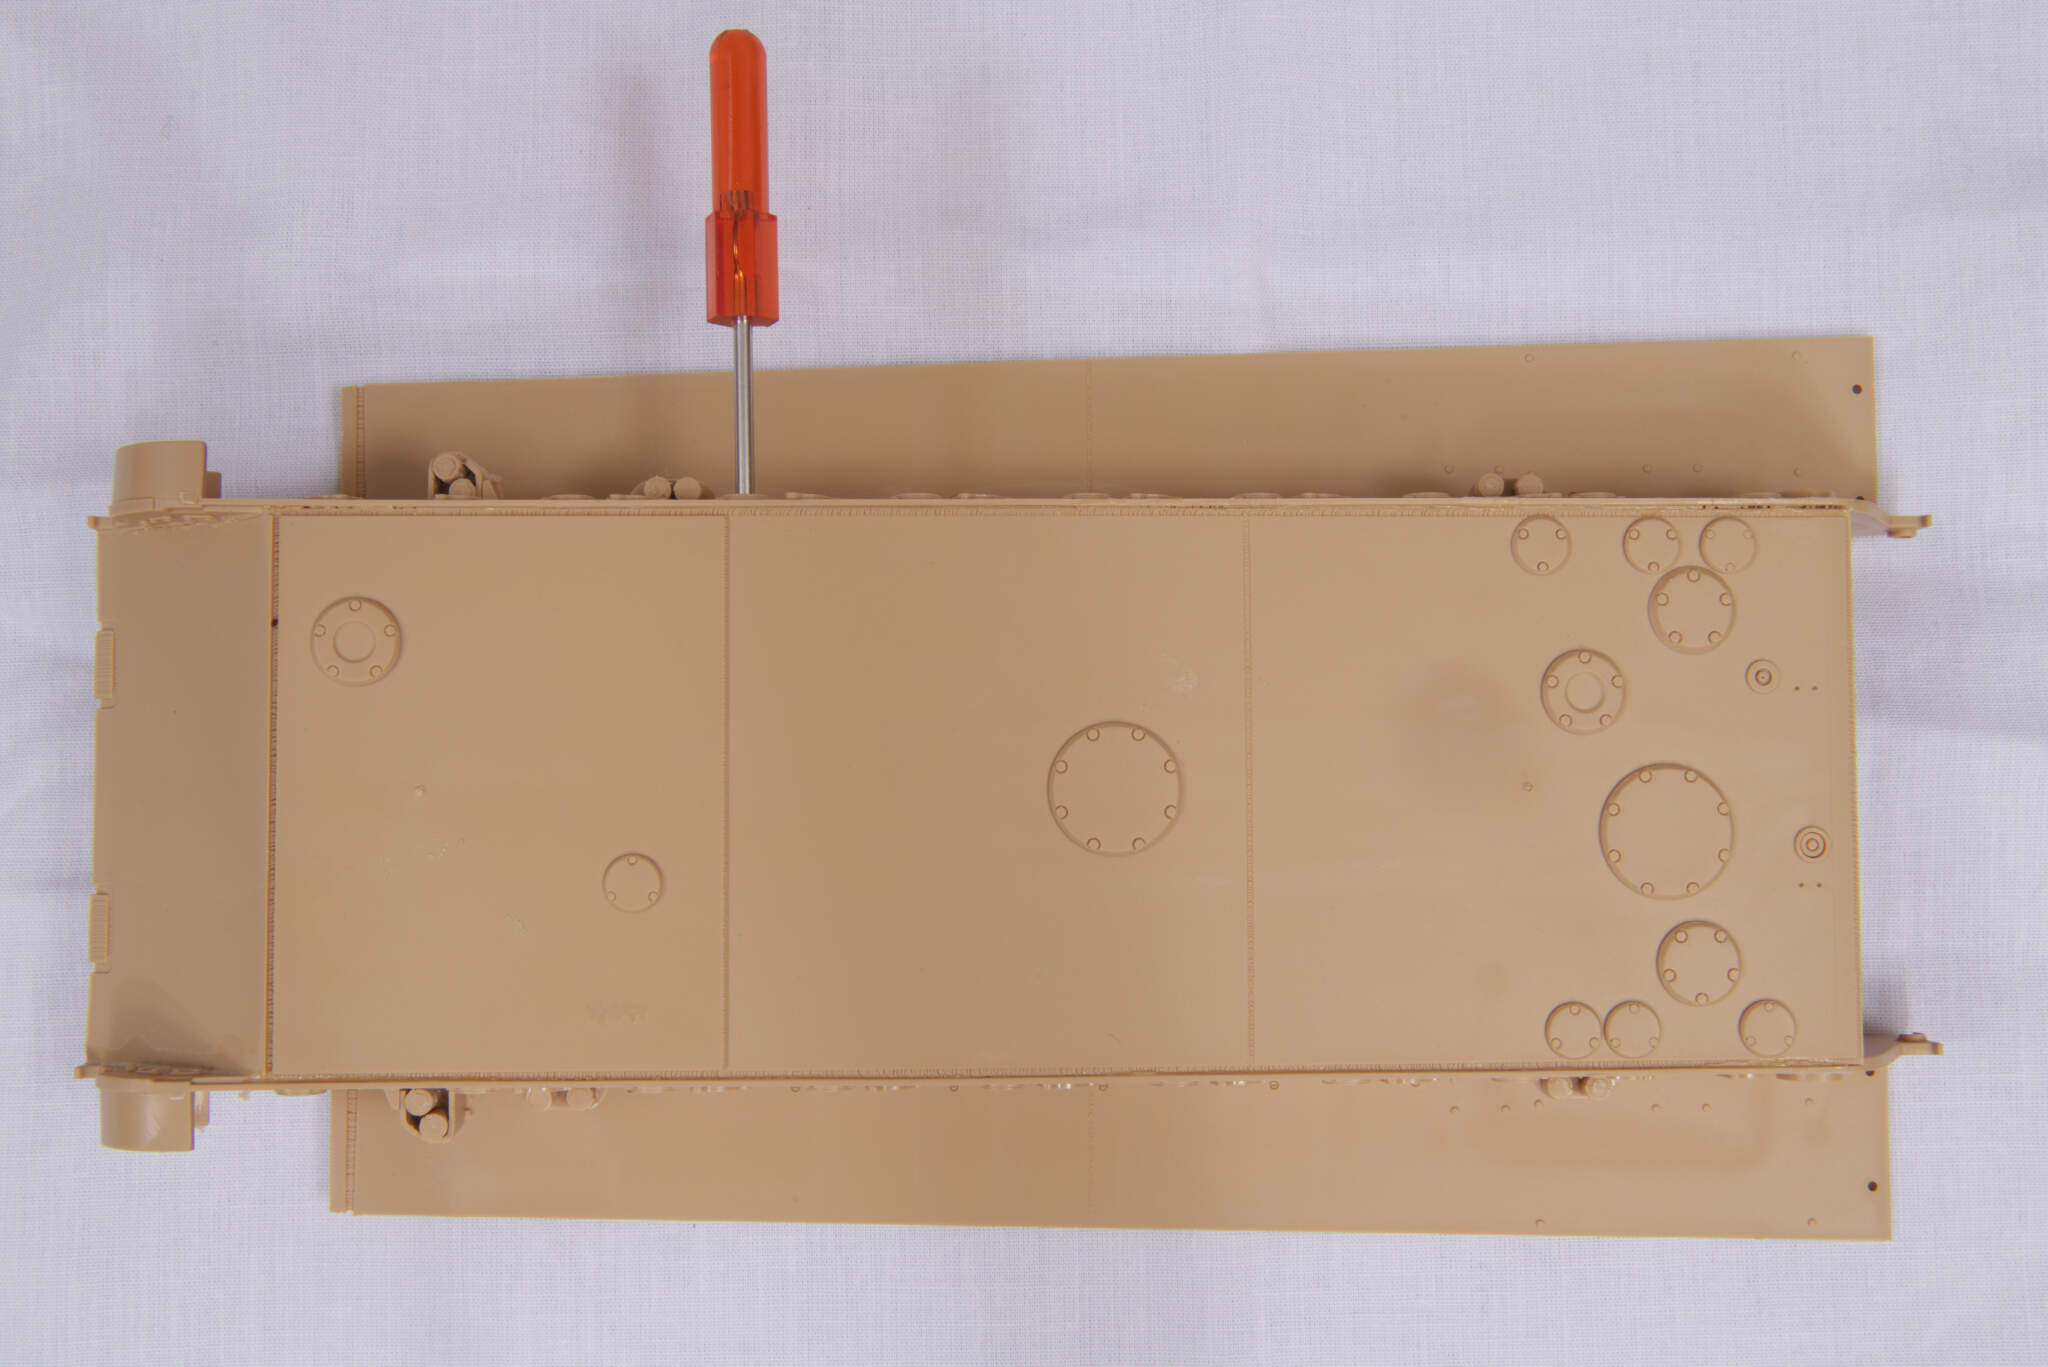
Used an old Tamiya screwdriver to make sure the holes on the inside lined up with those outside while the Tamiya airbrush cleaner AKA “Extra Thin” set and joined the parts.
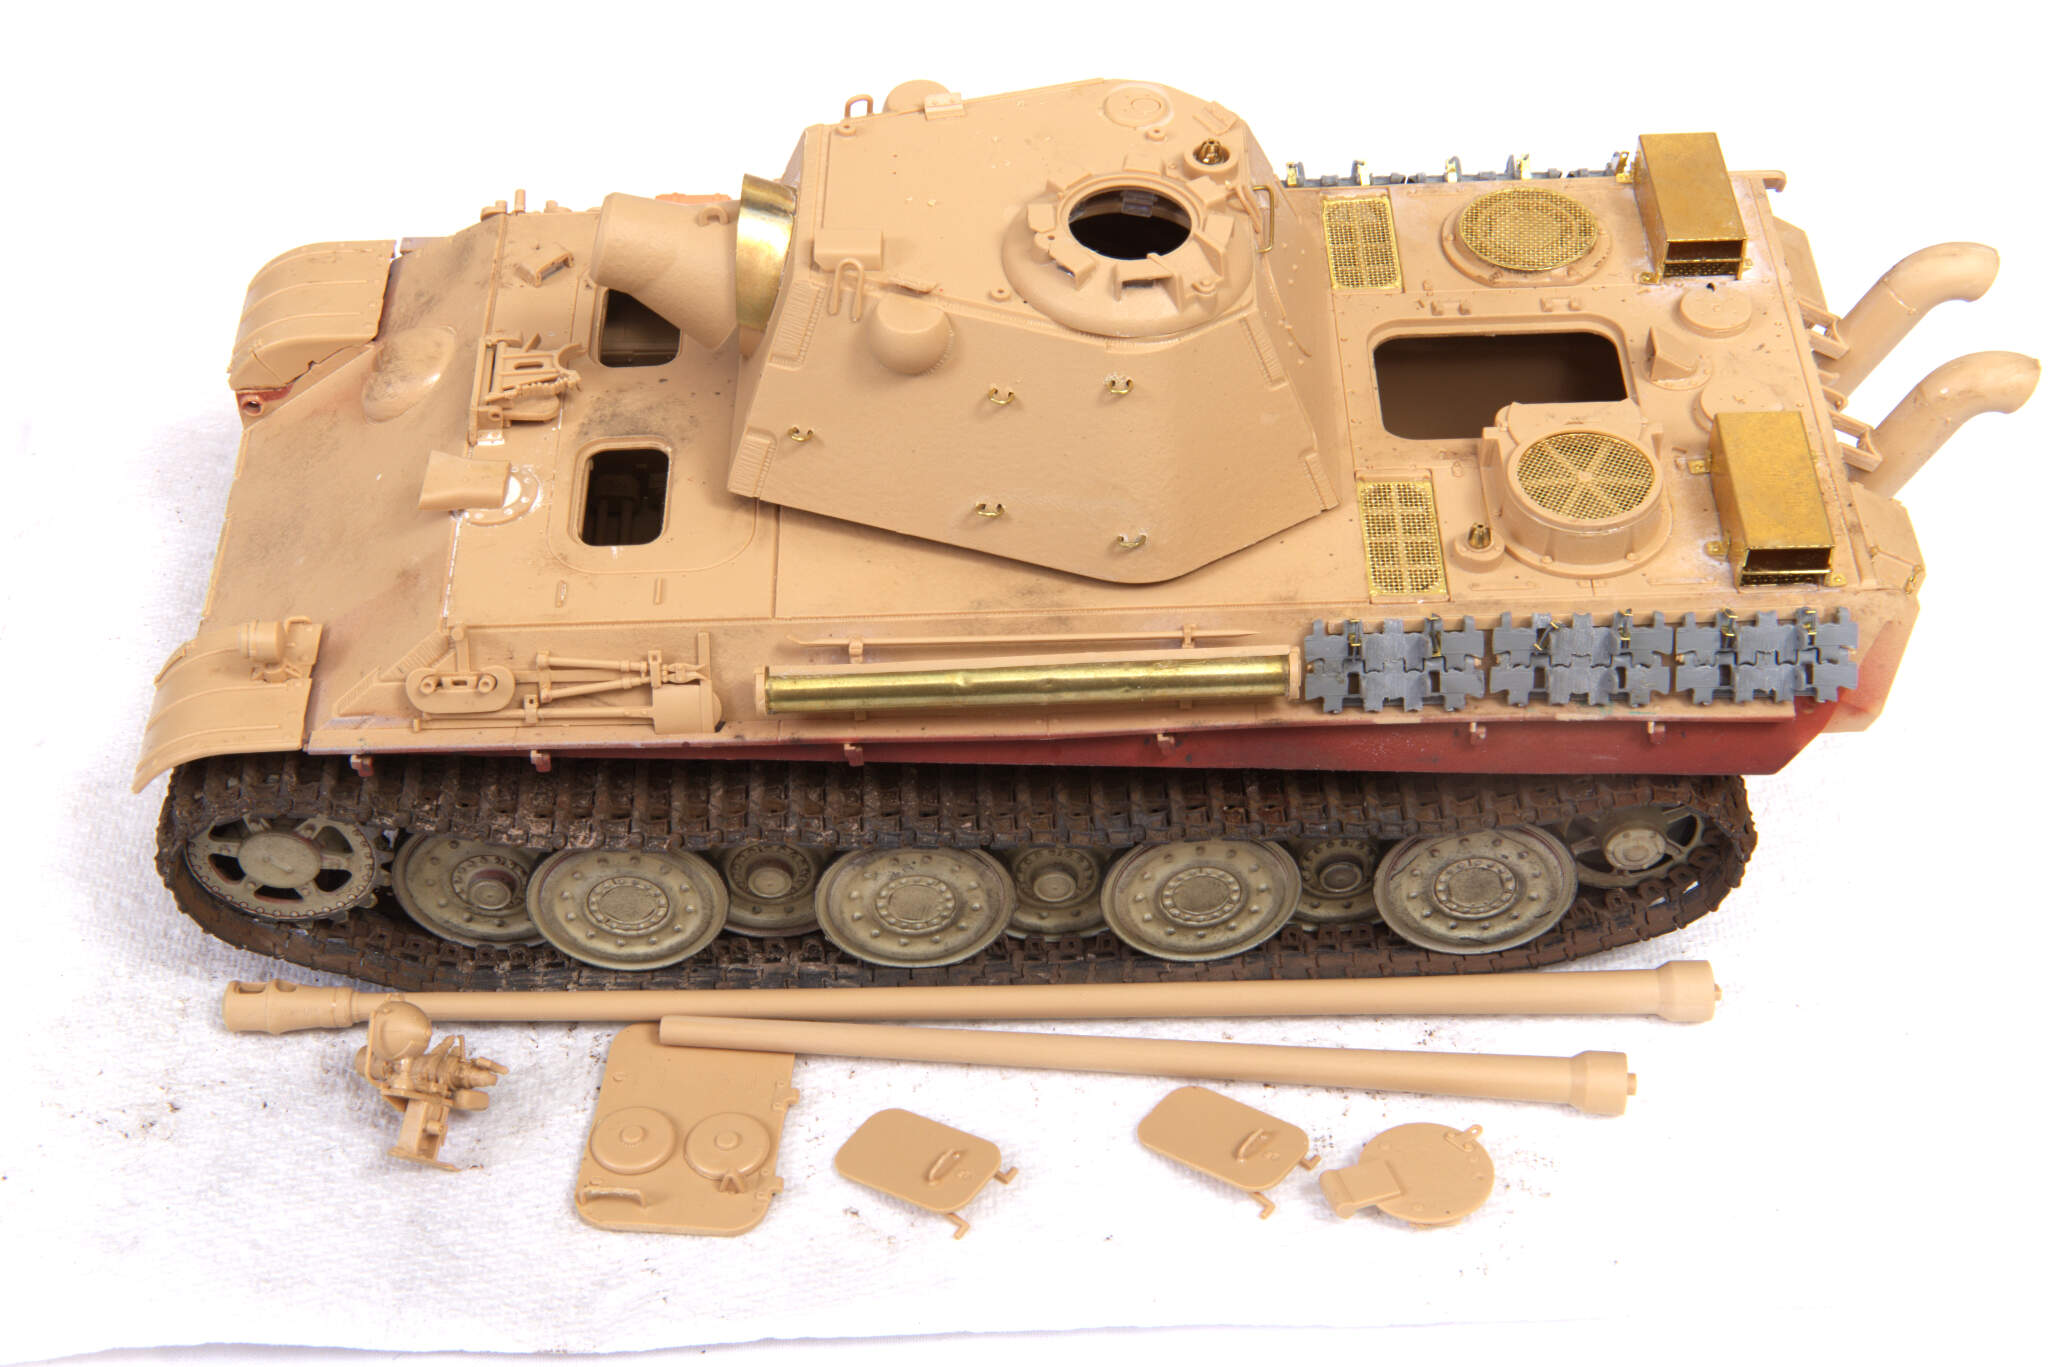
That is a lot of redundant plastic … you could almost do another model with it … plenty for the spares box …
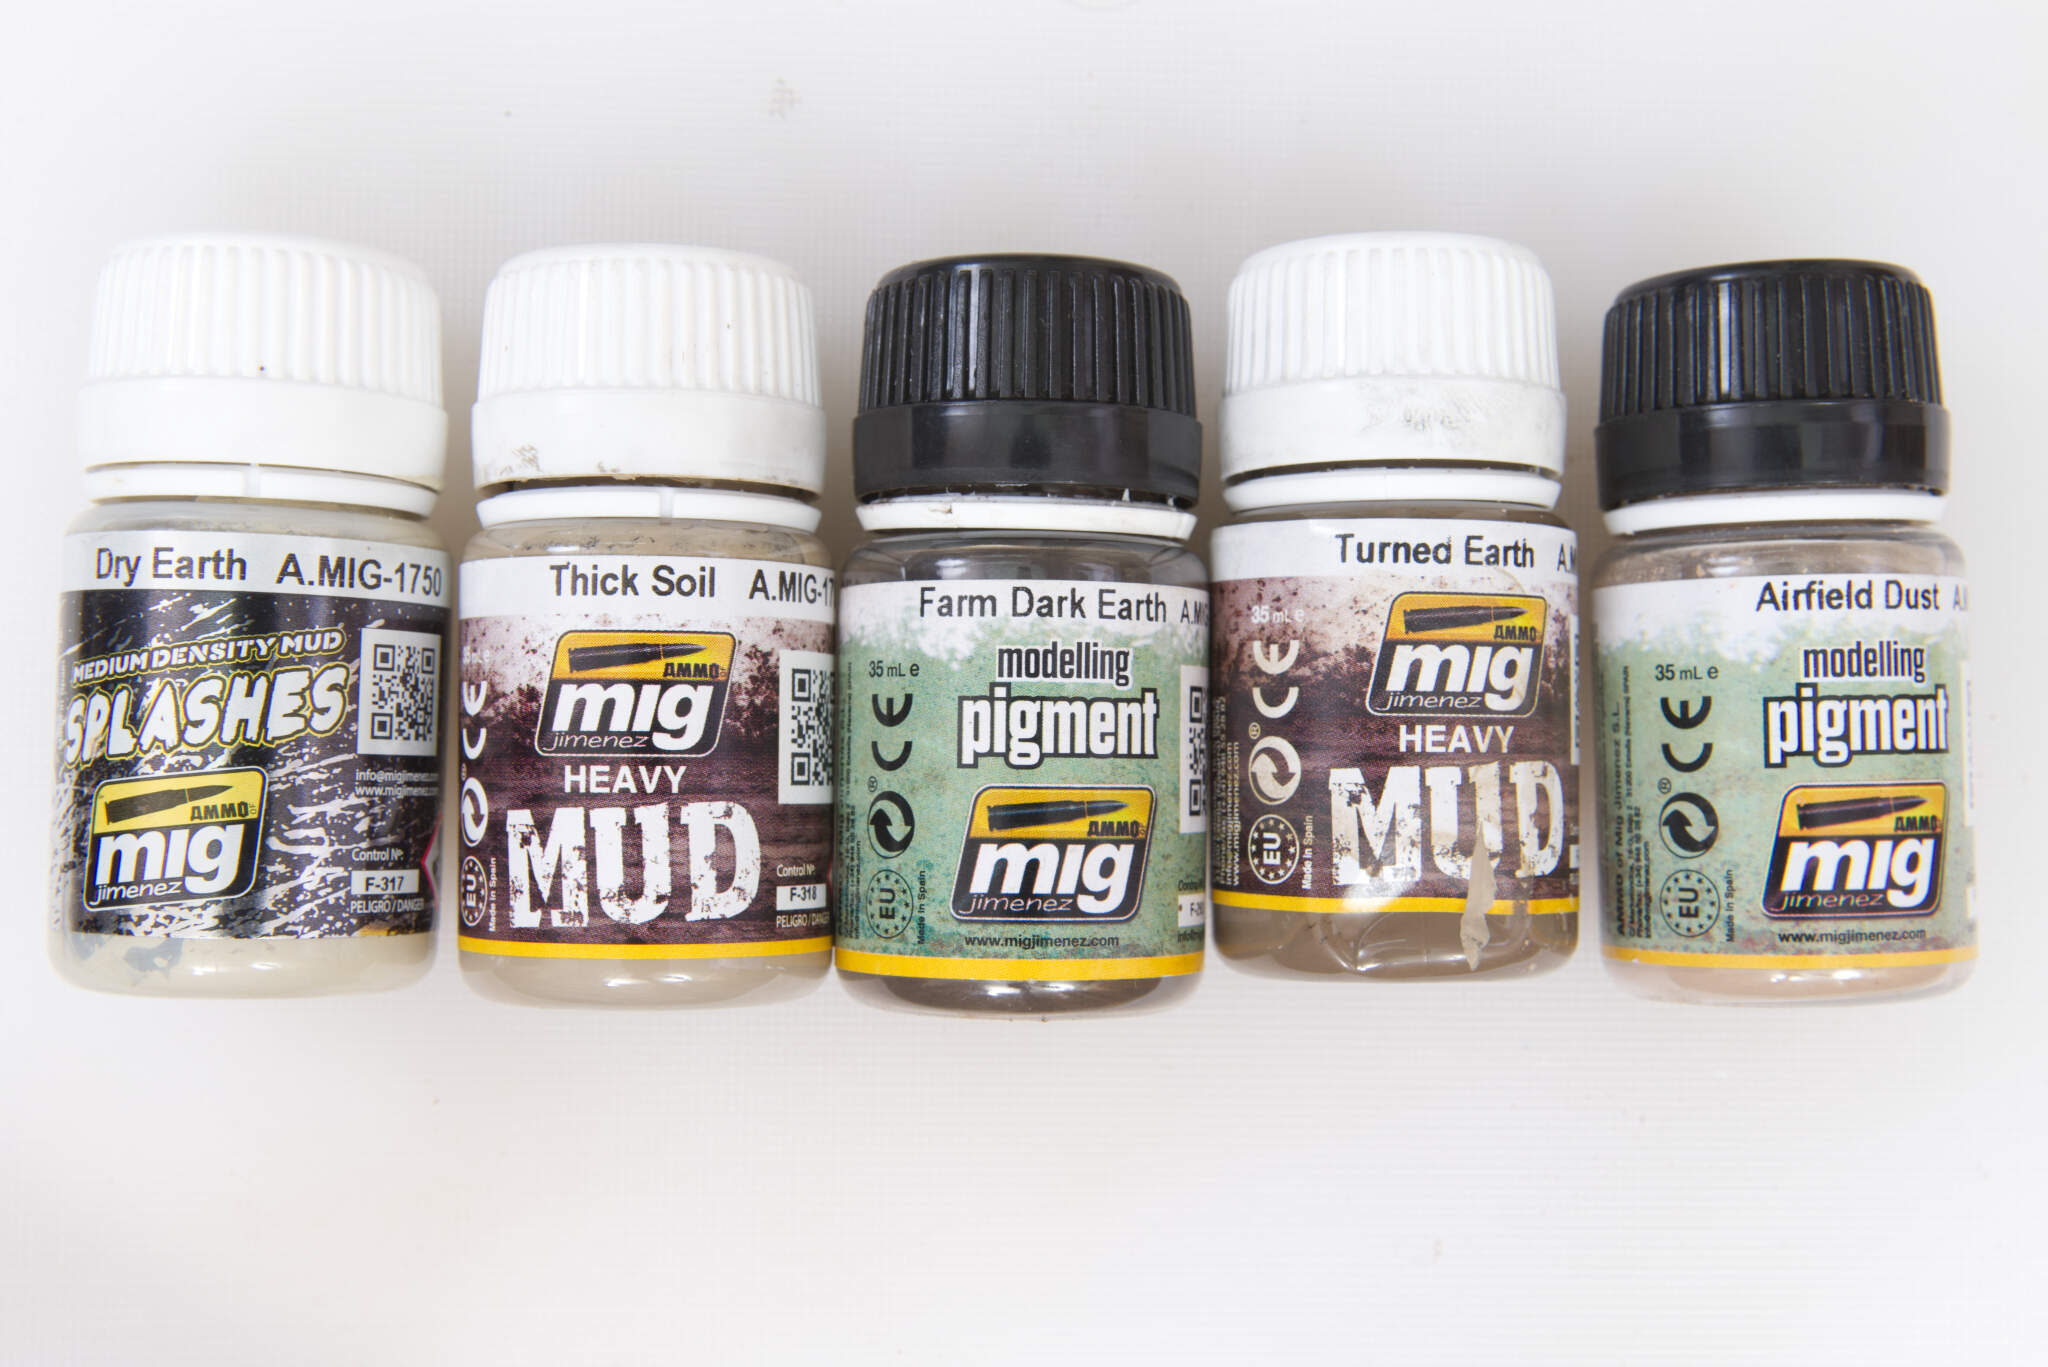
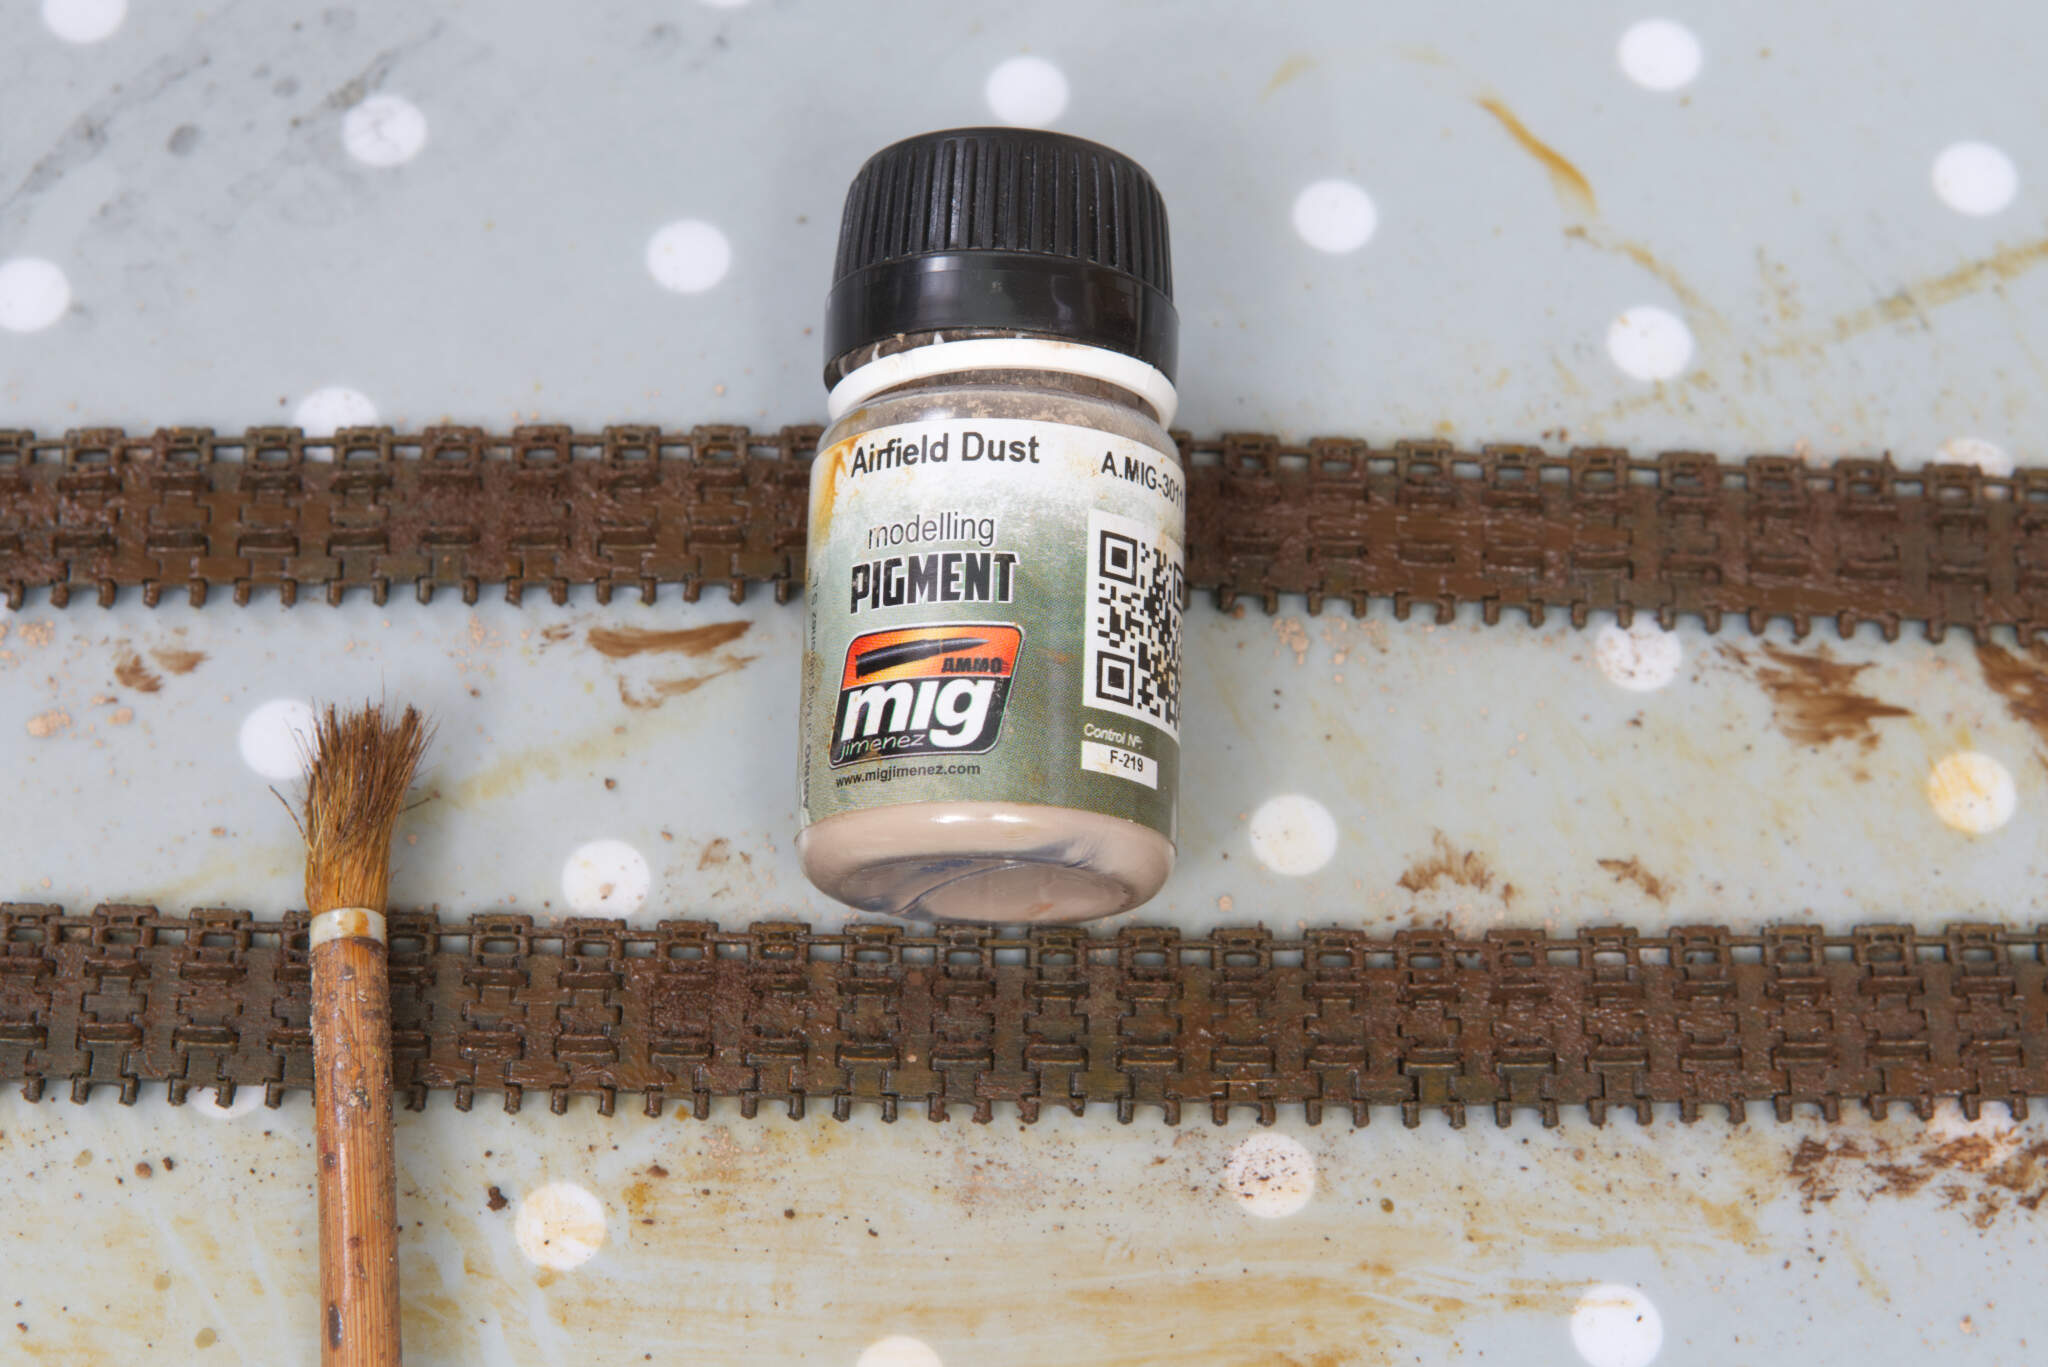
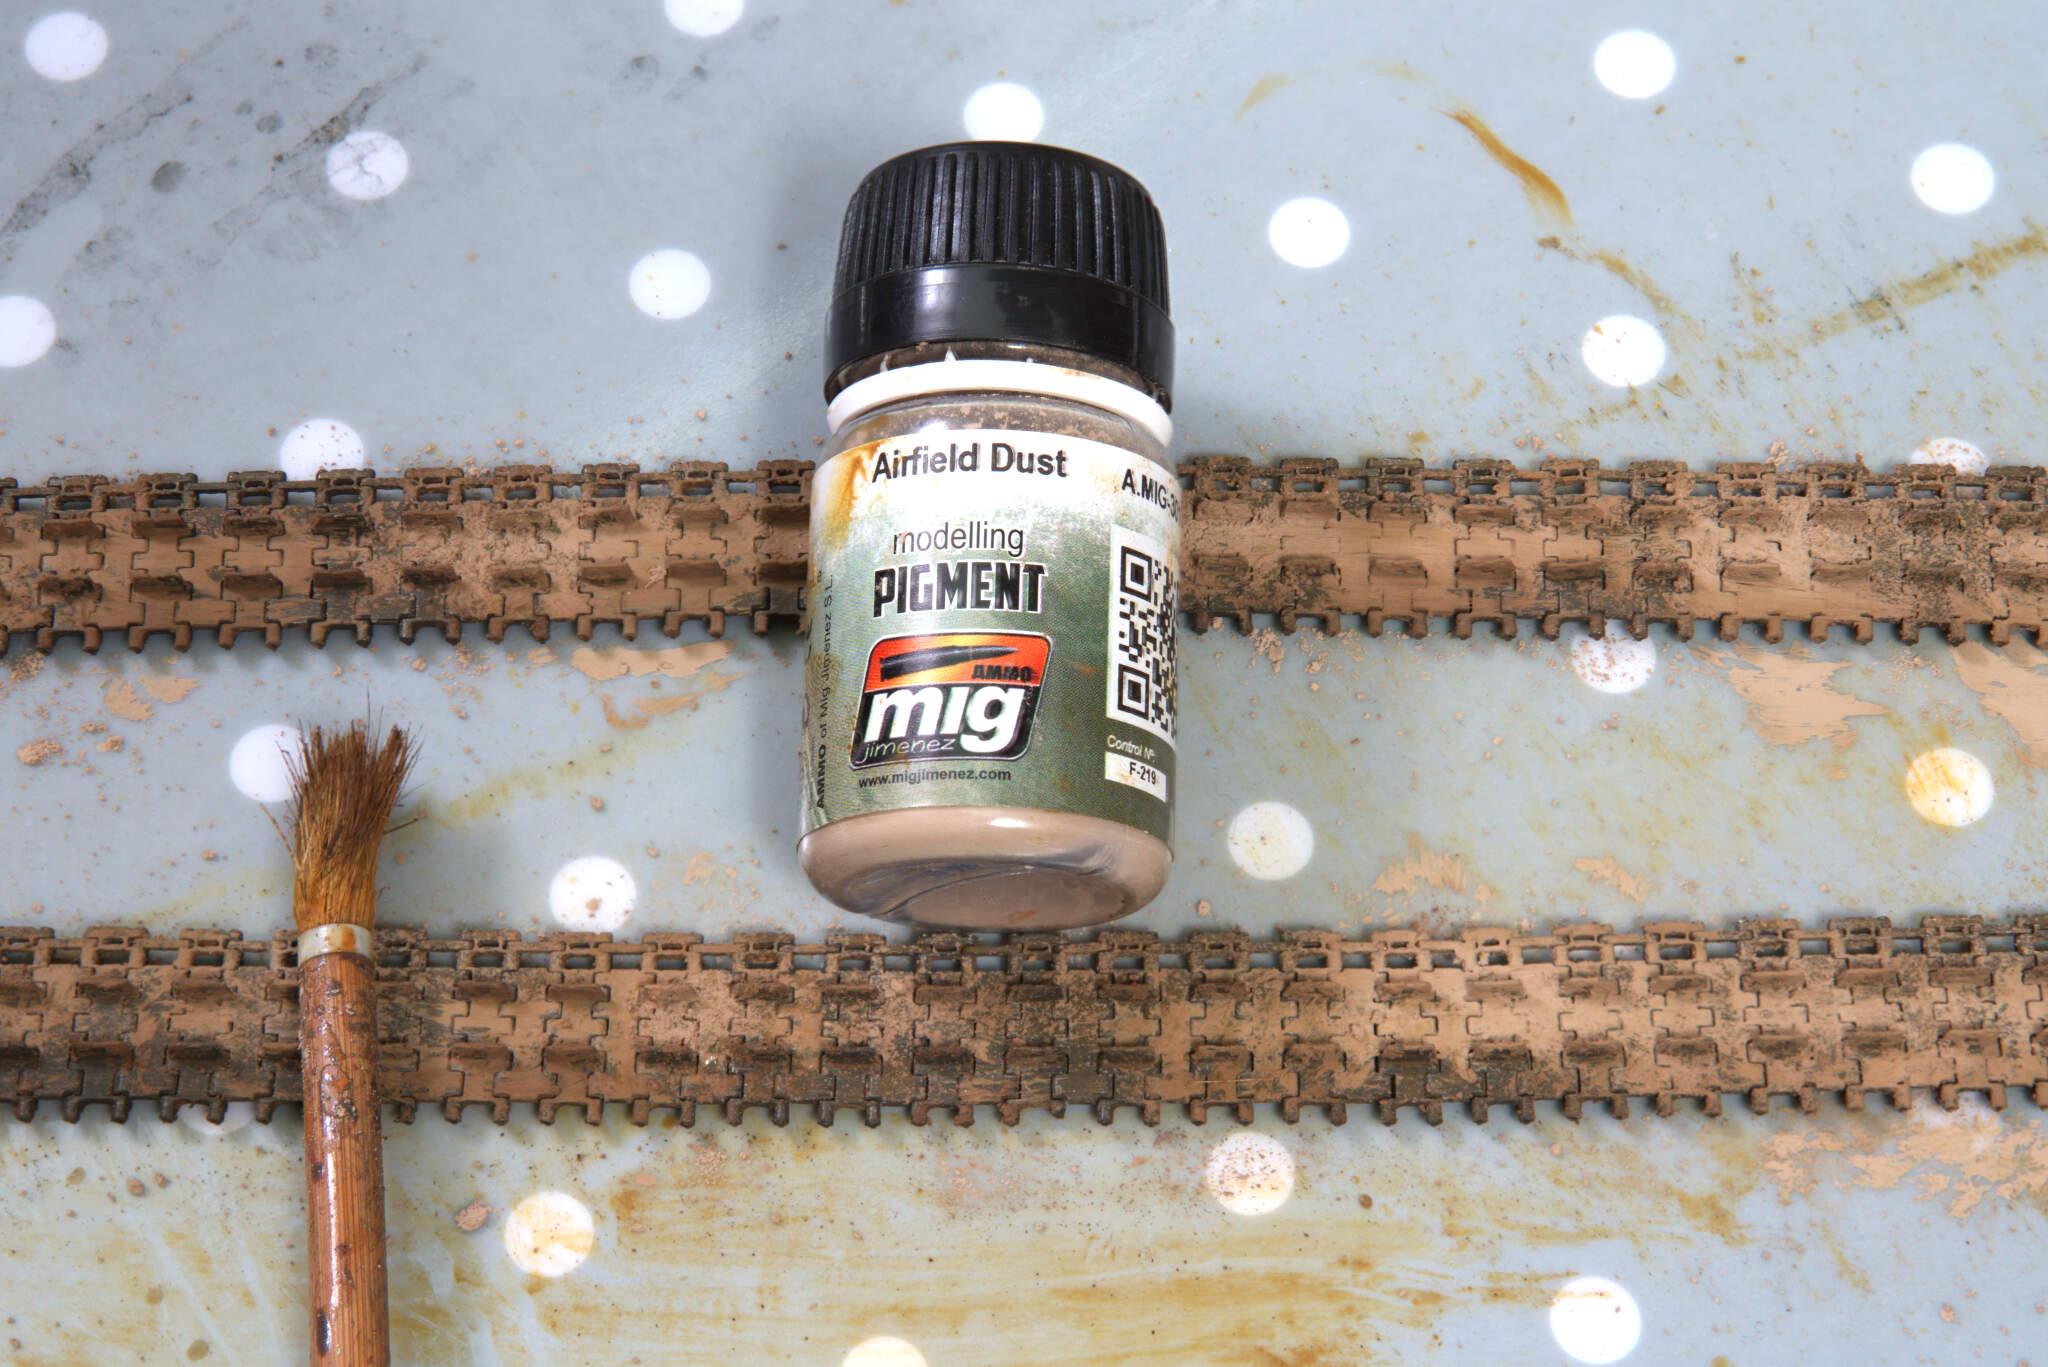
The F has come together very nicely. Really looks the part, and the pigment application to the tracks looks great. I have a few of those MIG pigments, I think some more may be called for. Will be good to see it with the cam scheme on … whichever you decide on. The wagon looks nicely detailed … did yo get the RFM PE set for as well ? I couldnt remember ?
I know what you mean about some of the PE nowadays … some bits are so stupidly small I cant see the point to them … which makes it even more infuriating when I see others able to use them lol
I must say that your build is a very interesting looking one.
As @Johnnych01 is talking about a ‘spare parts box’ is interesting to me.
Most of the time I’m throwing away left overs sprues and other things of projects that I have finished into the trash.
What is the idea behind that box? Where do you keep it? Do you have any room for it?
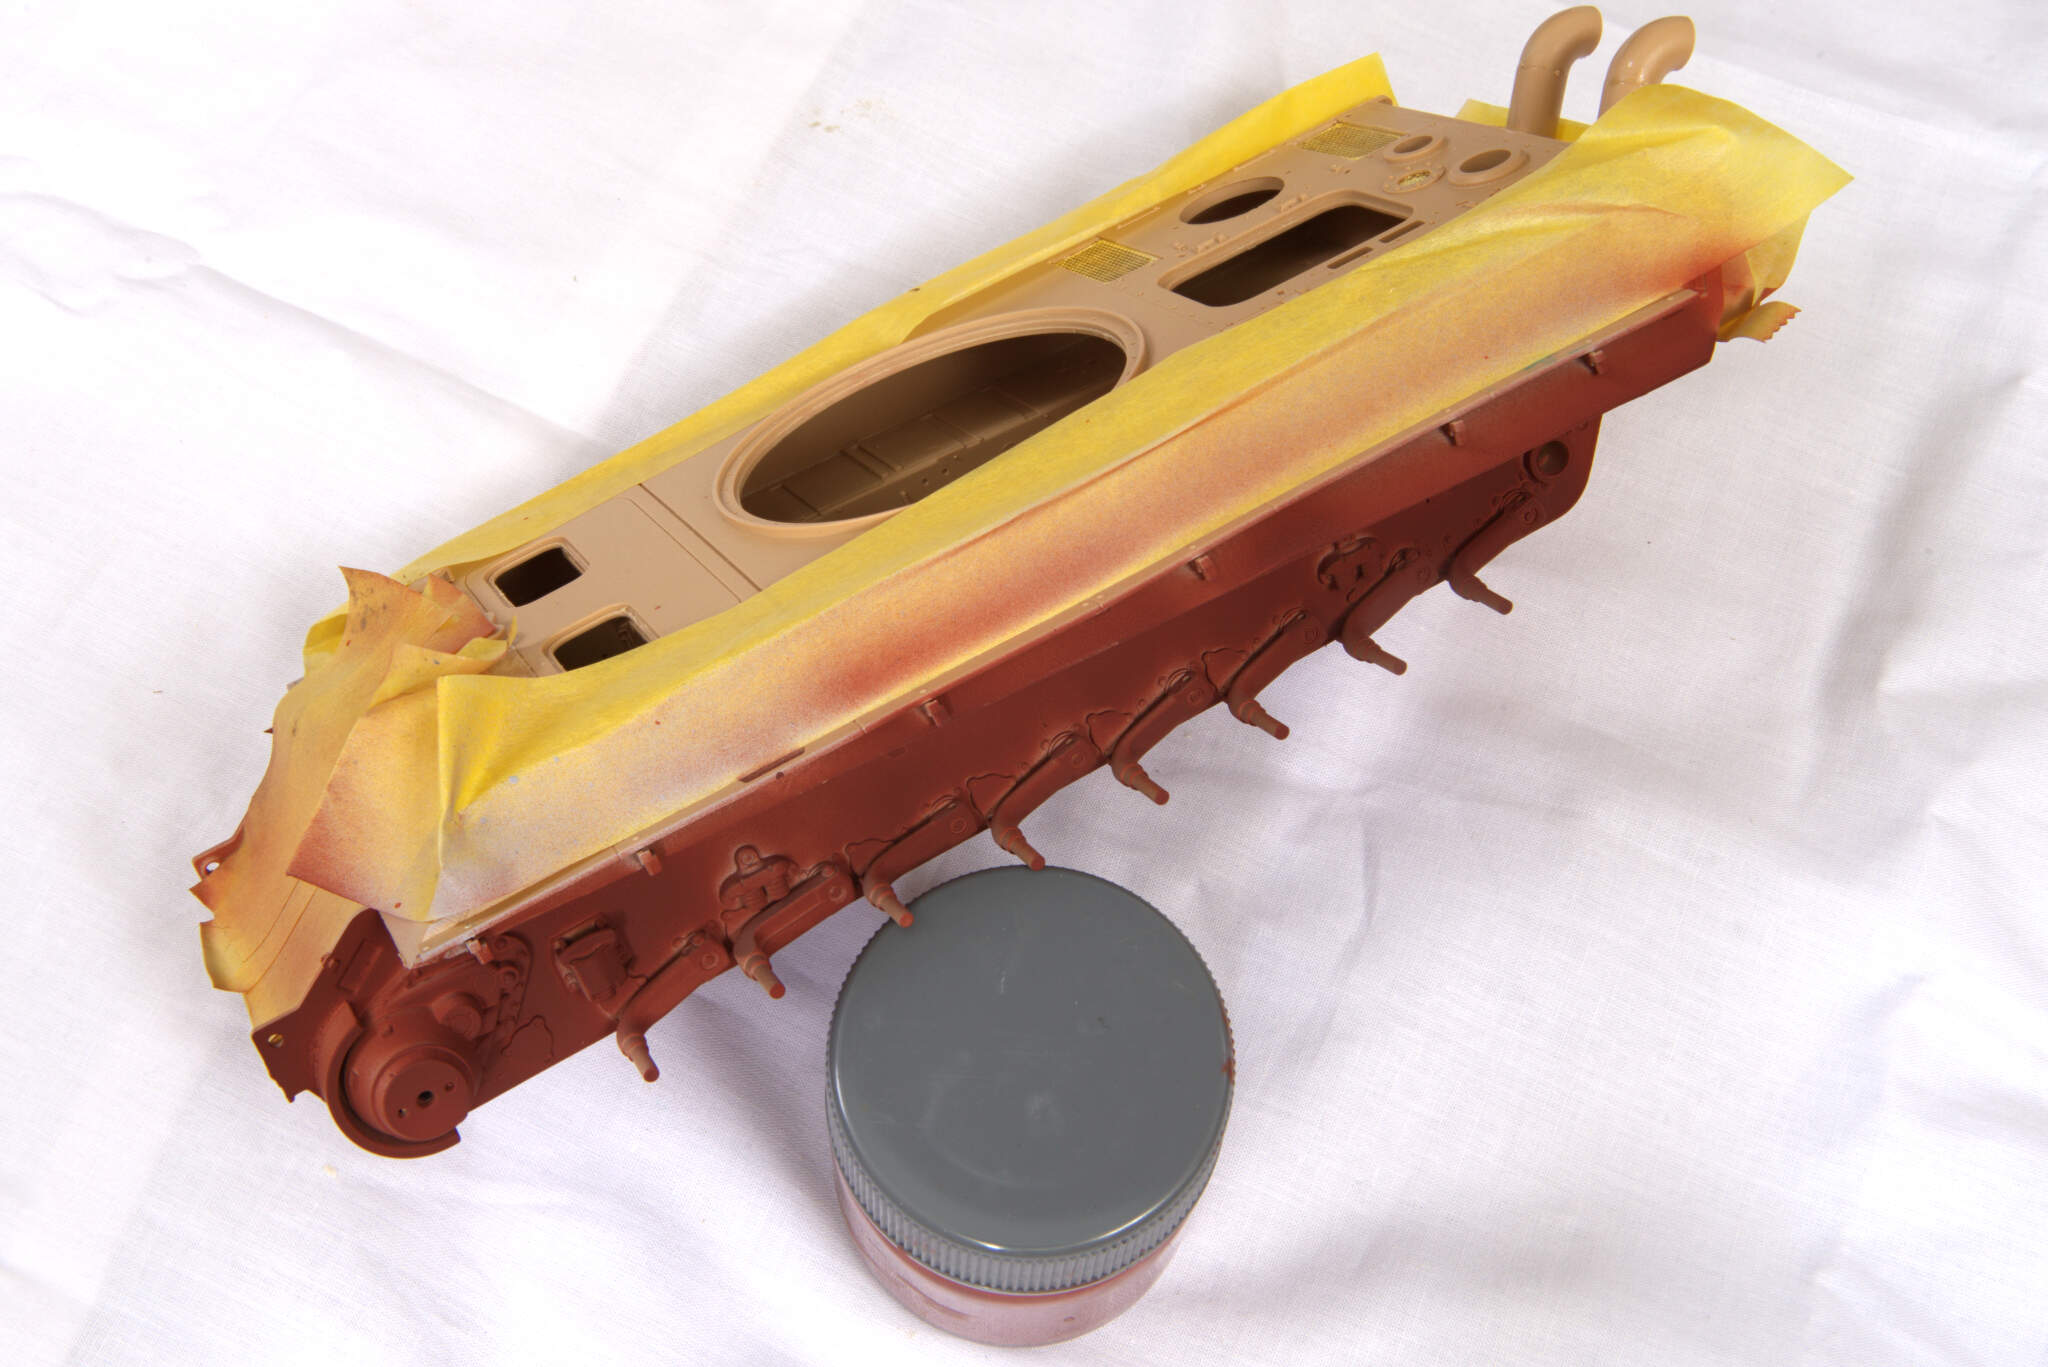
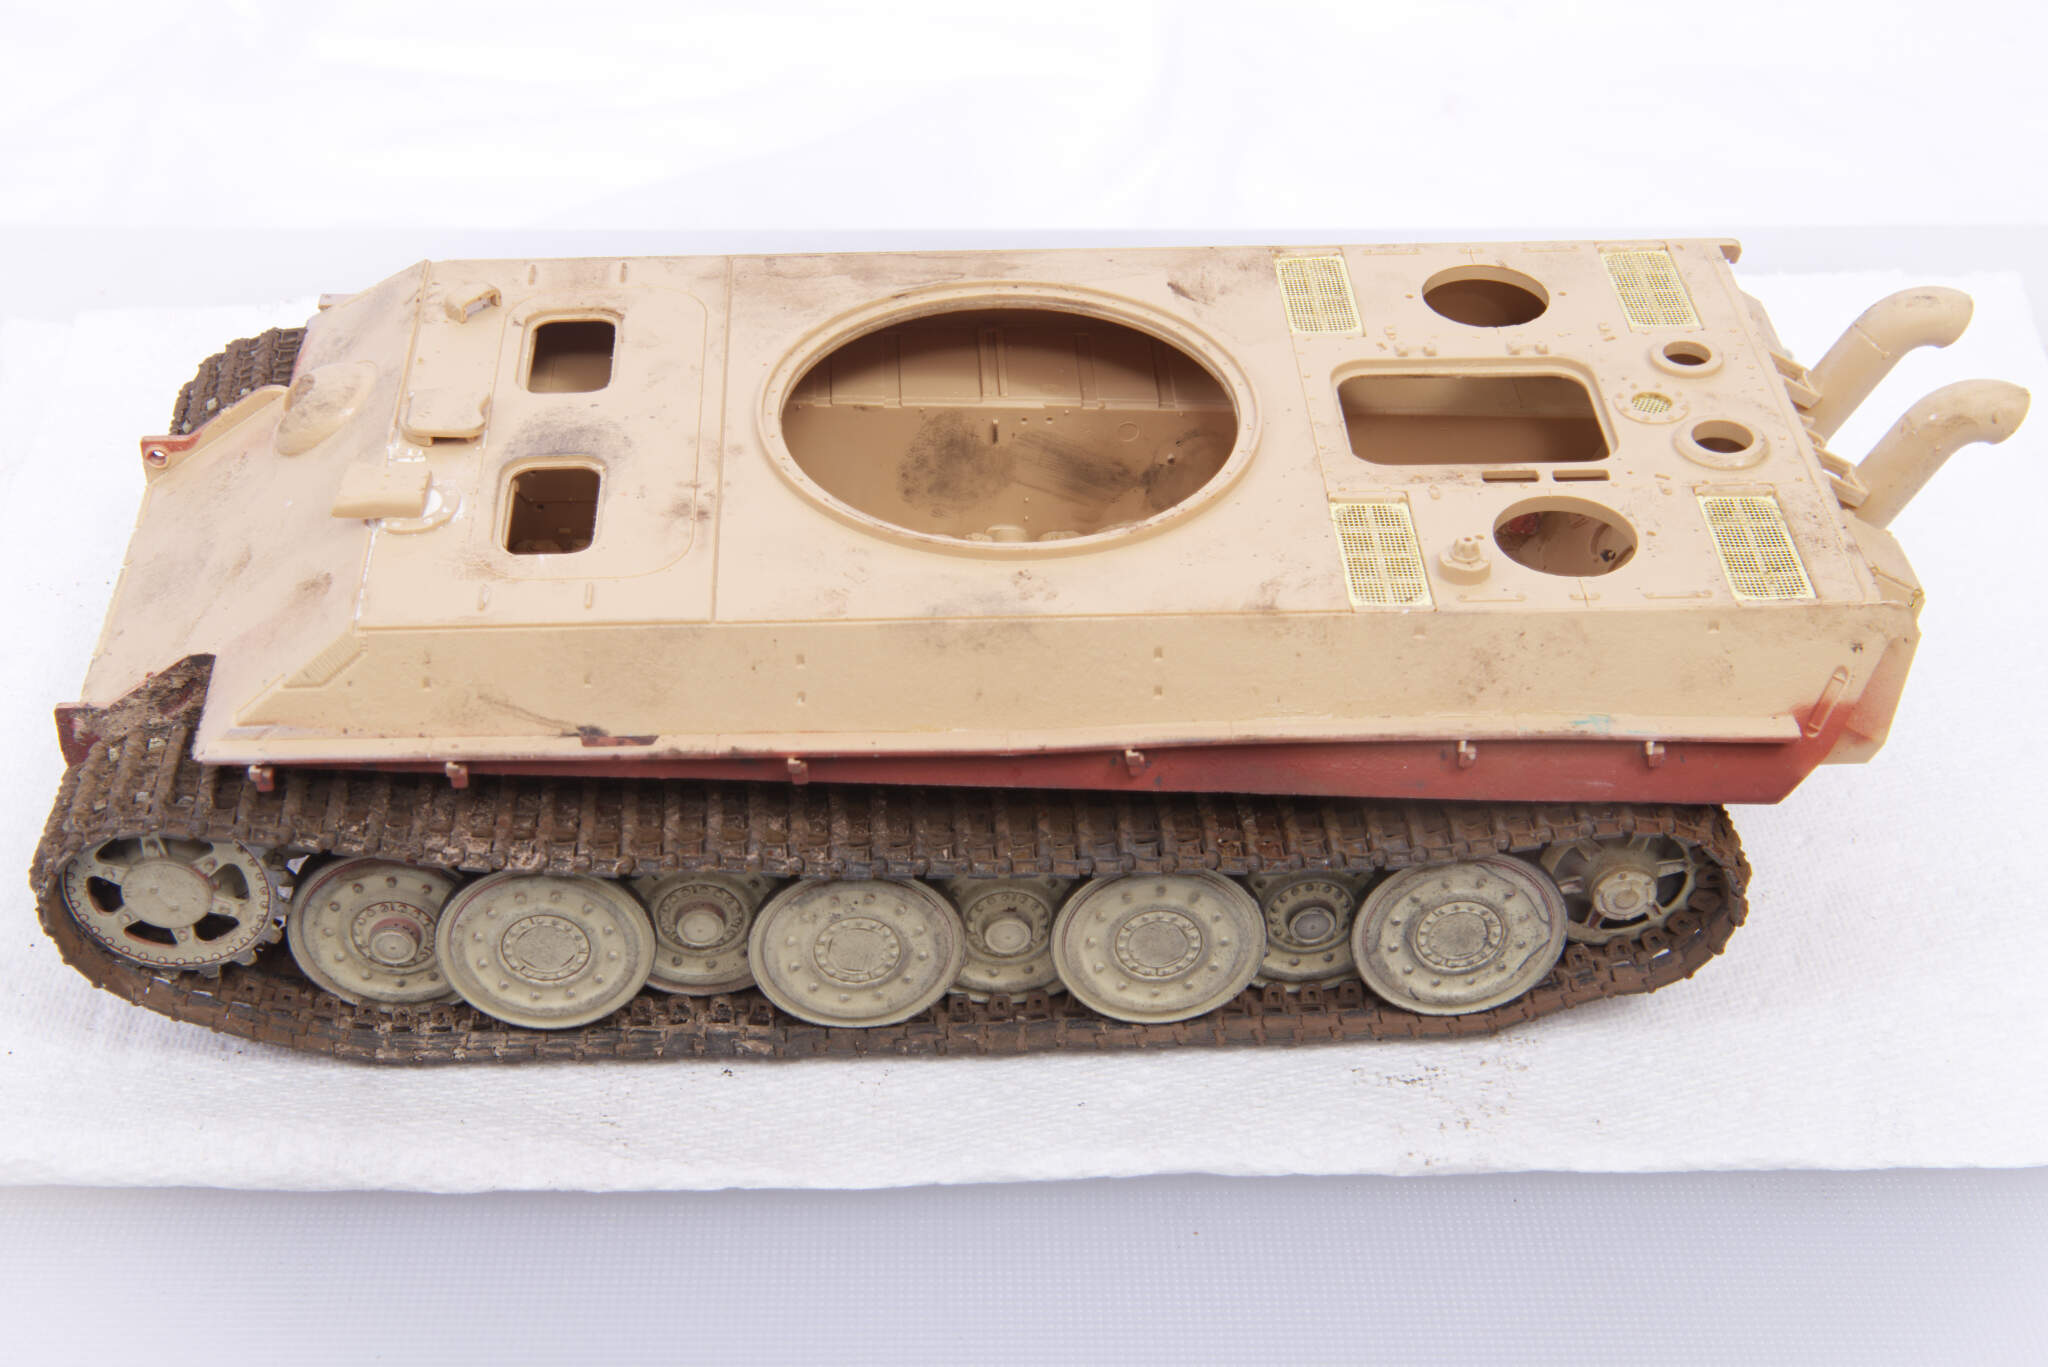
It is also interesting to see that you are painting individual parts or assemblies using the airbrush as I can see it.
Do you follow the instructions completely? Or do you get of the exact steps and do some things differently from the instruction manual?
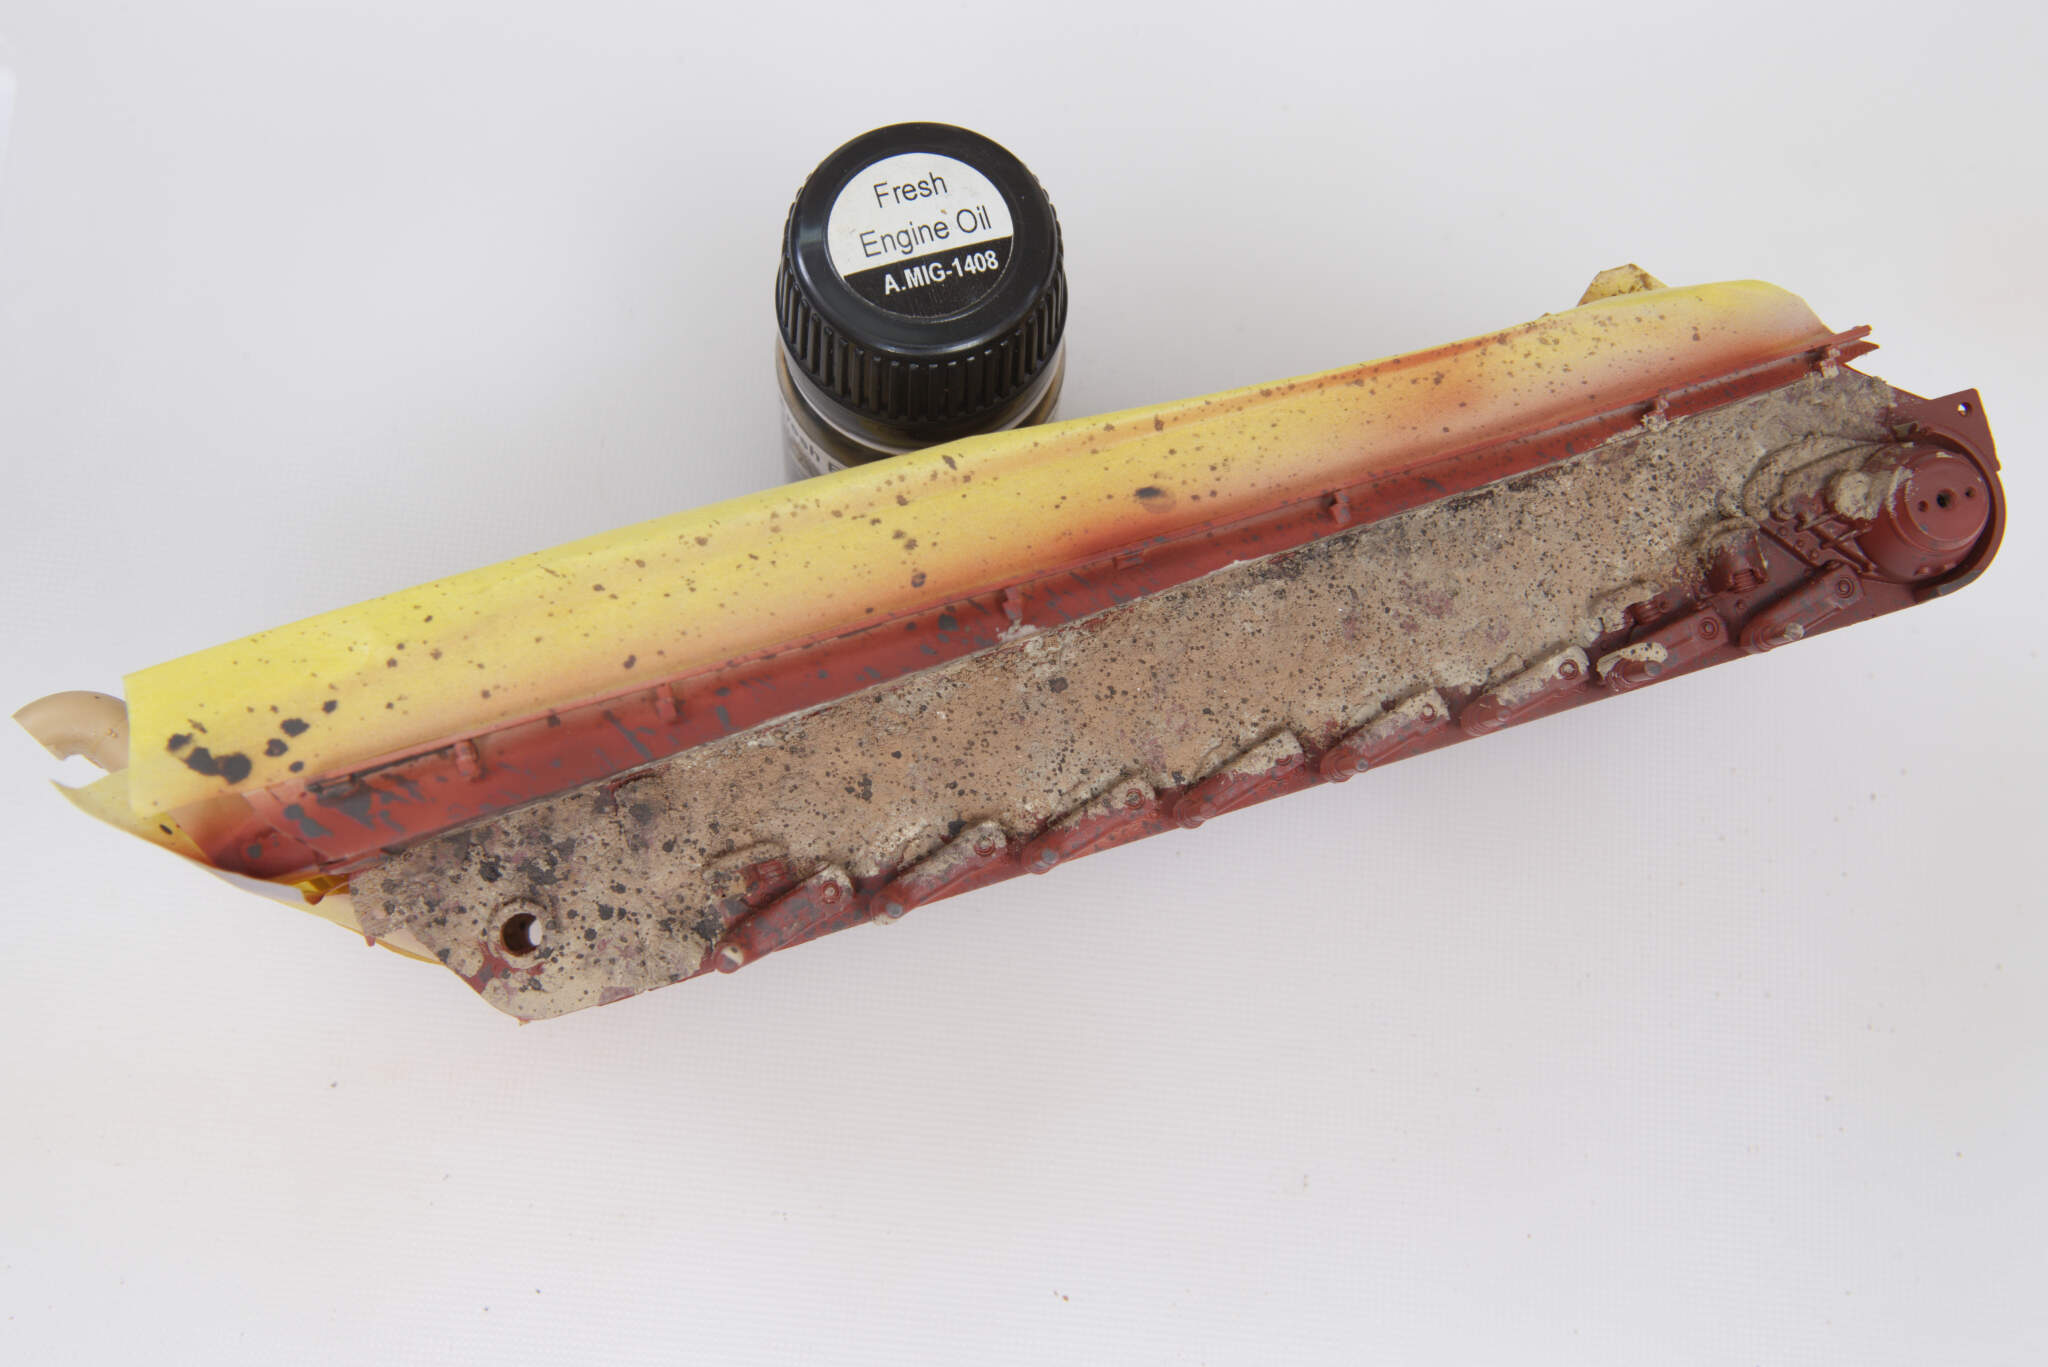
I’m also finding the weathering interesting, as I’m still not weathering my models, because I’m not mastering any other important skills like filling gaps and getting rid of seam lines.
Your steel wheels, especially the steel color looks really realistic and impressive.
Anyway, your build looks impressive to me and I certainly have a lot to learn from your build.
Will be interesting when it is finished.
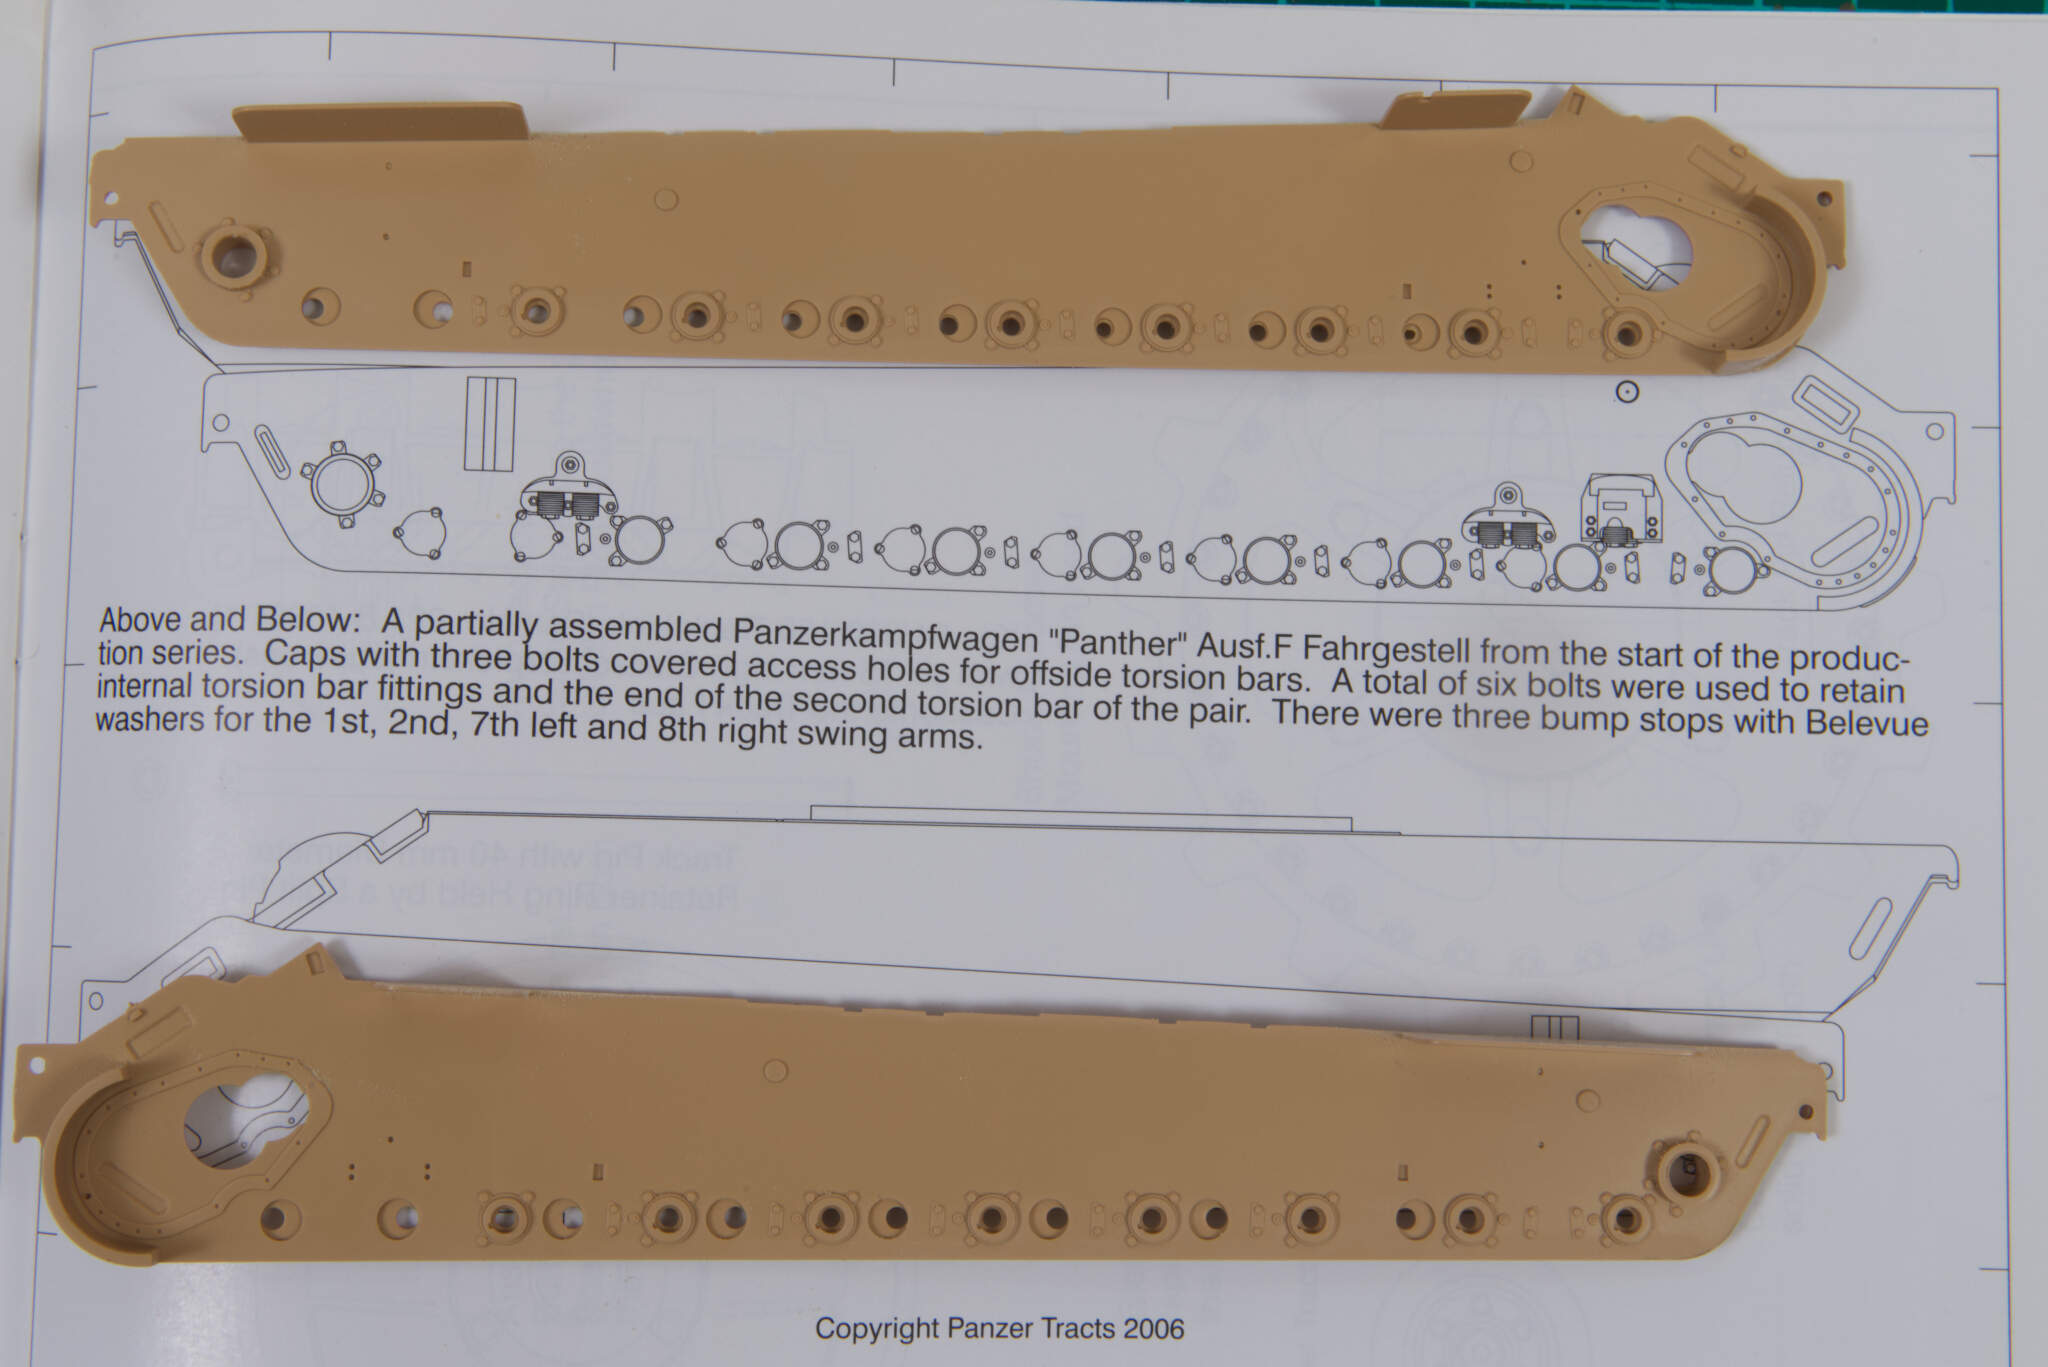
By the way it was really interesting to read that background information in the instruction manual in your picture.
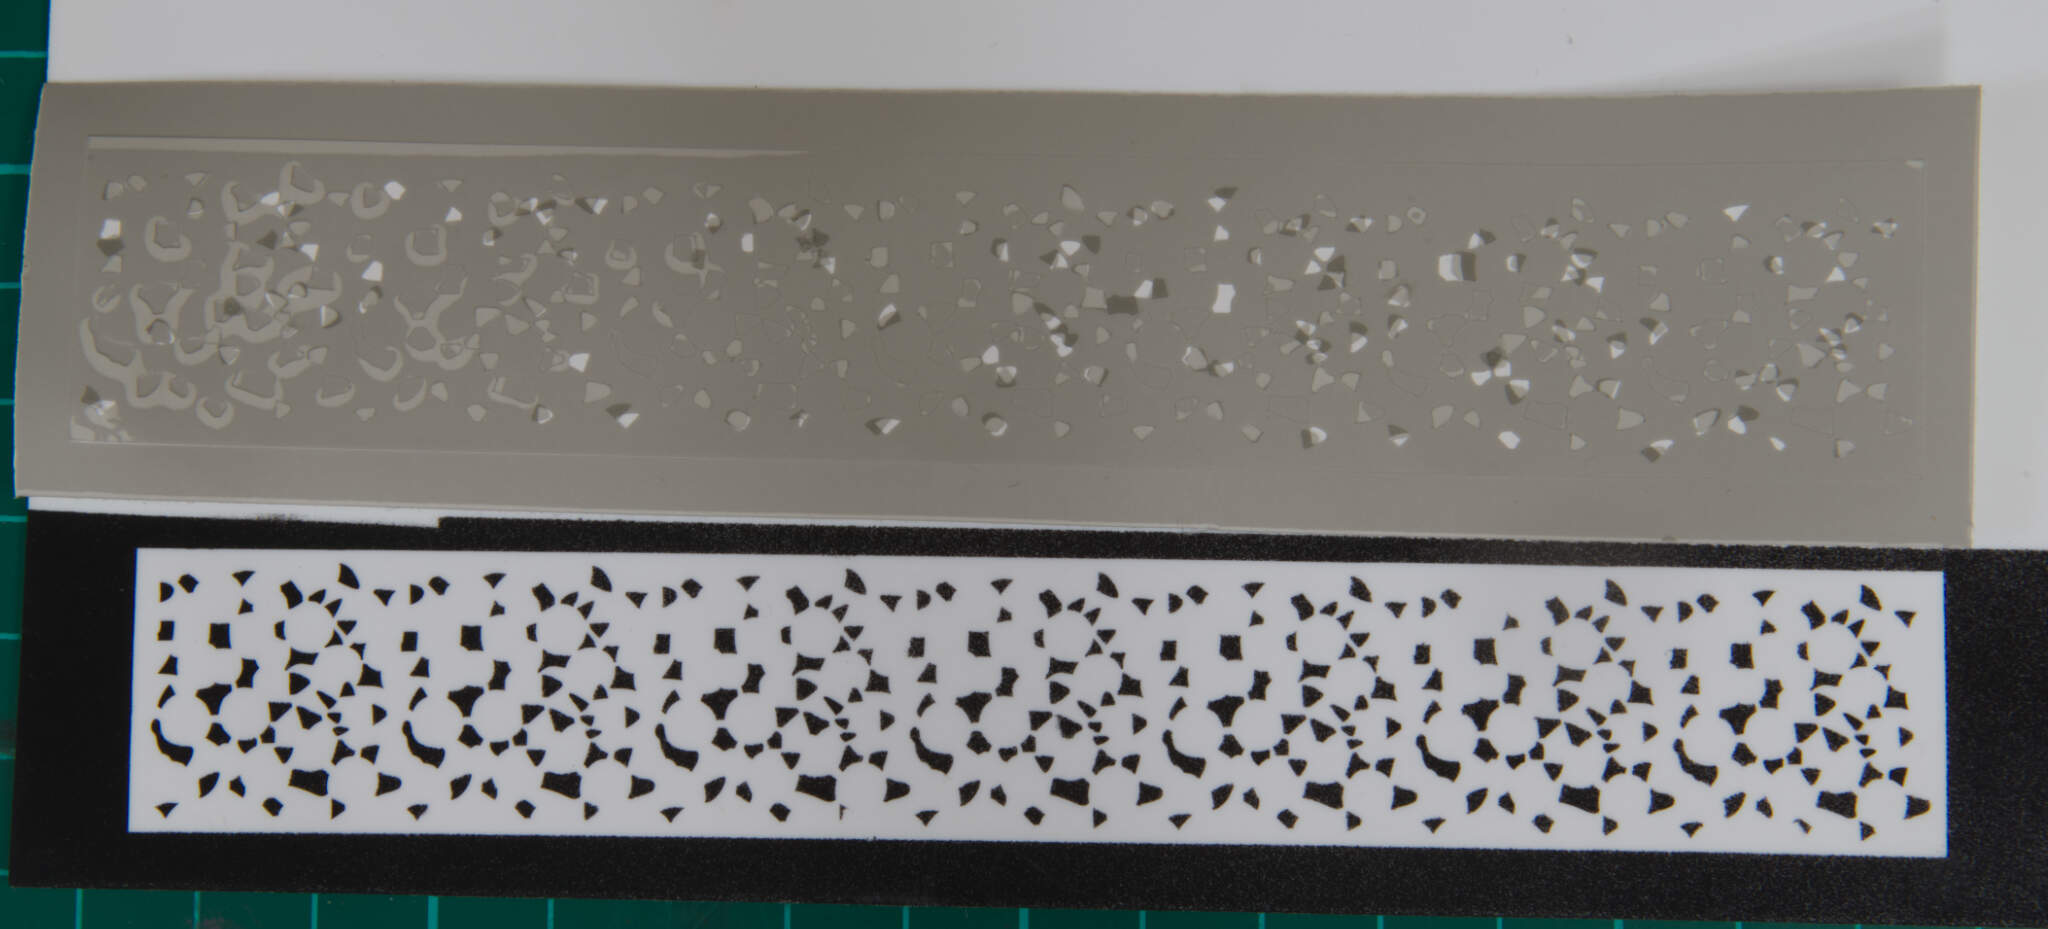
Awesome work so far and I am looking forward to seeing it finished. I love the idea for the cricut machine masks, my wife has one so I will get her to make me some number templates for my next build.Thank you for sharing your build with us and I look forward to your next update. Best regards…Dale
I think it’s a device that cuts material precisely and can be used to make masks for painting etc.
According to what’s on Google ads:
The brand new Cricut Maker is the perfect machine for all of your crafting needs – this machine cuts hundreds of materials quickly and accurately, from the most delicate fabric and paper to mat board and leather. Oh, and don’t worry, it still cuts your favorite vinyl and iron-on material, too!
Regarding the Circuit, that’s exactly correct. There is another machine, pretty much a competing machine, called the Silhouette Cameo (the most recent version is version 4). I actually have the Cameo 4, but it’s still in it’s box (I’m ashamed to say I bought it when the version 4 first came out, 2 years ago…has anyone ever bought a new toy like this and never opened it? I’ve simply been too afraid of the technology, that I won’t be able to figure it out…) Anyway, the Cricut and the Silhouette Cameo machines have been used by modelers MOSTLY to create masks for numbers and insignias for models, to allow the modeler to paint these details instead of using decals. It’s a spectacular thing, and allows for a lot more realism in our models. I’m sure that these masks can be used to great effect on armor models, but seems to me that the masks may have the most use for aircraft insignias (US, British, German aircraft, for example), but I’m thinking in a limited fashion here. Both the Circuit and the Silhouette can be used to cut thin plastic to make parts and other things. Hope that helps.
Oh, and by the way, to the OP, great start on your Panther! I’ve been impressed with RFM tanks, though I’ve not yet finished one (I’m about 60% done with the RFM M1A1/2 Abrams with full interior). I have several other RFM tanks in the stash. Yours looked really good!
@anon87215710
“First of all, what is a Cricut Maker?”
It is this: https://www.ebay.co.uk/itm/133730075132?epid=24034974272&hash=item1f22ef01fc%3Ag%3A-NwAAOSwUvpgeYH0&LH_BIN=1
“What is the idea behind that box?”
A lot of modellers have parts left over that they hope may be useful in future projectss and so they have them stored in a “spares box”. The Kit in the topic has many options including making it with rubber or steel wheels so some people may want to keep the unused ones for a future project.
“Do you have any room for it?”
No I have to be picky about what I keep and my spares box is quite small ATM because of space restraints and I have only recently transistioned from the dark side with models with wings.
“Do you follow the instructions completely?” No.
“I’m not mastering any other important skills like filling gaps and getting rid of seam lines.
Your steel wheels, especially the steel color looks really realistic and impressive.”
Seam lines and build techniques are down to experience IMHO.
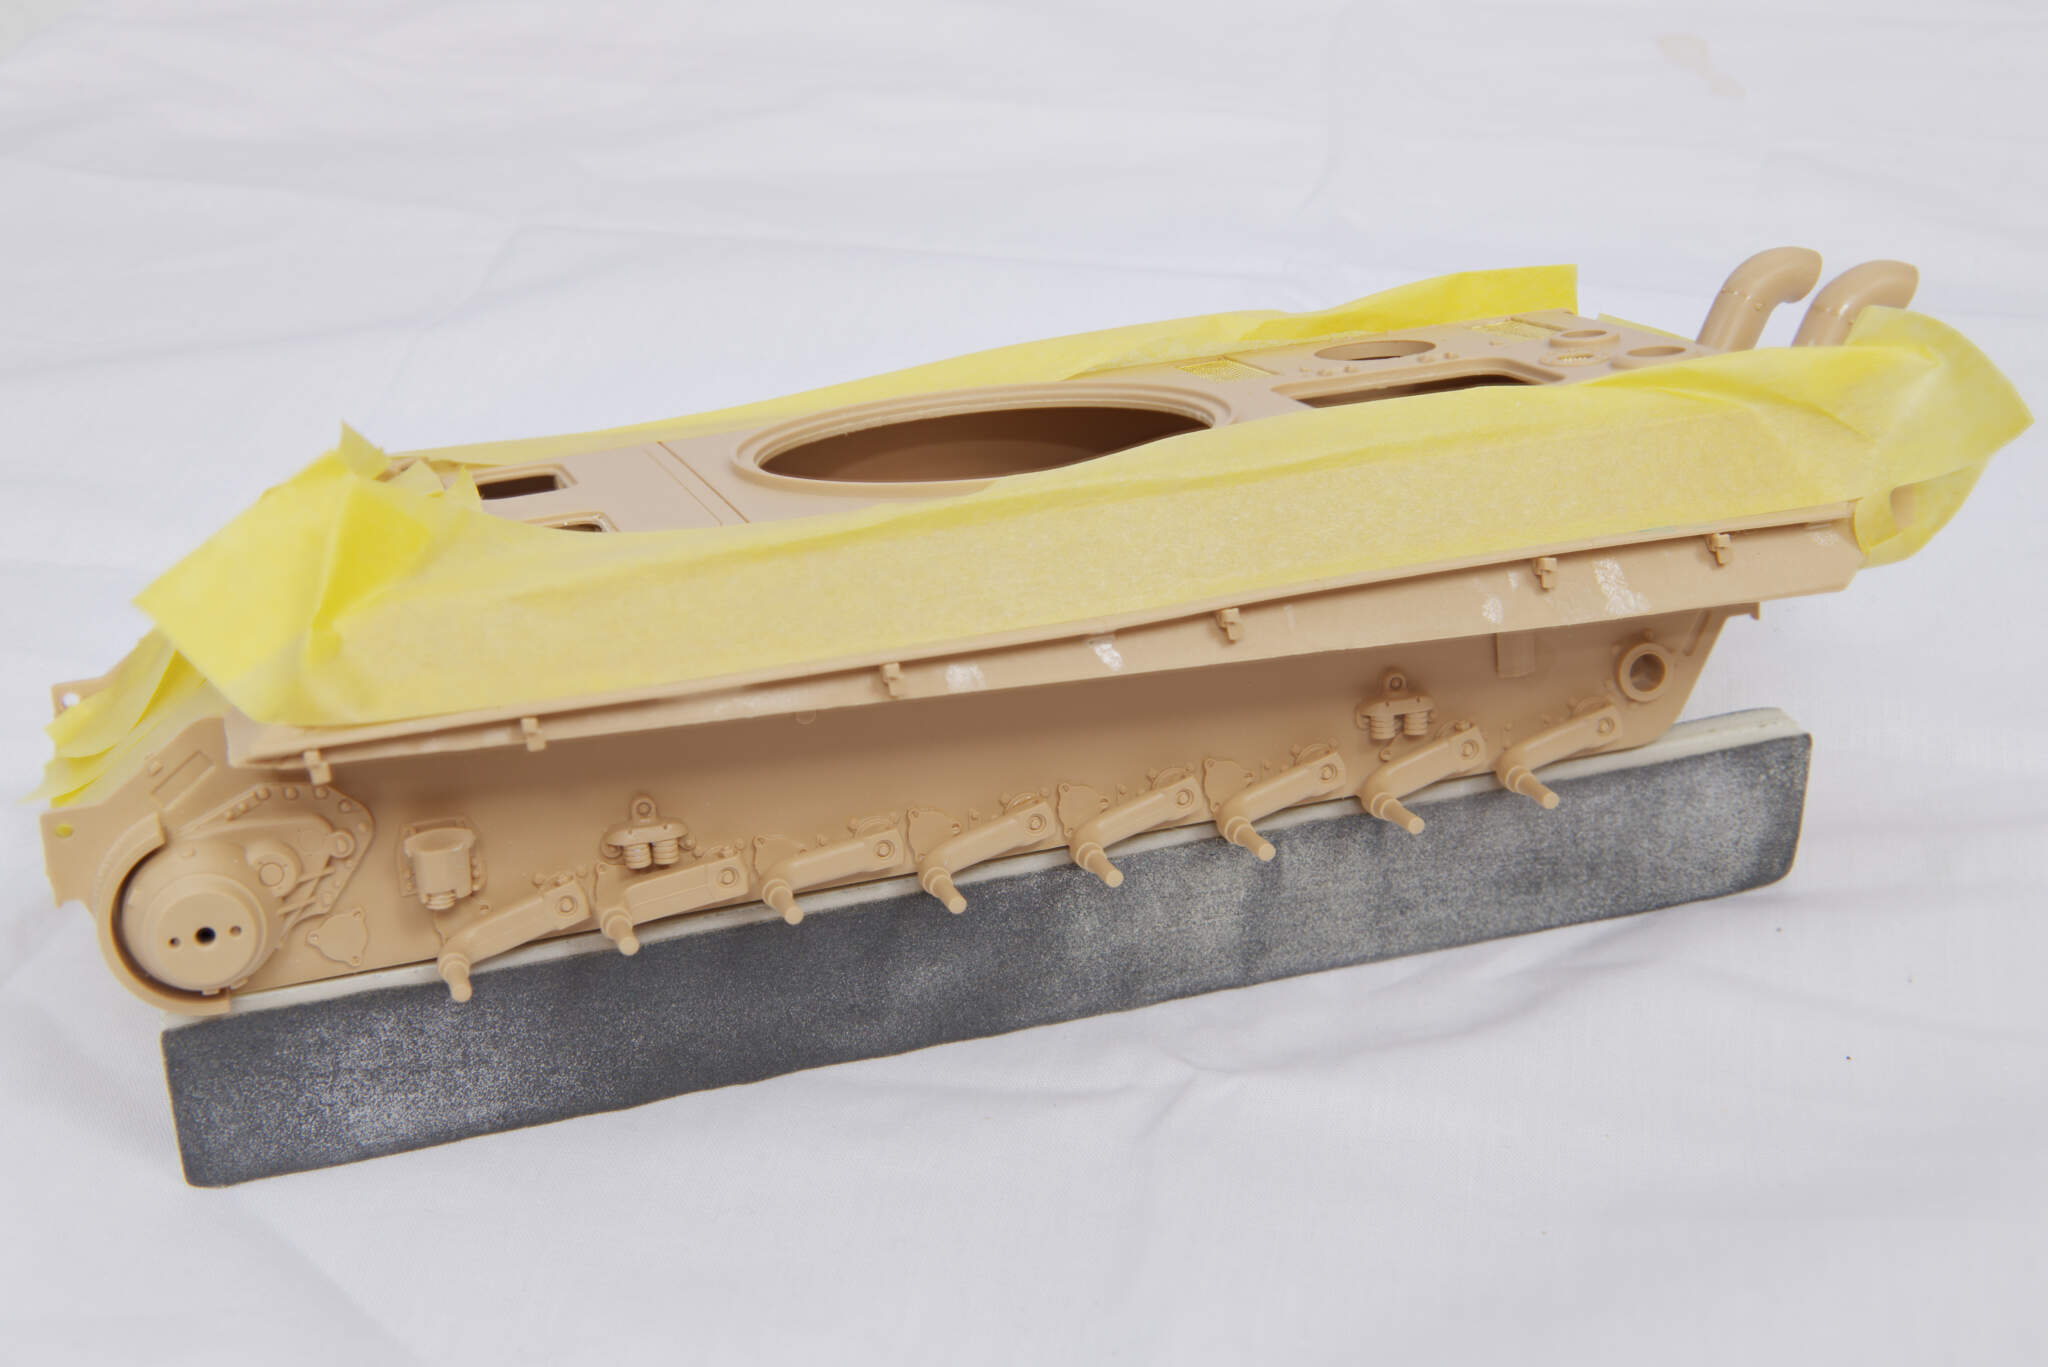
There are many different ways to making a “steel” effect and in this case I used a Graphite stick after brush painting the rims black:
@Armor_Buff@cabasner Thanks for the explanations of what the thing is. And what can actually be done with it.
@Catsrcool I have looked the thing up on Ebay using the link you have provided. Looks to expensive for me, at least for now. Since I’m having so much other things I can do to improve my own scale modeling skills.
Last but not least, no problem. Credit where credit is due.
Will be following your topic, because I think there is a lot I can learn from it. And get inspired by it for my own projects that I’m planning on in the future.
how’s building the kit? is it easy? asking because I have one and I’ll turn it into a tank who got captured by the british(the 7,5cm L/100 will be use on a different panther variant, I don’t get why model company like to put this gun on the F but never on the other). I prefer that kit over the dragon (I got it to) since it’s cheaper in europe and more accurate
ok,I think you can do more option than just the one presented by th box too (mine will have the normal rubber wheel, I want to stay accurate since it seem the only mention of the panther F with steelwheel is from spielberg panther & variant[note that I got the first edition and that some book still include the panther II with 8,8cm])
If I remember it right from the video of Get inside the chieftains hatch Panther. Late war panthers had steel wheels instead of the rubber ones. Because of a shortage of rubber on the German side of the table.
As far as I know, I’m not remembering the Panther ausführung F. What version was it? I know the D version was the first. But then I don’t exactly anymore.