Cotton balls are definitely a bad choice, but Blu-Tac is one of the BEST materials you can use for masking. Blu-Tac (poster putty) is my front line, go to masking material and has been for decades. I have one of the commercial “Panzer Putties” but that stuff crawls and migrates, and gets into PE. Poster putty can be formed into any shape, sticks to any surface, stays where you put it, leaves no marks, can be formed into hard or soft edge, can be put over PE, can be used with masking tape, doesn’t flake paint, can be added to painted surfaces for subtractive masking, and can be reused. If any bits of poster putty remain after removal, just dab them with a lump of poster putty and they will come right up. Poster putty is one of the #1 tools in an airbrusher’s arsenal and you’ll never run out of finding creative ways to use it.
I always seemed to spend an inordinate amount of time picking off blu-tack resideue with tweezers, because it sticks to the surface.
Use a blob of Blu-Tac to dab at any remains and it will pick them up effortlessly.
I use the original maker of this-
Yes, tried that and it doesn’t work for me. Sometimes I think if its really soft, or i’ve left it on too long, it doesn’t matter, I always end up picking it off and there is inevitably residue.
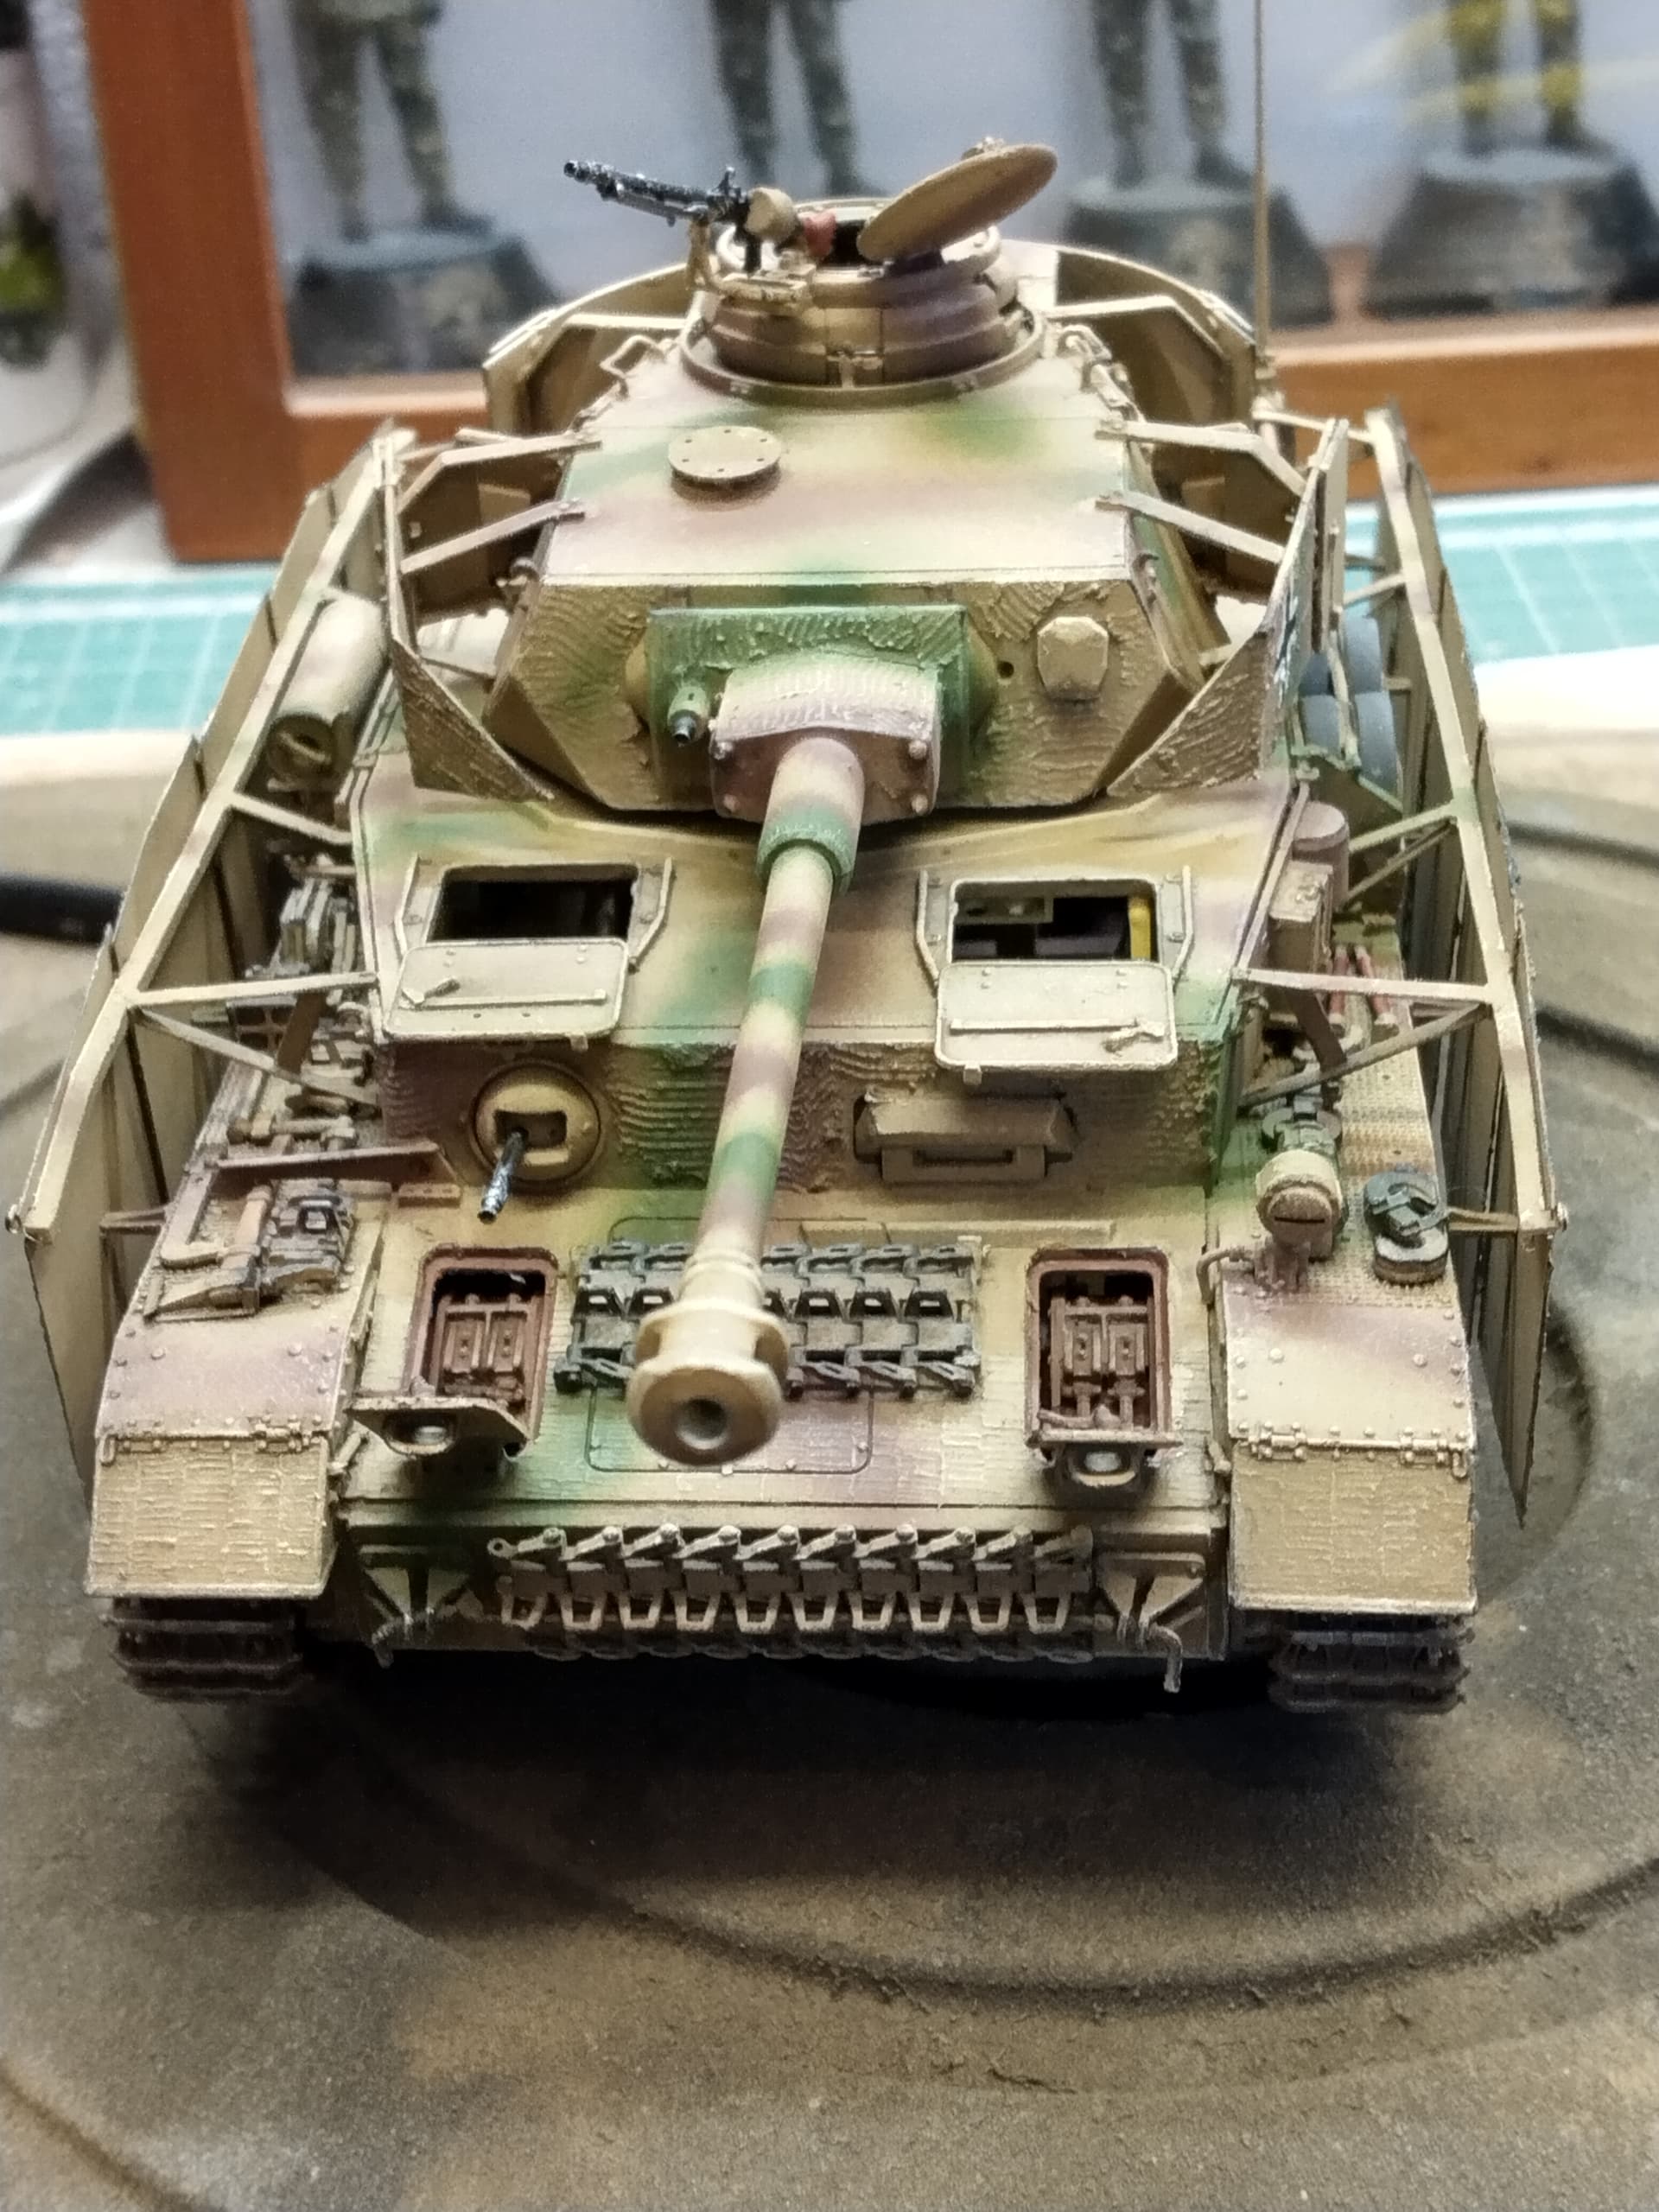
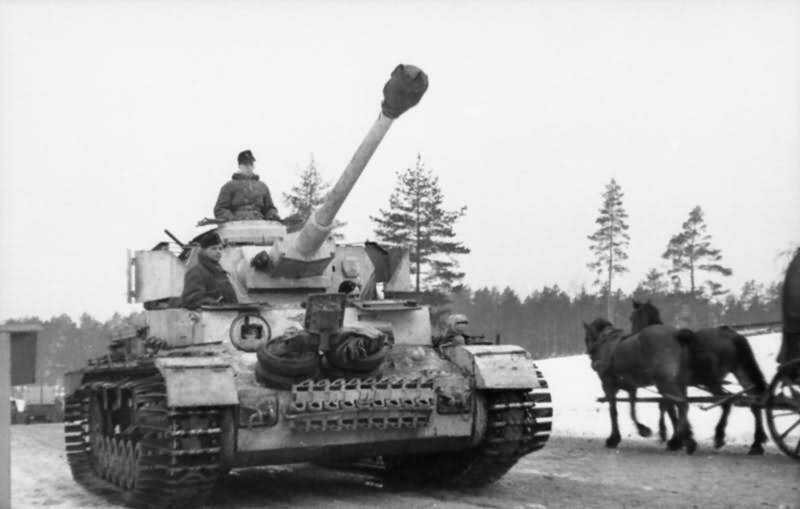
Next question, do I use three colour camo or plain Dunkelgelb? The photos in the unit history show both, but the ones showing three colour are too contrasty (is that a word?) to really make out the scheme. They also show Zimmerit on some schurtzen and not on others and because only two photos show turret numbers (some don’t even have crosses on, let alone turret numbers) it’s hard to tell if some photos are of the same vehicle. Some tanks have Zimmerit on the turret schurtzen, but not the hull side plates. This would seem to suggest that the turret plates were considered more permanent than the side schurtzen, which were likely to fall off if they encountered any obstacle, whereas the turret schurtzen were welded on.
The tanks were often fitted with “ostketten” and “winterketten” tracks during the Winter or really bad weather. The tracks had extended “grousers” on the outside edge for increased traction/flotation in mud and snow. The hull schurtzen had to be removed for the tracks to fit.

Ken
Ah ha! This is historically interesting, because I don’t think Hohenstaufen could have got the grousers, this may explain their slow progress to Tarnopol. None of the pictures in the book show “Ostketten” IIRC, will have to go and check again. The photo in Ken’s post looks as though it is painted with whitewash, I don’t think 9SS vehicles were as far as I can tell. Since they went from the South of France direct to the Ukraine, most vehicles appear either in plain Dunkelgelb or fine lines of three colour. Their arrival more or less coincided with the thaw (hence the mud!).
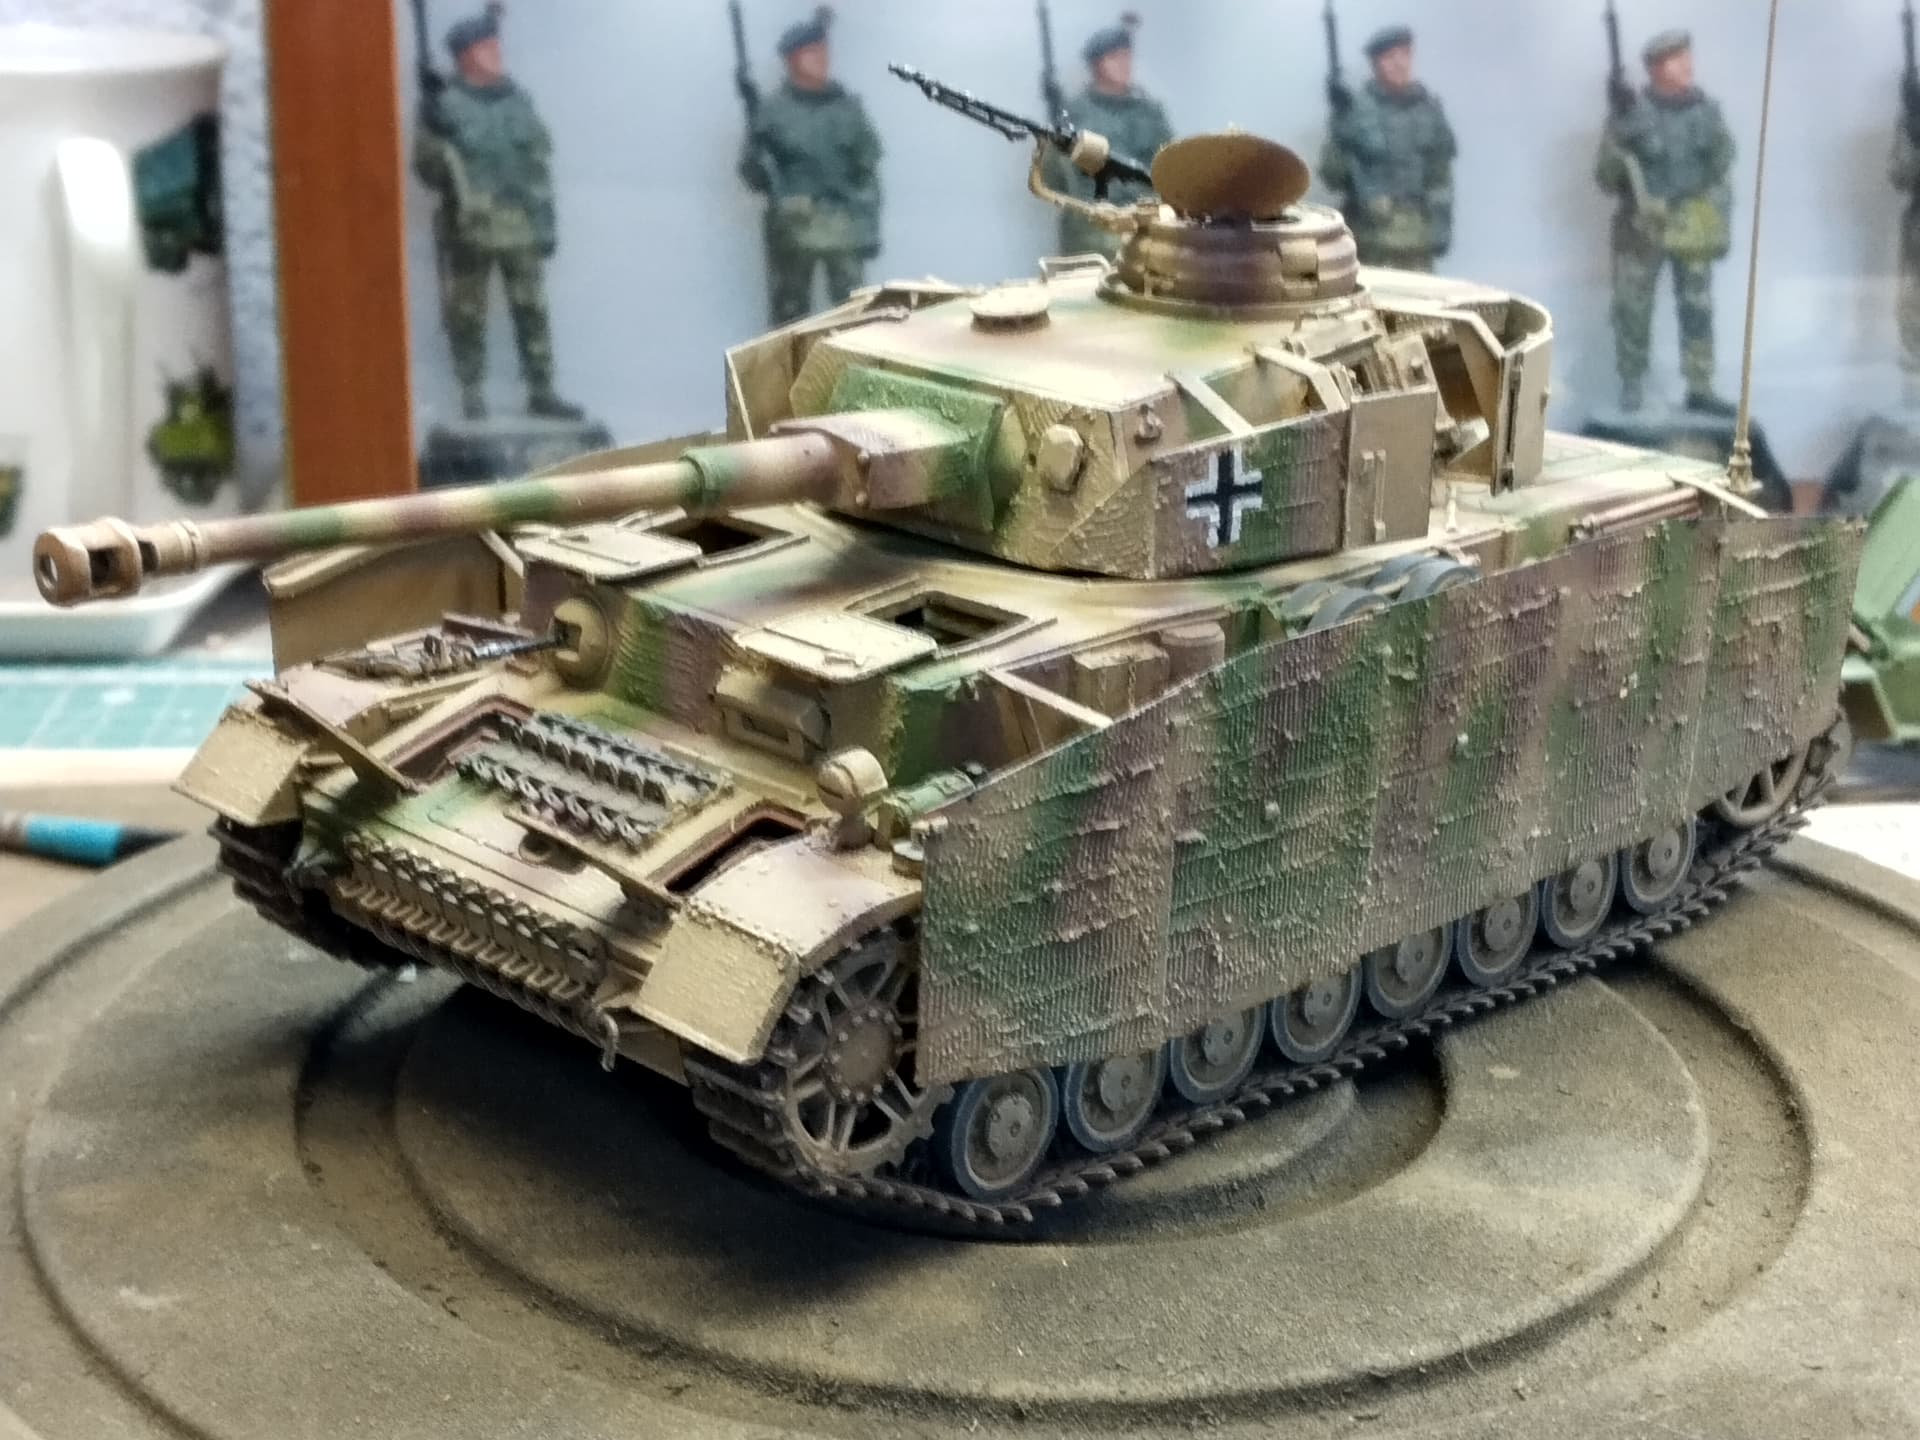
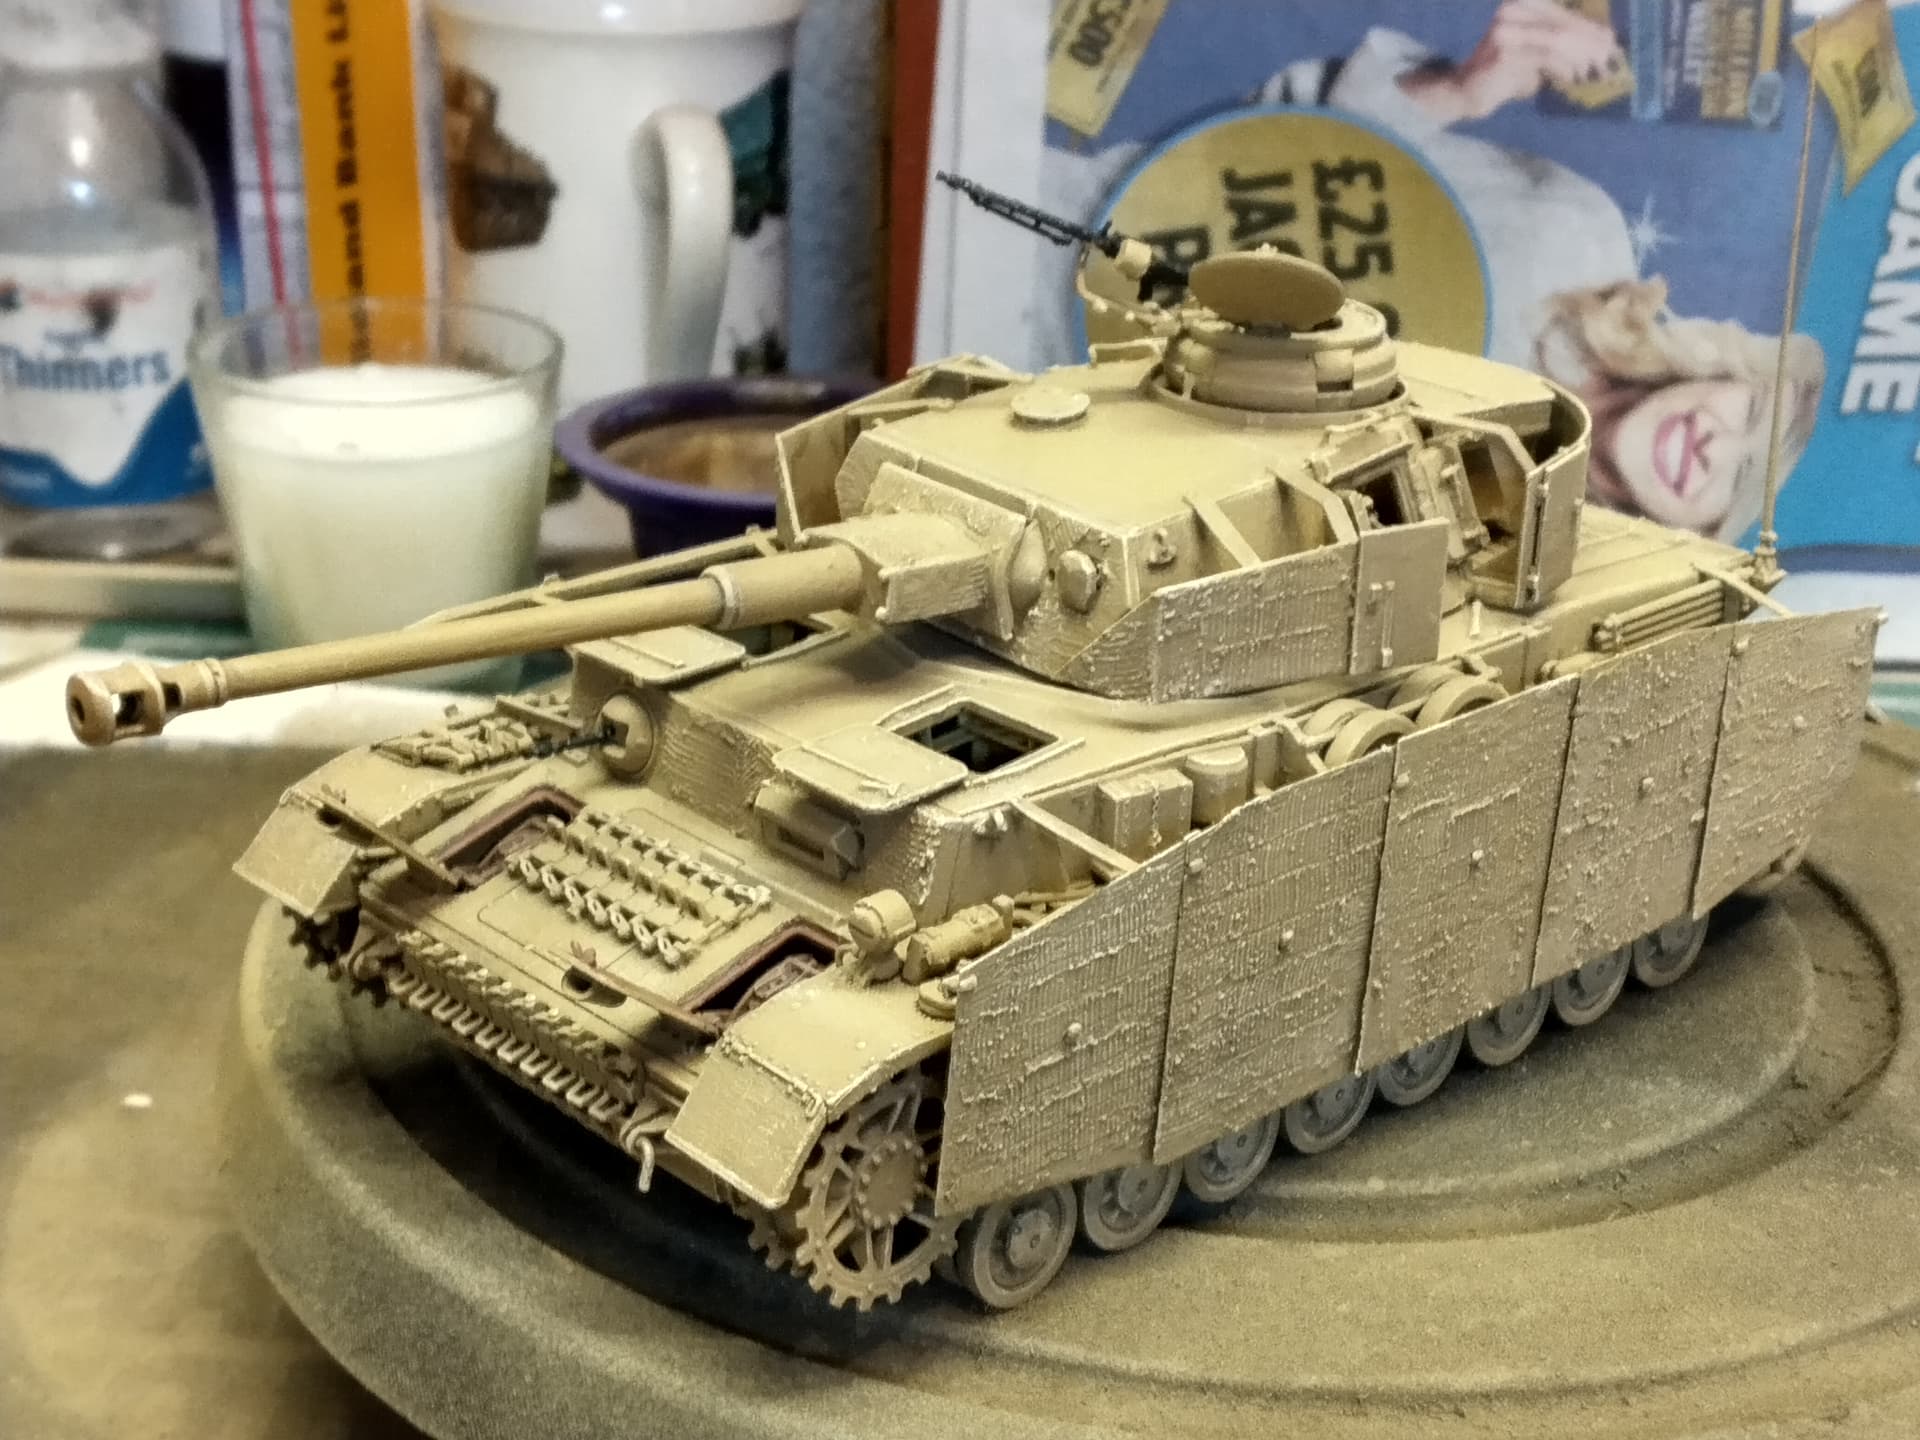
Here’s a couple more photos showing the state of play ATT. Still undecided about three colour or plain. Bizarrely, Hohenstaufen’s Stug IIIs seem to have been painted Dunkelgelb with olive and brown overspray to begin with, but photos showing them entraining for Russia in early 1944 show them single colour, also several of the PzIVs. The single colour would seem to be Dunkelgelb, it’s hard to tell but doesn’t appear to be white. There are loads of photos showing other vehicles non of which are white, some are three colour. By the time 9SS were committed to the relief of Tarnopol, the thaw had set in so white would no longer be appropriate anyway. But there was snow on the ground when they arrived in Russia…
BTW, anyone building a late PzIV on a railway truck, it appears the schurtzen were removed for rail travel.
Very nice!
What is the blue putty that you use for the zimmerit?
Pretty much all tanks, from time immemorial, and to this day, have removable armour removed for transit, especially on trains.
No the Zimmerit putty wasn’t blue David, it was your bog-standard Humbrol model filler applied with the old Tamiya tools. There are probably better mediums to use…
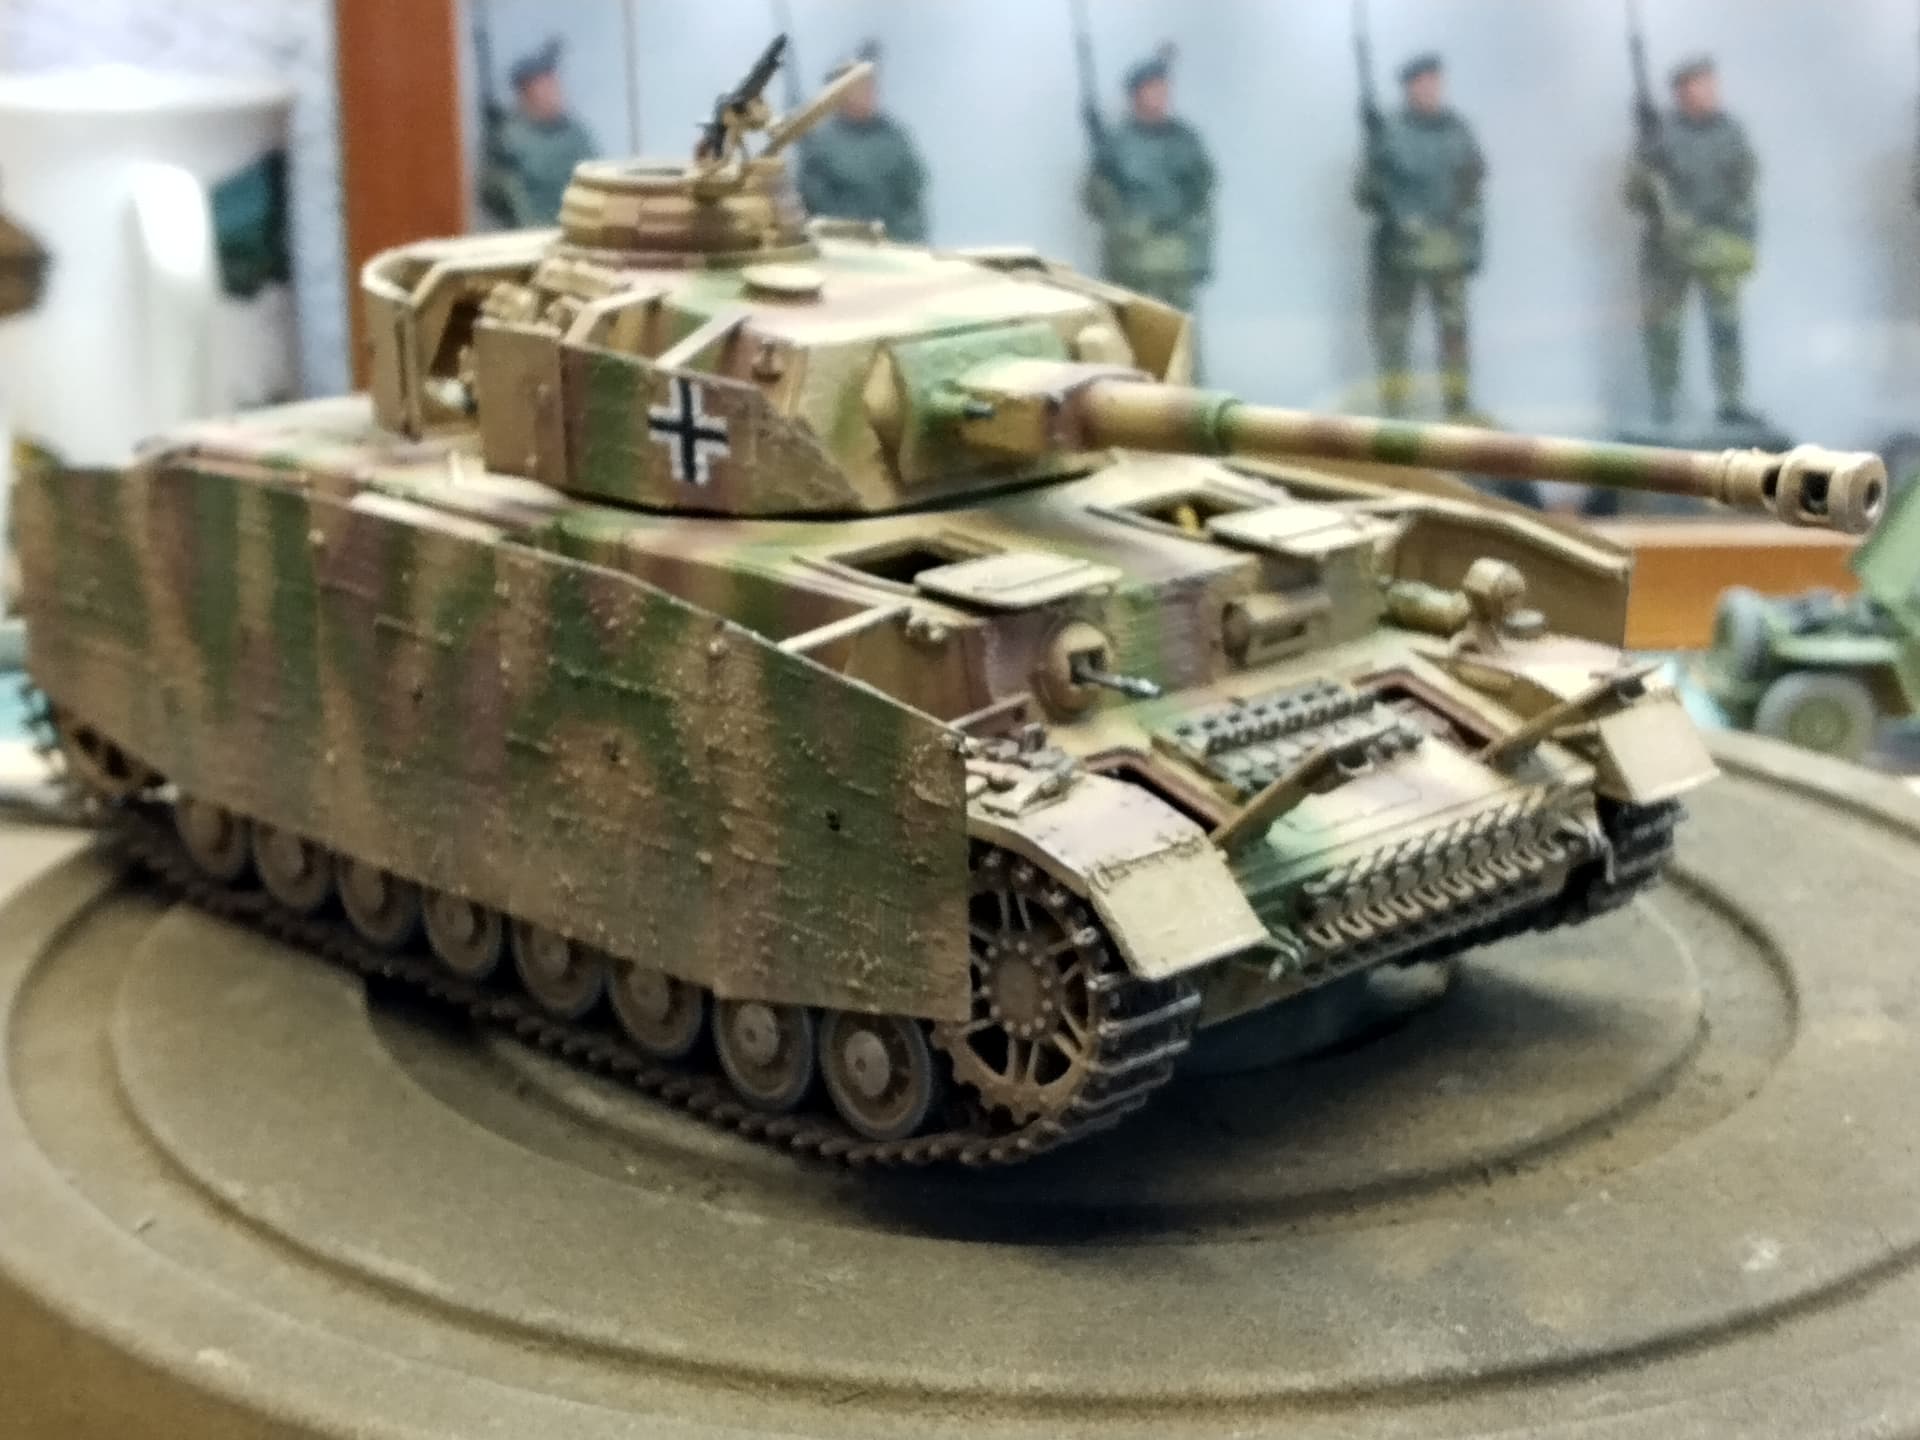
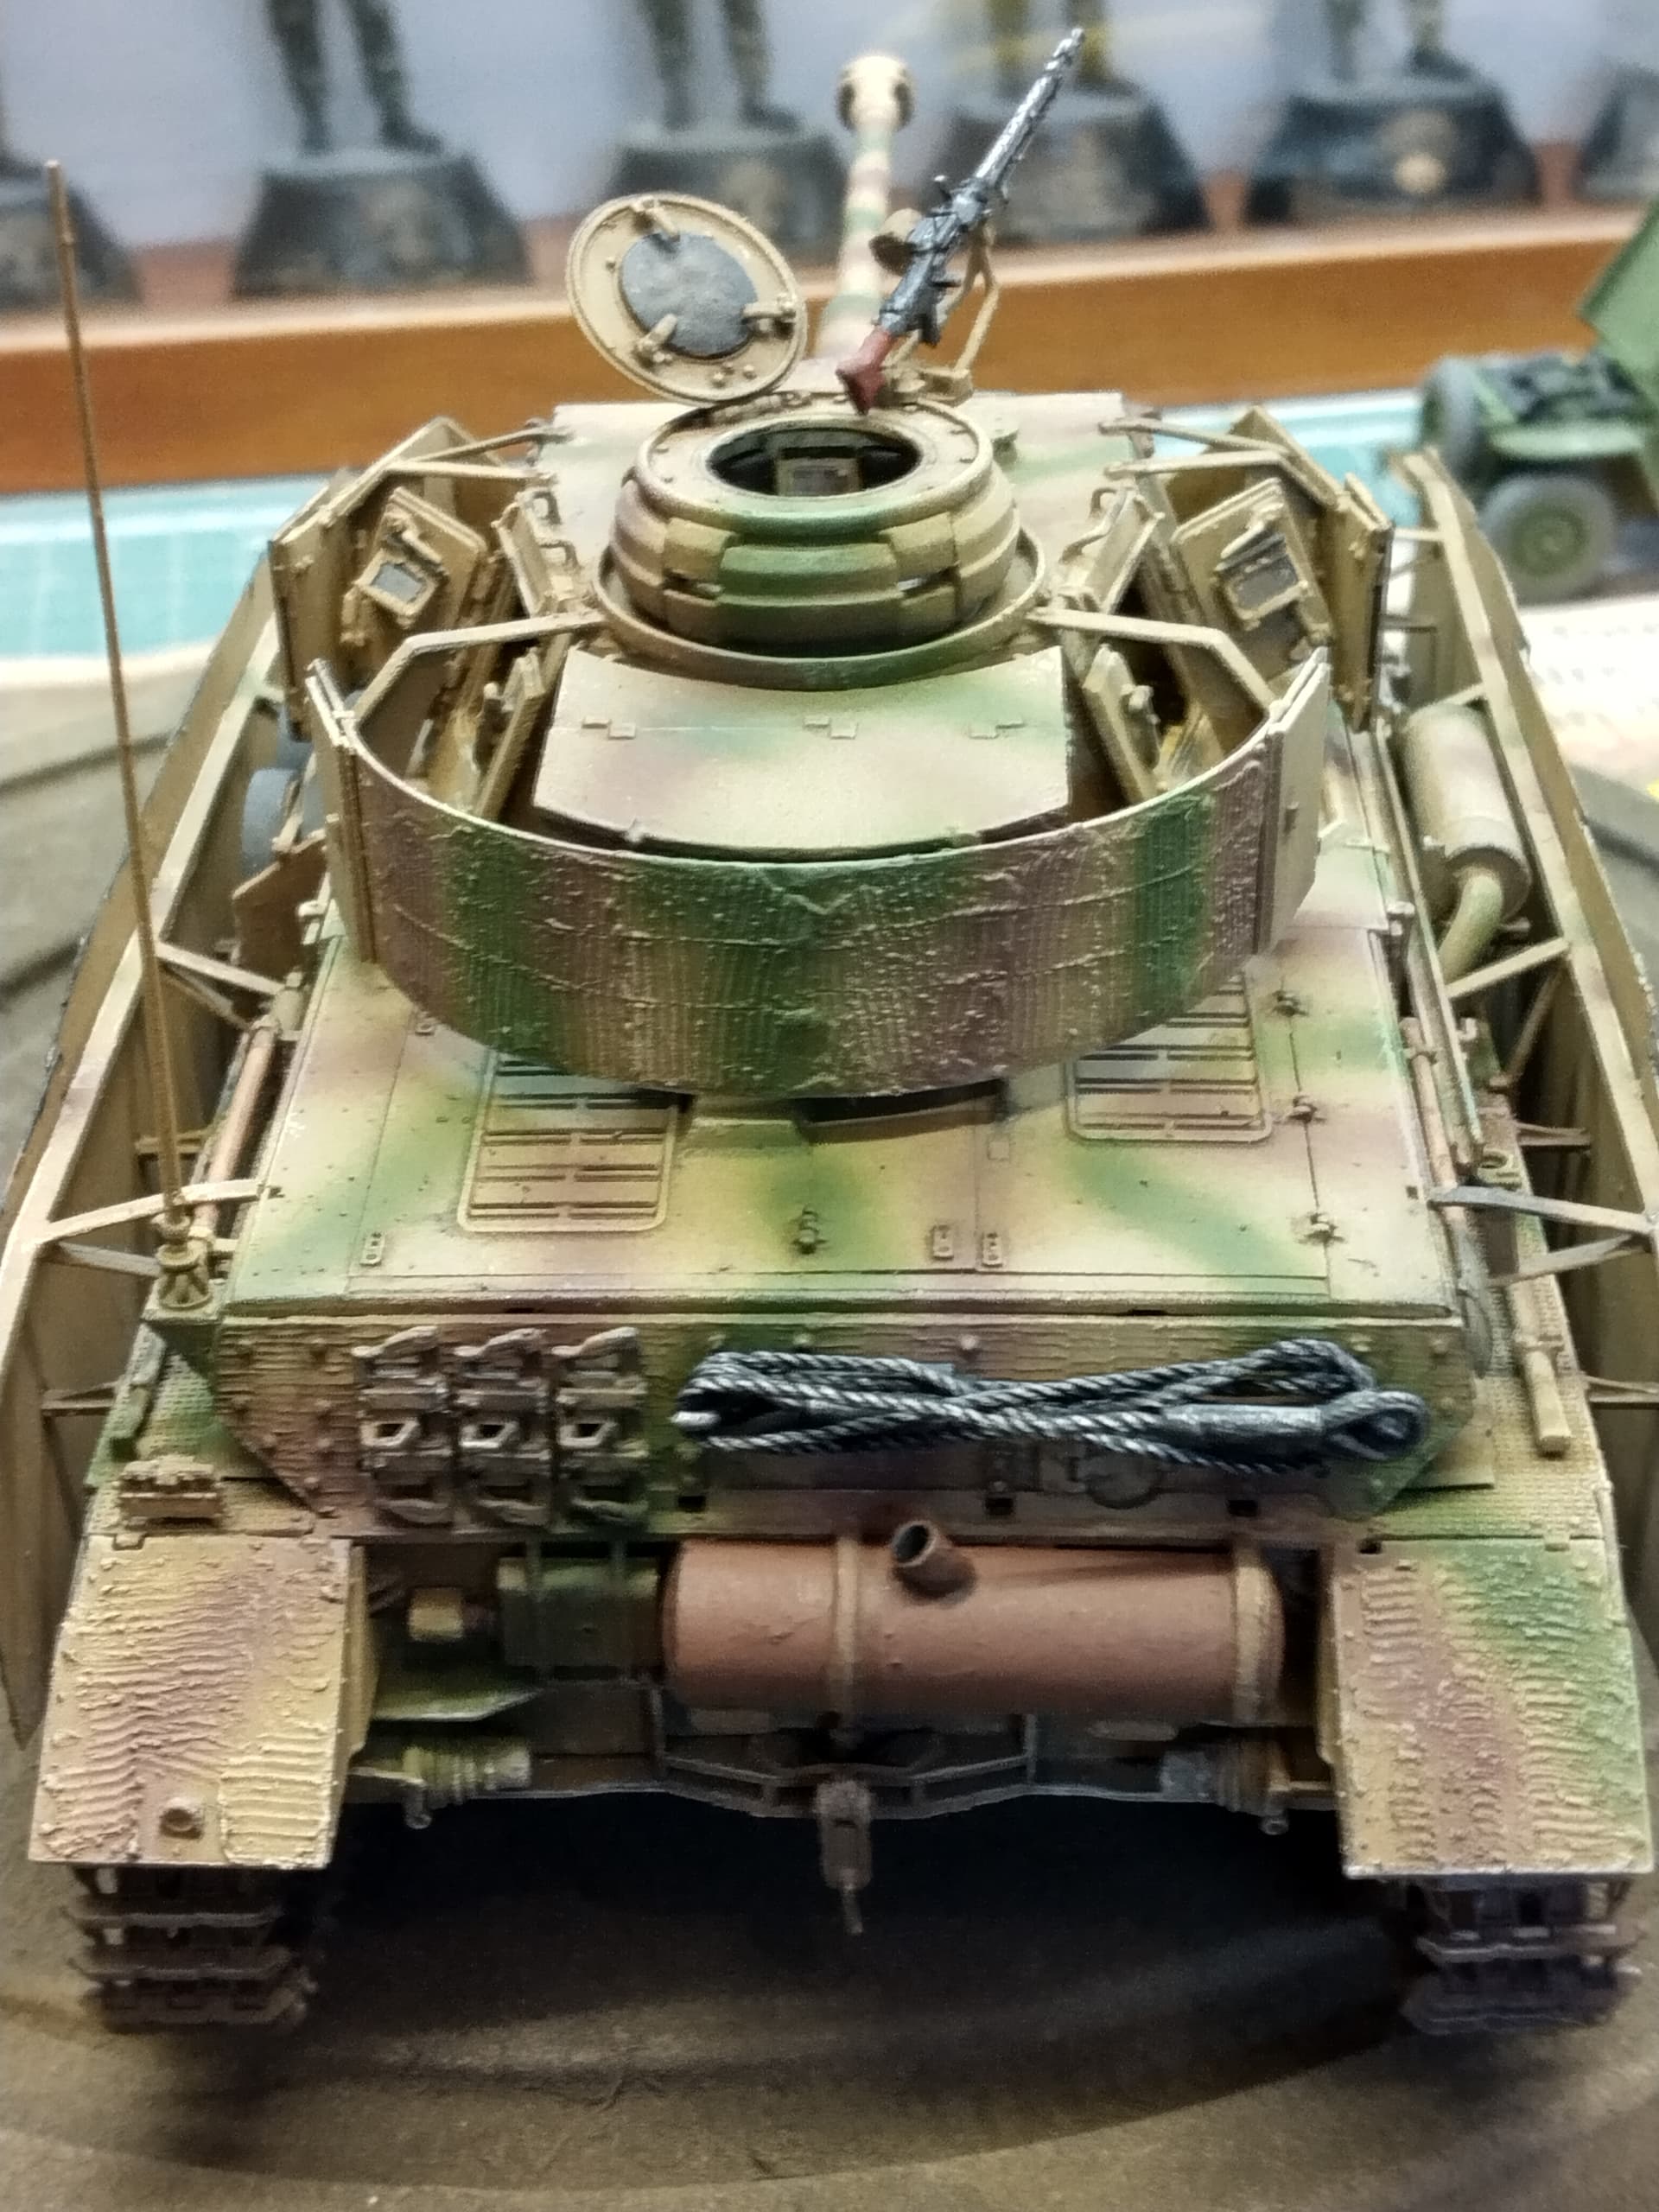
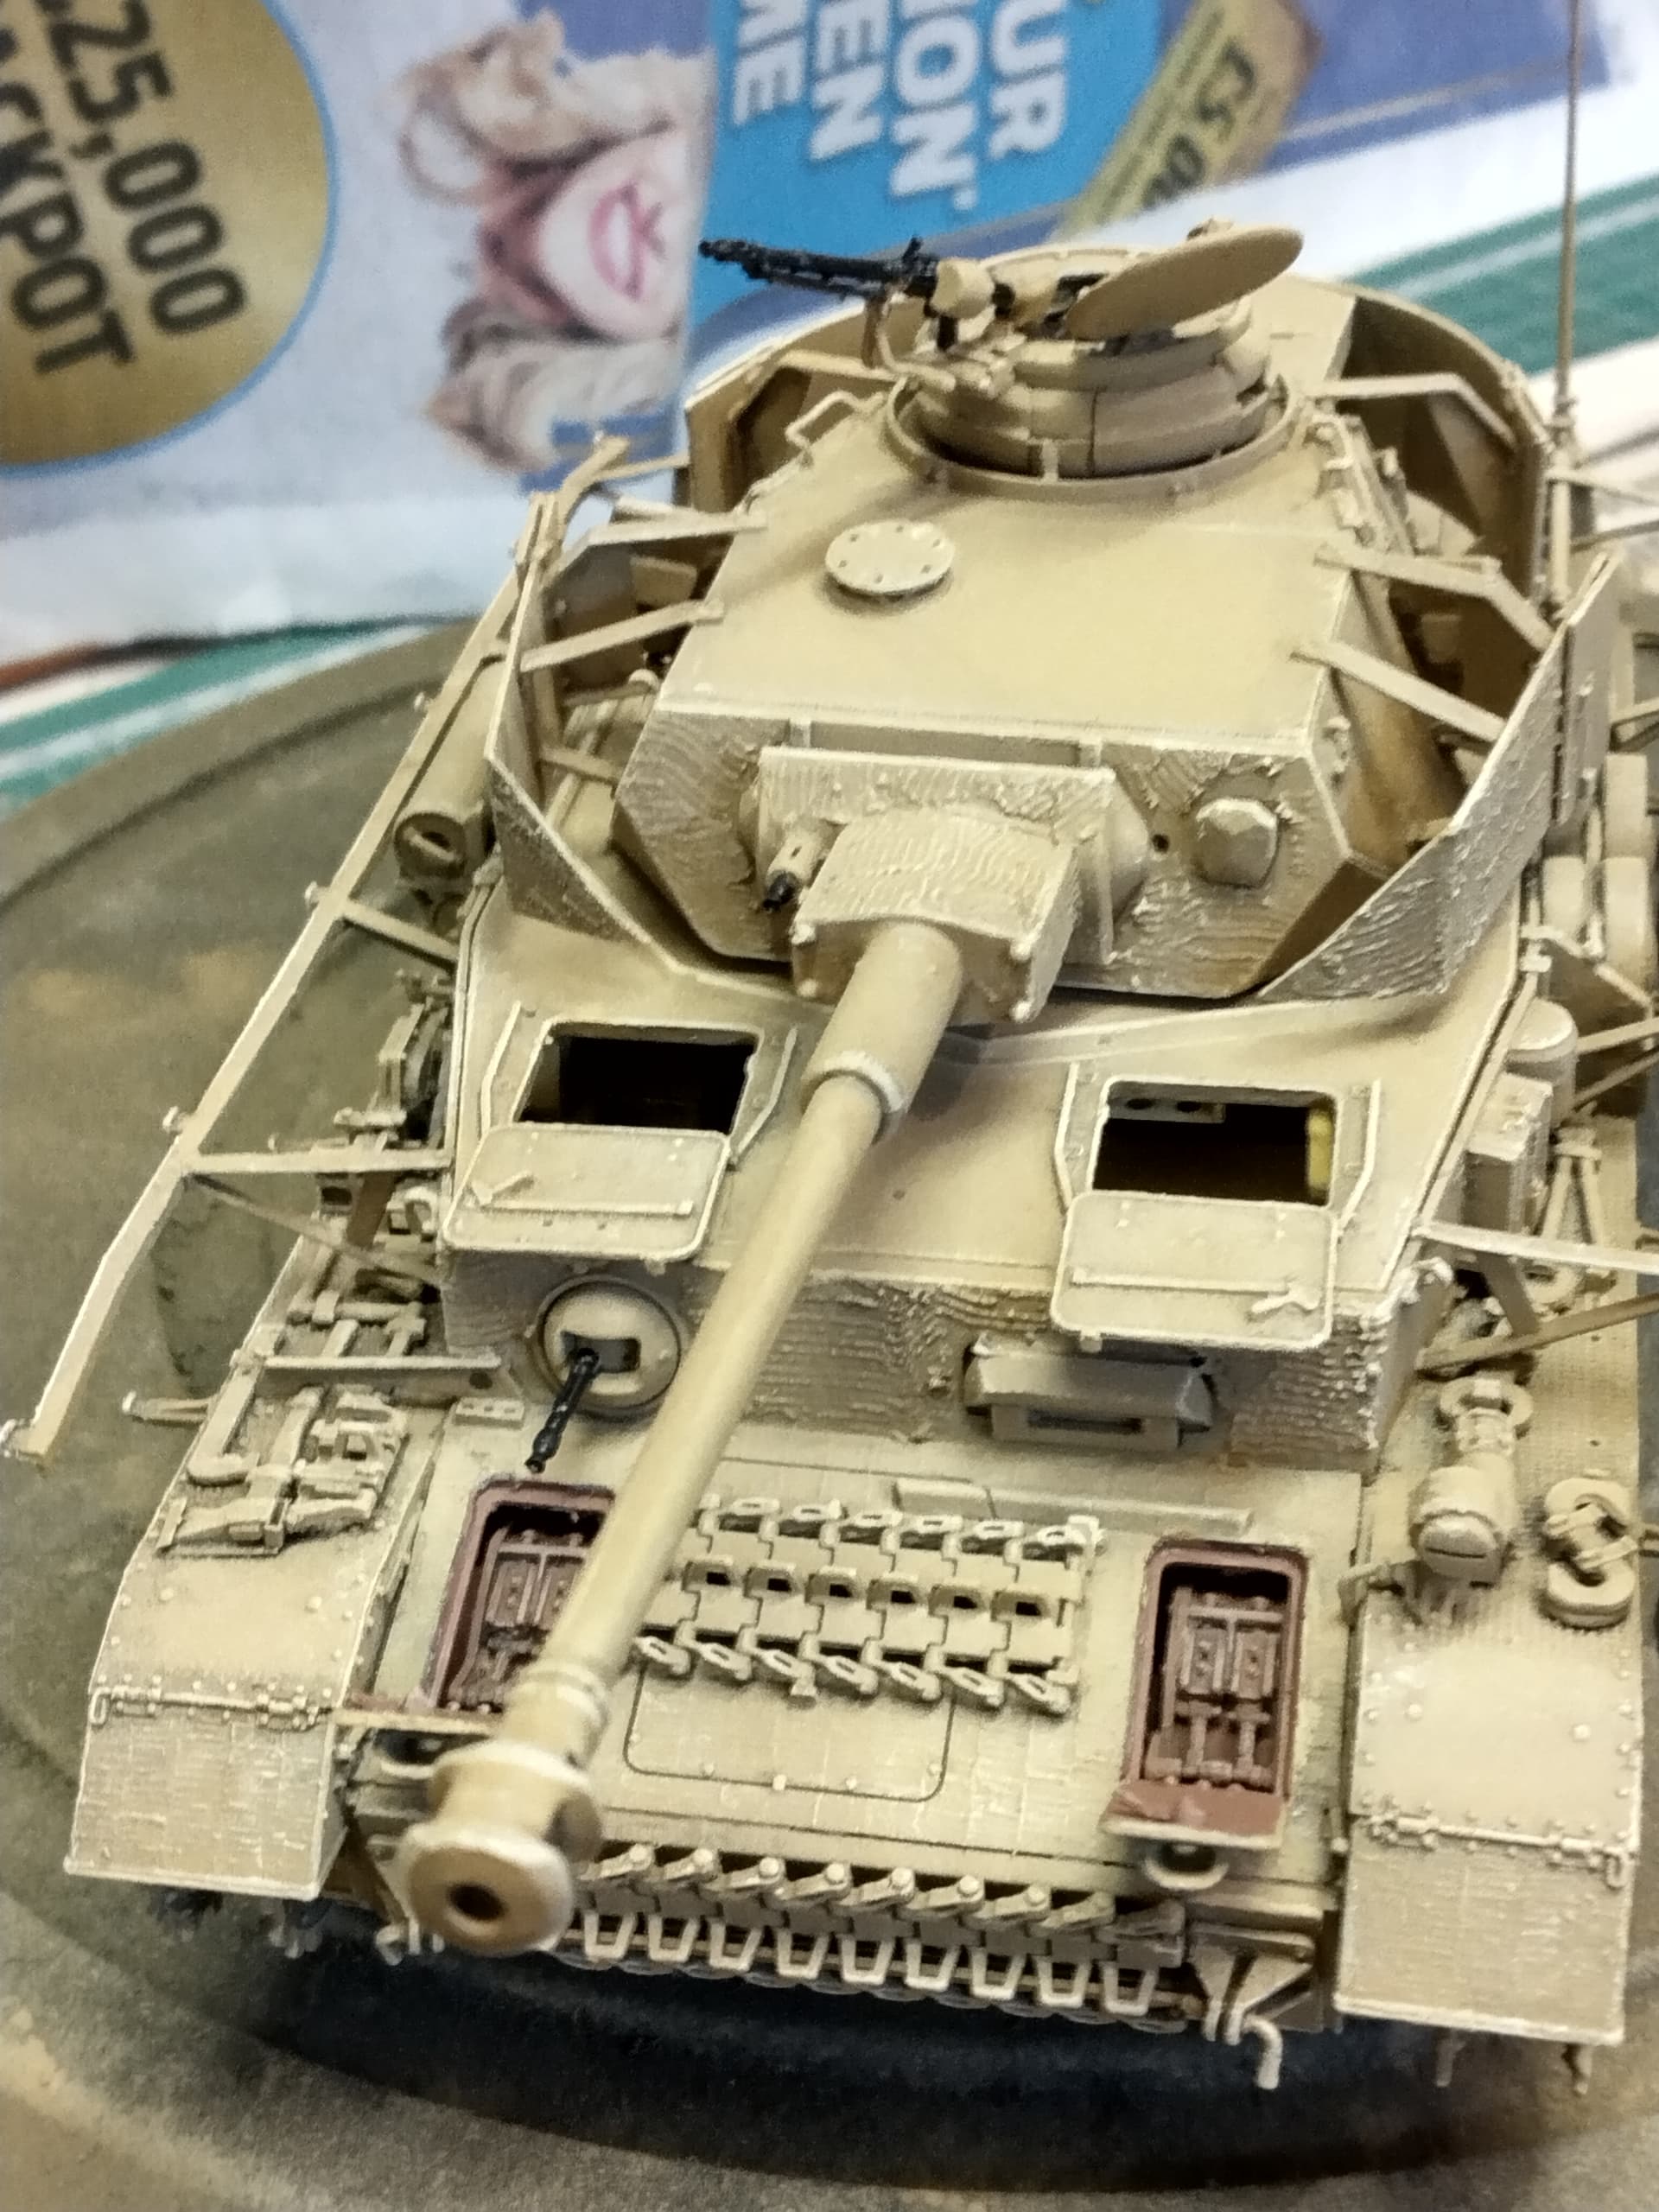
Here we go, I’m calling this finished now. It certainly wasn’t the easiest of kits to complete and I have spent several happy modelling days reattaching things that came off, touching in the paint and making up the towing cable. I tried picture wire to begin with, but this didn’t work and I ended up using the cotton enclosed in the kit. While I was messing about the two plastic hooks fell off the hull, so they were drilled out and replaced with bent panel pins! All the paints are Humbrol and the crosses are hand painted. You can’t really see it in the pictures, but it does have coating of dust.