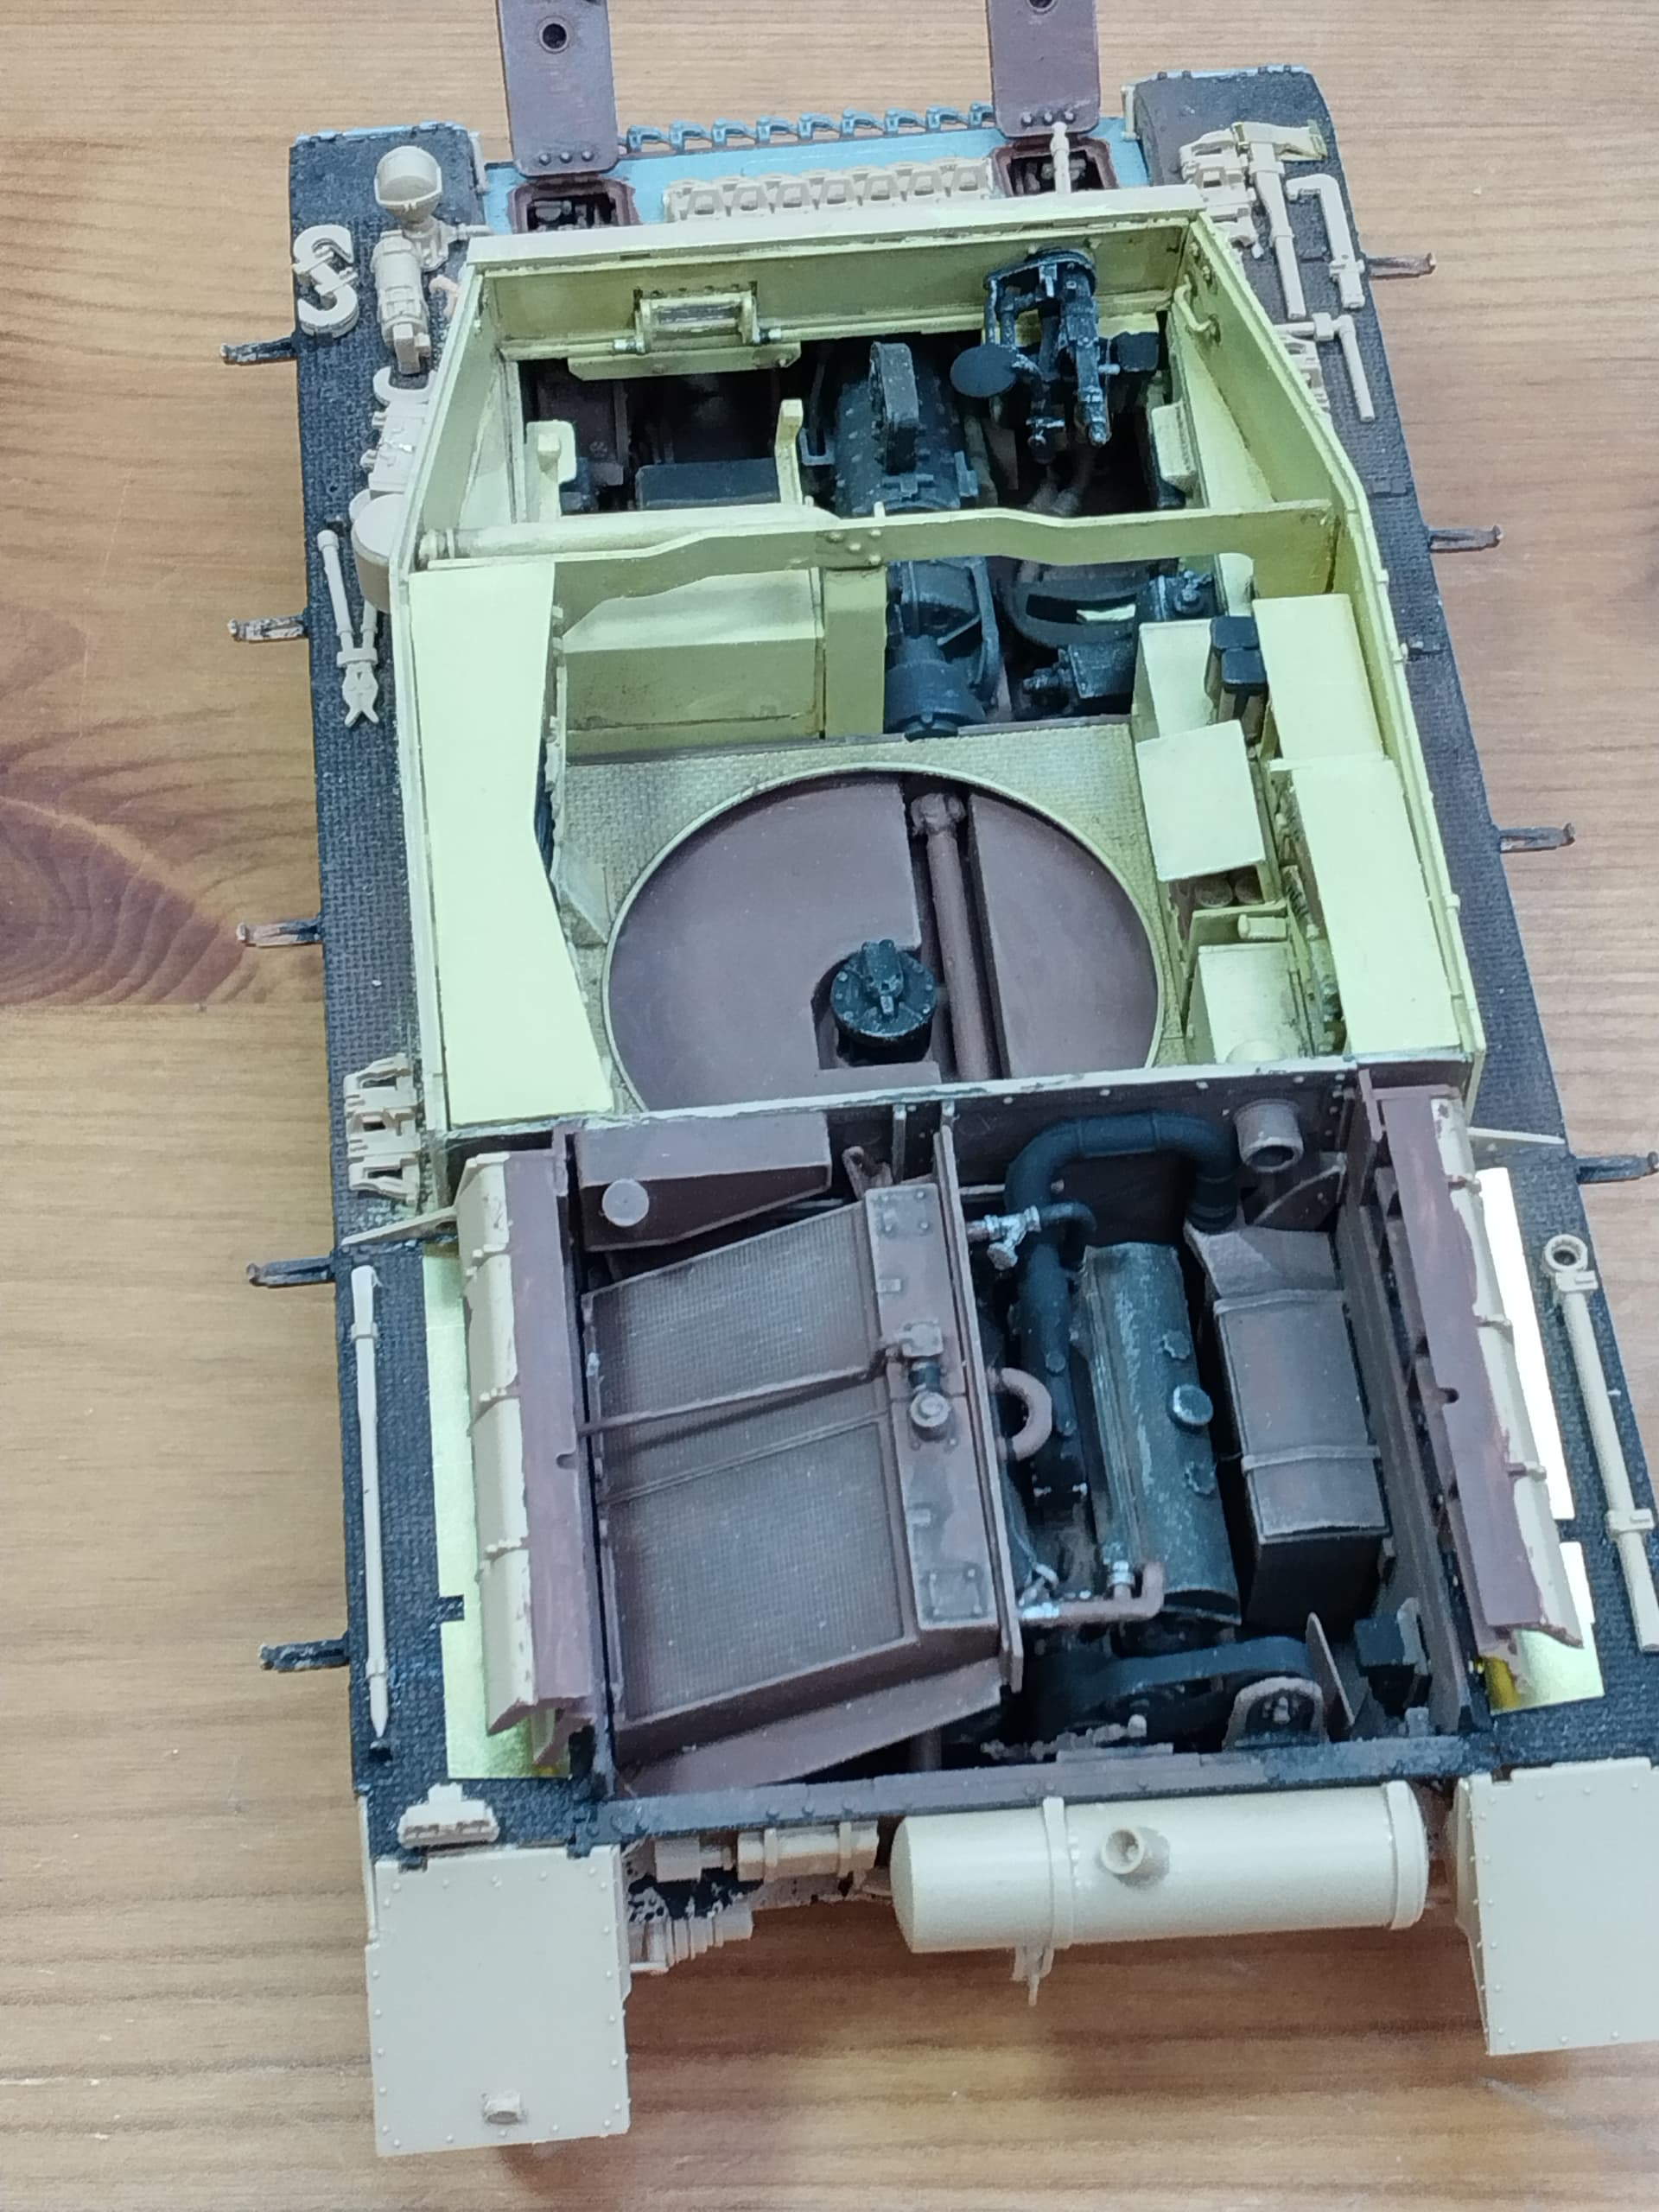
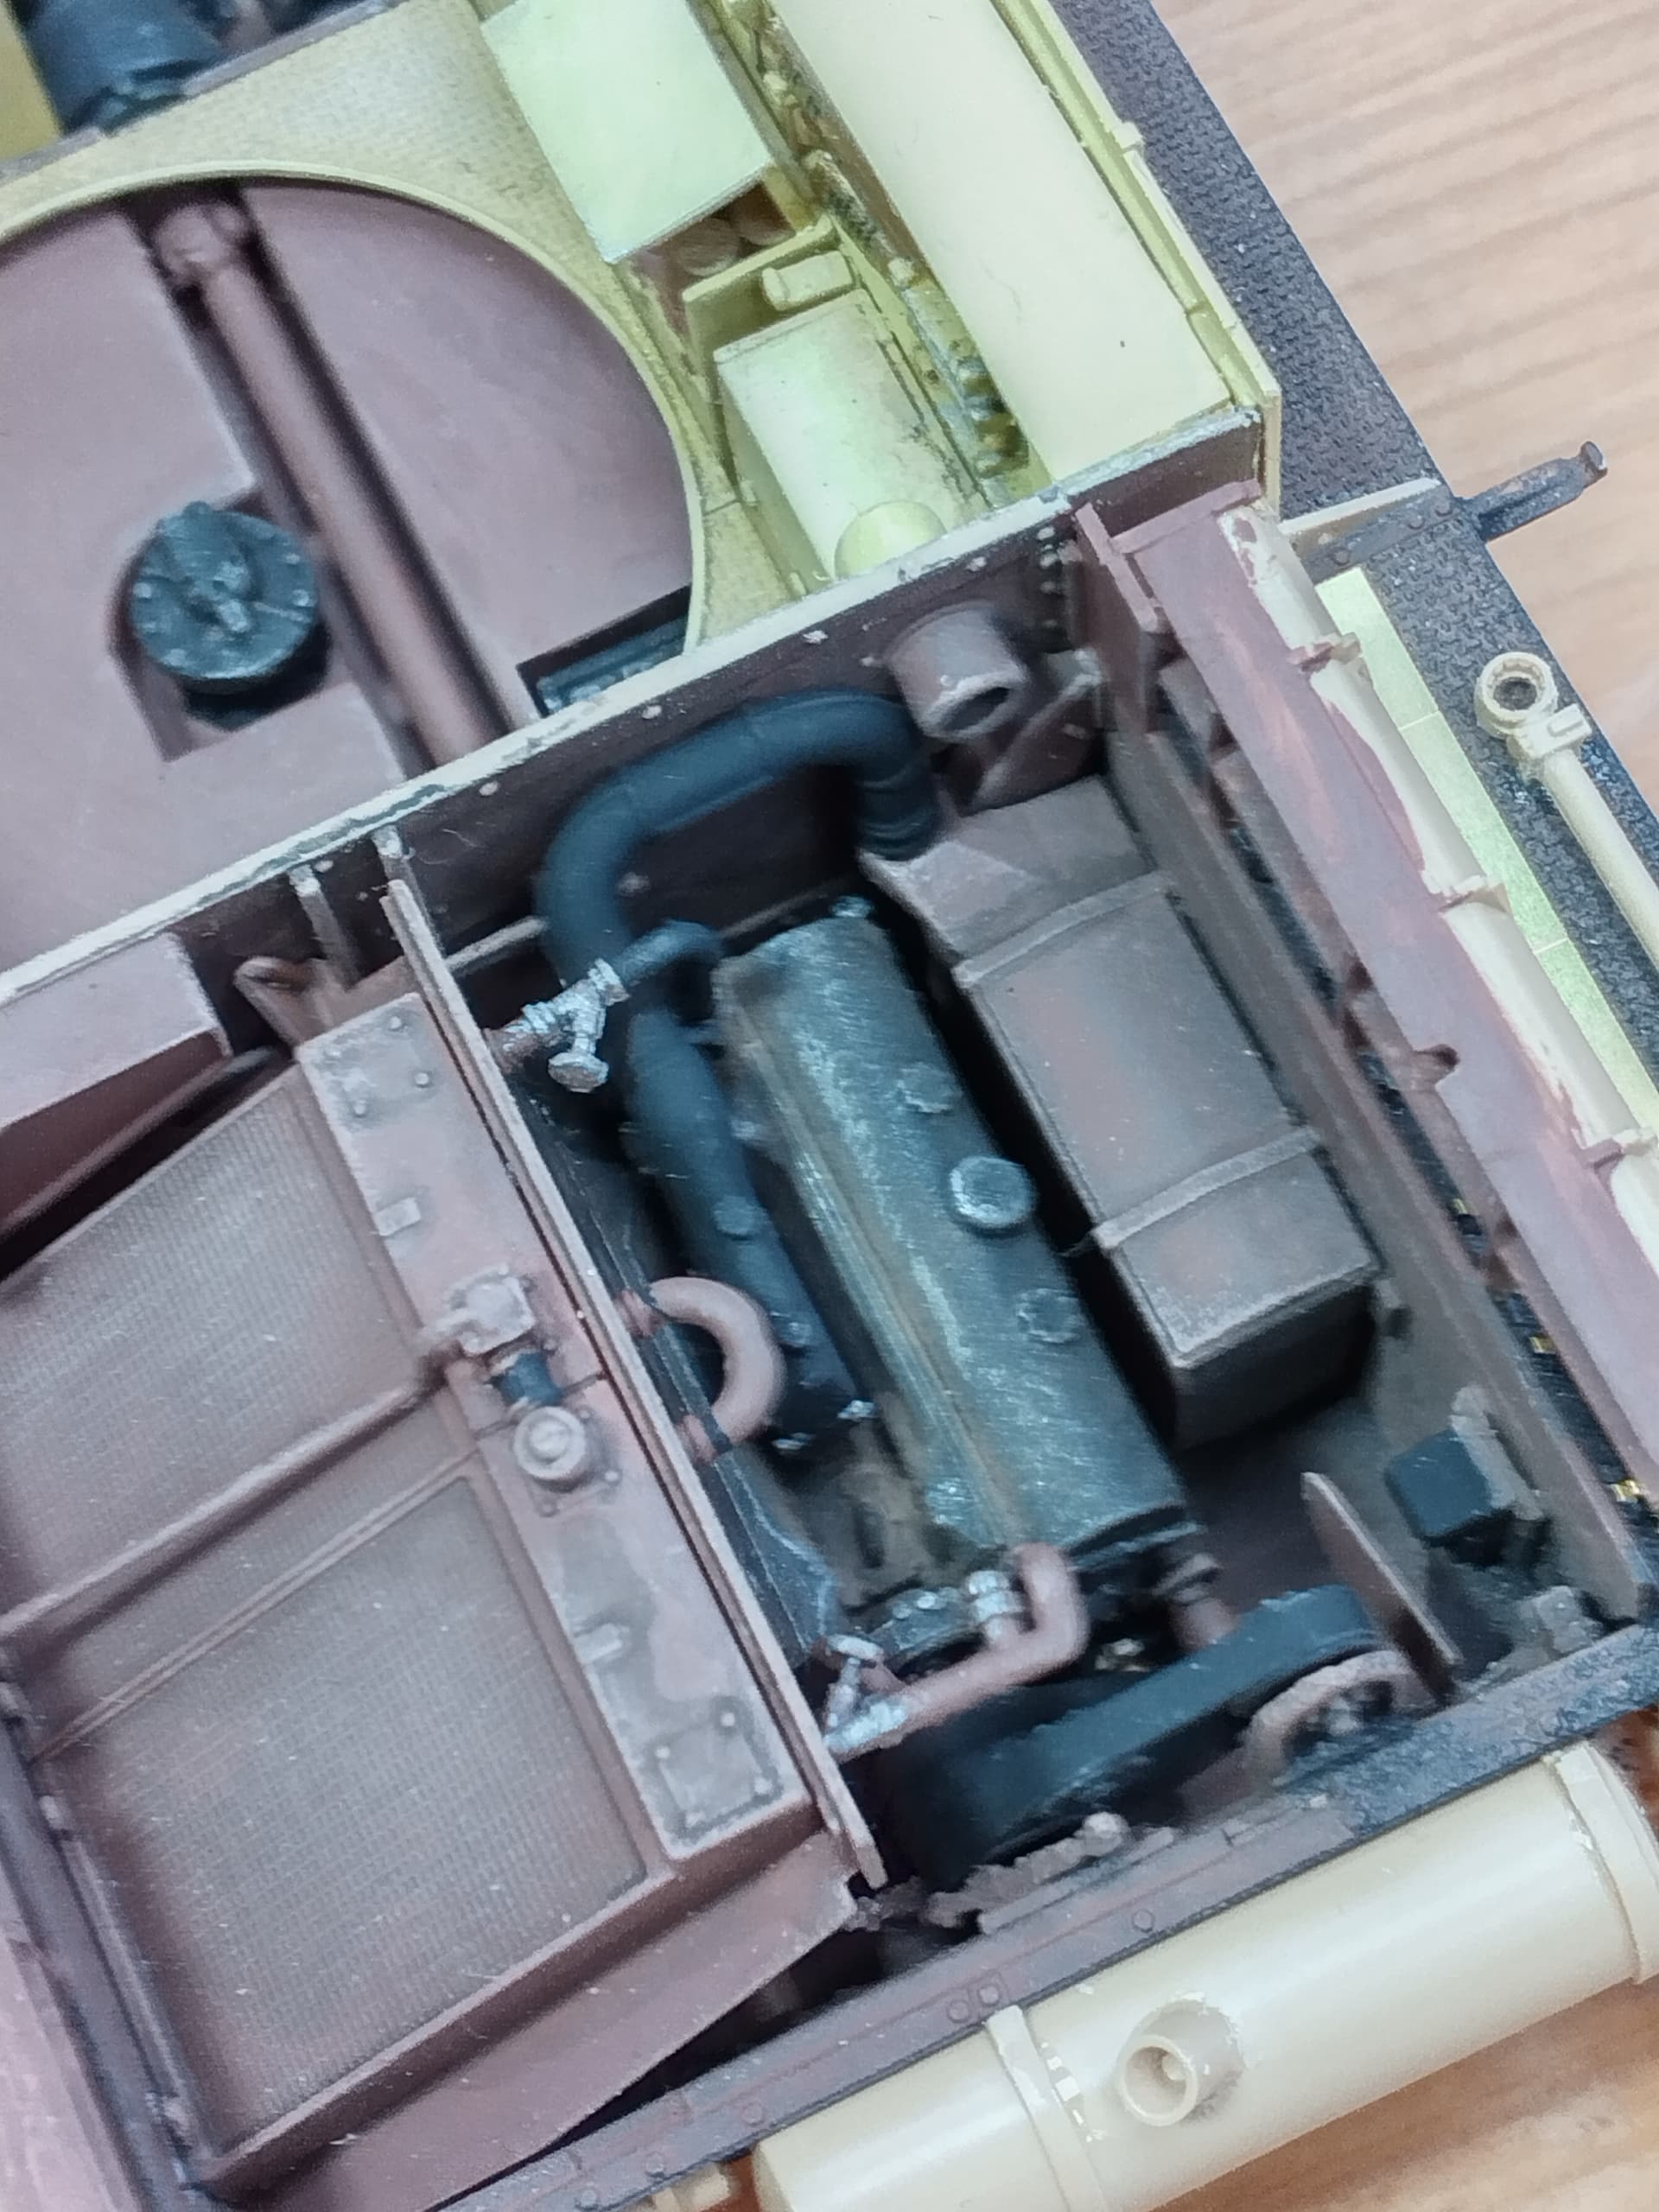
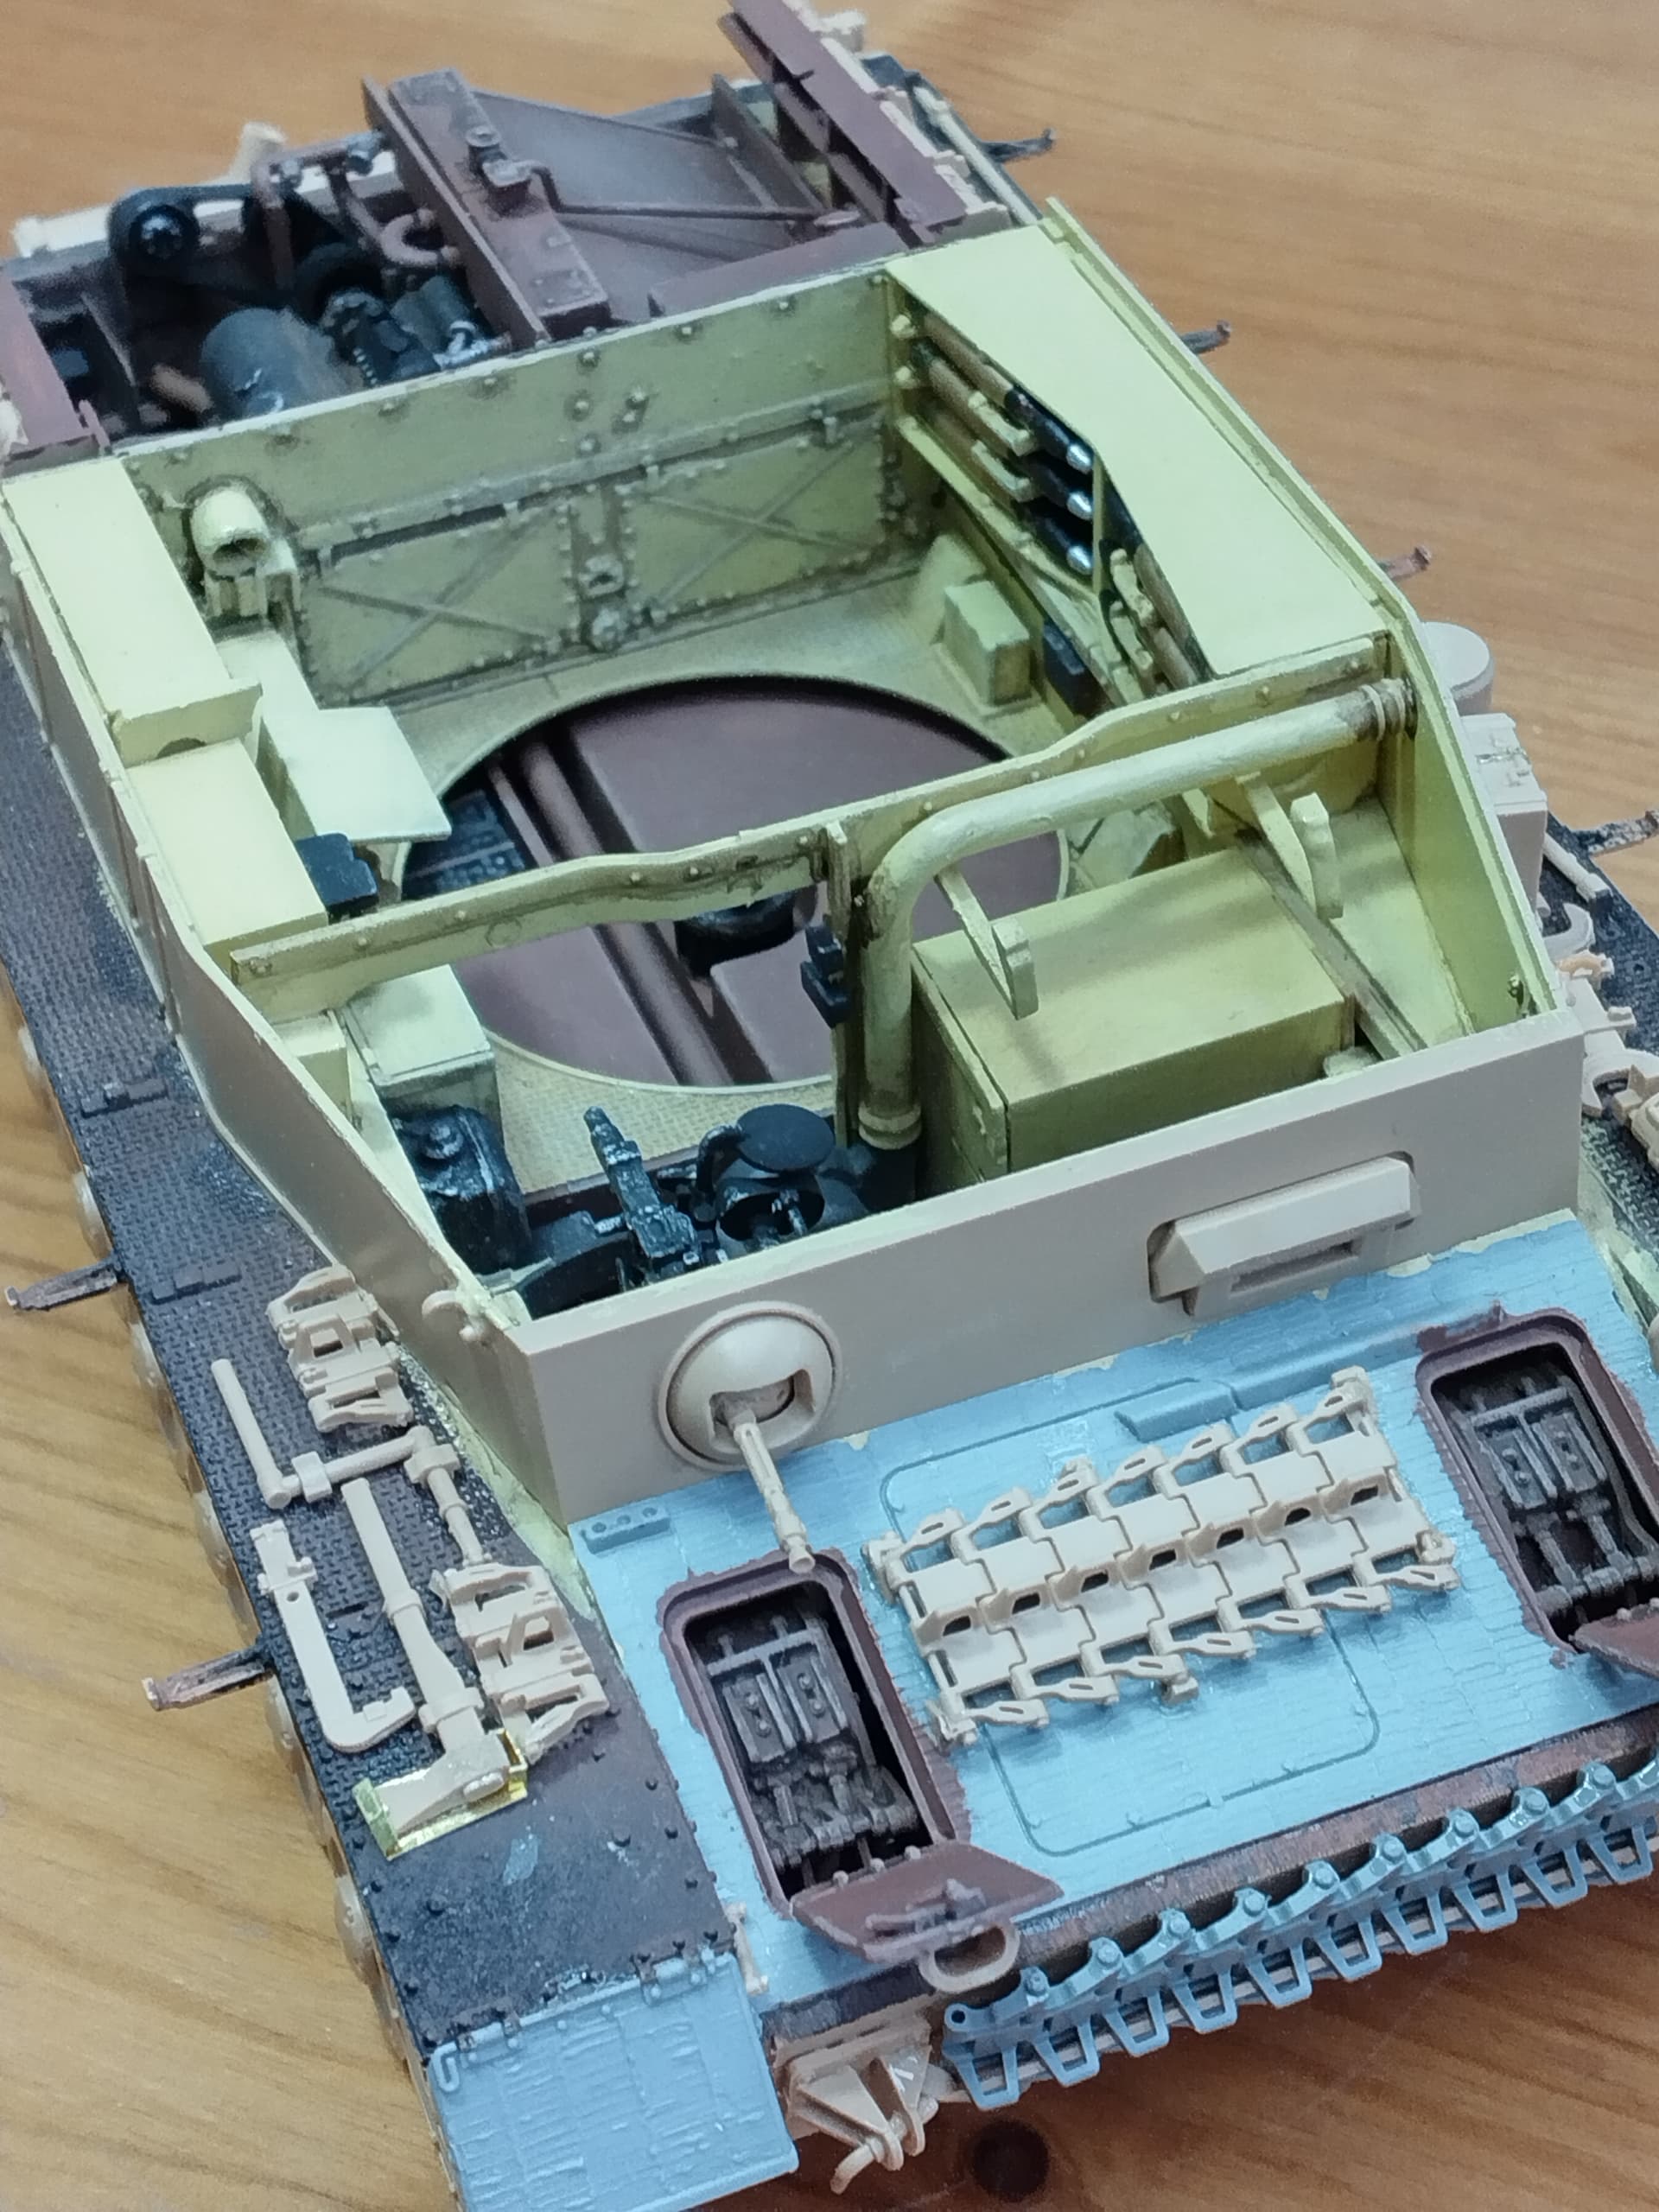
I kept calling in at Khouli’s post on the Panther G with interior, so I thought it was about time I got my own. Currently about two months in and have just about finished the hull. The photos show where I was a couple of days ago. The bad weather here has meant that I’ve made much more progress than I normally would. The kit is very detailed and the fit in some places very tight, a coat of paint makes the difference, which is awkward when you really need to paint as you go. I’ve already lost a couple of tiny pieces - this is my main beef with the kit, some of the sub-assemblies try too much to mimic how the original vehicle was built. My next build will be Tamiya I think… Anyway this is where I am. Just to make the whole job even more difficult, I’ve decided to go for an Ausf H with Zimmerit. The front plate came from a leftover sprue from a Dragon Jagdpanzer, likewise the rear plate and mudguards.

Wow Hohenstaufen that’s coming along very nicely. Great job on the interior painting. What color did you paint the final drives if I may ask?
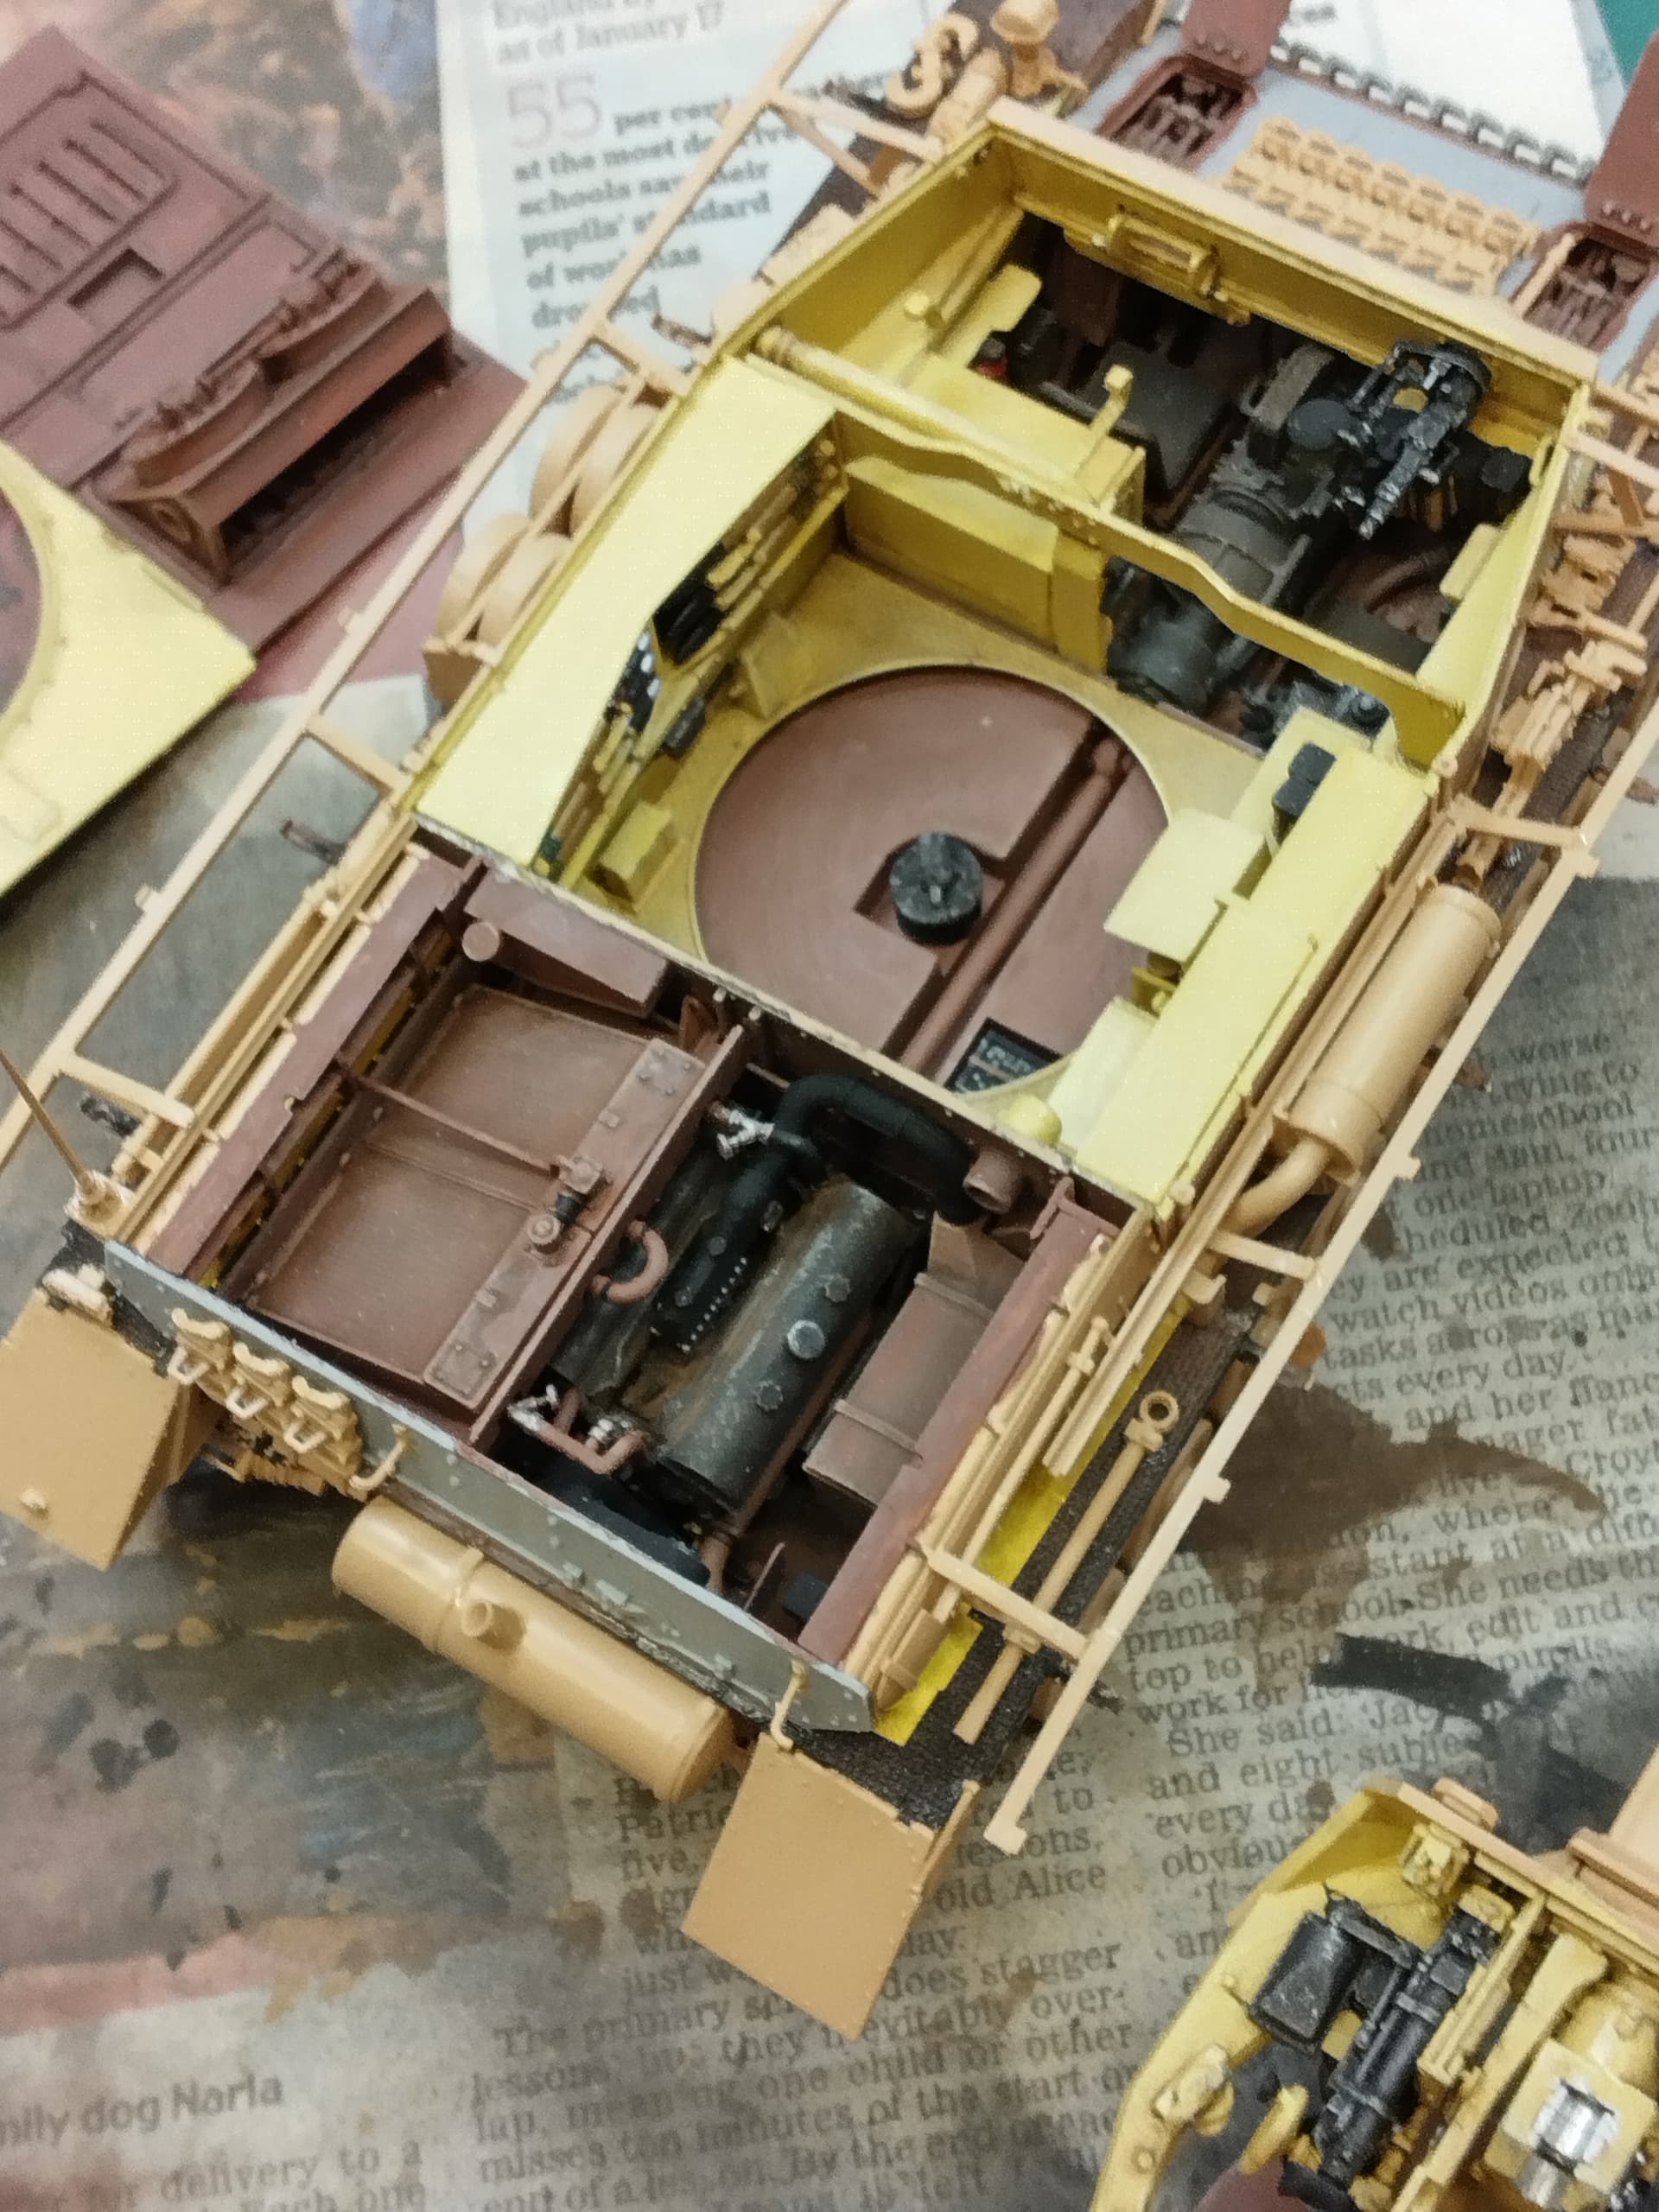
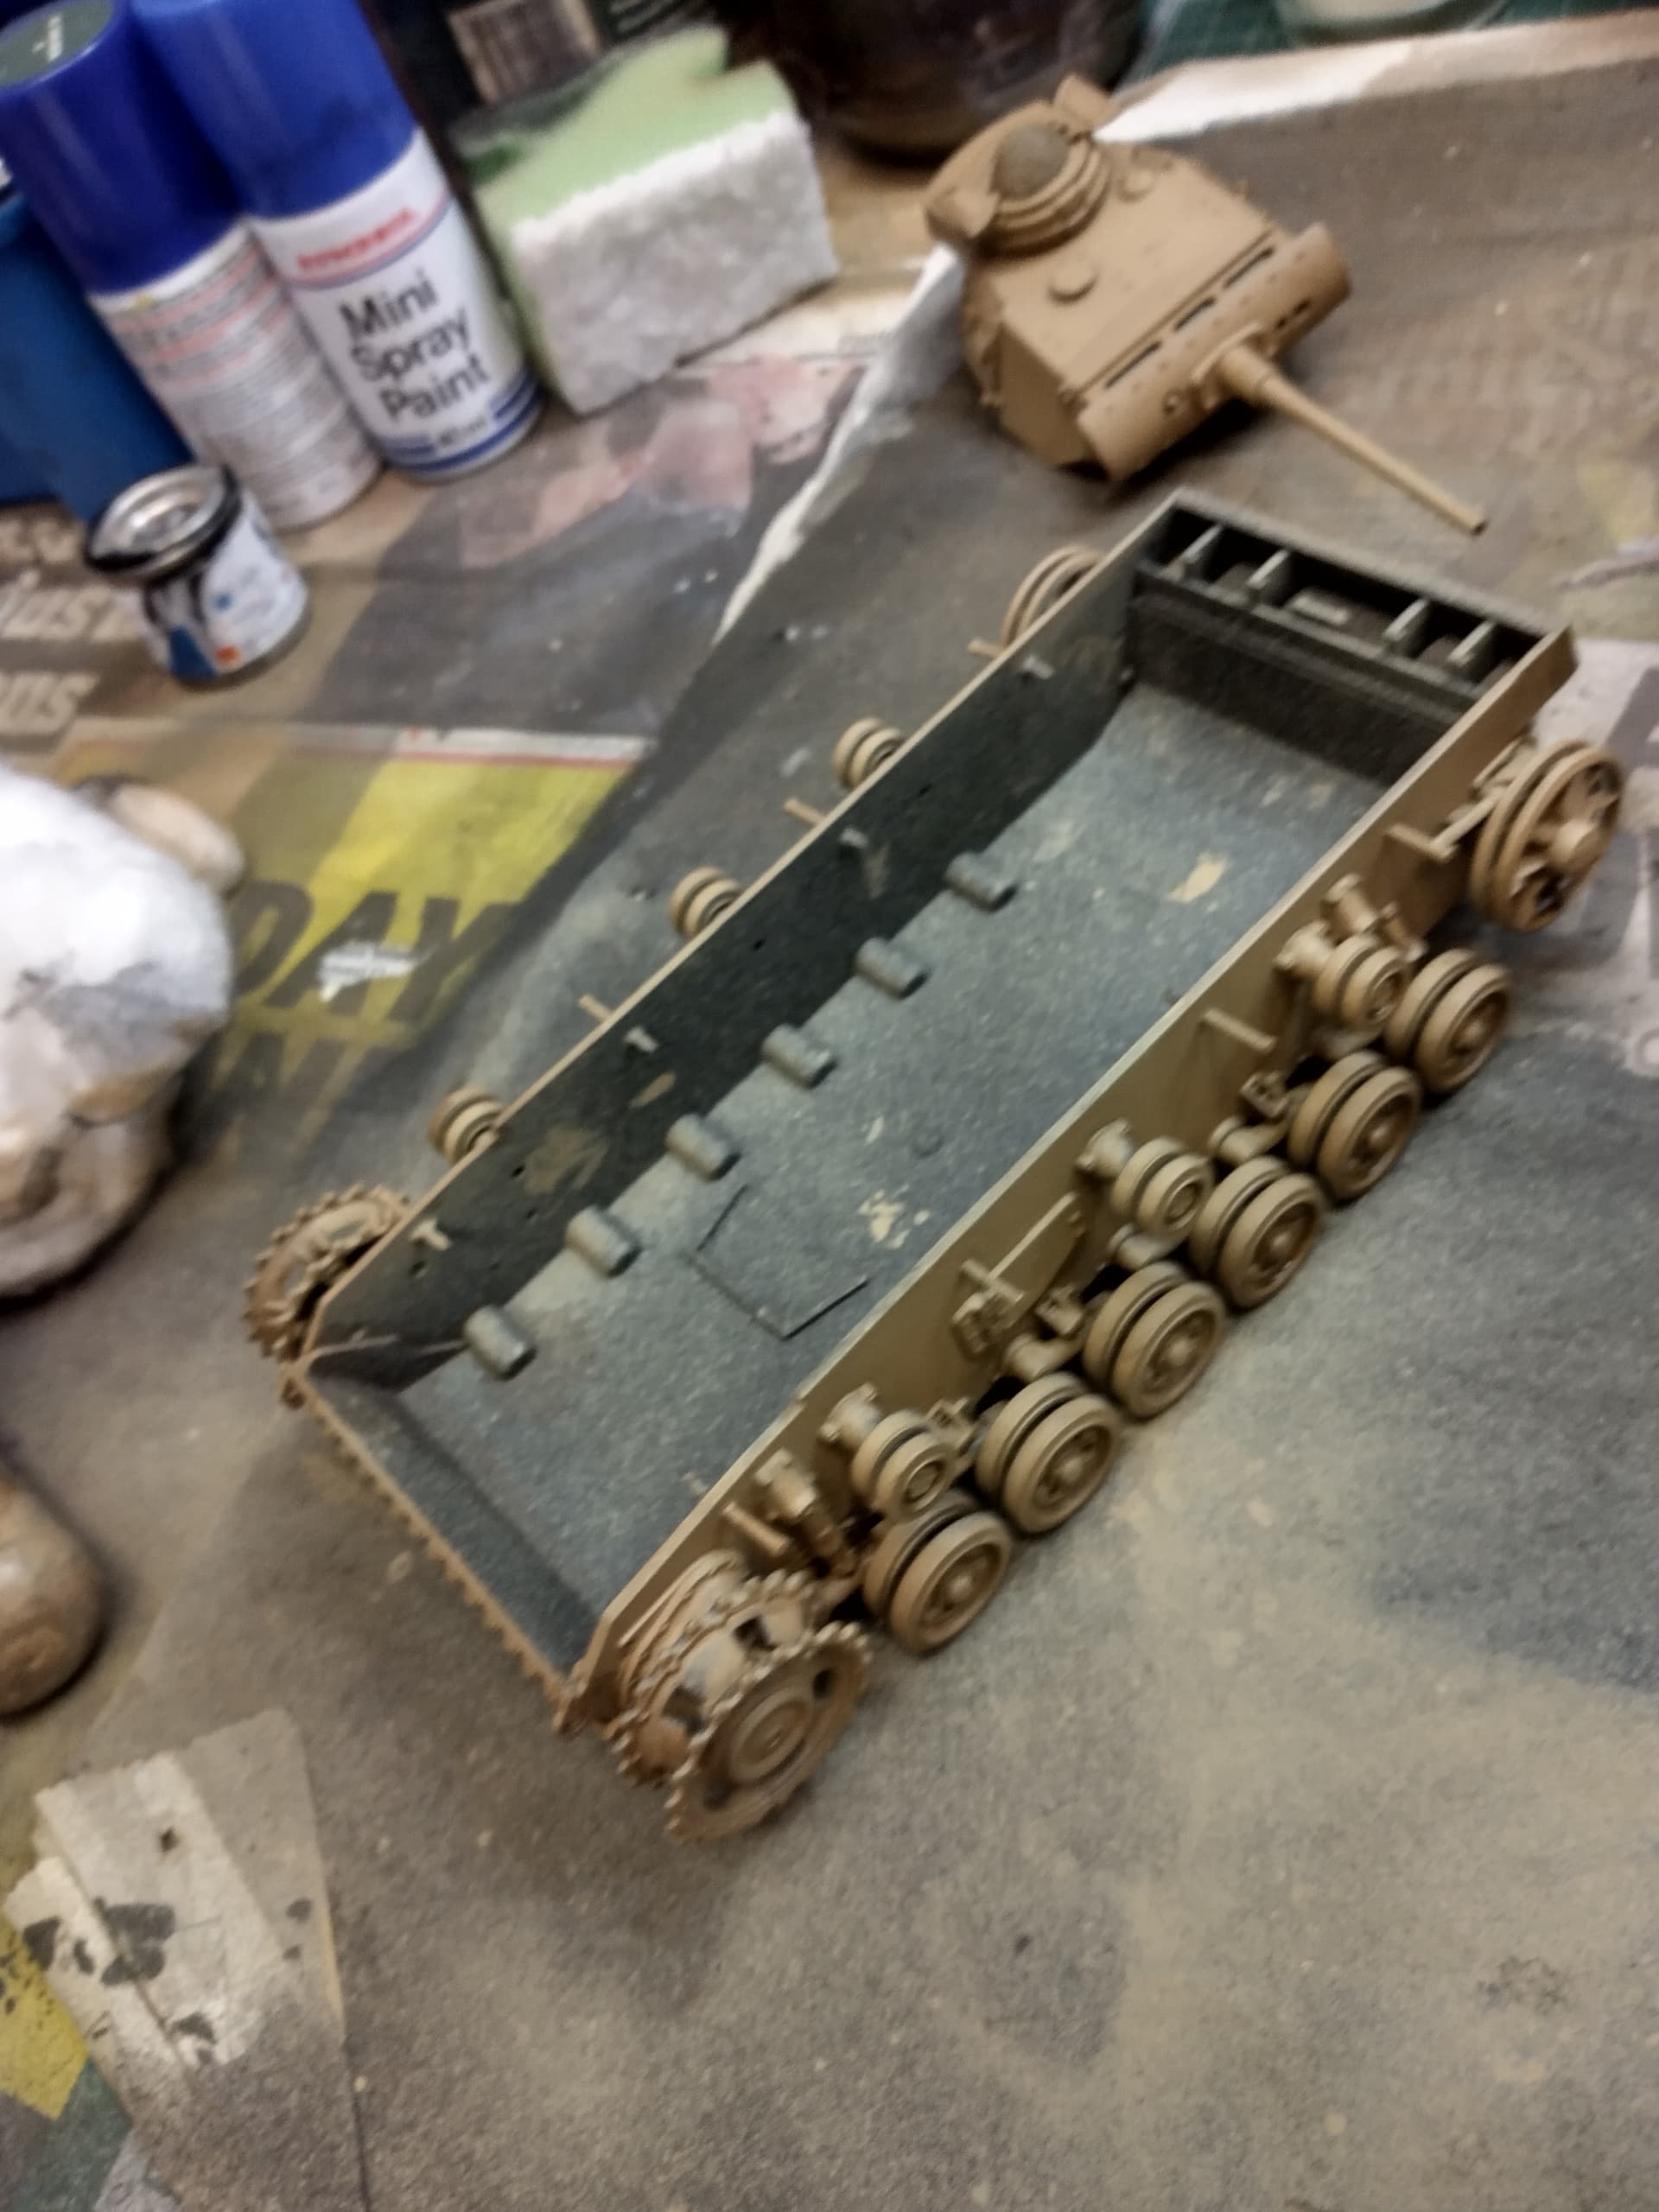
The red oxide primer, which I used on the final drives is Humbrol Matt 113 - Rust, which according to a website featuring David Bryden is a good match. This was then followed by a dark wash then a highlight with 113 mixed with white.
Ok excellent thanks
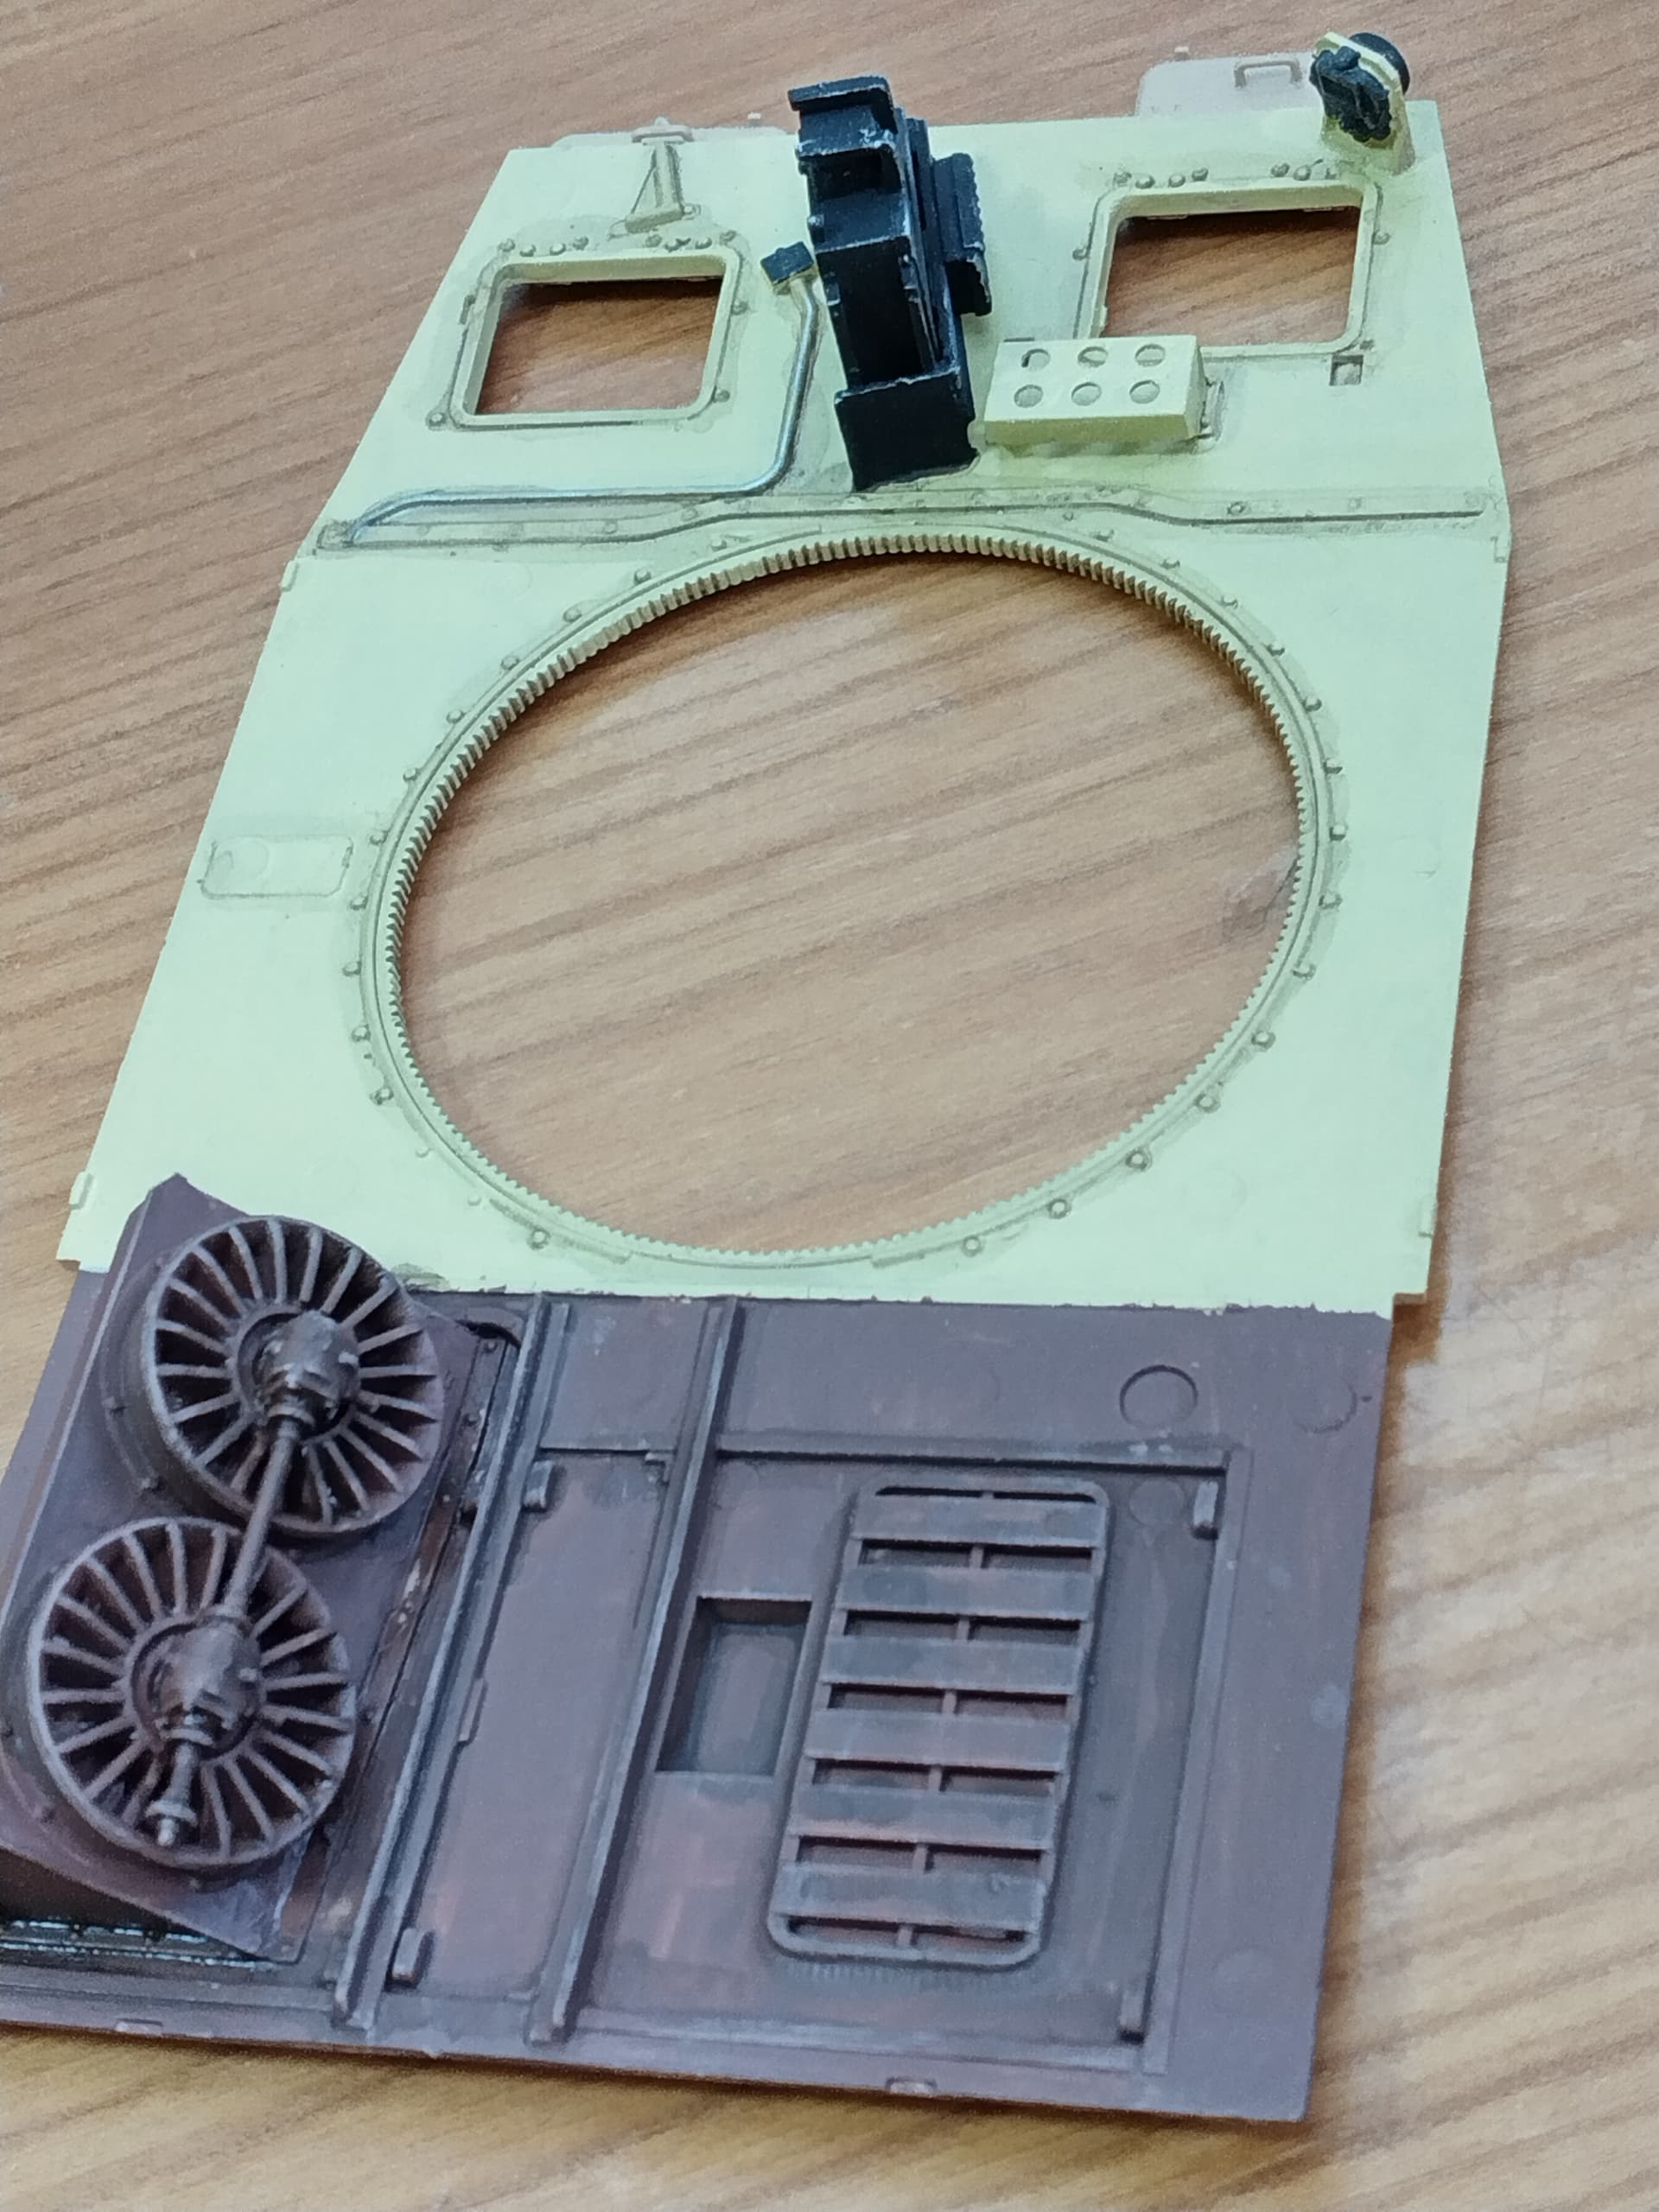
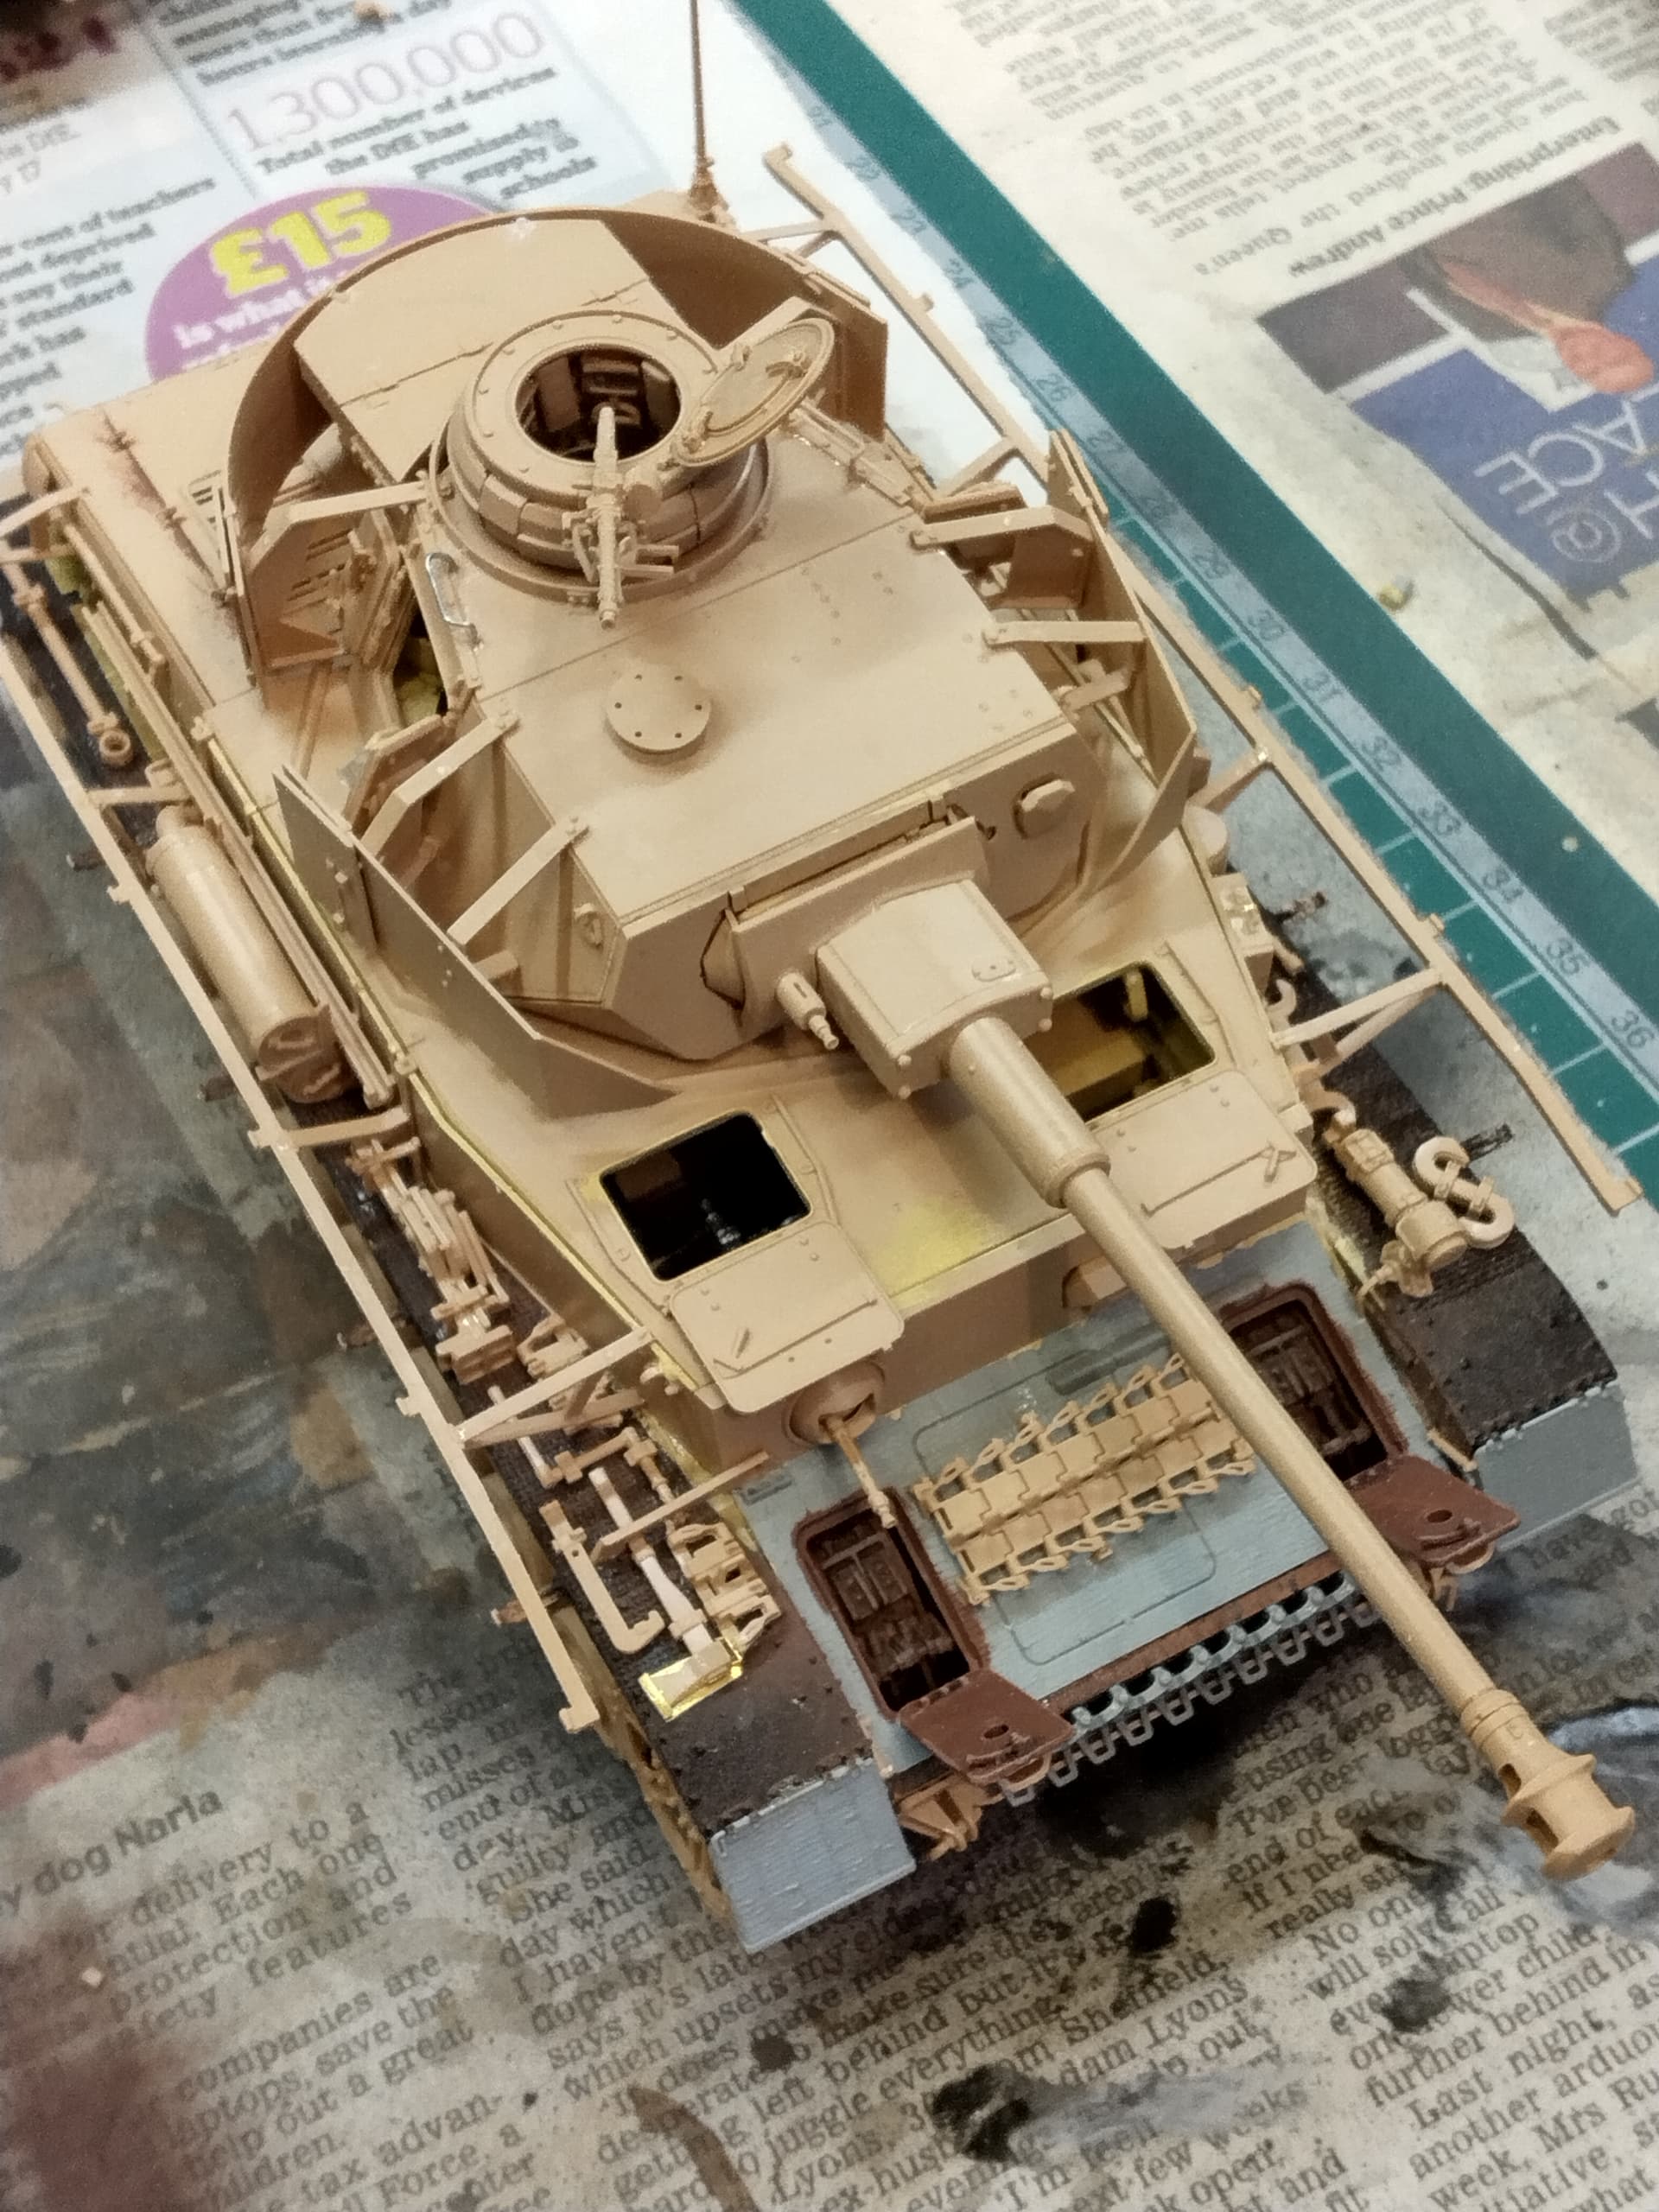
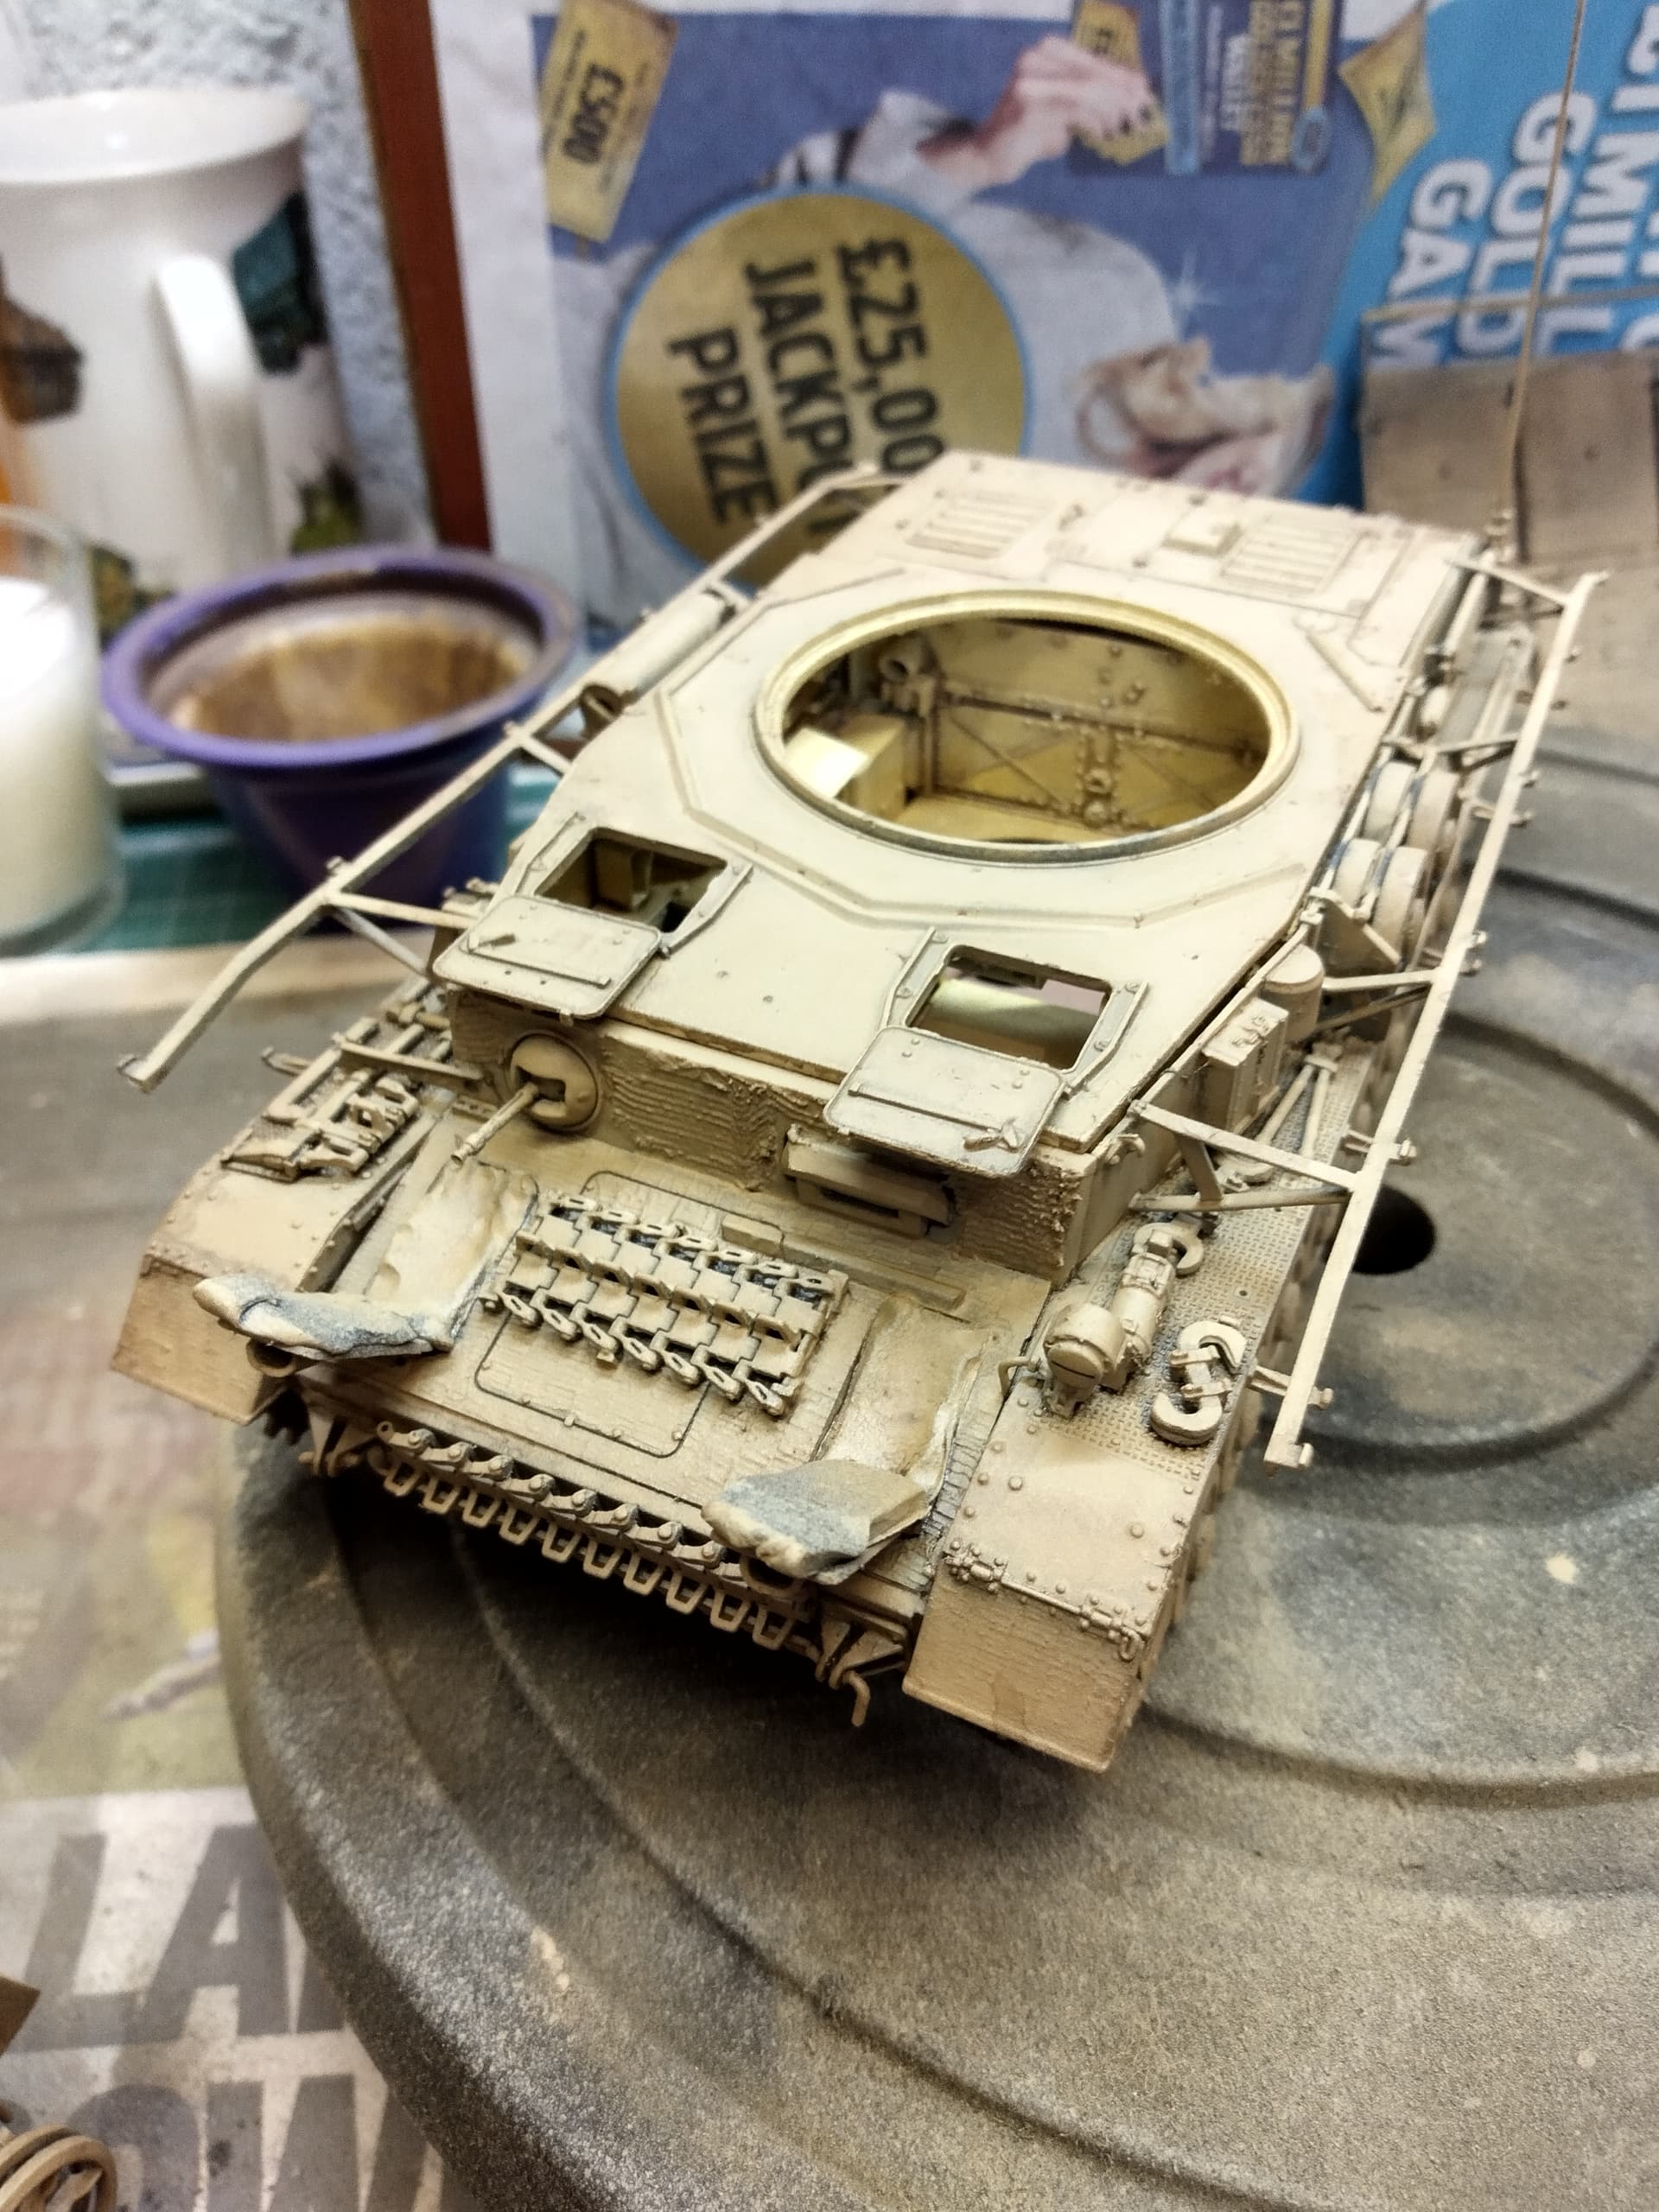
Here’s an update. All it needs now is Zimmerit (filler) on the driver’s plate, turret schurtzen and side schurtzen (from a phot from 9 SS “Hohenstaufen”). The tracks are assembled and in the box, but I can’t link them up as they won’t fit over the road wheels, they will have to be run on then joined after painting. After the Zimmerit, all I need to figure out is how to prime and paint the exterior! A lot of masking and stuffing cotton wool into hatches I think…
I can’t get on with these jobs, ATT as I need to do the messy stuff in the garage and it’s too ruddy cold for that now!

Coming along beautifully
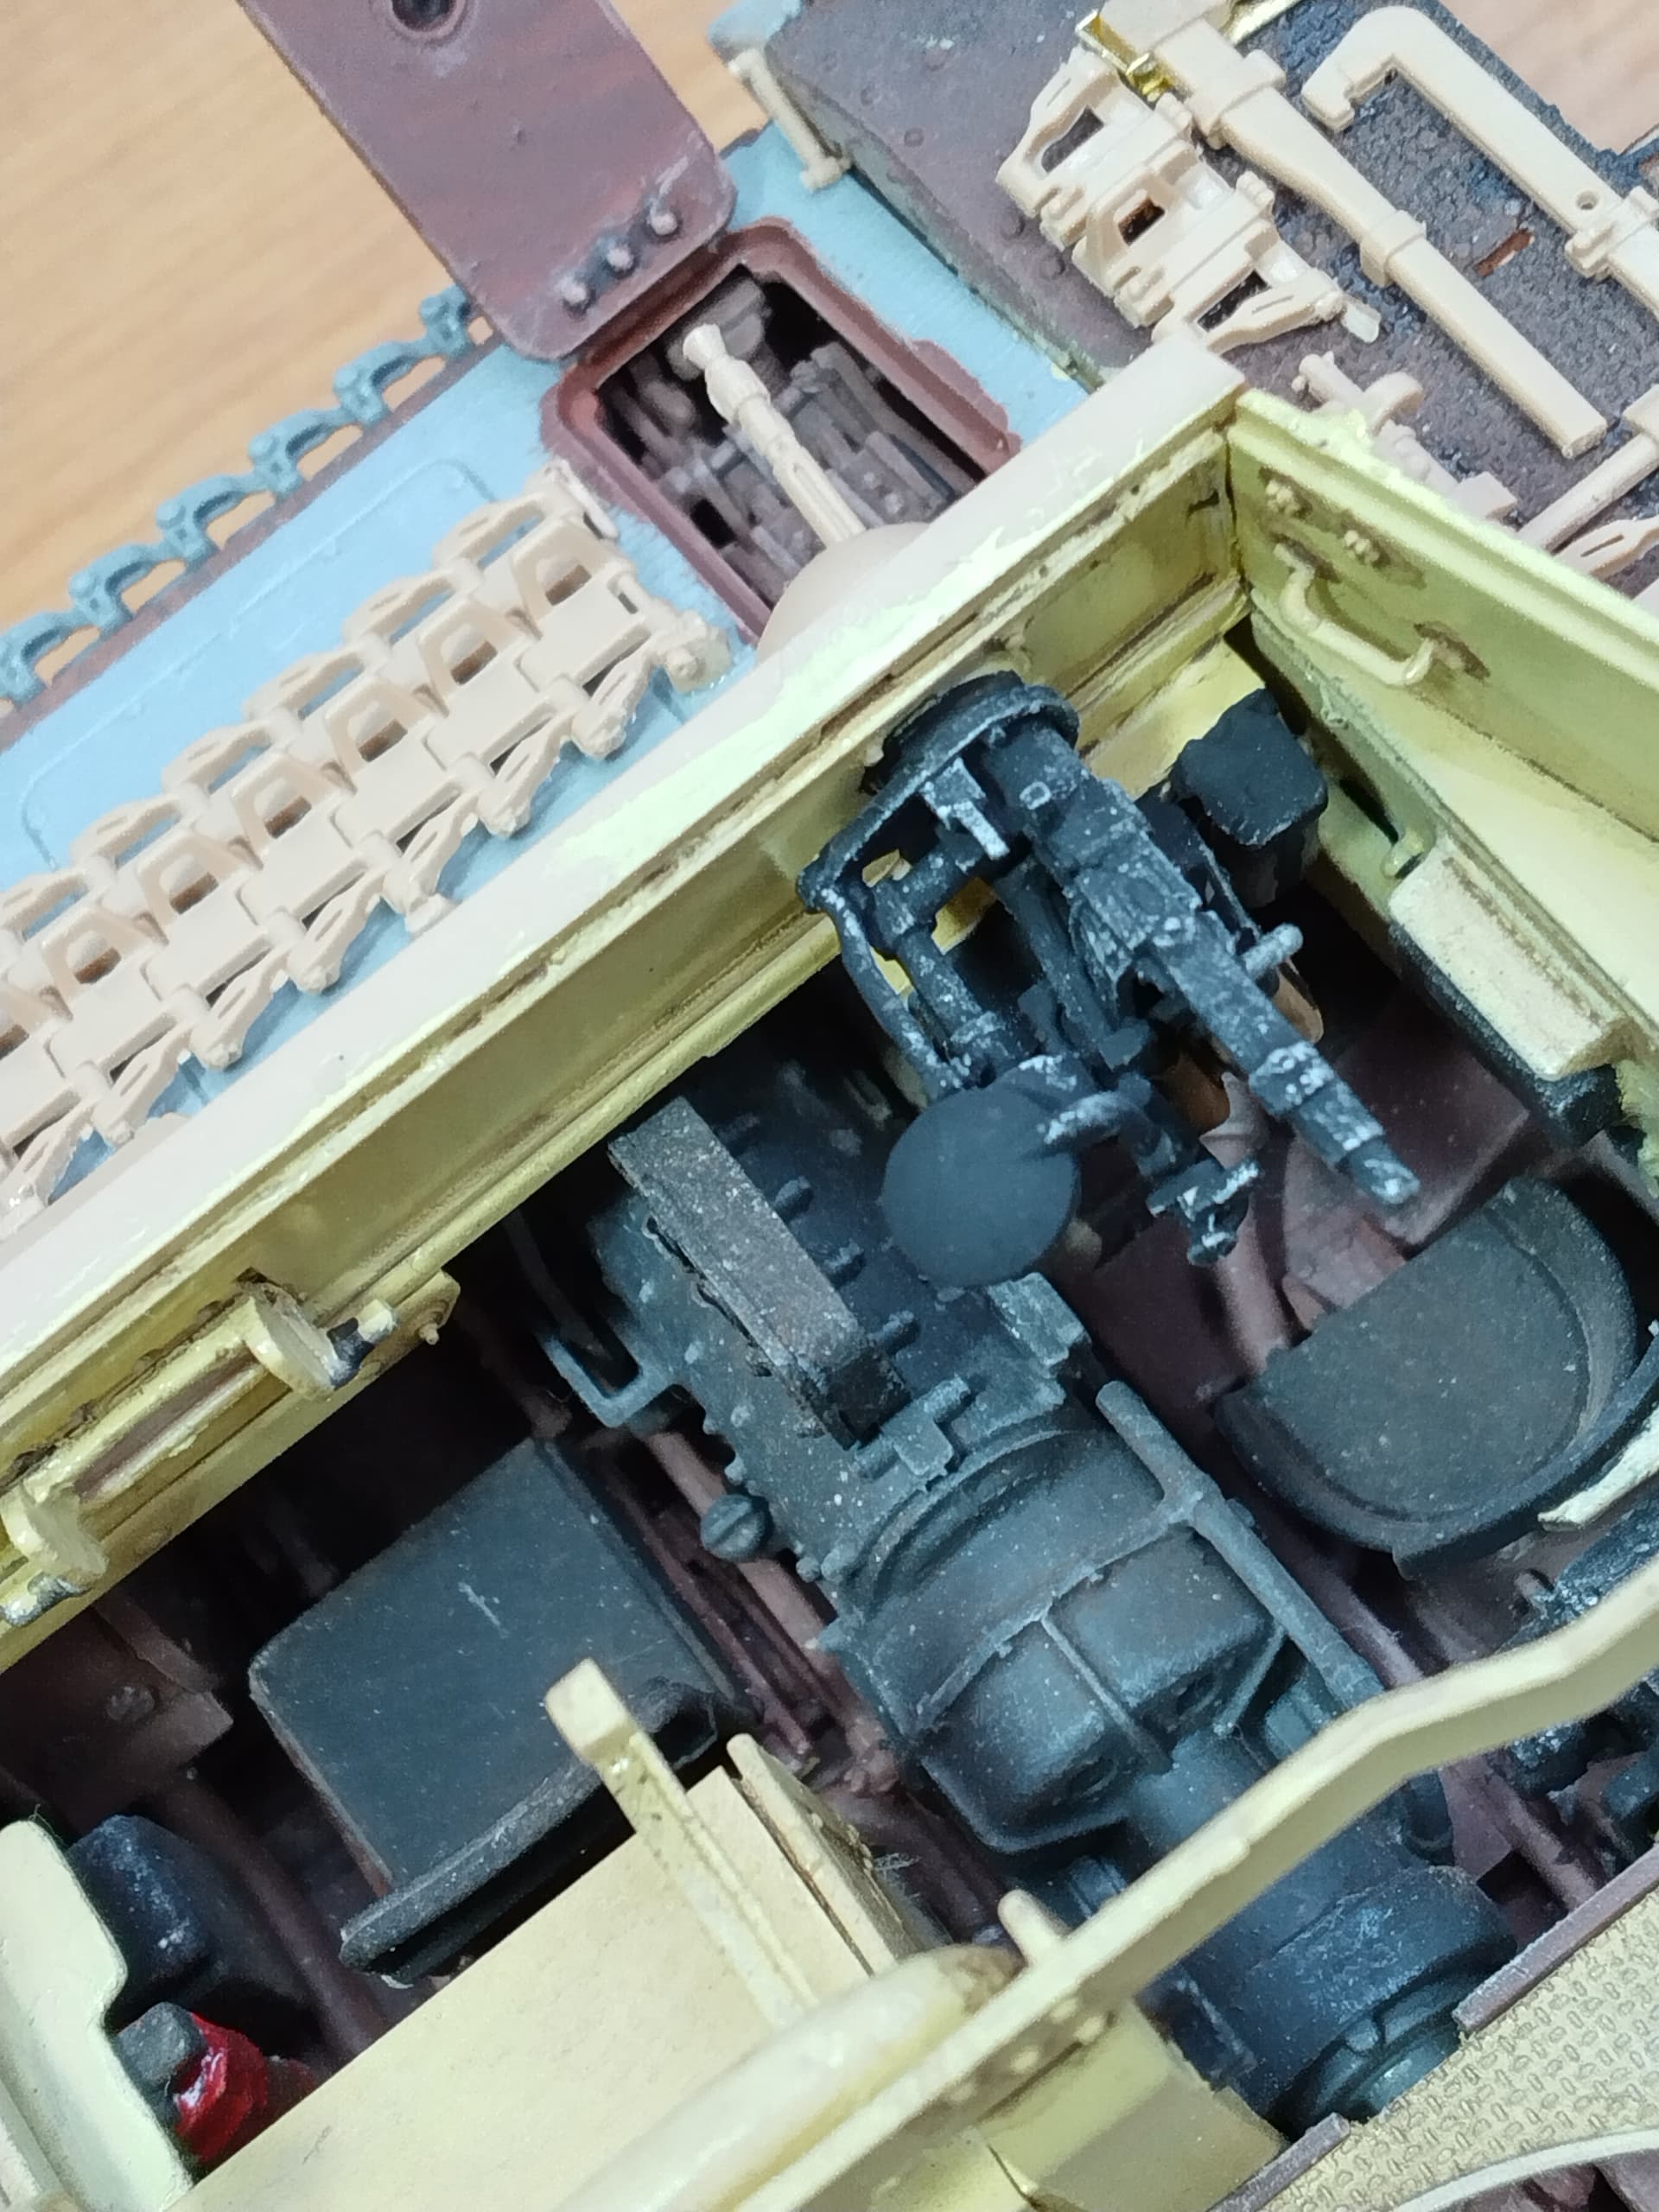
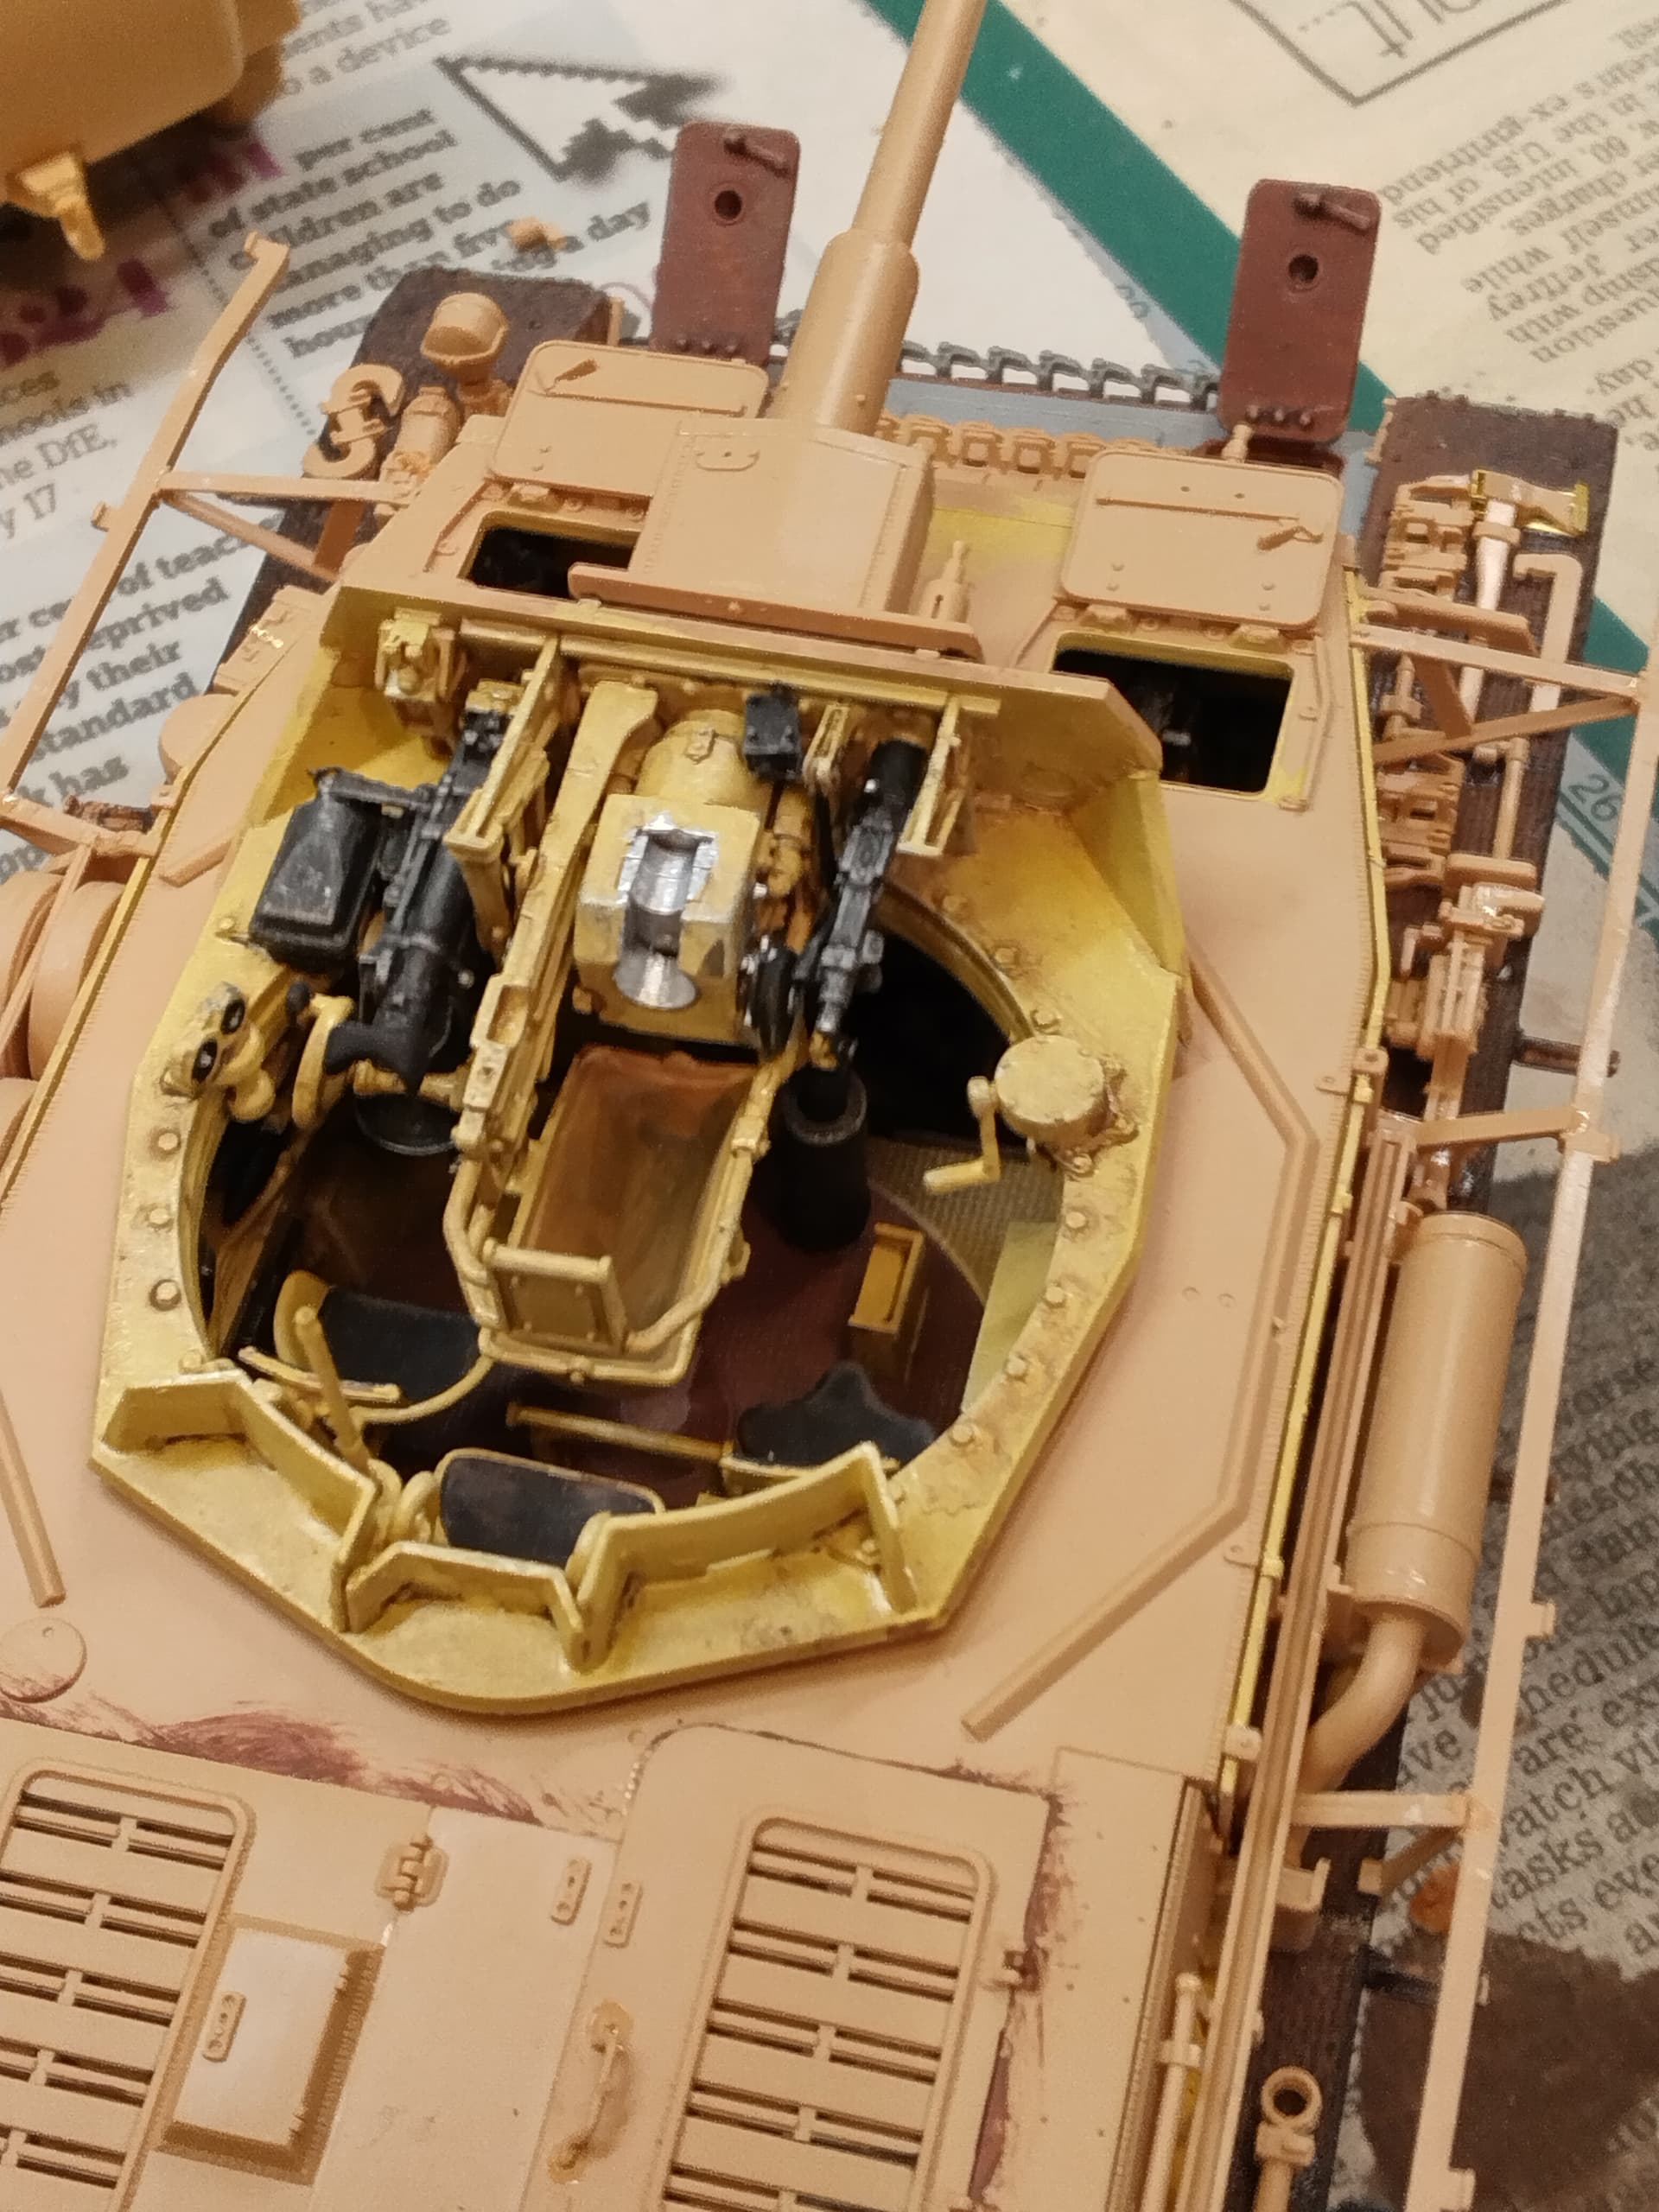
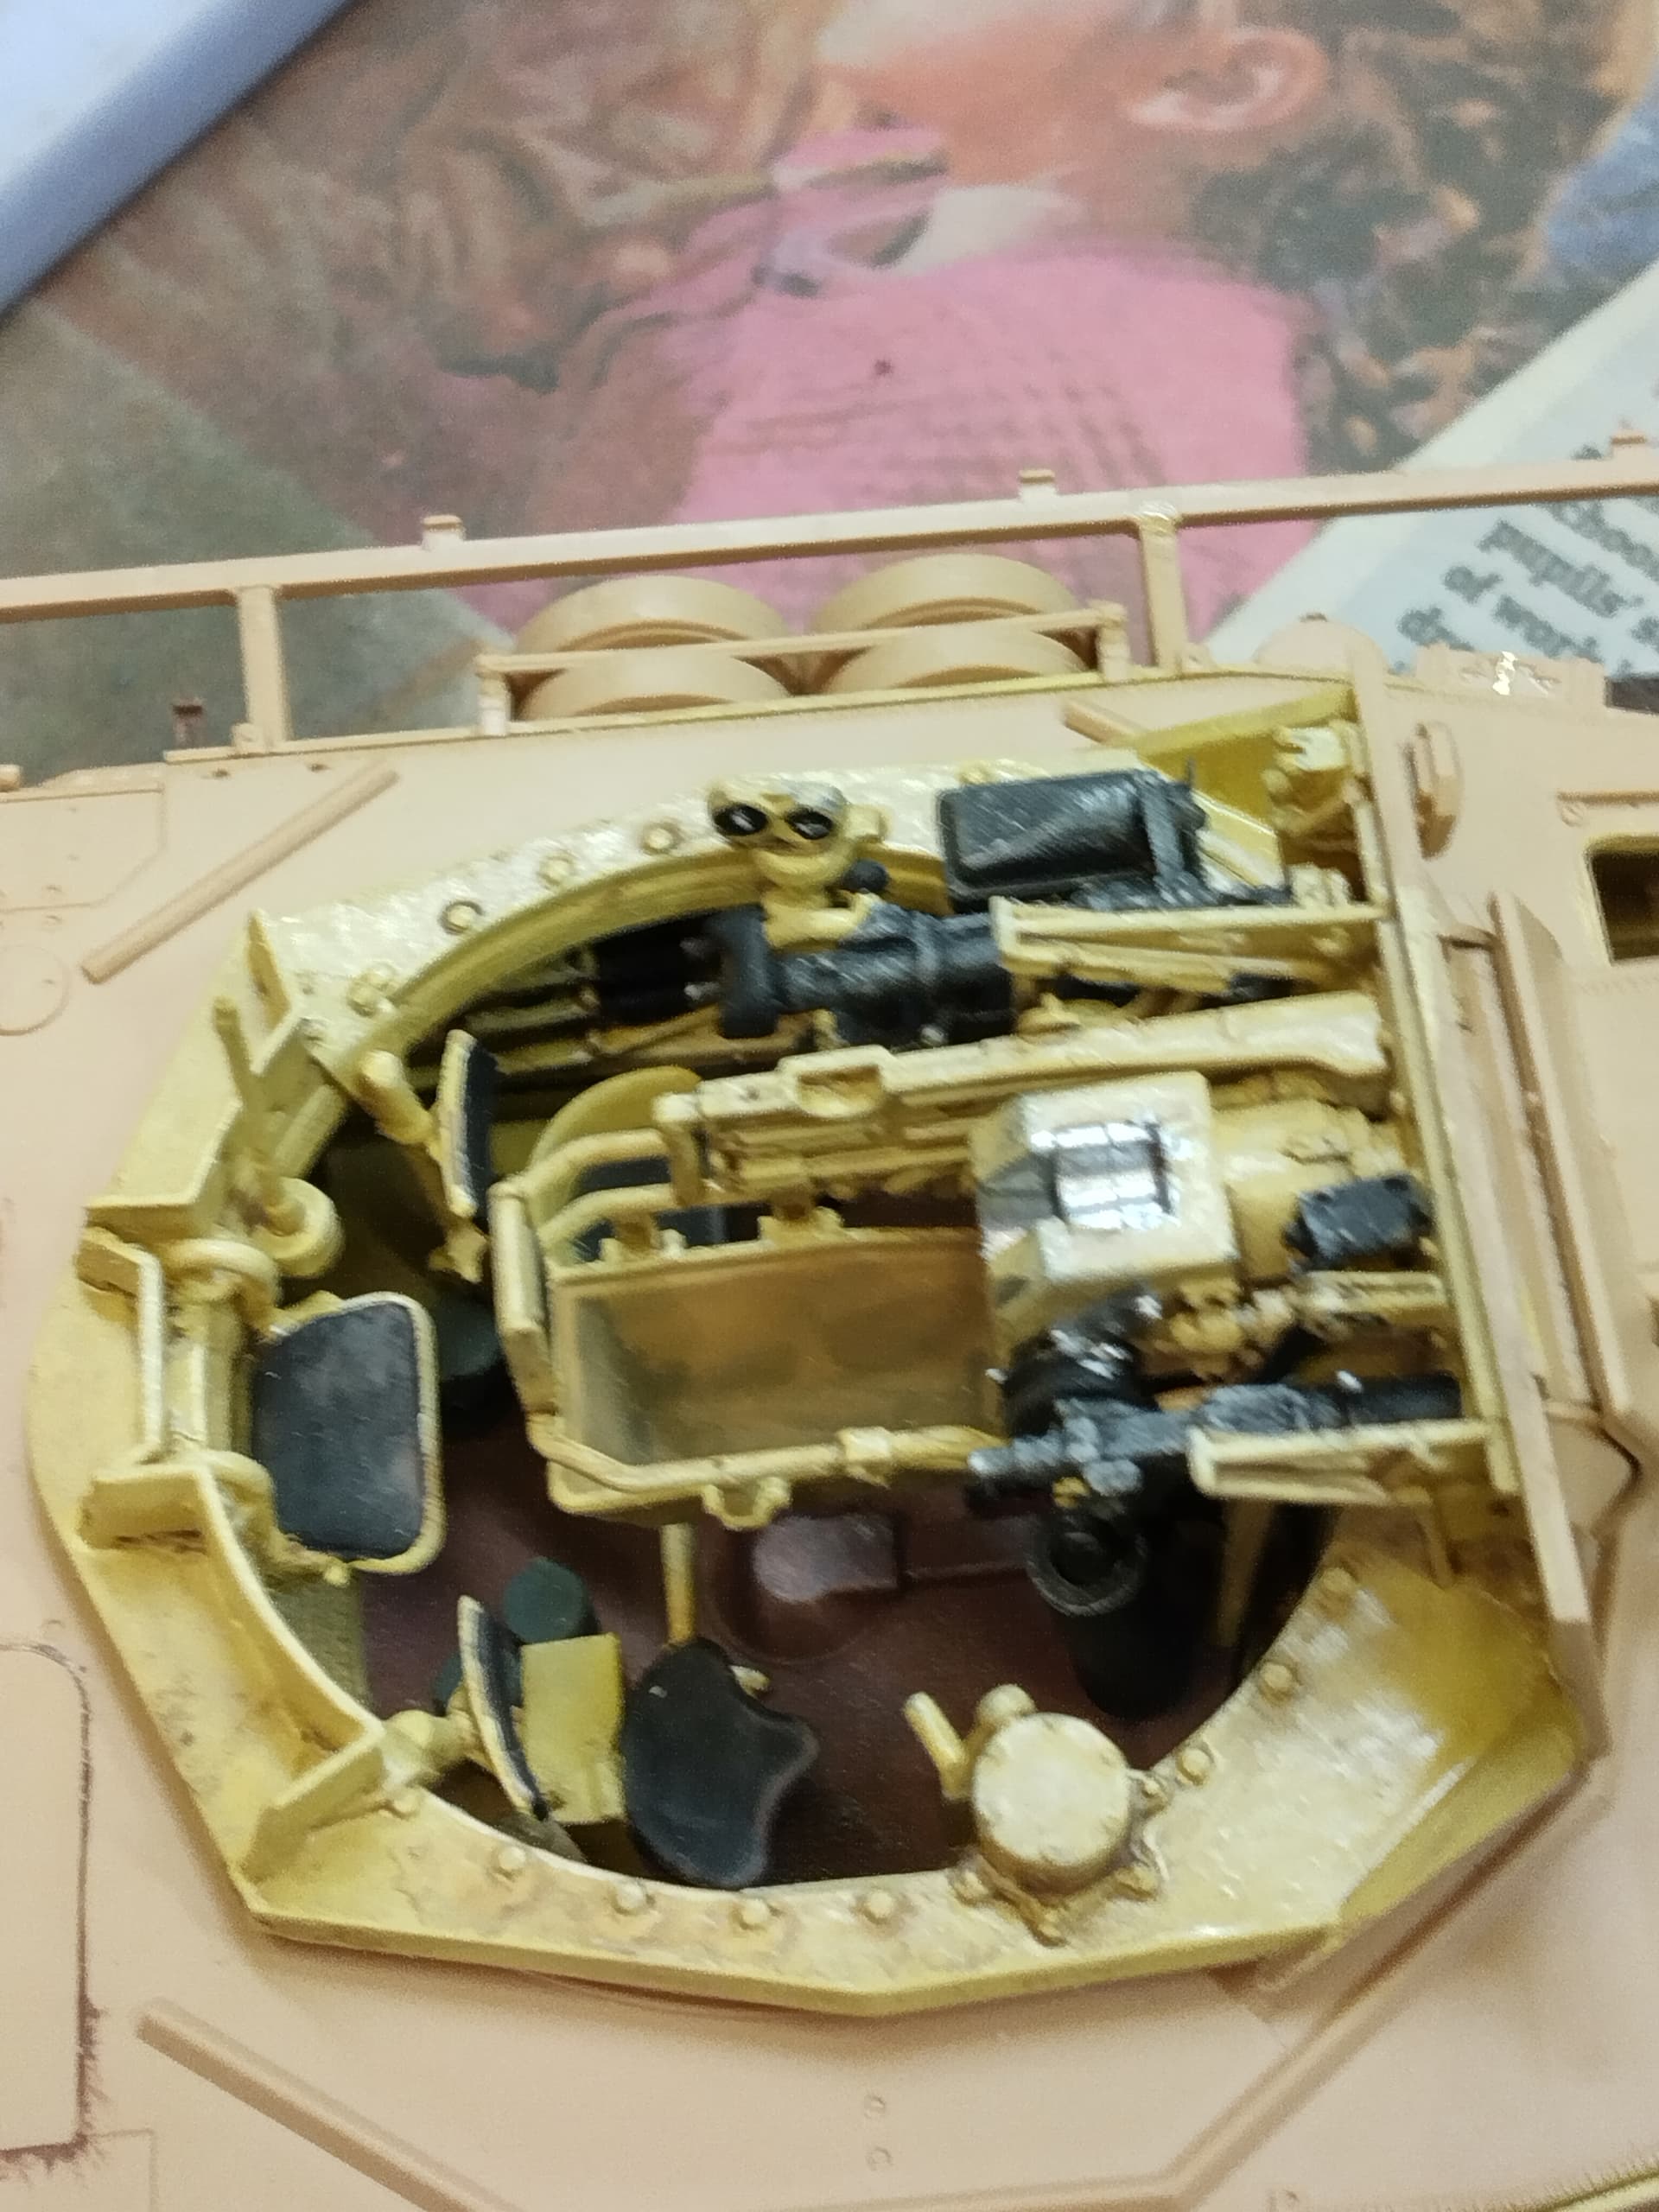
One question- what side does the loader and gunner sit on ?
Not being funny but its pretty easy to work out from the above kit image where the loader and the gunner are positioned. The gunner will need the optical equipment to sight the gun and the loader will need a unobstructed breech to load the munitions into.  There’s the clues
Yeah I kinda figured that with the open area around the breach. Just wasn’t sure - thanks
I also mistook the coax mg for a sight of some kind. Oops! Wasn’t looking close enough
That’s probably my bad photography! The loaders job in any WW2 tank was pretty grim. The ready use ammo was fairly accessible, but once you’d got through that he had to scrabble around on the floor to get to the other bins, being careful not to get jammed in the turret basket as it turned! The co-ax had to be on that side as part of his job was topping that up in between manoeuvring those great long armour piercing rounds in a limited space and not getting his fingers trapped in the breech. As it that wasn’t enough, the empty shell case bag only held a couple so there would be spent cases all over the floor that he had to get rid of during a break in the action.
Great Looking PzIV!! I’ll be checking in on this on a regular basis.

This is pretty good, i’m watching with some interest as I have this kit in my modest stash.
I bought it when I was about half way through my Panther build, before the Panther had broken my spirit. Now, this Mk IV is firmly at the bottom of my stash and its going to be aircraft all the way for me for a good while I should think.
It does look a lot less complicated than the Panther though, so perhaps it isn’t too bad after all…
Nothing wrong with your photography lol; I was just having brain cramps. I should have seen what I think is the eye piece for the sight itself on the left side of the gun.
I think it’s probably easier, most of the problems have been self inflicted to some extent. In contrast, I have the Panther in my stash and it is remaining firmly at the bottom for now on the basis of this build and your report! In the meantime, now it is at the painting the exterior stage, I have been mainlining Tamiya kits to get my blood pressure down to normal levels.
I have read that the Panzer IV was preferred by the crews due to reliability and easier maintenance procedures.
Like the majority of German equipment, it was over engineereed.
But, the Mk IV was relatively cheap to produce, was reliable and adaptable, and effective. It was the most widely produced German AFV. By contrast, the Panther was very complicated, badly unreliable (at least initially) and expensive to produce.
I always like the ‘look’ of the Panther, but i’d say the Mk IV was my ‘favourite’ German AFV of the war.
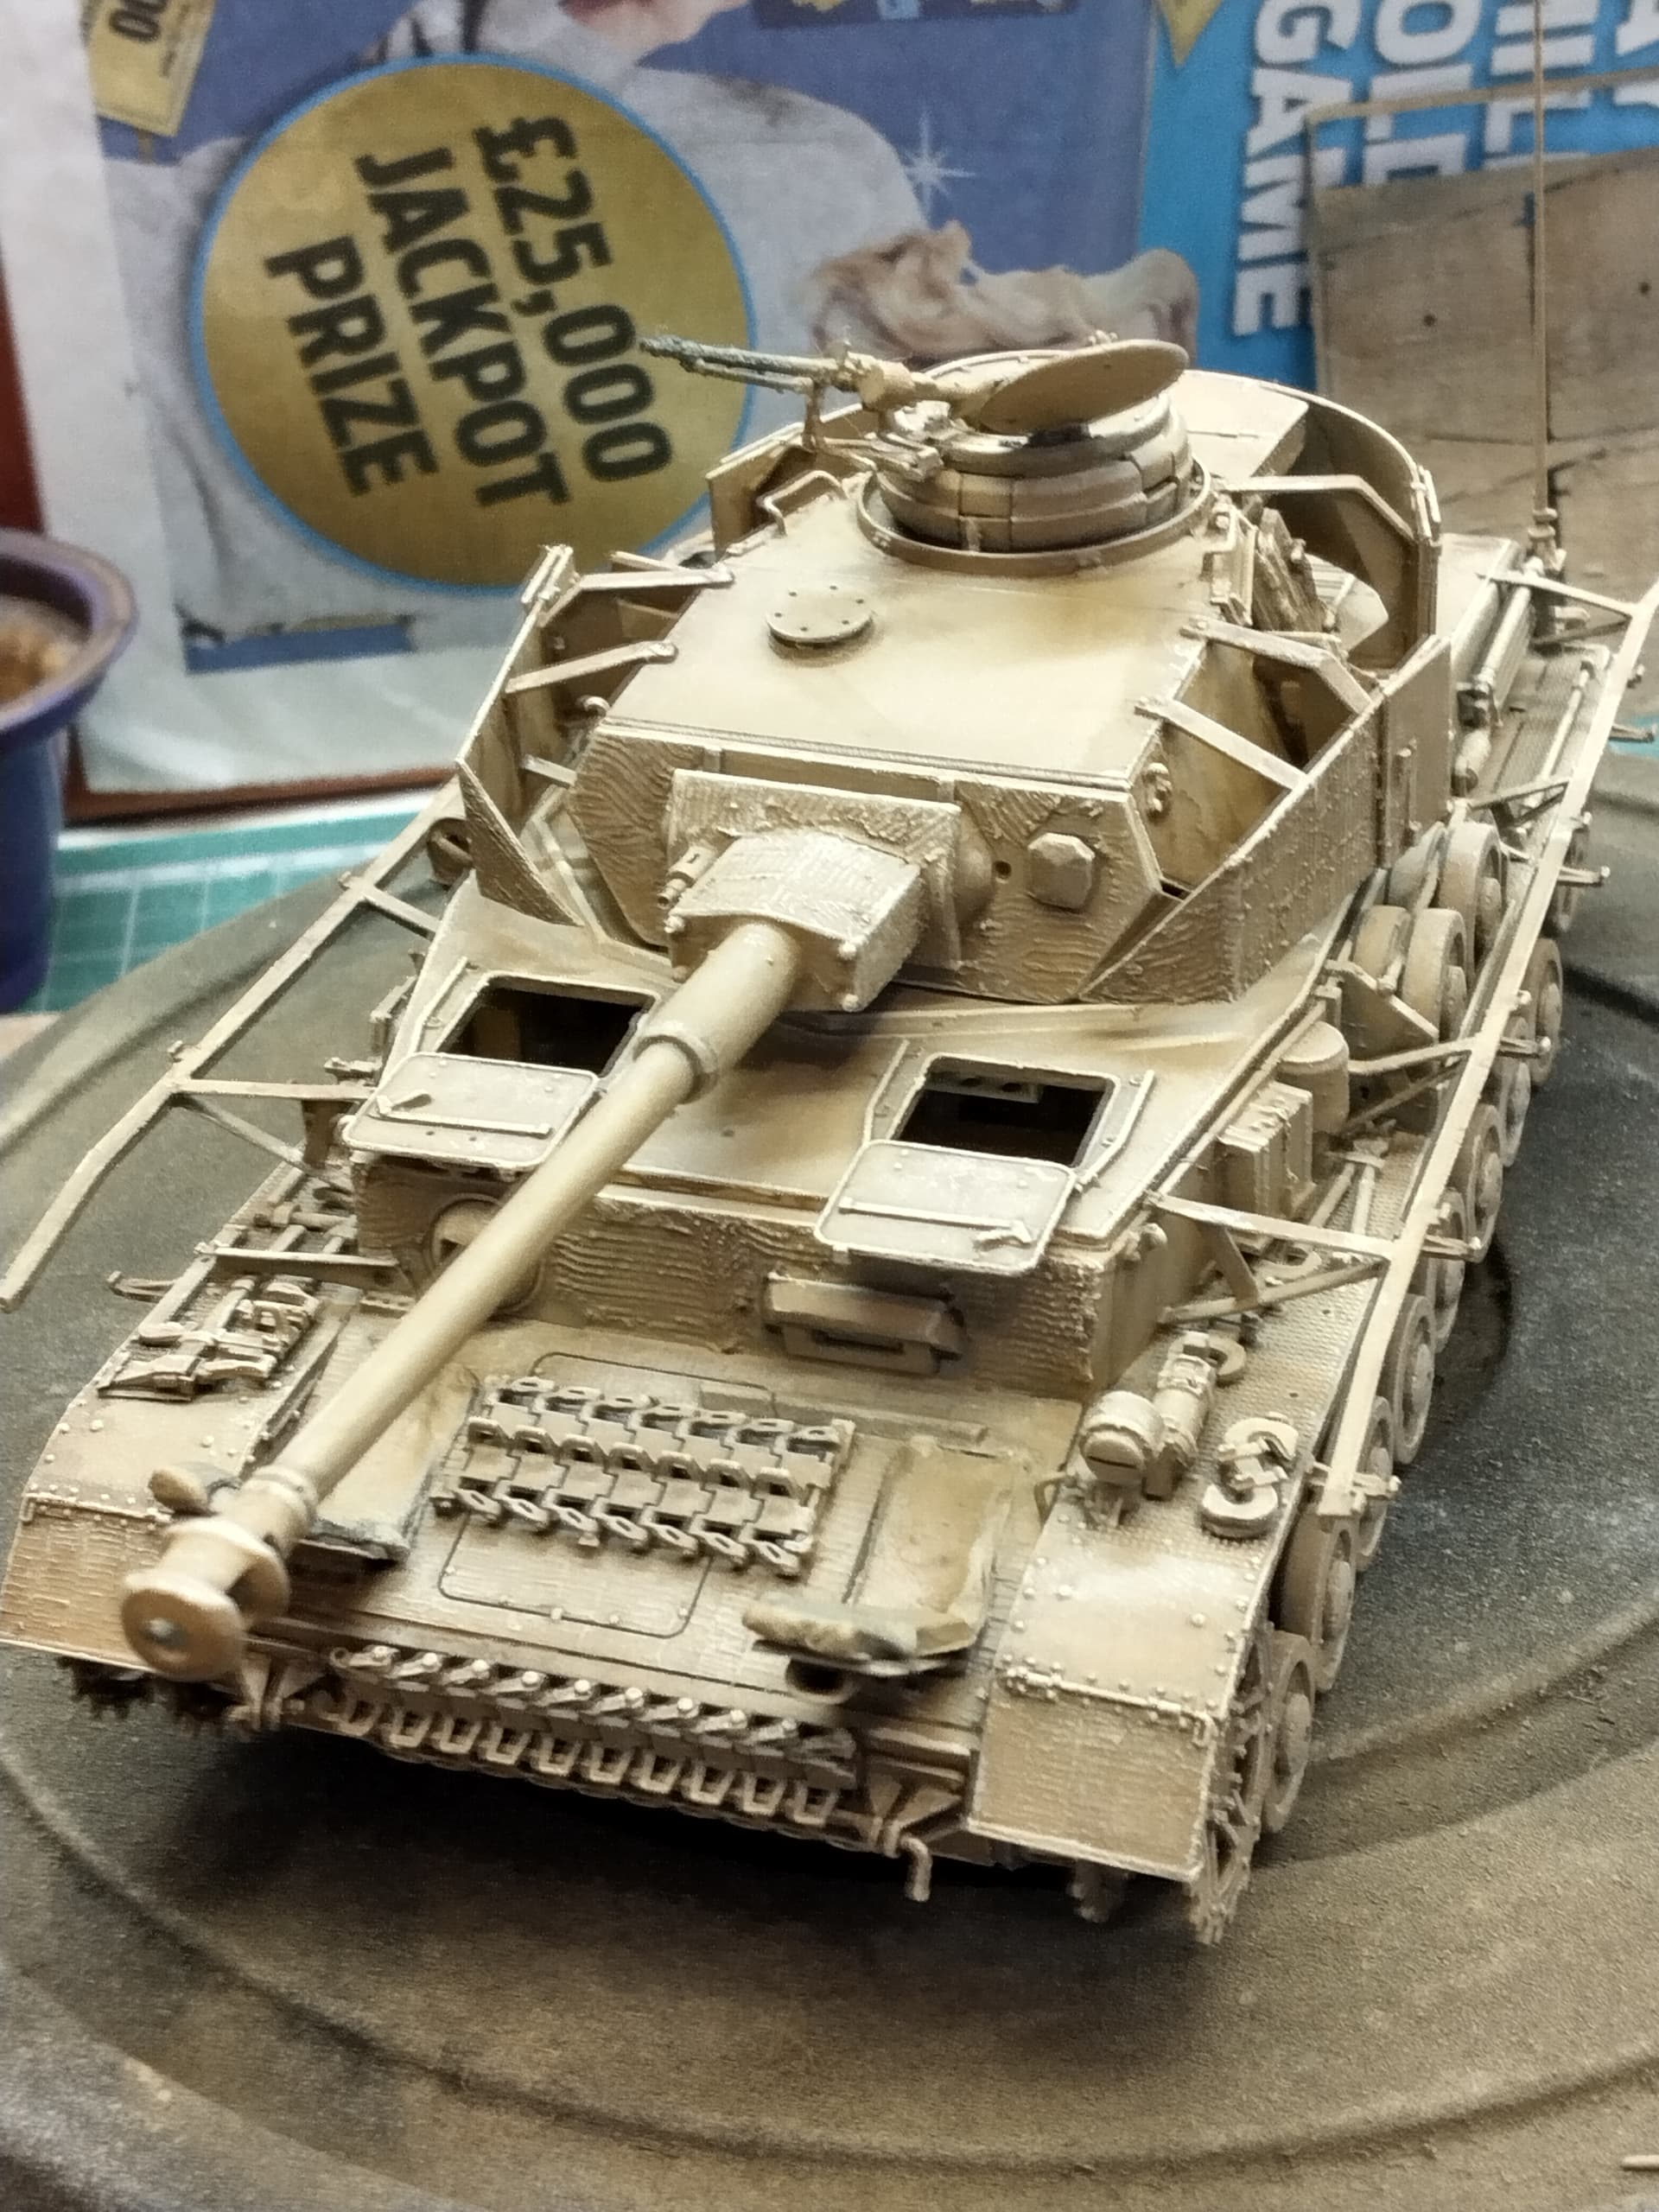
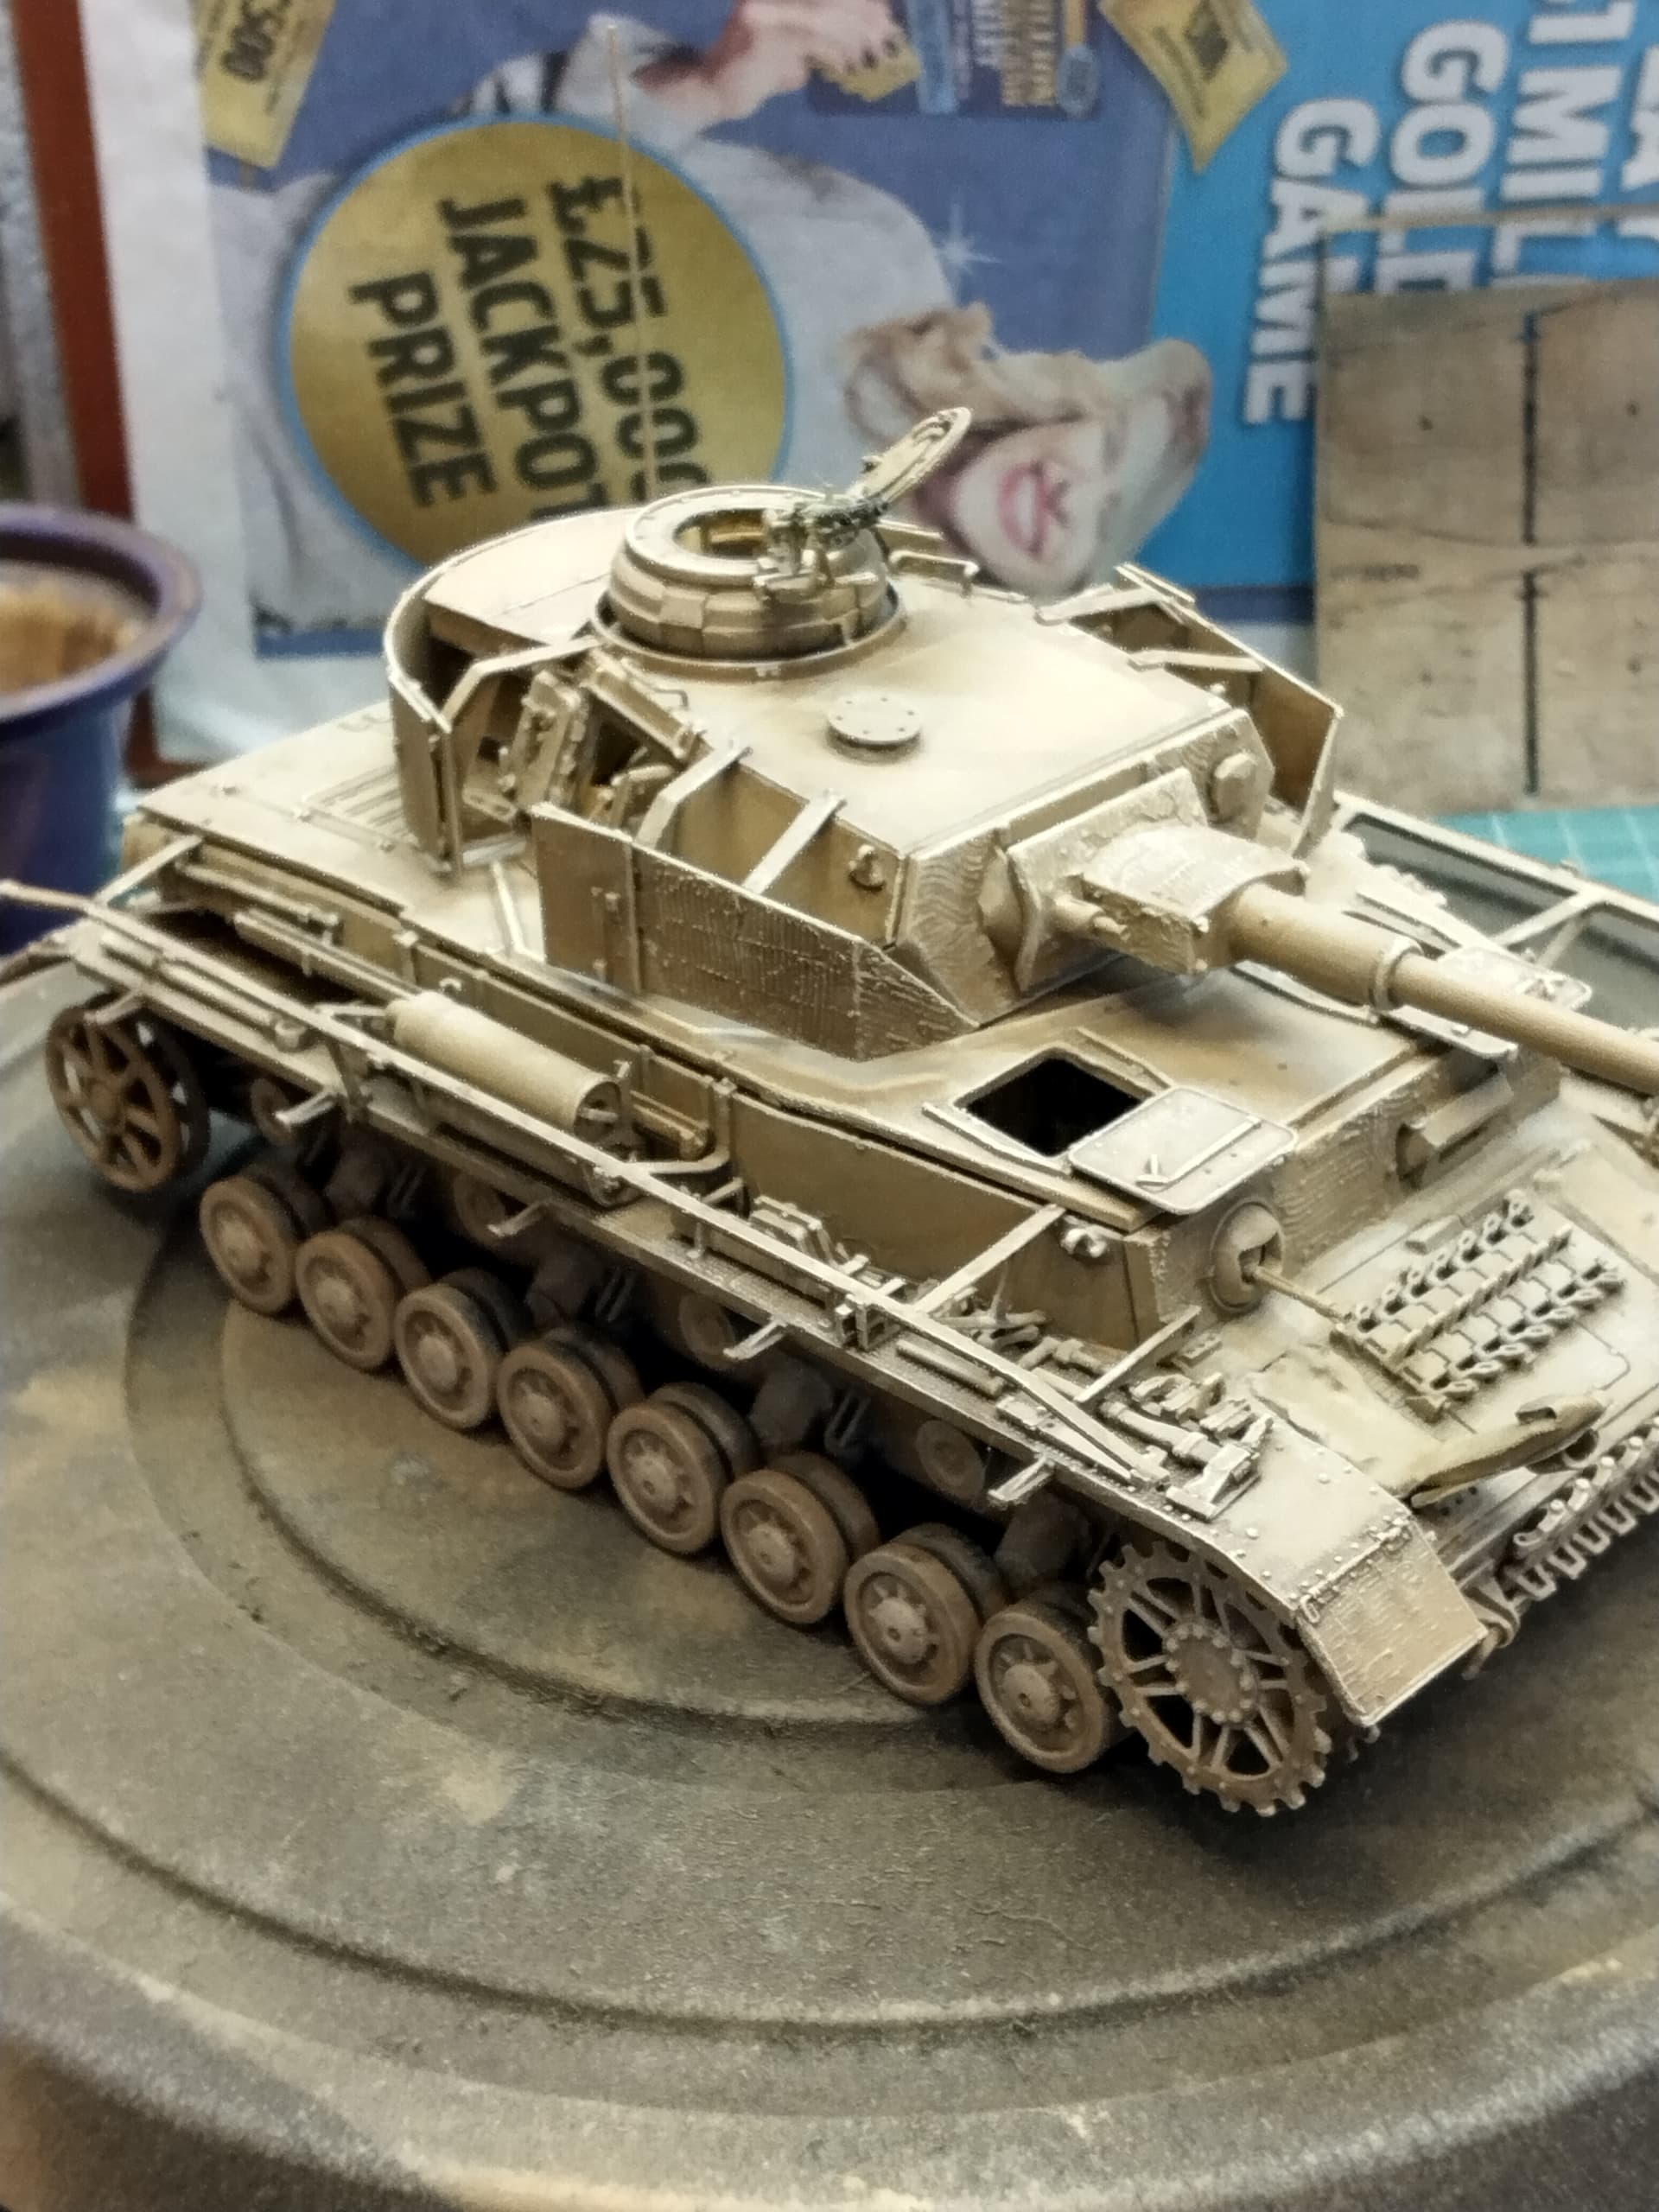
Here’s some more photos showing progress. The Panzer III got caught up in the painting frenzy to economise on paint, I didn’t get the turrets mixed up, LOL. I used cotton wool and Blue Tac to stuff up the turret hatches and the final drive access hatches. Won’t make that mistake again. I’m currently laboriously picking all the bits of Blue Tac out and the hair-like strands of cotton caught in the paint!

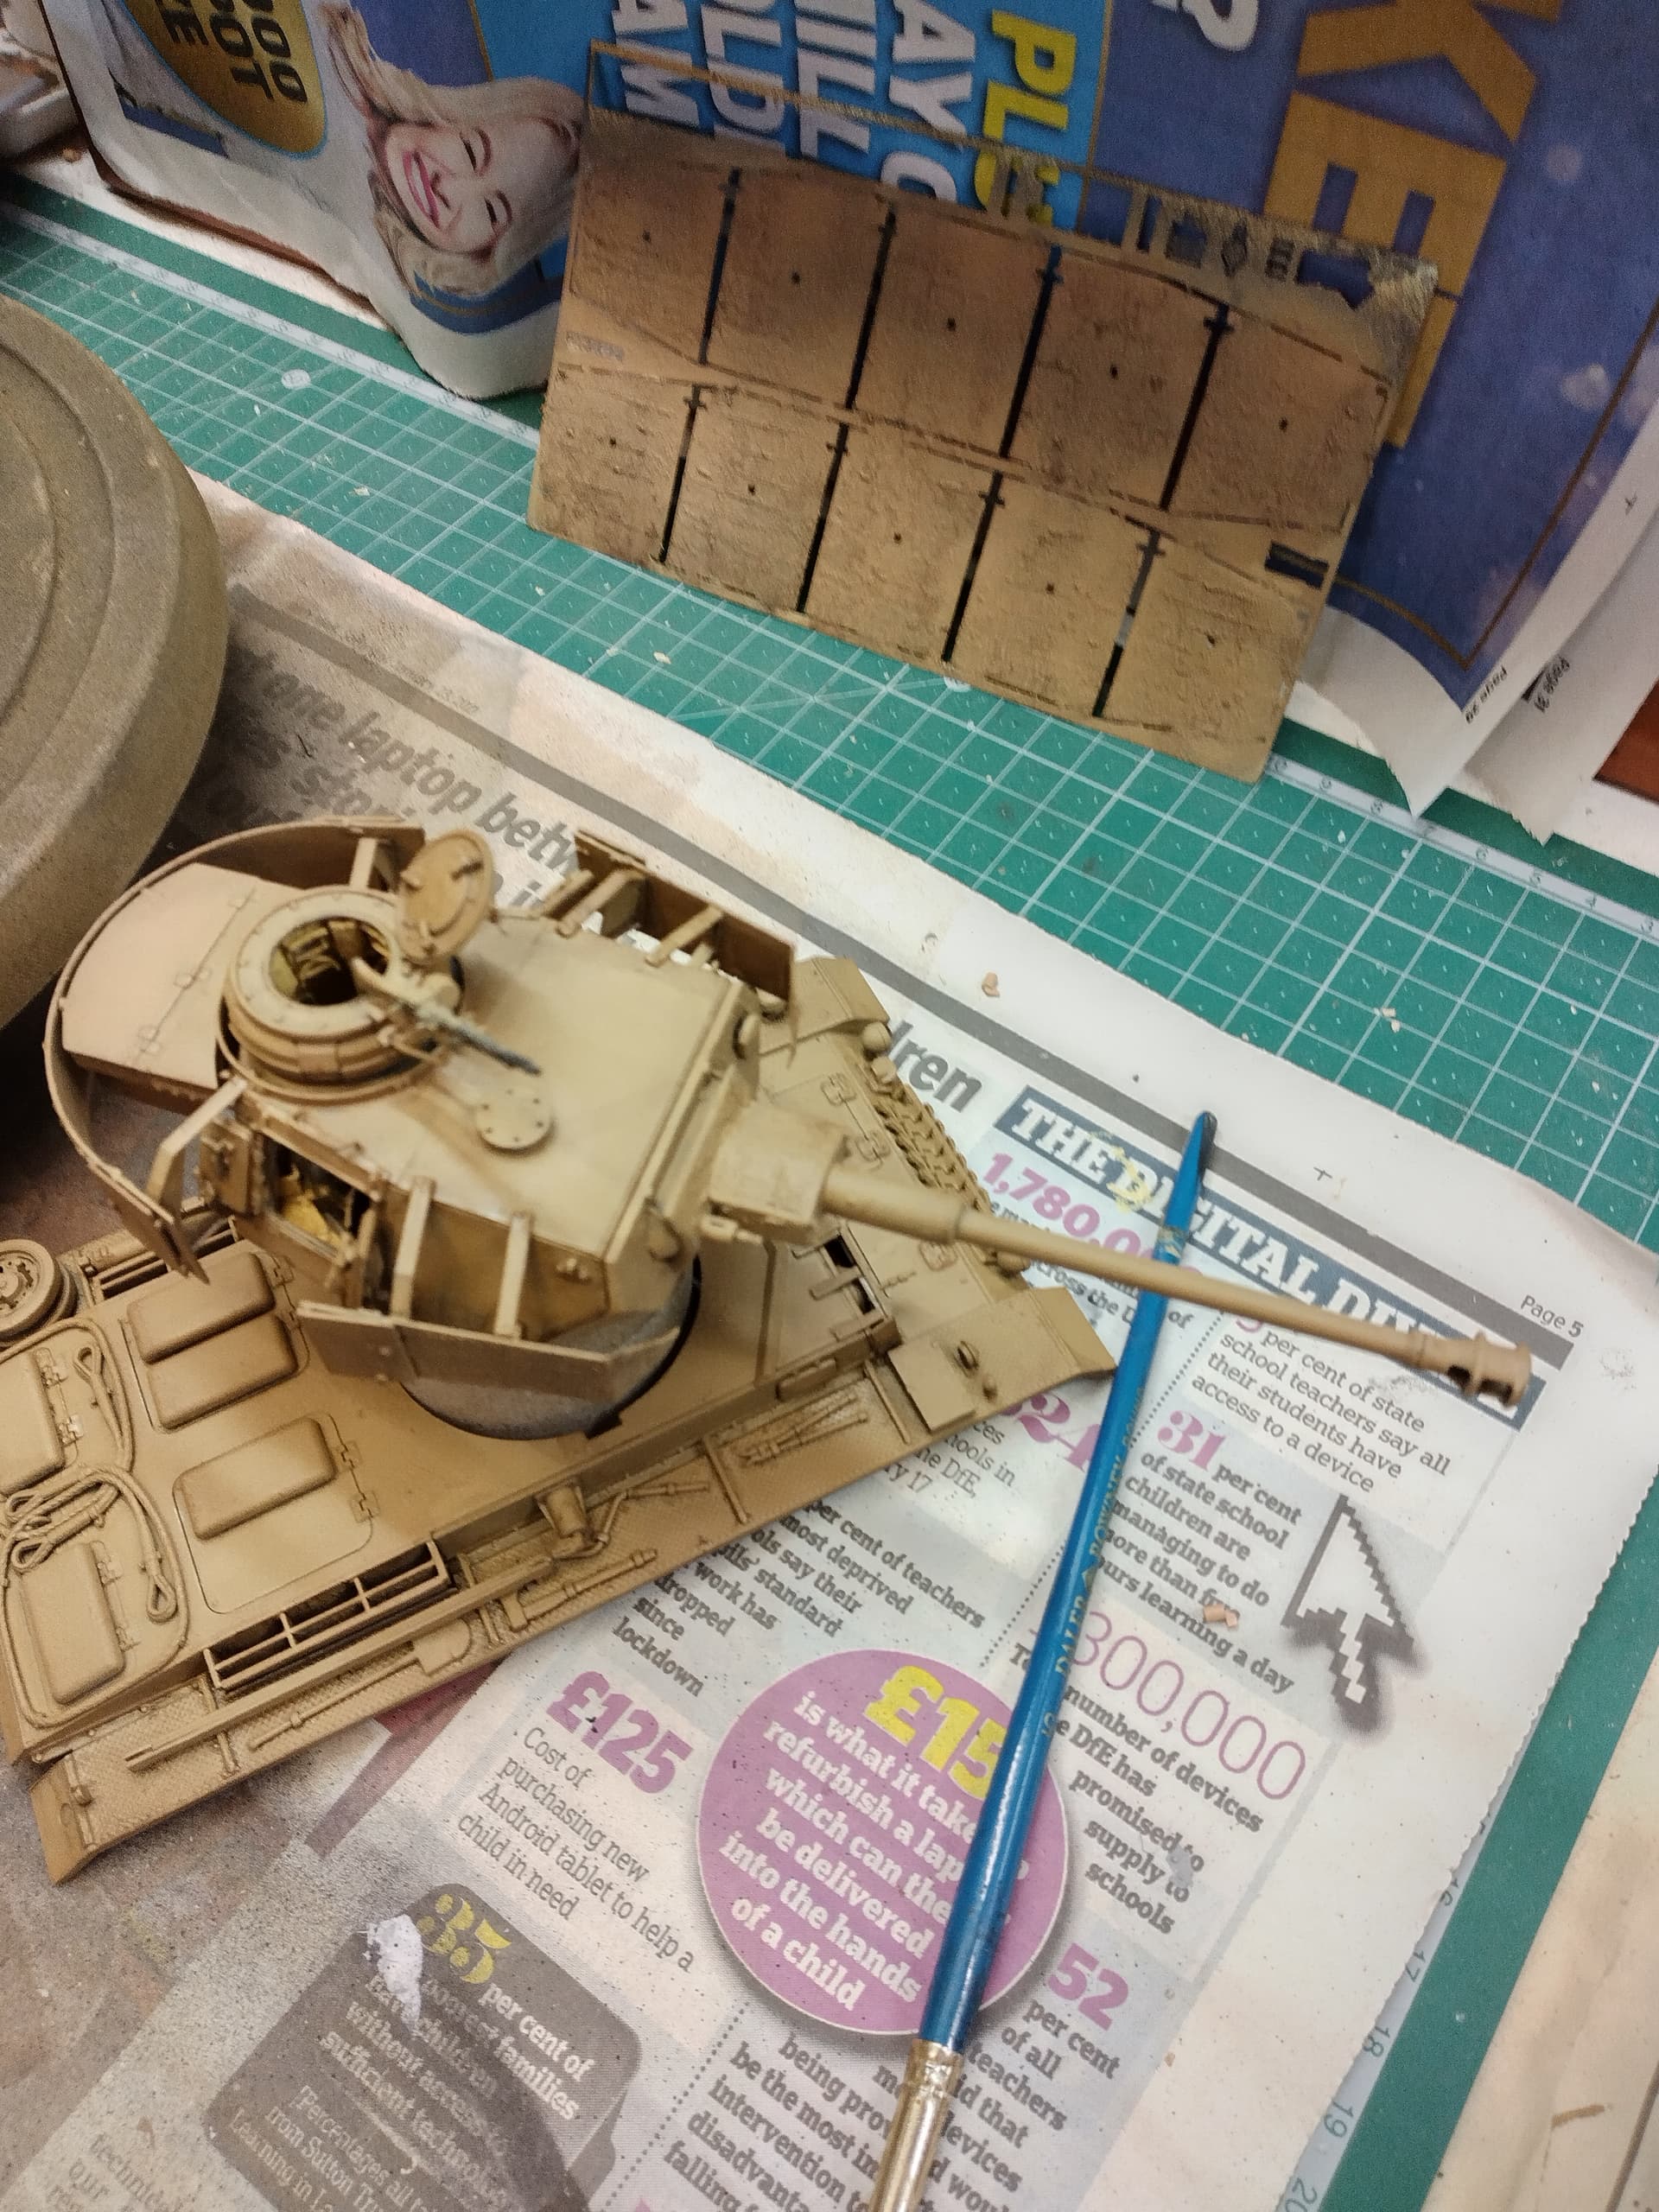
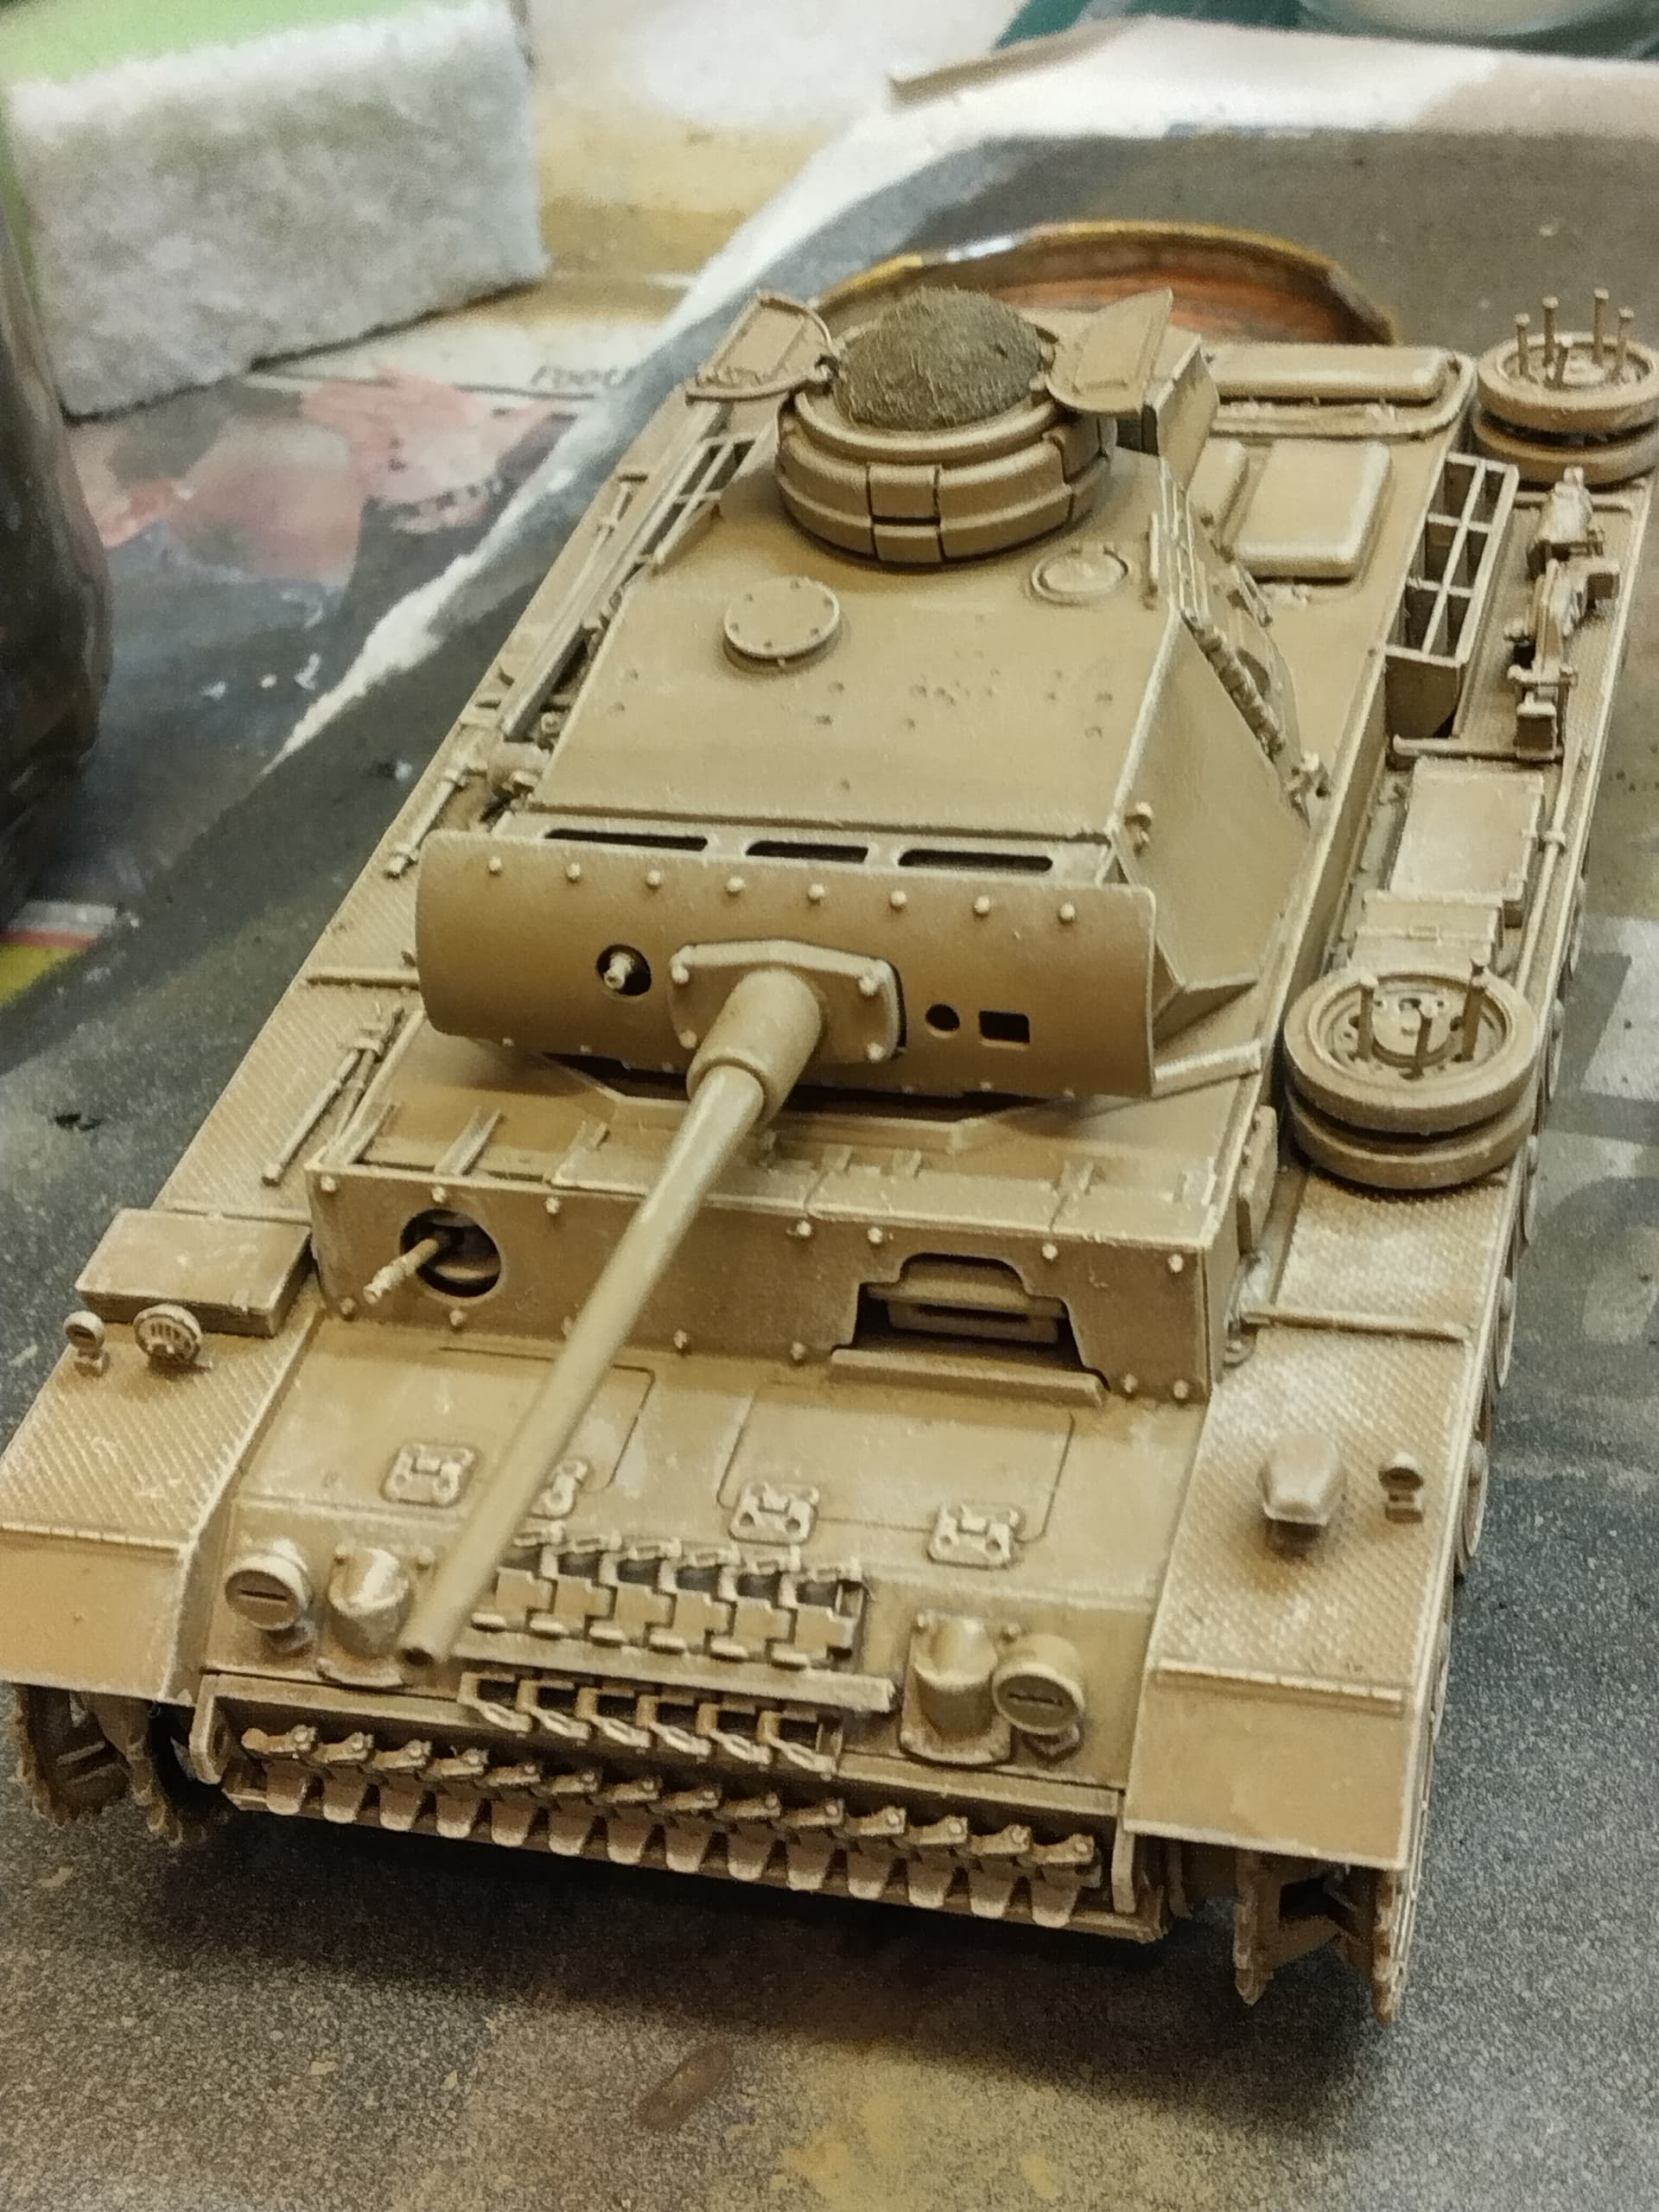
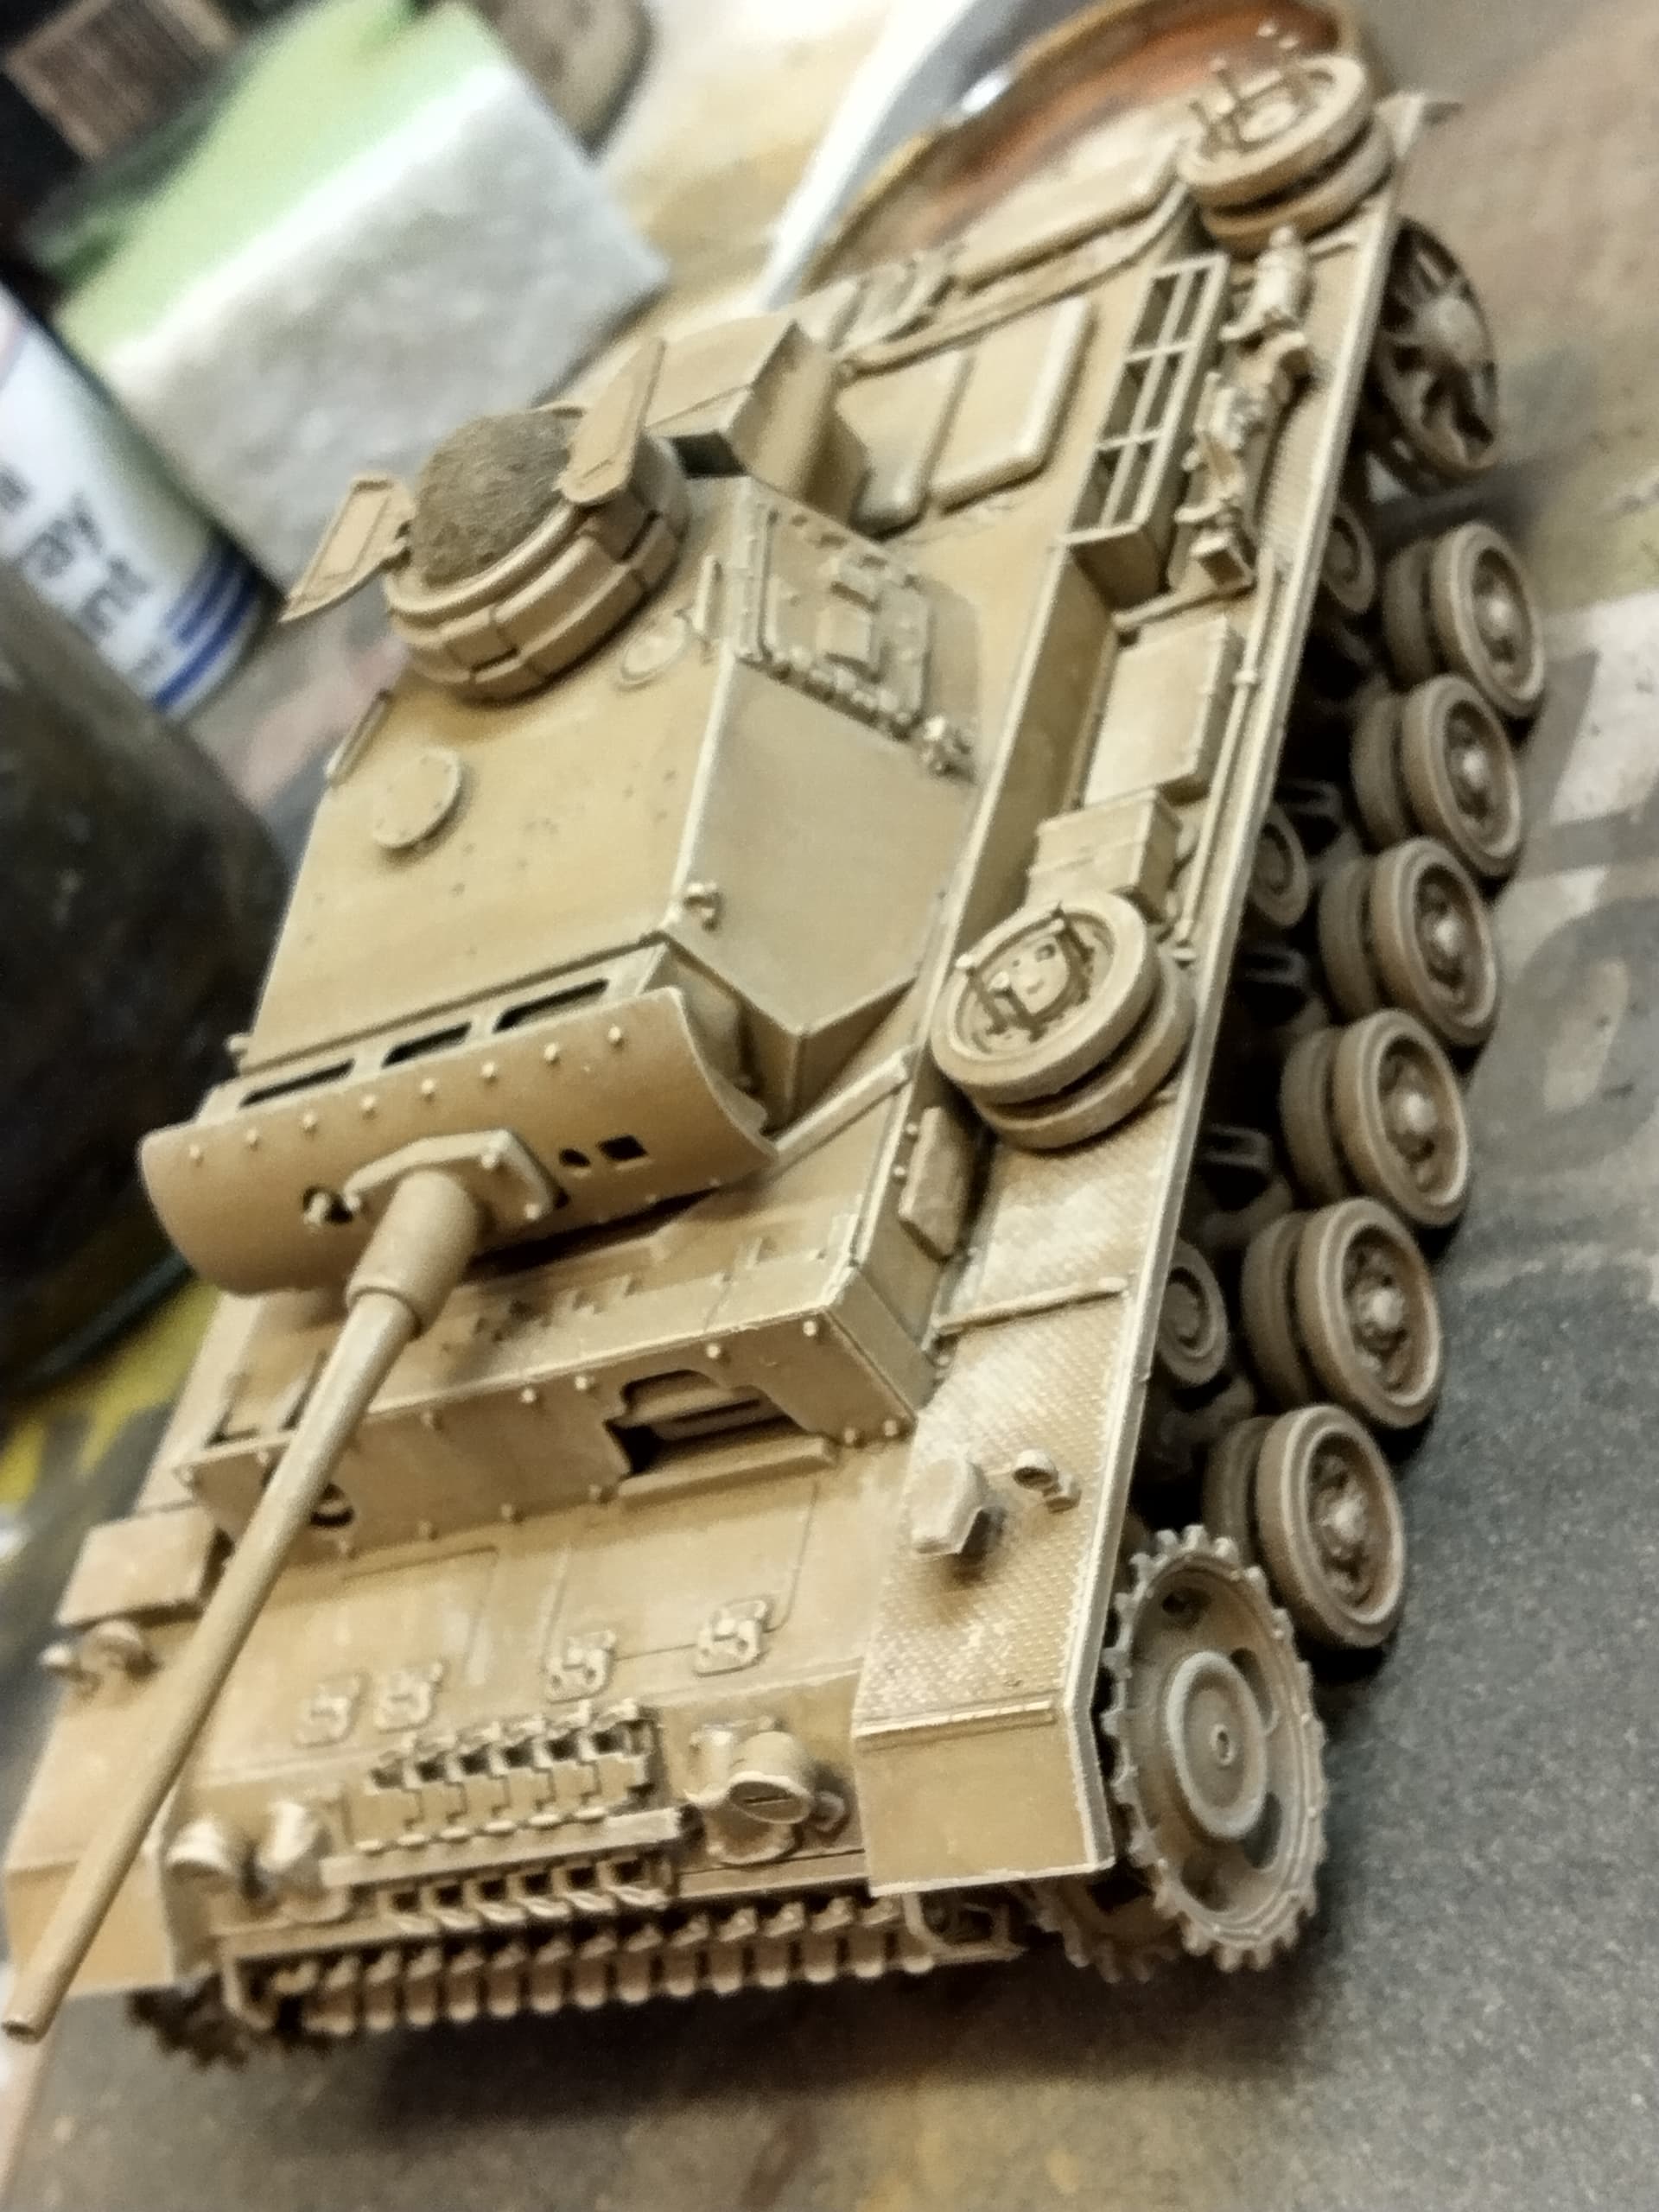
And here’s some more. I have now put an additional thin coat of Dunkelgelb on to tone down the wash and highlighting.

Going well.
Cotton wool and blu-tack are probably the two worst materials you can use for masking/blanking.
Lesson learnt.