Hi, just thought i would share a WIP with you. sorry, the pictures are not very good. I am returning to AFV after a long hiatus, so i would welcome any praise/constructive feedback as i go.
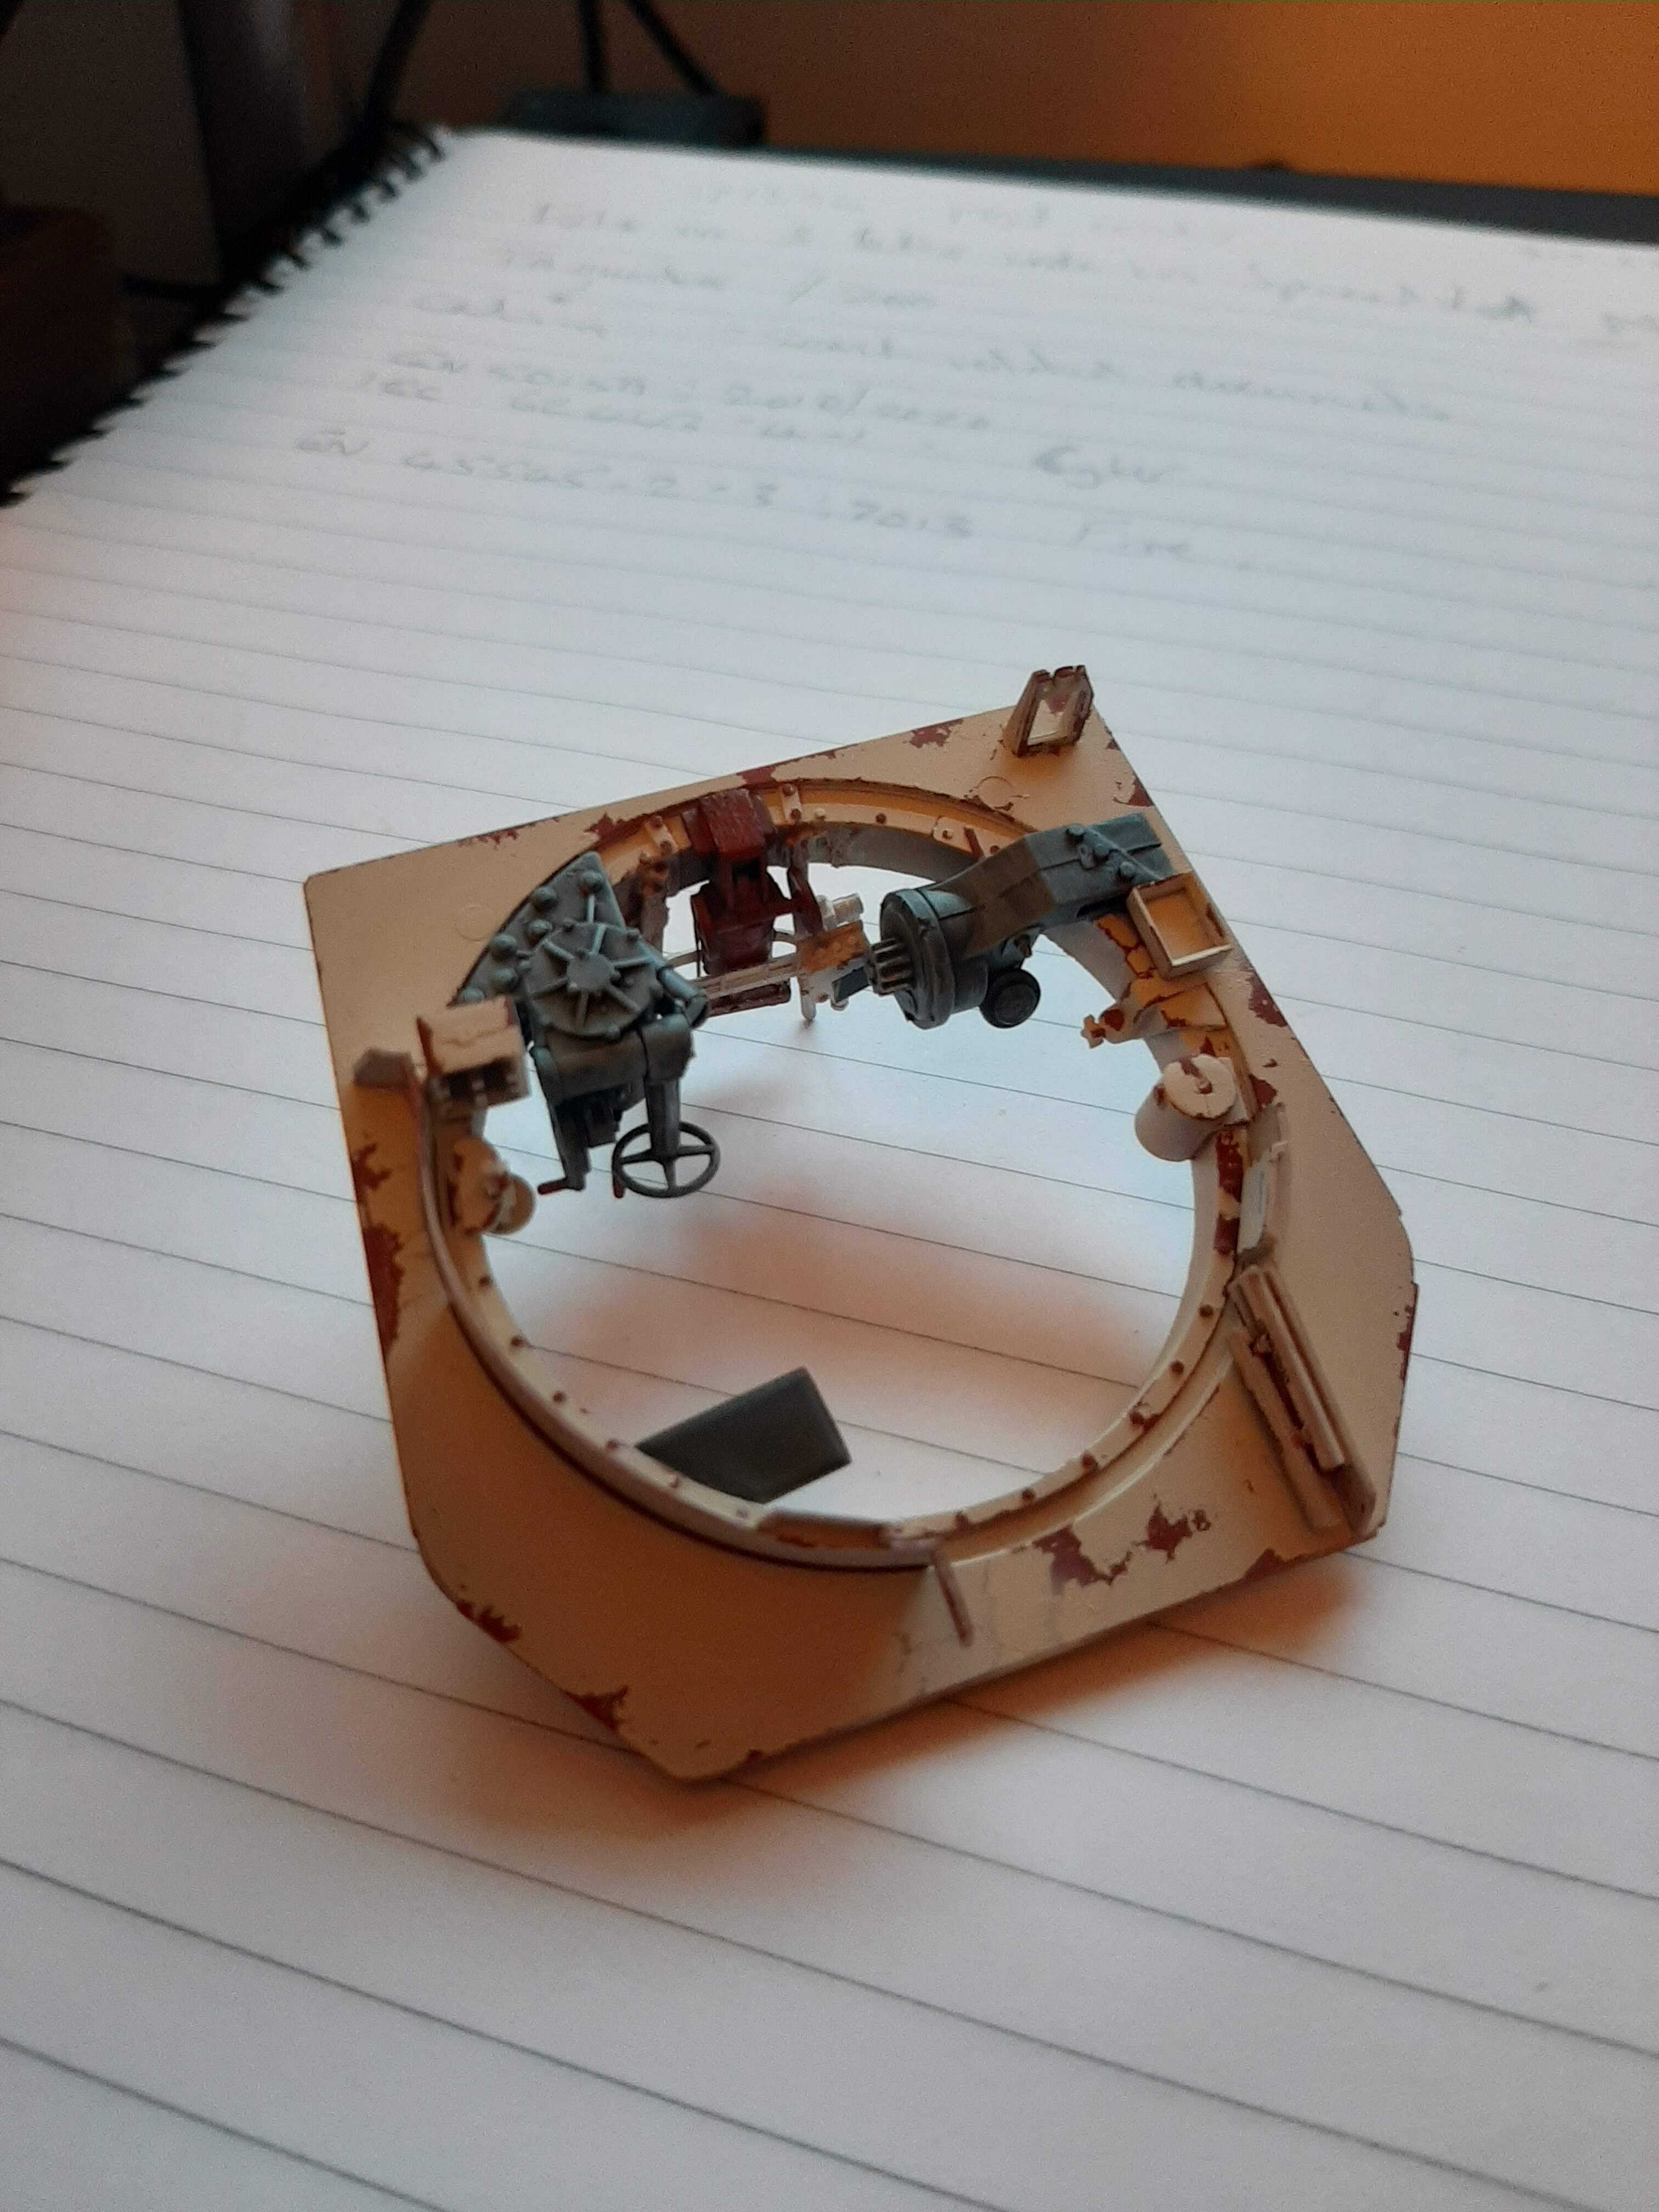
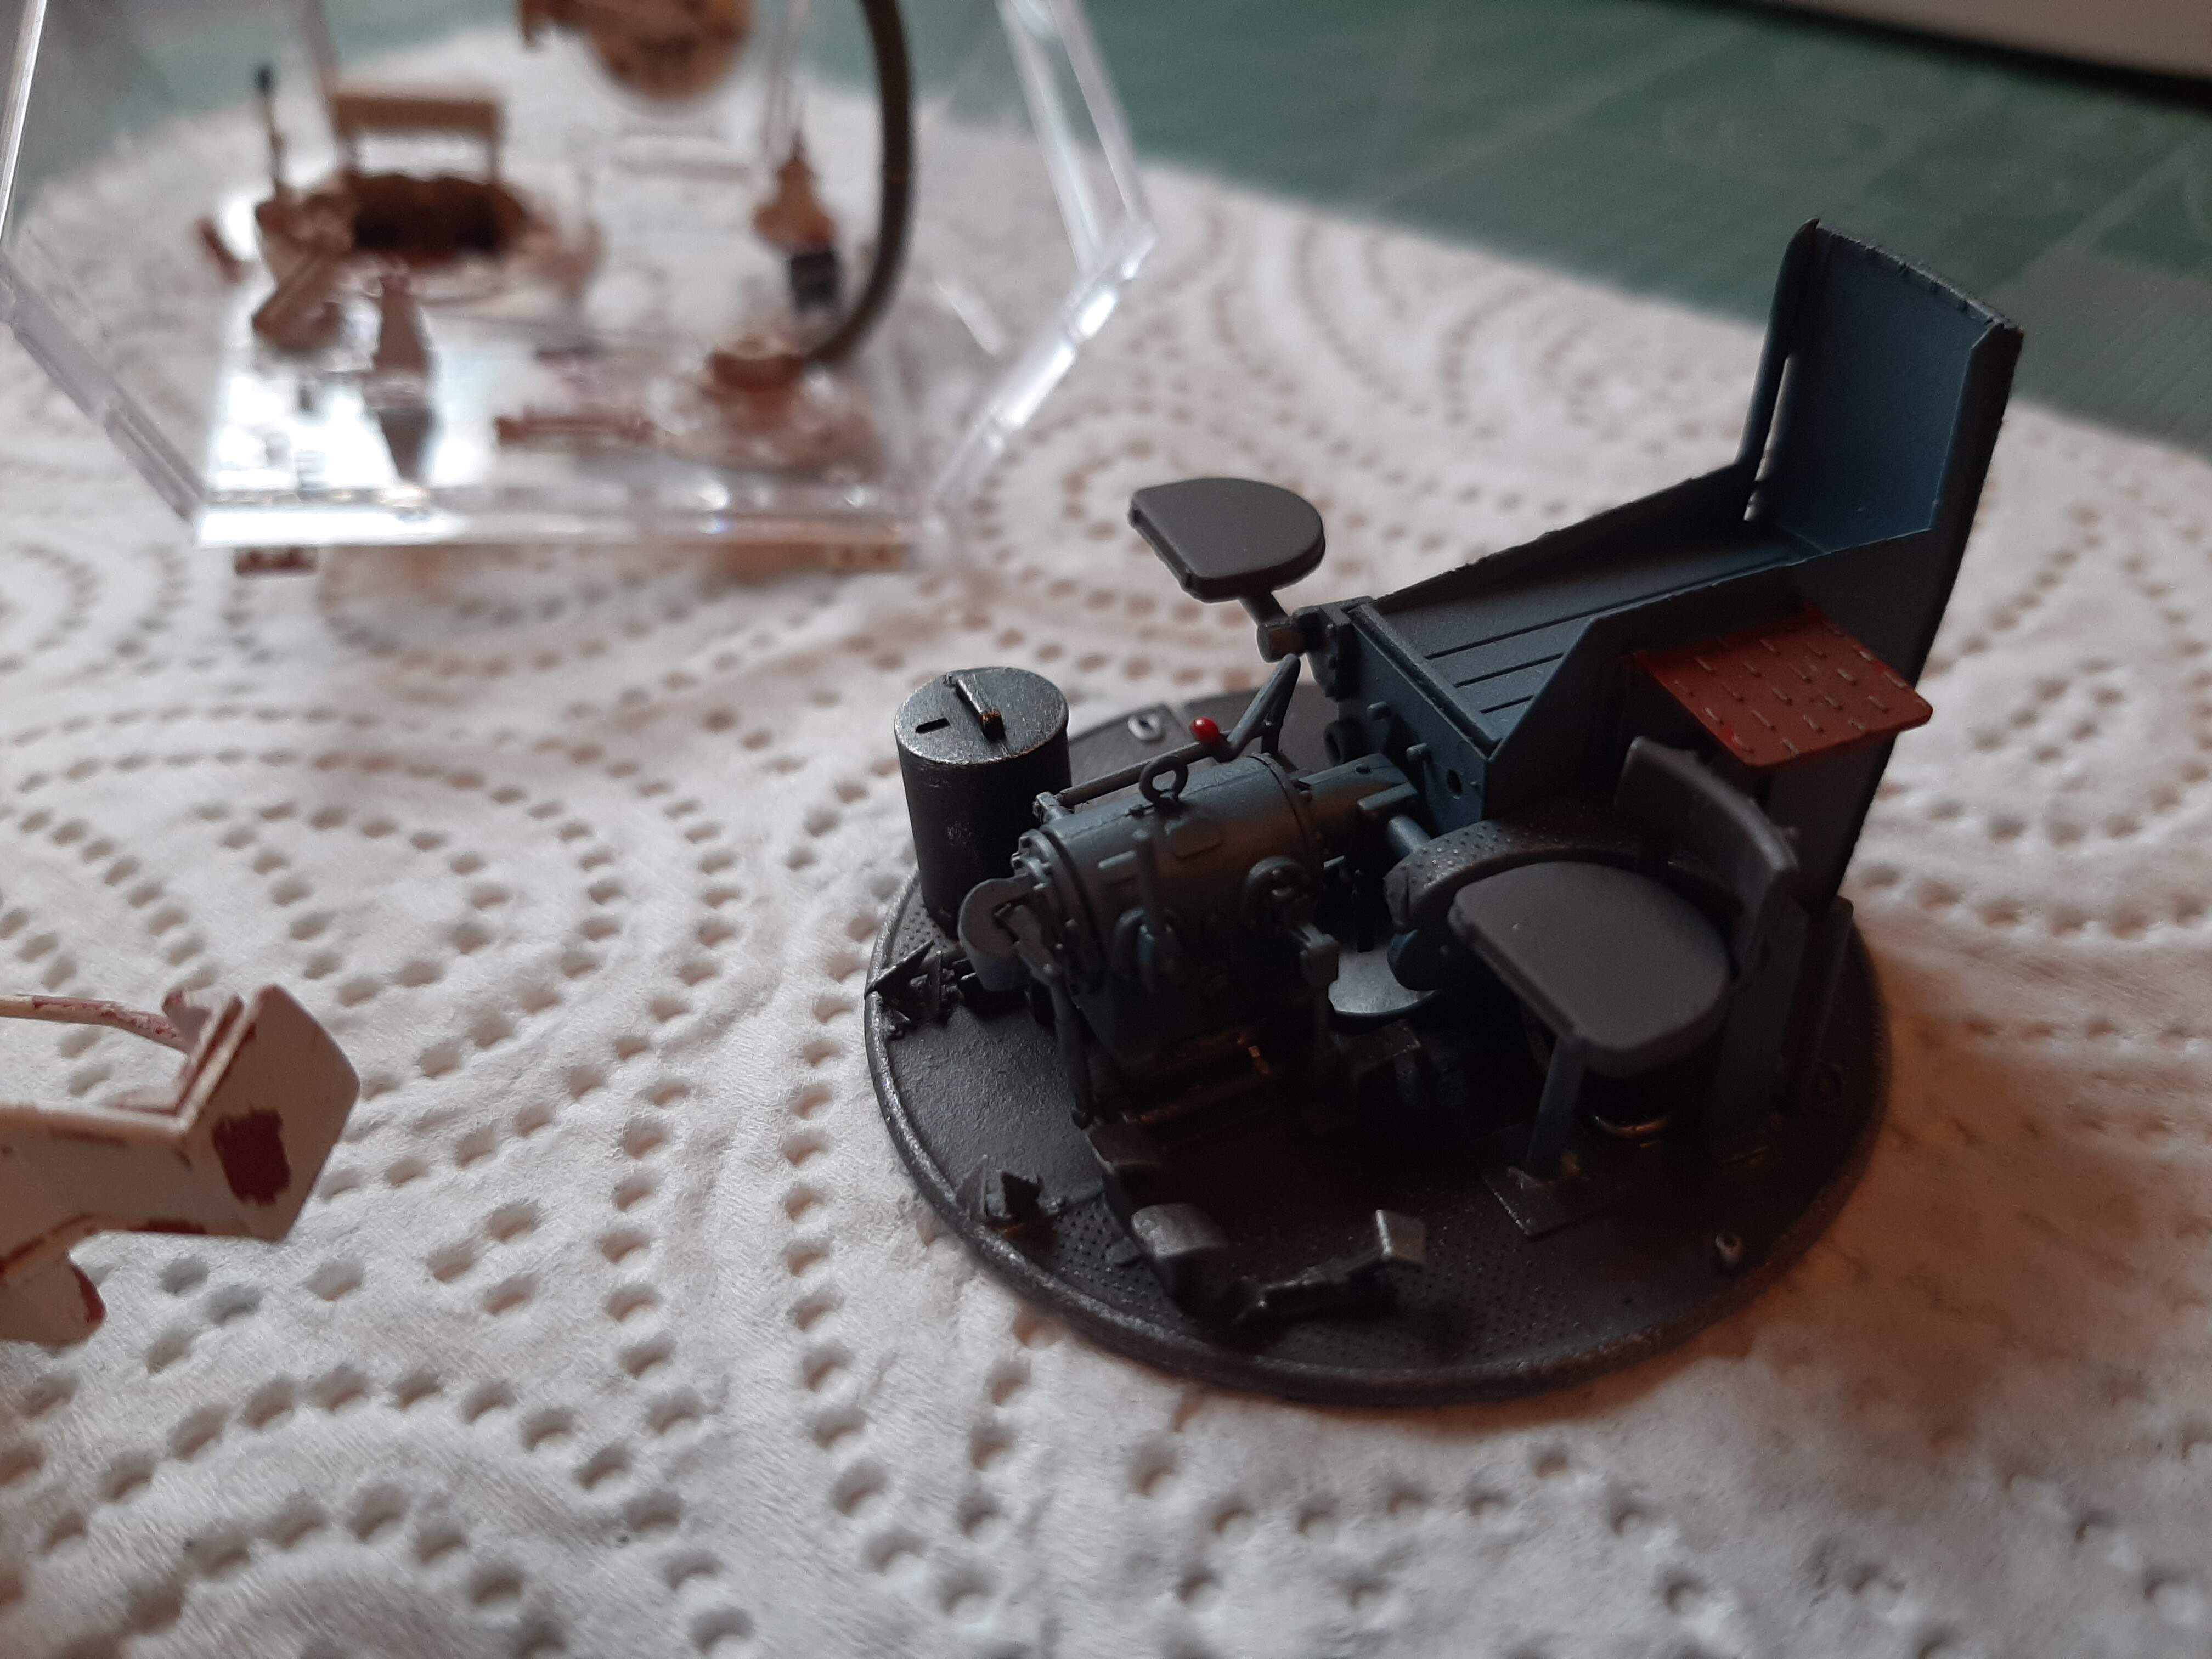
Huge amount of detail in this kit, i’ve been at it for weeks and so far have only just managed to (almost) get the turret done. As I mentioned in a previous post, its almost impossible to assemble the stages and then paint them. You have to paint each sub-assembly then bring it all together. The parts are mainly ‘interference’ fit, which means that once painted, the sub-assemblies are really hard to get together without some kind of ‘doctoring’.
The kit instructions begin with the turret assembly (unusually) so I went with it.
It helps to read several steps in advance and plan the assembly sequence accordingly. Its not always the best policy to follow the instructions verbatim!
Kit painting guide is not the best, a lot is left to the builder to use artistic licence I suppose. I’m using AMMO MIG Acrylics (MIG actually do a box set of paints for this kit). Chipping effects are achieved using MIG ‘Scratches Effect’ laquer.
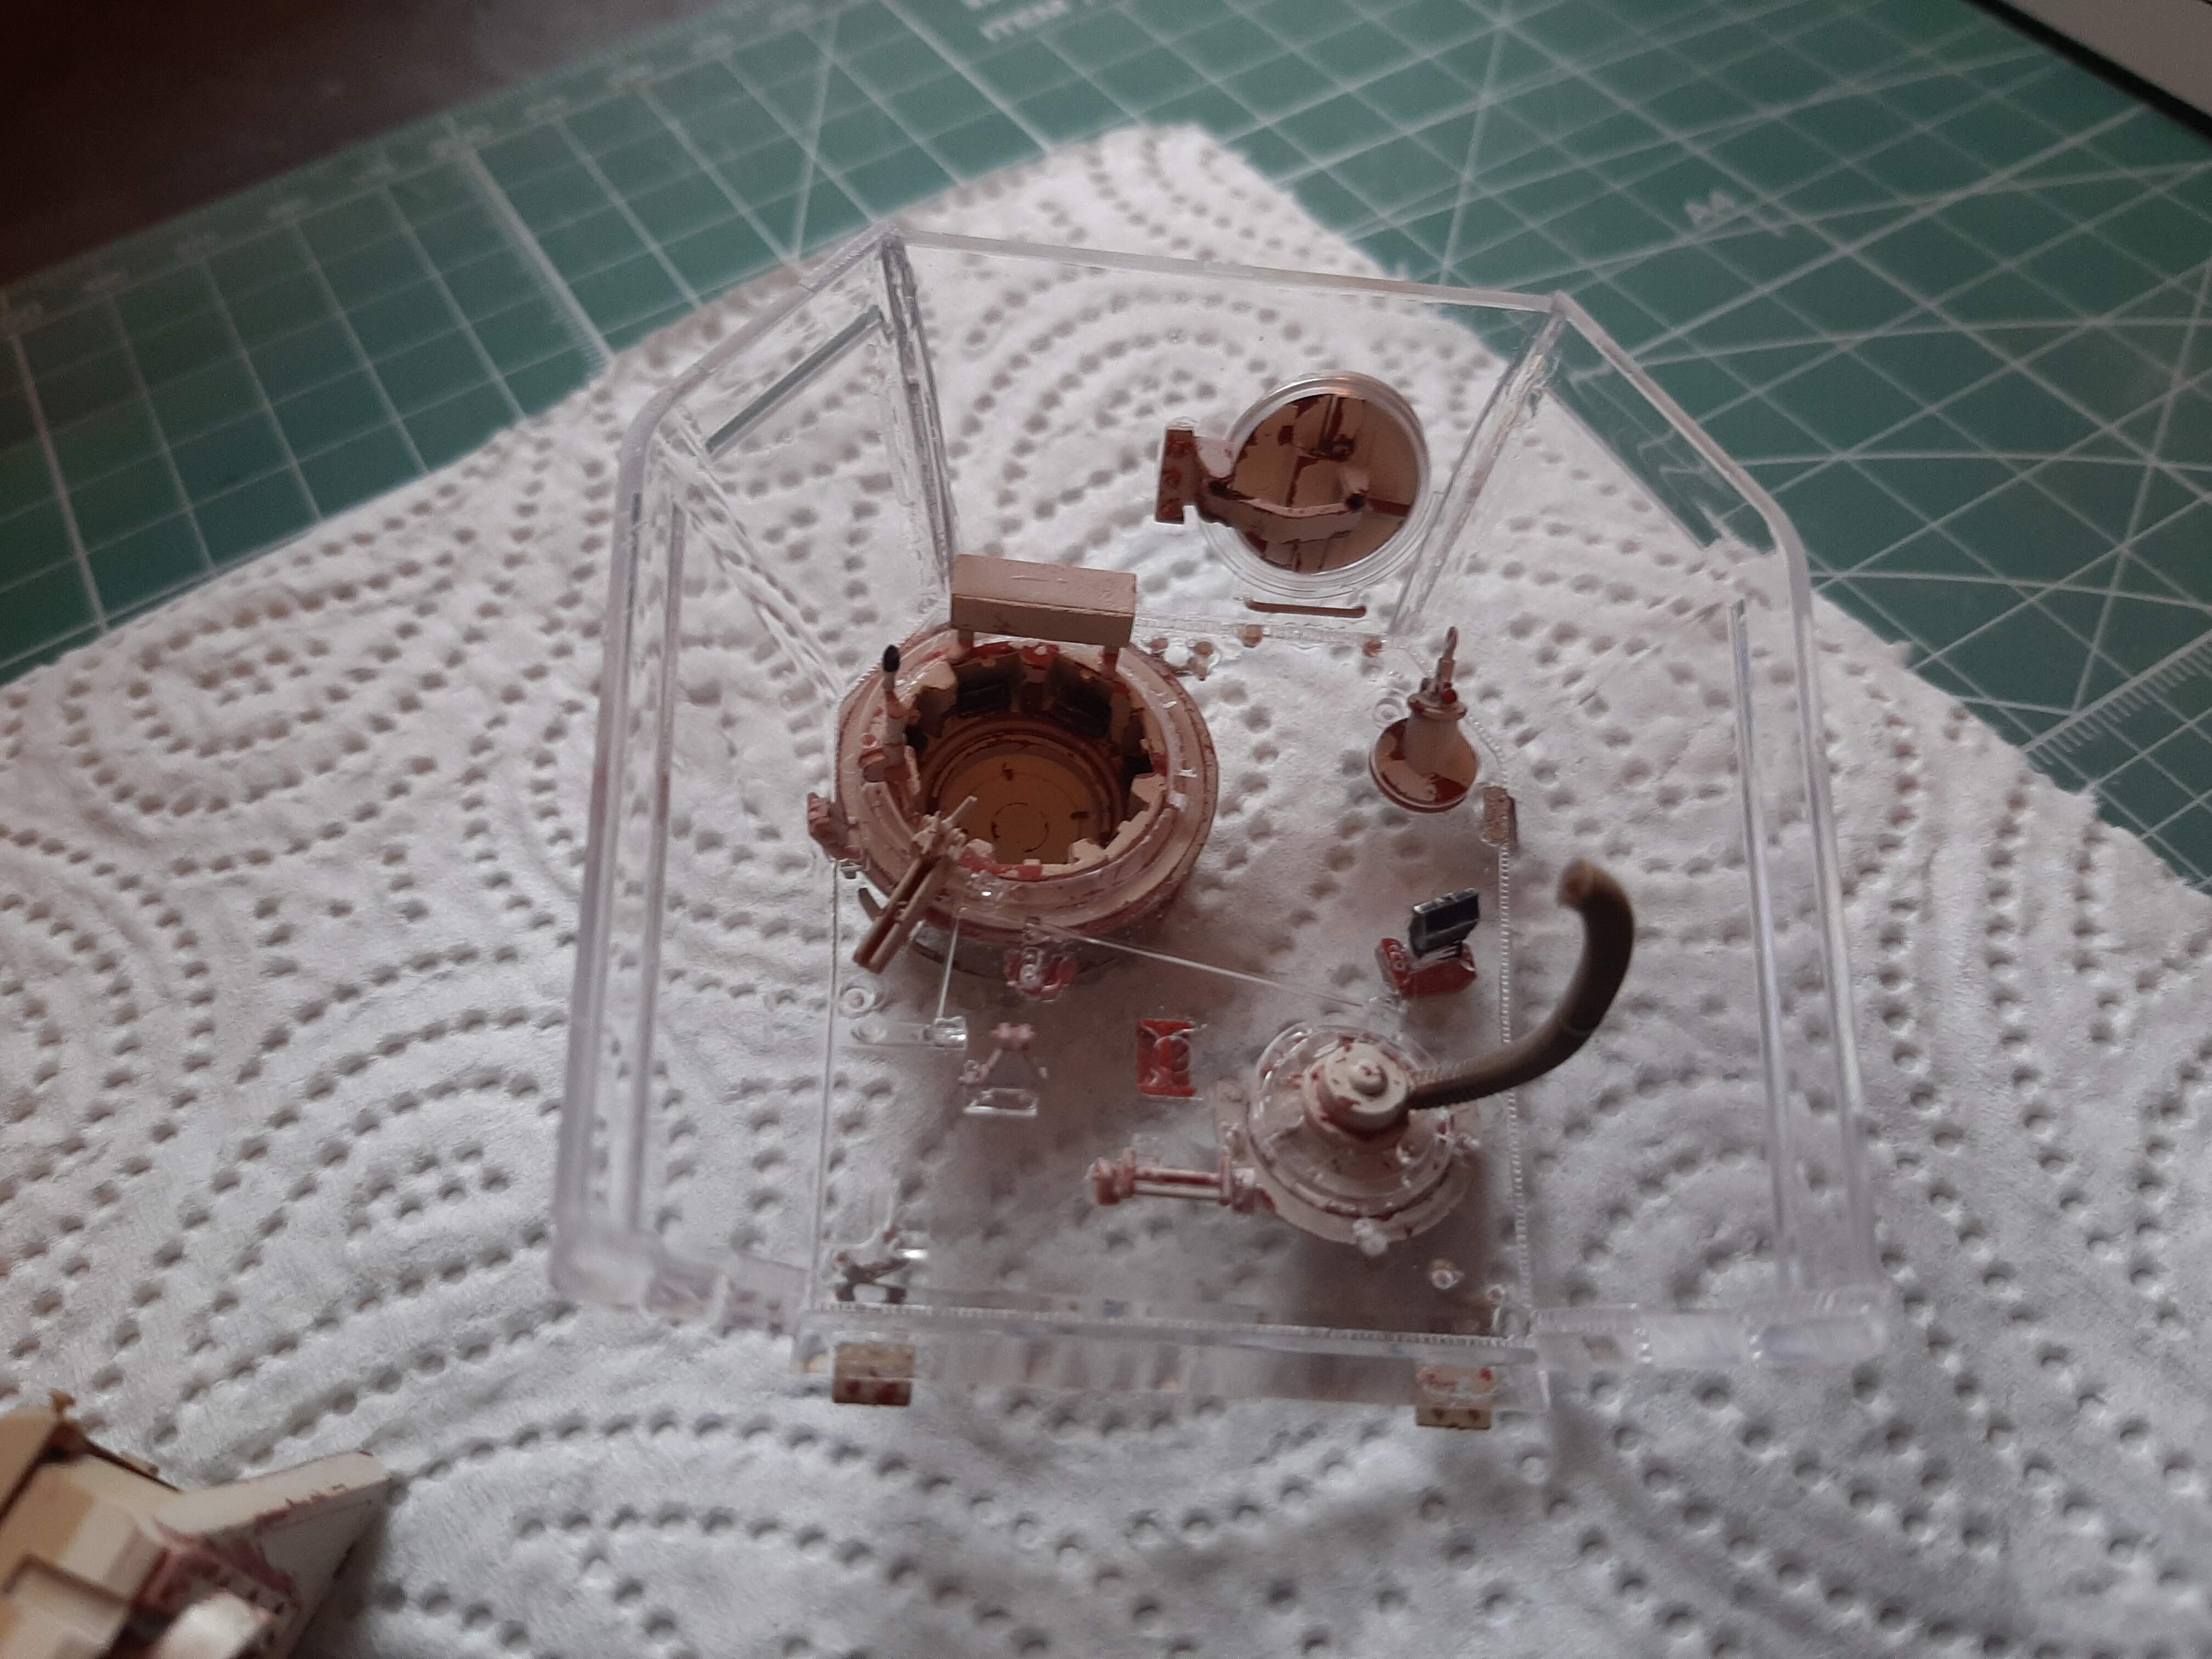
I decided to retain the clear plastic parts, after all, I didn’t see the point of buying a kit with a full interior and not have the ability to see in afterwards.
Some great progress there @Khouli. It’s a shame it’s giving you a few headaches along the way. It looks like some really turret detail. I don’t think I would have the patience for these internal builds, unless I was doing like a engine maintenance scene… But hats off to you for cracking through it.
Have you planned an overall finish for it yet ?
Thanks, it has required a great deal of patience. However, the results are very satisfying.
I will retain the clear parts, which means that the overall finish will have to be a simple dunkelgelb (as its far, far too much like hard work to camouflage individual parts that are not clear.
You weren’t kidding about the detail! So far you’ve done a great job. Personally, I’d be terrified of all the clear parts as I tend to always mess things like that up with glue or scratches. Definitely be watching your progress on this one.
Cheers,
C.
Thanks, I use Micro Krystal Klear adhesive for anything attached to a clear part. It sets completely transparent and even clumsy work is virtually un-noticable when it dries.
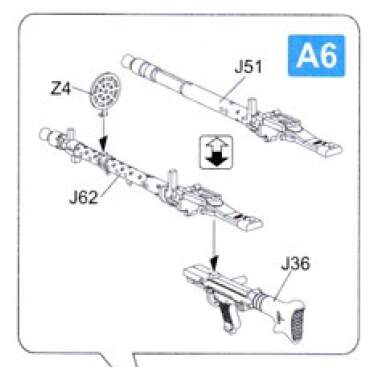
One thing is, if you look at the instructions, it calls out two different versions of the cupola mounted MG, the one with the non-perforated barrel is a new one on me - i’m making the ‘G’ Late (1945) option, rather than the ‘G’ Early (1944) version.
Anyone else seen the non-perforated type MG before?
I’ve no information on the gun, but I think you are doing a wonderful job. I was looking at the RF Panzerjager with full interior just the other day. This company certainly offers very good models.
Not sure it is, as part J51 has the same barrel diameter as J62, and in the field strip demonstrated in the video, the cooling sleeve retains the muzzle.
@Khouli, I just did a quick google and i saw 2 ref images of that type of barrel, one was from a model , and the other was a youtube comparison with a Japanese Type 96 LMG. I couldnt access the YouTube clip as I am on my Military works PC. Hope you can find it and see the vid ?
@Khouli, you’re right two different barrels apparently. Found pictures & description of a real 1945 manufacturer MG34 that has the solid barrel that’s for sale.
The main difference of the MG 34 Panzerlauf and the regular MG 34 was the heavier, almost solid armored barrel shroud, almost completely lacking the ventilation holes of the basic MG 34.
You’re right, just did a bit of fact checking myself - The Panzerlauf was used on German tanks as secondary armament. As the MG 42 was ill-suited for coaxial mounting due to the method of barrel change, the MG 34 Panzerlauf was born. The Panzerlauf had a heavier, almost solid armored barrel shroud, almost completely lacking the ventilation holes of the original MG 34.
What is kind of odd is that the kit has the standard MG34 mounted coaxially (and in the hull), but the Panzerlauf mounted on the cupola as an option - counter-intuitive i think?