SADF Eland 90 Mk7 (AML 90) - Noddy Car

Hi ya all,

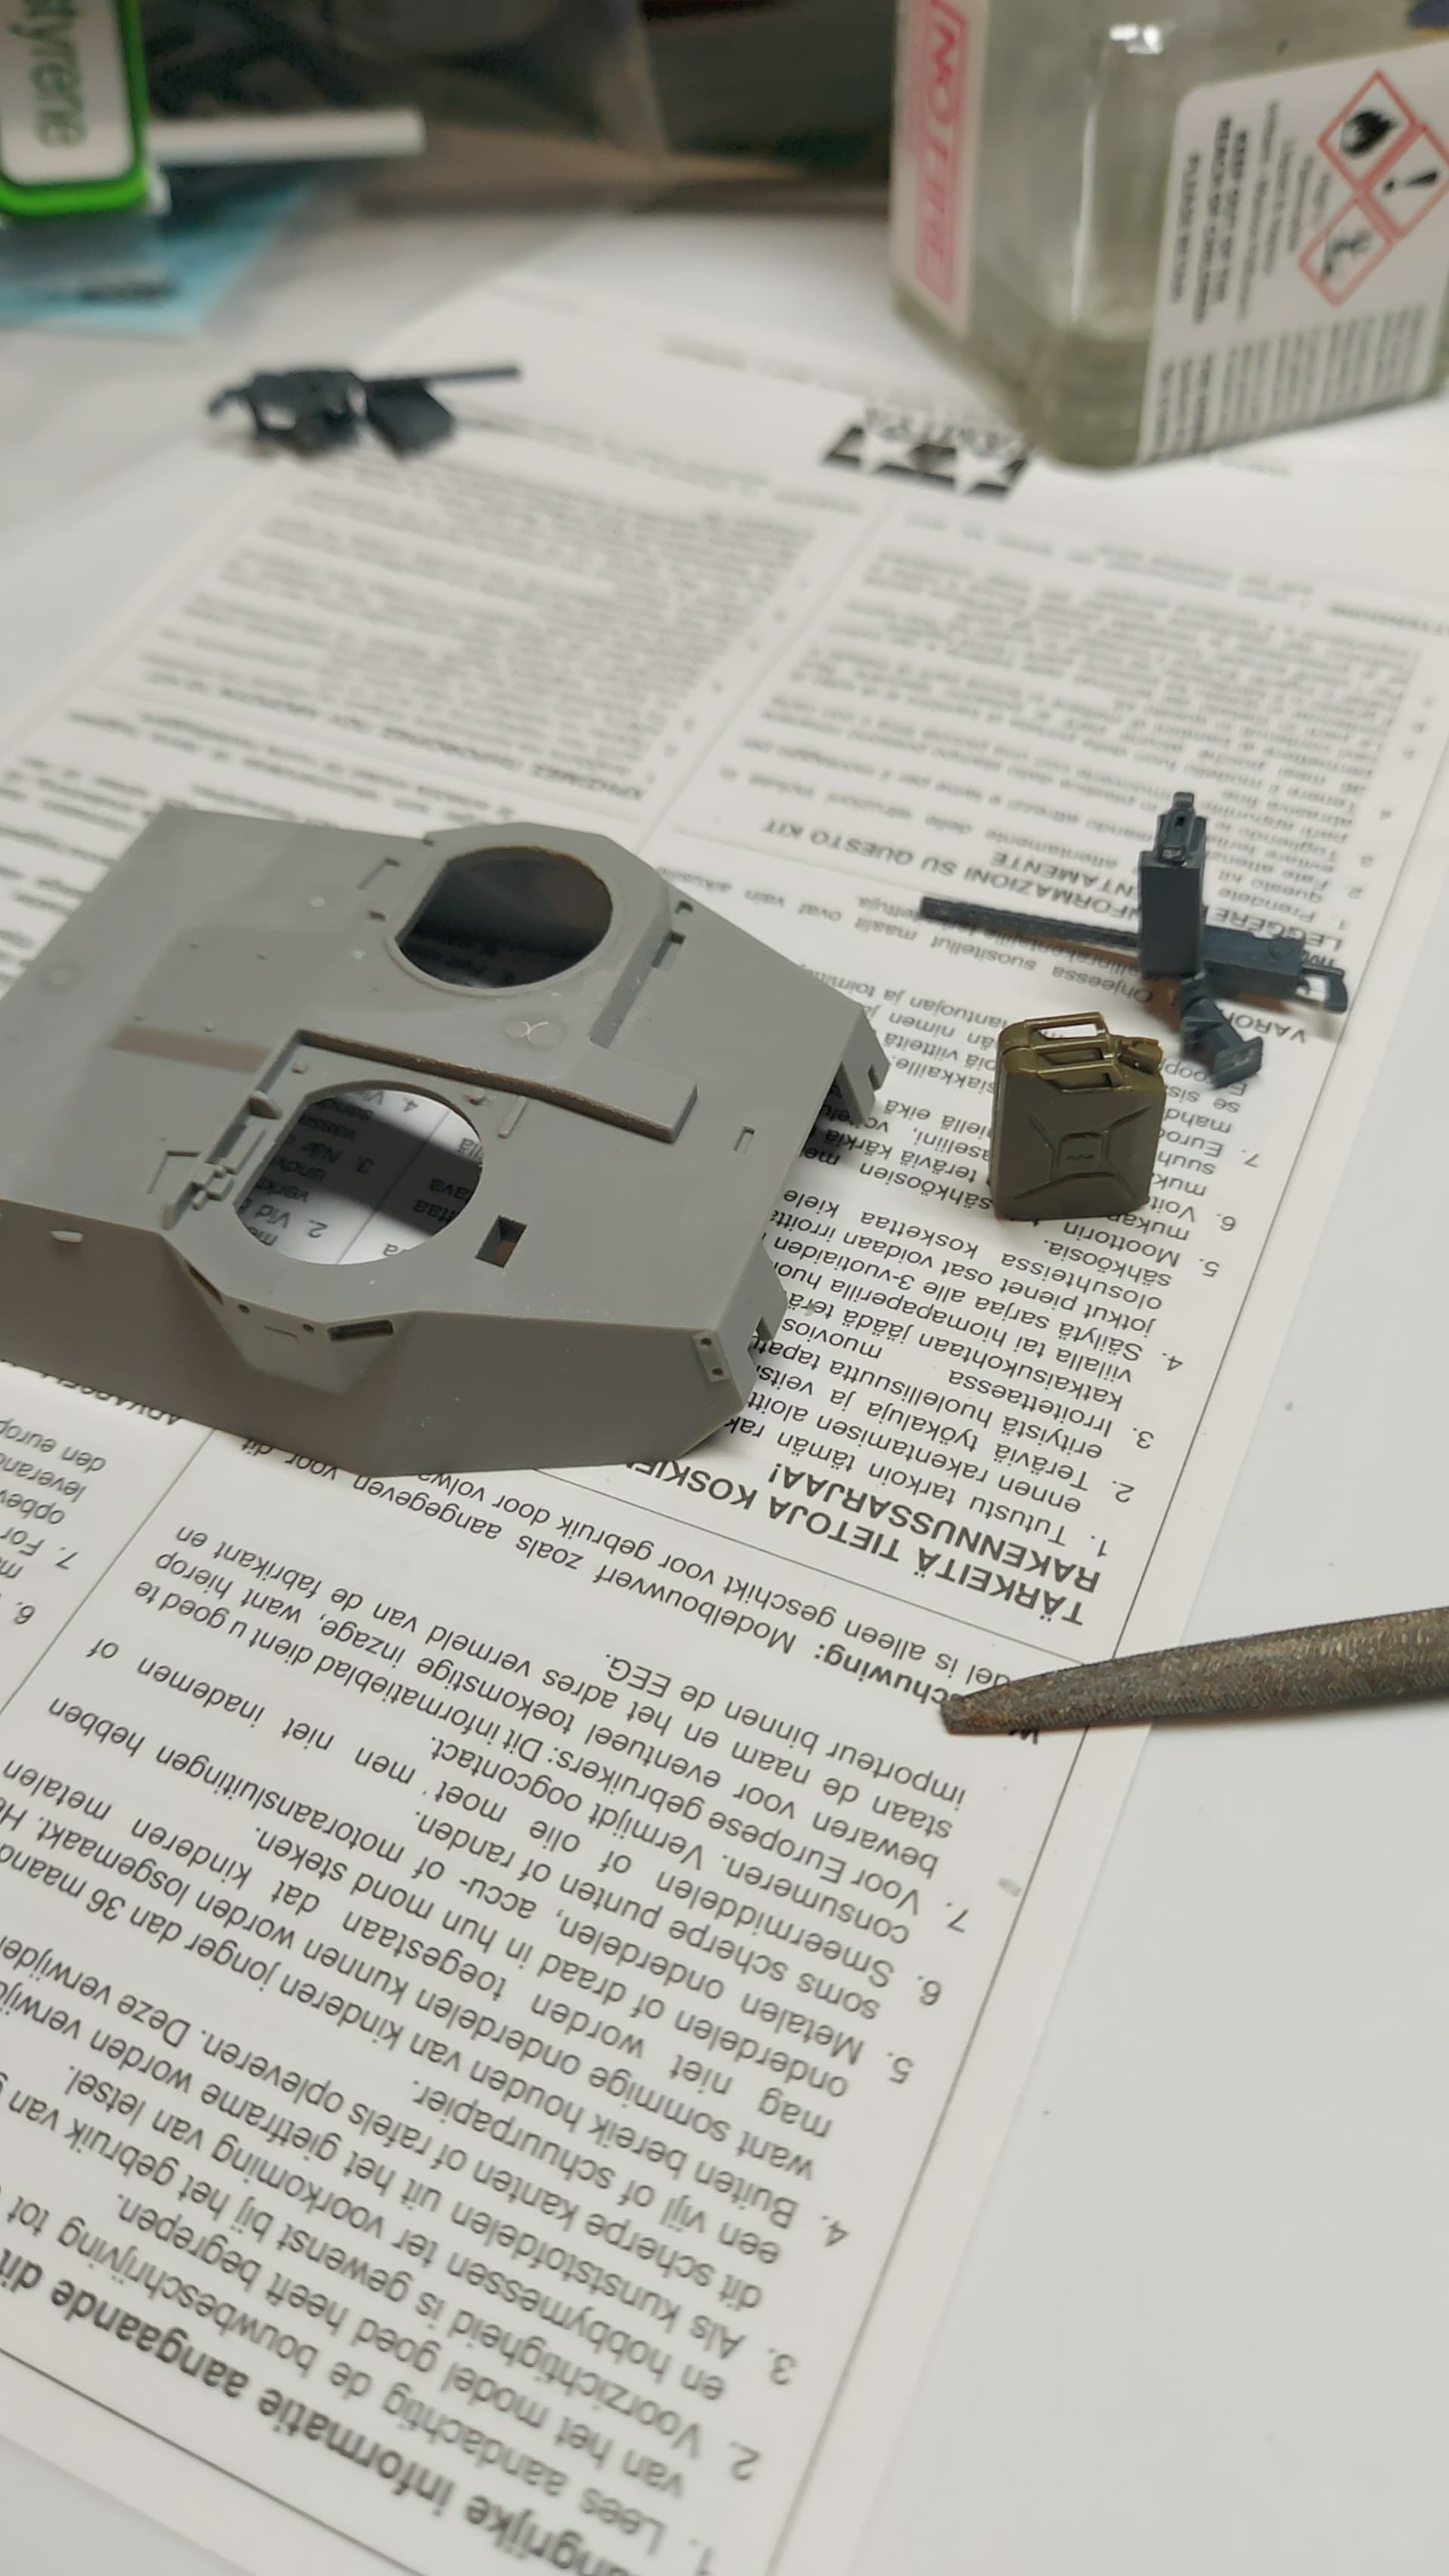
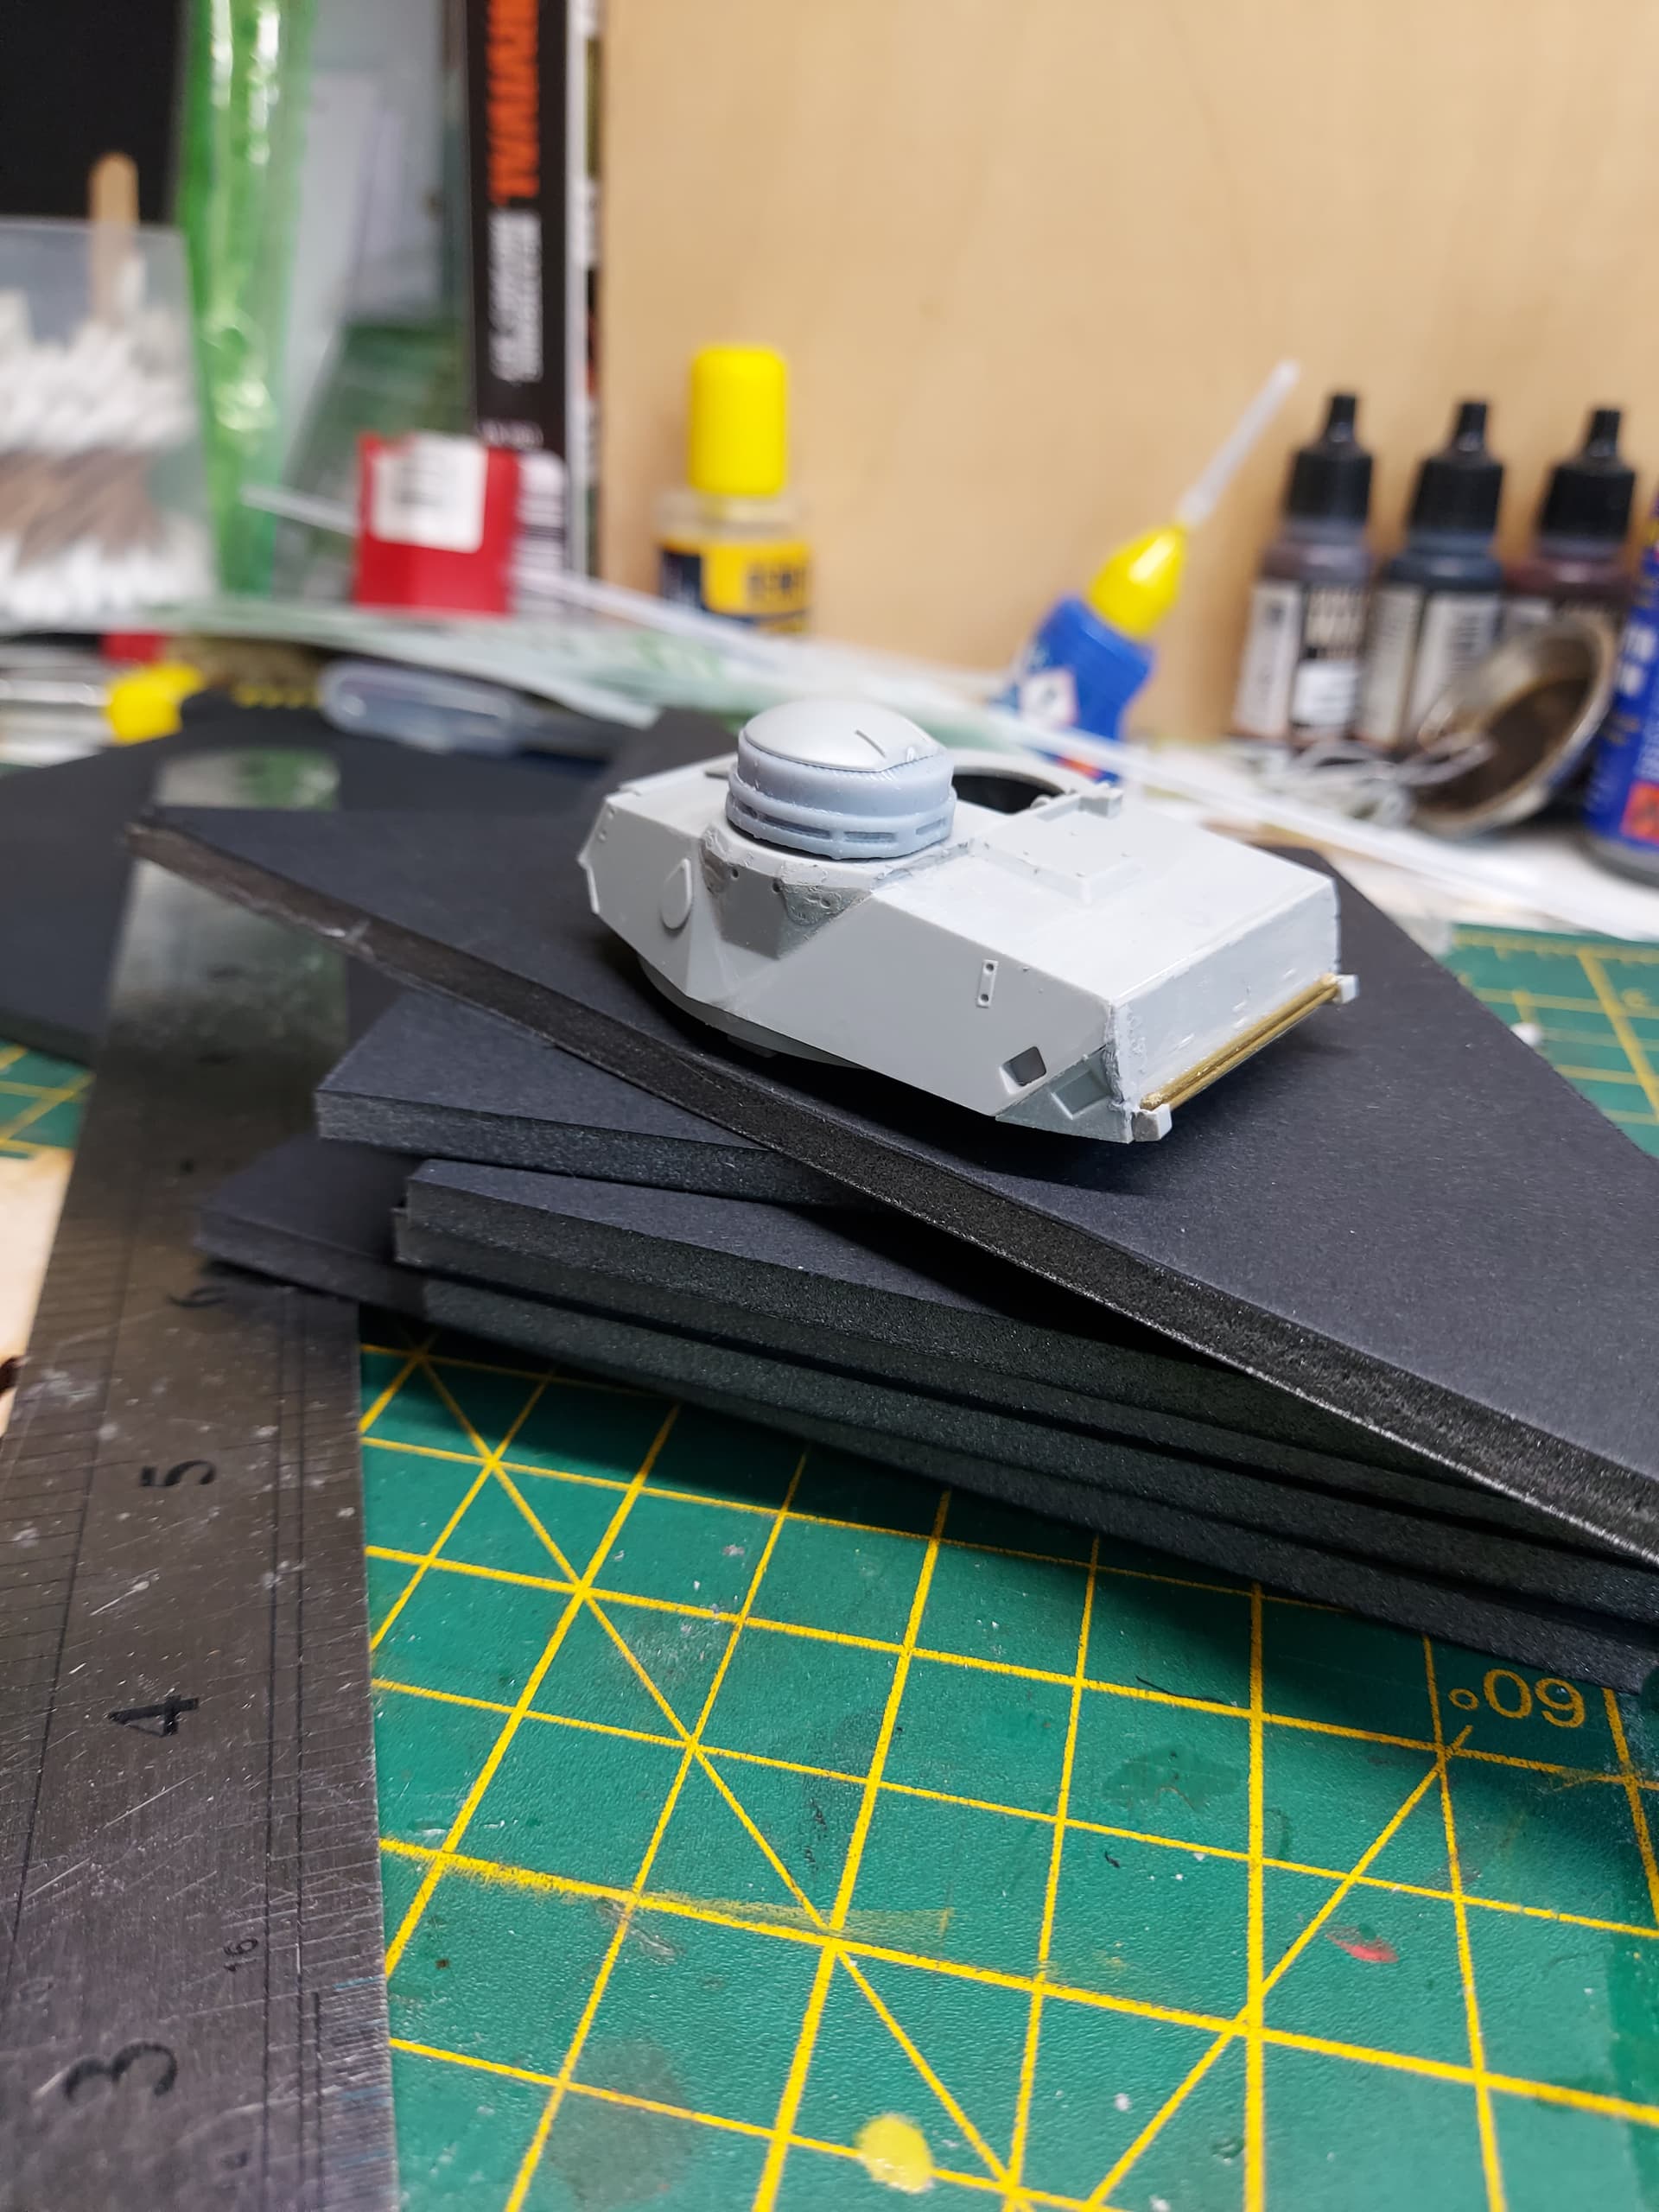
While the paint is drying on my 1/35 Trumpeter Rooikat, I thought that I would make in roads on “Ou Boet” (Old Brother), the Eland 90 reconnaissance armoured car that preceded the Rooikat, “Klein Boet” (Baby Brother).

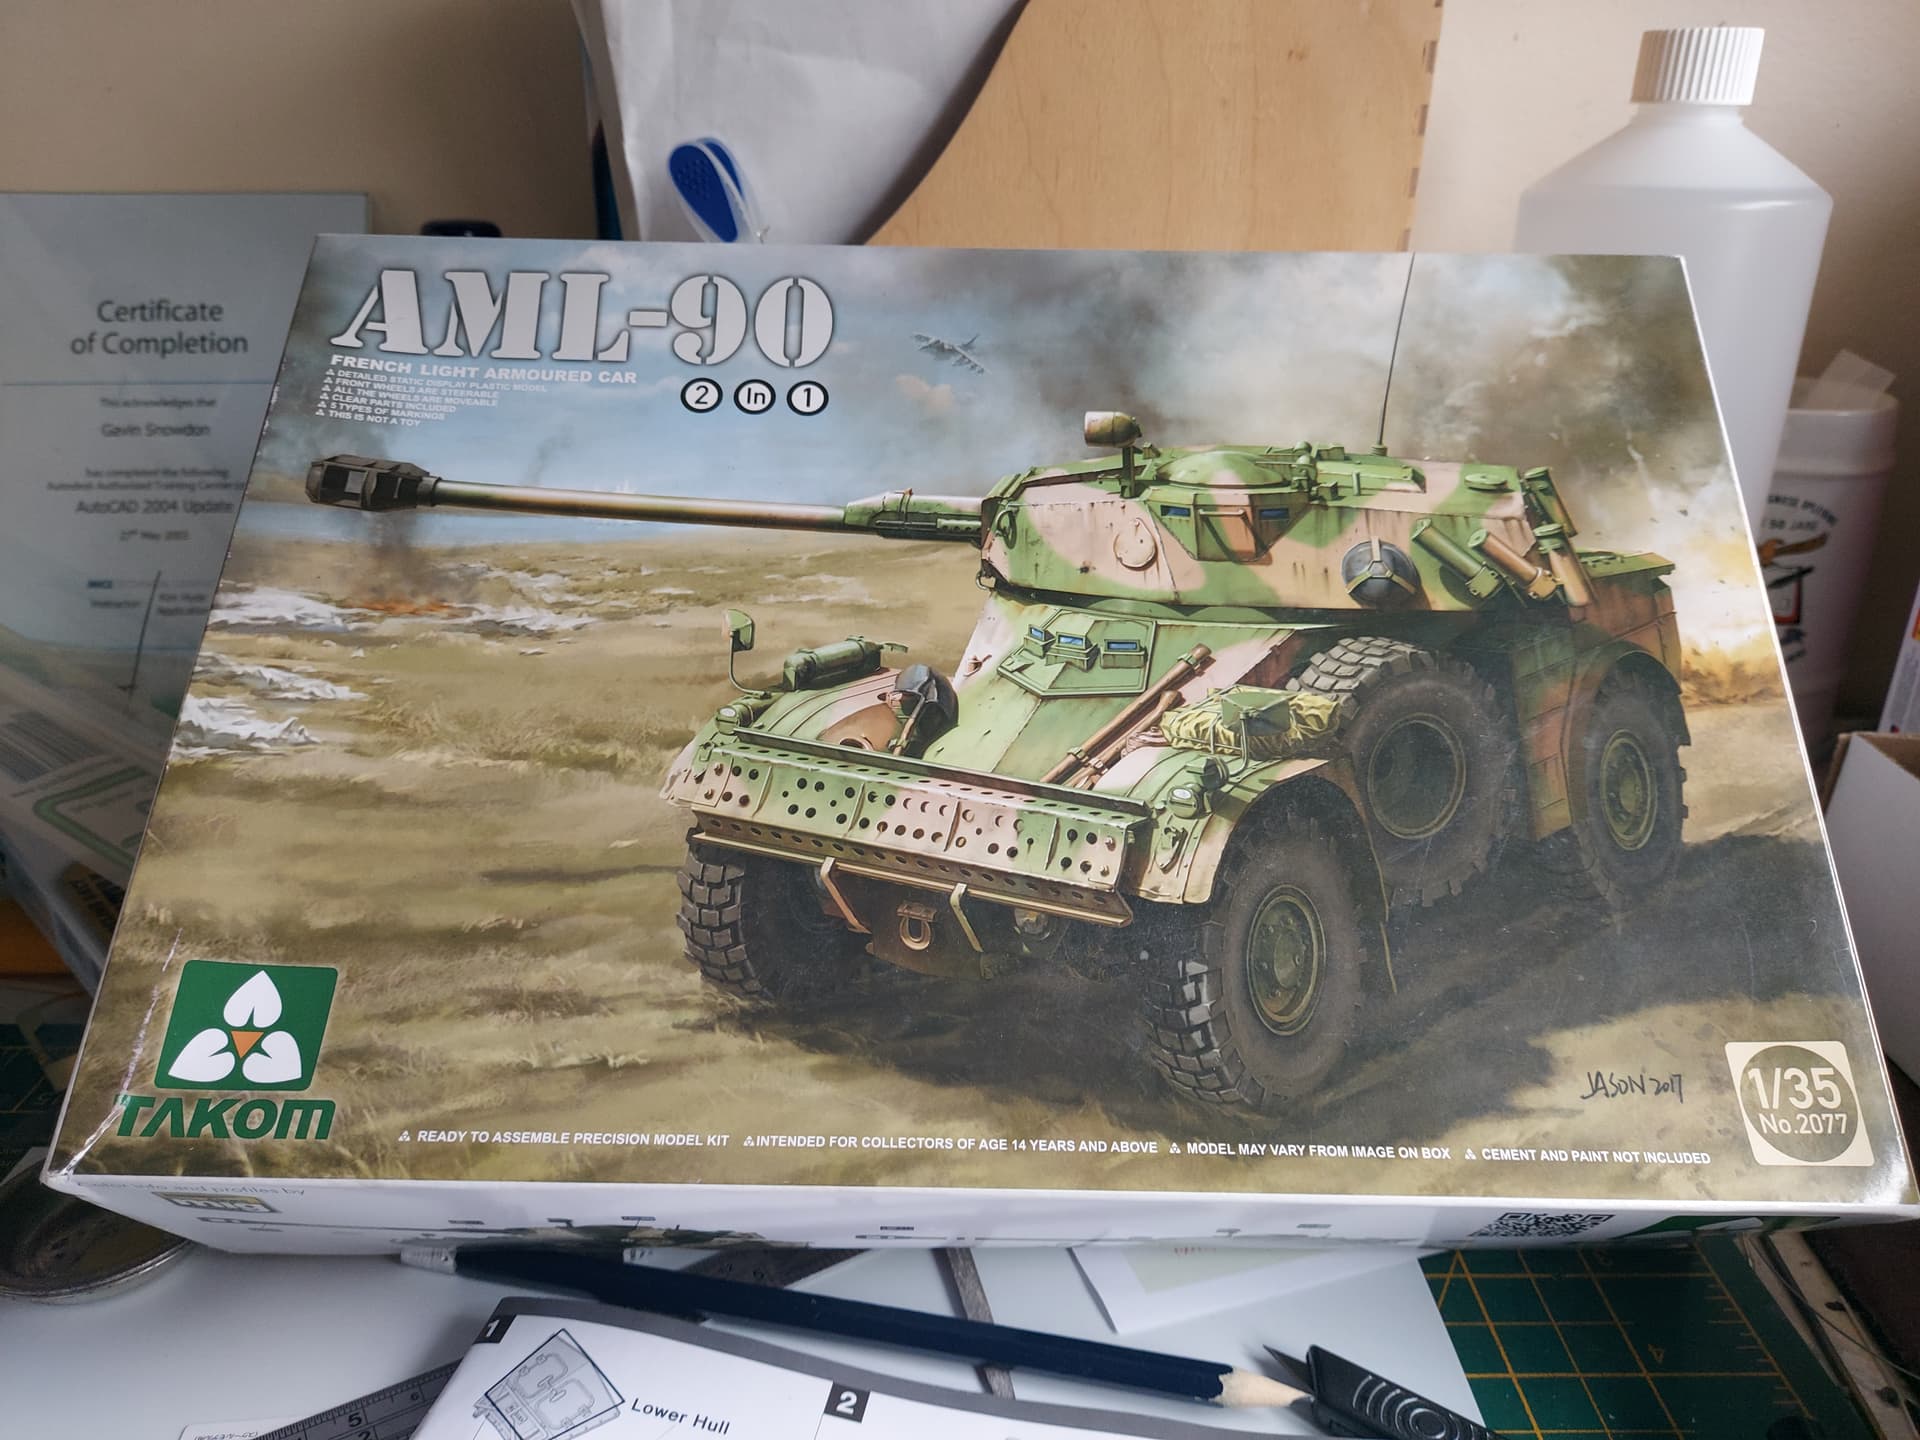
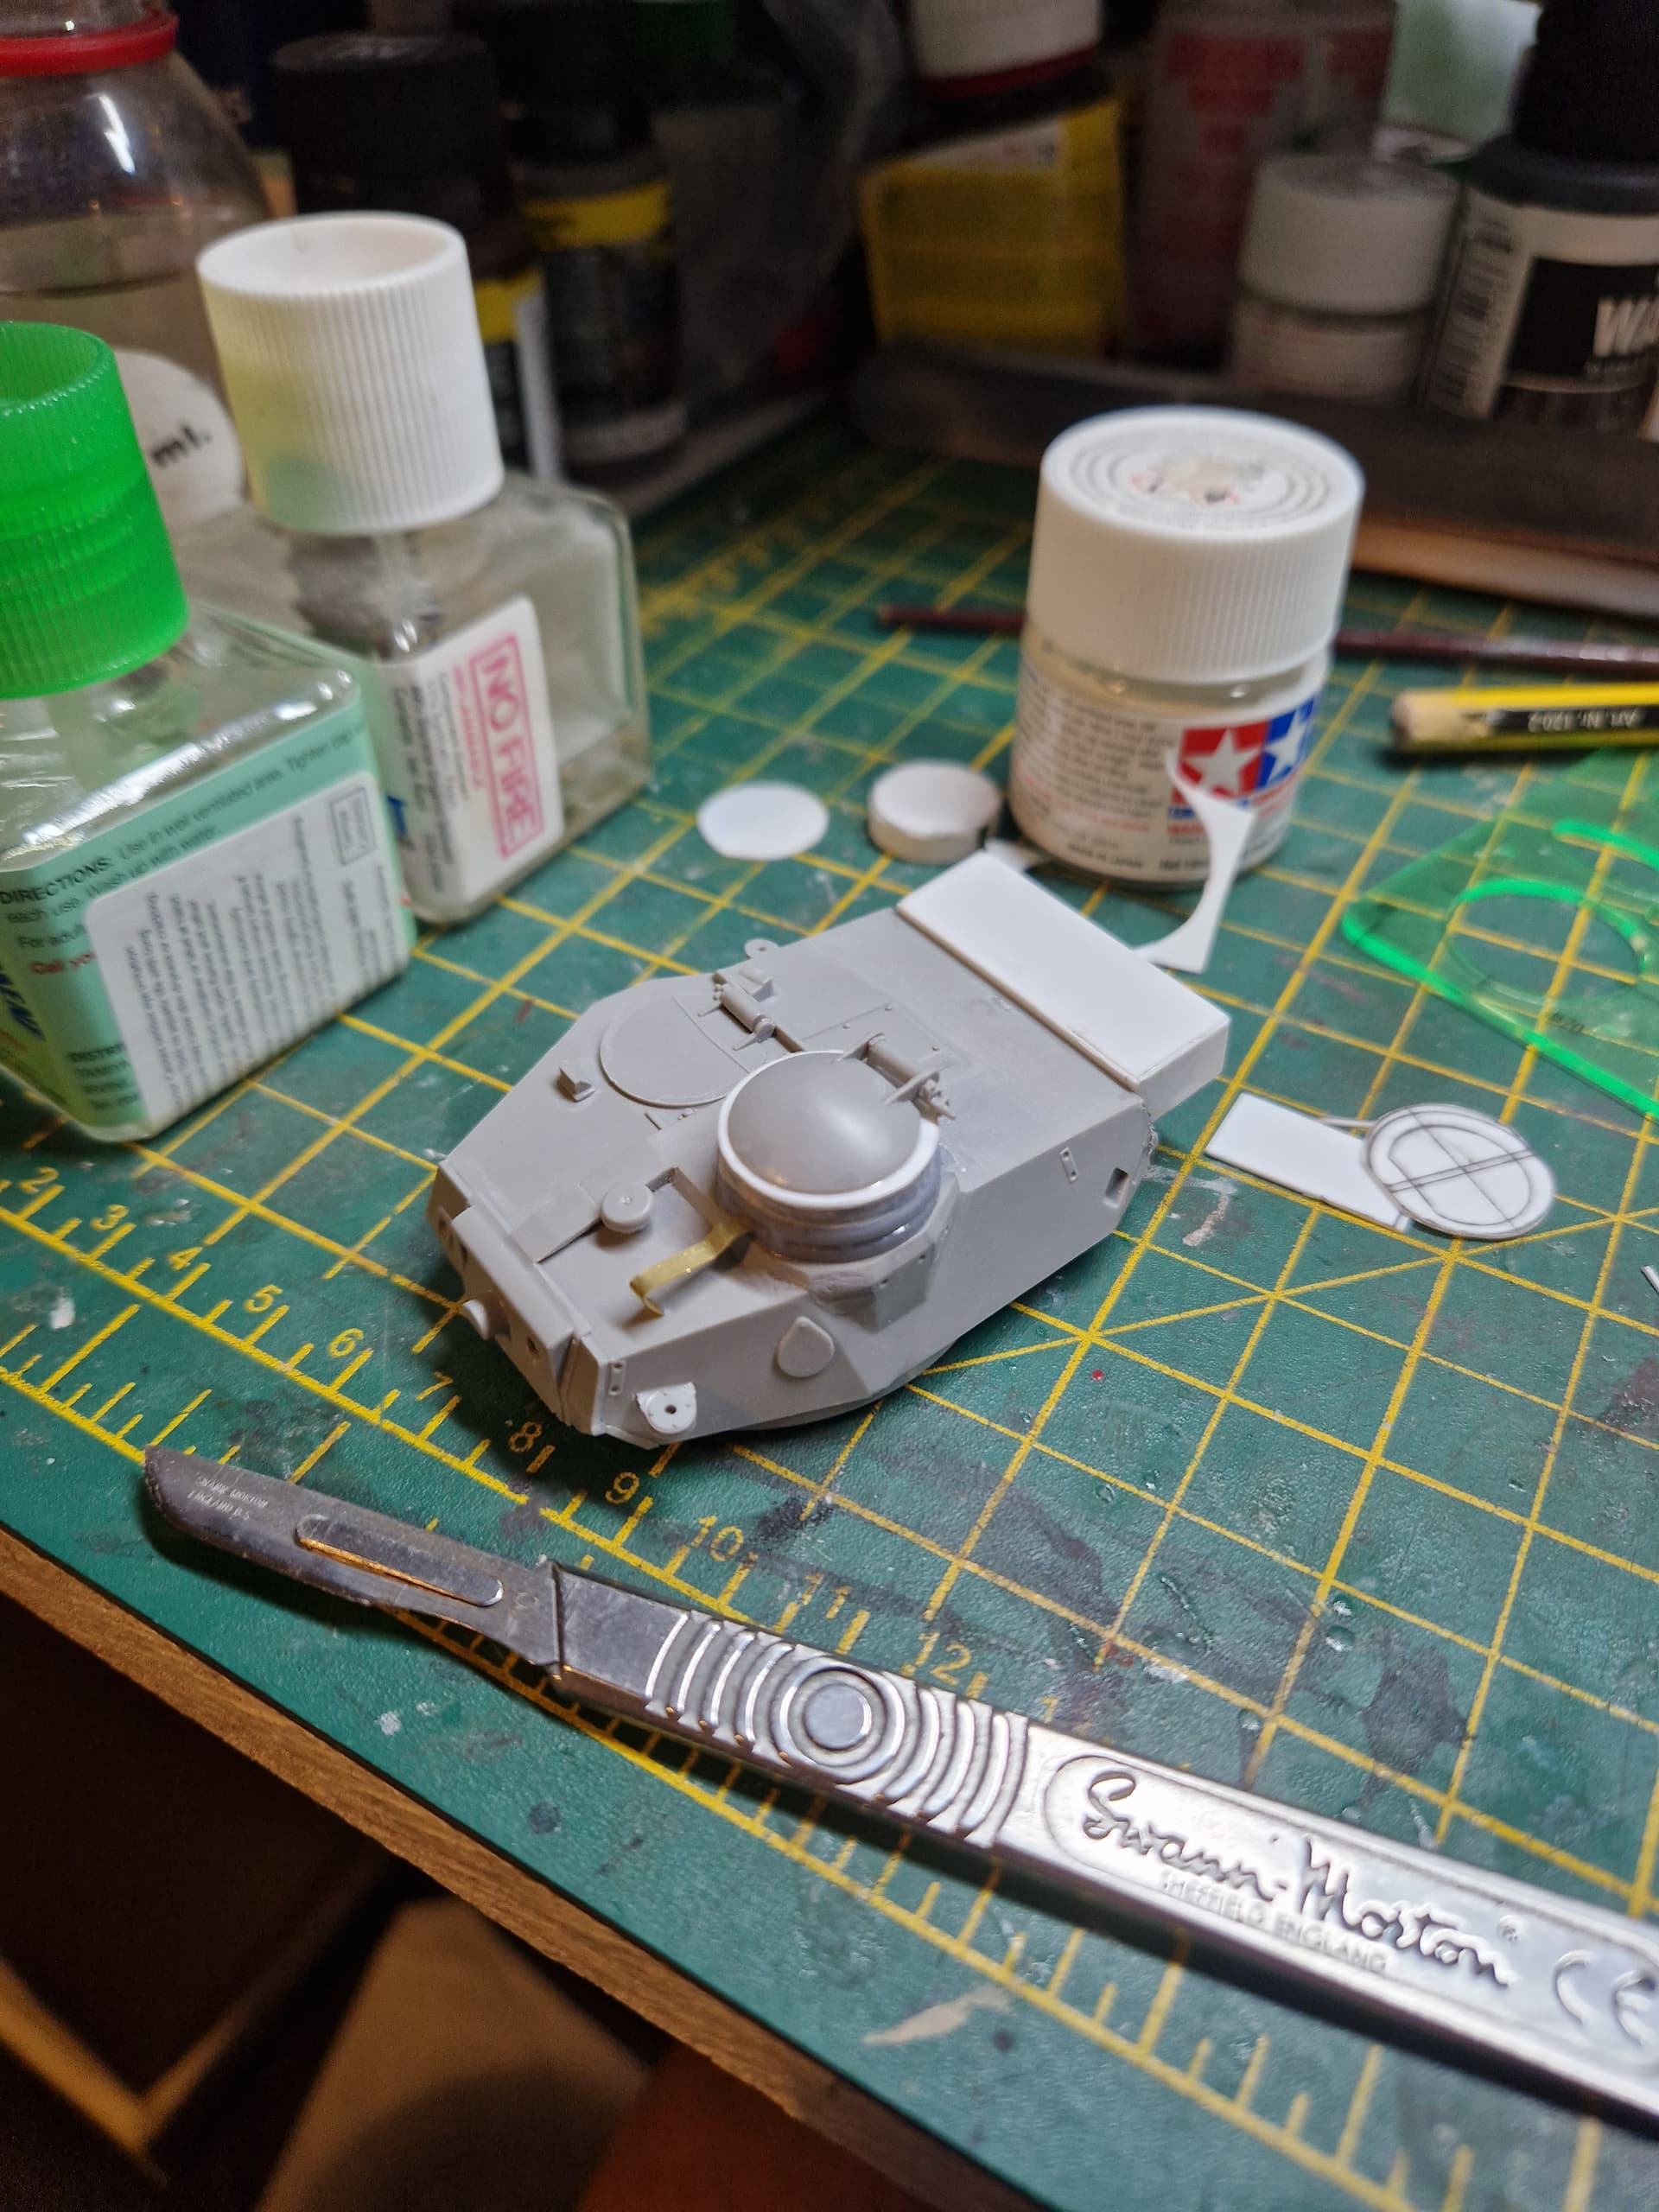
My build is based on the 1/35 Takom AML 90 kit, which will require significant modification. My freind got hold of a Tiger kit of the AML 90, which in my opinion is a better kit with all the additional details, interior and some more inline with the SADF variant external details.


Talking about mods, here are some images of the marked instructions and a little bit of build work and mods done.


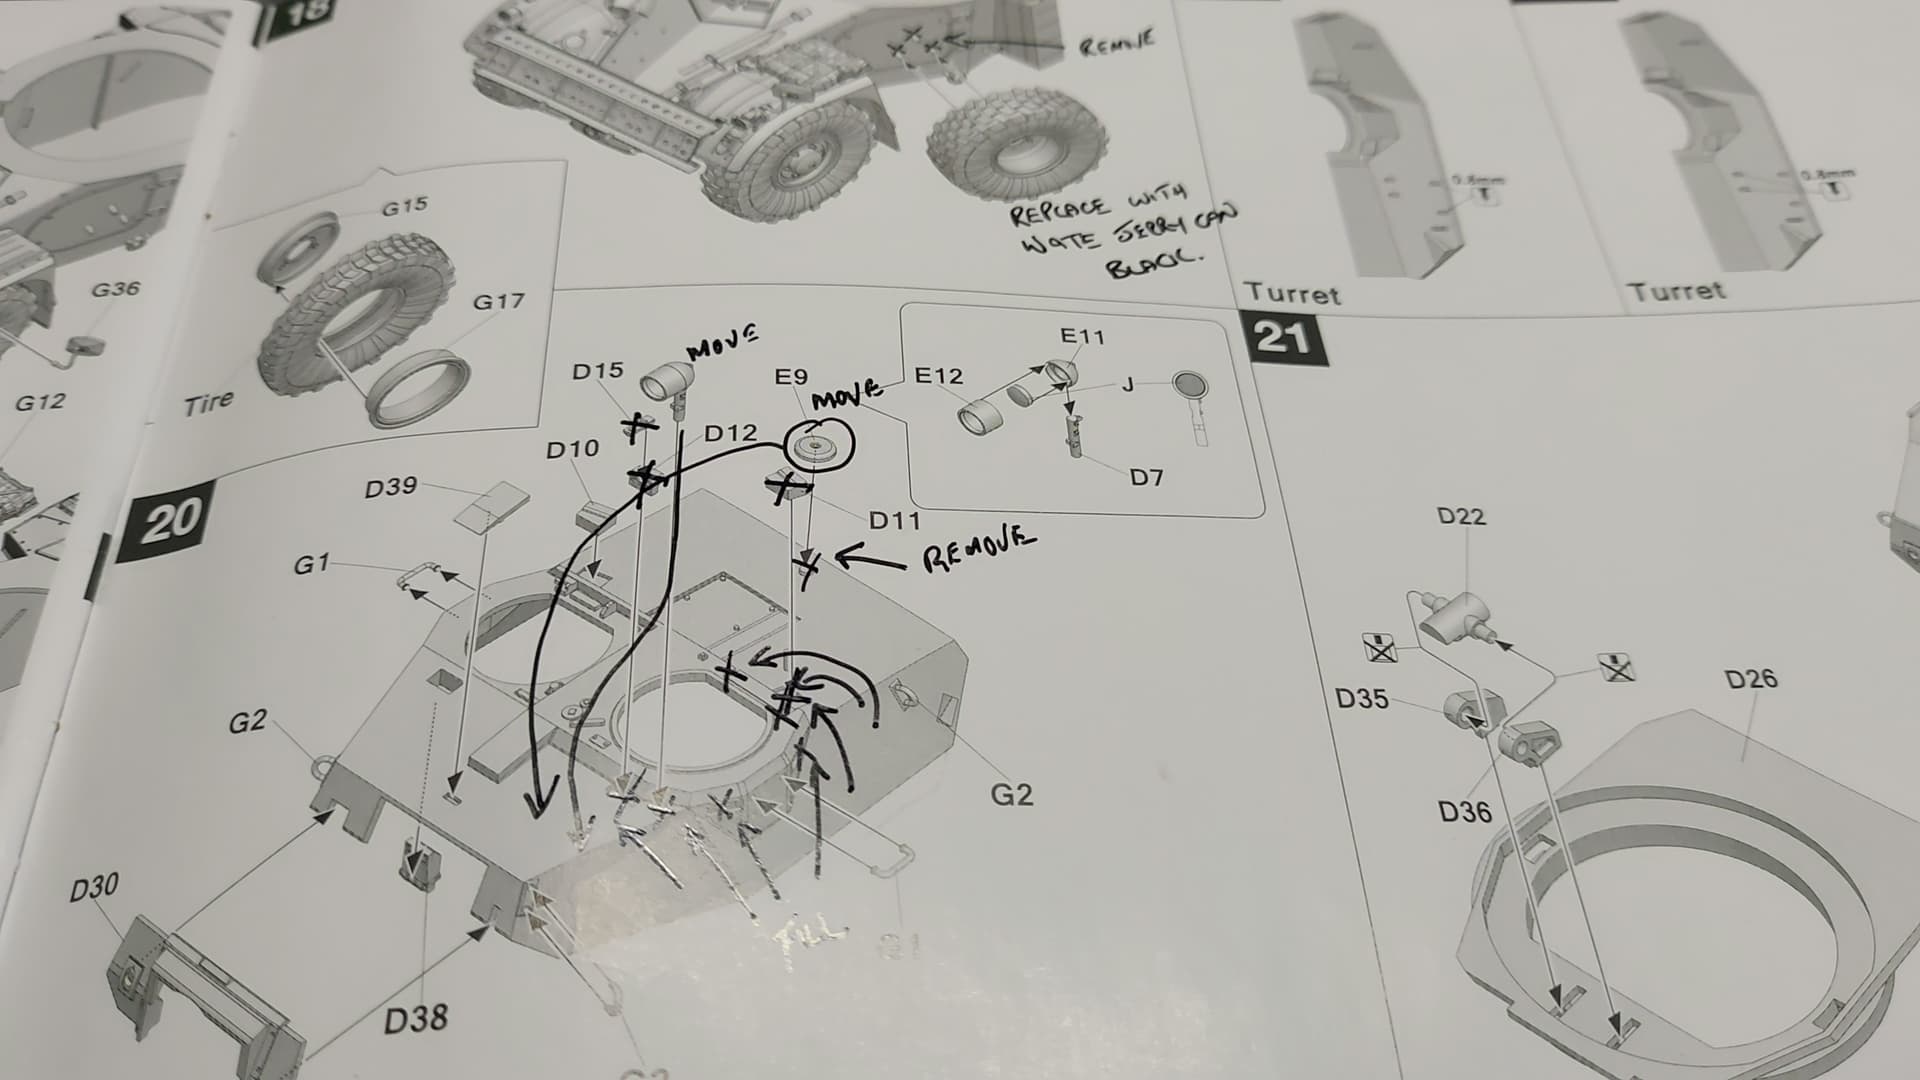
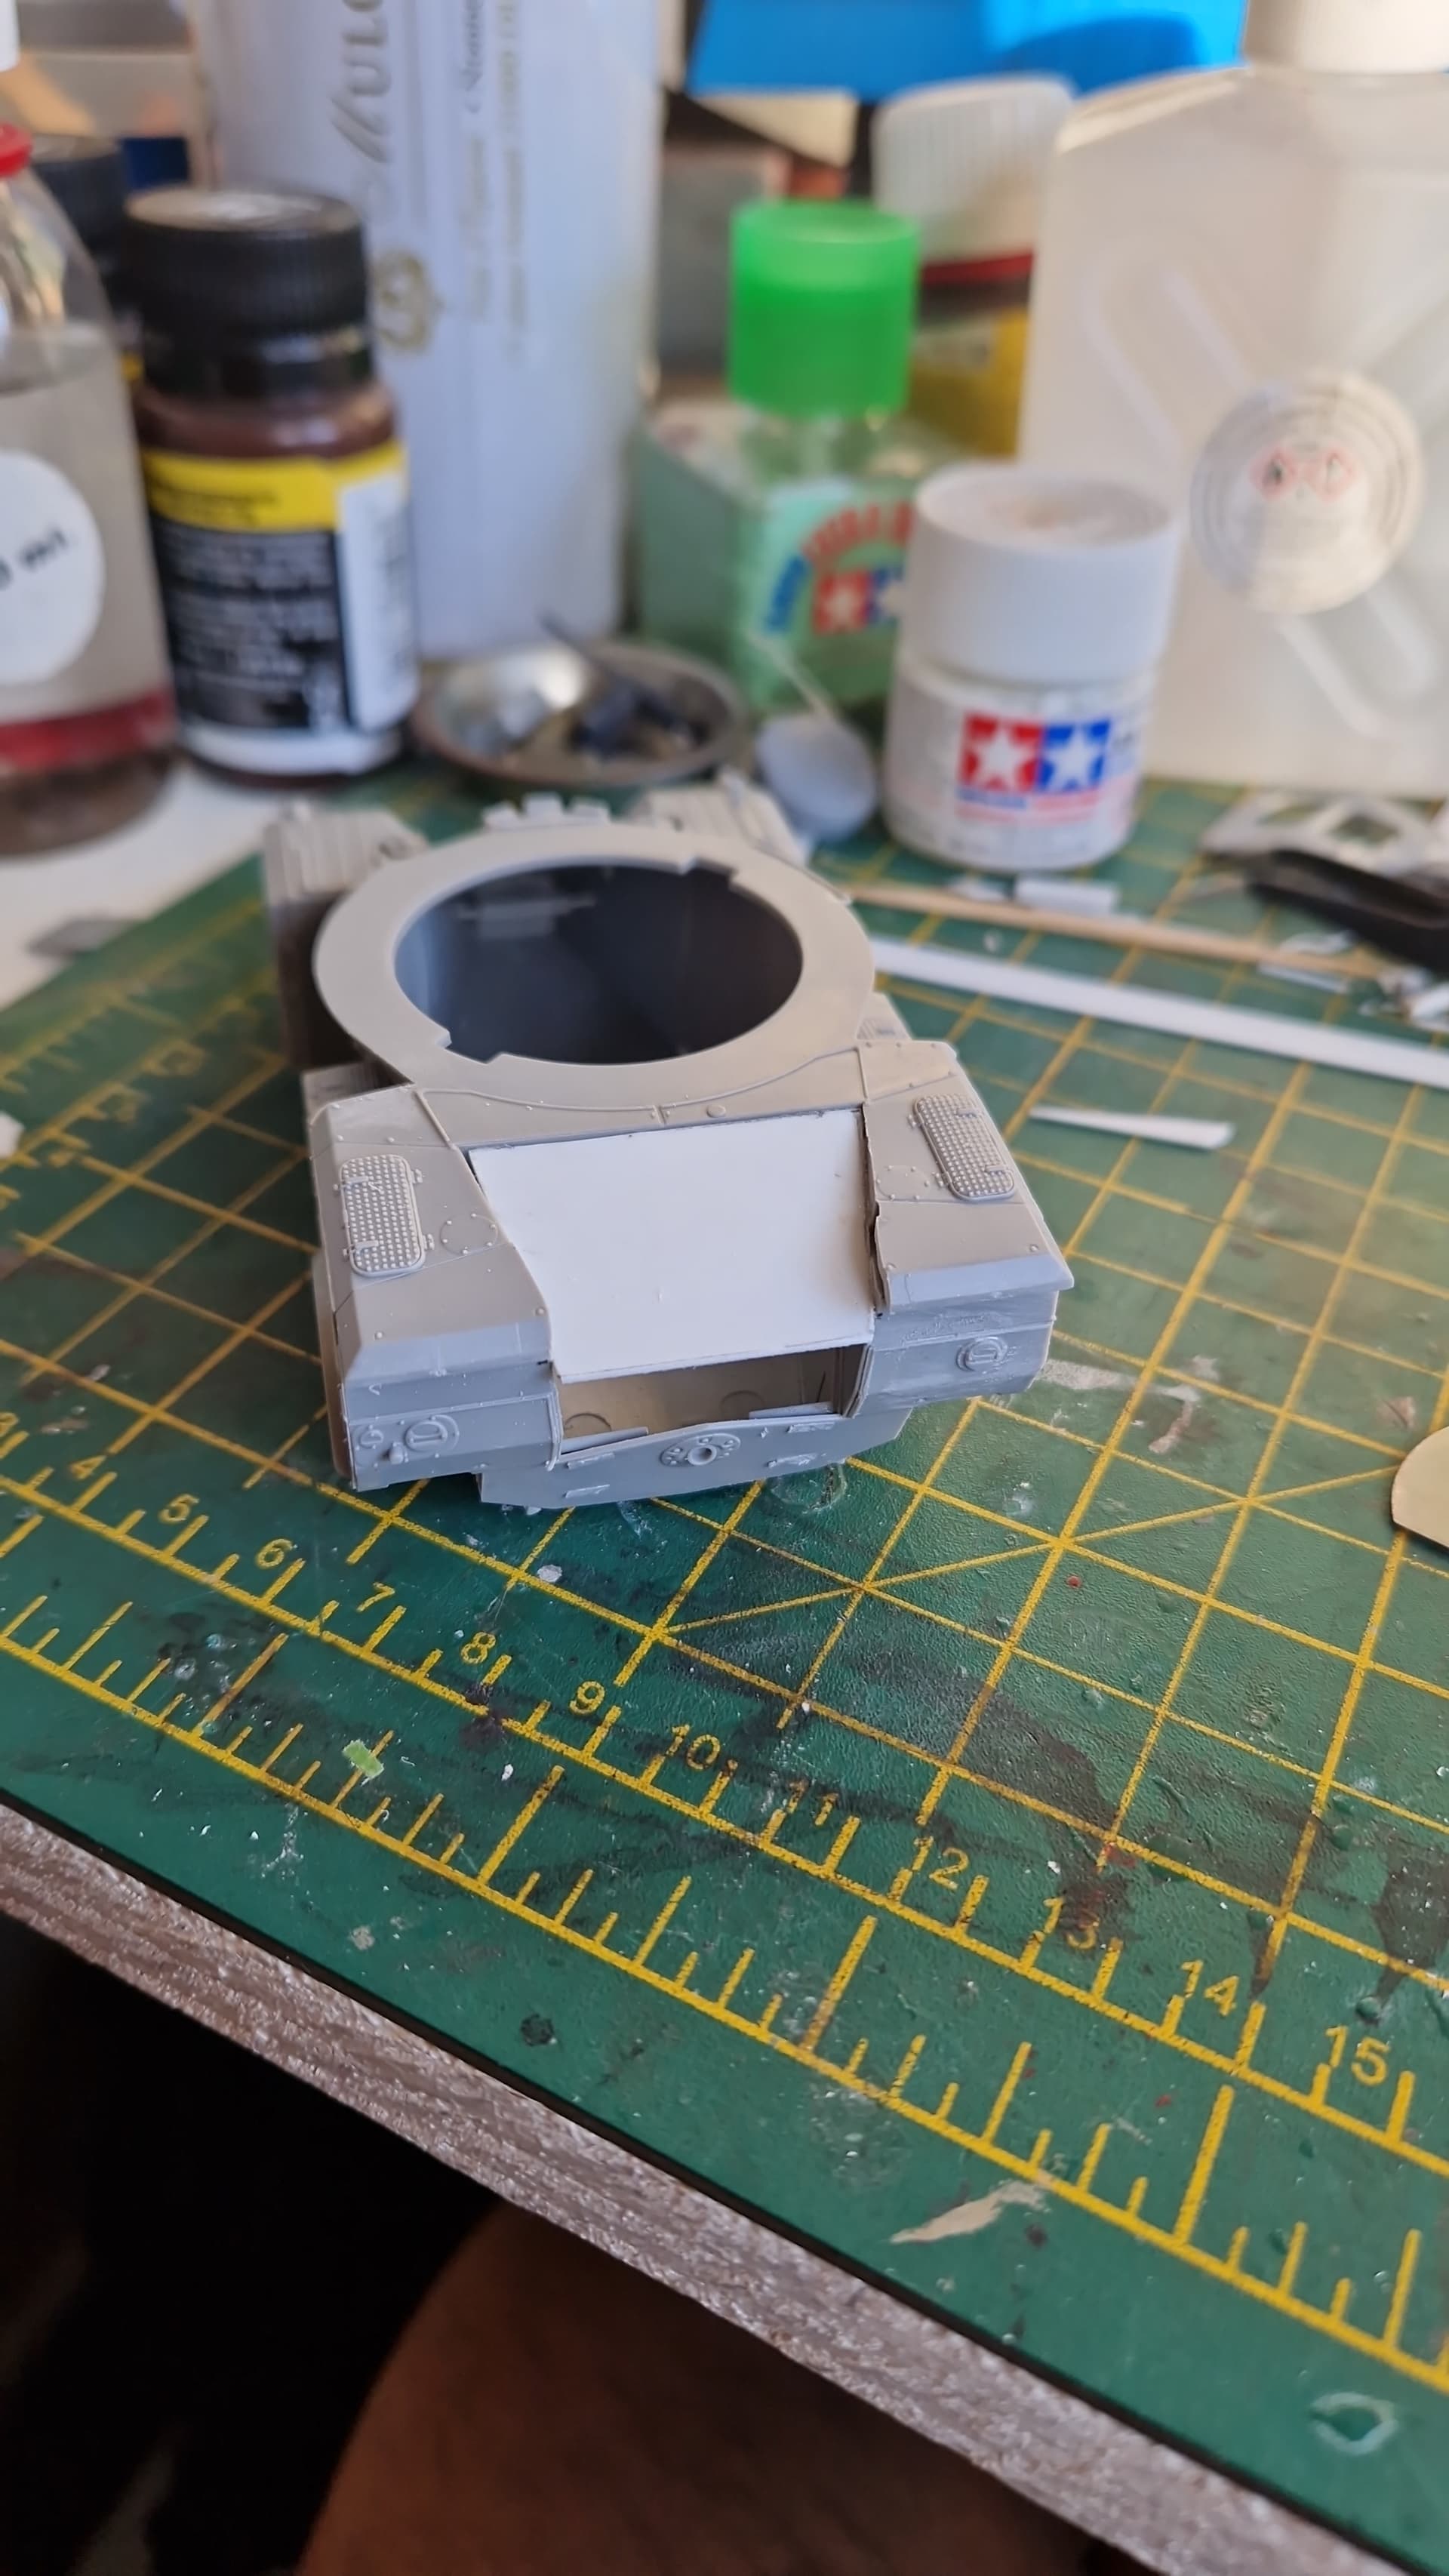
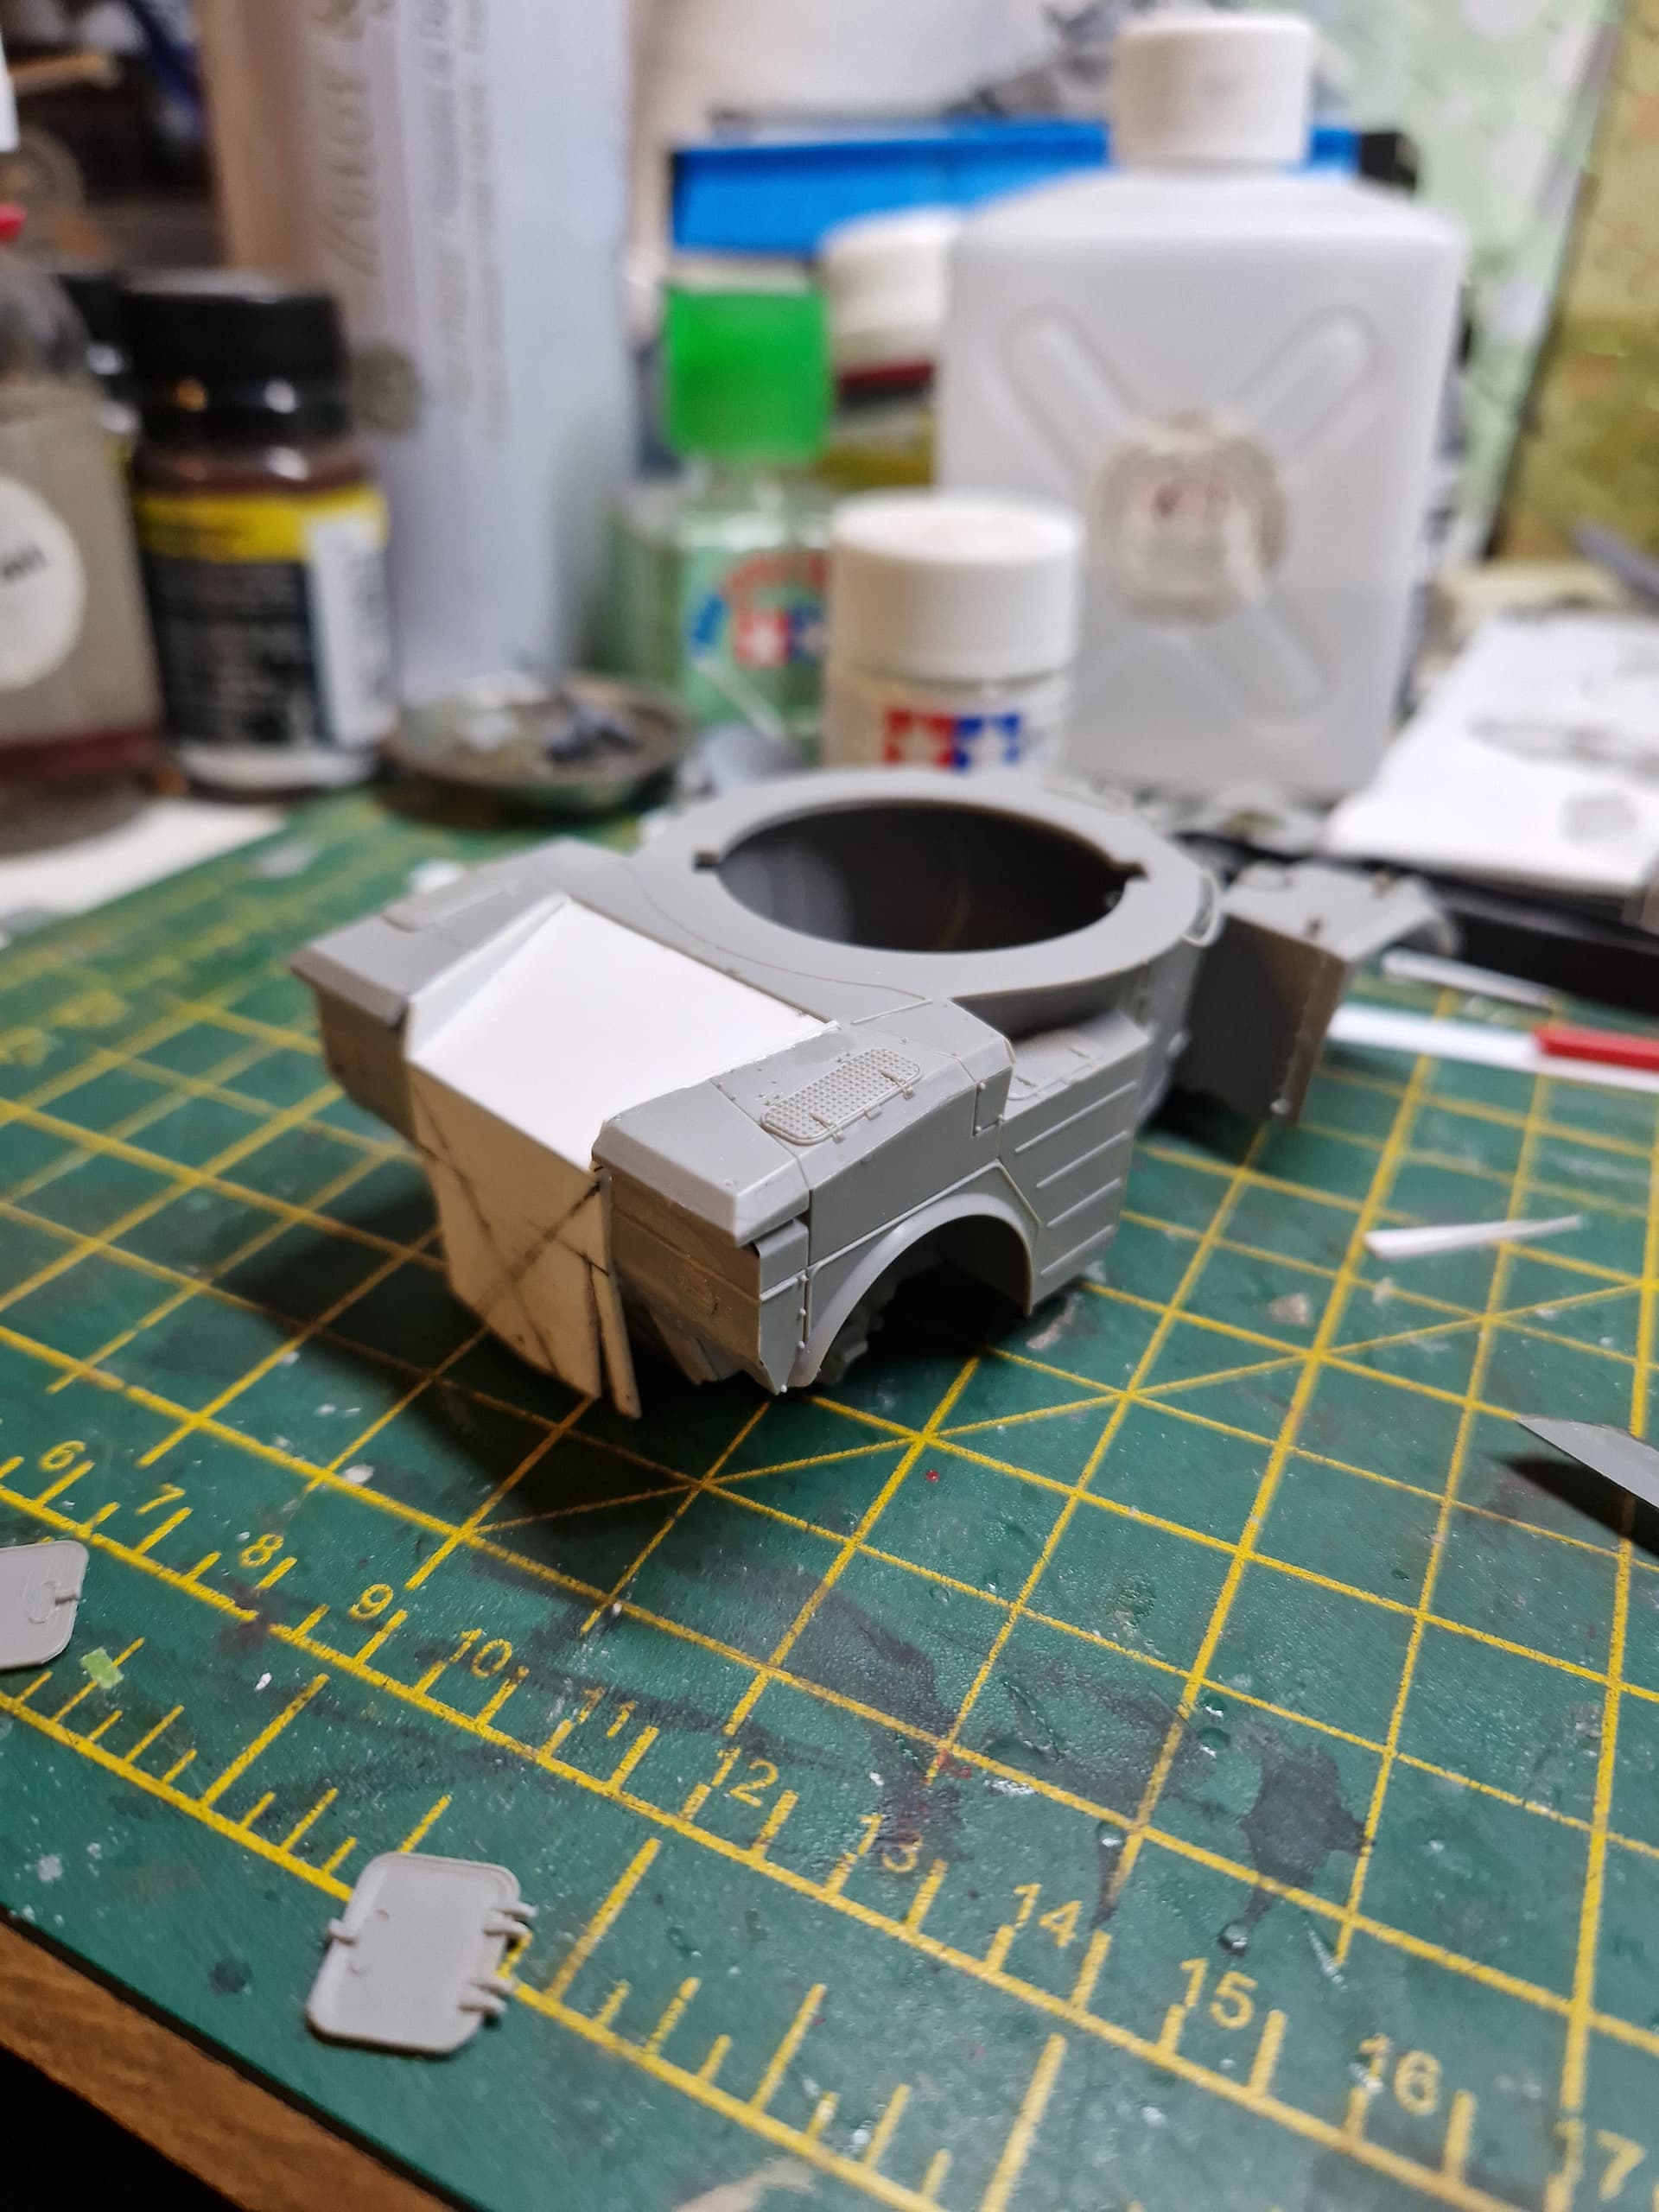
The turret and engine bay require the most work, I will need to change the tyres and head lights as well.

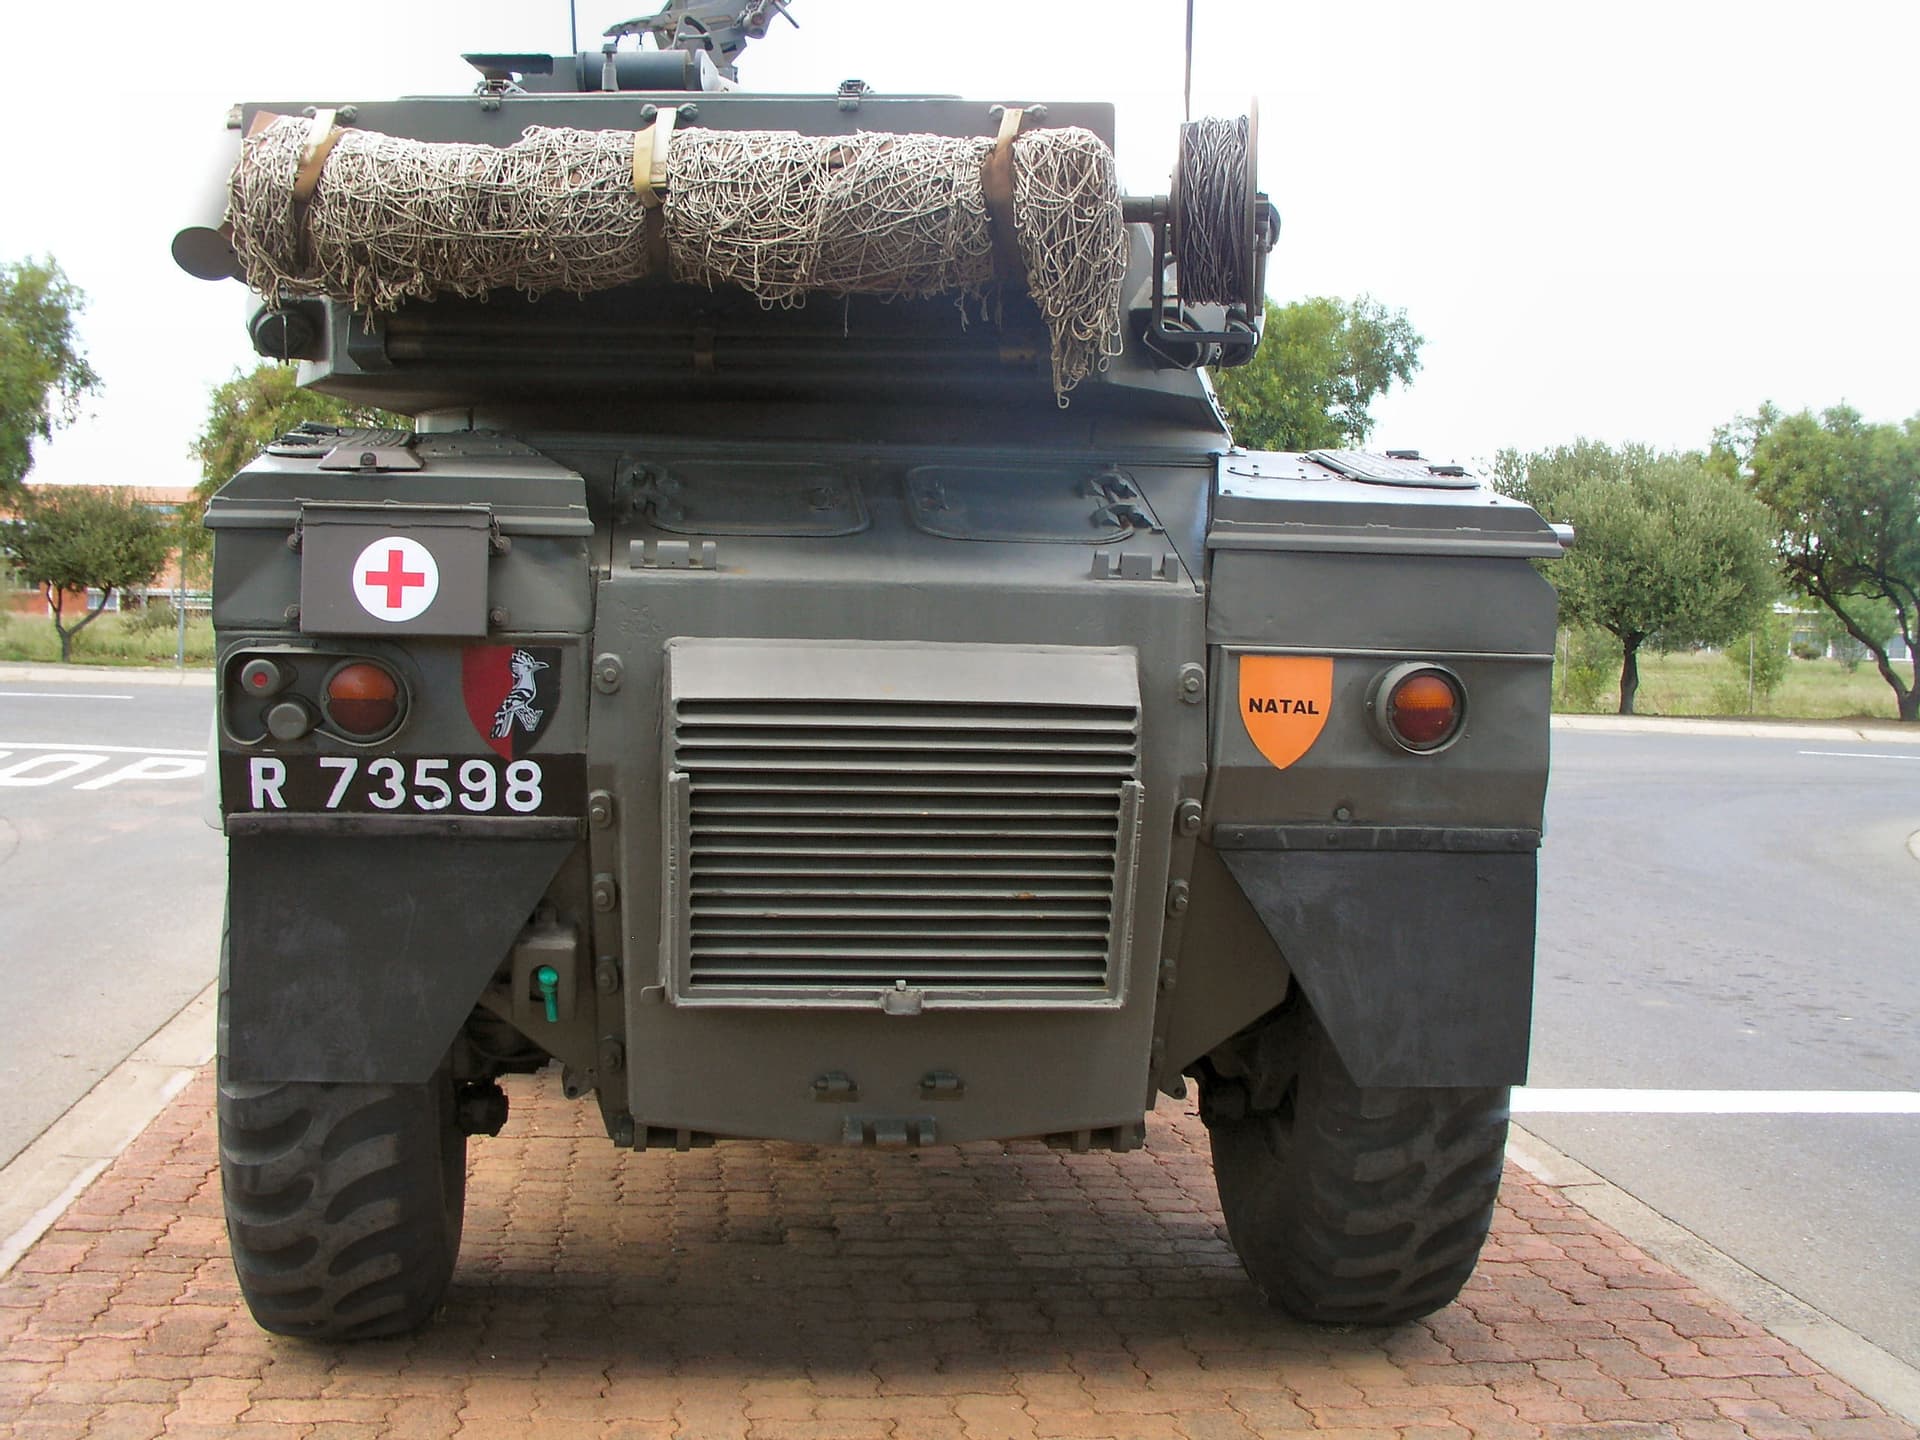
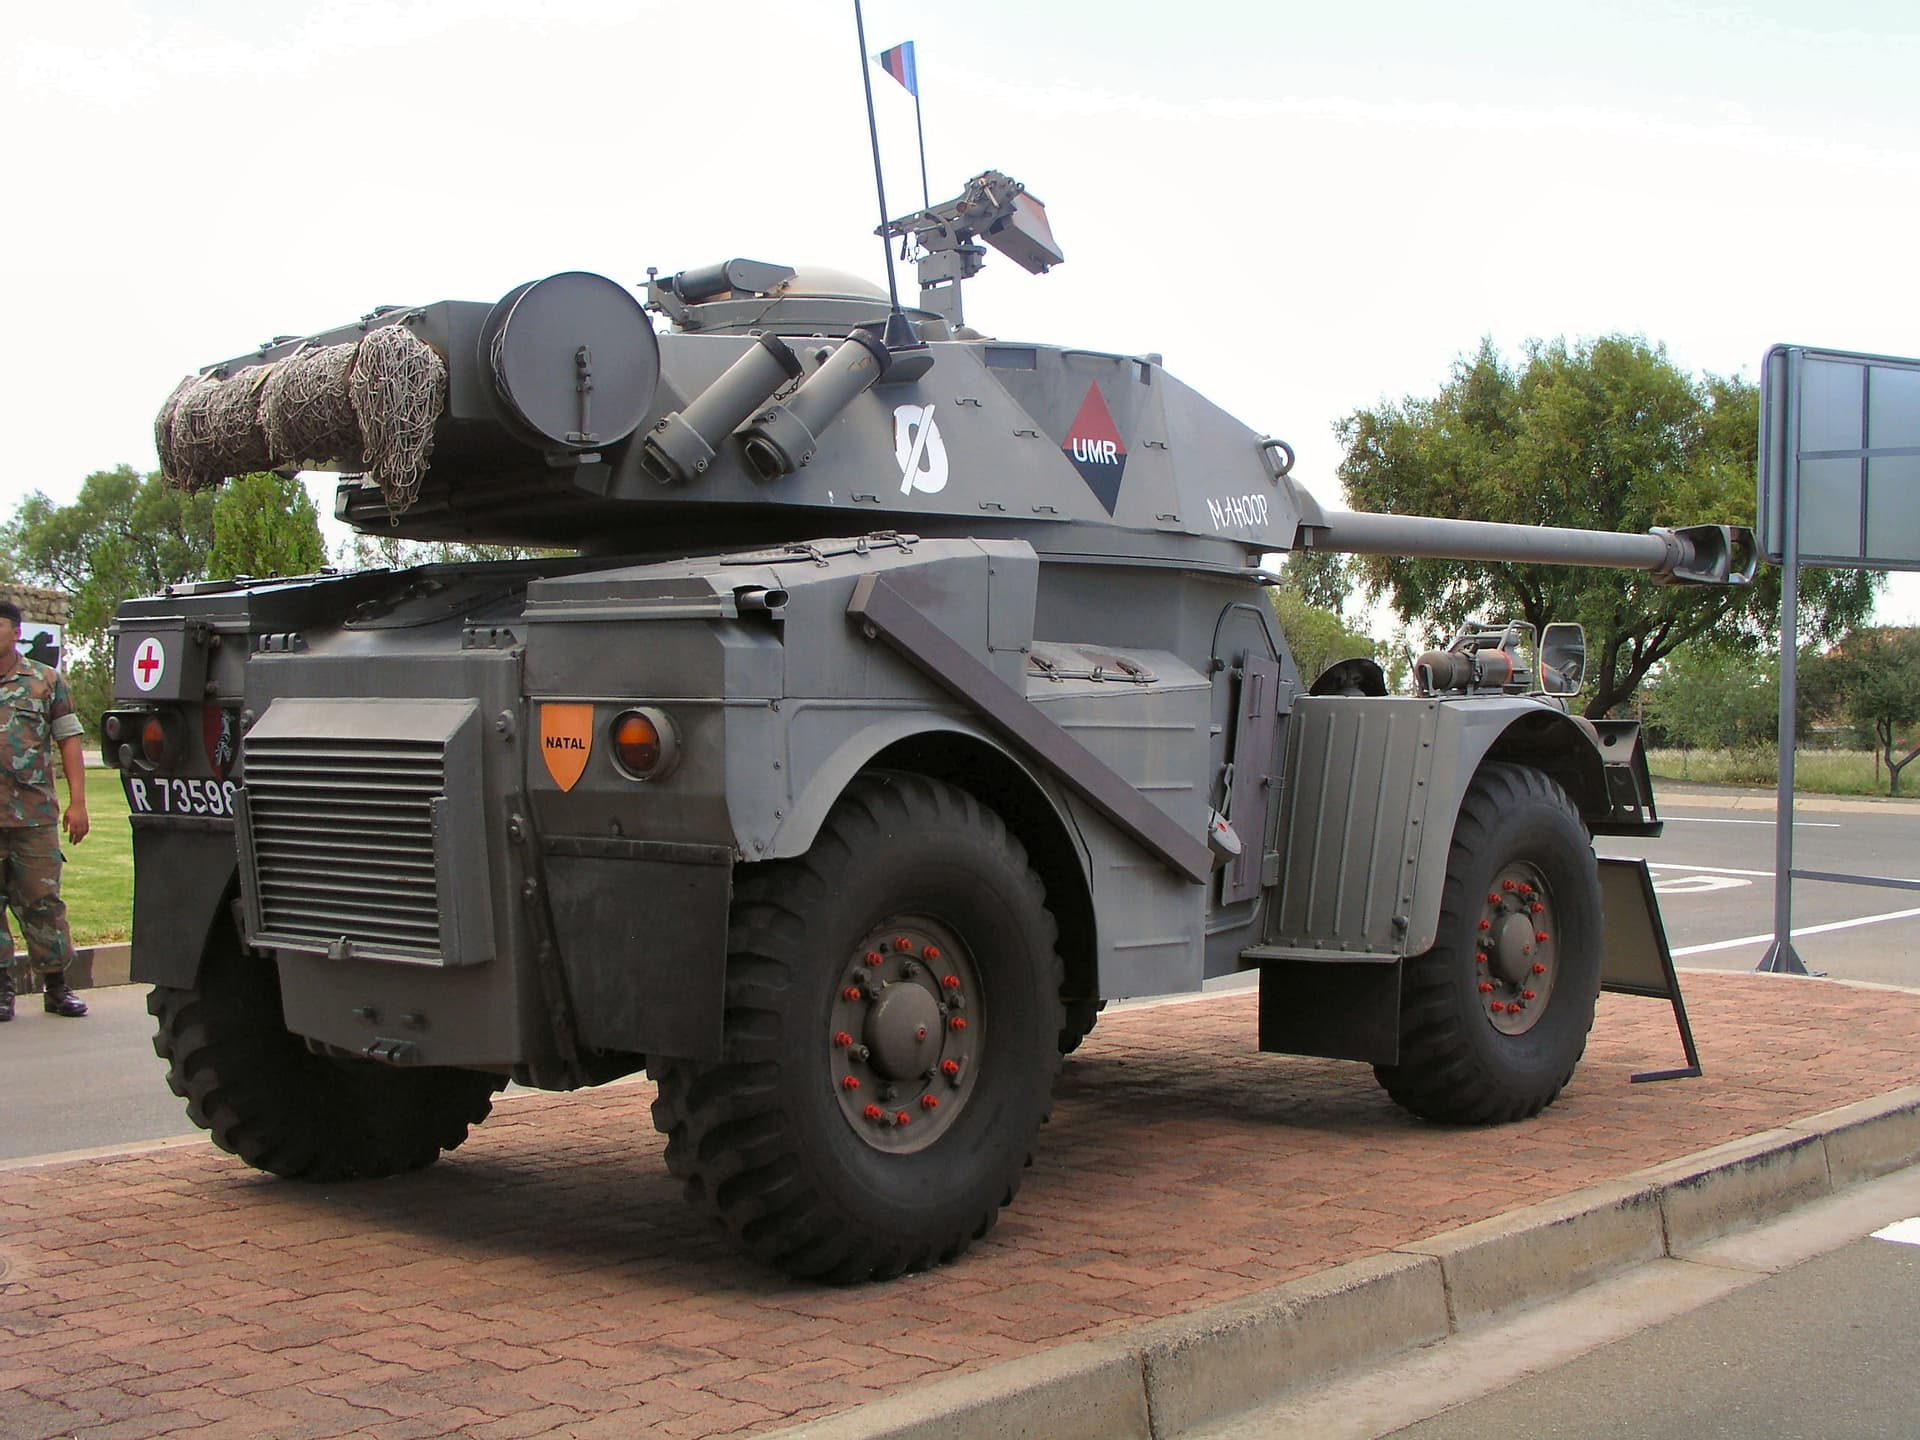
Compared to the Rooikat, the Eland is crazy small. No wonder it could not keep up with the Ratels during the bush war and even scarrier that they engaged with and destroyed Soviet supplied T34-85 & T55’s manned by Angolan’s, Cuban’s & possibly Soviet Russians as there were “advisors” in evidence. Though it did normally require multiple hits with an unstabilised low pressure 90mm gun firing HEAT rounds. Utilising, shoot and scoot tacticts.

The turret of a disabled Olifant Mk1a was sent to the then Soviet Union for analysis, pretty much like the T90 been shipped to the USA for analysis.

This is an impressive little vehicle that fought well outside it weight division that deserves to be honoured in a build.

Thanks for watching.
We came in peace, so shoot to kill🖖🏼

4 Likes

Hi ya!

It been a busy day, managed to do some building and the Eland is coming along. I need to partly build it to implement the mods.

I’ve gotta fill in the headlight recesses as the SADF variant had fender mounted lights with bush guards. The mods are increasing as I go along.

Thanks for watching!
We come in peace, so shoot to kill!:vulcan_salute:t3:

2 Likes

Hi ya,

Yeah, coming along with the pre-build required to necessitate the surgery.

Engine bay is ready for scratch building.


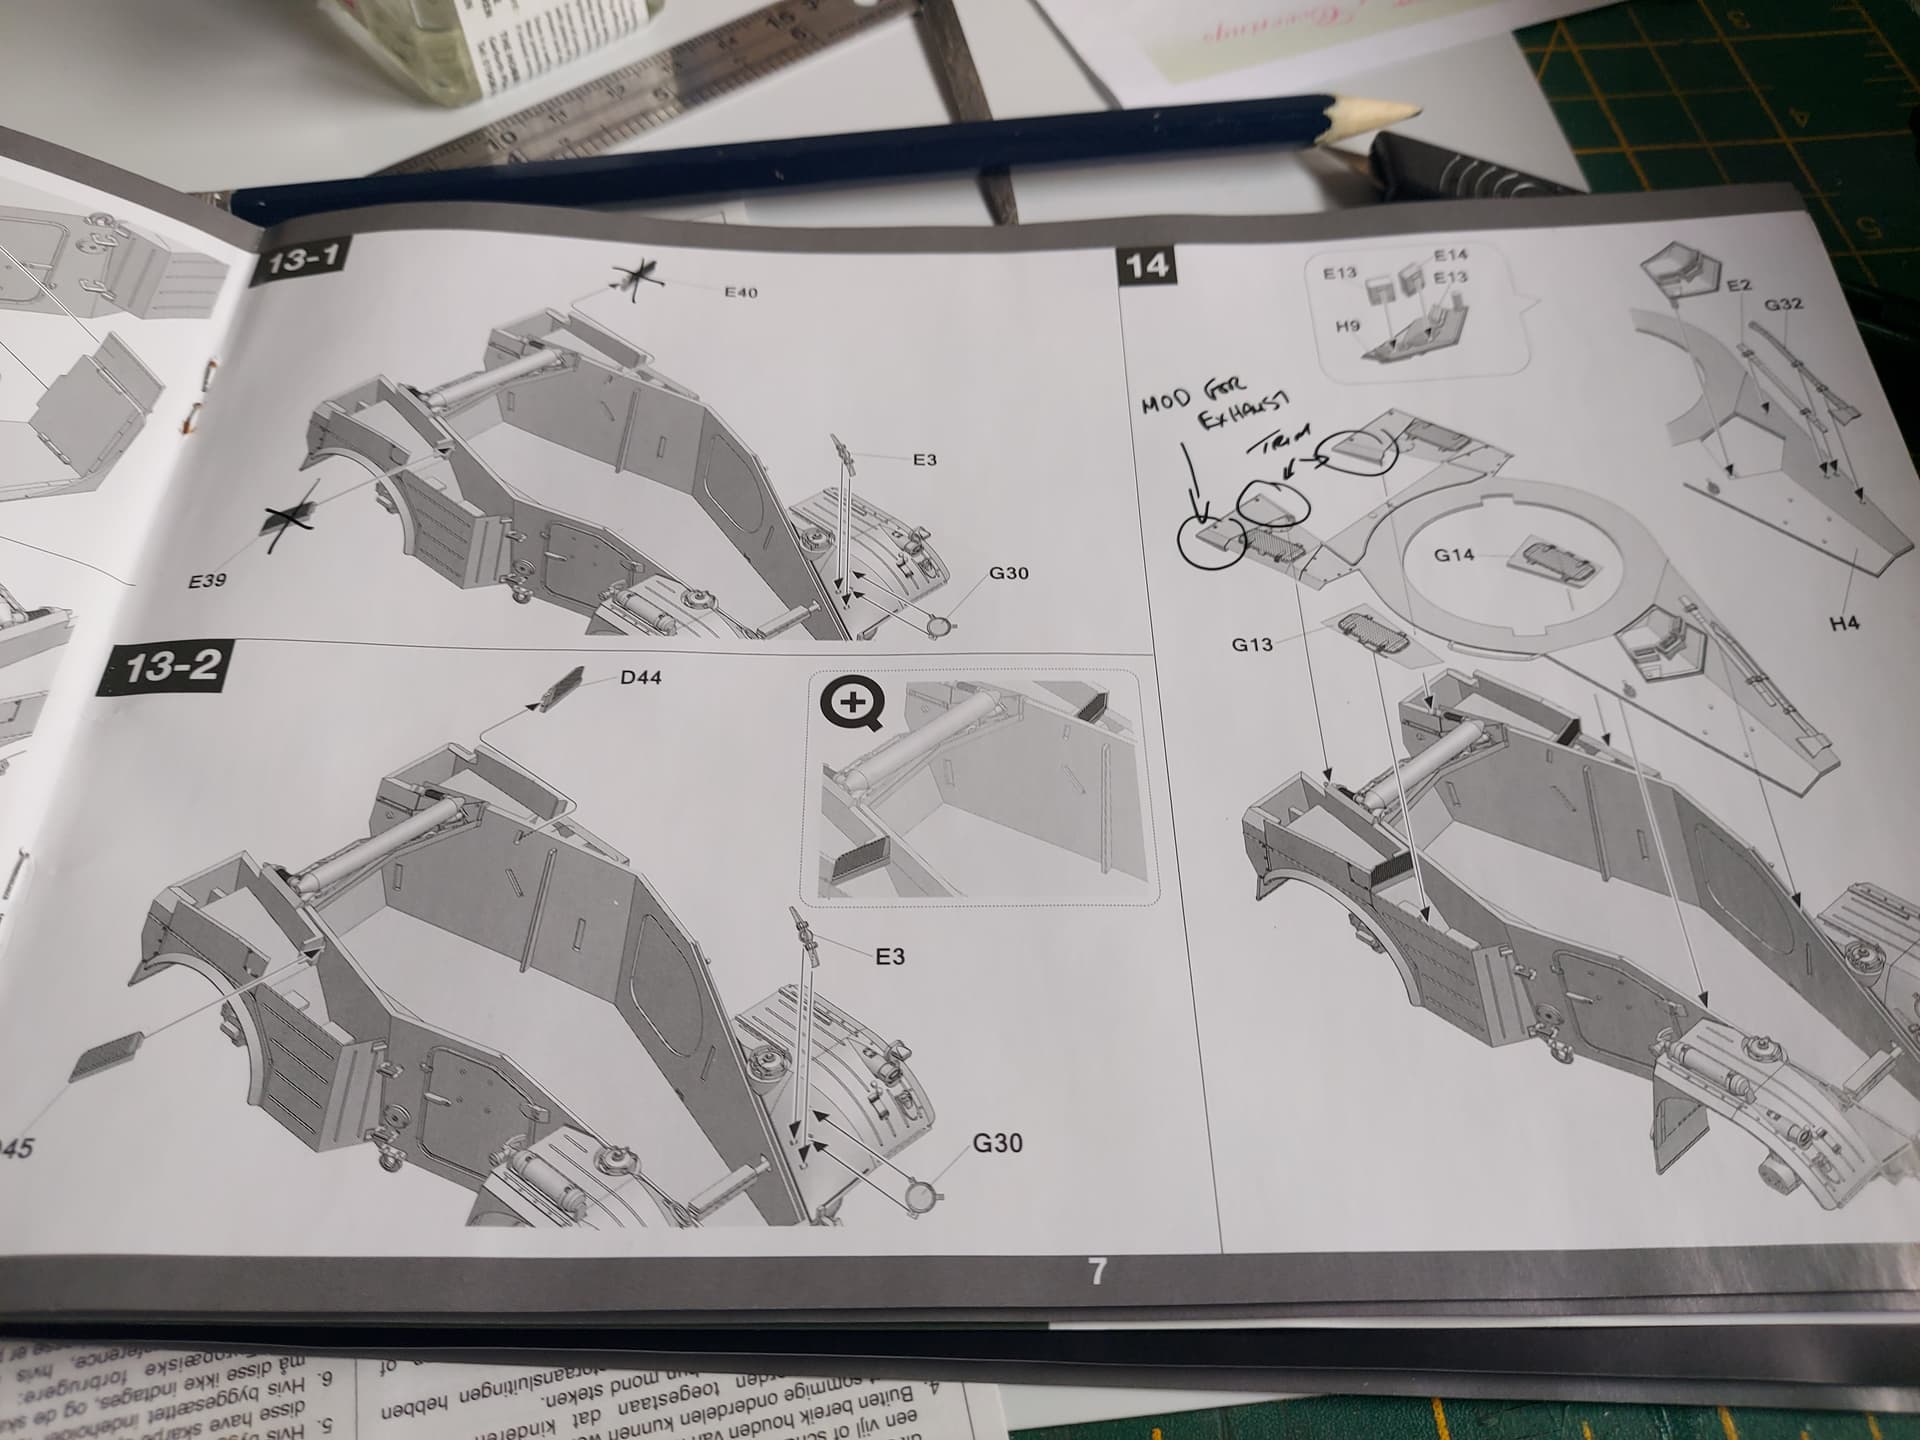
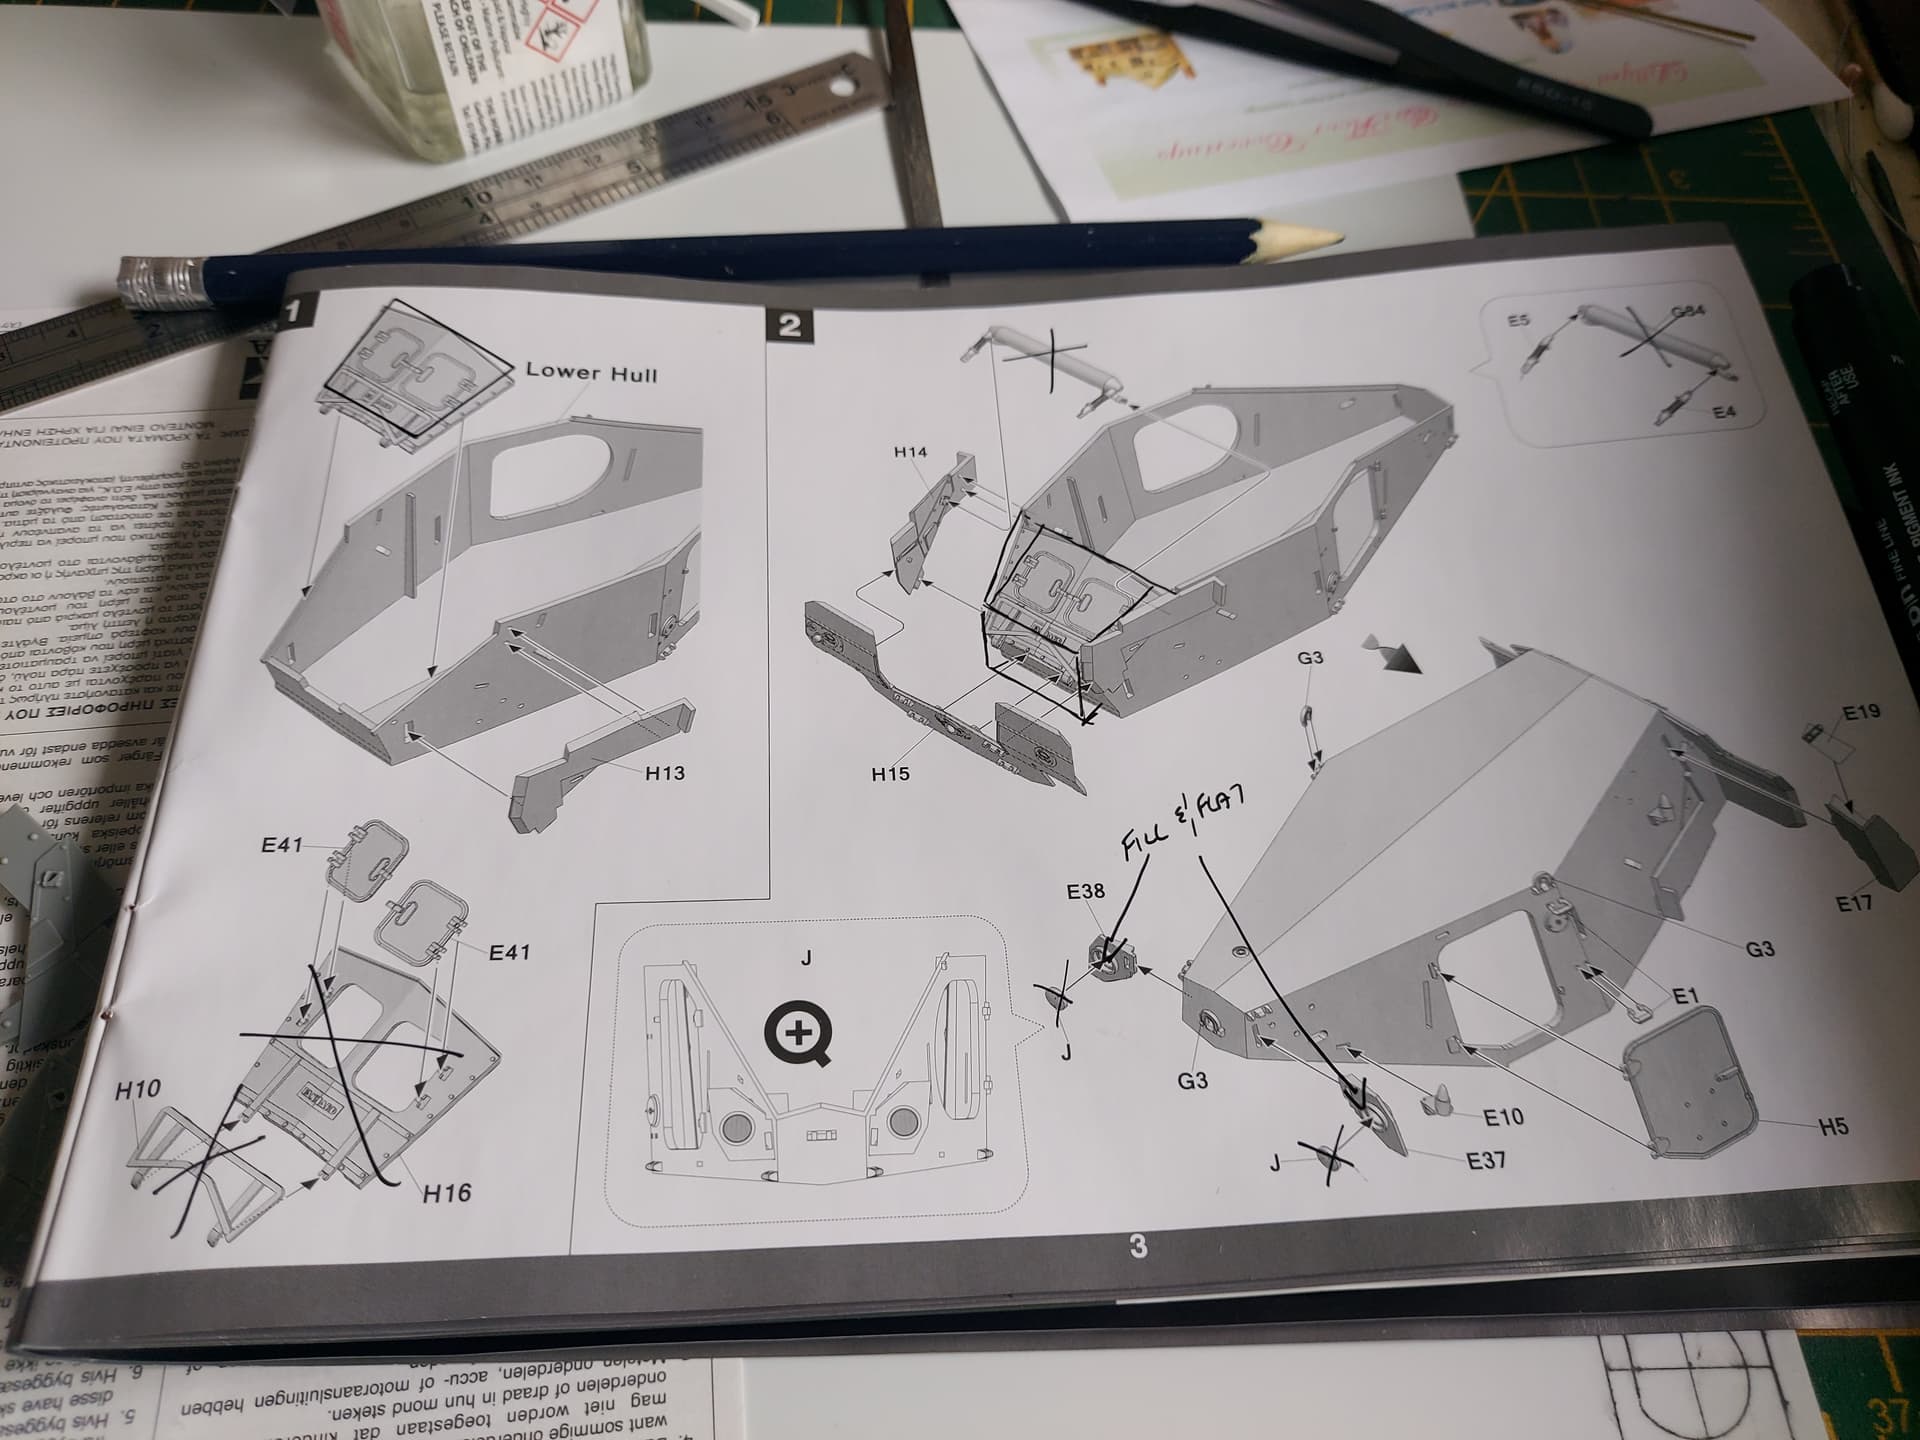
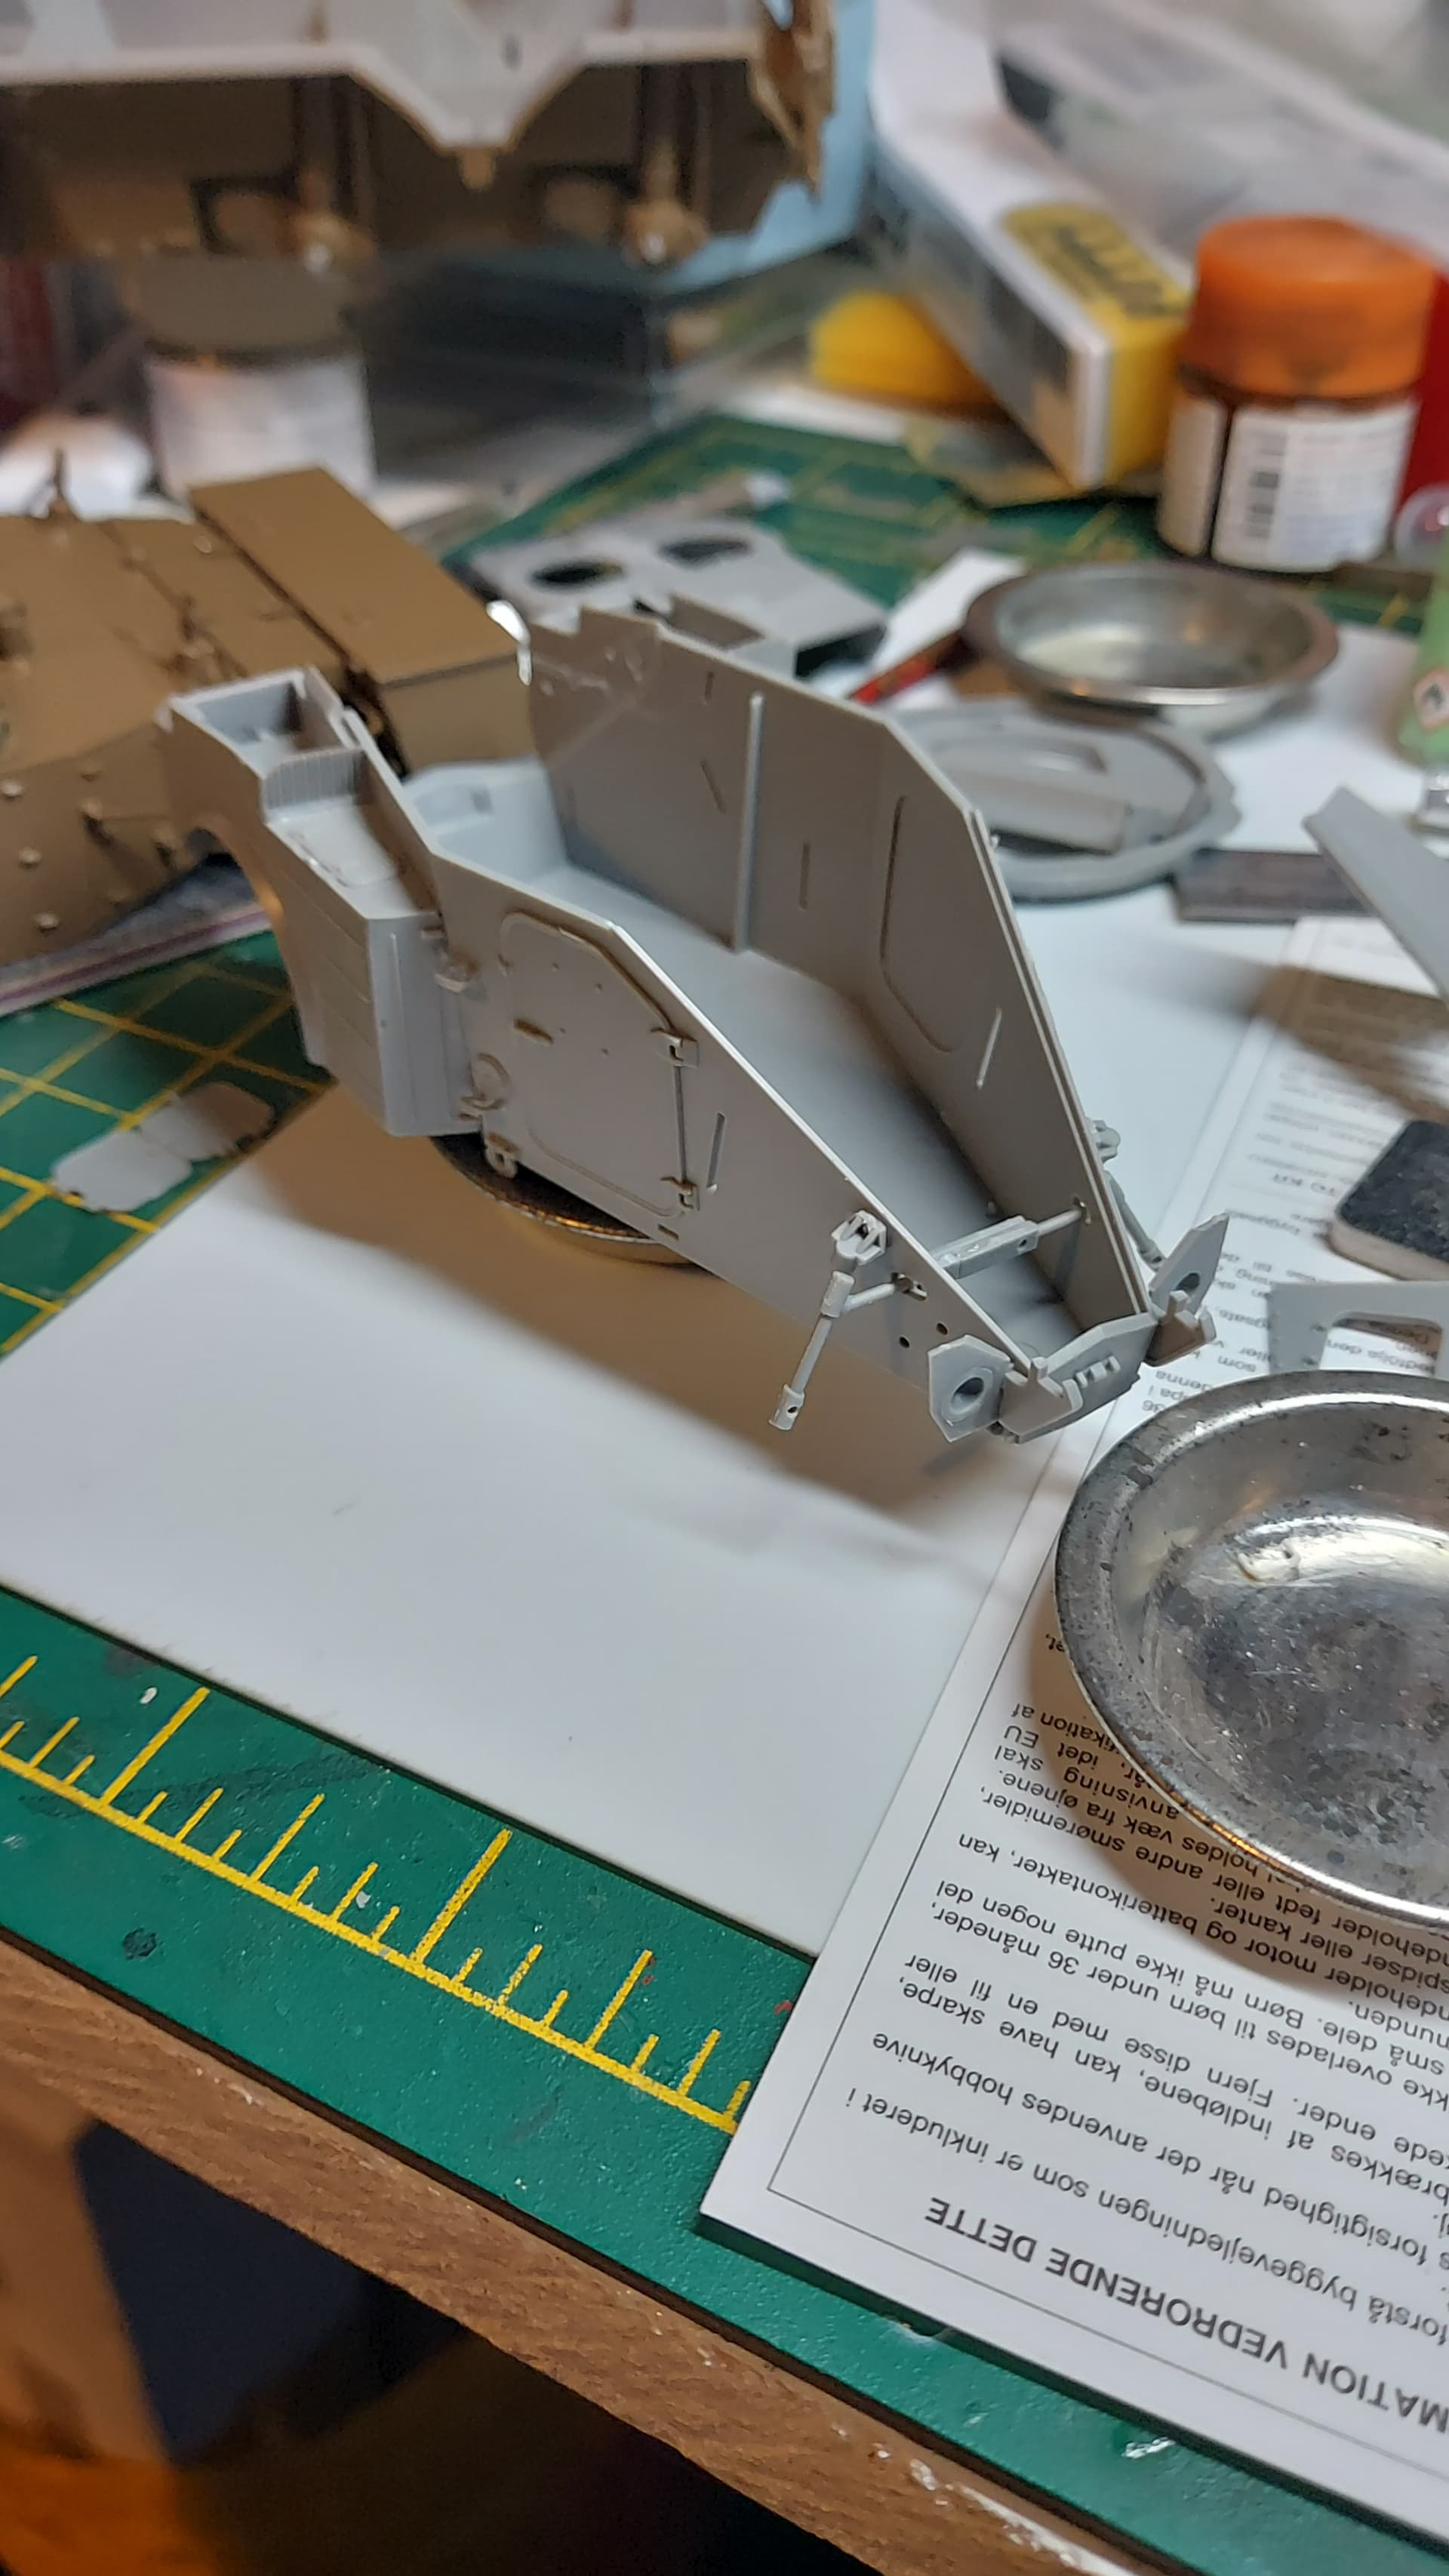
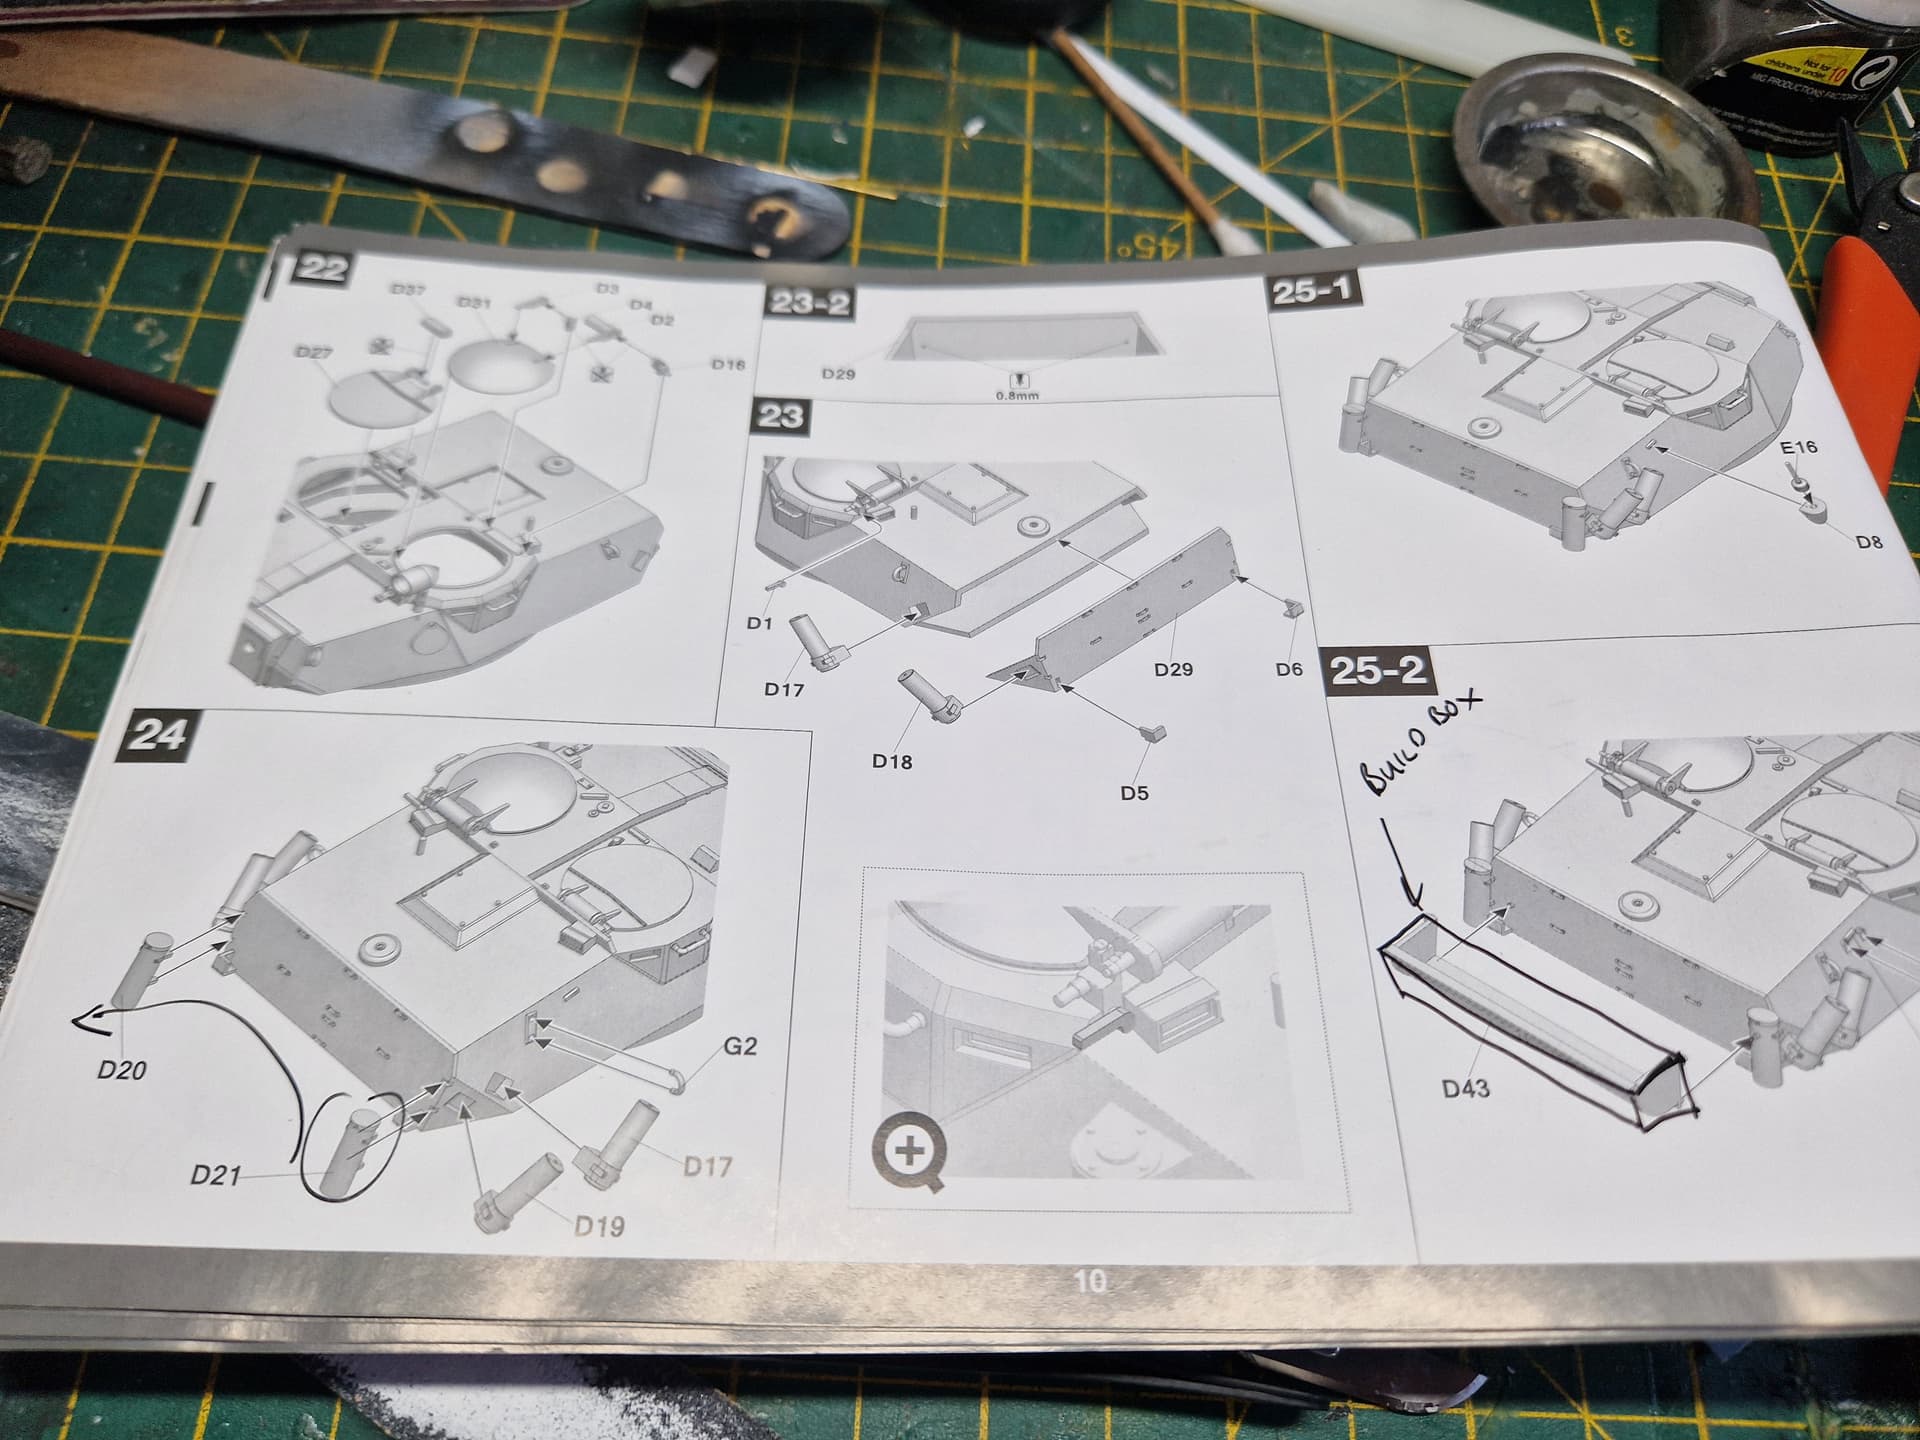
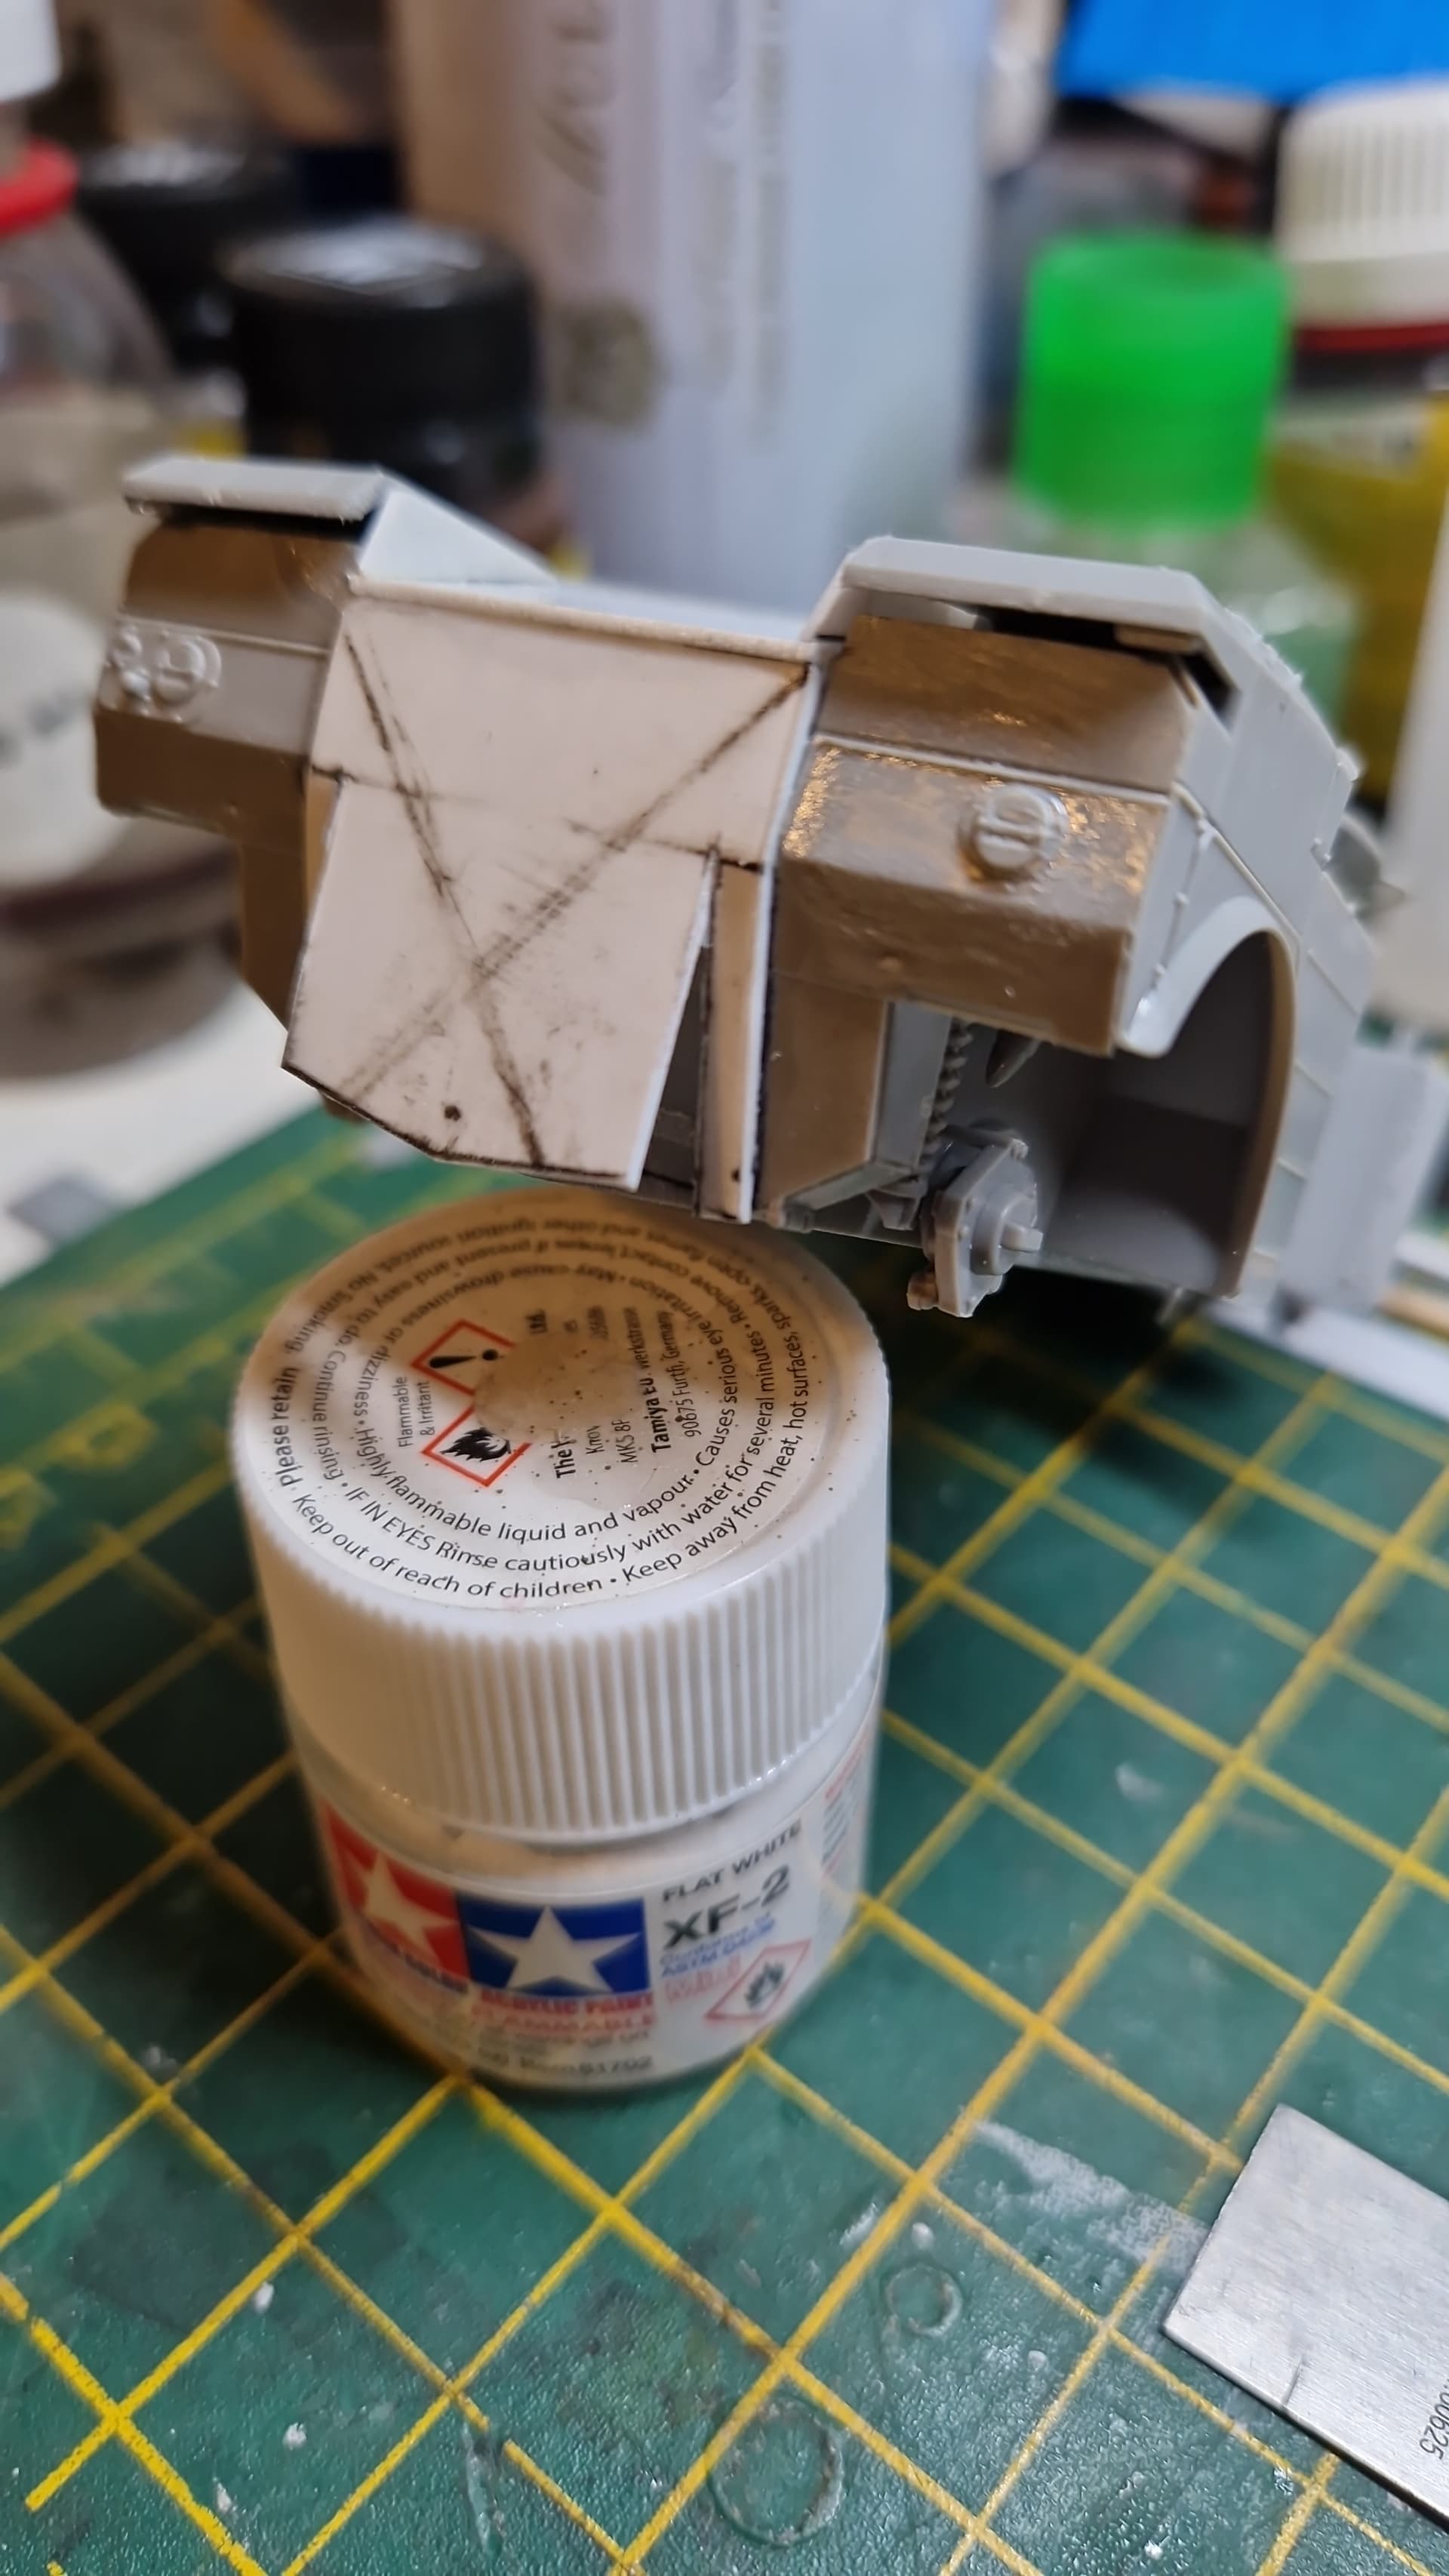
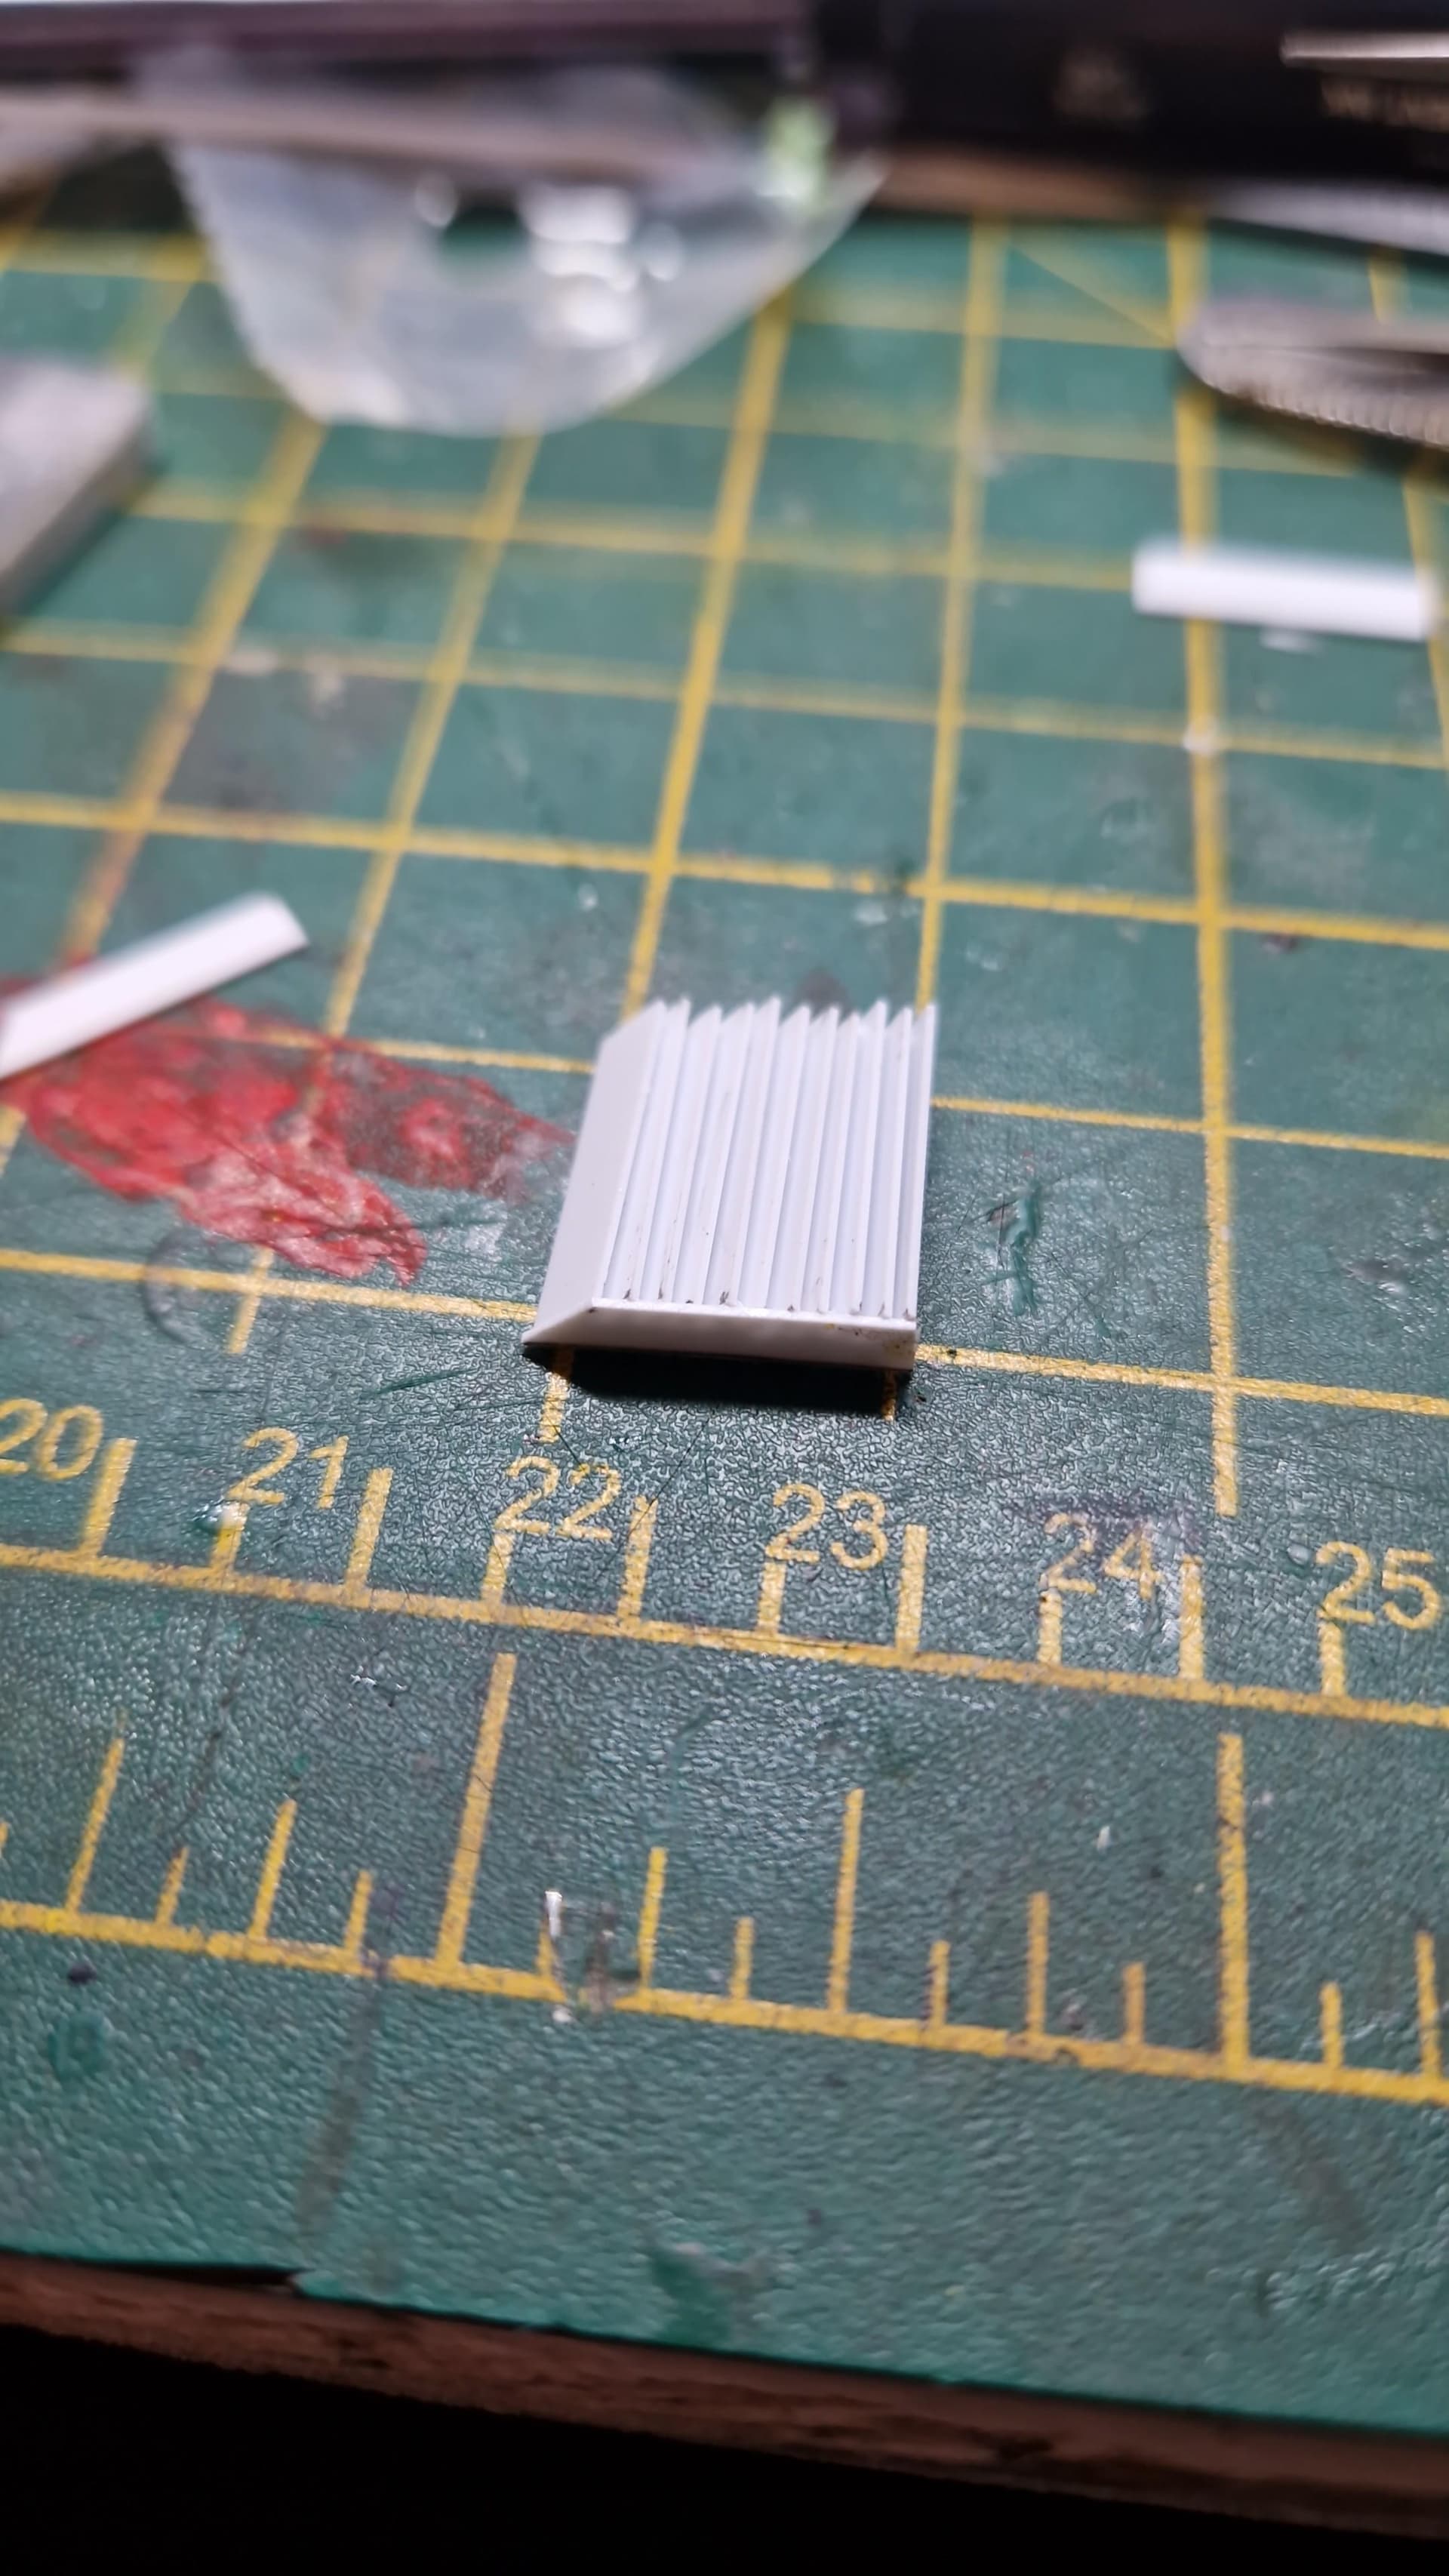
The new end is more square and protruding. It is effectively hinged at the bottom to swing open and after decoupling from the side shafts, the engine is supposed to slide out on rails.

Anyway, that’s pretty much what I want to replicate.

Thanks for watching.
We come in peace, so shoot to kill :vulcan_salute:t3:

2 Likes

Hi ya,

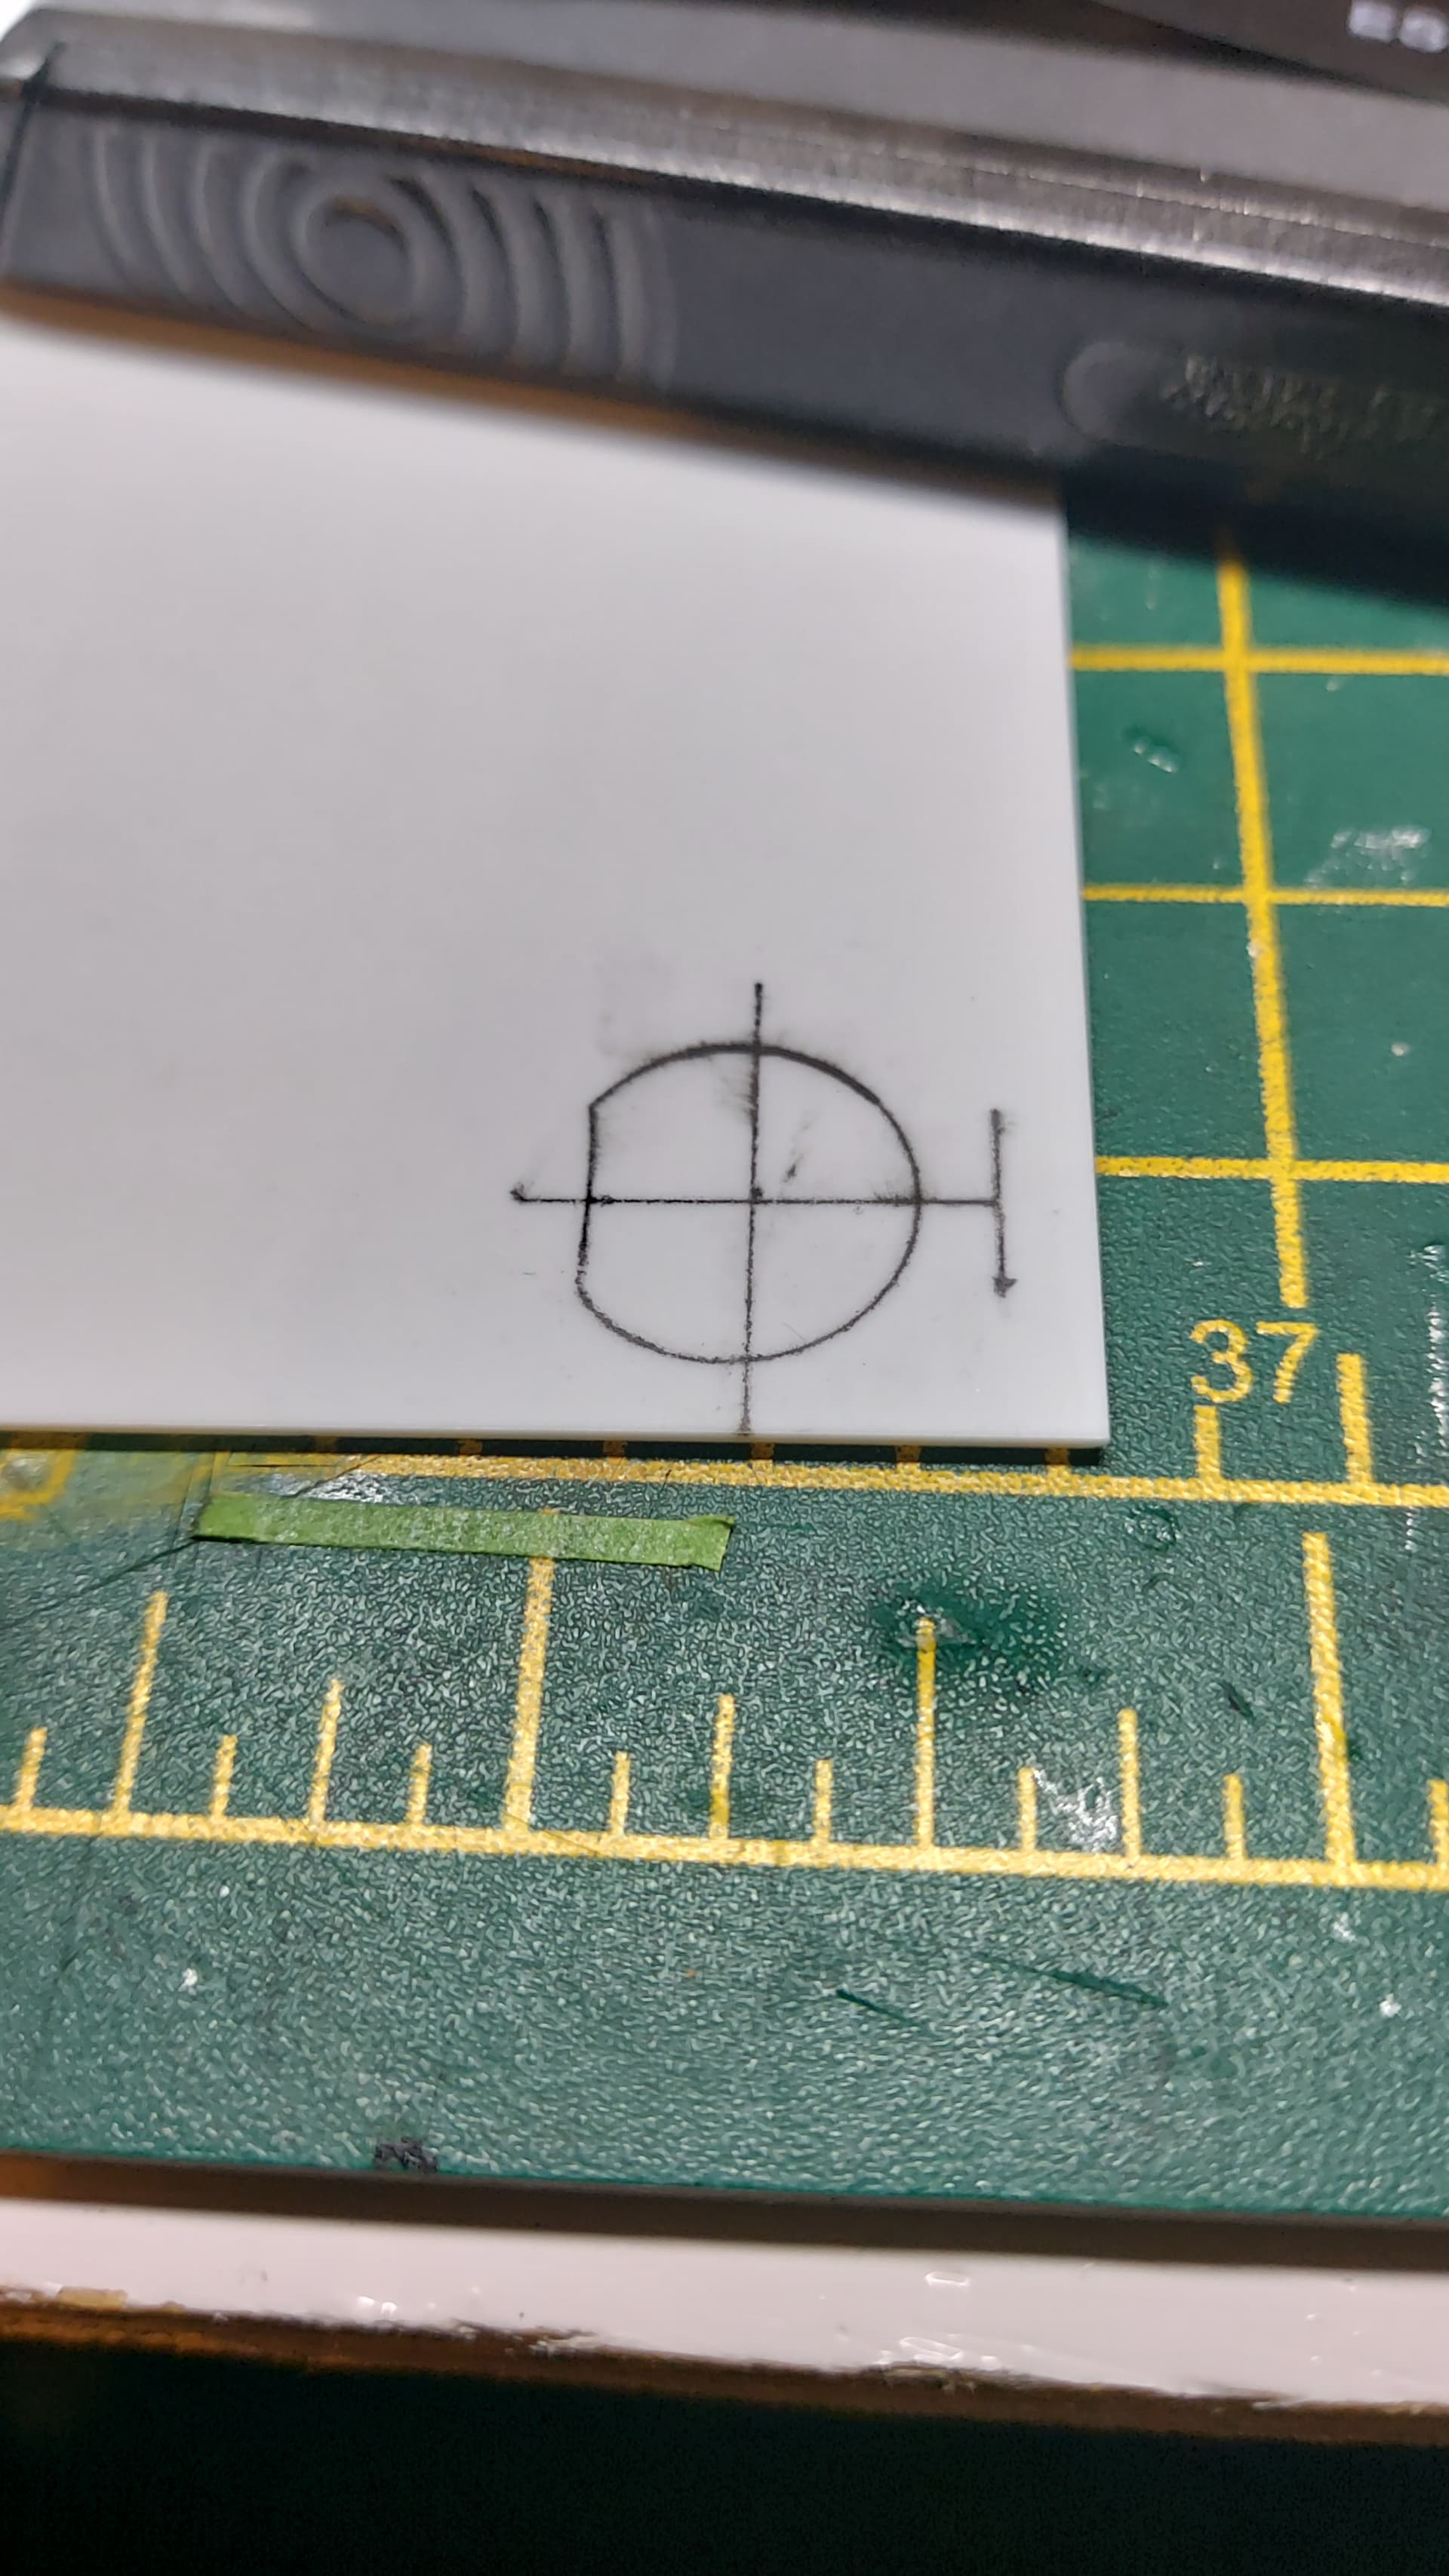
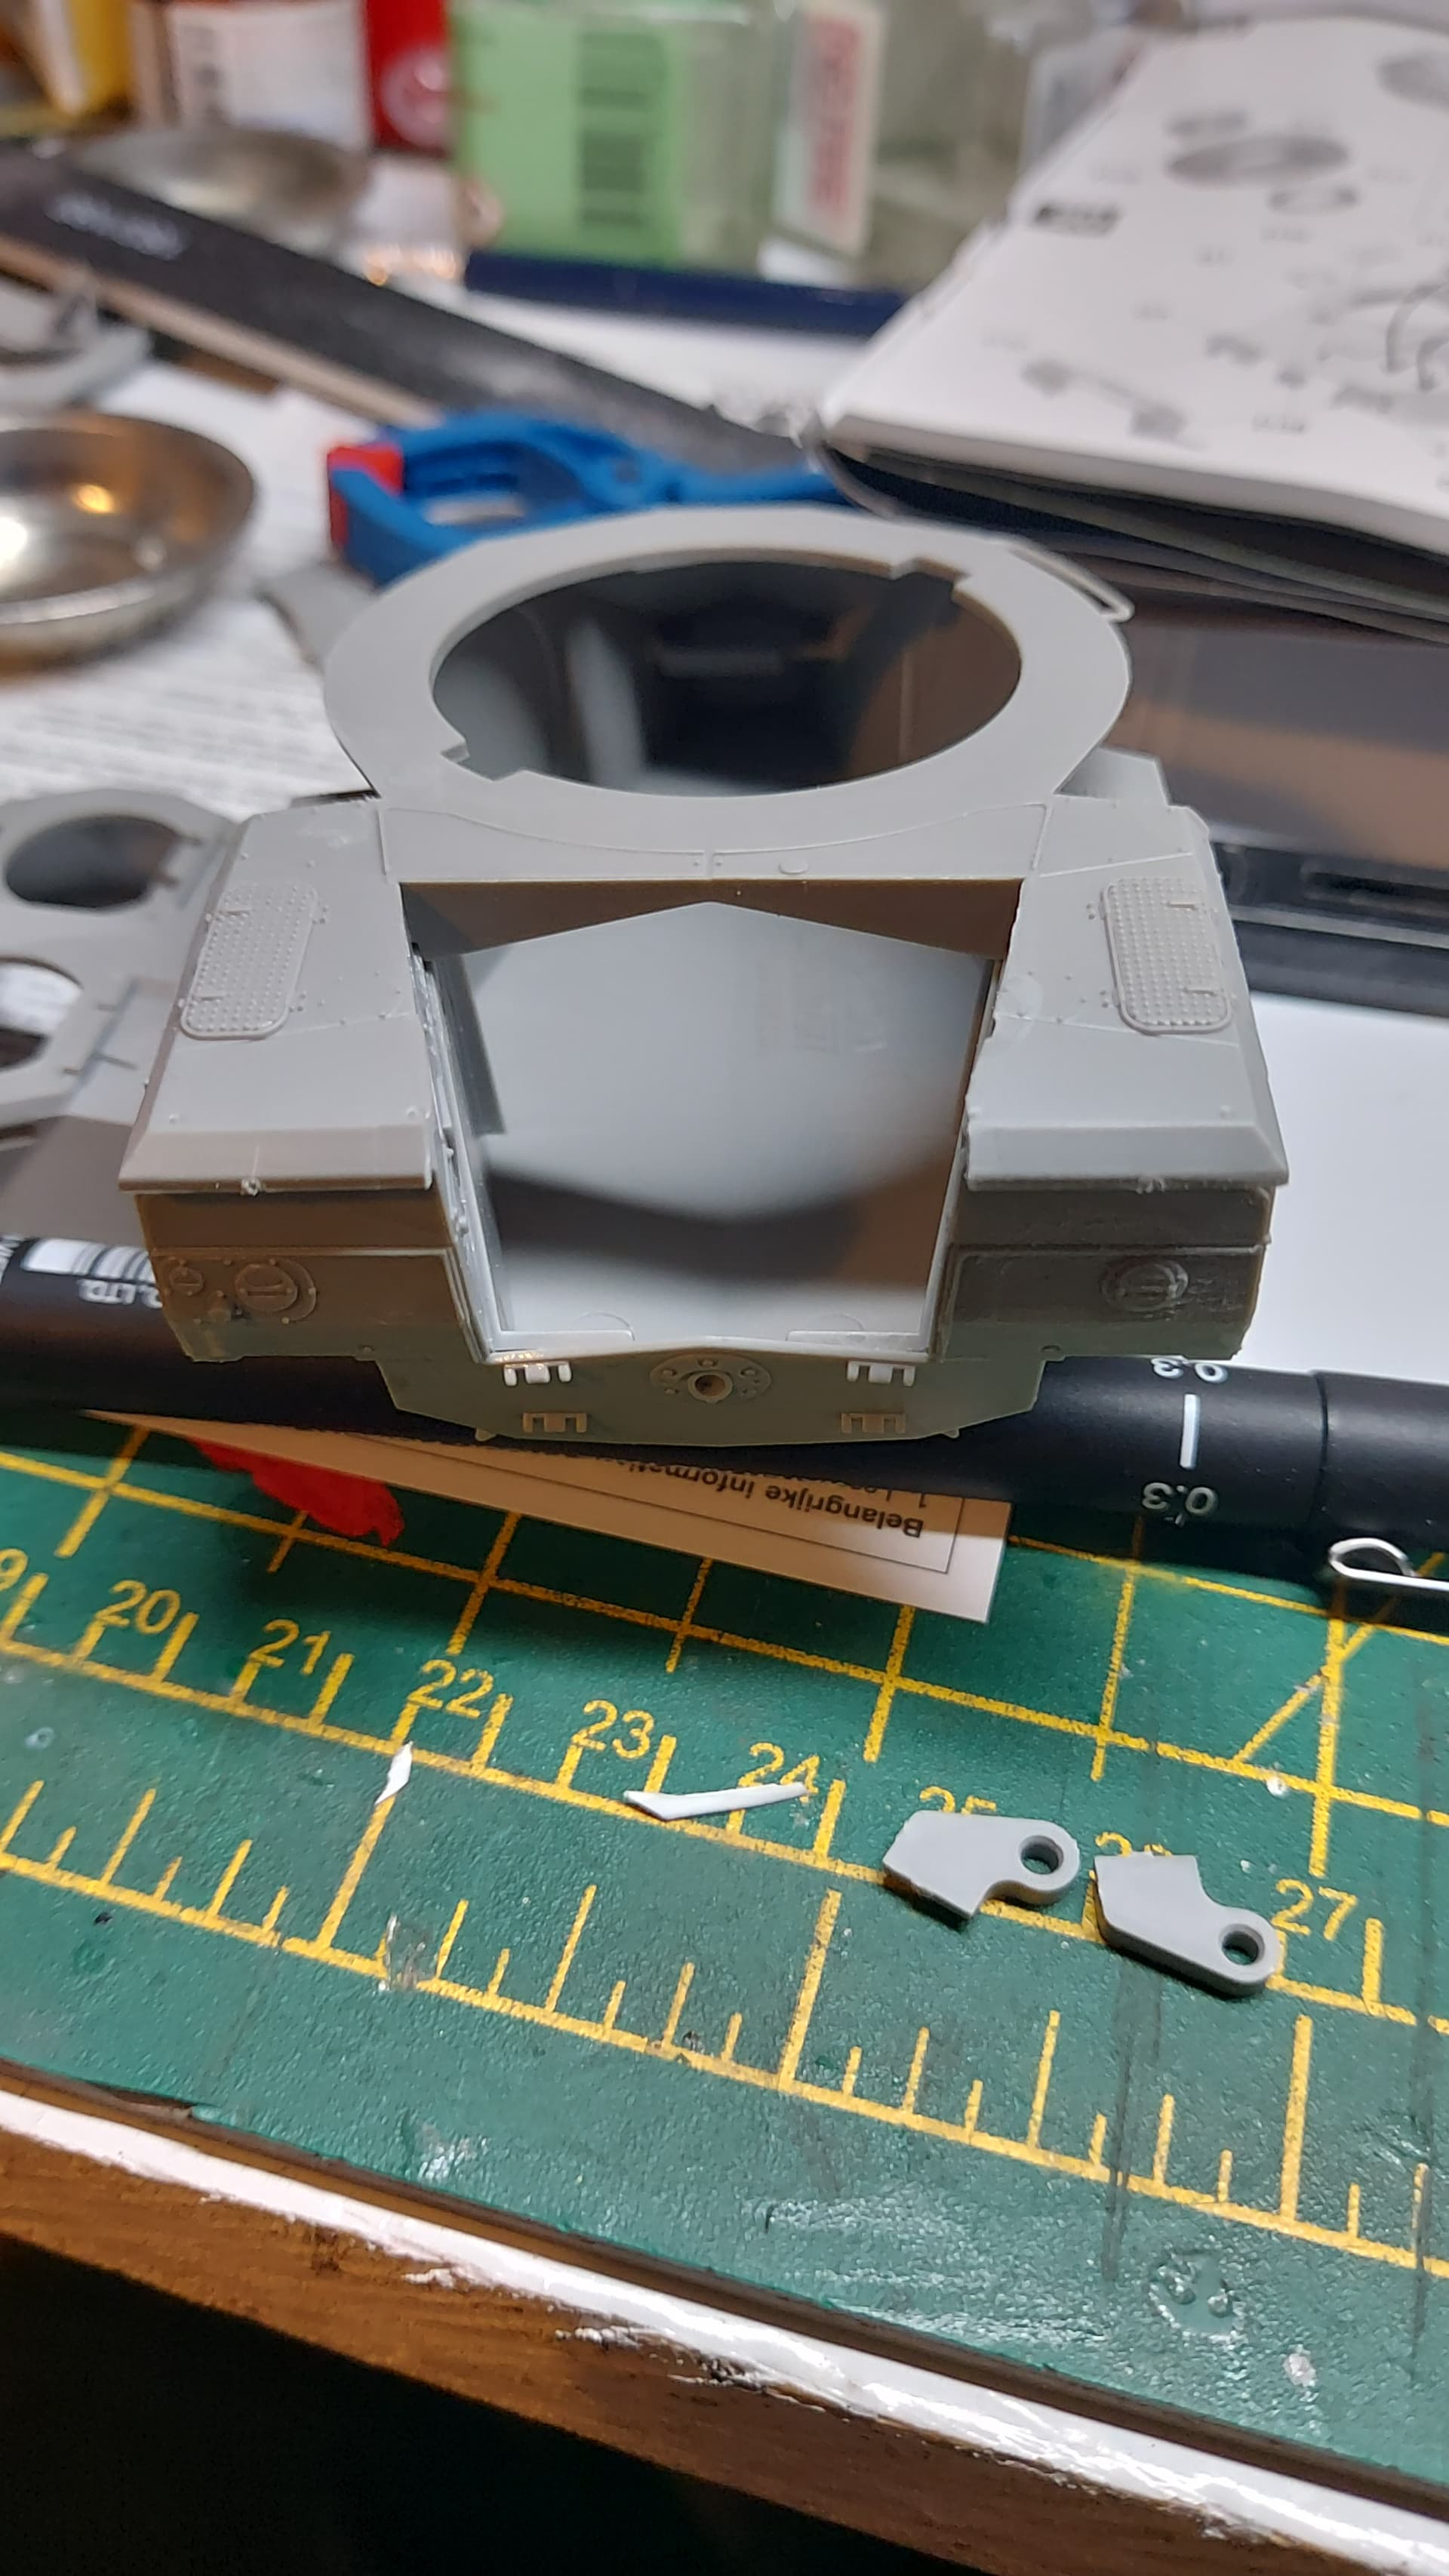
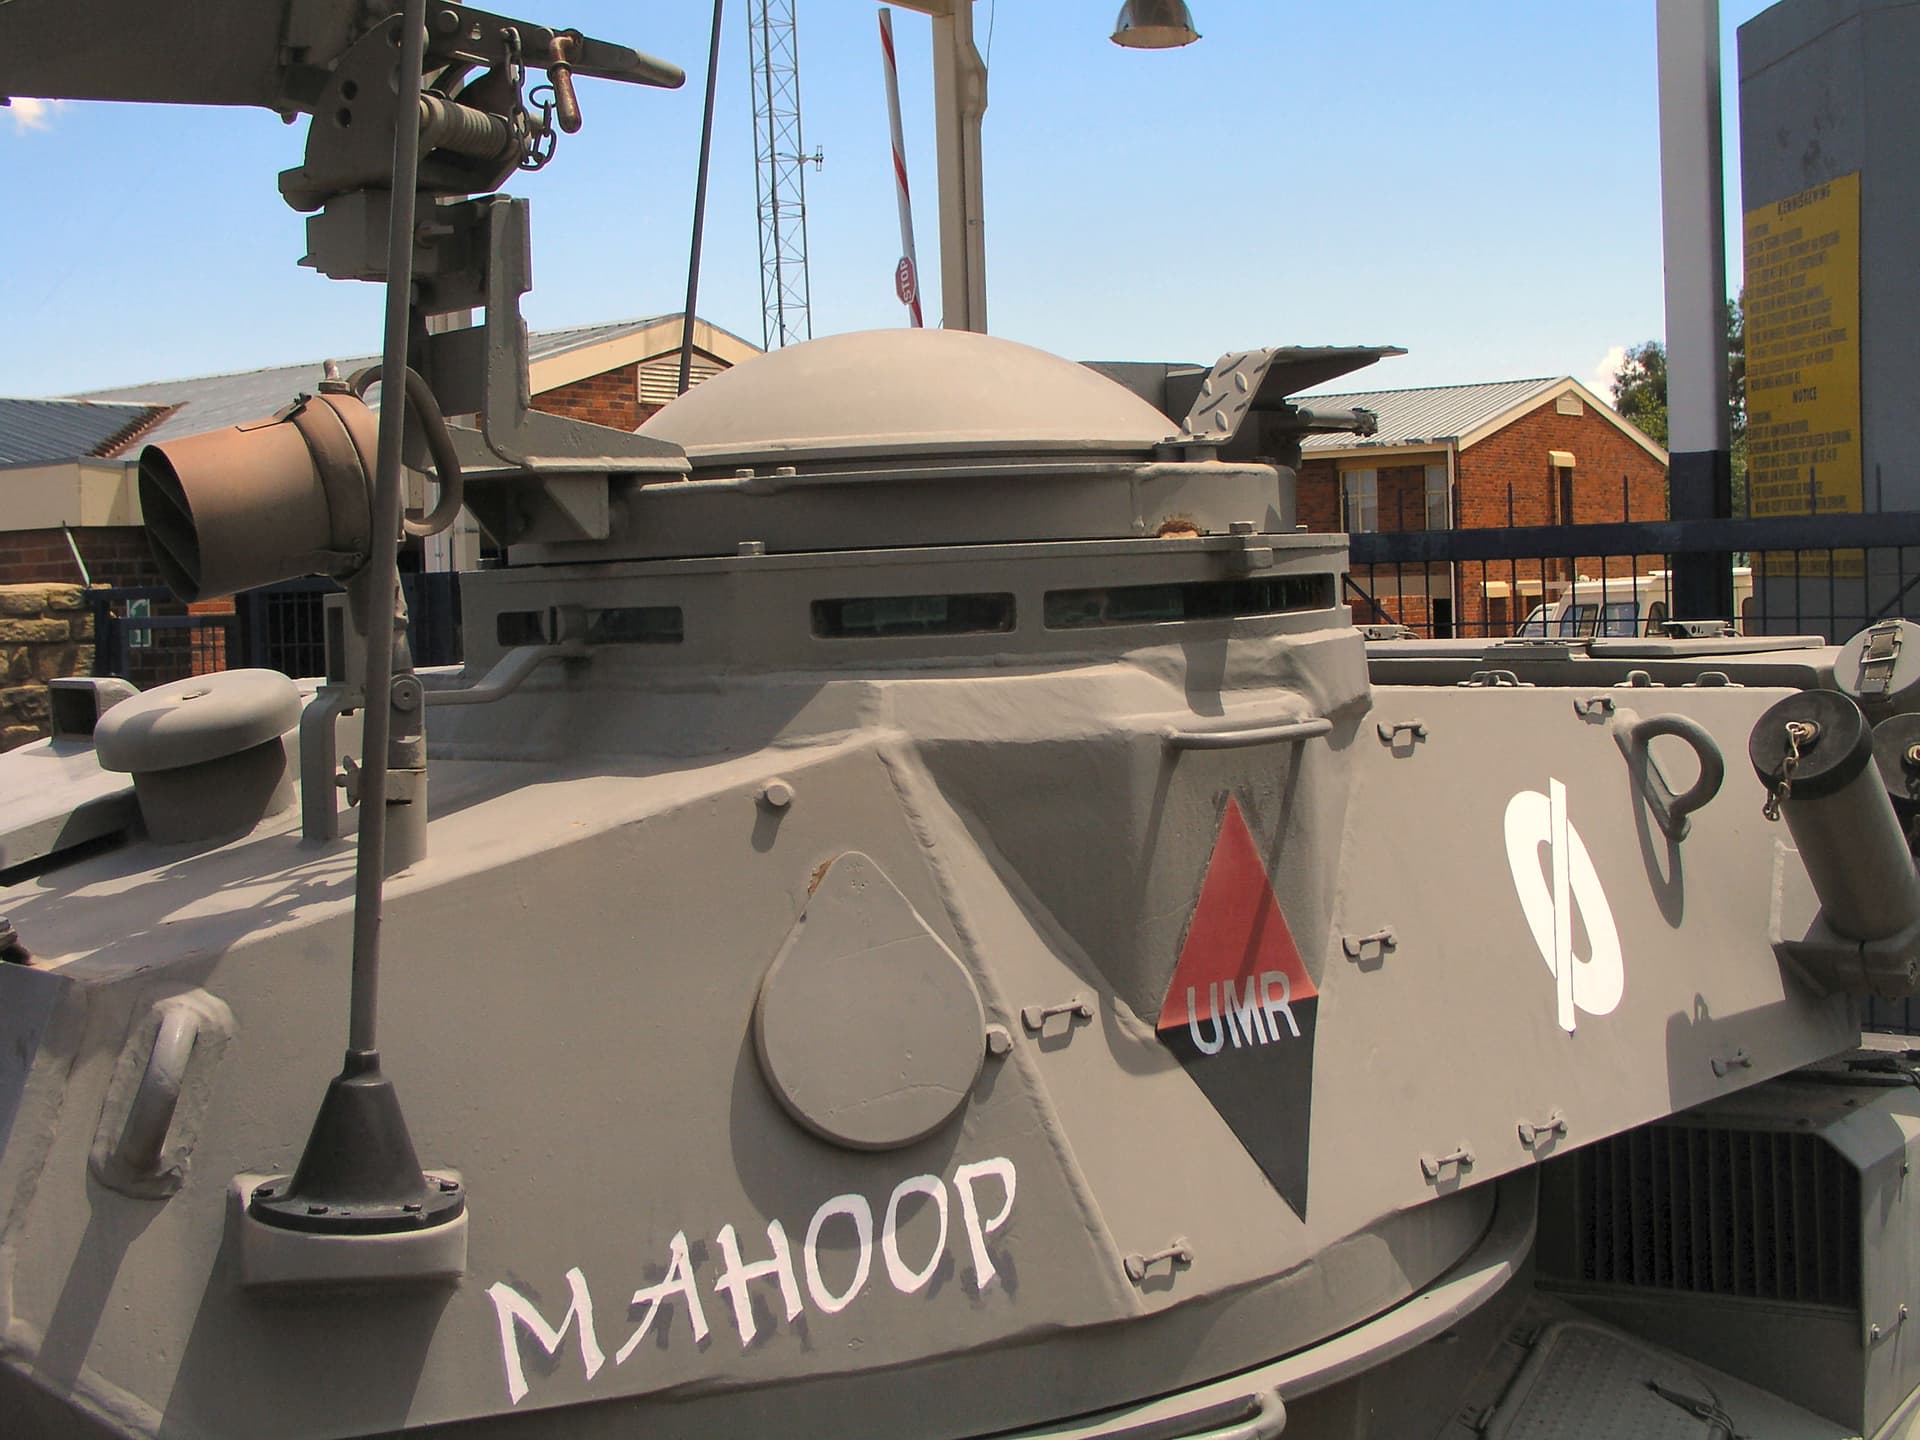
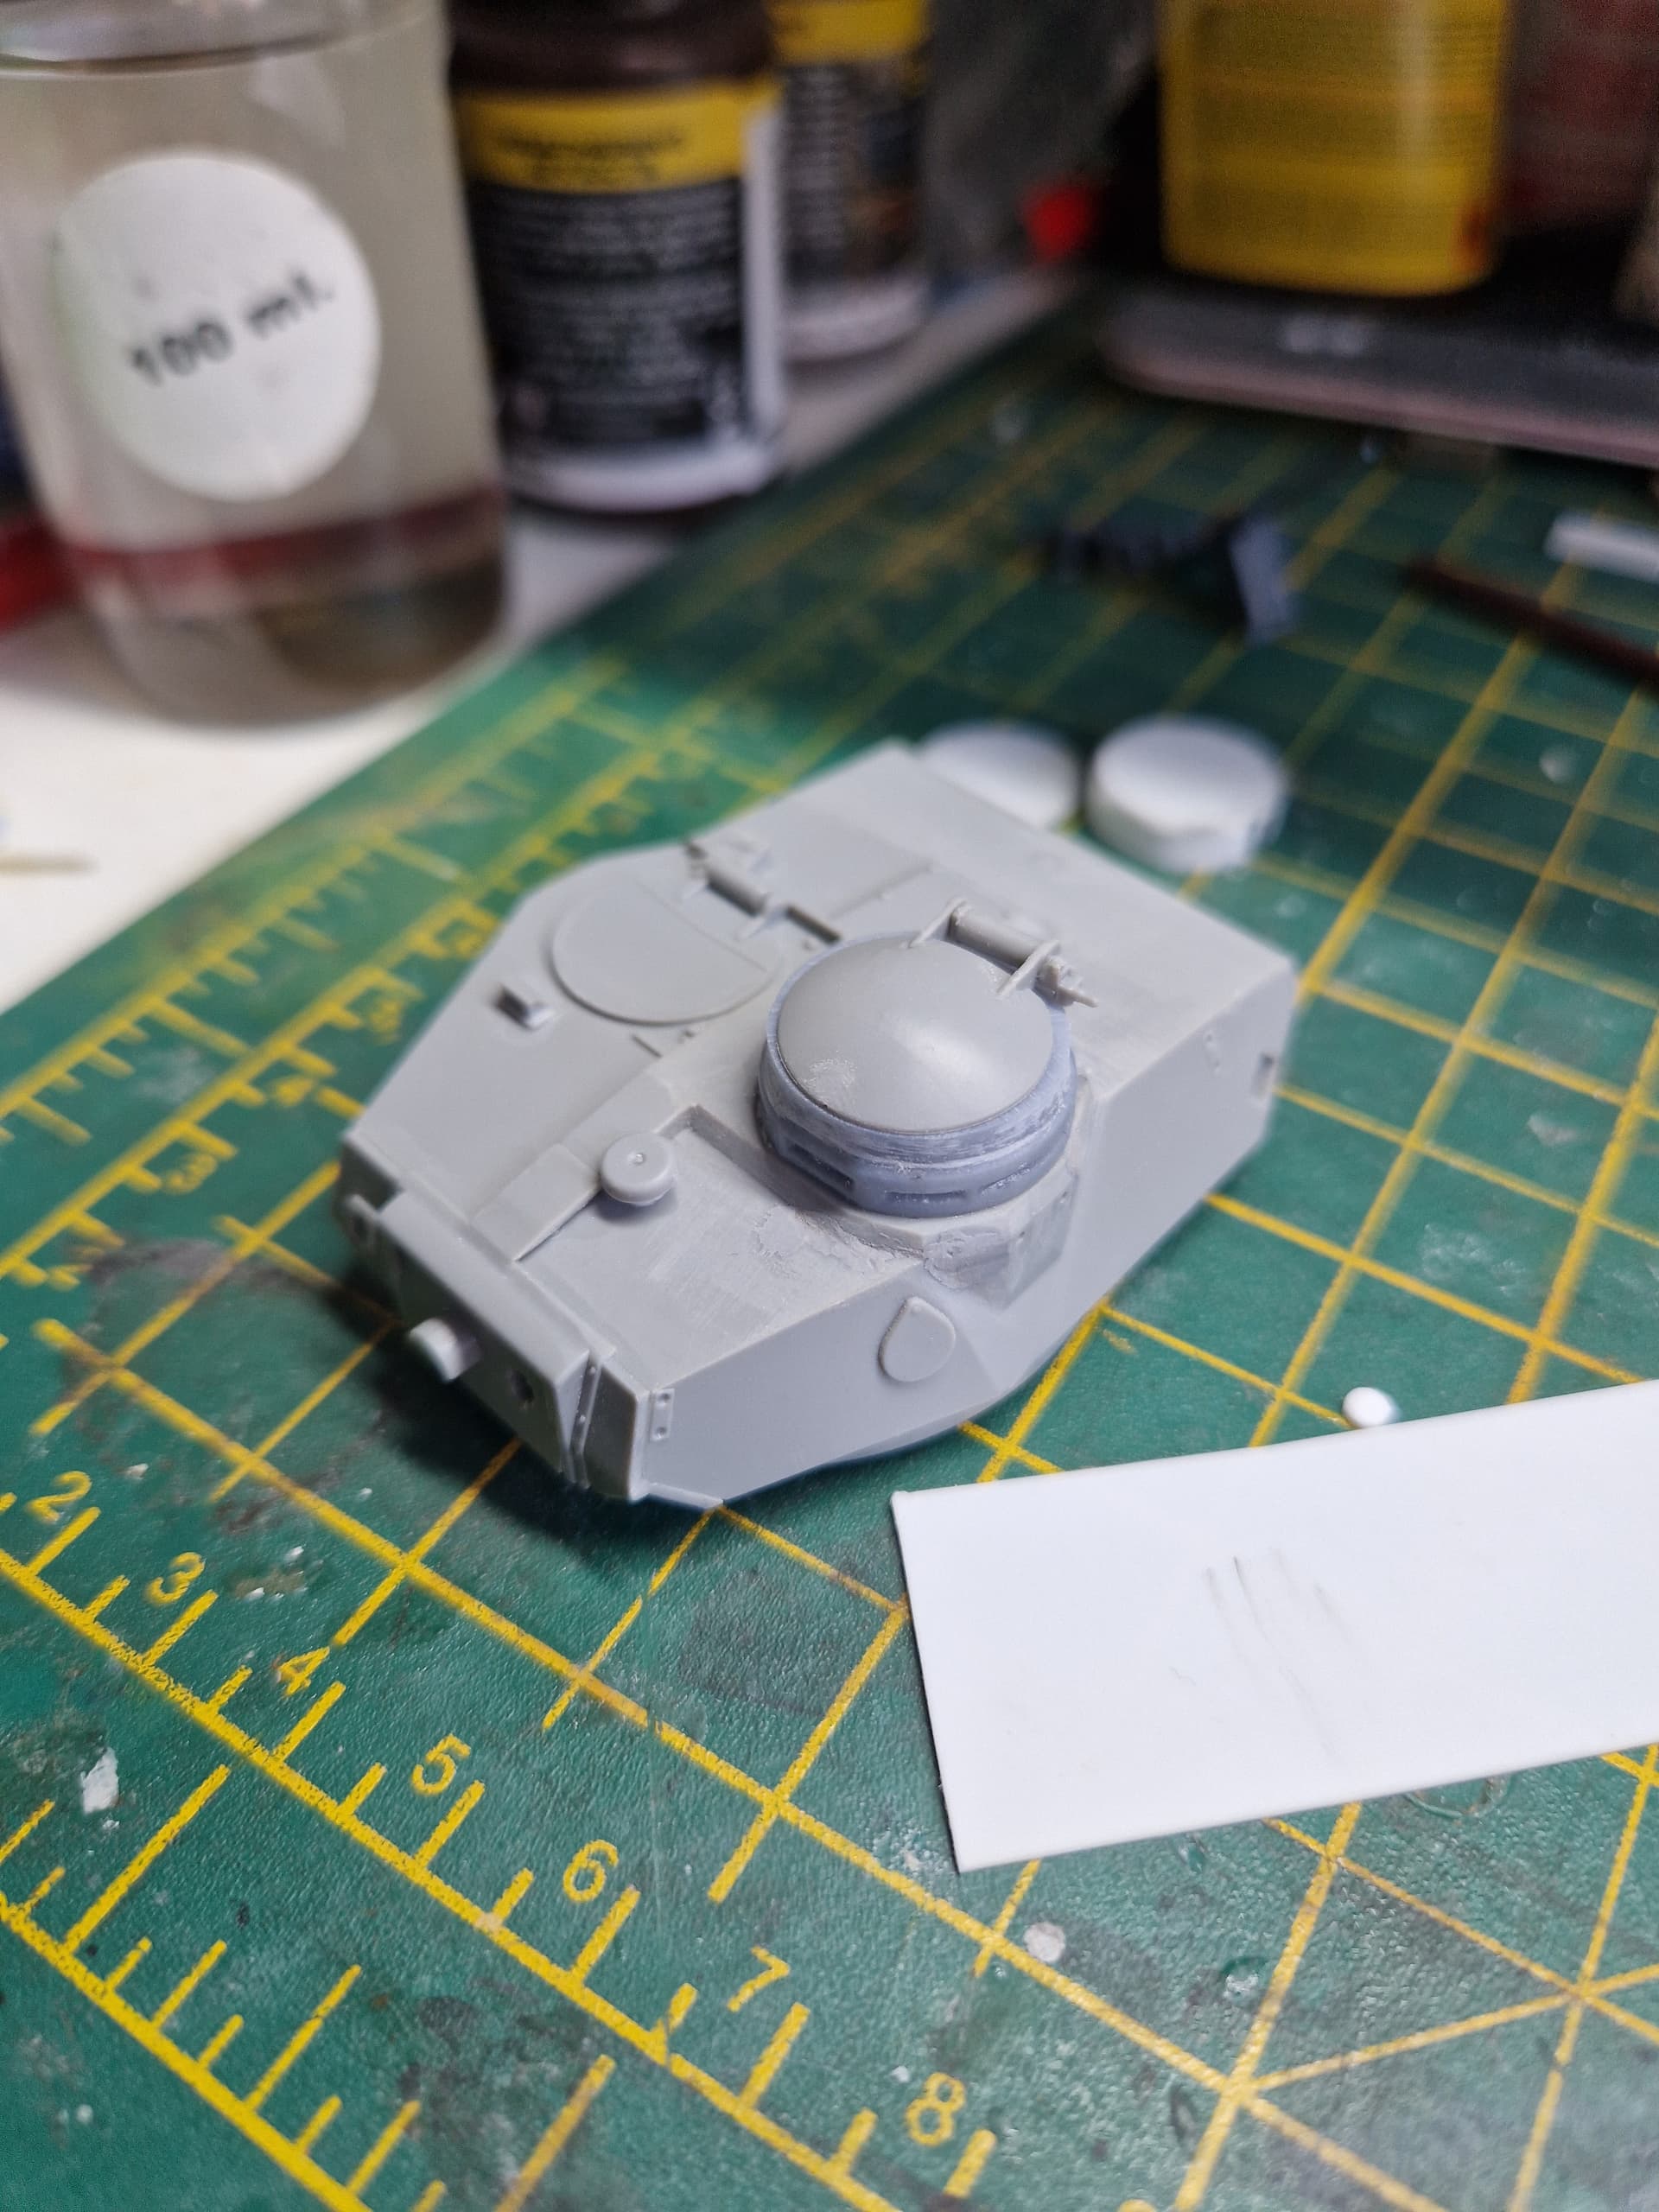
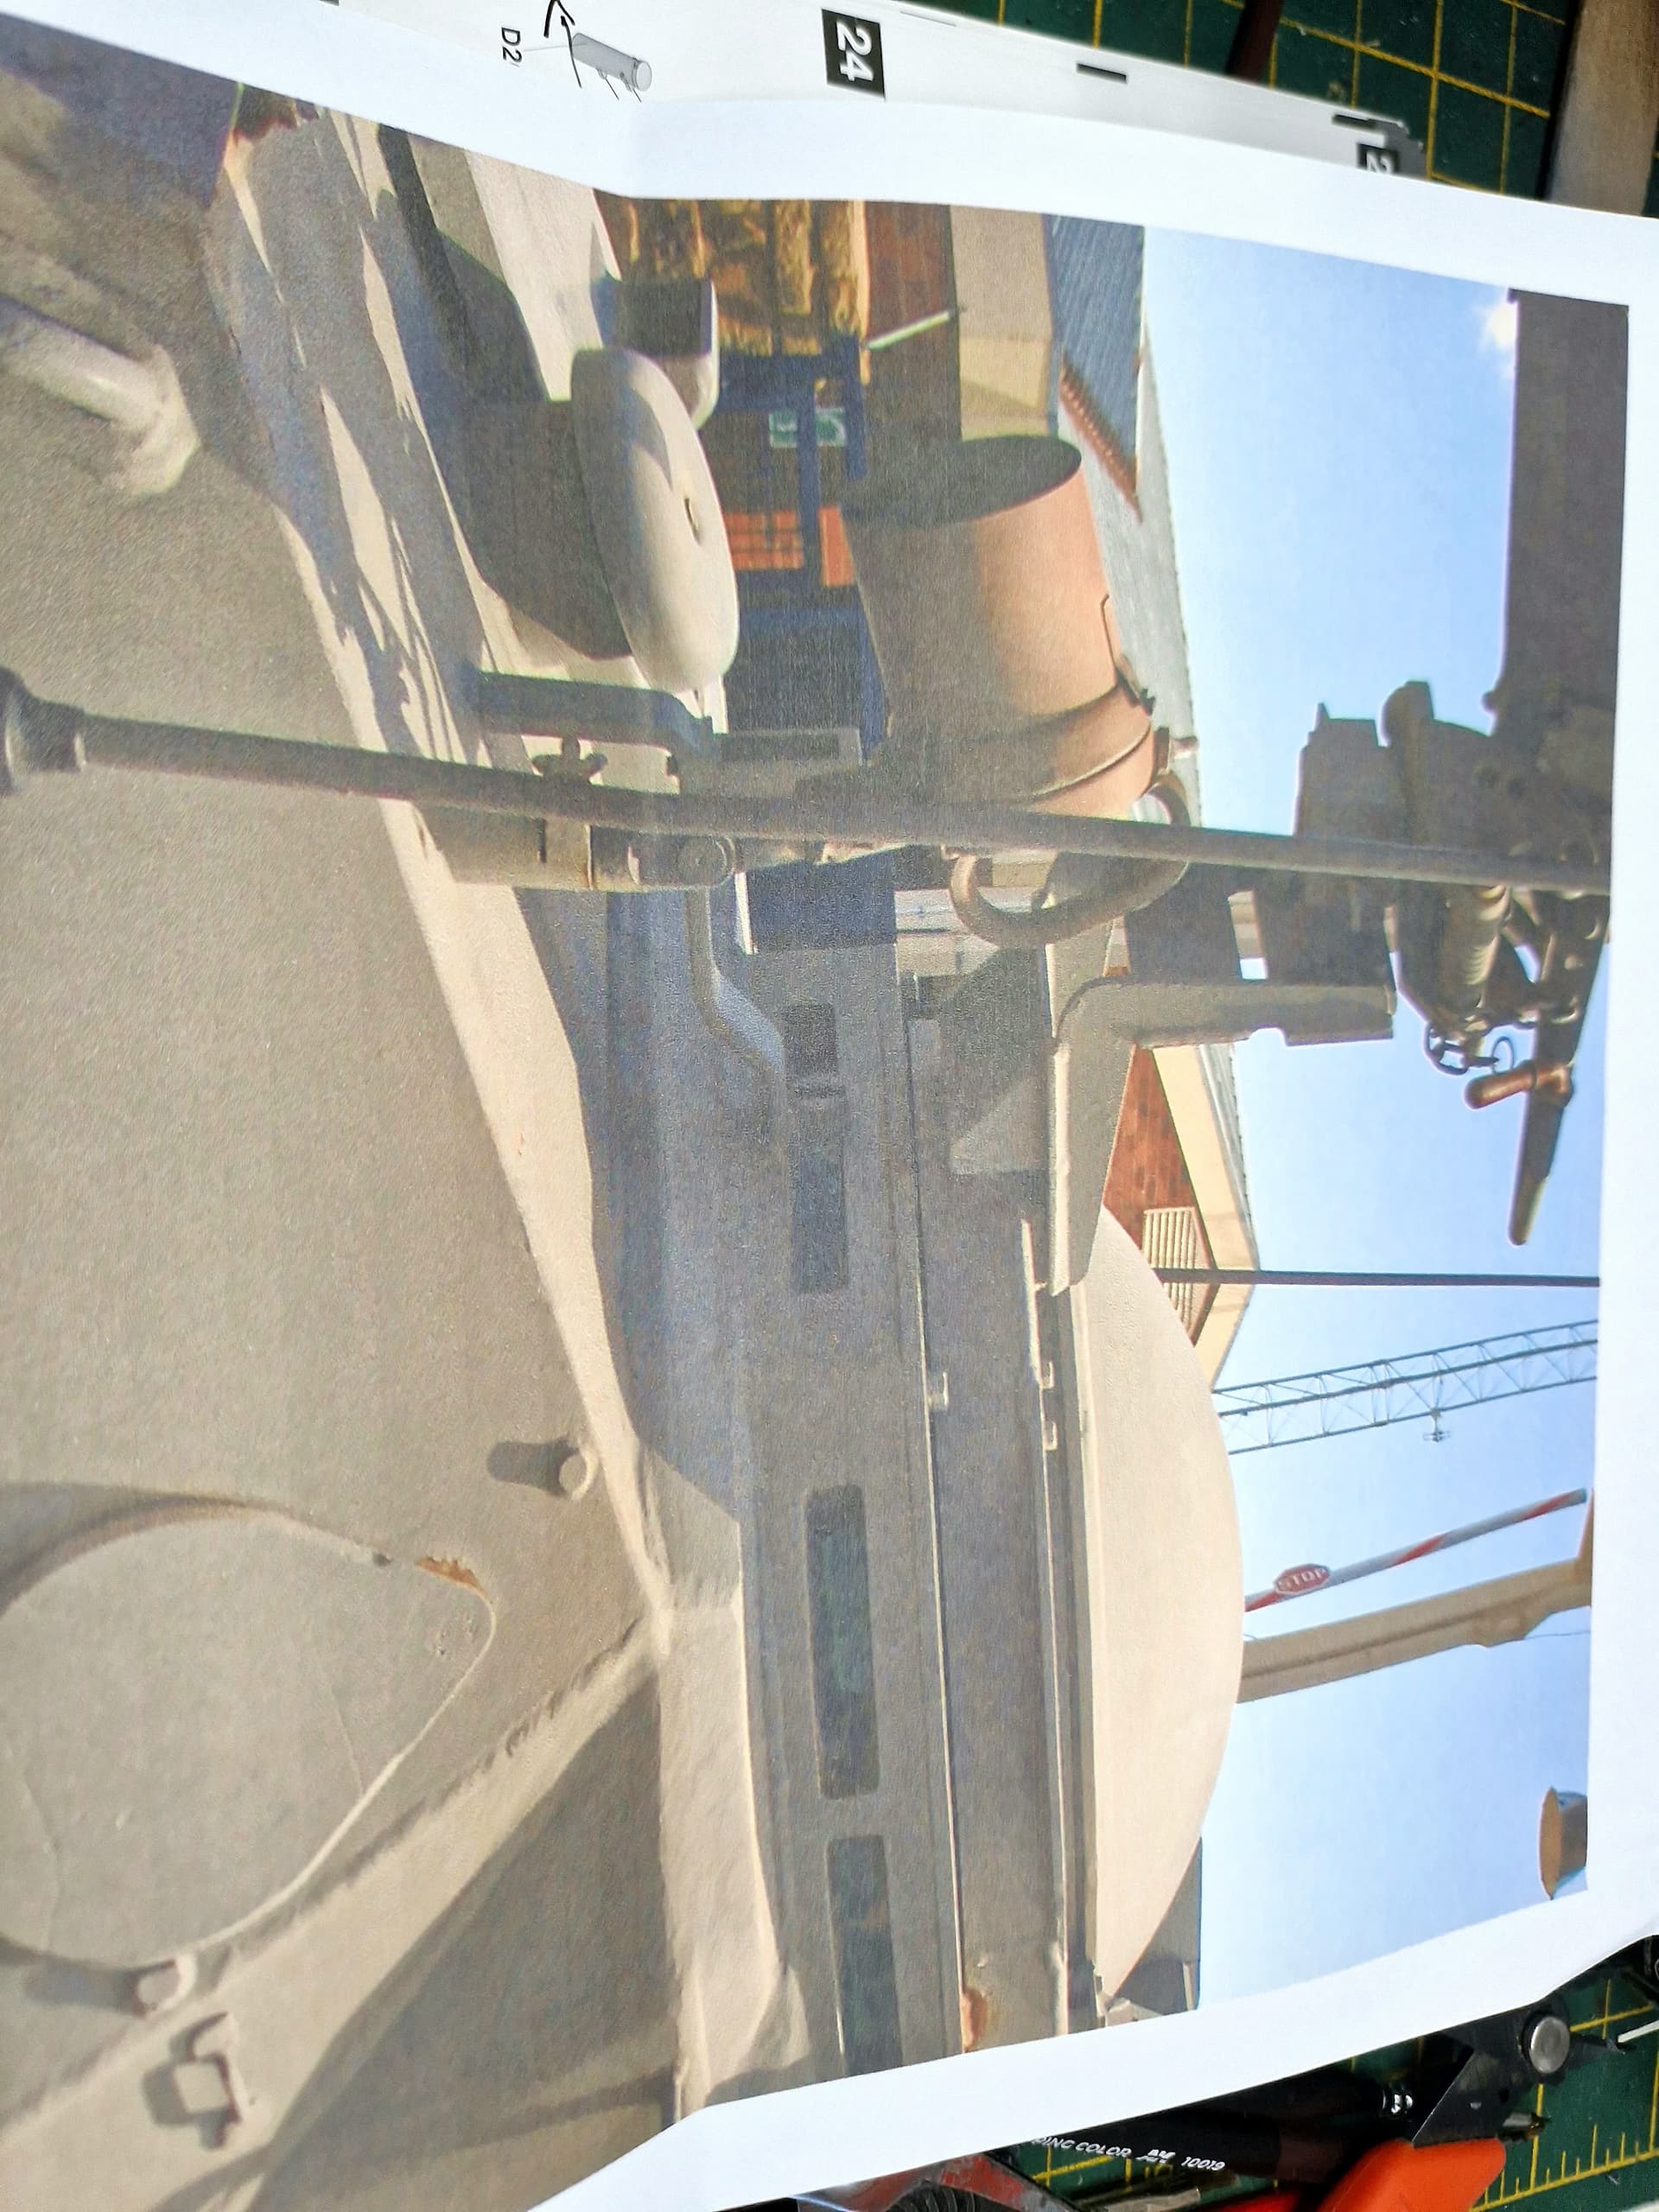
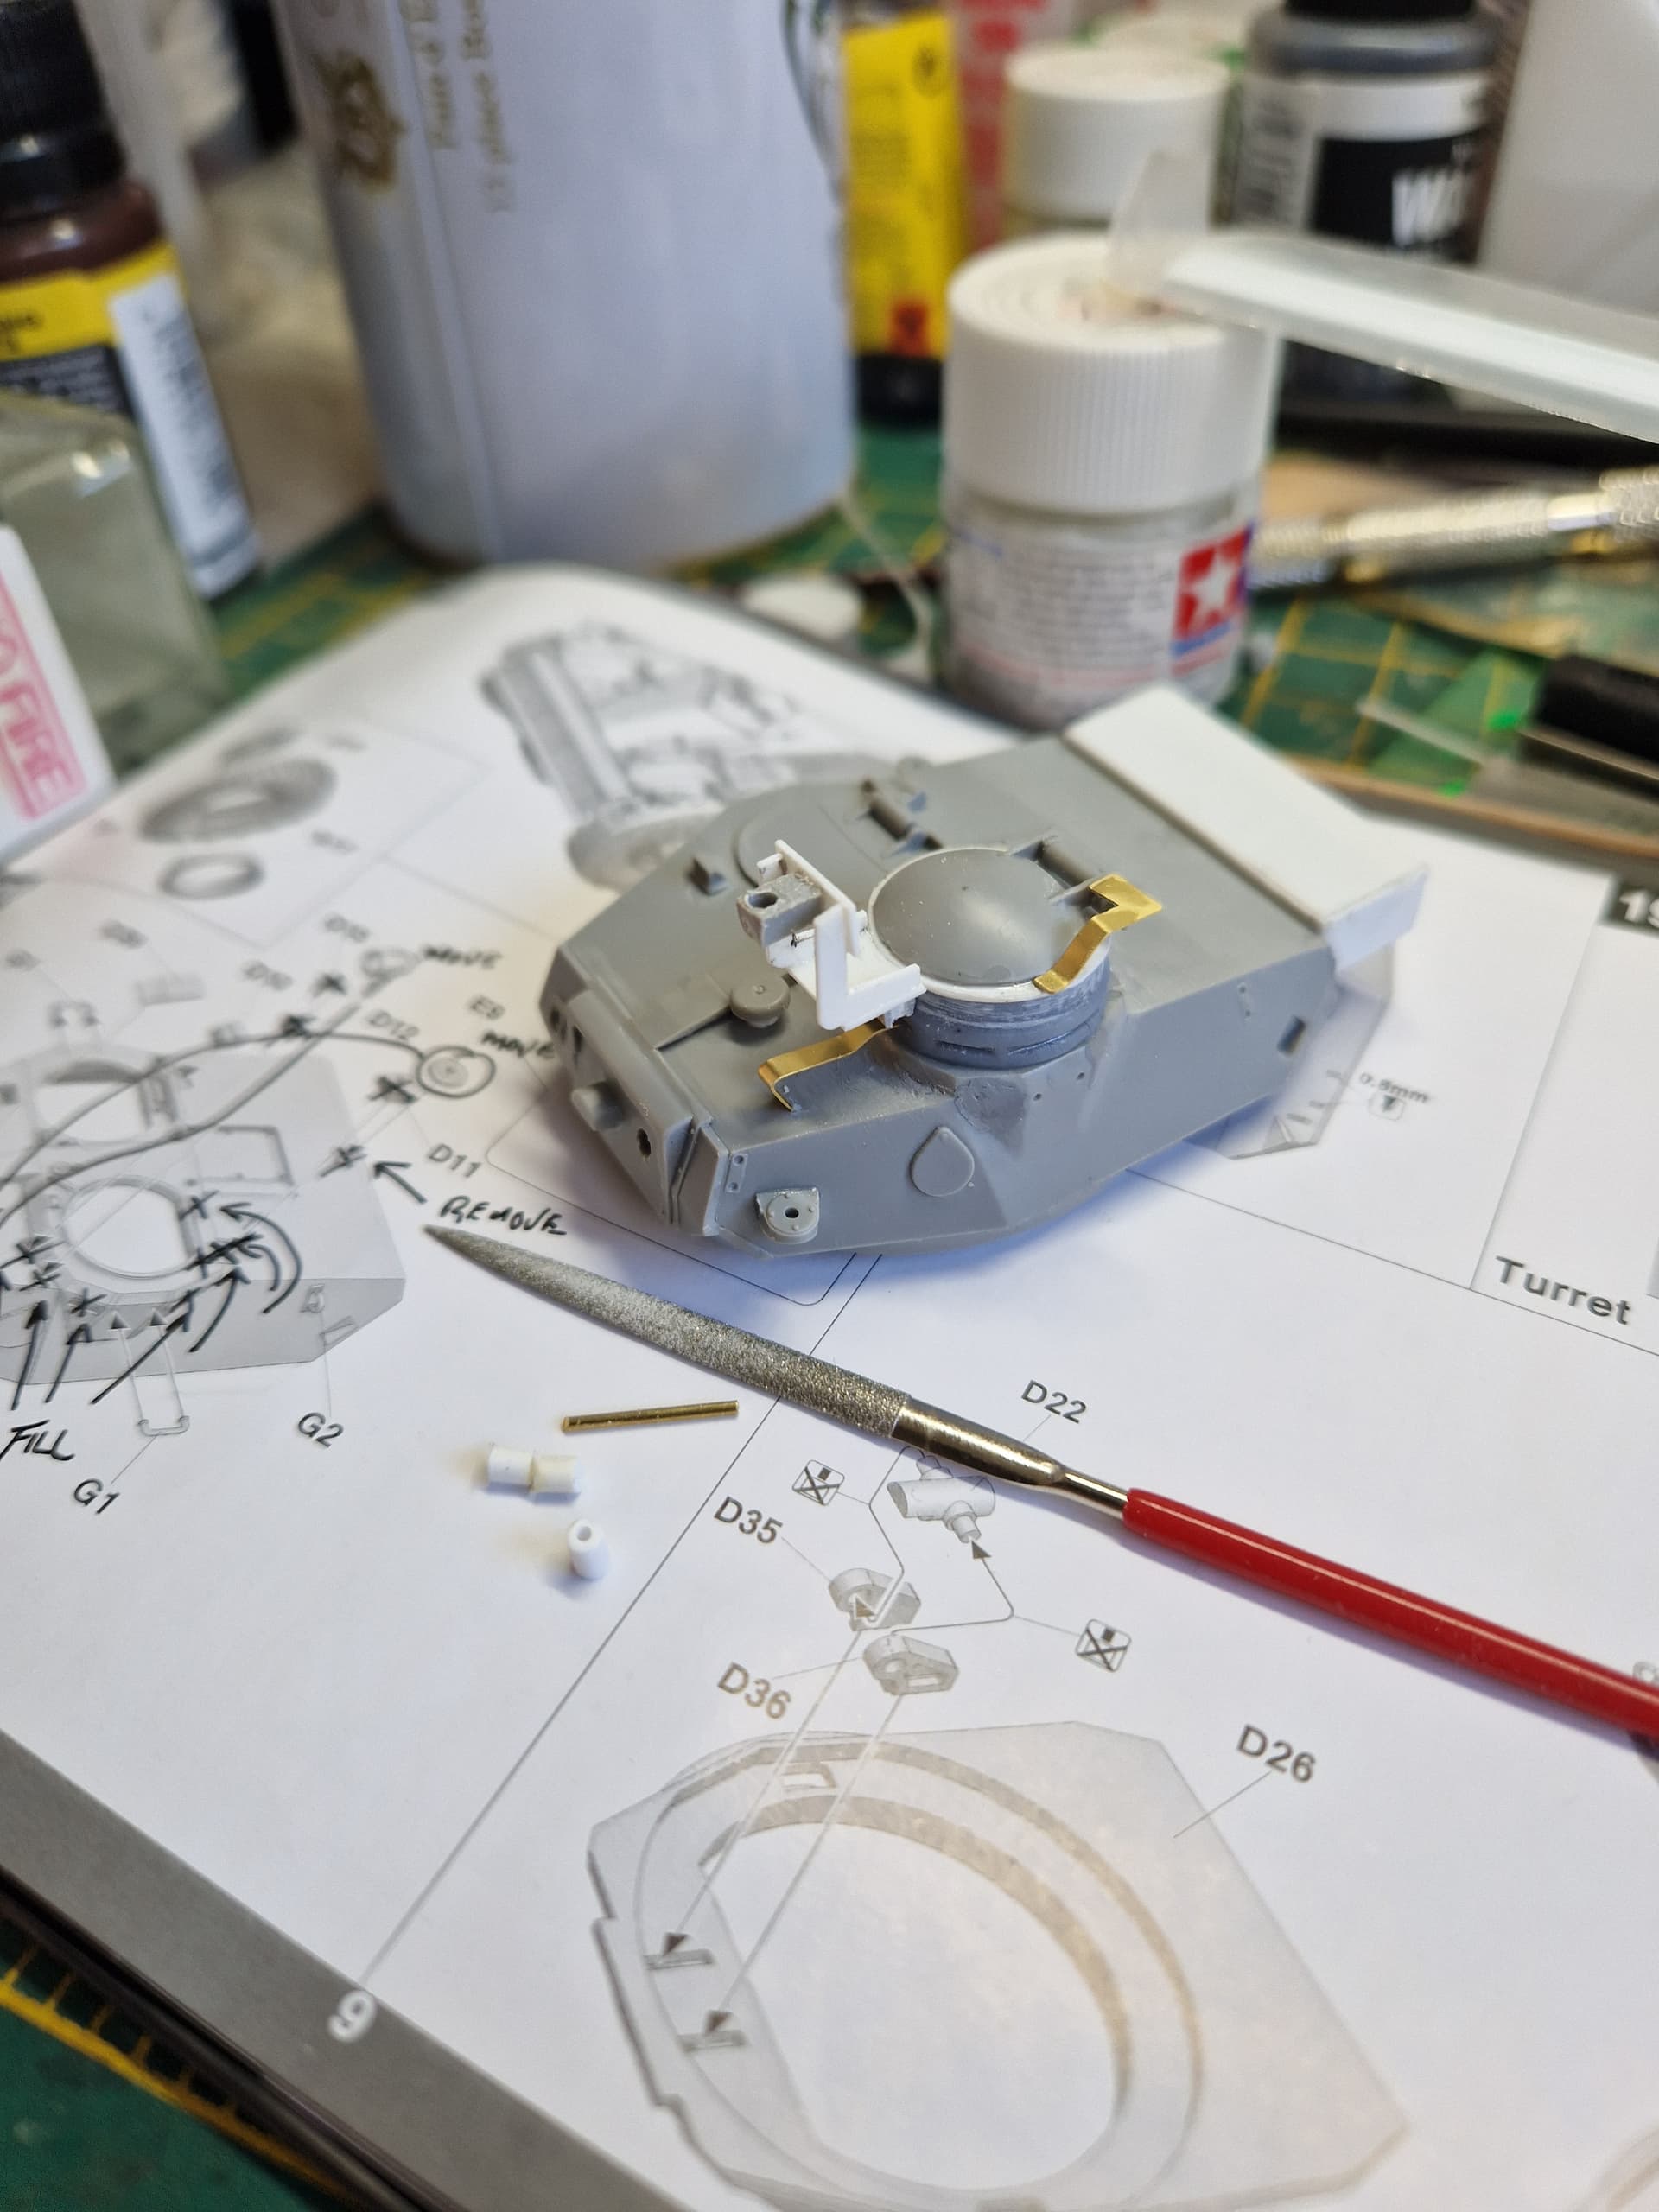
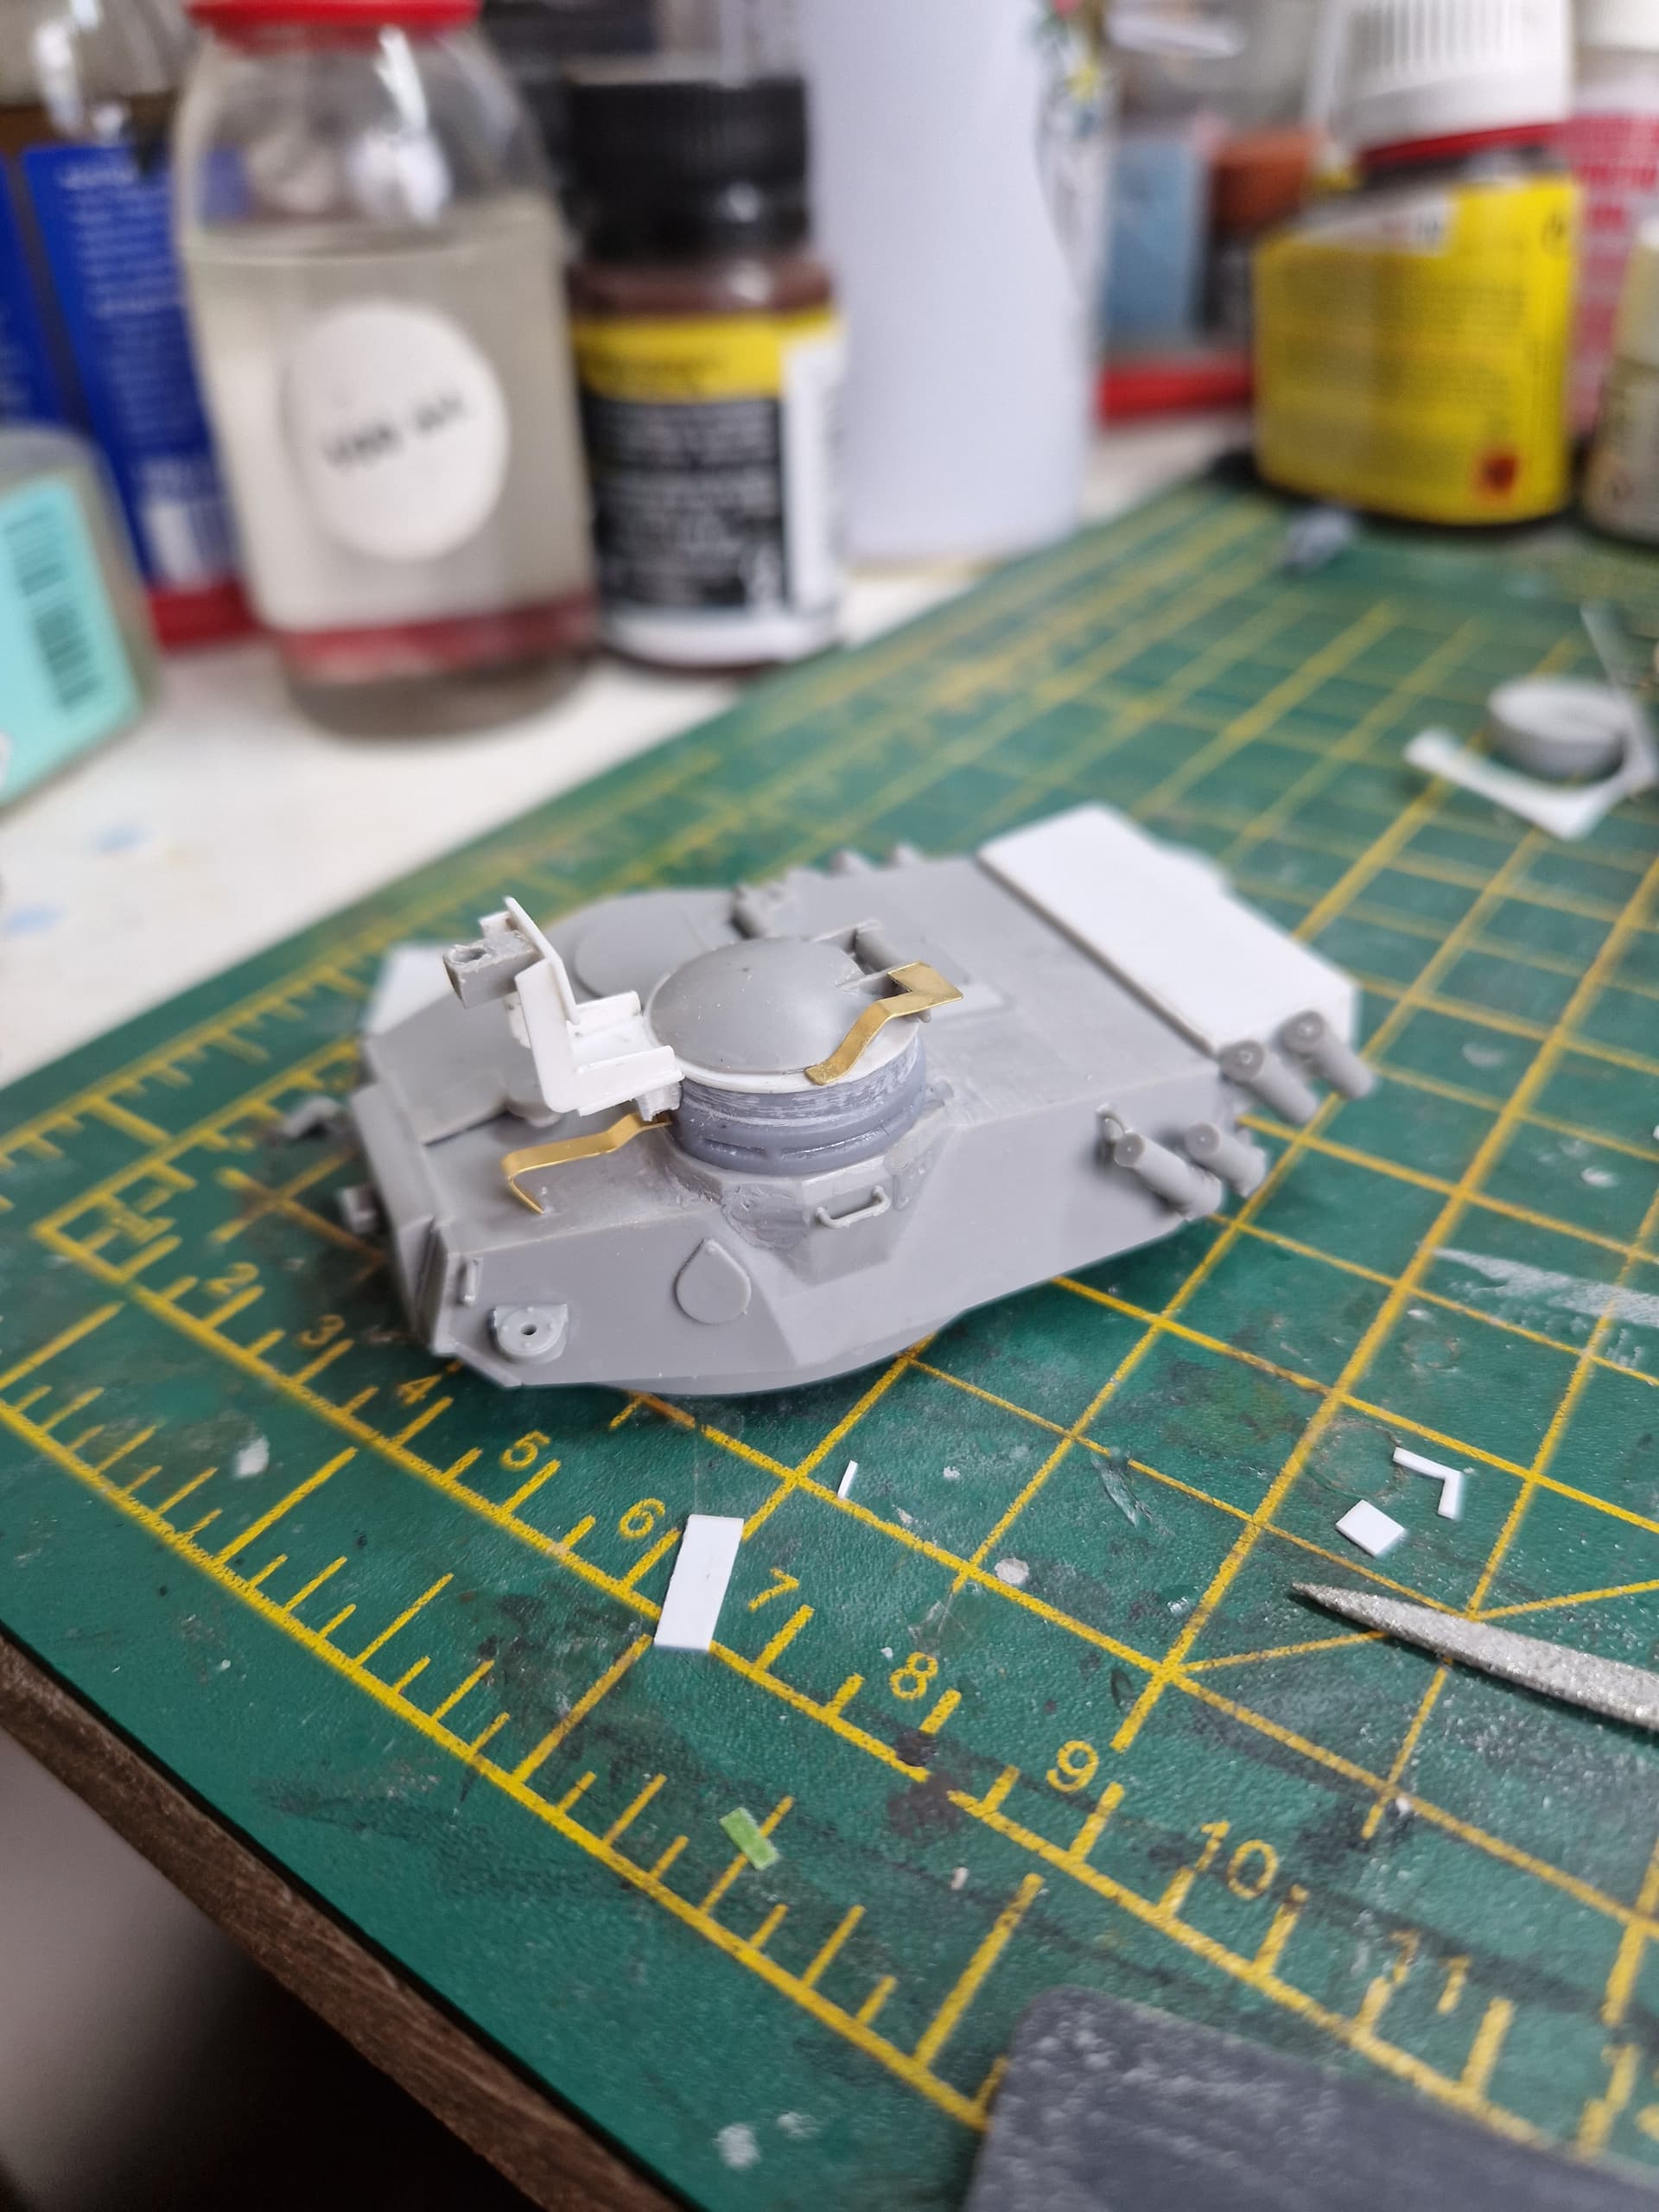
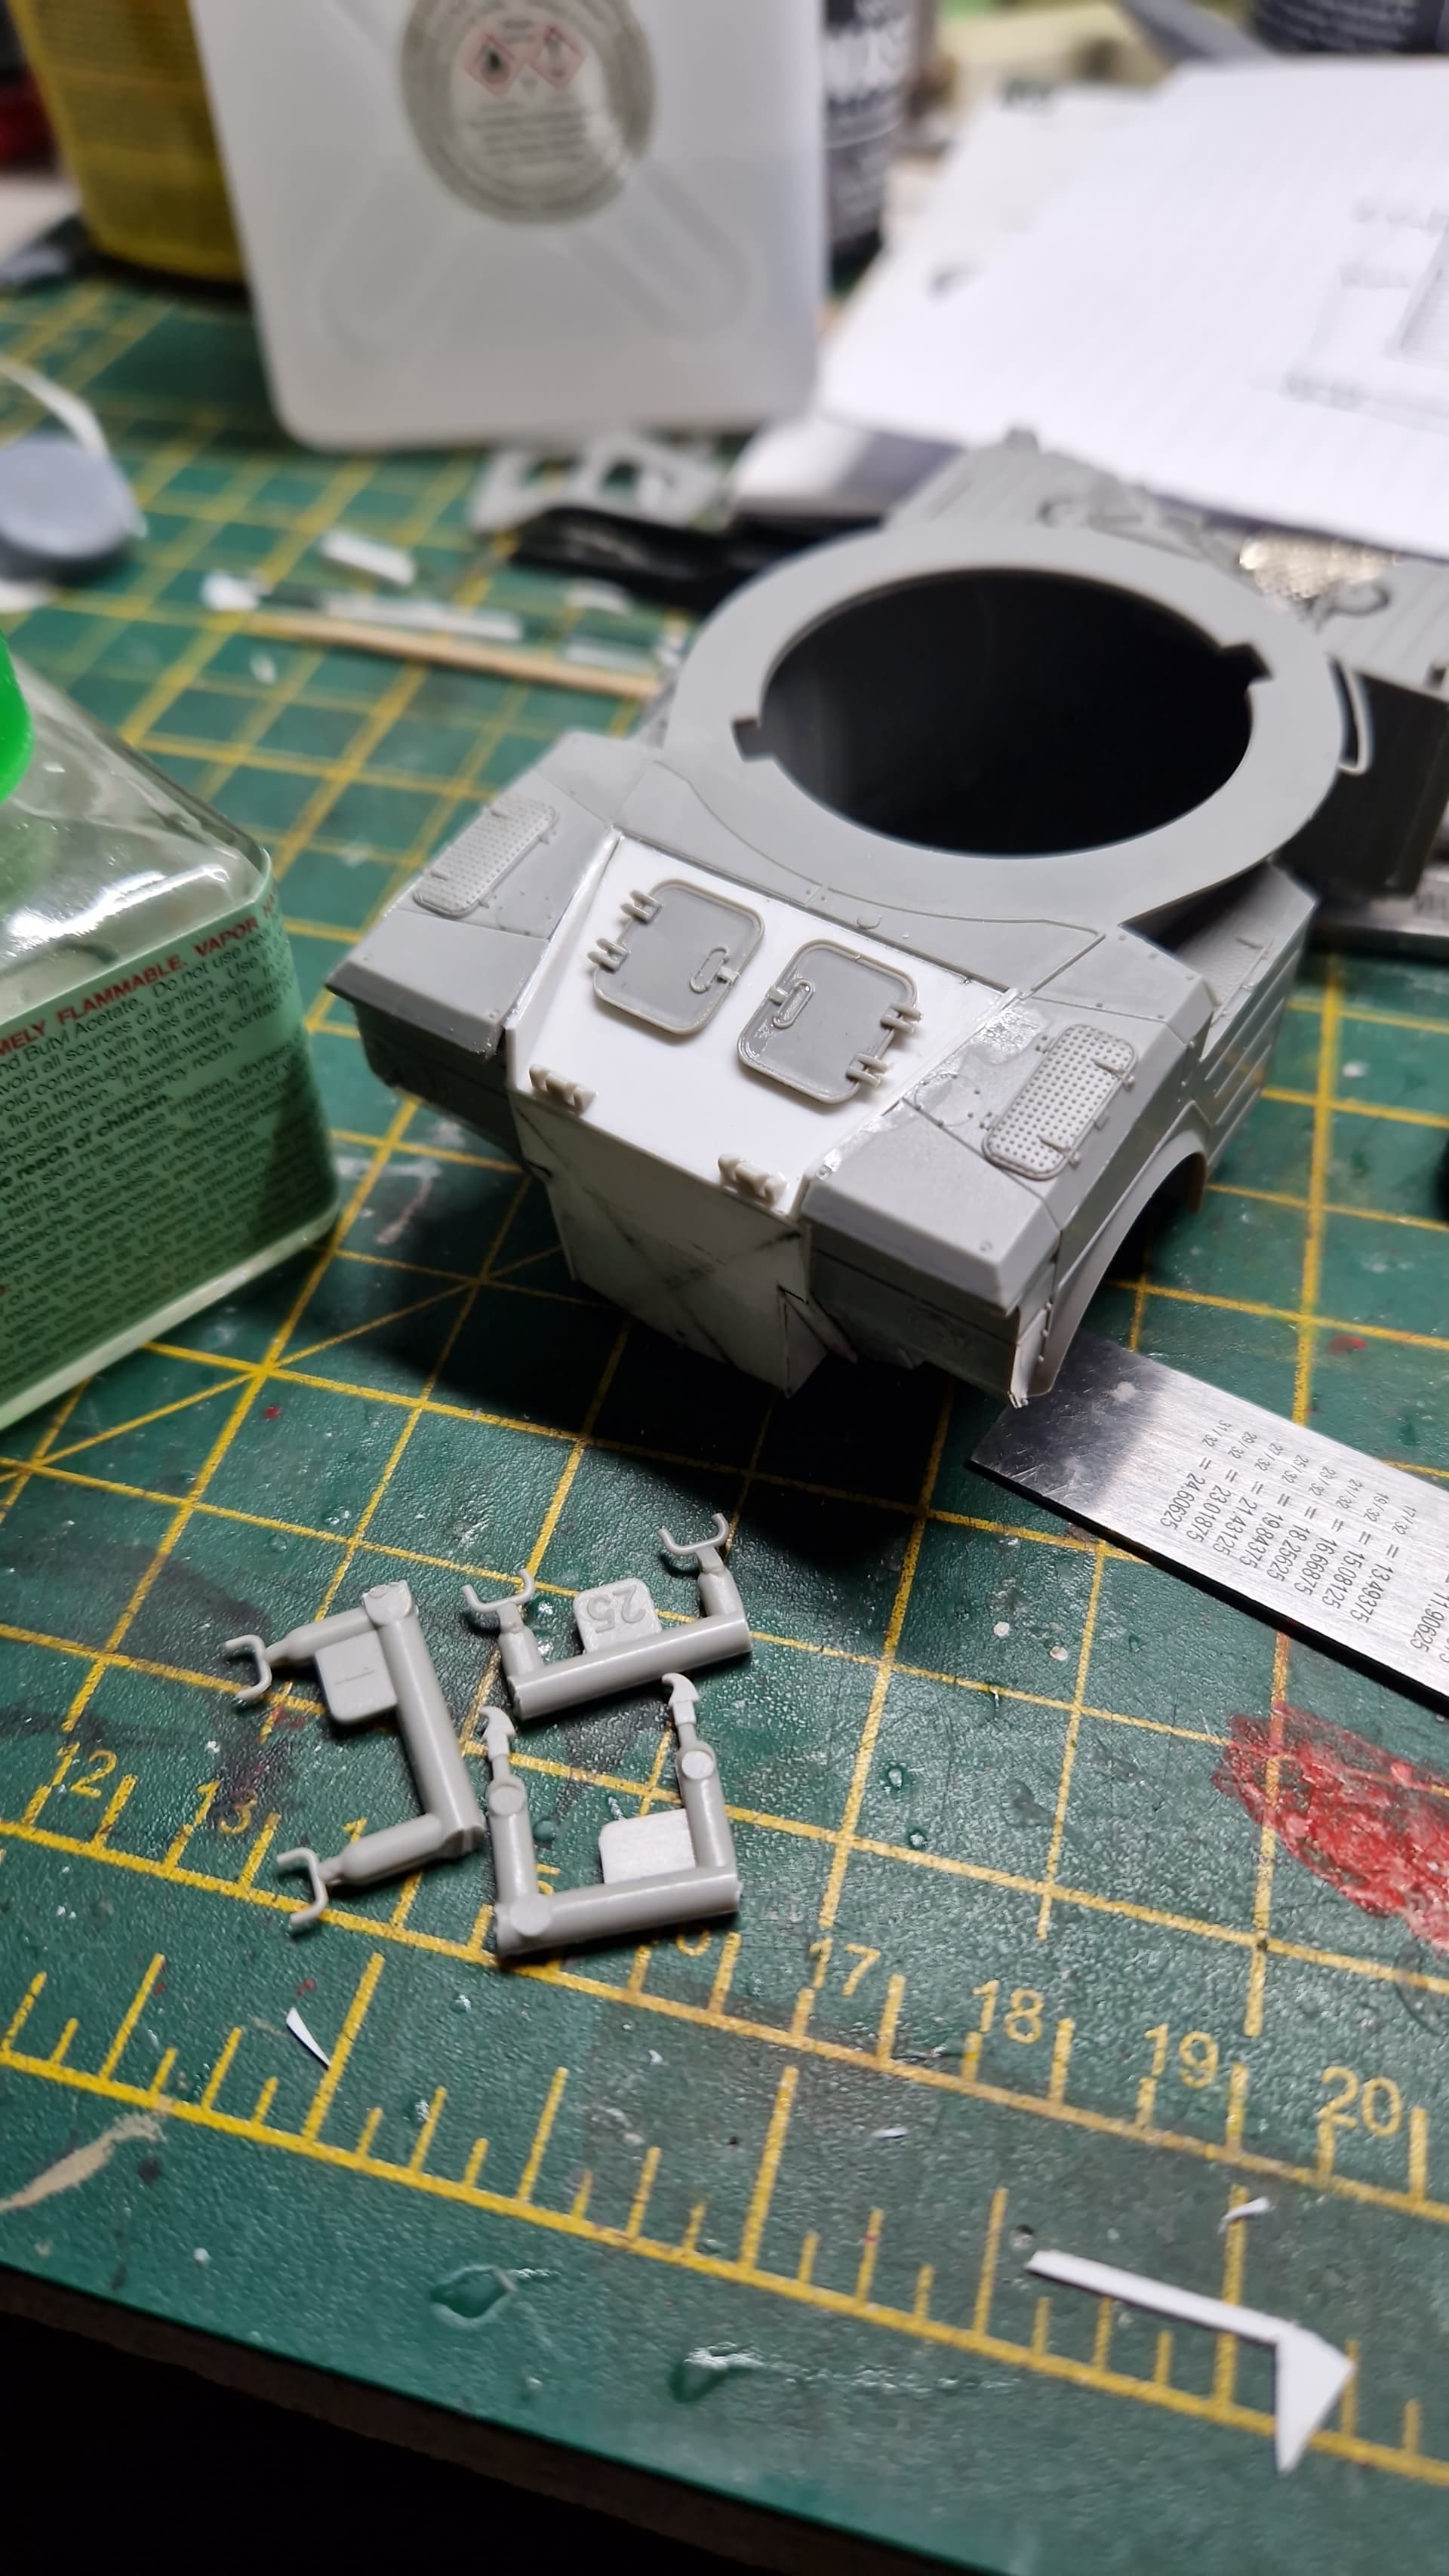
I have been looking at the commander’s copula which is different to the standard AML90 variant.
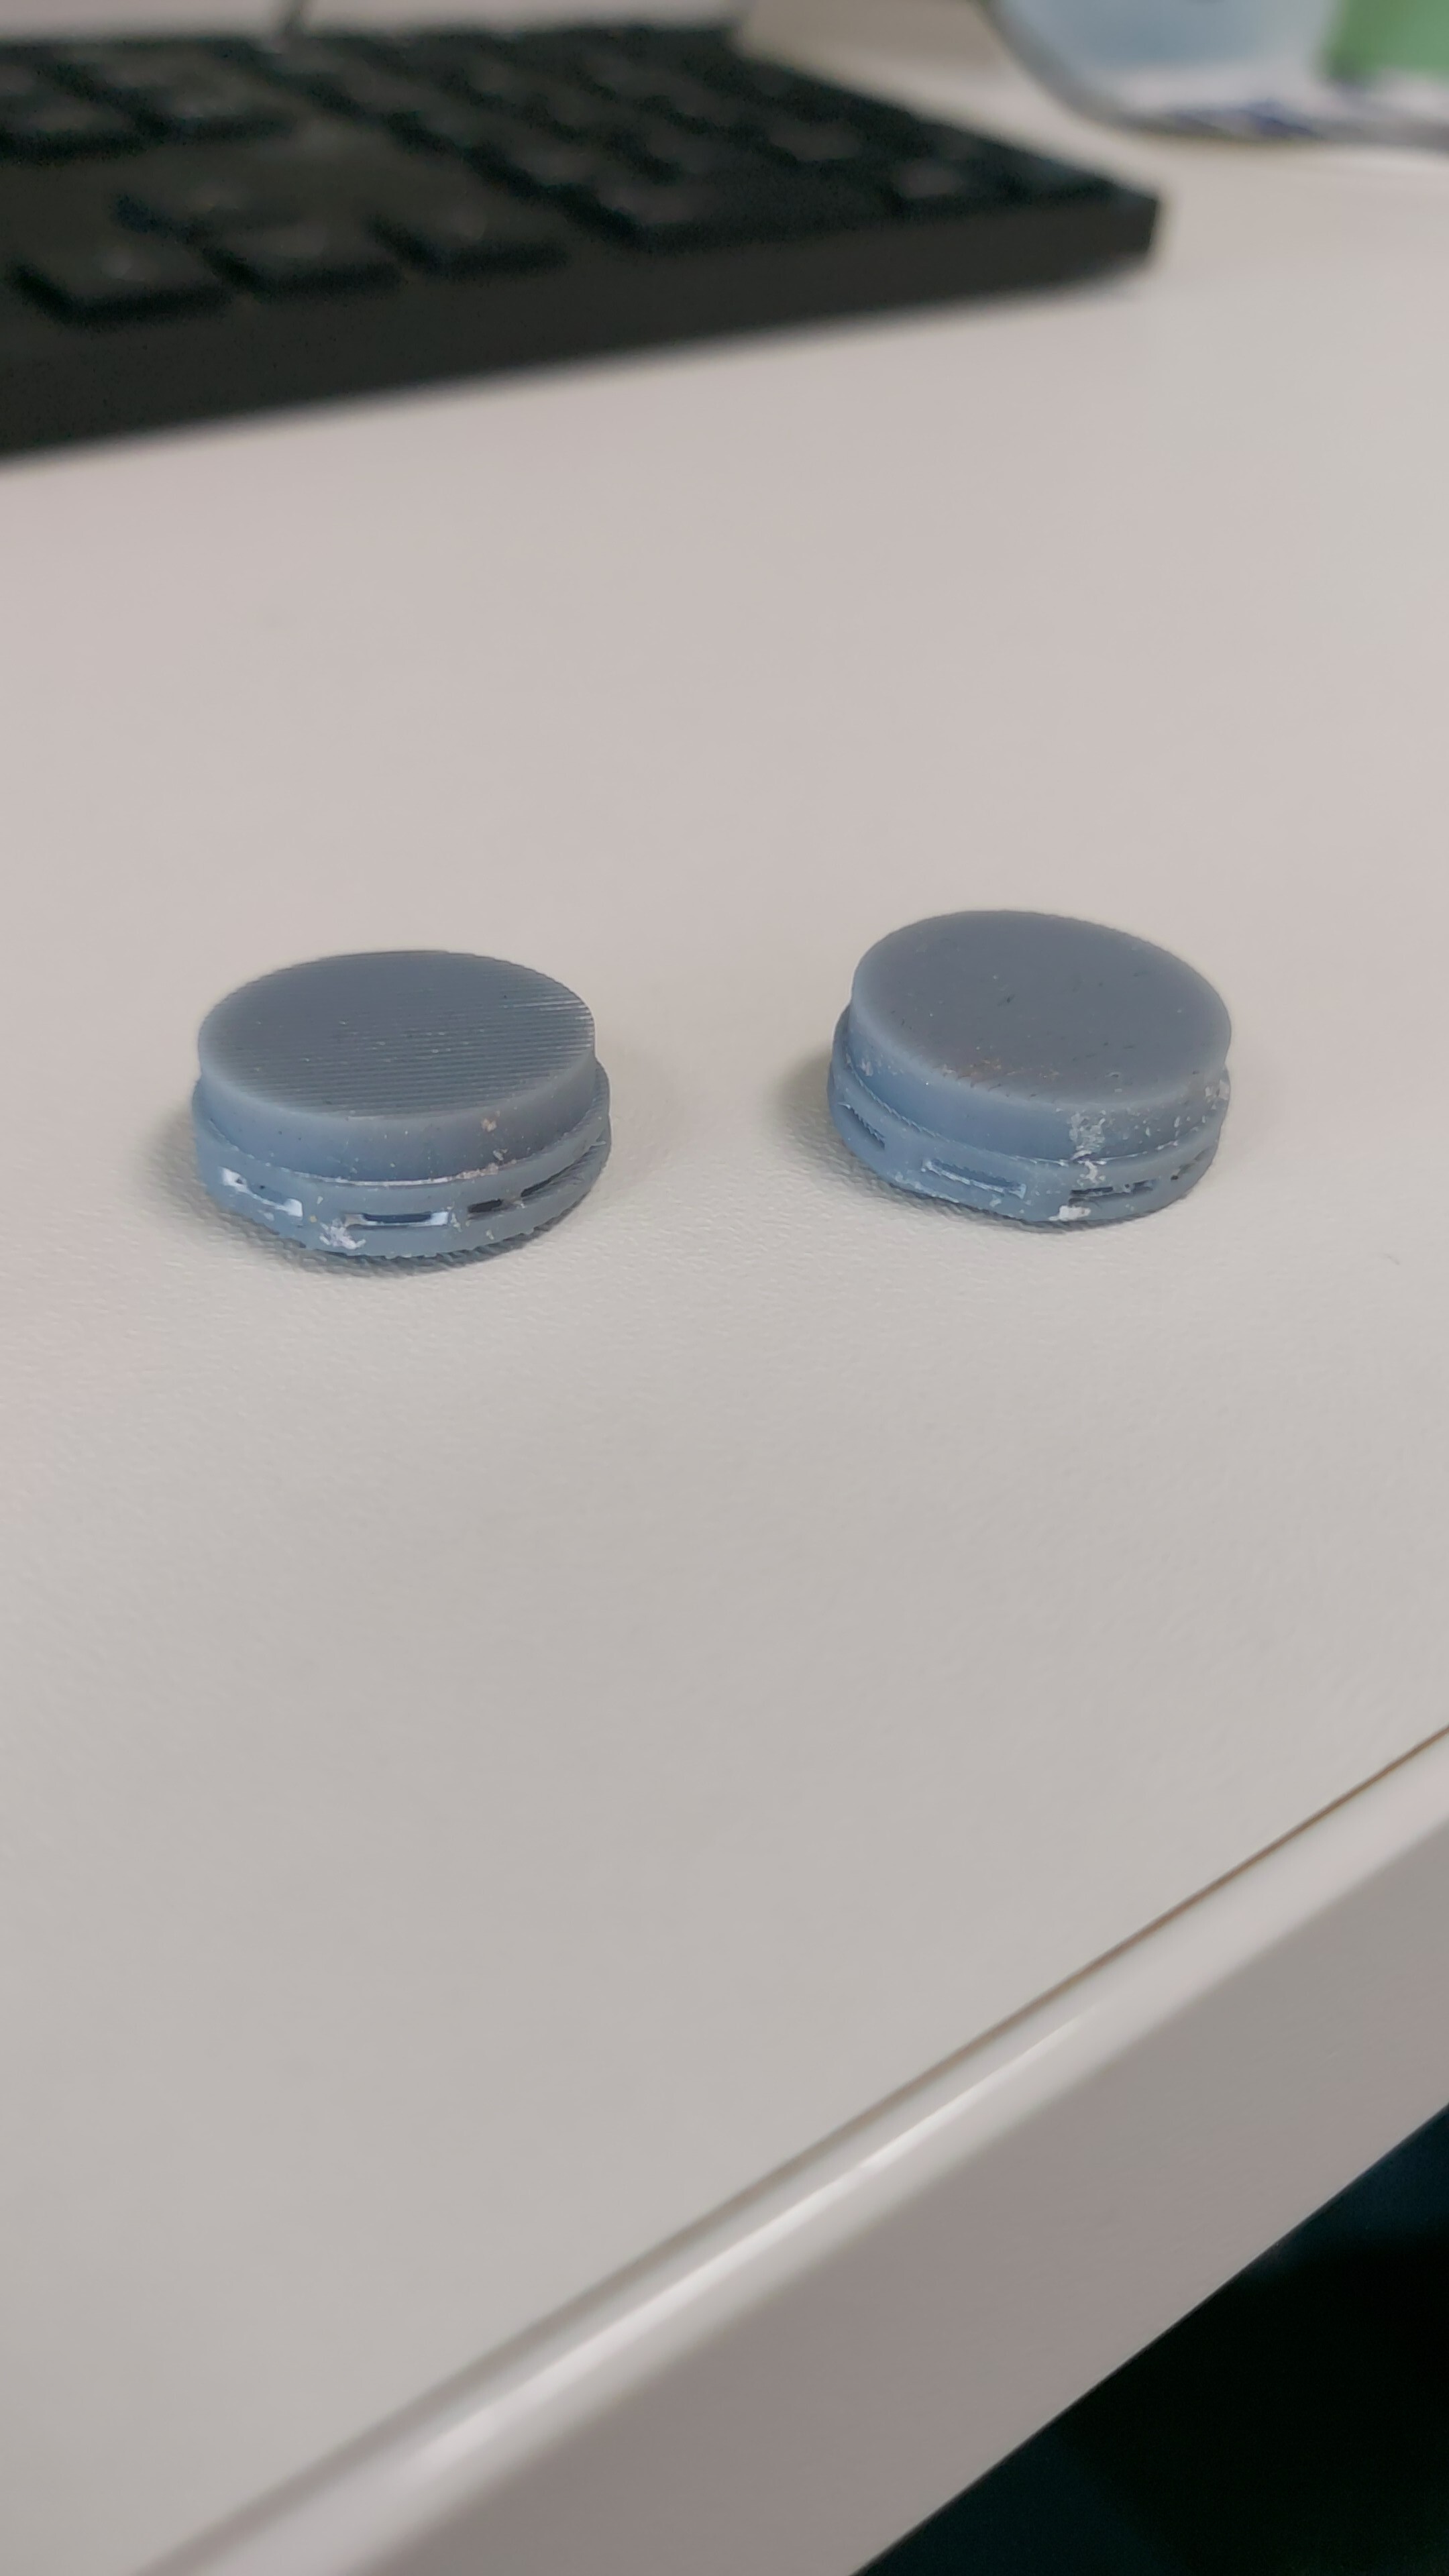
Struggled trying to recreate the side walls from 0.35 thk plasticard strip, I may have to resort to 3D printing to replicate the Eland Mk7 copula extension + view slots.


Anyway, its all fun and games.

Thanks for watching. :vulcan_salute:t3:

2 Likes

I’m following this with interest. I’m eager to see the scratch built mods.

Olivier

2 Likes

Well, I have stepped into the world of 3D printing. I had a stl file created, based on a CAD design of mine.

It looks a little too tall, but I can sand that back.

The test fit confirms it is too tall and will need to be sanded back a 1mm or so.

Definitely an improvement over the plasticard attempt.

Thanks for watching. :v:

4 Likes

Now that my Battroid build is finished, I can pick up from where I left off.

I decided to “go for broke” and fit the 3D printed copula and reposition of the air filter.


Next is the new position, for the spot light, 303 mount, manual sight and some other bits.

Plenty of fun and frustration to come.

Thanks for watching.:vulcan_salute:t3:

6 Likes

Just a little extra work done, the rear turret stowage bin, top lid and aerial mounts.

Till the next update. :vulcan_salute:t3:

3 Likes

I have beeb beavering away on the turret, quite happy with my progress so far.


.303 Browning mount and copula tread plate fitted.

Hand grips, smoke discharges and stowage tubes fitted.

A few more bits to do and the turret will be ready for paint.

Till the next update.:vulcan_salute:t3:

4 Likes

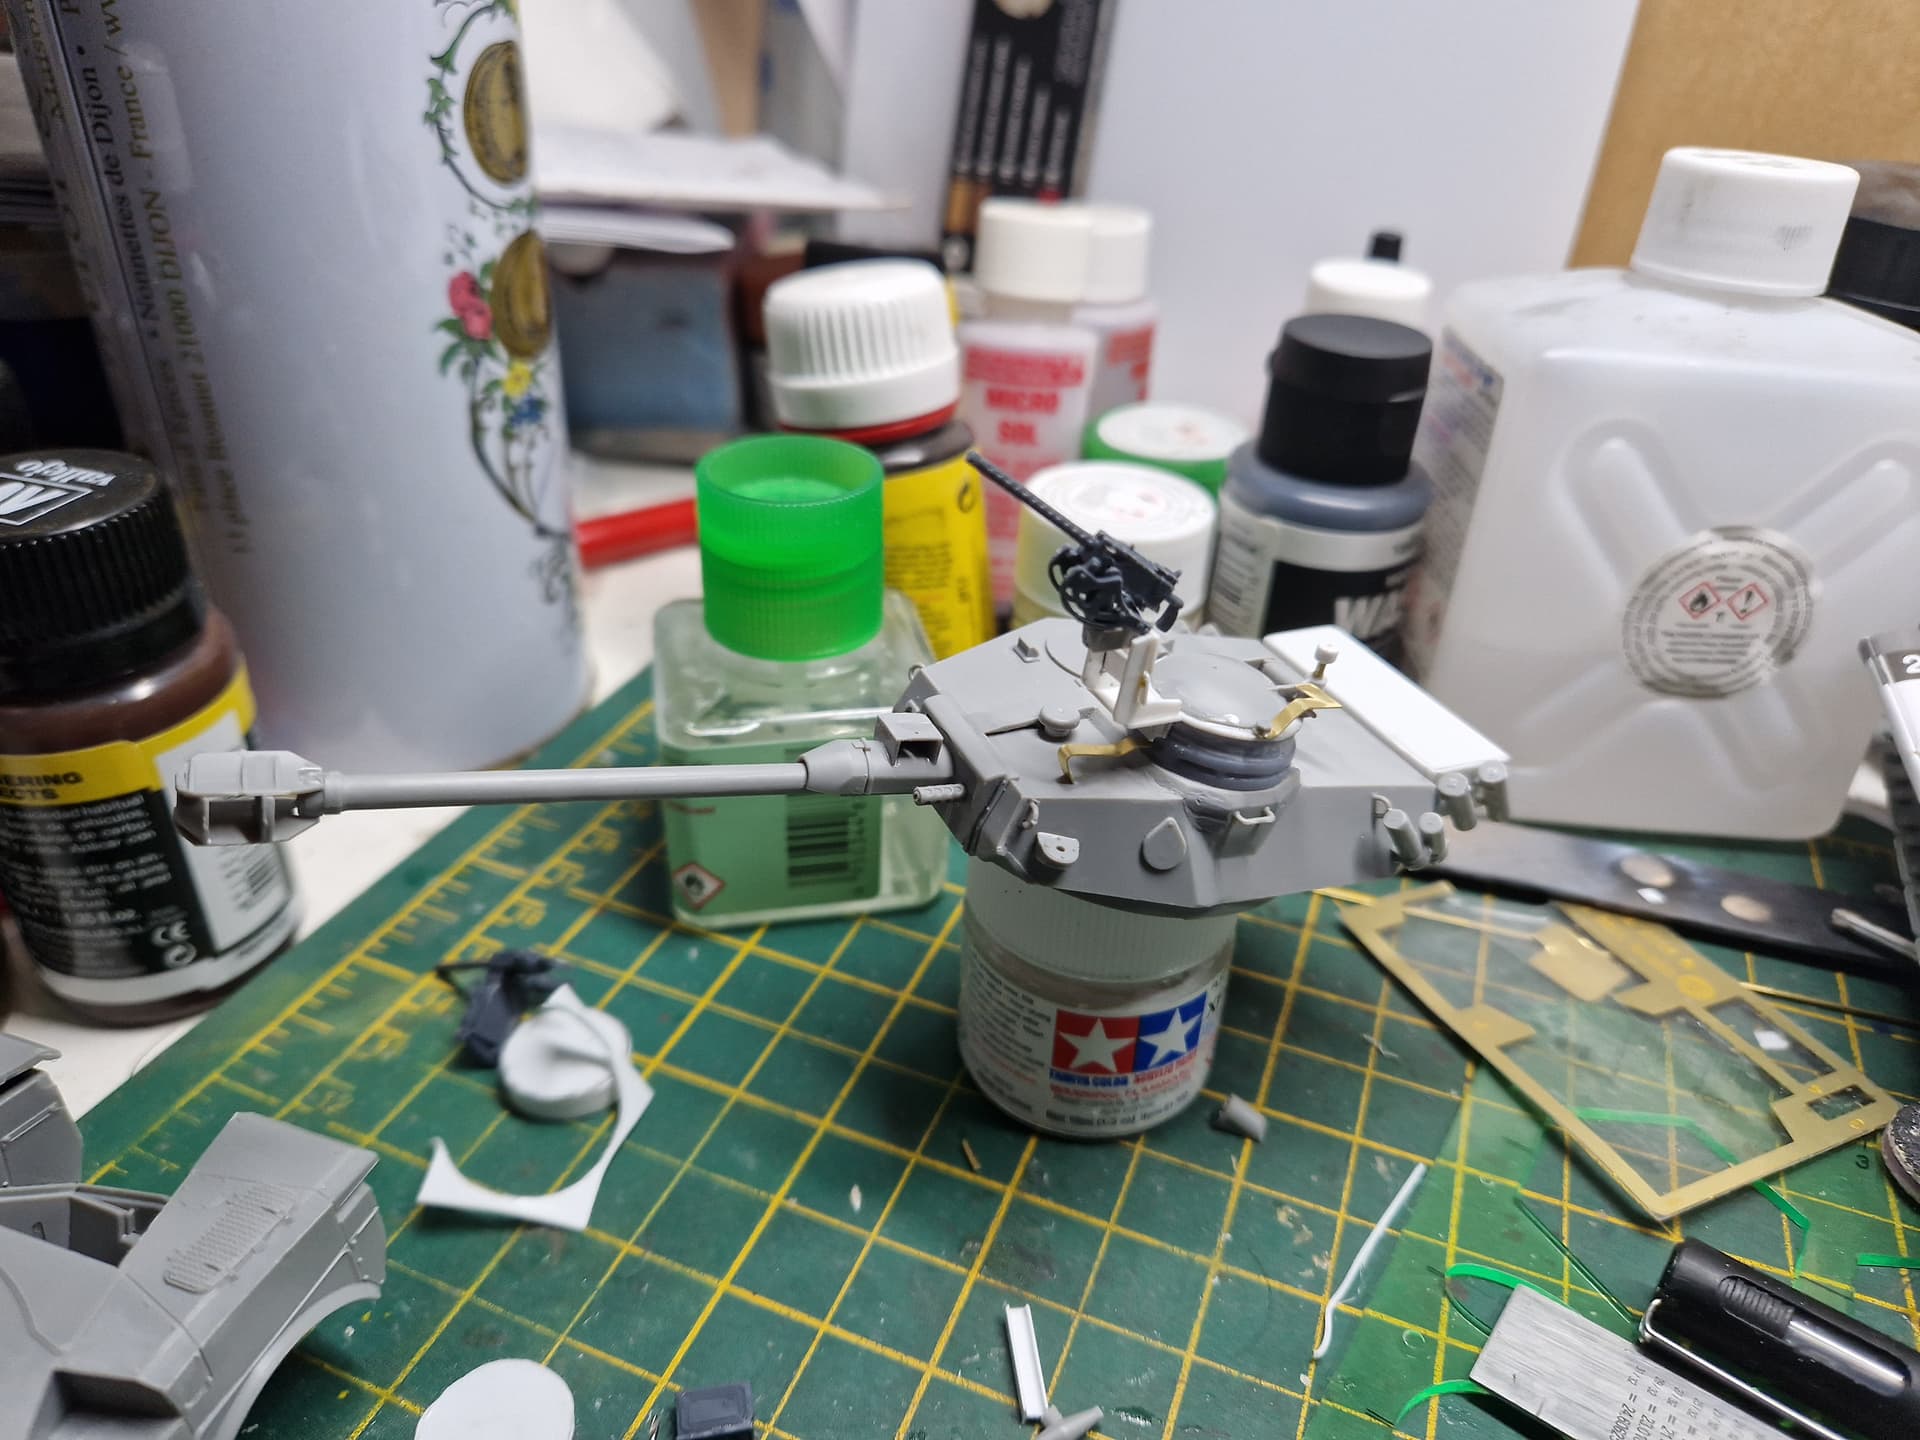
The main gun, co-axial .303 fitted and commanders .303 temporarily positioned. Not quite there, but the finish line for the turret assembly is in sight.

I’m very pleased with my scratch building.

Till next time.:vulcan_salute:t3:

3 Likes

Great work

2 Likes

Onto the engine bay.


Building up the rear has been fun and challenging.

Also managed to mount the ammo box onto the .303 Browning.

Very happy with my progress.

Till the next update.:vulcan_salute:t3:

3 Likes

The rear is progressing nicely. Now I need to decide if I’m scratch building the rear armoured louvre grill or going the route of 3D printing again.


Till the next update.:vulcan_salute:t3:

1 Like

Probably 3D, would save on time with the multiple angles, against 4 attempts by card

2 Likes

So I gather you had a swing at the Eland?

Do you have any photographs of the completed build?

It’s been fun and equally challenging with the mods.

1 Like

If it’s for me, not yet,
but doing vents before, found them hard to pull of, to look right.

2 Likes

Decided to take the plunge and scratch build the armoured grille.


Damn fiddly small, but I am happy with my progress.

Till the next update :vulcan_salute:t3:

3 Likes

I’d love a decent Ratel in 1/35 styrene. Feels like I saw them every day on the news when I was growing up.

2 Likes

I wish they were!

Baxmodels did a 1/35 resin kit, Ratel, Casspir & Buffel.

Not sure they do them anymore. It’s a pity that the big kit guys don’t see the value in doing them. I bet, the G6 and Rooikat flew off the shelves.

We can only hope.

1 Like

Checked their website yesterday, everything out of stock, apart from some figures, so may be closed down now, just not sure as he has one of those square link things.

2 Likes