Dead Man Walking…
2 Likes
Please don’t be offended if you can hear my maniacal laughter from here…
but try doing it as a career. 
2 Likes
Definitely counting my blessings this Sunday morning, my fiance hired someone for the basic bathroom remodel coming up next week 
Helping pick the new floor covering was stressful enough. By helping pick, I really mean going along to assist, provide logistical support & transport.
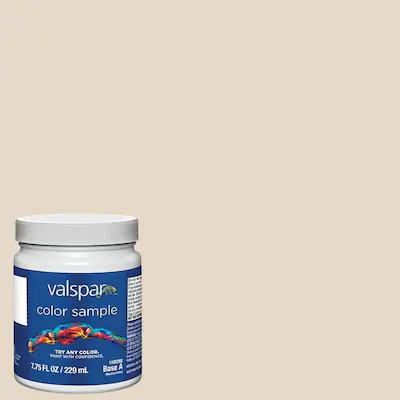
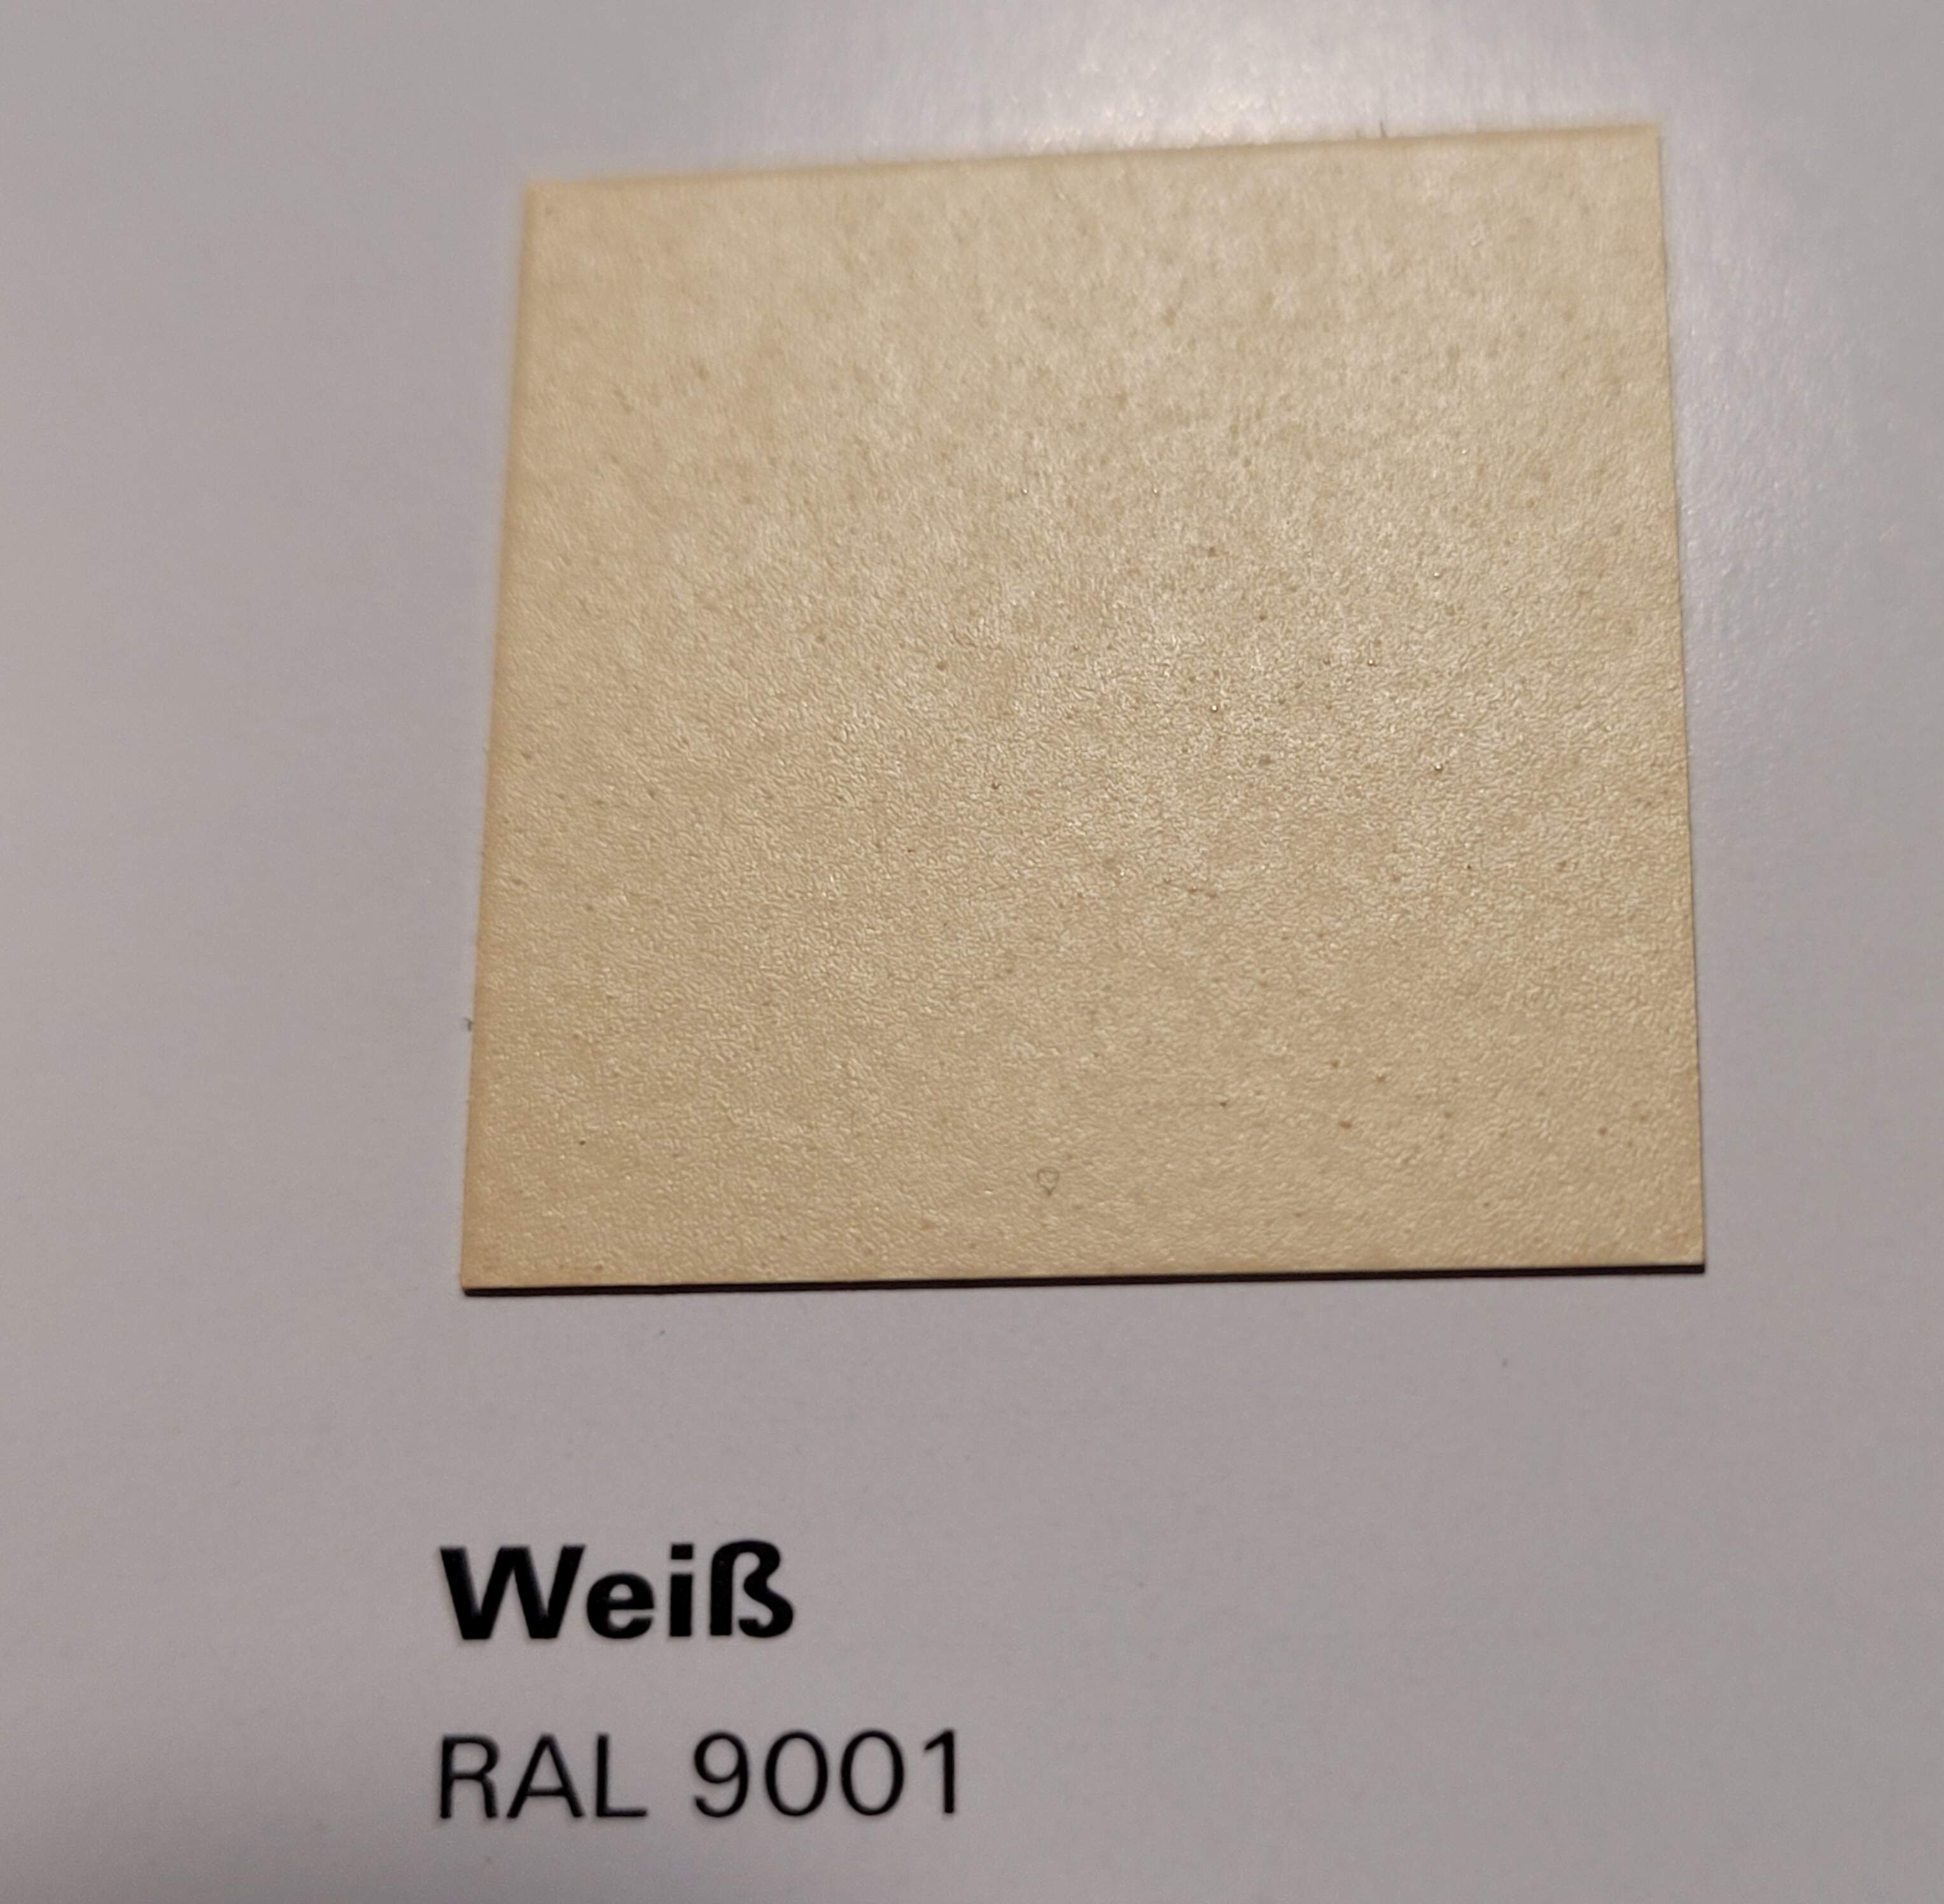
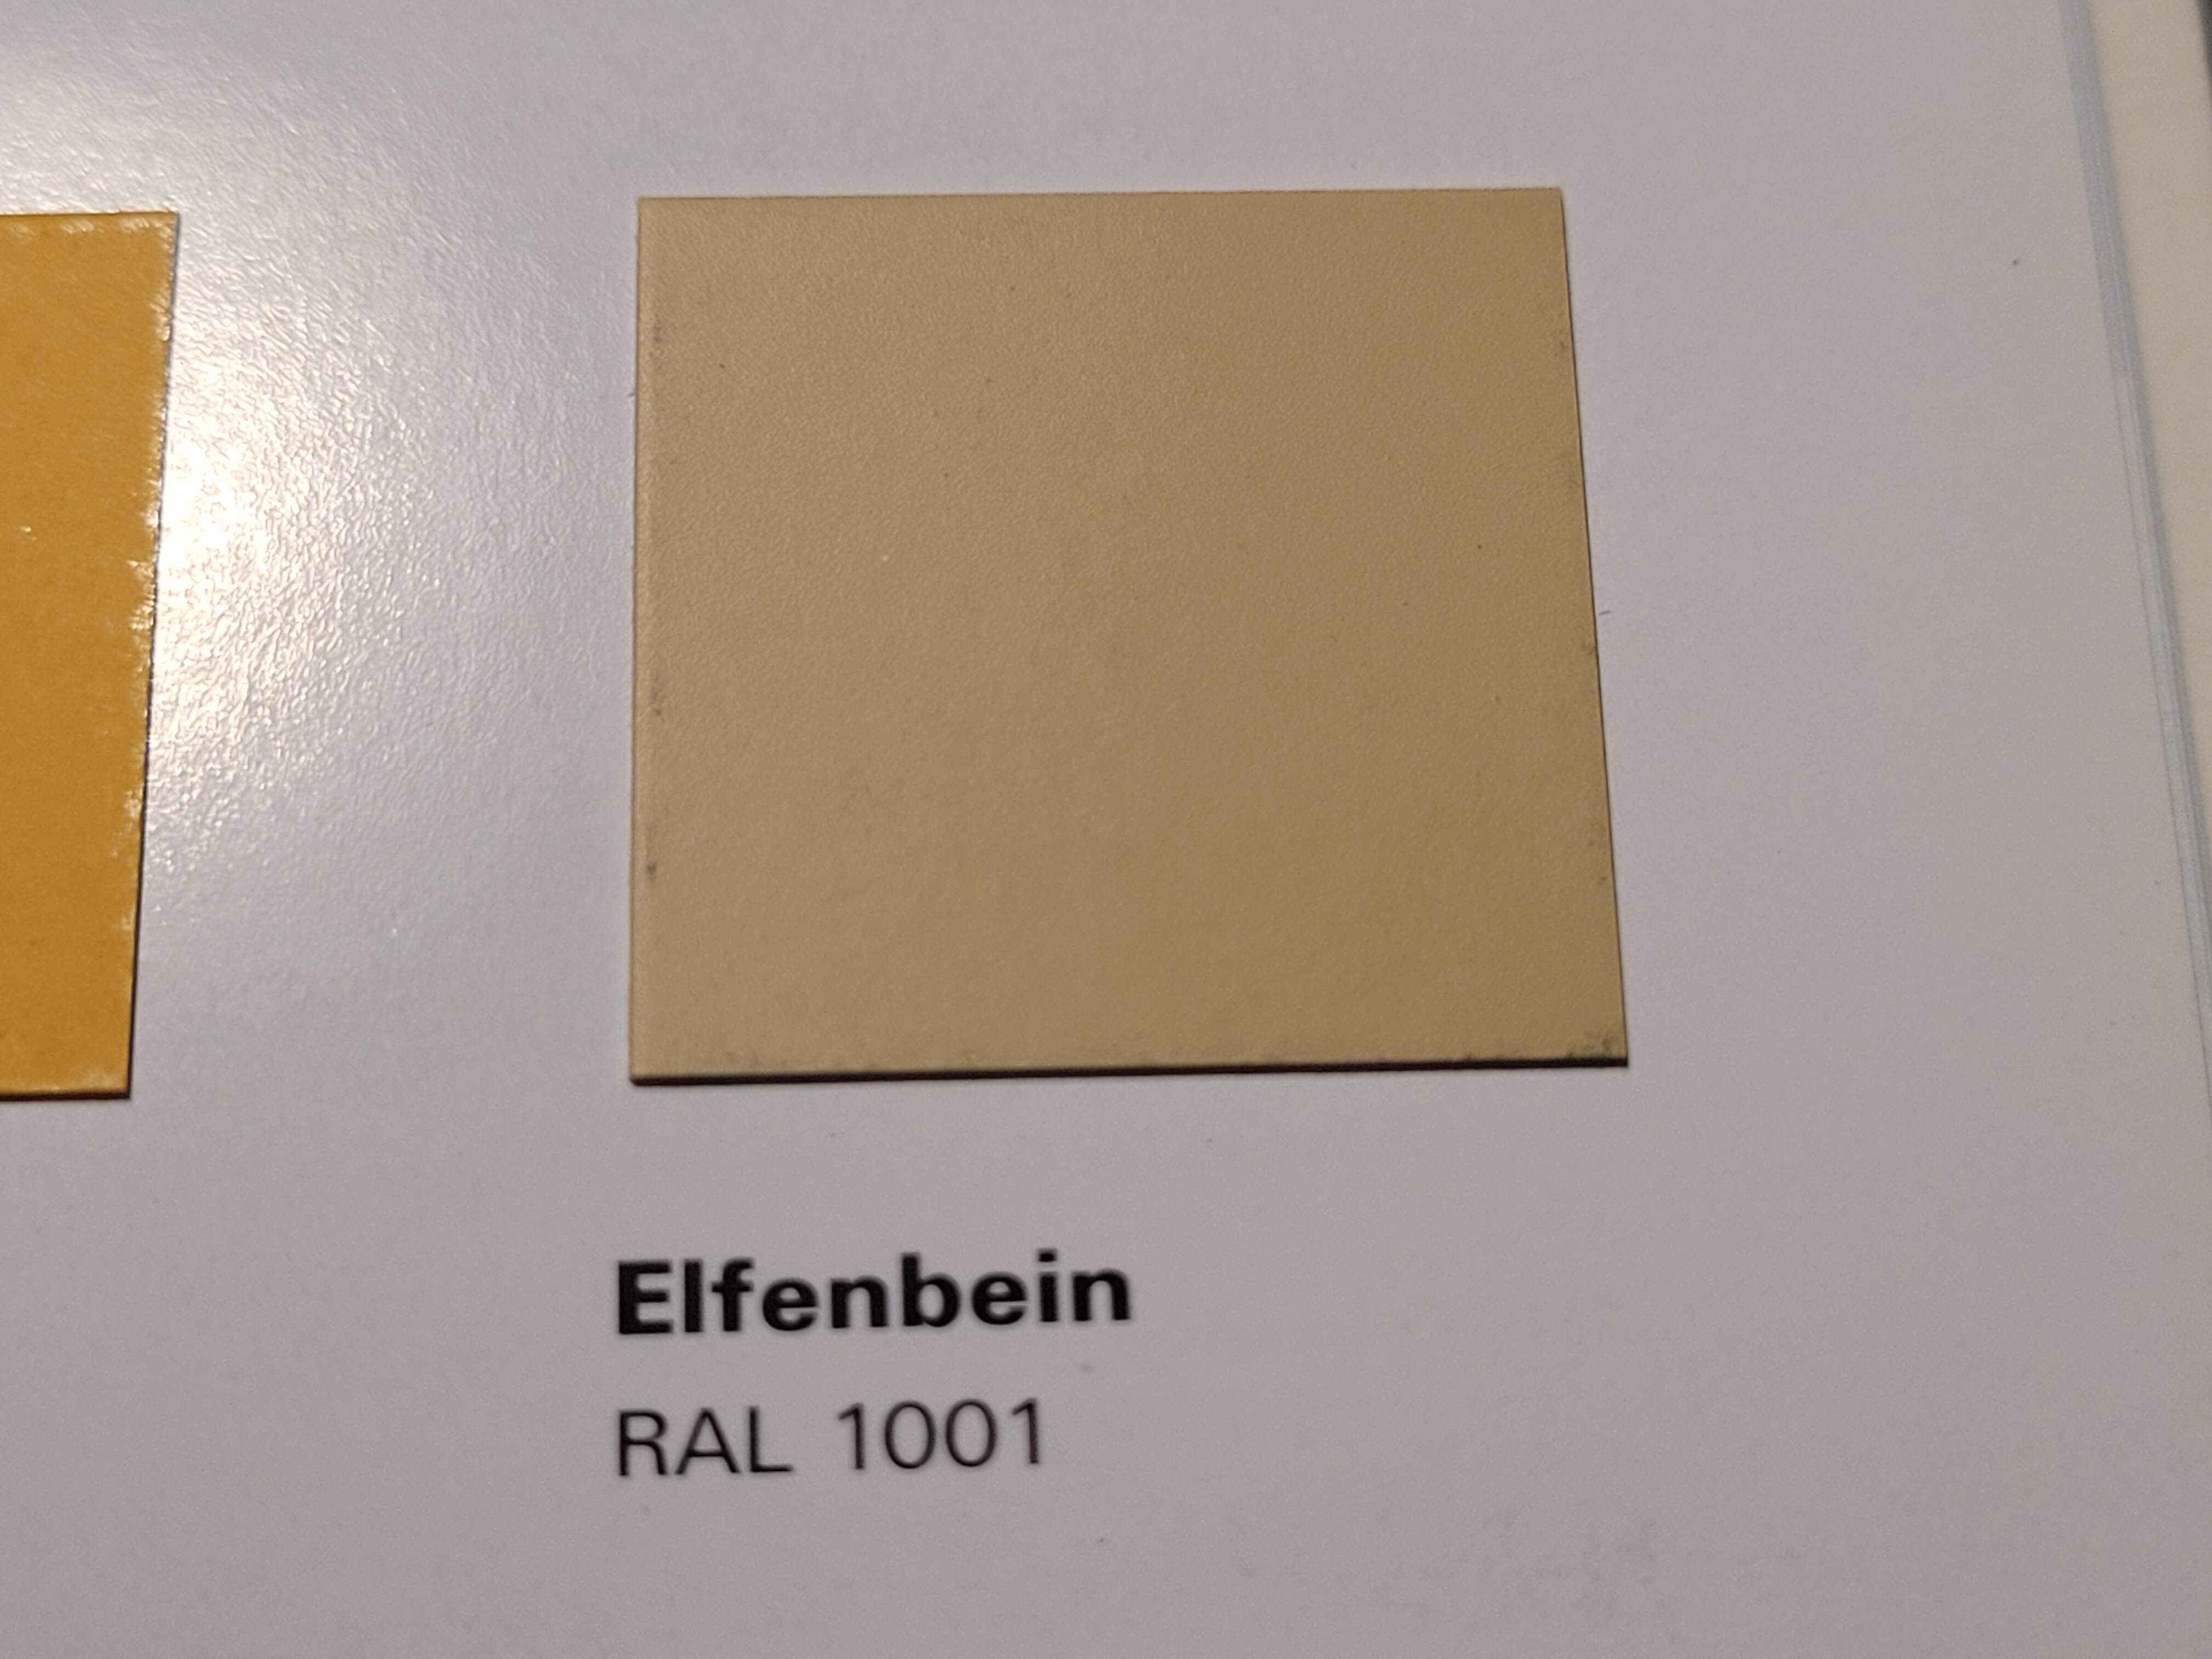
My “help” with picking stuff out especially colors is pretty nonexistent and limited to comments like " that’s a nice shade of RLM 74/75" or “that’s popular? Wow who would EVER have thought 7021 Schwarzgrau aka Panzer Gray would be so popular in home decor?” or “looks like RAL1001 to me, Panzer Interior Buff”.
A LOT of those popular home decor colors really look like something else…at least to me…don’t look too close at the RAL numbers 
1 Like
I understand, been in construction my whole life but focus on the easier parts, like building a subdivision. Not as many change requests and I am out before then joe public gets involved. Now I just find errors after someone documents what was built. So much easier that way. Hats off for being on the front lines of that storm.
1 Like
Anyway, joking aside Tomas Chory’s book, "Wehrmacht Heer Camouflage Colors" is the very best book the color subject I’ve seen - ever. It’s a must buy.
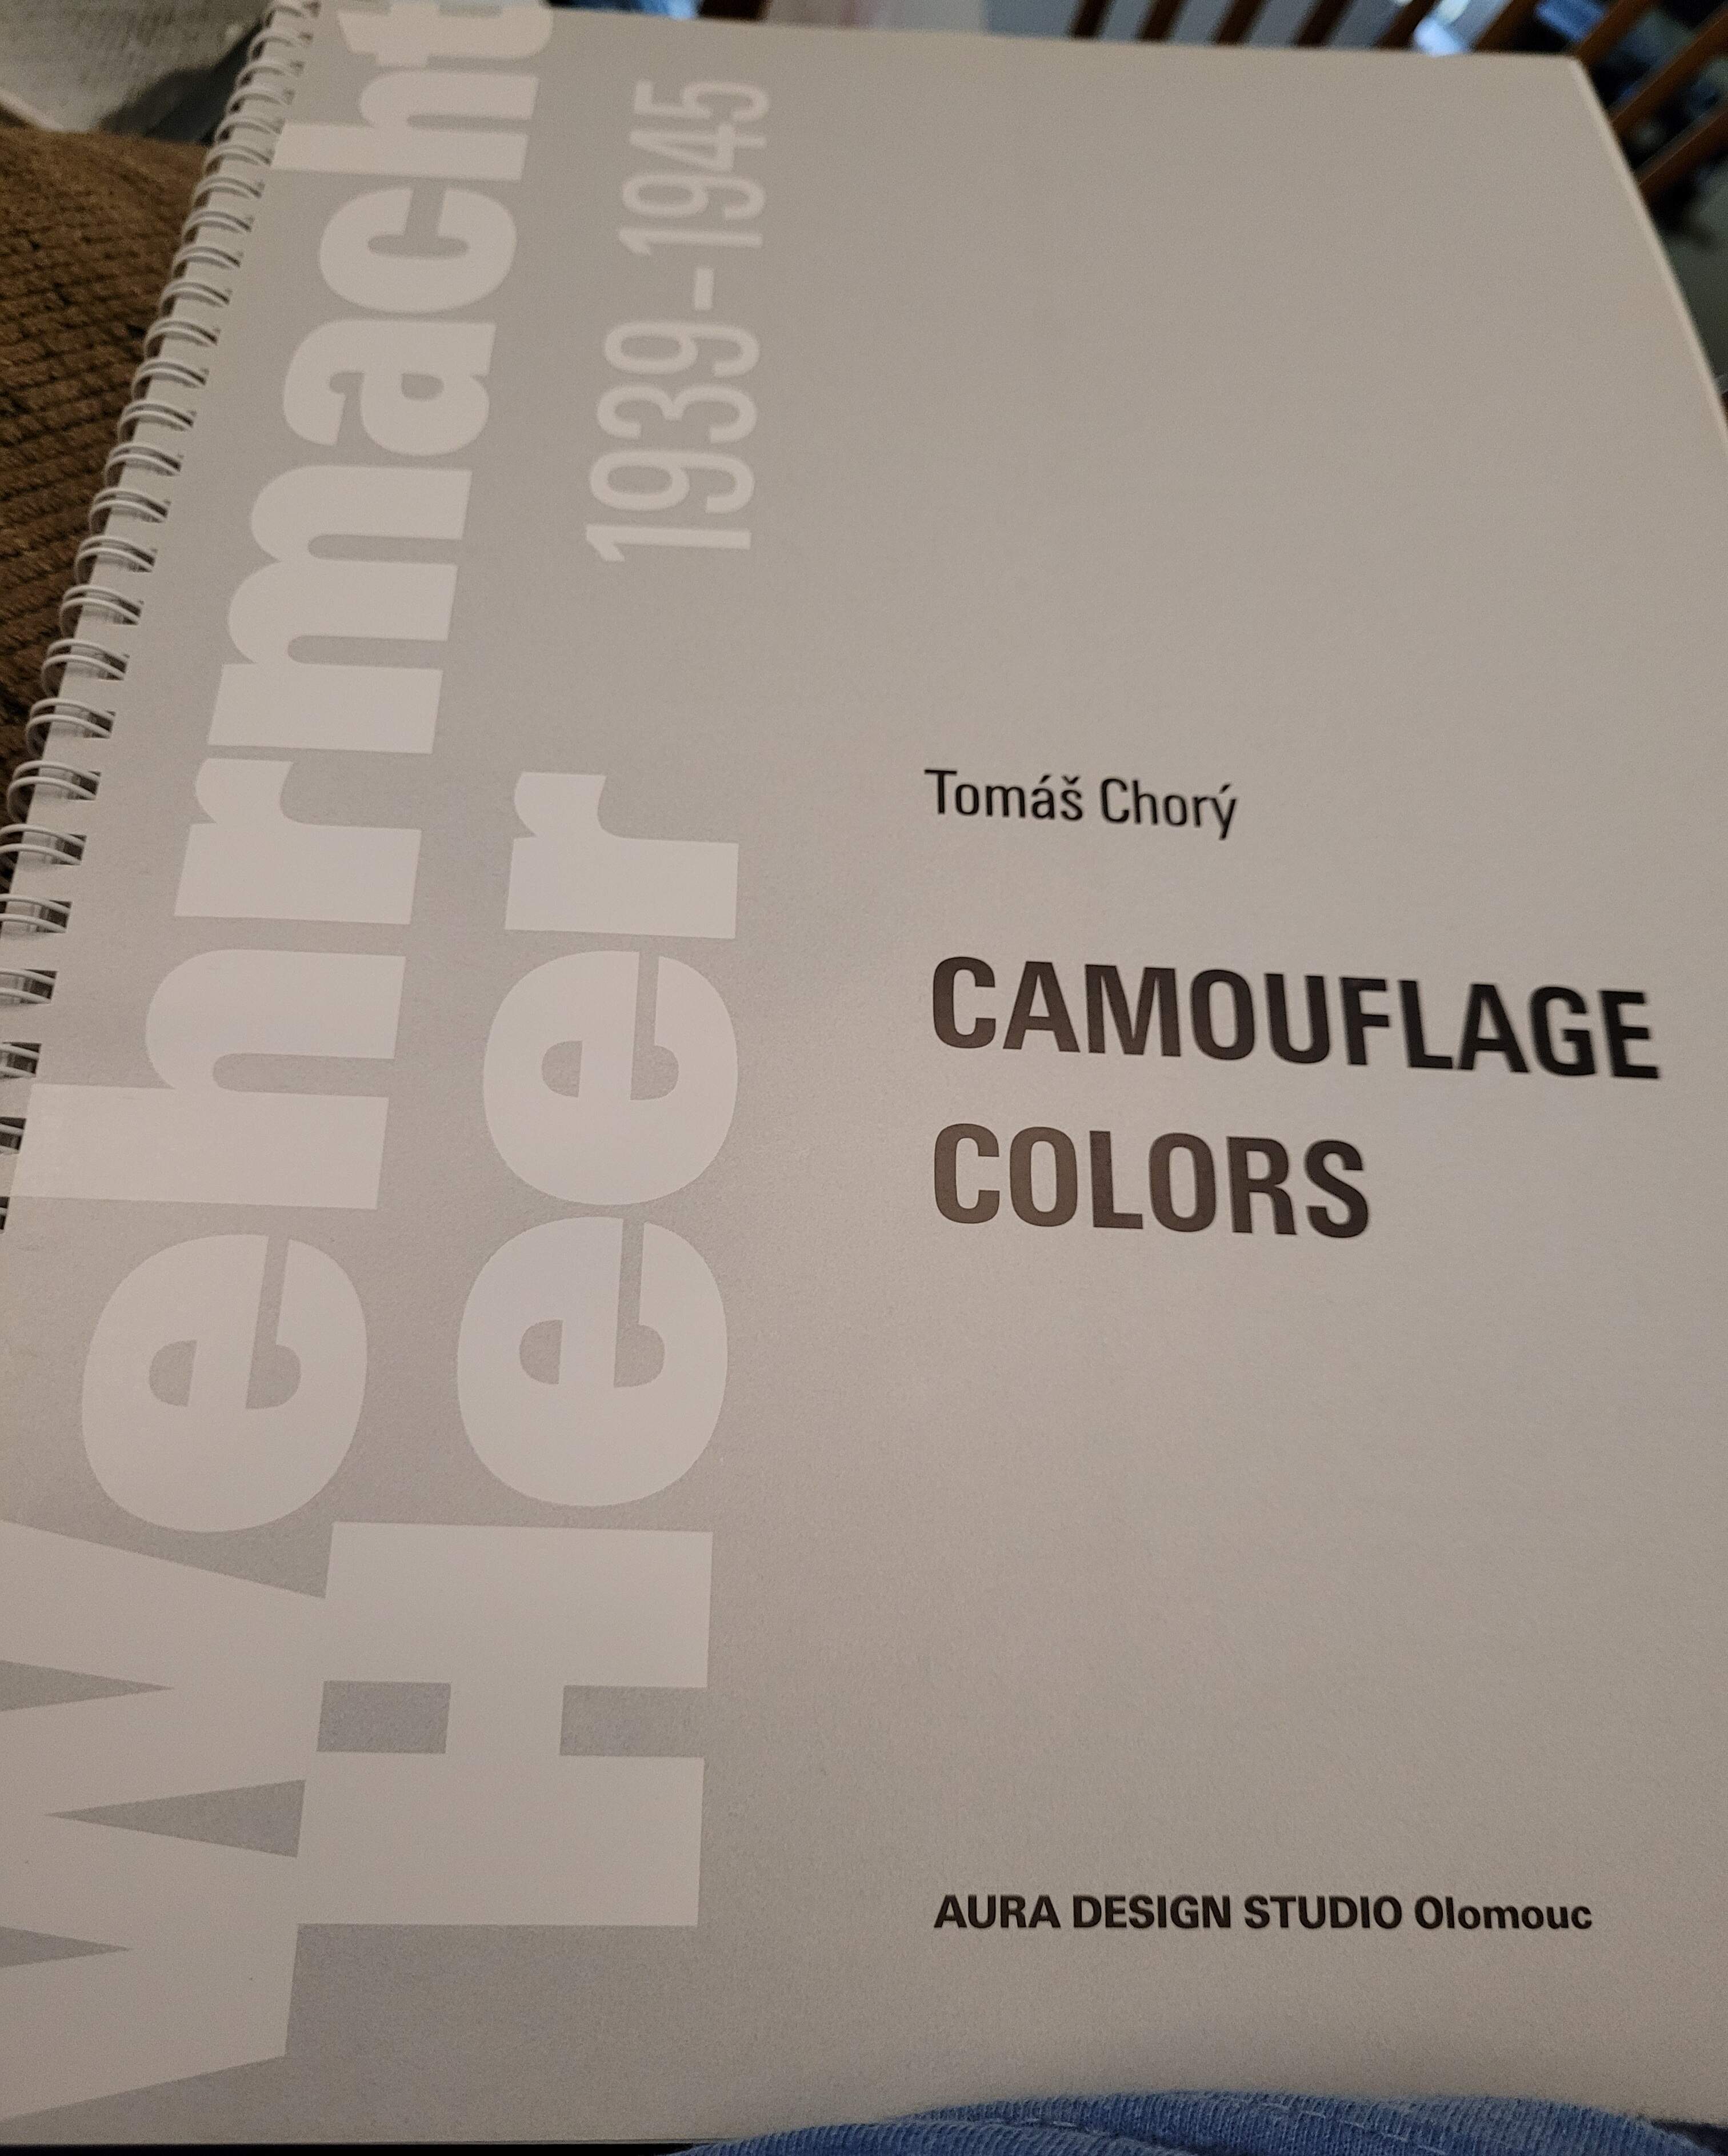
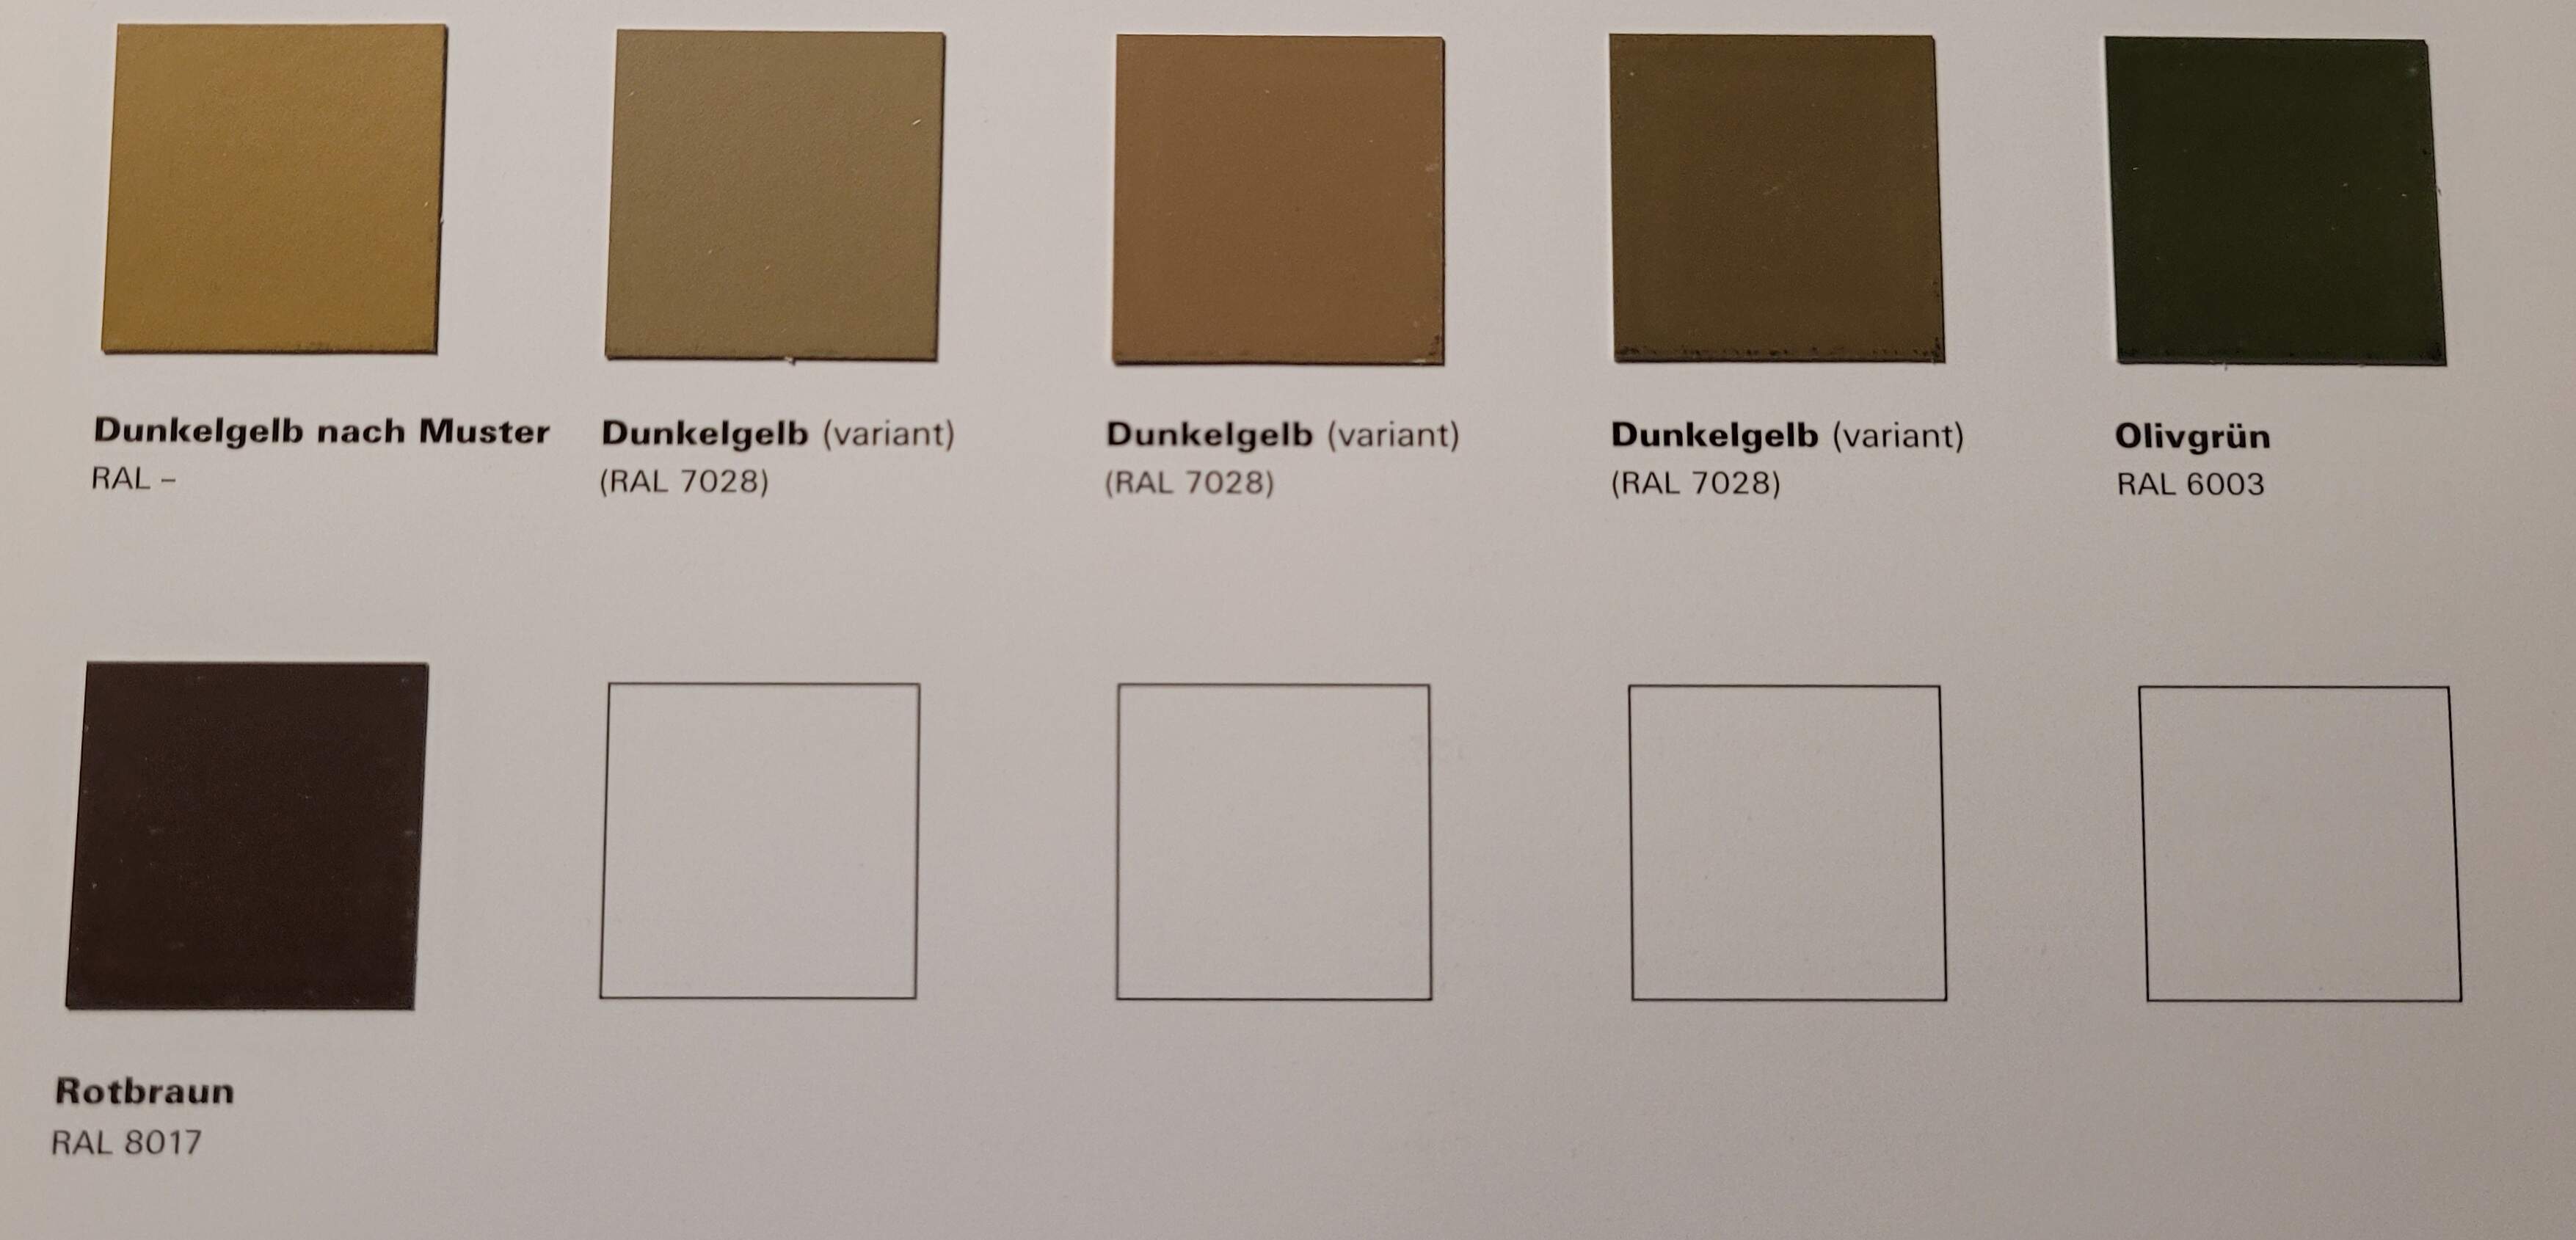
The Colors the two Pz IV will get are inspired by Chory’s paint chips.
My versions will of course be lighter shades and technically wrong due to shadow painting techniques used etc but Chory’s always in mind as my definitive reference. He’s work is also backed up by other research where someone had a WW2 OEM German paint manufacturer to make some new batches of the old WW2 paints and match to the original factory color chips. The matches were verified using the latest technology etc.
The Real Ral 7018 Dunkelgelb direct from the manufacturers!
While I’m not a fanatic about paint color accuracy etc there really is a lot very inaccurate paint marketed in my opinion. Some of the big names being the worst offenders in my opinion. Not that it really matters:)
Interesting read…
Kursk WW2: Why Russia is still fighting world’s biggest tank battle
Apparently still a hot topic in some circles
- Wheatley’s assessment, backed by detailed study of battle reports and historical archives, is that on 12 July the Germans lost just five Panzer IV tanks at Prokhorovka, but decimated “kamikaze” Soviet tank formations, turning more than 200 Soviet tanks into smouldering wrecks.
We are having a new family room and deck built. 16X18 about $130 K . As we move along I am being volunteered to do different parts of the job to save costs. She is now contemplating a second floor addition…We went from a 20x18 deck plan to a 10x18 and now that it is finished she is having it expanded out to to a 14x18 deck… 5 trips to the flooring shop and still no decision. Solid wooden French doors were installed between the family room and the rest of the house. Being solid they were exterior doors. Nice doors however there is no threshold between the rooms. Exterior doors are 79 inches (we discovered) while interior doors are 80 inch. The gap is now 2 inches between the floor and the bottom of the door. New doors on order and a great set of solid birch doors to offer up. It is hard to describe my feelings about construction…
1 Like
@TopSmith Greg, when its all completed will be well worth it 
Until it’s all completed, will definitely say an extra prayer for you!
1 Like
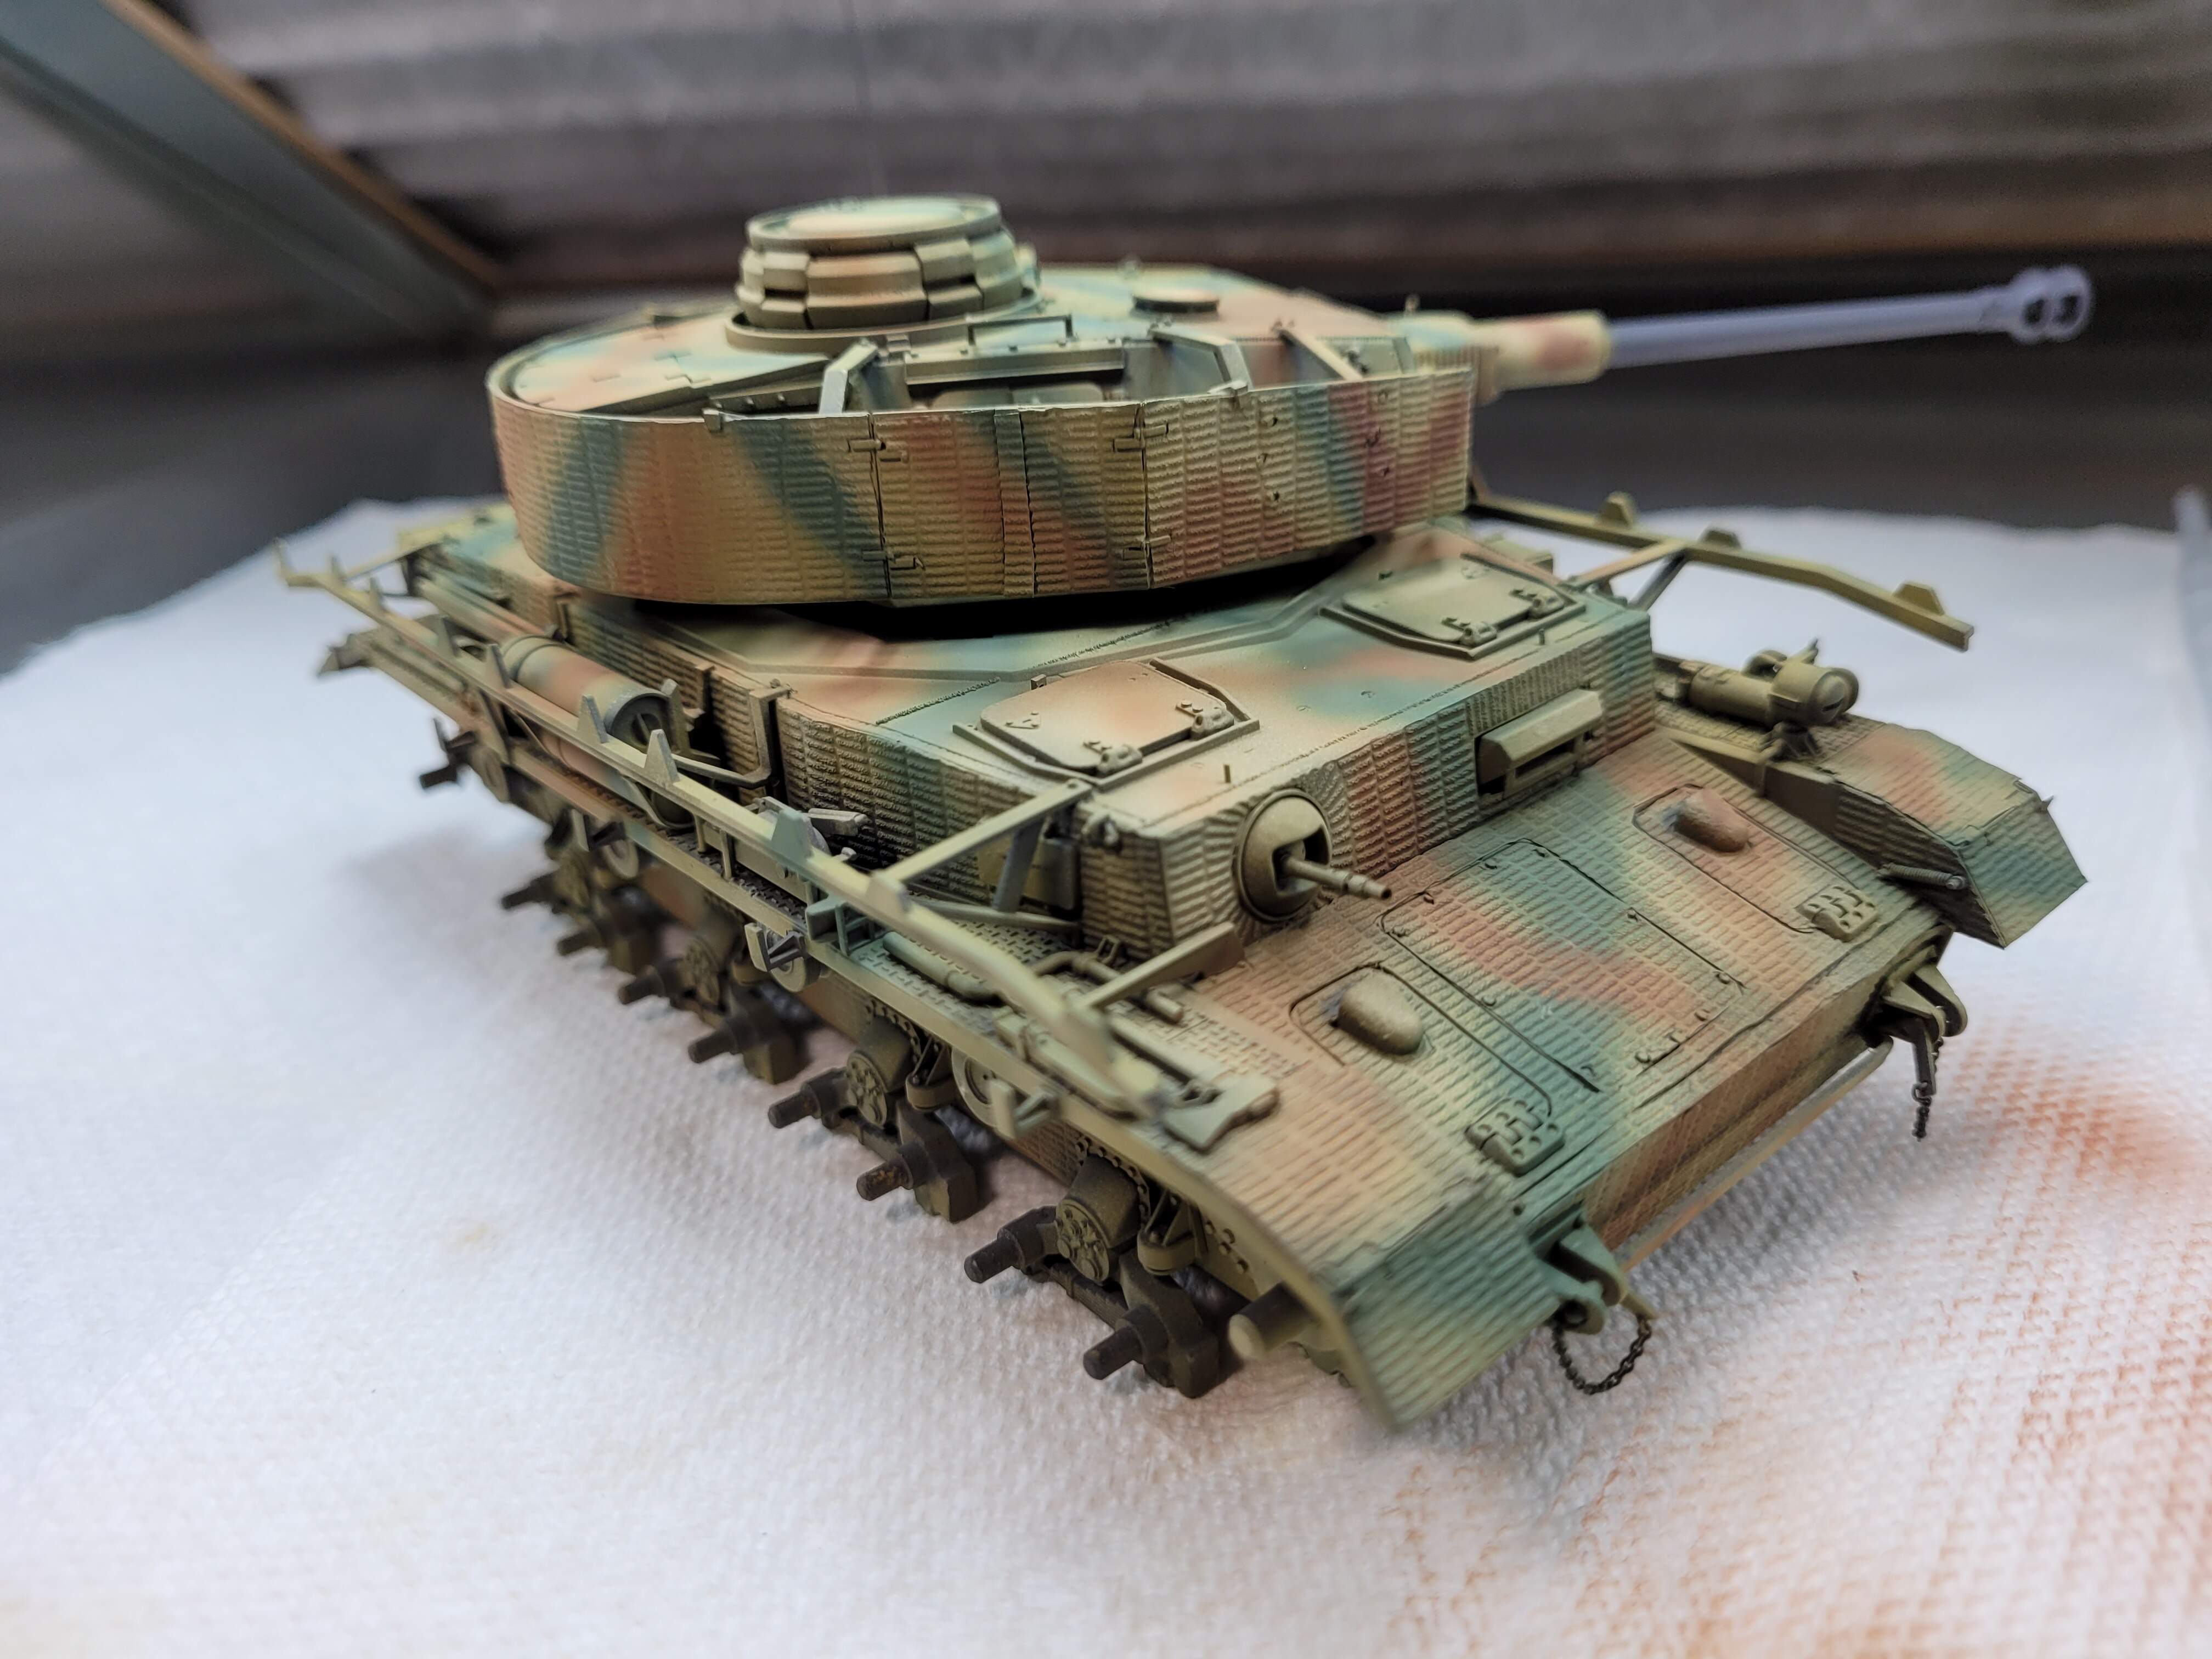
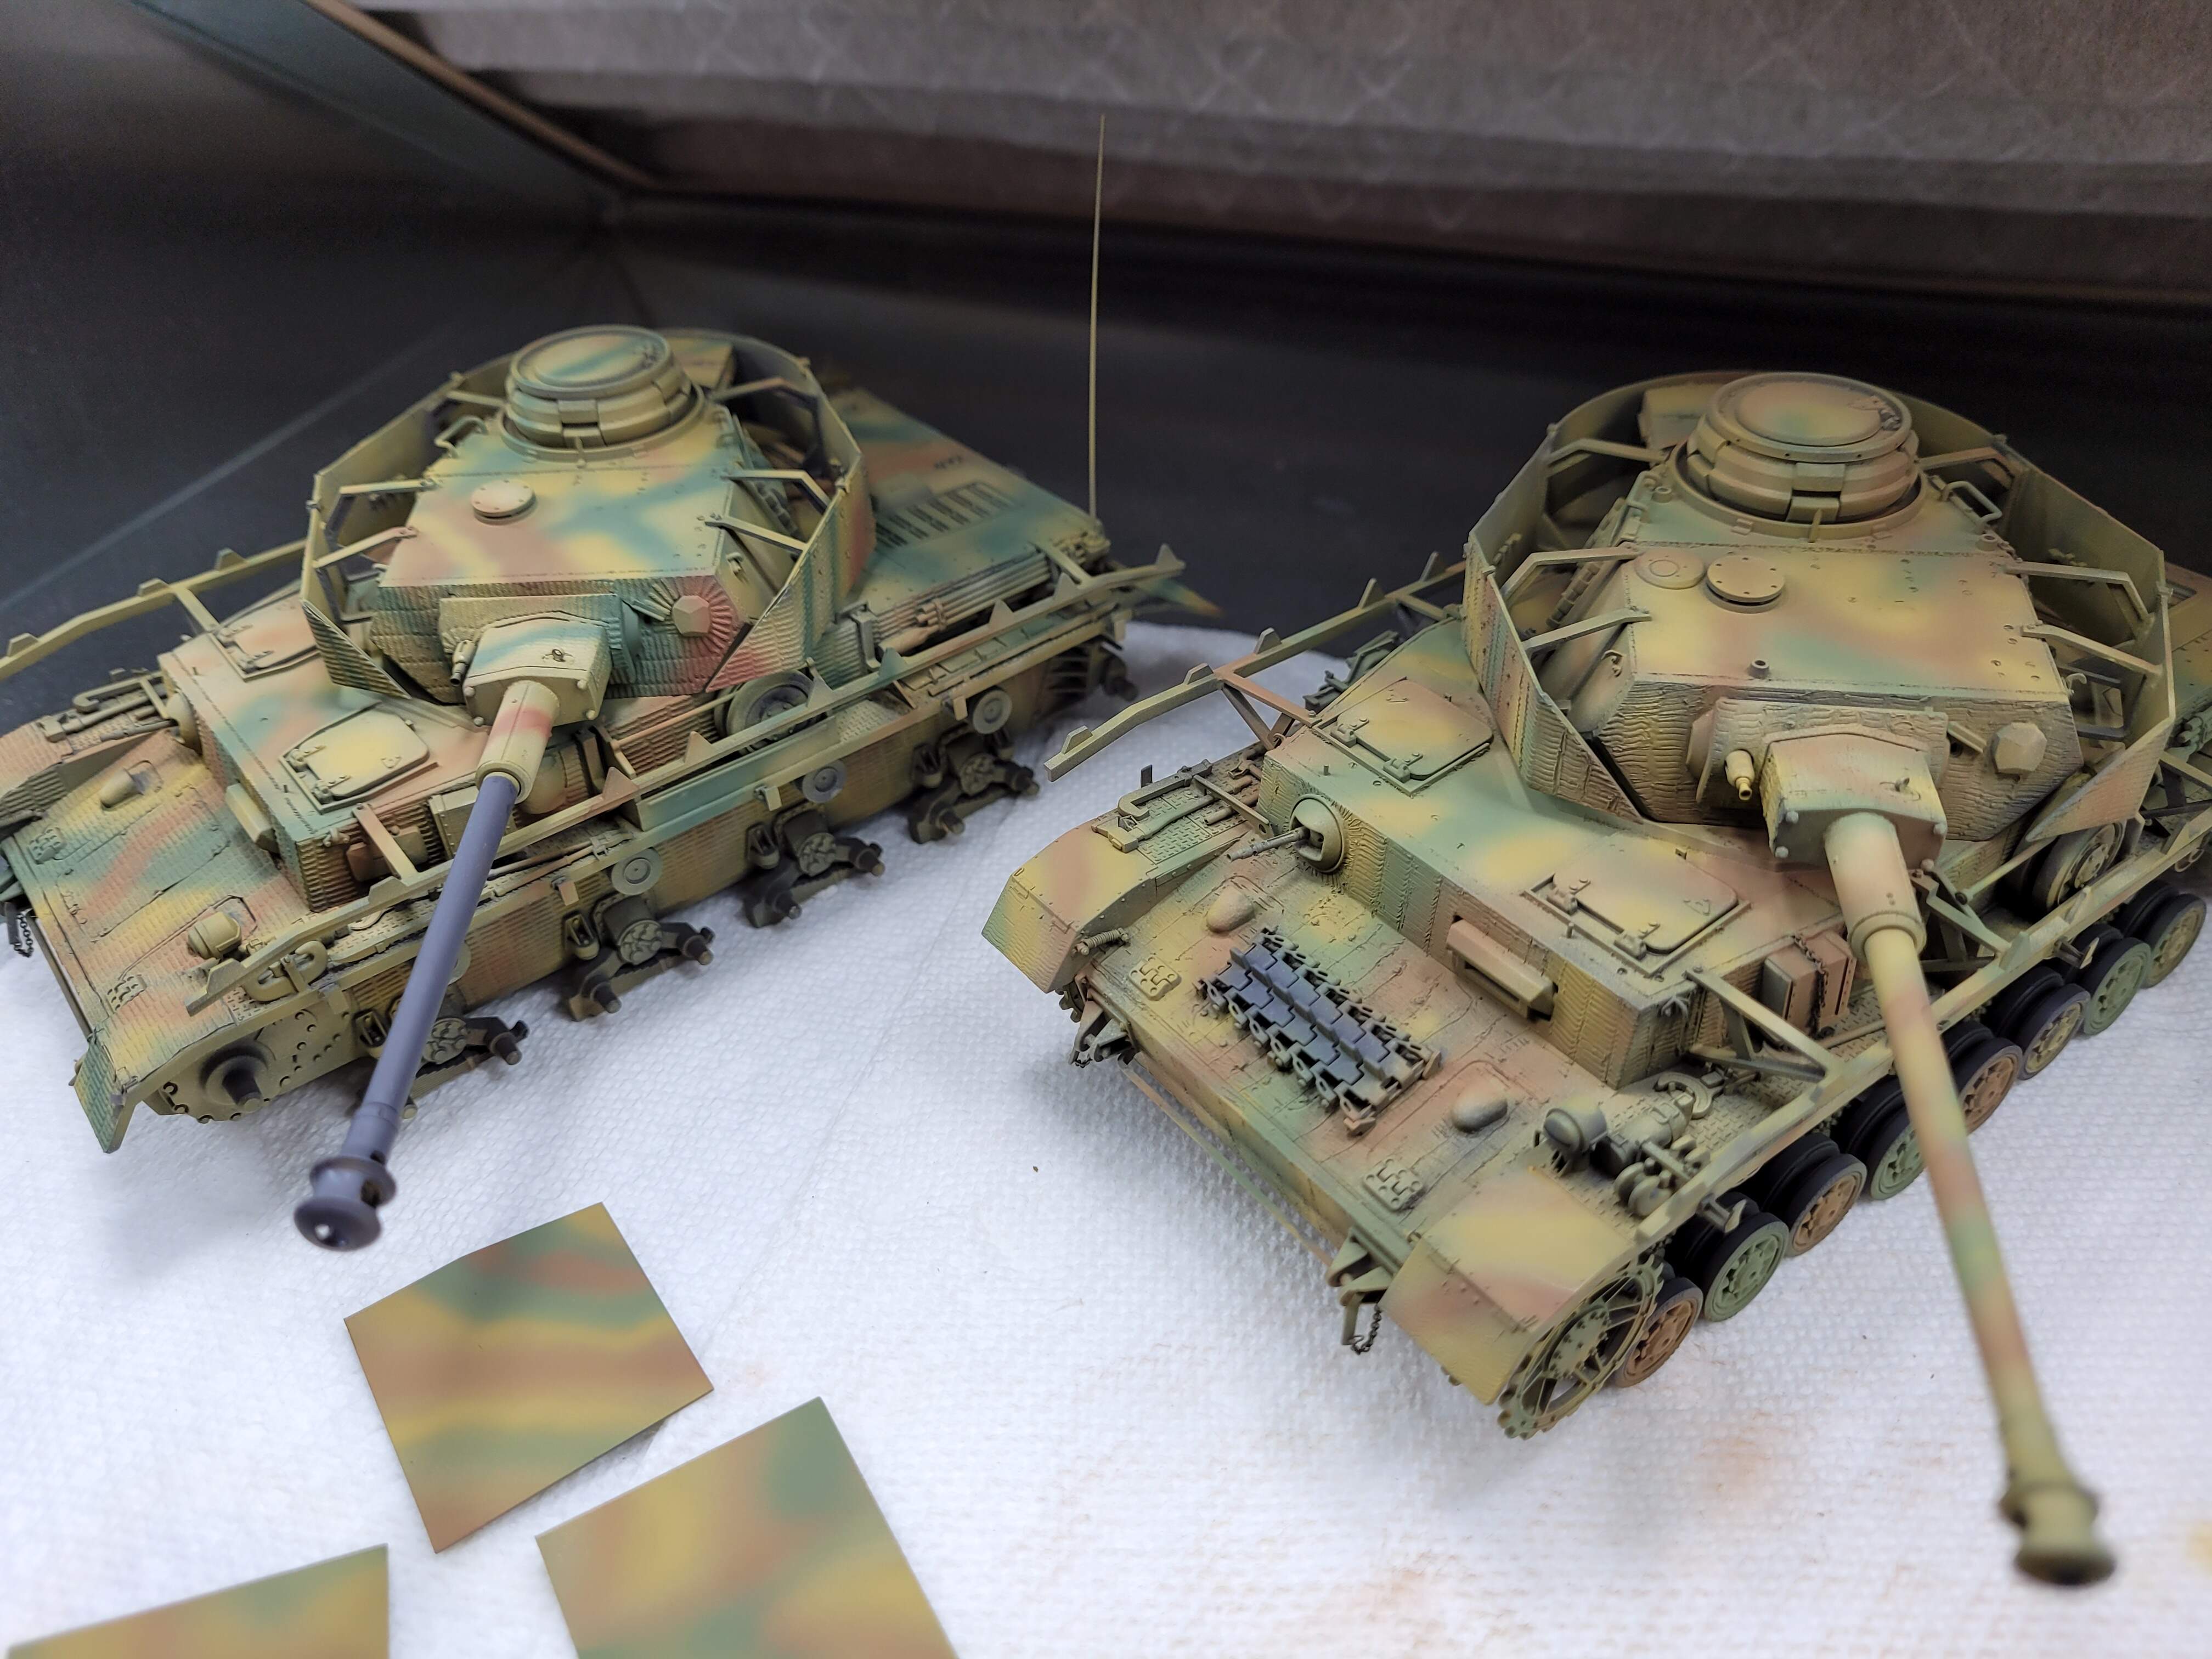
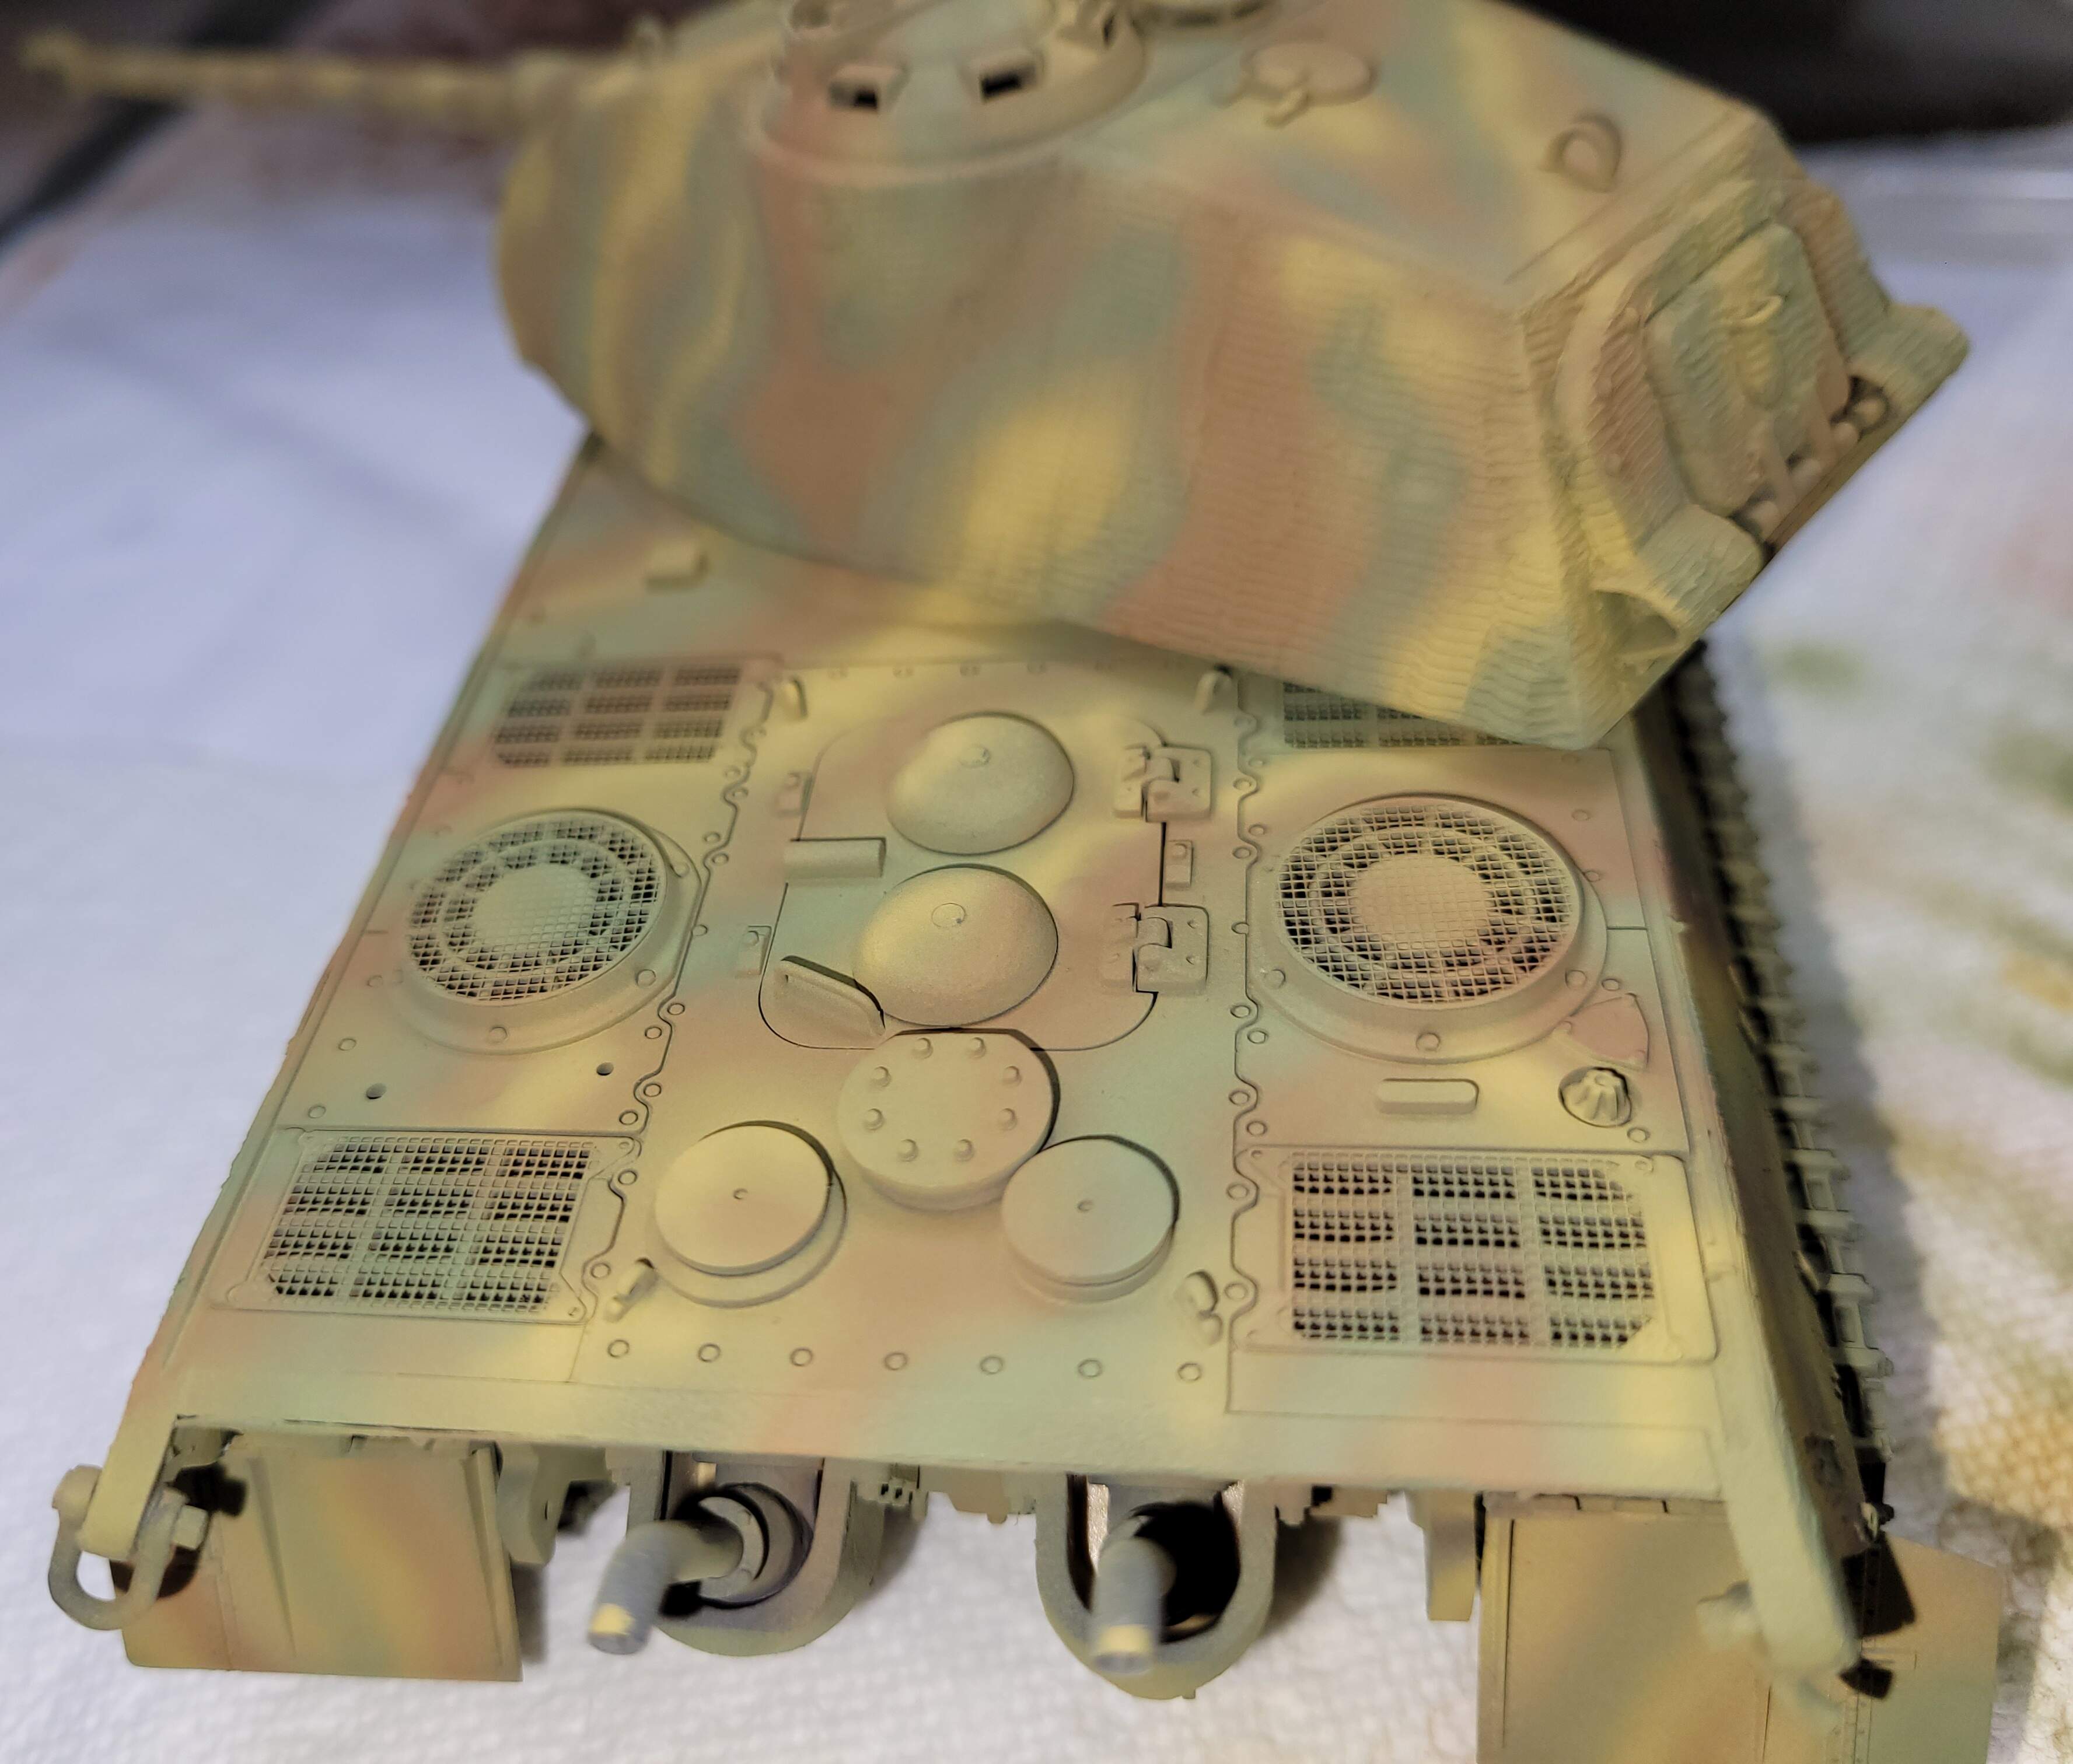
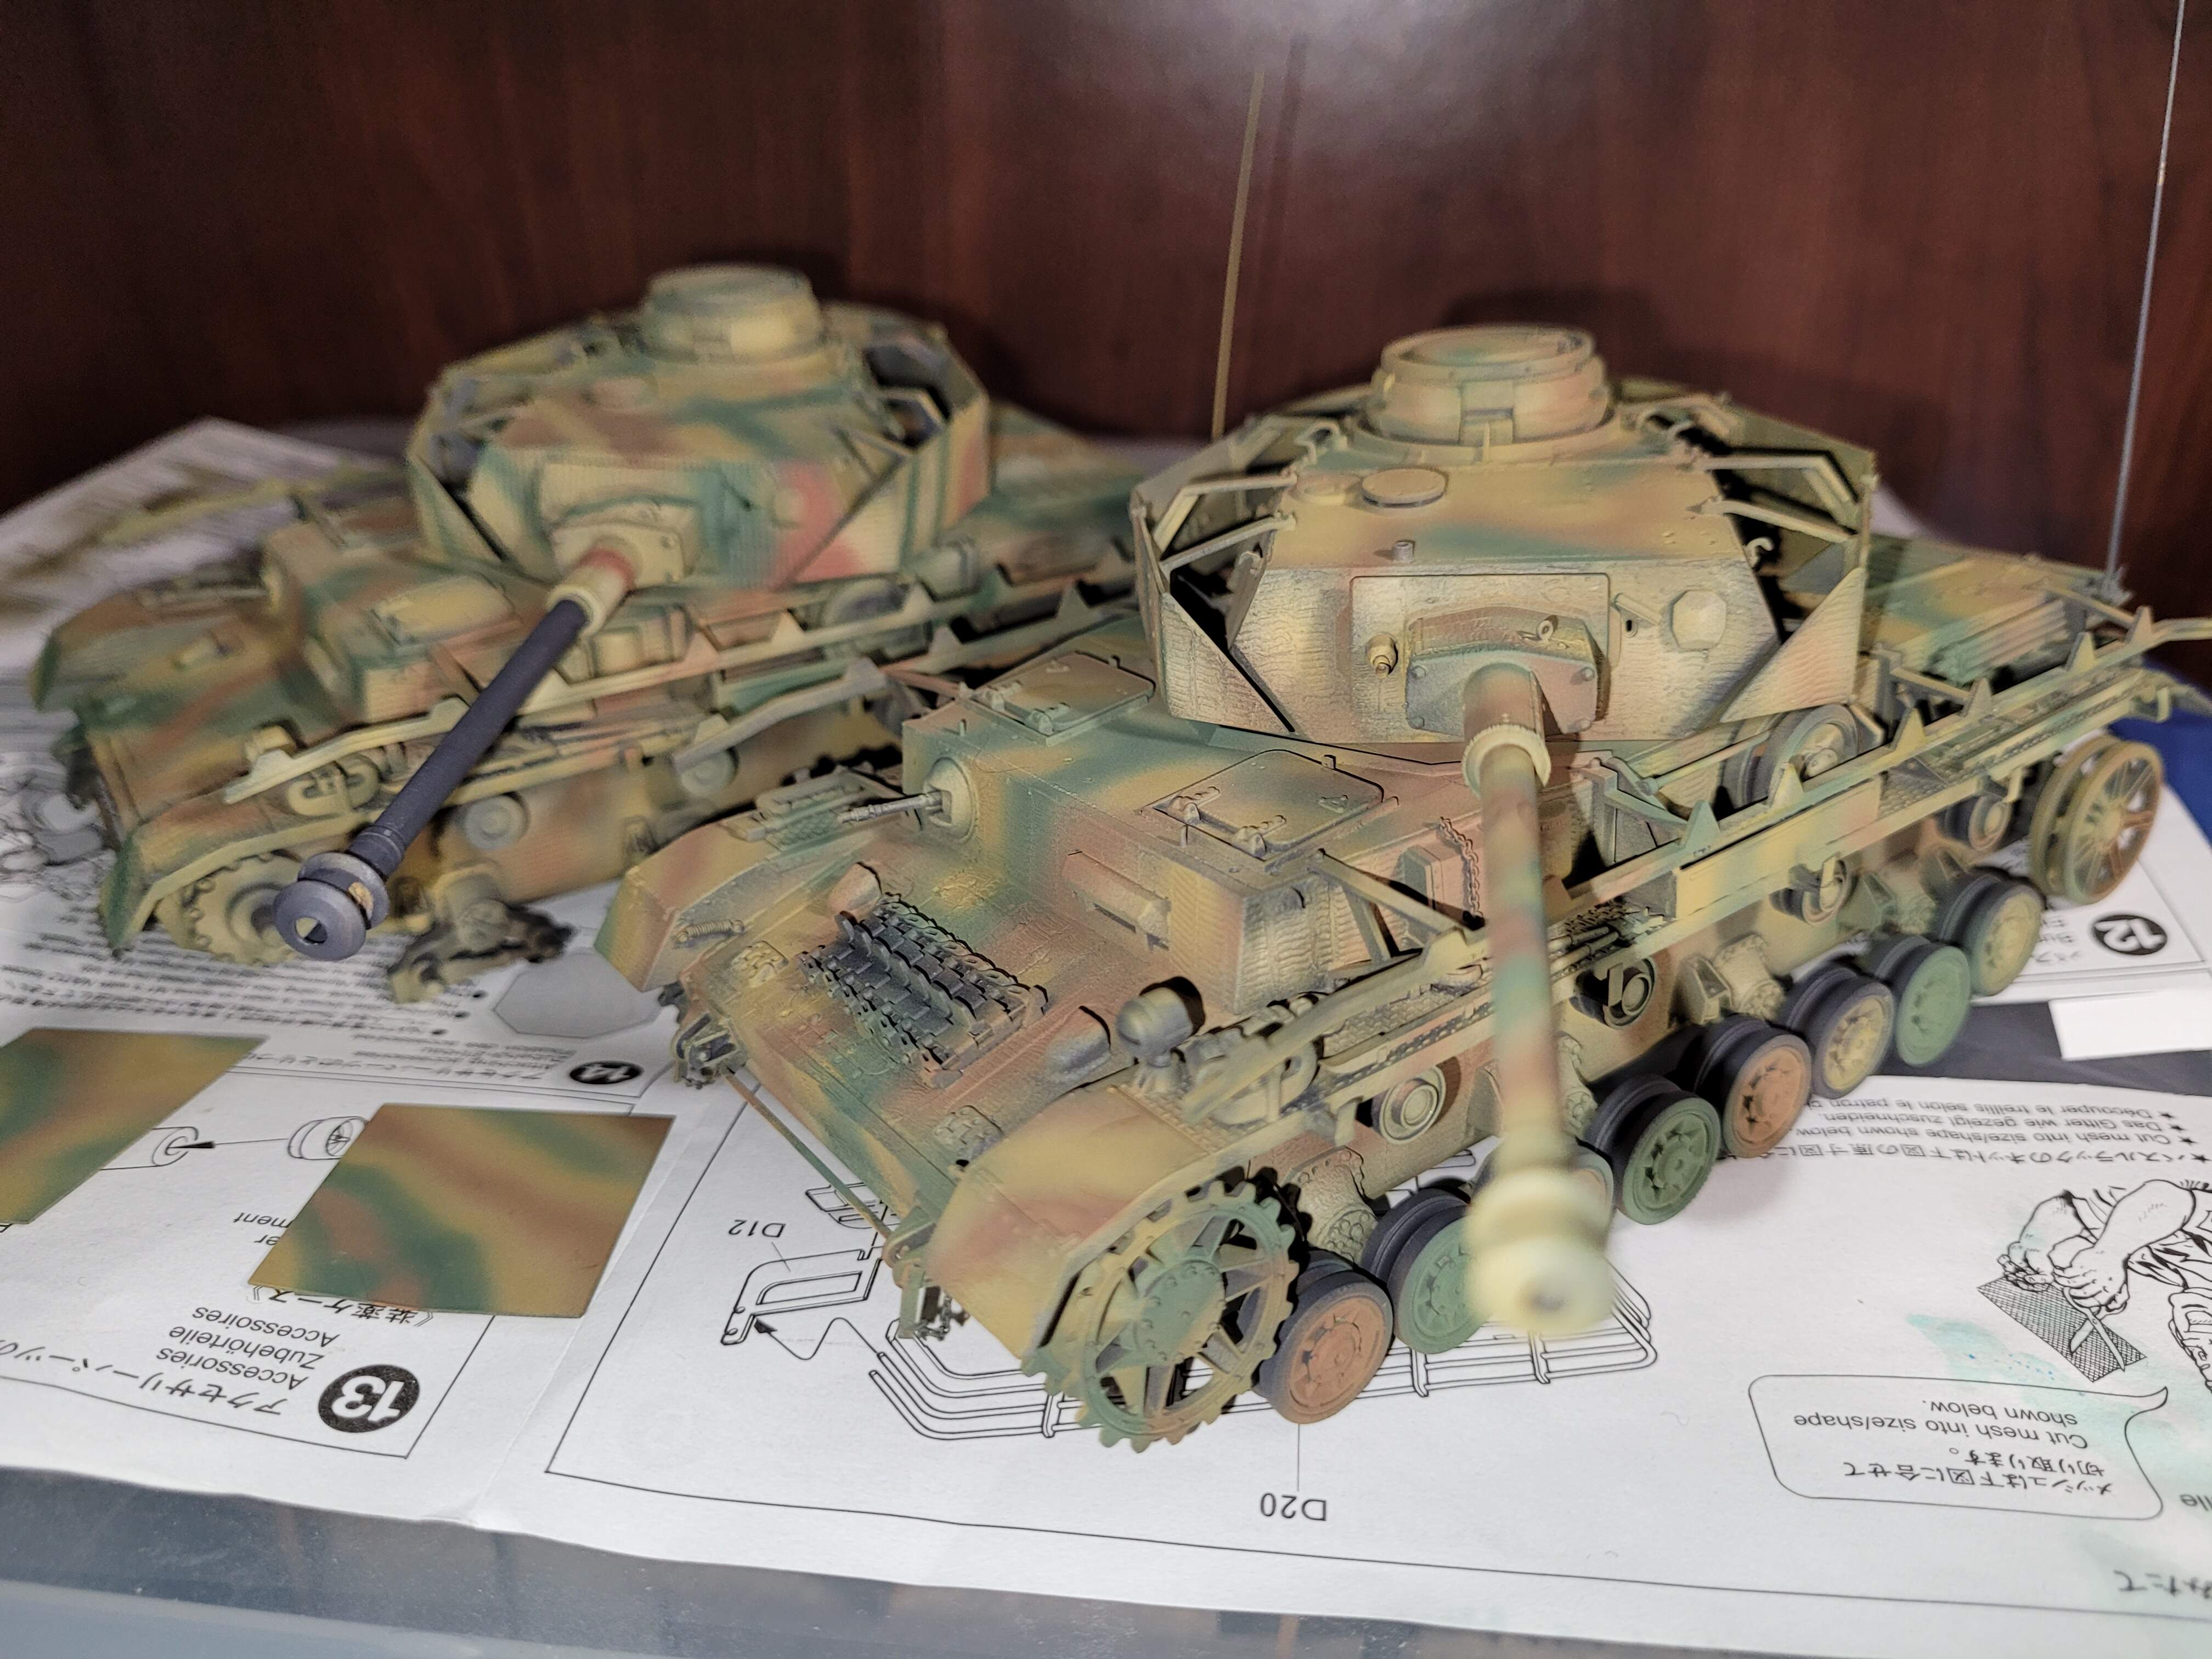
…and two tri-color Pz IV’s…H on the left & J on the right…

Plan to work on painting tools etc, they will need a few days to dry & cure before weathering etc.
Think might be fun to put them in same Panzer division and platoon, 323 & 324 or something like that
4 Likes
Look really good. Curious how you get the nice toned down soft edge look. Do you do an overspray with buff or something similar after painting the camo?
1 Like
Thank you.
Most of that is just dialed in basics.
- Any good quality dual action or internal mix air brush. (
- Throughly clean airbrush & color cup
- Air pressure ~ 10 psi
- 50/50 paint & thinner
*one has to test whatever paint they like to use but the above works well for Floquil etc - spray at 45 degree angle, helps keep it tighter
- clean tip ever so often as it’s a slow session and most paints will dry on tip of needle
*blow air and ease back on trigger making small dot and fill in as color build sort of slow. Makes lines wiggles etc whatever for pattern. - after its all done, go back with base color Panzer Dark Yellow dial airbrush in tight for a narrow line and clean up borders etc as needed.
Just a little practice on a couple of sheets of paper or an old model or two and you’ll be well on your way. About 90% percent of all of it is basics rest is practice.
(A Paasche H, #1 tip can do this too but it’s more fiddly to keep dialed in tight and slower)
1 Like
Beautiful Wade, just beautiful! Love the soft edges and the color distribution is perfect! That old J will see better days yet!
1 Like
@SSGToms , Thank you Matt, 
Facing EAST in the paint booth just for you. I would say going EAST but we know, it probably won’t go 10 KM before breaking down again etc

Might was well tri-color this old dog too.
4 Likes
Haha thanks Wade! Man you are an airbrushing FIEND lately! Must be that new Pace spraybooth! 
2 Likes
Yes indeed the booth really helps with taking most of hassle out of airbrushing.
It’s made painting fun again!
The old ritual of clear the hobby desk of project, get thinner, get paint remover for air brush, get a couple of pipettes, q tips, wet wipe hobby desk work area to get rid of dust, put paper down for over spray, lots of set up, get paint shaker paper towels, raise windows, get respirator, check respirator cartridges, find gloves and afterwards clean up and housekeeping ate so much time!
Now all of those high use items are stored with paint booth within reach. No set up & change over required. The paint booth cut set up time to turn on compressor, raise window, put vent in window - paint! I discovered the respirator isn’t necessary now as all of my spraying is small pattern and slow etc so the booth keeps area basically fume free. A long blast of thinner flushing the color cup one can smell etc. Extraction of fumes while clean airbrush is very nice too.
Still waiting on paint to cure on Pz IV’s
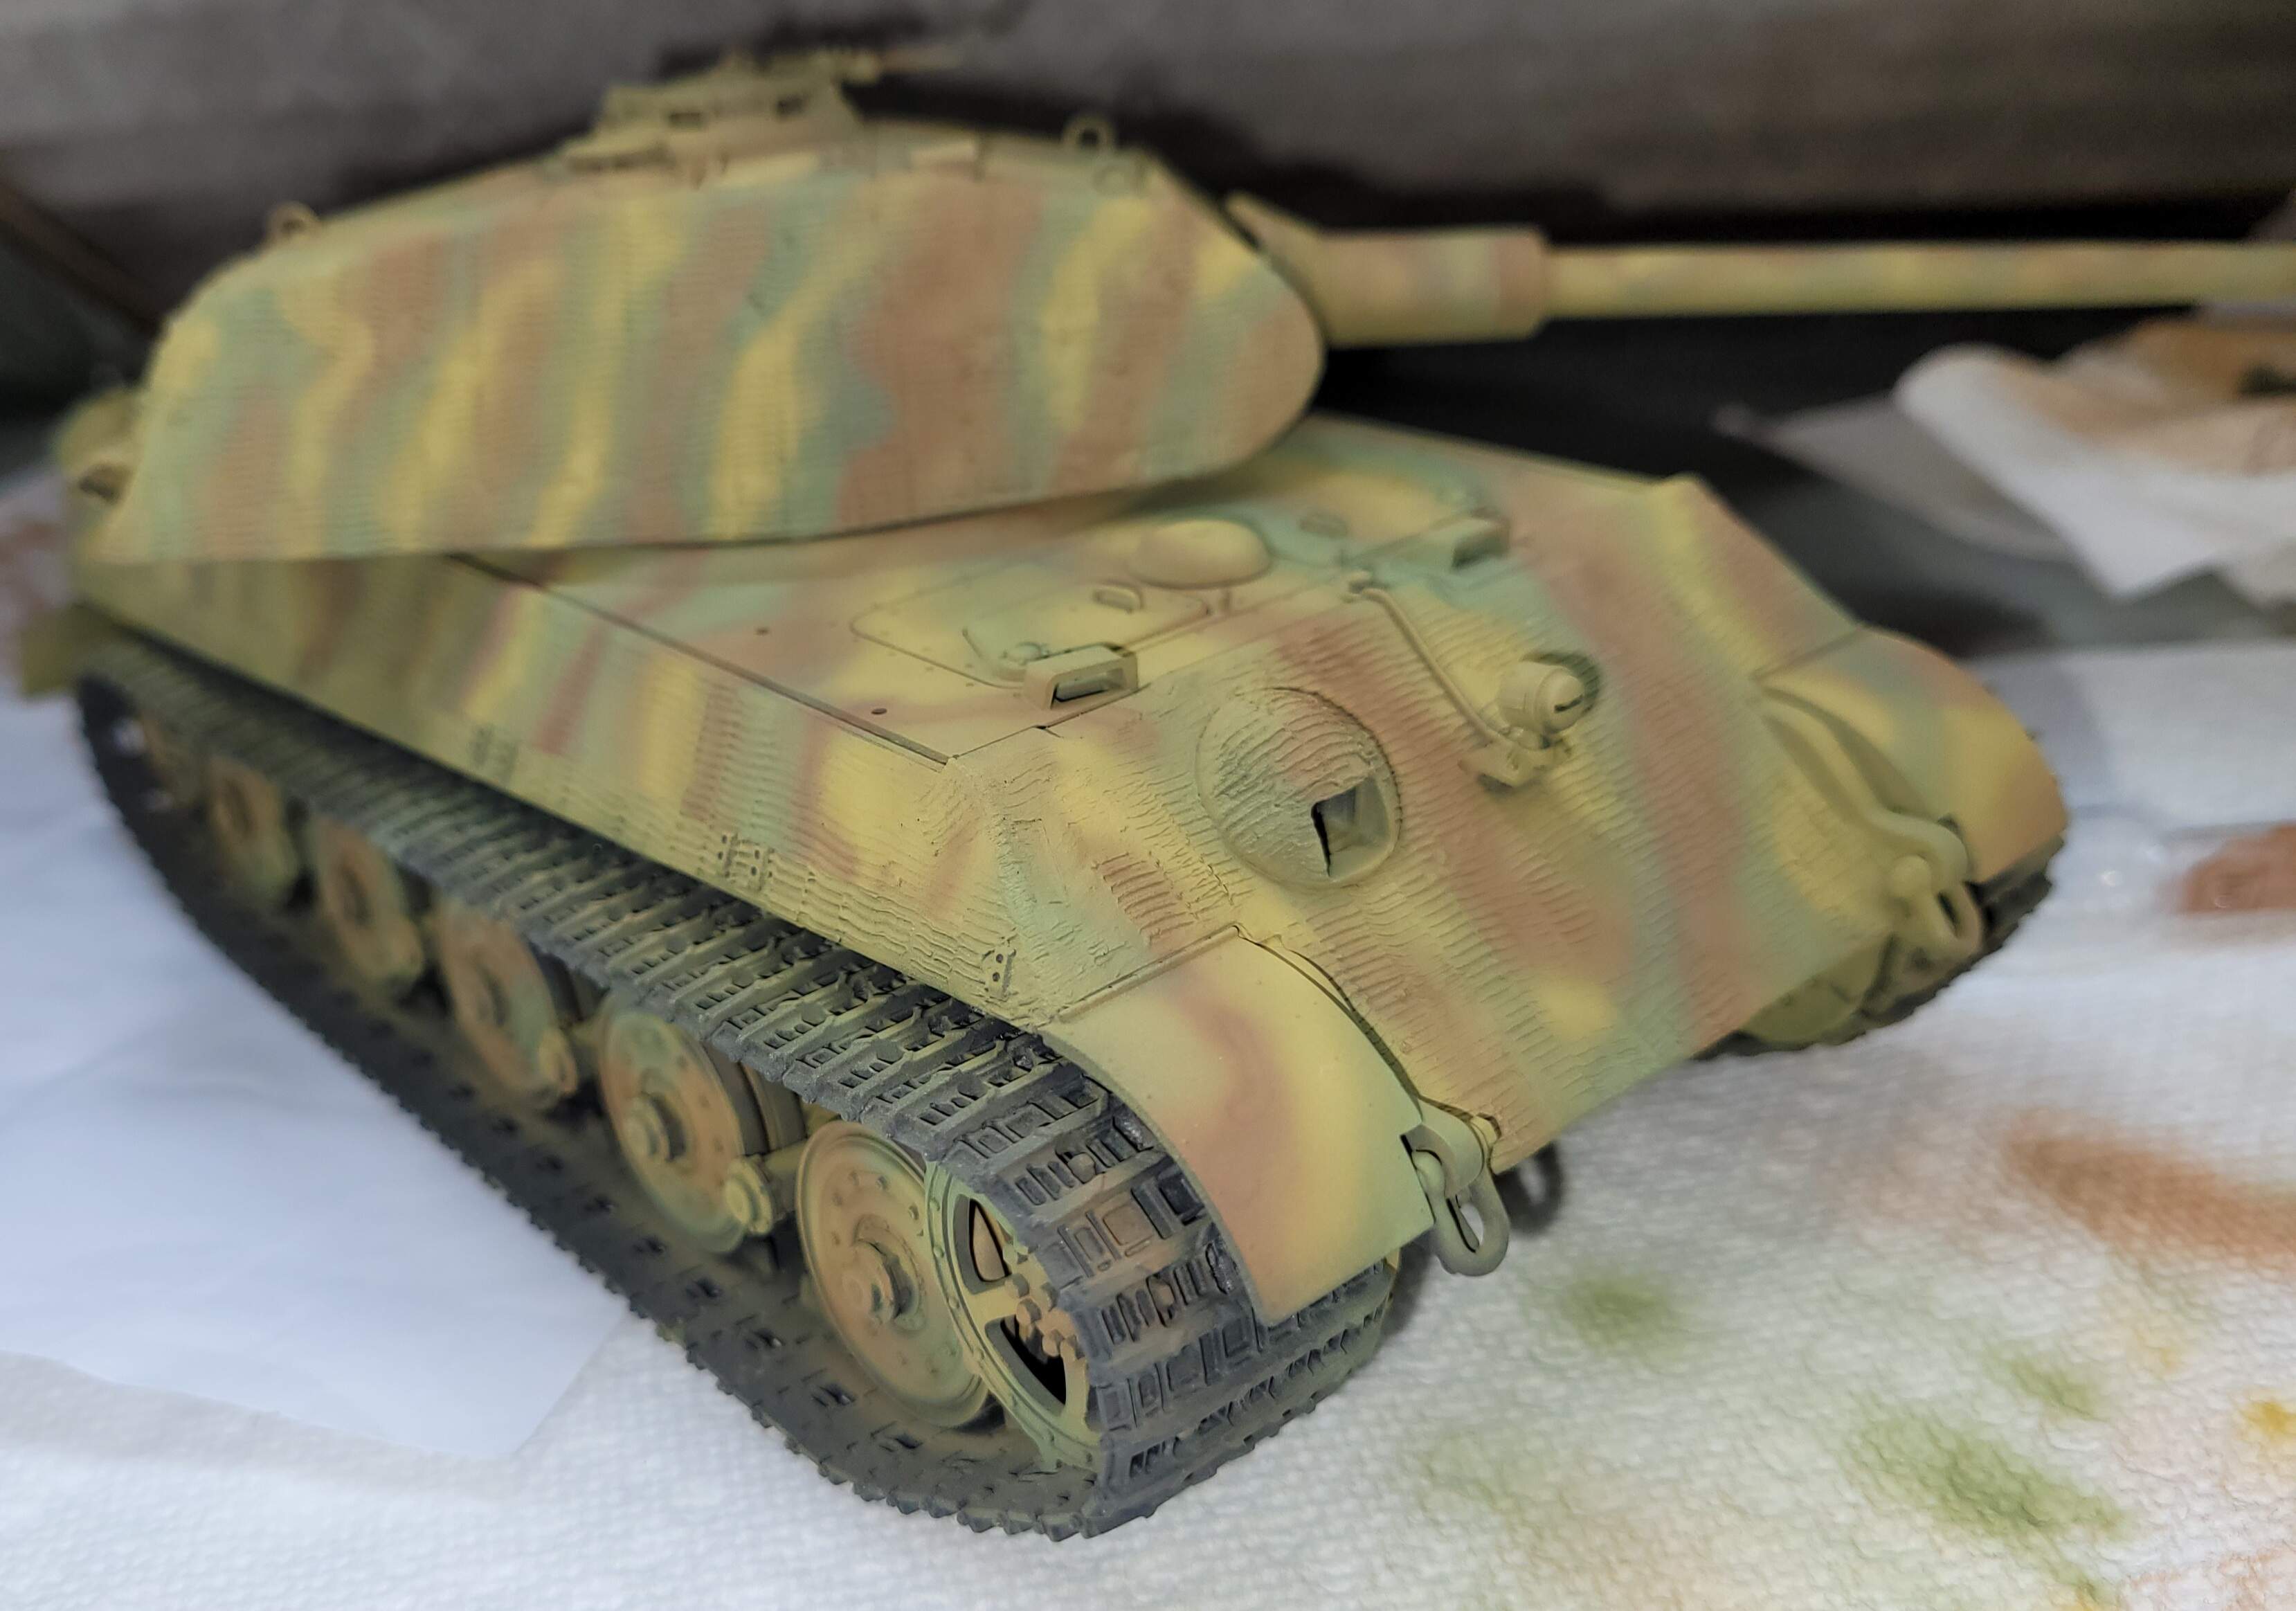
KT early Turret in Tri-color, built & base coated in 2003. Got camo today 18 years later.

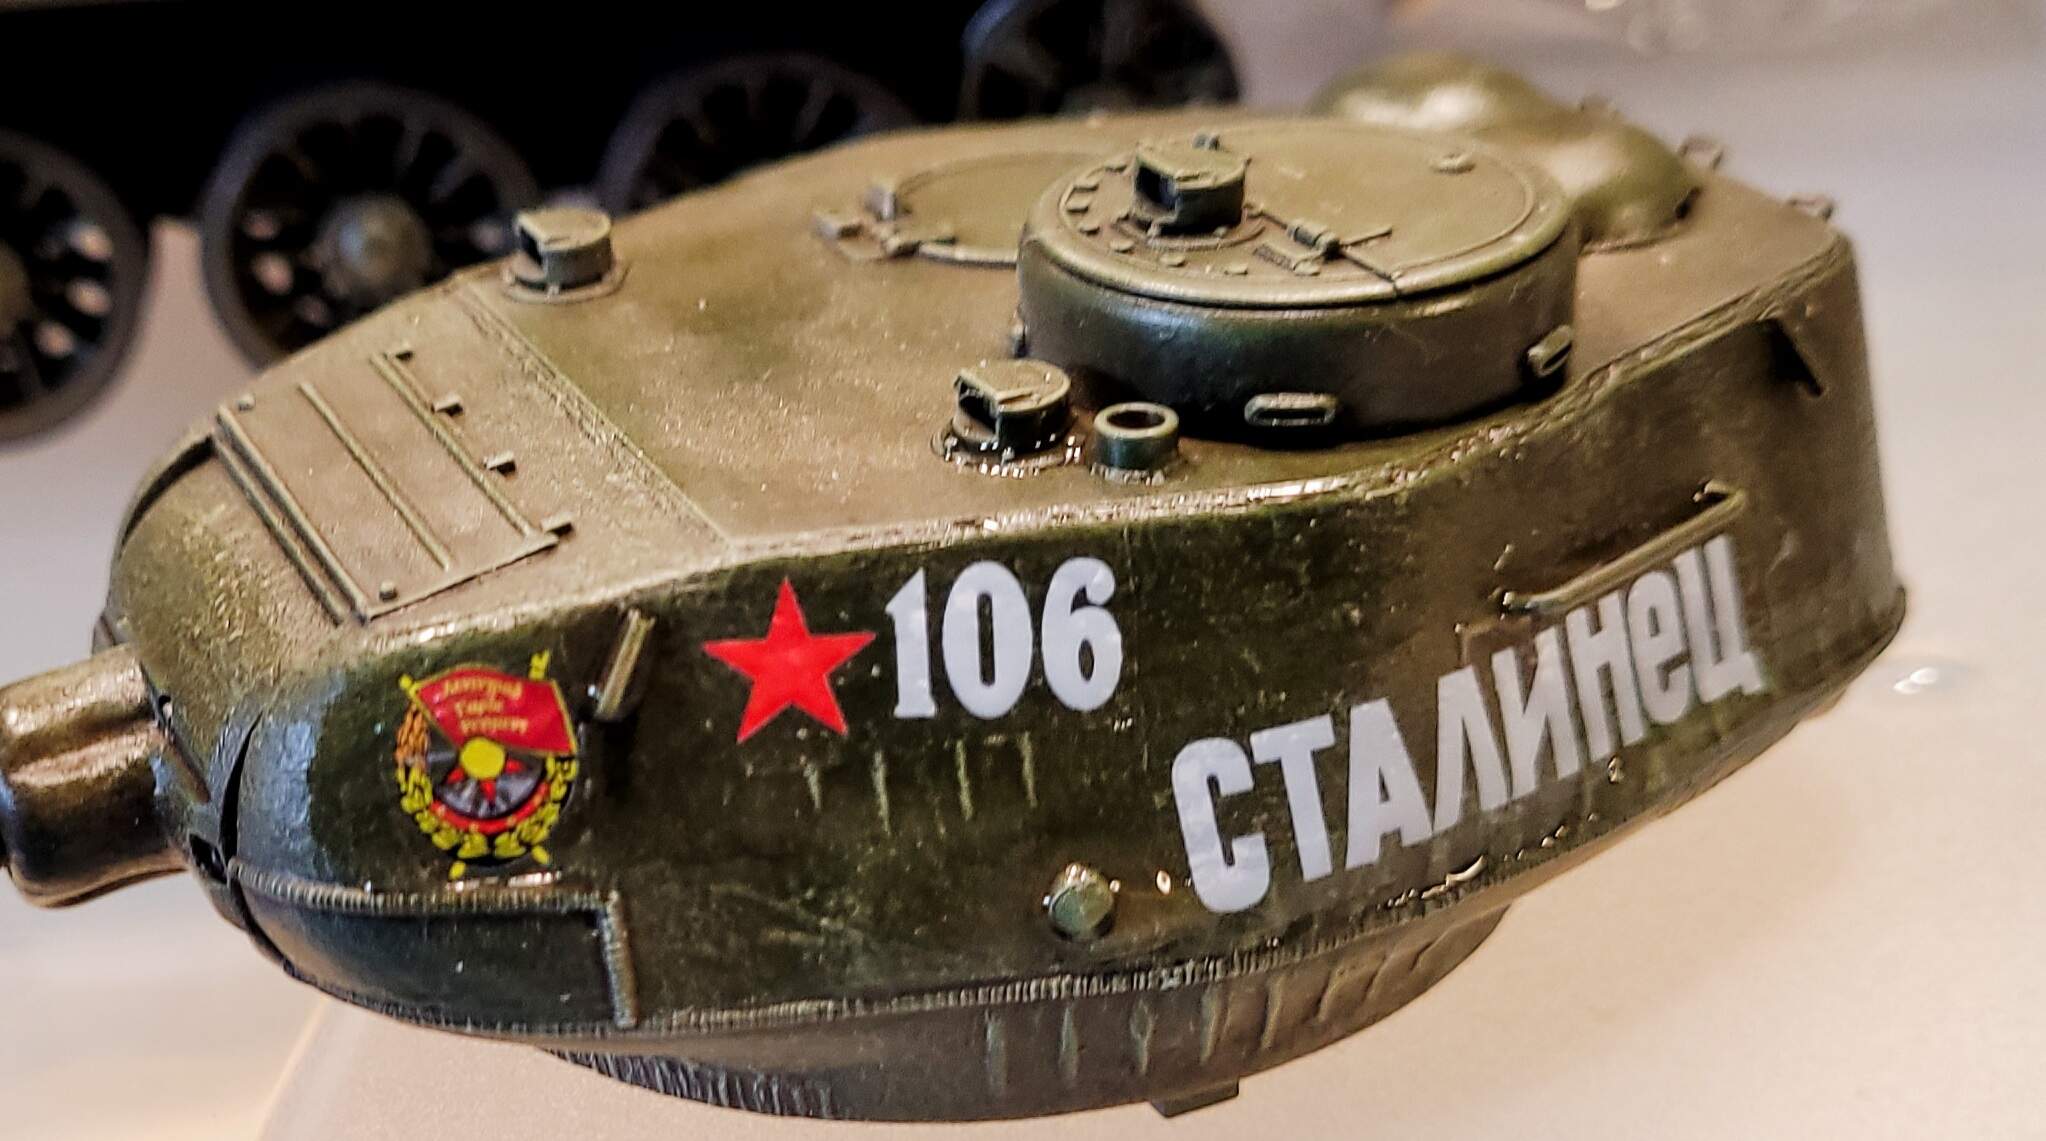
Waiting on KT to cure…weathering on RFM T-34-85 #174

1 Like
You are now officially the King of the Ex Shelf Queens. 
1 Like
LoL  indeed!
A lot of my old dogs from the past are having their day right now:)
Only three old unpainted shelf queens remain.
1998 started Panther G w/Jaguar interior 20% built
2003 started Panther D 65% built
2013 started Pz IV F2 65% built
2 Likes
Ha ha! Your queens are coming out of the closet!
2 Likes
LOL, since they were dragged out, would that make them Out of the Closet Drag Queens?
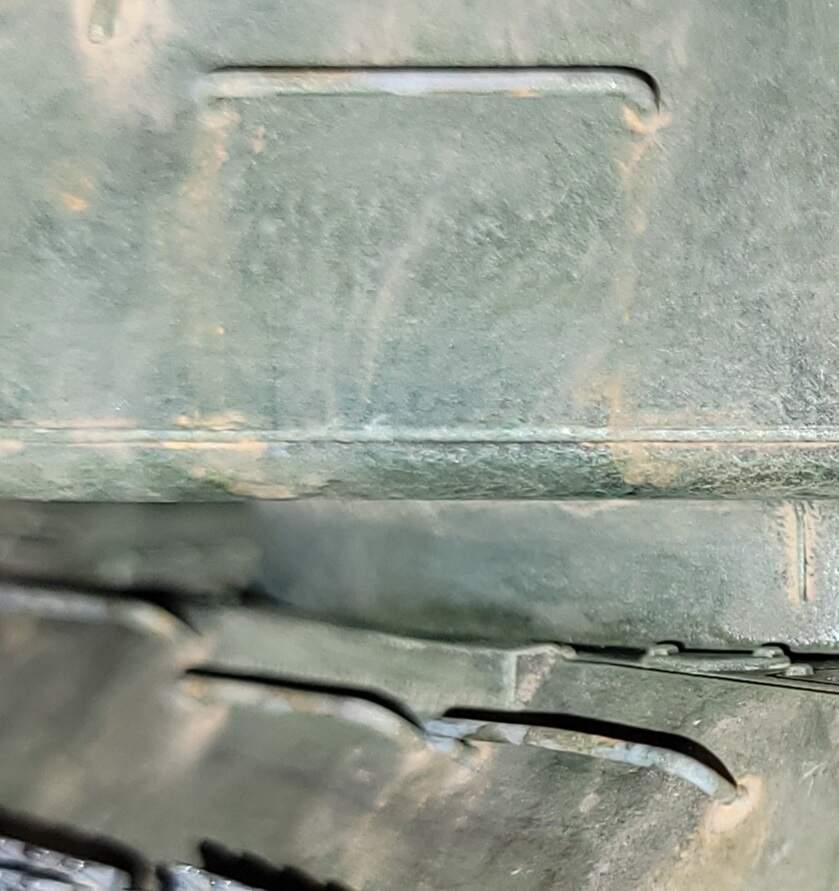
Getting close to cured as the new dark yellow has almost reached the same tone as the older dark yellow.
Today’s hobby session is off to a rough start.
Fighting Peddinghaus decal film on a DML T-34-85, using SolvaSet for the very first time. Even Tamiya’s thick decal films slowly to Micro-Set & Micro-Sol but not the tougher Peddinghaus film.
Working on KT discovered…occasional PUNCH MARKS showed up after a wash of Antique Bronze…just before they fell a part So the Tamiya plastic Individual Link Tracks have GTG.
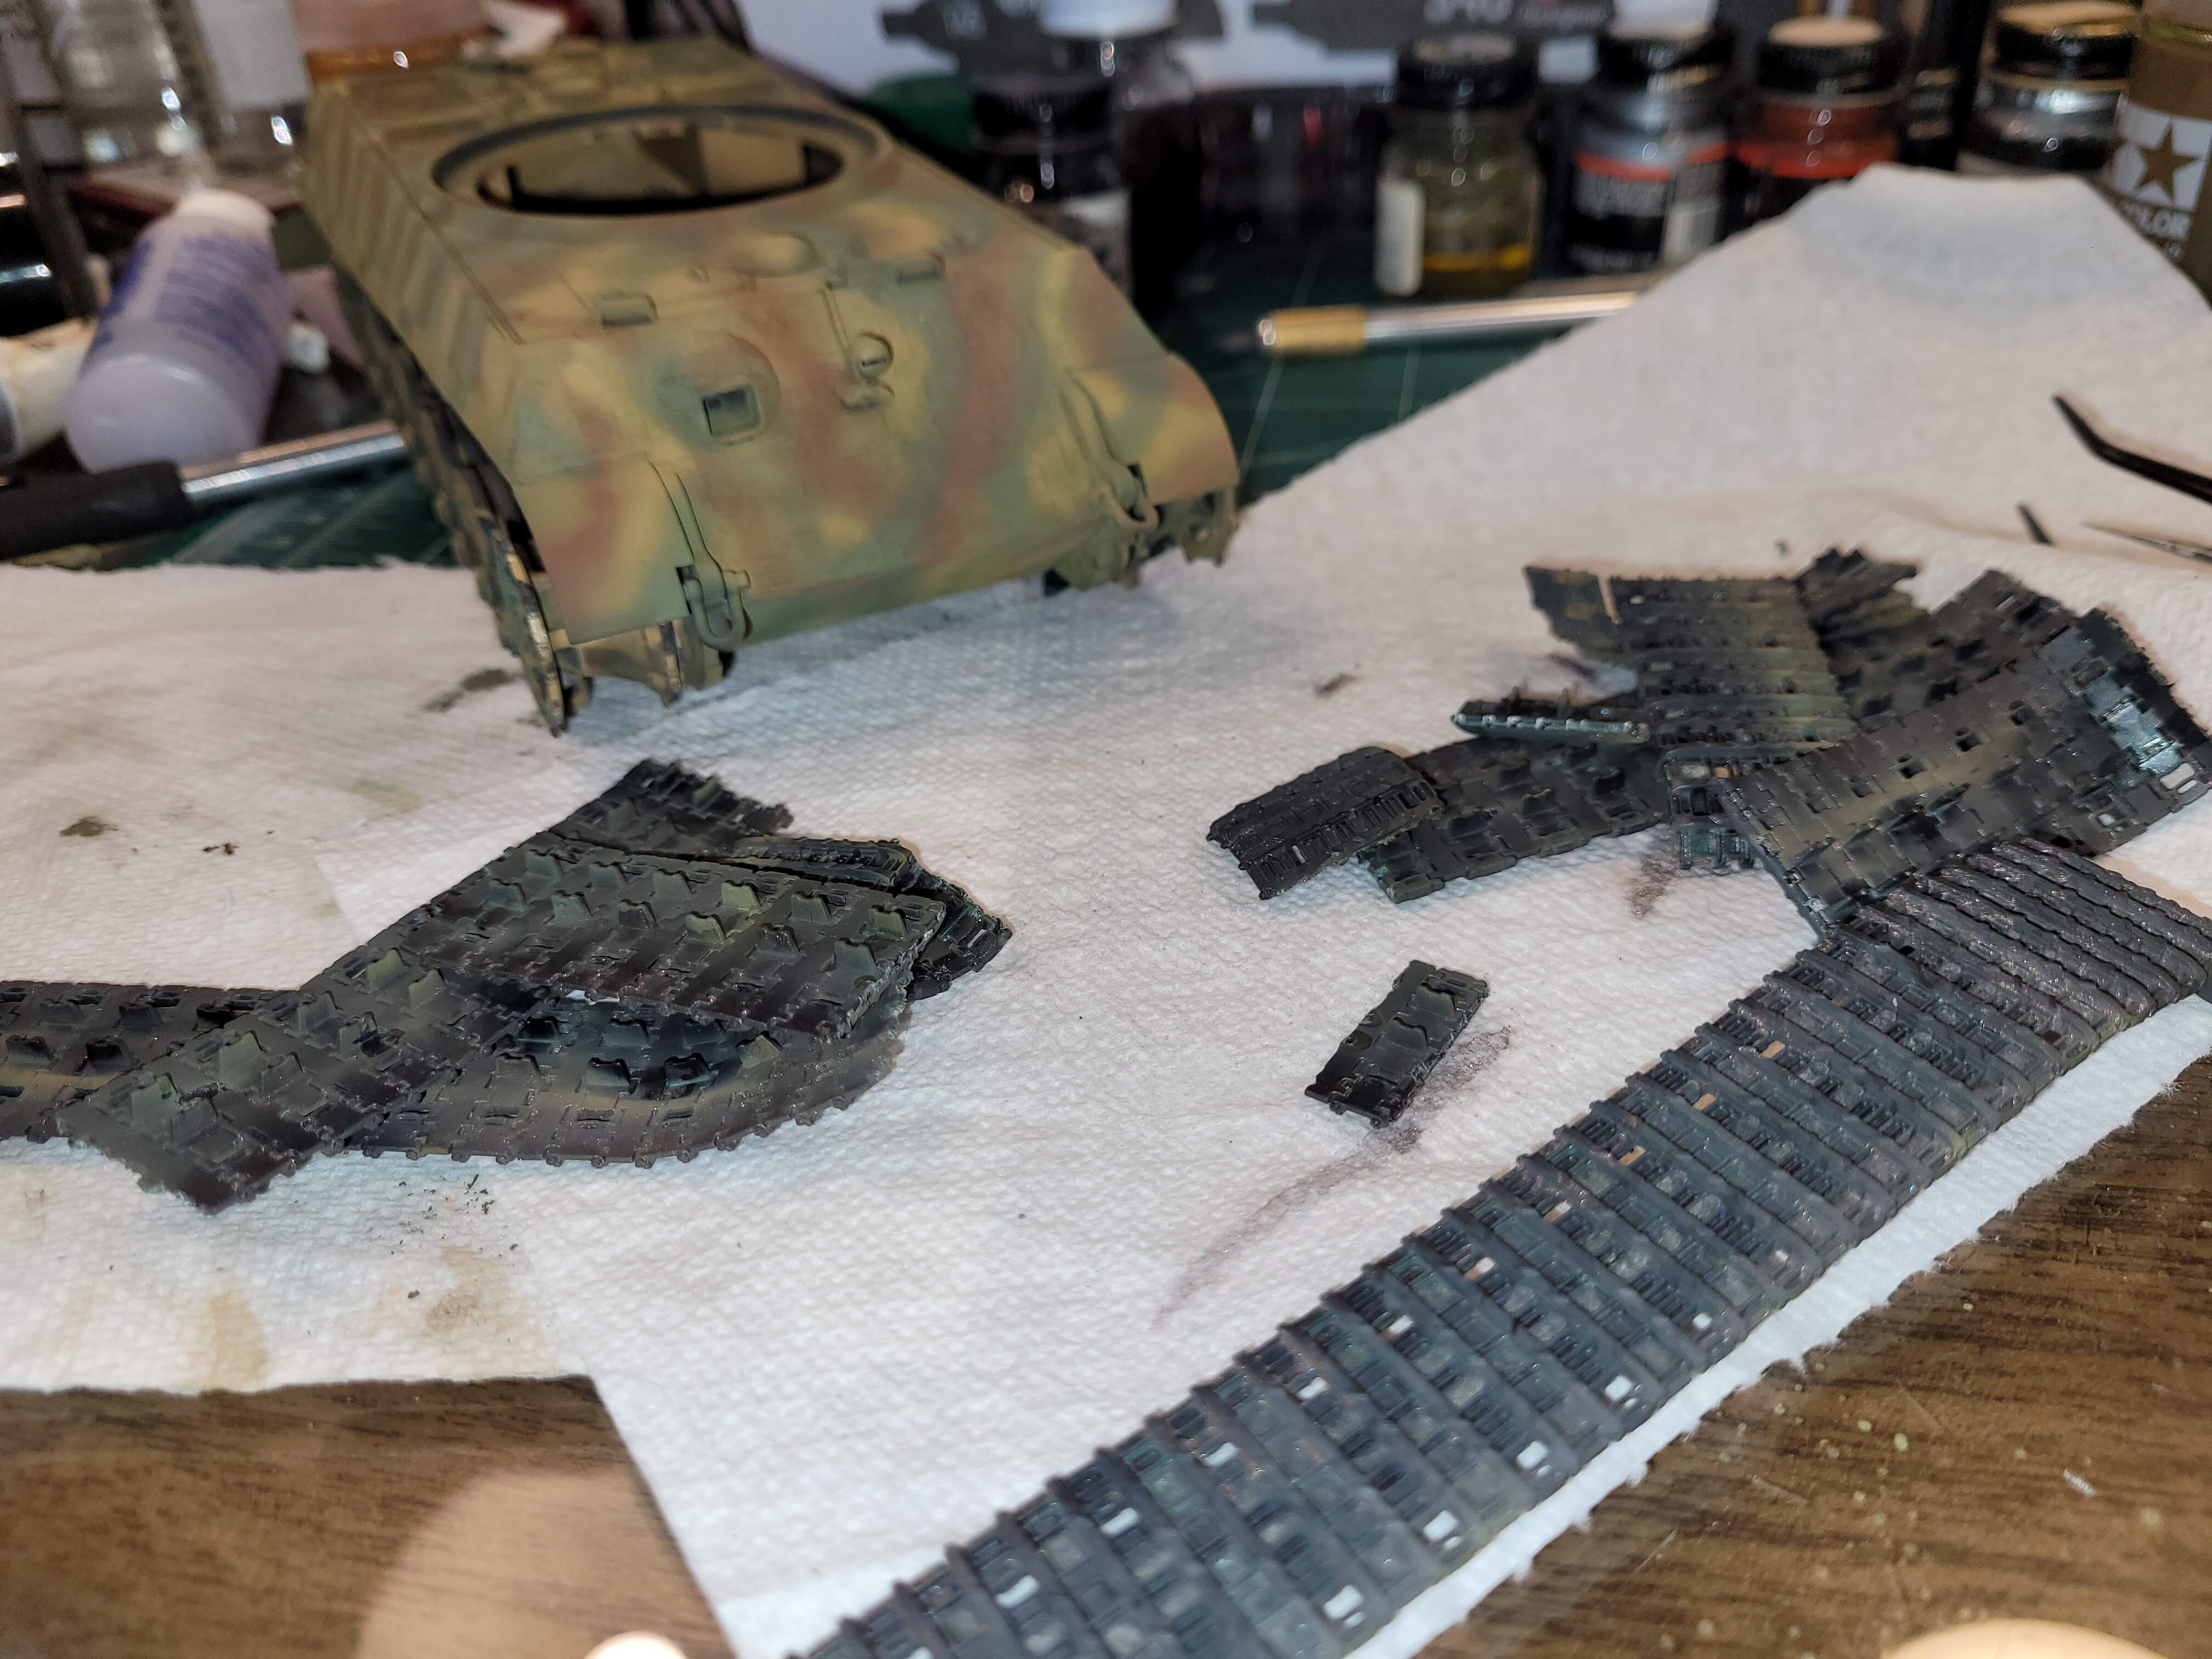
Old School clasp Fruils without the wire to the rescue…I hope
3 Likes