This is my first attempt ever at doing a build thread…so please bare with me. The model is one that’s very special to me and that’s why I choose this old shelf shame project. Many other successful models were started and completed since the shrink wrap came off of this kit. This particular project was definitely unfinished business from back in the mid 90’s.
I’m returning after many years away from the hobby. Dabbling in IPMS contest modeling was a lot of fun in the late 90’s and early 00’s but my goals now are to just do some builds for fun. I’ve completed all of one model in the last seventeen years back in 2009. I’m planning for this one to be my first finished project in a long time.
Instead of starting a new project, decided to pull an old kit from the shelf of shame. This kit got the better of me on several occasions which is pretty rare. It came close to getting tossed in the trash many times.
Background
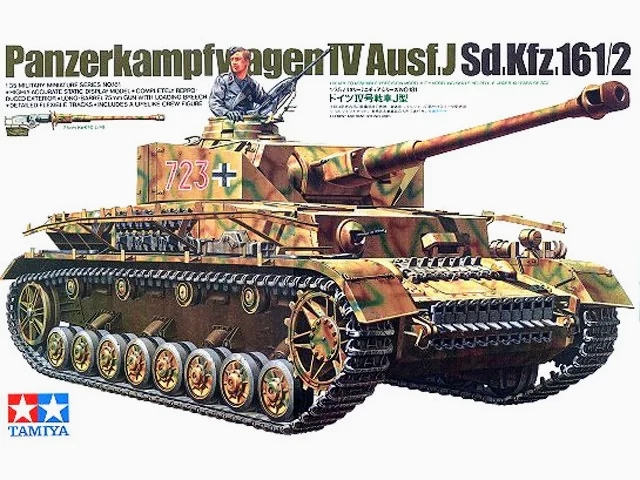
This Tamiya #35181 Panzer IV J kit was started in 1994, when the kit was a brand new release. I was very happy with the kit until I checked against Achtung Panzer for the Pz IV and other references. Tamiya omitted many details that would have been fairly easy to include like weld seams on the turret top, cupola, wheels, flat screw heads on the turret top, many engine deck details and so forth.
I was determined to address these minor short comings and build my first IPMS quality contest model. I figured it couldn’t take more than two or three weeks… The biggest pitfall was I had no idea what a punch mark/ejector knock out pin was nor was I aware that mold seams should be removed.
(Que laughter)
Naturally the project got sidelined after several critical mistakes were made. The key ones are listed below.
Building individual link tracks and leaving the punch marks (trashed),
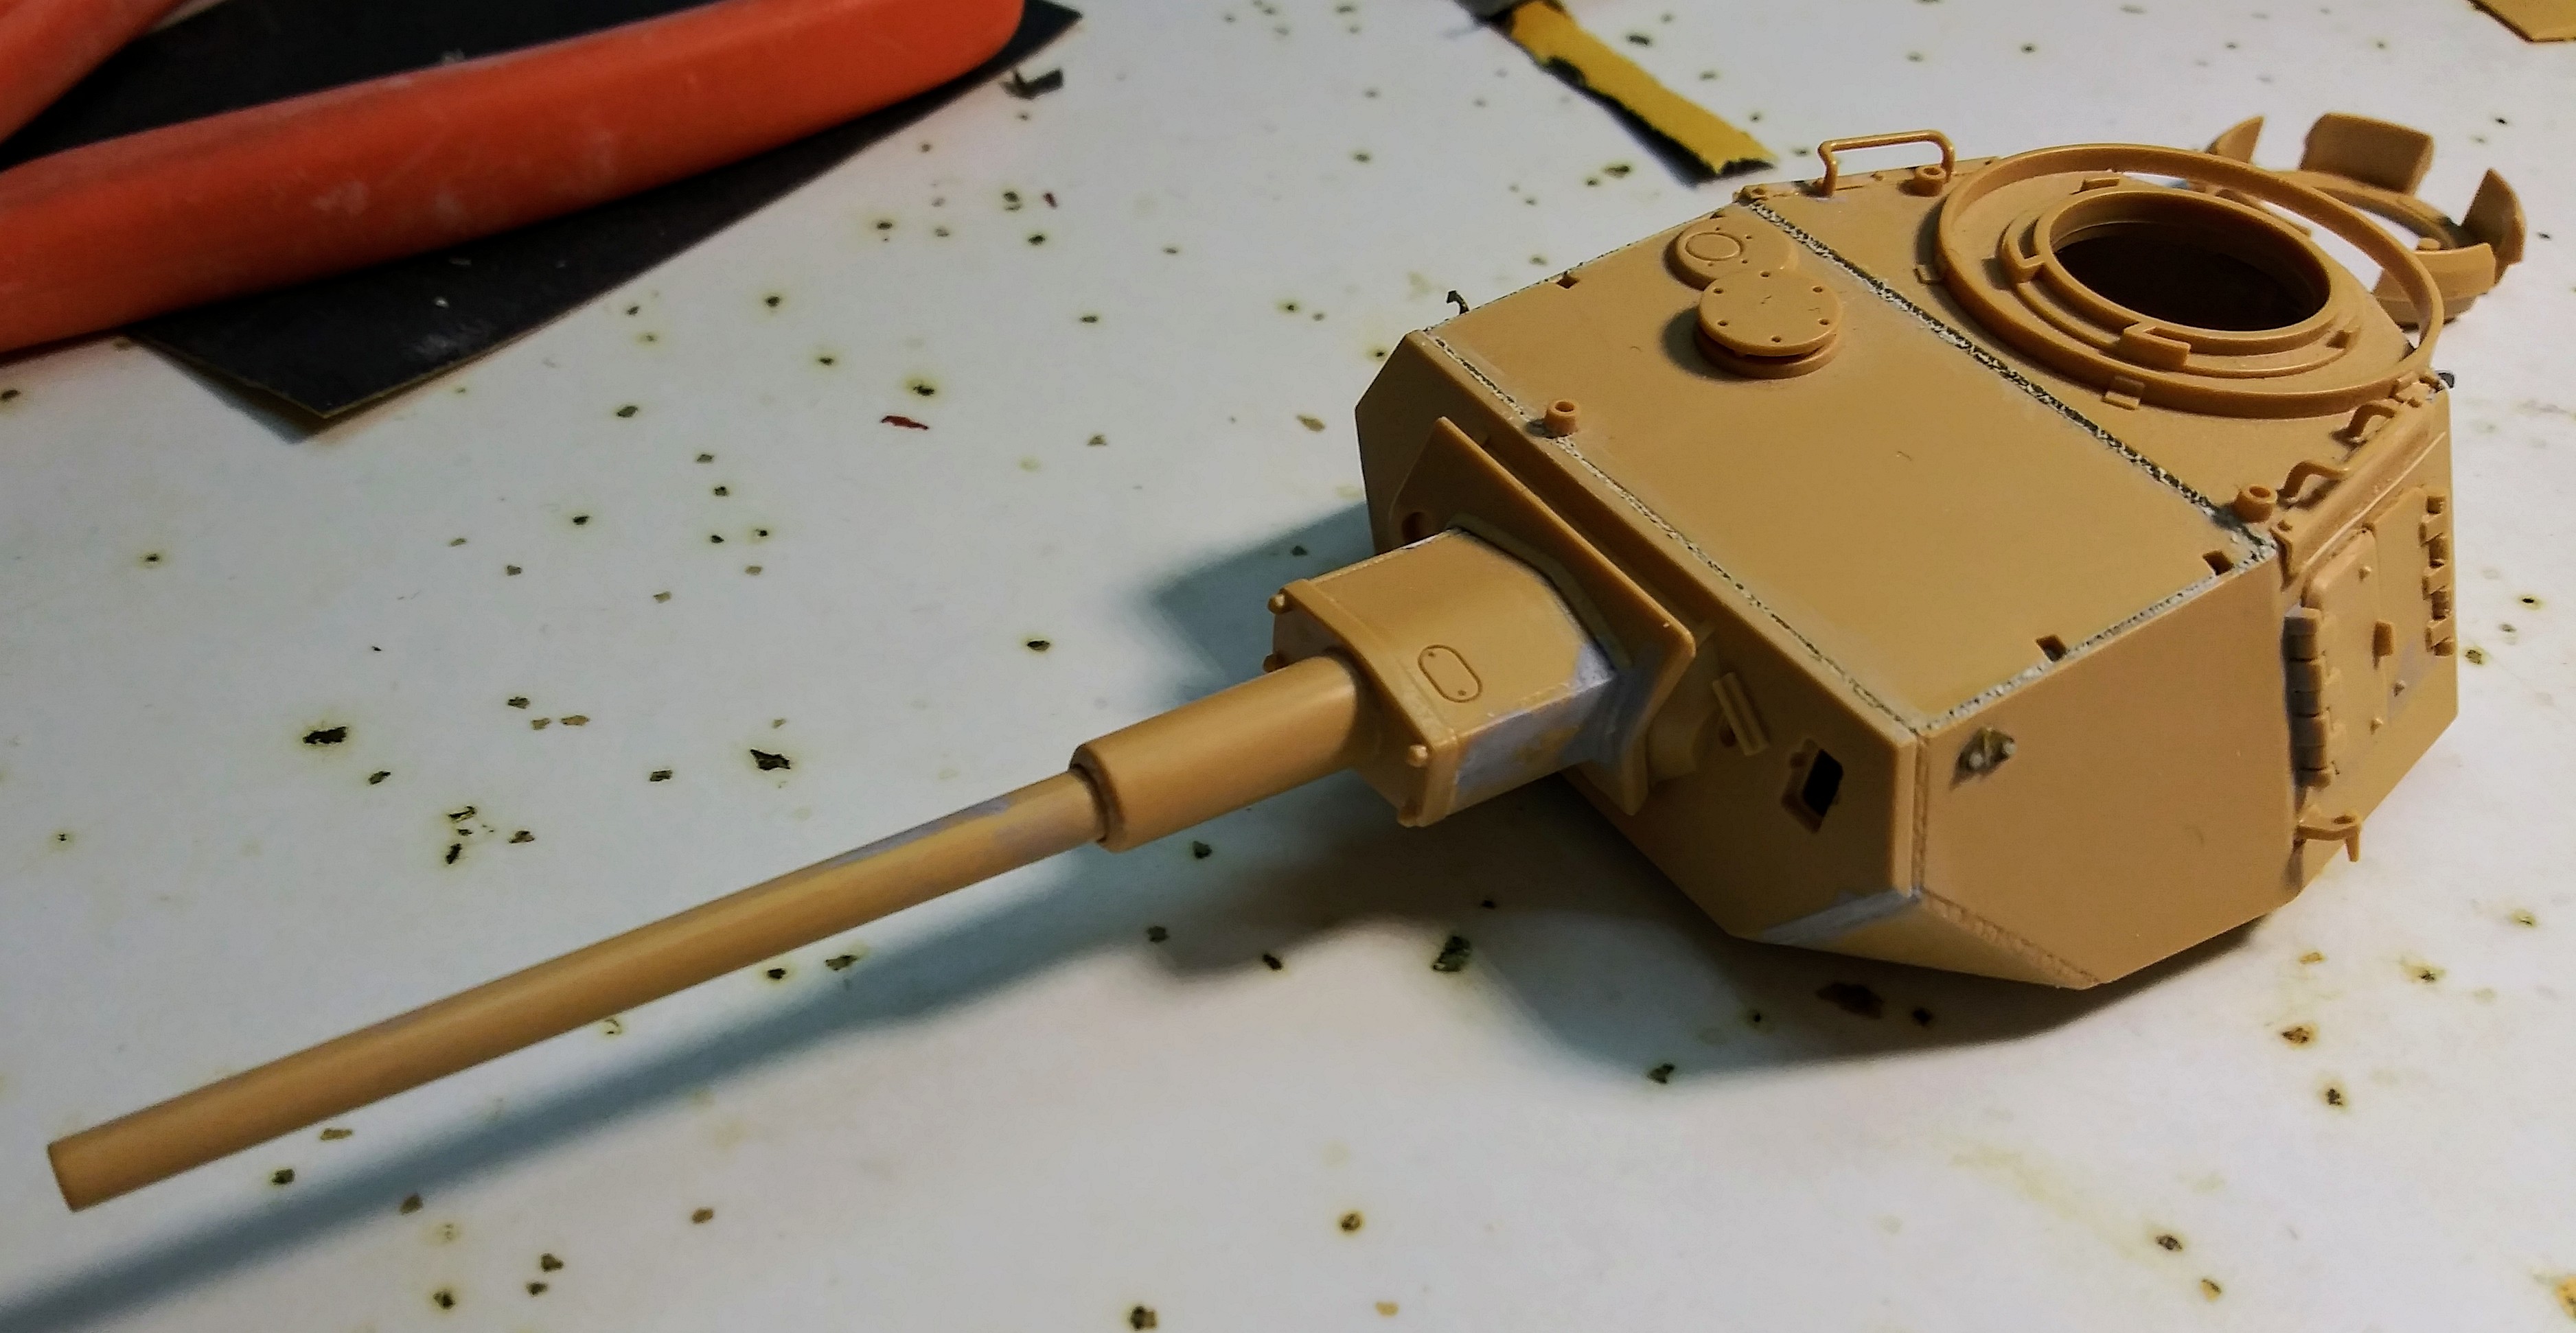
getting a big seam in the gun barrel
couple of massive gluey finger prints on the gun barrel and turret top
total and complete misalignment of the gun mantlet
mold seams every where
punch marks
open sponsons
building an early Pz IV J without Zimmerit
one massive mistake that I wasn’t aware of making
This was what I pulled out of the box from 26 years ago…
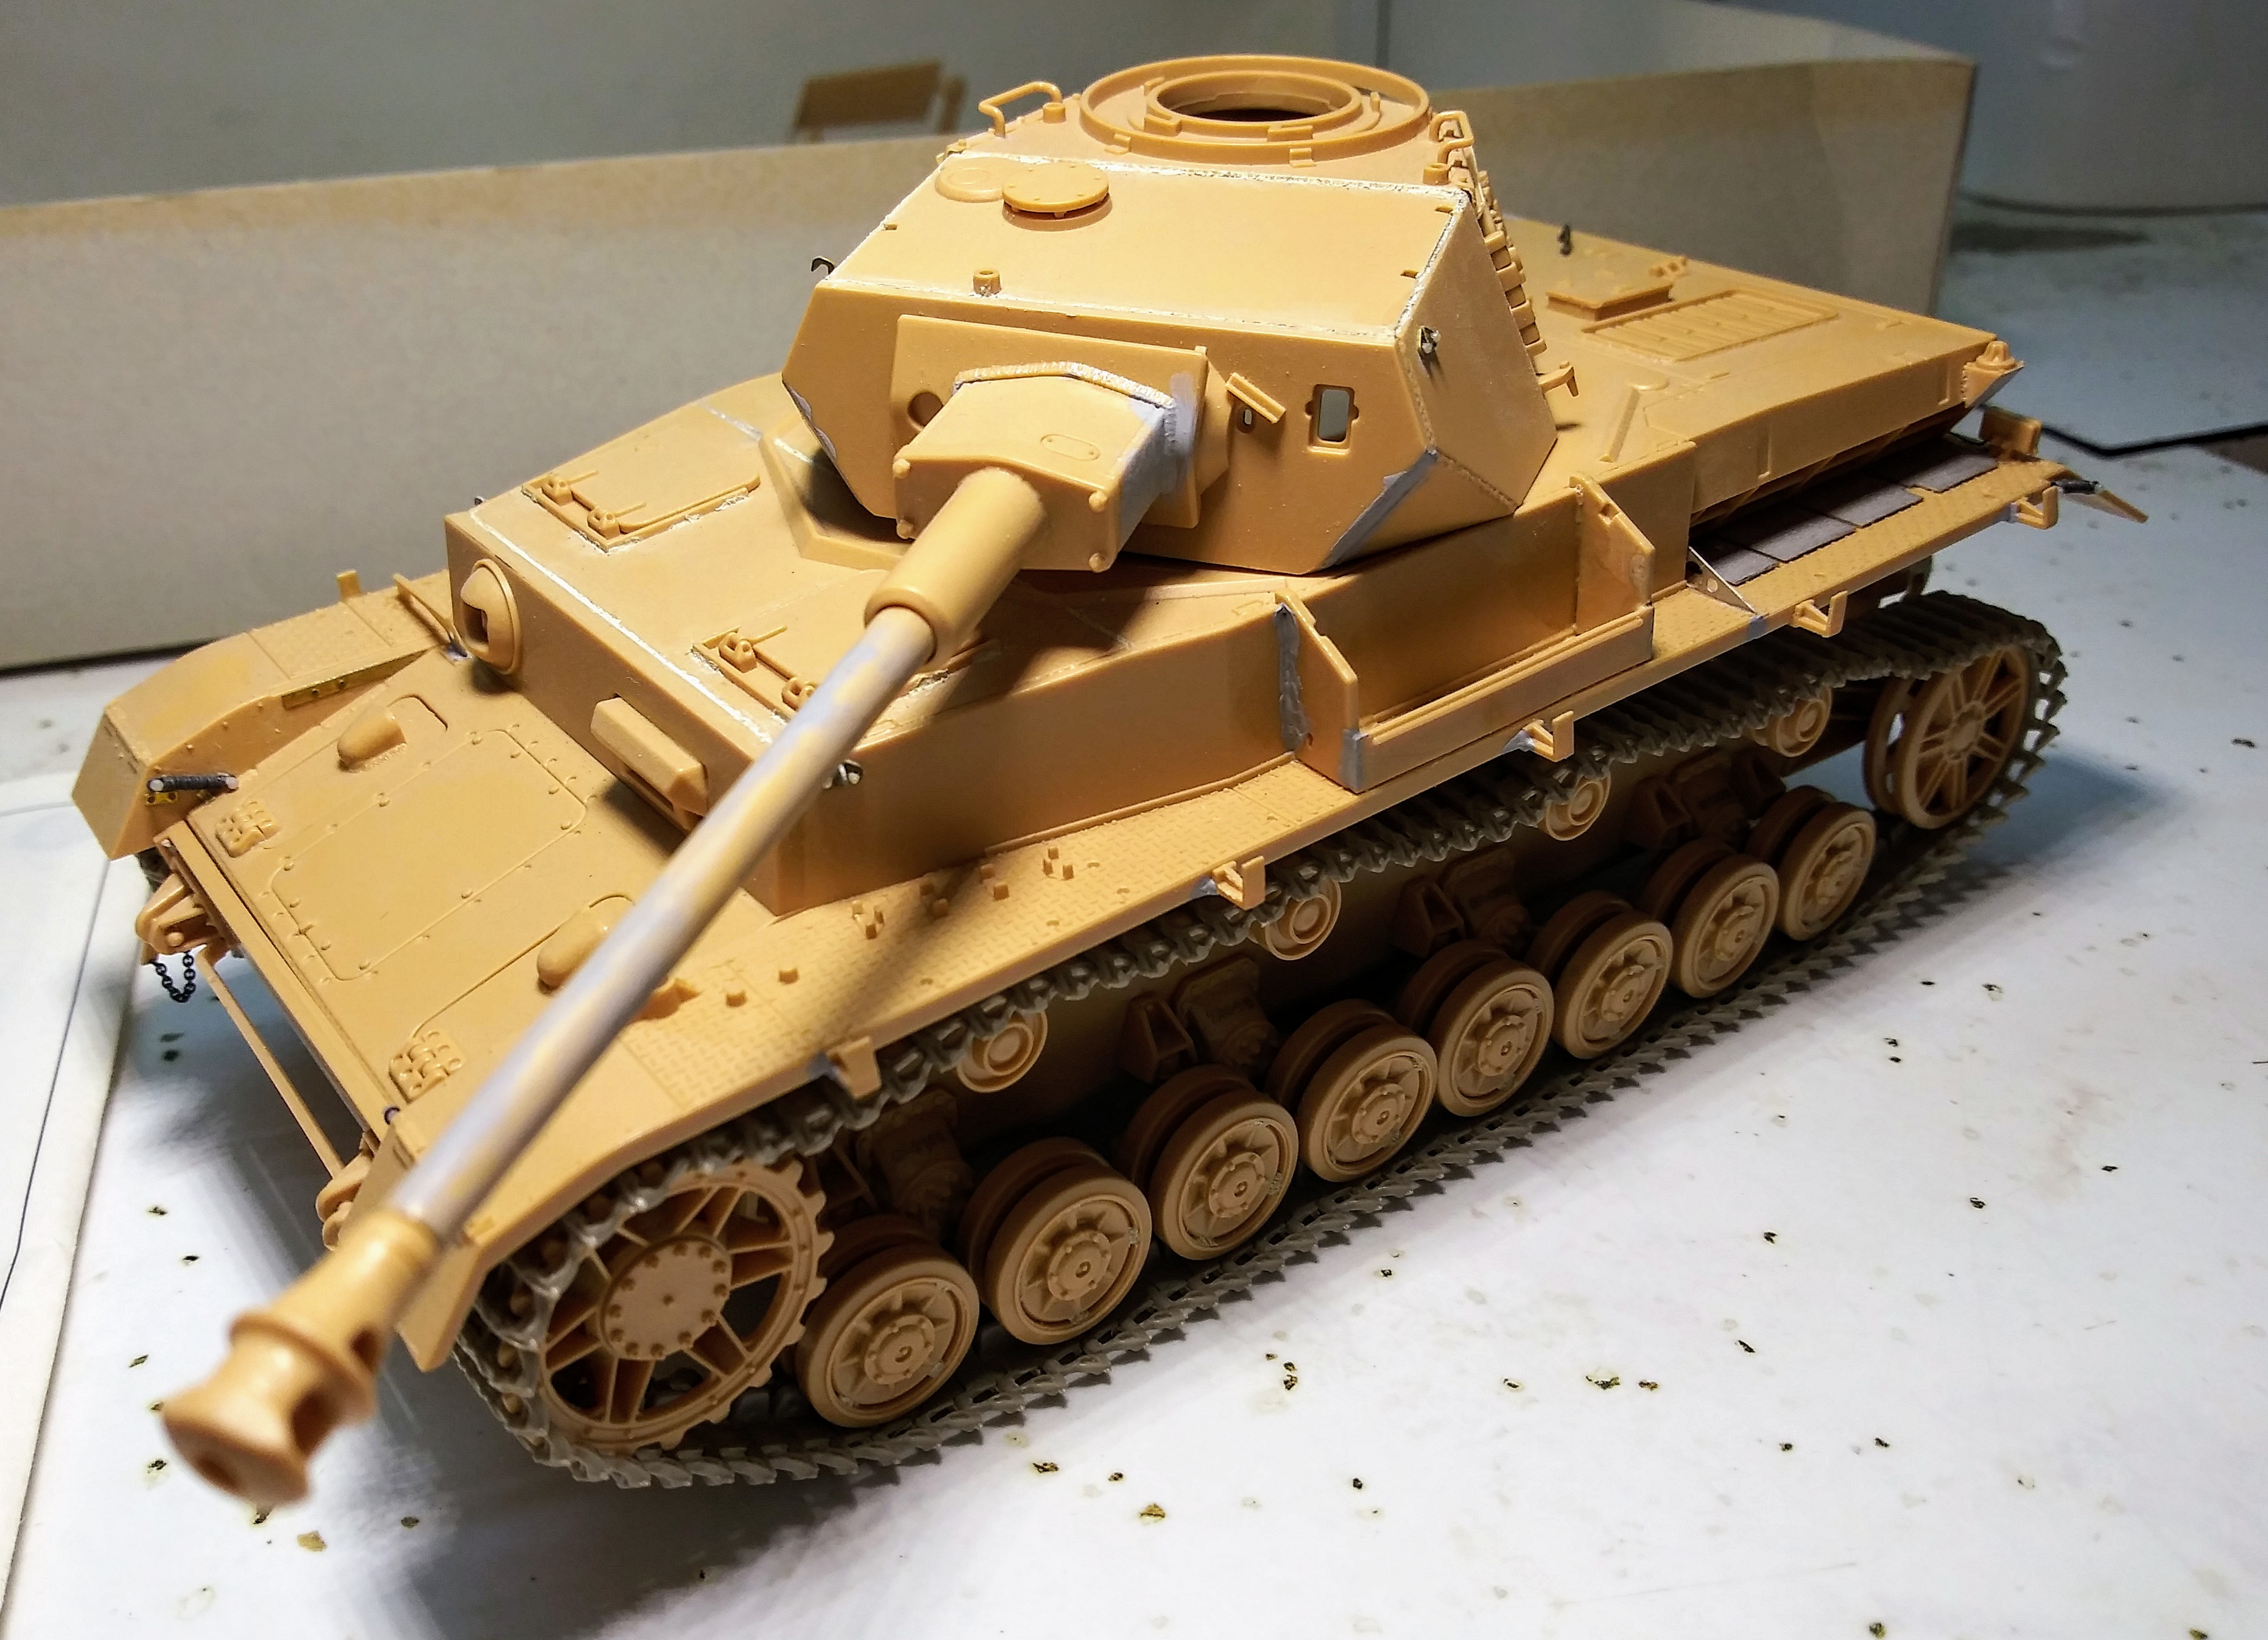
TopSmith, I decided to try “Repair in Place” as first act. The turret finger prints were just embarrassing…they had to go ASAP or the kit was going in the trash can. 600 grit sand paper and a Squadron Tri-grit sanding stick saved the day and myself respect:) Addressed the gun barrel seam with the same plus a Flexi-file. While this was pretty simple stuff for experienced modelers - it was a high anxiety moment for me. However, the build game was on…
MarkIII, thank you - I appreciate that. Definitely will try to finish this pig this time. My shelf of doom has several residents, a DML Kursk Panther D, Tam Panther G w/half a Jaguar interior, DML Imperial/Gunzy Pz IV F2, and a godforsaken Italeri Panther.
Robin Nilsson - that’s hardcore! Much respect here for tackling a Dragon Scud launcher. We used to joke the price of Stucco putty and Tamiya putty jumped $1/euro when someone bought a DML Scud launcher.
Klaus Adler - that’s definitely an interesting subject. Wish you the best with it. Long ago when (I think i have the names correct) when Garbber was the Smithsonian’s restoration shop and semi open to the public, I saw their Seiran right after the restoration. I was the clubs token armor modeler on the trip with the airplane guys. Had a lot if fun saying “That Saran is Wrapped.” That very bad pun drove the aficionados nuts:)
Tank1812 - Collecting is fun too! I have a closet full of armor kits to prove it
I will try to prove pics as it goes along. More eyes are better than two for sure. The hull was test fitted together for the picture. I goofed up alignment of the rear left & right fenders. The inside edges need to be shaved for better fitment.
Update
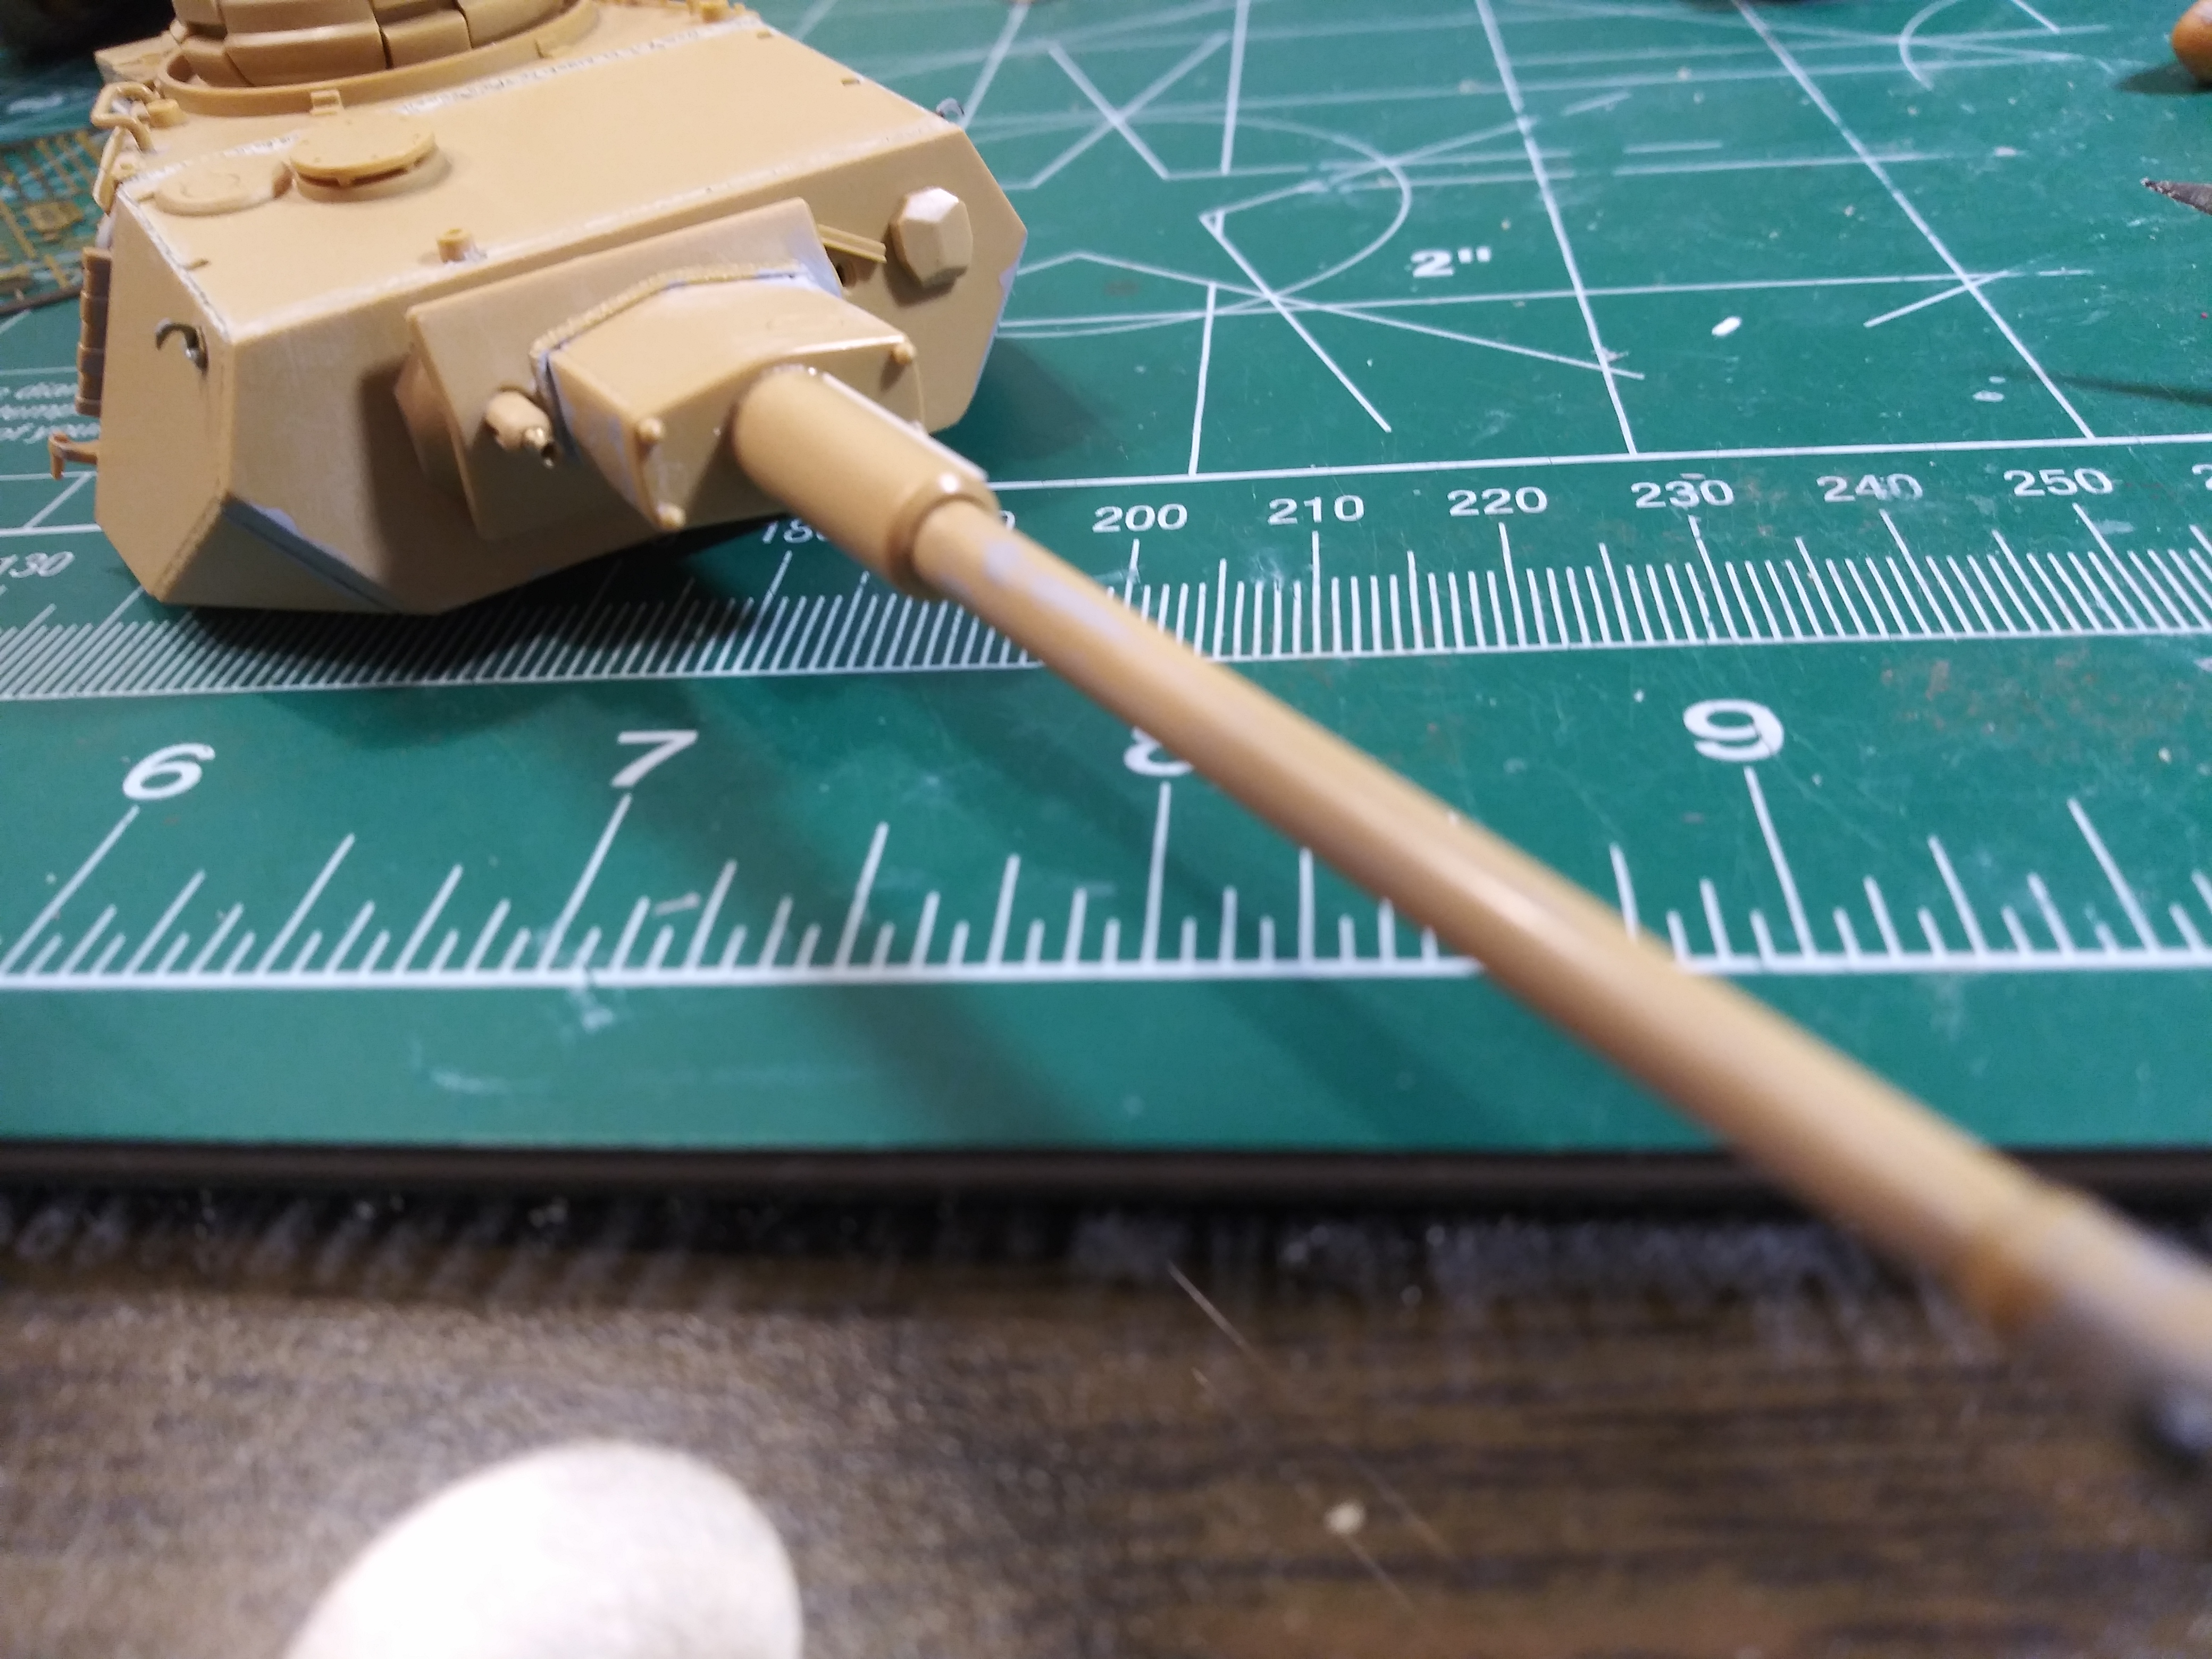
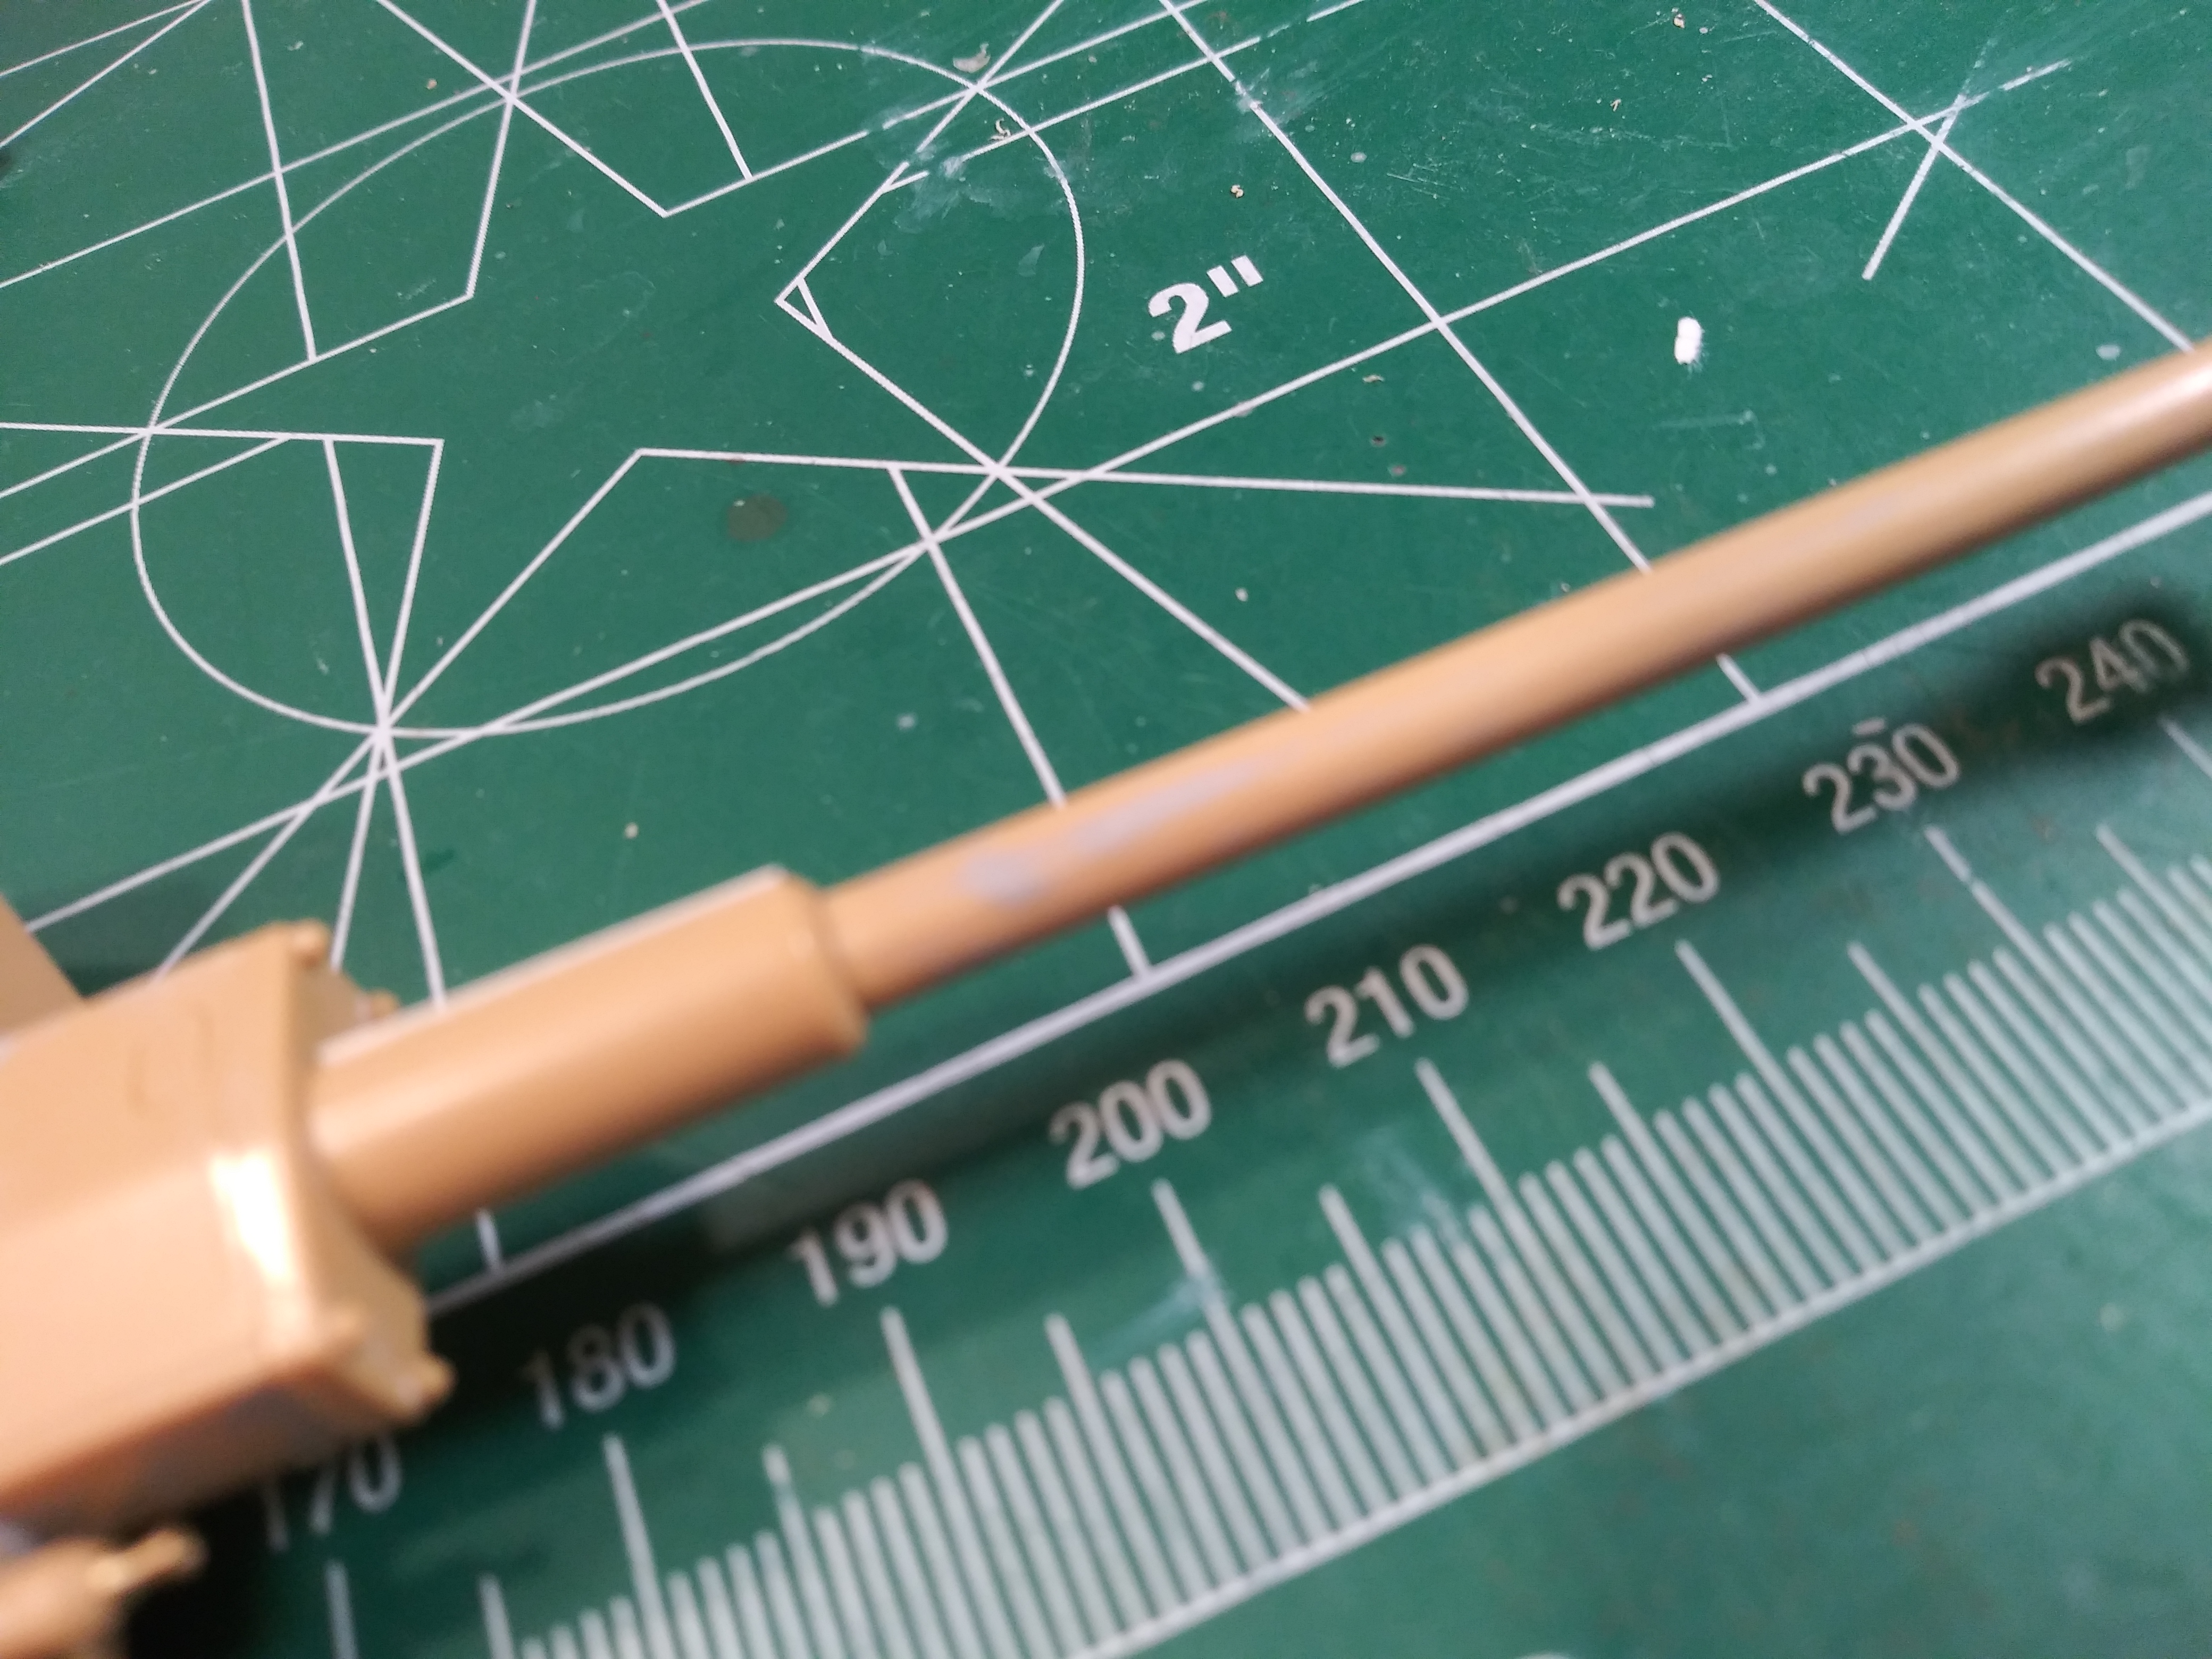
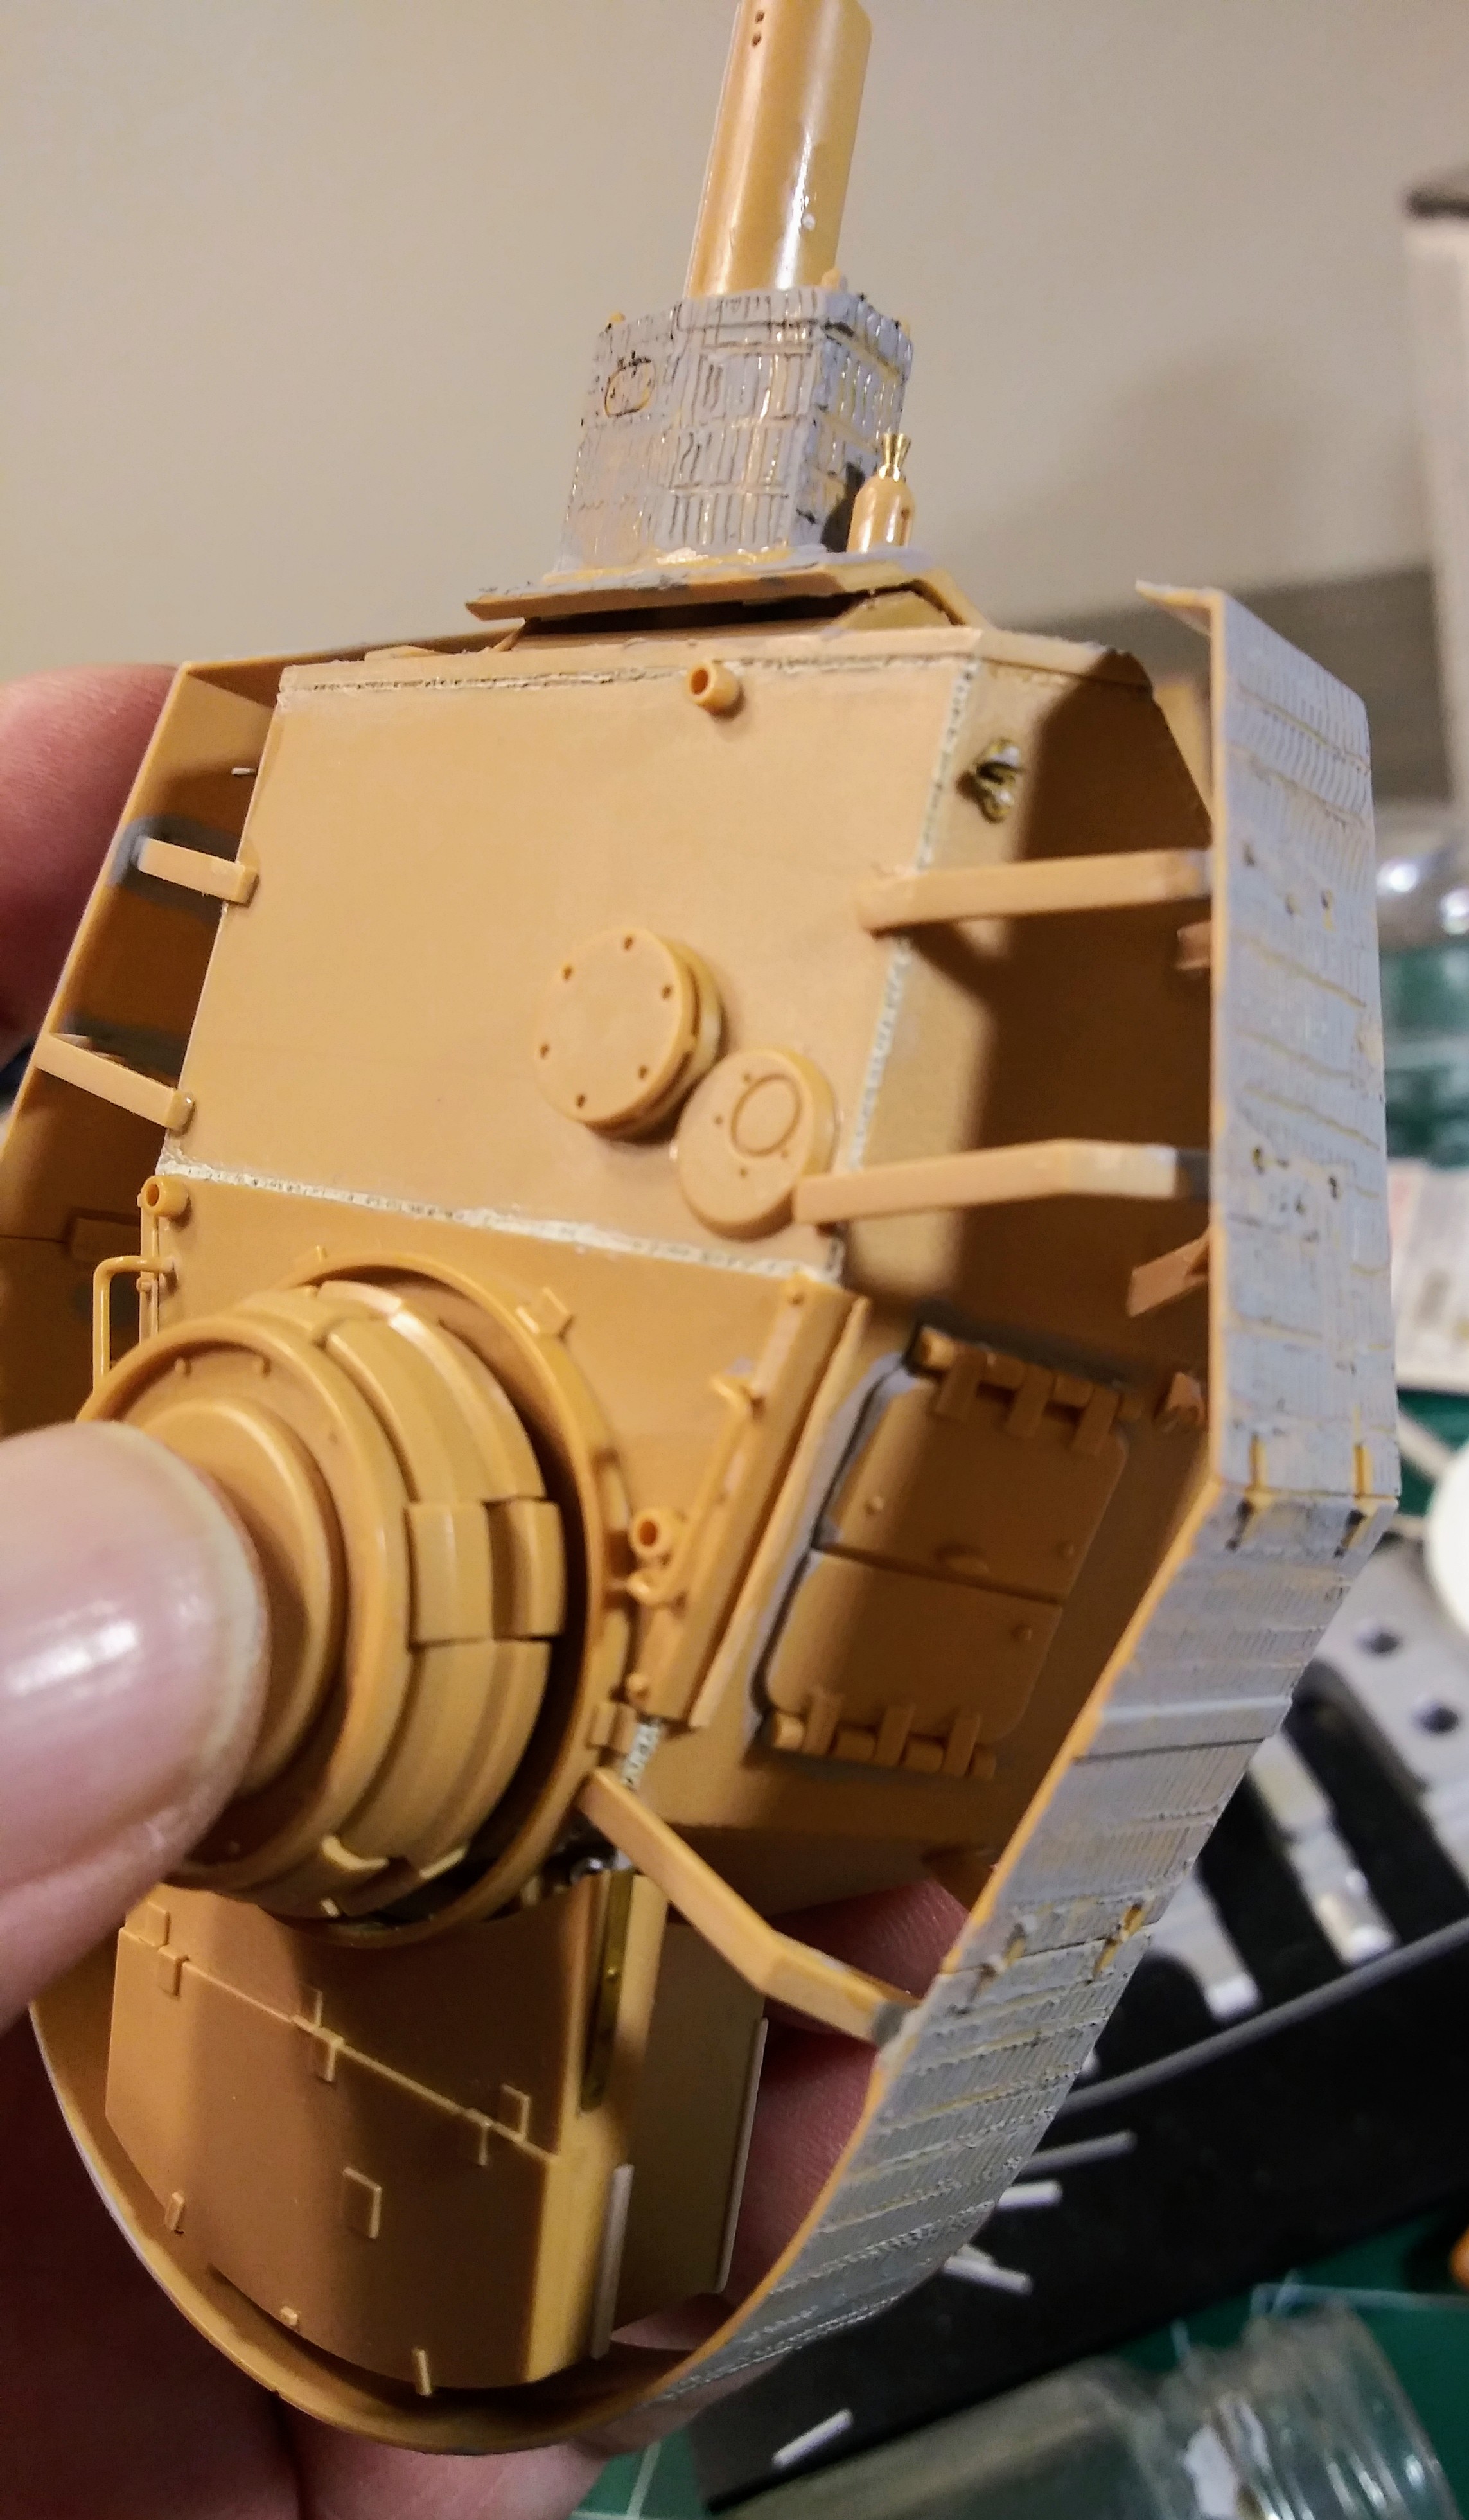
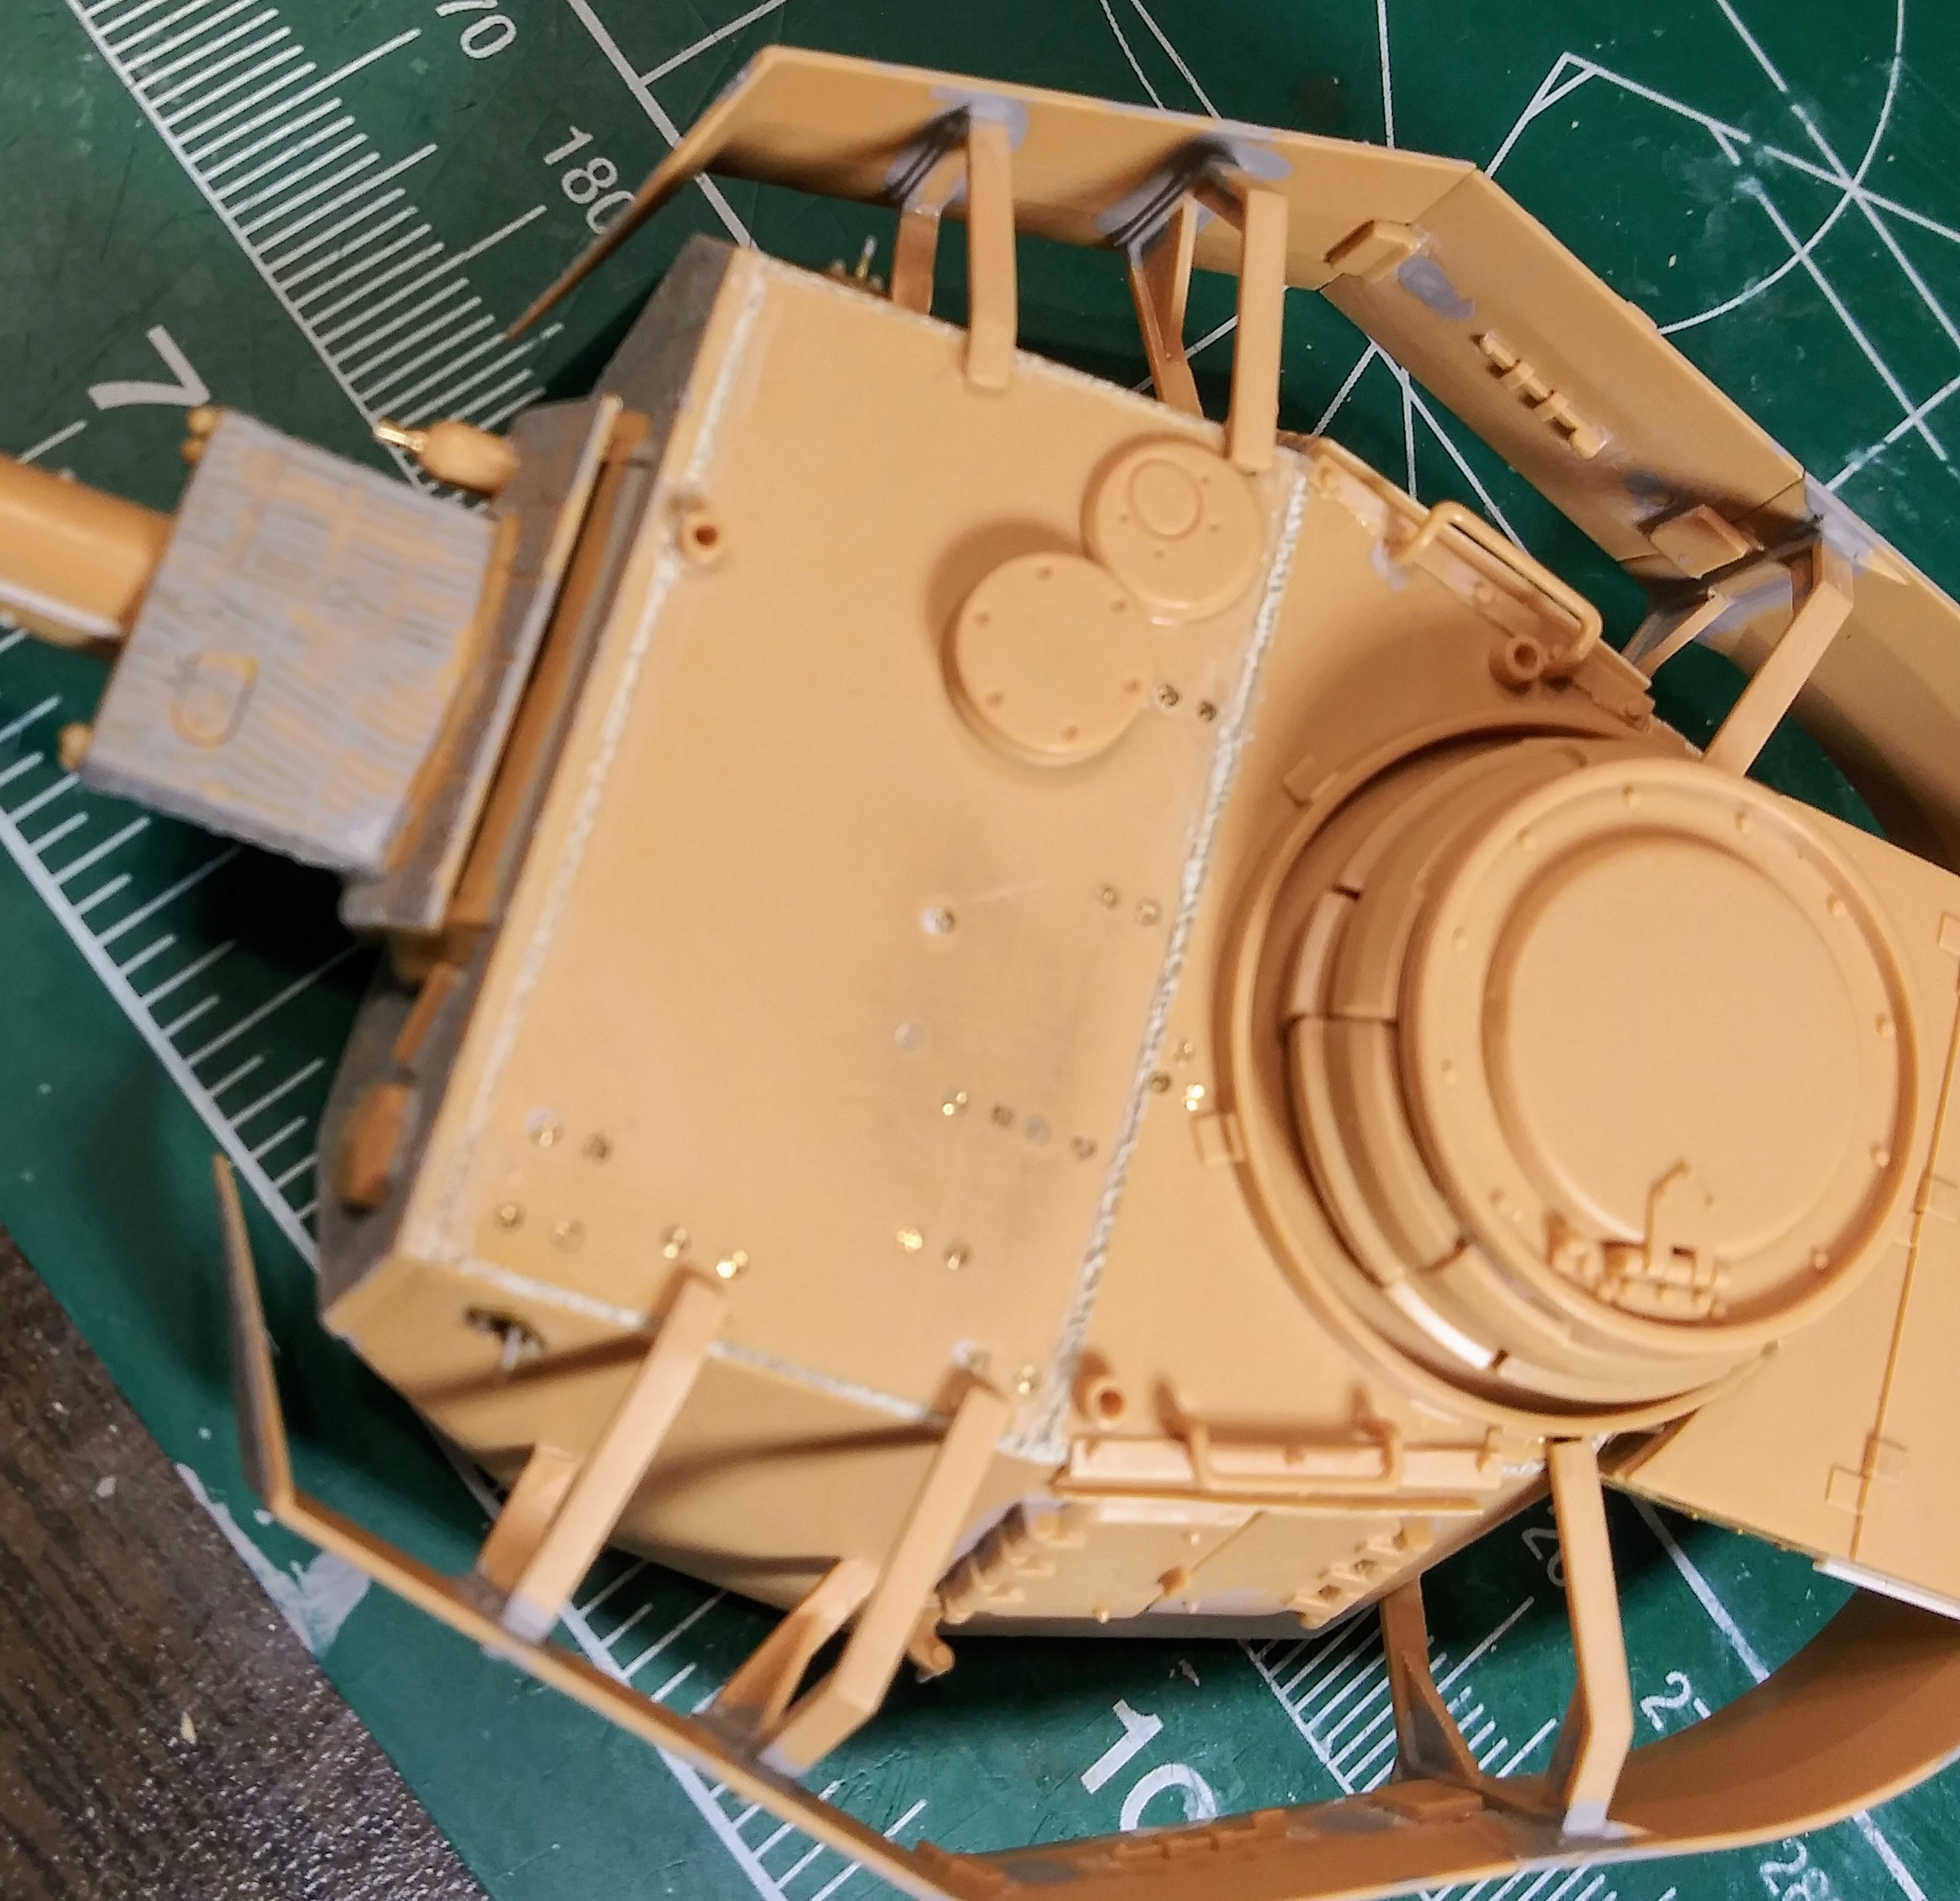
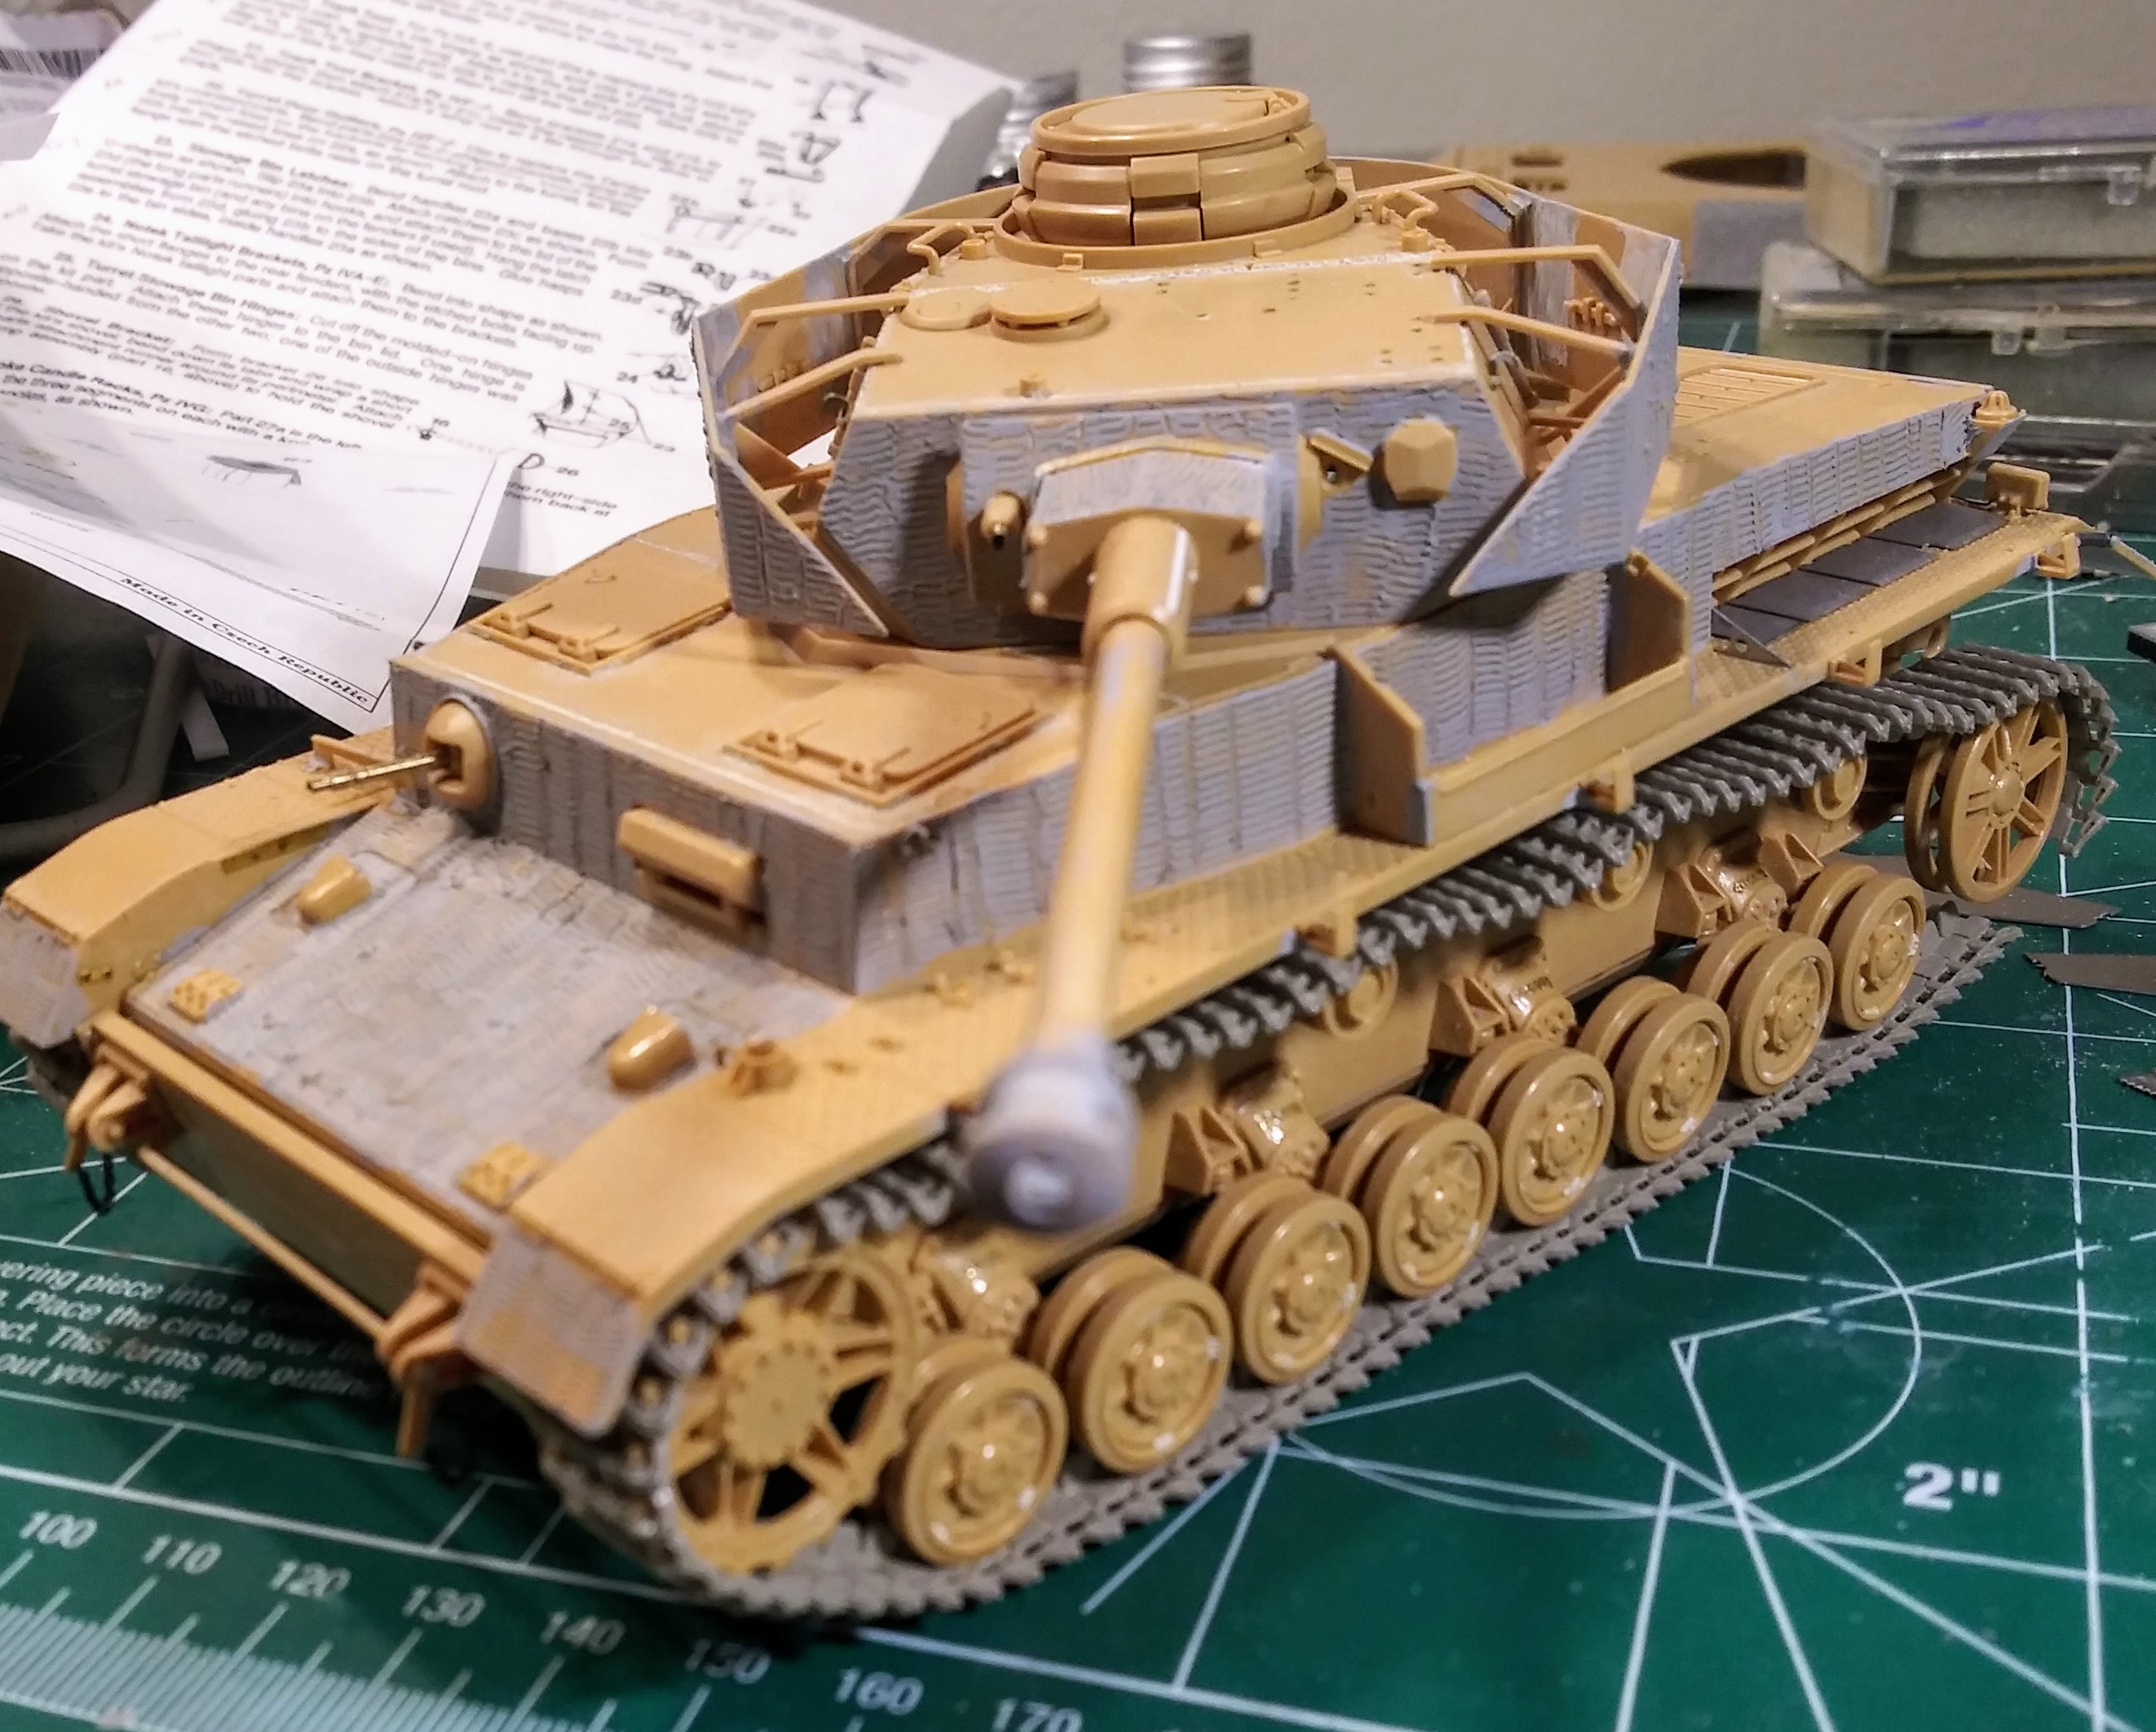
Fixed turret top, mantle alignment, seam in main gun barrel & added aber turret mg. Assembled cupola.
Test fitting hull - don’t you just love how I messed up a kit that’s know for excellent Fitment. The problem is basically in the rear due to misaligned rear fenders! They won’t allow the upper hull to slide forward completely. Time to shave plastic.
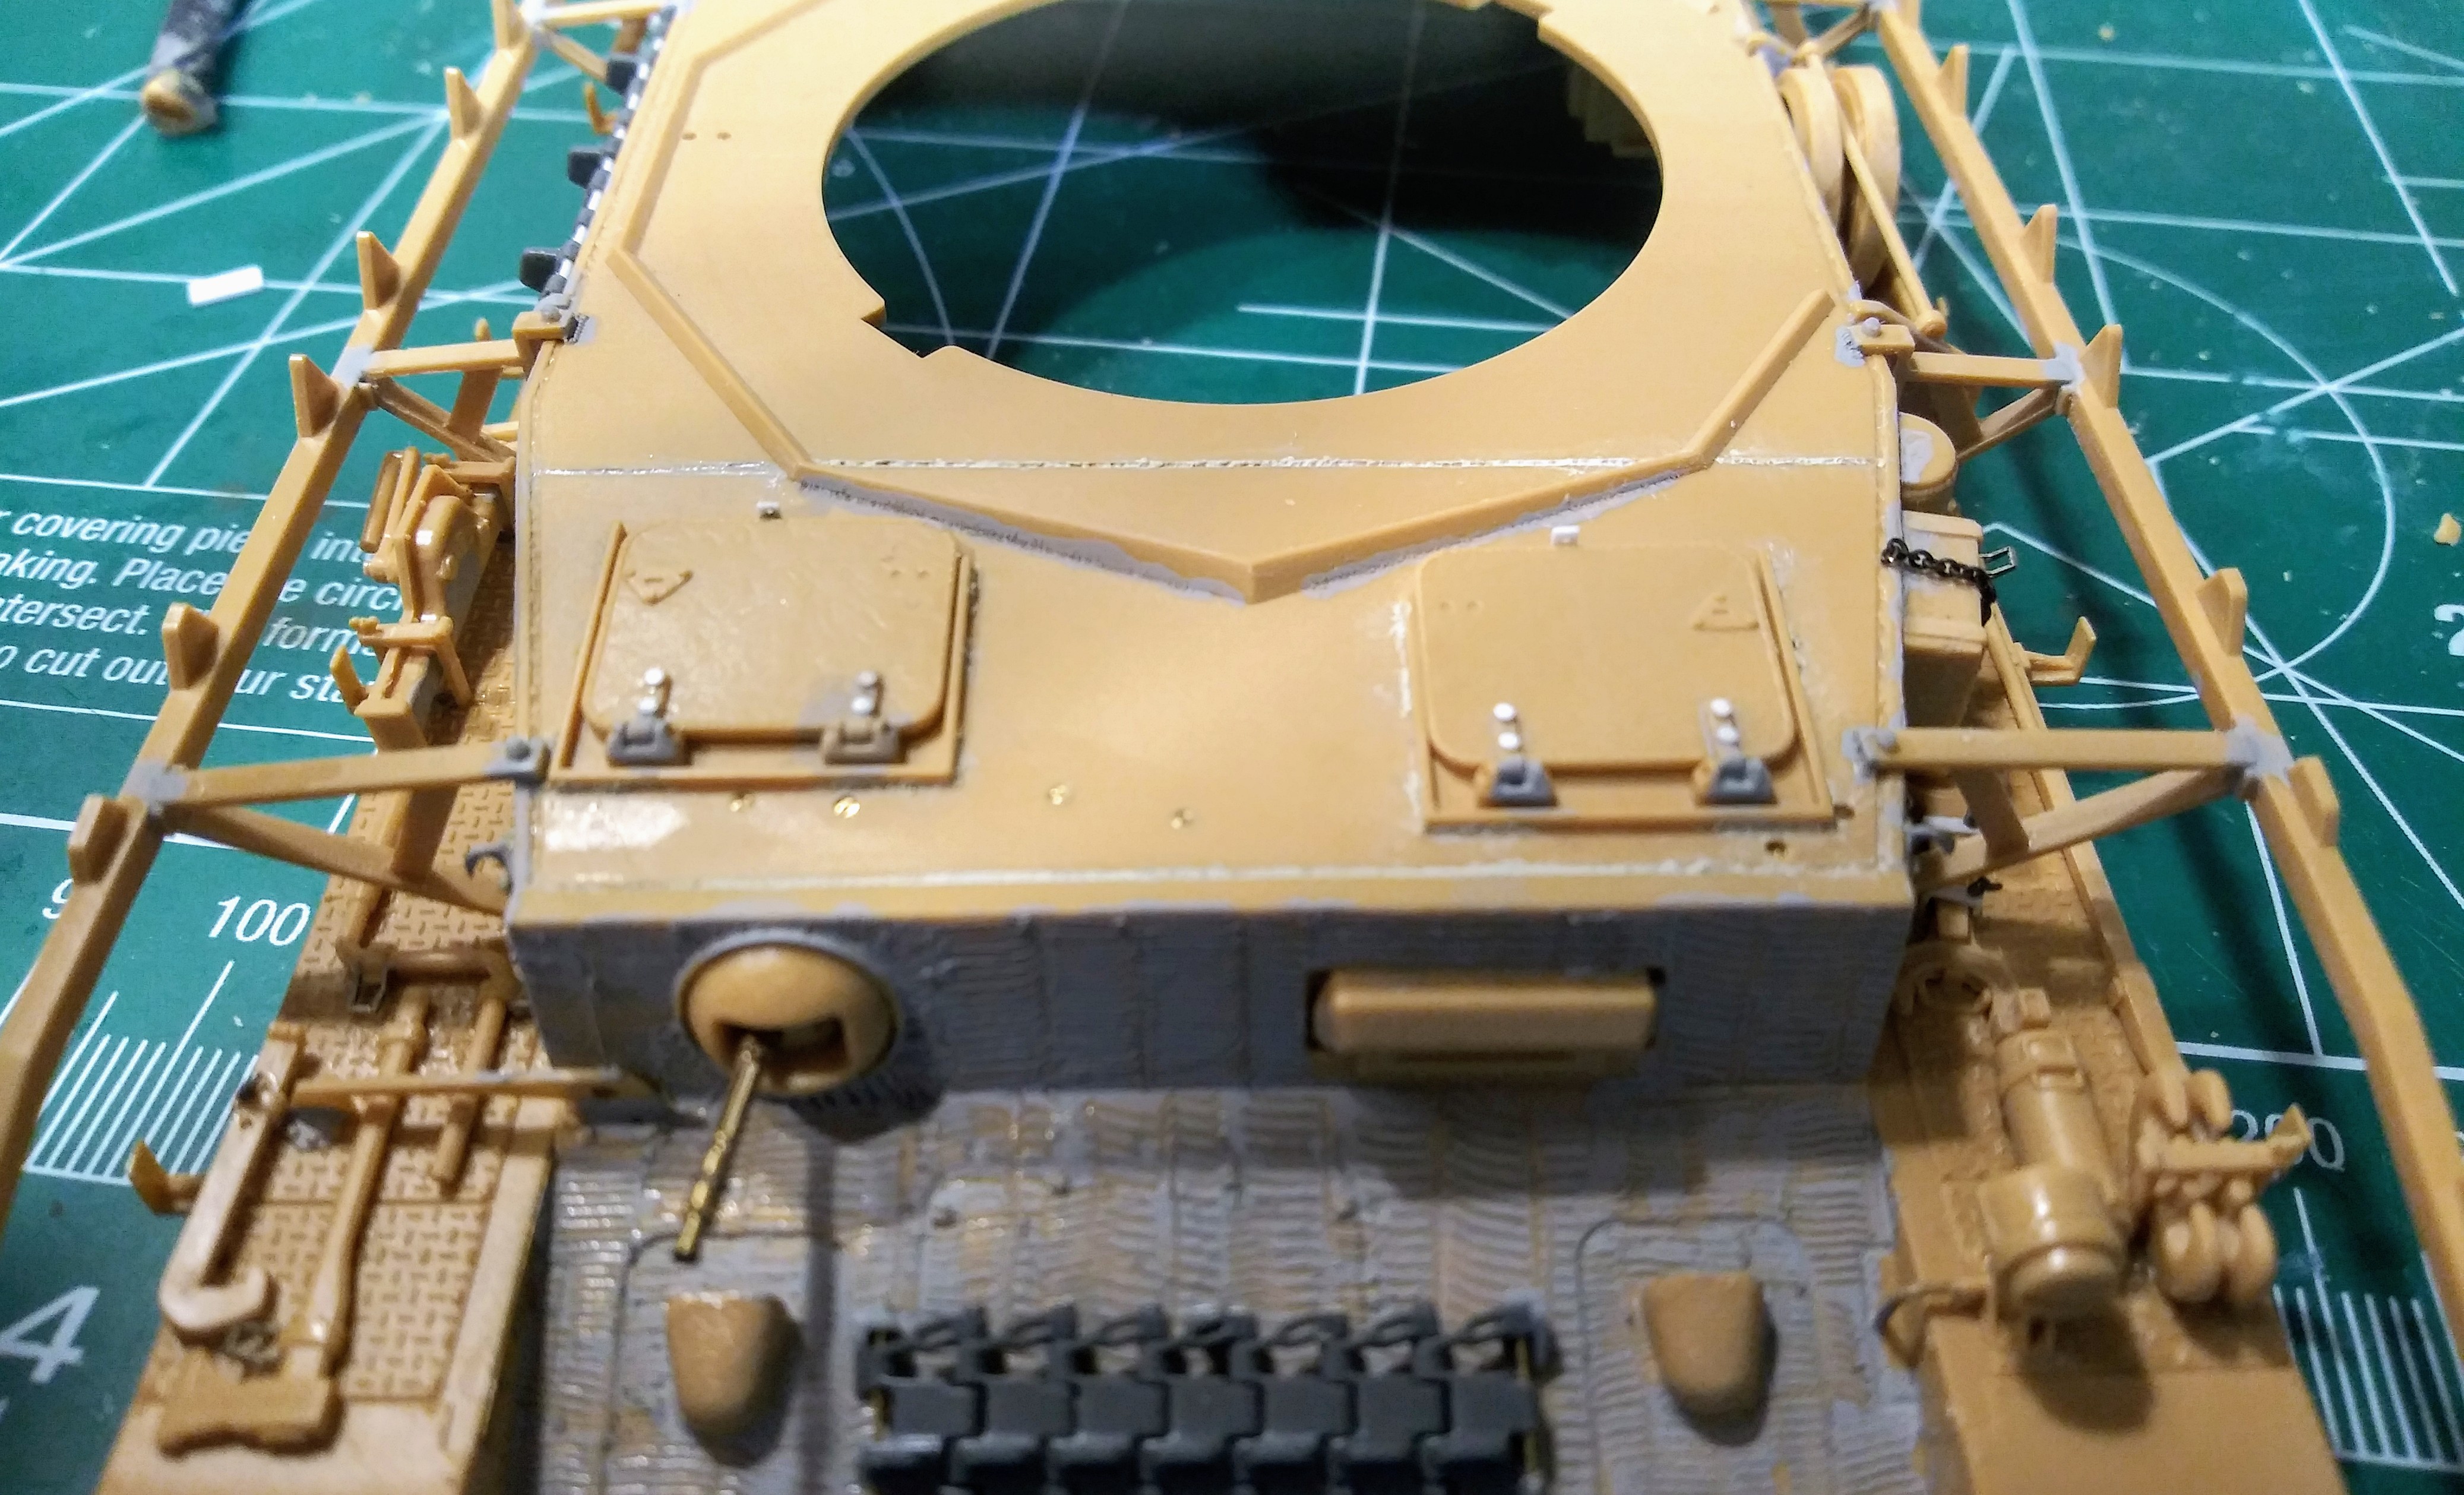
Added flat screw heads to turret roof. Lion Mark or Lion Roar or something like that. Just drill out and place screw head and super glue. Happy with?the result.
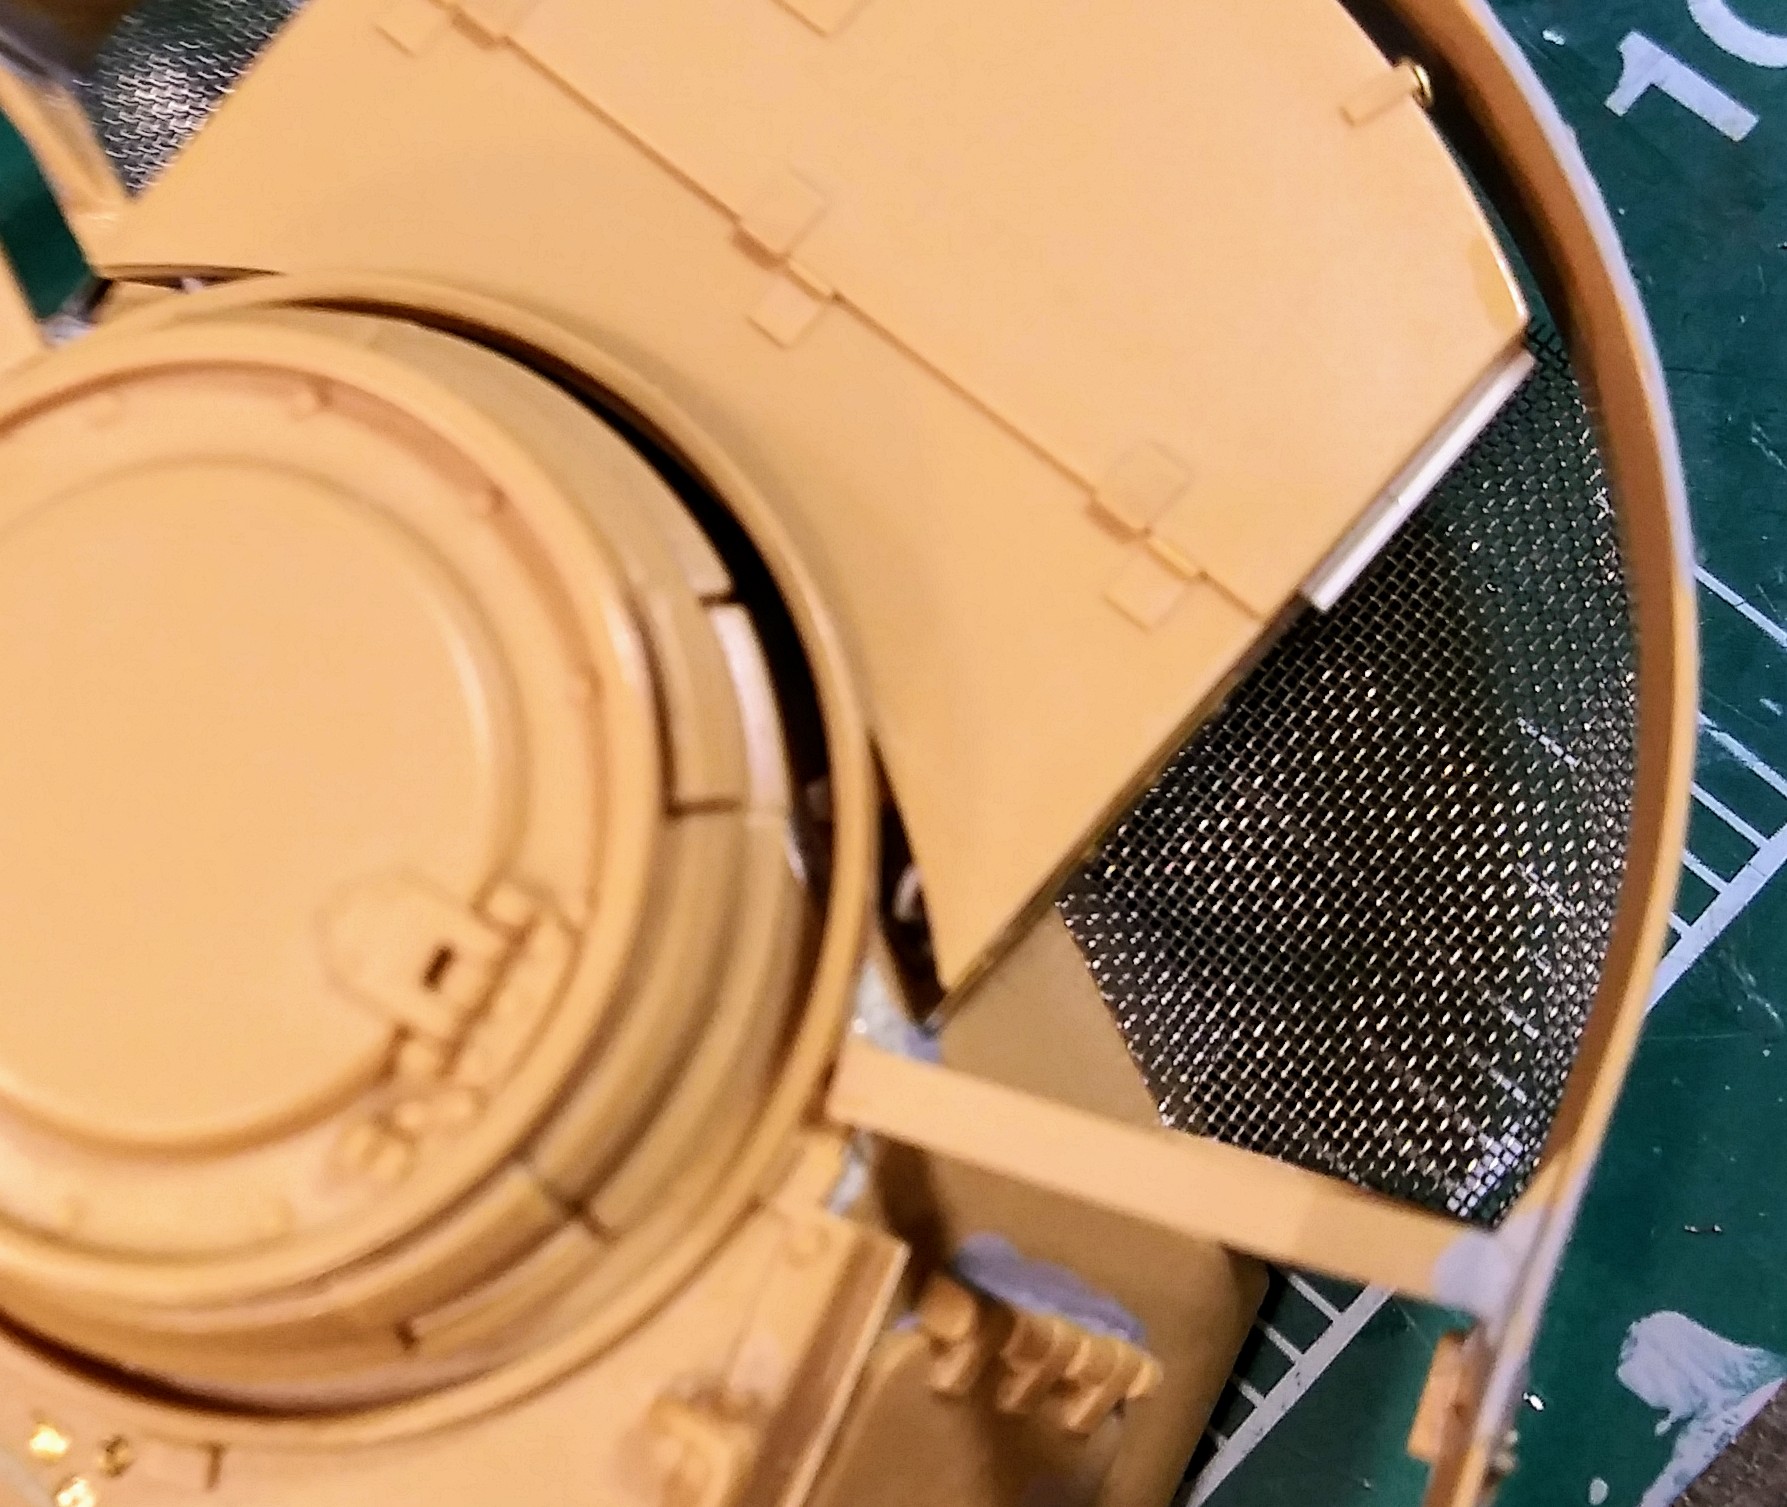
Just a Dragon PE turret basket screen as a template to make a turret basket screen. Traced outline of Dragon part on paper and cut screen from wire mesh. Trimmed and fitted into placed.
It is looking like you are well on the road to recovery…with the exception of that hull front angled gap. The photo indicates an angled gap. The actual view may be different.
Thank you Greg. It’s coming along
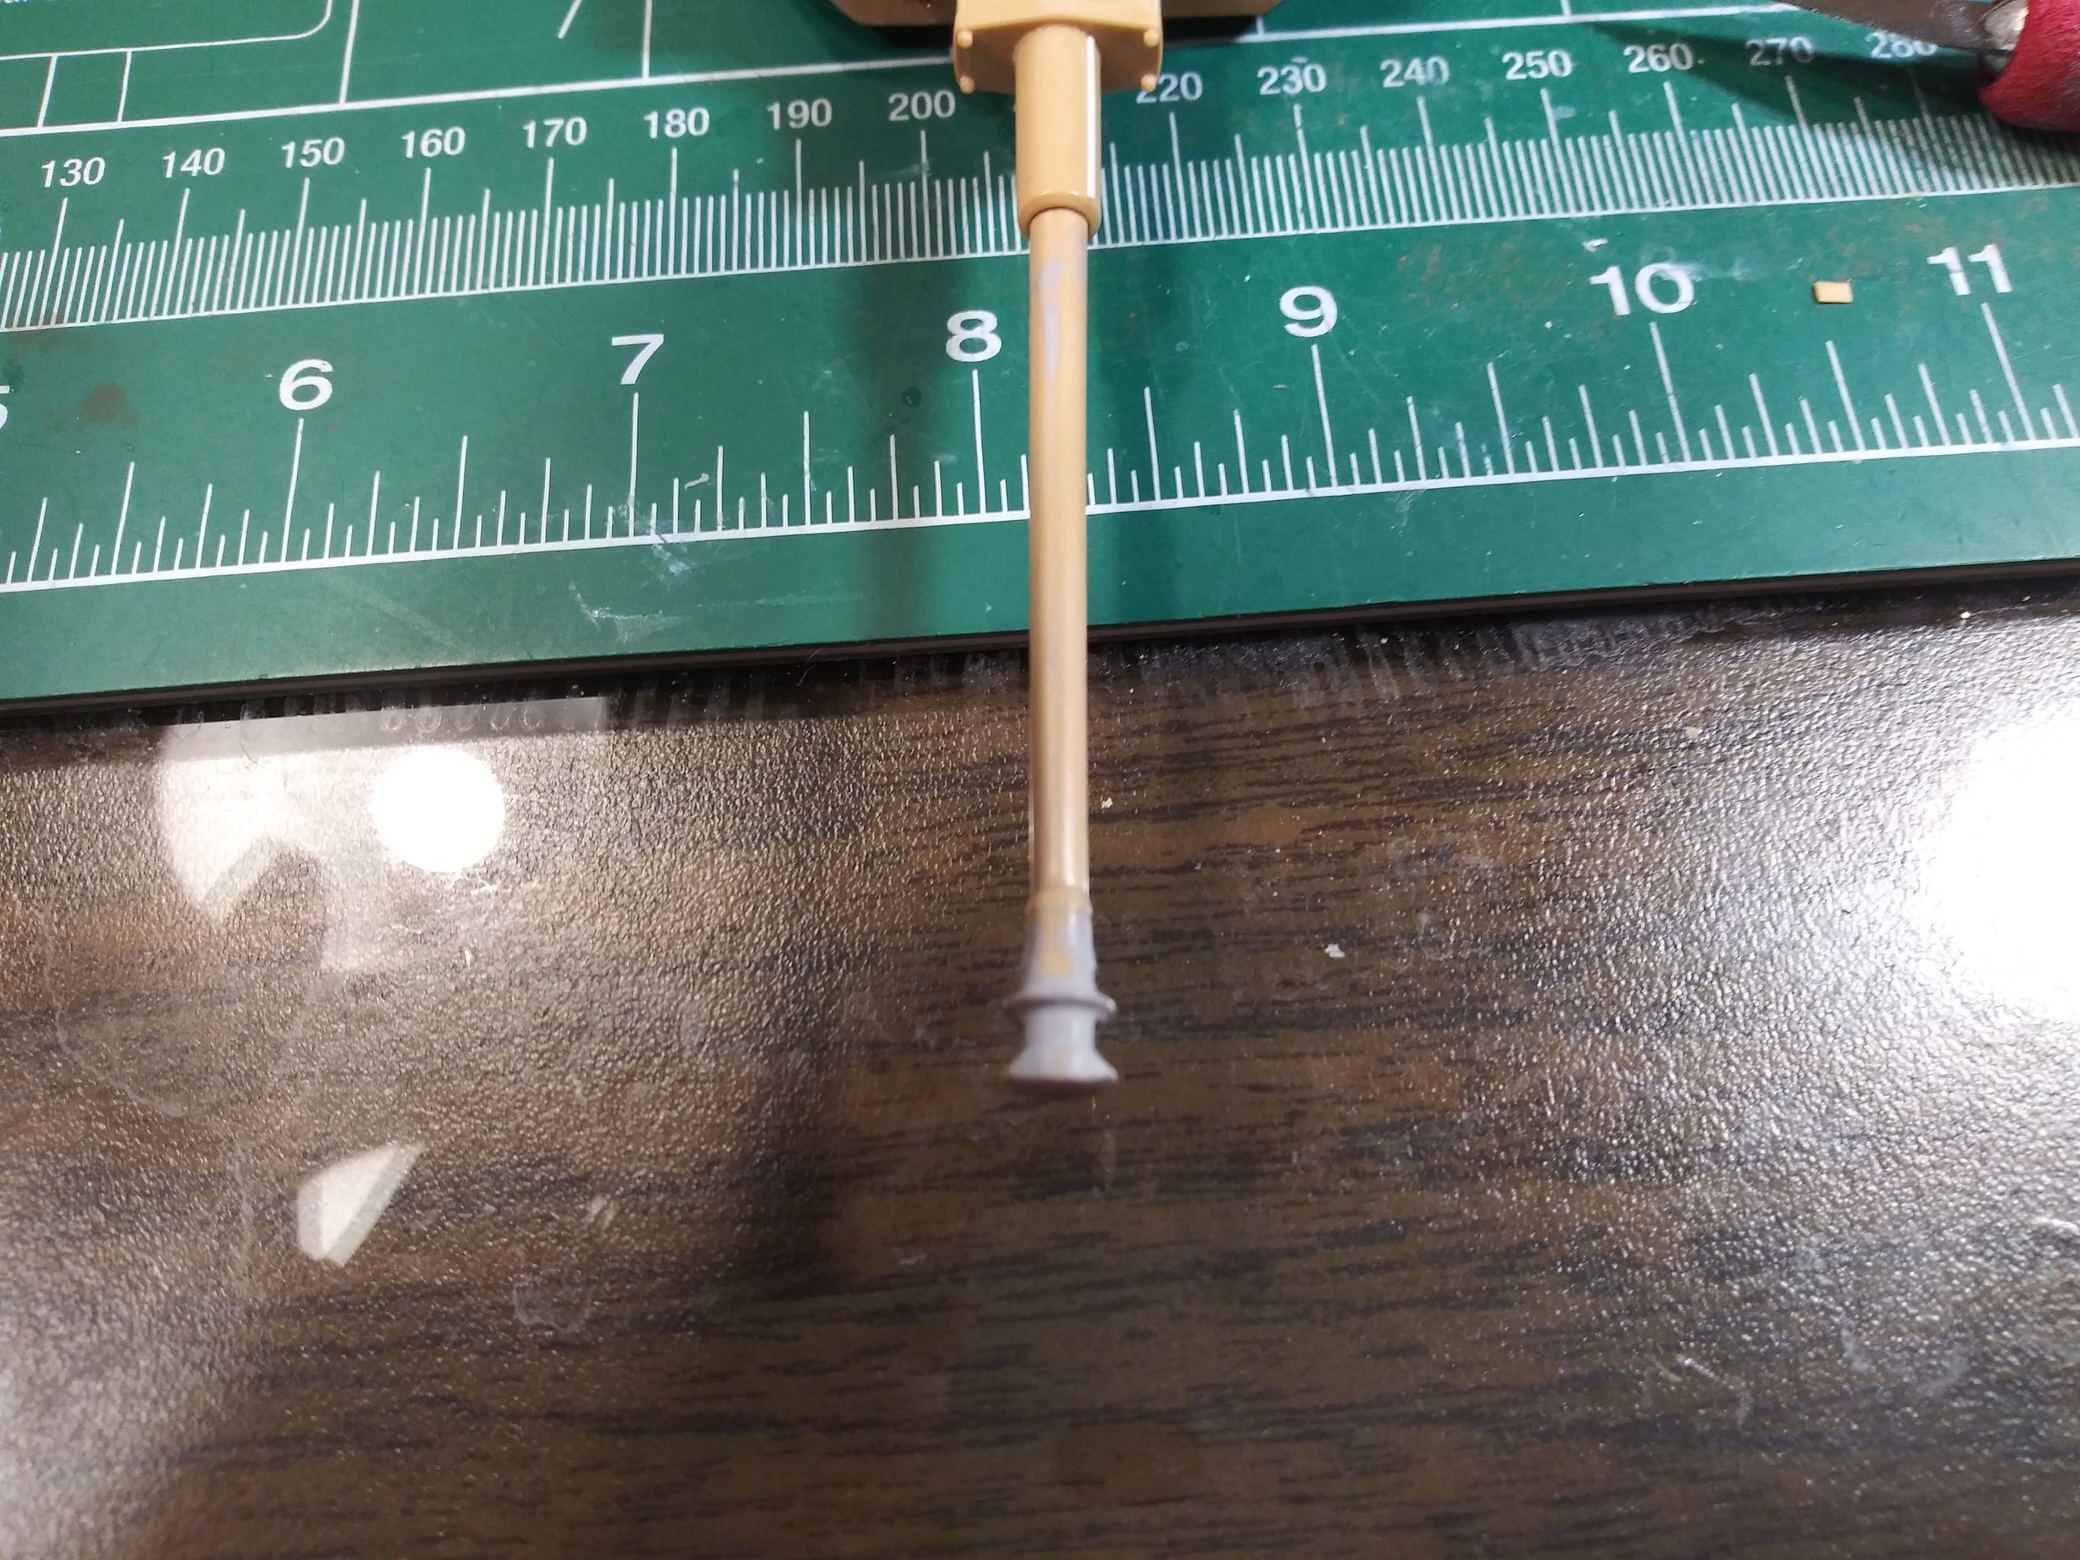
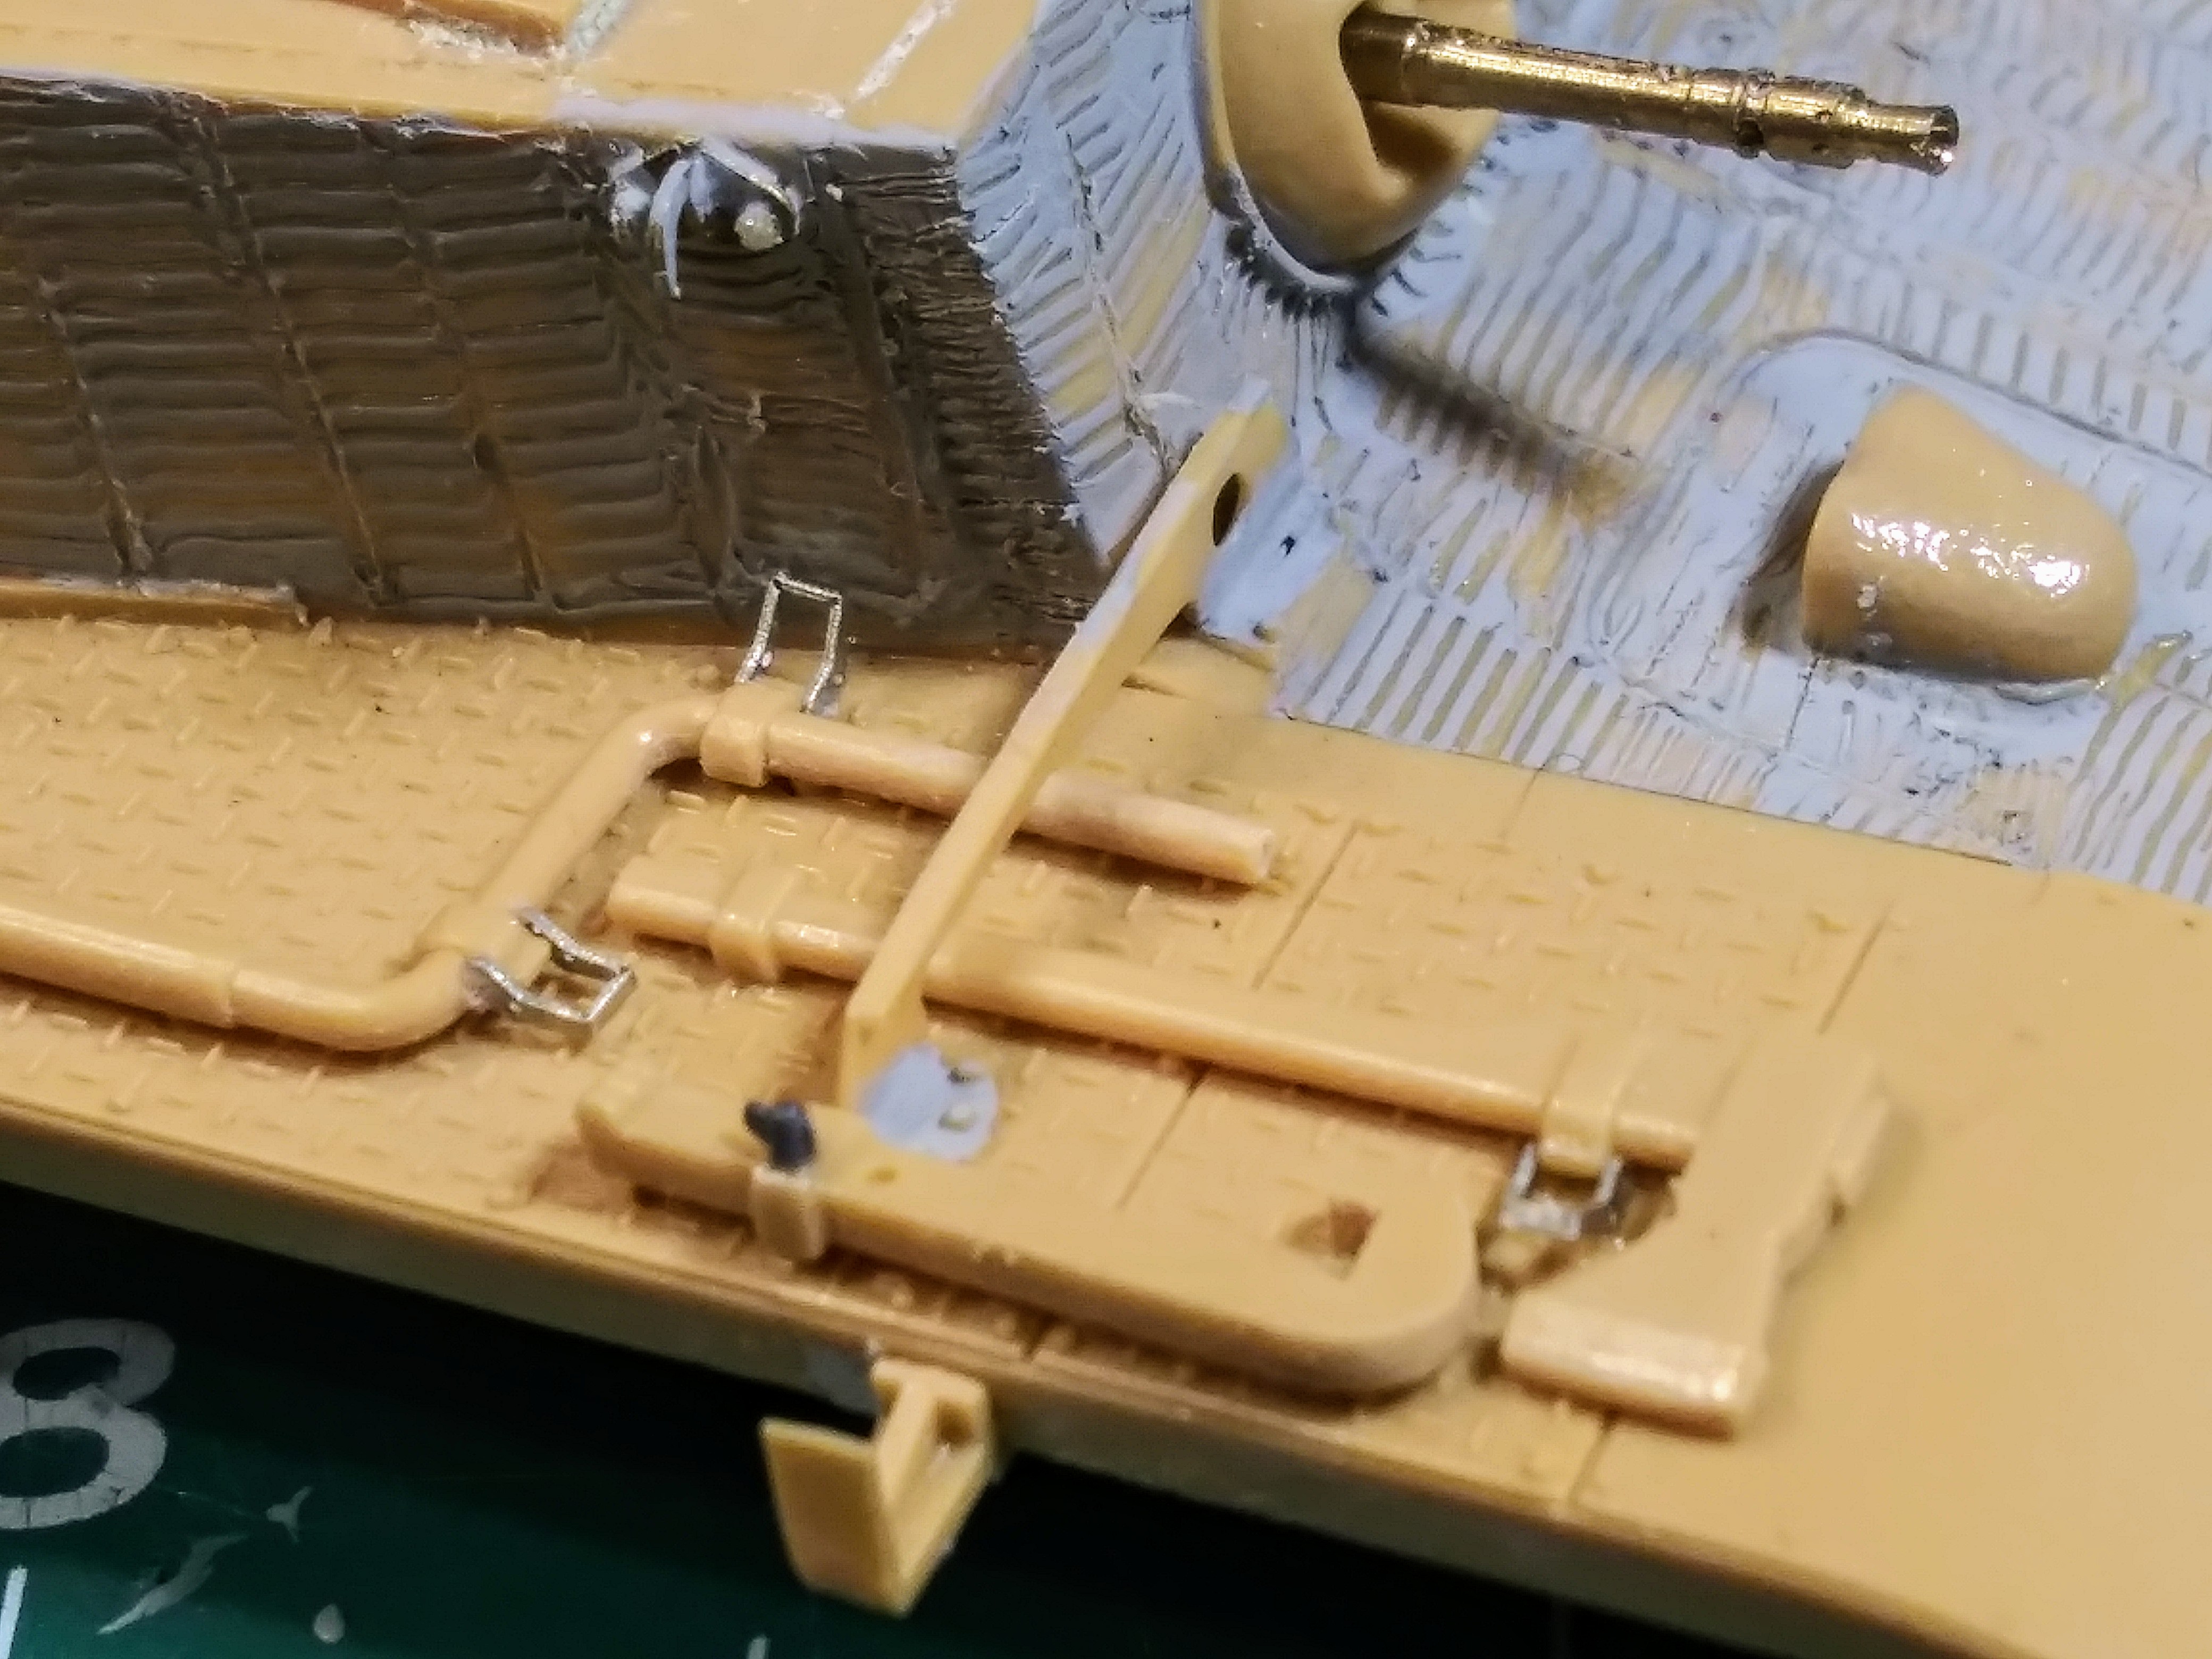
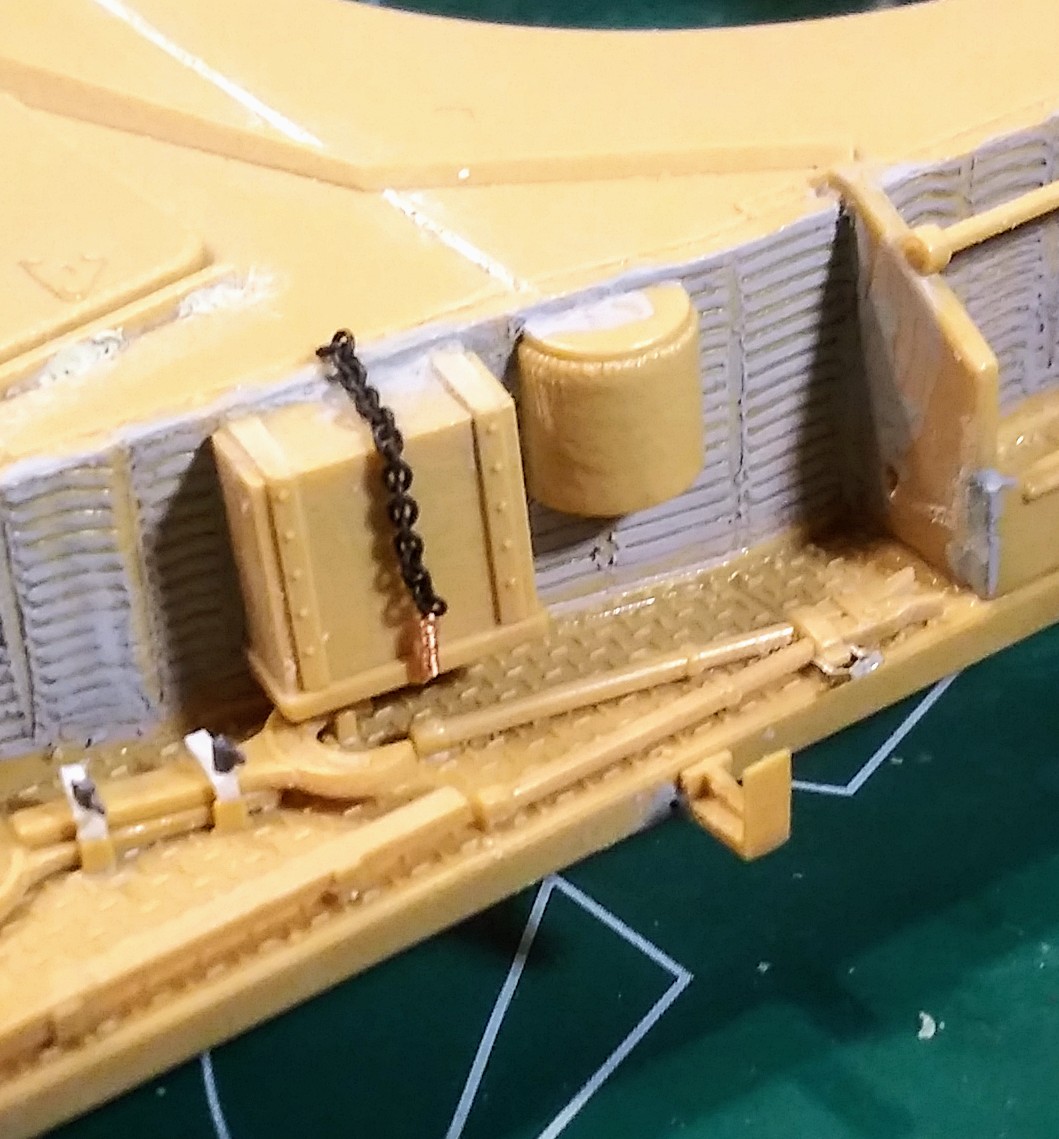
Honestly dread going after the hull gap. However, moved to upper hull to do some tweaking. Basically added Stucco Zimmerit, found a set of PZ IV tools in the detail box. Not sure that happened to the tools that were in this kit as they were missing. Cleaned tools up and attached, added just a PE clasp handle. Not a PE fan have too much trouble with it. Added a Aber MG barrel for the bow MG. Really like the brass MG barrels.
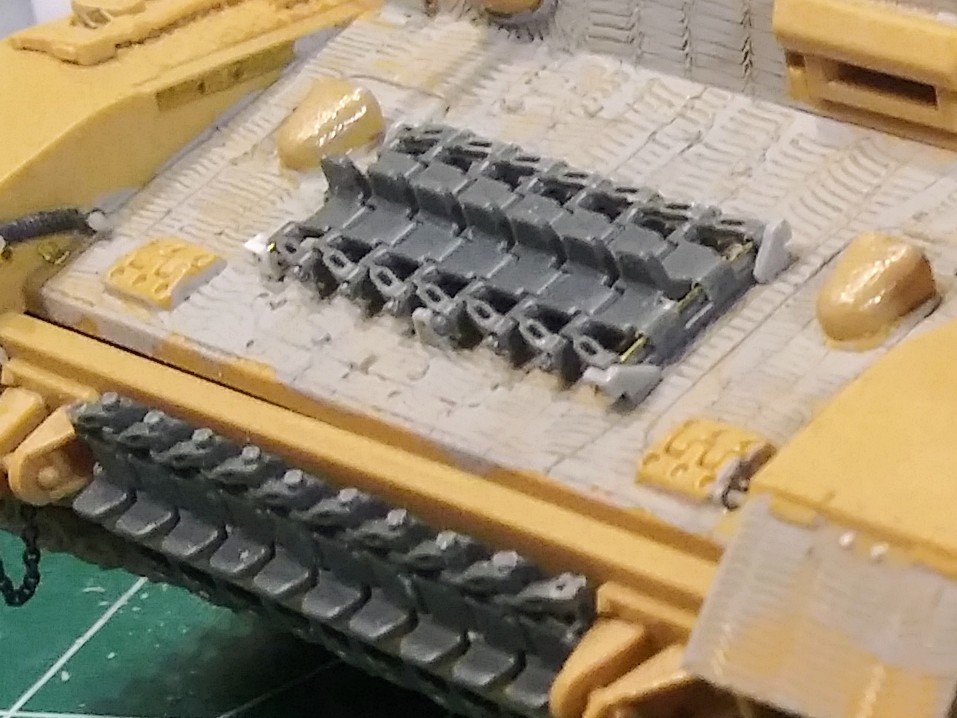
The spare track links in the kit leave something to be desired in my opinion. Stole several track links from a RFM Pz IV kit drilled them out for track pins. Modified the track link holder for the side and a DML Pz IV w/PE donated its plastic track link holder for the glacis.
I really love these old kits. It’s fun to watch them get built and turned into something really special. I had to do a build similar to this with a Tamiya JPIV. Found the last box of Tristar PZ IV road wheels that existed it seemed like, then had to add weld seams and all sorts of other fixes like casting numbers. It was a treat to build.
My Shame Shelf Kit was…yes, was, the Tristar Sturmpanzer IV “Mid version”. I trashed it. Used the kit for spare parts. It was not the usual Tristar quality. Your Panzer IV looks fantastic. See what a quarter of a century can do.
Bombazooka, I agree the older 90’s era kits are often good kits that just need some extra attention. TriStar! That’s a name one doesn’t hear a lot these days. I think TriStar rocks with their road wheel kit. Opens up a lot of possibilities.
Bodeen, saw a YouTube build of one of those and it looked like there were some issues. I’ve done a TriStar suspension but not a kit yet.
MarkIII, thank you, I hope it gets finished this time around:)
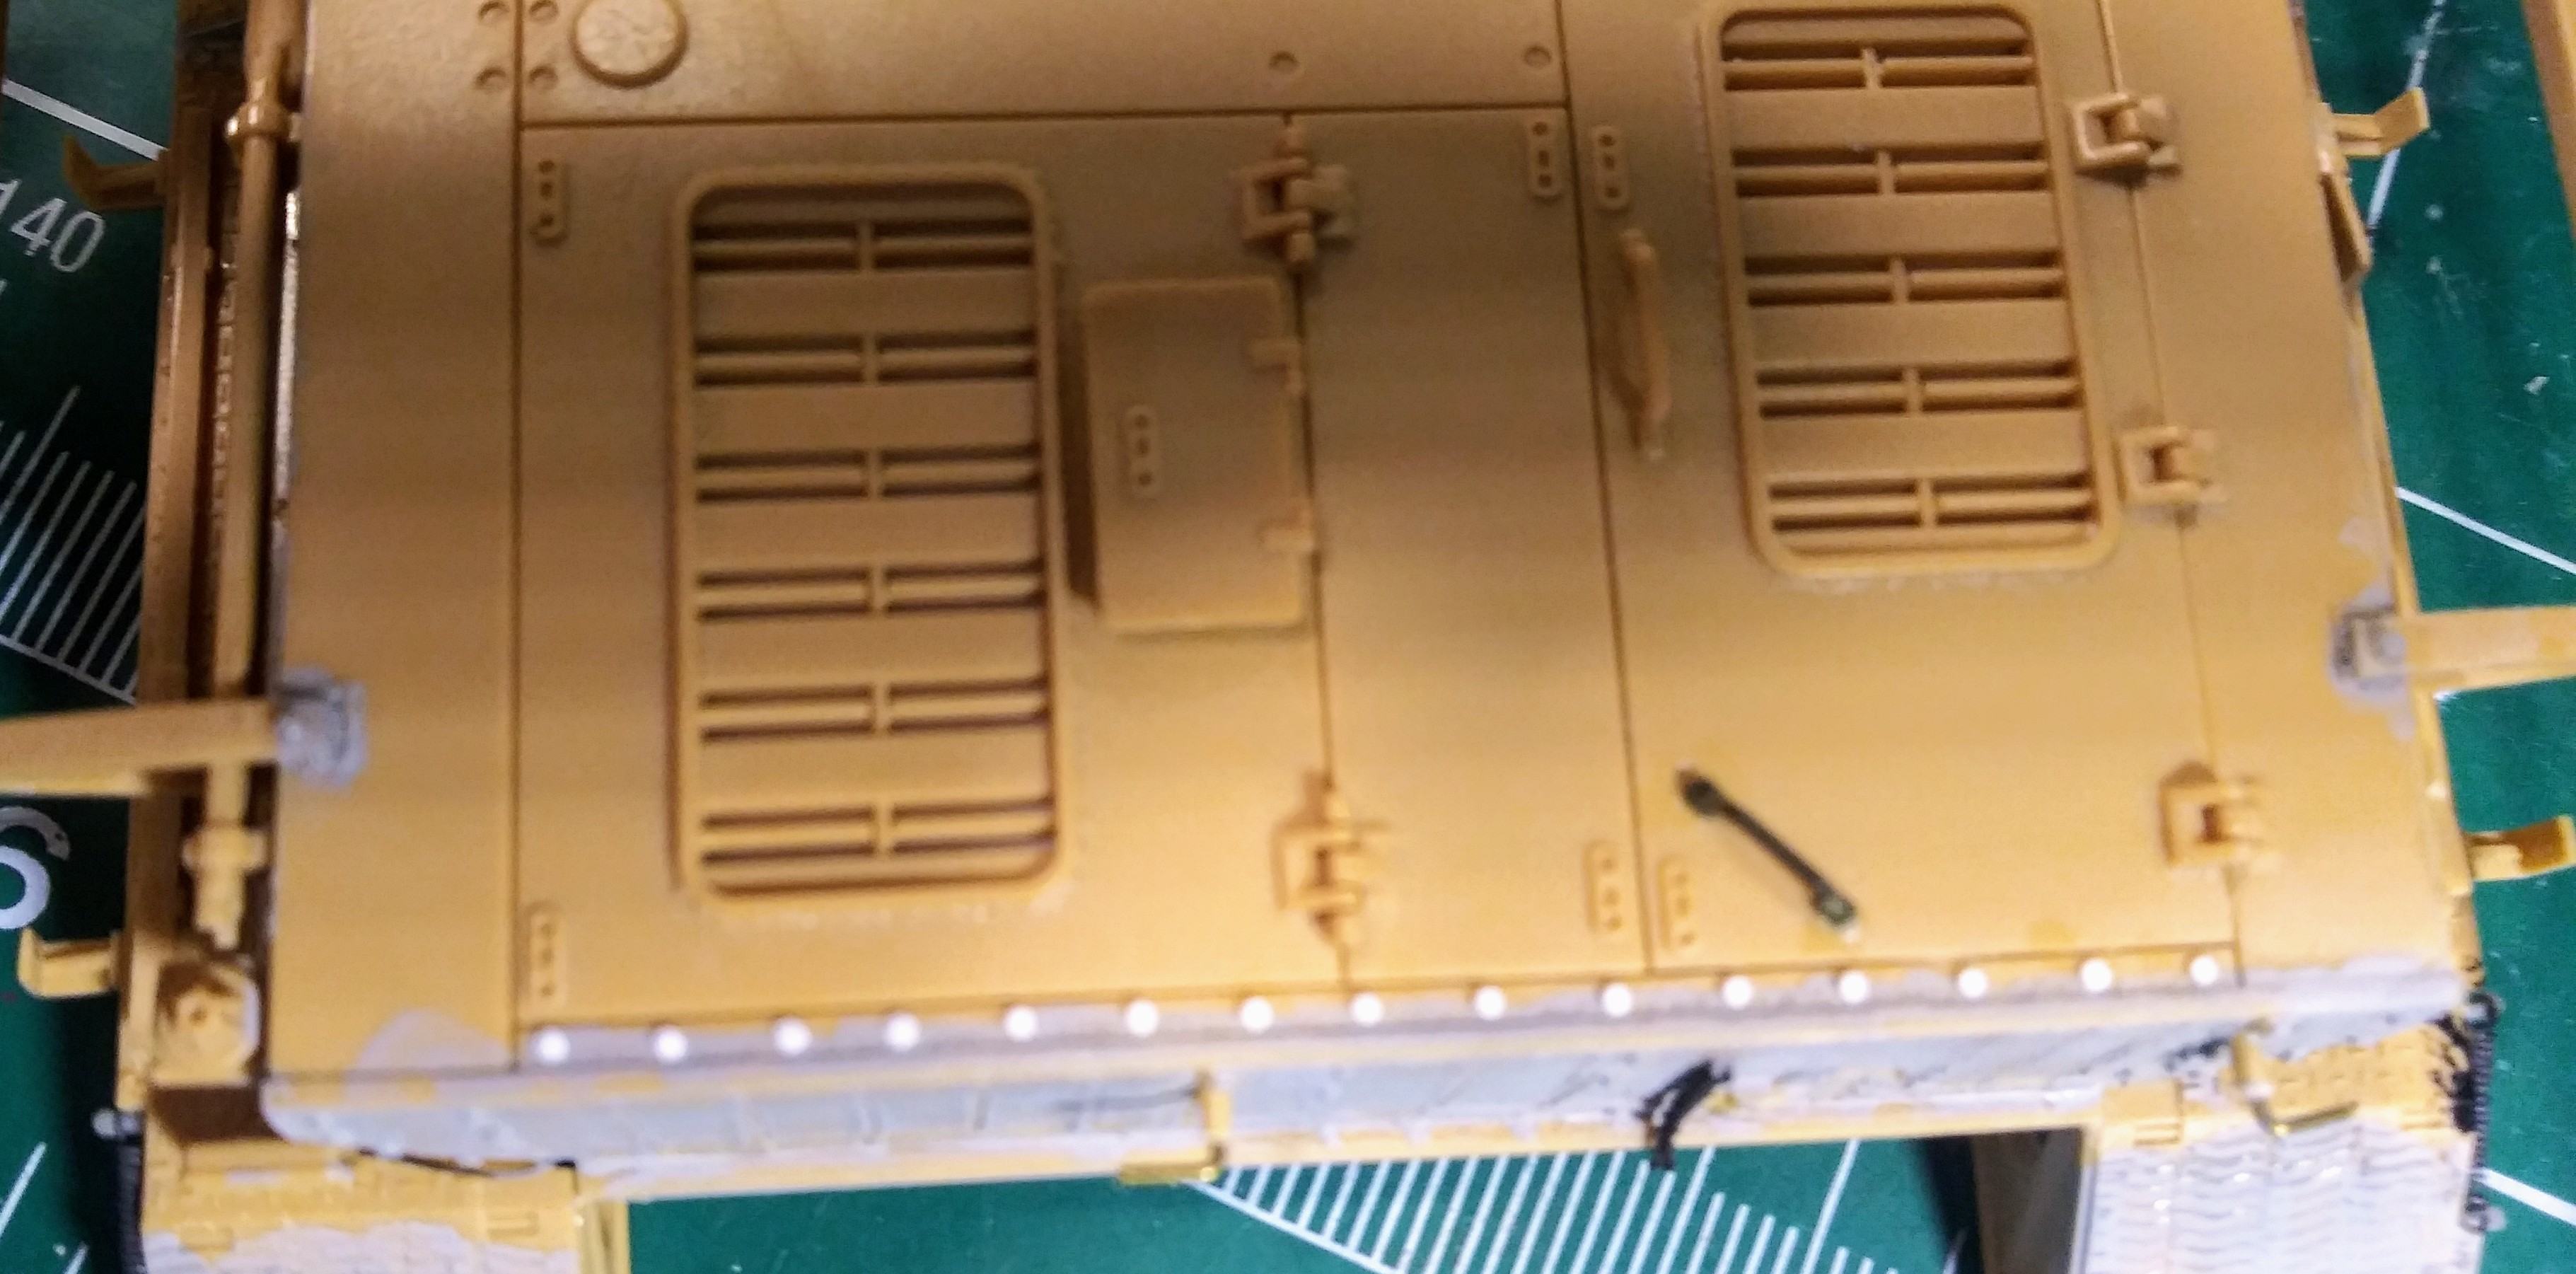
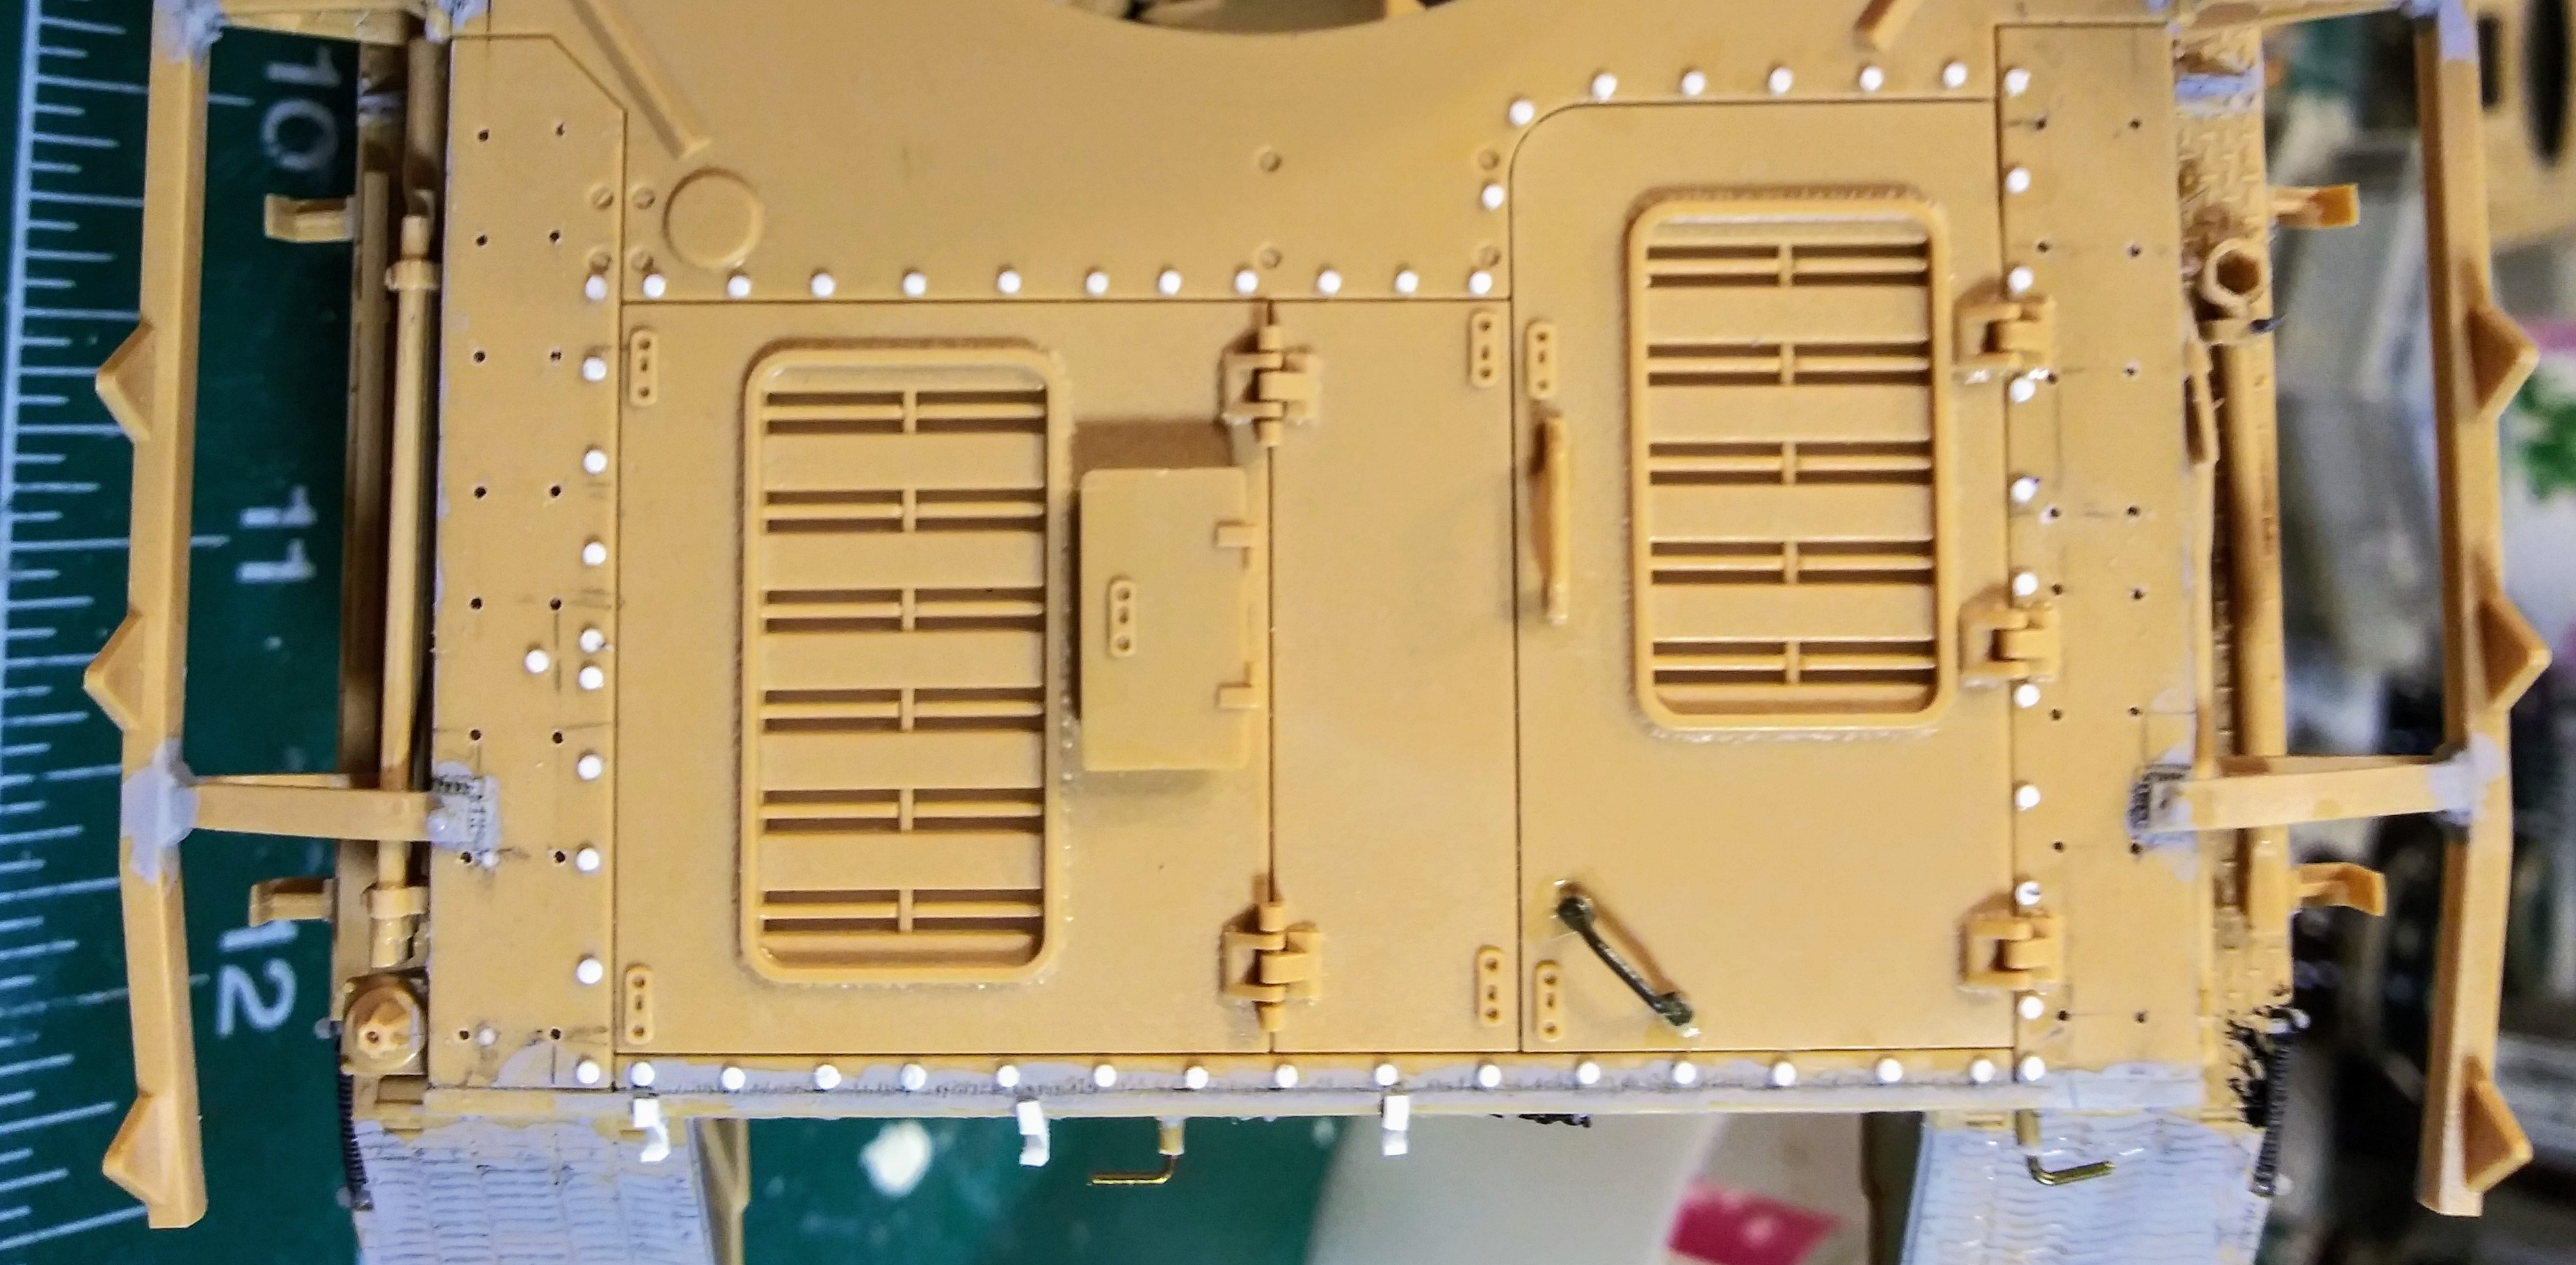
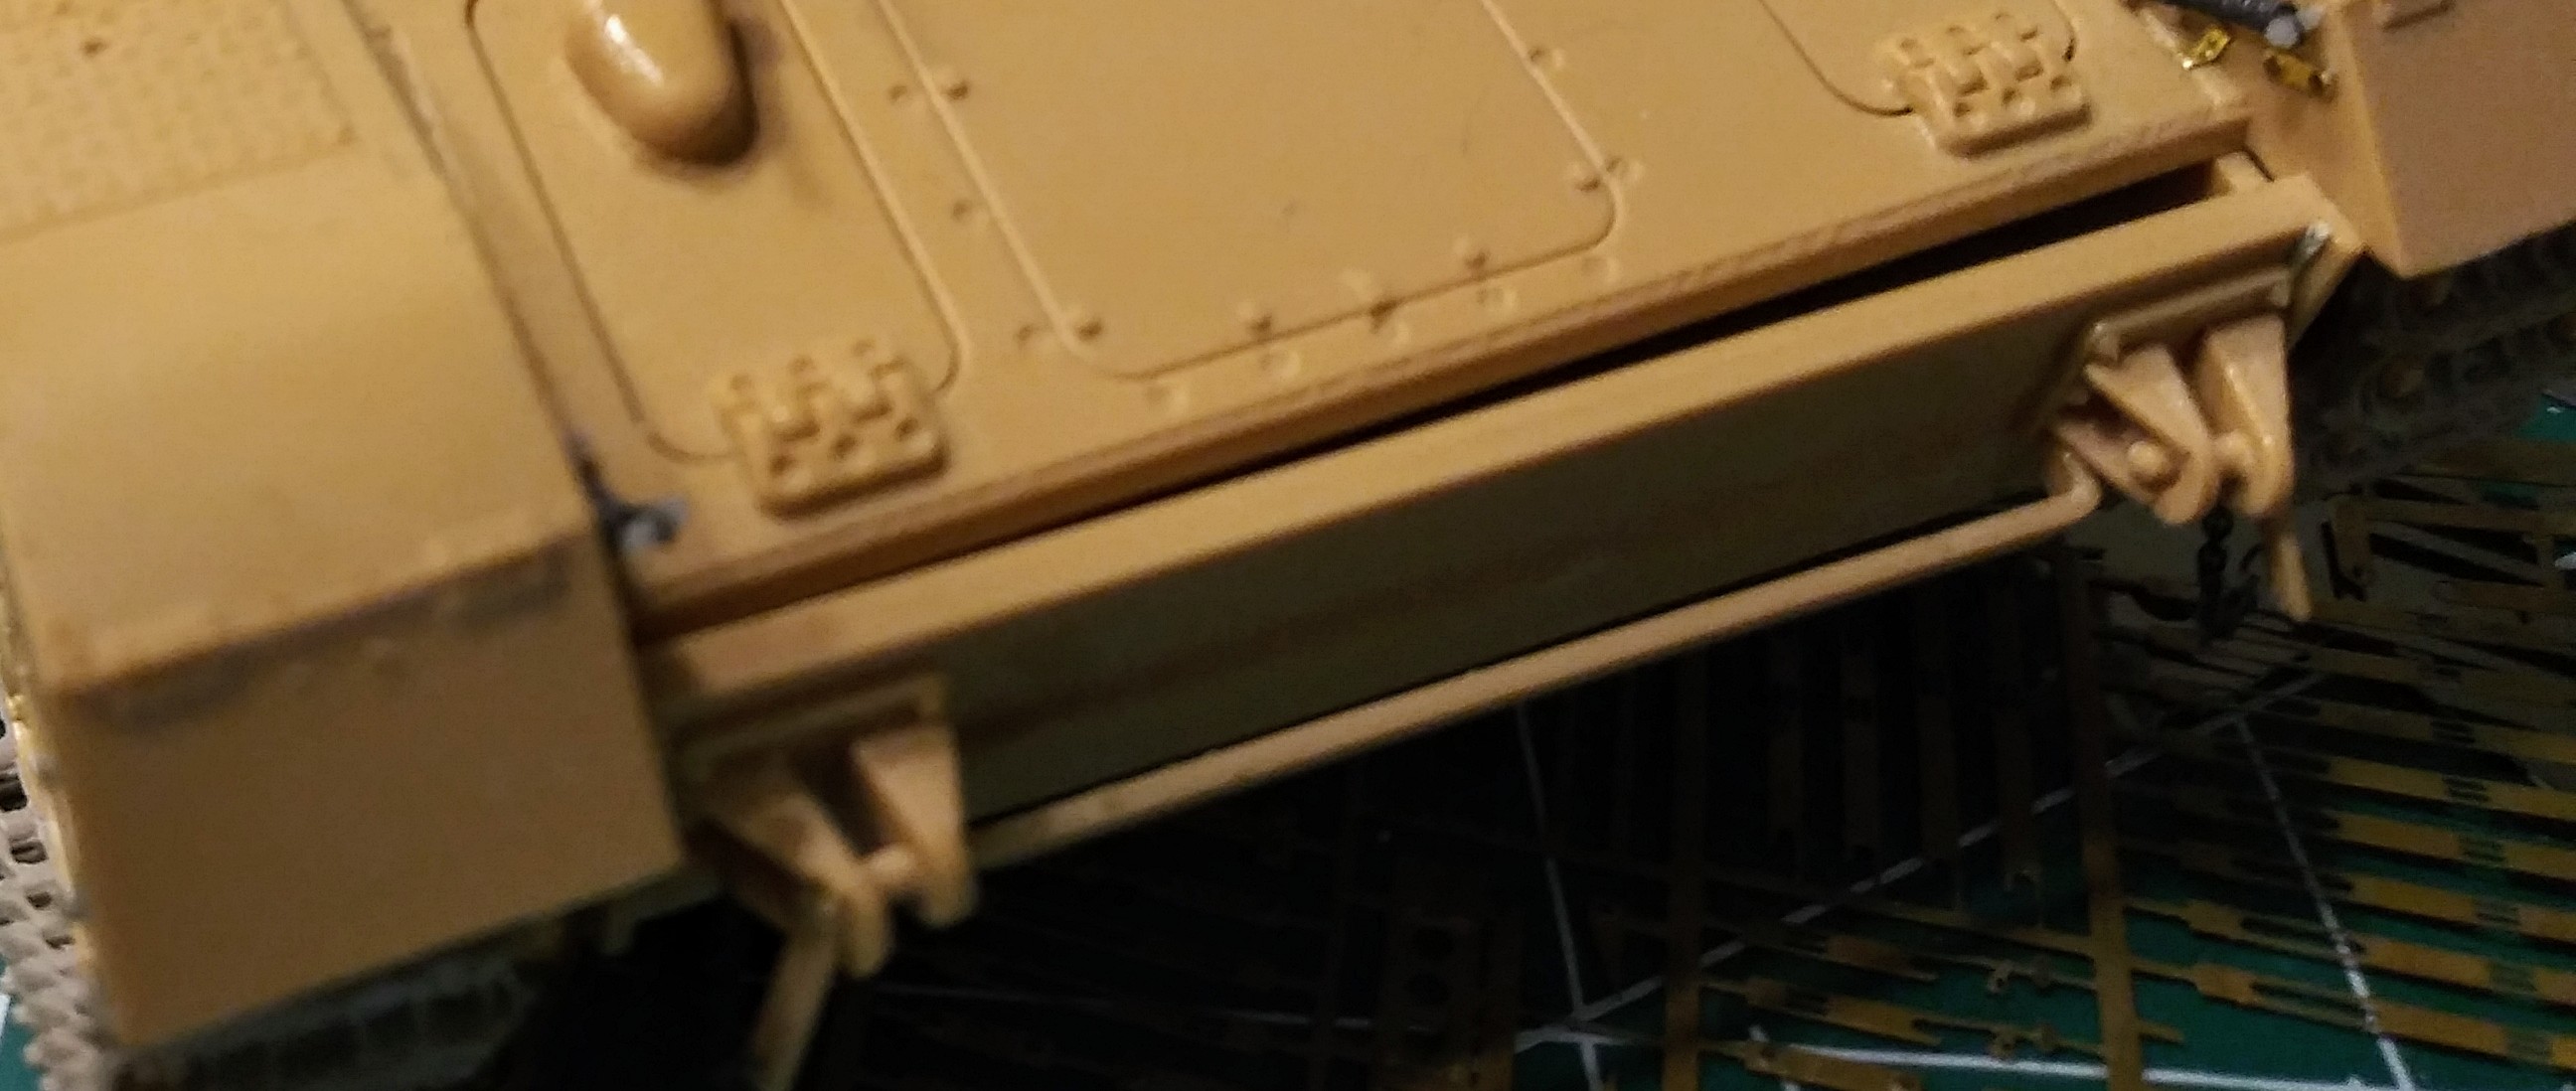
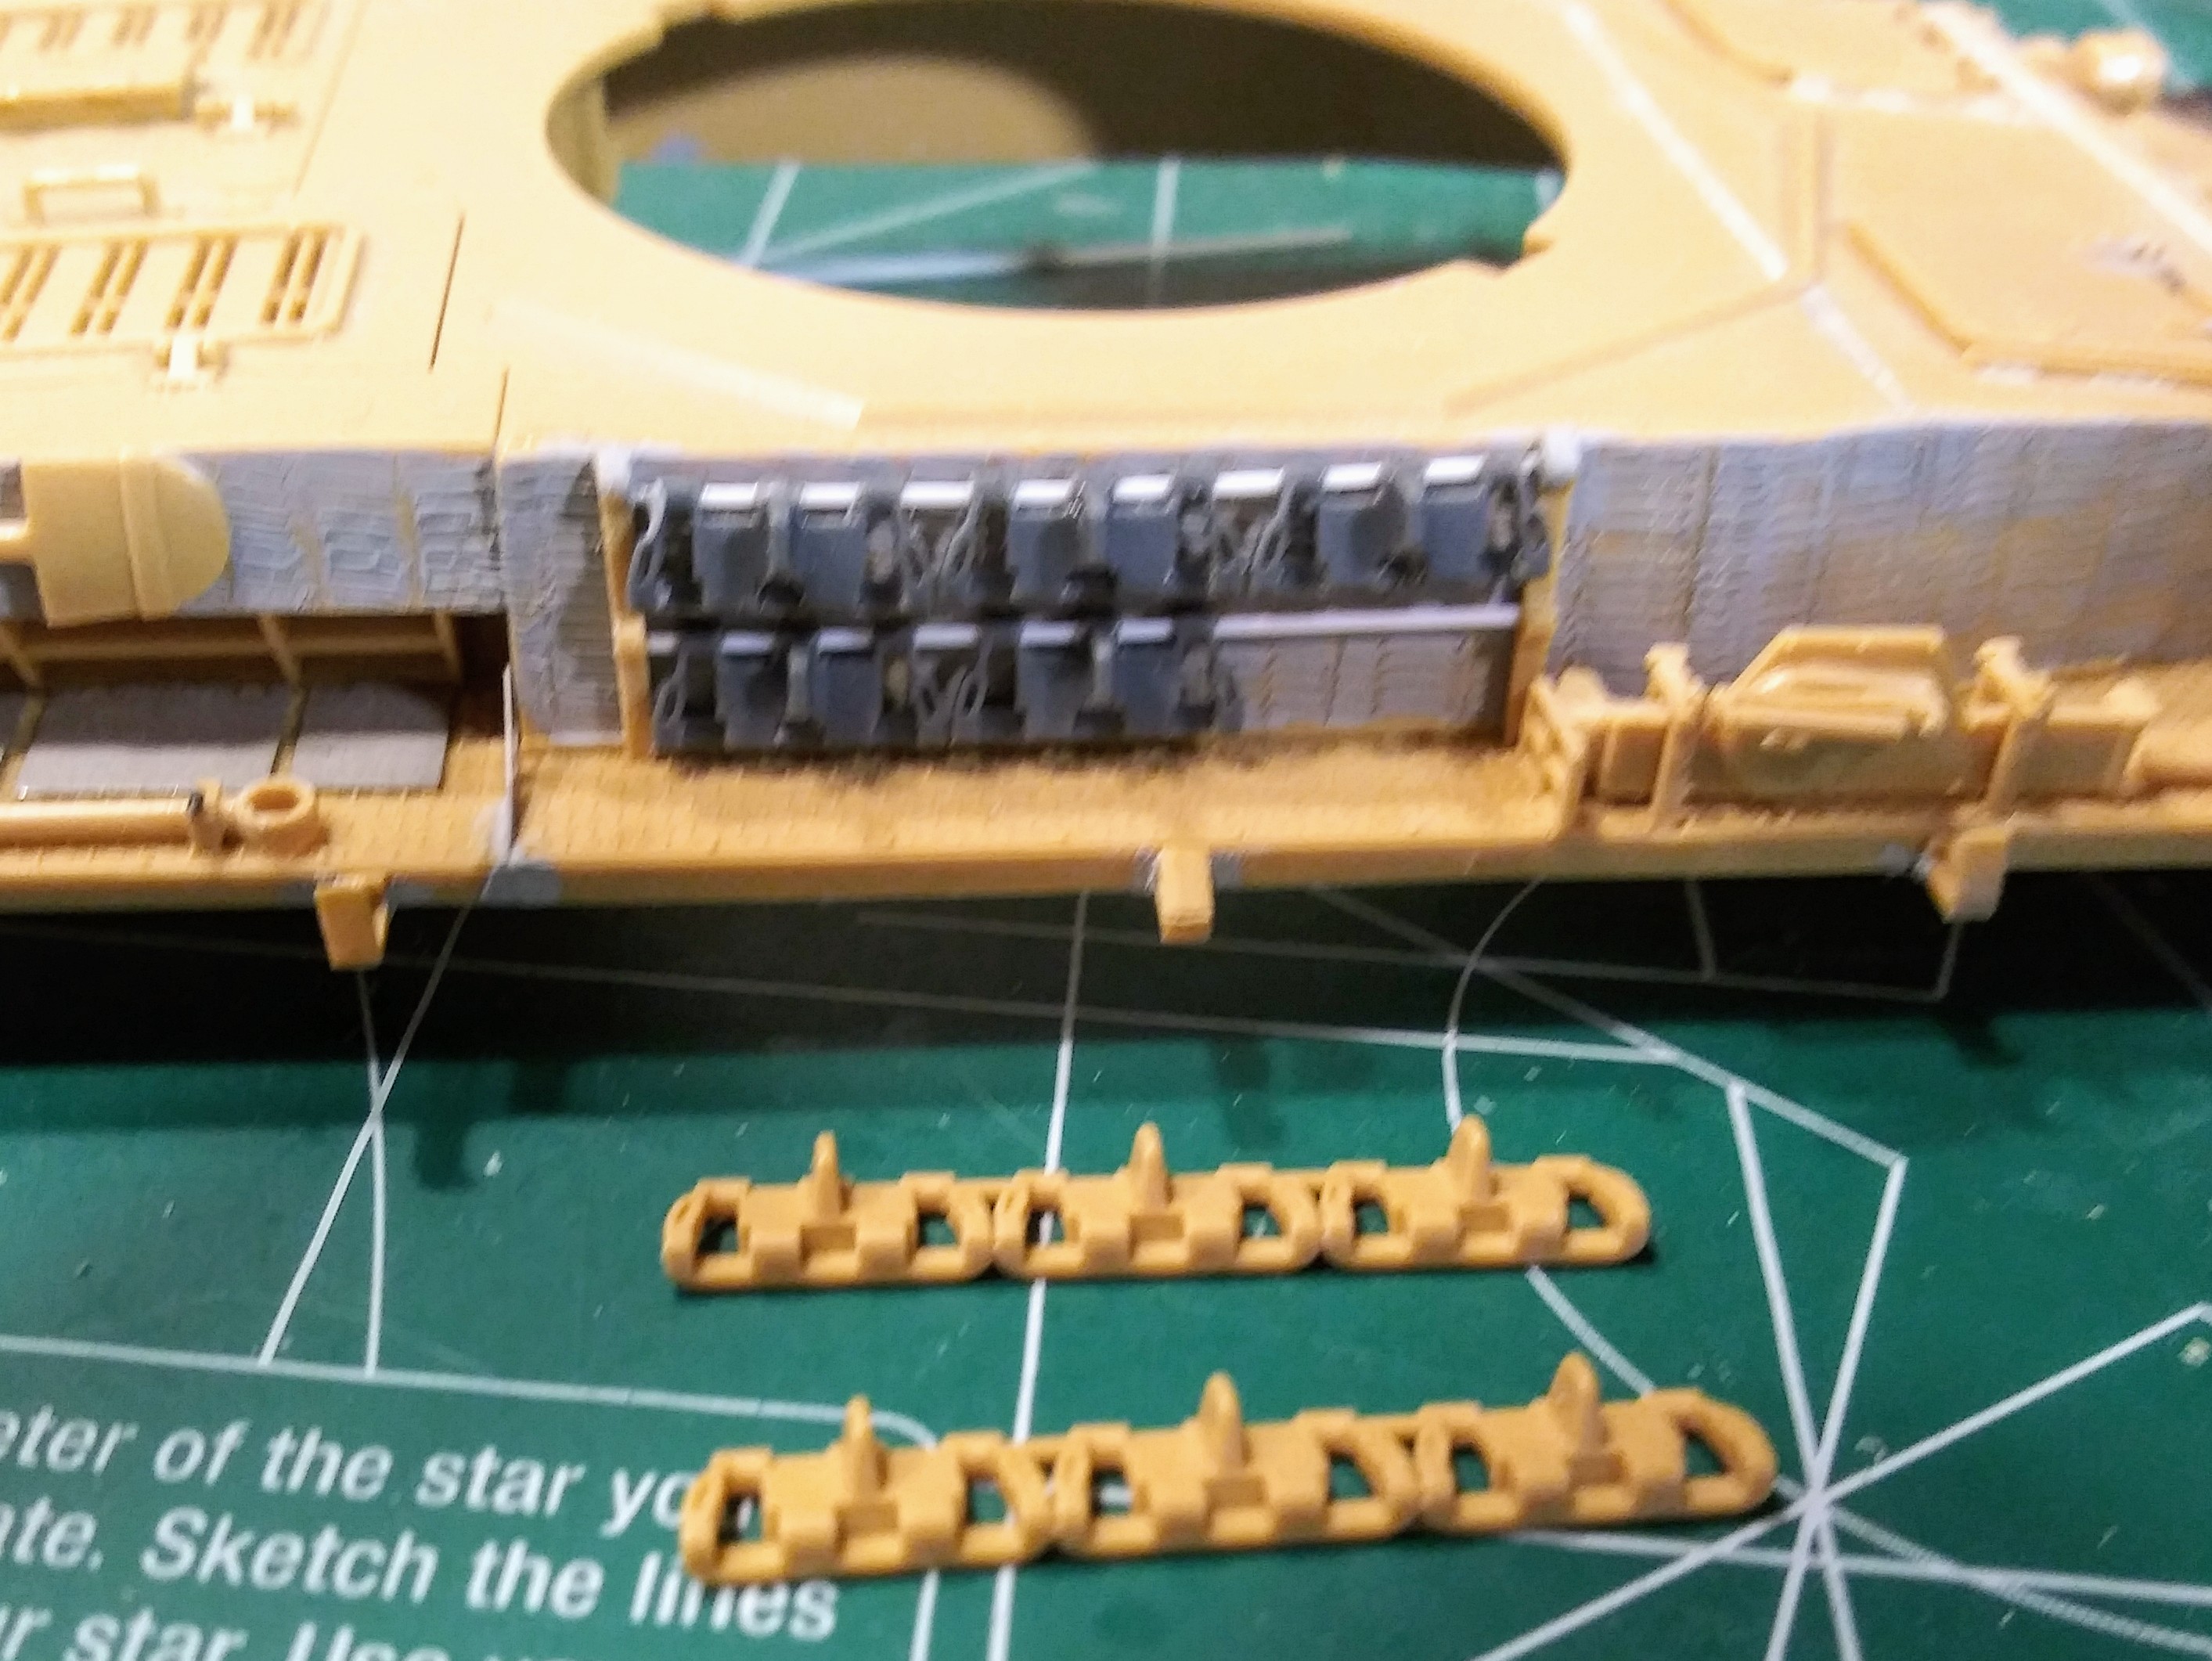
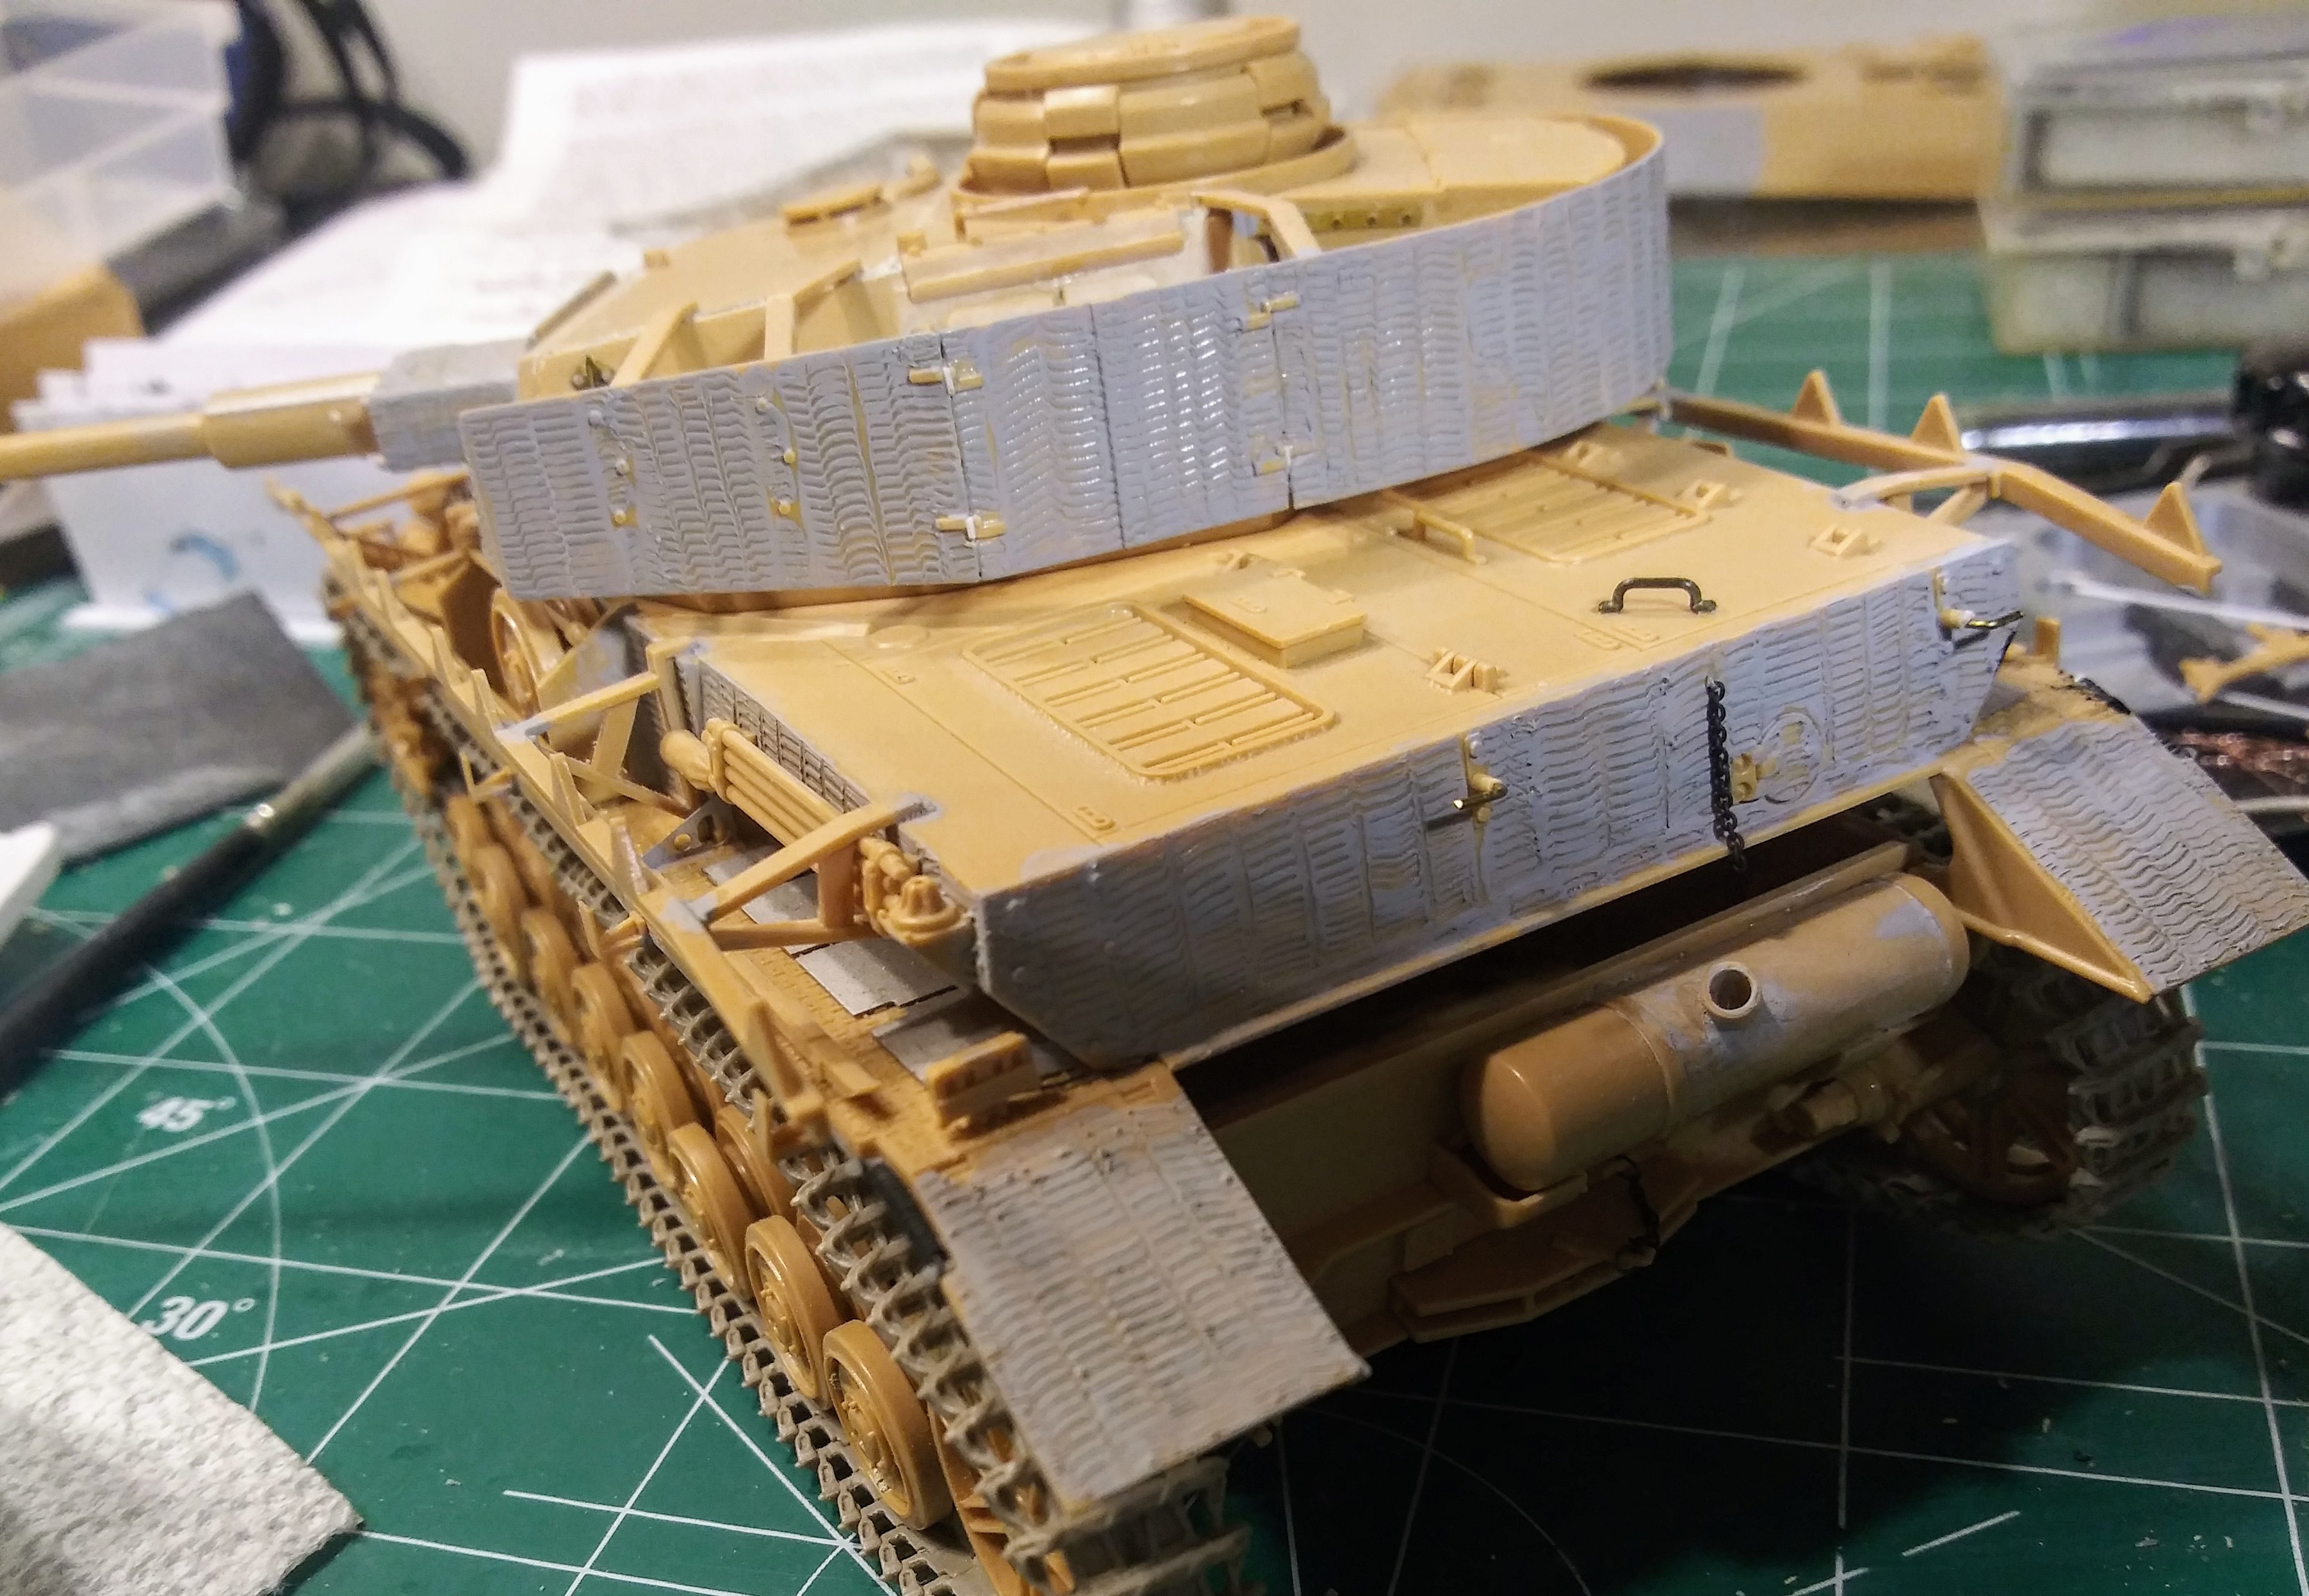
Added chain, skirt rails etc then noticed that engine deck looks pretty bare. Checked a new DML Pz IV kit and discovered there’s a lot of detail missing. Even the old Tamiya kit 35054 Pz IV H from the 70’s has some details on the engine deck that the newer mid 90’s PZ IV J is missing. Checked a walk around video of a later war Pz IV H or J and verified there’s some details to be added.
I needed an easy warm up with my decrepit Waldon punch & die sets before tackling that engine deck. Adding some details to the driver and radio operator hatch was it. Also added some screw heads to the upper hull.
Next into the fire with the engine deck…I patterned after one of newer state of the art DML/Dragon Pz IV J kits because I’m basically lazy on researching details. 80% accuracy to day is better than 100% accuracy next year in my view I like model building and really dislike researching fiddle fiddlely bits I know that annoys some folks so here we go…
Warning to those with the AMS/IPMS Accuracy Police Stamp of Approval Concern
Don’t look at the following pictures if your an obsessive rivet counter cause something may be + or - a rivet


 fiddlely bits