How are people making their own washes? I am having an absolutely frustrating time. I tried pre-made AK interactive dark brown for green wash and it didn’t go well. Came out chalky, dried more grey than brown etc. I gave up on that, and tried mixing my own, again they dried chalky but ha better flow.
I don’t know what I am doing wrong but I can’t get the hang of this and its causing a road block on T-54 build. I think it may be down to the way I’m making washes? I am using white spirit and oil paints but I am not sure A) the consistency I am looking for, B) I think my oil pains are too cheap leading to the grainy nature of the wash, so I am looking for advice on paint.
I am also curious if maybe something like lighter fluid is a better idea?
To make a successful wash:
Get some hardware store mineral spirits. Buy it by the gallon at a big box store.
Go to Hobby Lobby or Michaels and buy some Winsor & Newton oil paints. There are different grades. Buy what you can afford. They are all good. Get Burnt Umber, Ivory Black, Titanium White, Yellow Ochre, Sap Green, Cadmium Lemon, and Prussian Blue. This will also have you set up to do dot streaking in the future.
But a set of cheap stencil brushes.
Buy a package of disposable medicine cups.
Buy a box of toothpicks, if you don’t already have a lifetime supply.
Fill the medicine cup with mineral spirits. Open the burnt umber and squeeze out an aspirin sized amount of oil paint. Slice it into the medicine cup with a toothpick. Mix well until all the oil paint is dissolved into the mineral spirit. You now have a perfect burnt umber wash. Total cost - about half of one penny. Compare that to what AK charges. Apply the wash. Let it dry. If you get tide marks or pooling, scrub the stains away with the stencil brushes dampened in mineral spirits. Reapply the wash until you get the depth of effect you are looking for. You can switch to black but it has much starker results, sometimes desired. Cut the amount of oil paint in half and switch colors to make filters and bathe them over an area to shift the color. Make sure you allow each wash/filter to dry several hours or overnight. Oils have the advantage of having a very long working time and give you a nuance and subtlety that enamels or acrylics can’t. Give this a try. It’s really that easy.
4 Likes
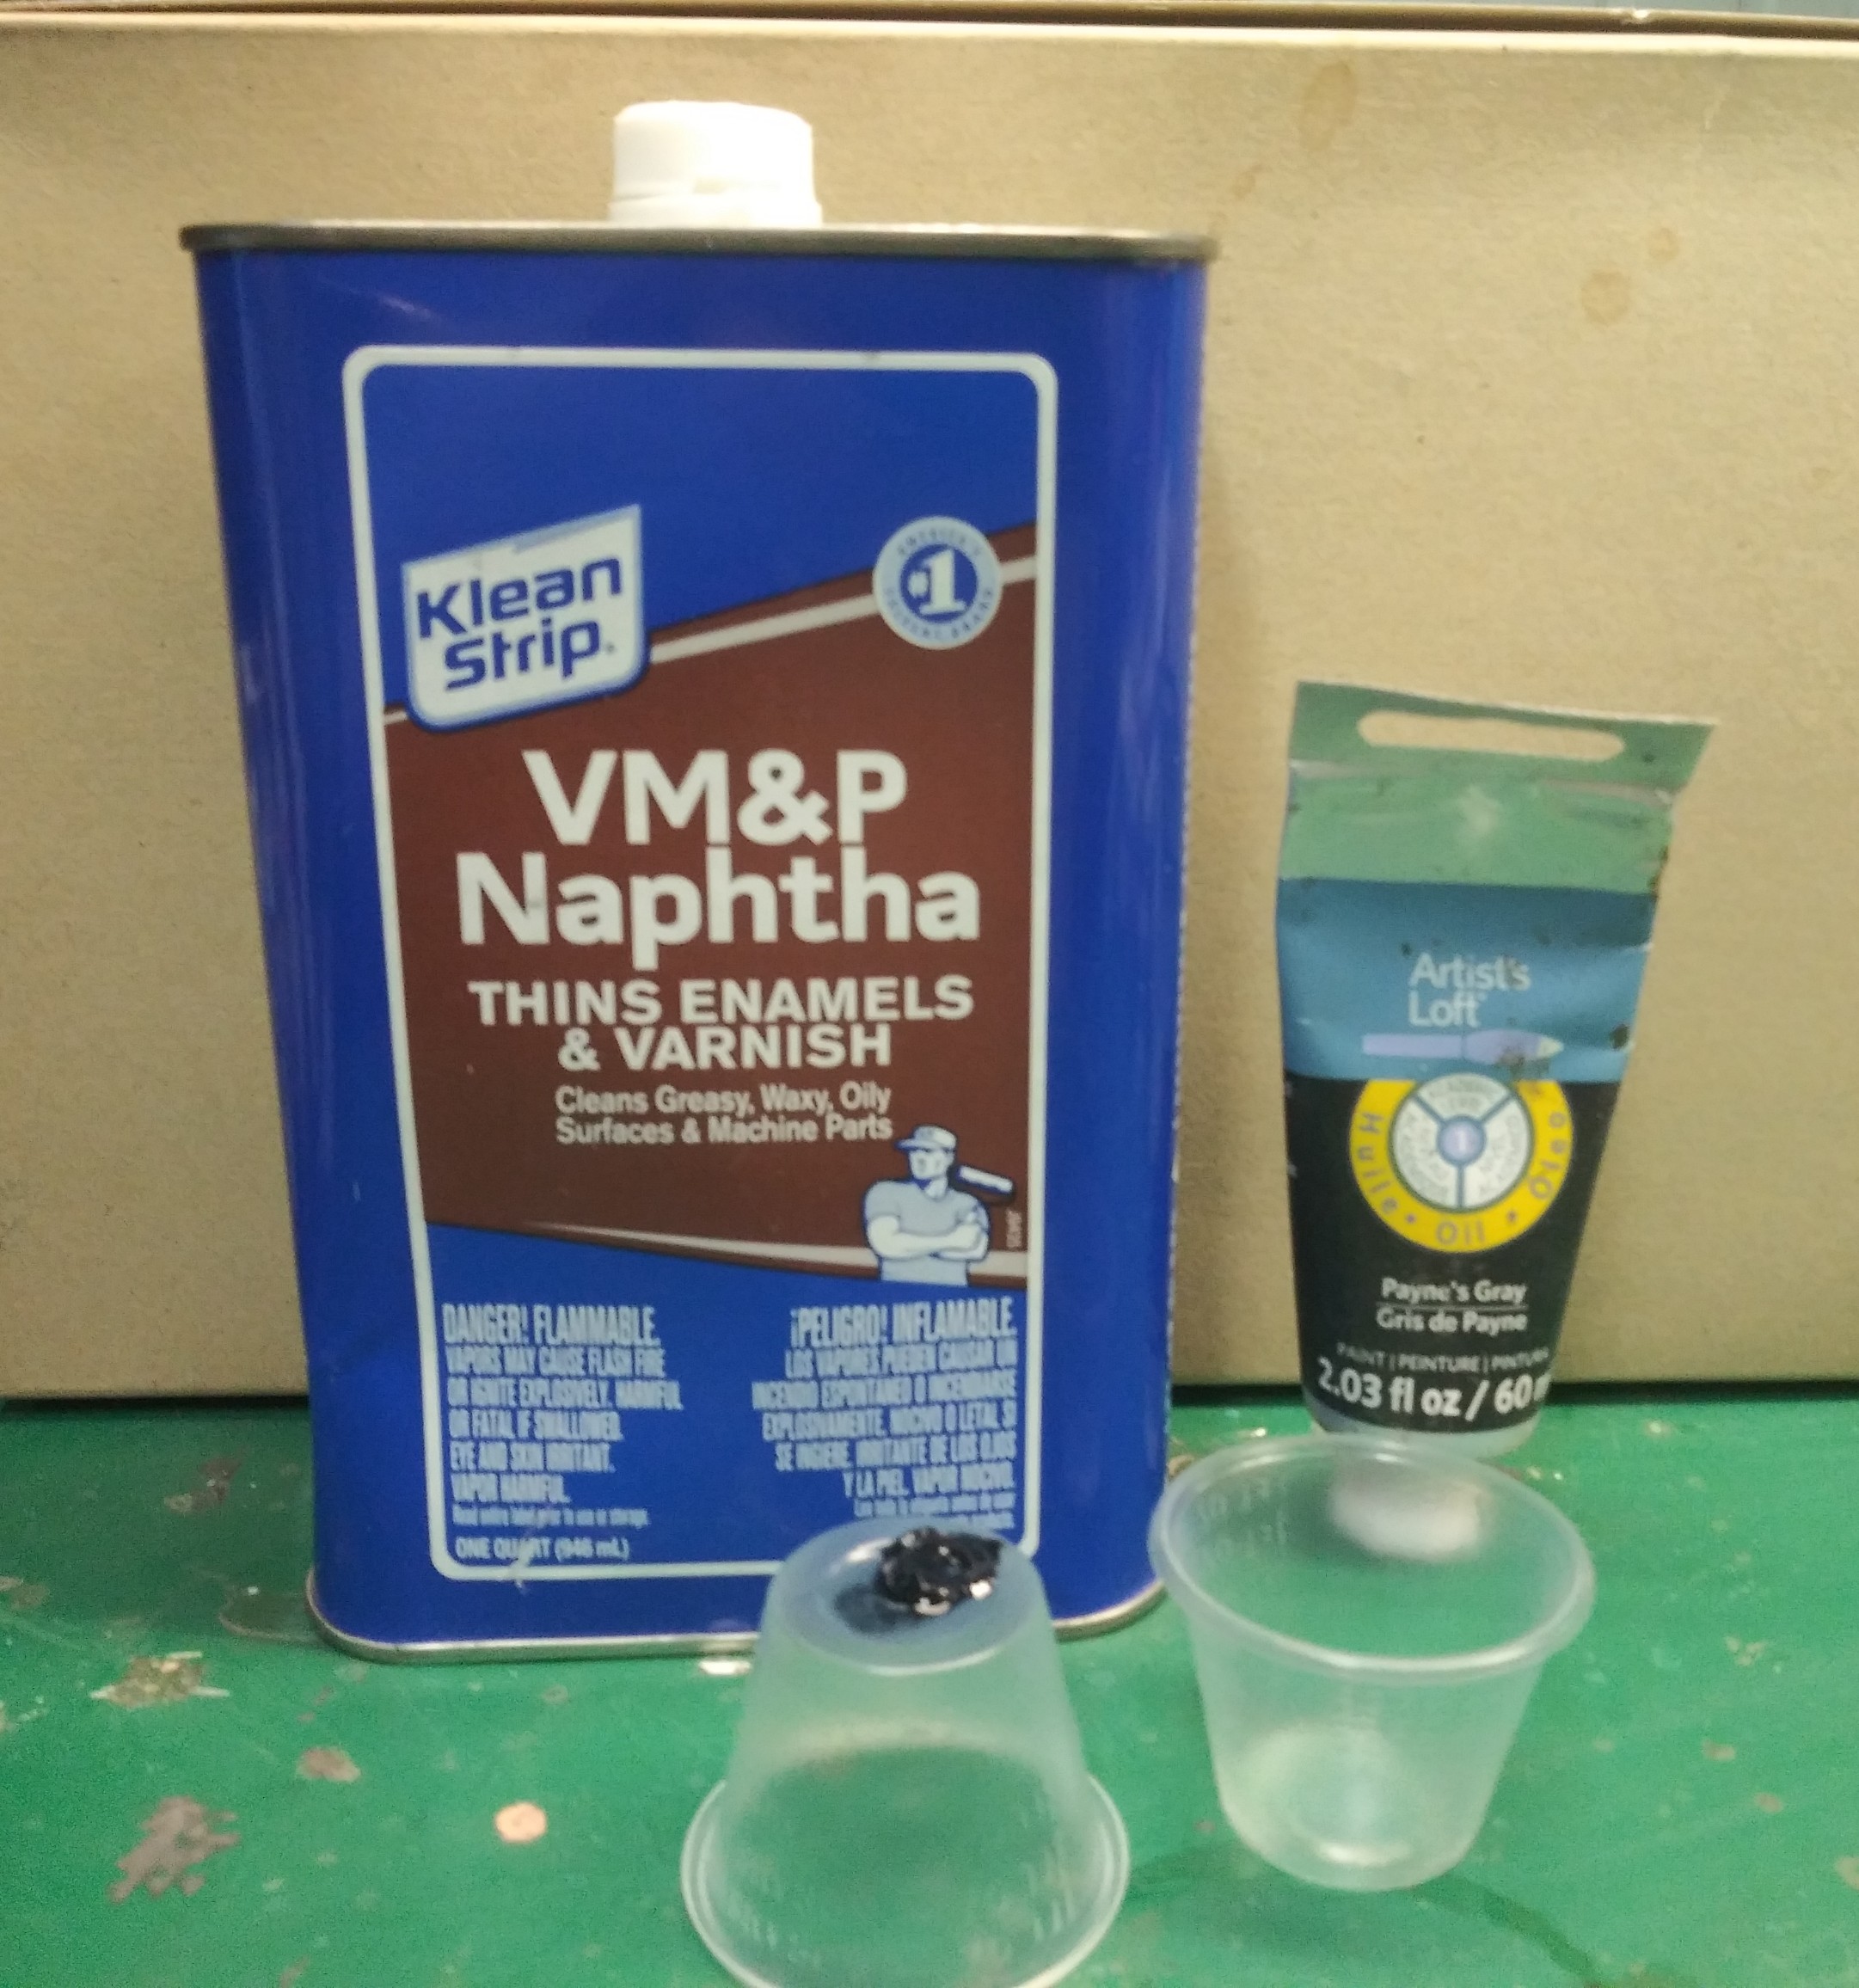
The easiest way to make a wash/ filter is to use oil paint and VM&P Naphtha. Because you will be thinning the oil so much it is fine to use artists loft oils .
Squeeze a smal amount of oil into a mix cup and pour Naphtha about a quarter full and mix thoroughly.
Before applying as a pin wash spray a satin coat over the model and let it cure completely. Then you can take a pointed brush and barely dip it to the oil mixture and wrap it around raised detail and reset the tail once that dries you can take a cotton bud to remove any excess.
The attached image shows the products and the cup that is inverted shows the amount of oil paint in general.
2 Likes
Perfect I’ll give these methods a try. I’ll pick up some Windsor Newton paints, I think my oil paint might be the issue? I can’t figure out why but it goes on okay, but as it dries it goes chalky/much lighter, and looks awful. Possibly too thin and bad paint quality?
Going light and chalky is a sign of cheap oil paint.
1 Like
Okay good to know, being cheap I bought the cheapest oil paint I could find… one of these days I’ll learn that being cheap usually just means buying something twice. Buy once cry once right?
You mention different grades Windsor Newton of oil paint, how do I determine the grade?
I prefer the pre-mixed stuff to making my own. But, I did not have good success with the AK dark brown.
(Probably stuff you already know follows)
I prefer oils because you can reactivate them. There is a great video on YouTube about putting a winter wash on a Panzer IV and the guy does it with vallejo acrylics and water. He then makes it dirty with different vallejo acrylics and water.
Some technique tips:
- wet the surface where you are applying the wash
- go back fairly soon after you think you’re done (an hour is fine if you are using oils) and make sure you scruff up any tide marks if you have any
- start thinner than you think you need to start with
VMS makes his own washes with pigments and has good results. Regardless of how you end up doing it watching the free videos on the VMS website are a worthwhile time investment
1 Like
Cheers I’ll take a look! I found the ak dark brown to be more of a gray which I found weird. It looks brown in the bottle but on paper towel it’s a dark greyish color. It also didn’t flow around anything
Gotta say I do most of my washes as acrylic mixes based on Vallejo. I use “wet” water - a few drops of Ilfotol or Kodak Photoflo in a jar of de-ionized water (the Ilfotol breaks down surface tension allowing the wash to flow) - and add a few drops of paint. The benefit is I can mix a range of strengths of the same colour. Naturally this is exactly why Tamiya provides its expensive paints in those little glass jars - so I can recycle 'em for mixing! Using acrylics has its foibles - once it dries it is there forever, so be sure to feather out any tide-marks while it’s still wet. I work small areas at a time to keep control…
@Mead93 The Winton Oil Colour series is high enough quality that it isn’t gritty or chalky but it won’t break your wallet. They are exceptionally high quality for the price. It’s what I have been buying for 20 years with excellent results always.
Fantastic, Michaels has a ten pack with most of the colors you mentioned in the winton colors for $25, I’ll grab that. It’s defintlely the paint, I tried white spirit only on a portion of the futured area that will be hidden and nothing happened, I was worried the future was some how reacting. Thanks for the help!
1 Like
Hey, I wouldn’t steer you wrong! You’re welcome my friend.
Been using homemade washes like Tom for as long as I can remember. Really can’t go wrong with them. Long working time and very forgiving if you screw up. Only down side is that they can take a while to completely dry. Putting a dab on a piece of paper/cardboard will draw out the linseed oil and helps cut down the drying time.
2 Likes
I do almost word for word what @SSGToms described except use Raw Umber most of the time as my base color. He describes an excellent recipe that will give great results and save a ton of $ vs the pre-made washes in a bottle.
Definitely use a quality oil like Winsor-Newton, that helps avoid a lot of problems.
The other method I really like that also works great is what @Chris_Bryan Chris suggested using Naptha aka Cigarette Lighter fluid with the oils.
I would add that Winsor-Newton Titanium White can be fabulous for very light delicate drybrushing of raised details. It also mixes very well with quality Enamel paints for drybrushing.
2 Likes
Thanks everyone for replying. Picked up Windsor Newton oils and followed recipes here. Did some tests on the bottom of the model. No more chalky finish, nice rich oils instead
Take from a fat guy, in time it will be like a fresh Five Guys’ Bacon Cheeseburger & large fries that costs a penny vs a cold McMig Happy Meal for $4.
2 Likes
Also failed to mention a super pale yellow works well as a fading filter especially over a tri tone camo
Alright, I’ve solved the chalky and pigmentation issues. New problem, the wash seems to separate very easily. As in I need to basically constantly stir it and after a few hours the paint and thinner completely separate. I can remix them but it’s annoying stirring it constantly. I am thinking either I mixed it too thin or the spirits I have are junk. Any thoughts?
If you purchased some of the recommended oils I would suspect that the problem is too much thinner. At least that’s what happens when I mix too much.