It is actually quite normal for the pigments and thinner to separate, after a
while…just stir them up again.
Cheers,
1 Like
I’m using the winsor Newton now so I know the oil is good, I was thinking to much thinner too but I also am using cheap hardware mineral spirits so thought maybe I needed an upgrade there too
I don’t mind them doing so after a while but it’s like every minute or so that the top layer becomes so pigment feee they need a new stir, is this normal? My guess is no, but I’m also fairly new to this
You shouldn’t have to stir that often. I use the artist thinner called Mona Lisa available at Michael’s. It’s pricy but the 40% off coupon helps. I bought by bottle about 10 years ago and I still have about a third left.
1 Like
Well they do separate but the mix should last much longer than a minute.
Maybe someone can suggest a better thinner.
I use odorless thinner from the art shop and generally go at least 30-60mins
before I start to get separation.
1 Like
Was looking at the Mona Lisa stuff today online. Looks like that’s what I’ll get. They have a %40 coupon right now.
Also roughly how much paint to thinner? I think it’s a combo of bad thinner and bad mixing by me
Well that depends. Some like a really heavy/thick wash others thinner so there is no real formula. Just keep in mind when you are mixing that it’s easier to add more of either than remove the same. Like many things in our hobby it takes some experimentation to discover what works for you and what you are happy with.
Good luck.
1 Like
Testing the thinner:
Place small drop of paint on hard surface with good contrast (surface can be porcelain or glass with a coloured paper beneath, plastic if the thinner does not attack it). Contrast is needed to be able to distinguish the diluted paint, use white for most colours and something dark for white and yellow.
Dilute the small drop with the thinner and stir it to an even mixture. Thin it untl the paint is almost invisible.
Wait and then check if the paint starts forming small clots. If there are clots (the mixture starts to separate) then the thinner is not quite right for the paint.
Example: Some mineral spirits work with Humbrol, some don’t. It depends on the brand, mineral spirit or white spirit from brand X is not the same stuff as the bottle from brand Y.
Balsam turpentine works like a dream with Humbrol, I even managed to recover a tin which had turned to jelly from cheap white spirit (my fault, didn’t know better at that time)
Turpentine (not based on mineral oil) could be the stuff you need for the oil paints.
“As a solvent, turpentine is used for thinning oil-based paints, for producing varnishes , and as a raw material for the chemical industry. Its use as a solvent in industrialized nations has largely been replaced by the much cheaper turpentine substitutes obtained from petroleum.”
The substitutes may not work for all types of paints:
2 Likes
Thanks @Armorsmith, @Chris_Bryan and @Uncle-Heavy for suggesting a different thinner. I don’t know what my hardware mineral spirits are but they are not good. The Mona Lisa thinner (which I think is similar to naphtha) flows 100x better, doesn’t leave a residue, and doesn’t attack the future underneath like the old crap was!
Finally have home brew washes that behave like I’ve seen on so many videos
2 Likes
That is good news indeed . I used some of the mona lisa earlier over a future clear and yes it does not attack the clear … Glad its all working out for you
Definitely one of the first times I’m not completely frustrated trying to apply a wash
1 Like
@Mead93 . That is good to hear.
The Mona Lisa is great when working in small quantities, a good example would be applying small dots of oil and then working it down with with thinner . That is great for spot work and small areas that you want allot of control
Here’s a good article (I’m a little bias).
Another nice effect with oils is to dab some on a spot (slightly raised is good as it looks like flaking rust) and feather it down with an old make up brush. This is not my best example but it’s the only one I currently have a photo of:
You can also drag a small wire horizontally across the surface with a little oil paint on it to make scratches, and then feather it down in a similar manner.
3 Likes
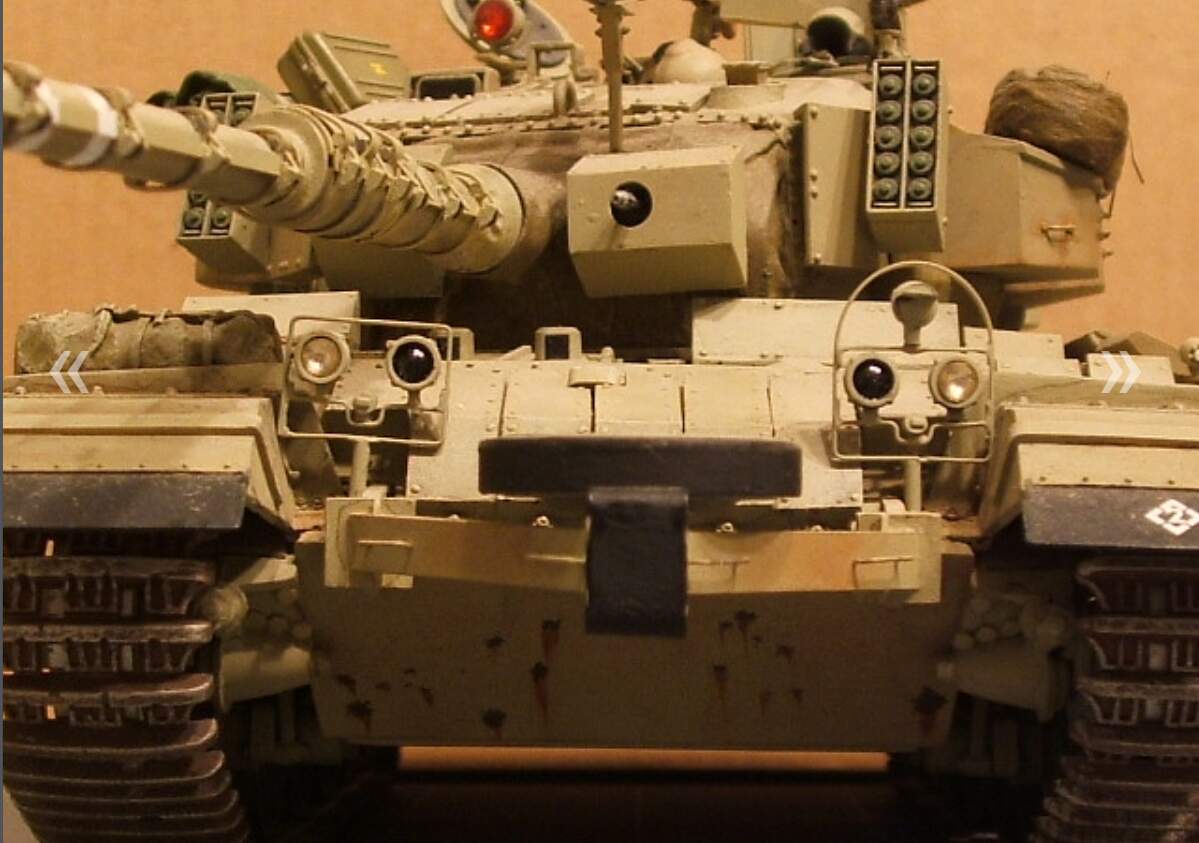
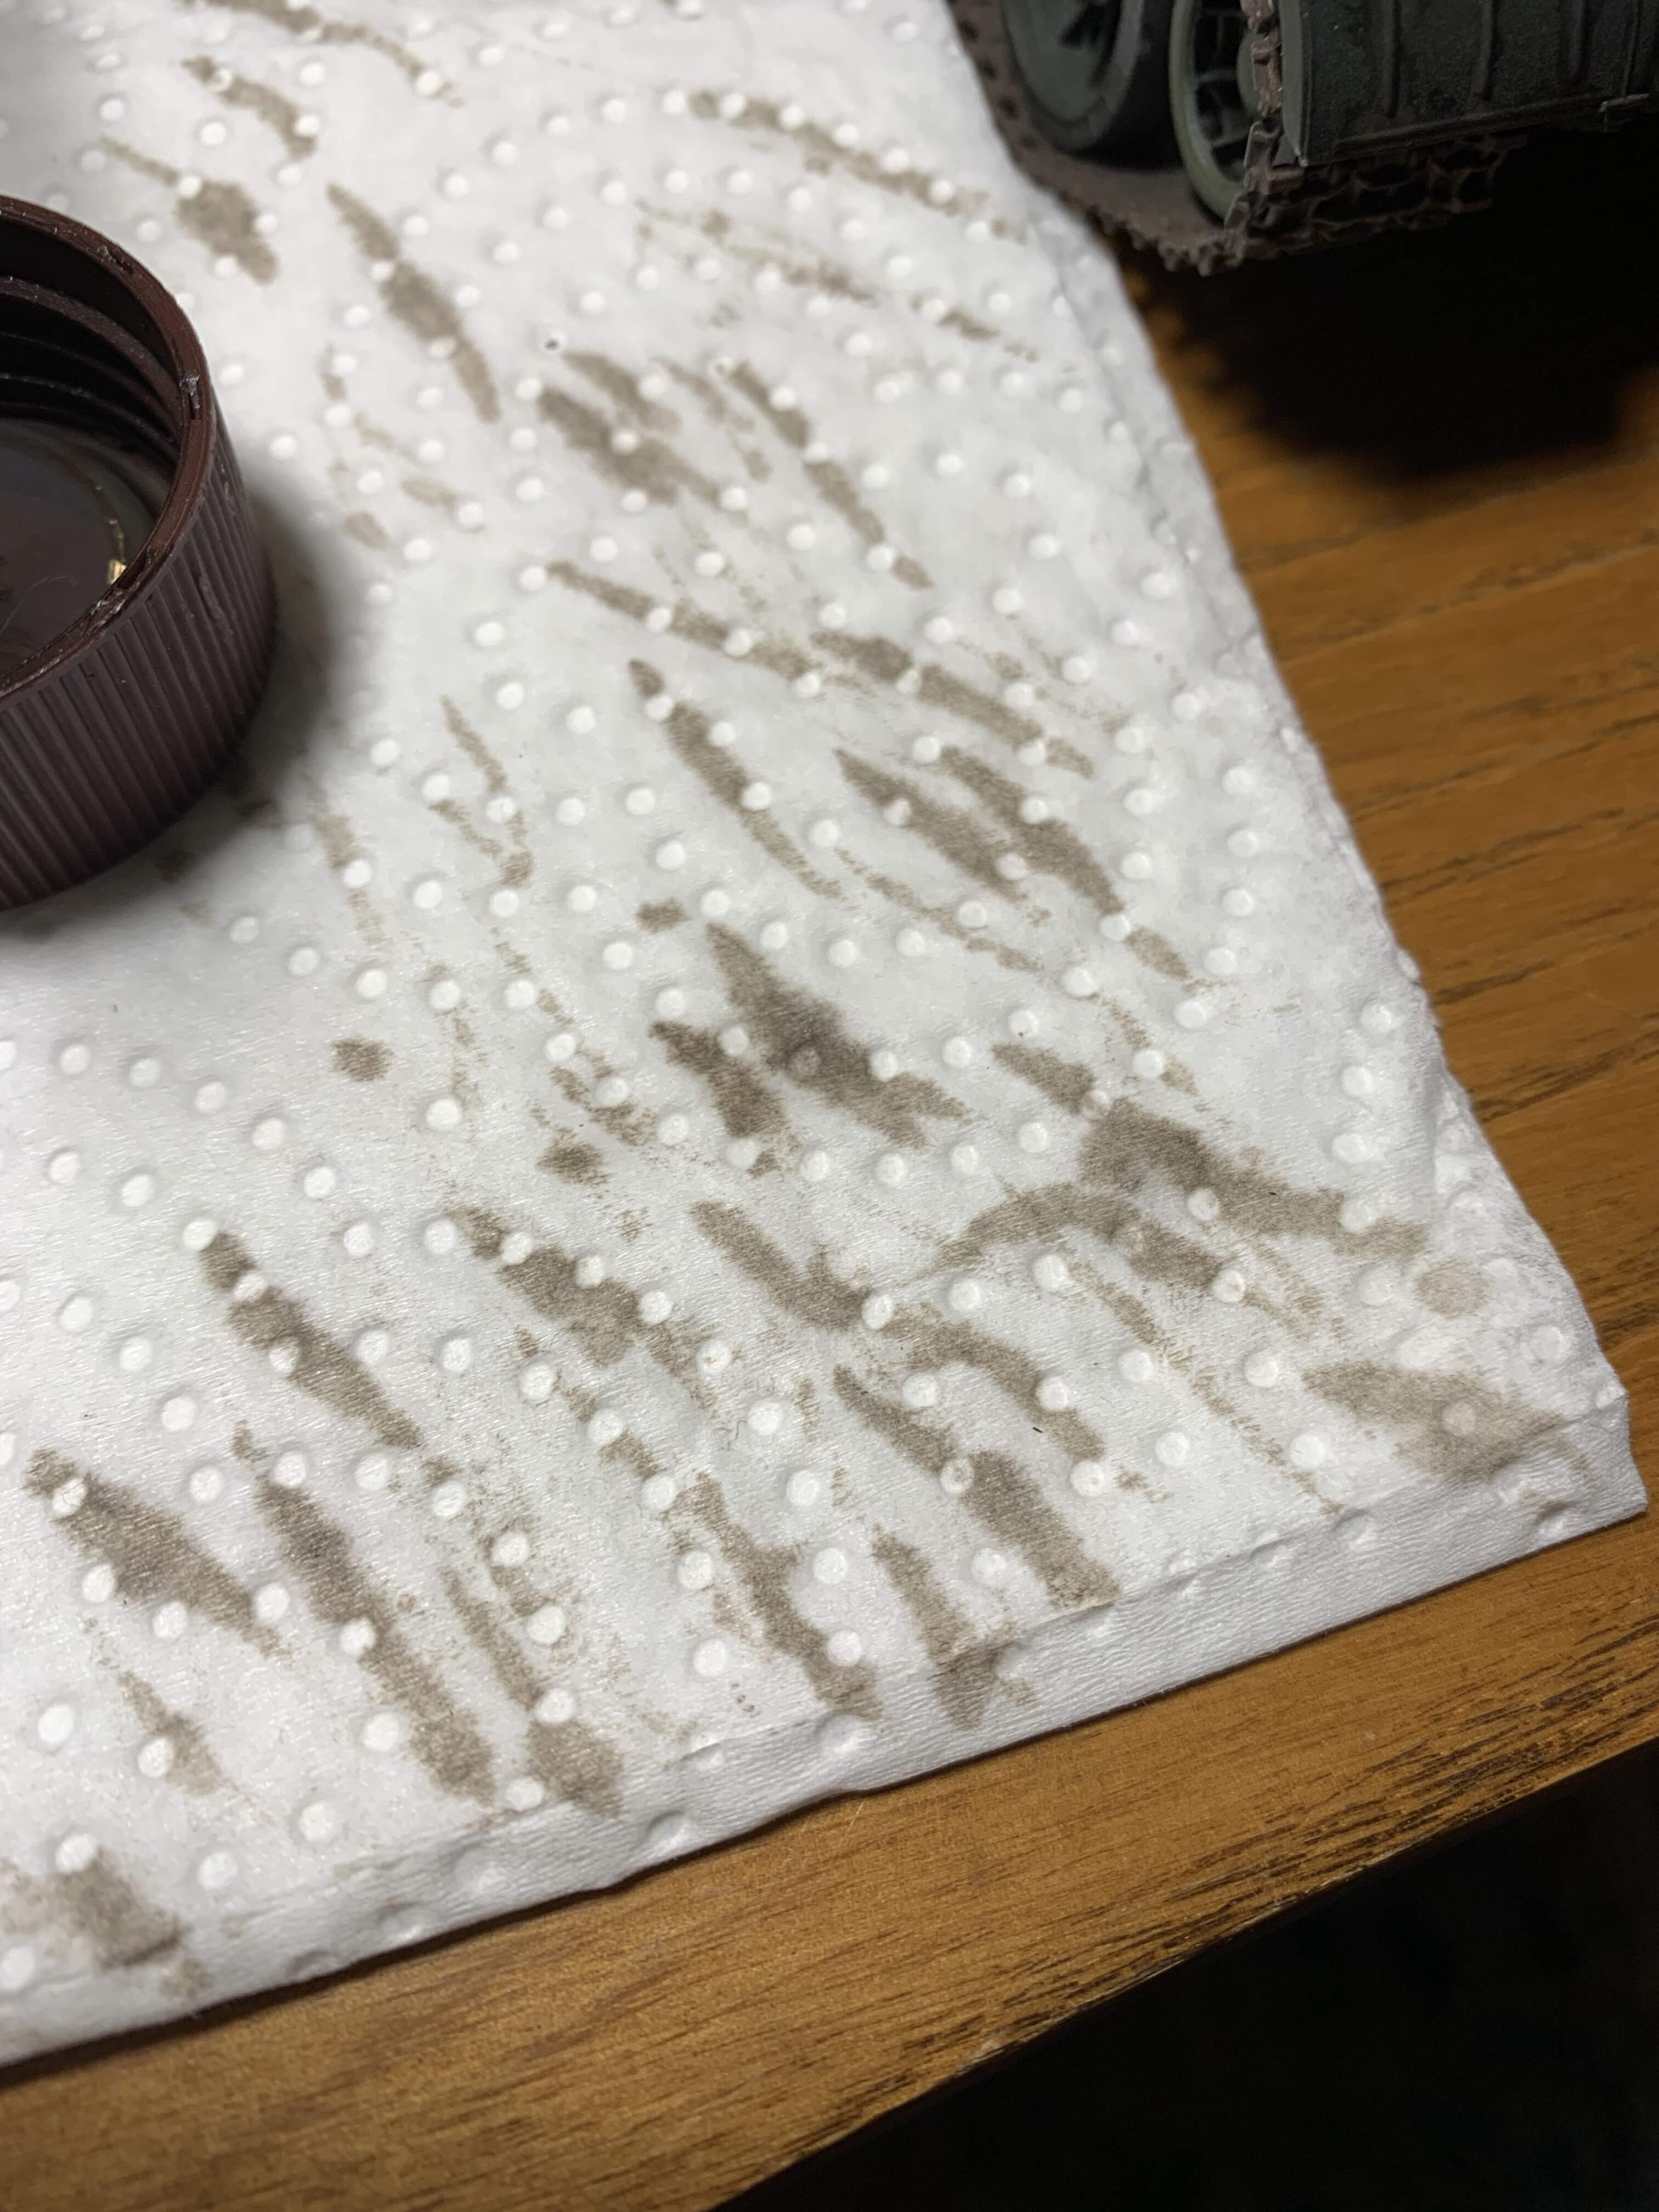
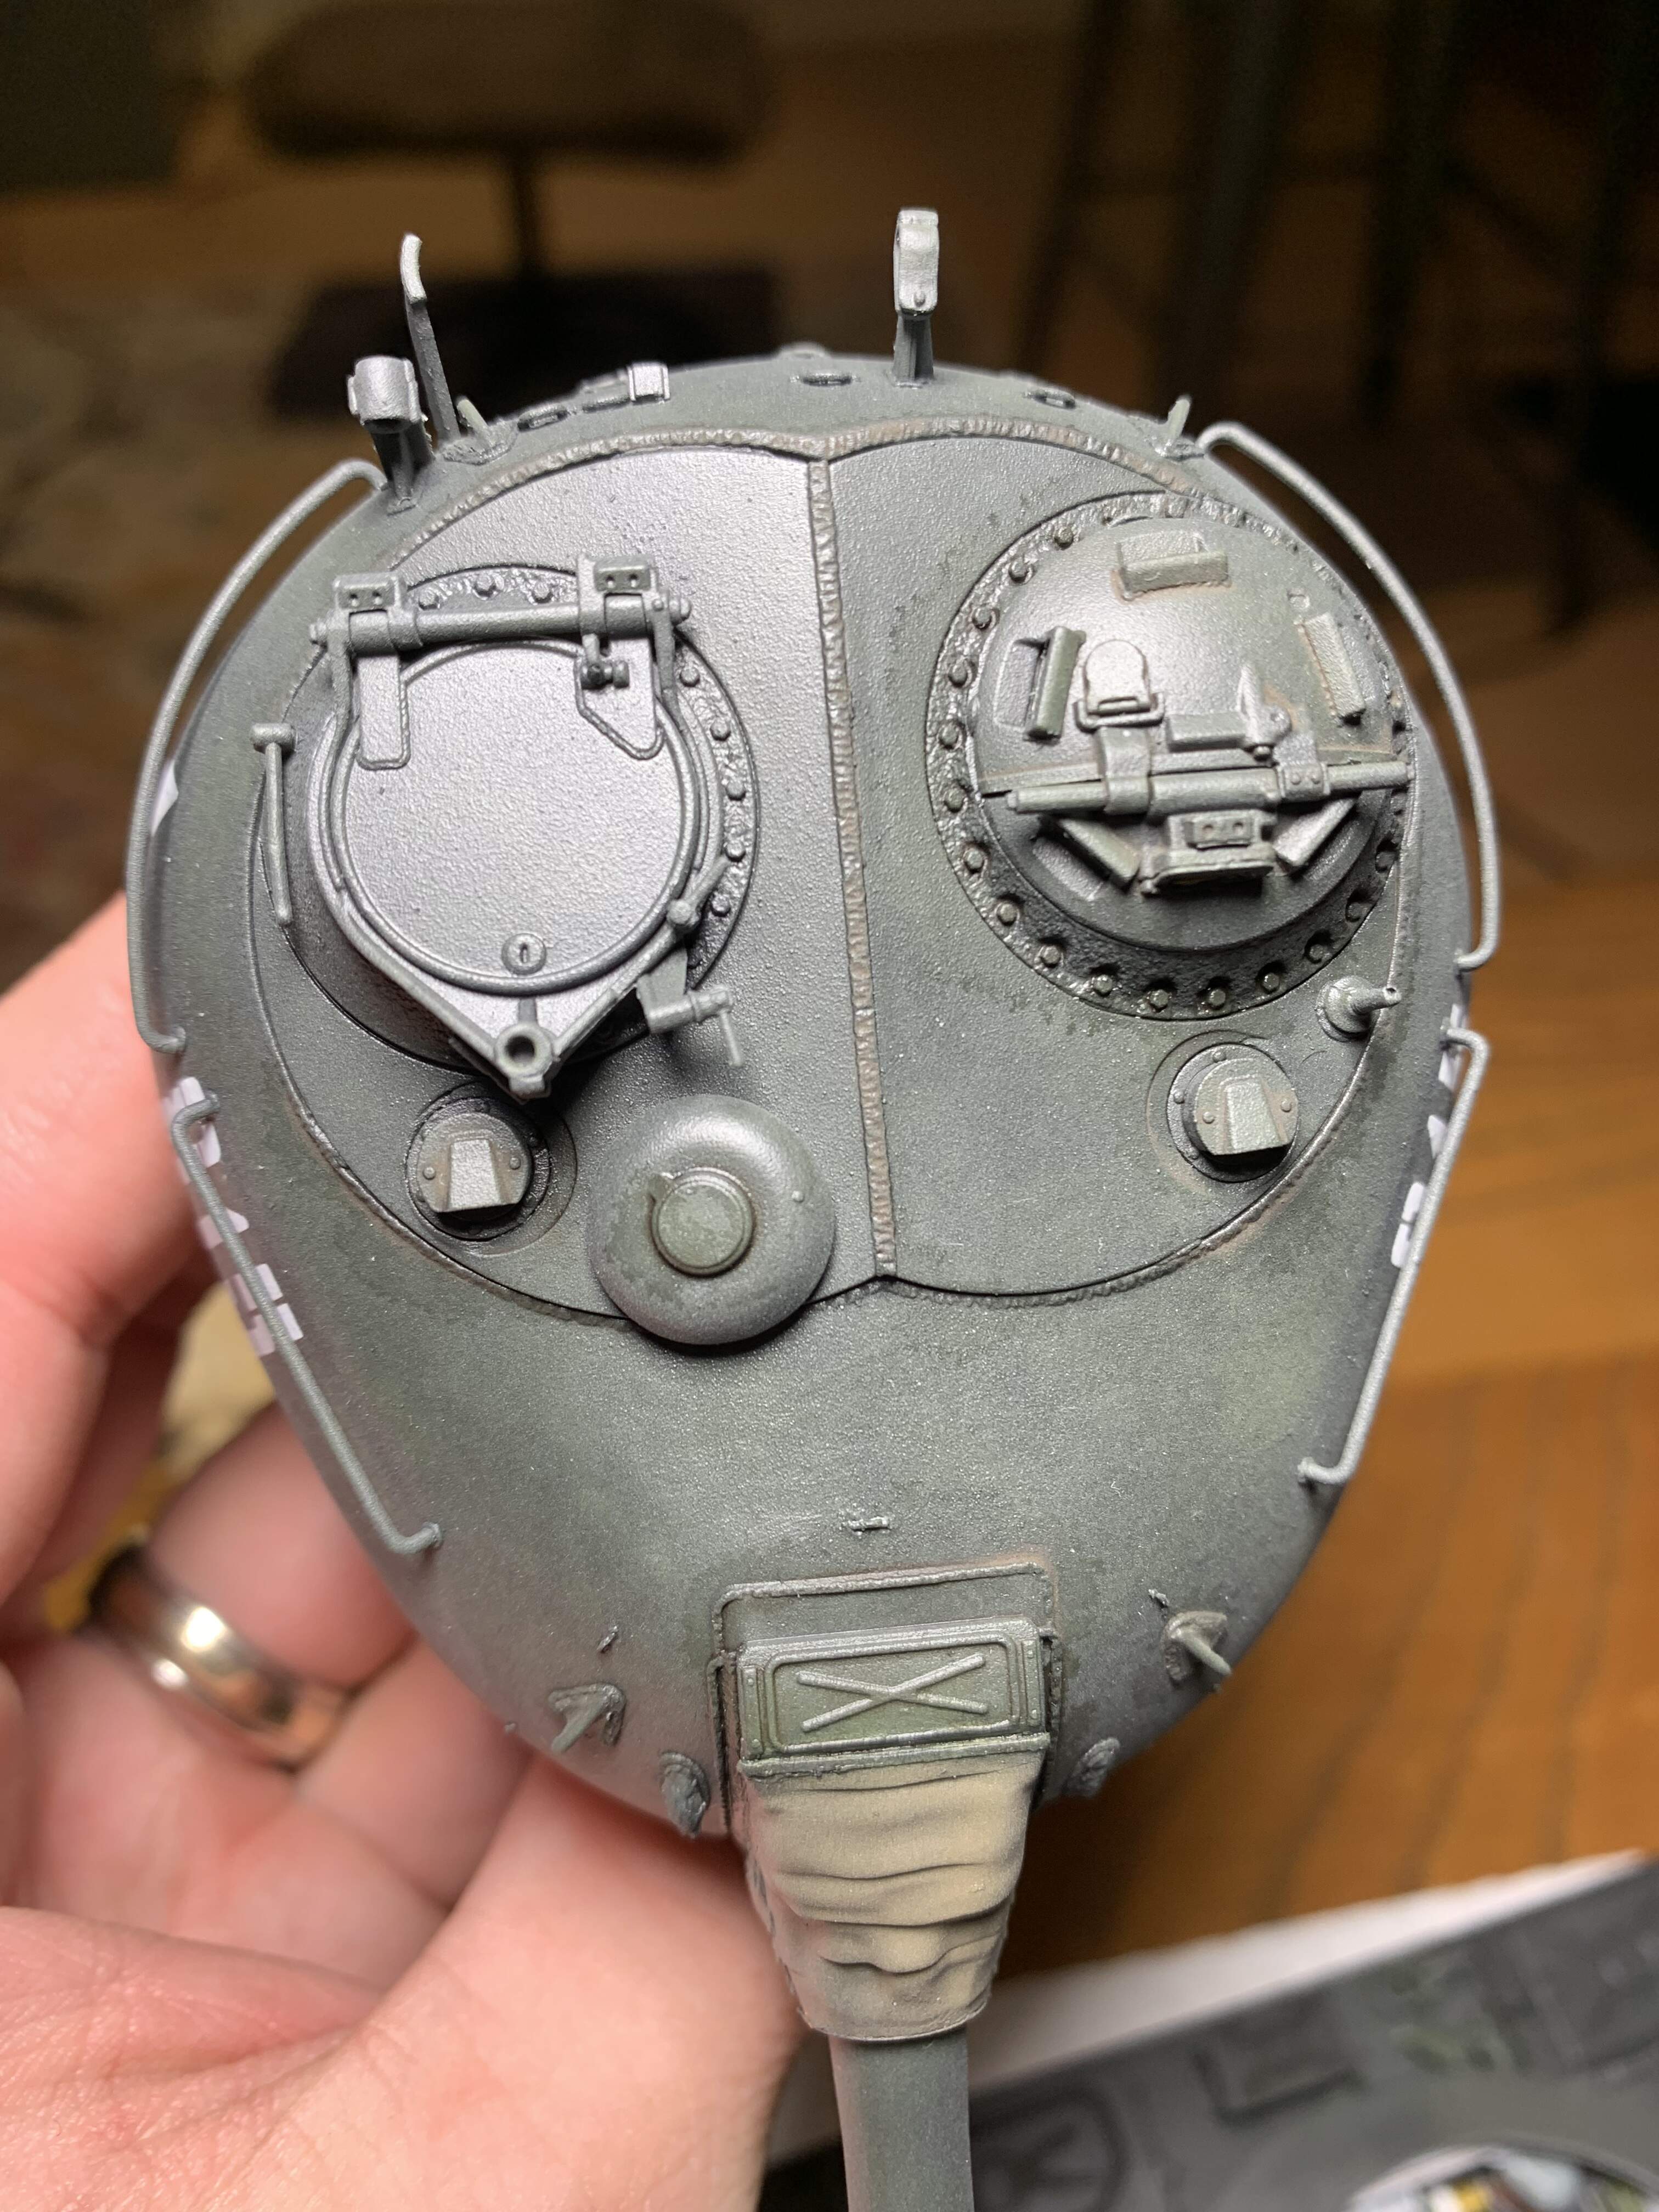
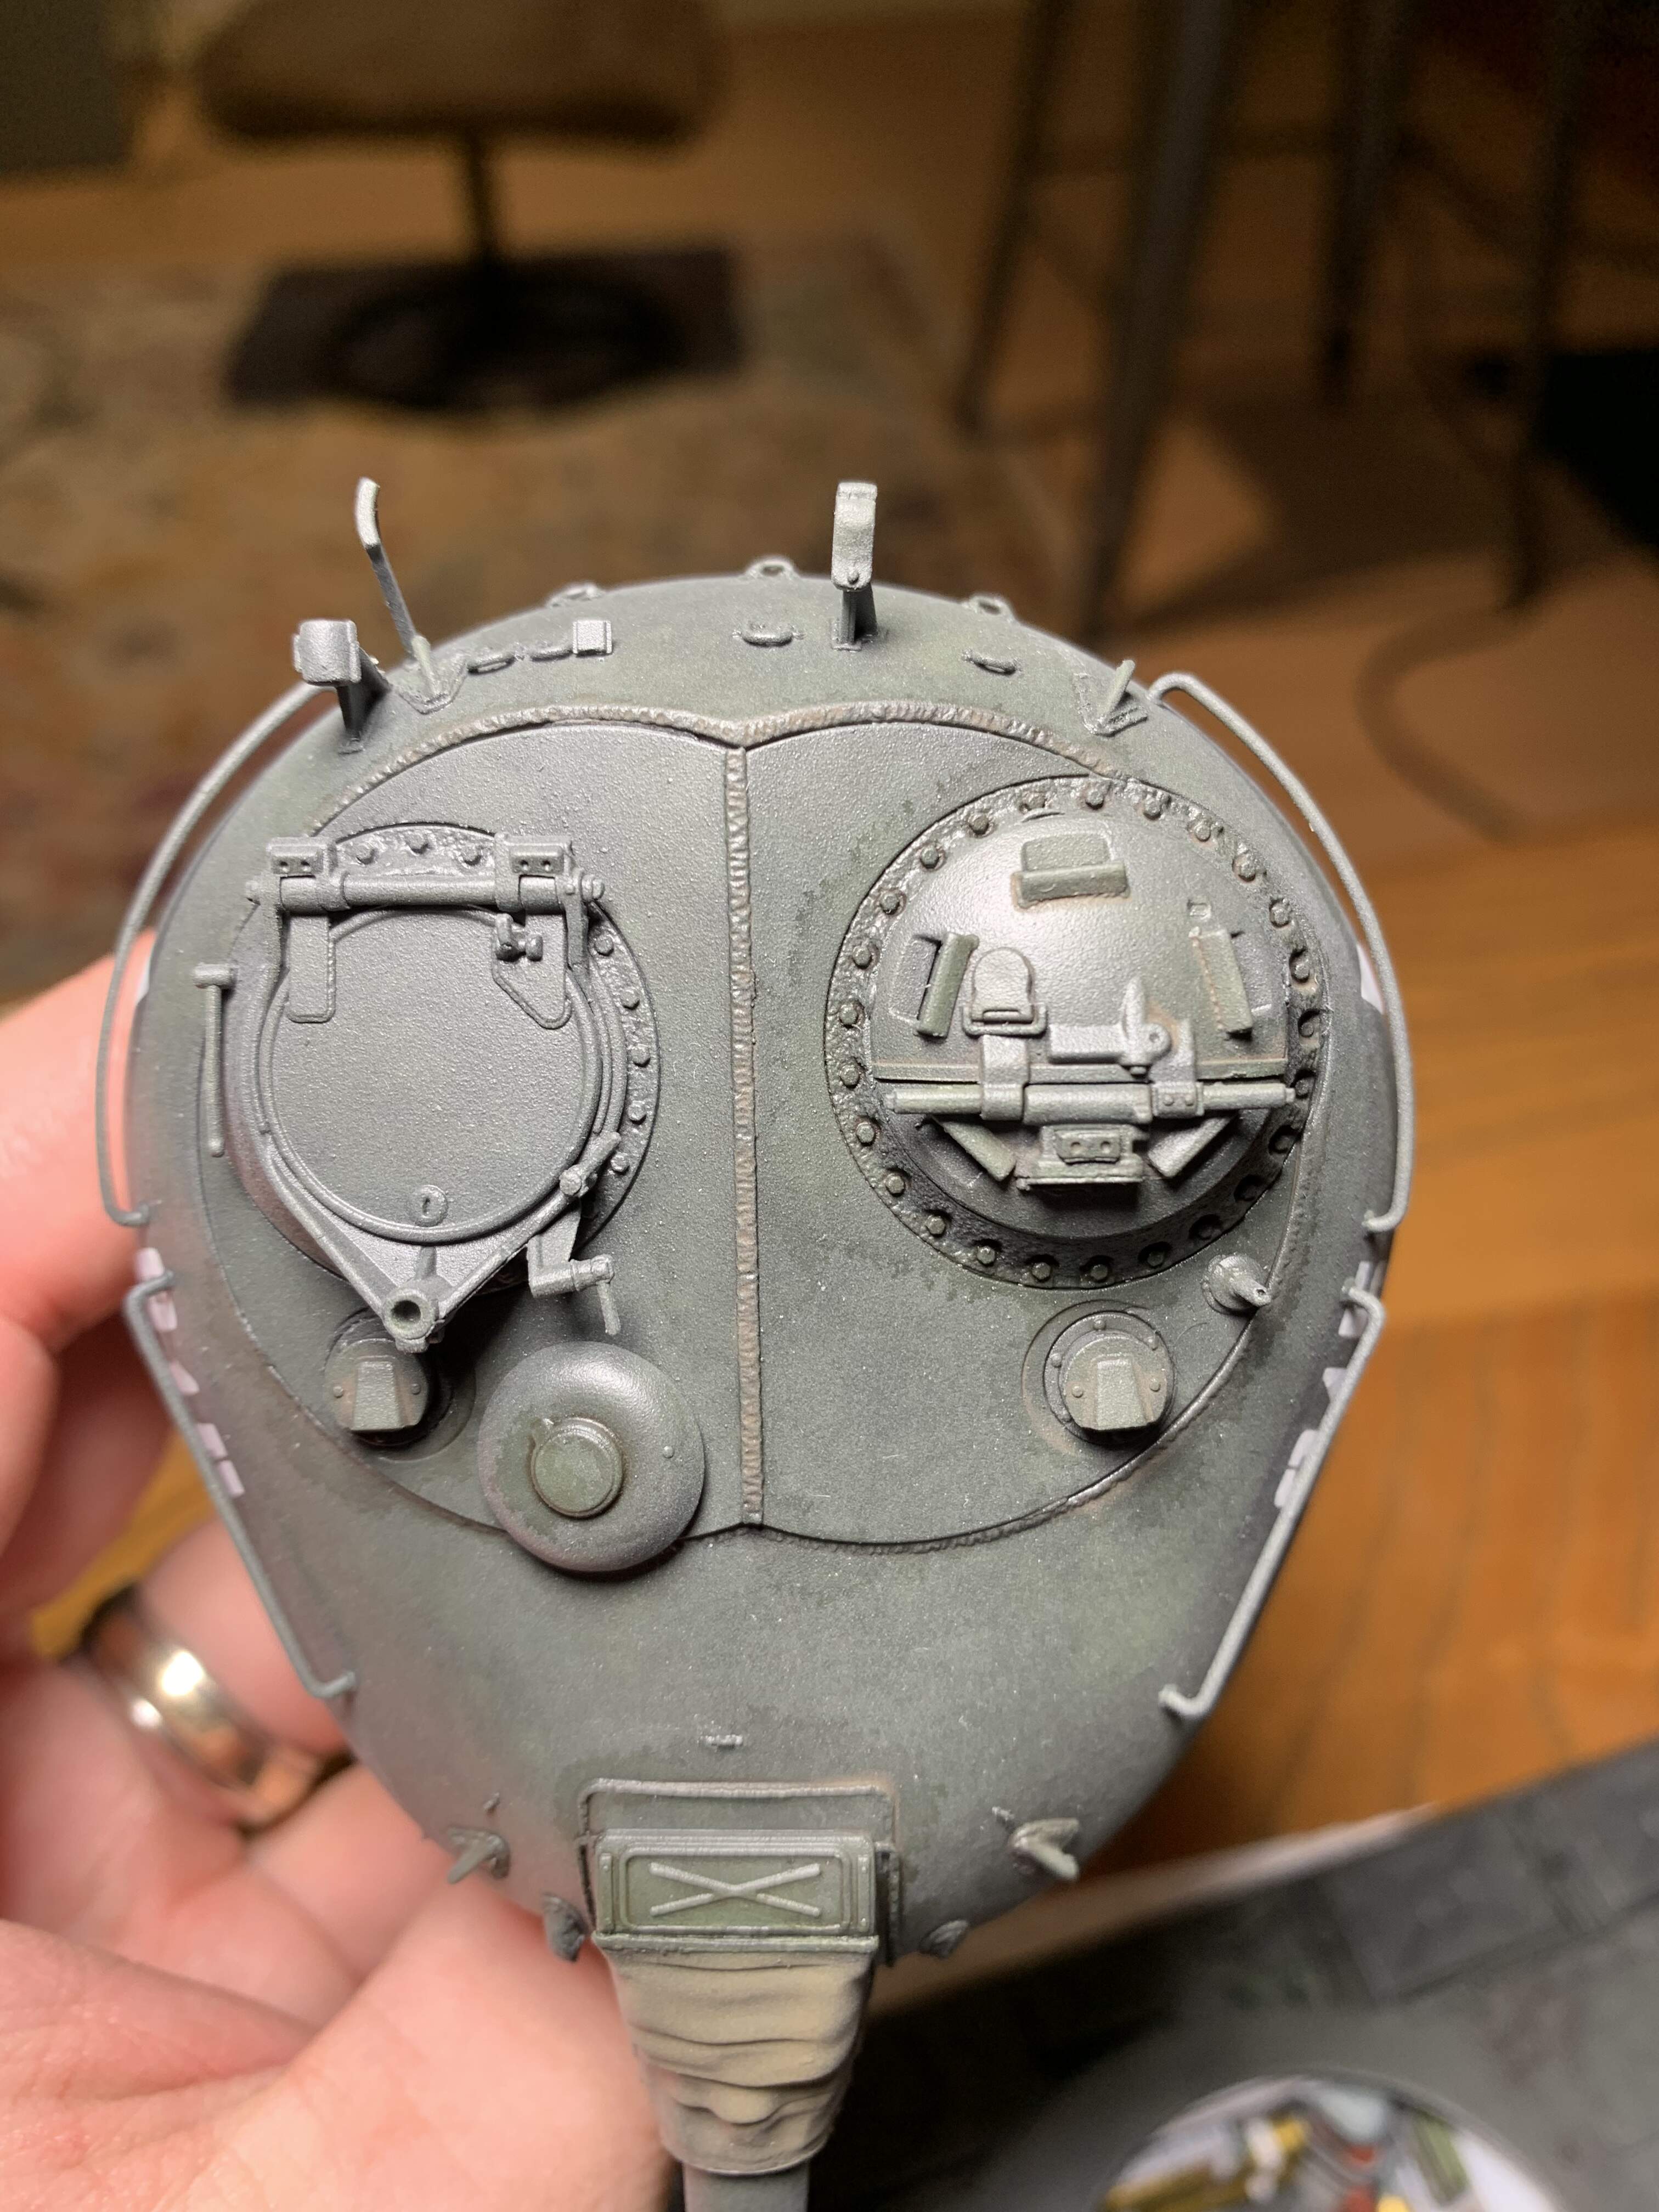
Okay, I’ve finally got washes working the way I want them too. They flow well, the thinner isn’t reacting with the future and the oils dry normally. A new potential issue has cropped up.
I say potential because it’s possible this is what I am going for? The was was a mix of roughly 2 parts Raw umber Winsor Newton to 1 part Ivory black. The was is a very dark brown in my mixing jar and goes on dark. However as it dries, the wash is a lighter brown and isn’t really providing shadow as much as it’s providing a dirty appearance.
It’s my first time really doing any weathering so I am unsure how the final wash should look. Am I going for a dark shadow or more so a dirt accumulation look with the pin wash? If dirty, I think I am set, if dark shadow I may need help. The wash seems dark, but dries lighter. So, perhaps I need to apply it more than once? Or perhaps I need to darken it with more black?
Here are some photos showing what the wash looks like, how it looks on paper towel when I wipe my brush and how it’s drying. (Yes I know the was needs some clean up) more so looking for advice on the color and how it’s drying. Thanks I’m advance

1 Like
To reiterate what I said earlier, (perhaps it wasn’t in this thread but another) I seldom if ever use black - not even to darken a color. Shadows are rarely black. the closest thing I can think of is a car door seam, and Tamiya has that one covered.
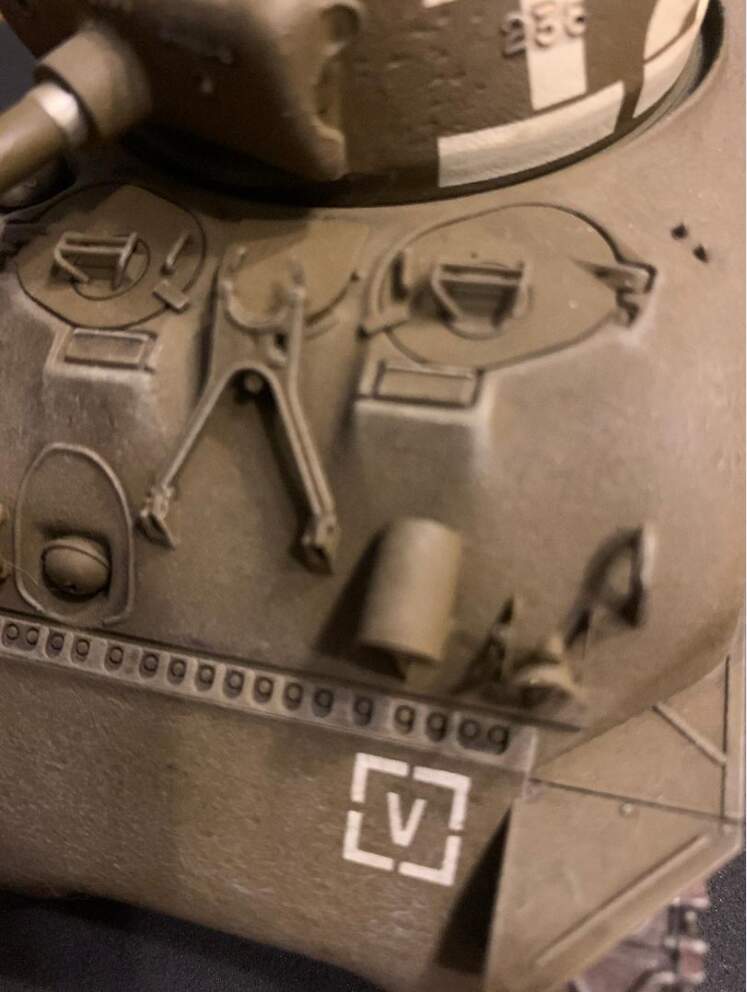
In your hatch ring example black is going to give you that very “artsy” look that always catches the eye at shows, but rarely looks convincing to me. Just like pre-shading, which I also find to be a very overdone artistic technique. Some models, especially aircraft, end up looking like they’re wearing a tartan. Eye catching? Very. Realistic? Not so much.
I think the trick is to find darker and lighter shades of your base color when possible. Subtle shadow can be created without a wash of any king - just use a dry brushing to make the details pop out a little more. Like Shep Paine said, the trick is to keep the vehicle from looking like it had an accident in a flour factory. That’s why for me using white is just as undesirable as black. If dry brushing doesn’t give the desired results you can combine it with a wash that only goes in the recesses or around details. (pin wash)
In your example above I don’t know if you’ve finished or not, but that dreaded ring of wash stain still lingers around the turret ring, which even you recognize as a “dirty” look. The good news is you can easily remove it with a little thinner and it’ll look much better.
There’s a modeler who’s famous on here for posting his builds in other people’s threads. Looks pretty good, but here, look at mine. who does the same thing with washes - leaves the black staining around details, which IMHO just doesn’t look good at all.
I don’t want to embarrass him (or anyone else) so I won’t name him. Plus I don’t want him trying to have my post deleted again. 
At any rate, this is about as extreme as I get with the dry brushing and wash combo, and in this photo at least the dry brushing appears a little too stark for my taste. Less so in person. Again, it’s a matter of what you want to achieve. I’m sure many will find this particular example way overdone.
2 Likes
Thanks for the detailed reply, your Sherman looks good! I’m definitely not going for the artsy look. I’m just trying to subtly highlight the details and a slightly weathered look with dirt accumulation around places it would build up. Some of that tide mark in the photos was thinner still drying, but I have gone ahead and cleaned up the other ones too.
What color wash did you use on the Sherman? That’s pretty much exactly the looks I want. Just a bit of subtle shadow around crevices
It’s been so long, but it was one of the darker shades of Windsor and Newton - more on the brown side - probably an umber as opposed to a more reddish sienna.
I forgot to add that sometimes I cheat, and reshoot a base color onto the shaded area. If you notice the shadow effect on the fender ribs it is very subtle yet easily seen with the dry brushed raised ribs. I think I used a post it note and barely let it go over the edge of the rib that already had a dark wash, and shot a little of the original color back on. Then a little dry brushing, and D U N done, son.
Okay thanks, I’m using raw umber which looks pretty dark, I’ll give it a try
Raw umber or even burnt umber also van dyke brown . These are all good ,to echo those who came before on this , black is a big no no by itself .
The effects of a filter or wash are created by doing multiple applications.
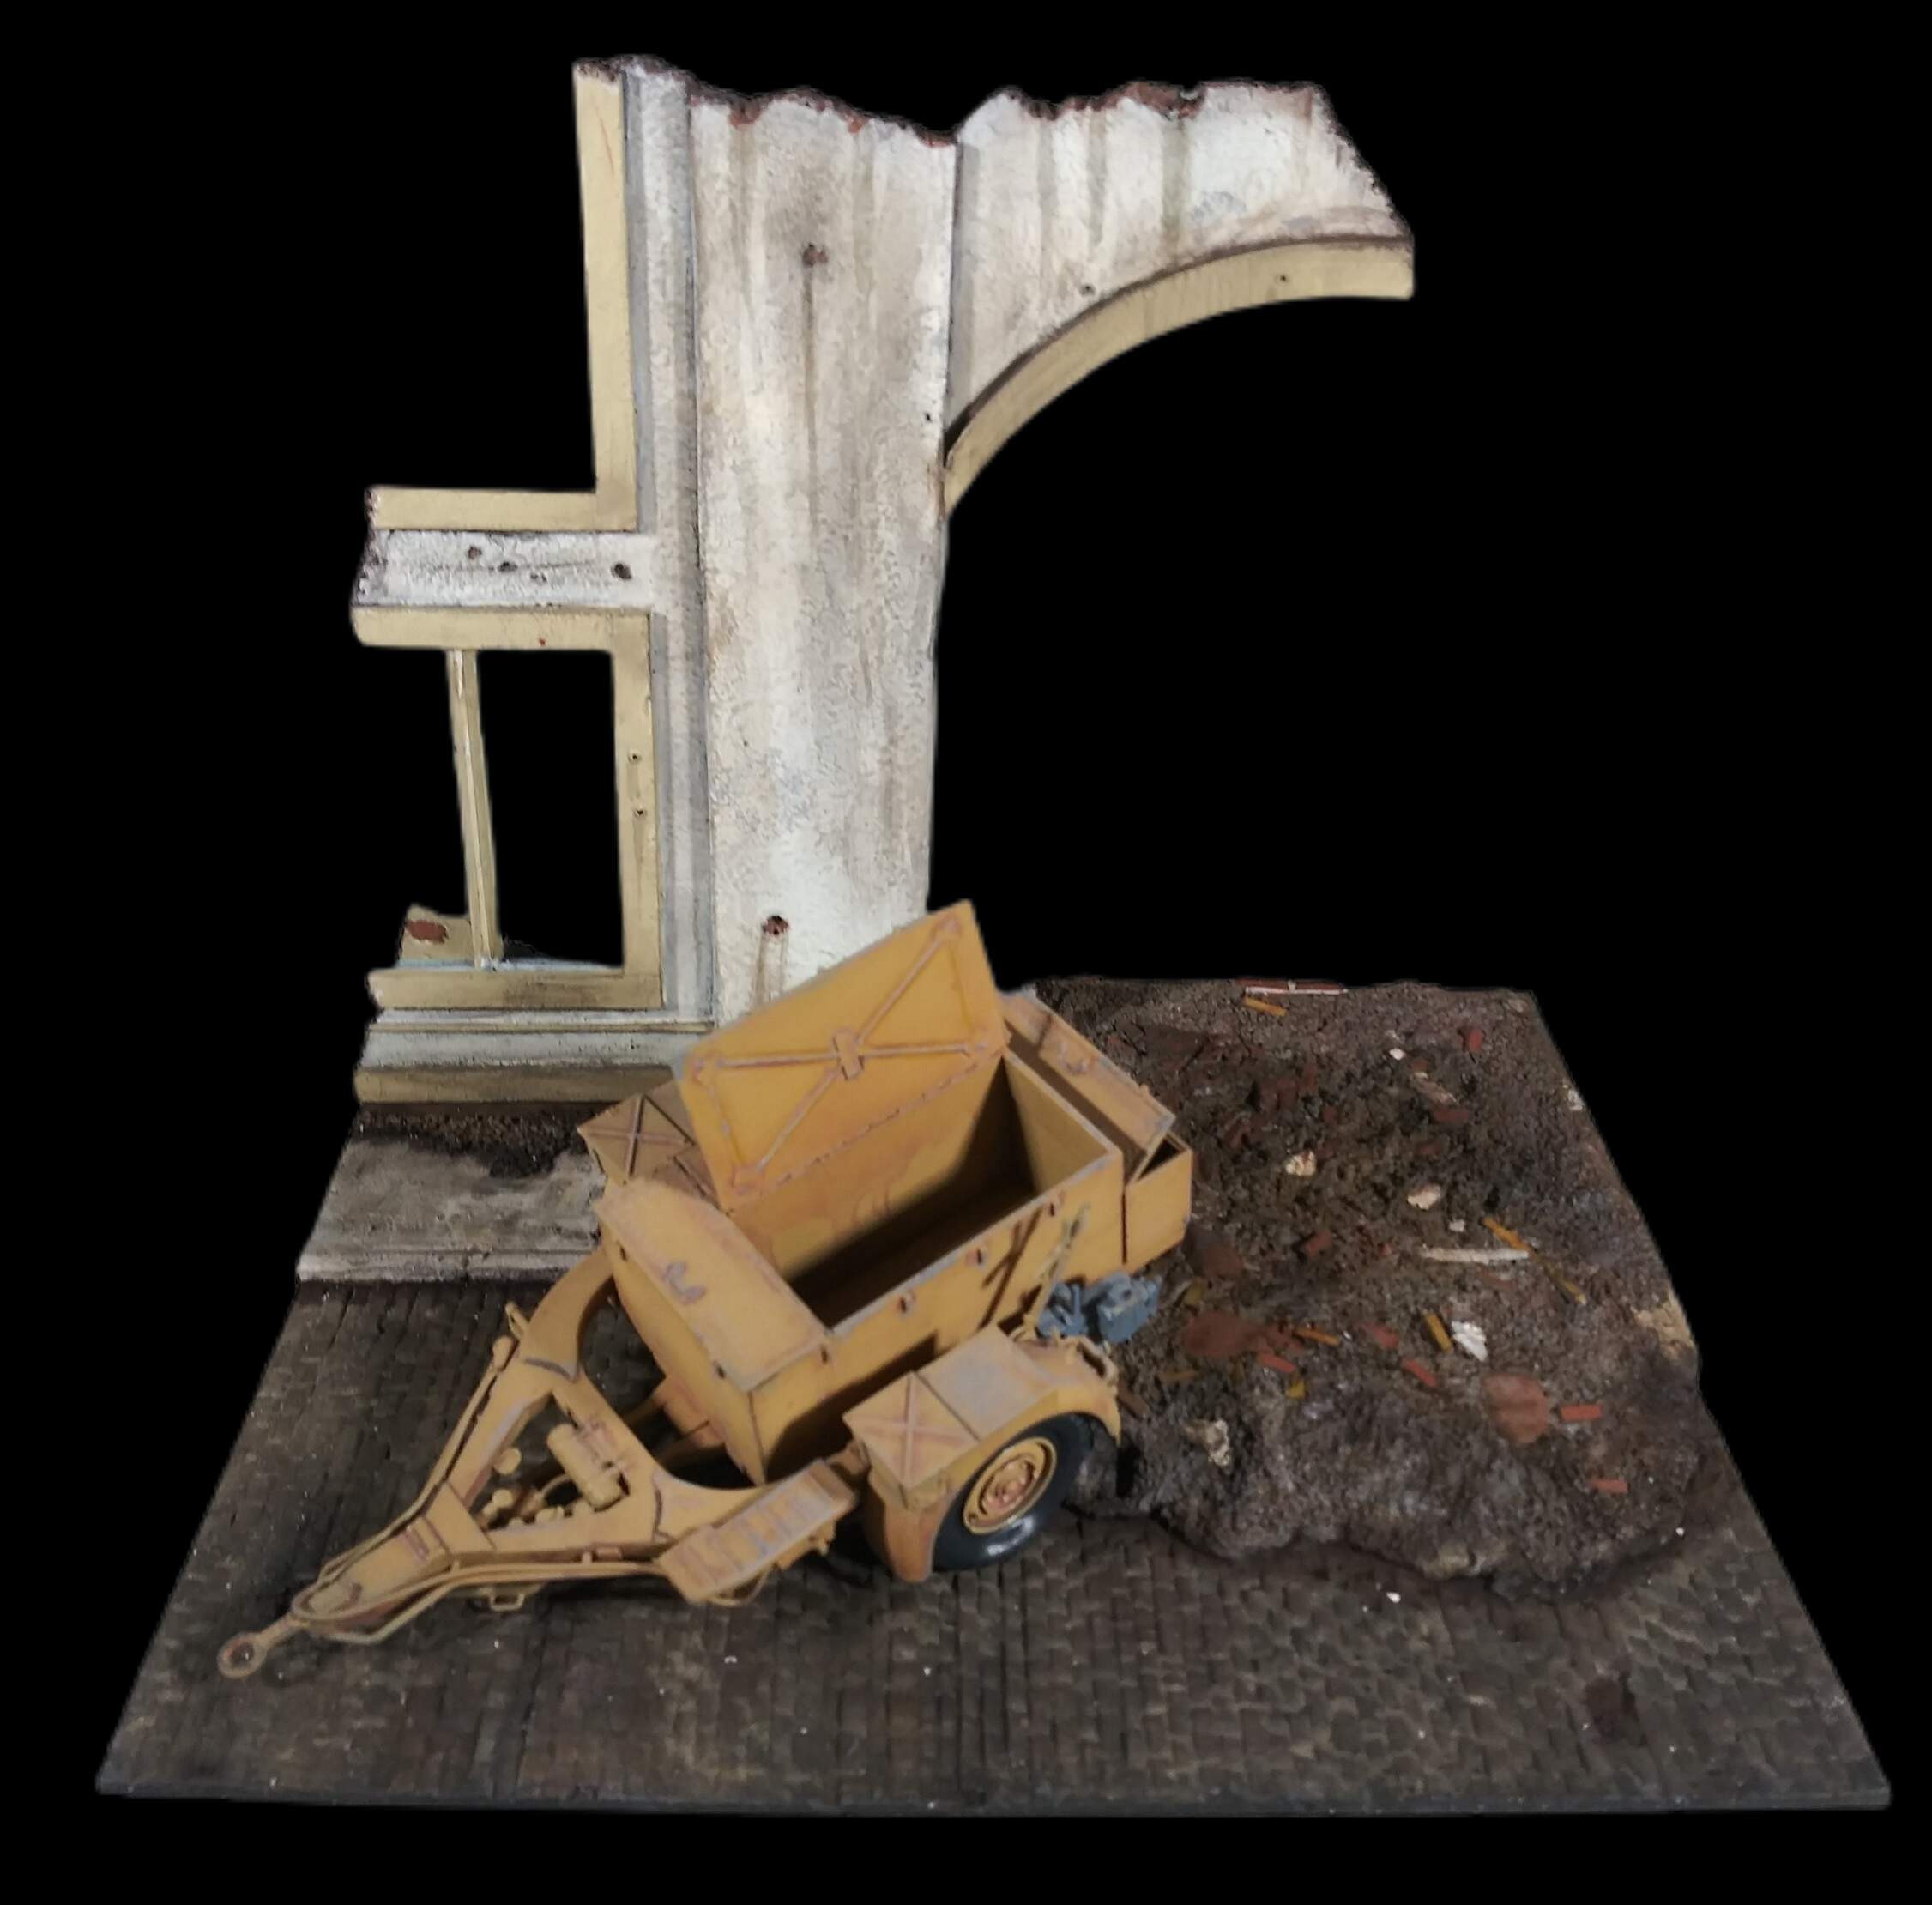
This is a good example of various filters and washes . I used van dyke brown as well as pale yellow , umber , burnt umber, buff and dark green .
Feel free to ask what was done to each area …it is too much to put here at one time.
2 Likes