Great to see it all stood up and in place. The way you shaped and decorated the inside is an inspired piece of design.
1 Like
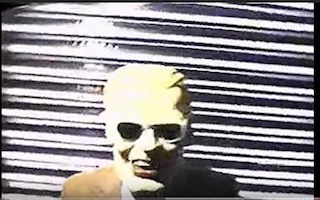
Q: Max Headroom??
A: No, Les Headroom
5 Likes
Very nice looking building inside and out!
3 Likes
Clampett Jed! ![]()
![]()
![]()
![]()
![]()
![]()
![]()
![]()
![]()
![]()
![]()
![]()
![]()
![]()
![]()
![]()
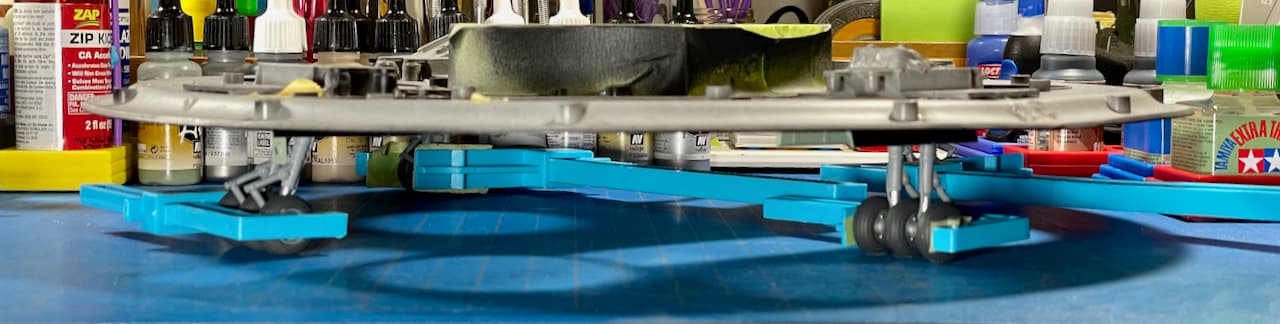
So after attaching the Landing Lights to the struts, I decided to dry-fit the rest of the wheels for an overdue touchdown inspection. Uh-oh, things weren’t looking too good… big gaps. And there was so much paint build-up that it was difficult to attach the wheels — rookie error — should have masked the axles! ![]()
So begins the filing, scraping and sanding. After some time, I still couldn’t figure out why the wheels were being so uncooperative. No flattened tire touchdown perfection? ![]()
NEIN! FAILED INSPEKTION! ![]()
Then I noticed that the struts were actually a big part of the problem, as they were splayed out at the axles. On that note, I decided the wheels are gonna’ get their glue-on today! … And as ‘Nigel’ would say: “Right then… I’ll let the Tamiya Extra Thin capillarie and leave that to cure overnight.” ![]()
![]()
More sanding, saucer leveling, flattened tire touch-down and tire paint touch-up to follow.
—mike …![]()
9 Likes
This is where I’m at just now.
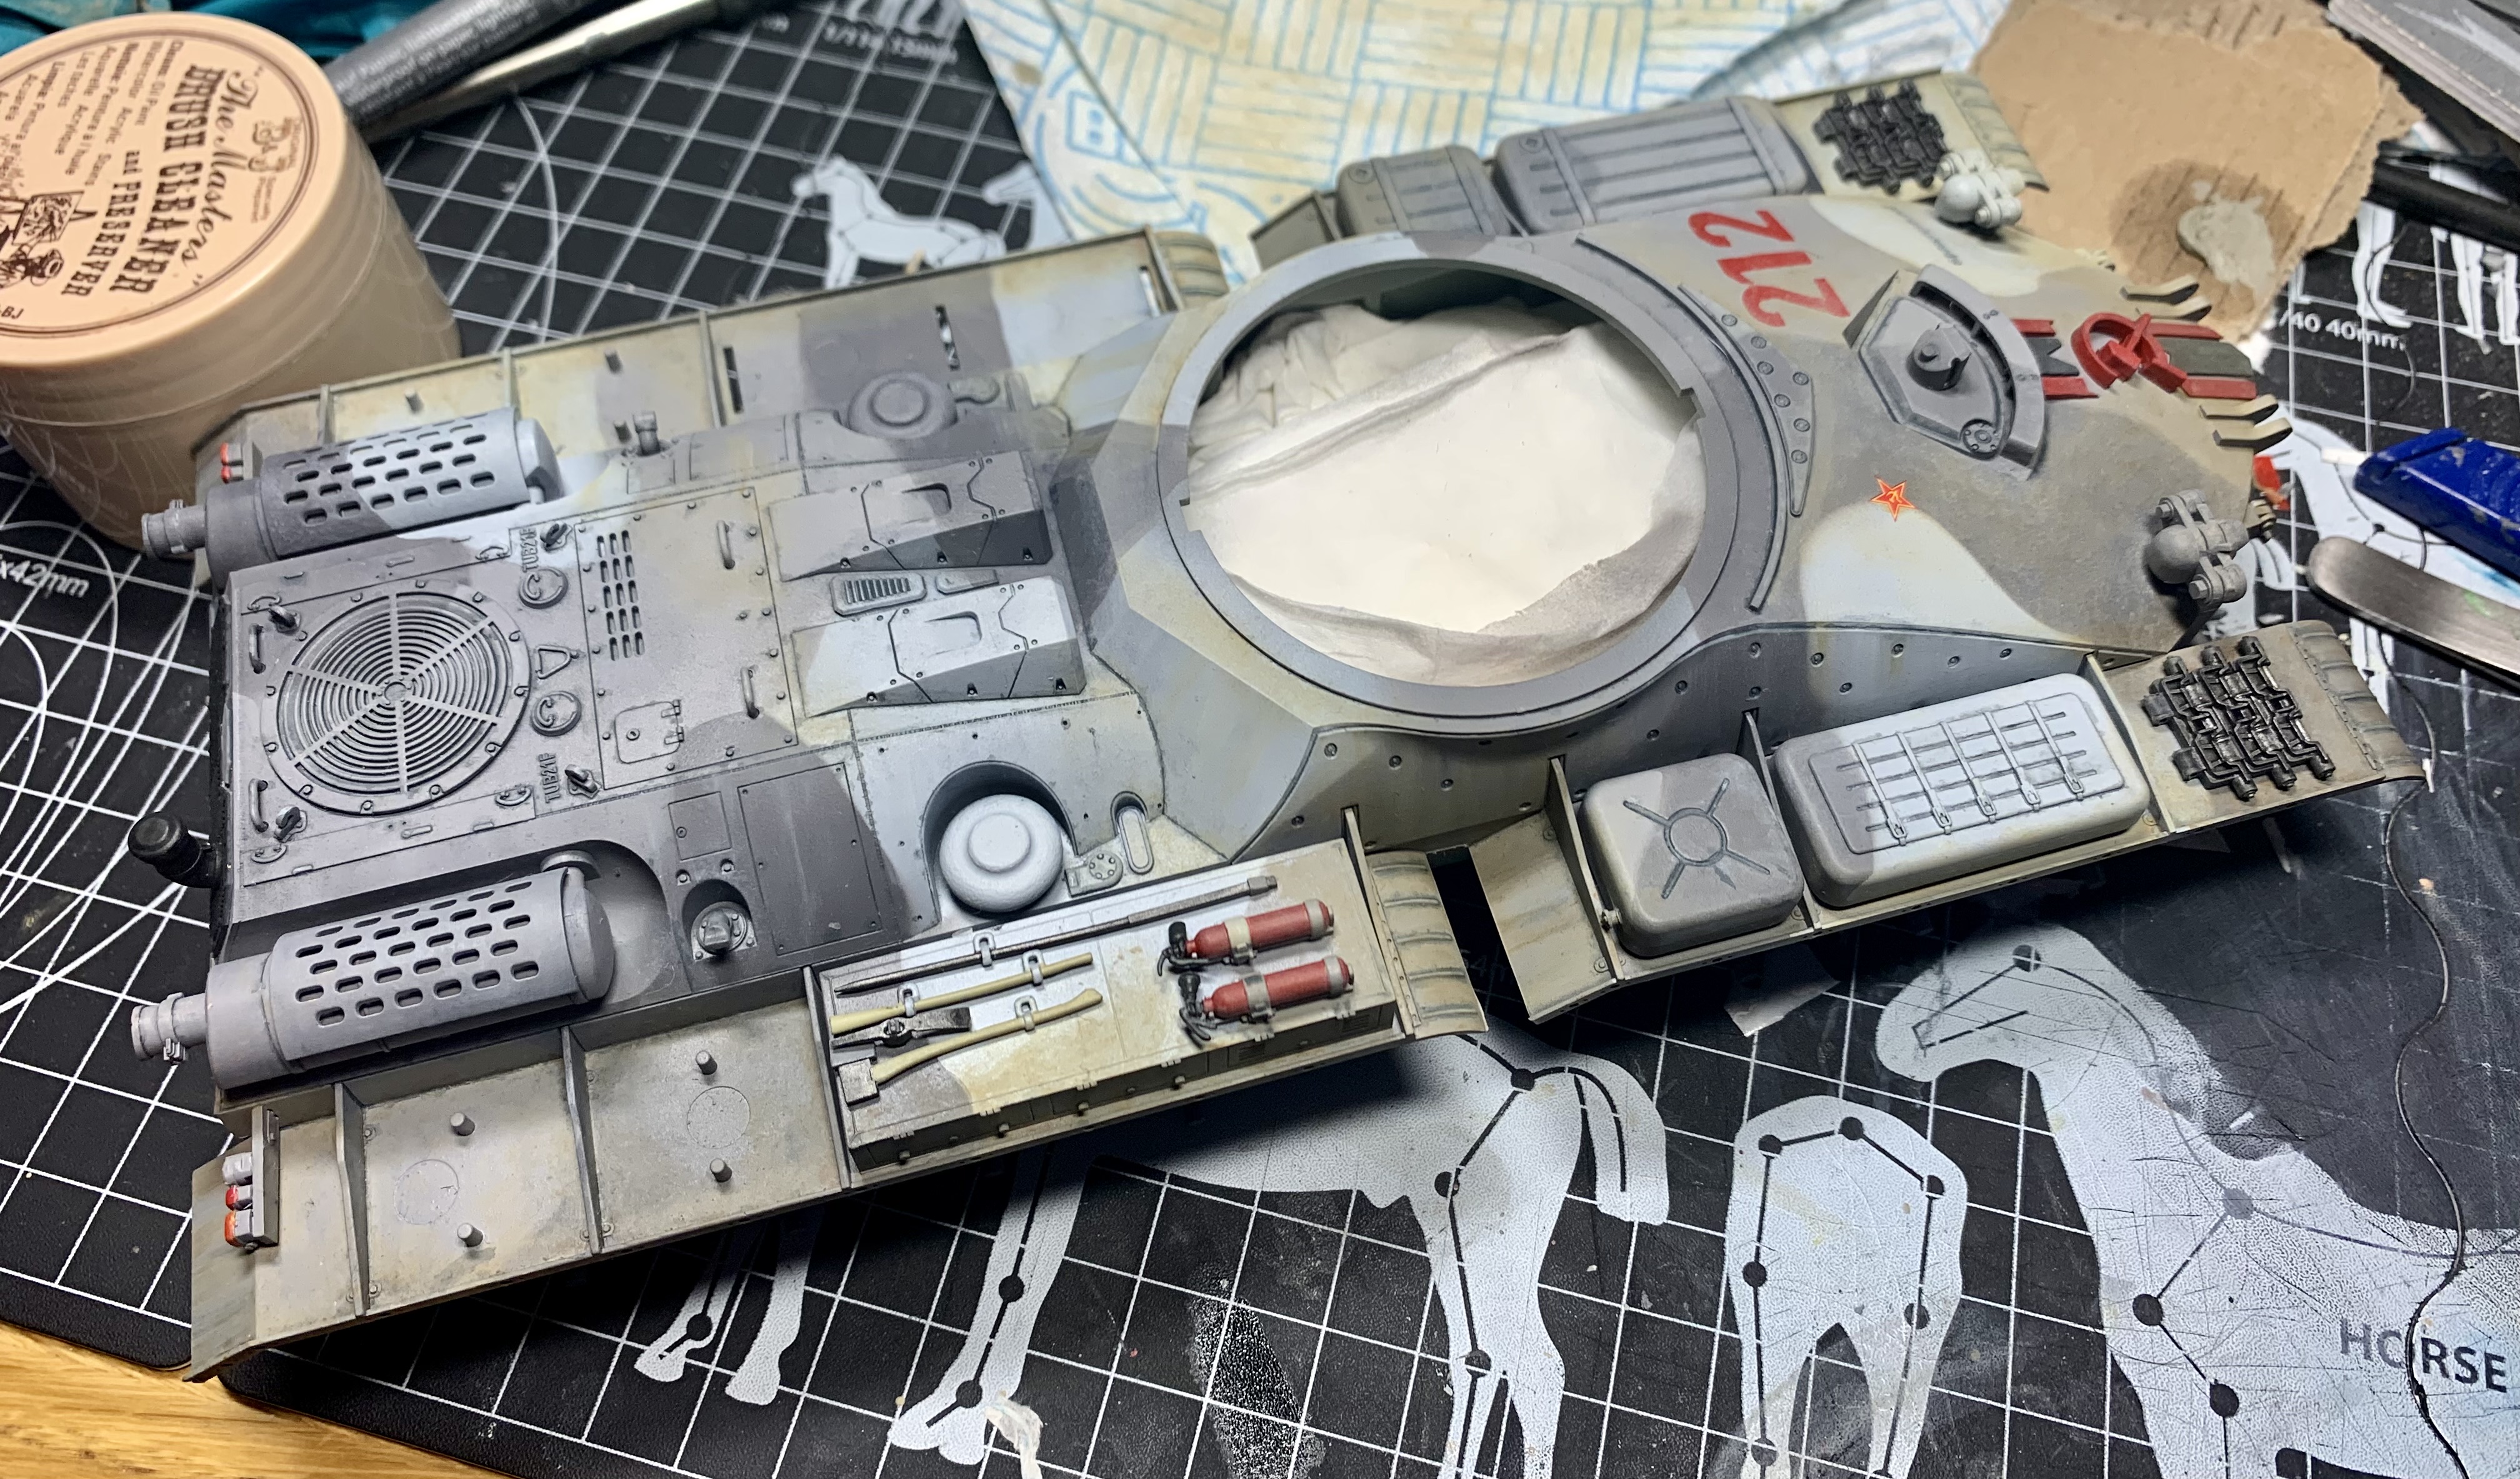
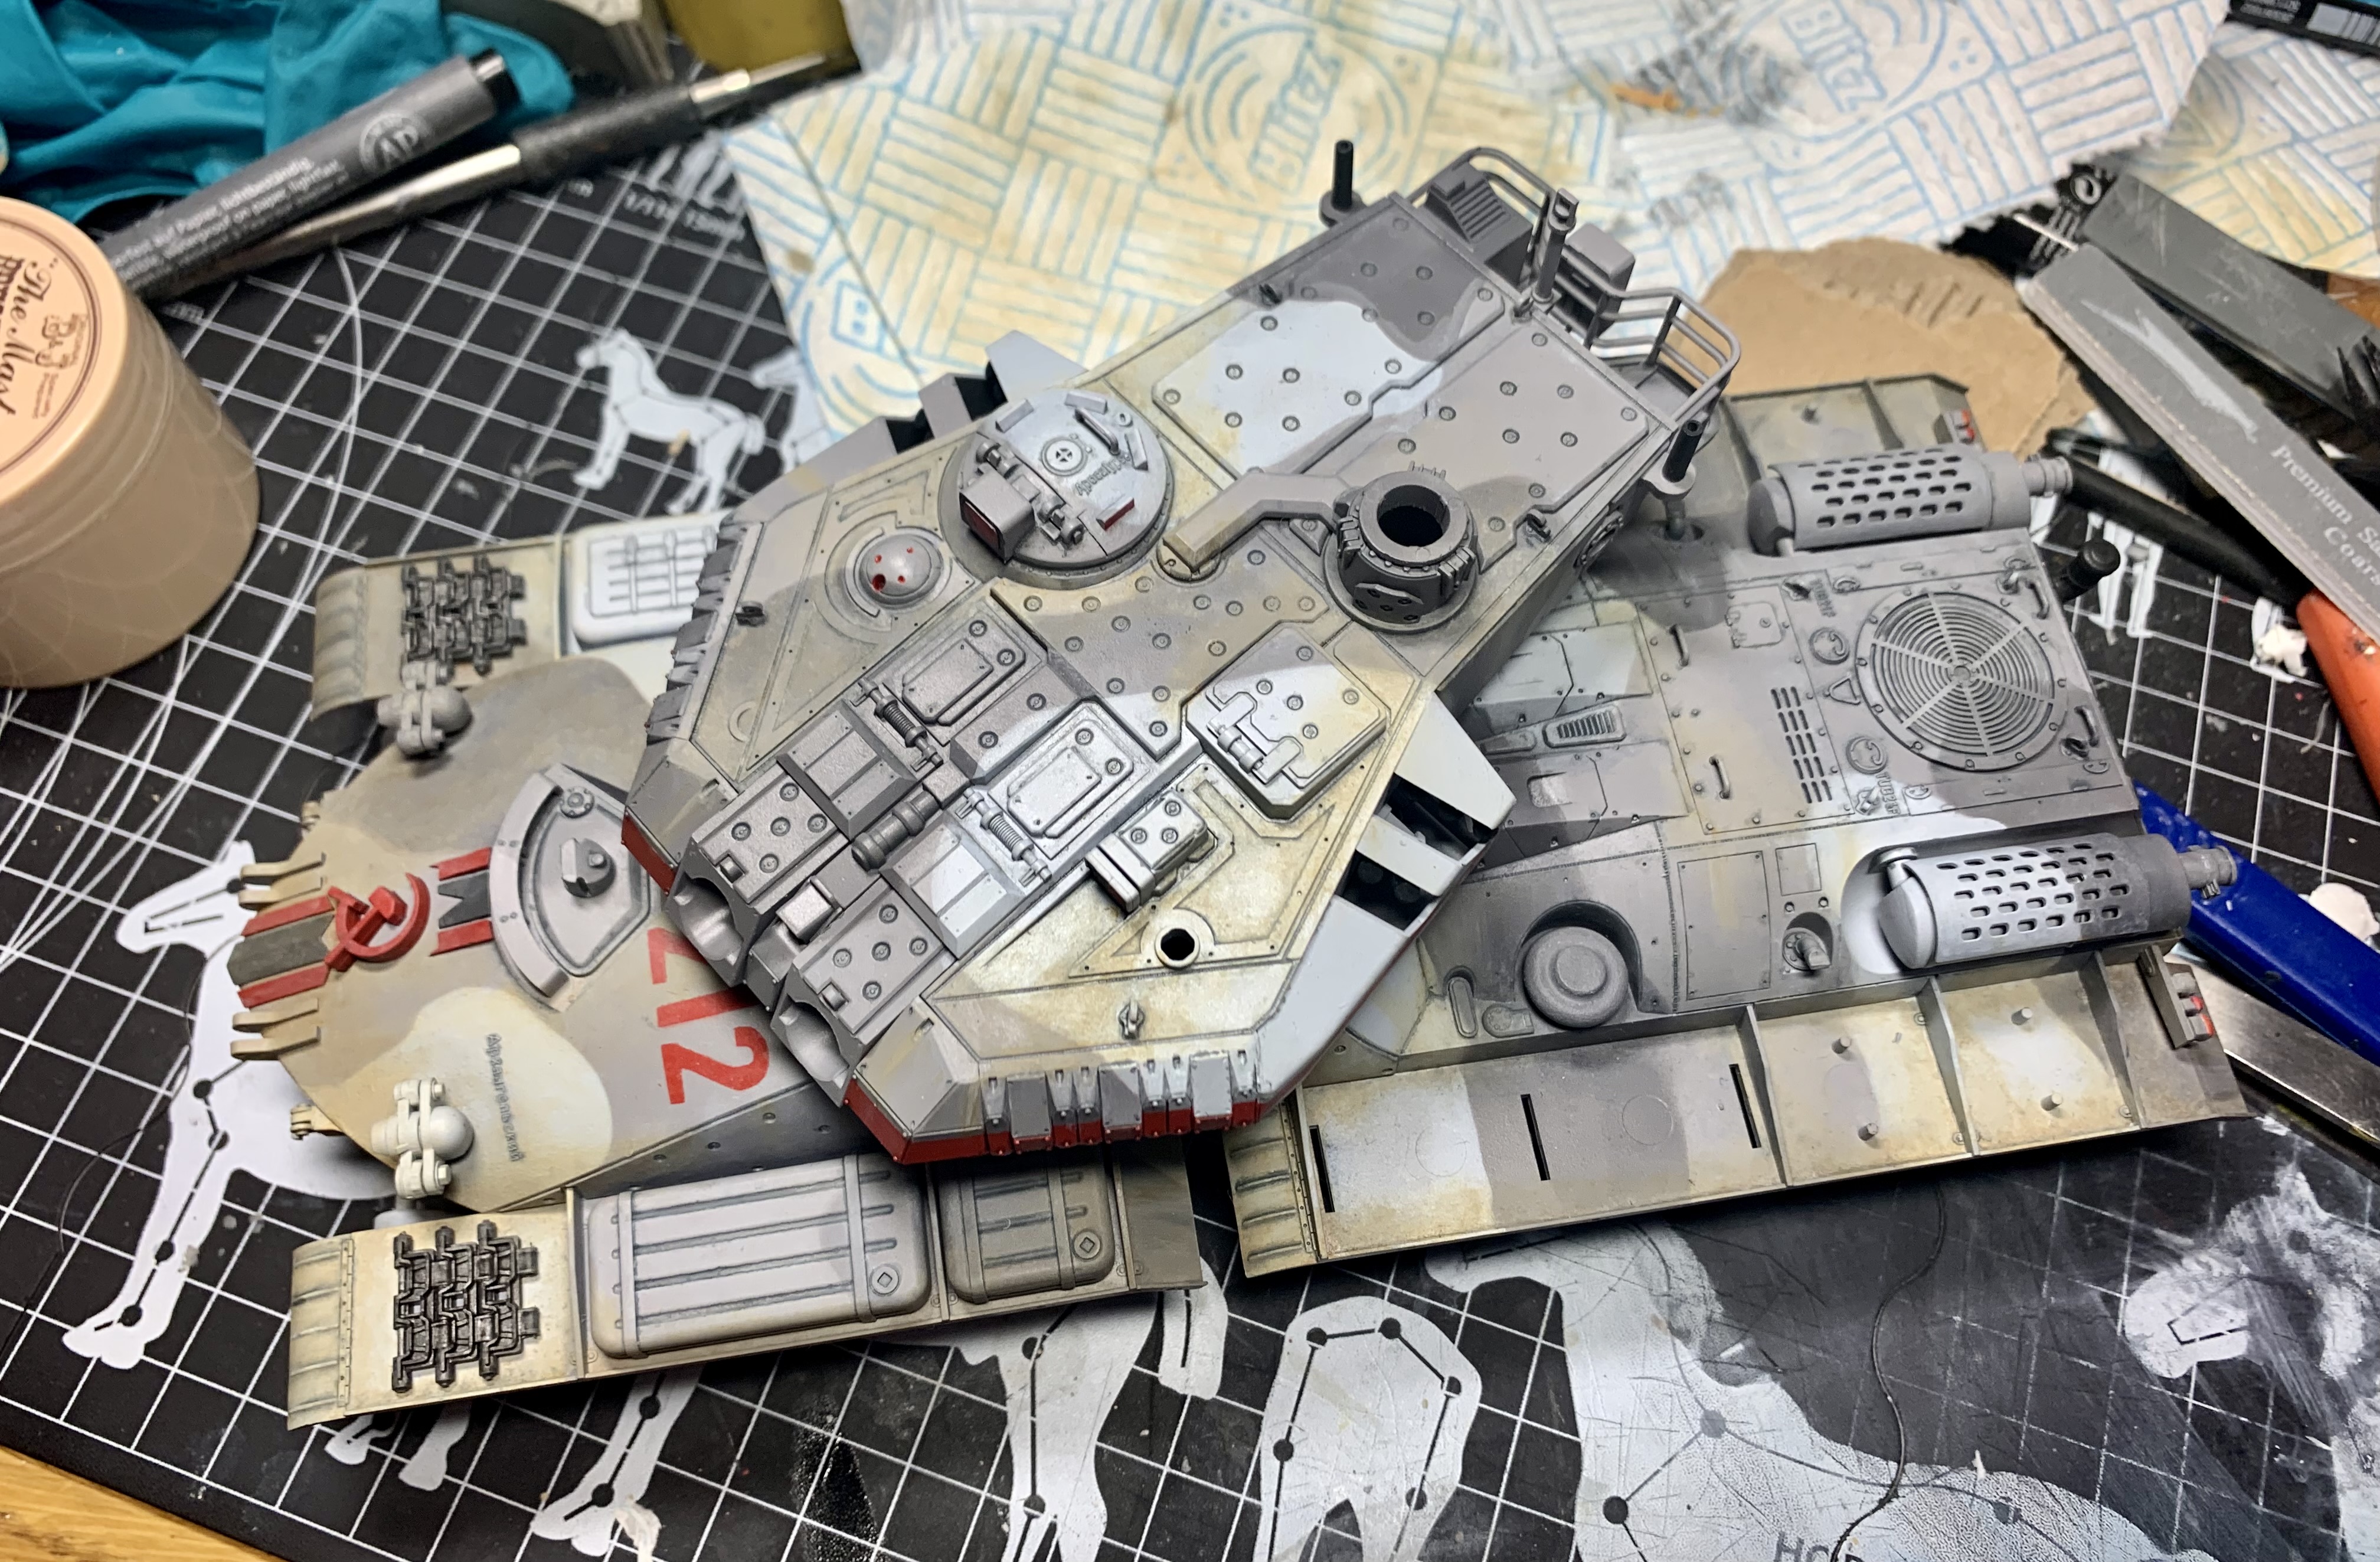
That’s two oil colors on to give the idea of a dusty tank. I am deliberately not going too heavy on the dust and dirt for the (I hope understandable) reason that I would like the camouflage and red markings to stand out nice and clearly. I enjoyed painting them so, darn it, I’m gonna make sure they’re easily seen!
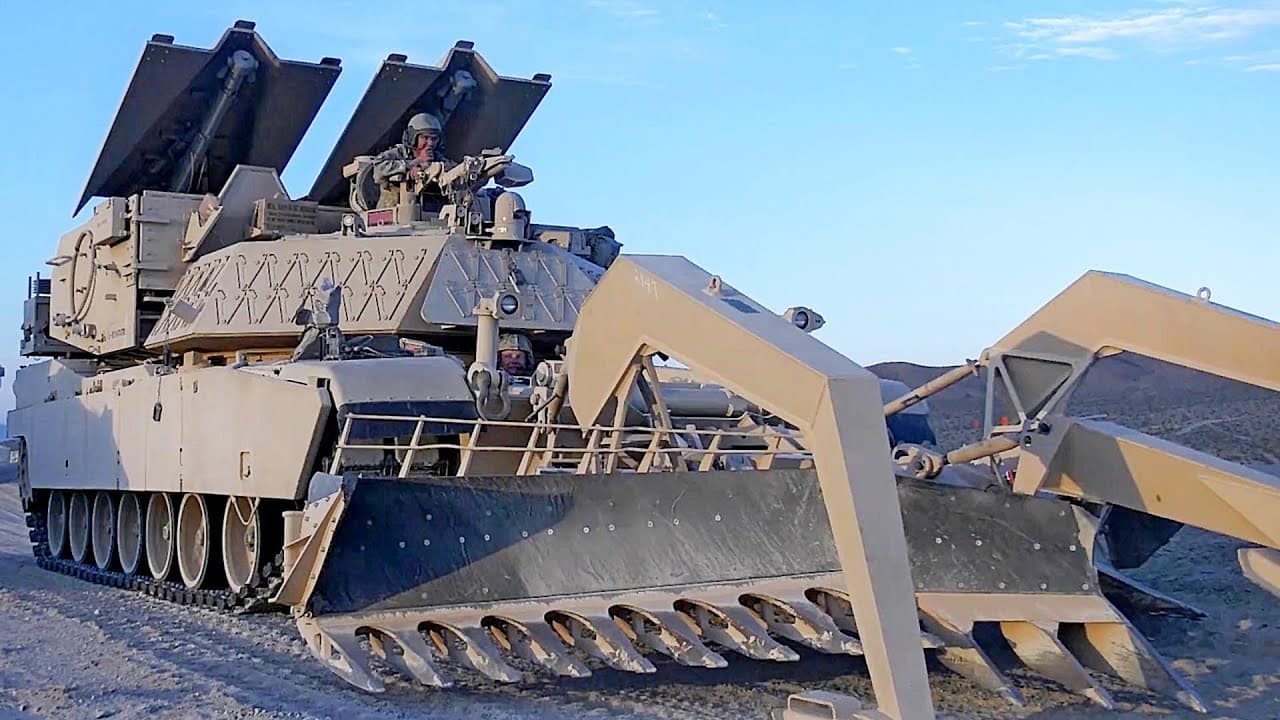
I was also working away on the mine clearer at the front. If you look at these pics of the M1150 Breacher you can see the front of the forks is worn to bare metal. Further up you can see a lighter band which I assume is a primer coating and then the CARC tan which, I believe, is the color the whole assembly is painted when brand new.
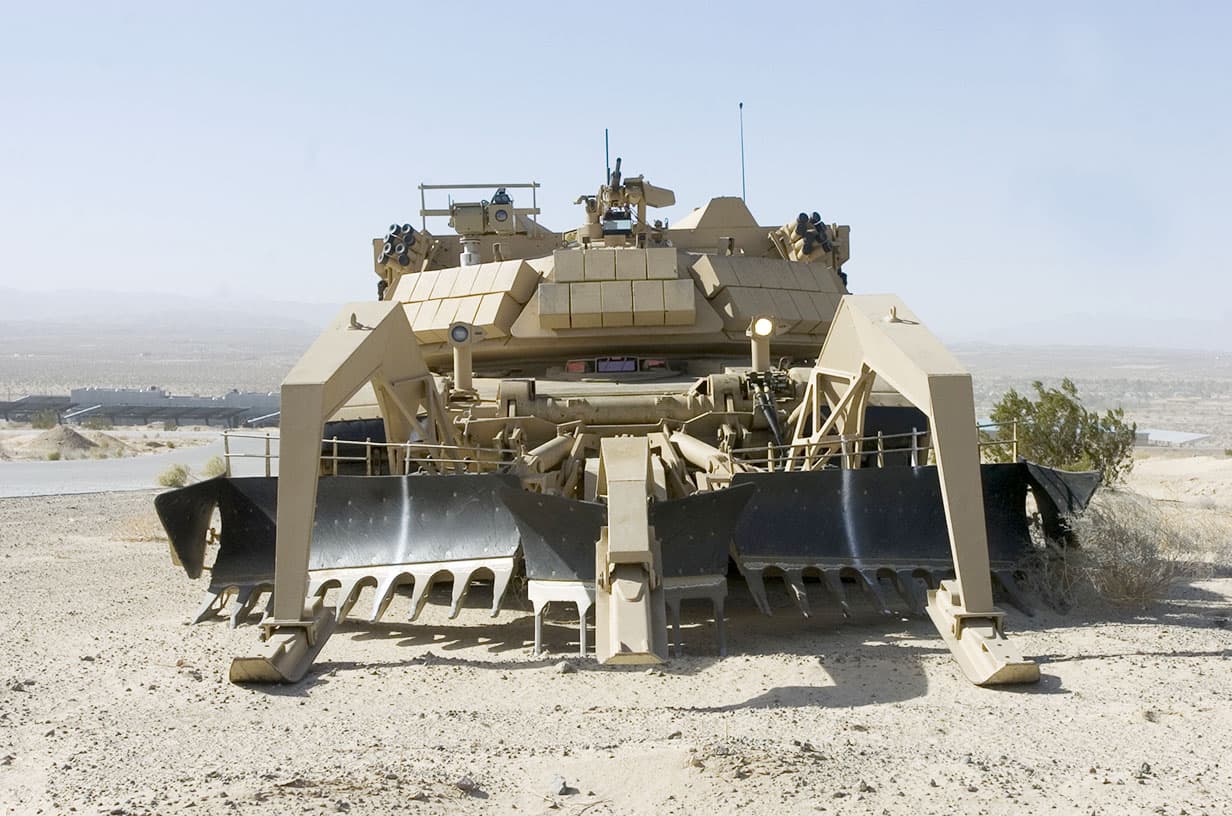
To show similar stages of wear I did some masking and painting for the three layers and have been weathering it.
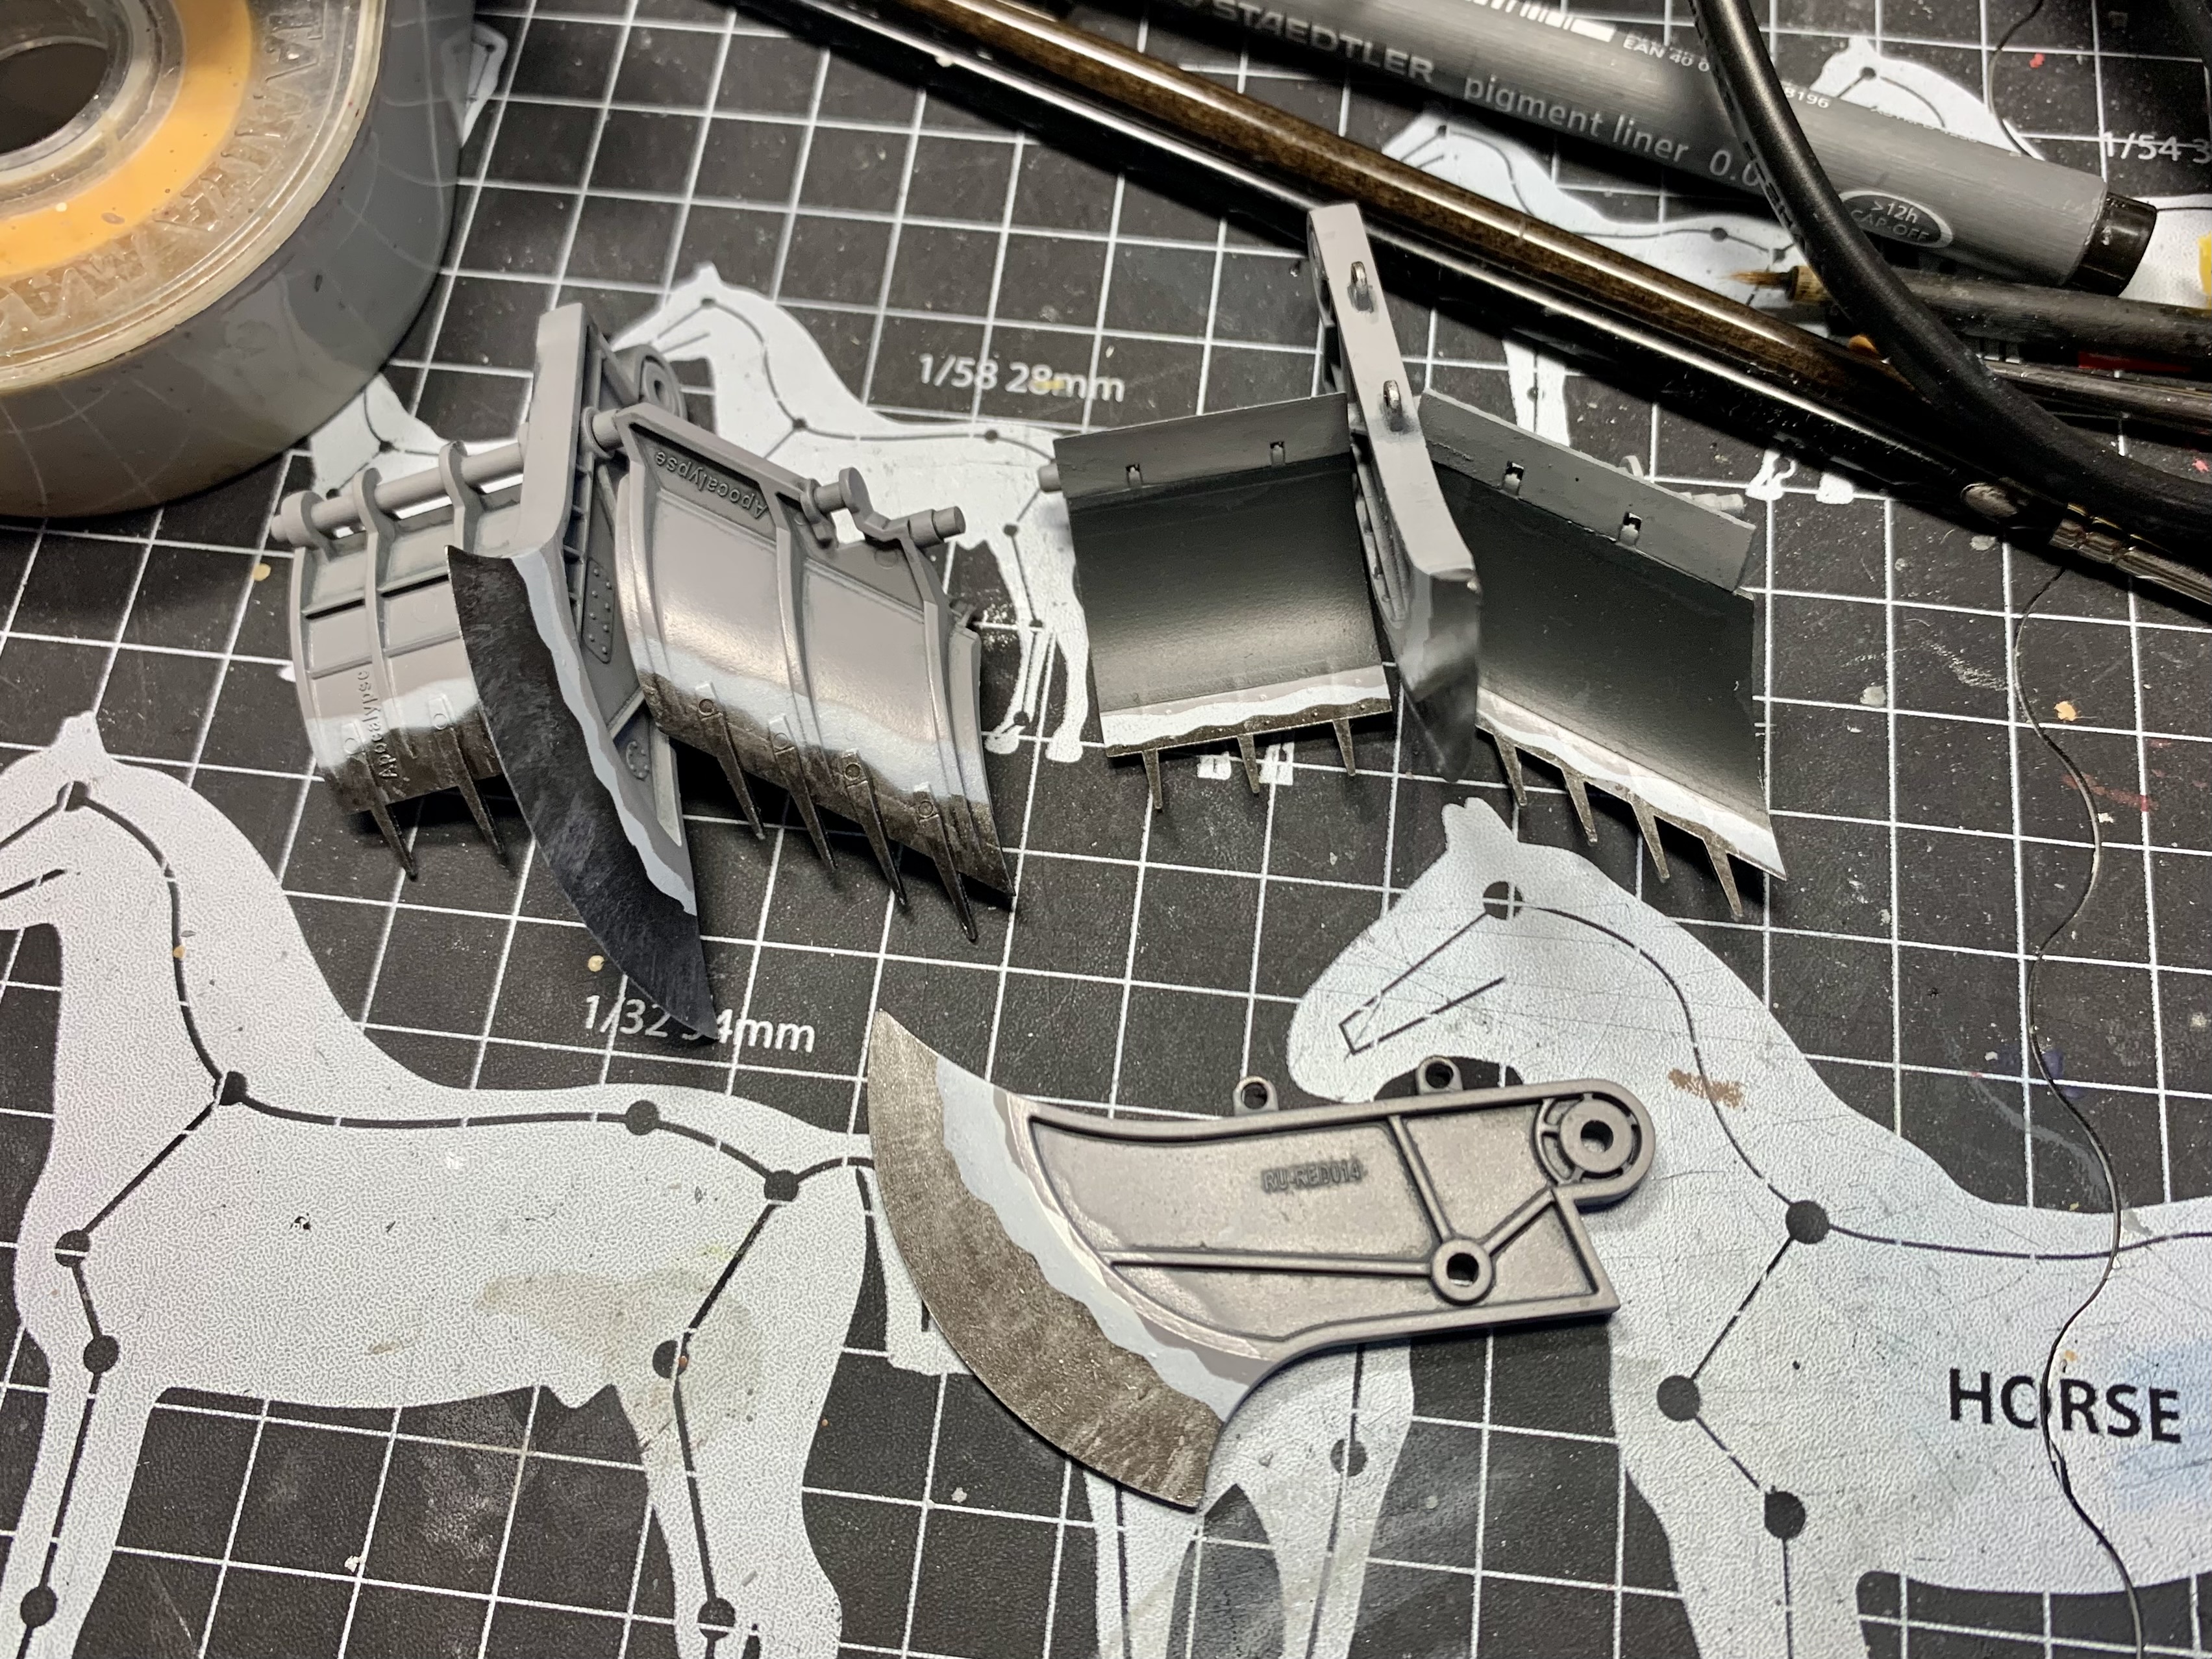
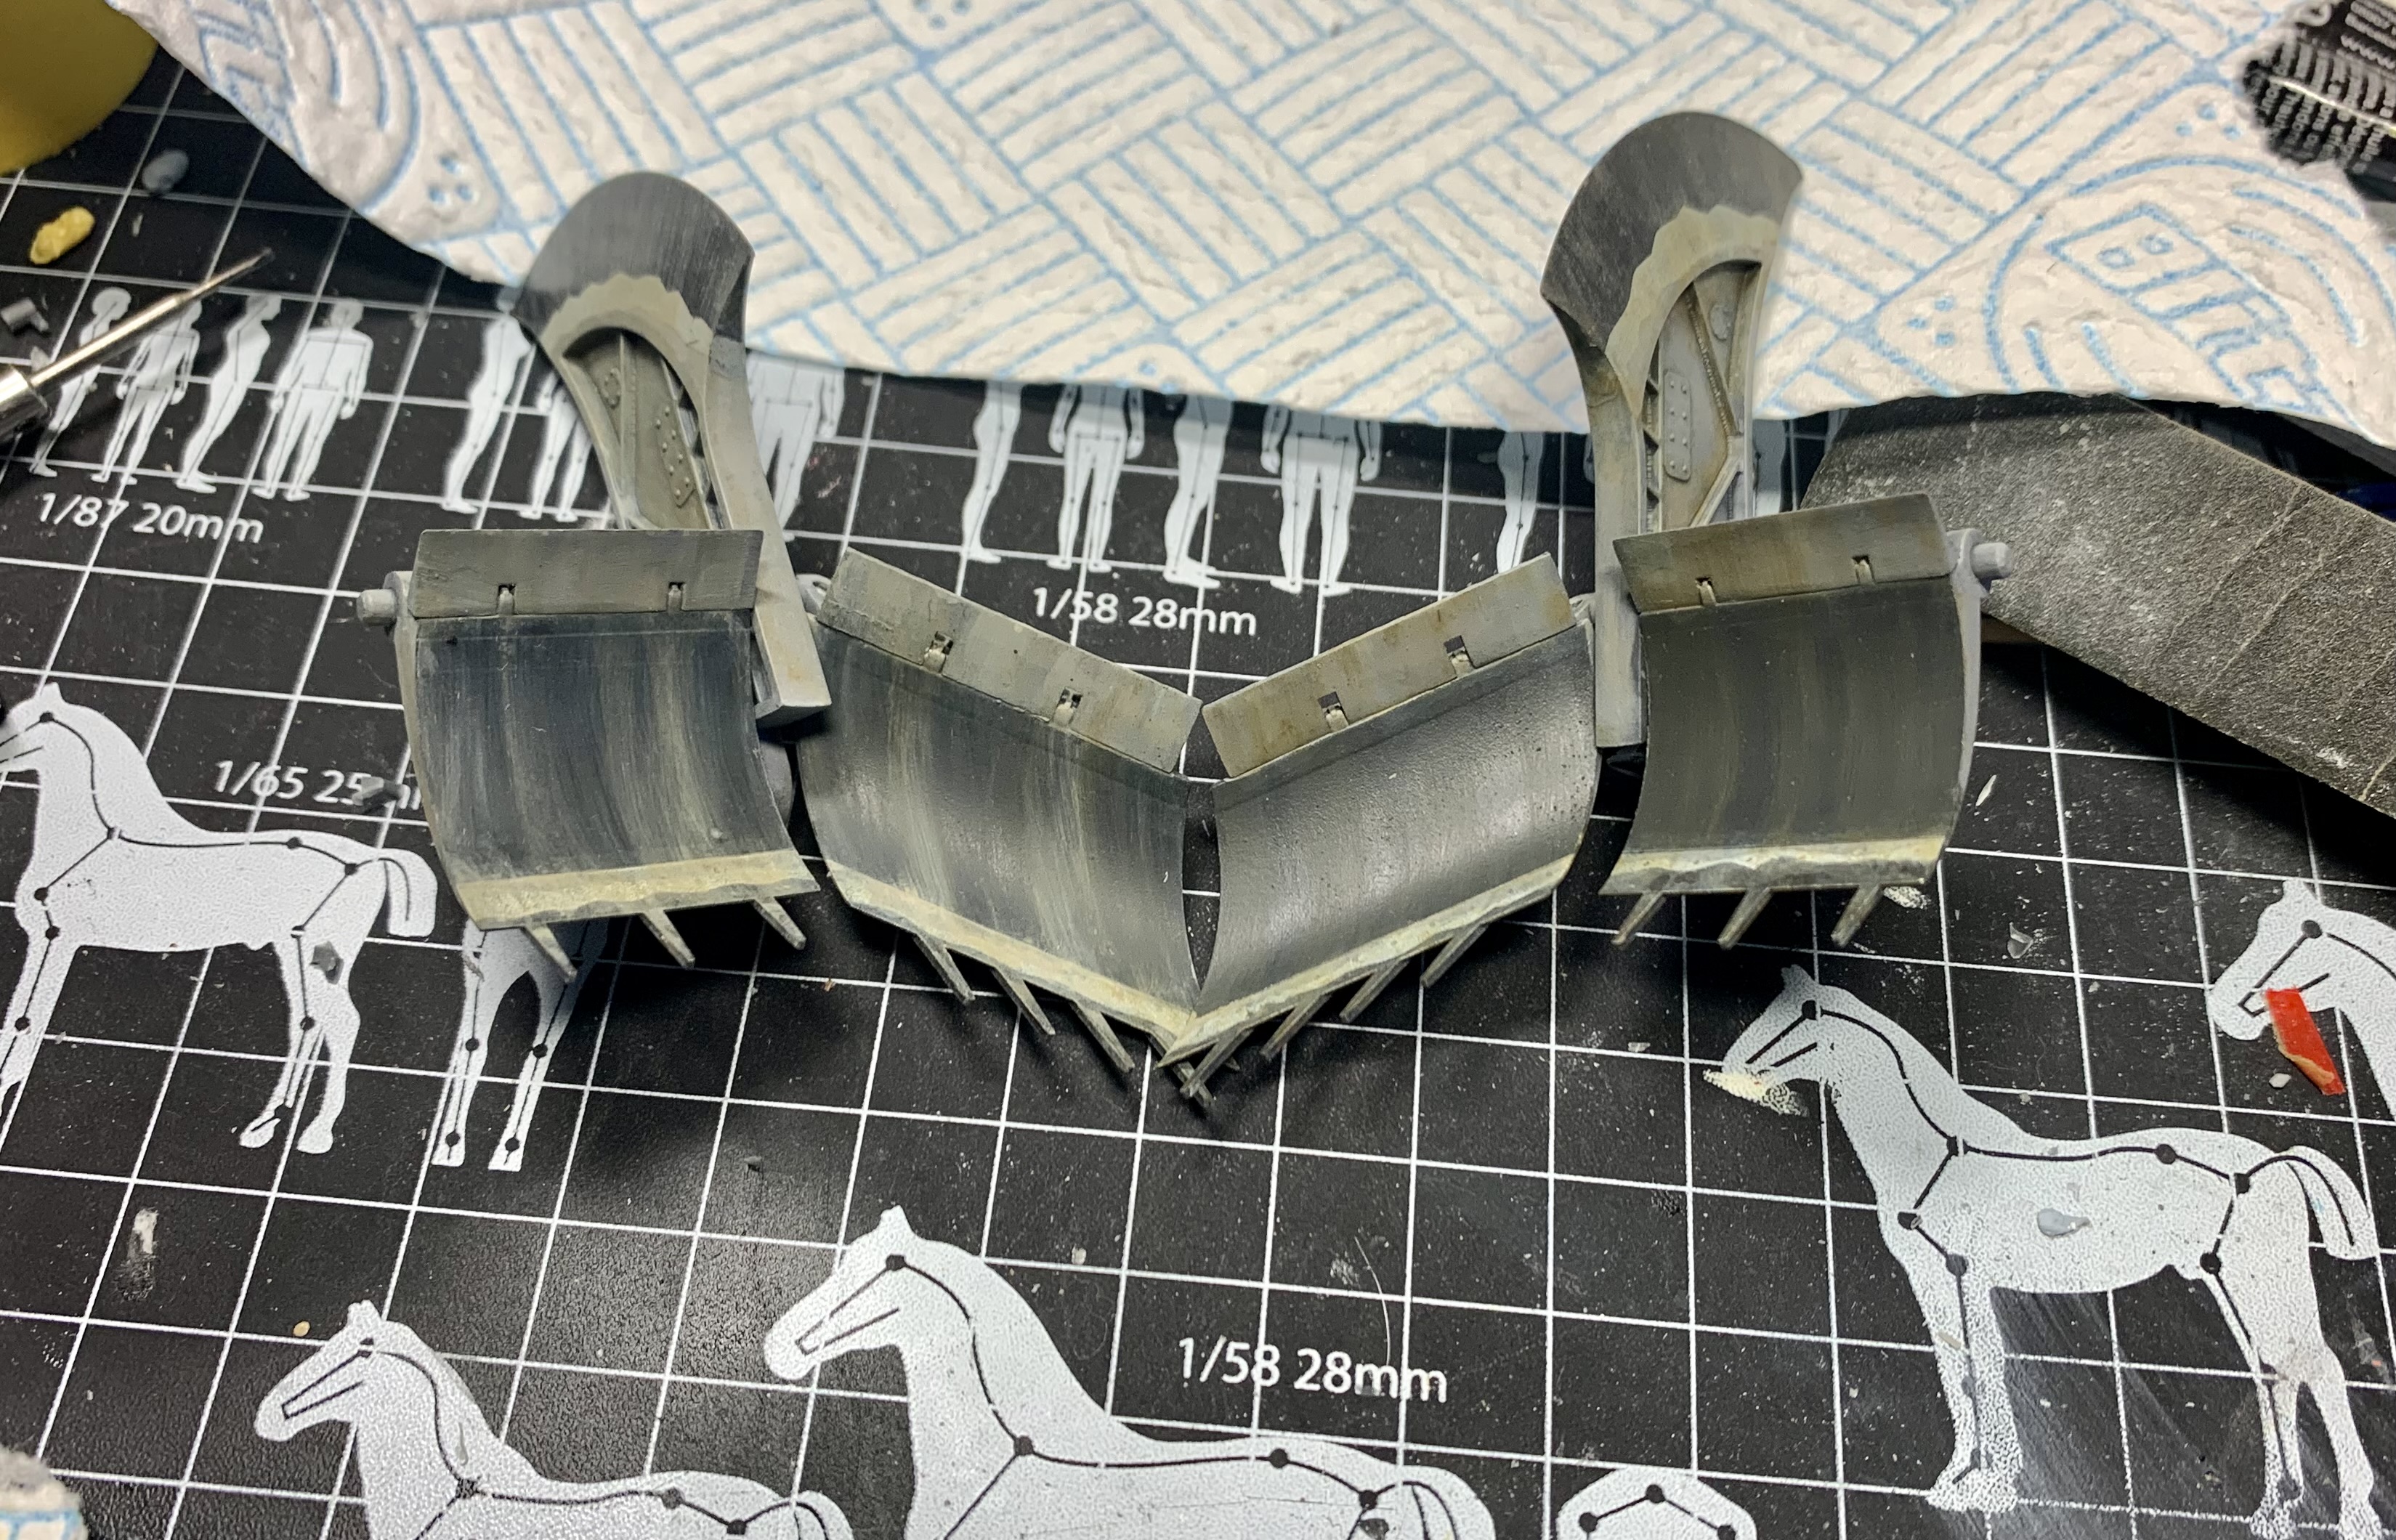
Personally I think I’ve over-done the colors- they are too distinct and instead of kind of flowing into one another they are rather stark. Well, it’s a lesson learned for sure but I’ve some work still to do on this bit so perhaps it will get a little better as I near completion.
Thanks for reading.
9 Likes
Karl, looks good. I Think the colors are spot on! ![]()
Looking forward to see more. ![]()
2 Likes
Thank you Jesper- its nice to here that about the colors ![]() .
.
2 Likes

Did a spot of roadworks, will follow up with road markings and weathering.

Then onto the eagerly awaiting Battroid.
Don’t think I’ll make in time for the Hailsham show out in Eastbourne on the 1st July.
Thanks for watching. ![]()
5 Likes
Thanks Ron- interesting reference that- hadn’t even thought about rust to be honest!
1 Like


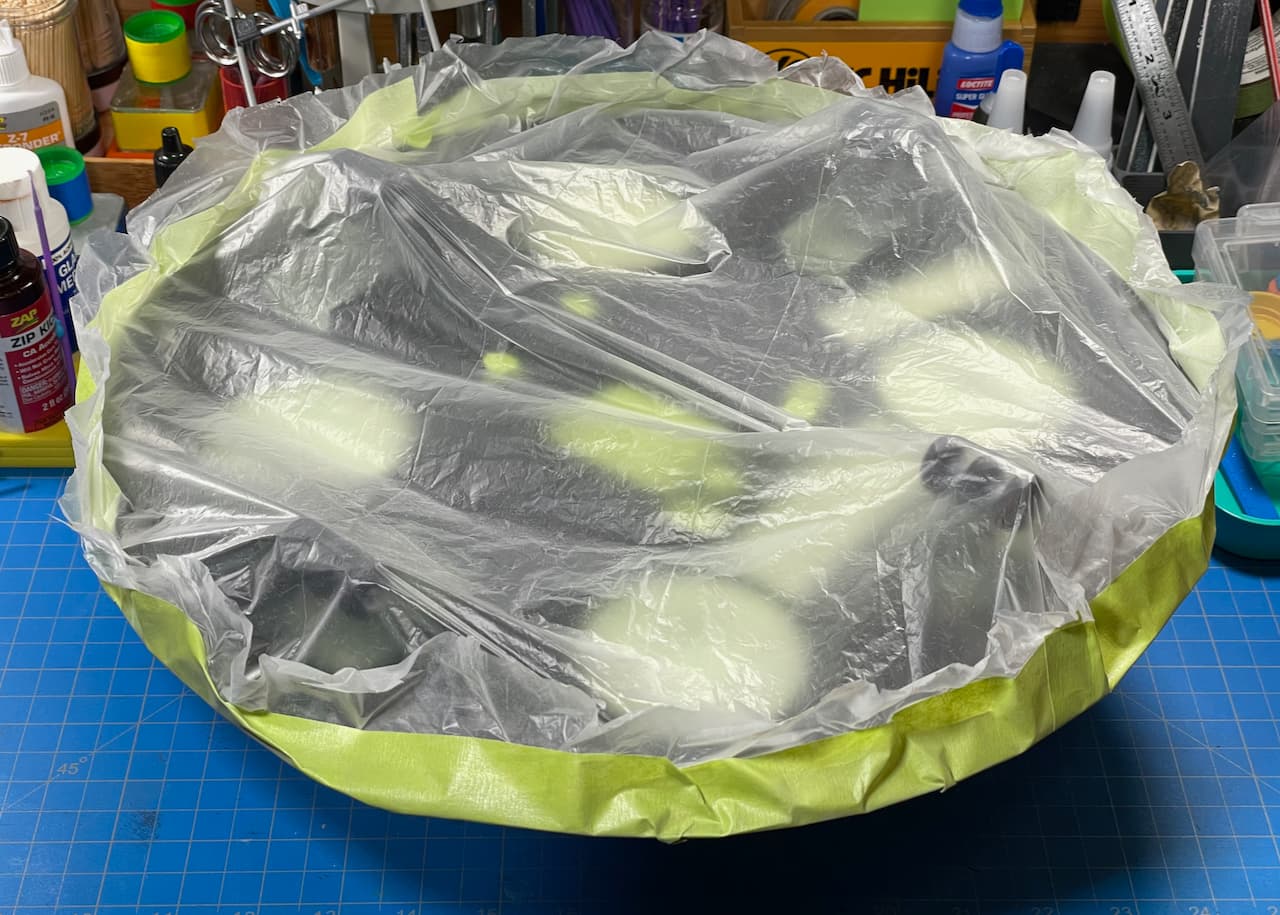
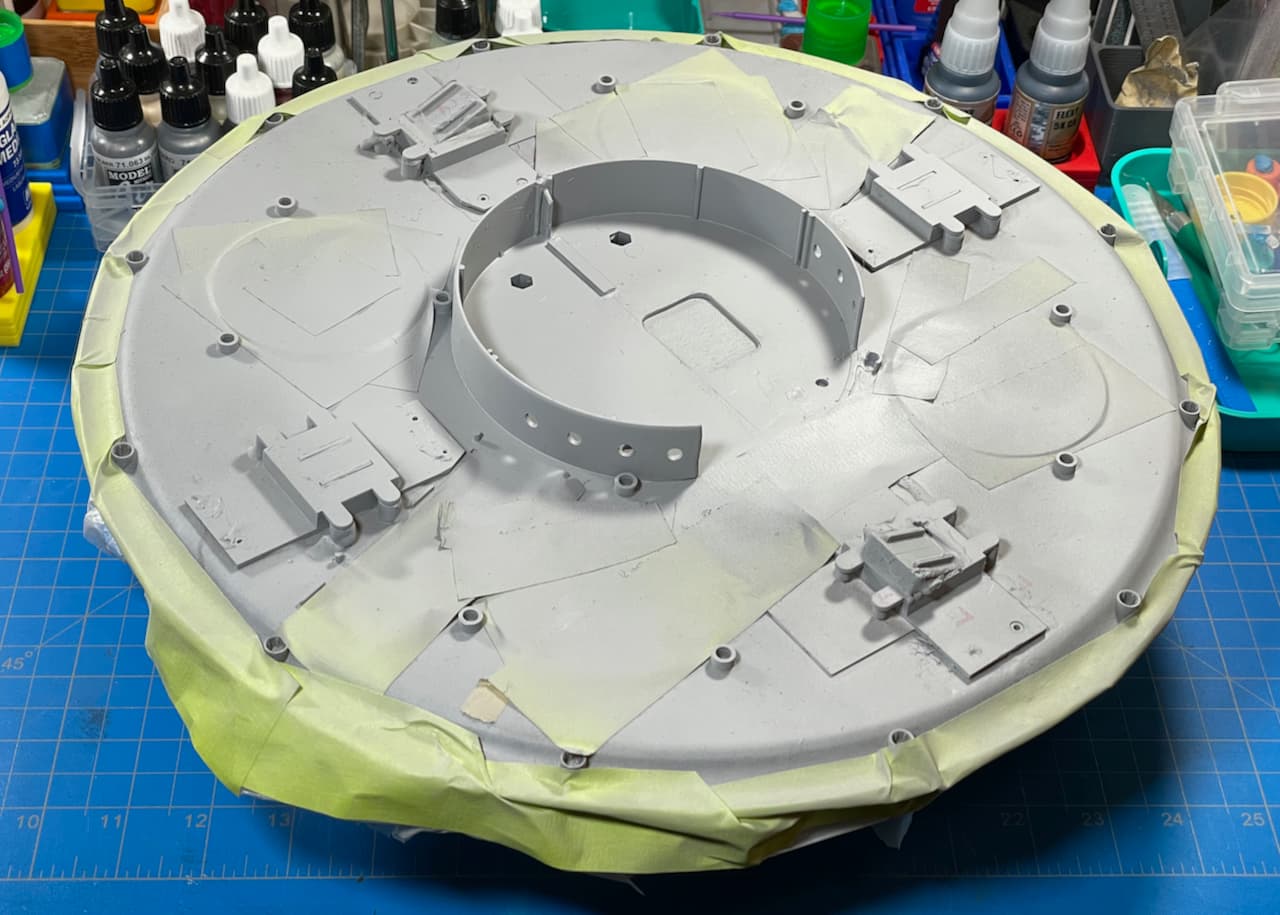
Cheese Wheel Continuum…
This doesn’t look like much, but there’s a lot going on under that shower-cap. After gluing and clamping the wheels on permanently, I did a bunch of sanding on the tires to finally level-off the saucer’s stance. After that, it was twelve tire touch-up. ![]() And that brings us here.
And that brings us here.
The lower hull is masked after a small amount of black touch-up. ![]()
The flip side… Primed the Bomb Room with Tamiya (87064) Fine Grey Surface Primer (rattle-can).
My brain on paint! ![]()
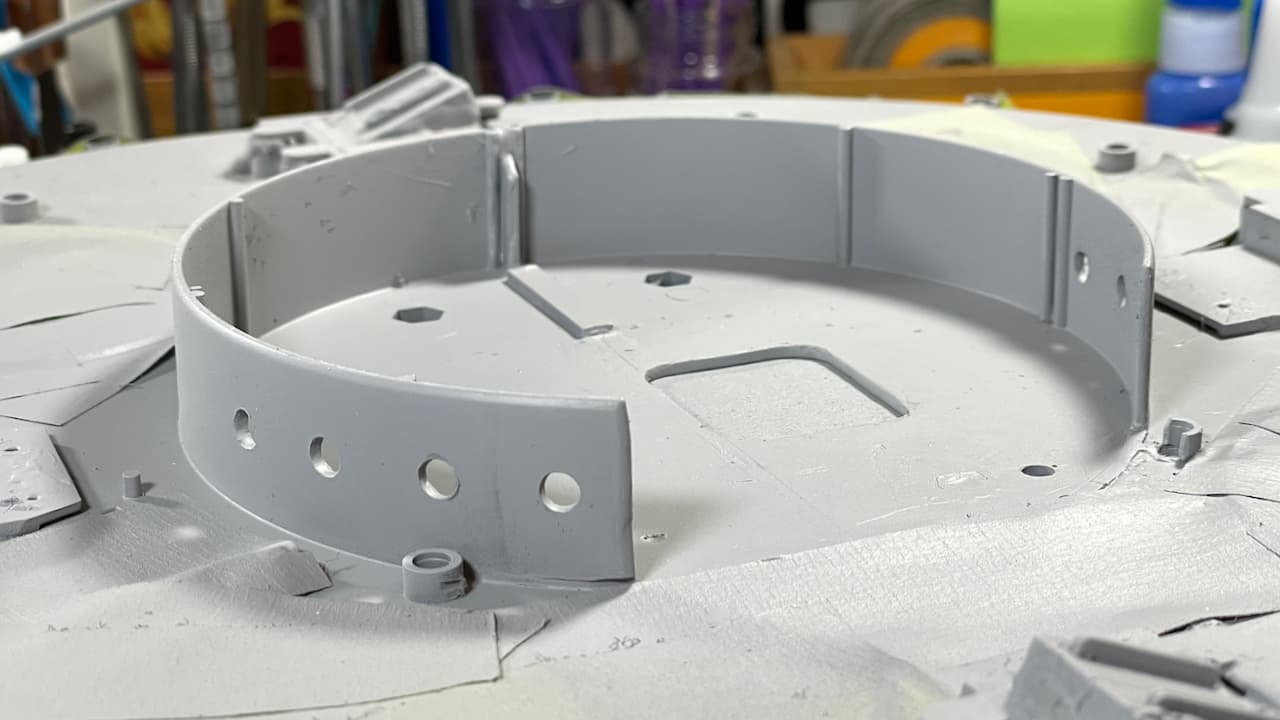
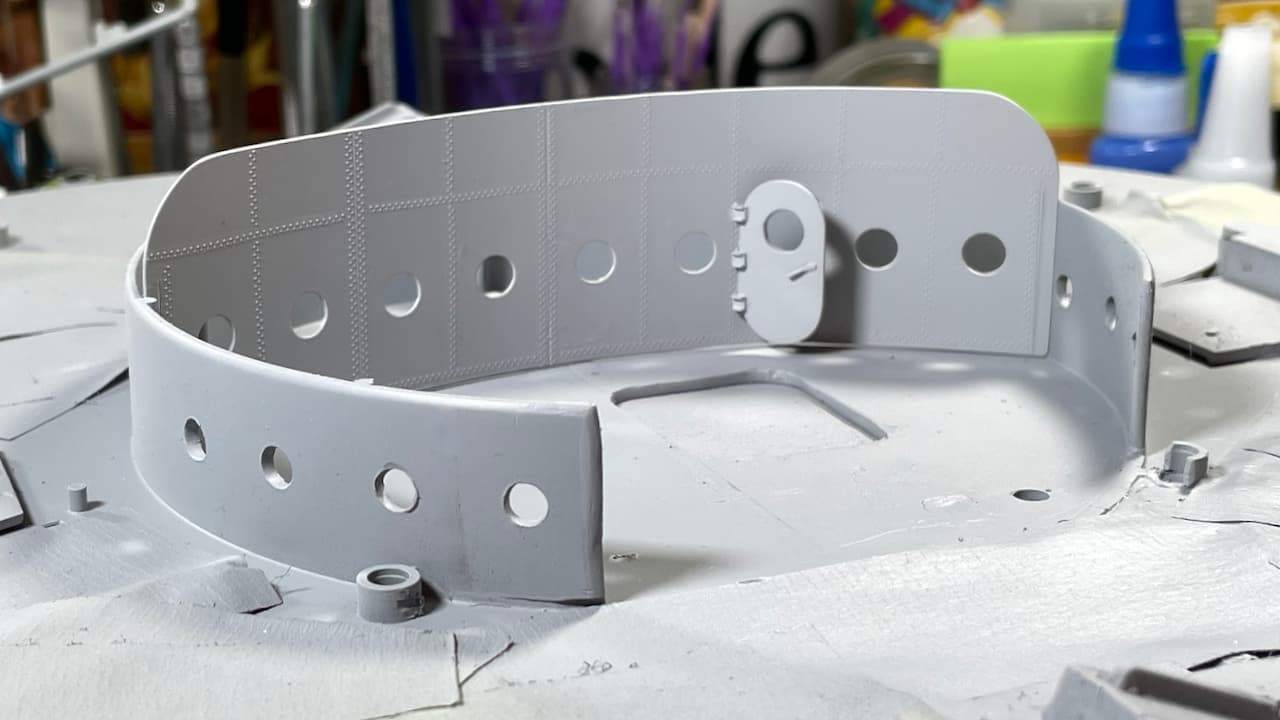
A quick dry-fit of the Bomb Room’s inner wall. You may recall this scratch-build from long ago. ![]()
Next up: I’ll most likely paint the interior floor and wall areas. Then it’s time to begin fitting the mayhem which is the mechanical tower and carousel bomb loading system.
Happy Space Traveling!
—mike …![]()
10 Likes
And the rivets really pop out now. That effort paid off. Its looking fantastic Mike.
3 Likes
Looks super cool, Mike. This will look stunning when done! ![]()
2 Likes
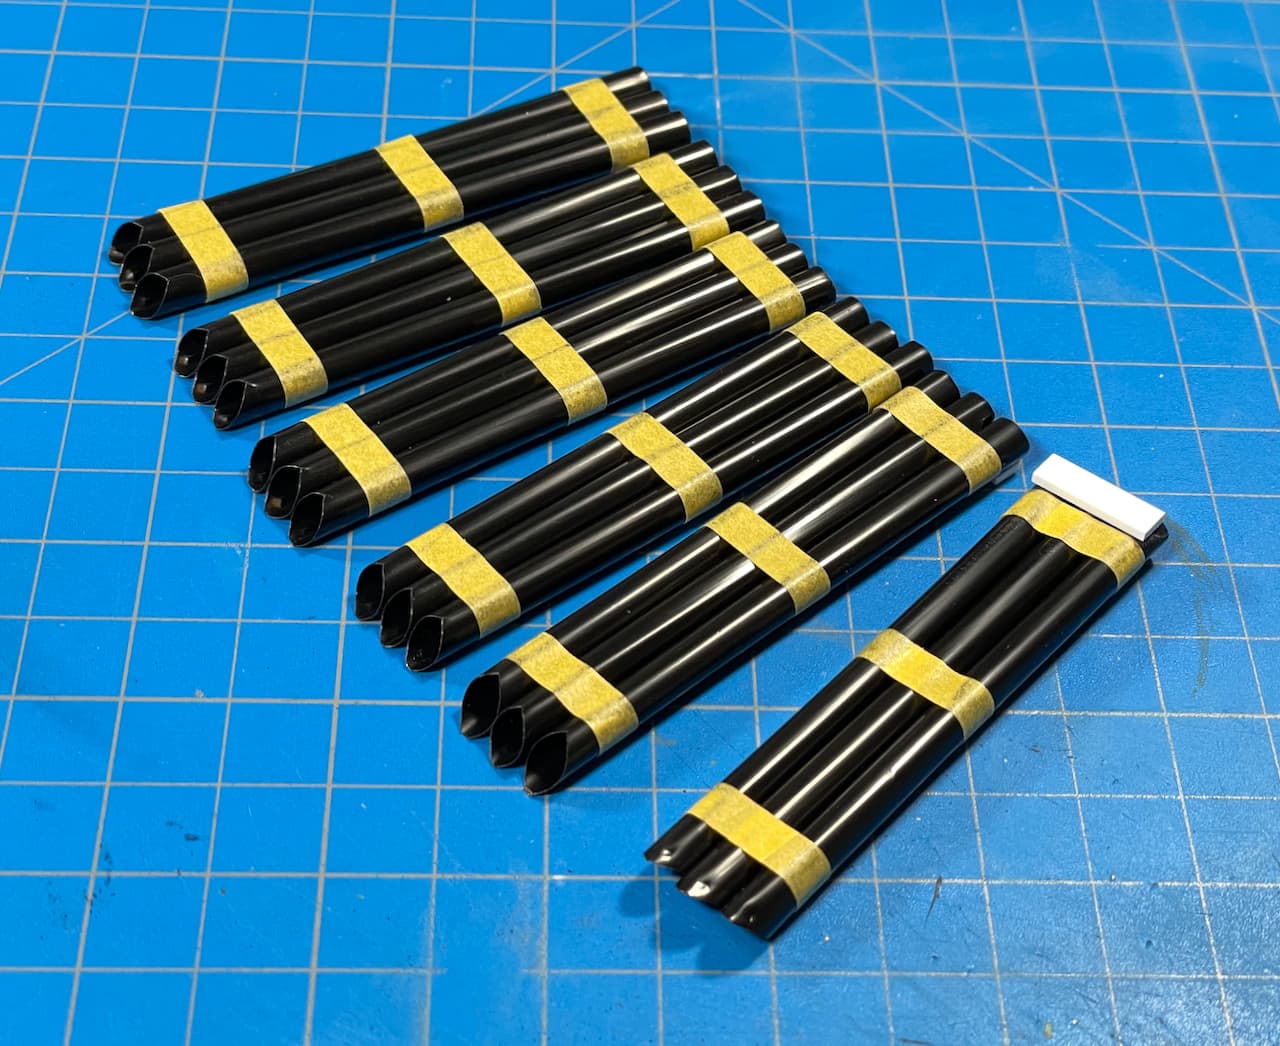
Cowabunga!
Hmmm… What to do with all these extra drinking straws I have laying around? ![]()
![]()
![]() …
… ![]()
![]()
![]()
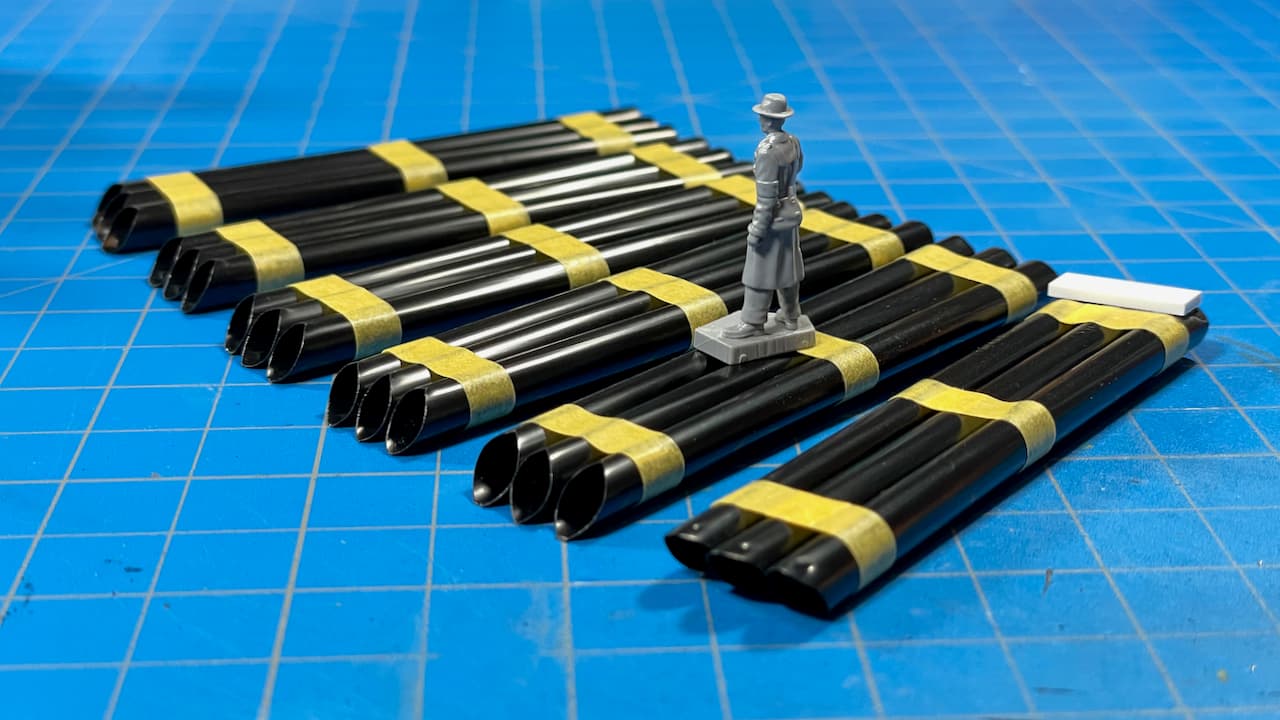
“Das ist tooobular, dood!” ![]()
Tamiya Masking Tape and MENG Nuts and Bolts Set B (Large 1.8 x 54)

Insta Fusion Tubes… or visual filler… or something like that…

I keep knocking dee’s nuts off, so I gotta’ get 'em into paint, pronto! ![]()
—mike ![]()
![]()
9 Likes
Poor old Dee…
4 Likes
Torpedo launchers for the Maritime version? ![]()
4 Likes
Nice plan… Looks good like that… ![]()
2 Likes