6 Likes
![]()
![]()
![]()
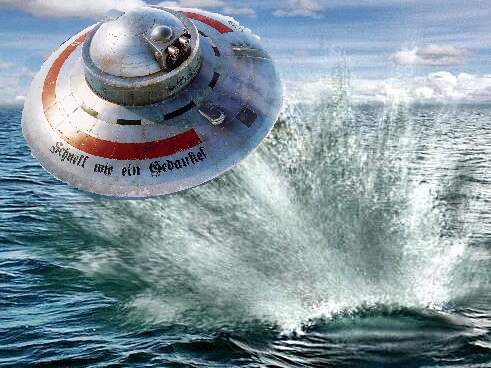
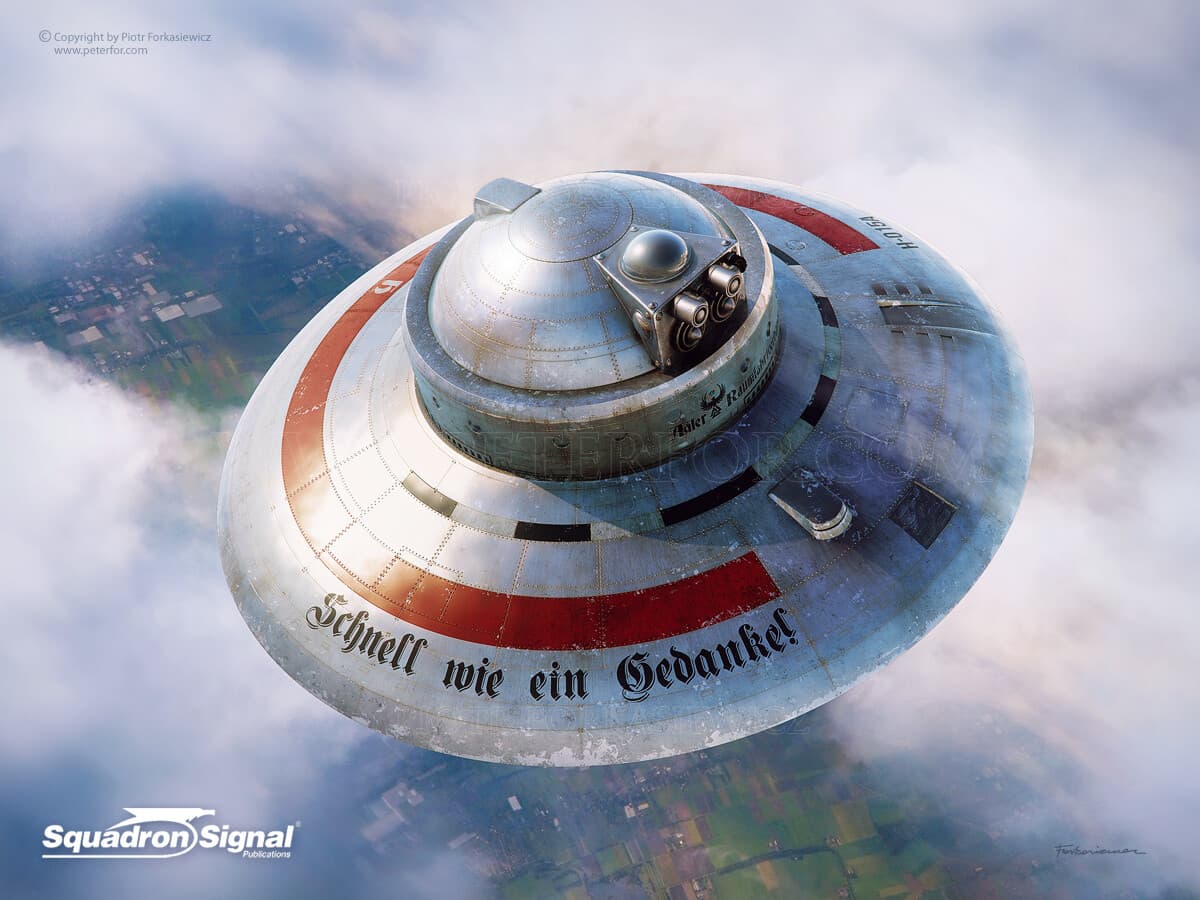
Das Saucer! ![]()
![]()
PS: Can’t fully make out the lettering: Schnell mir… ?
1 Like
More grey paint …
… at least for now, until I dream-up another color scheme for the tubes. ![]()
![]()
Tamiya TS-99 IJN Grey (Maizuru Arsenal)
“Why does this thing I am standing on feel so schpringy?” ![]()
—mike …![]()
10 Likes
Fantastic build, Mike. You keep adding stuff and details. Looks awesome! ![]()
2 Likes
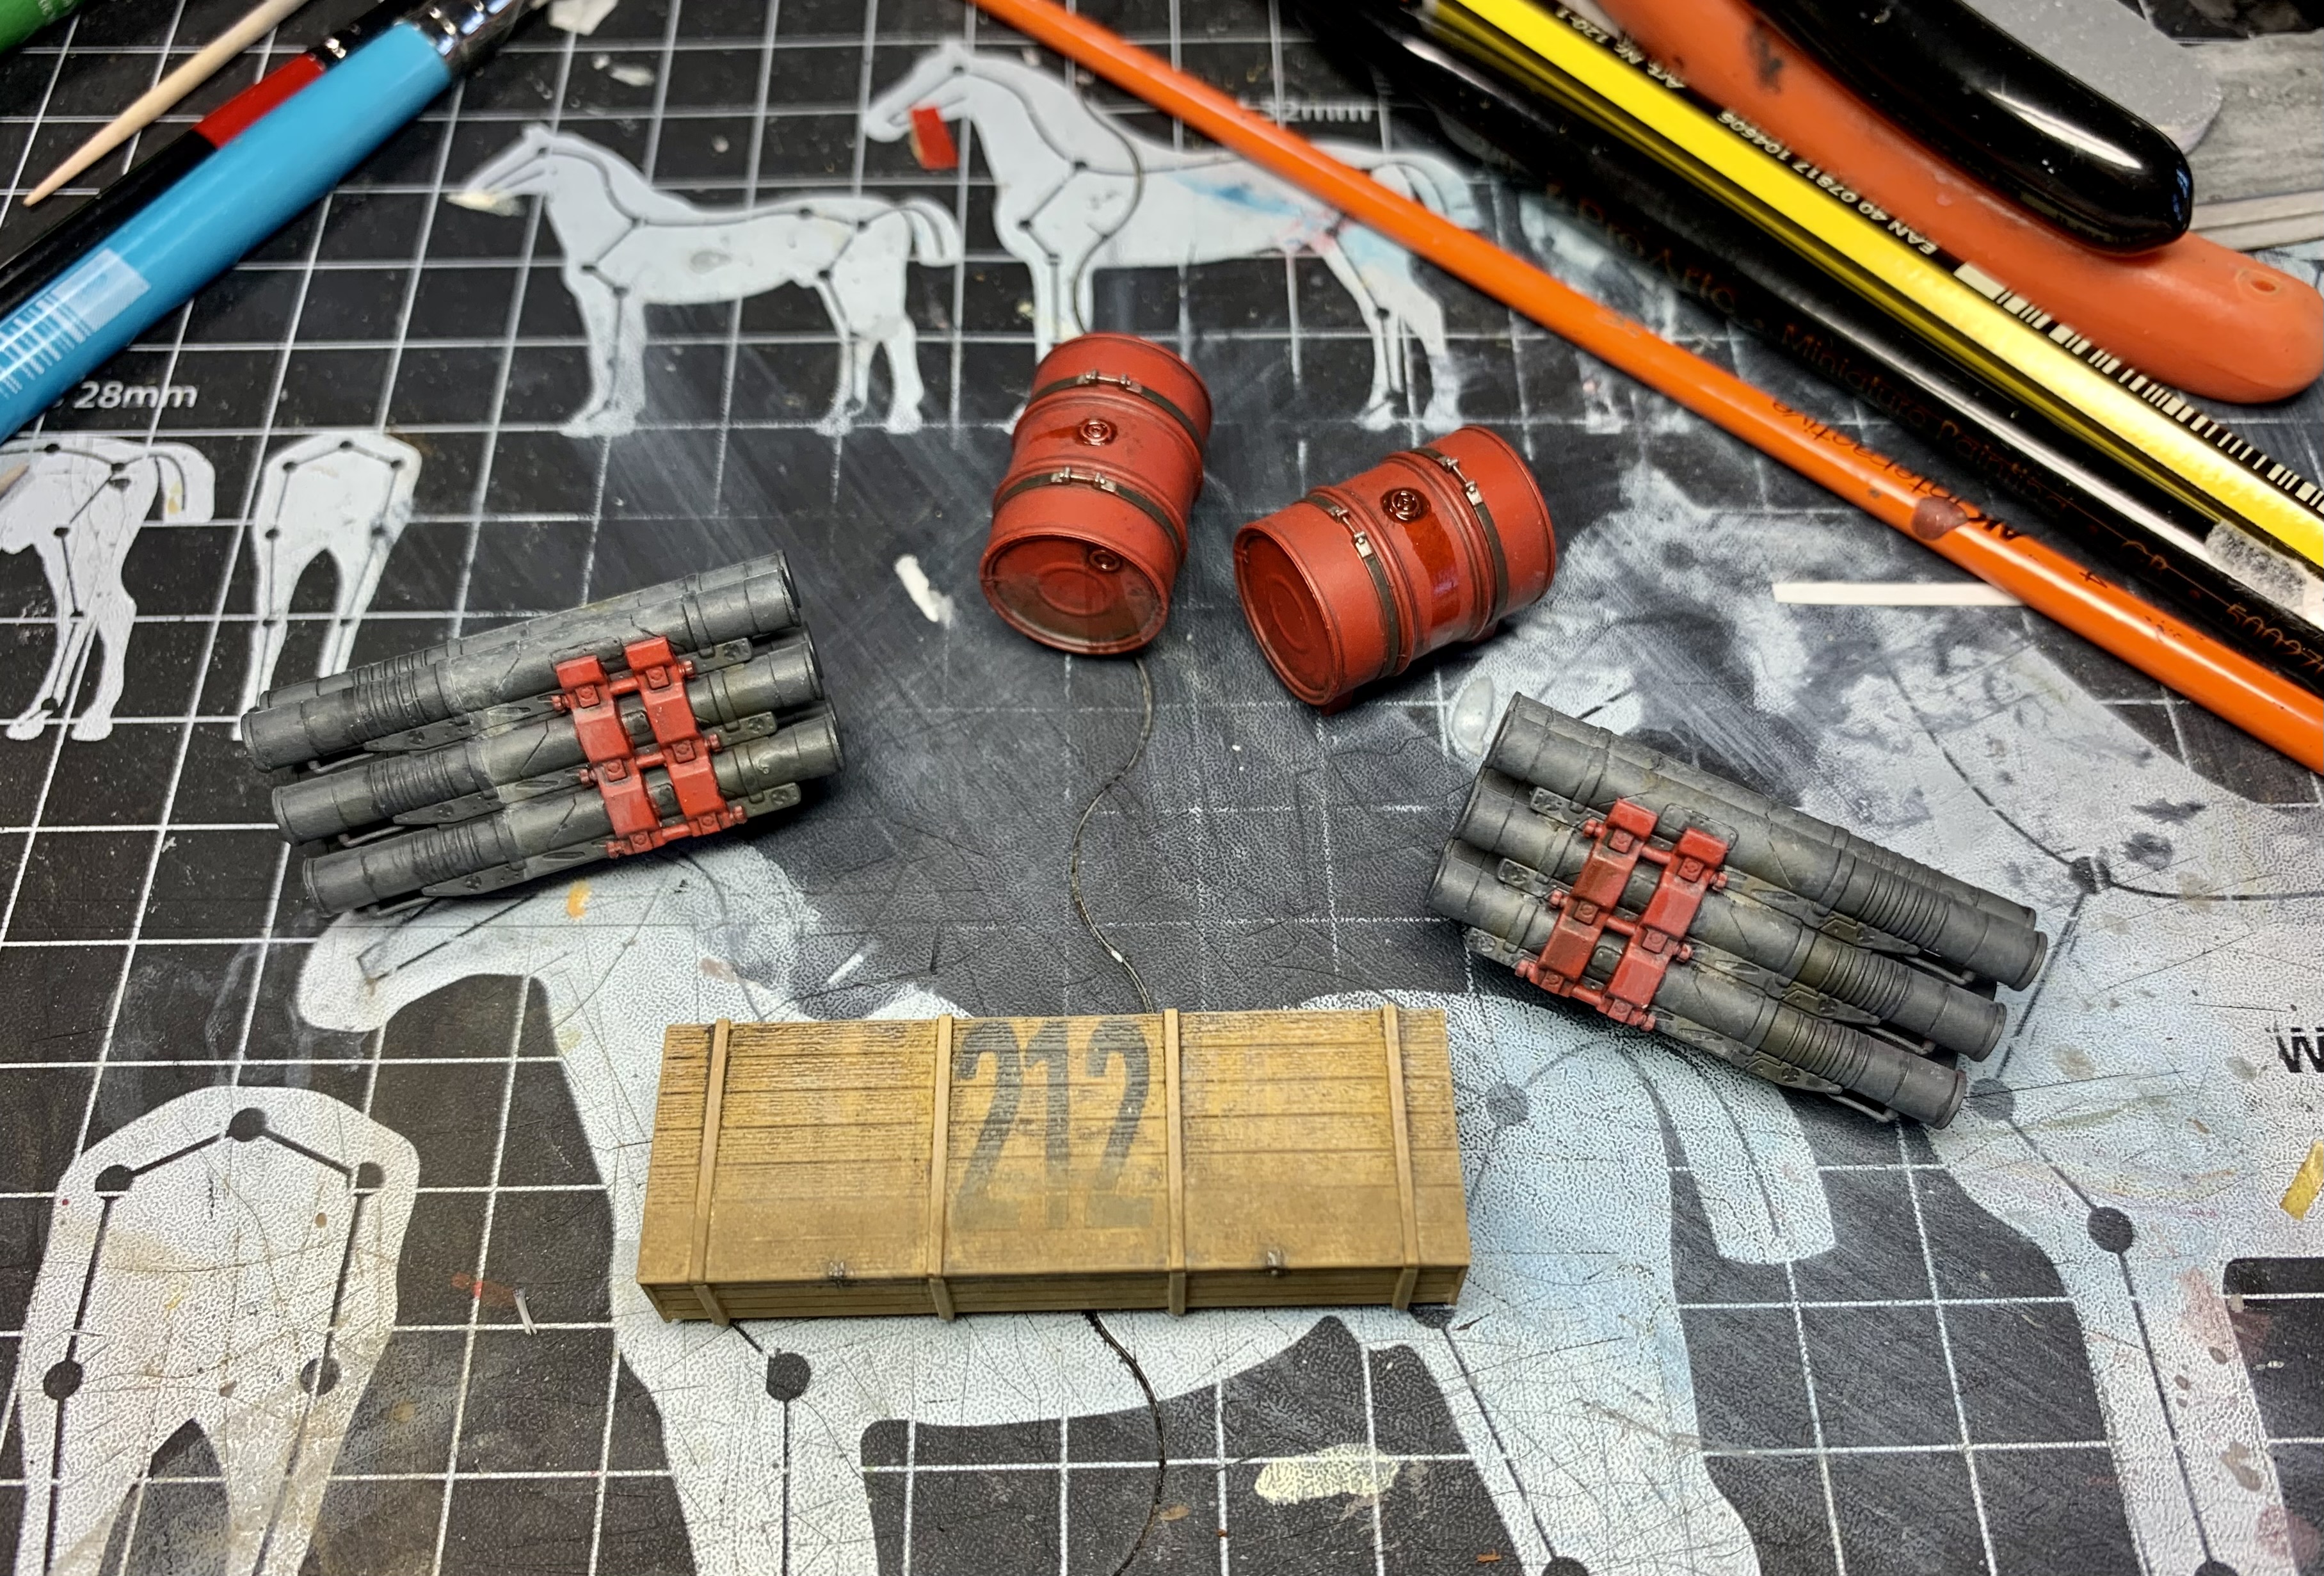
After the last update I added one more oil color to the finish- a more muddy, grimey shade.
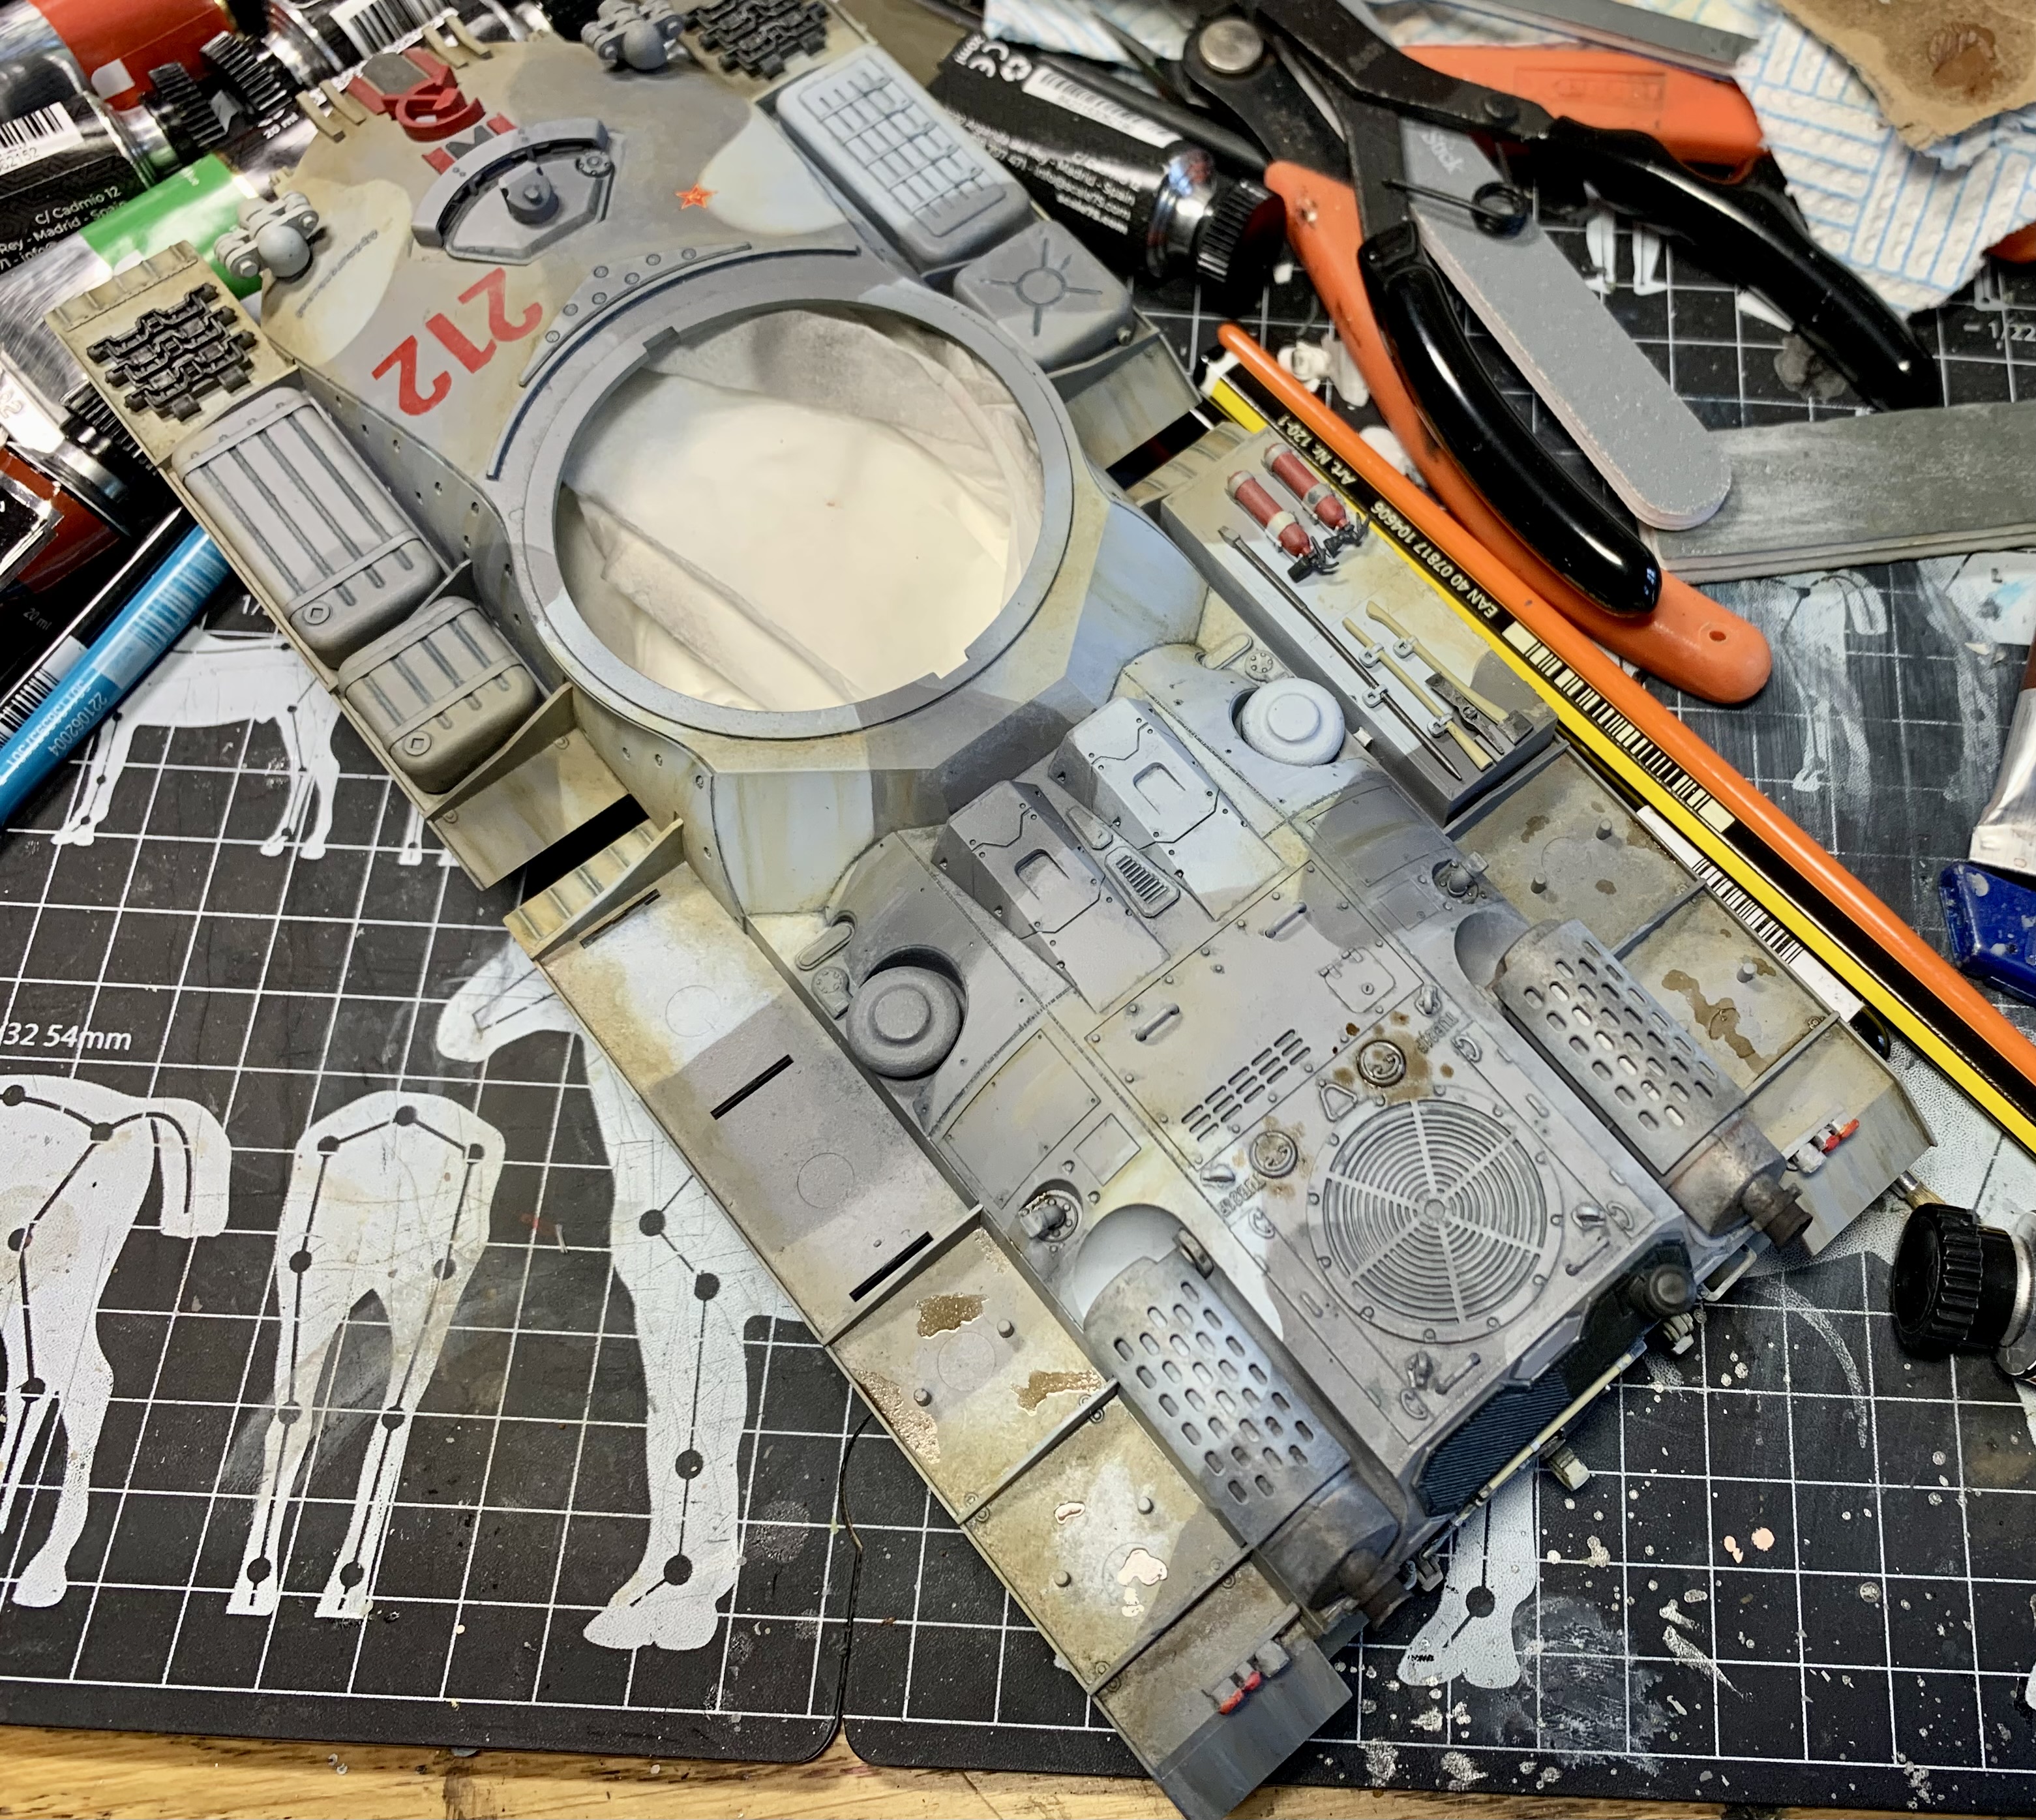
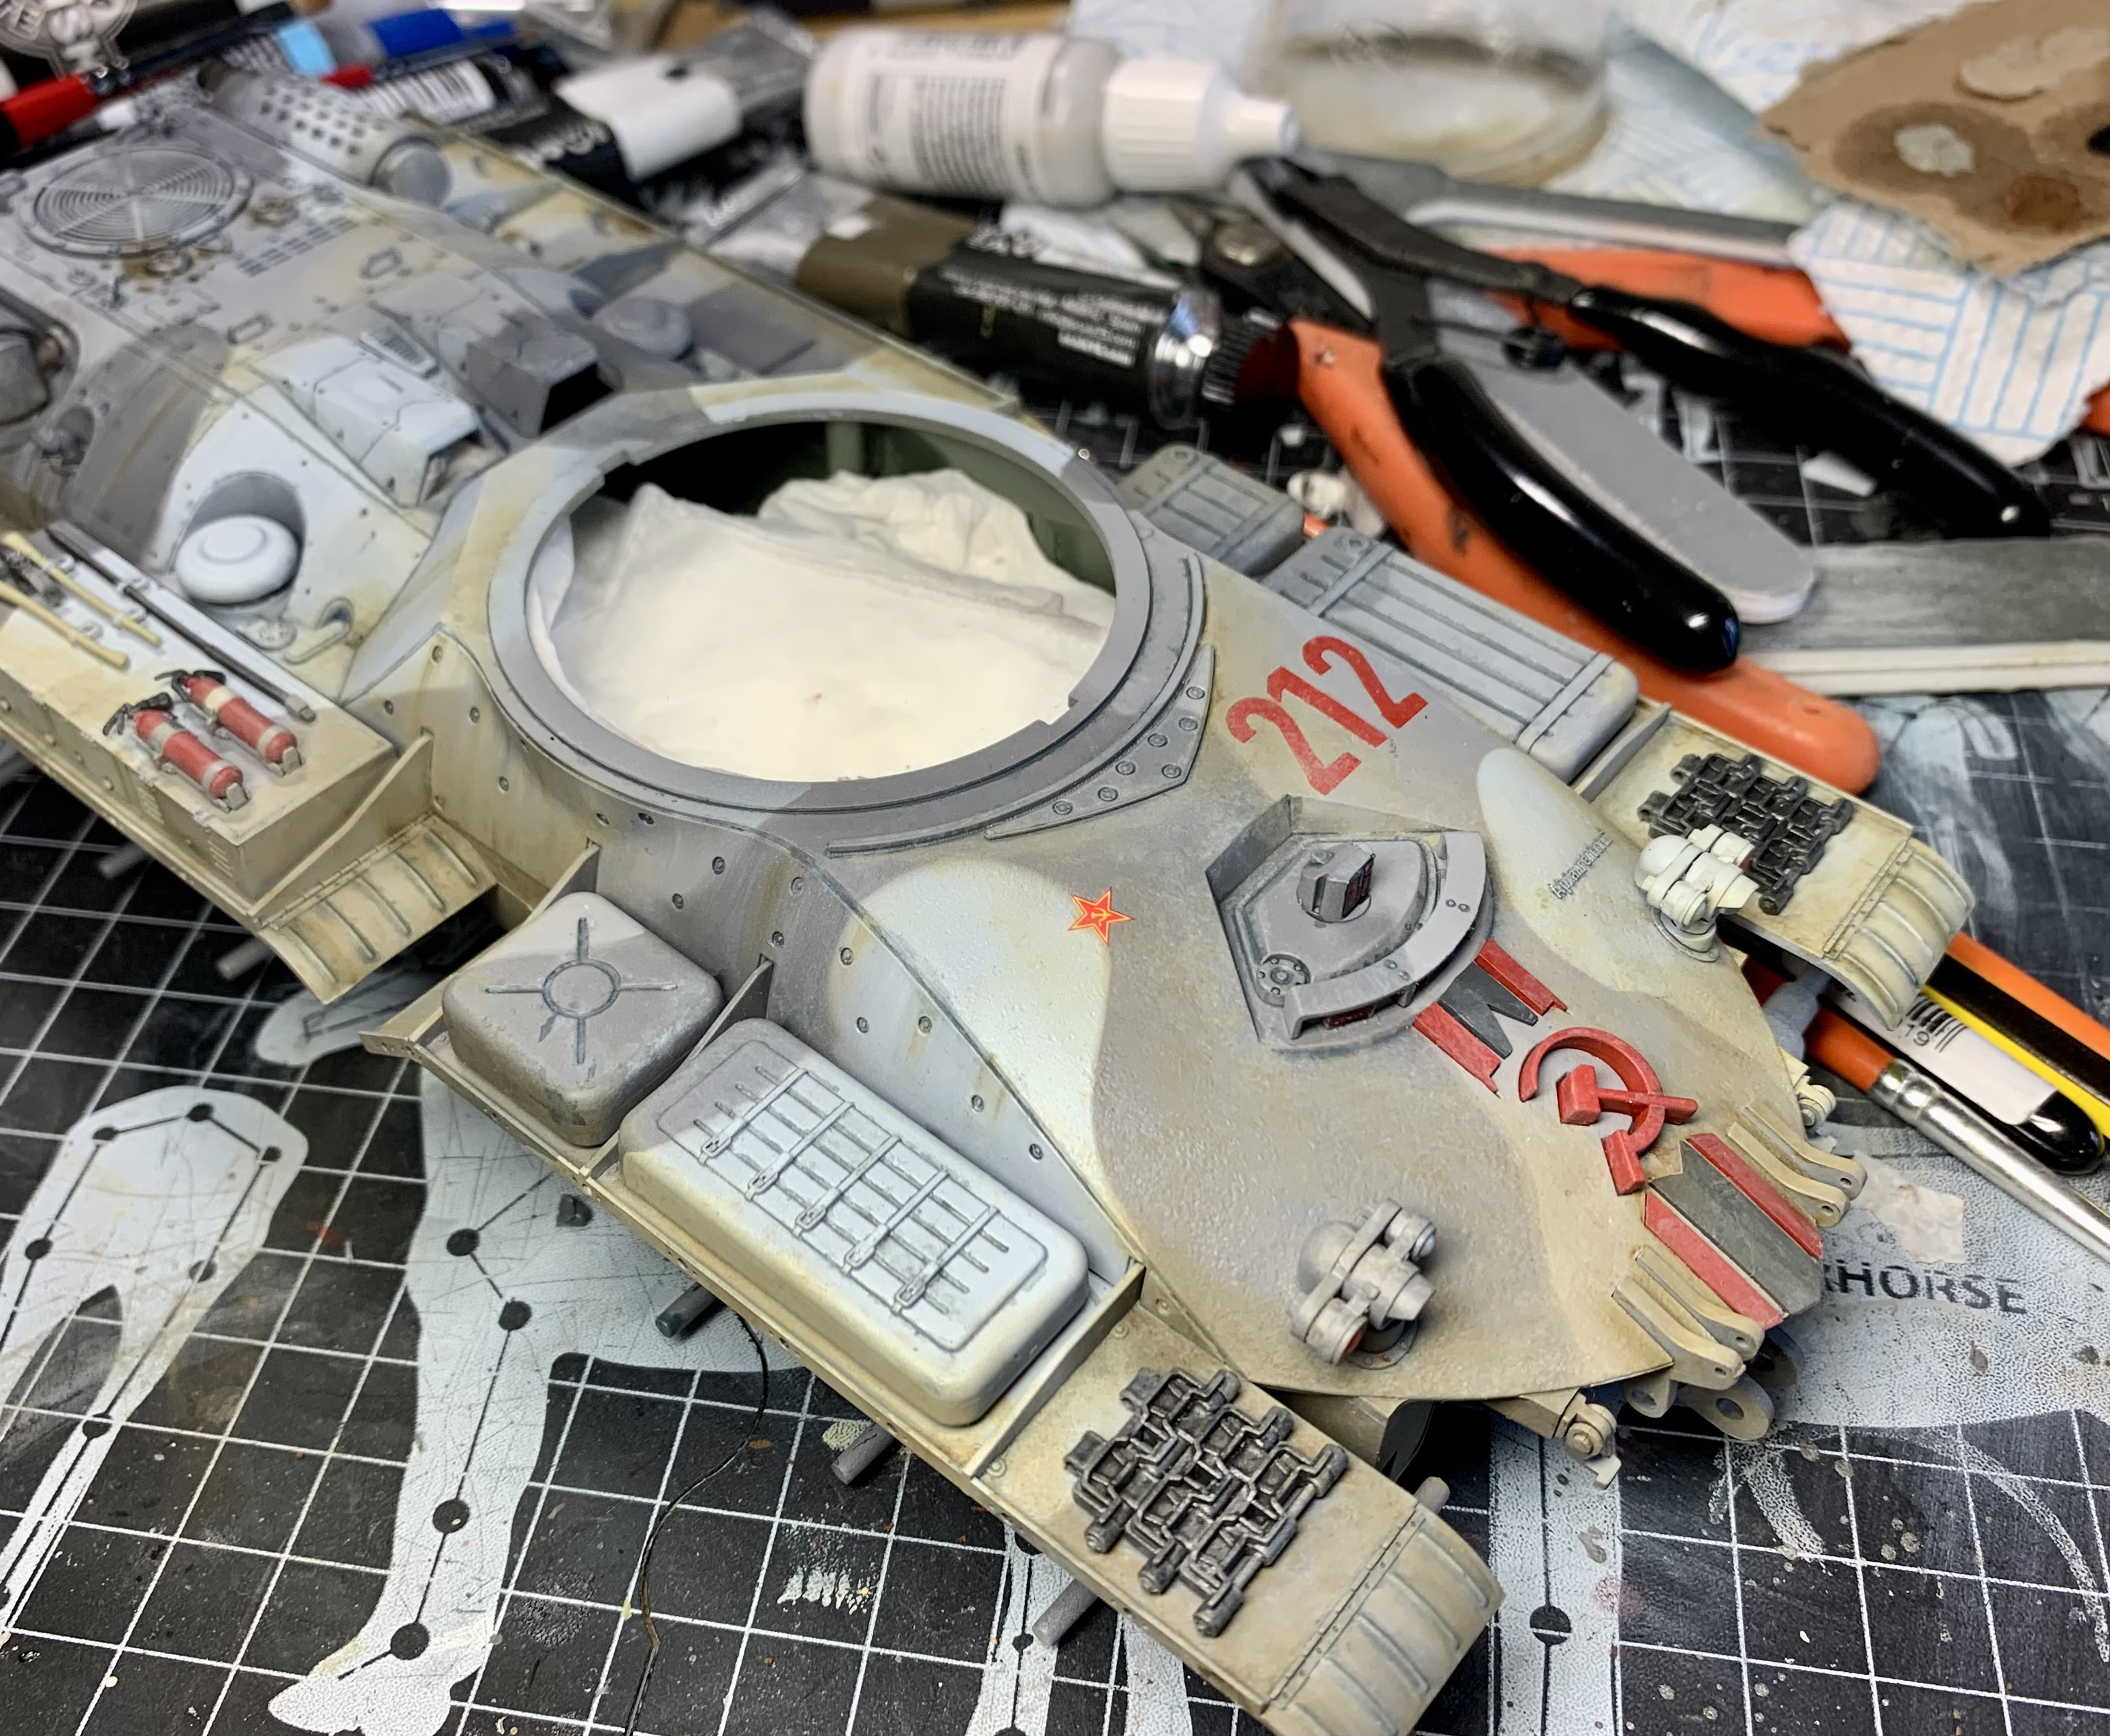
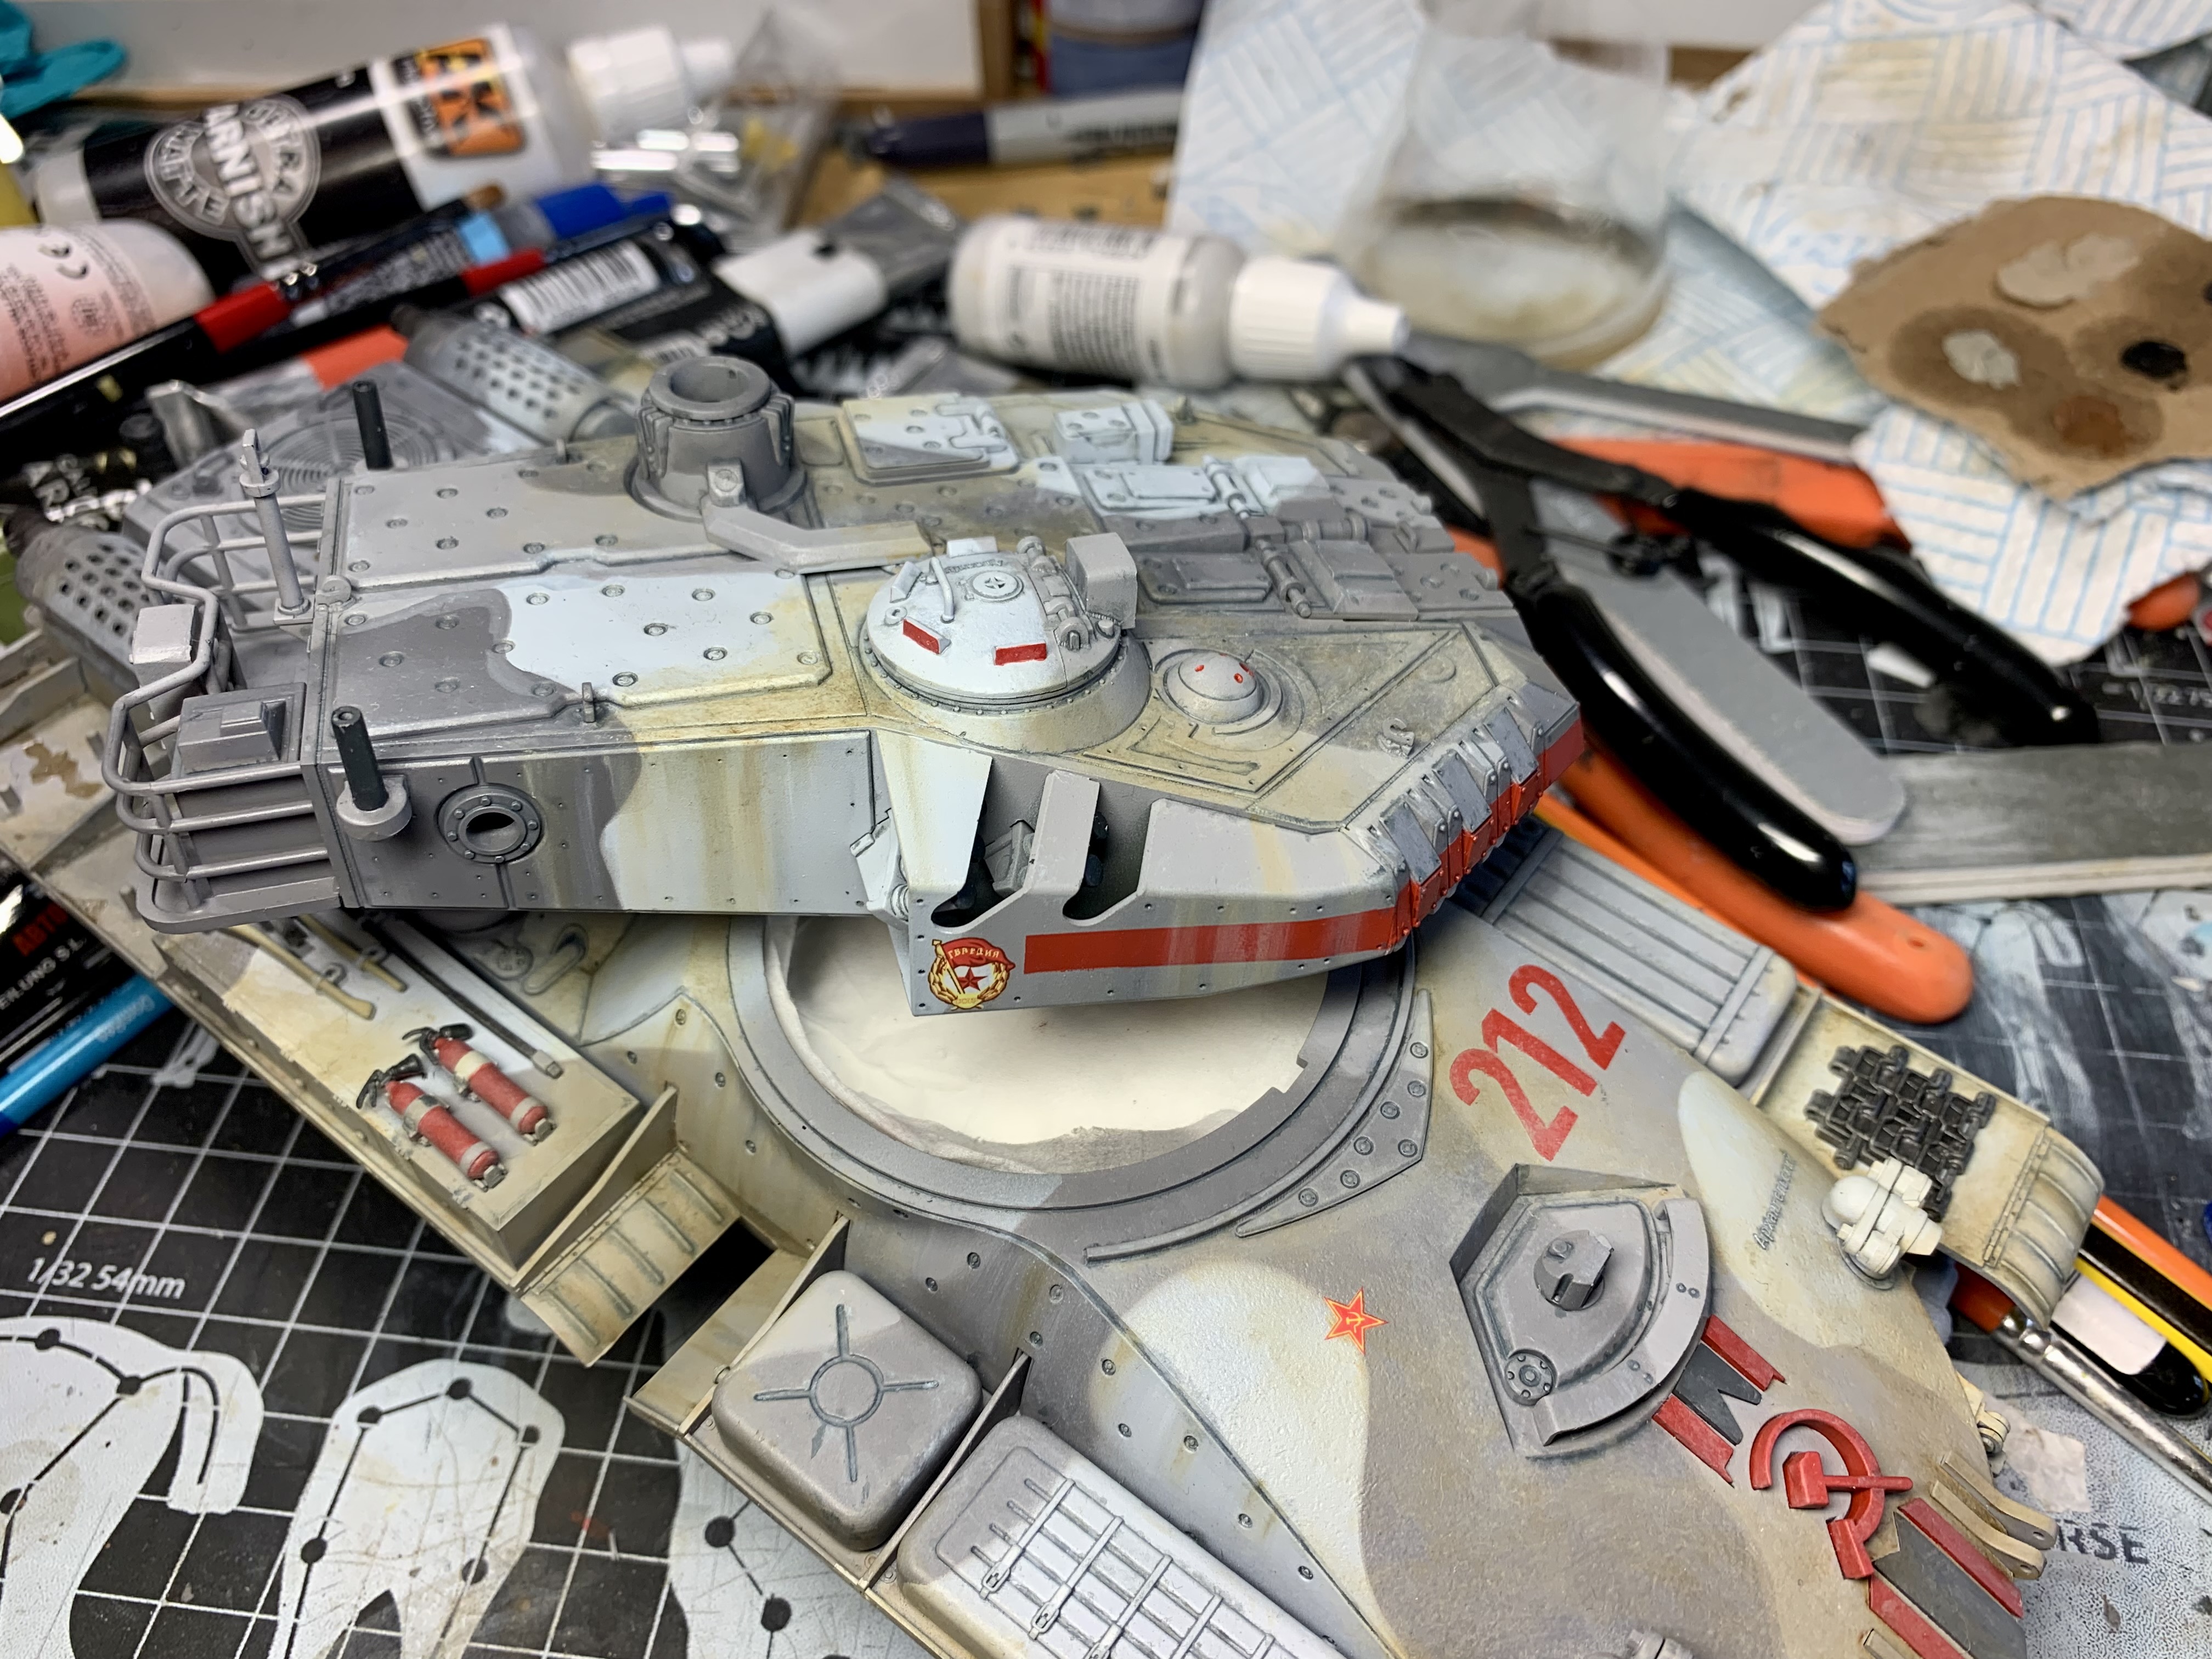
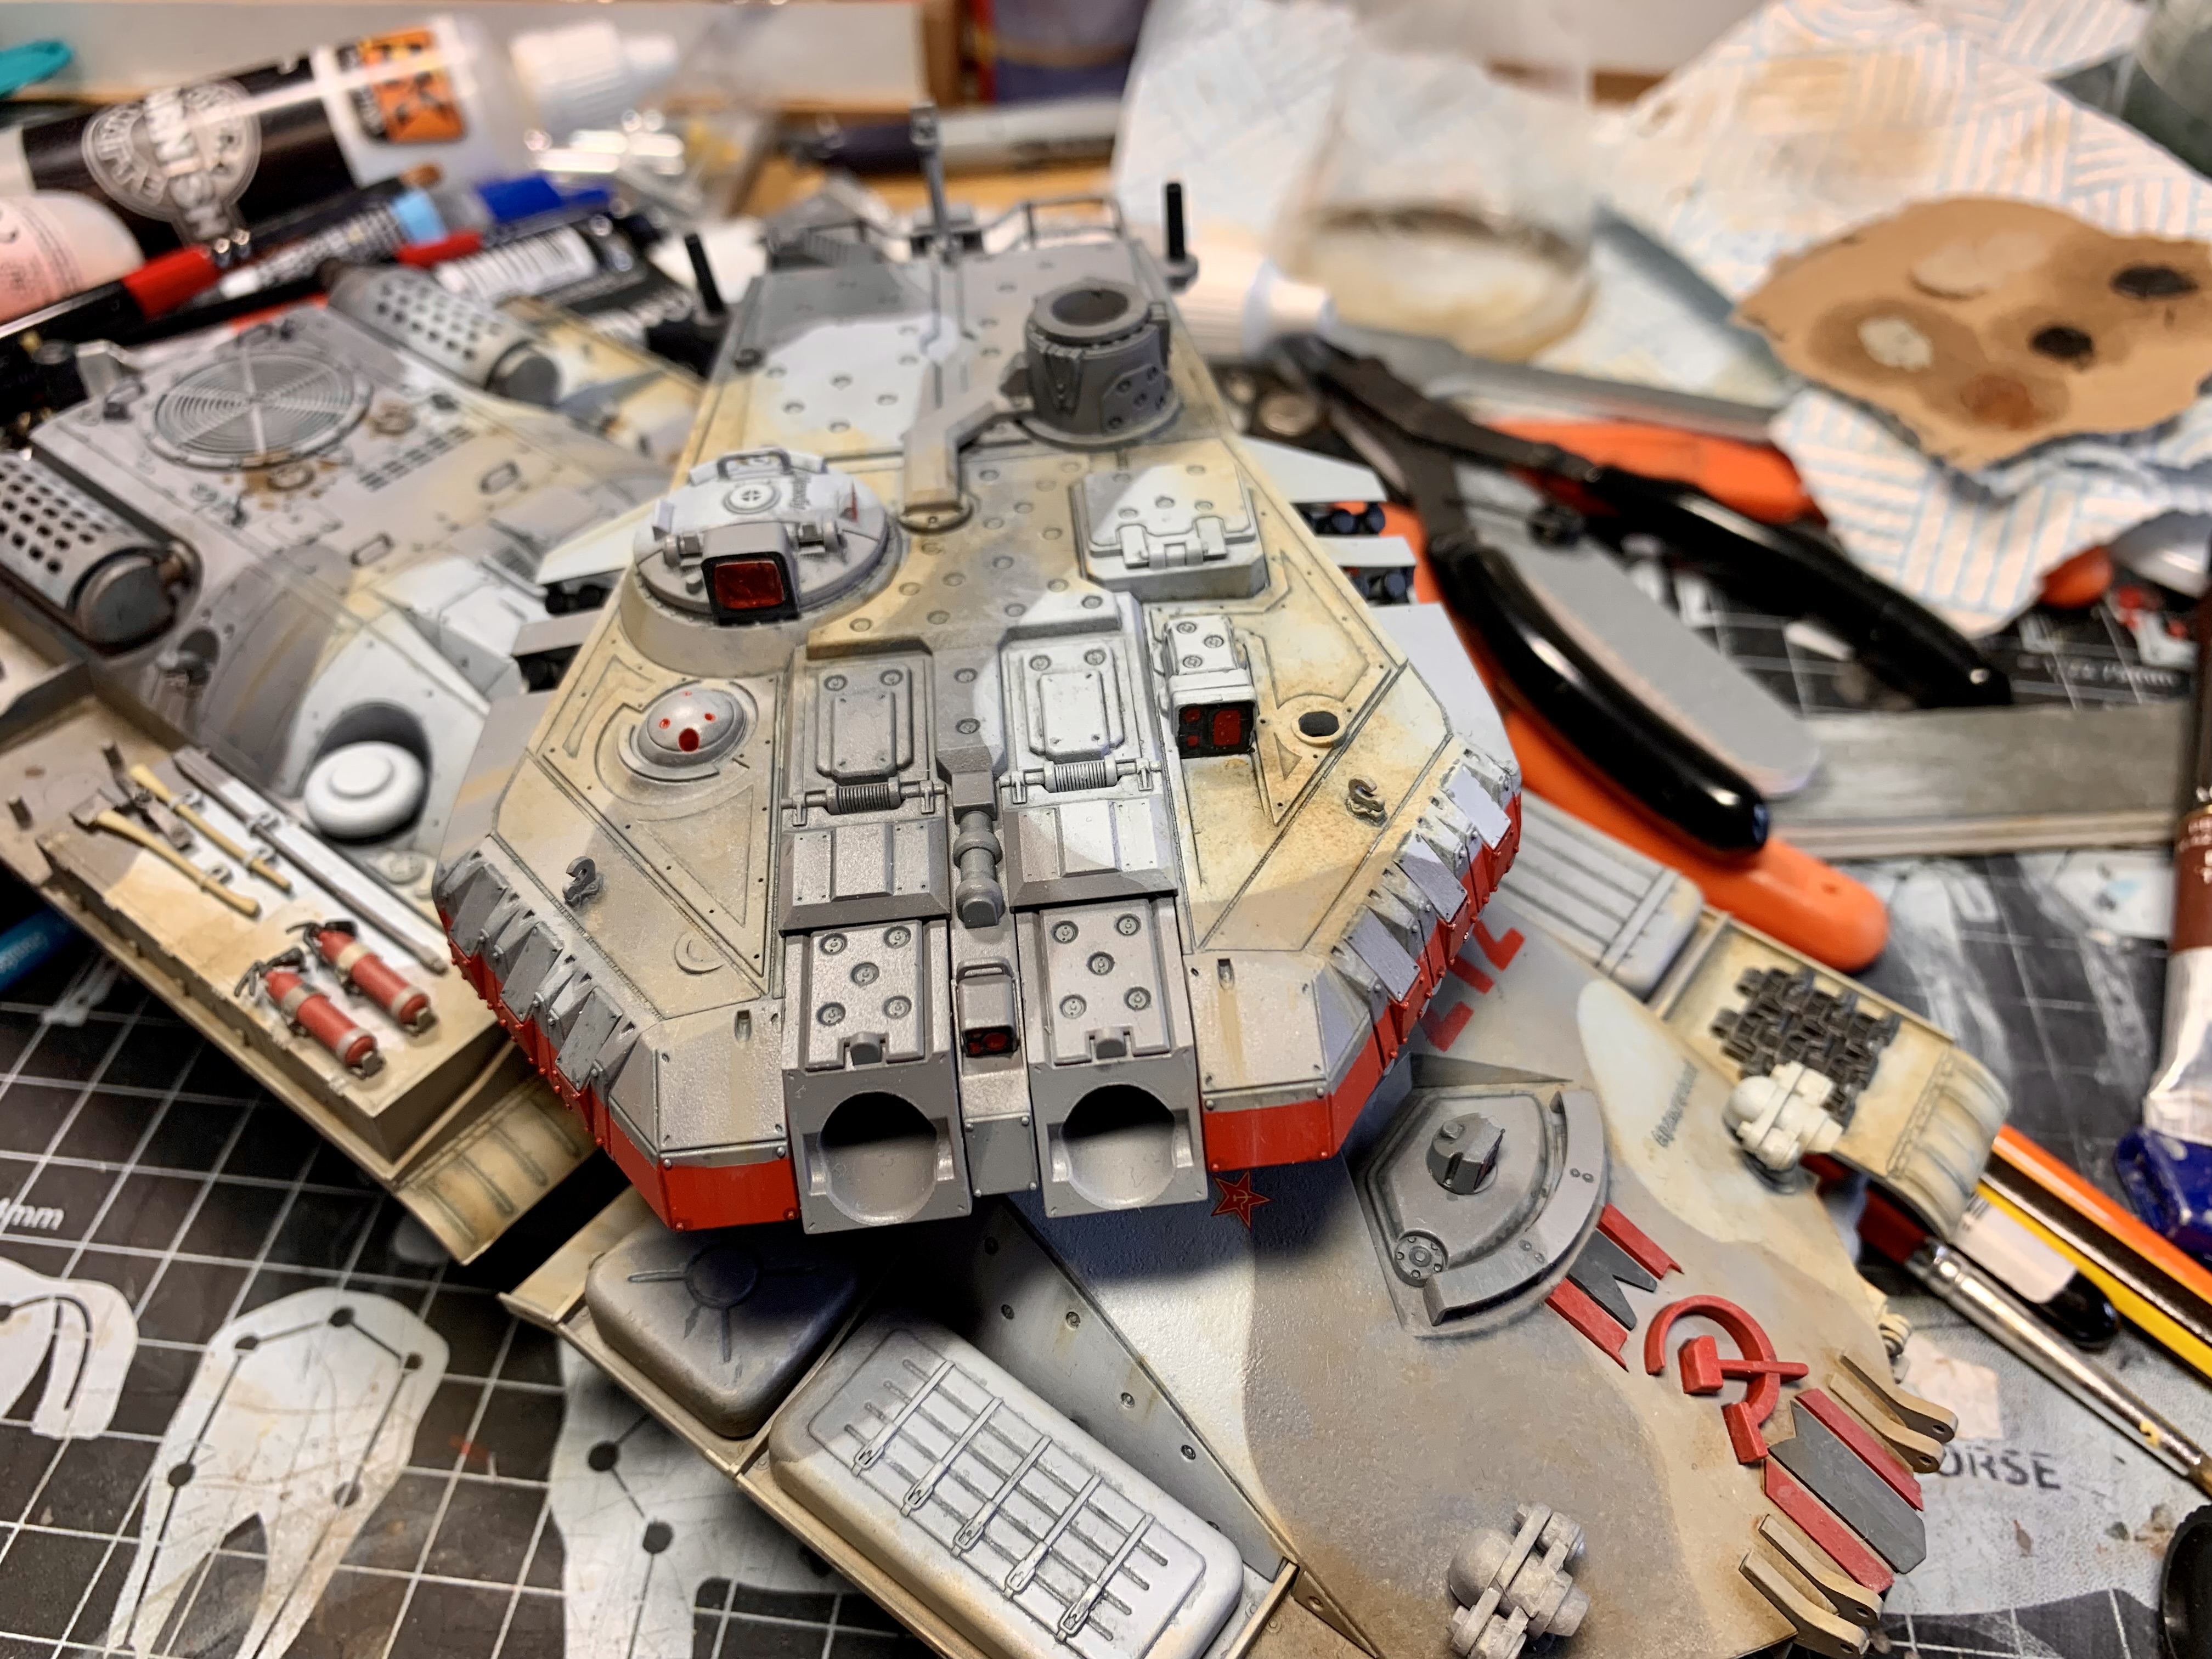
I also weathered the wooden box using oils and pigments before using some ‘Fuel Stain’ product from AMMO on the drums and around the area they sit.
A similar ‘Oil Stains’ product was used on parts of the rear deck. Oils and pigments were also used to weather the exhausts.
Then I used pigments again for the tracks, matched as close as possible to the oil paint colors.
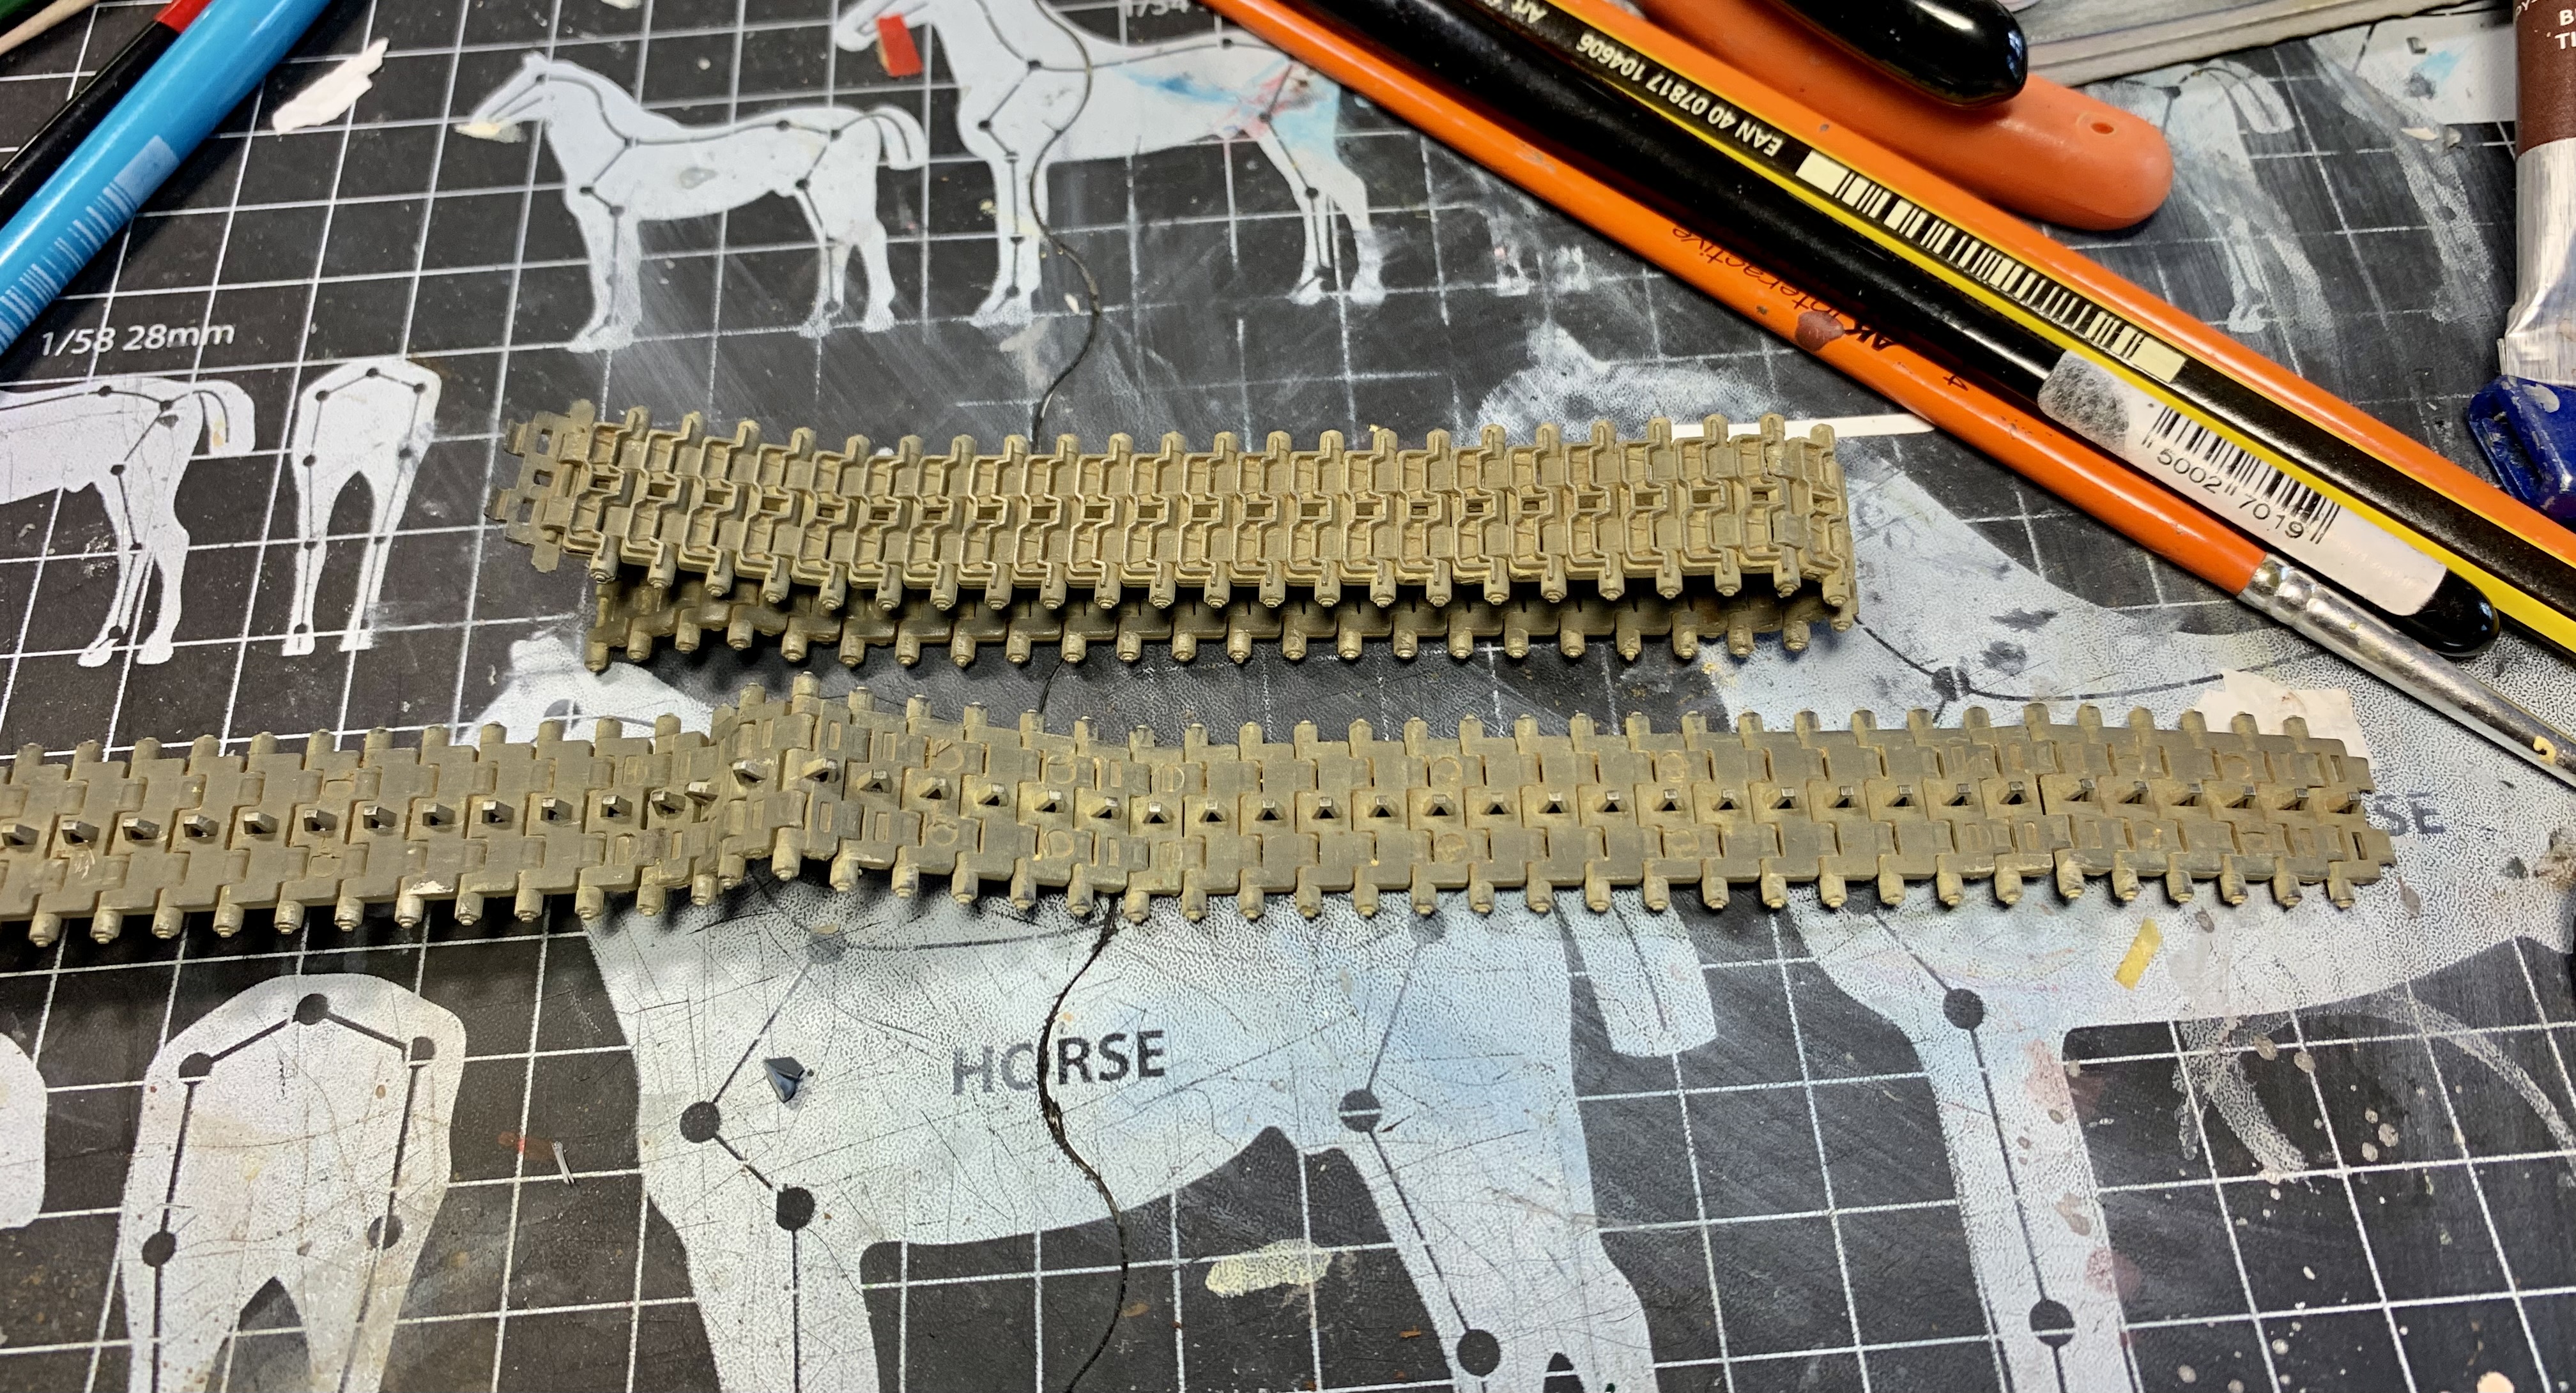
Aaaaand now the tricky bit- track assembly! Actually it turned out not too bad at all- pretty much exactly as I wrote earlier.
For the front tracks I placed all three roadwheels on plus the idler (no glue needed) and fed the track end through until just before it would meet the sprocket.
Putting the sprocket on at this point allowed me to use it to grab the track and gently turn it, pulling the track round to meet the bottom run just below the sprocket. The tracks were strong enough to be pulled together, glue applied and the remaining half link put on to complete it. I didn’t even need to hold it until the glue dried- it held just fine.
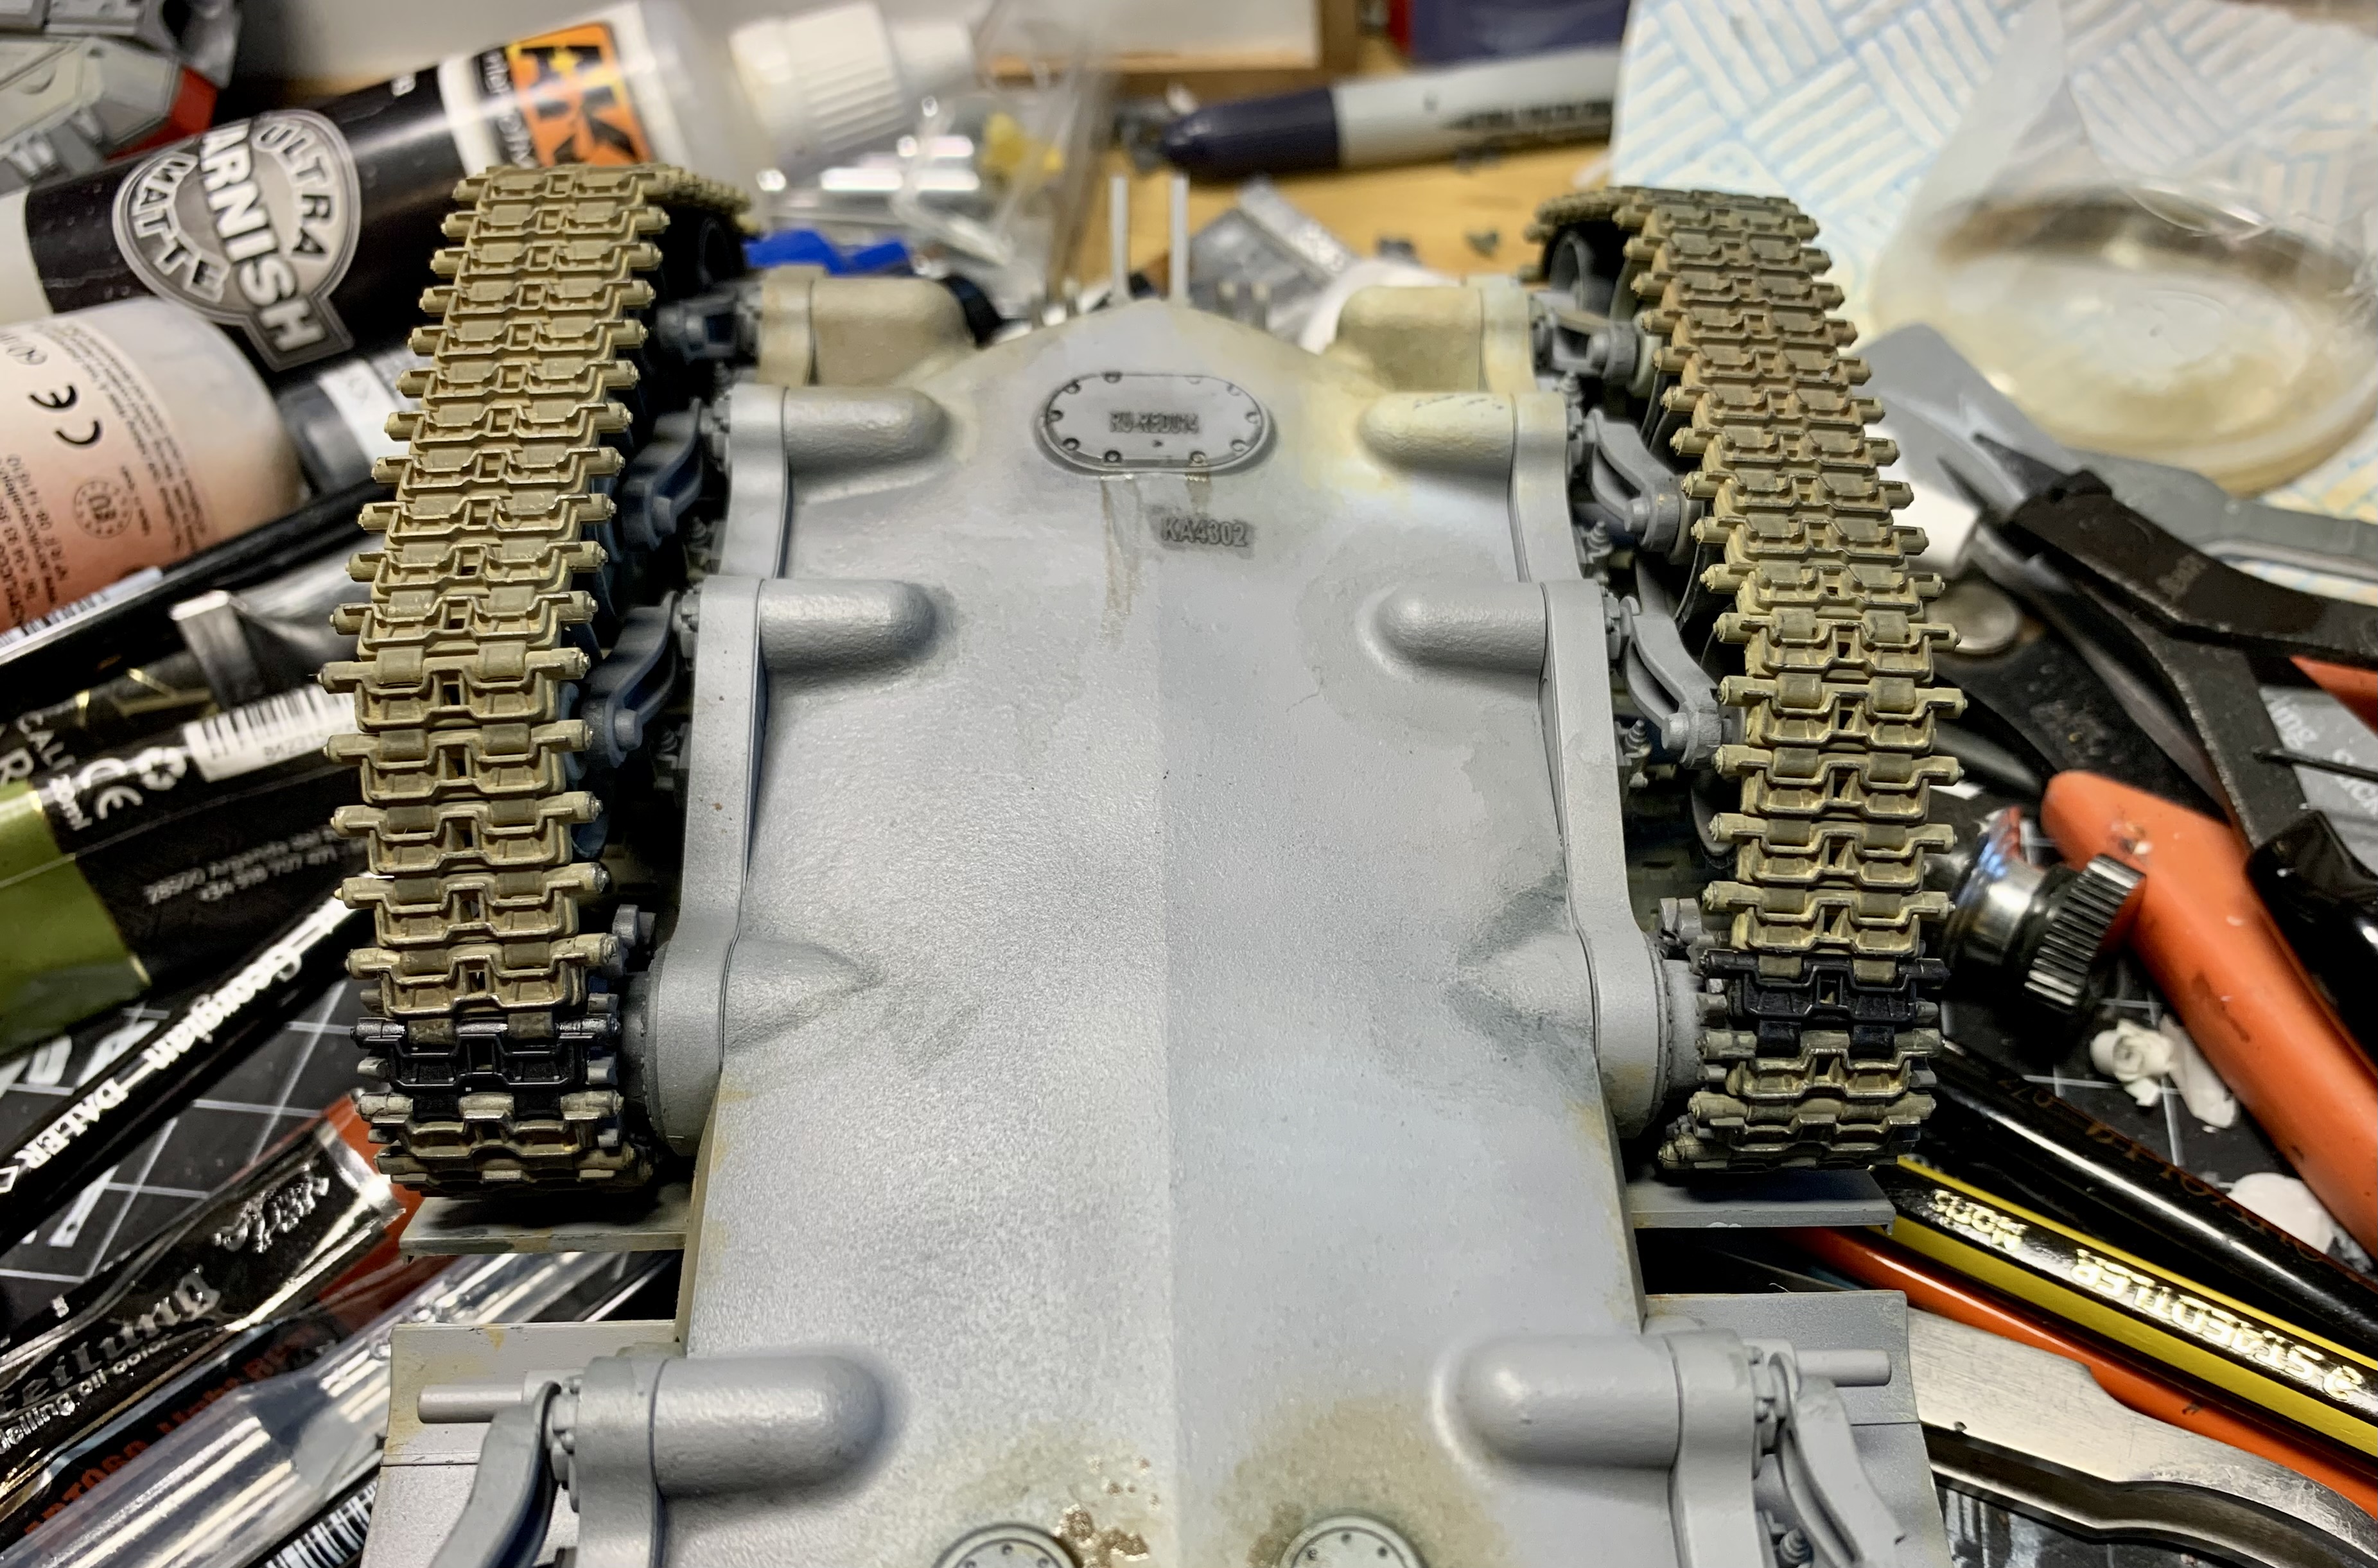
The rear track solid length sections were too big to repeat the above technique. What I fid here was to fit all the road wheels then put the sprocket and the idler into the tracks and then lower this carefully into place. It’s simply a matter of getting the sprocket and idler onto their mounts and easing the upper section of track past the return rollers.
They were then fixed in place the same way as the front sections.
When I finally had them on I realised they were done in the opposite direction to the instructions but luckily it didn’t affect the assembly and, even more luckily, it makes little visual difference. Phew!
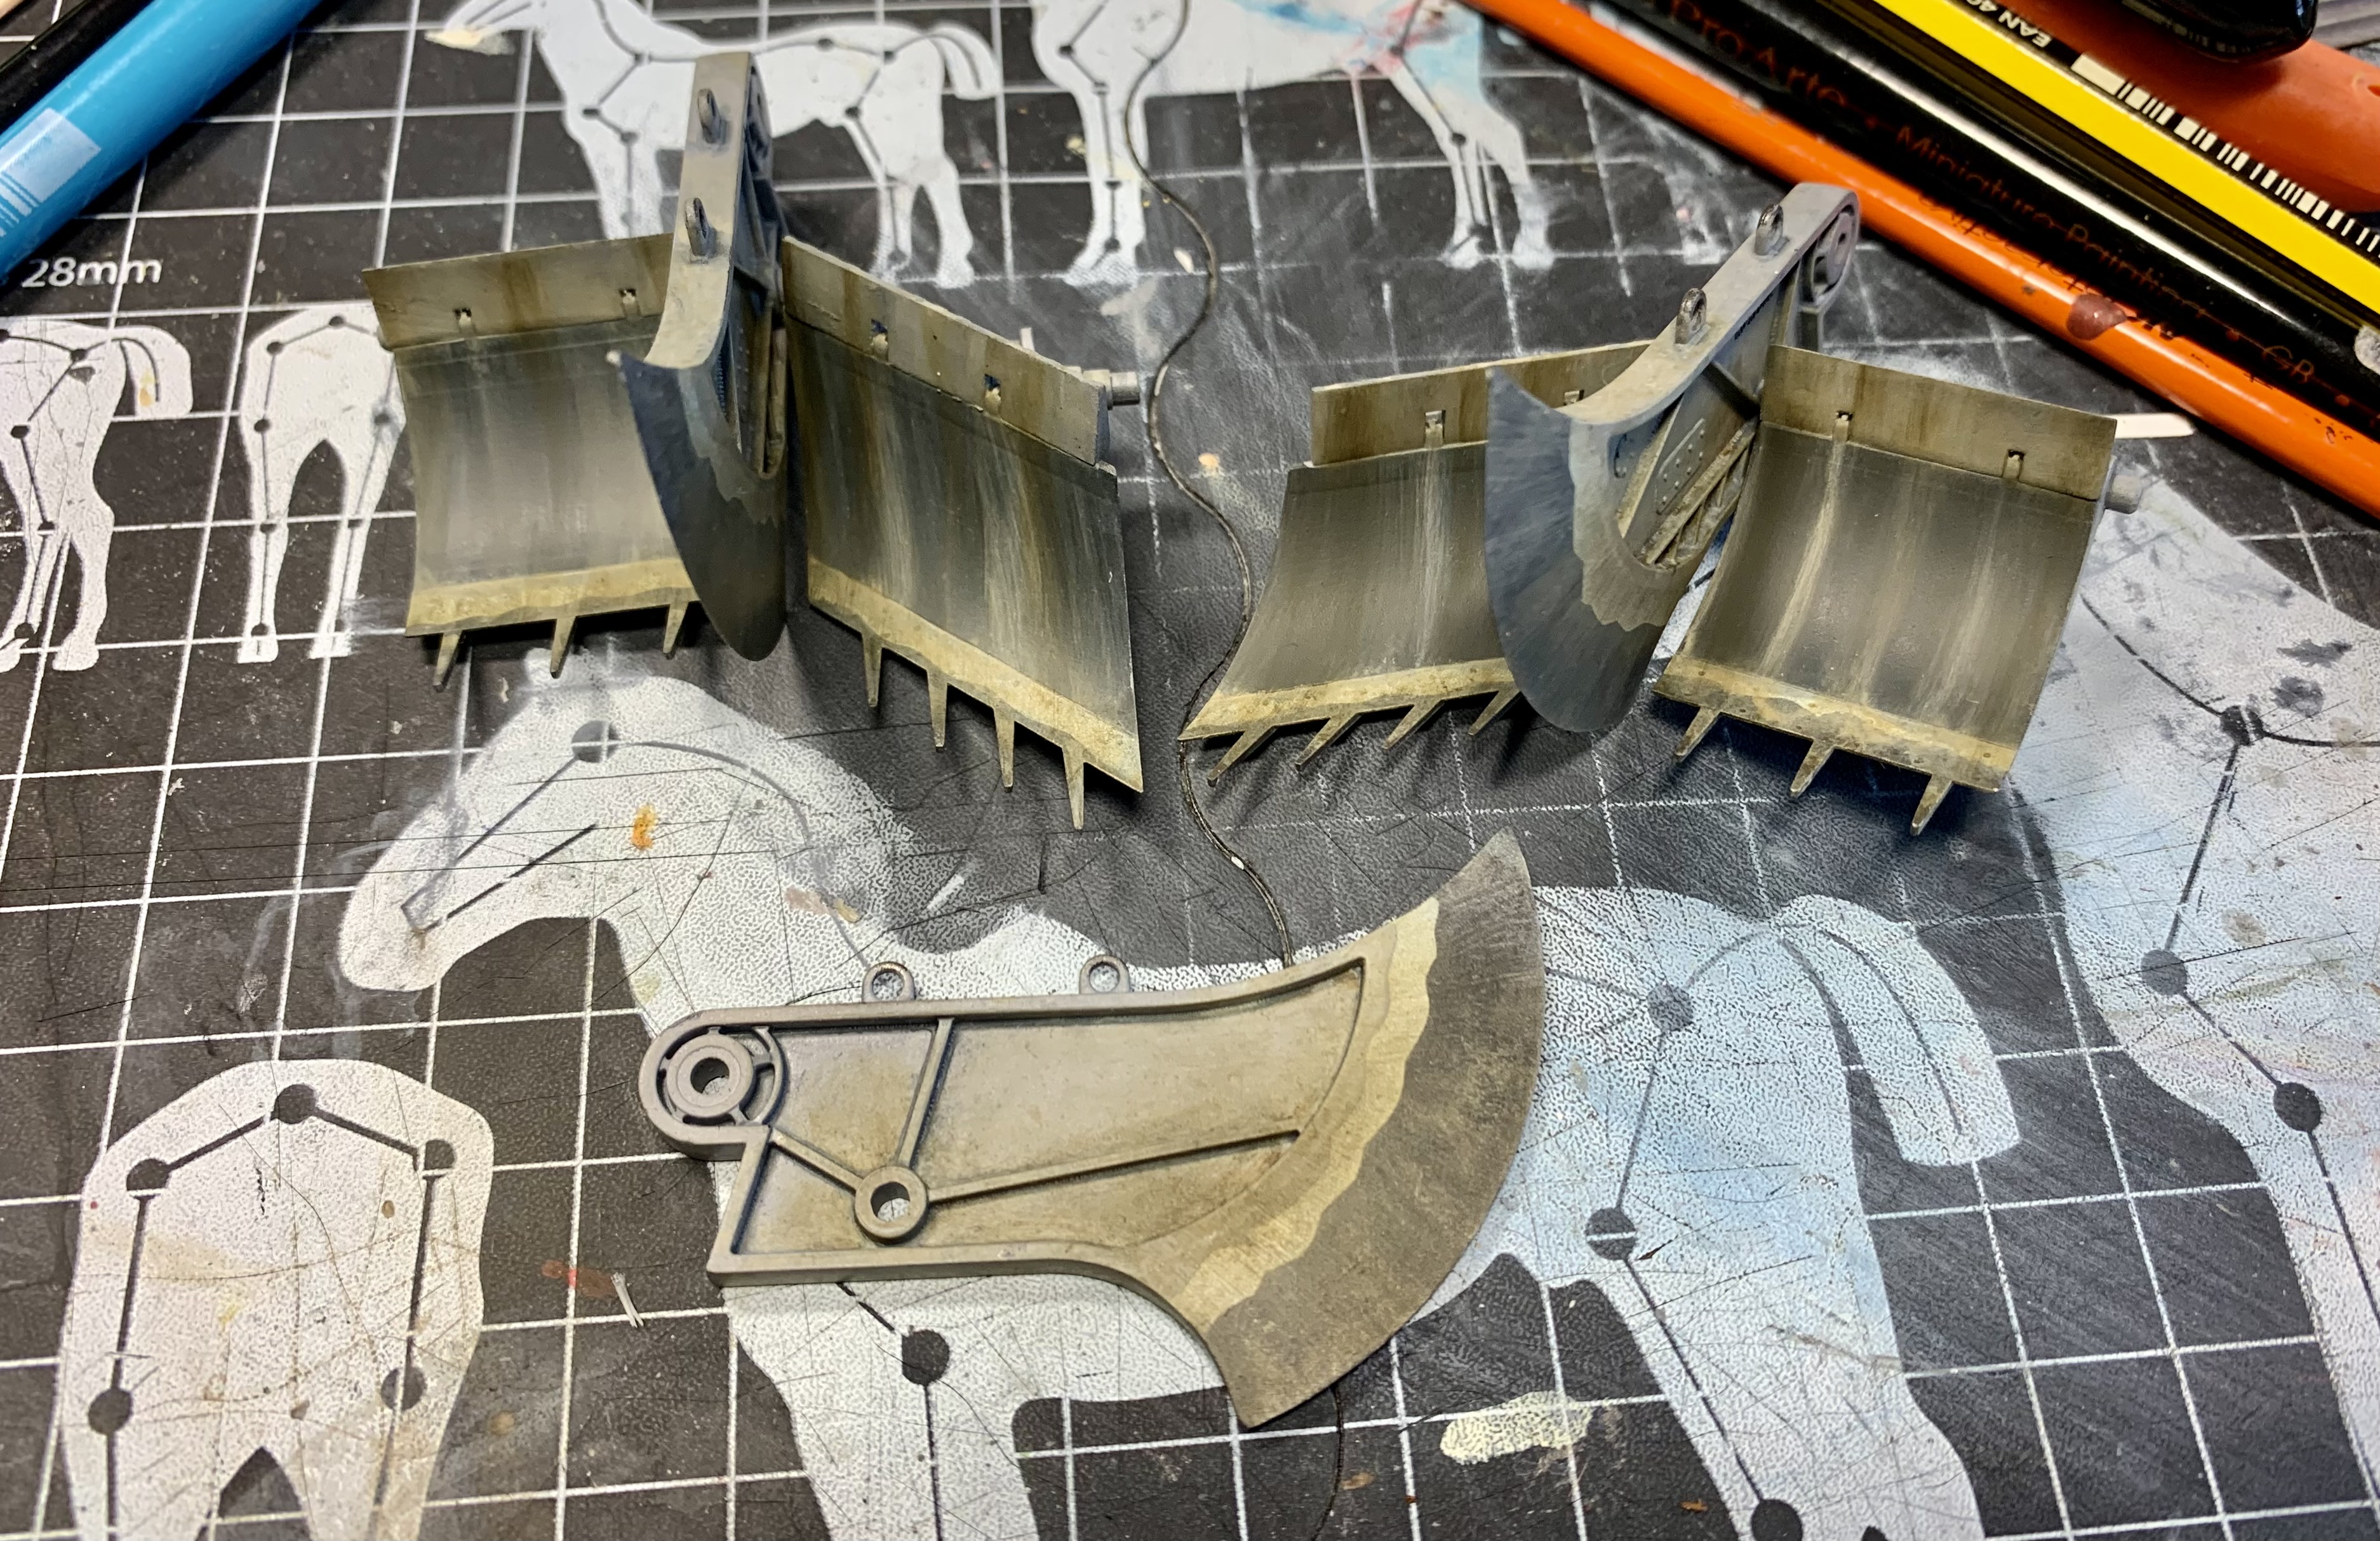
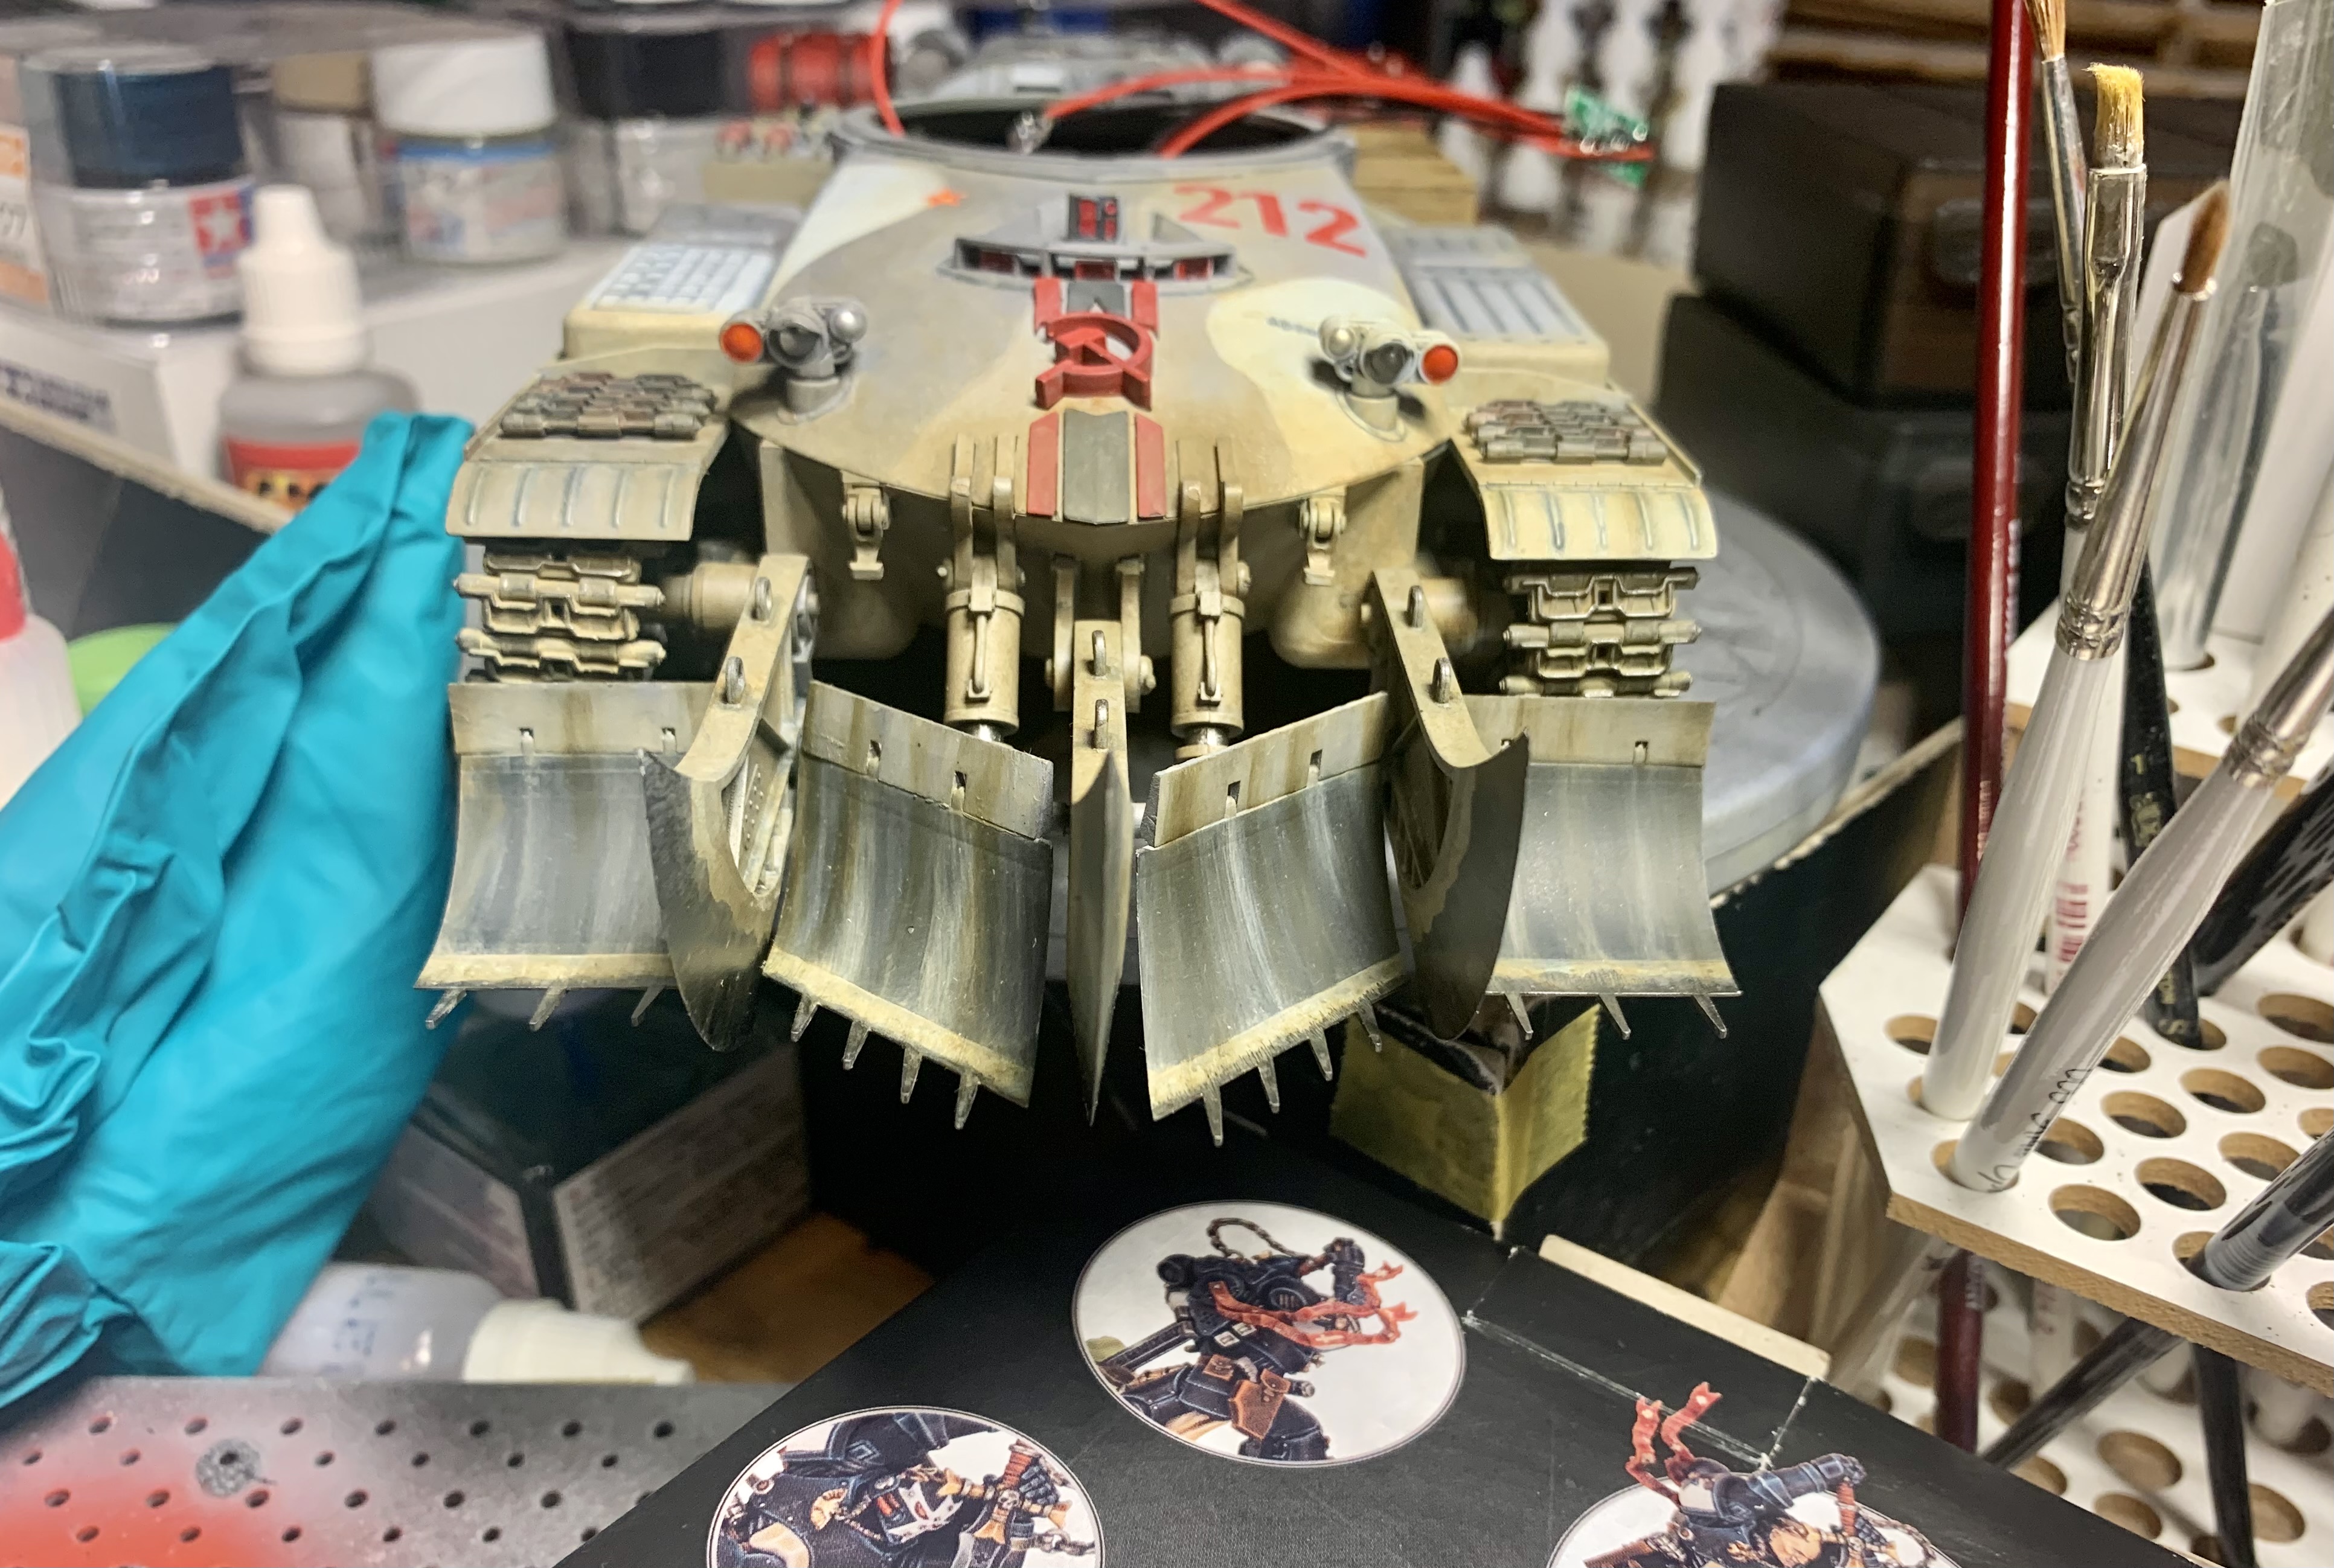
Next up was another tricky bit- attaching the mine plough. Not quite as fiddly as the tracks but I was sure glad to get it done!
Thanks for reading!
12 Likes
@ Karl (Karl187). Paint and weathering is top-notch… looks like real steel! ![]()
—mike
2 Likes
Spray and pray!
The summer heat has made it really difficult to stay motivated lately. ![]() Still, I managed a short airbrush session today. Pre-shading didn’t go exactly as planned — terrible aim — couldn’t shoot a strait line along the rivets to save my life! Just happy that they still show up.
Still, I managed a short airbrush session today. Pre-shading didn’t go exactly as planned — terrible aim — couldn’t shoot a strait line along the rivets to save my life! Just happy that they still show up. ![]()
Vallejo Black Primer (73.602)… pre-shading
Vallejo Interior Grey Green (71.305)
—mike ![]()
8 Likes
Thank you Michael, much appreciated ![]() !
!
2 Likes
Excellent work on the paint and weathering. Not over done, and that amount gives a nice impression or usage. Lovely work Karl.
2 Likes
A nice gentle thin wash at the end will bring those rivets back … looking good Mike ![]()
3 Likes
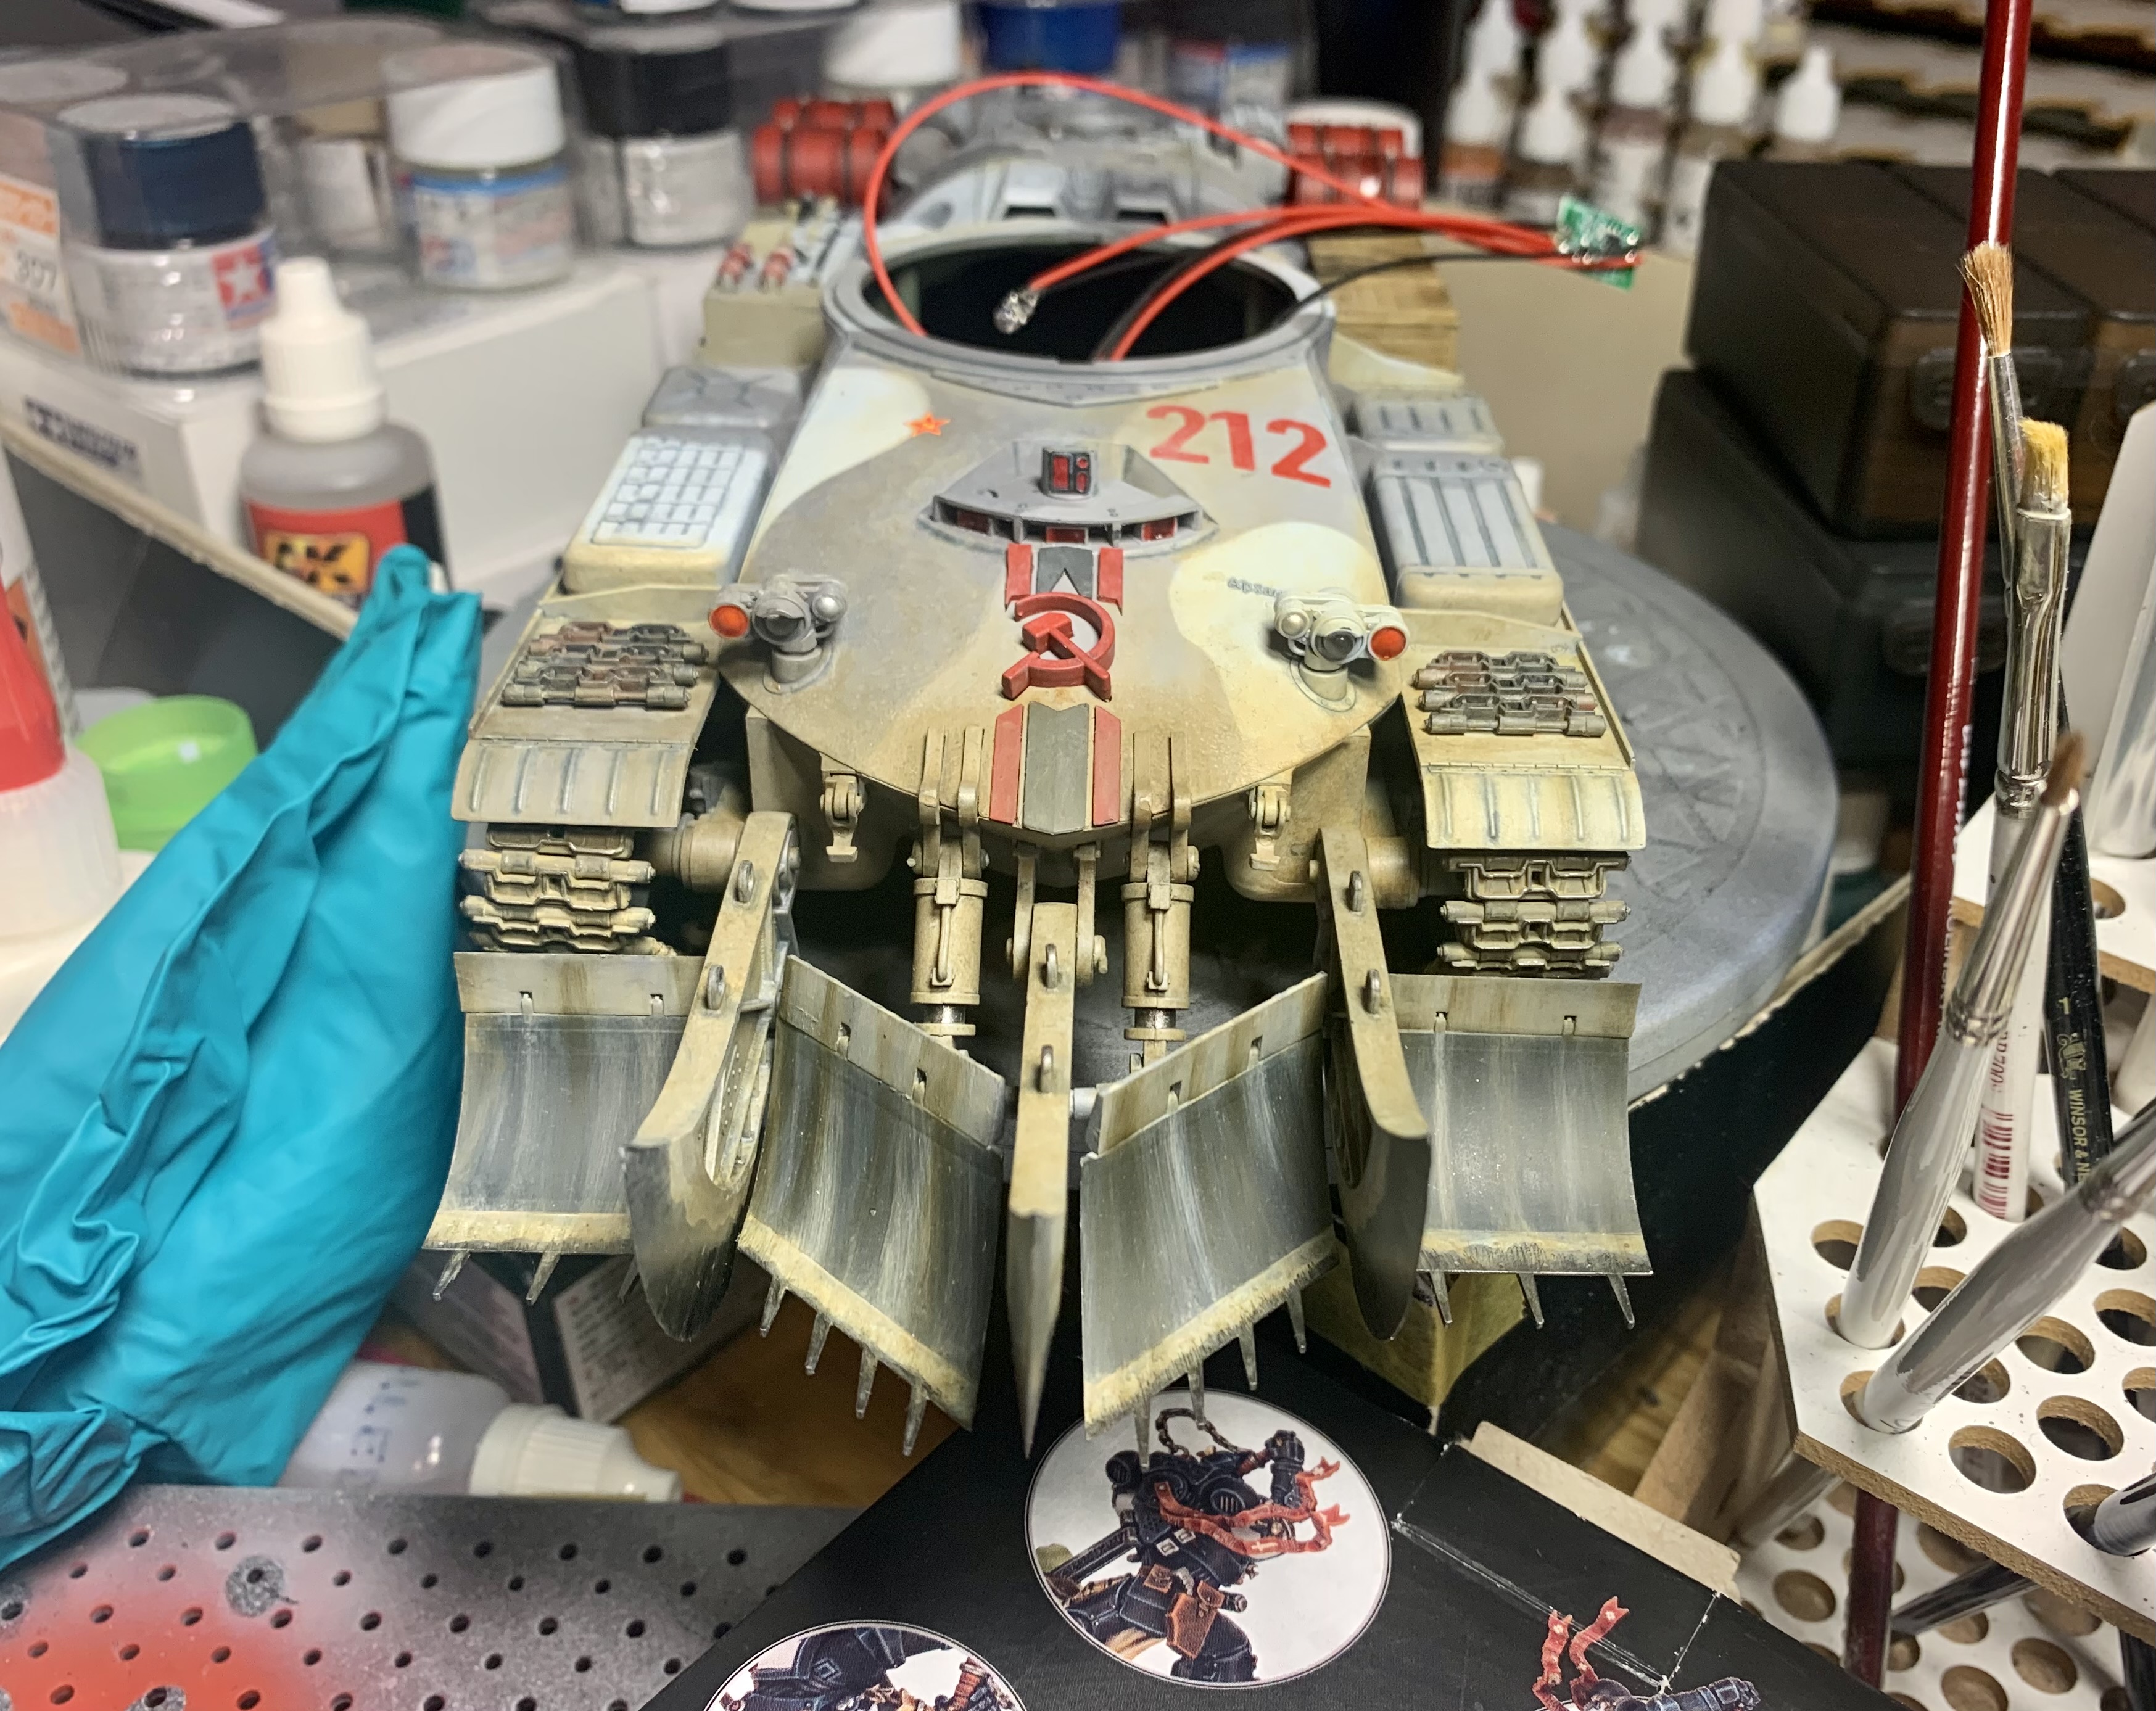
Oh my… what a behemoth!
Love it!!
And I want one!
1 Like
@Johnnych01- that’s exactly what I was going for with this one- I’m glad you and others have noticed that!
@RonW- Cheers Ron- it is a big chunk of a tank with that blade on the front! I would really recommend the kit- its not a massive project either as there is not that many steps in the instructions.
2 Likes
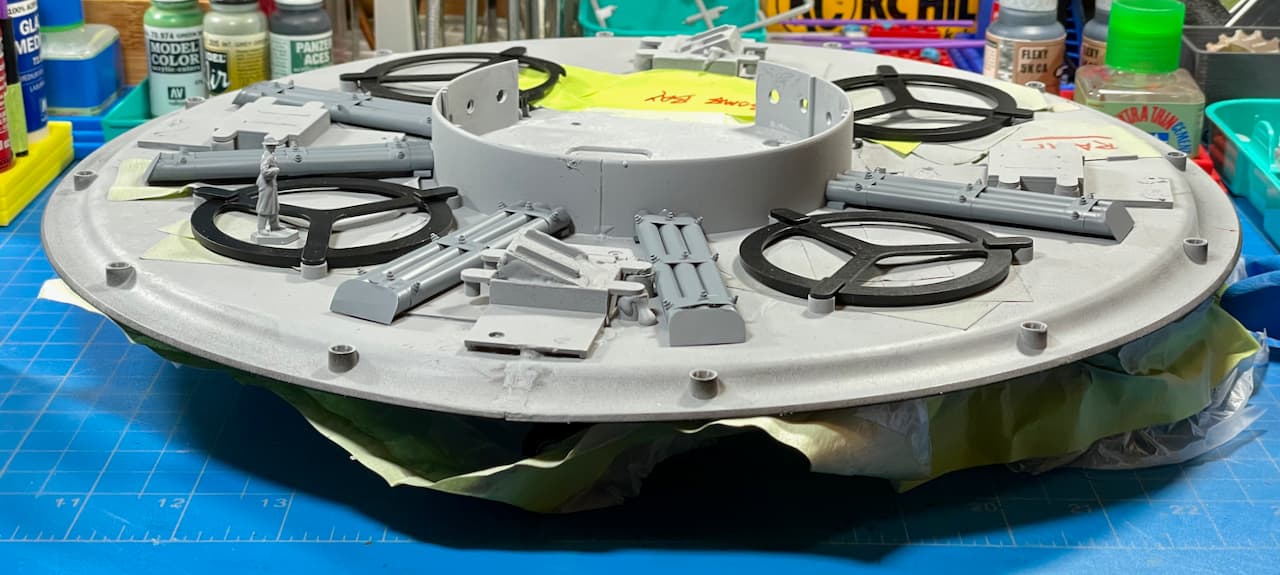
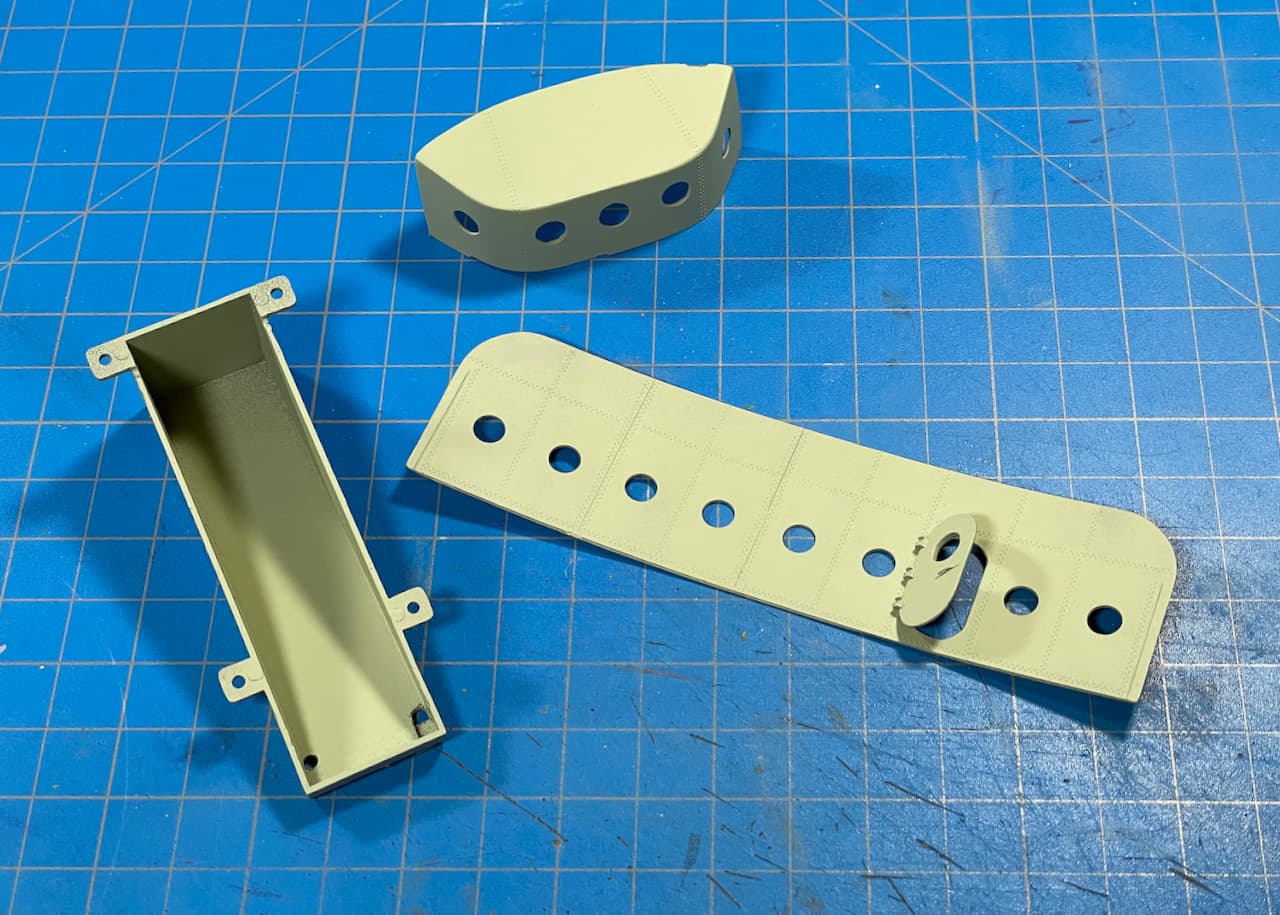
A Black Hole in the Universe Where all the Product Goes… 
Hello fellow builders and destroyers!
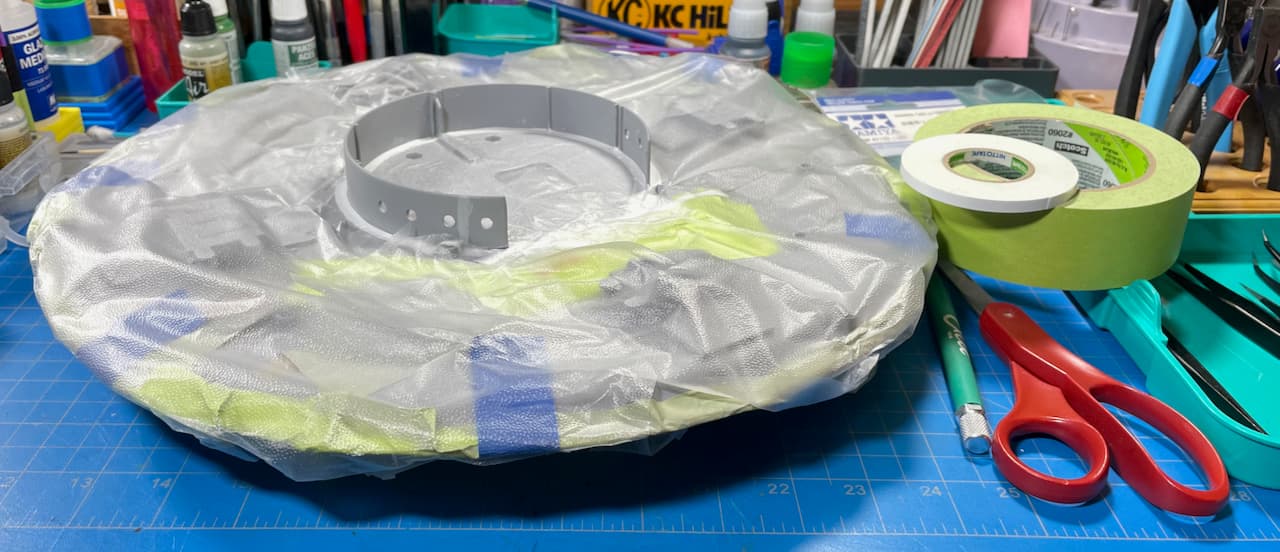
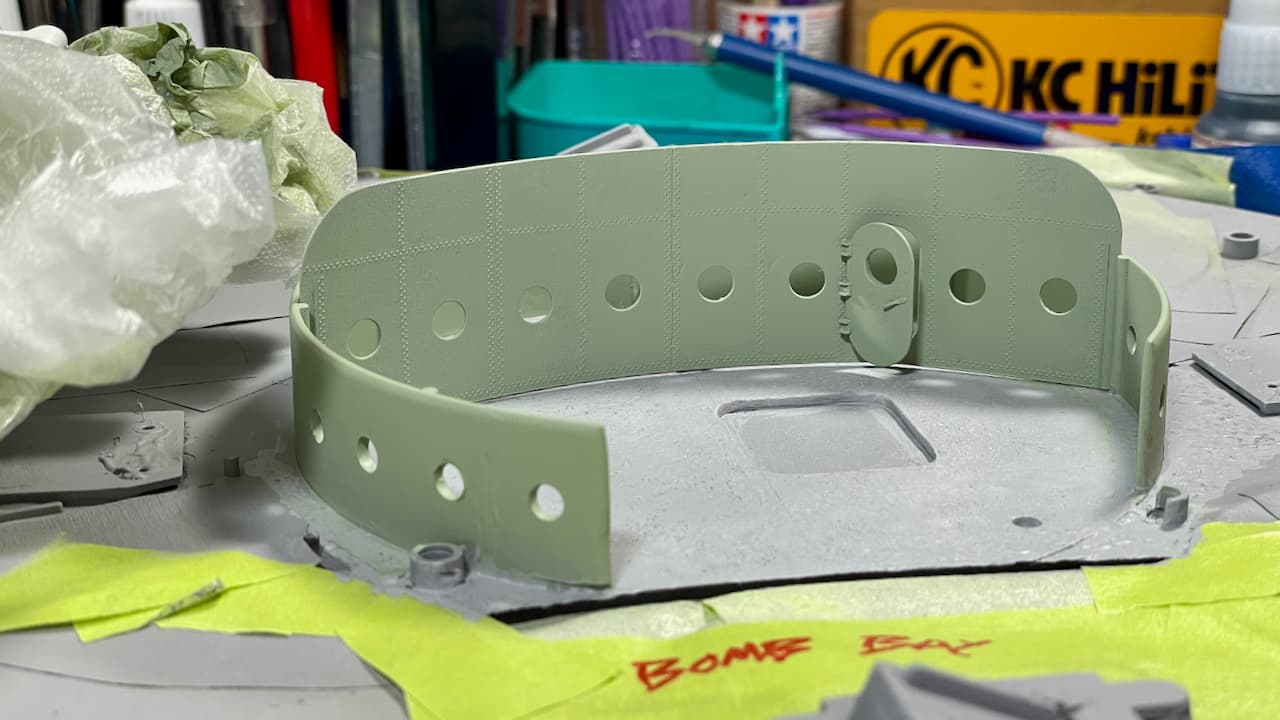
Over the last couple of days, I got some major masking and painting out of the way…
Tamiya Masking Tape for Curves (5mm) and GLAD Press’n Seal Food Wrap. ![]()
Vallejo Interior Grey Green (71.305)
PULL TAPE! … well, some of it.
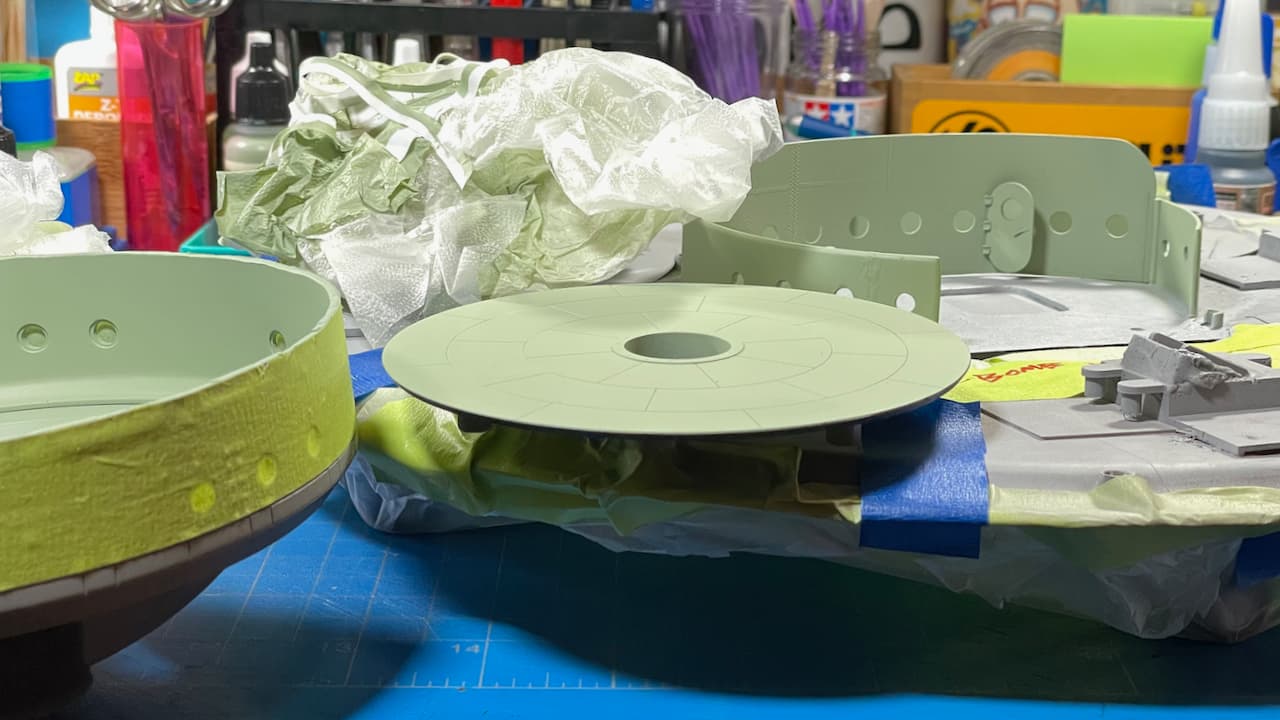
Before masking, the inner floor was textured with Mr. Surfacer 1500 (grey) using a stippling brush.
“You could not have done this without my help.” ![]()
![]()
—mike …![]()
12 Likes
I’m doing some tricksy masking tape things myself so it’s all over my desk, all over me and now all over this thread too!
4 Likes
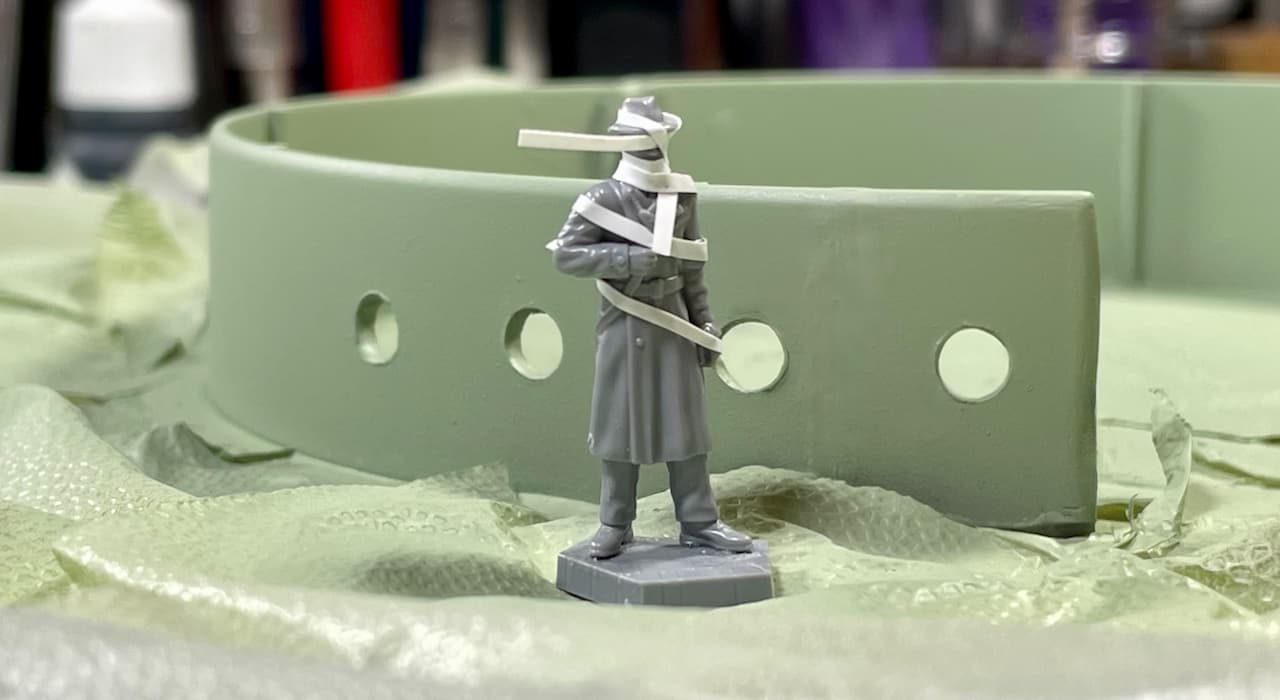
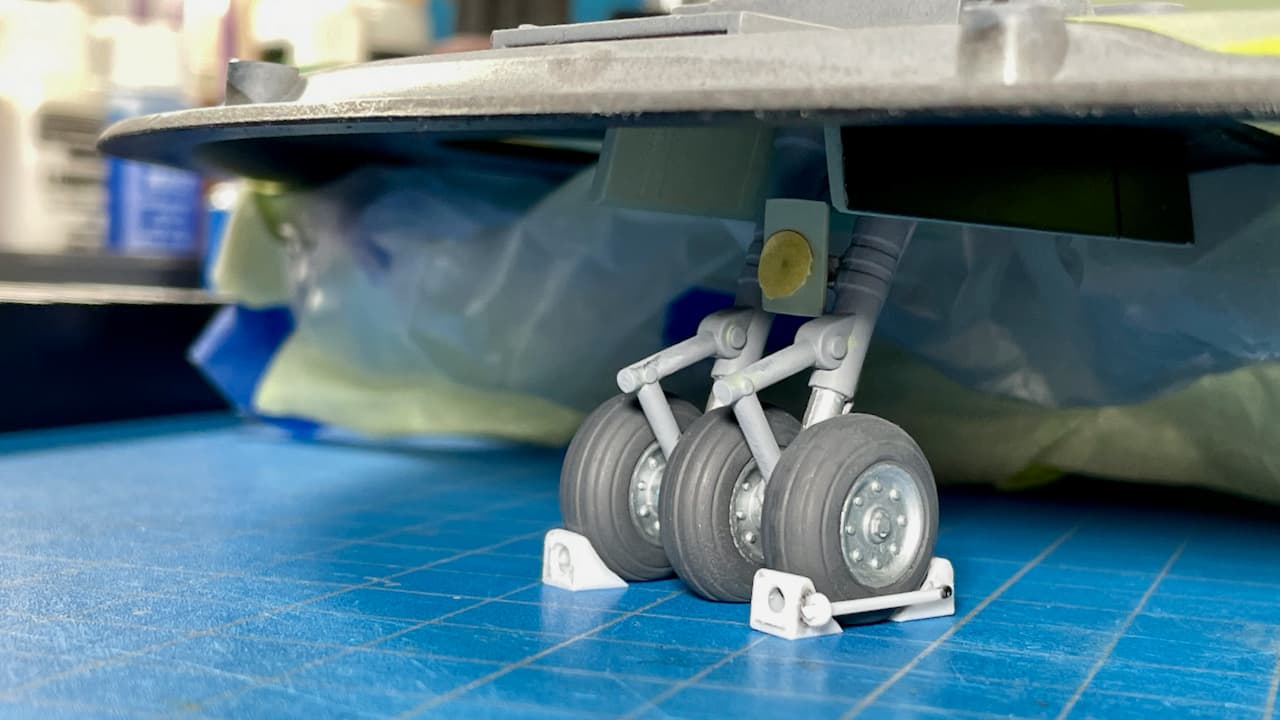
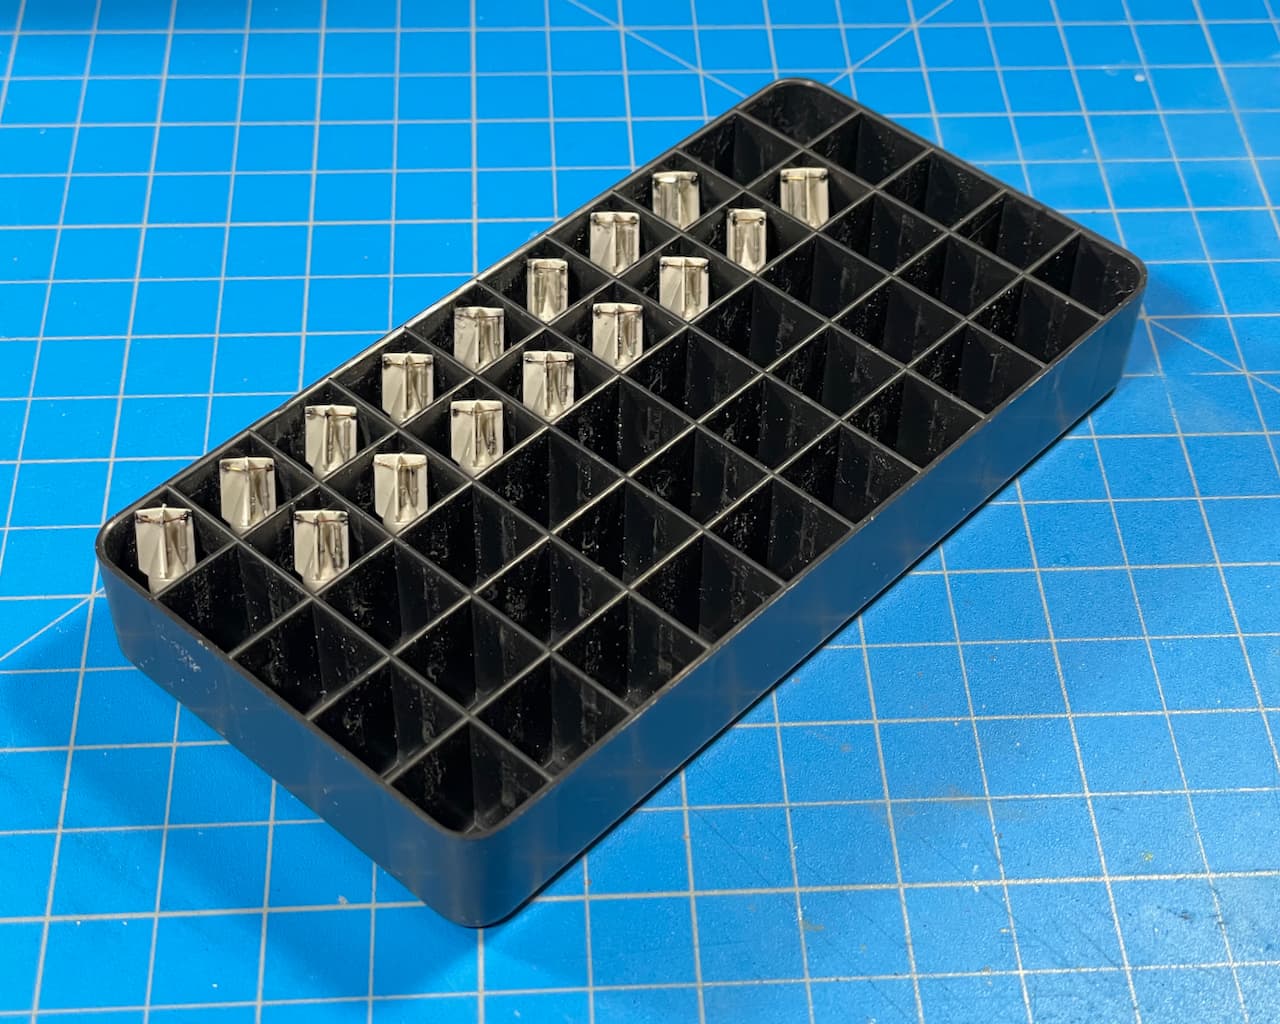
NumbChocks. 
They’re actually wheel chocks to prevent the Haunebu IIb from rolling off the workbench! ![]()

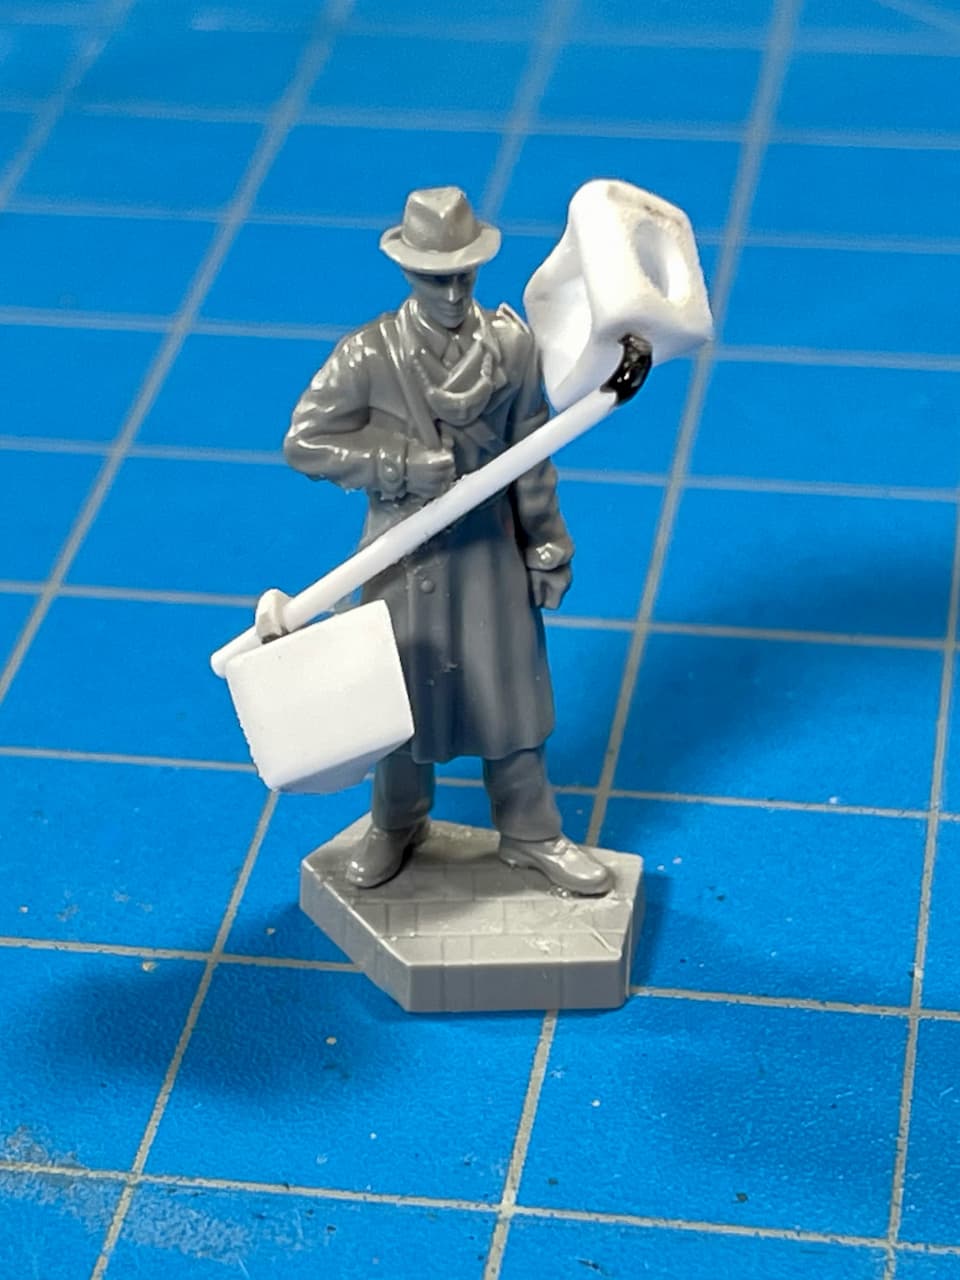
The Black that you see is VMS Black CA Glue that I used for bend reinforcing and as a gap filler.
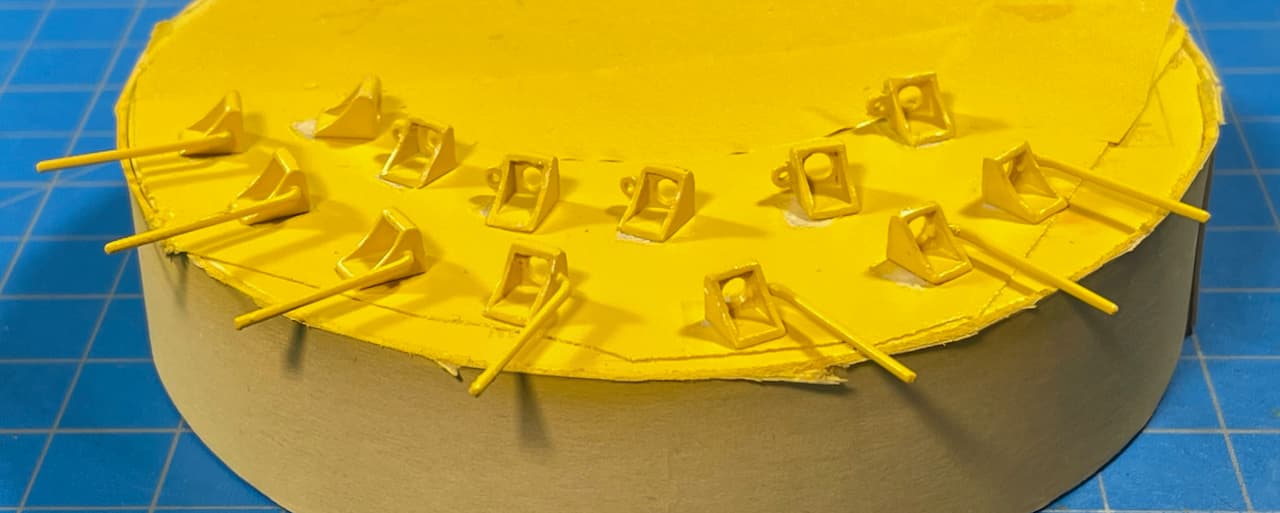
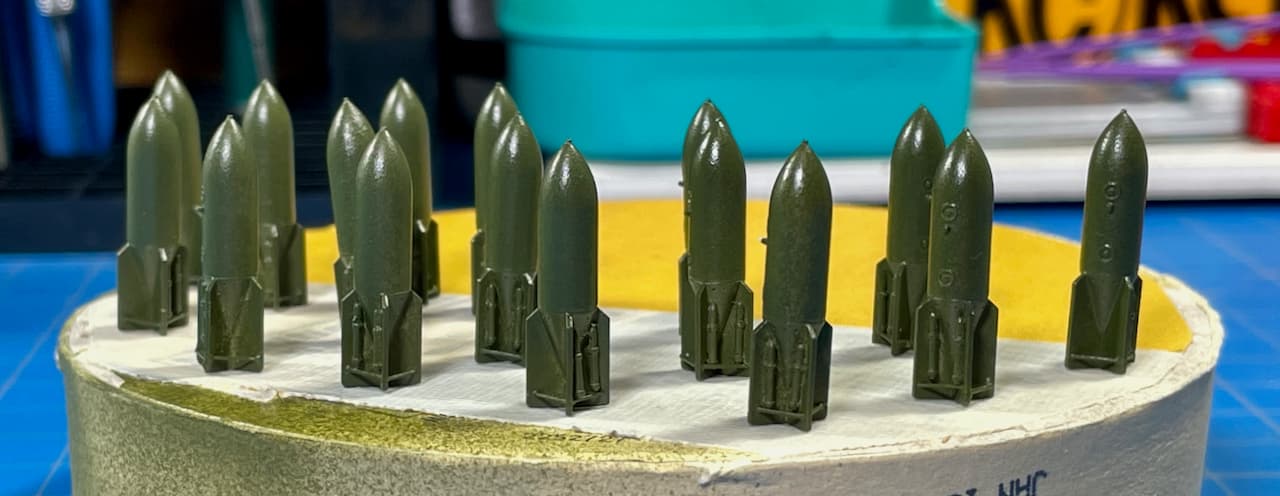
And let’s not forget the bombs. Tail-fin braces and whistles attached… ![]()
![]()
![]()
I’ve been busy! ![]()
—mike …![]()
13 Likes
The good thing about being sick… one has lots of time left to read some previously unvisited topics… and this one is mad… great stuff in here…
4 Likes
Don’t sweat the small stuff… 

Weather was actually kinda’ nice today, so I managed to get a quality airbrush session in.
Wheel Chocks
Vallejo Desert Tan Base Primer (73.613)
Vallejo Deep Yellow (70.915)
Vallejo Gloss Varnish (70.510)
Here they are assembled and workable. I’ll beat them up later. ![]()

German SC 250 Bombs
Tamiya Fine Grey Surface Primer (87064)
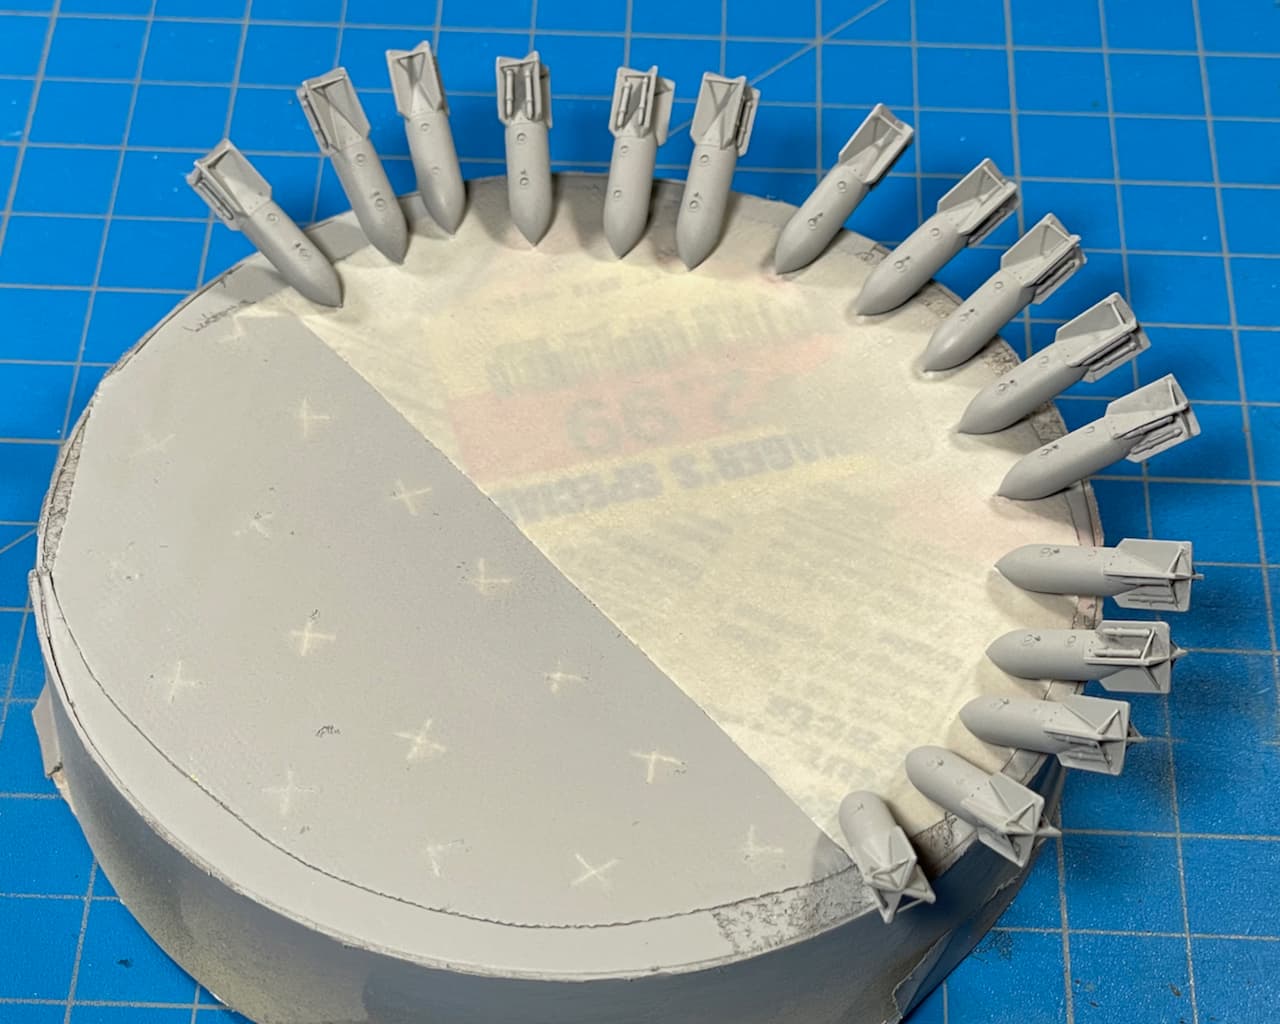
Vallejo Russian Green (71.017)
Vallejo Gloss Varnish (70.510)
—mike …![]()
14 Likes
Looks Great, Michael! Great to see paint getting on the details.
2 Likes