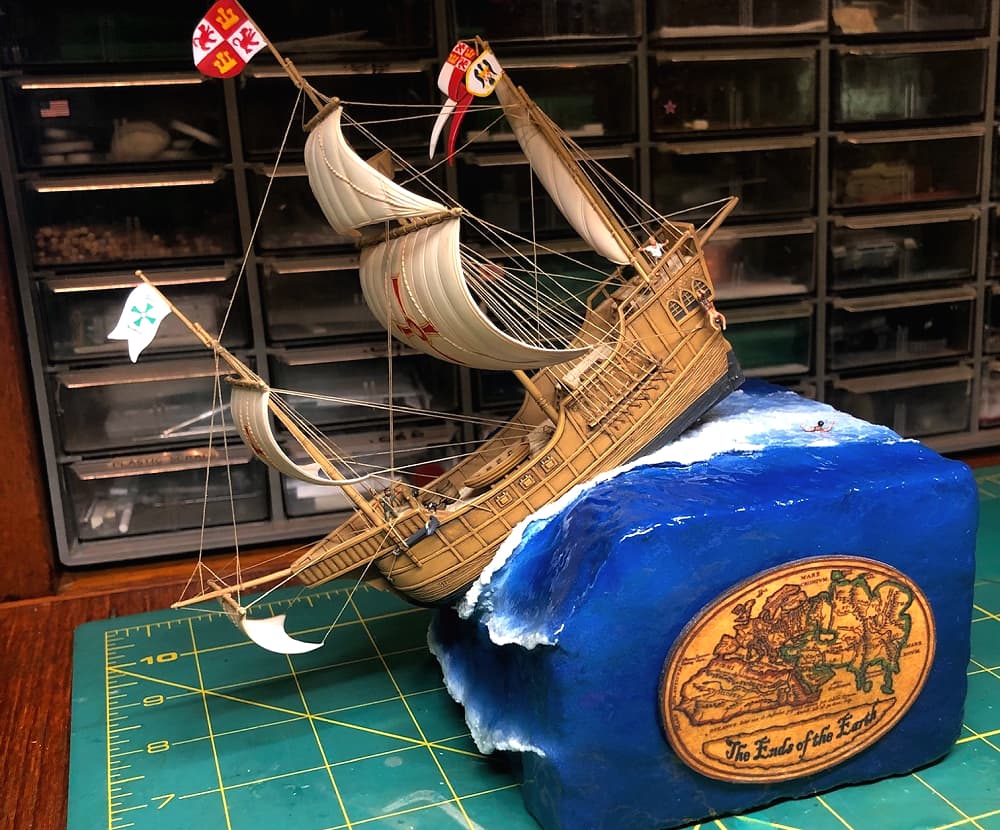
My first thought was to attach the wonderful Albrecht Dürer “Over the Edge” engraving which I had printed out on some parchment-style resume paper. Unfortunately, the picture was so interesting it threatened to compete with the actual model! Also, the rectangular shape of the print tended to highlight the unappealing square outline of the original foam block.
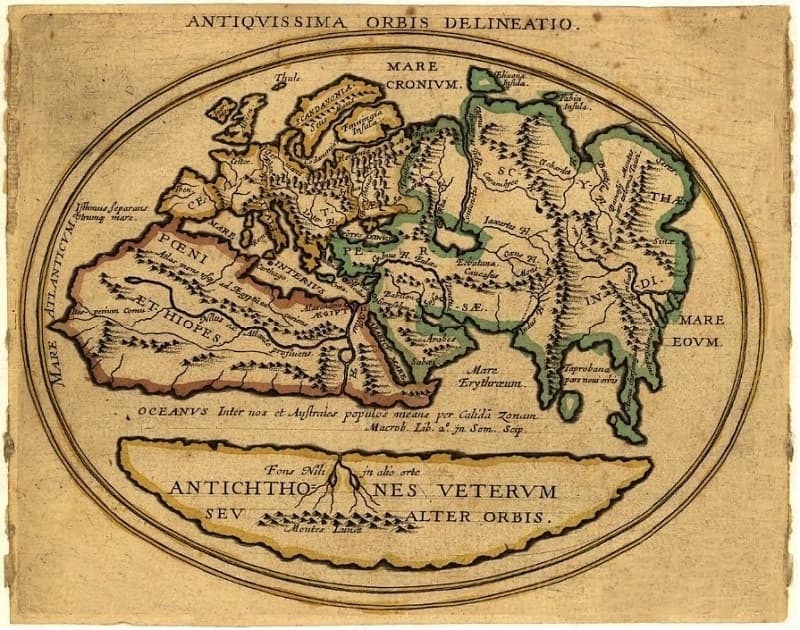
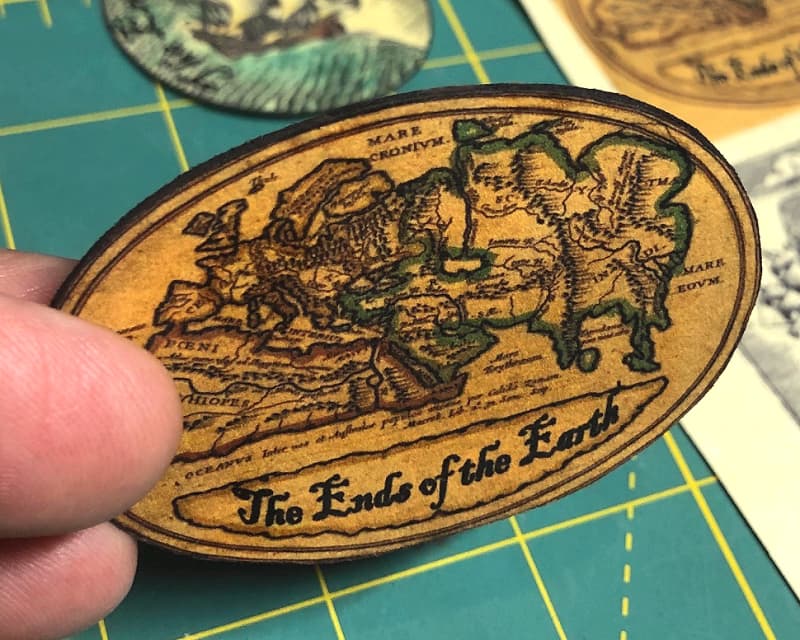
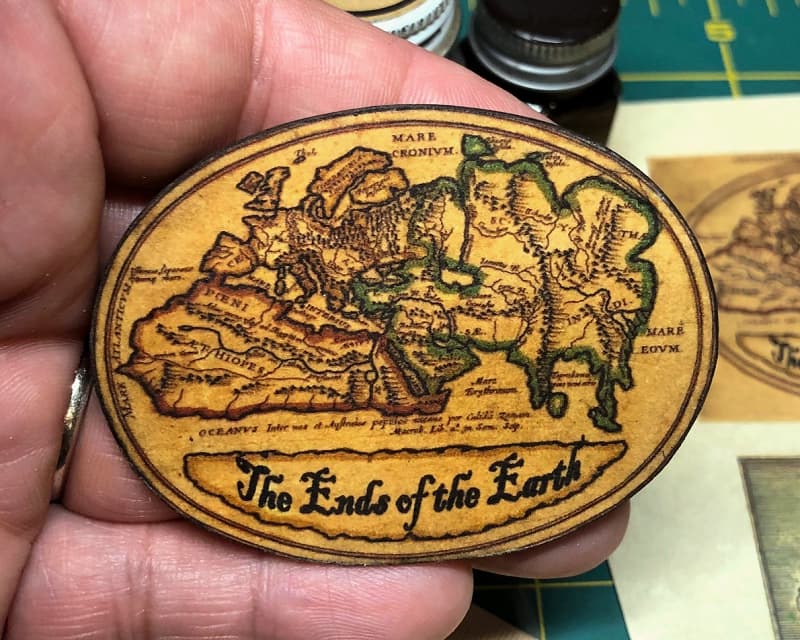
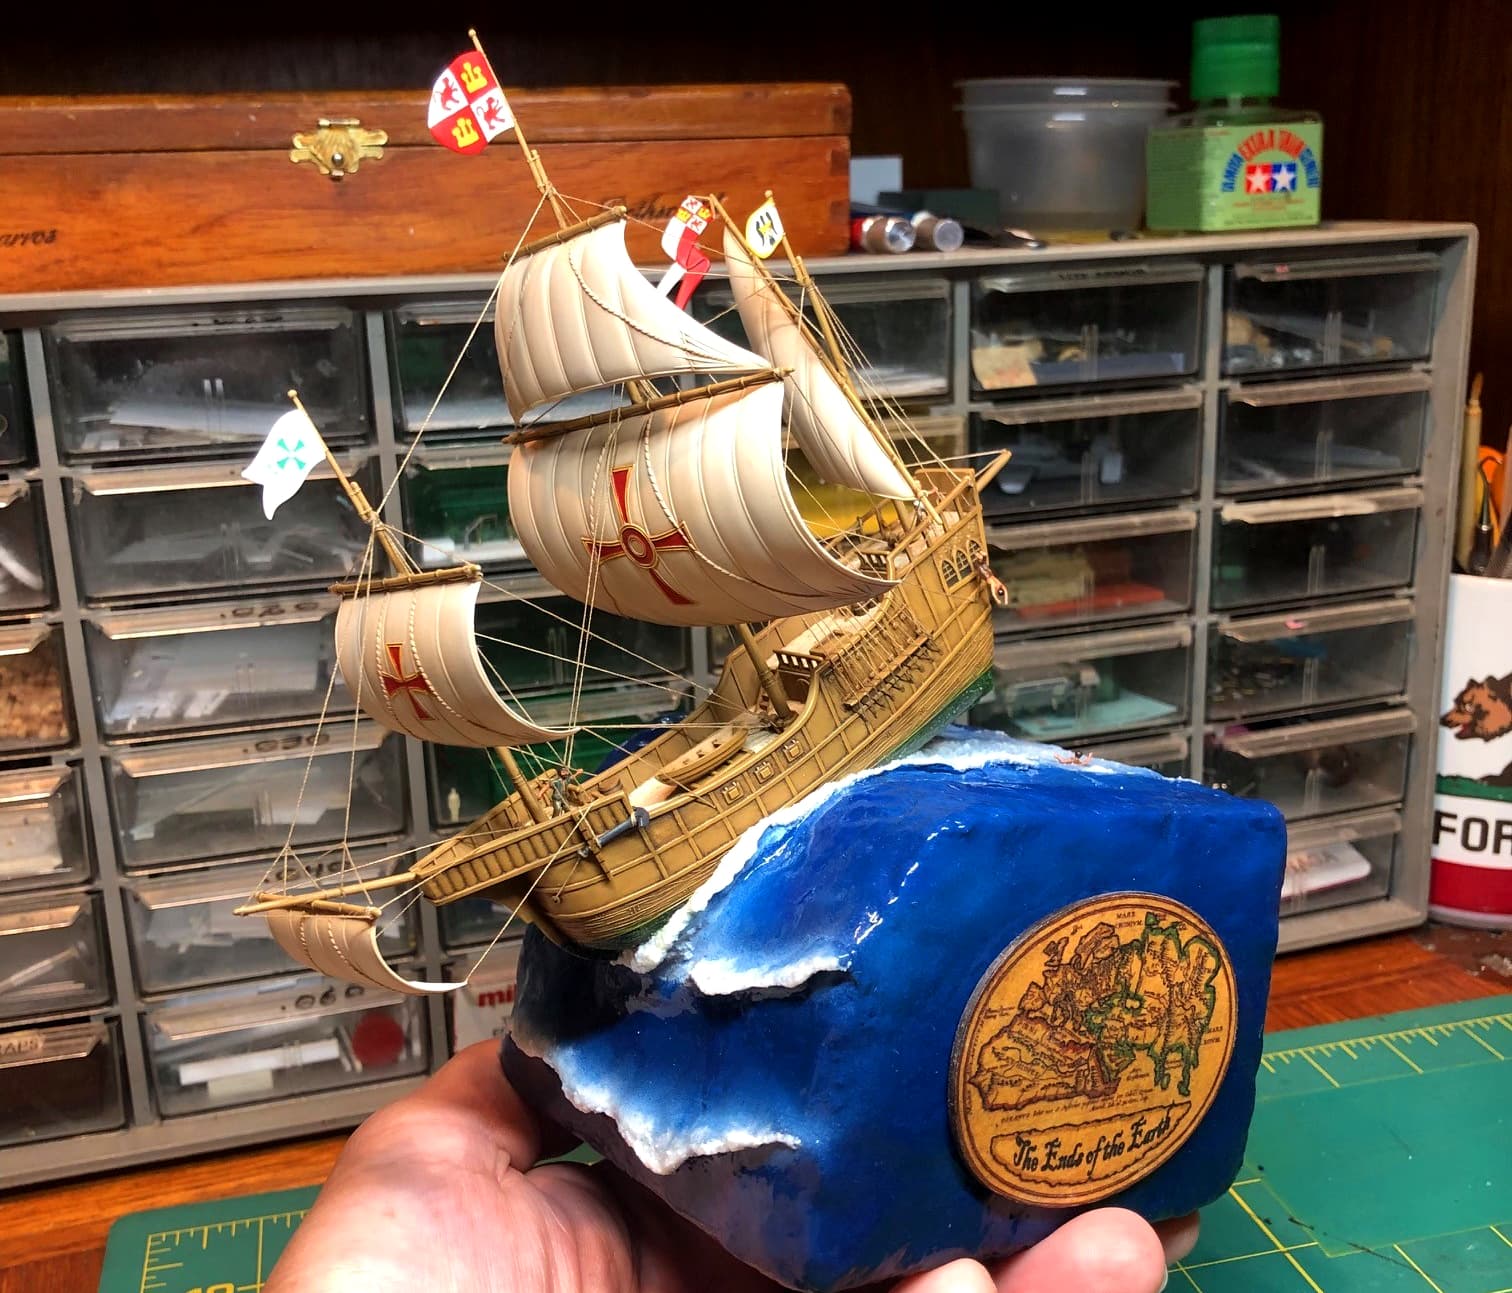
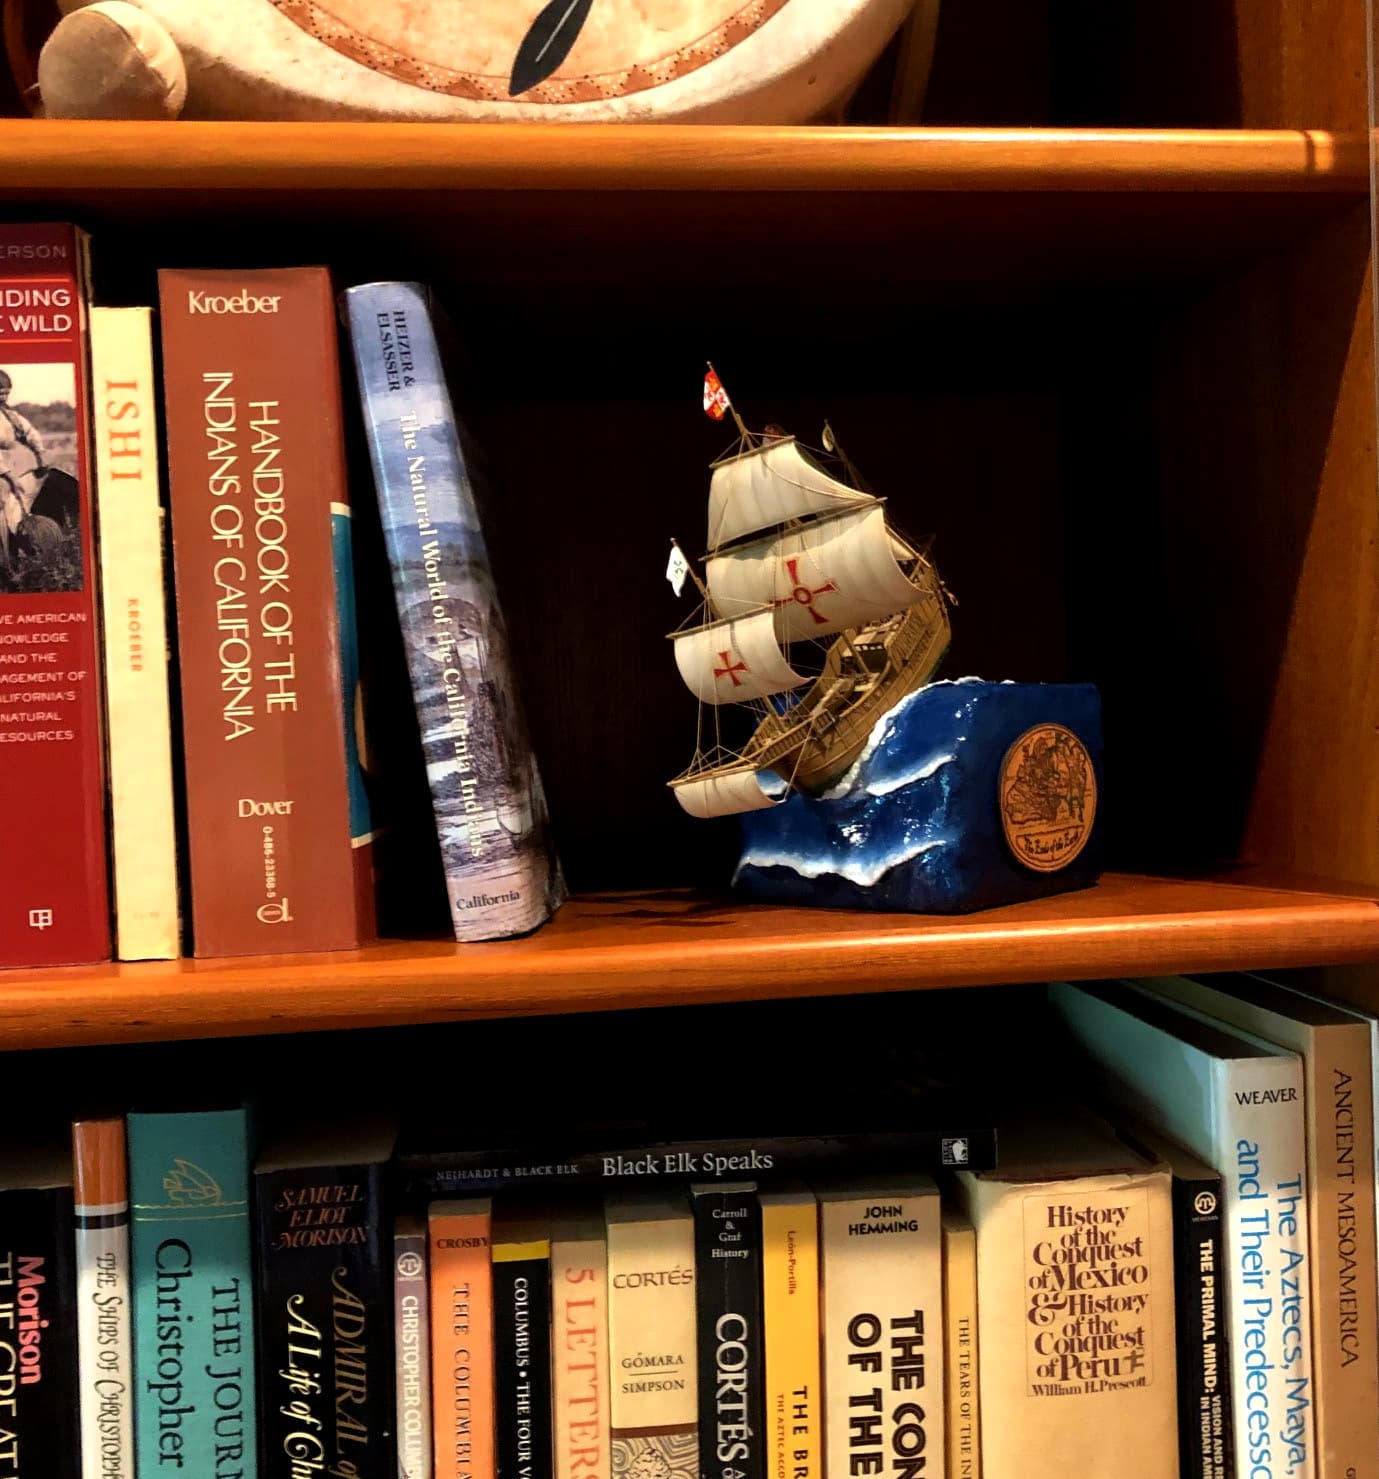
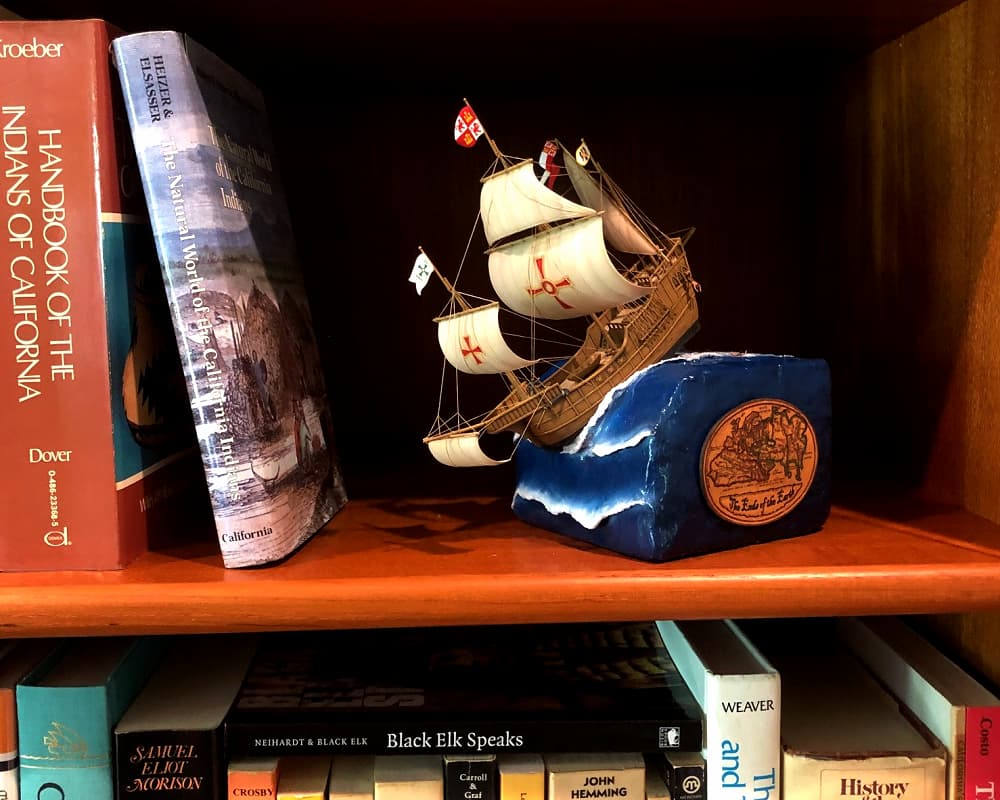
My next try was to add a map of the world as Columbus would have imagined it prior to encountering the Americas. I found one held by Stanford University called Antiquissima Orbis Delineatio (“very ancient map of the world”) which was appropriate and interesting without being too distracting.
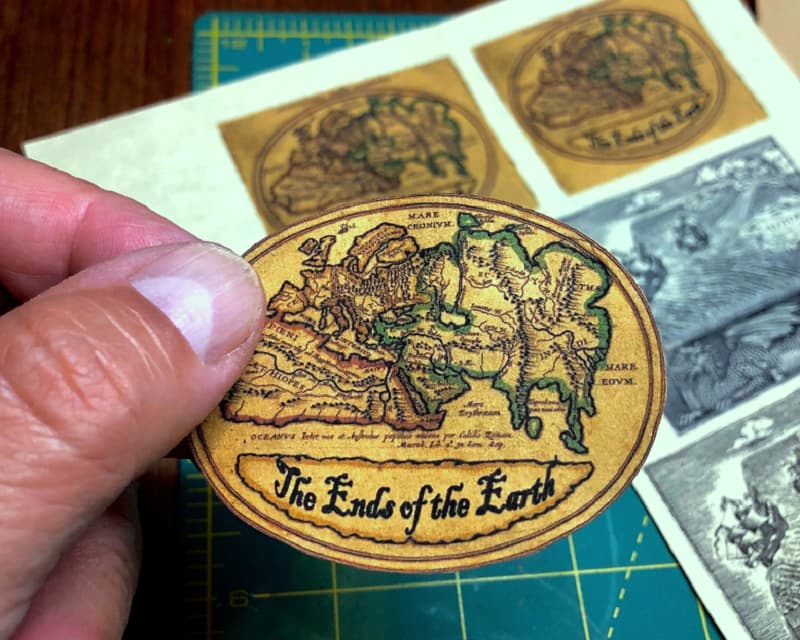
A small change I made before printing it out on resume paper was to blank out some of the text and add the words, The Ends of the Earth to make it a kind of nameplate for the diorama. I also darkened it just a bit to emphasize the antique look and to make it stand out less starkly against the deep blue of the ocean.
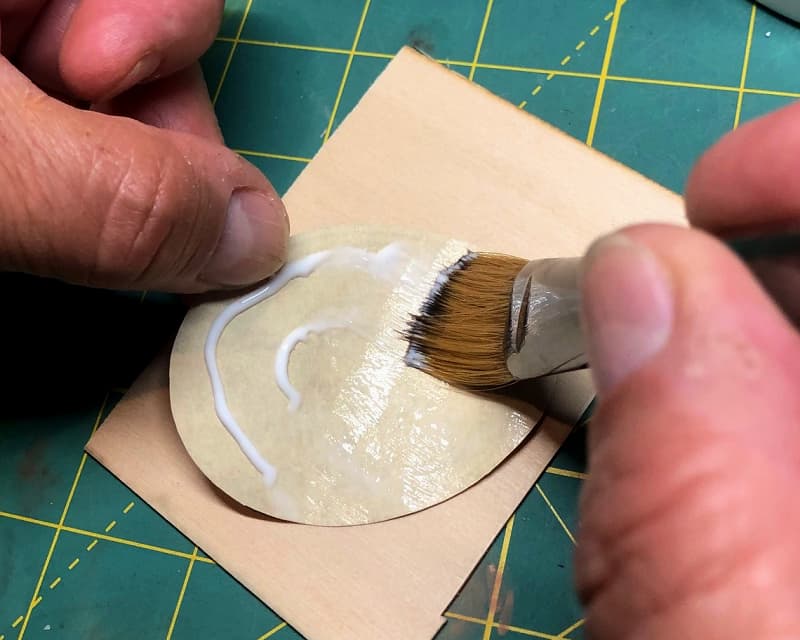
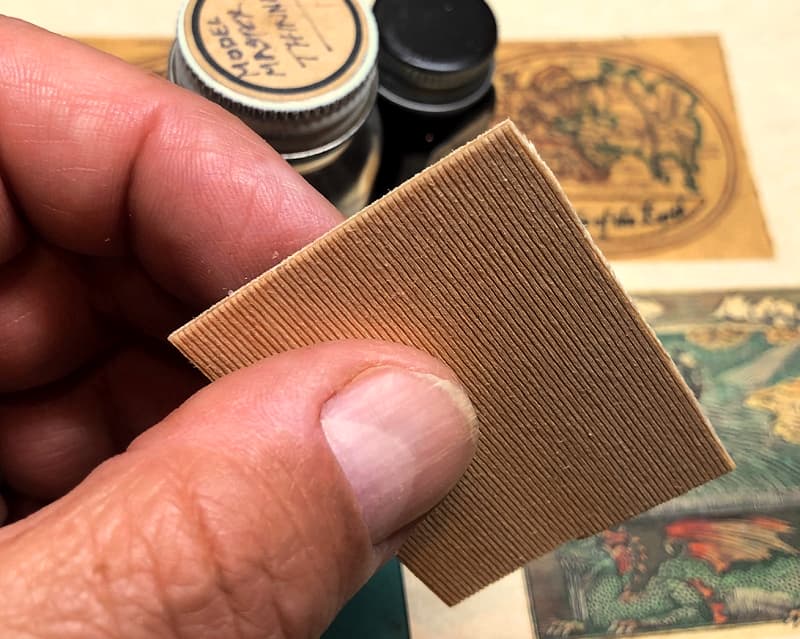
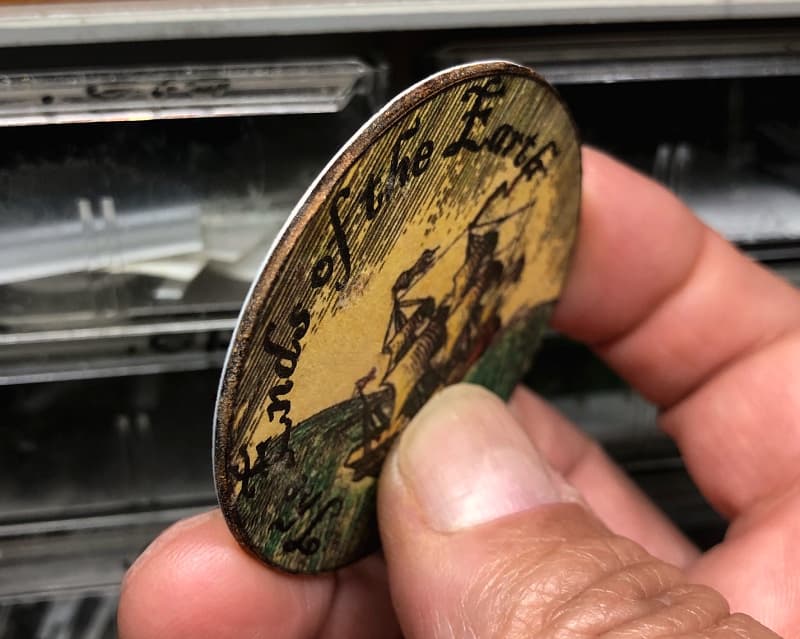
The image was glued to a thin piece of bass wood which was then trimmed to match the oval shape. The bare wood edges were darkened with Testors Flat Rubber (dark brown) enamel.
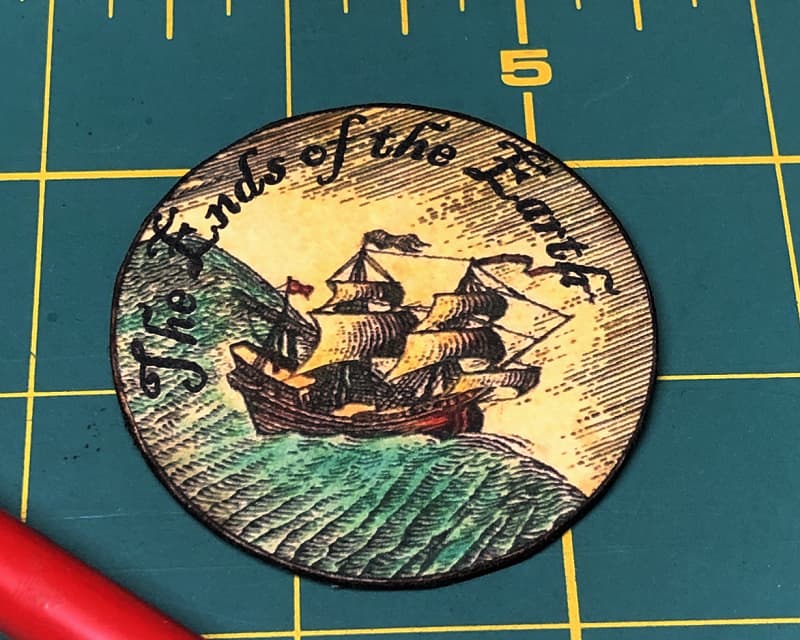
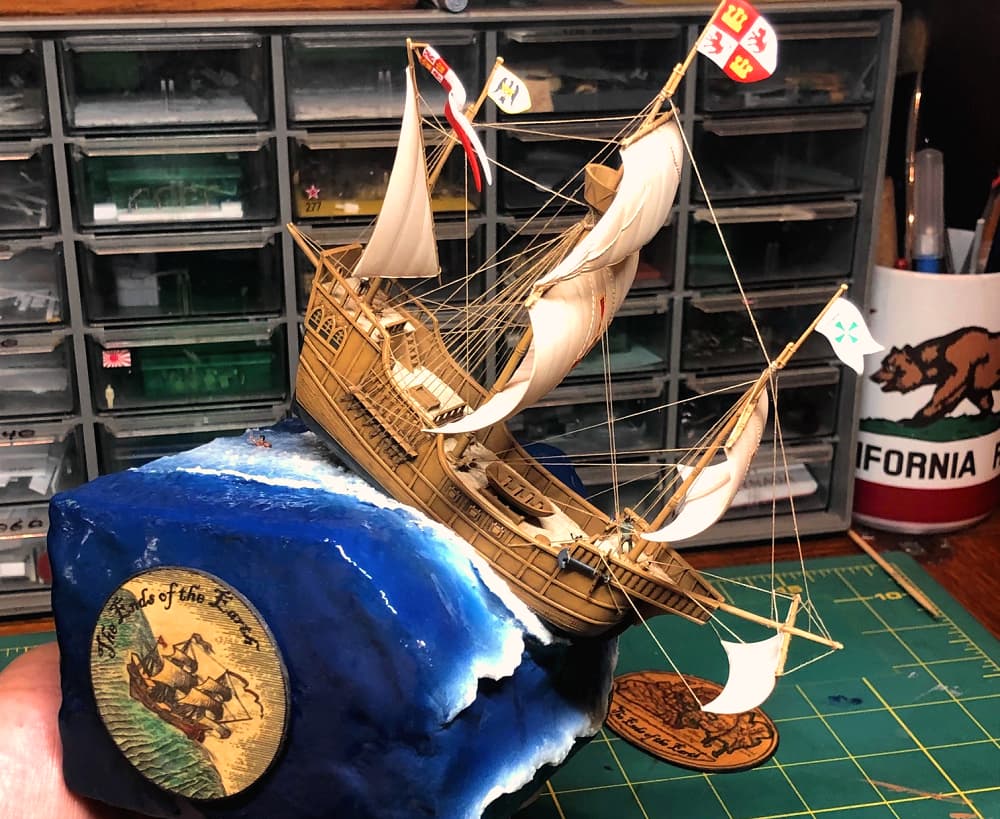
I had made one of these for each side, but to keep things interesting I also made an alternate one based on a detail from the Albrecht Dürer engraving.
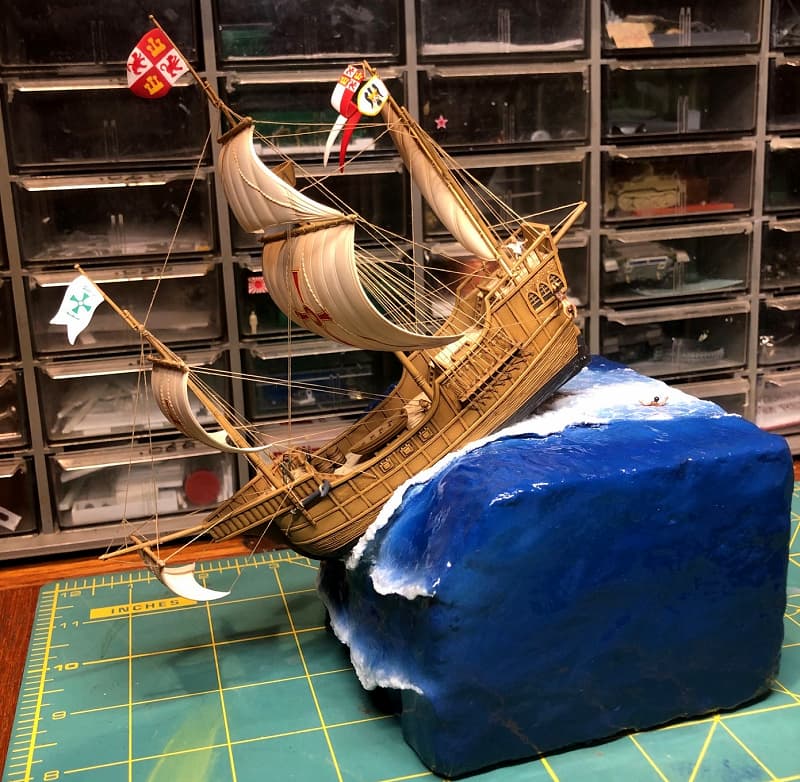
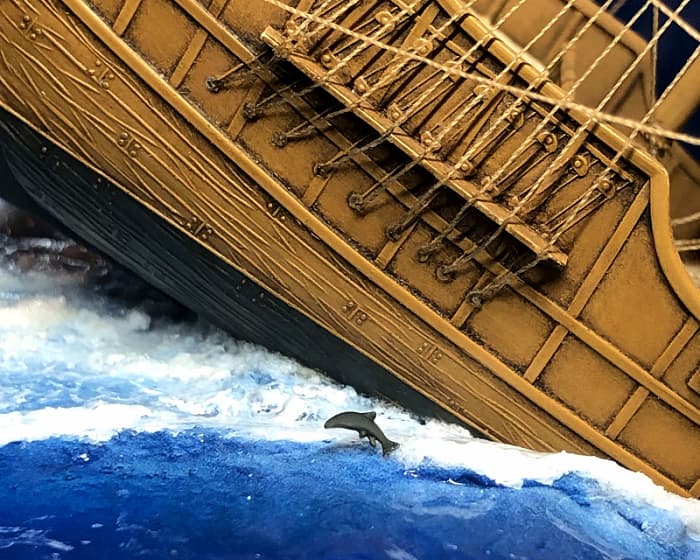
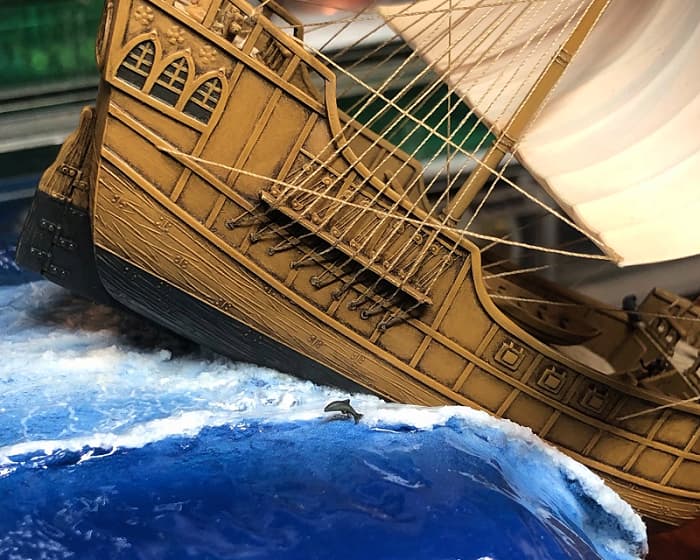
I was going to leave the underwater hull as is with just some gloss to make it look suitably wet… but it does seem WAY too pristine for a working ship.
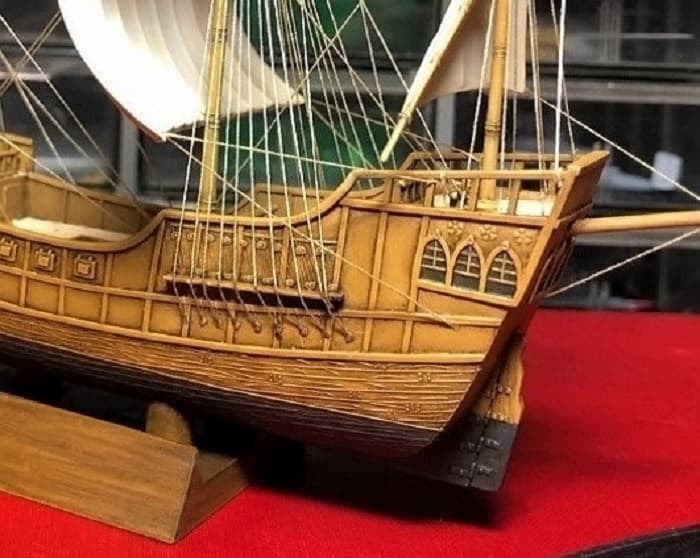
I’d initially built the model “clean” for full hull display on a base, so the underwater hull was simply painted a dark gray to represent the tallow/tar marine antifouling the Spanish used.
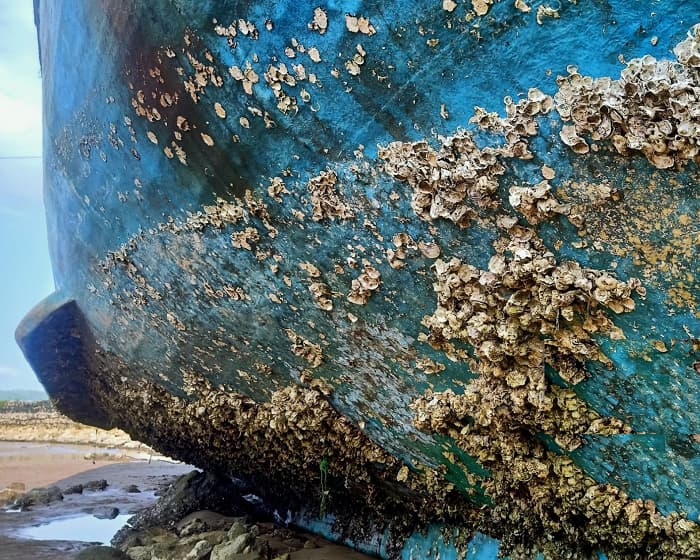
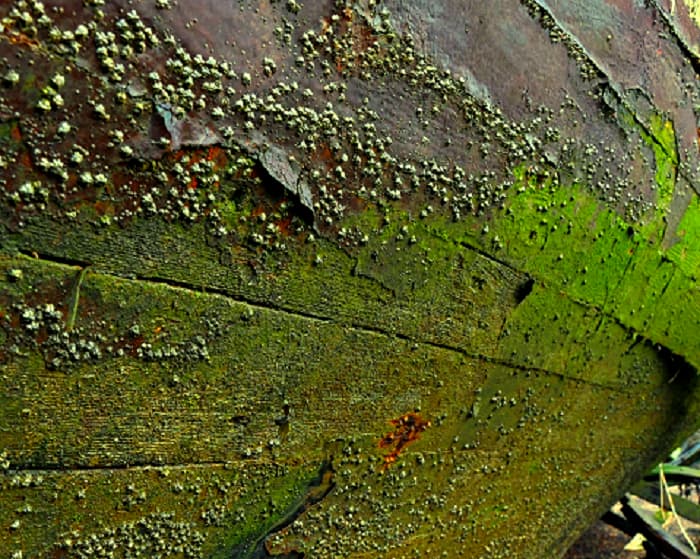
Now that the model is in a diorama with the lower hull visible, depiction of marine growth on the underwater hull would be appropriate. I don’t know when the Santa María was last careened before her final voyage, but she left Palos in August, 1492, and by the time she was lost in January, 1493 she had spent at least five months in the water without maintenance. By that time her hull would definitely have shown a good deal of fouling!
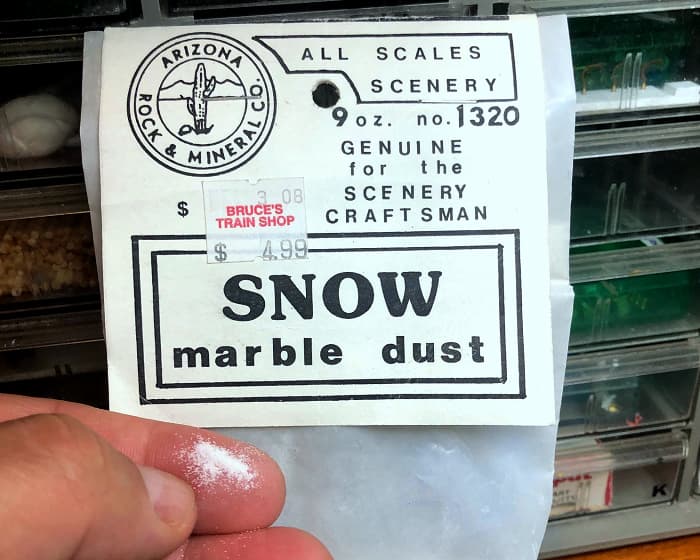
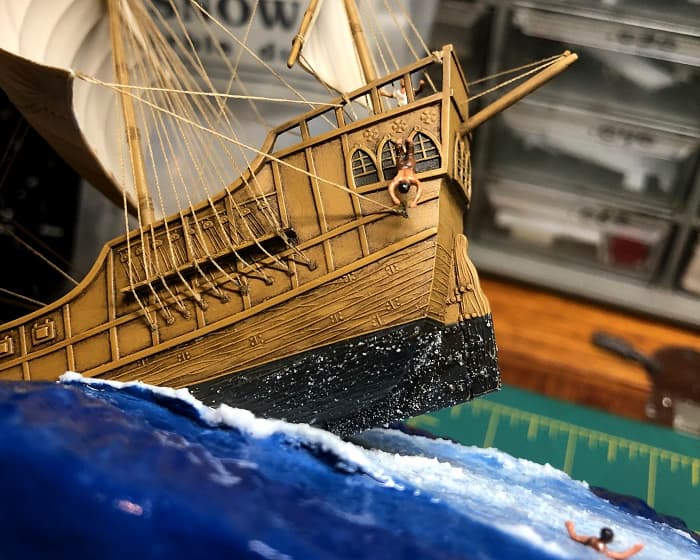
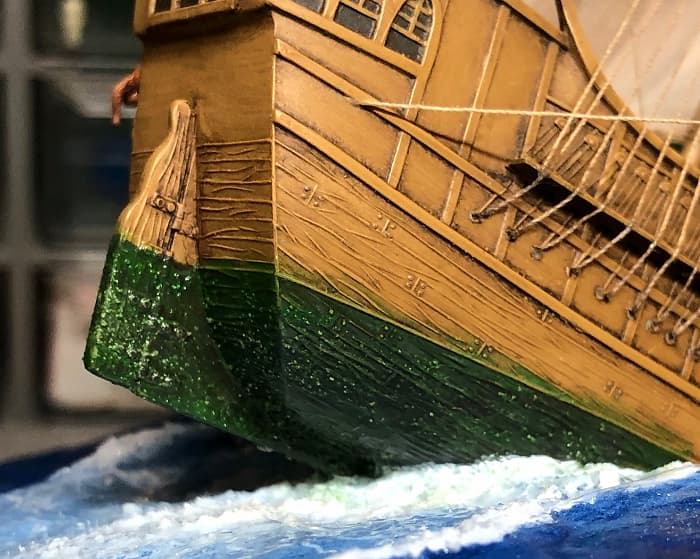
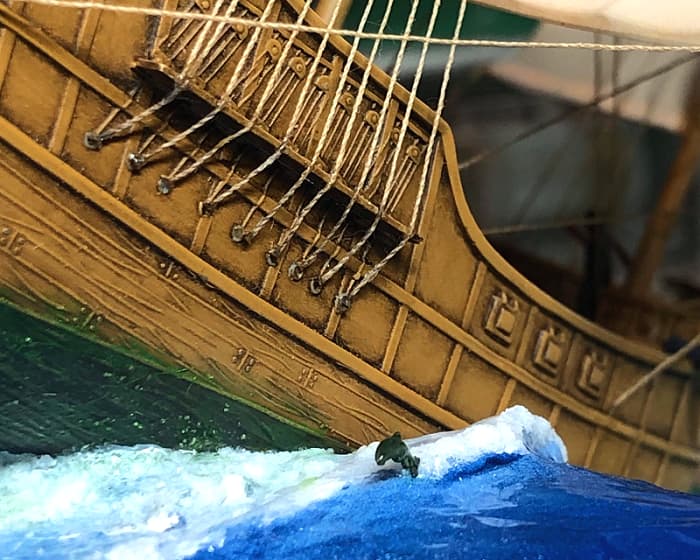
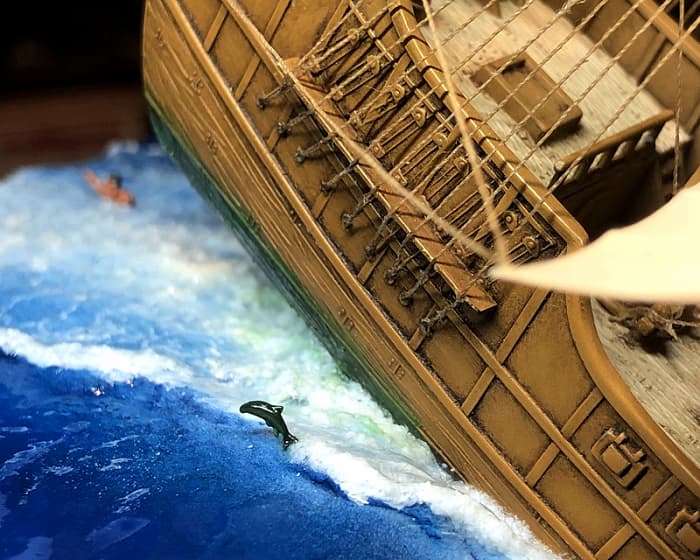
I used marble dust “snow” to represent the barnacles. Sprinkled over a fresh application of water-based Behr Polyurethane Gloss, the miniscule grains stuck fast to the hull like, well… barnacles!
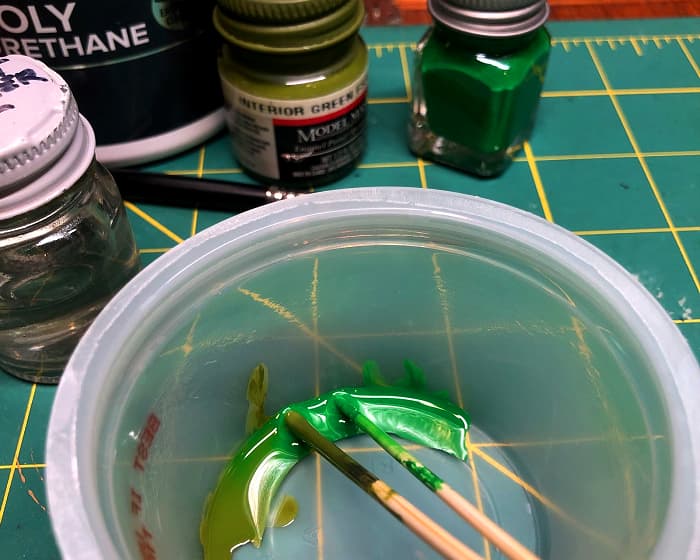
In addition to the barnacles, green algae would probably have been in evidence as well, so I brewed up a mix of greens that seemed reasonable. Enamels were the choice here so the paint could be liberally thinned without the solvents disturbing the underlying acrylic paint and gloss layers.
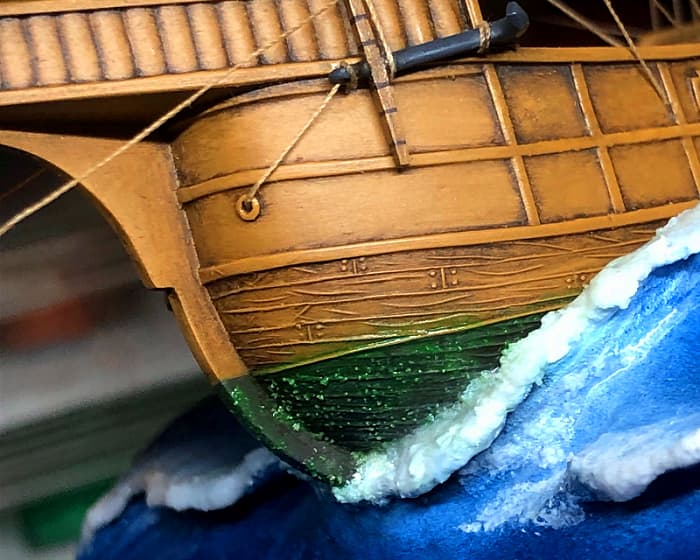
The “algae” was dabbed in uneven patches all over the lower hull. This was followed by a highly thinned green to take most of it off and let the underlying color show through the green filter. I made sure to let a bit of the transparent color creep a little above the waterline to show algae thriving in the upper hull splash areas of common on small ships at sea. Finally, a few very light passes with a sanding stick helped the lighter marble dust barnacles show through. Now she looks like she’s been at sea for a while!
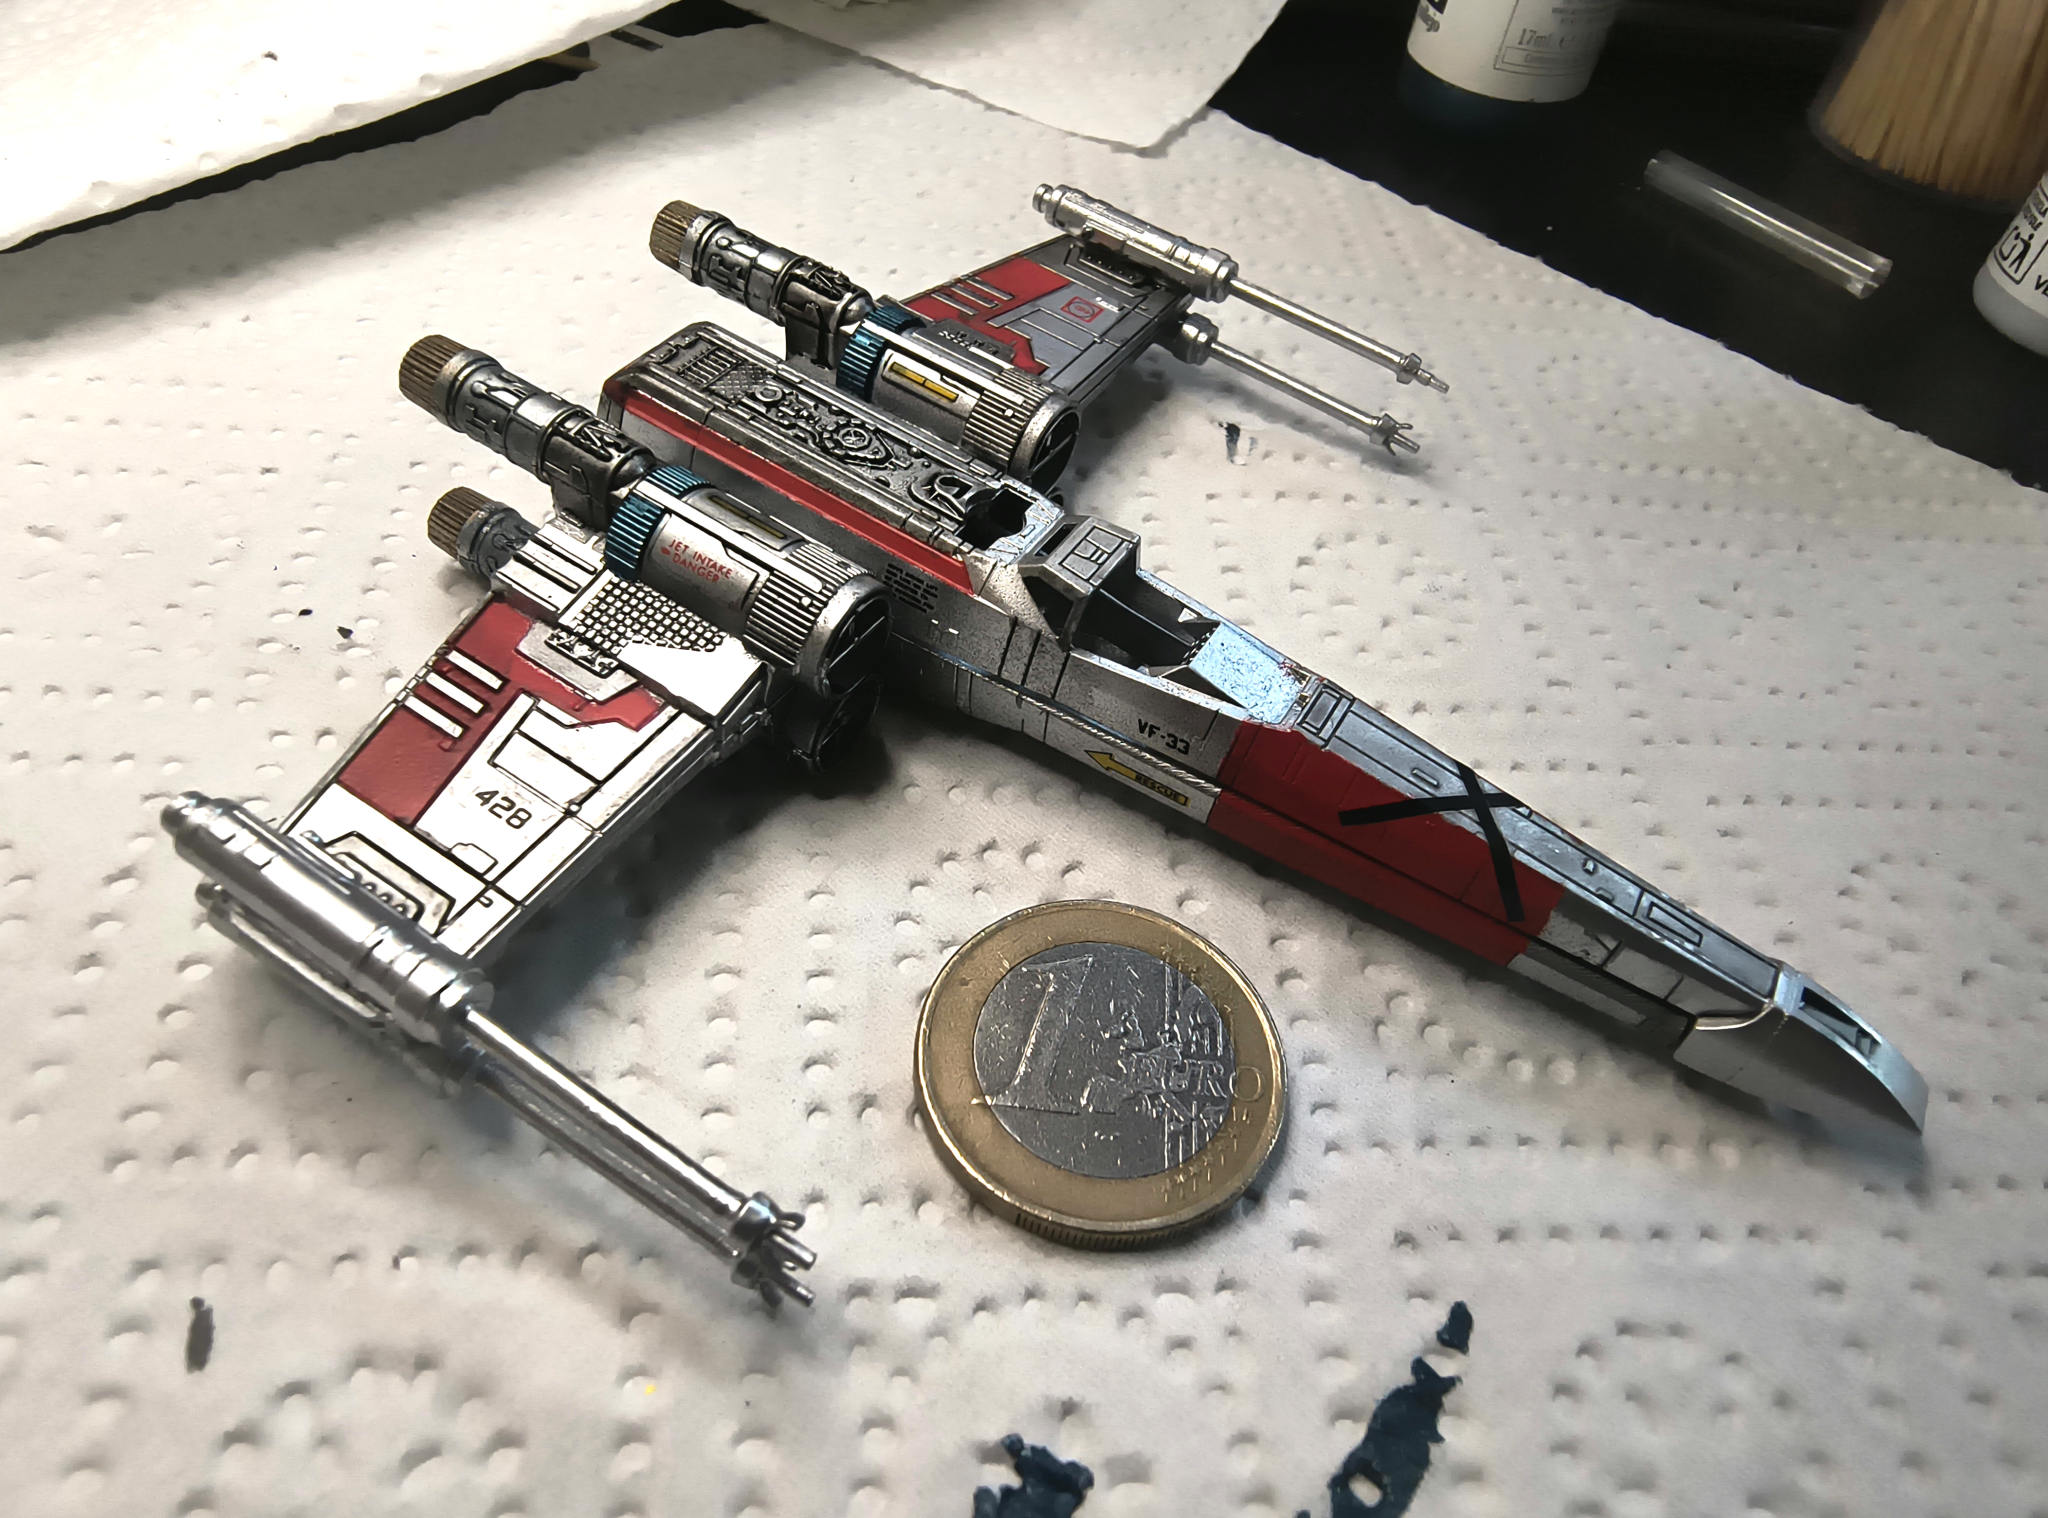
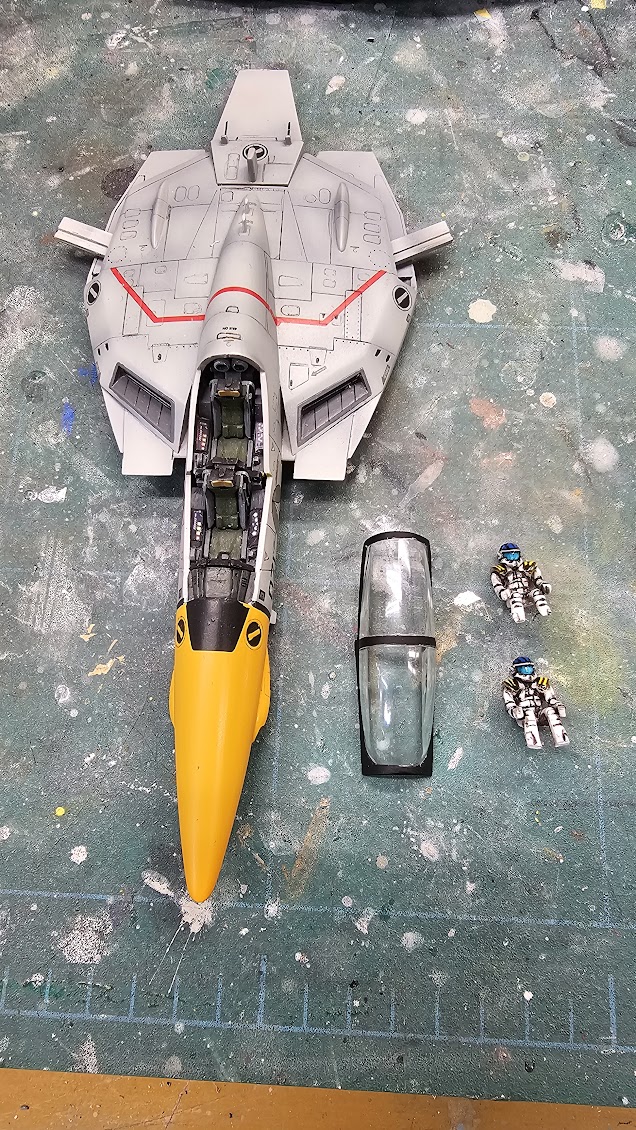
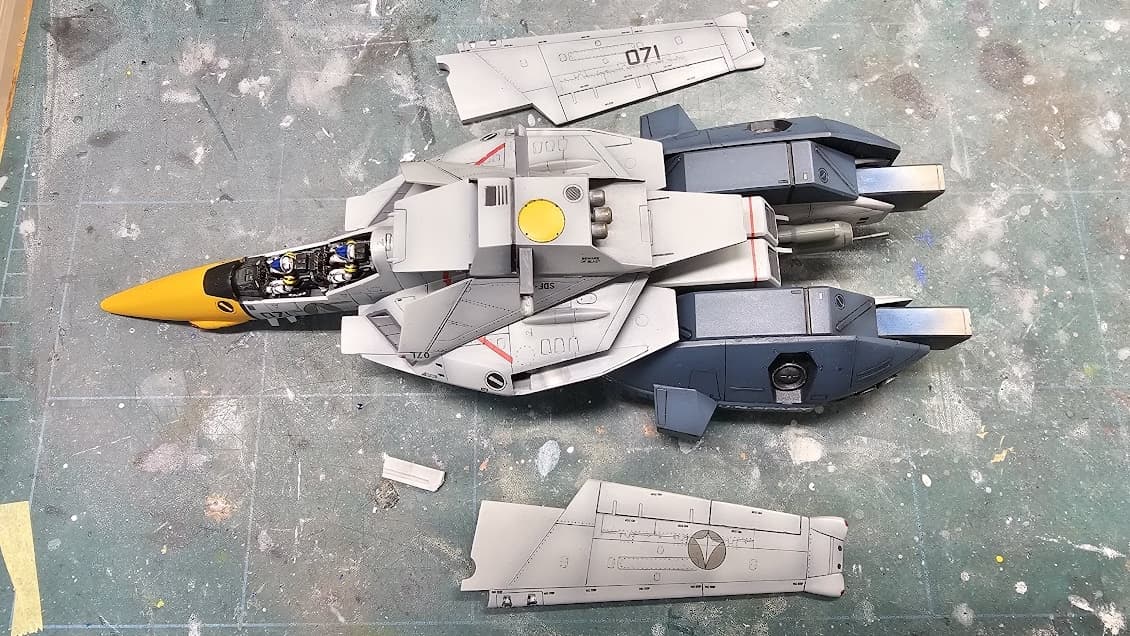
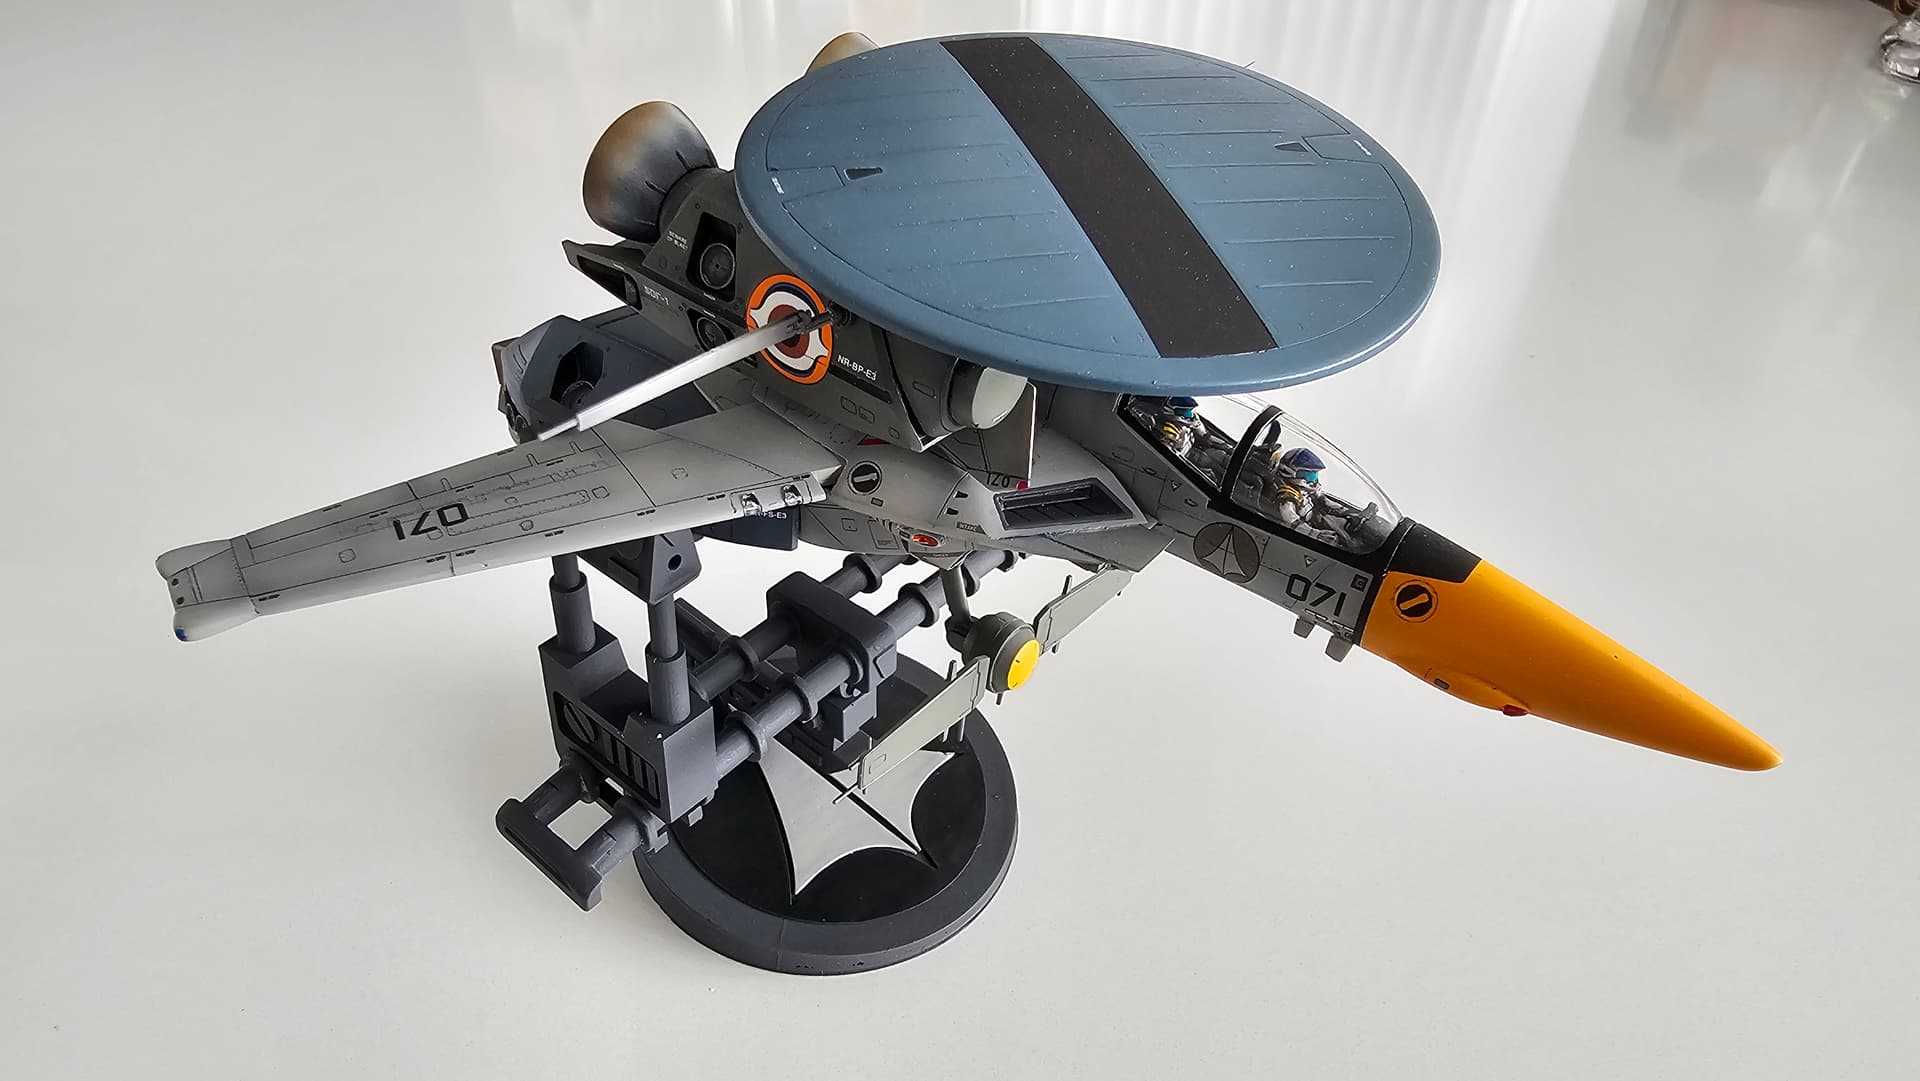
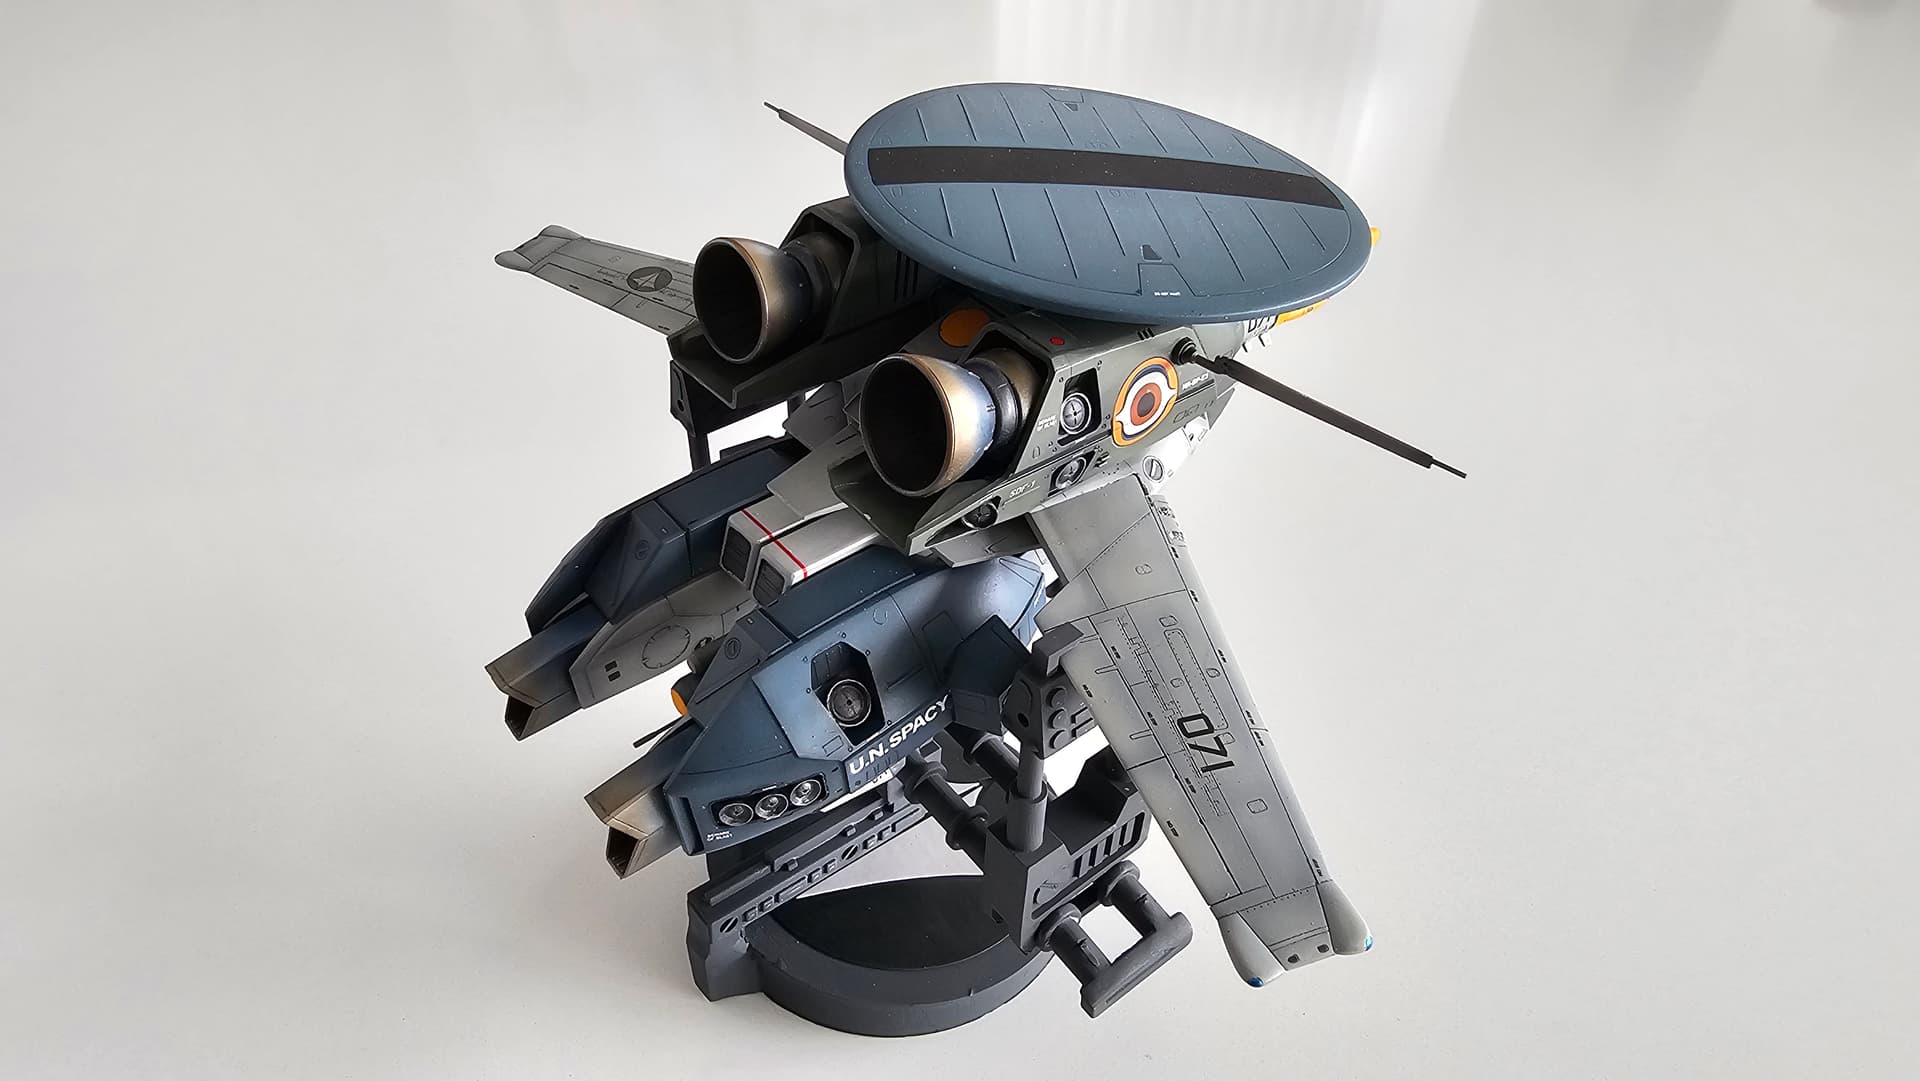
Decals done and ready for the next step. I’ve still got to modify the pilot figures to get them in the cockpit and paint then close up the canopy. And then to final assembly
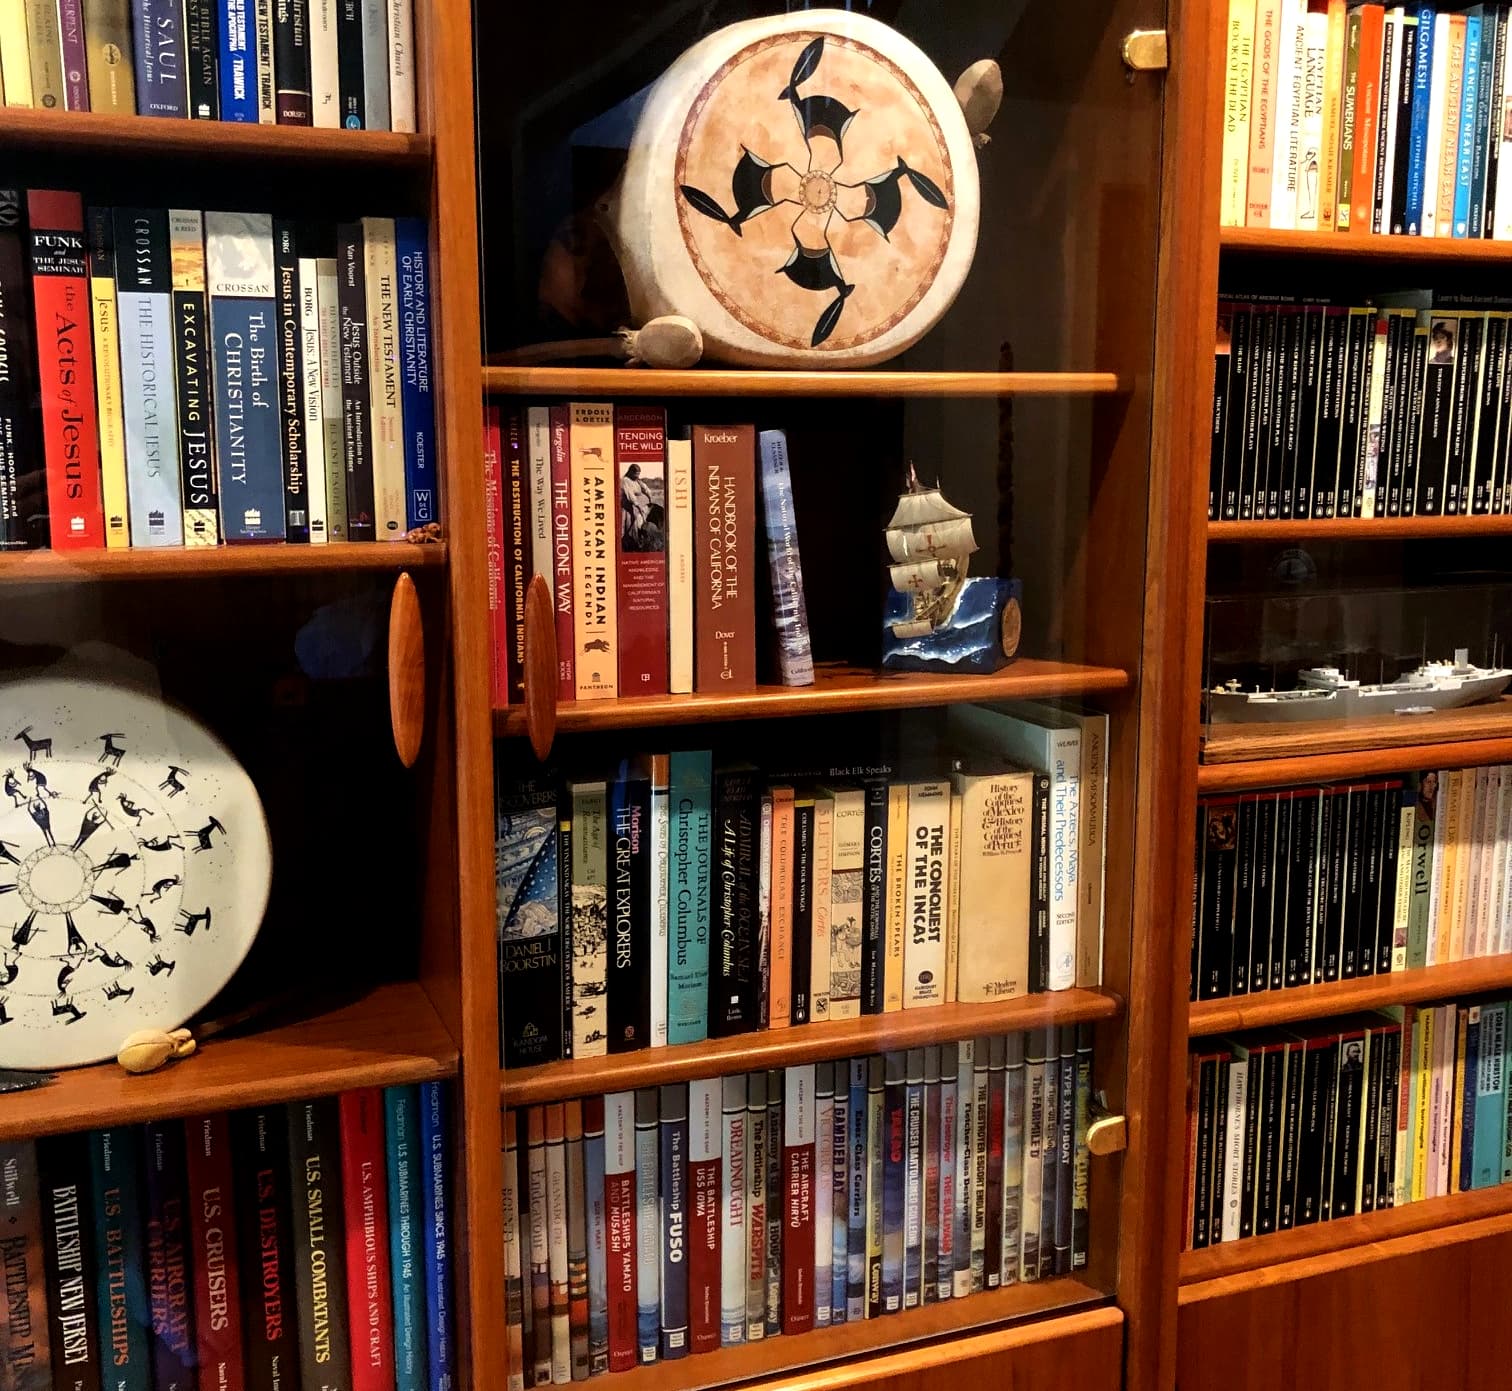
You have a most interesting bookcase and the Santa Maria matches the contents well!
Thanks Ron! I suppose it would have been most appropriate to have her alongside the books about Columbus and the Discovery, but I wanted to place the little dio closer to eye level.
Pilots and cockpit done. It’s interesting that even though these pilot figures come from a single seat Hasegawa Veritech I still had to cut up the figures quite a bit to get them to fit into the cockpit.
Small disaster as the swing wing setup is very fragile. I love the idea of being able to slip on the wings later and move them, but they keep getting misaligned. Then trying to get the wing on the little tab snapped off. Now I will have to glue the wings in place.
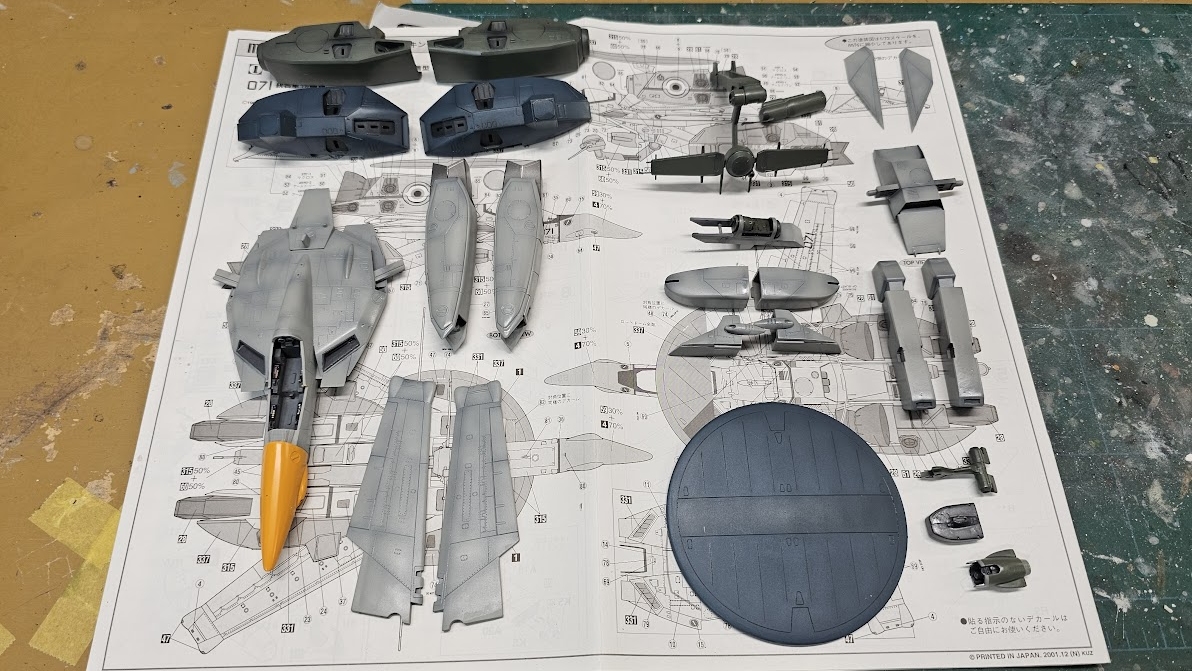
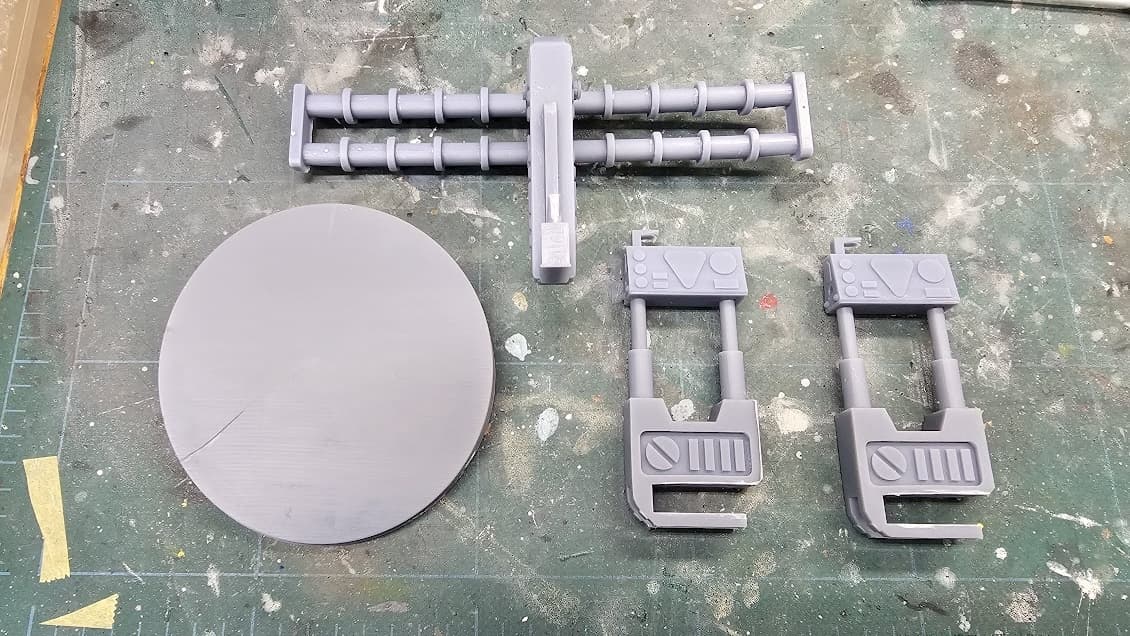
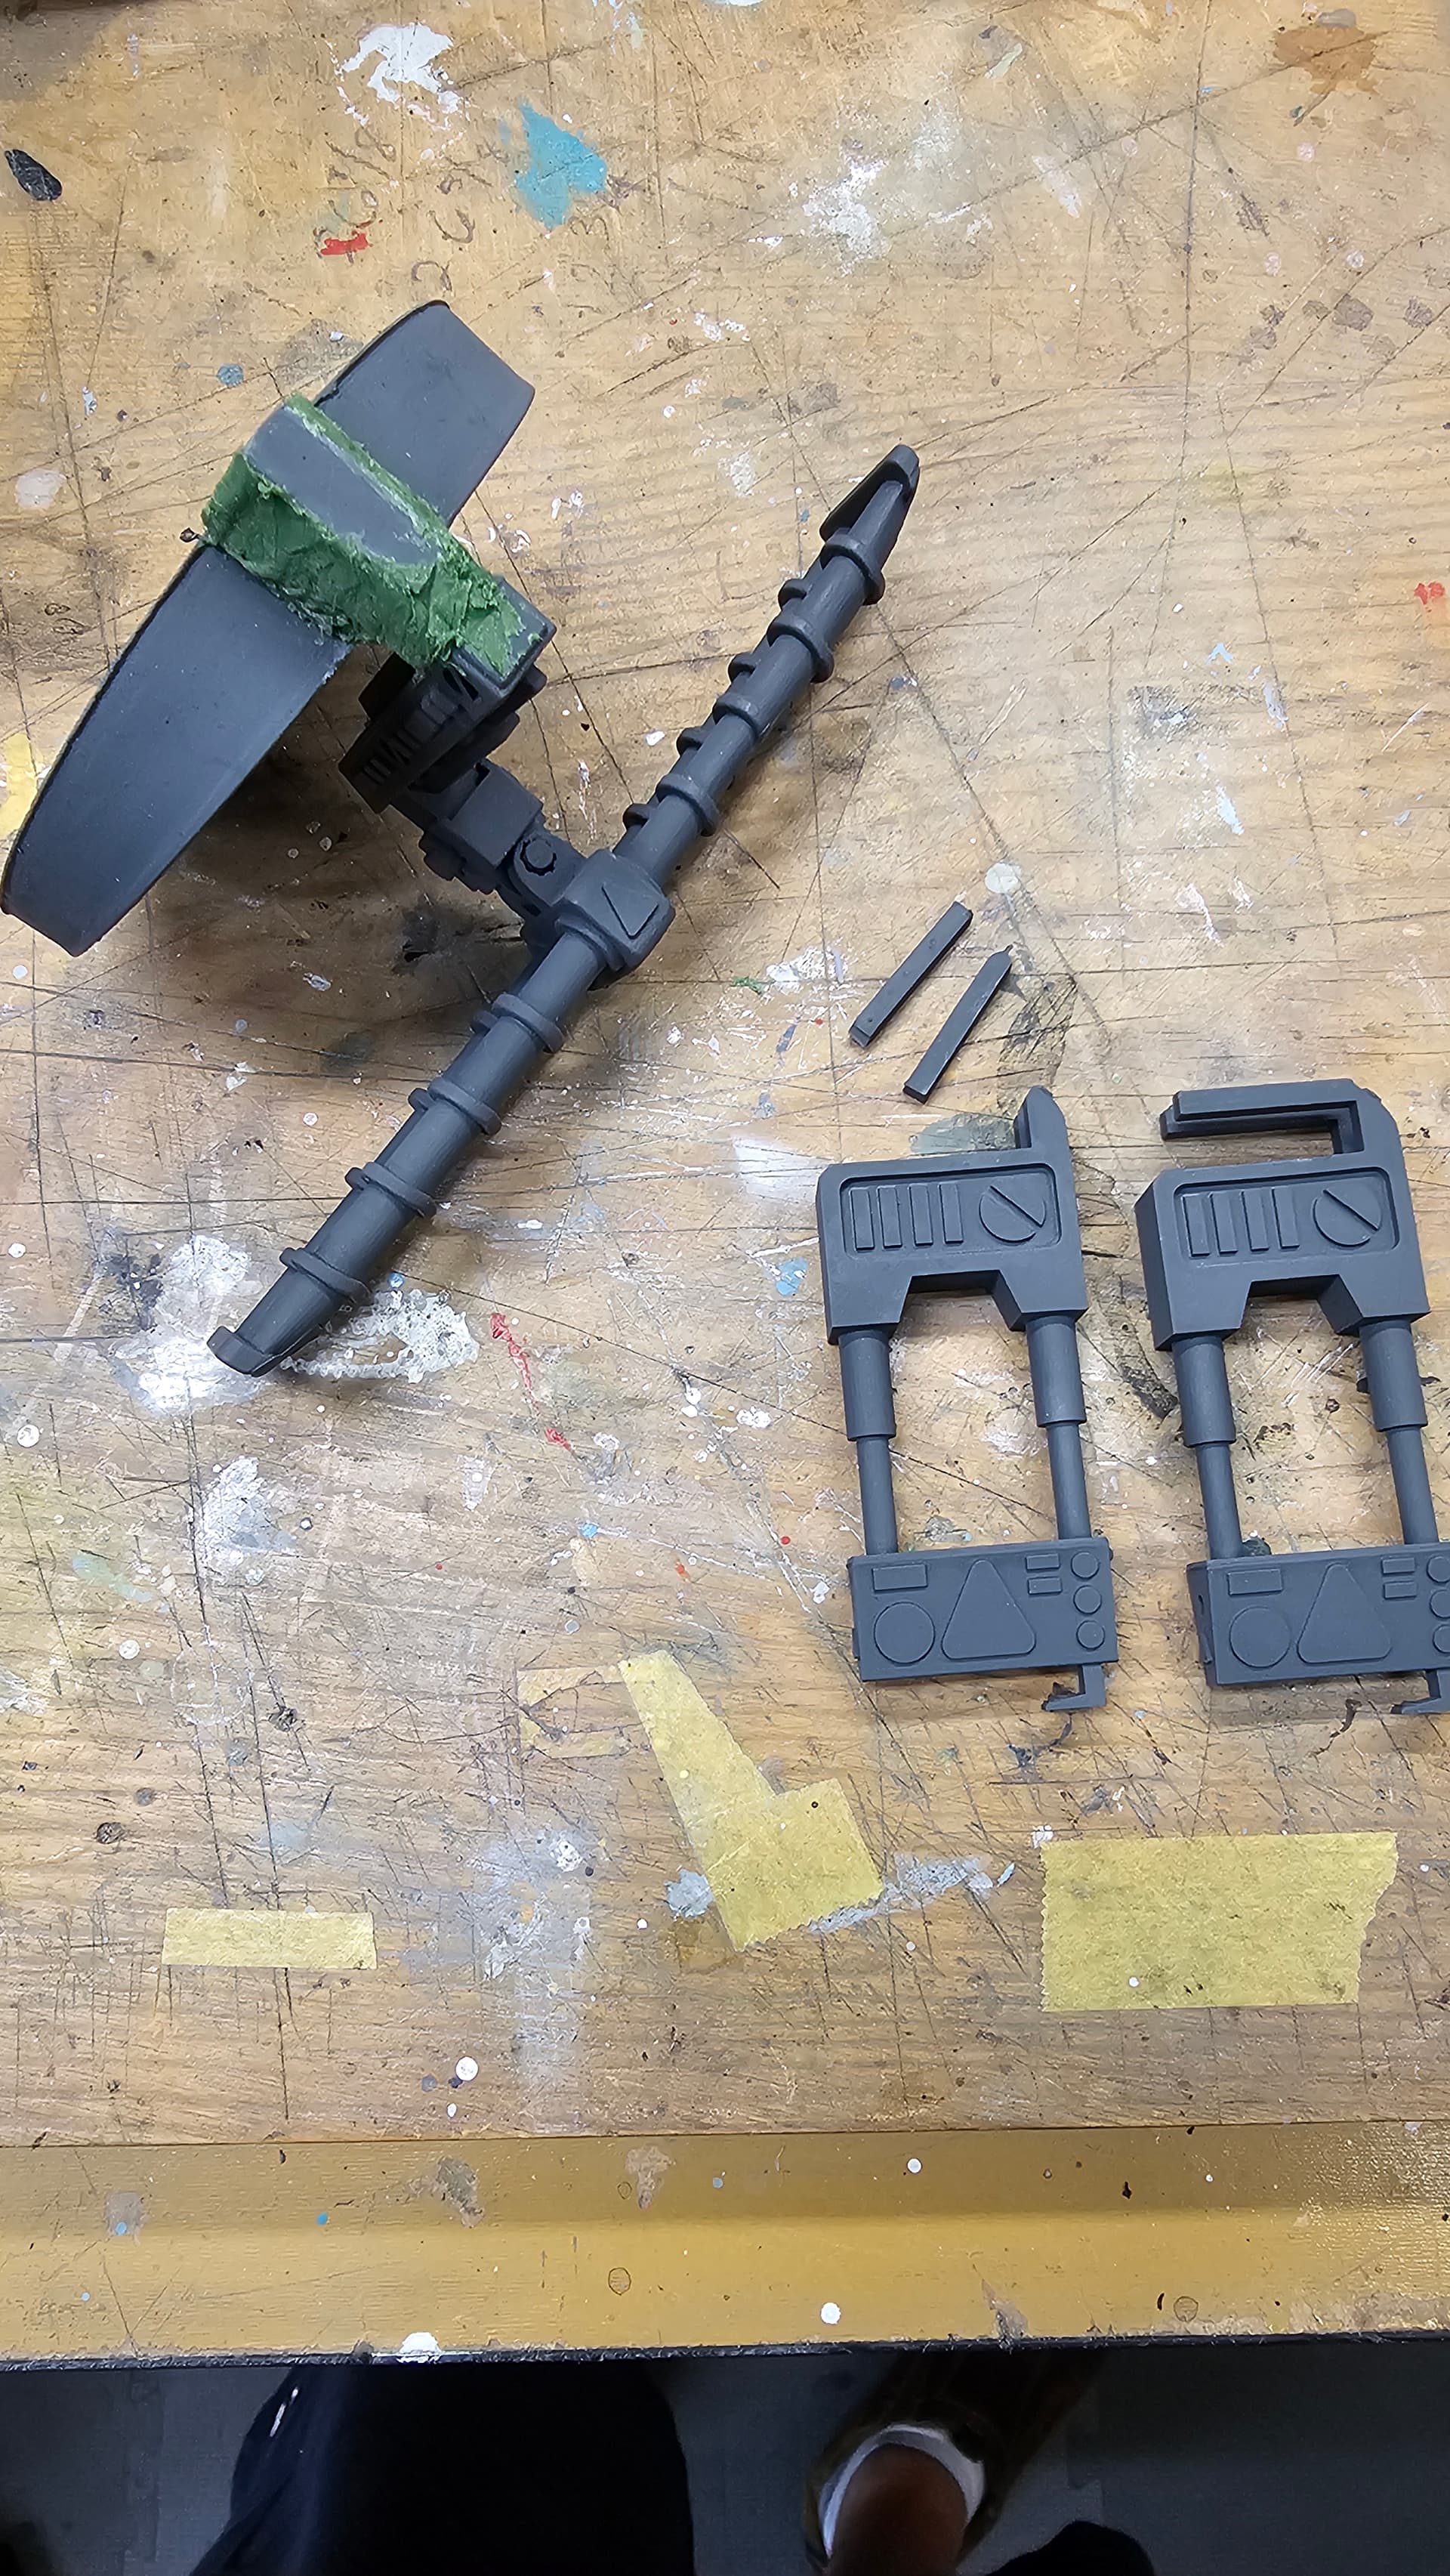
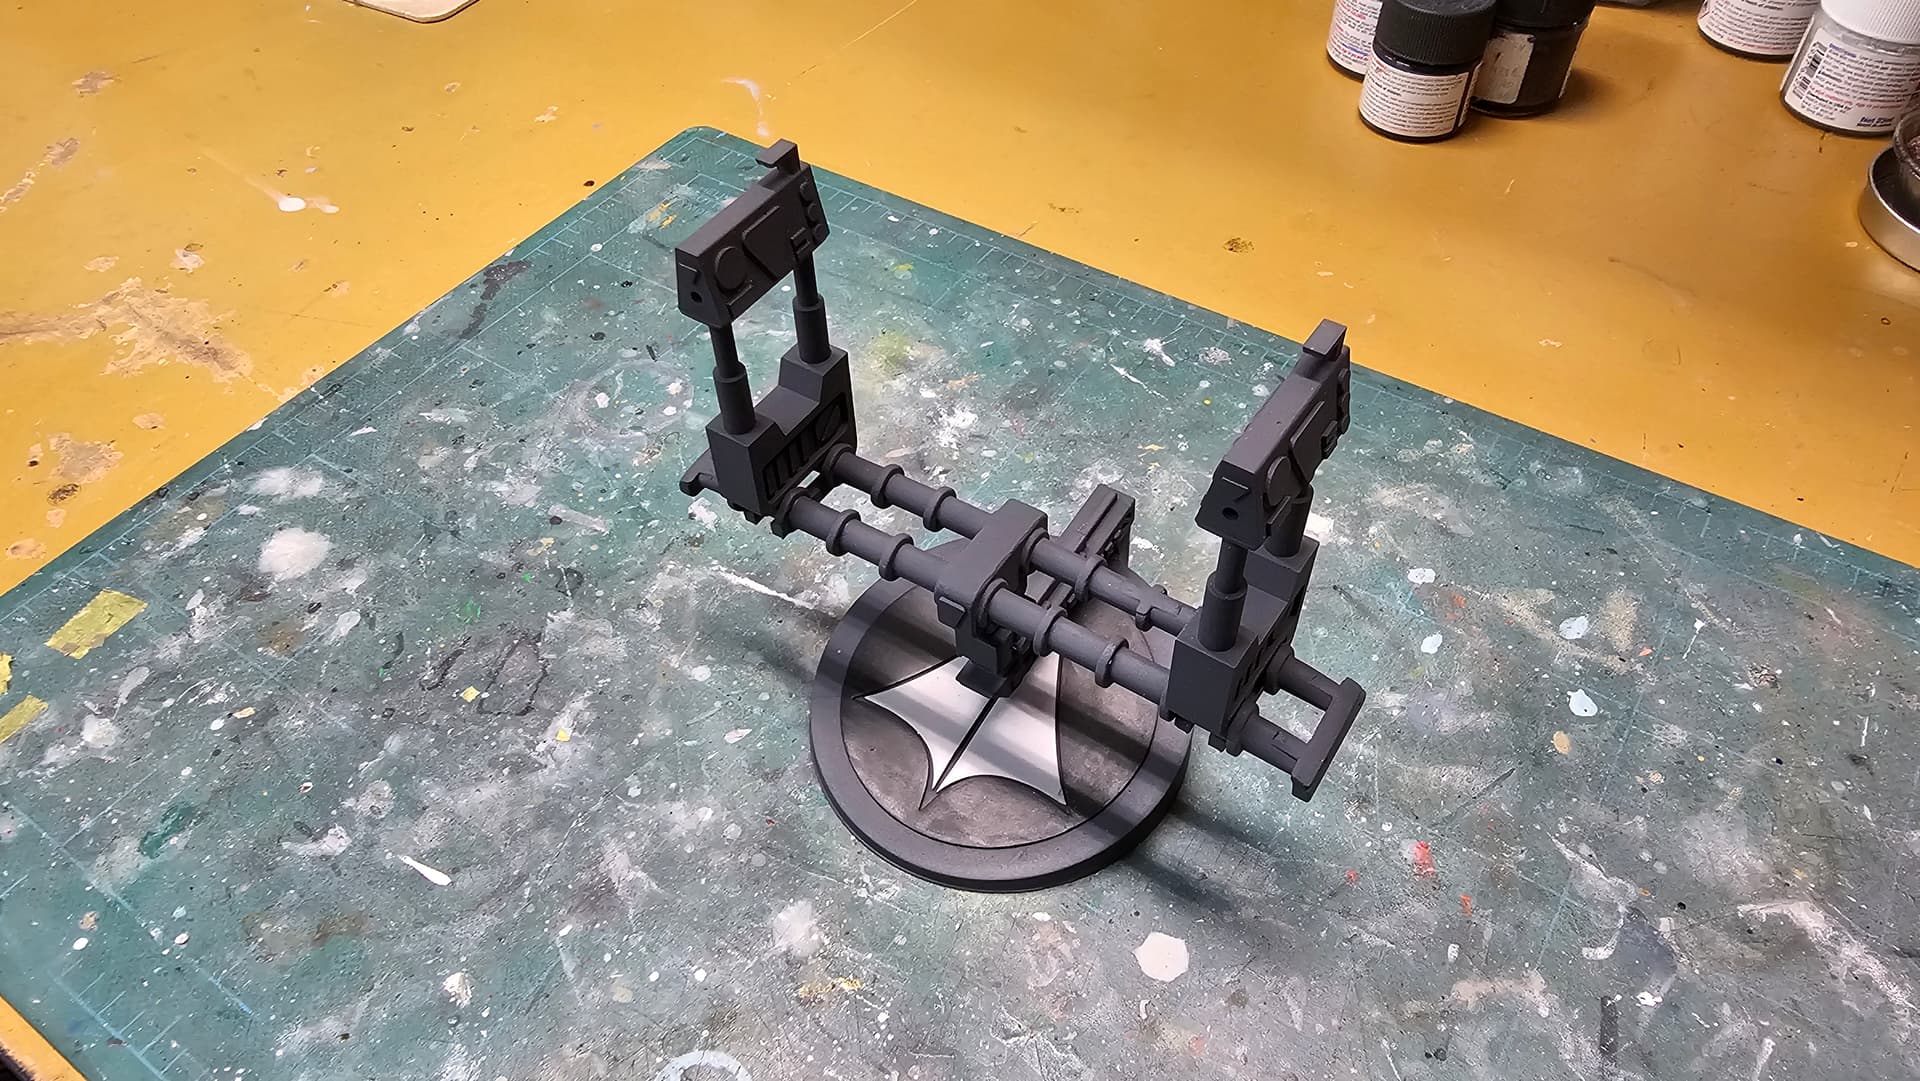
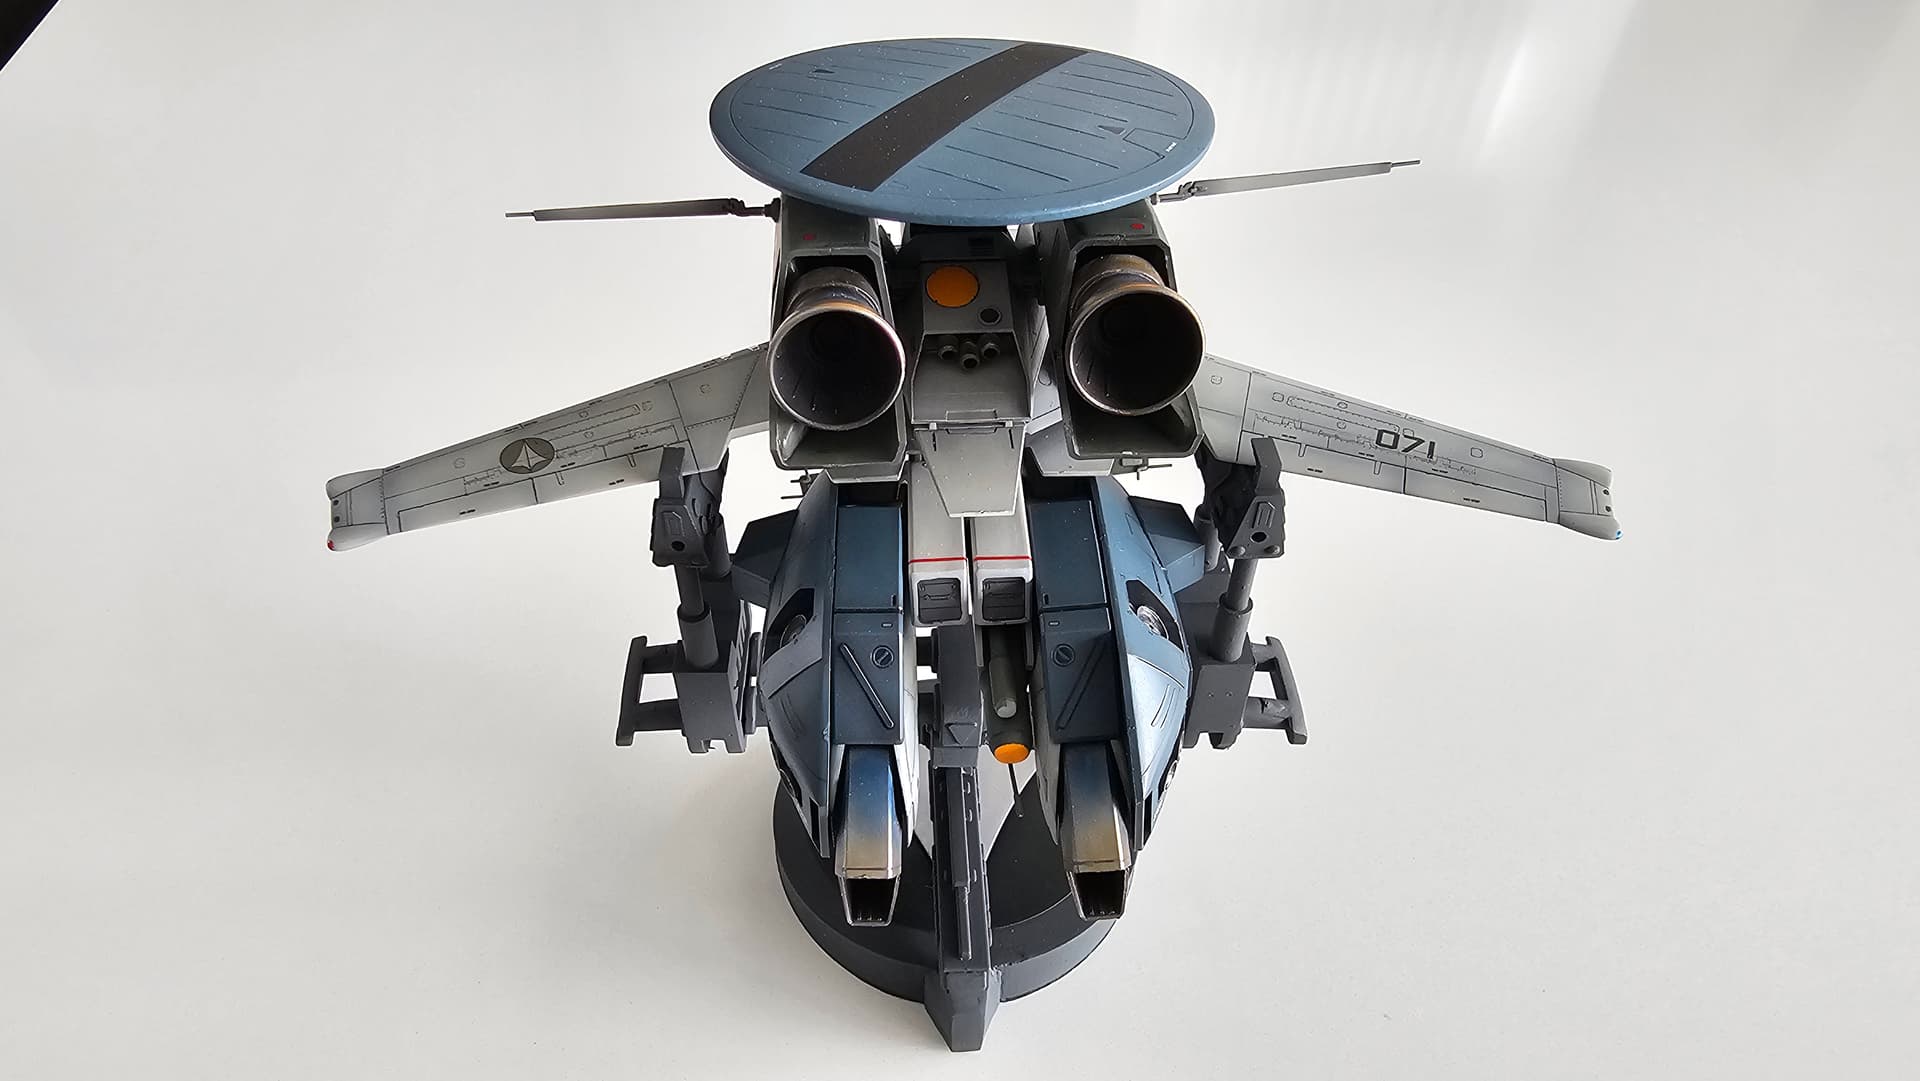
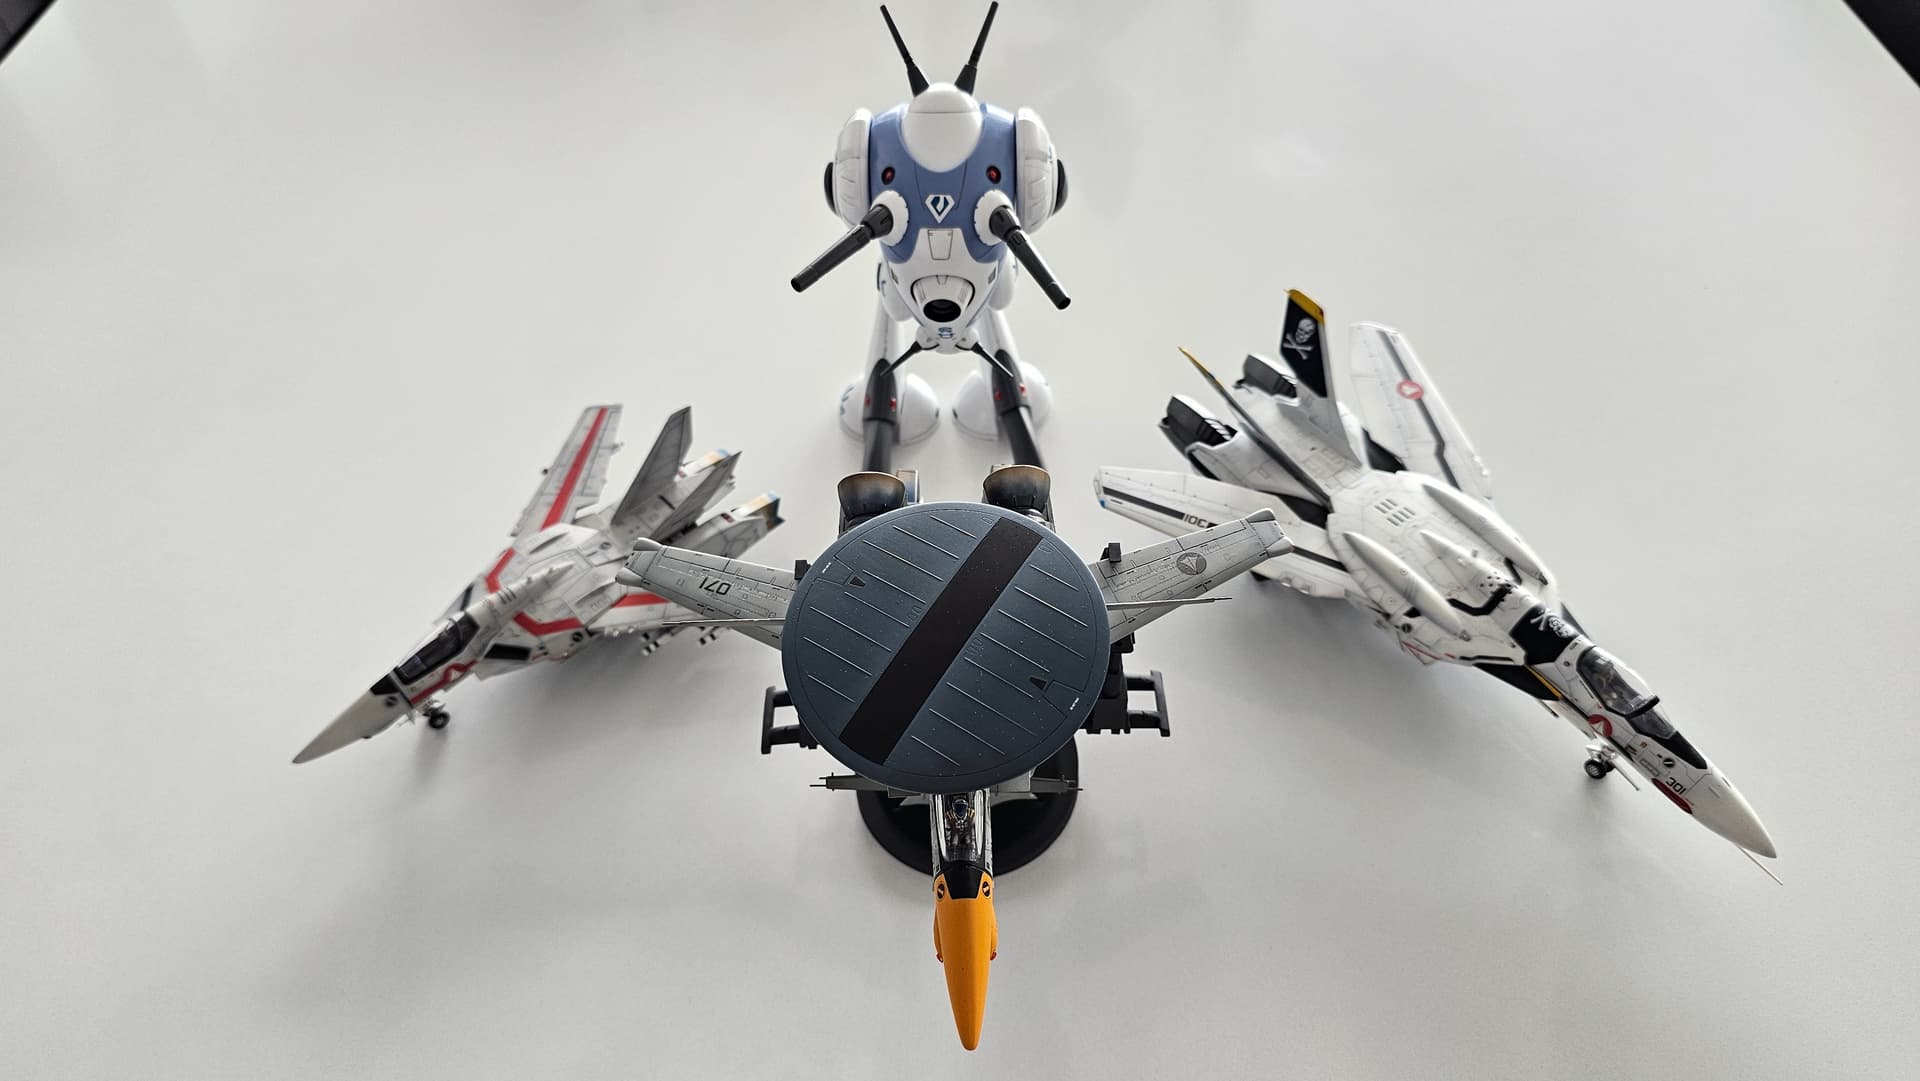
I am going to display the Veritech in flight so the antennas can be extended, but the official Hasegawa stand is hard to find and therefore very expensive. So I am going to try to 3D print one.
Eventually I got it printed but it took several attempts with many bad prints. This one is not perfect with a crack in the base and the main cross beam support is a bit warped. But I am going to go with this for now since the main focus is the Veritech and hopefully once it’s painted the stand will not be too noticeable.