I was thinking that, there’s nowhere to put it where it won’t endanger the turret crew. Well that would probably be the most difficult to scratch so win win.
1 Like
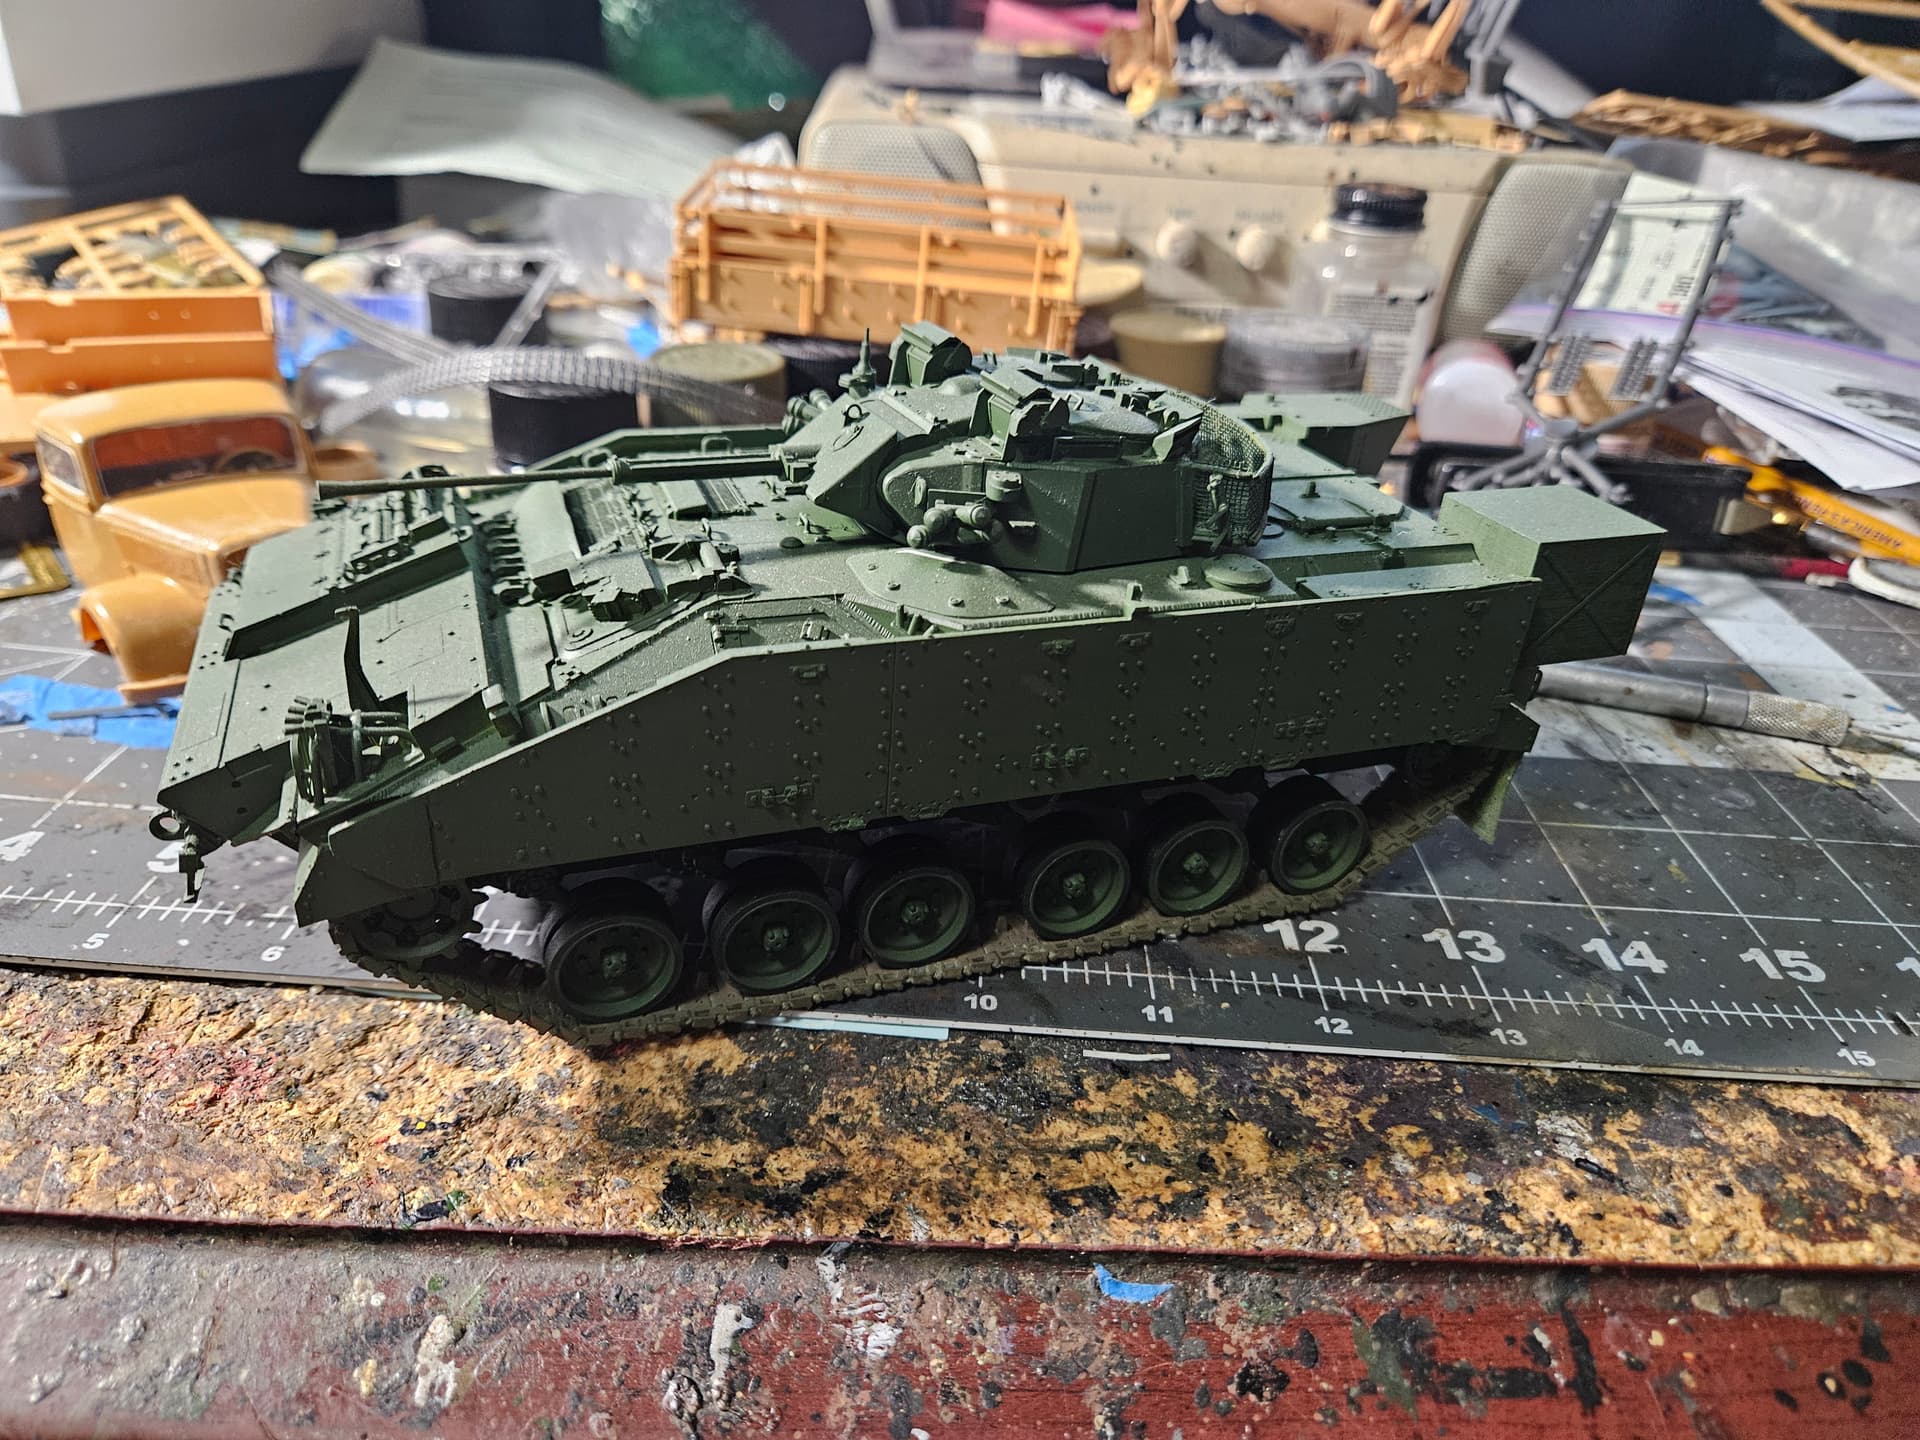
That’s really cool. did you scratch the up to date additions or is it a kit? a pic of the real thing.

2 Likes
the bin on the left rear is 3d printed, the bustle rack came from the Academy Warrior
everything else is out of the box Meng
1 Like
Ah it’s the Meng TES(H) kit less the bar armour and turret screens. It looks very good. Might have to keep an eye open for one of those in the future.
1 Like
would yoiu happen to be the same Maximus from youtube that has the 12 tanks of Christmas?
1 Like
thank yiu
1 Like
Had to go and see what you meant, that’s a very annoying song. But not me as he’s singing in what is to me a southern accent whilst mine is very South West Durham, think the Big Brother narrator and it’s pretty much like that
1 Like
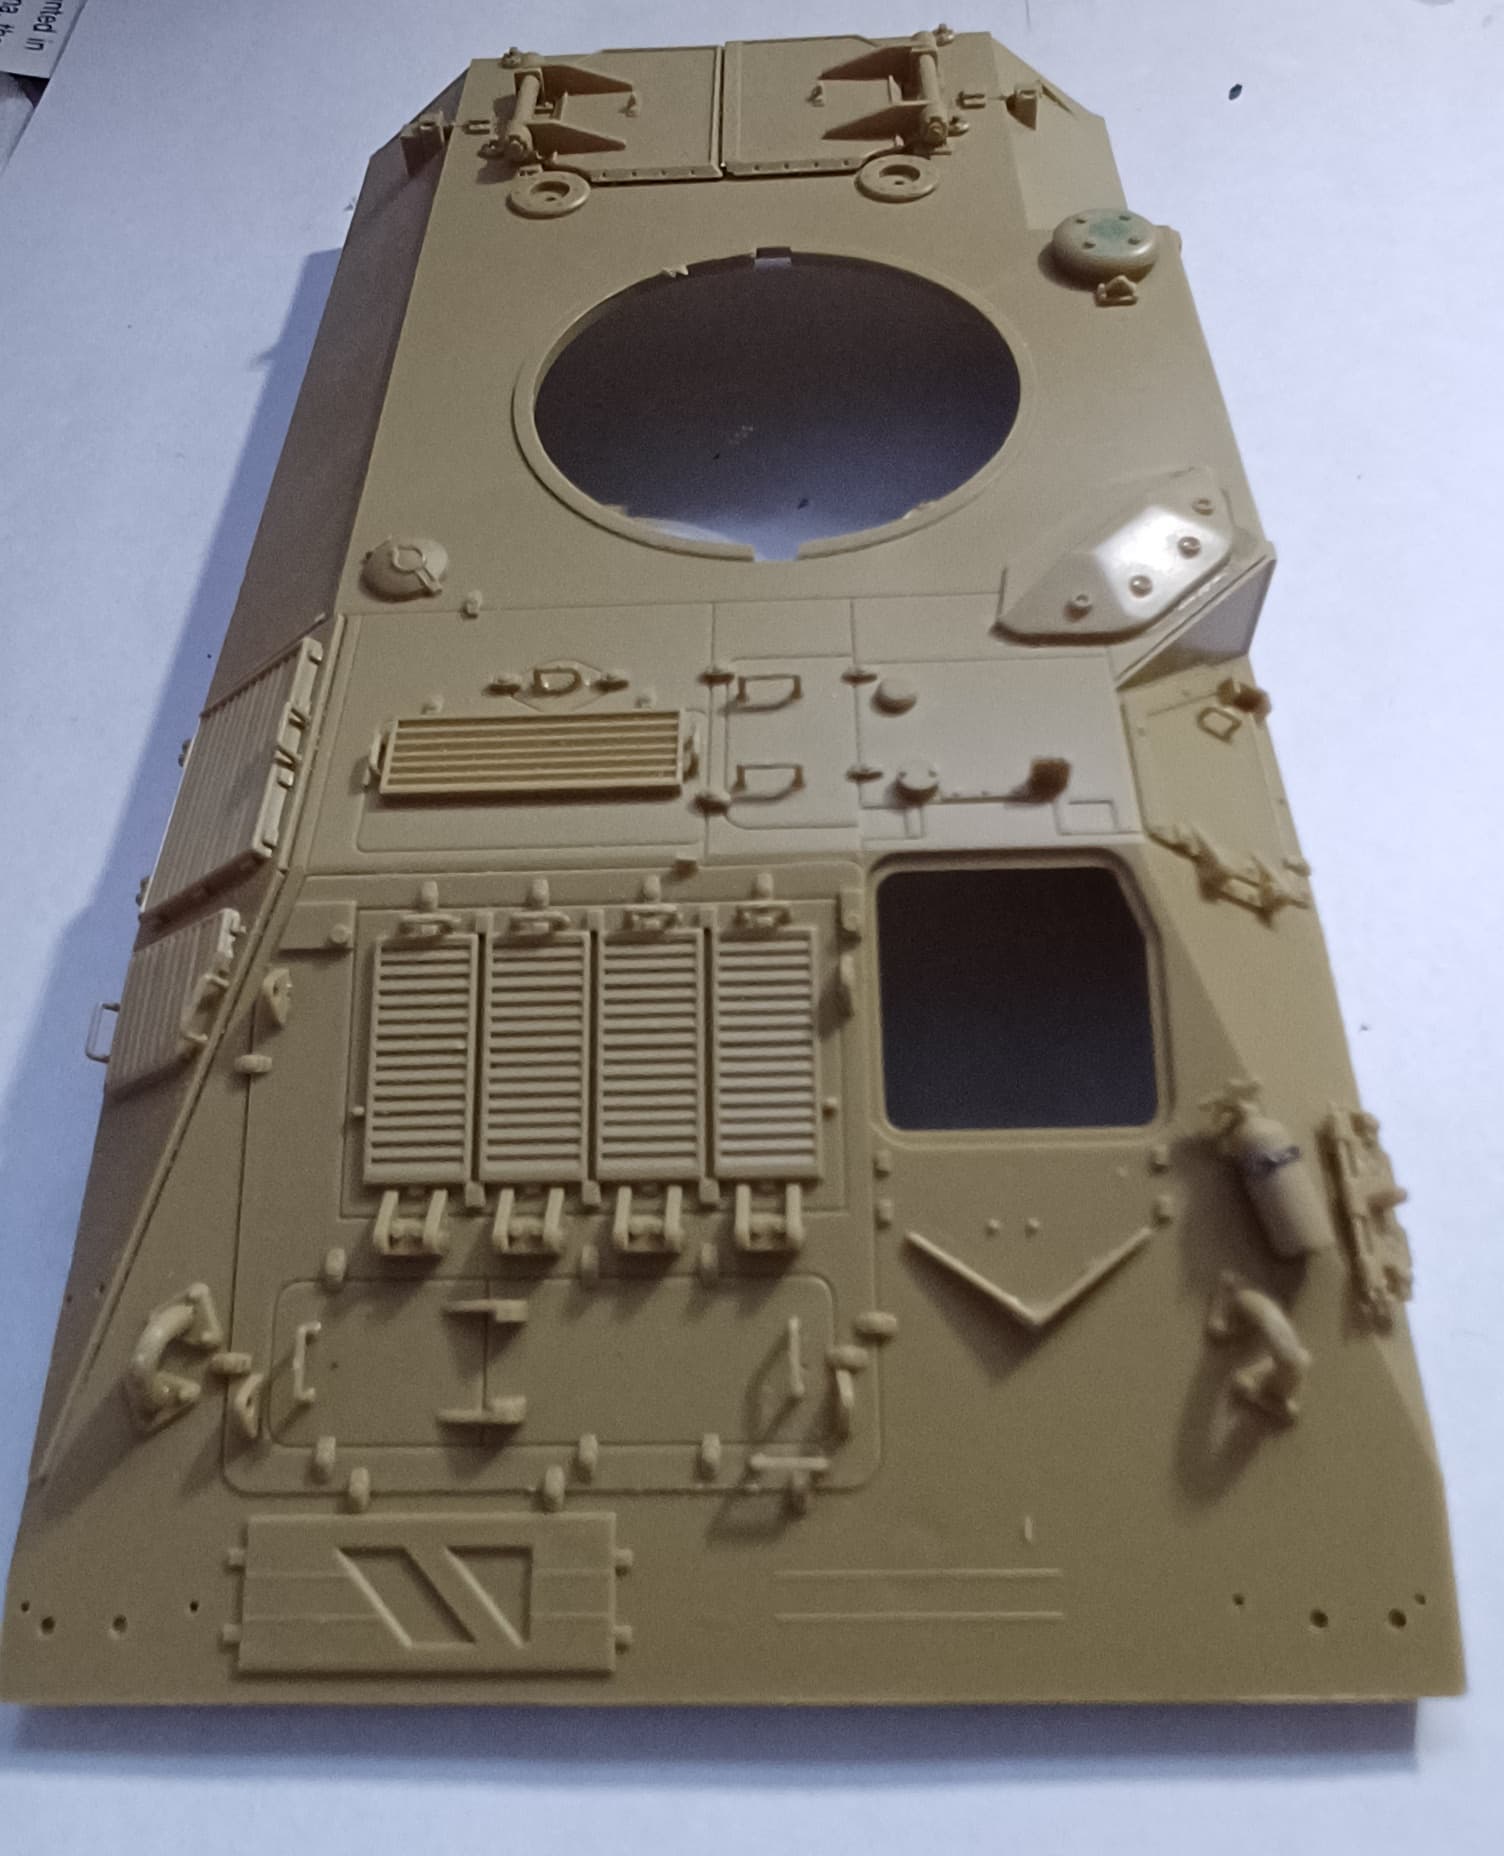
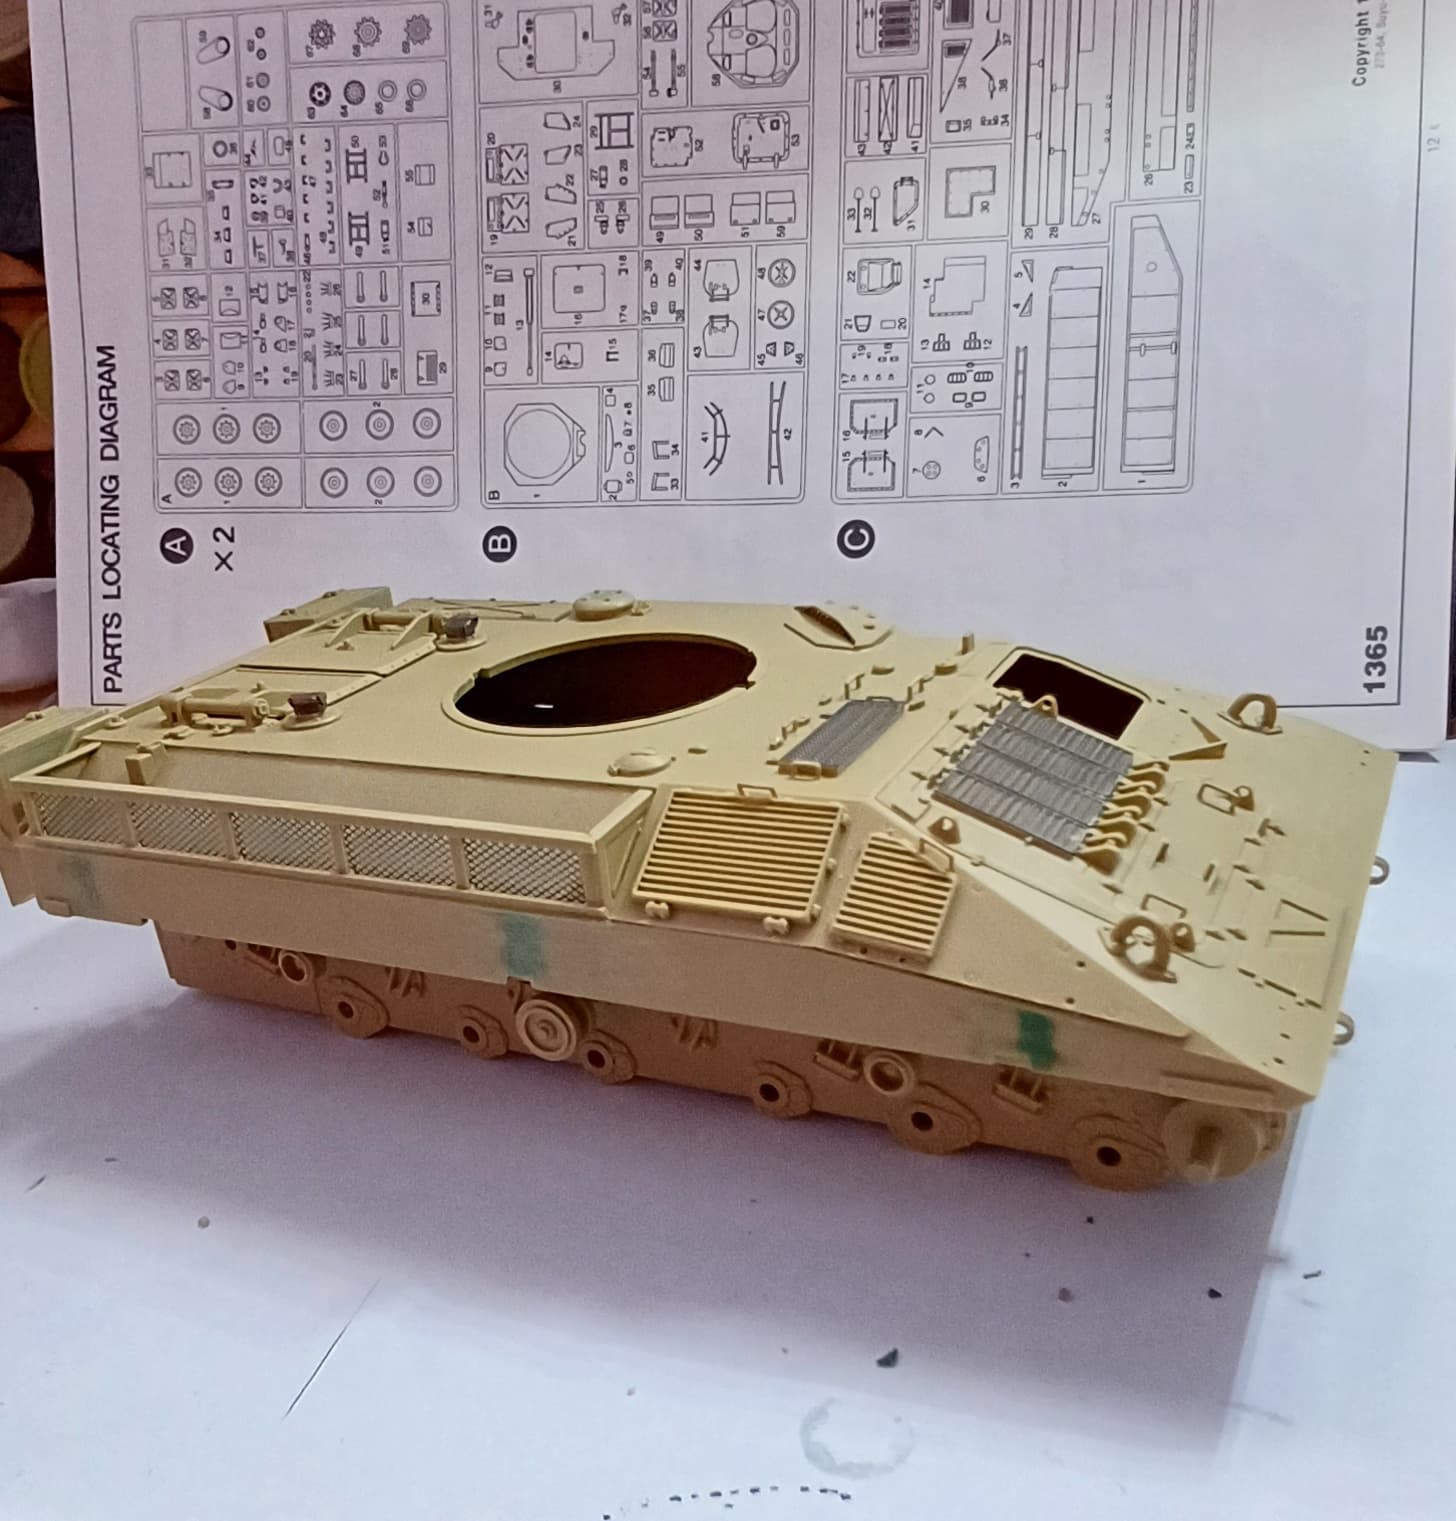
Rather than start a new thread I decided to continue with this one. So it will be a Warrior build I’ll be doing and I started last night on the hull and final drive housings. As most know they are too wide, when looking at the real thing the edge of the drive housing is roughly level with the bolted section of the tow hooks. This means approx. 2mm shaved off the end of the housing, luckily this is then covered by the outer section so you don’t have to be particularly careful with how the ends look. I also rounded off the edges a little as in reality it’s a cast item and the kit edges are too sharp. I filled the gap with a sliver of styrene sheet and then the rest with green putty. There are a couple of sink holes on the glacis also which needed to be filled. After waiting overnight, on sanding a few bits of the putty came out so it will need at least one more treatment to get it flush and smooth.


3 Likes
Plodding along doing a few bits. I’m still deliberating over the ride height and need to get that sorted. Not usually a fan of poly inserts on wheels but this time it will help. In the meantime filled a few sink holes on the hull sides and started shaving off the molded on straps. The kit has you fitting the NBC pack dust exhaust upside down and it also needs an edge filed off to be like the real thing. Also cut part of the NBC pack air intake out and used some scrap mesh to fill the gap.


3 Likes
I have a couple of Academy’s Warrior kits & the rubber band tracks have turned into something I really don’t want to use. Not to mention, I seem to recall reading on other build logs the length of these tracks is too short & place too much tension on the drive & idler - is my recollection right?
In any case, as far as replacements go, are the Friuli tracks the only option, or is there a plastic set available?
Cheers
1 Like
As far as I know there are only three sets available. Friul, Spade Ace and then the plastic ones in the Meng TES kit but of course unless you’re replacing those with a metal set then you will need them for the kit. I have the Friul set for this.
1 Like
I haven’t had any problems with the kit track, apart from them being to long, if you use an oil wash that would destroy them.
The AFV club CVR (T)s are to short a track.
1 Like
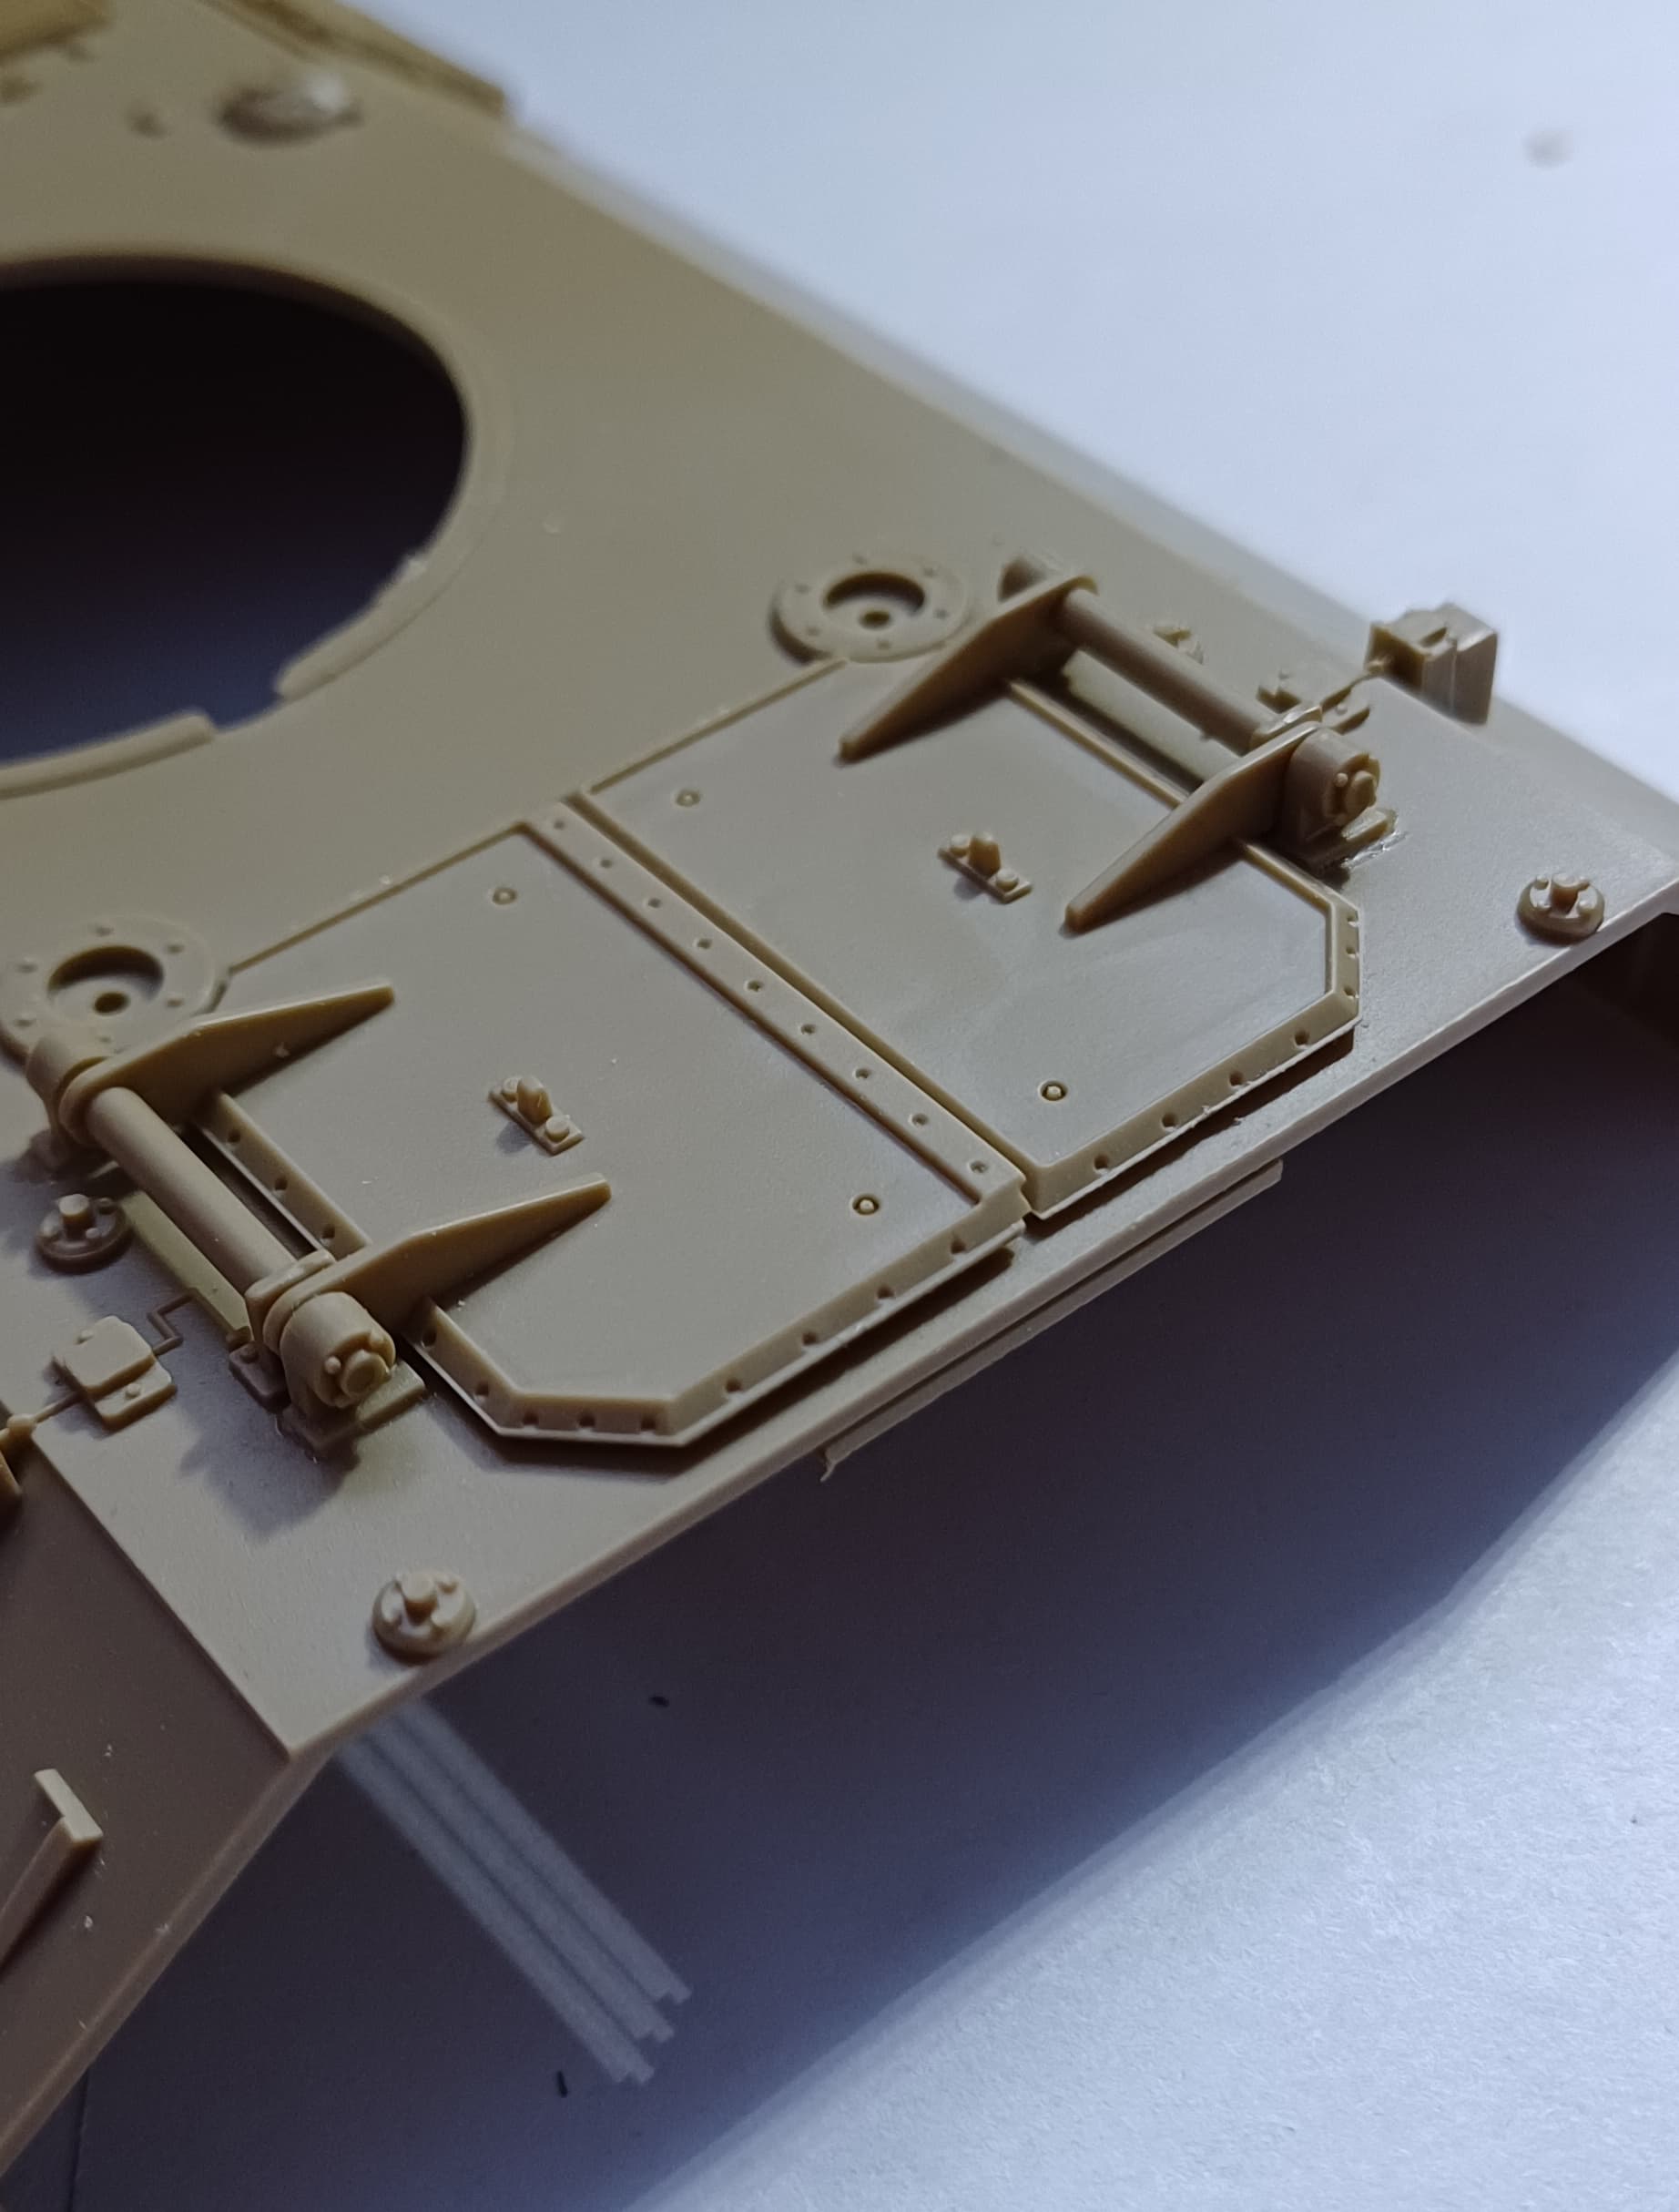
To continue, adding bits and pieces to the upper hull. I have the eduard etch set but have decided not to use some of it for the usual reason in that it is a bit two dimensional and the kit parts are better. The drivers tool bin has had it’s catches replaced as the moulded on ones were pretty bad. I haven’t however replaced the hinges as the moulded ones are better than etch. Removed the extinguisher bracket as it was completely wrong and added the etch bracket.


[/grid]
4 Likes
Good stuff mate
1 Like
Gotcha. I have the AFV Club Scimitar too. I knew one of the kits had short tracks - just couldn’t remember exactly which one
1 Like
another thing i found that was weak on the academy warrior was the road wheel arms
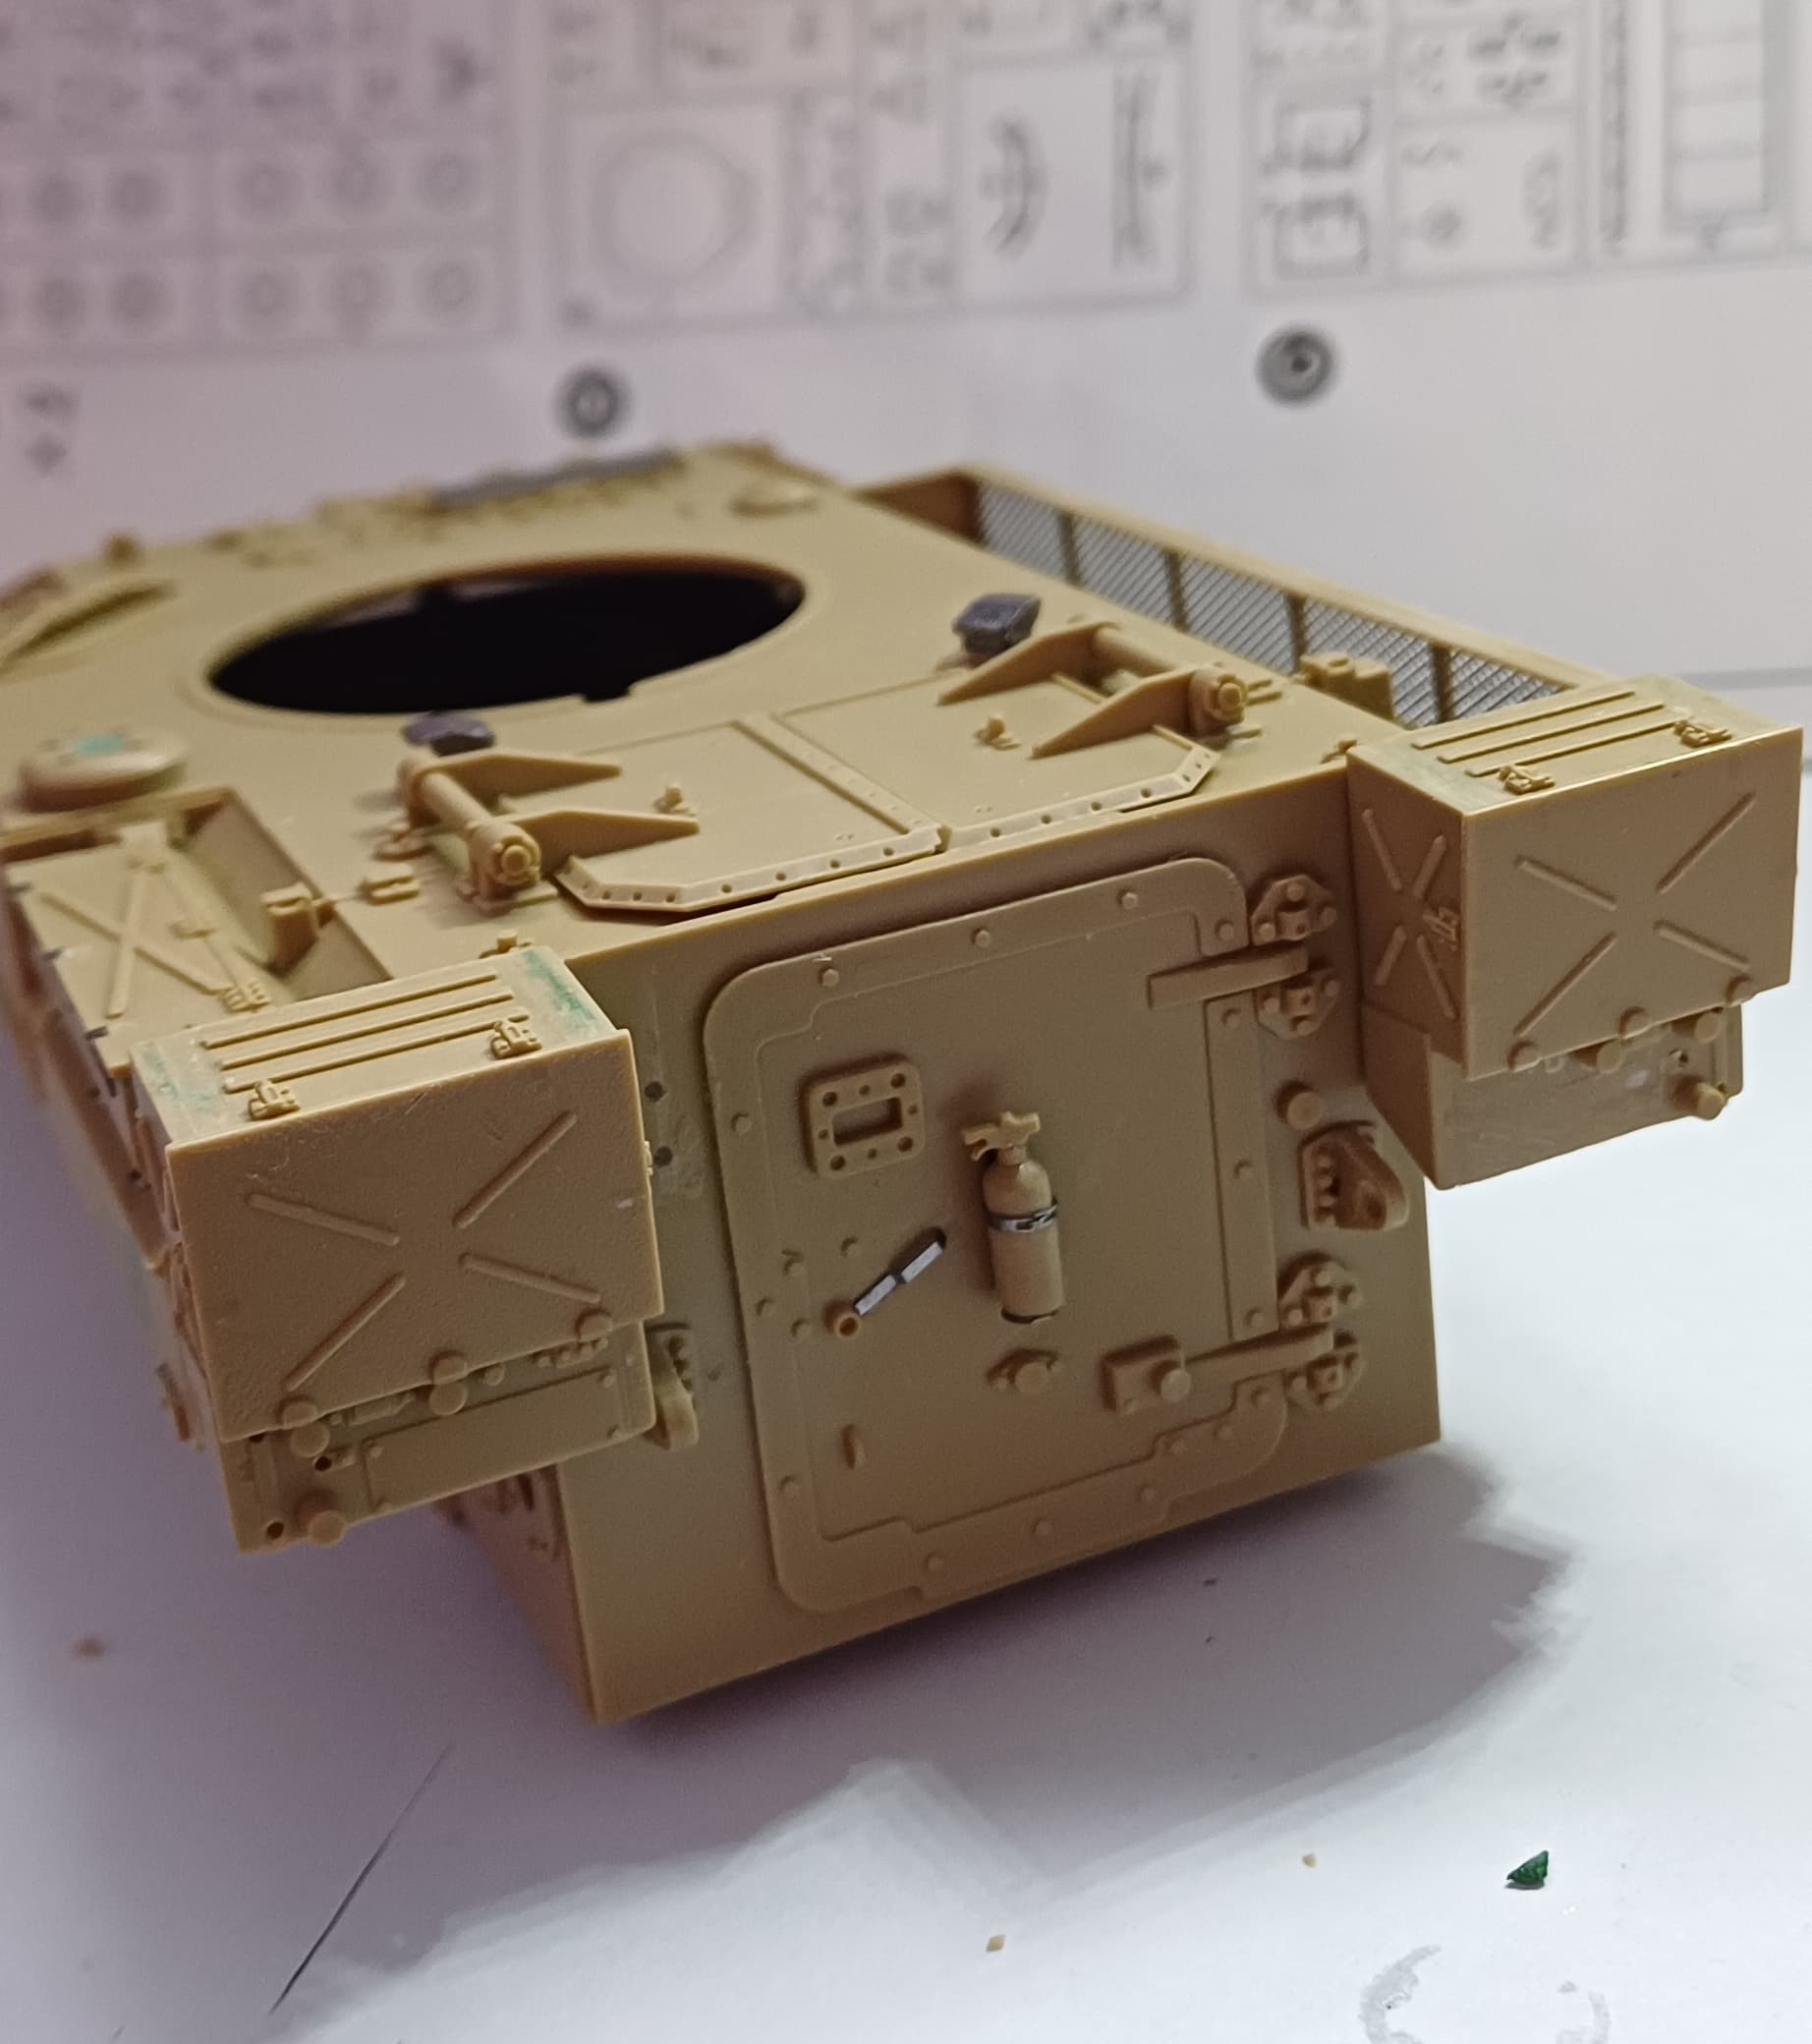
Thanks for the support Barny. I few in progress pics. The rear door, bins and upper hull are just dry fitted at the moment. The rear bins are both identical so the right hand one needs the number plate and door opening/closing buttons shaving off. They all needed careful filling with putty as there are a lot of seams and on the real thing there are very few. Also the bins catches are fine, however the pieces on the bin lid don’t align and so have been shaved off and will be replaced with etch scrap. Various pieces around the kit have been shaved off as they are there to support the applique armour which I’m not using. There needs to be welds added also as there are none on the whole kit.


2 Likes
They aren’t the best no, and their fitment is loose to say least least. It will be a challenge to get them all level at the correct height so wheels aren’t lifted off the track when dry.
1 Like
Looking nice this far along G. I have been toying with getting the academy one as I fancied doing it as a BATUS range safety… I have seen a few at decent prices online
1 Like