Nice work and a very useful “How to…” guide.
2 Likes
Done a cracking job thus far mate. Looks really good with the little add on attention to detail parts.
1 Like
Really outstanding build. This is coming along fantastic.
1 Like
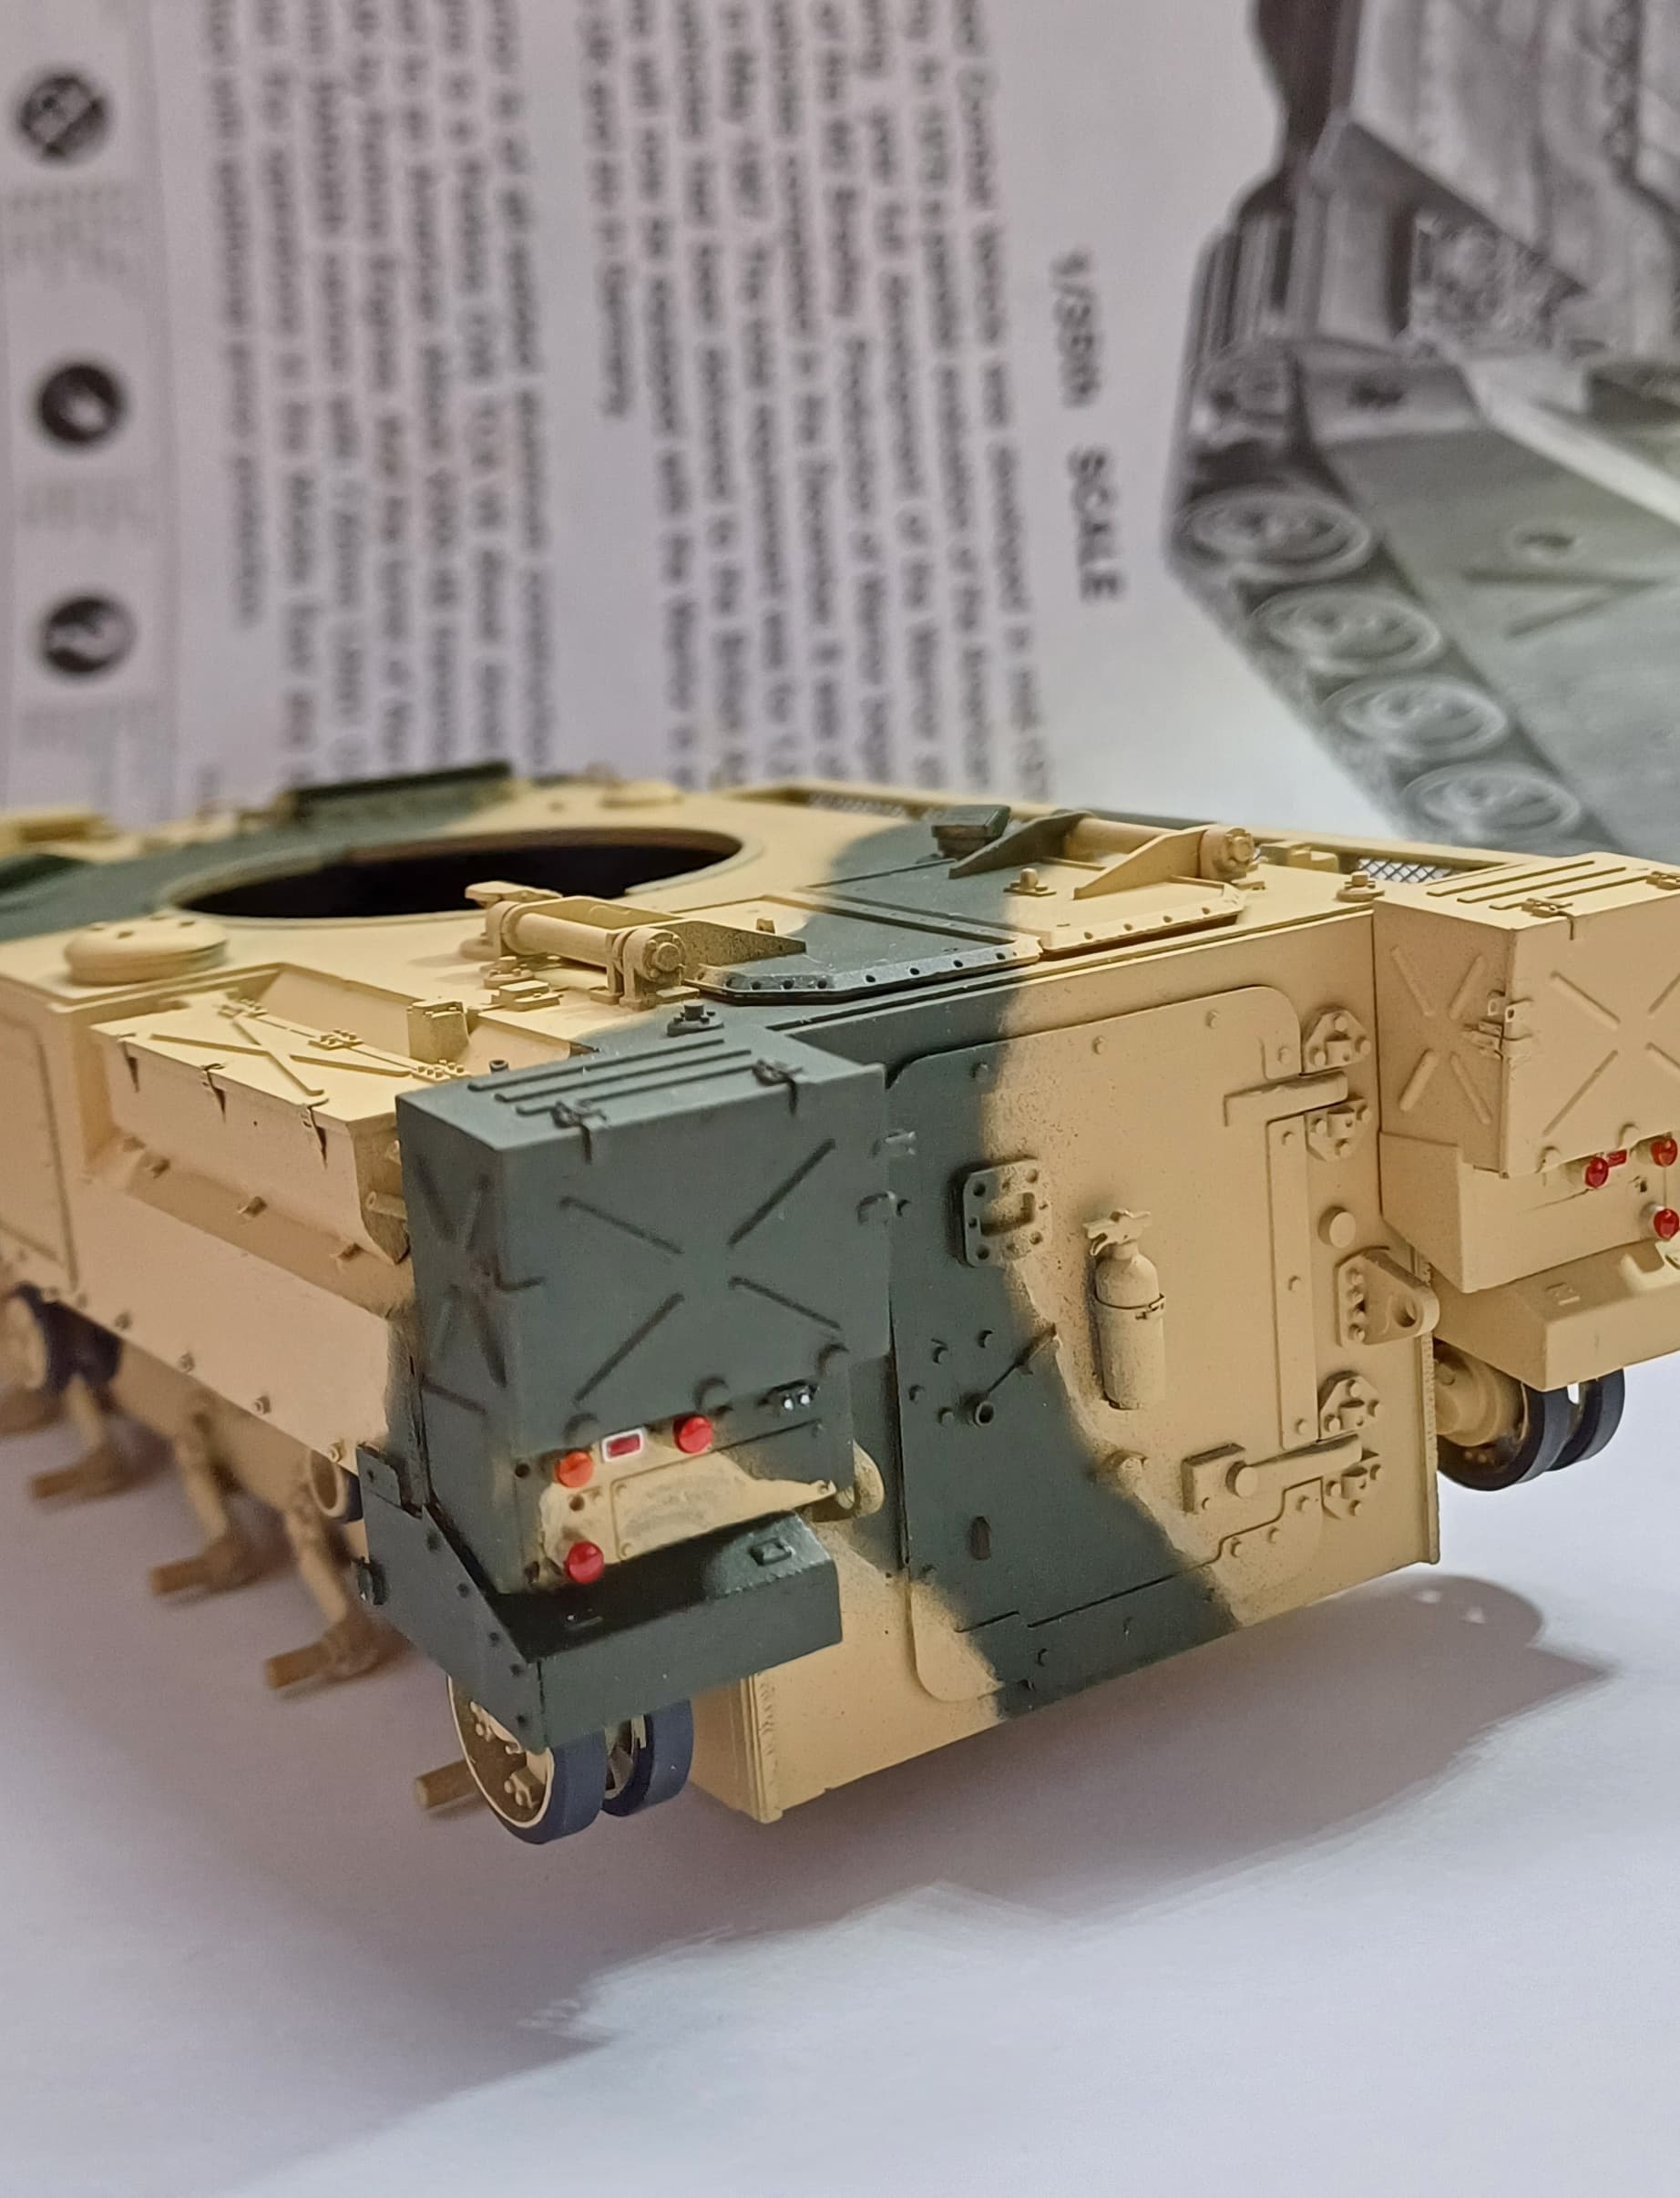
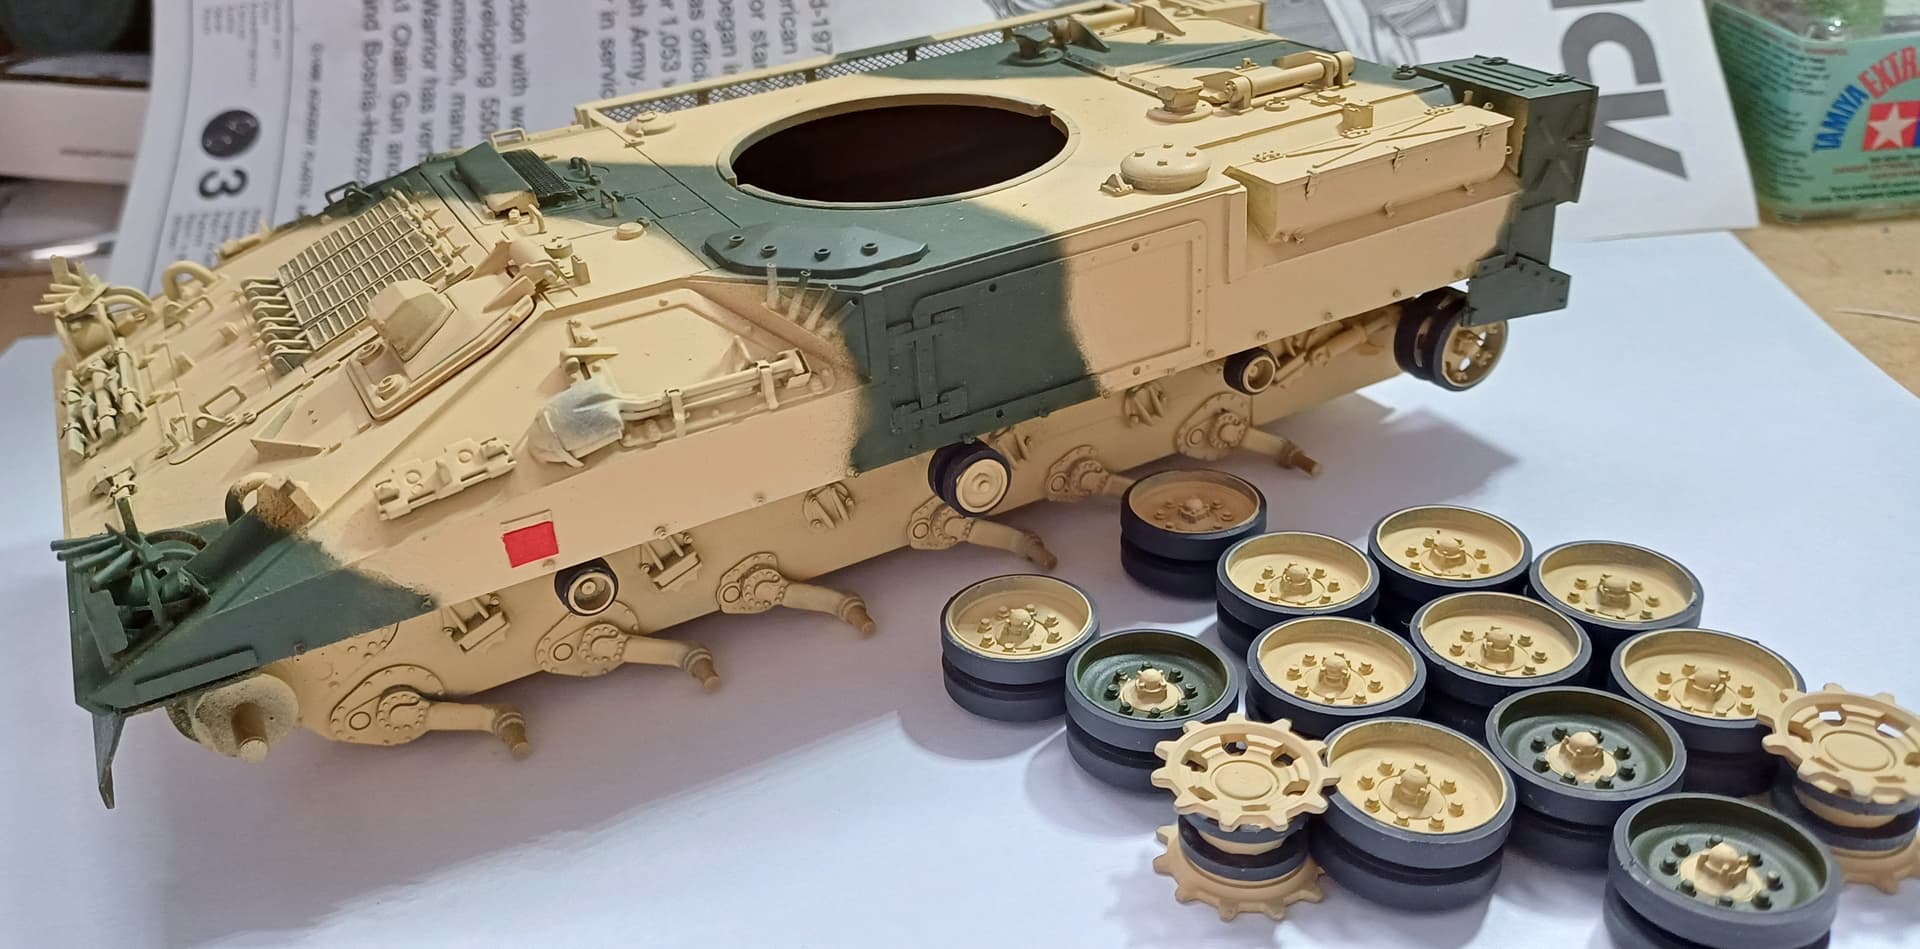
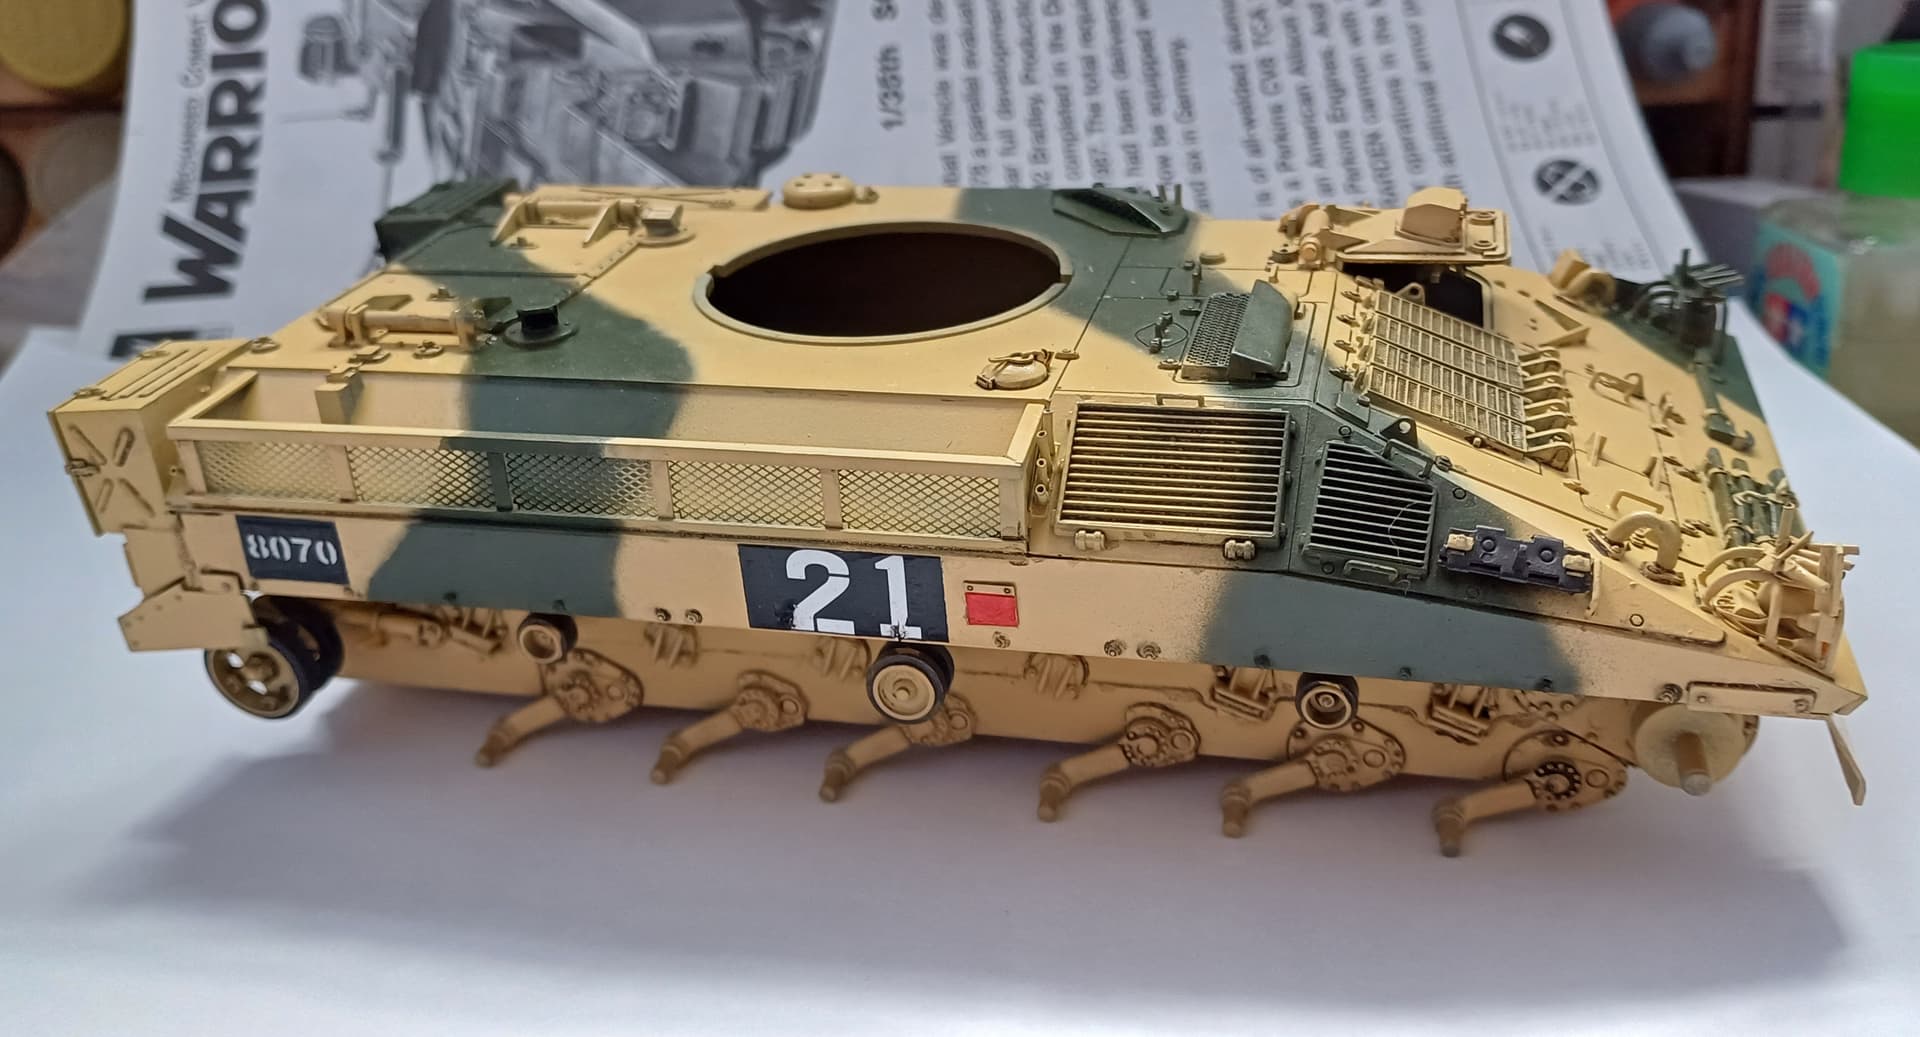
Cheers fellas, I’m fairly pleased with how it’s turning out. Got the green on, I used Vallejo Nato green. I did try Tamiya field grey first off but it didn’t look right against the sand. Also started a little detail painting, the tail and sidelights. Going to spray the extinguishers red and try and source some decals for them, or maybe print my own.
6 Likes
looks good mate … well done on leaving the hubs in sand with the new road wheels ![]()
2 Likes
Looking pretty good Sir you did a great job making her look good
its a shame Academy couldn’t have done a better job on their Warrior kit
Tamiya XF65 field gray was also referenced as a tamiya equivalent to AK real color forest green
Tamiya xf81 is close to Forest green.
1 Like
Looking really good.
1 Like
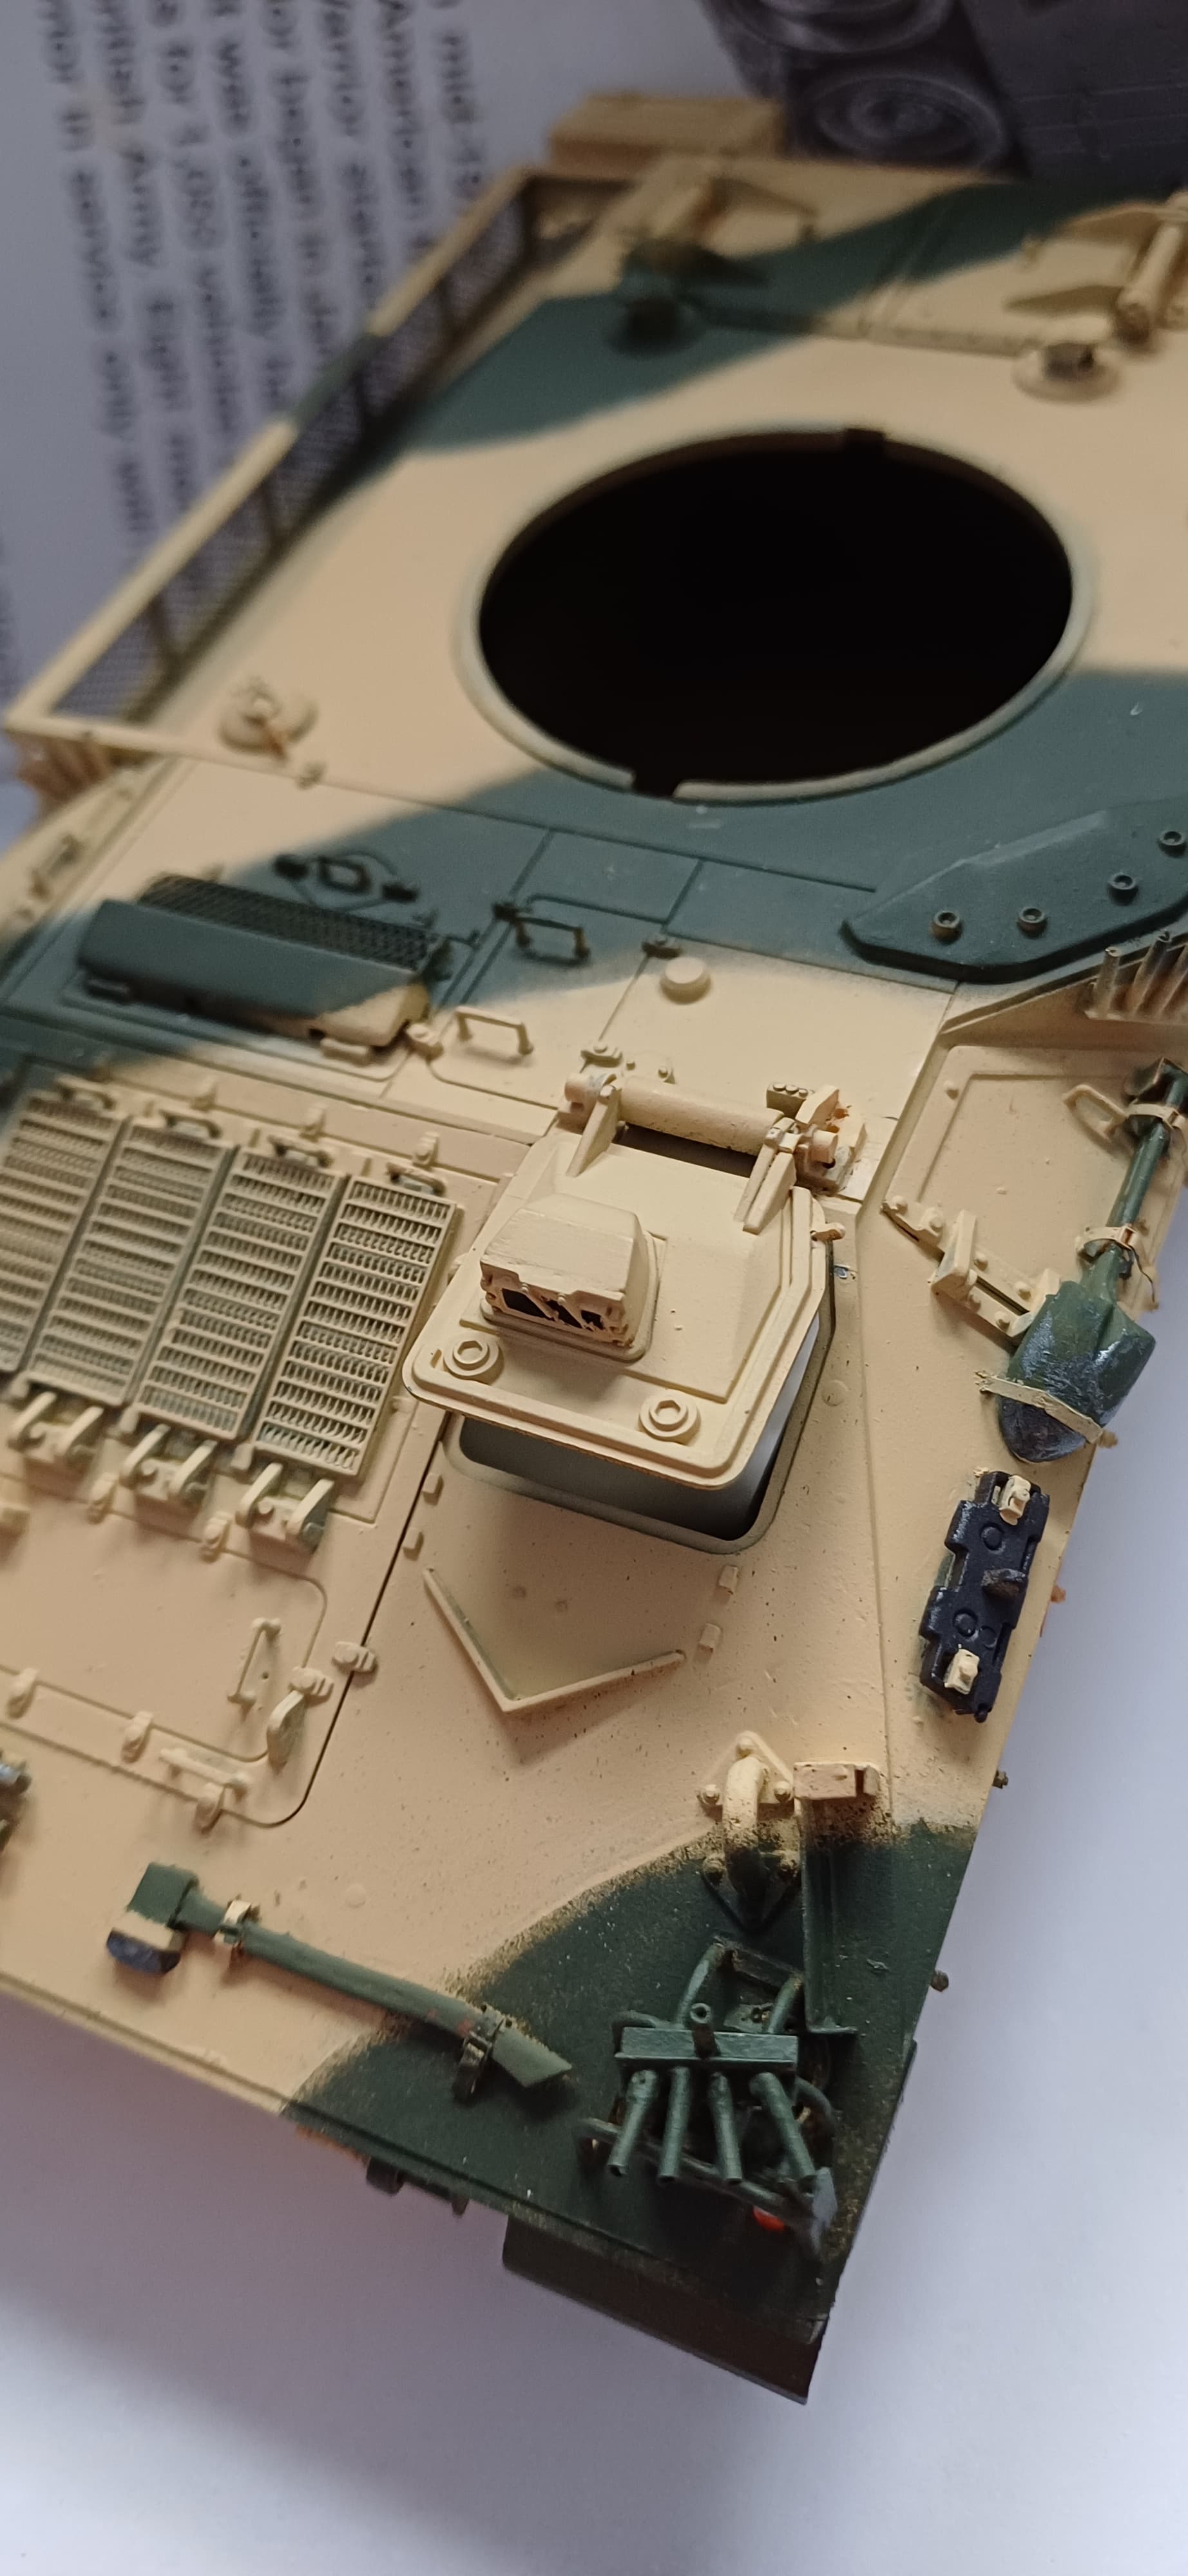
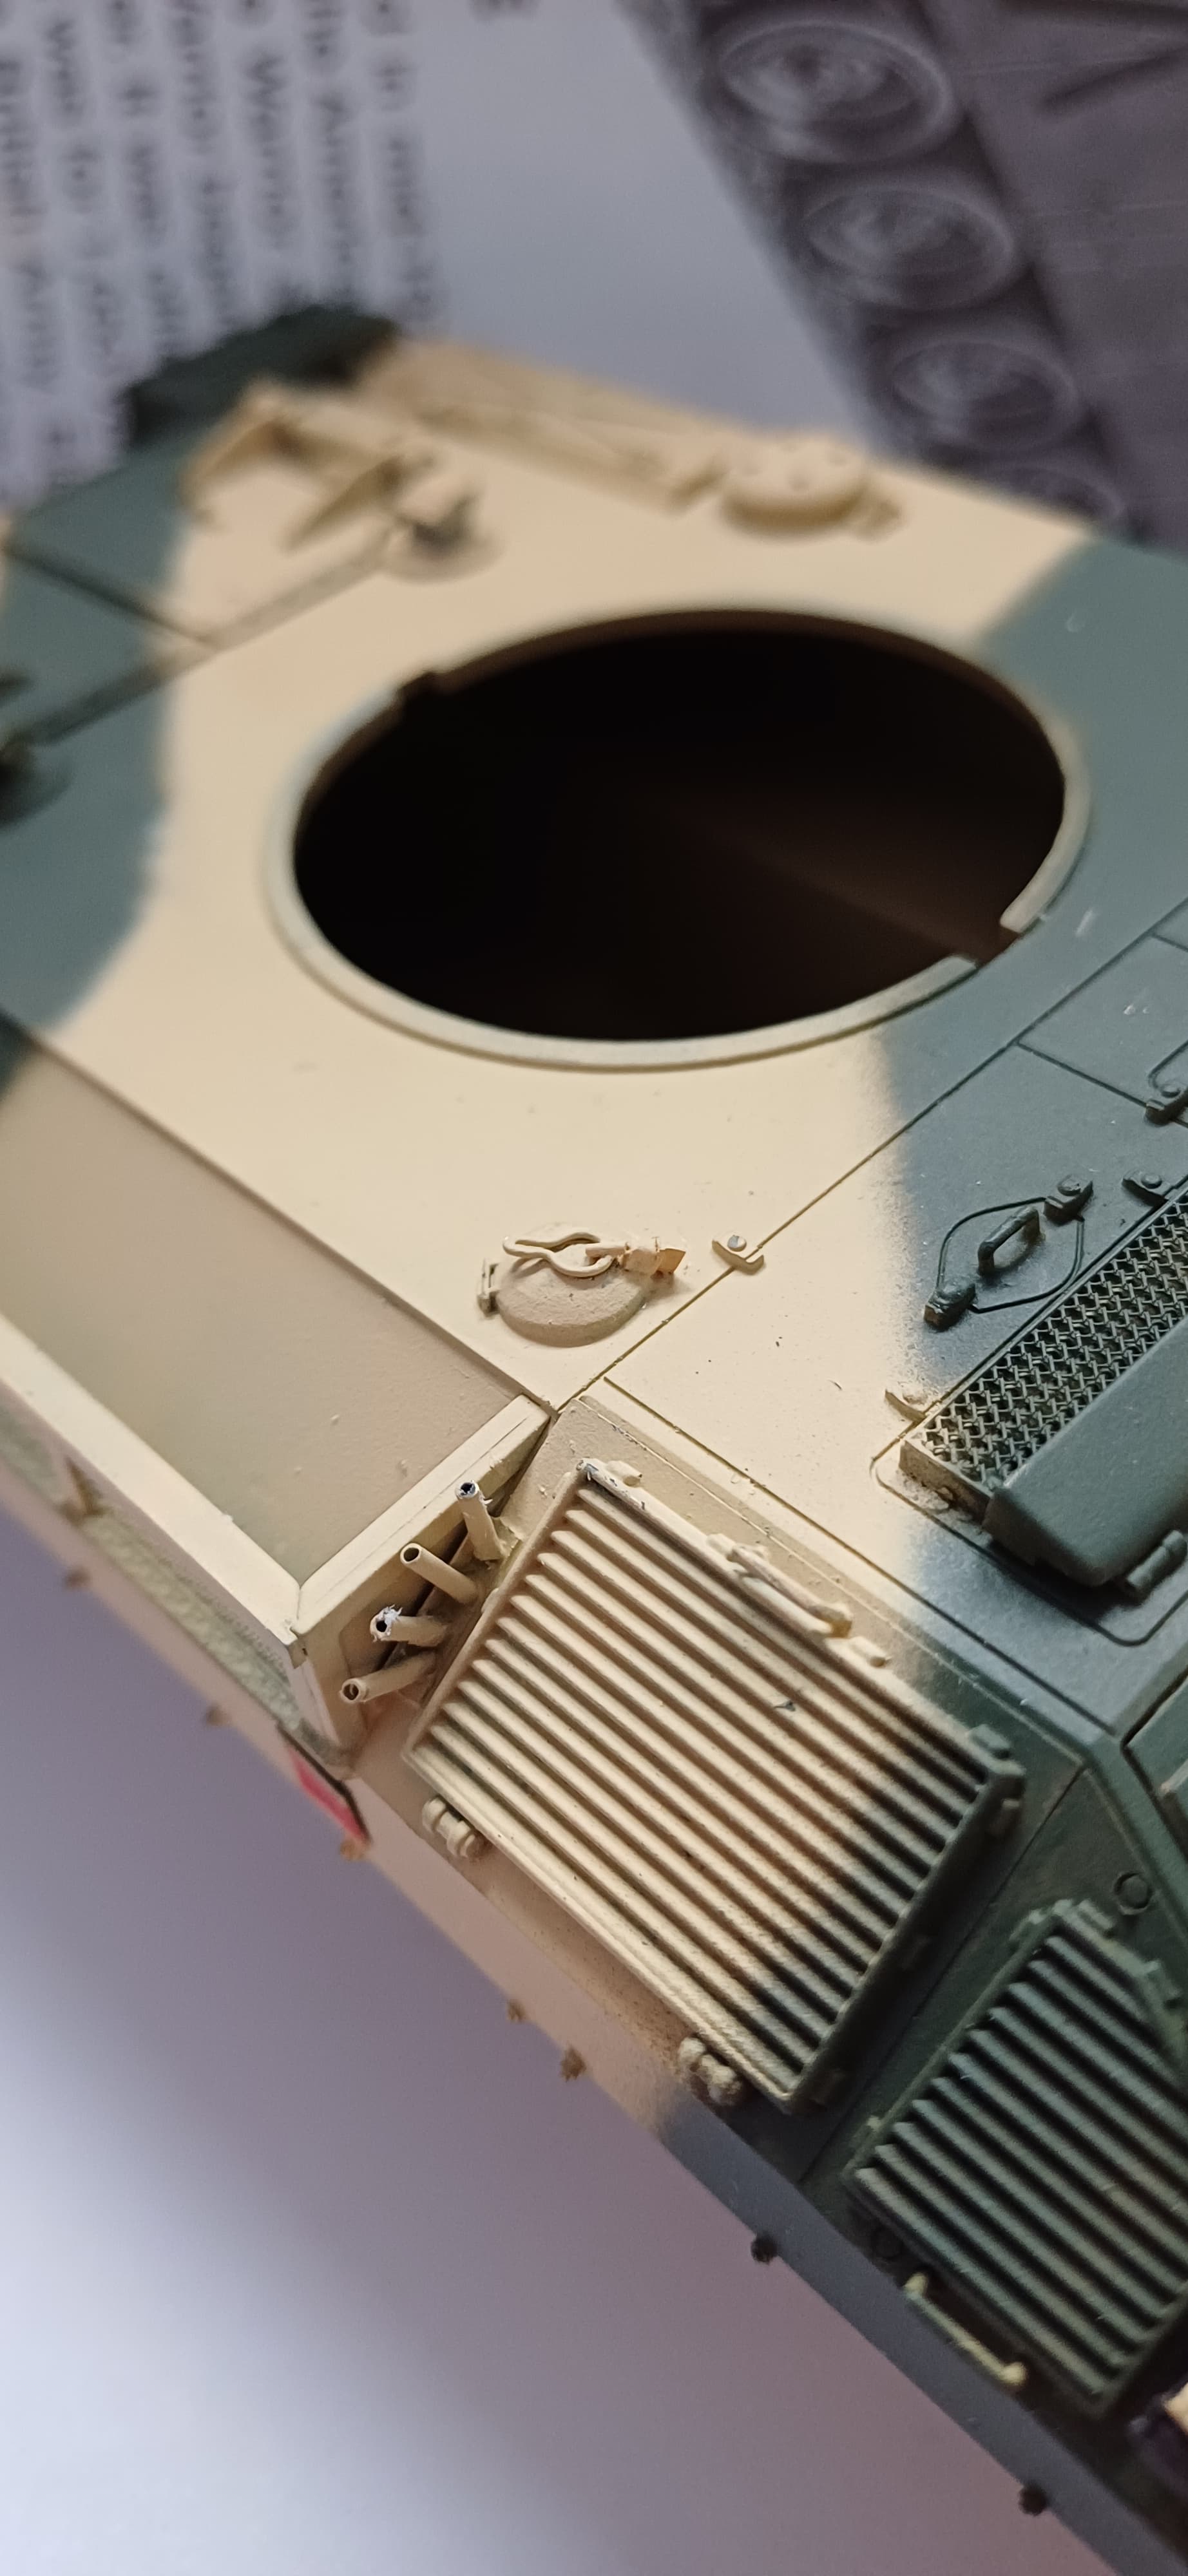
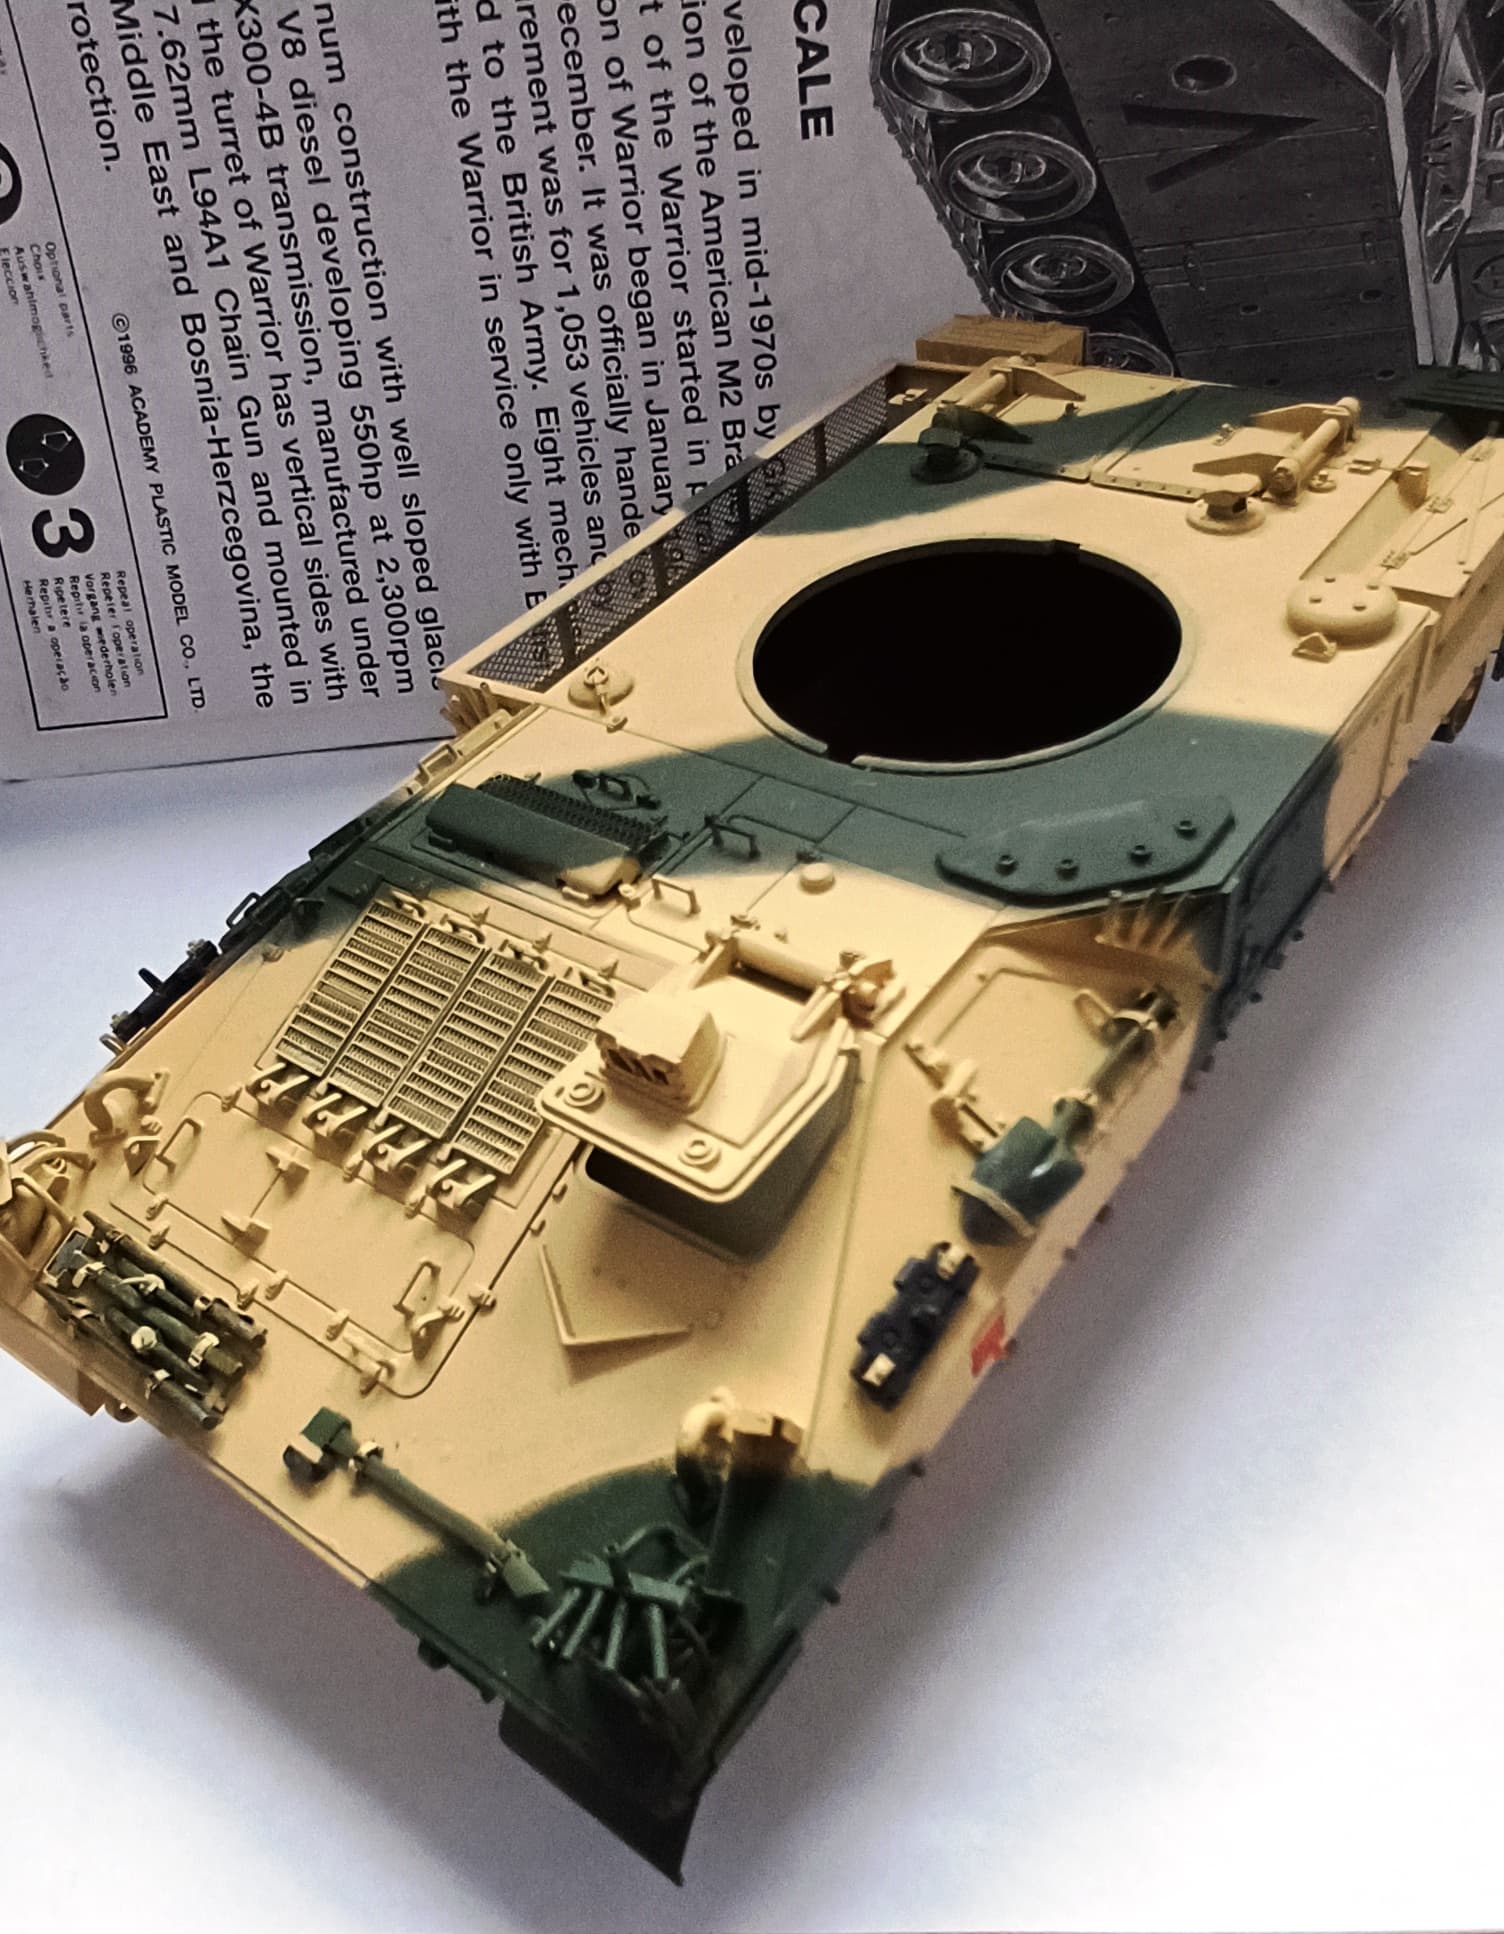
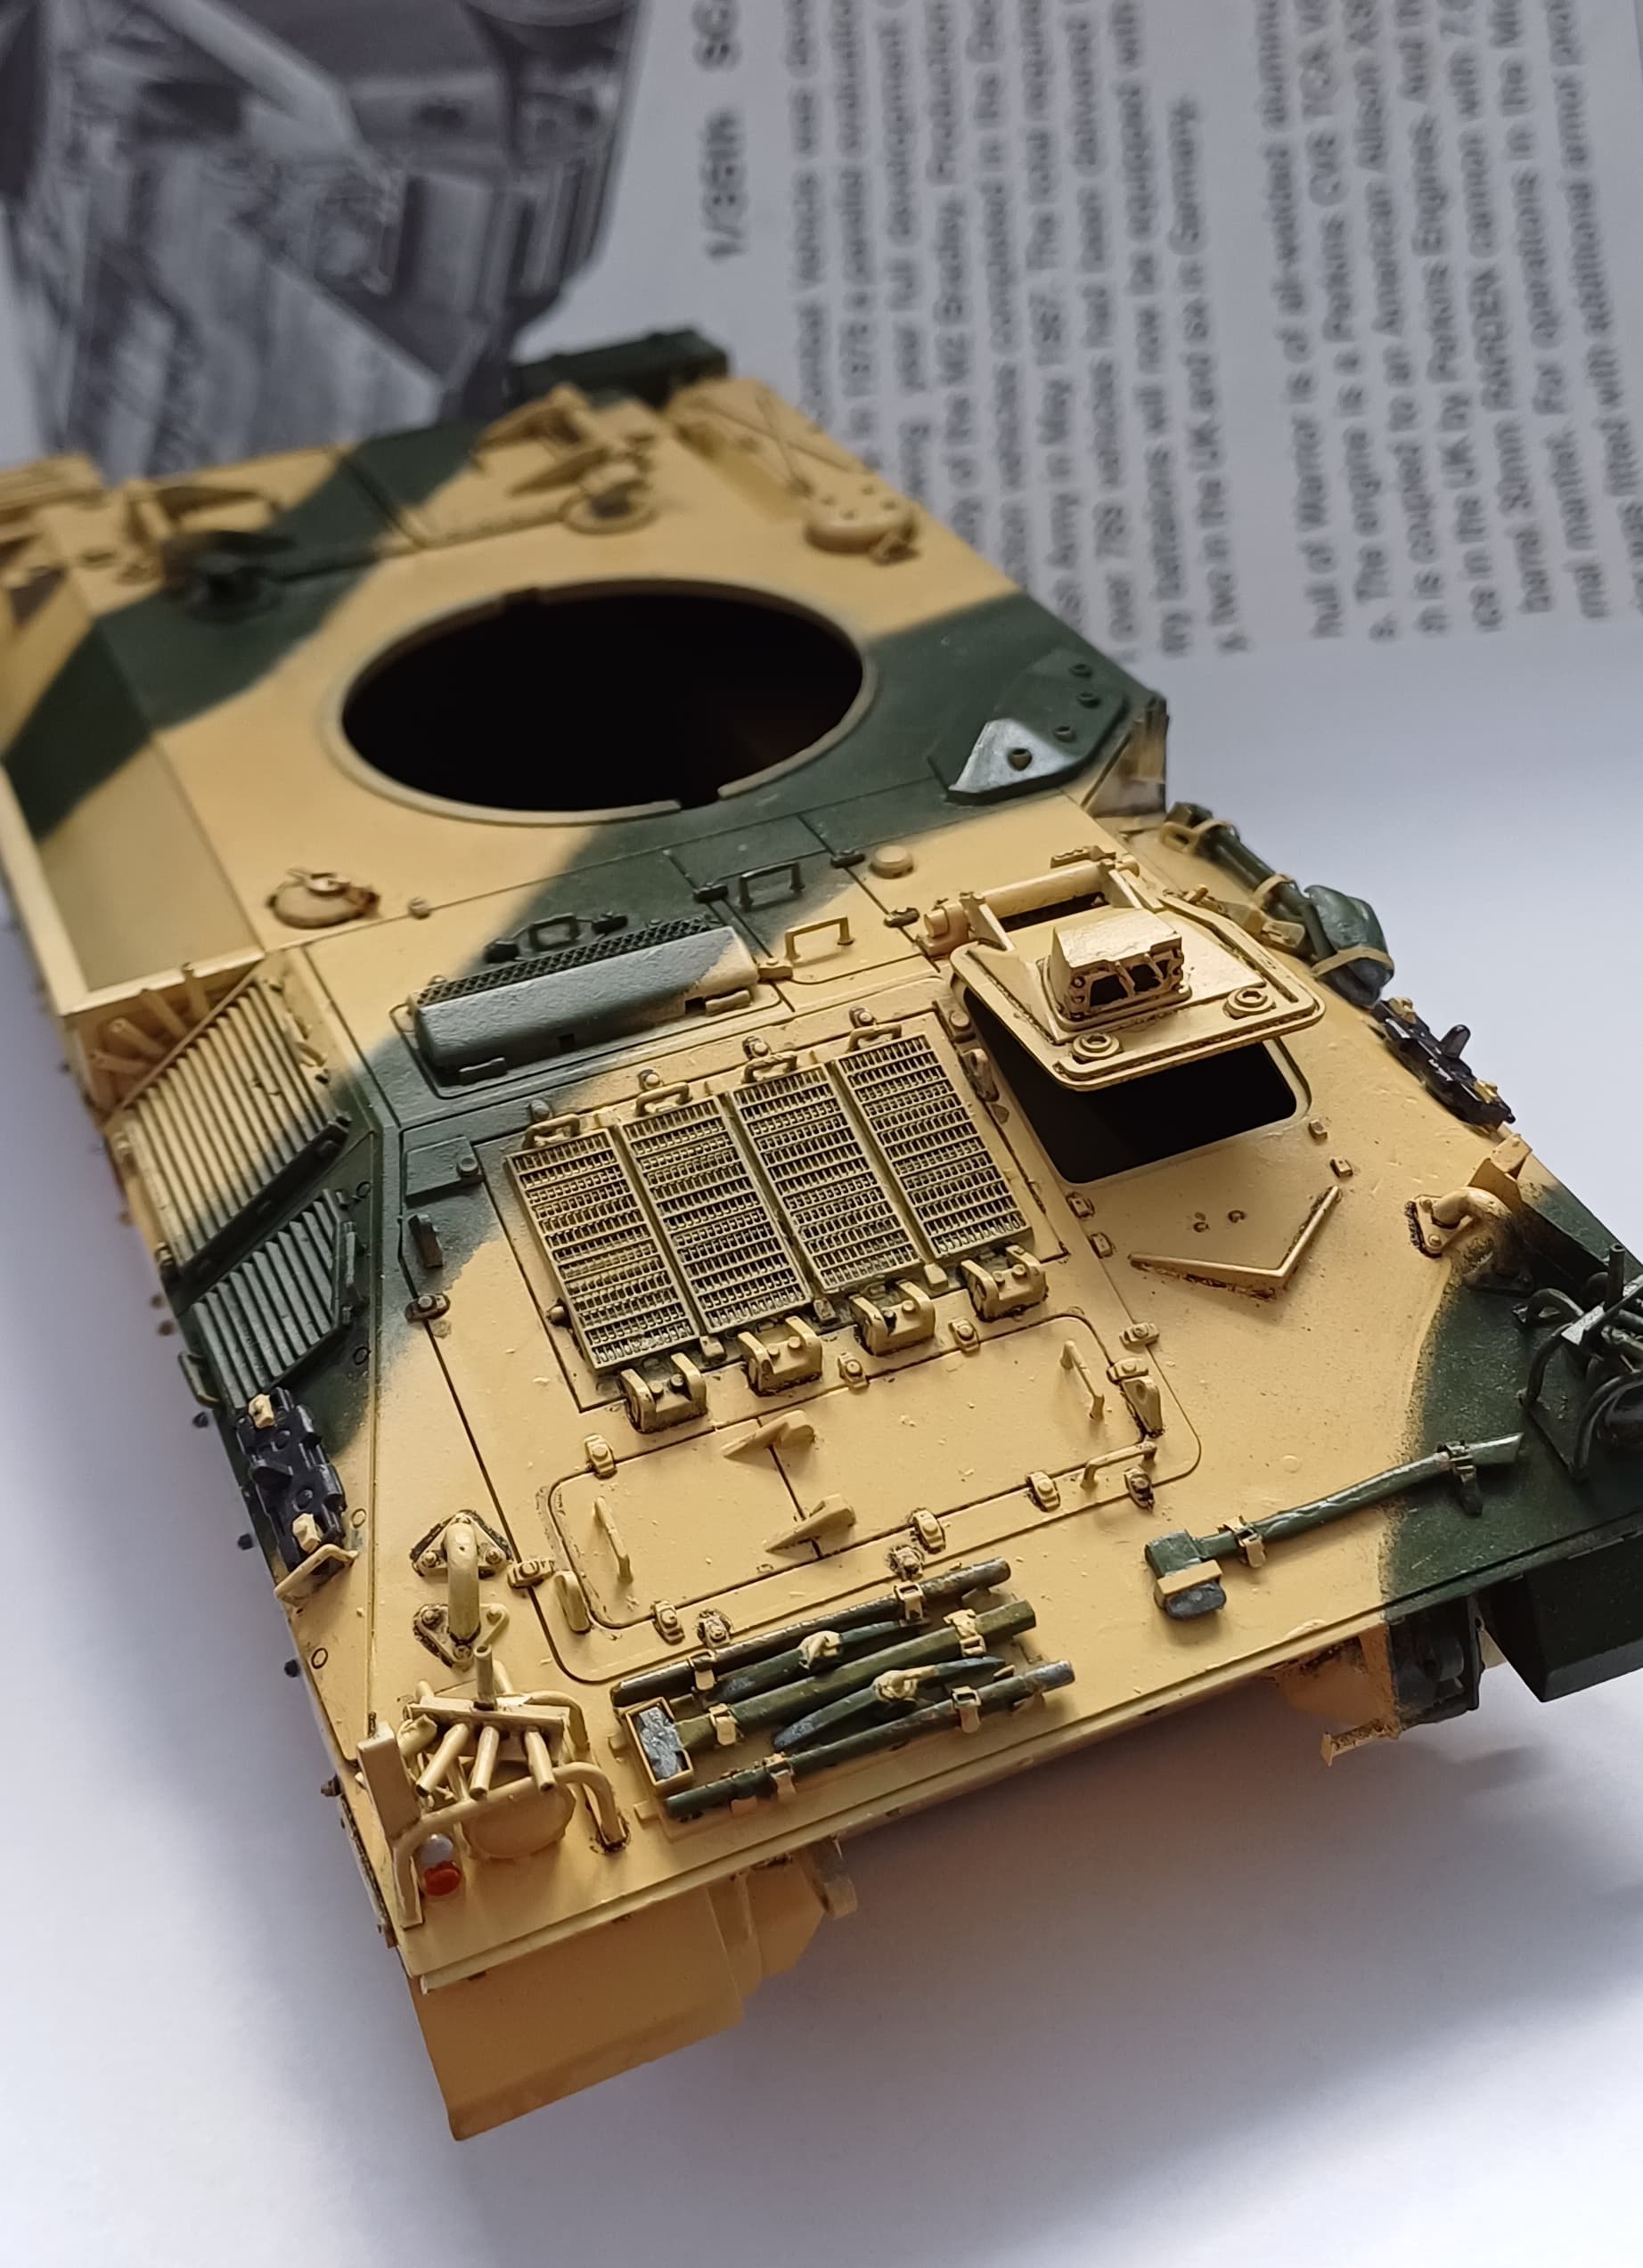
Thanks for the positive replies gentlemen, I suppose the kit is showing it’s age now compared to more modern offerings. I haven’t had a look at the Meng Warrior but I would imagine the detail is crisper and in most cases actually there! Anyhoo, just a few small updates, started detail painting of the tools and sorting some of the issues out. The drivers hatch hinges leave a lot to be desired so I have added some detail to that area, same as the fuel filler cap which had a molded on handle and no locking mechanism. Again not perfect but far better than the kit original.
3 Likes

PM sent mate.
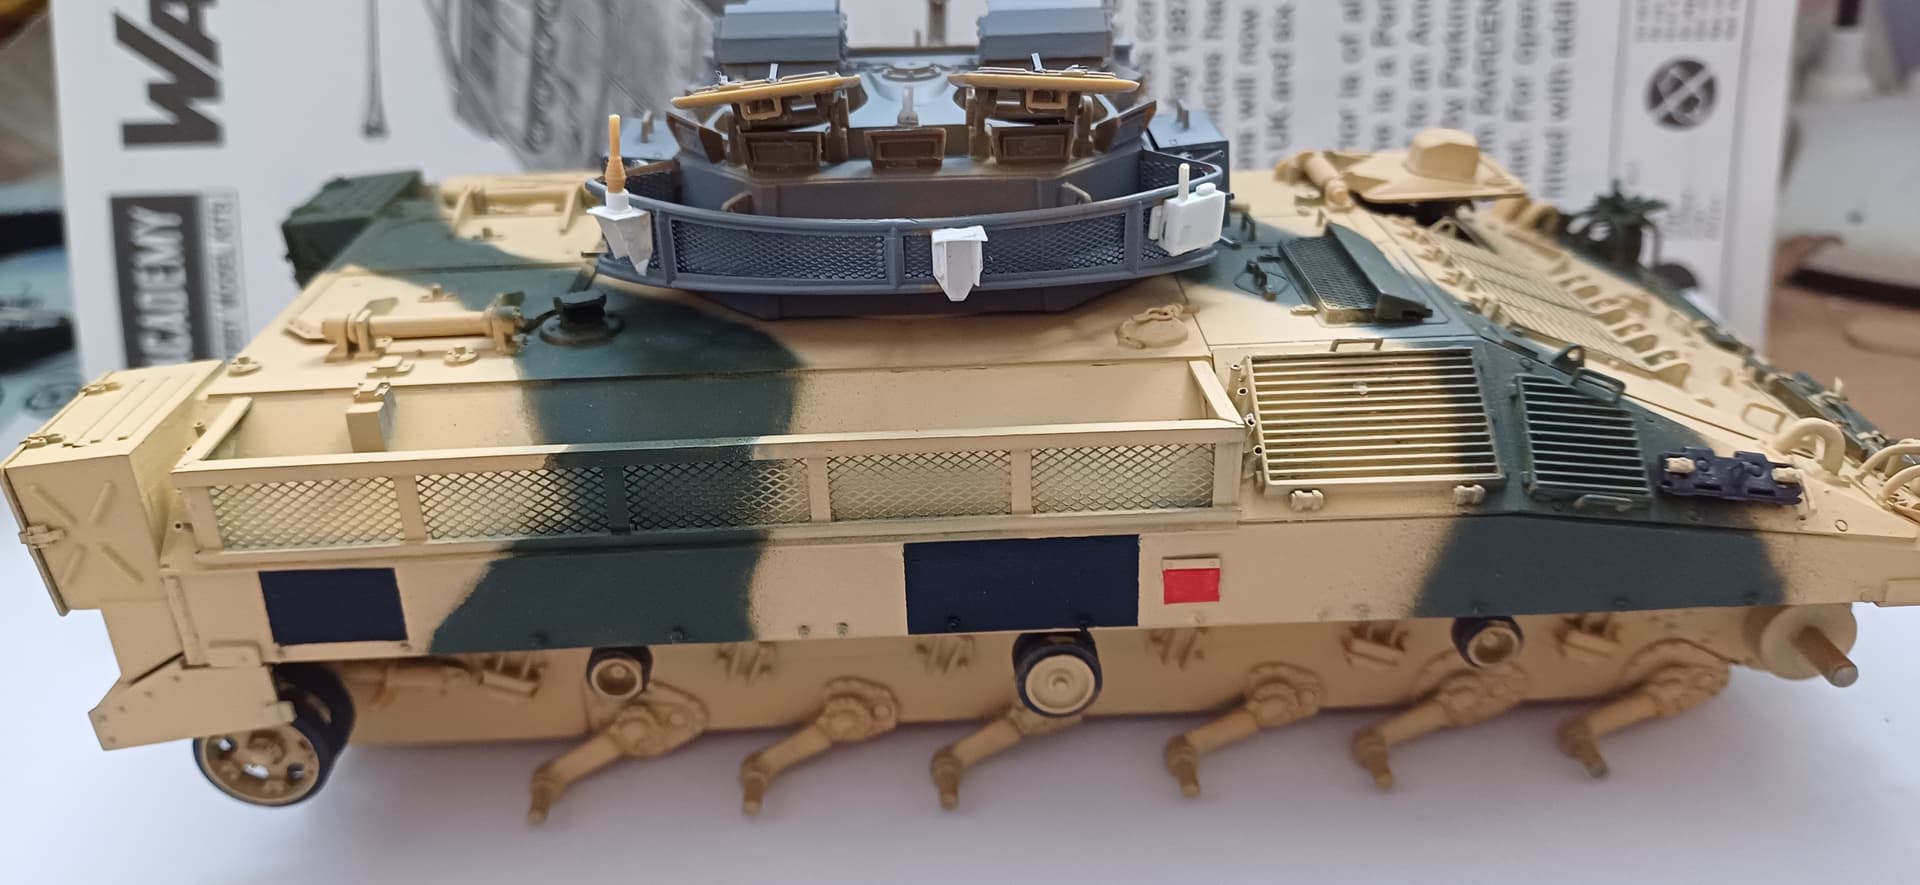
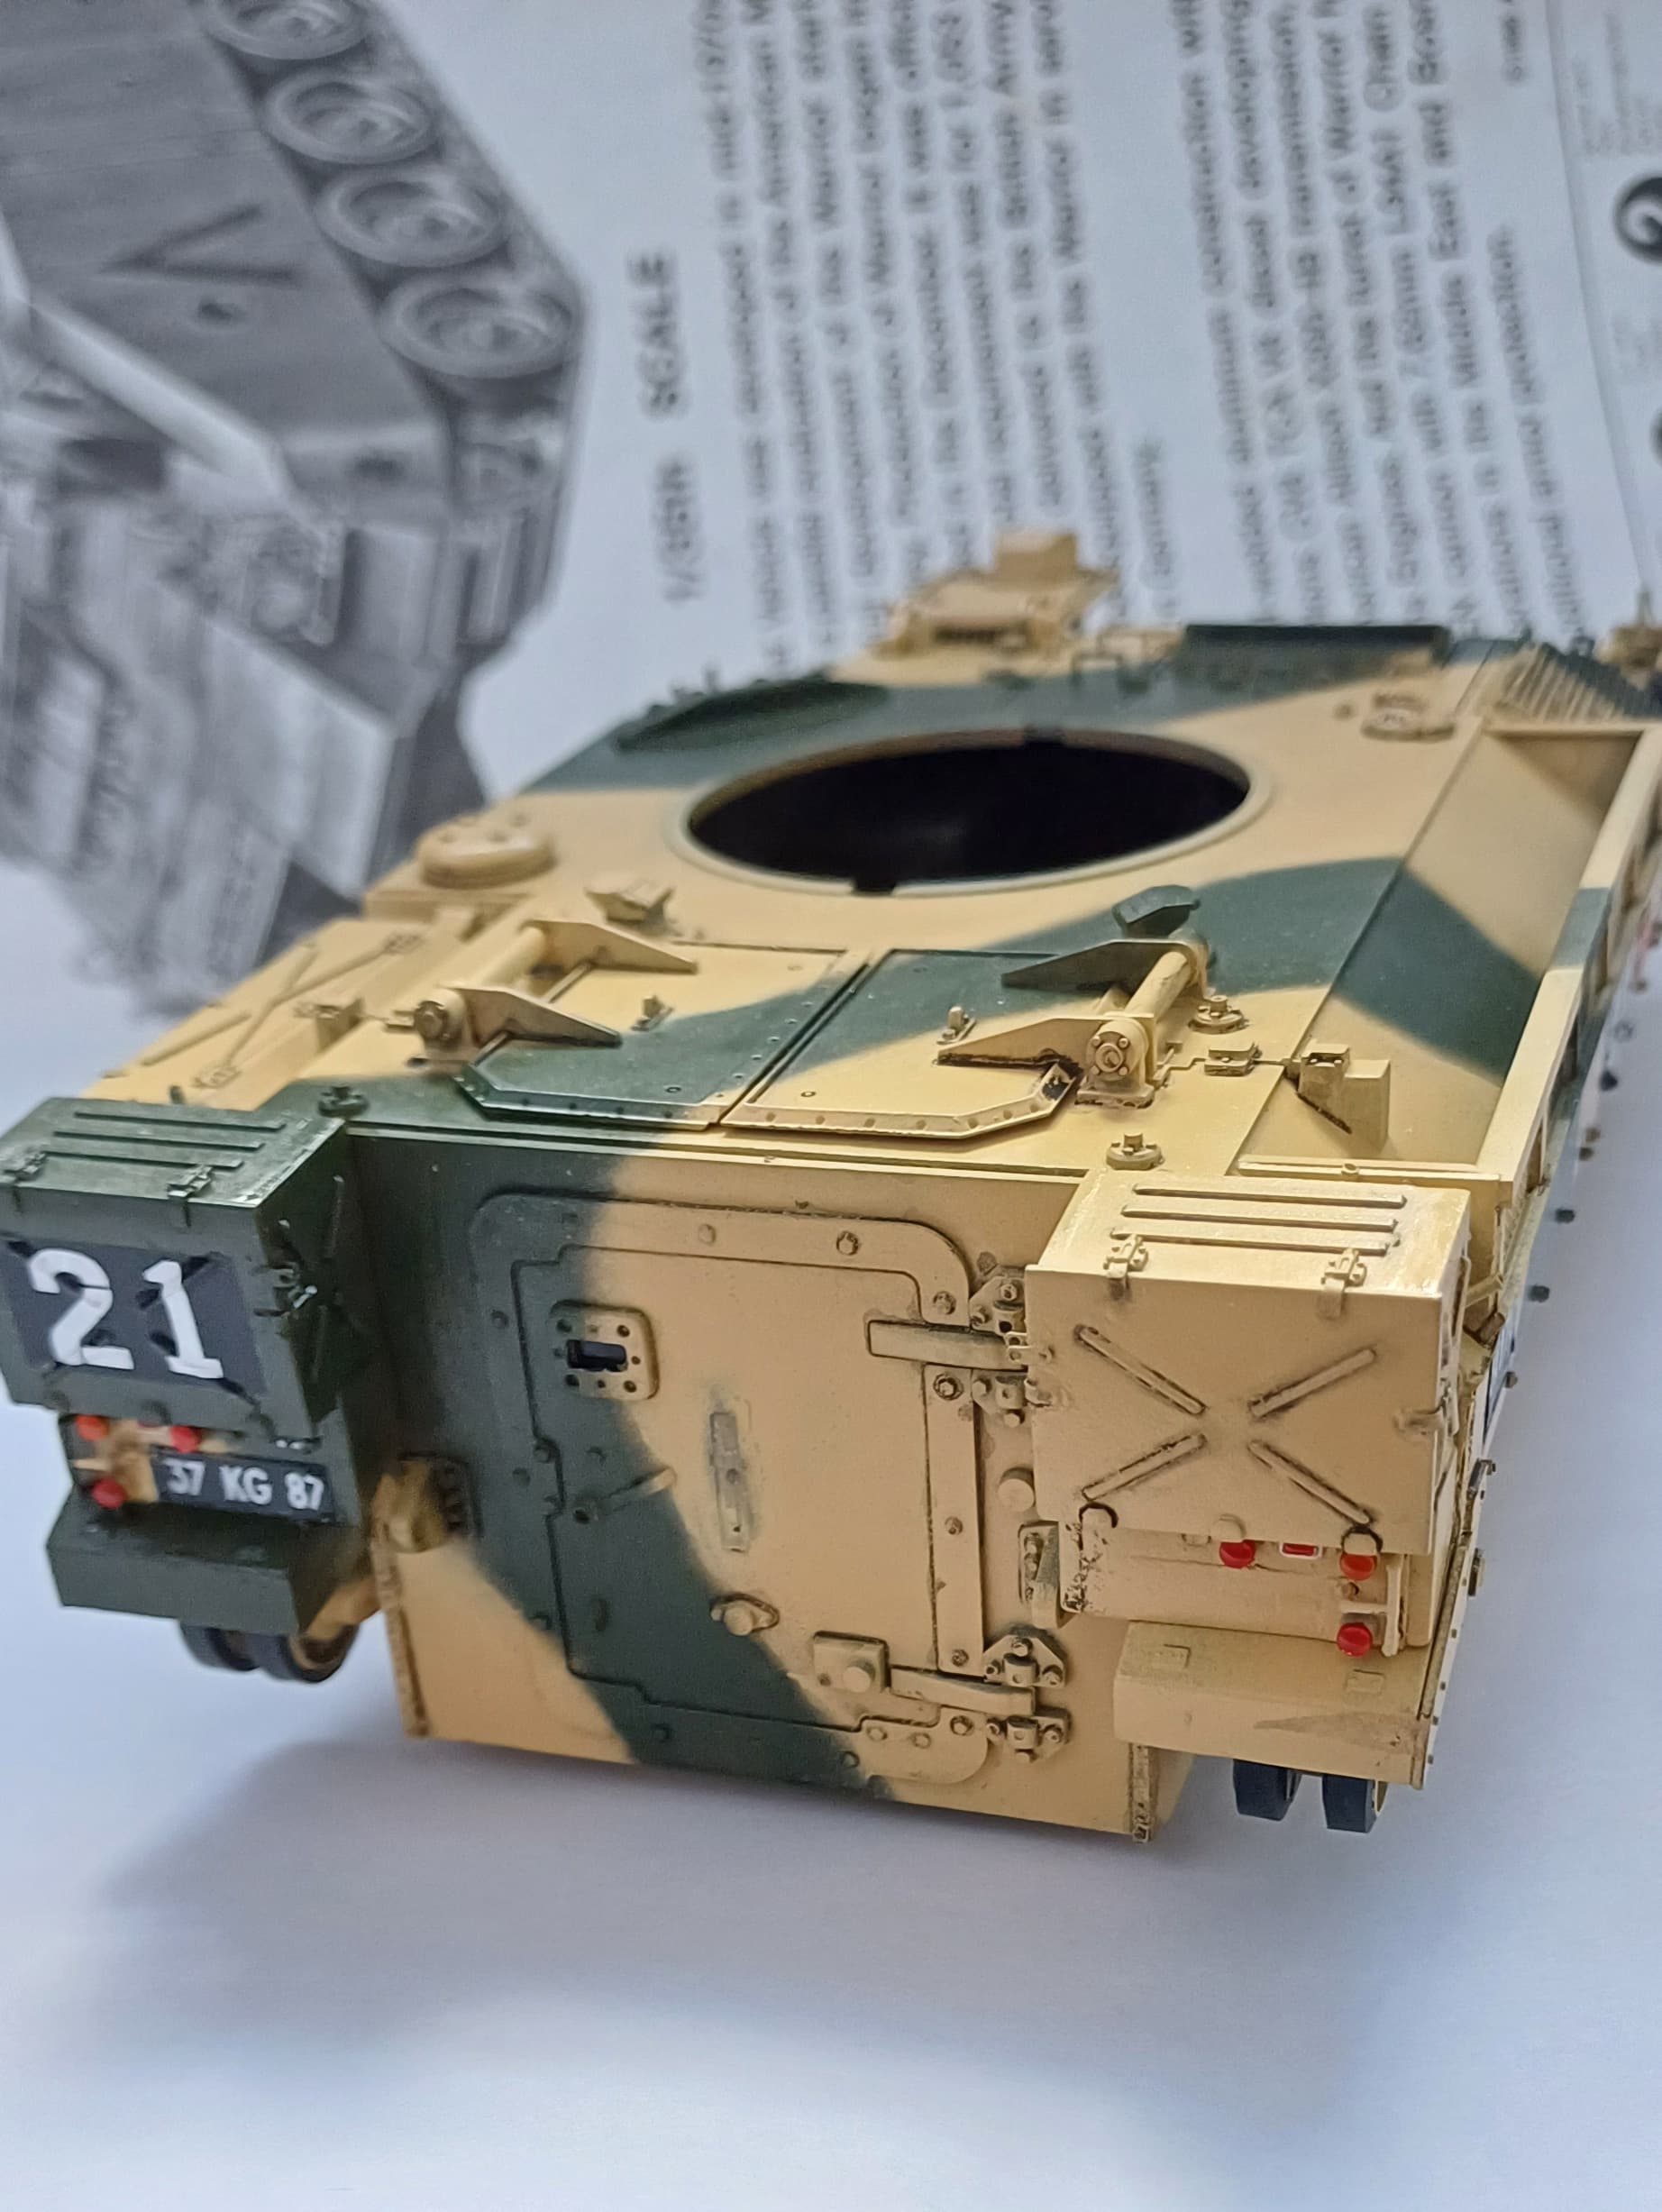
My thanks to Paul for sending me the British Ration box PDF, that will come in handy for all of my British builds. Not much of note done these last few days on the Warrior. Been touching up a few things, painted the black backgrounds to the callsign and zap number locations. Need to buy some red for the extinguishers as I’m not happy with them. I airbrushed Vallejo red first and then Tamiya over the top but they’re still not vibrant enough. I’m going to try brush painting Humbrol enamels as they are my preferred paint for brush painting. Just need to decide which out of the half dozen reds they produce to buy. I also started scratching the TES kit antenna mounts on the turret basket, the right hand box I believe is a vehicle positioning system for range control to track all of the wagons on the prairie. I also got some new decals again which will come in handy for my various upcoming builds. I plan to use some of the white lettering for the extinguishers

.
3 Likes
Coming along nicely mate. Those decals are a good shout.
1 Like
Hindsight being a wonderful thing I should have got stuff from AA many moons ago. Just got to hope others pick up the slack.
2 Likes
It’s starting to look really nice.
1 Like
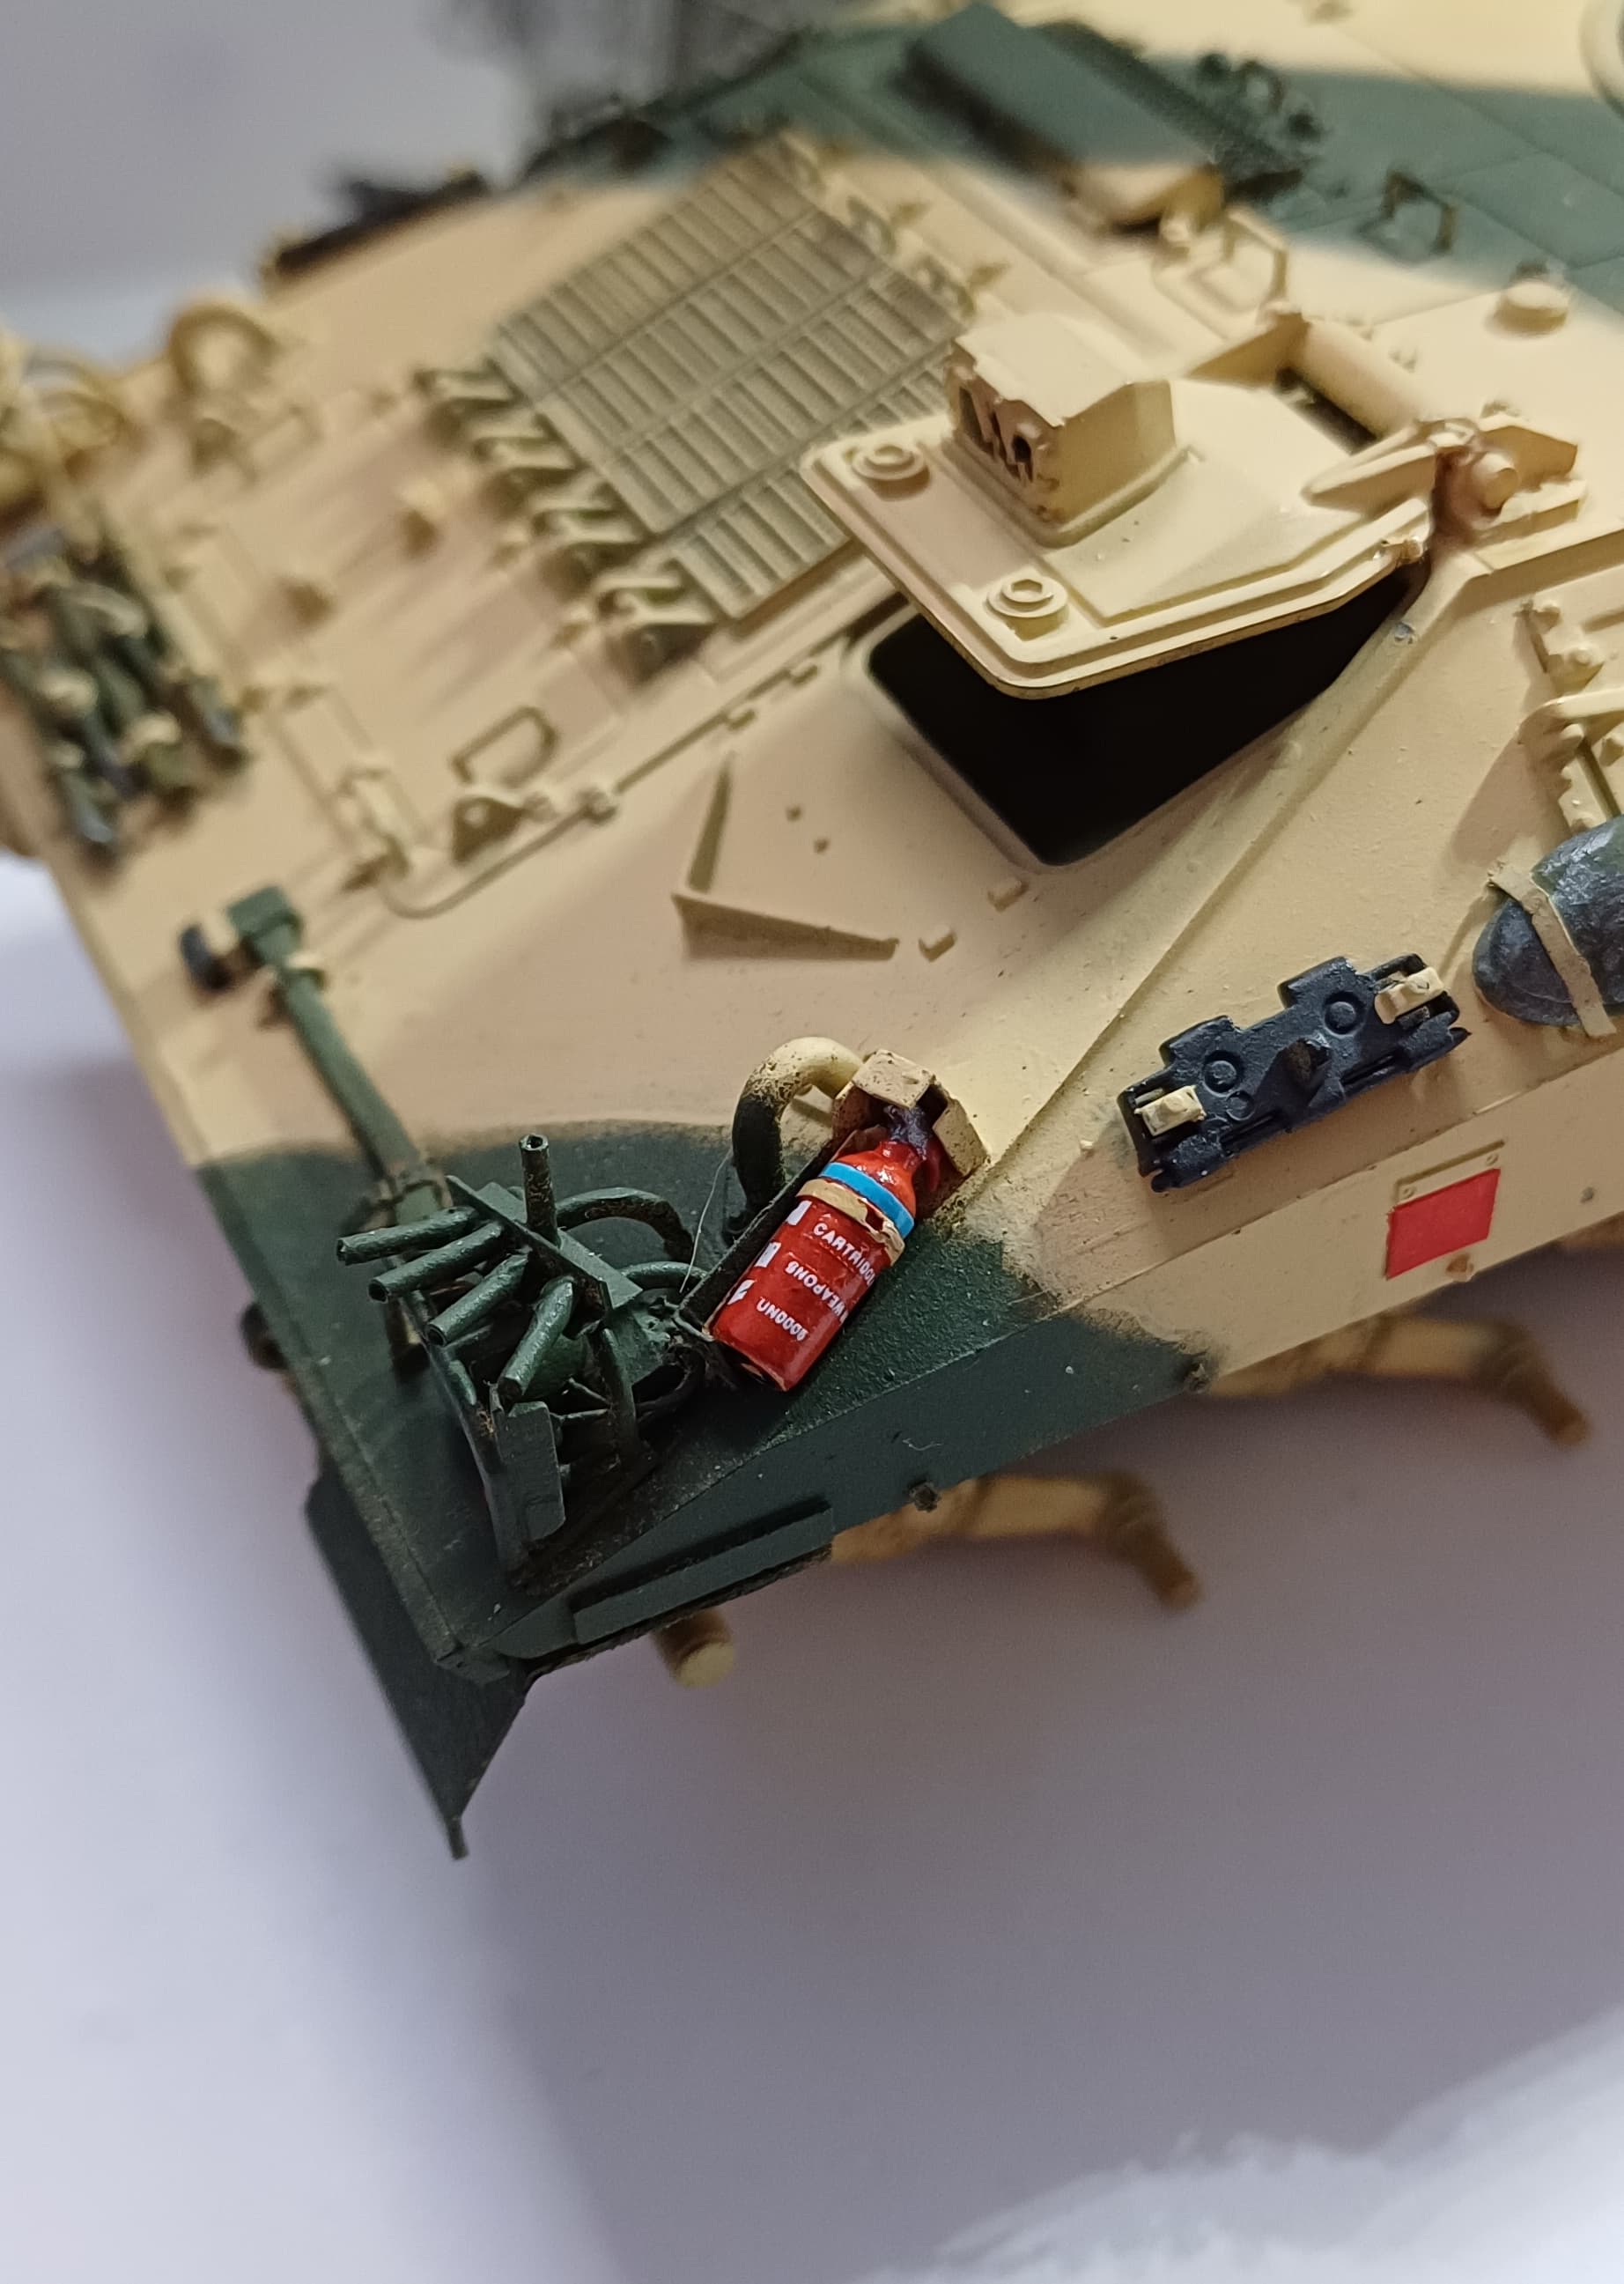
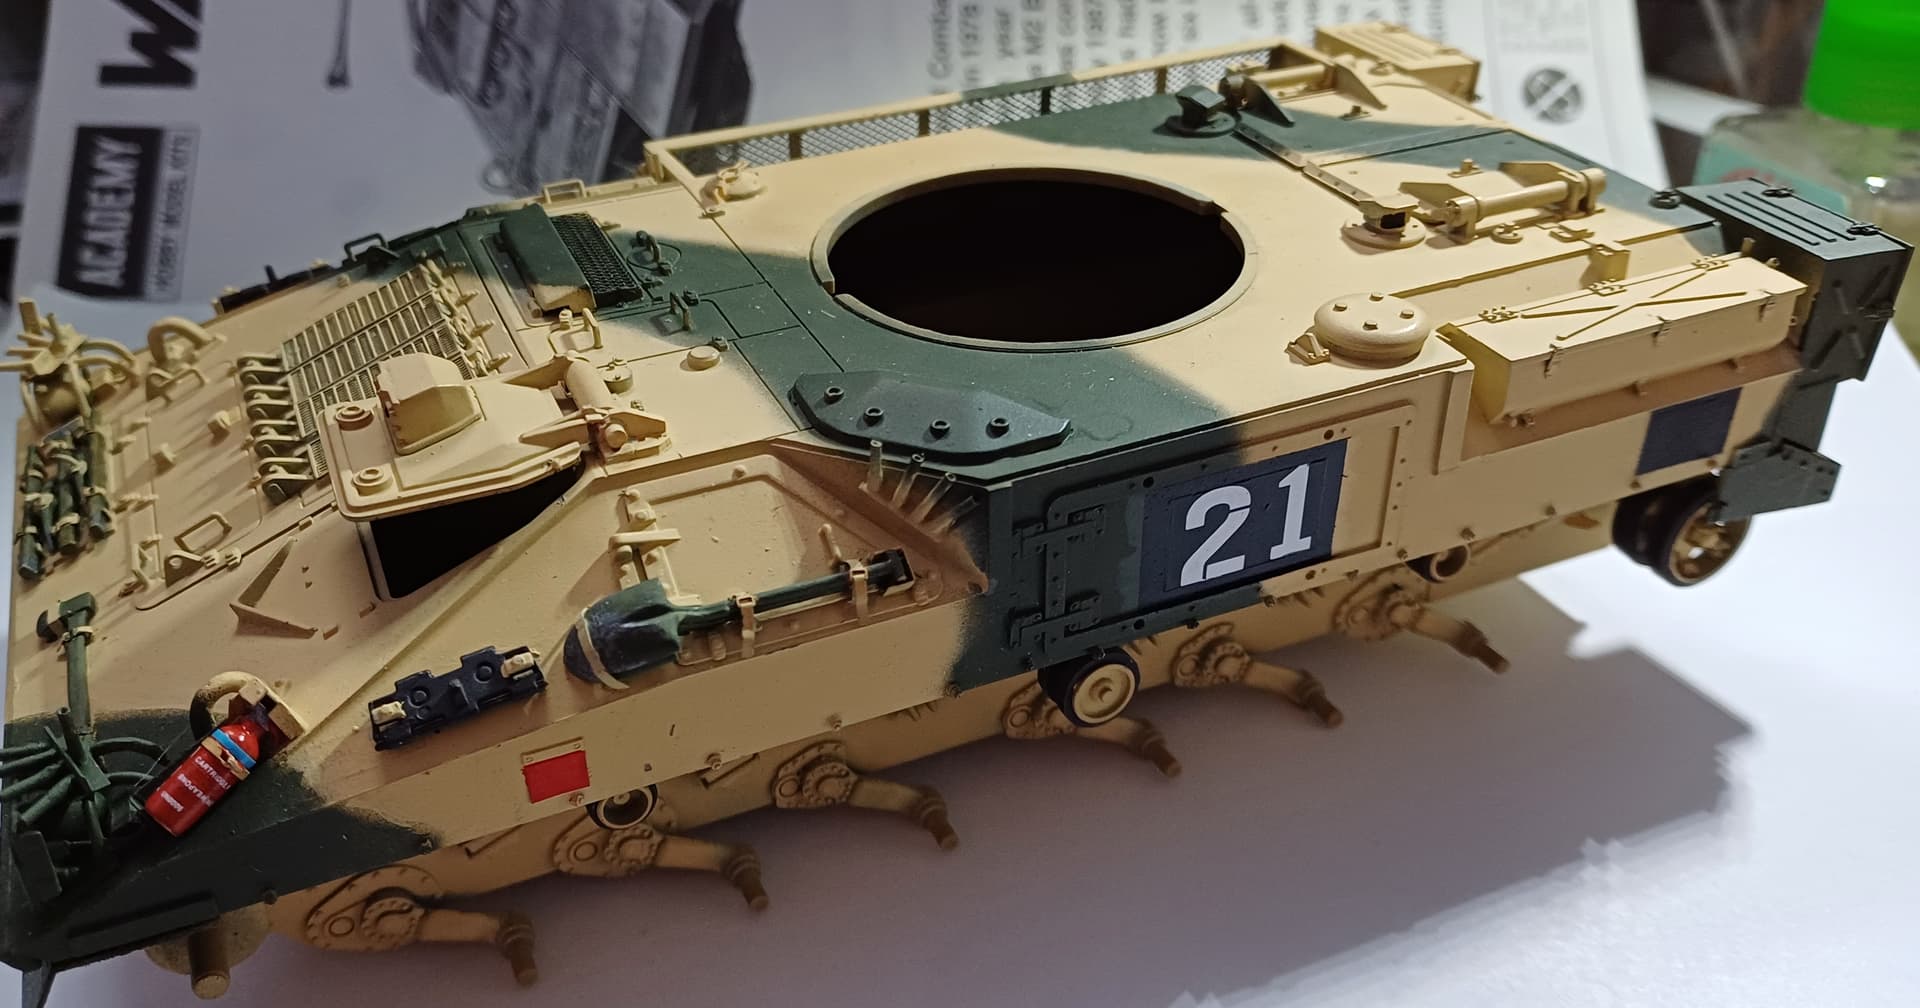
Managed to get an extinguisher done, again not perfect but better than a plain red one. I used the white ammunition lettering from a DEF set. It can still be read in the pics (one upside down) but to the naked eye looks fine. I used the decals from a Meng Chieftain for the large callsign boards, they are exceptionally thick, but nothing I can do about that now. I’ve printed zap numbers and will add those once they are dry and I can seal them with future.
8 Likes
Very nice … and I think we are all guilty of an upside down decal or 2 lol … I also used some Phantom 1/48 white missile decals on my Chieftain extinguishers … who’s to know !!
1 Like
I don’t build wingy things at all, apart from rotary wingy things in 1/35 so unfortunately don’t have any smaller decals but it might be an idea to look for some on the Bay of E. I’ve been plodding along just sorting small things. Zap numbers and number pates on, added a pin wash and then sealed them all in with a coat of future. Got the convoy light plate to add and then I’ll be setting the hull aside to sort the turret and TES gear.
10 Likes
Looking good👍
1 Like