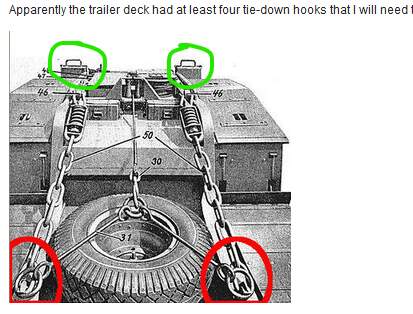
Are these, circled in green, included in the kit?
I suspect that they had a dual use,
as wheel chocks and
to raise the tank those last inches to get it level with the load bed on the FAUN
Are these, circled in green, included in the kit?
I suspect that they had a dual use,
as wheel chocks and
to raise the tank those last inches to get it level with the load bed on the FAUN
These wedge blocks ARE included in the model but they do not perform the function Robin is implying.
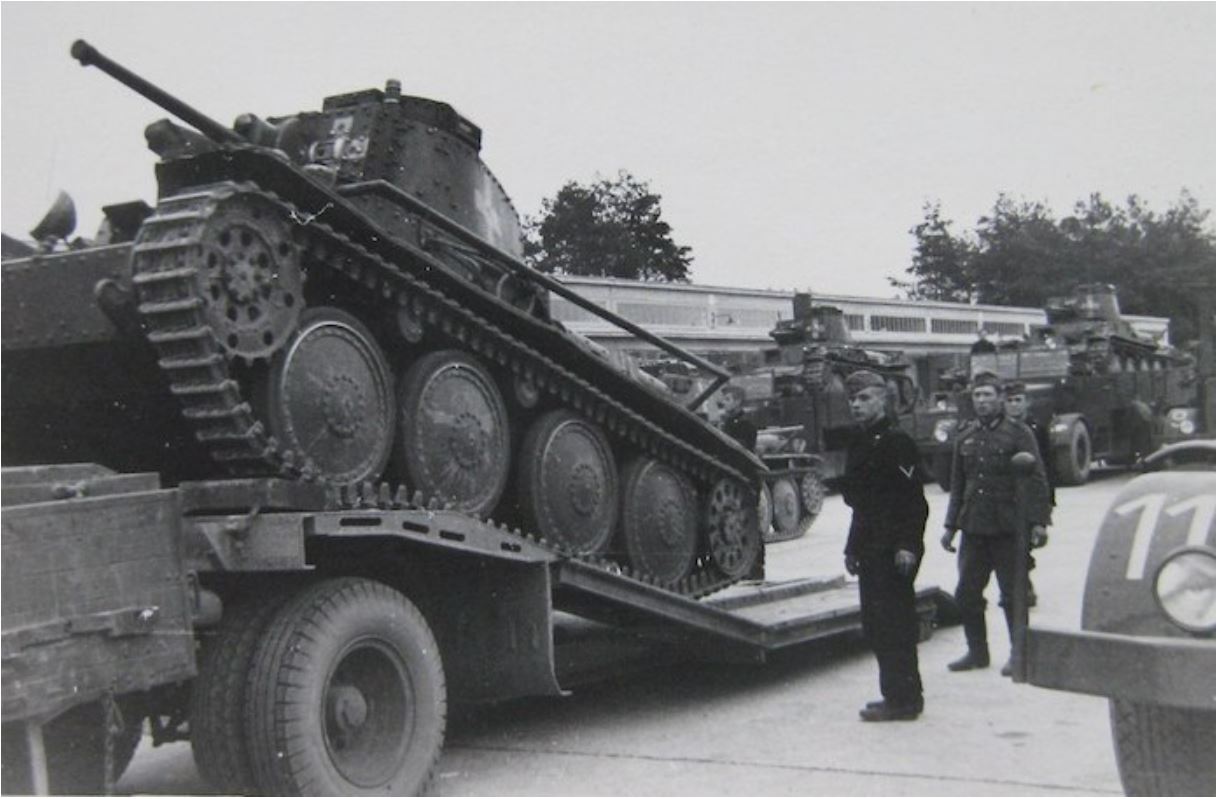
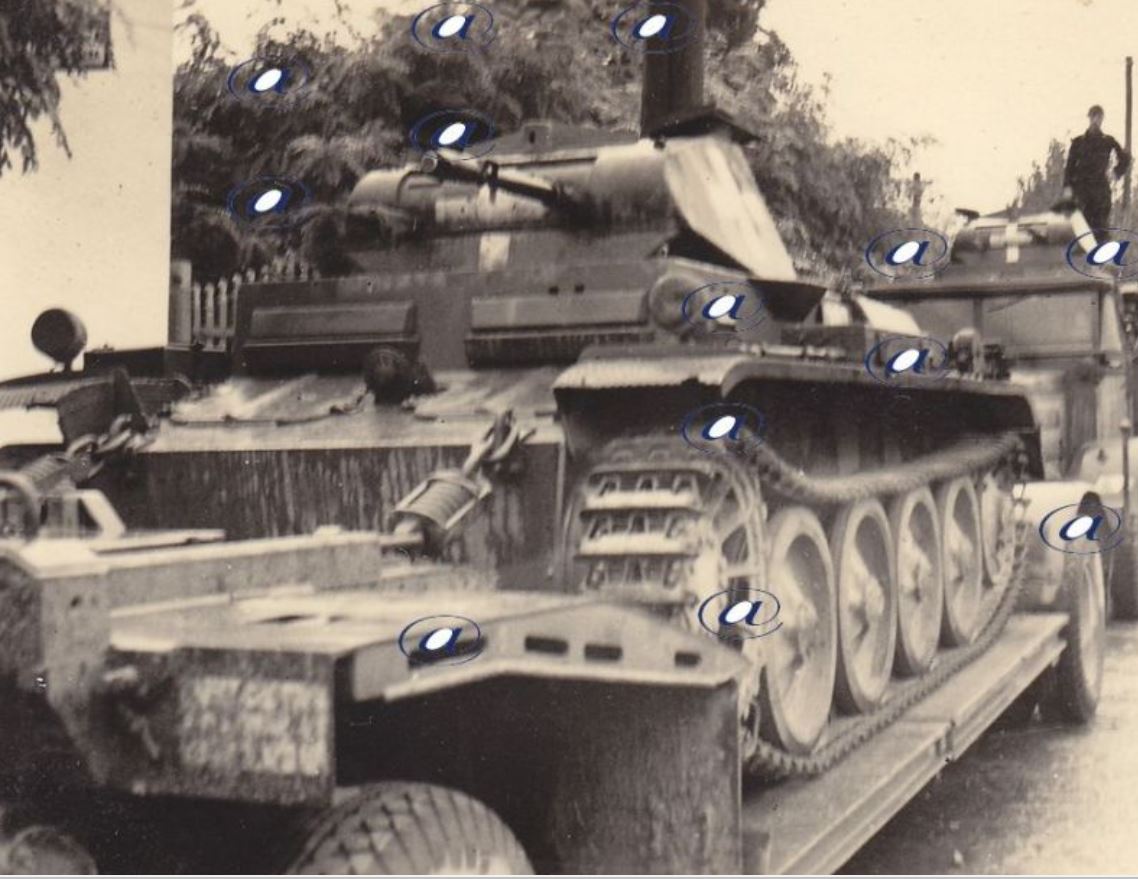
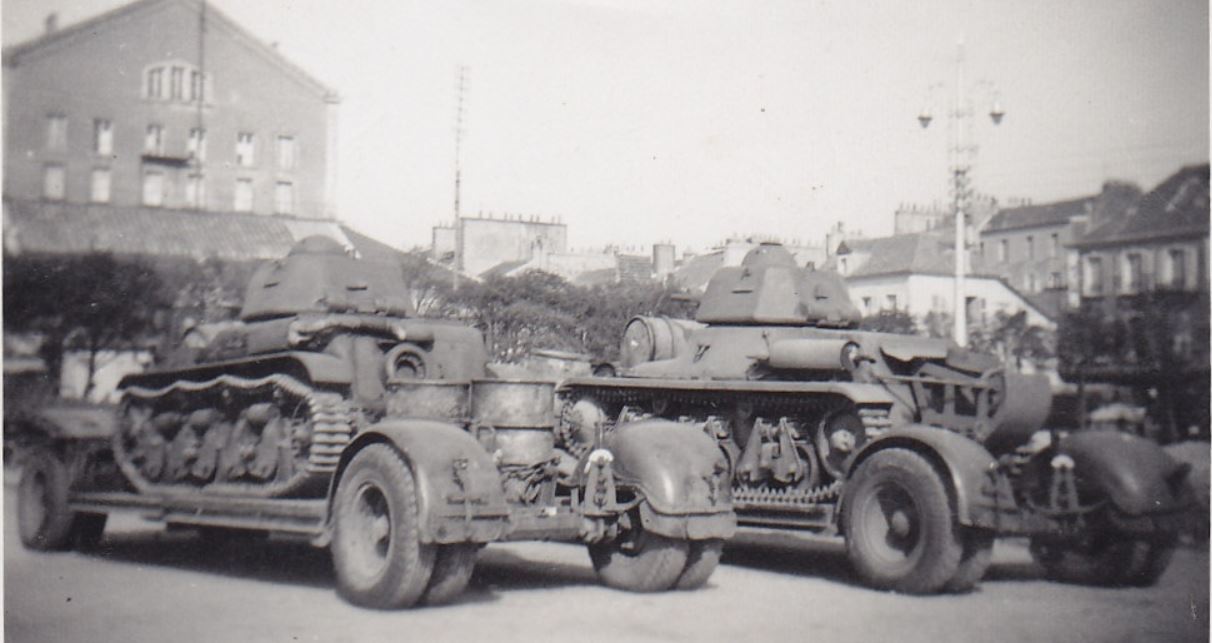
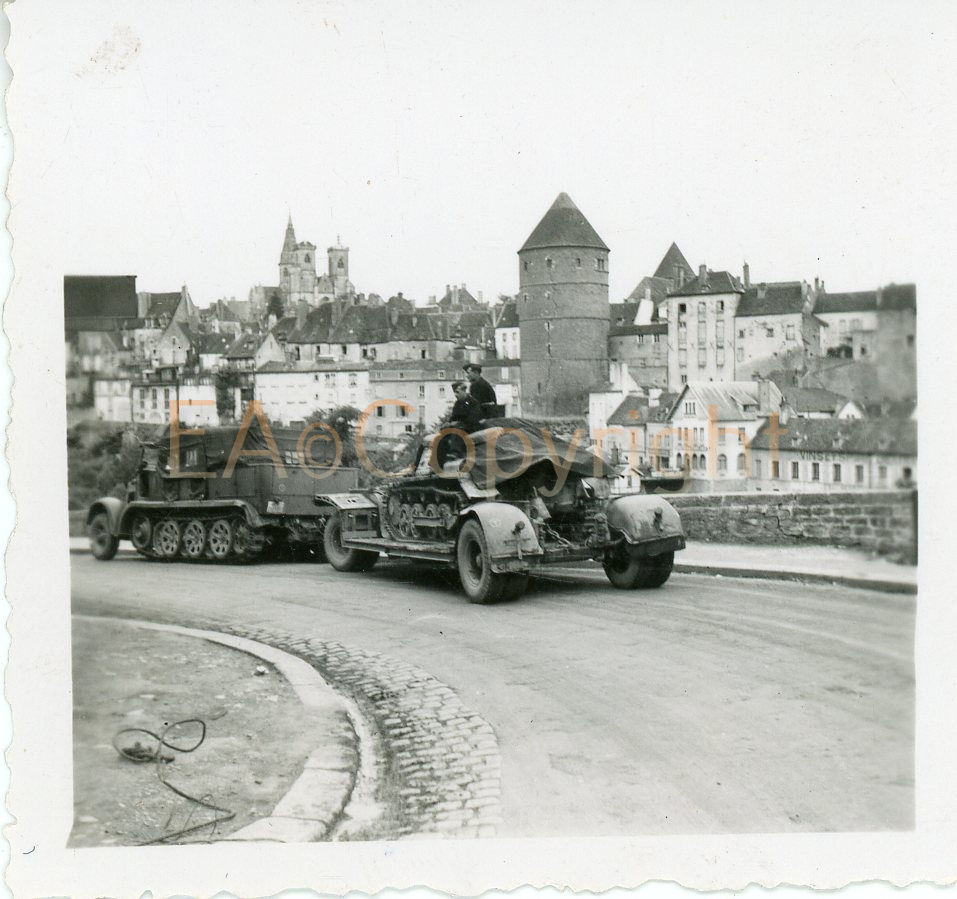
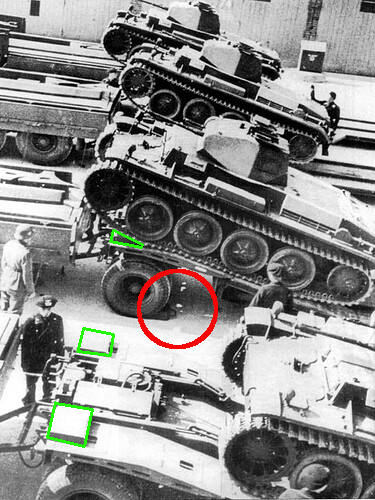
At the time when a small tank would be “climbing” into the rear of the Faun these movable chocks would be under the trailer’s wheels (Red Circle) to keep it from moving back away from the main truck. These chock blocks were extremely necessary because at this point the trailer is not hitched to the Faun. The Faun has now backed over the towing tongue of the 115 without being hitched to it, as you can see here, and has gotten as close as possible to the trailer.
As I have said several times recently in this thread I am still working on additional details for the upper deck and this is the area I will complete last in the construction.
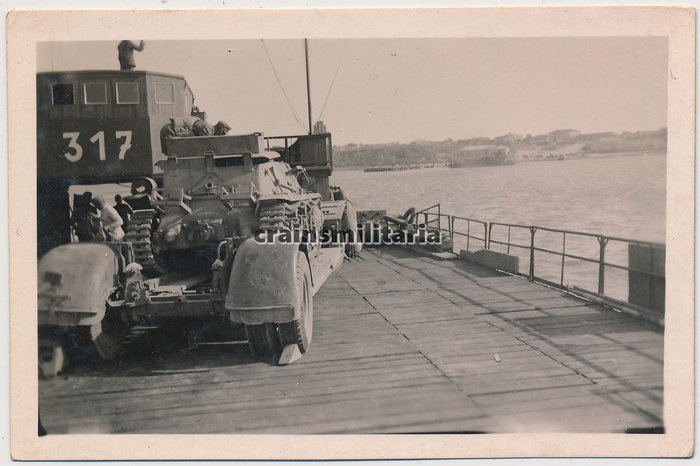
Robin as you can see on the bottom trailer in the photo above (one that you submitted,) the early 115s had a jack pad/block attached right there at the top end of the ramp to assist in the “Climb”. (Green Indicator Squares) This block was also removable. (However they ARE also included in the model kit as an option.)
Neither the middle nor the top tank in the photo above has yet to reach its’ center of gravity so they will continue on this uphill trajectory for several more feet, and be well over the rear of the Faun before tipping down onto their front road wheels and applying weight to the Faun.
Making this final step in the climb into the lead truck was really quite easy for these small tanks at this point. (However it may have been a bit shocking to the suspension on the Faun.)
I think these chock blocks, as offered in the Das Werk kit are actually a bit undersized.
The presence of those wooden blocks, I believe, gave the tank tracks one last “traction bite” before launching the AFV into the back of the truck, thereby reducing the chances of the metal treads slipping sideways on that all metal upper deck.
(At the Patton we once almost lost a Hetzer off the side of an all metal “tilt-back” tow truck deck for this very reason.)
However once the Germans progressed beyond the small size of the Pz. II these blocks became extraneous and were deleted from the production trailer design.
I am now debating as to the question of including them on my model as I envision my model to have been in use mid to late war. (But as an extra detail they do look nice sitting there!)
That’s why I have always admired Mike Koenigs topics and threads- for the thorough research and the miriads of tiny details, that are brought to the table and into the daylight.
Just excellent, Mike!

Angel
Thank you Angel ! * ! * ! * ! * ! * !
I very much appreciate your remarks and your support.
__________________________
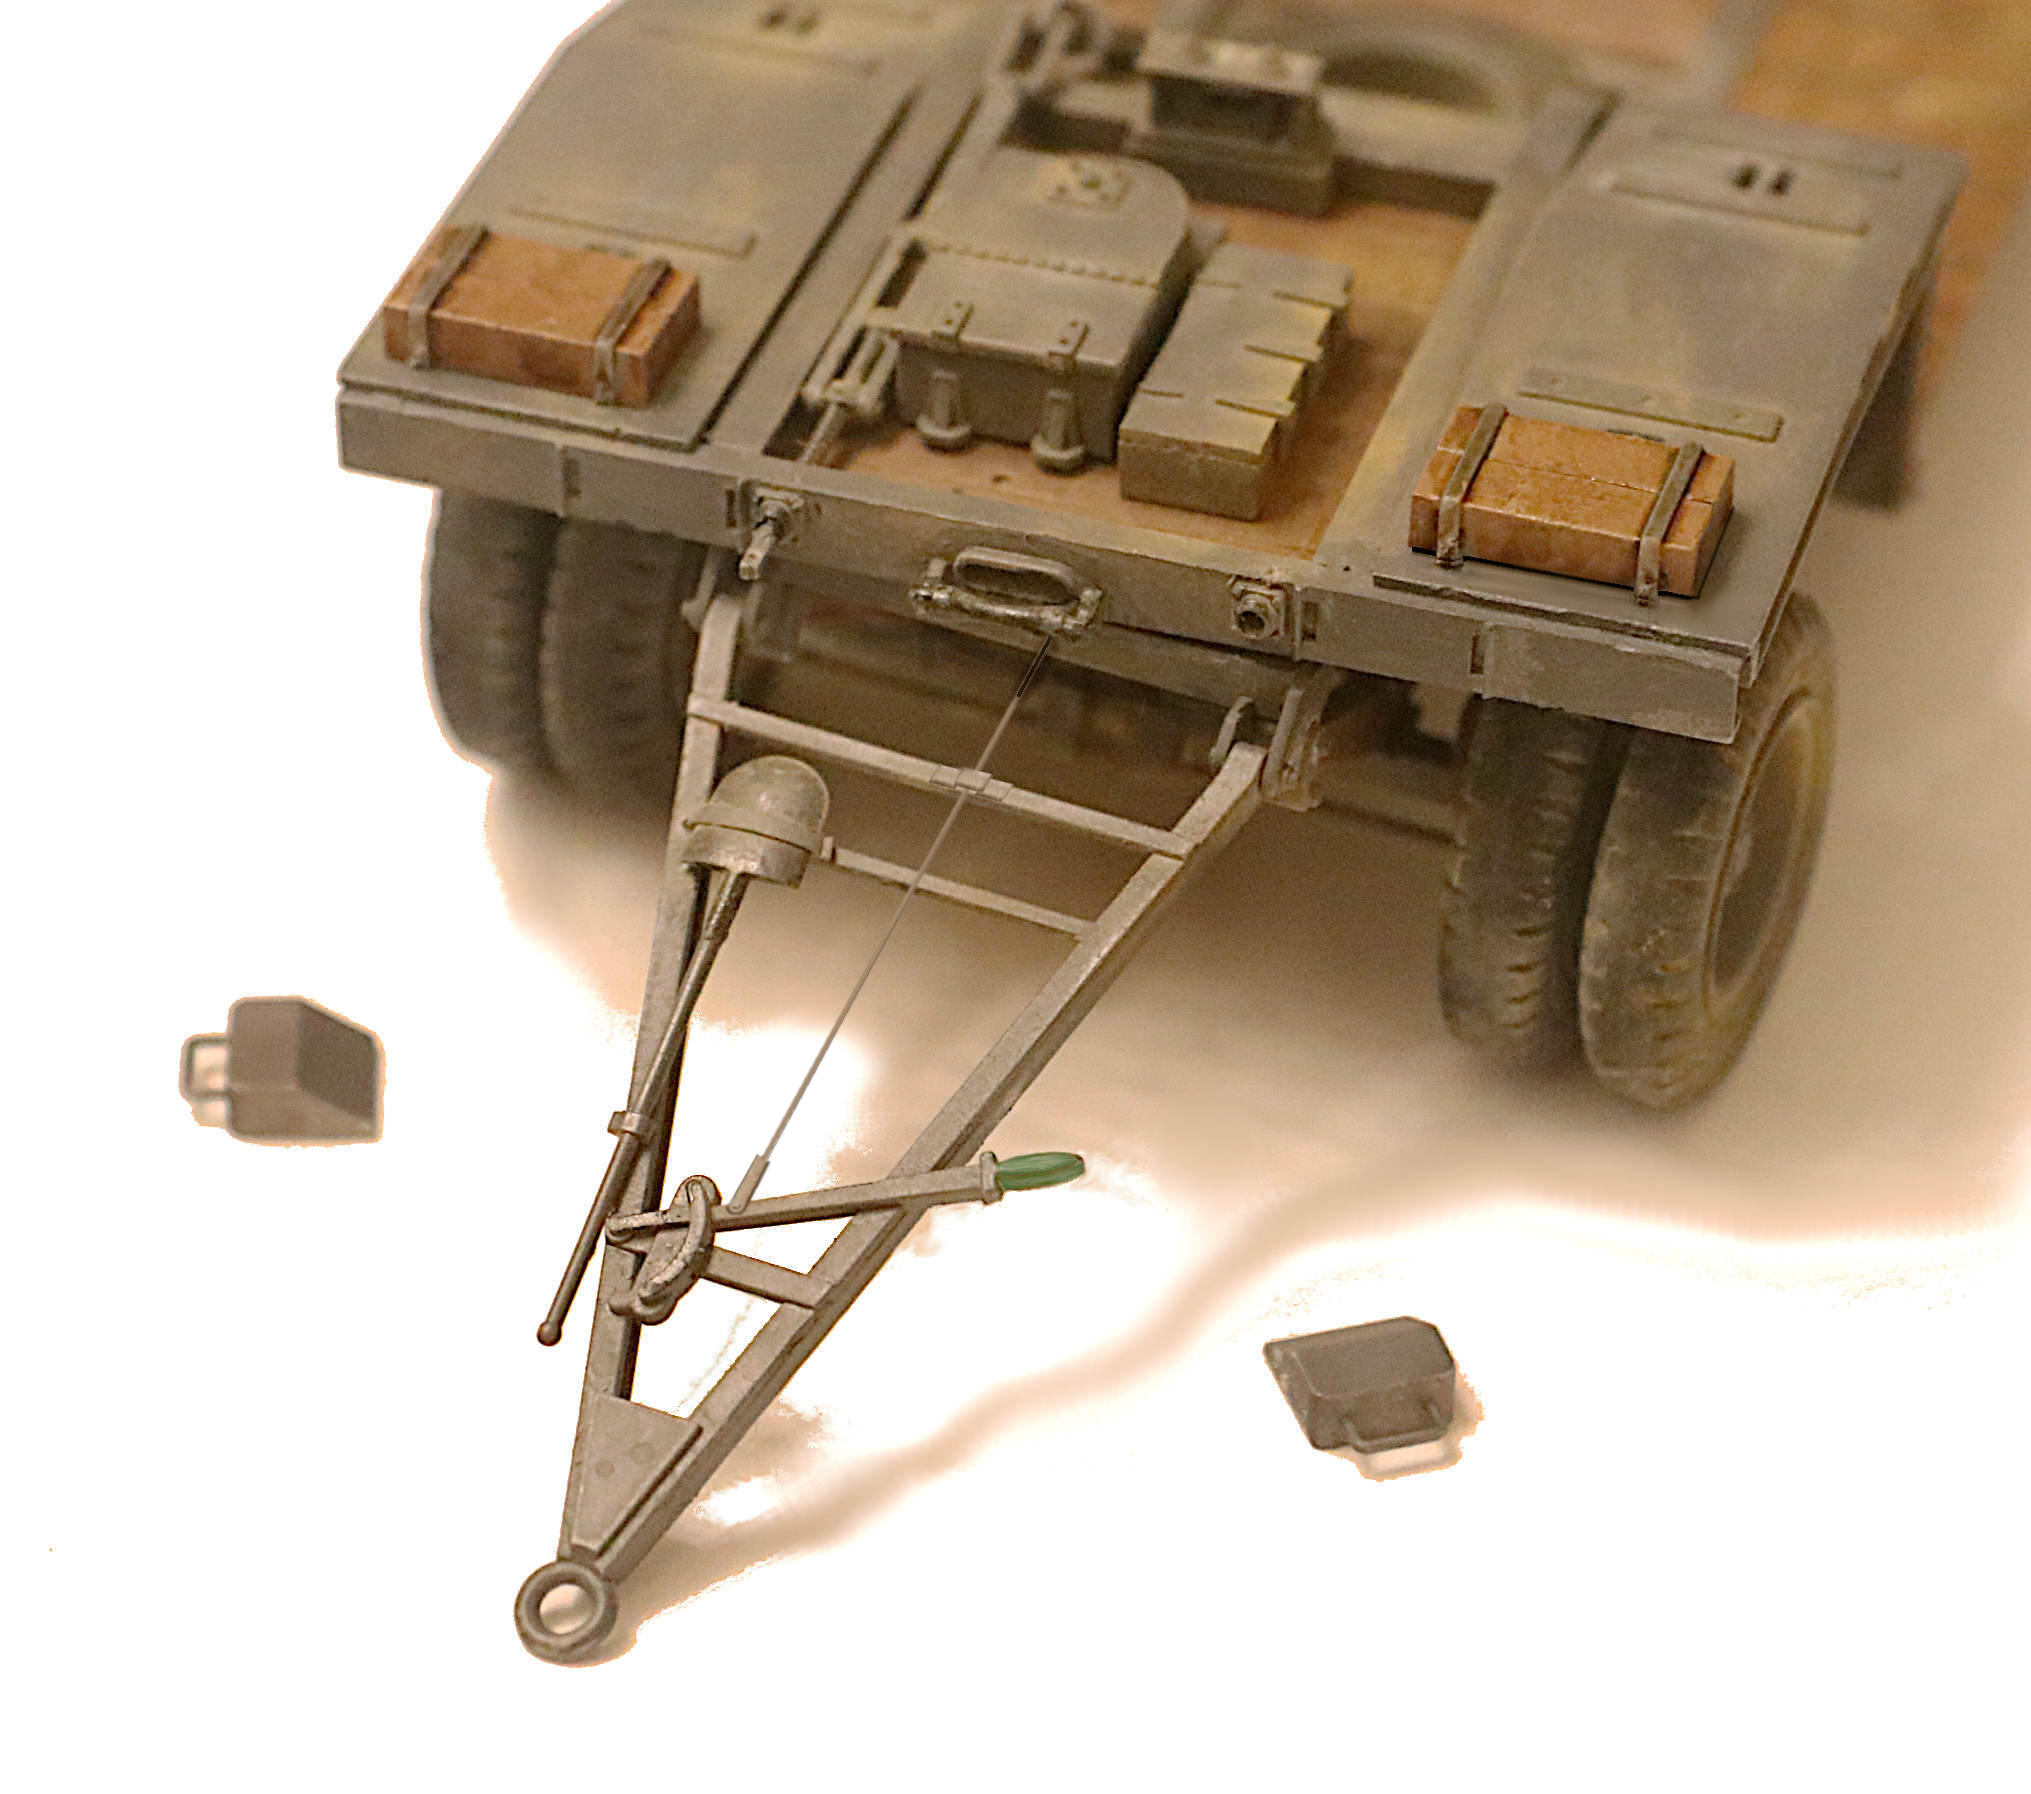
I wasn’t quite ready to pop these parts off the sprue yet but I guess Robin sort of forced my hand - but that’s a good thing because it got me off square one in this important area of the model.
Detailing Hint: That E-brake handle on the towing tongue is molded as a rather squarish thing and could really stand to be rounded off a bit for a nicer look. Then too this handle would have probably been covered in rubber or bakelite plastic. (probably black in color)
I chose to make mine dark green just to add a tiny splash of color to this area.
(I still need to add wood grain and stain to that shovel handle - I keep forgetting to do that.)
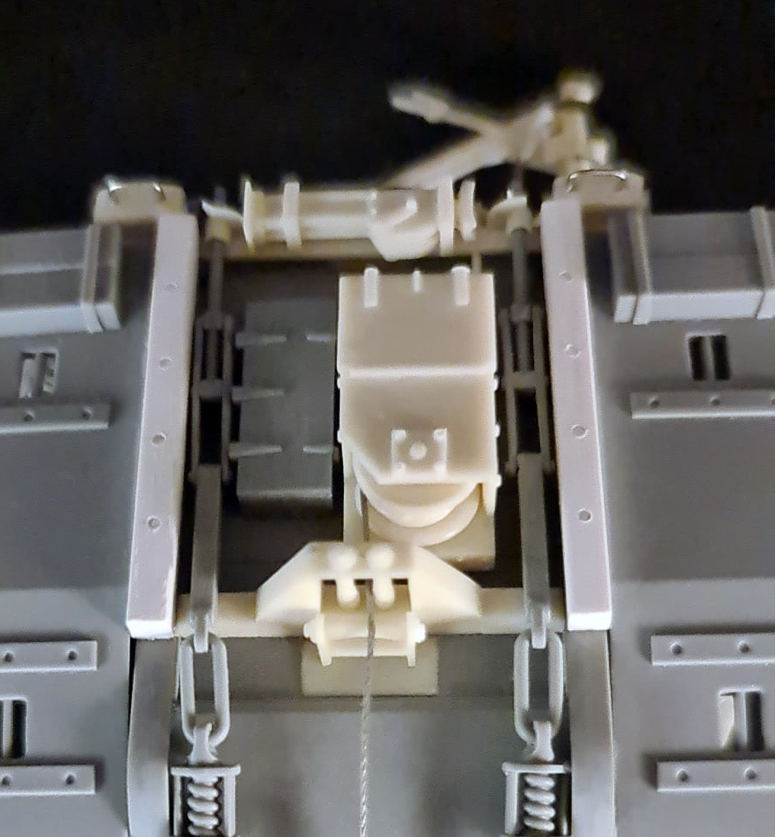
Alright - I admit this detail may be a bit hard to see:
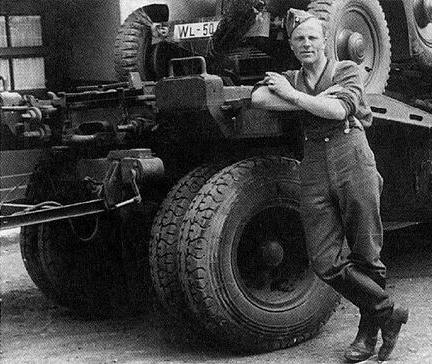
As offered, the Das Werk kit represents an early war 115 - it has the wood blocks at the top of the ramps as we have discussed earlier, and the fairlead for the winch is mounted very low to allow a climbing vehicle to drive over it without dragging.
Early war design:
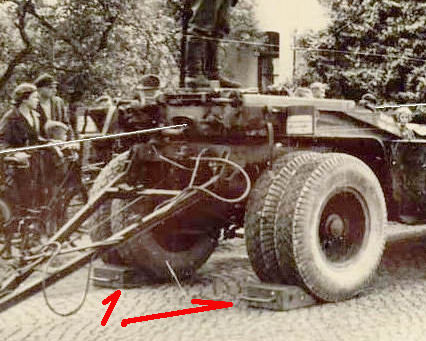
However once loading of the small tanks into the Faun was no longer an issue (mid-war) the design appears to have been changed. It would seem the fairlead was strengthened and raised to offer a better purchase on the winch line.
Late war design:
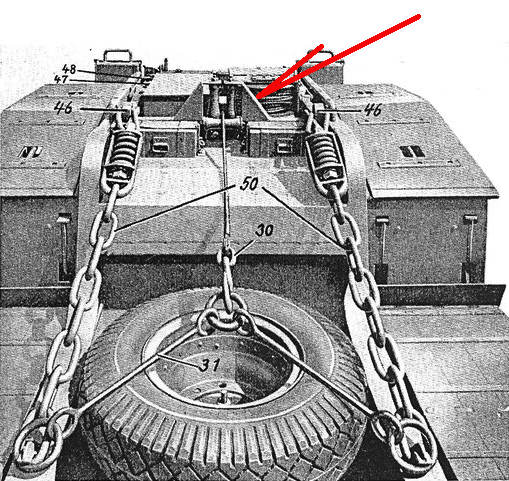
Here is the after-market resin detailing set from Custom Scale and it seems to clearly represent the mid to late war design.
There also appears to have been a strengthening crossbar added between the frame members directly under the fairlead.
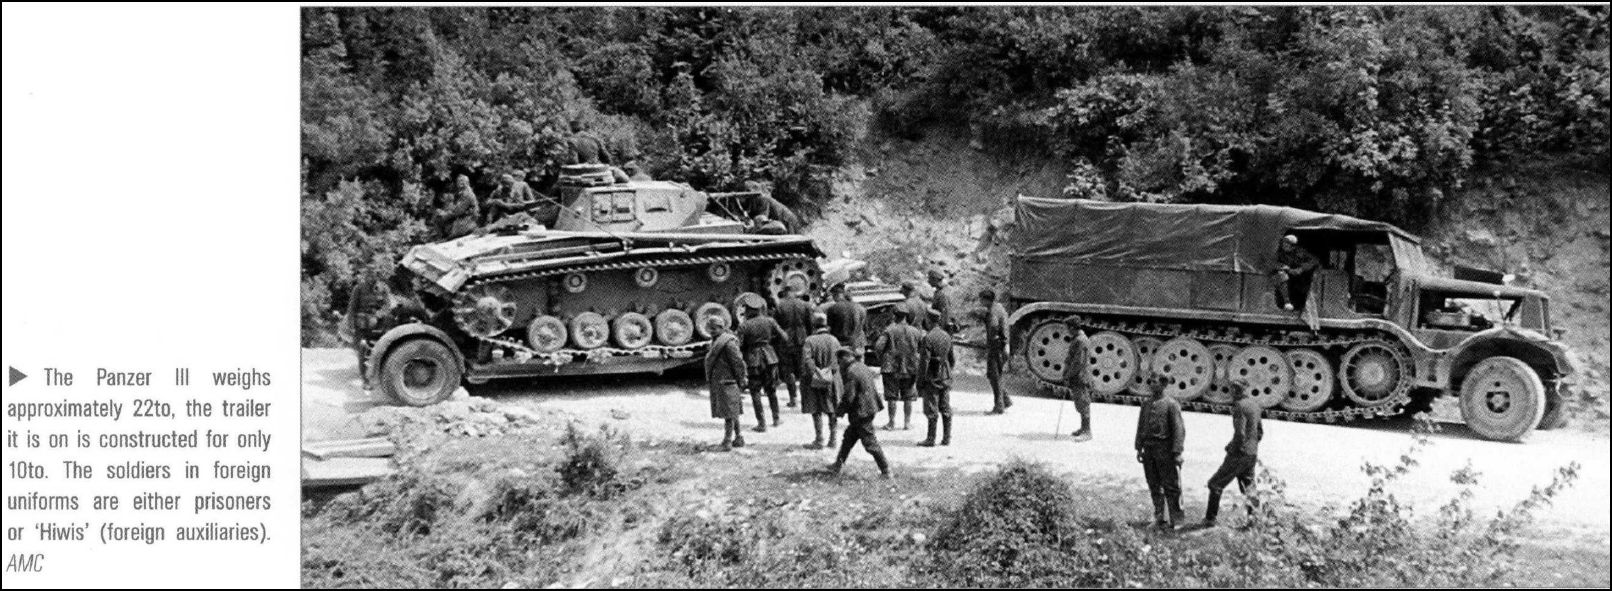
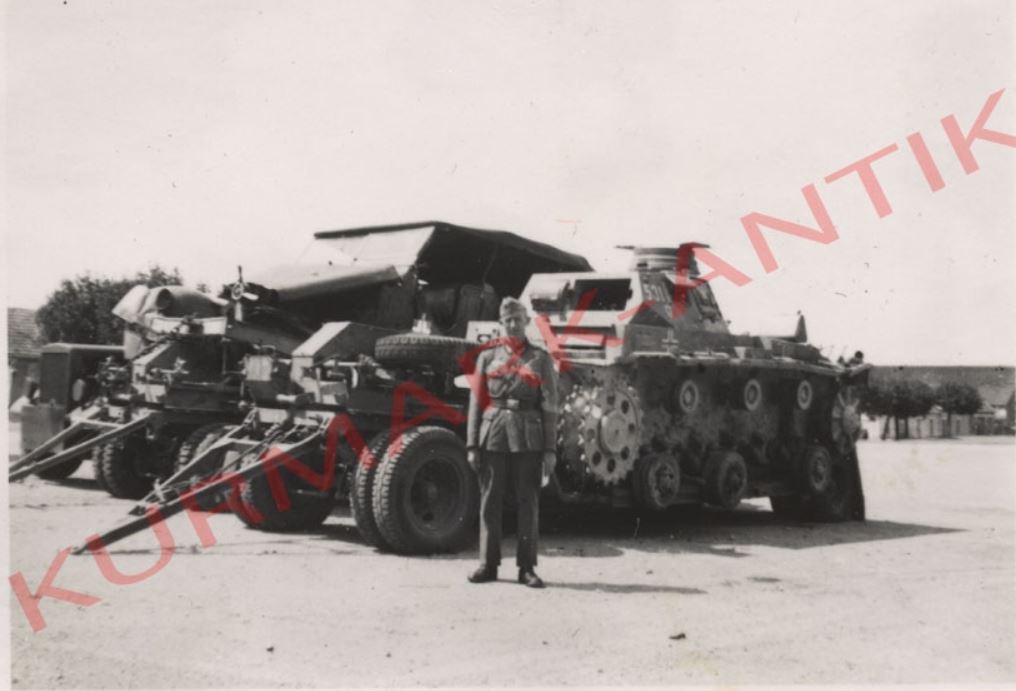
Now THAT IS interesting: - A 22 ton Pz. III loaded on a 10 ton capacity trailer.
Kudos to the engineer that originated the 115 trailer design!
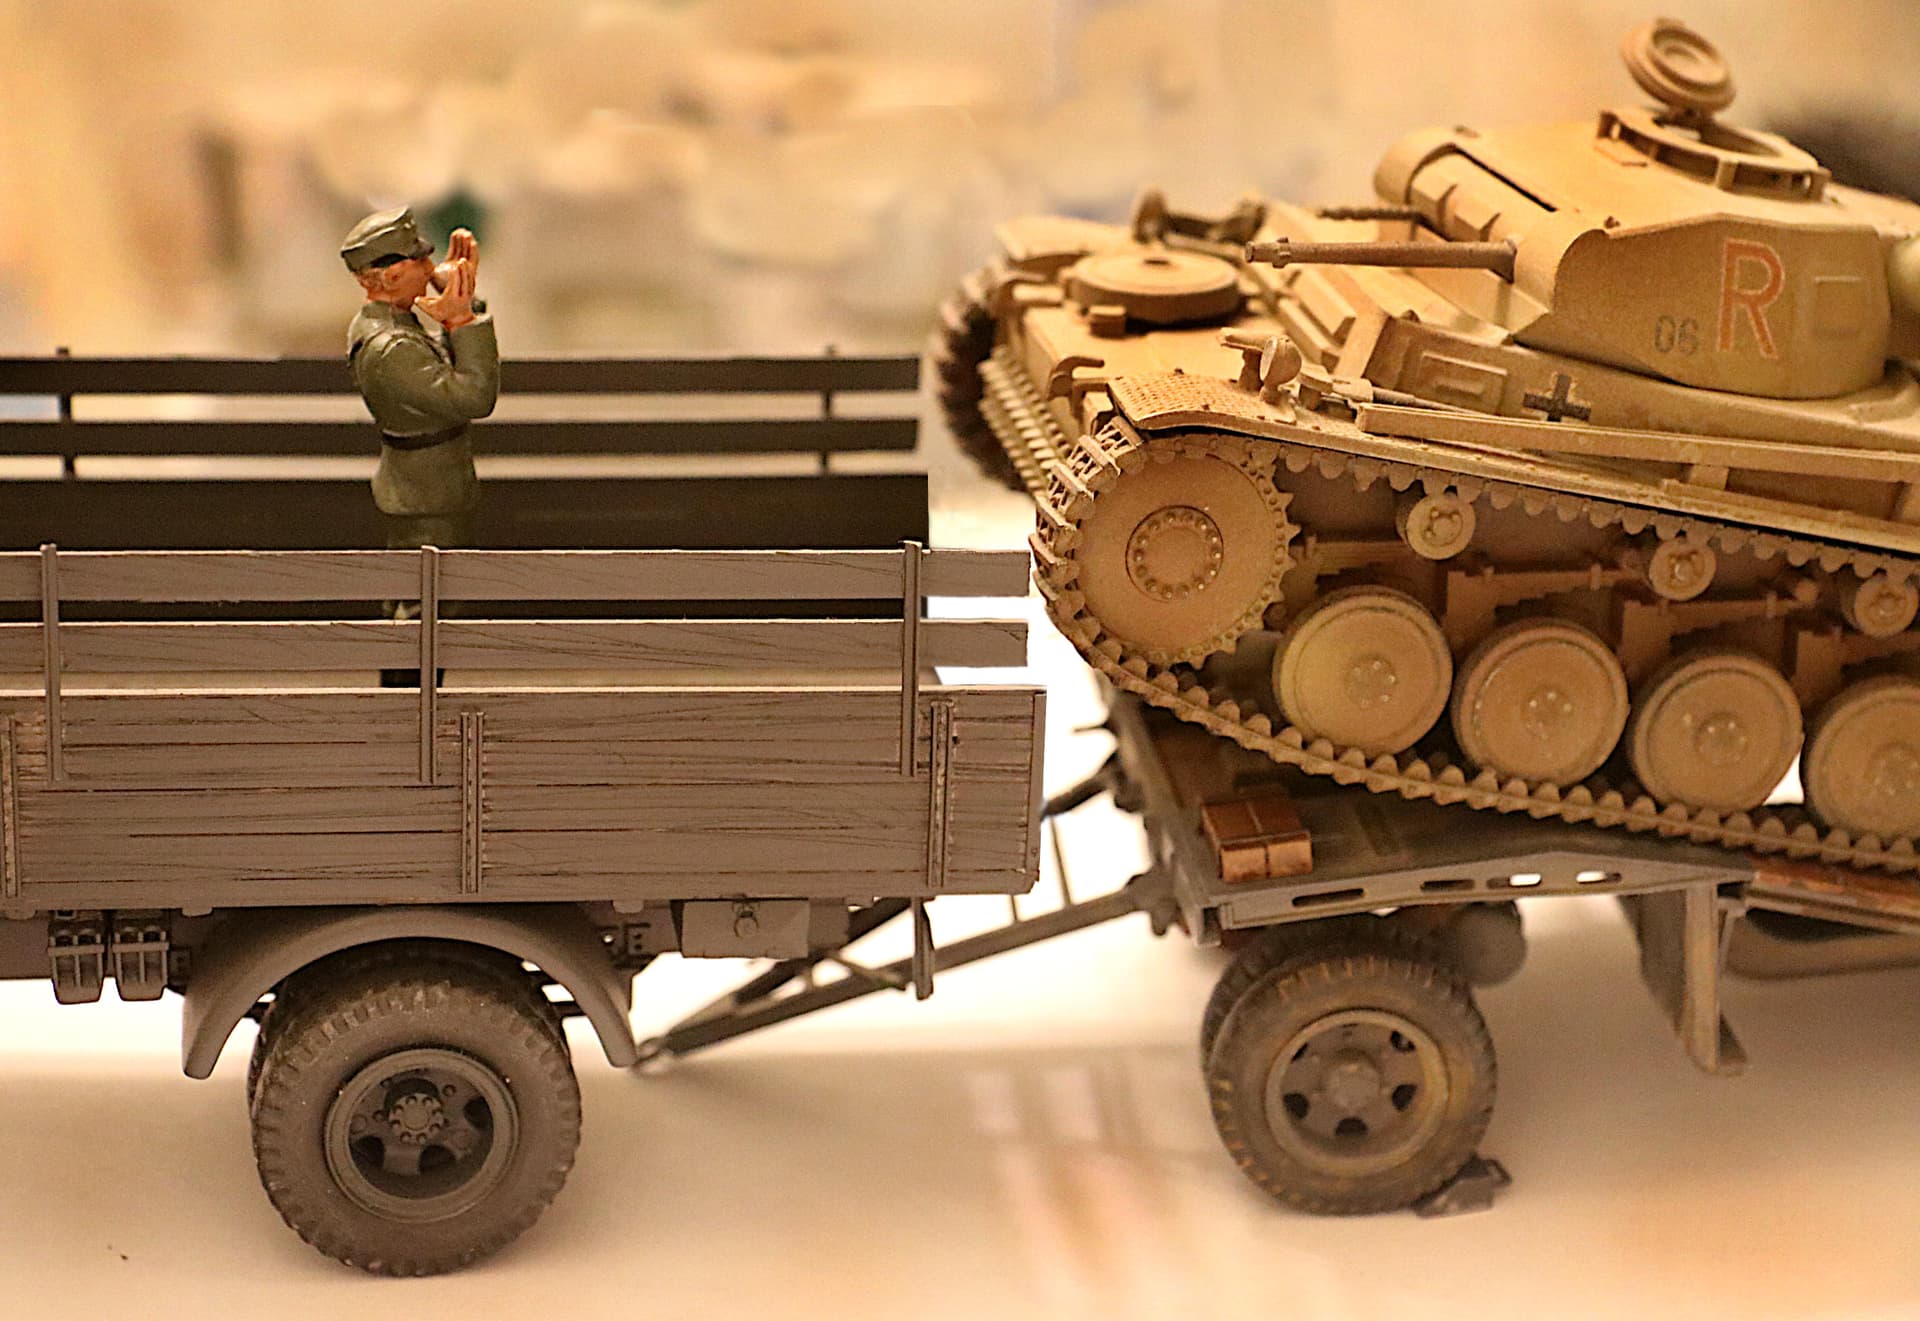
Loading Scenario:
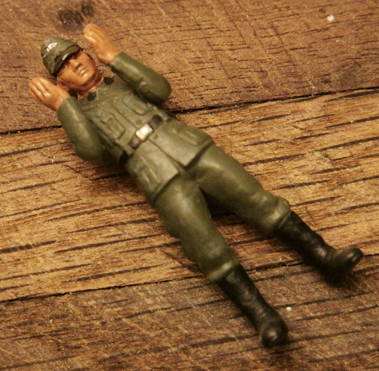
(With my Bussing-Nag subbing for the Faun and Fritz acting as ground guide/load master.)
Edit: ~ New Photo Added
A very typical body position for a ground guide.
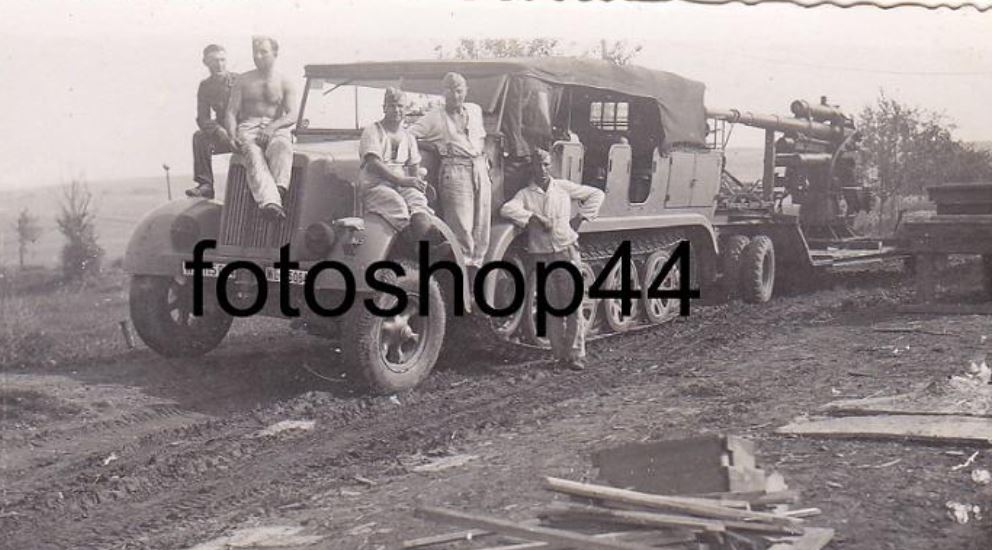
Well as per usual Henri, you are finding photos I have searched for but have never seen before. Amazing!
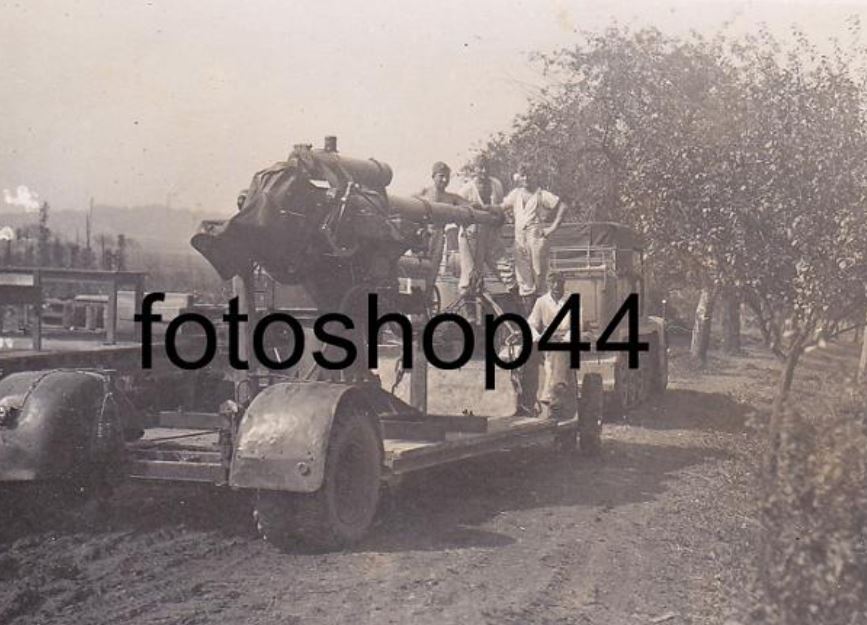
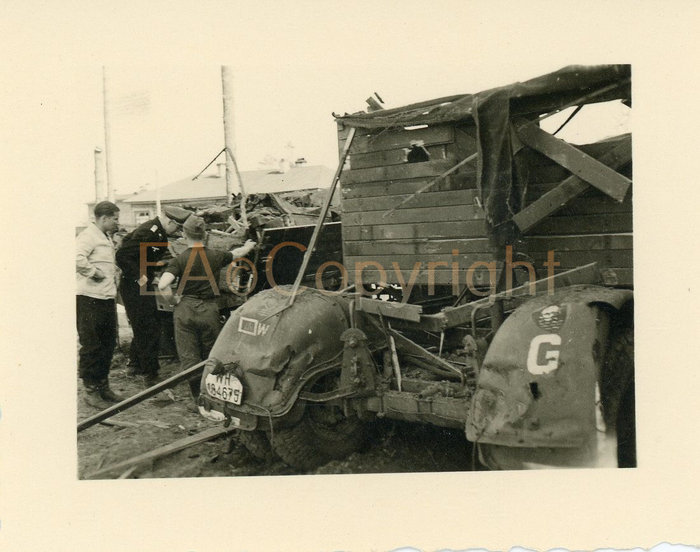
Very interesting load you have there: A pad mount (fixed position) 88mm Flak gun being delivered somewhere using an early 8 ton 115 trailer.
Food for diorama thought . . . . . .
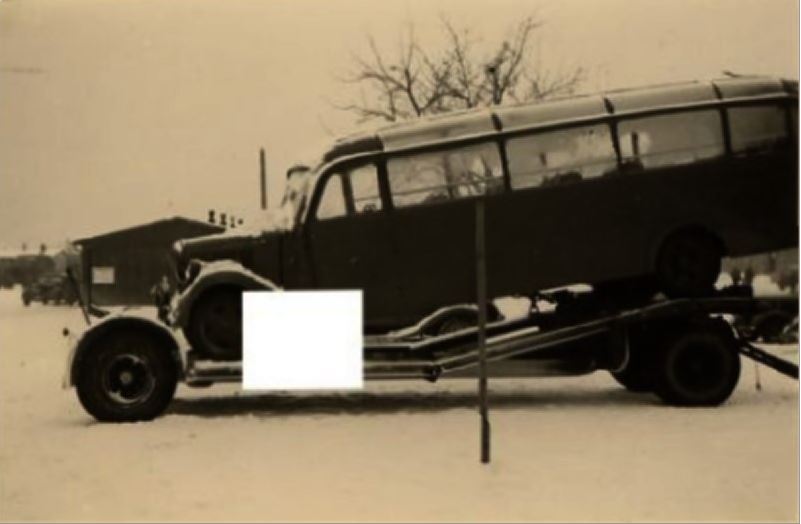
All the pics in my last post come from this very interesting thread on Axishistory forum :
https://forum.axishistory.com/viewtopic.php?f=132&t=161260
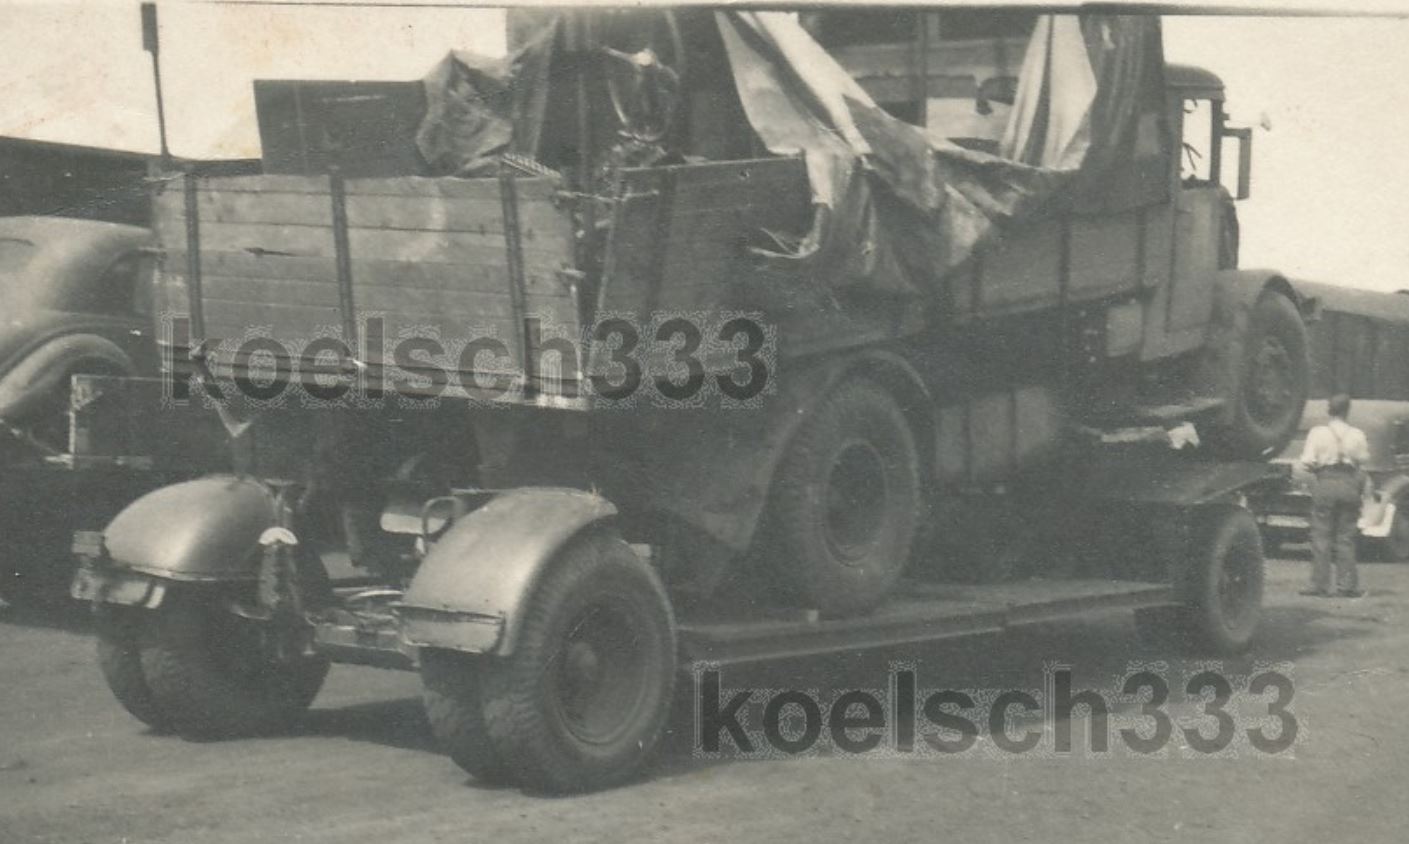
like these two :
I stopped browsing it at page 50, so you will probably find a few more useful pics on the remaining pages ![]()
H.P.
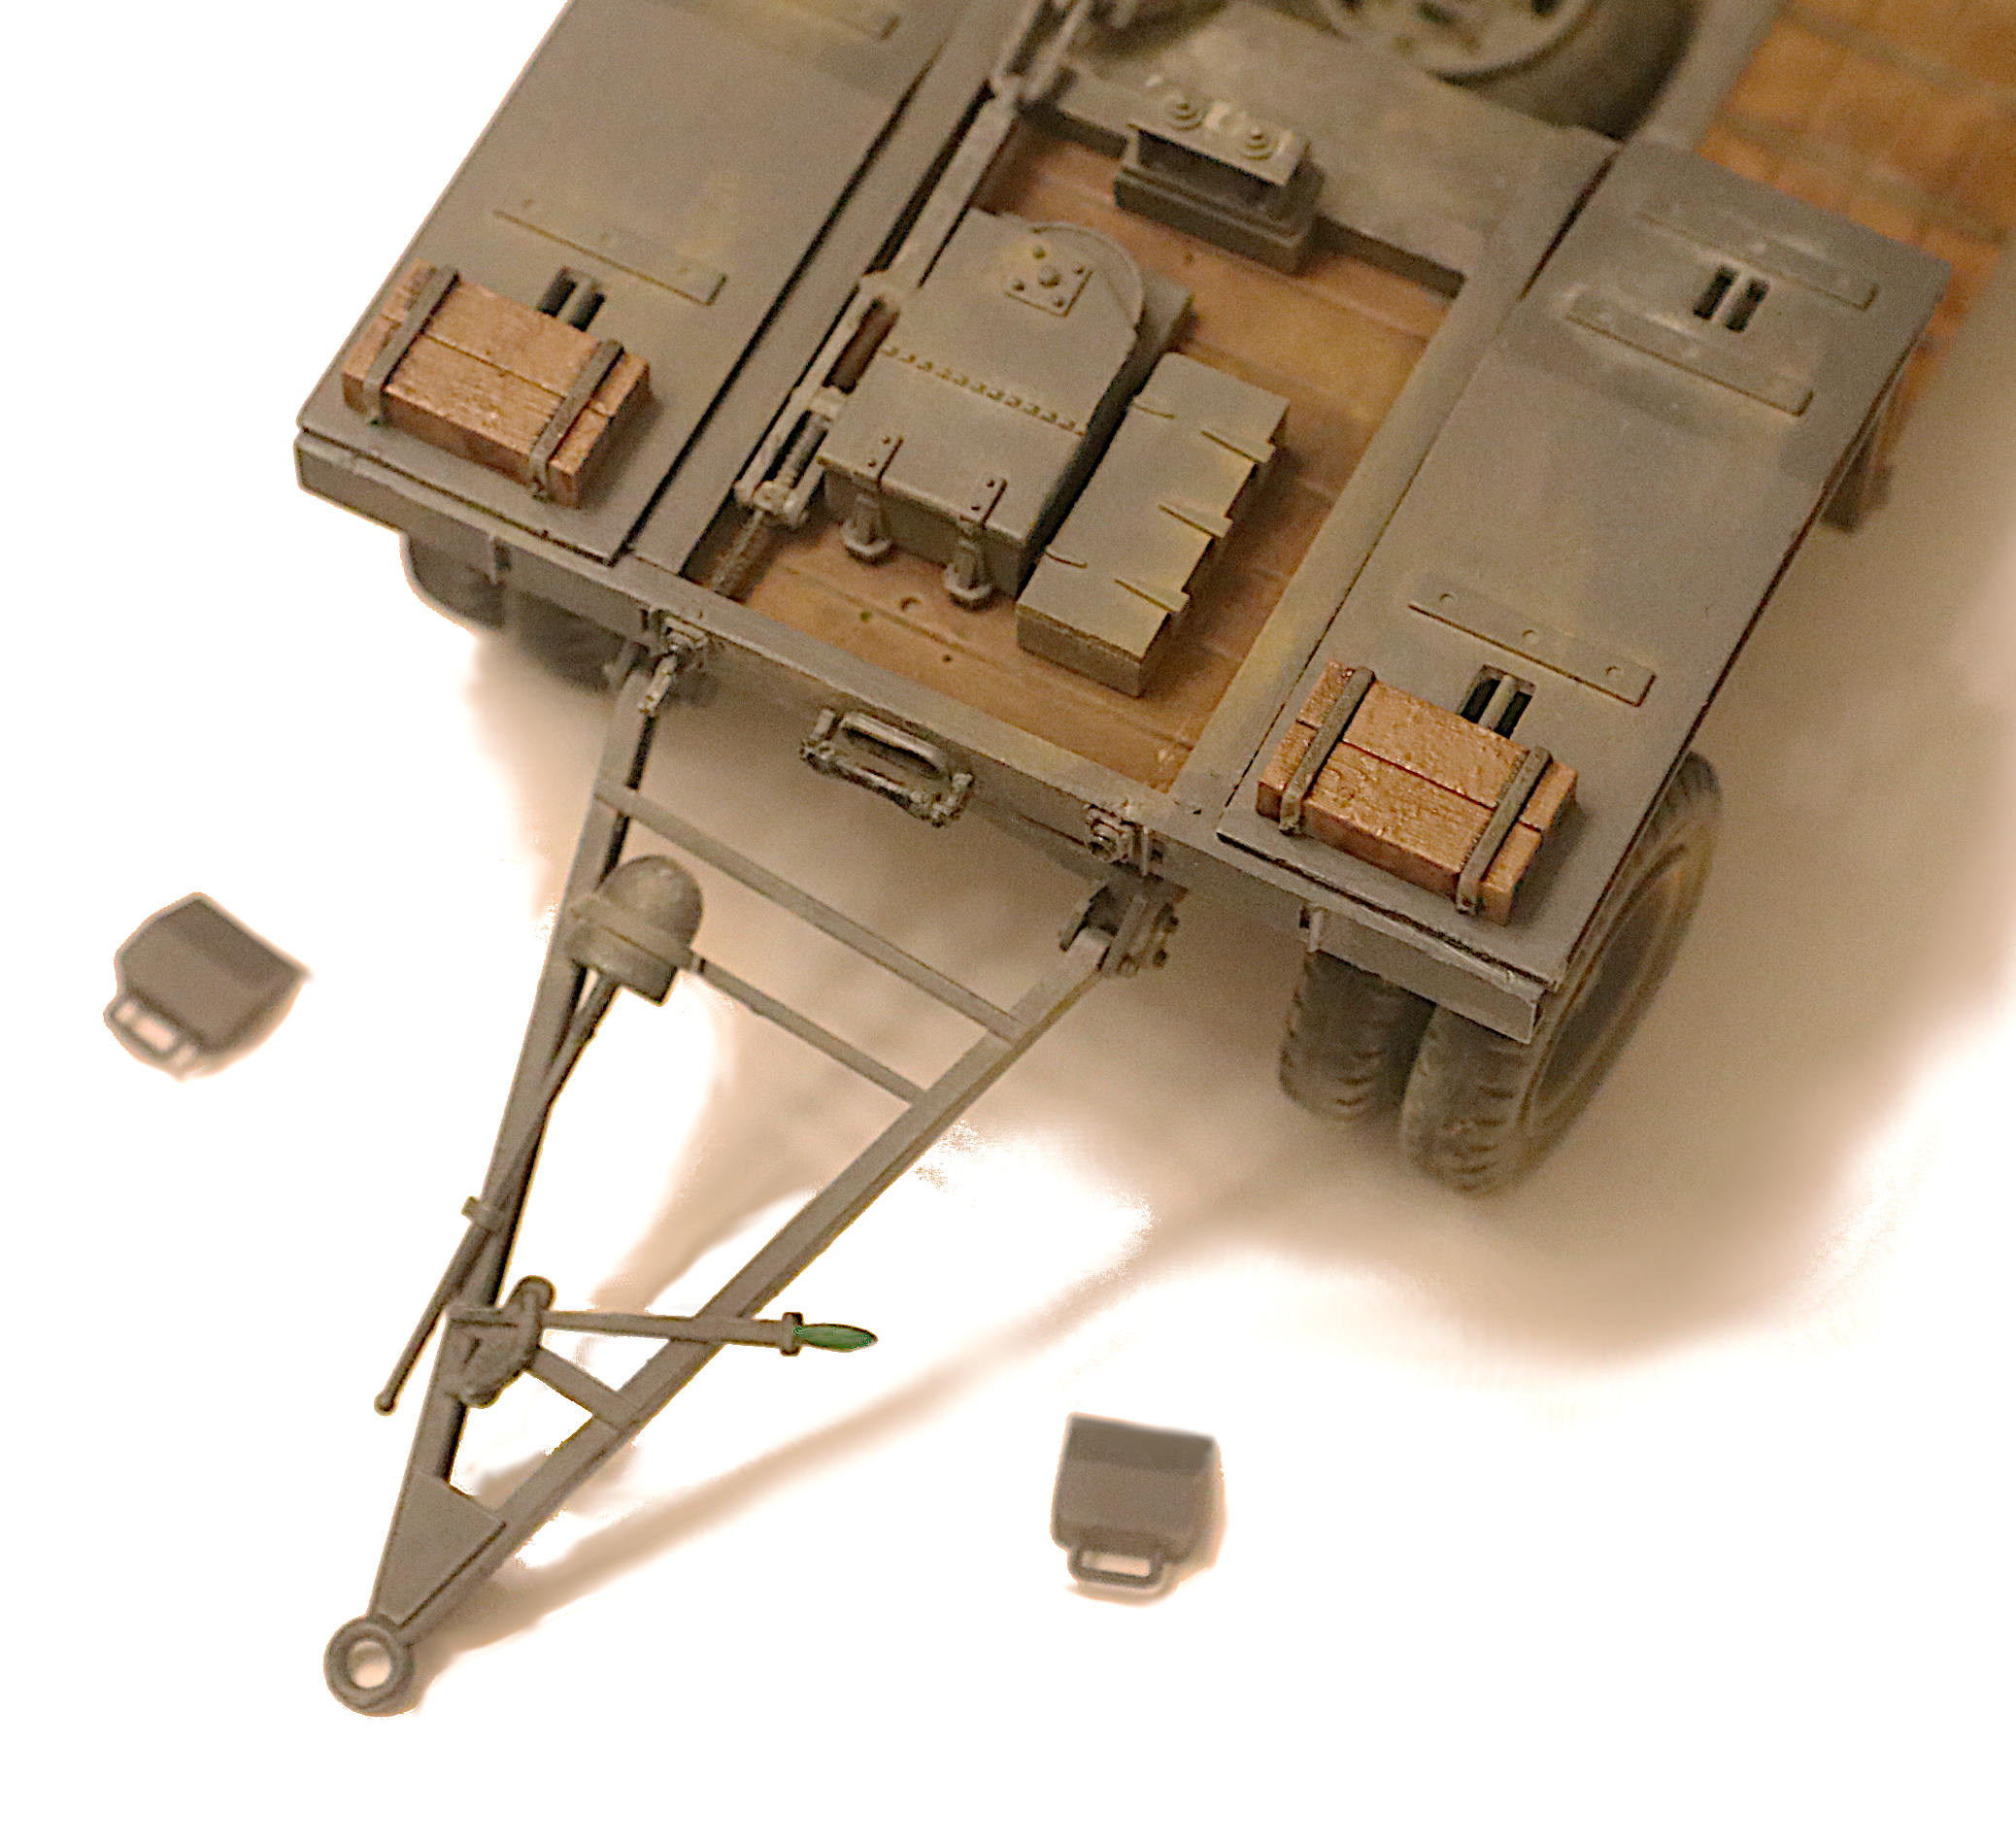
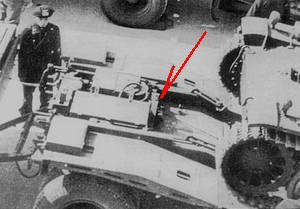
I know this is a REALLY small detailing item but hey . . . . . .
. . . . . . again . . . It’s me we’re talking about here!
So often the model companies mold something to just lay FLAT on a surface. - Much like a big square block of cheese sitting on a plate.
When in reality the item also would have detail on the bottom that would cause it to sit up, slightly off the surface.
Such is the issue with these 2 jacking blocks on the front deck. In reality those 2 metal bands with rivets go all the way around the block so the block would therefore sit slightly ABOVE the surface with a shadow visible all the way around it, giving it a greater 3D quality and more depth of detail.
If I end up using these blocks I plan to put small bands of plastic under them in order to raise them ever so slightly off the surface.
Again I know this is a really small retail but file it away for future use. It may come in handy on some future model you would be building.
(For now the block on the right is just photoshopped as raised in the photo below.
p.s. That brake cable - for now - is also just photoshop as well.
Just an FYI - when I use the expression “photoshop”, I am using it much like we would use the expression “Kleenex” to mean any facial tissue. - I use it here as a generic term.
I actually use a FREE software program called “Gimp”.
It is a free and LEGAL download from the internet for either Mac or PC and is 99% as good as photoshop. (Have used both for years now.) In a few minor ways it is even better than photoshop.
Did I mention; it’s FREE?