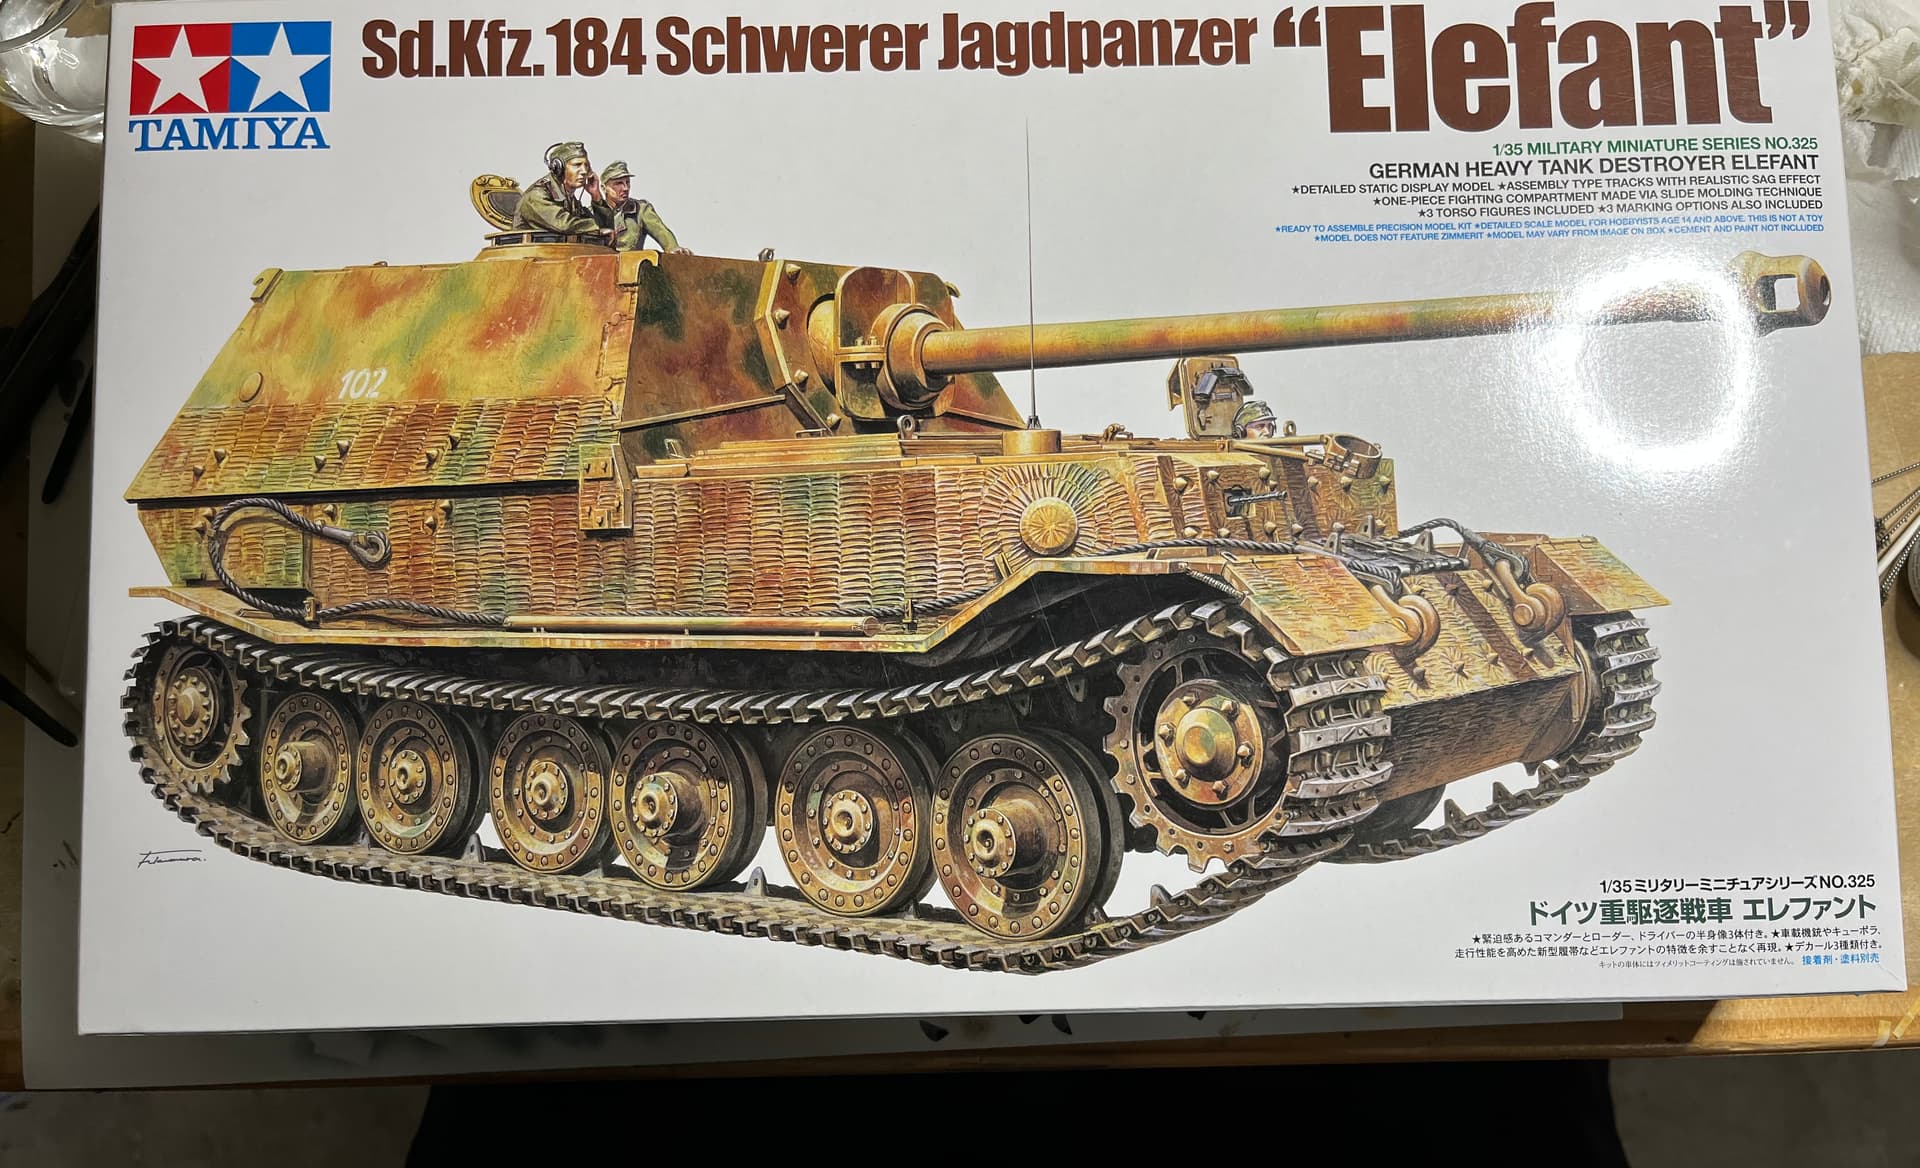
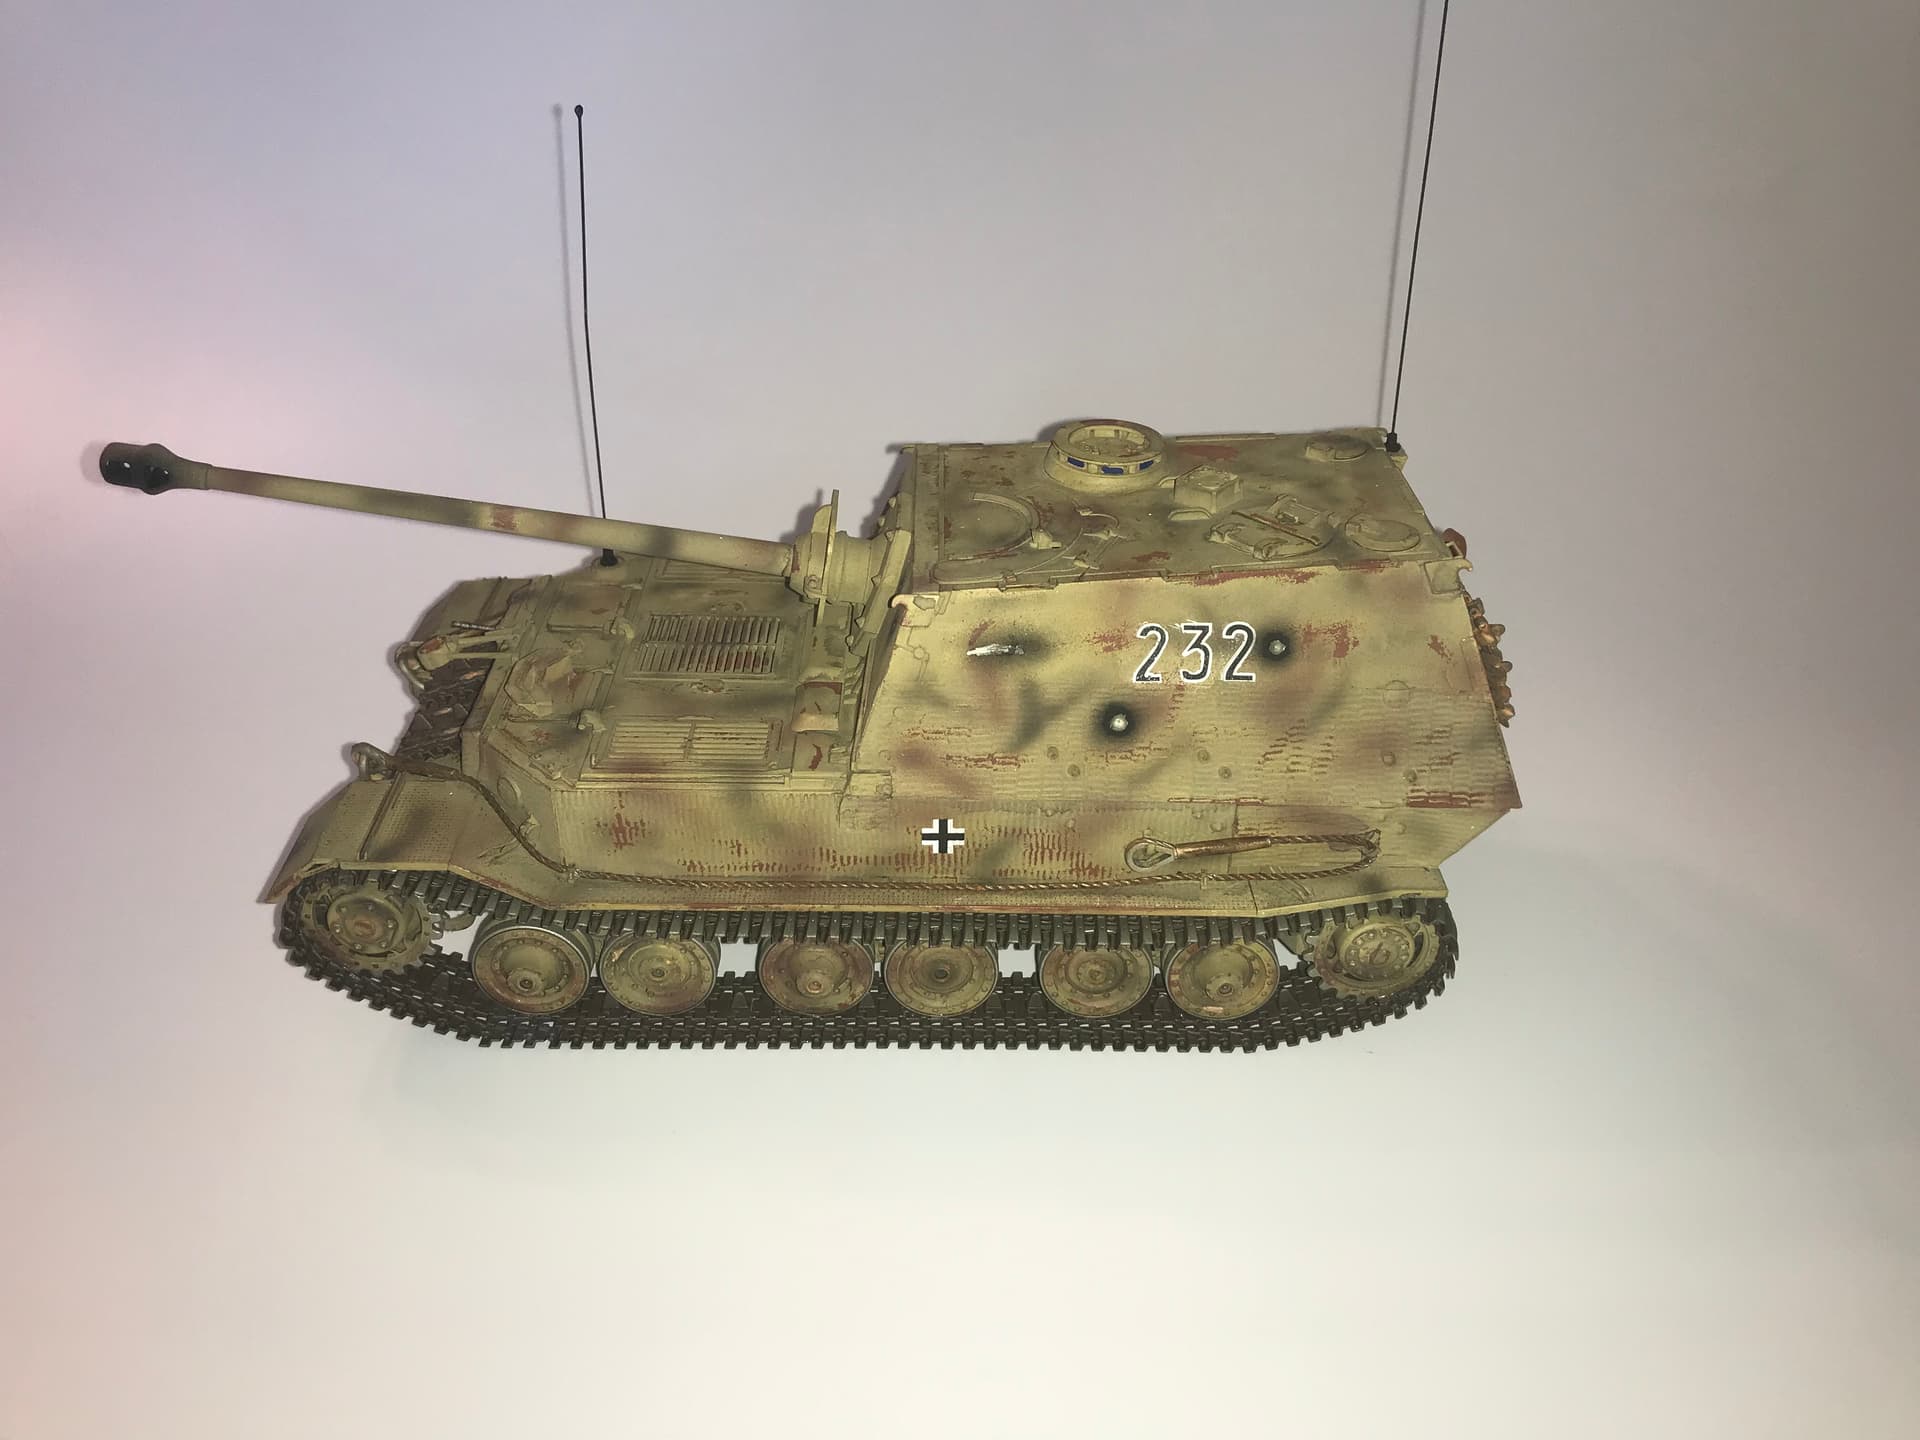
The Sd Kfz 184 is one of my favorite vehicles from WW2. I have always loved those stop gap vehicles or vehicles that were born out of necessity instead of of design. The Elefant is the epitome of this mantra, starting life as the Ferdinand using hulls left over from Ferdinand Porsche’s failed proposal for the infamous Tiger competition. For a beast that was never meant to be it was a devastating weapon mounting the same 88 mm on the Tiger II with up to 200 mm of case mate armor. Originally deployed at Kursk it was plagued by design and mechanical problems. Survivors from Kursk returned to Germany to correct these issues, adding increased armor, a bow machine gun and a commanders coupla for better commander vision.
The new Elefant was sent to Italy and back to the Ost front. I plan to do one of the Italian ones (haven’t settled on a scheme). I will be using the tamiya kit as a base with Def models zimmerit and an aber barrel. Got this kit for Christmas last year and have been itching to crack it open! Need to finish my KV-1 tomorrows and then I plan to build this guy over the thanksgiving holiday
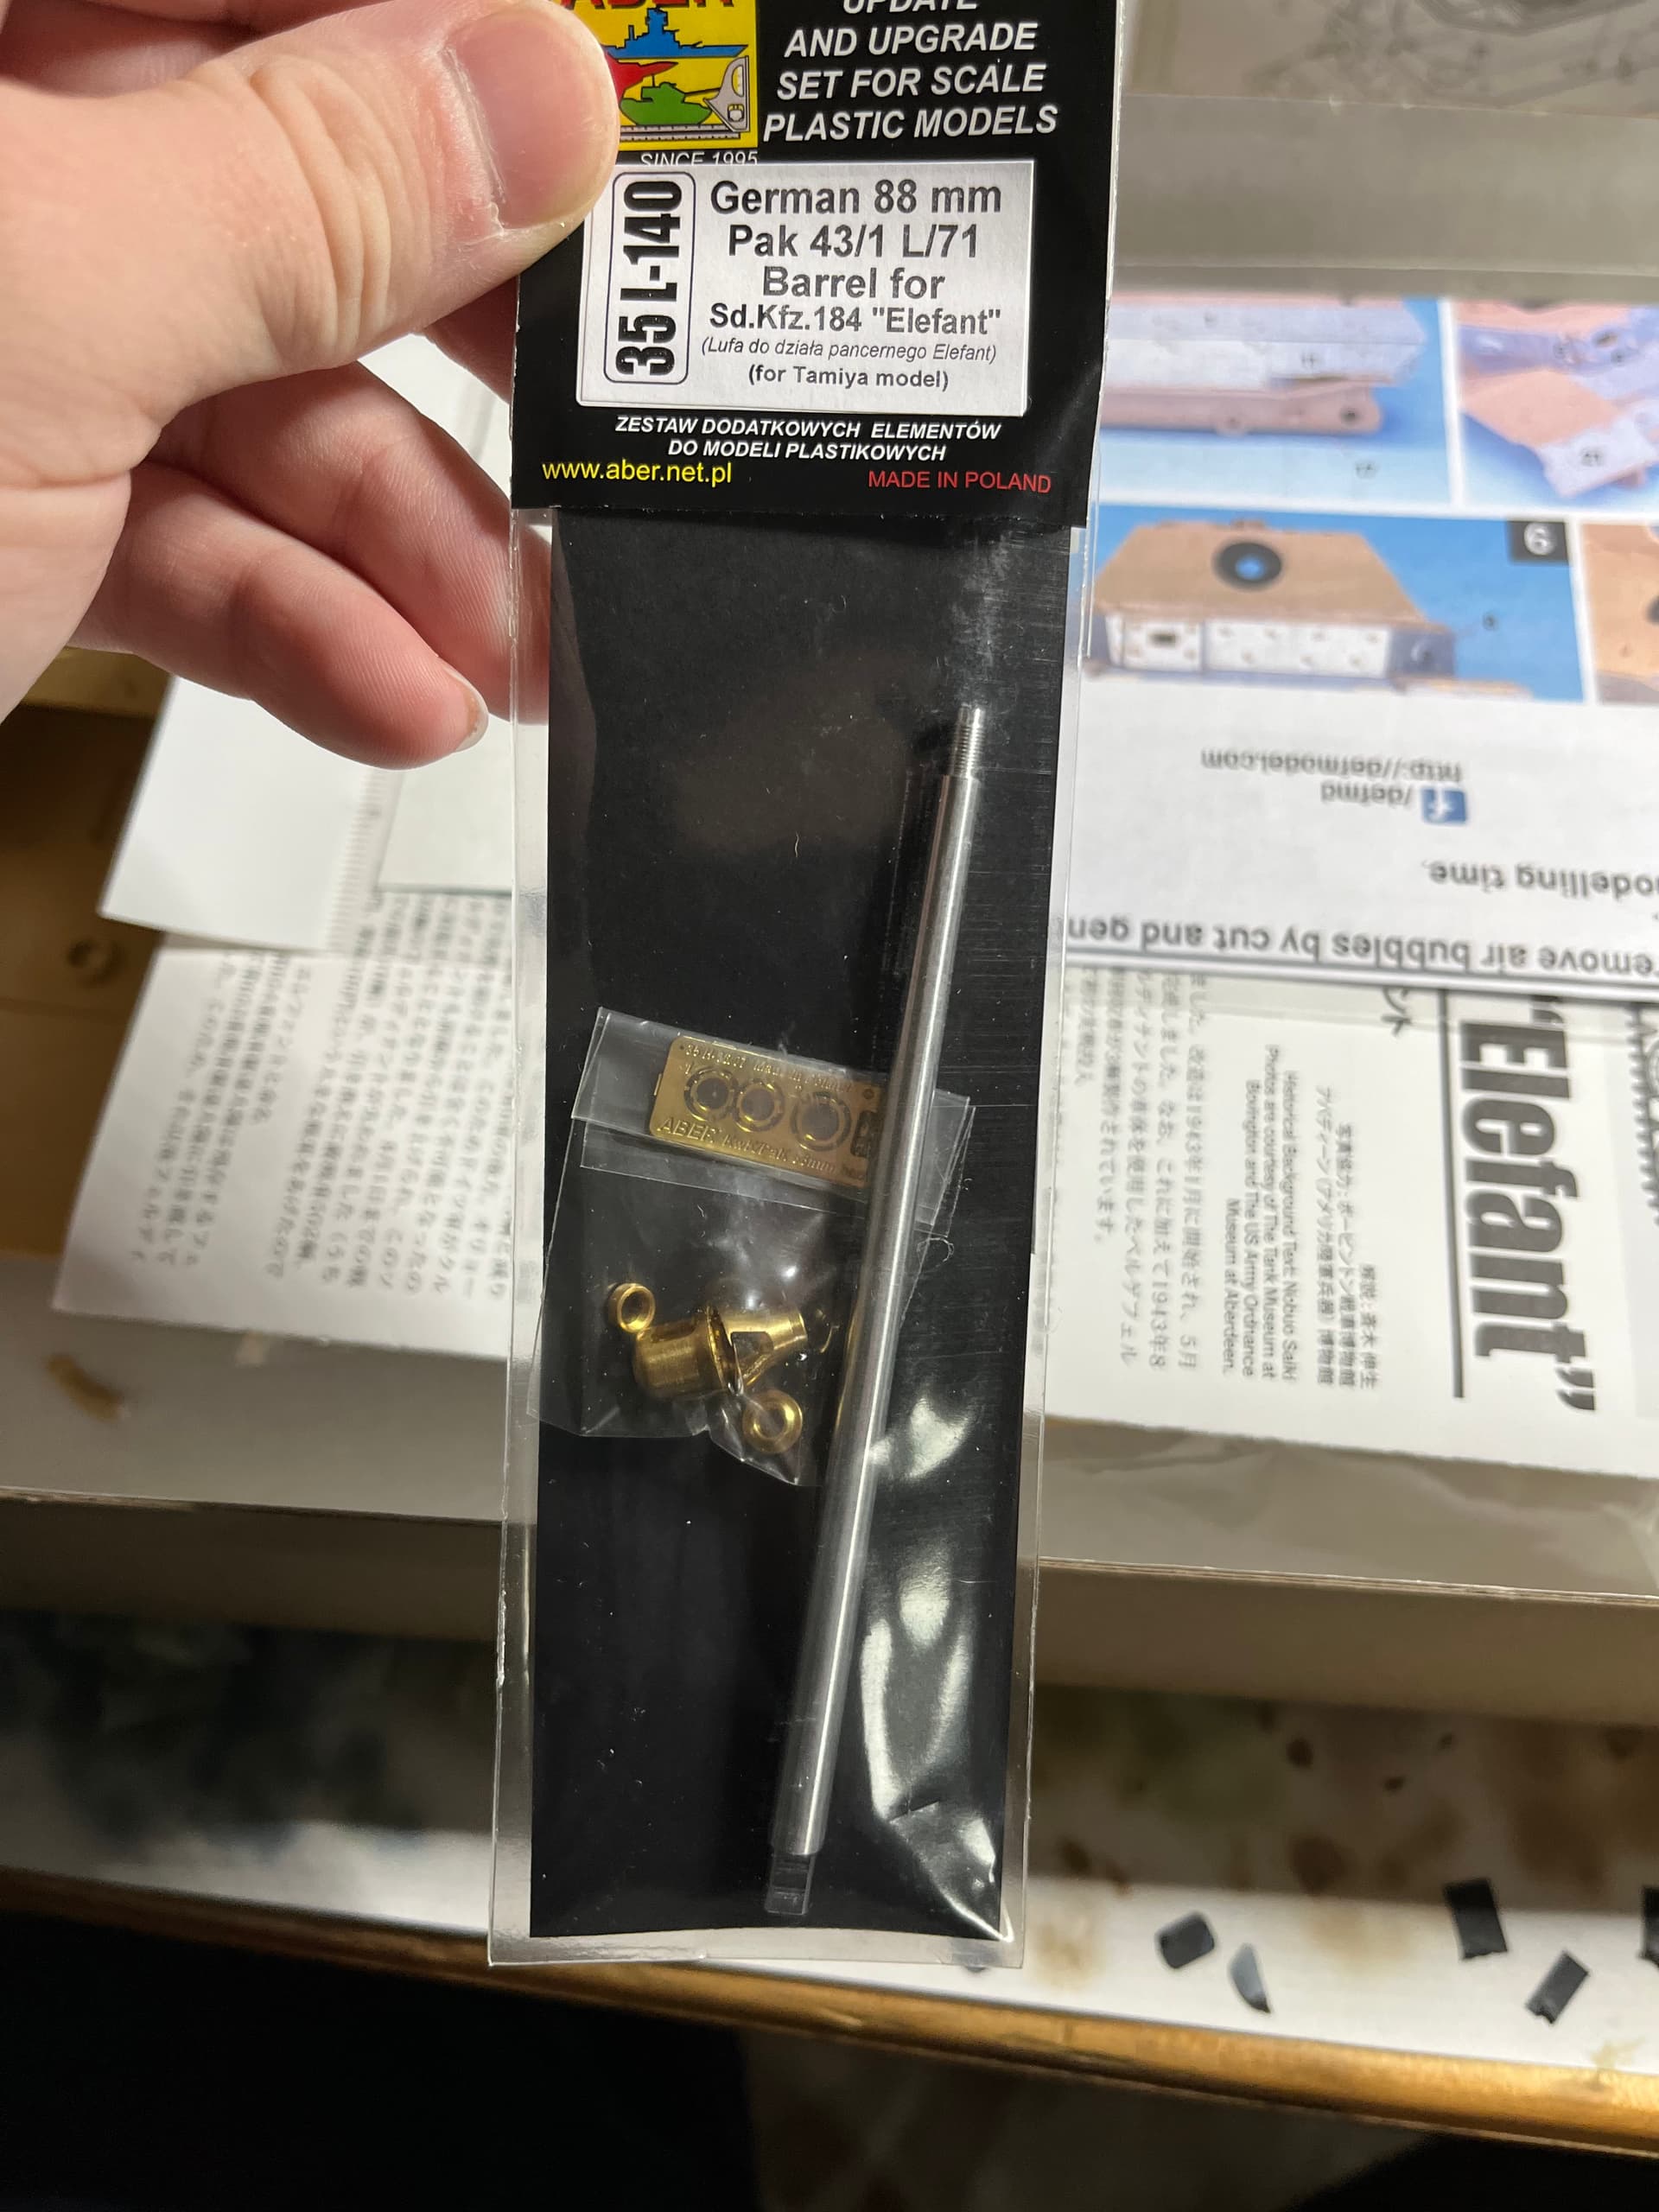
Yeah @Johnnych01 I am happy with the extras! You convinced me the Def zimmerit was the way to go, and the aber barrels are gorgeous. I thought about adding PE but the Eduard set is pricey and only adds metal fenders and some other small bits
Sometimes you just dont need it to get a really good result. I only look for engine grills really as a must have, so would think about those on most kits when I get one.
Yeah same here! Engine grills are a must. The Elefant is such a big hunk of beastly metal with no small fine parts so I don’t think PE would have added much
Like others will look forward to seeing this build as I have all ways fancied doing the two versions but never got around to doing one . Maybe this will give me some incentive . Best of luck
The metal barrel I got is made by a company called Aber. I got it from sprue bros for I think $8 or so. I like them because the muzzle break is more detailed and there is no seam line.
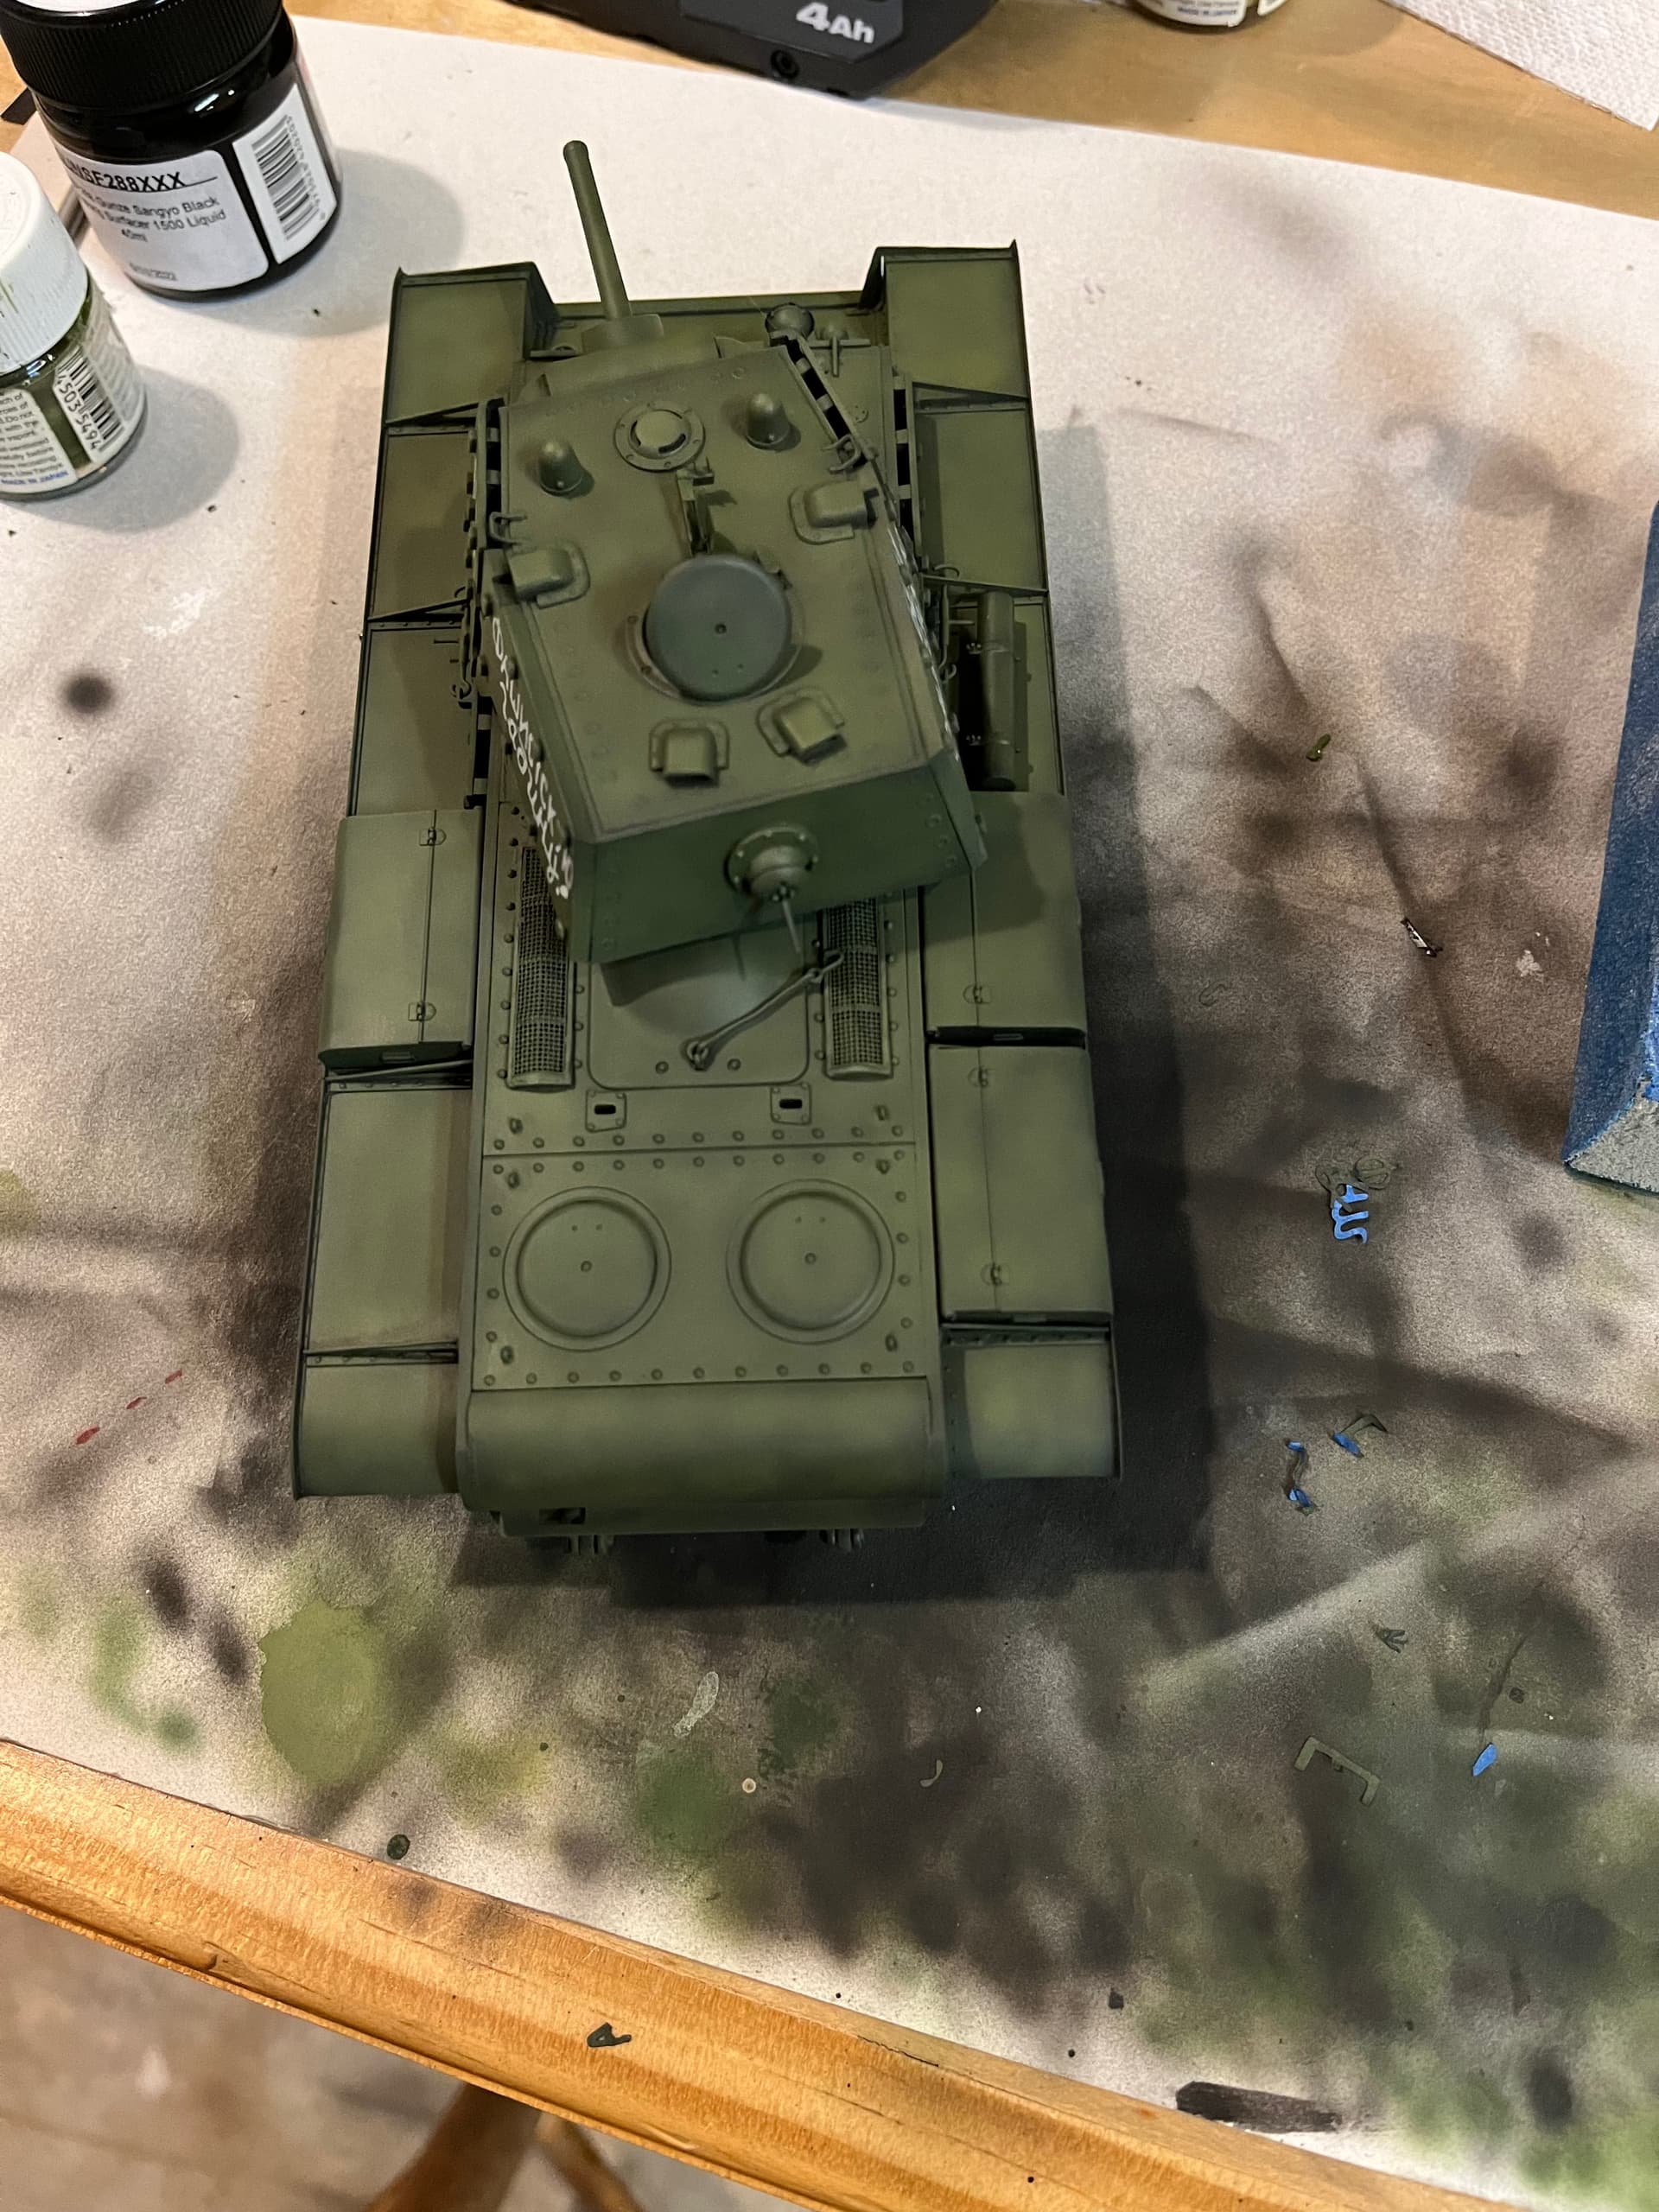
Metal engine grills often come in photo etch sets, often made by eduard. For example I replaced the grills on this KV-1 with eduard photo etch
Should be nice,I did a Dragon version with the zimm molded on,it was when Dragon used to stuff the box,had the grills and the metsl barrel,jmagine that.
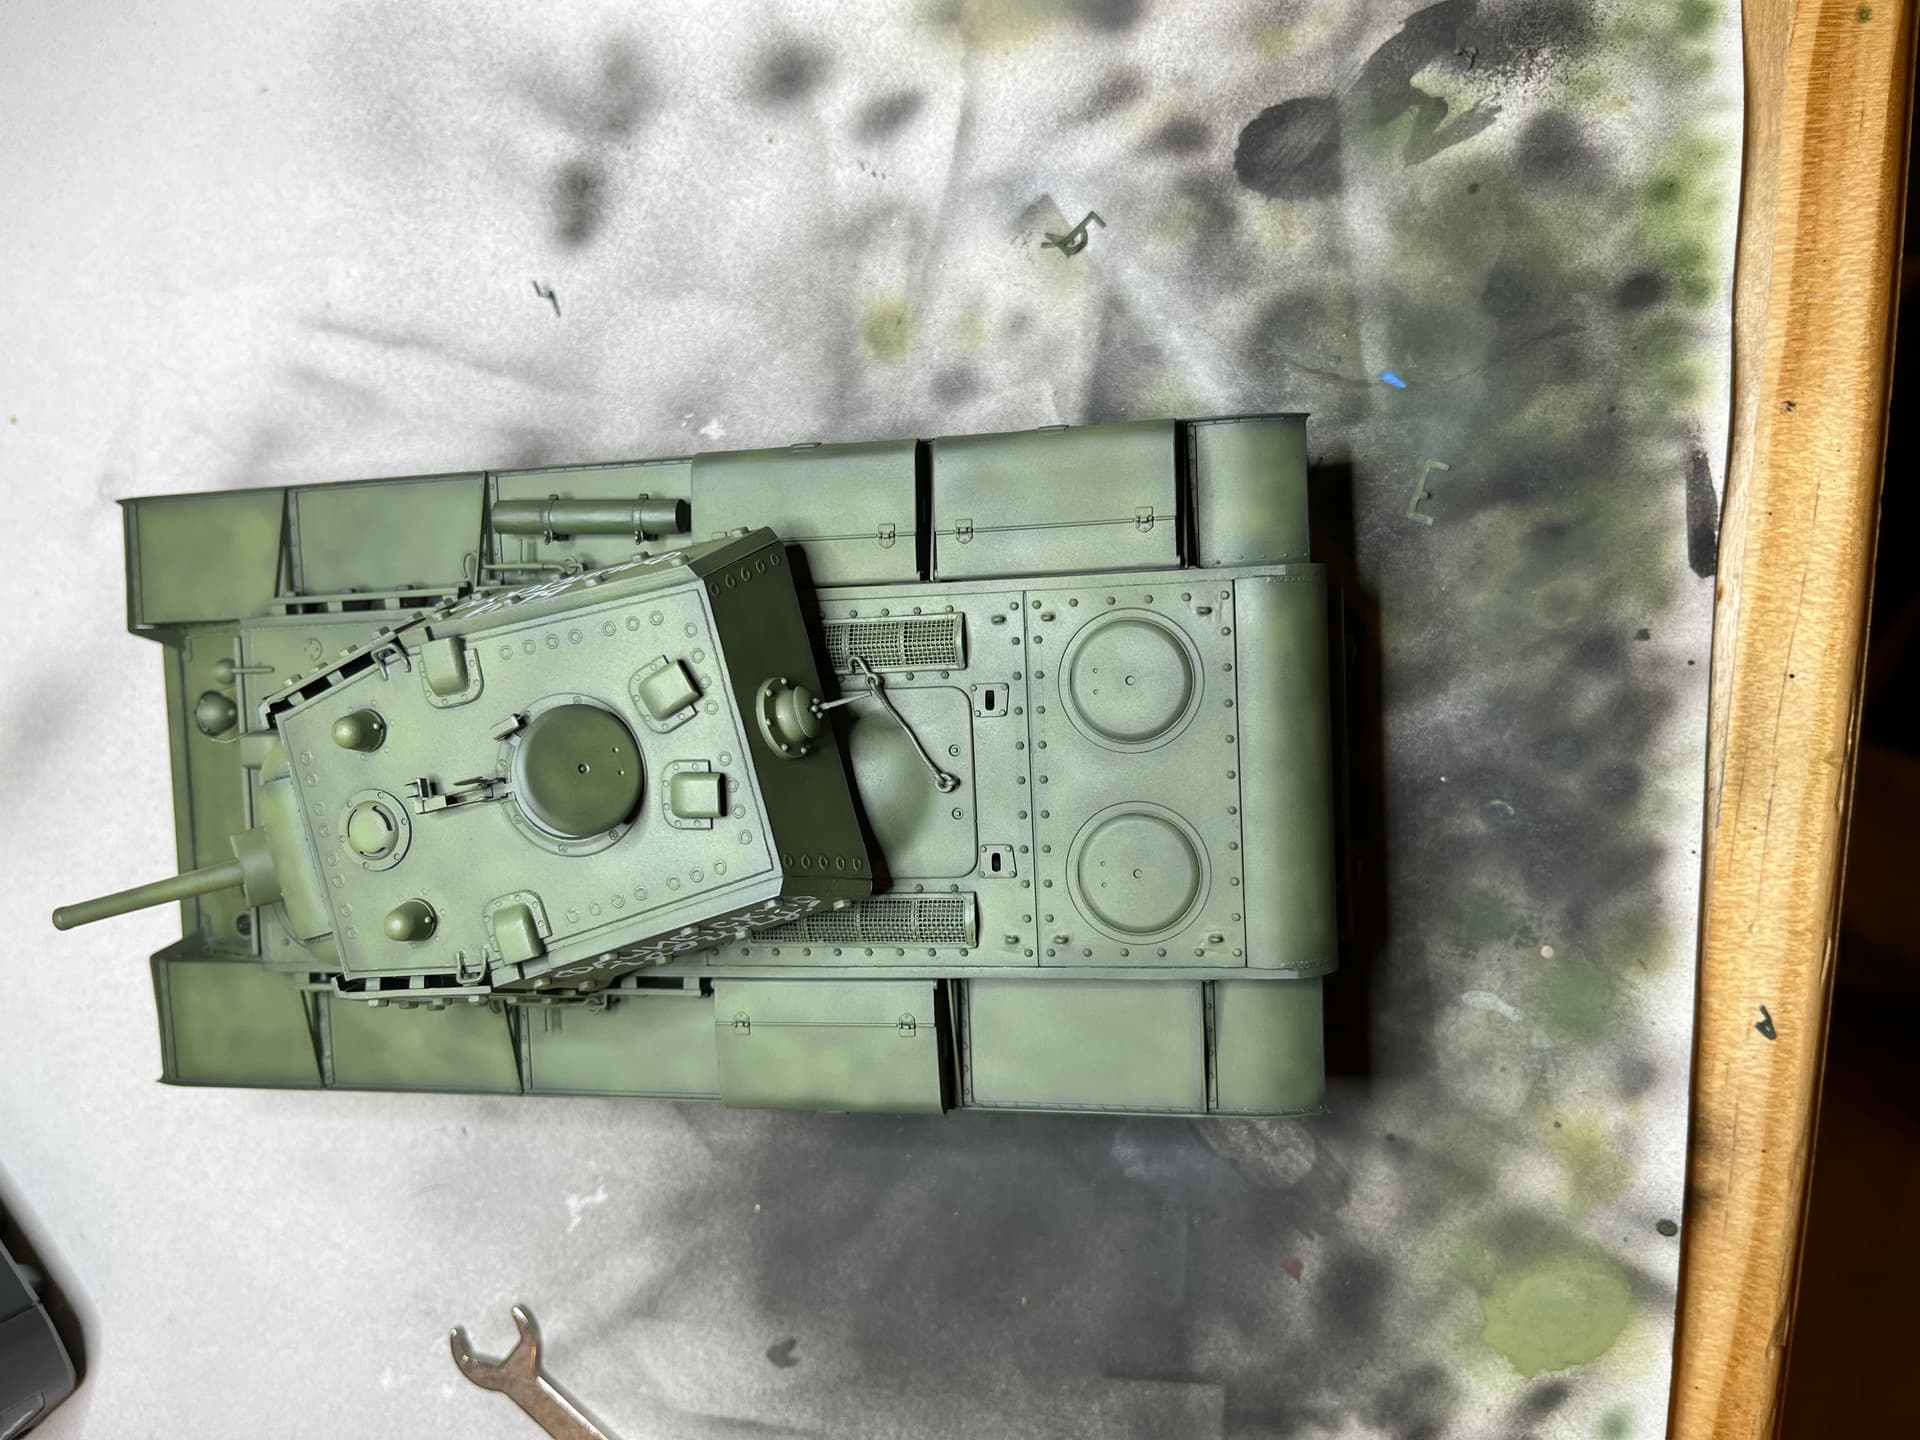
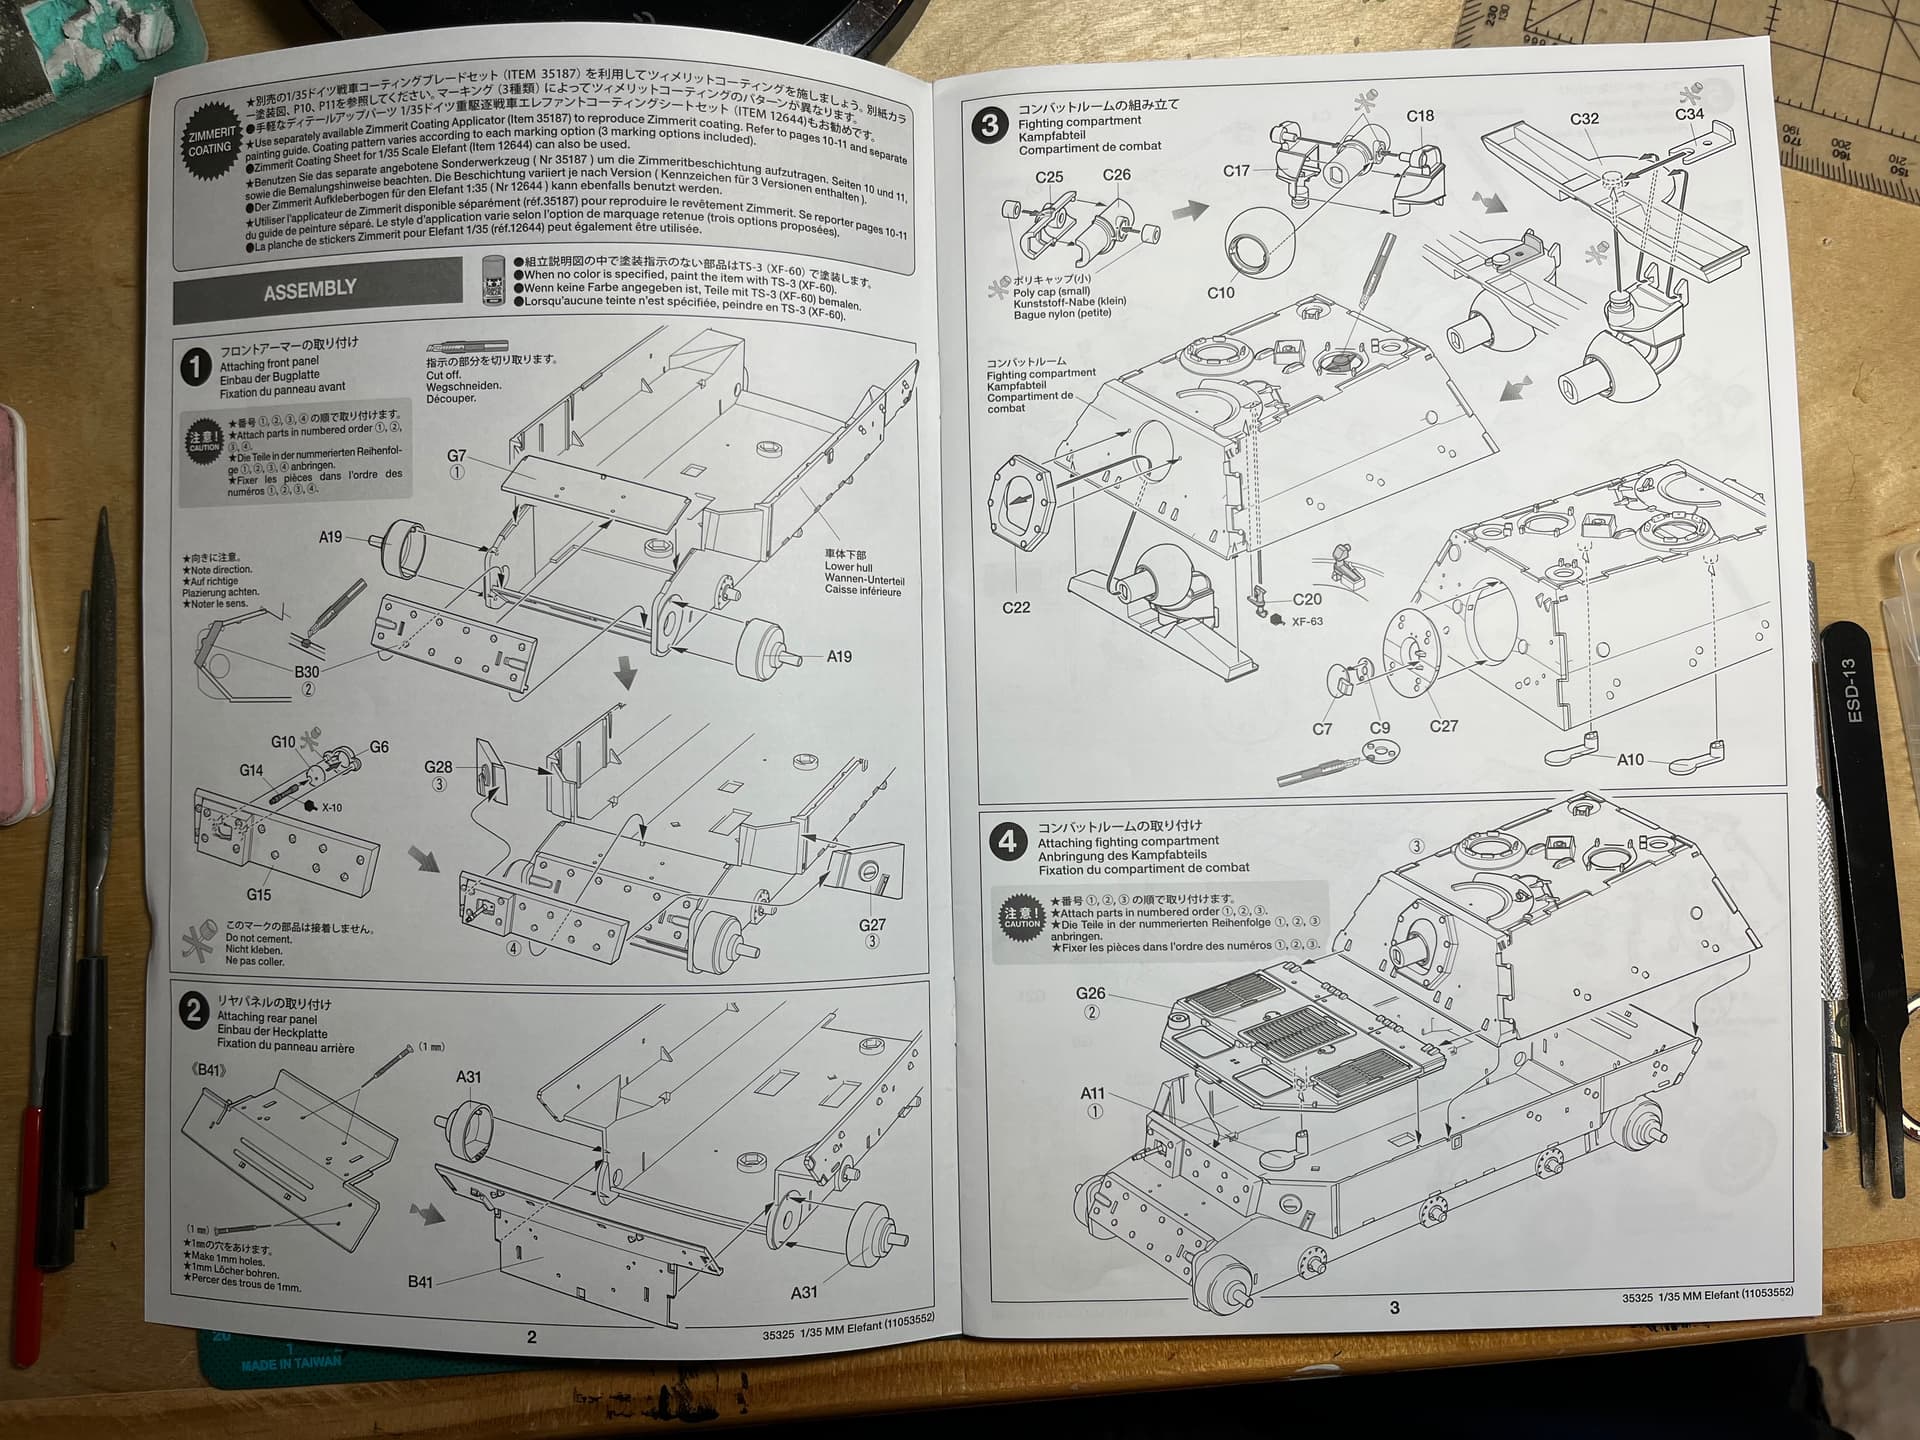
KV-1 weathering bogged down trying to make mud and dust effects on the lower hull. I always stall on that part as I am not very good at it. So I’m cracking open the Elefant. Studying the instructions. I think doing everything up to step 4 is a good idea before adding zimmerit
Mead, I know that was has slowed me up on tackeling zimmerit also, figuring out the build order and up to recently lacking a good application tool but that’s solved w Trumpters tool I picked up recently. I’ll be watching to see if what you’ve surmised works out. Got the same kit here in the stash. It might be the ideal test bed for DIY zimmeritt since not near the fuddly details and areas to work around like on a Panther or a Tiger.
I think you could do the zimmerit before any build steps but then it would be hard to clean up seams and the like. Steps 1-4 build up the major structure.
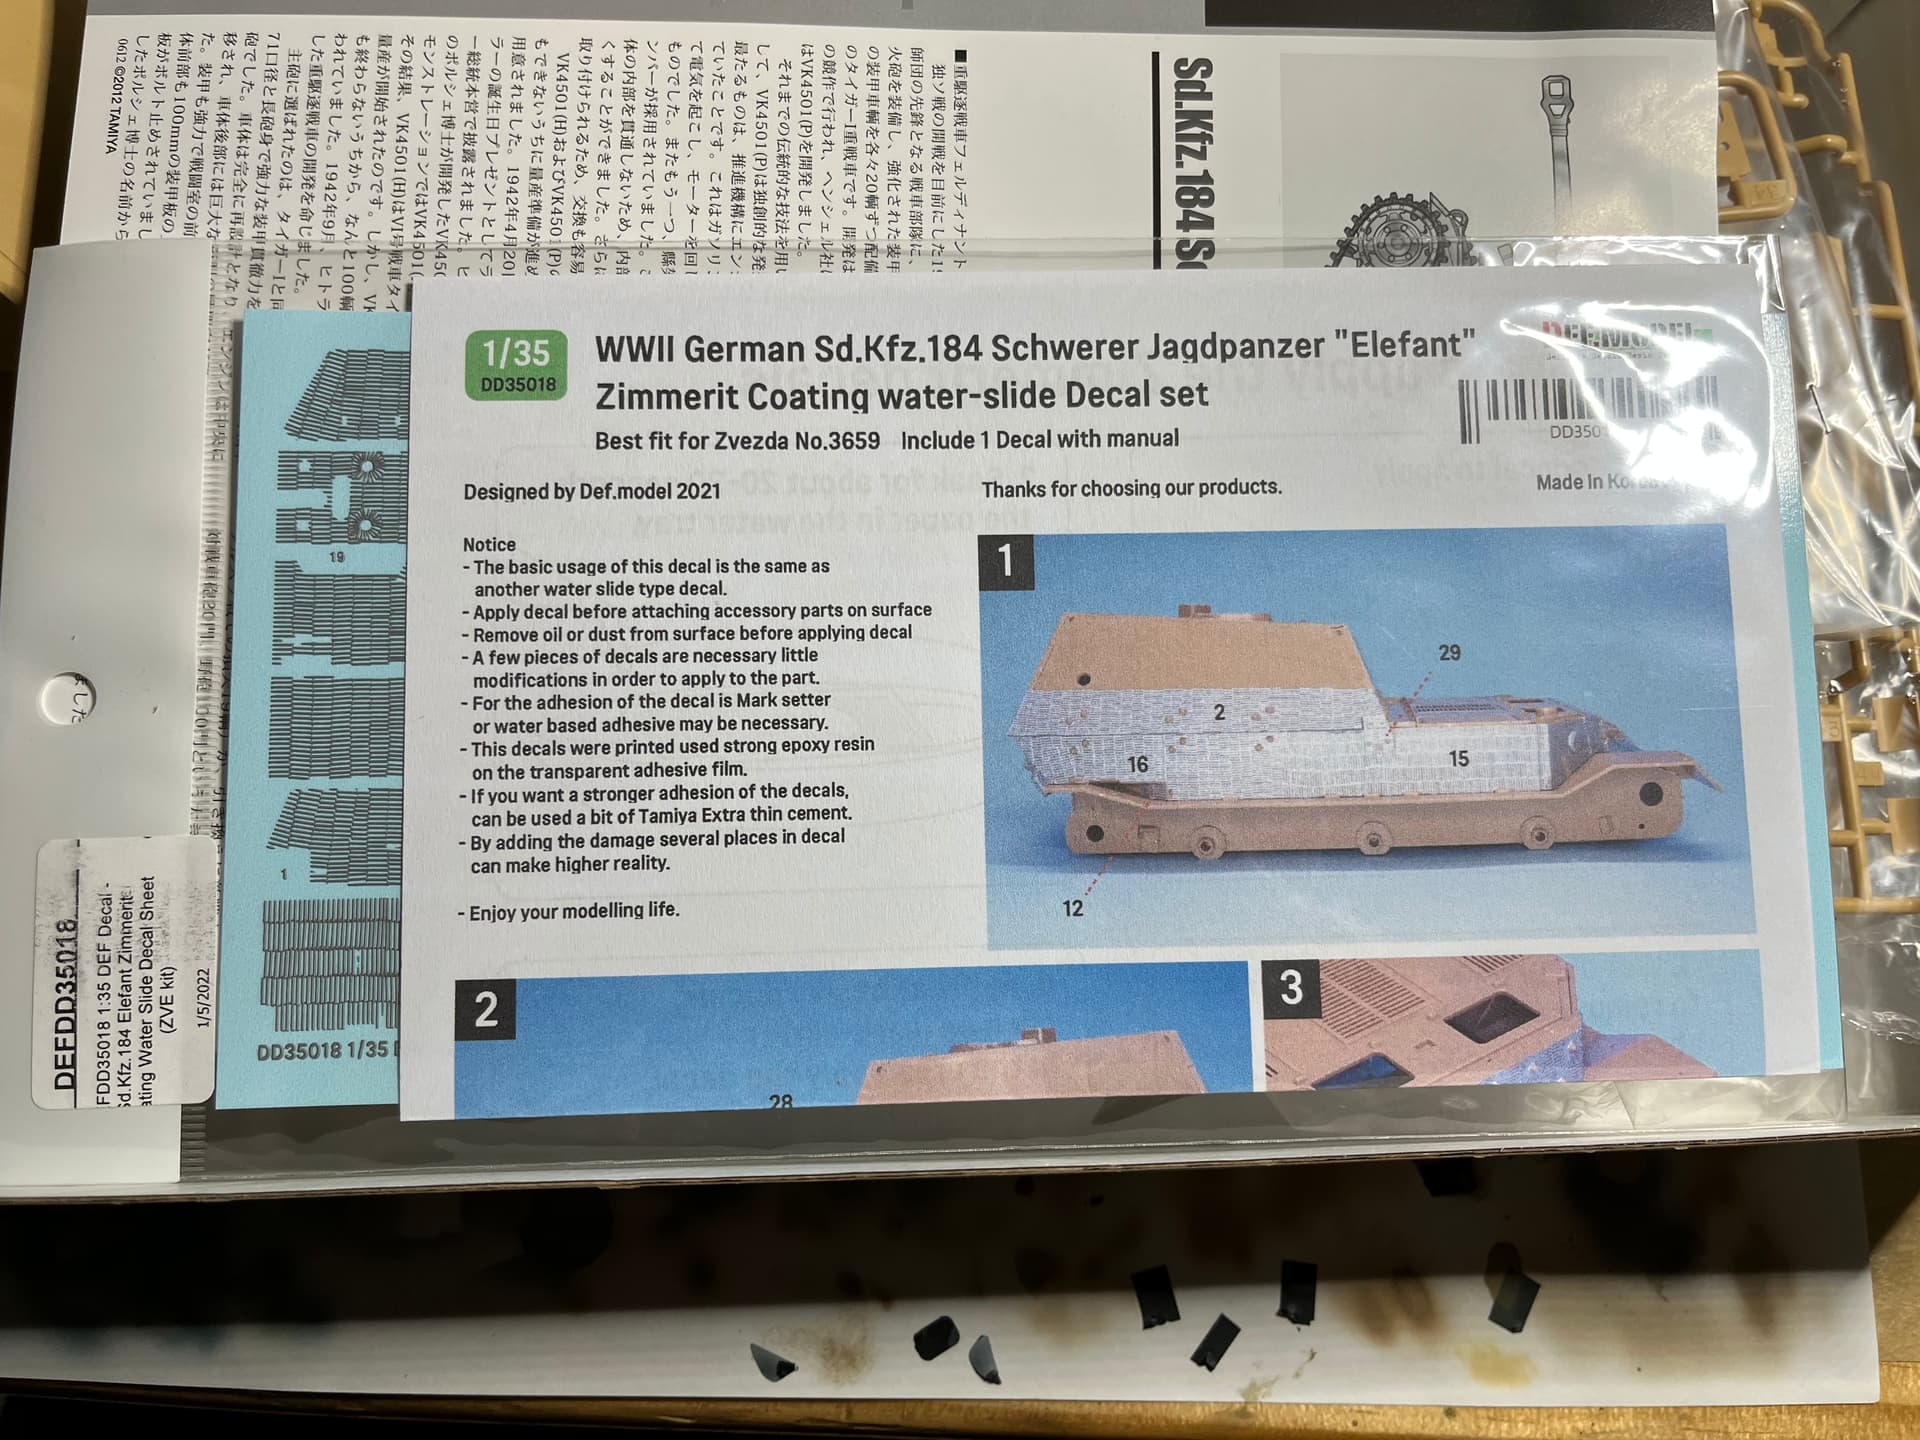
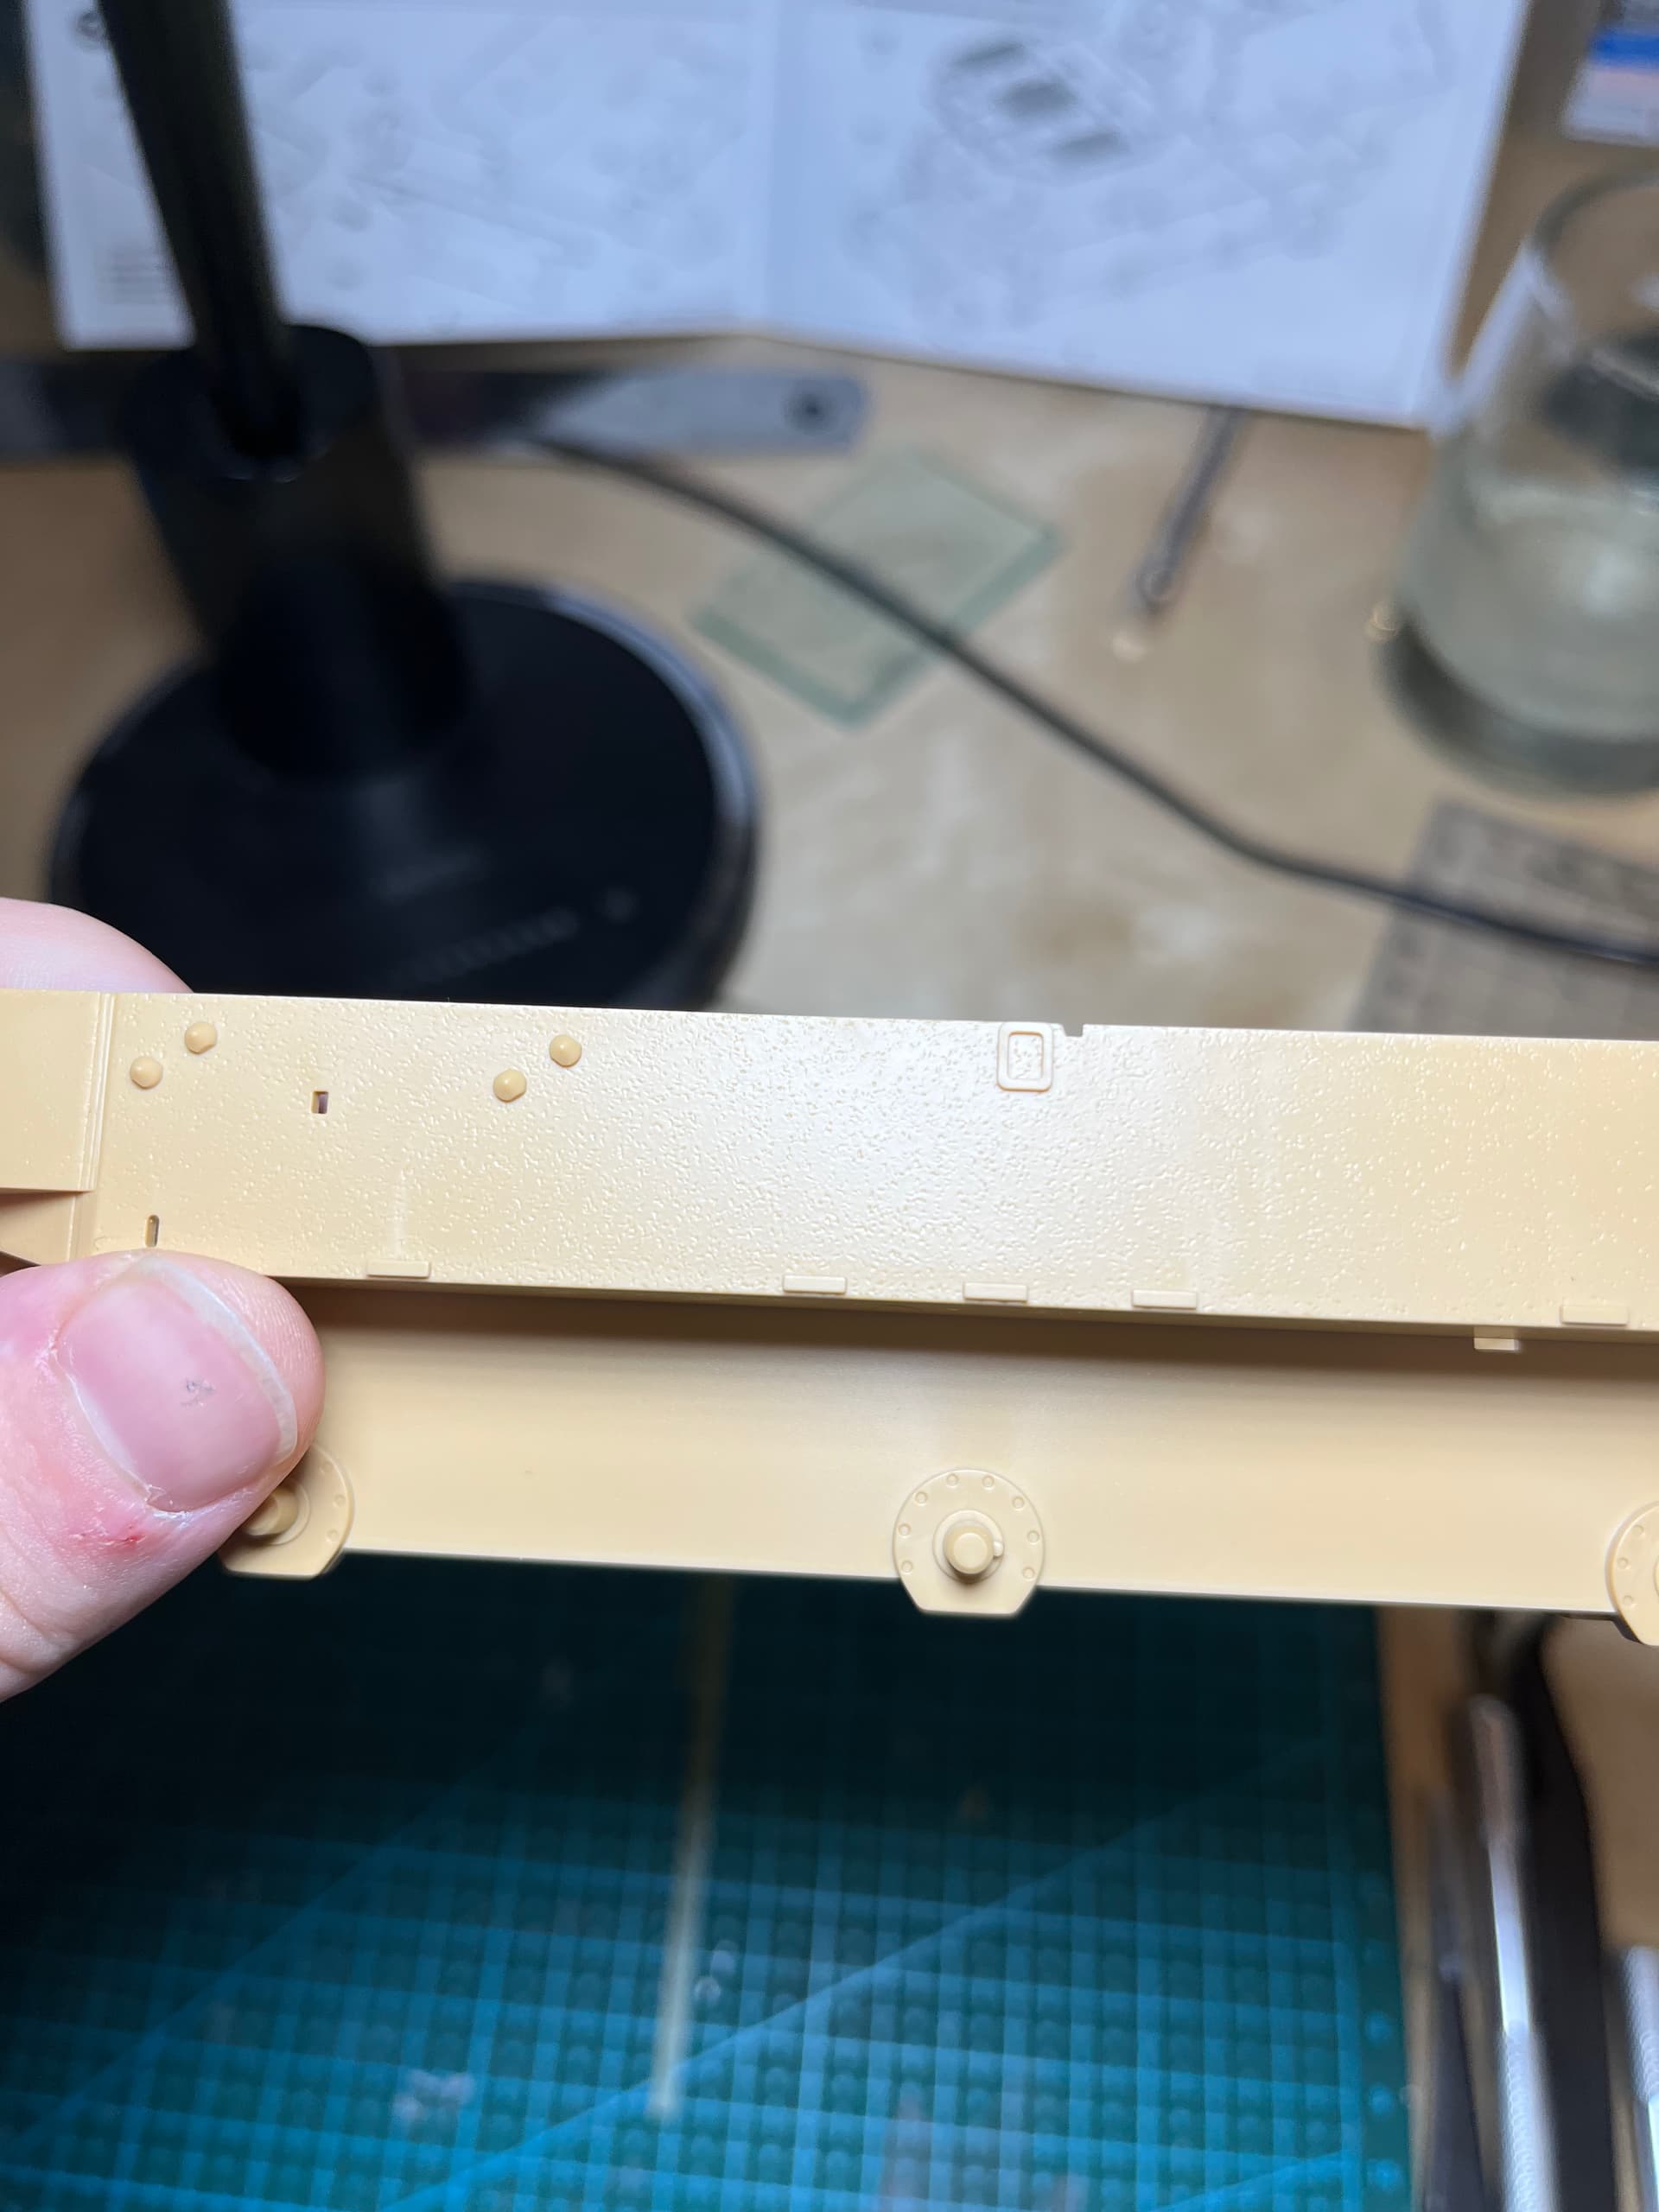
After step 4 the instructions have you add some smaller bits, so I think step 4 is the best place to do zimmerit. I’ll be using pre made zimm from Def models. The elephant doesn’t have lots of contours but the bolt heads are a pain for DIY zimm. I’ll keep you posted on how it turns out.
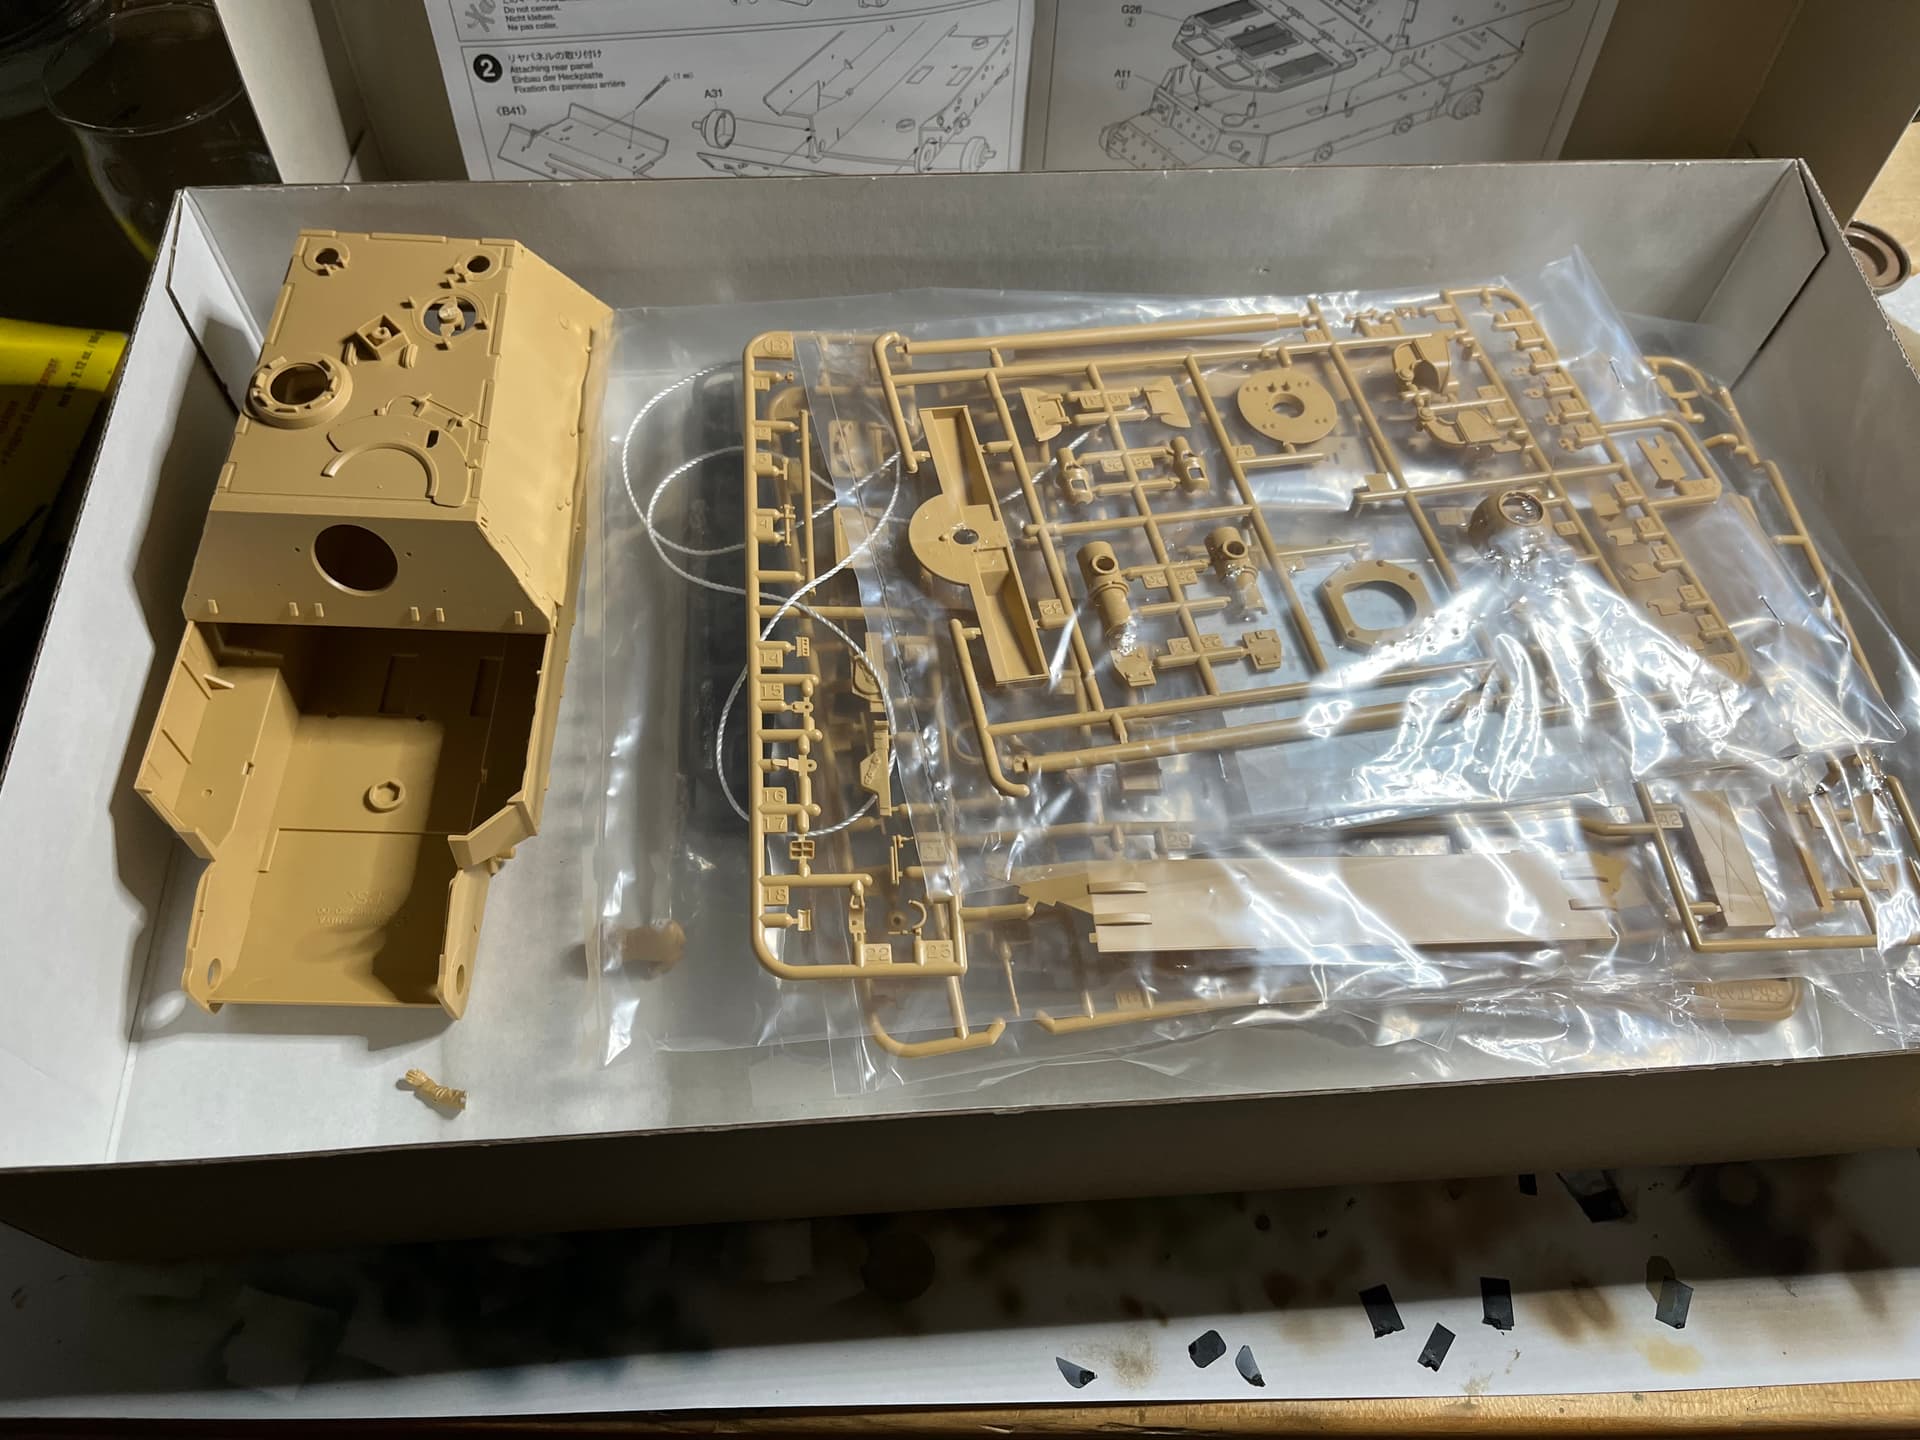
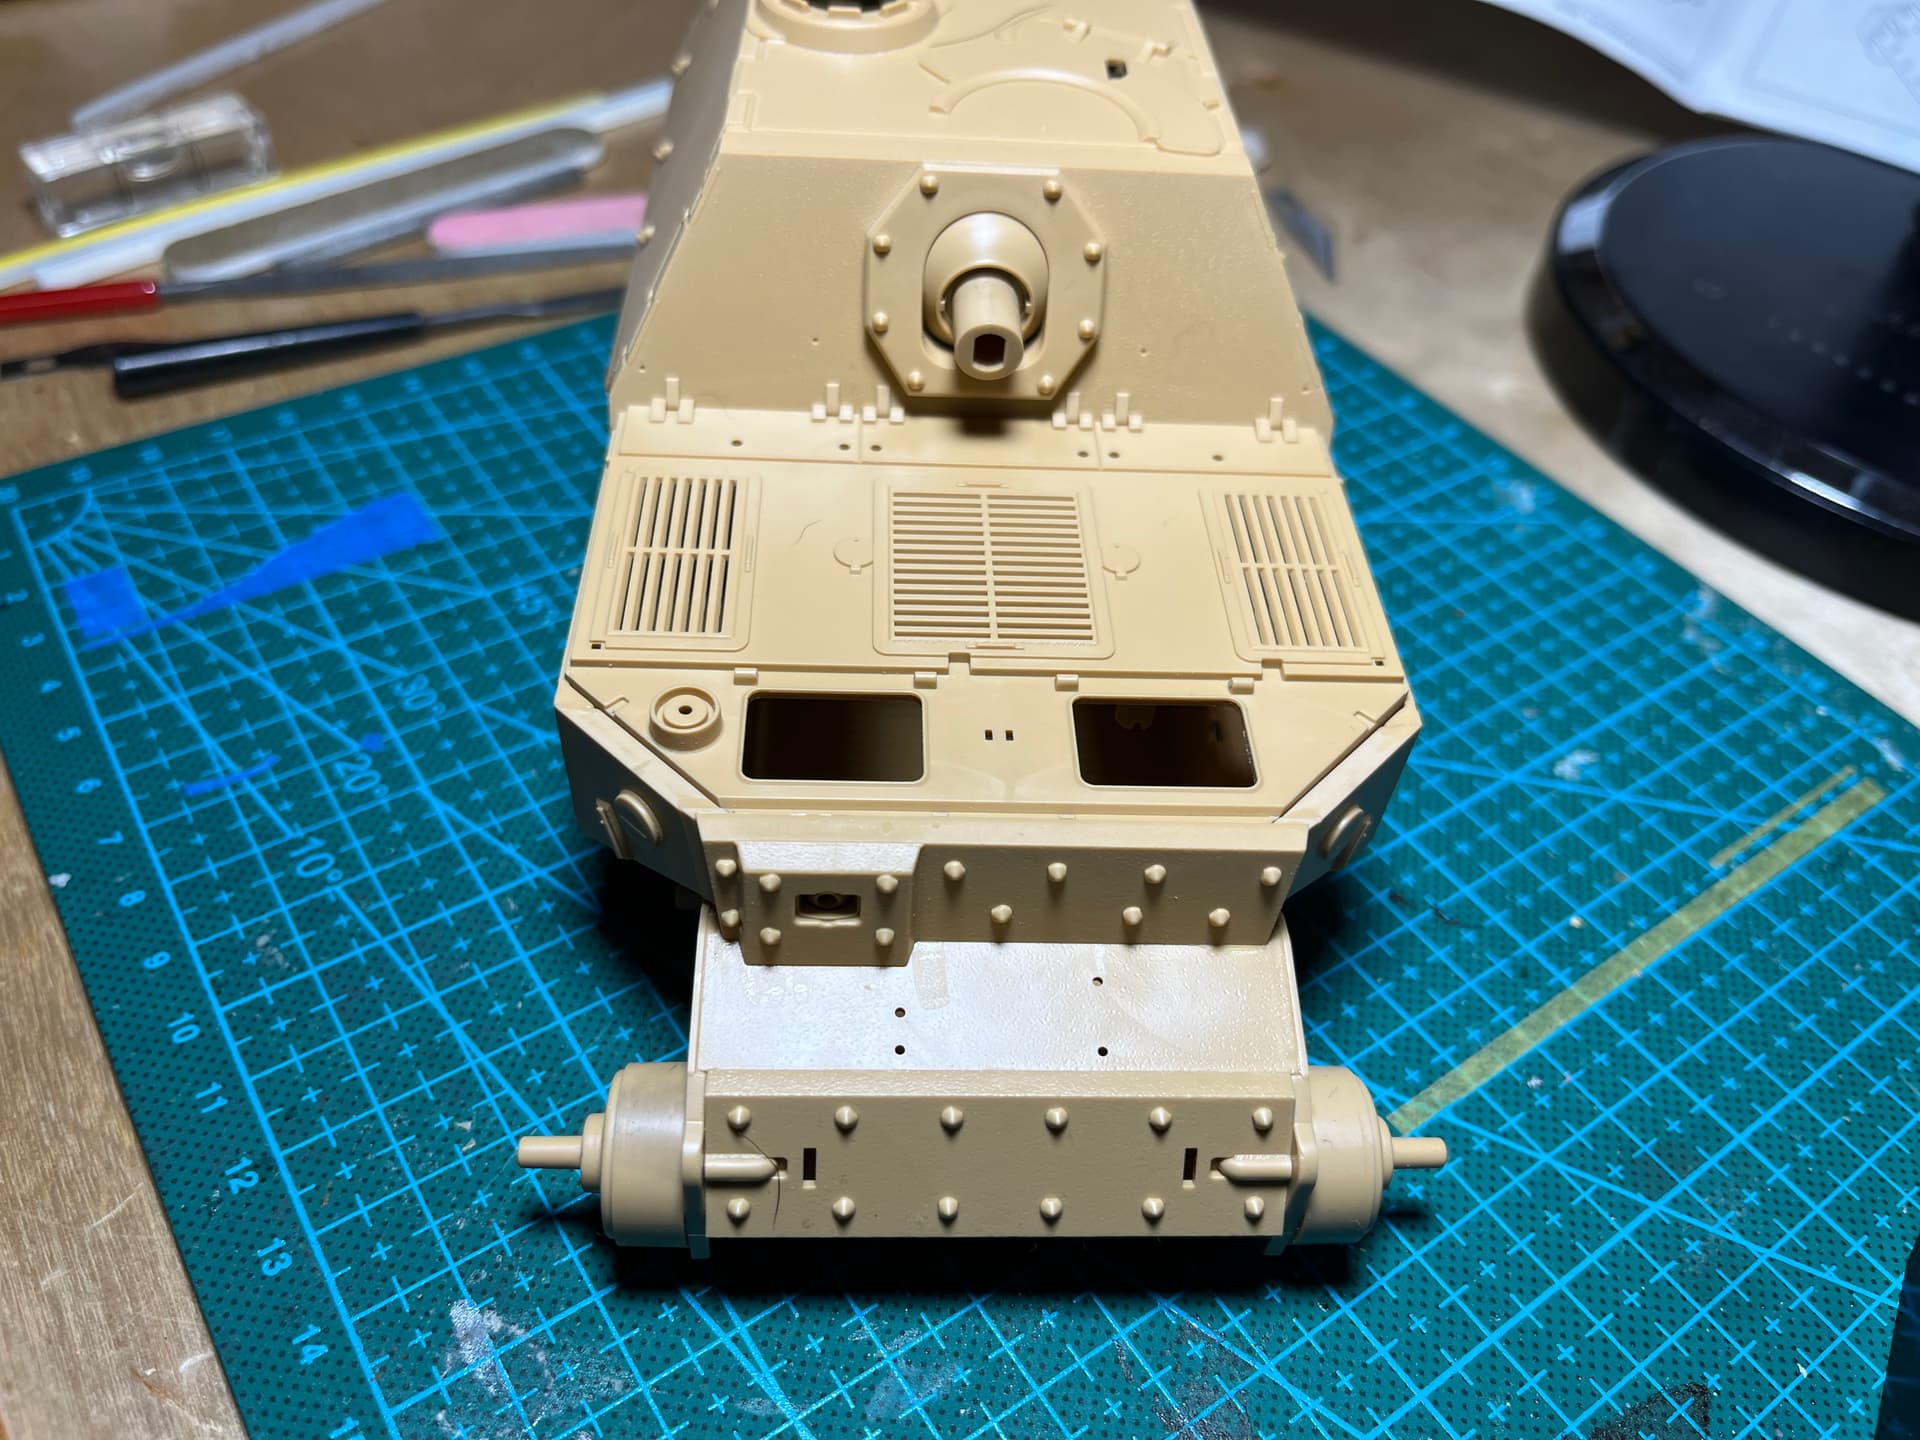
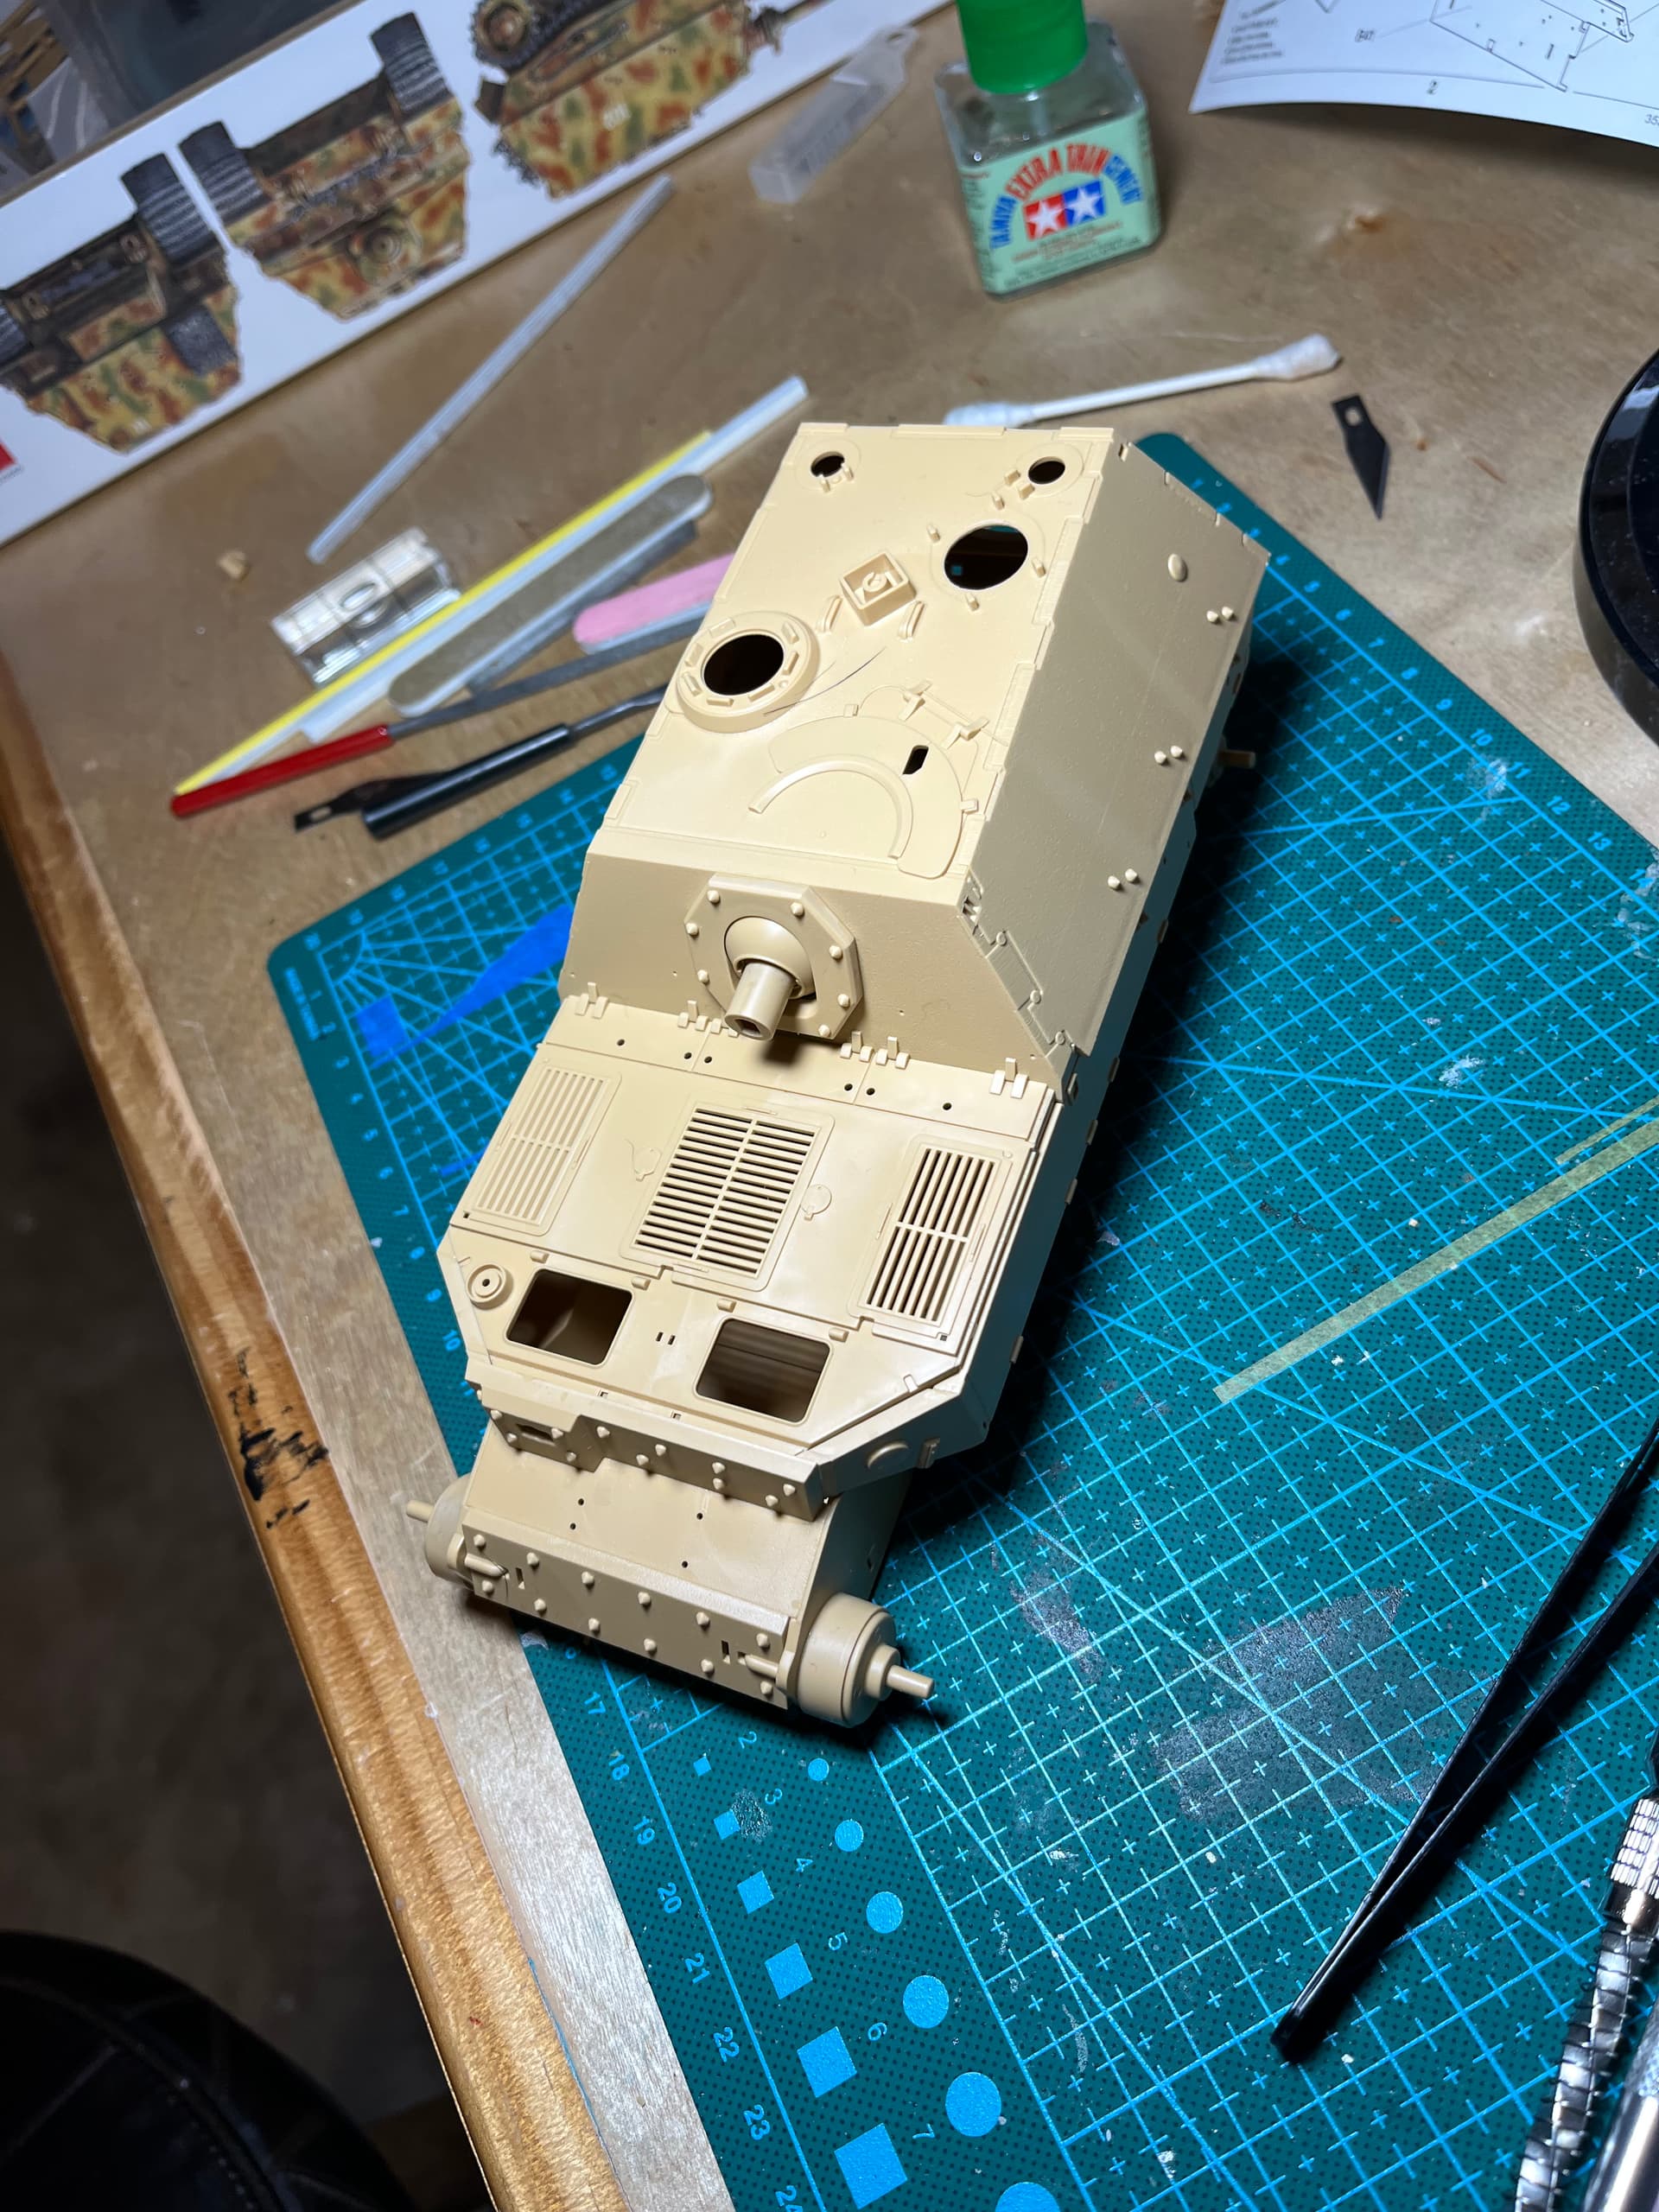
Got mostly up to step 4 complete. Just need to add some stuff (periscope and figure stands to the inside as they’ll be impossible to add later.
Typical tamiya, the engineering is fantastic! Really good fit so far! The main gun mechanism is really well designed to allow elevation and gun angling. A few weld seams to add them I’ll start on the zimmerit tomorrow
Looking good Mead. Check the DEF Zimm as it may have faint indicators on the Zimm…my Tiger Zimm did for where the side skirt mounts would go…you might find it easier to slice off the bolt heads and reglue after the Zimm is on ?
There are holes in the zimmerit for the bolt heads, but I am not sure if there is decal film in the holes. I will definitely check the alignment of the holes, as the zimmerit is for the Zvezda kit. That’s a good idea you have to slice off the bolts and reattach!
If the Zimm already has holes for the bolt heads in it then do as you said, test fit over it as best you can for alignment, or (I would probably do this) slice the bolt heads off, apply the Zimm and put the bolt heads straight on top of the holes in the Zimm…