All I meant by indicators (probably the wrong way to describe them) was the mounting point blocks for the side skirts on the hull side. I sliced mine off the kit, but the Zimm sheets had very feint mounting blocks moulded on them already.
Ah, I get what you mean. I’ll look out for those. The elephant also has some detail the zimm goes over so it may have the same thing.
1 Like
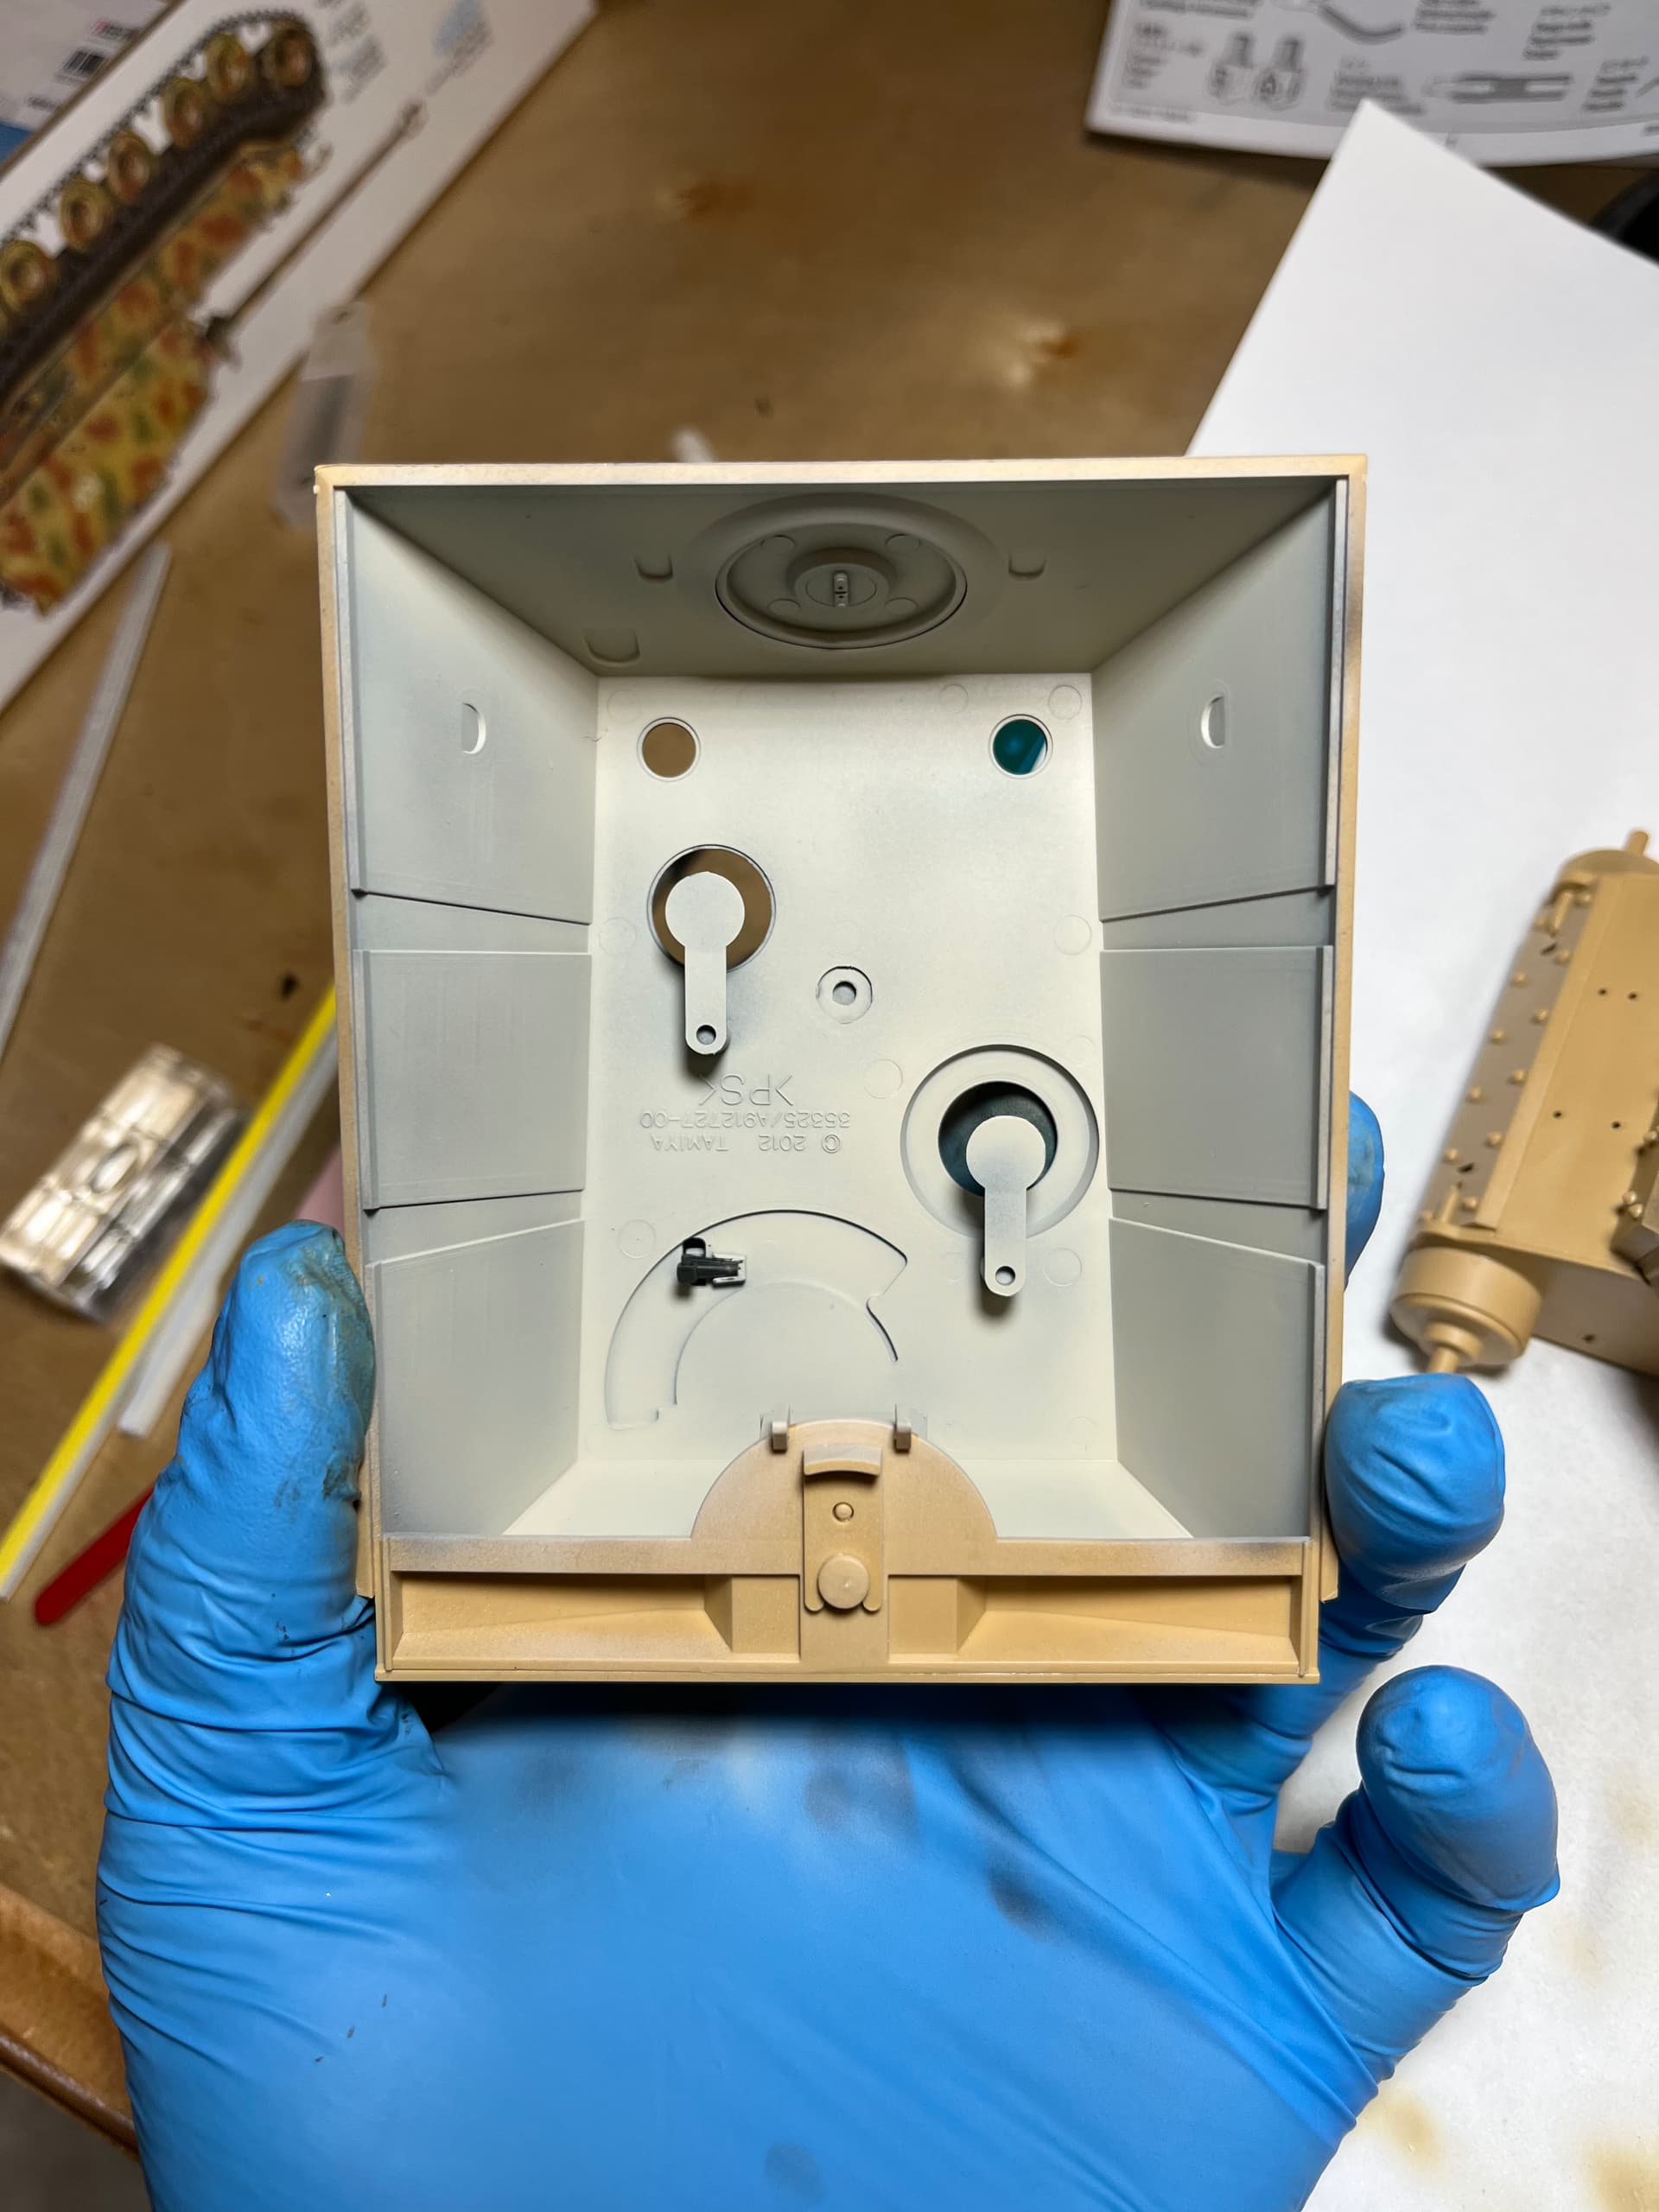
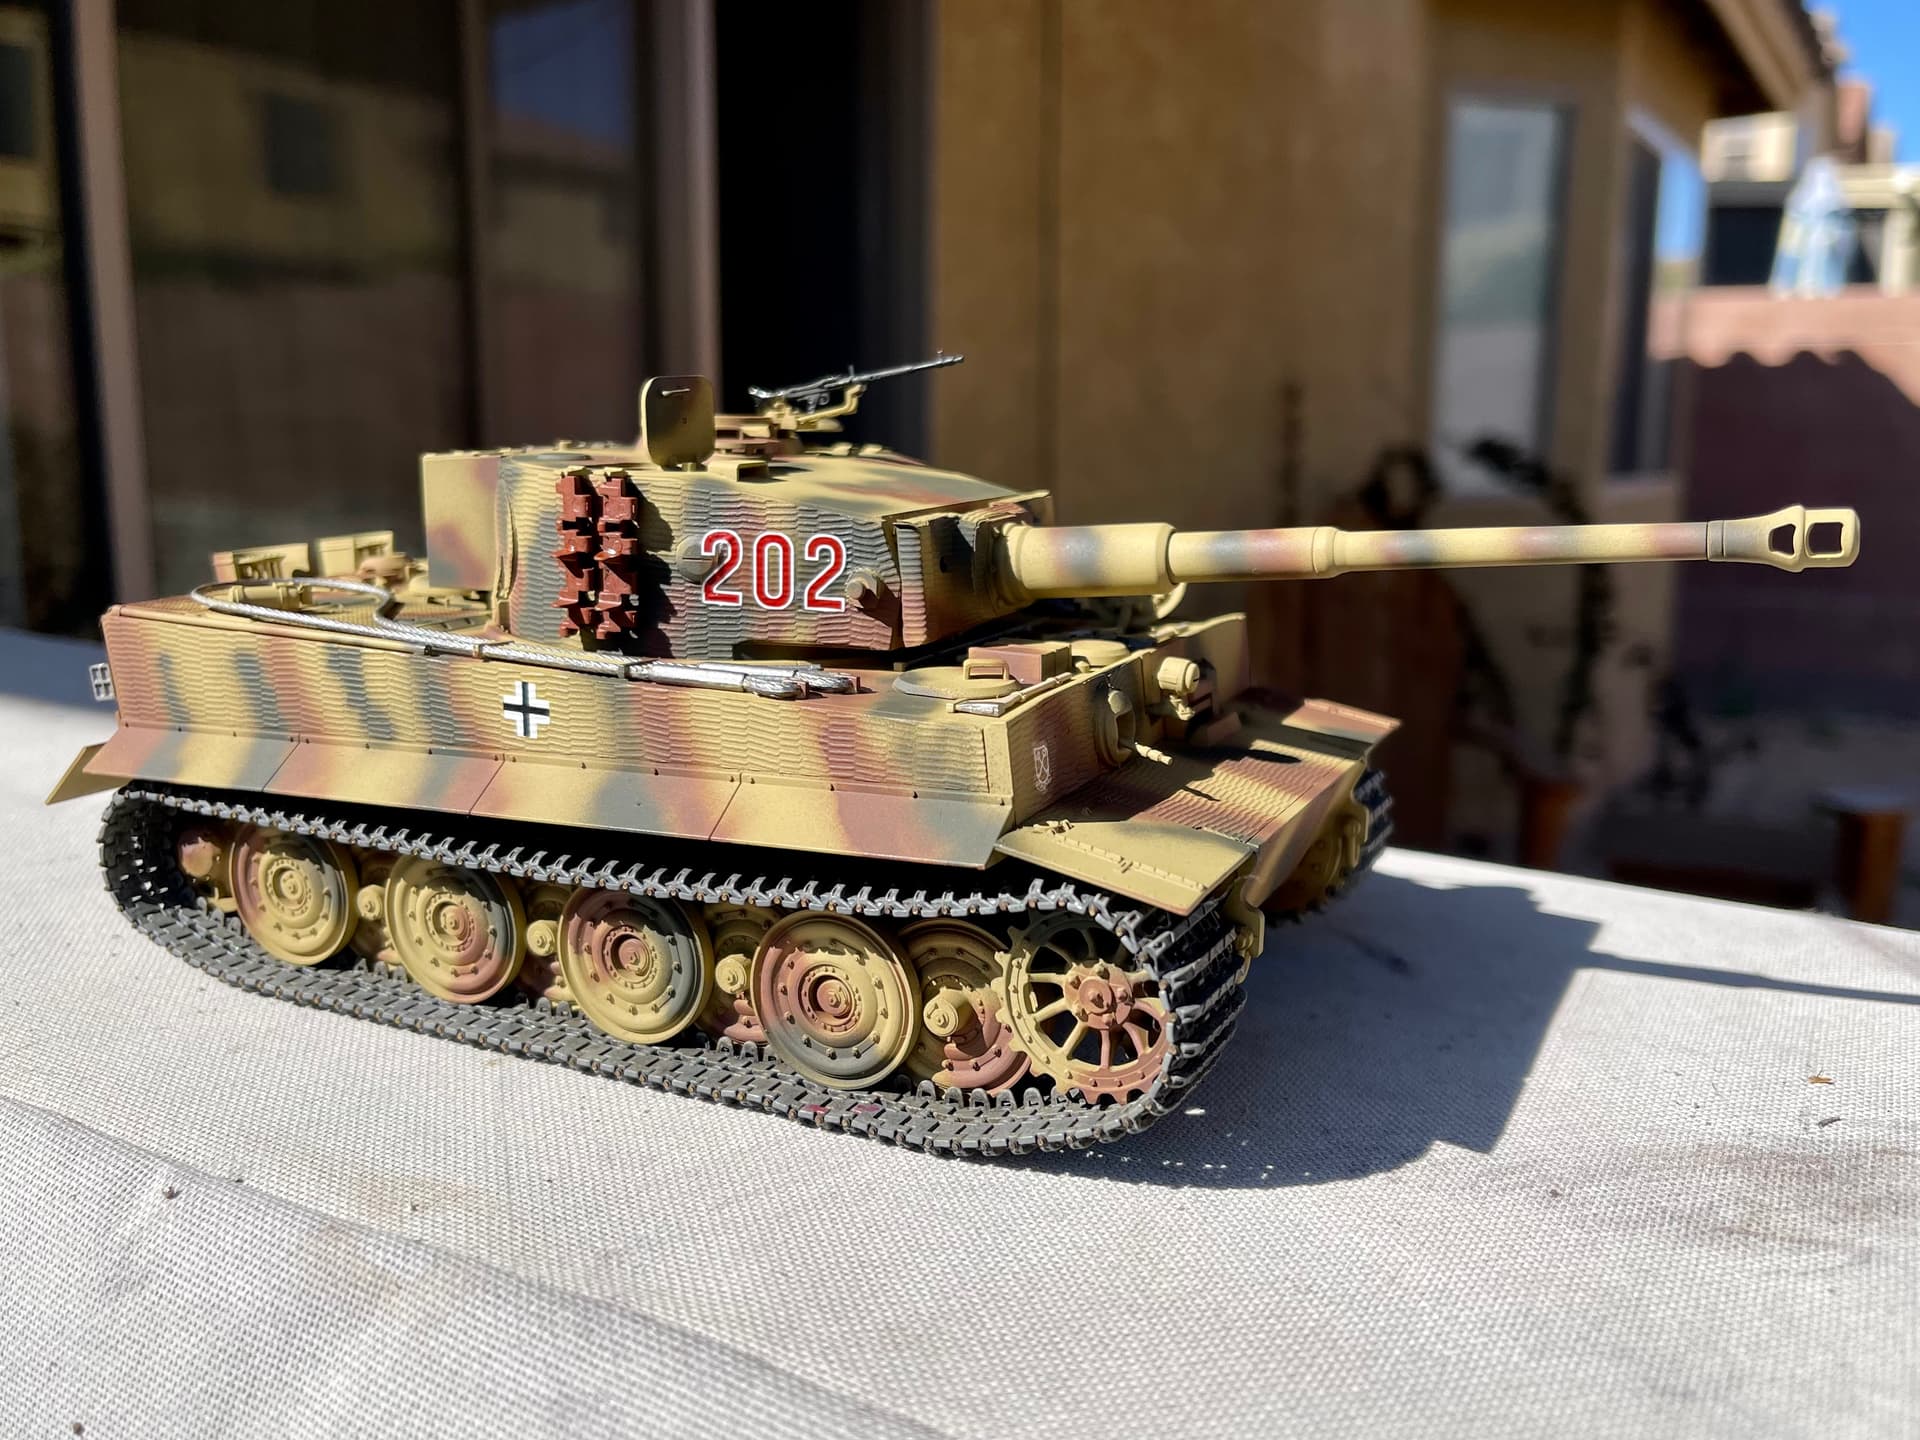
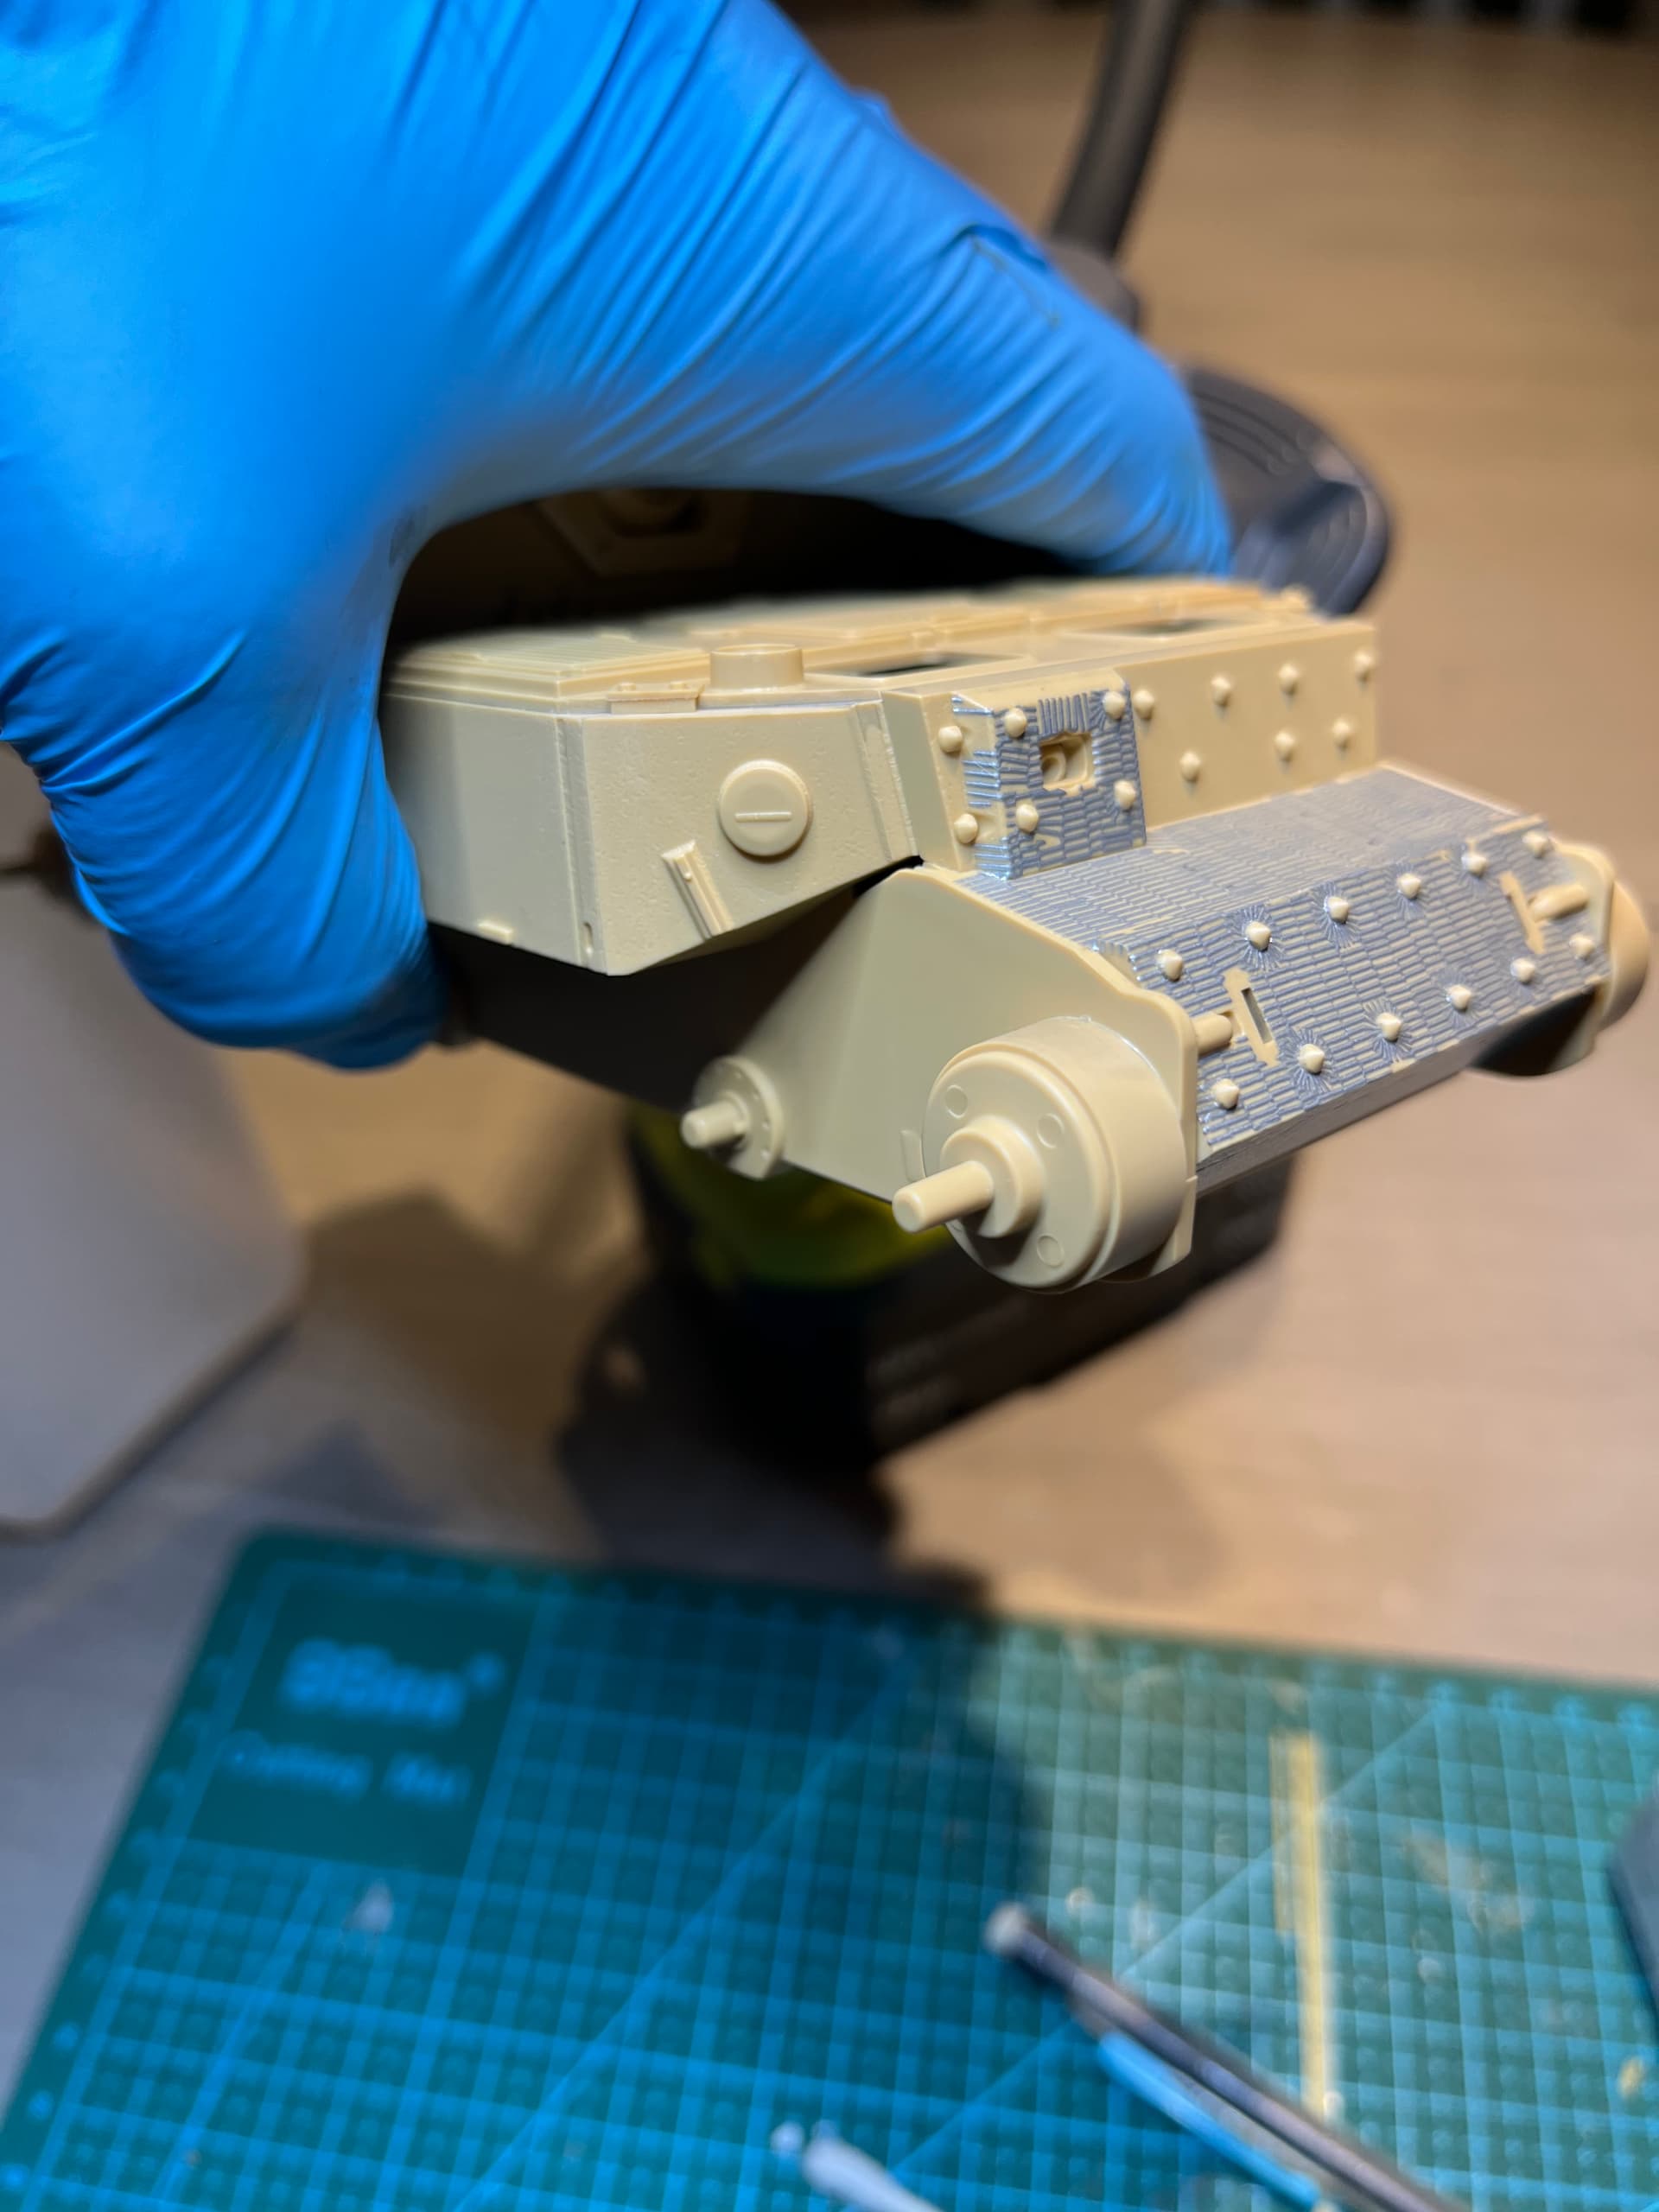
Got all of the hull glued together and the seam lines filled where they should be. I’ll have at least the commanders hatch open so I hit the inside with coat of black and then the upper casemate with ivory

I cut out two of the zimmerit decals. One had a bolt head on the kit that didn’t match the zimmerit hole (out of 7) I think I might slice the single bolt off and move it. I cut another decals out and all of the bolts aligned!! But it is a tad too wide so I’ll have to trim the decal. Did you run into that @Johnnych01?
Also curious if anyone has an idea of how to slice the bolt heads off so I can ensure it goes back on level/not canted
5 Likes
Good news about the bolt heads. And no, my decals all matched fine. They did have a tendancy to over stretch on a few areas when I was placing them into position… That was definitely me being a bit to forceful with them … but they are easily pushed back into shape. Even if they are overlapping a bit, they are very easy to trm with a sharp craft knife blade.
Ref the bolt removal, I always use a chisel blade for bits like that. Marry it up with the bolt head at a slight downwards angle then just apply gentle pressure and push down and forward with a slight left to right , right to left movement to control the slice…gently is the key…
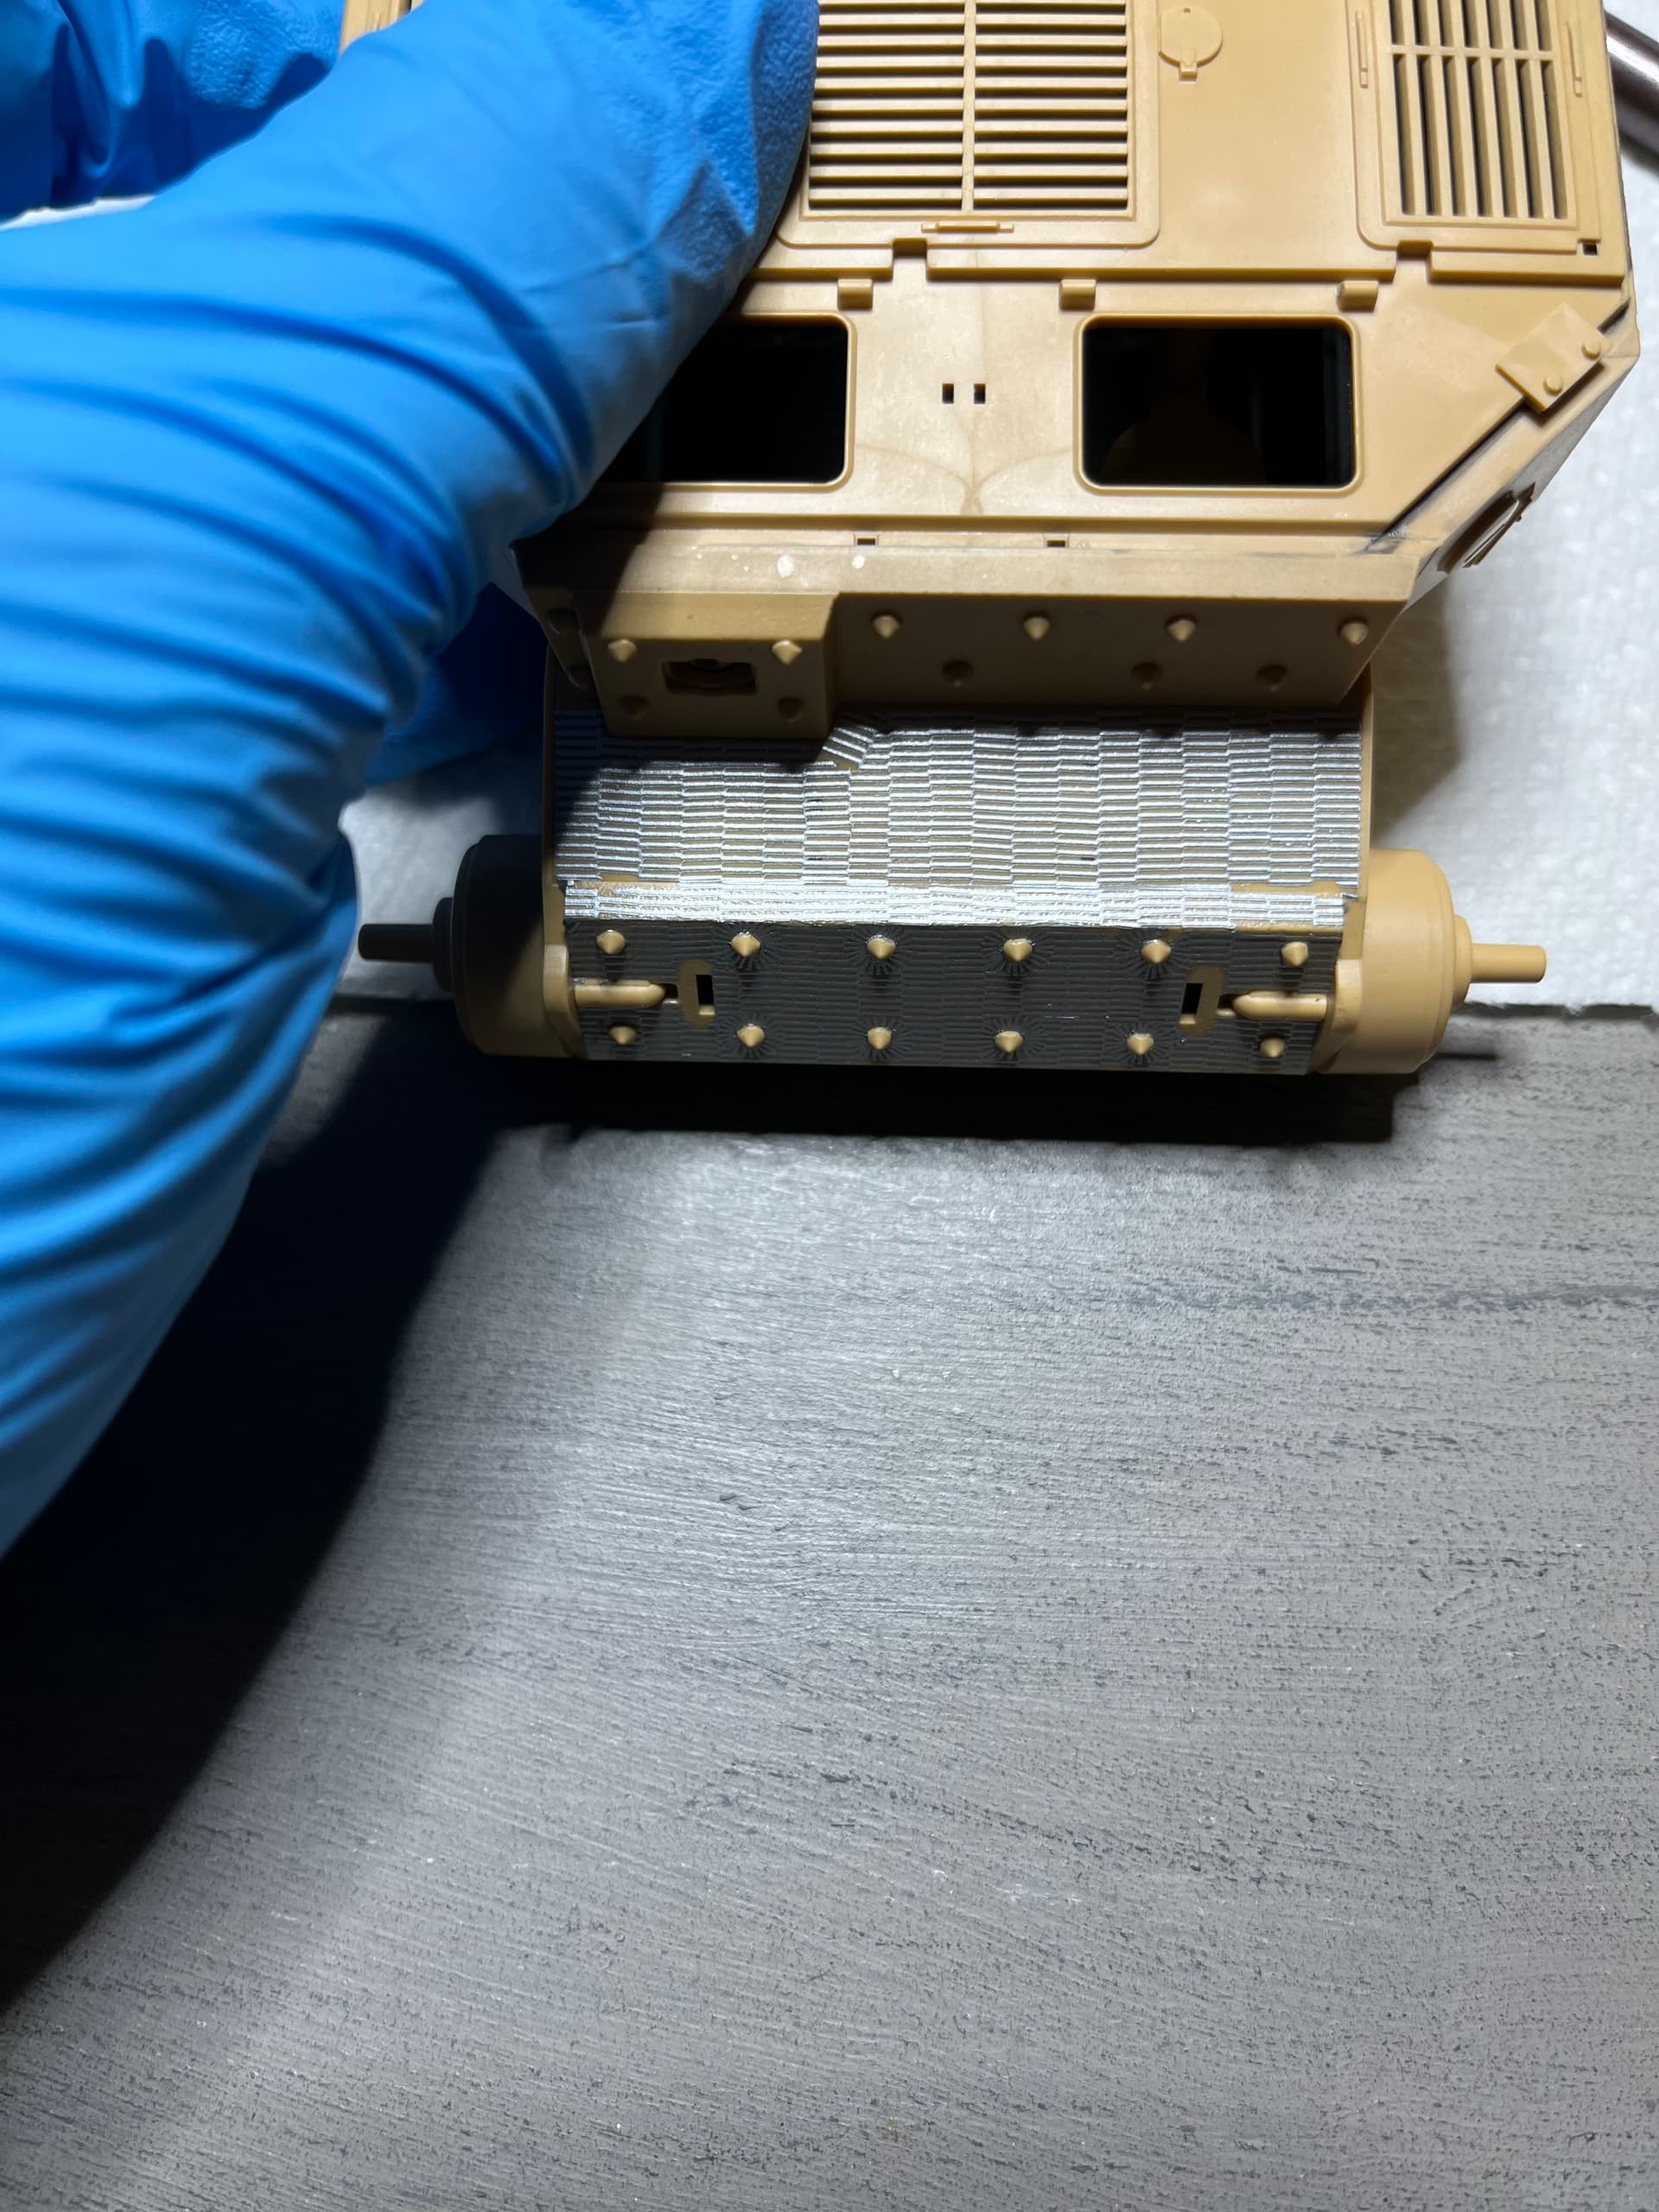
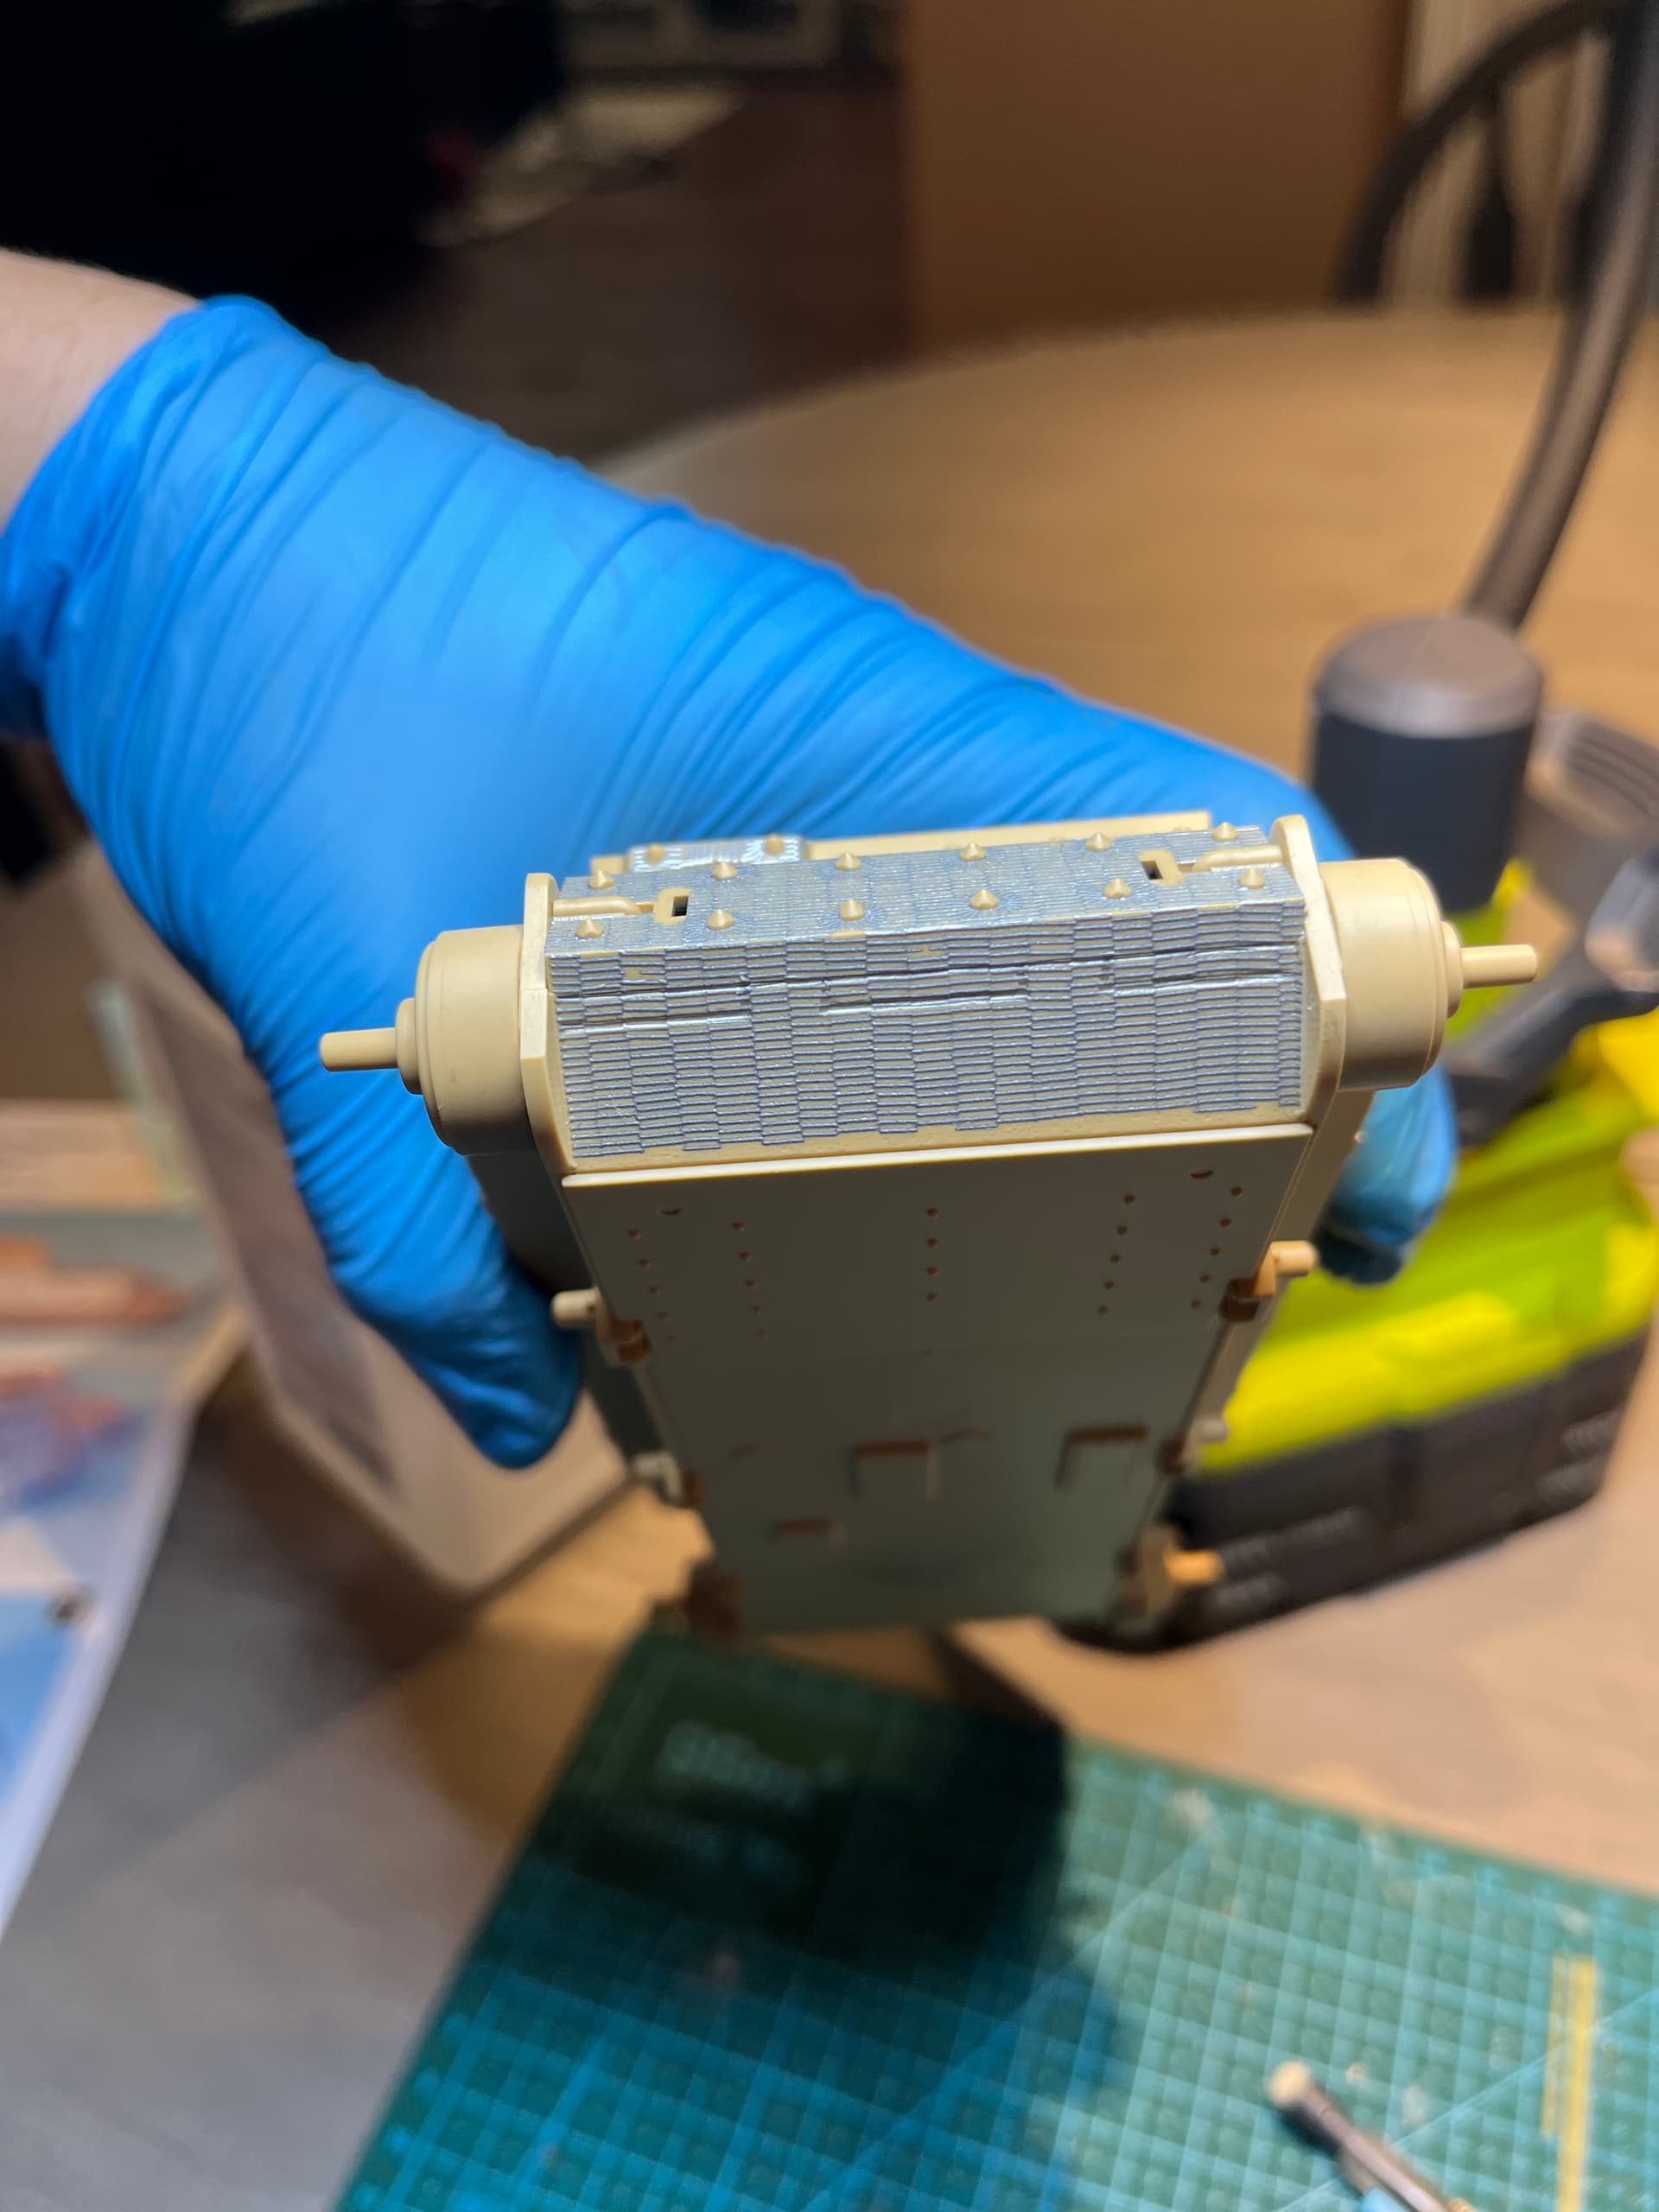
Got the first zimmerit decal on. Pretty impressed. This stuff looks really good in the kit. Had a small piece tear out around on of the bolt heads. But overall when on pretty smooth.
My only concern is how well it adhered. It seems keen to lift at the edges with light handling

3 Likes
Looks good Mead… I think it’s a great product and worth the money. When I put mine on, I just made sure I covered the entire area with neat PVA, then using a damp cotton bud just gently rolled that over the whole panel being done to make sure it stuck down and to remove any air bubbles… If you miss any it’s no big deal as they are easy to do once it’s all set anyway … Nice clean work btw ![]()
I think I may do that for the remainder of them. I went back over the one I did with a paint brush damp with mr mark setter and push the decal down around the bolt heads and edges. It seems to have stuck well now! The bolts on the tamiya kit are a tad larger than the Zvezda kit this decal was made for. You can see the decal on the bolts a bit. Contemplating trimming the excess off. These are the only bolts it should be an issue for as the pattern is different on the other bolts and not as close to them!
Thanks for the kind words!
1 Like
No probs buddy… It is looking good ![]()
Nice result,looks good
1 Like
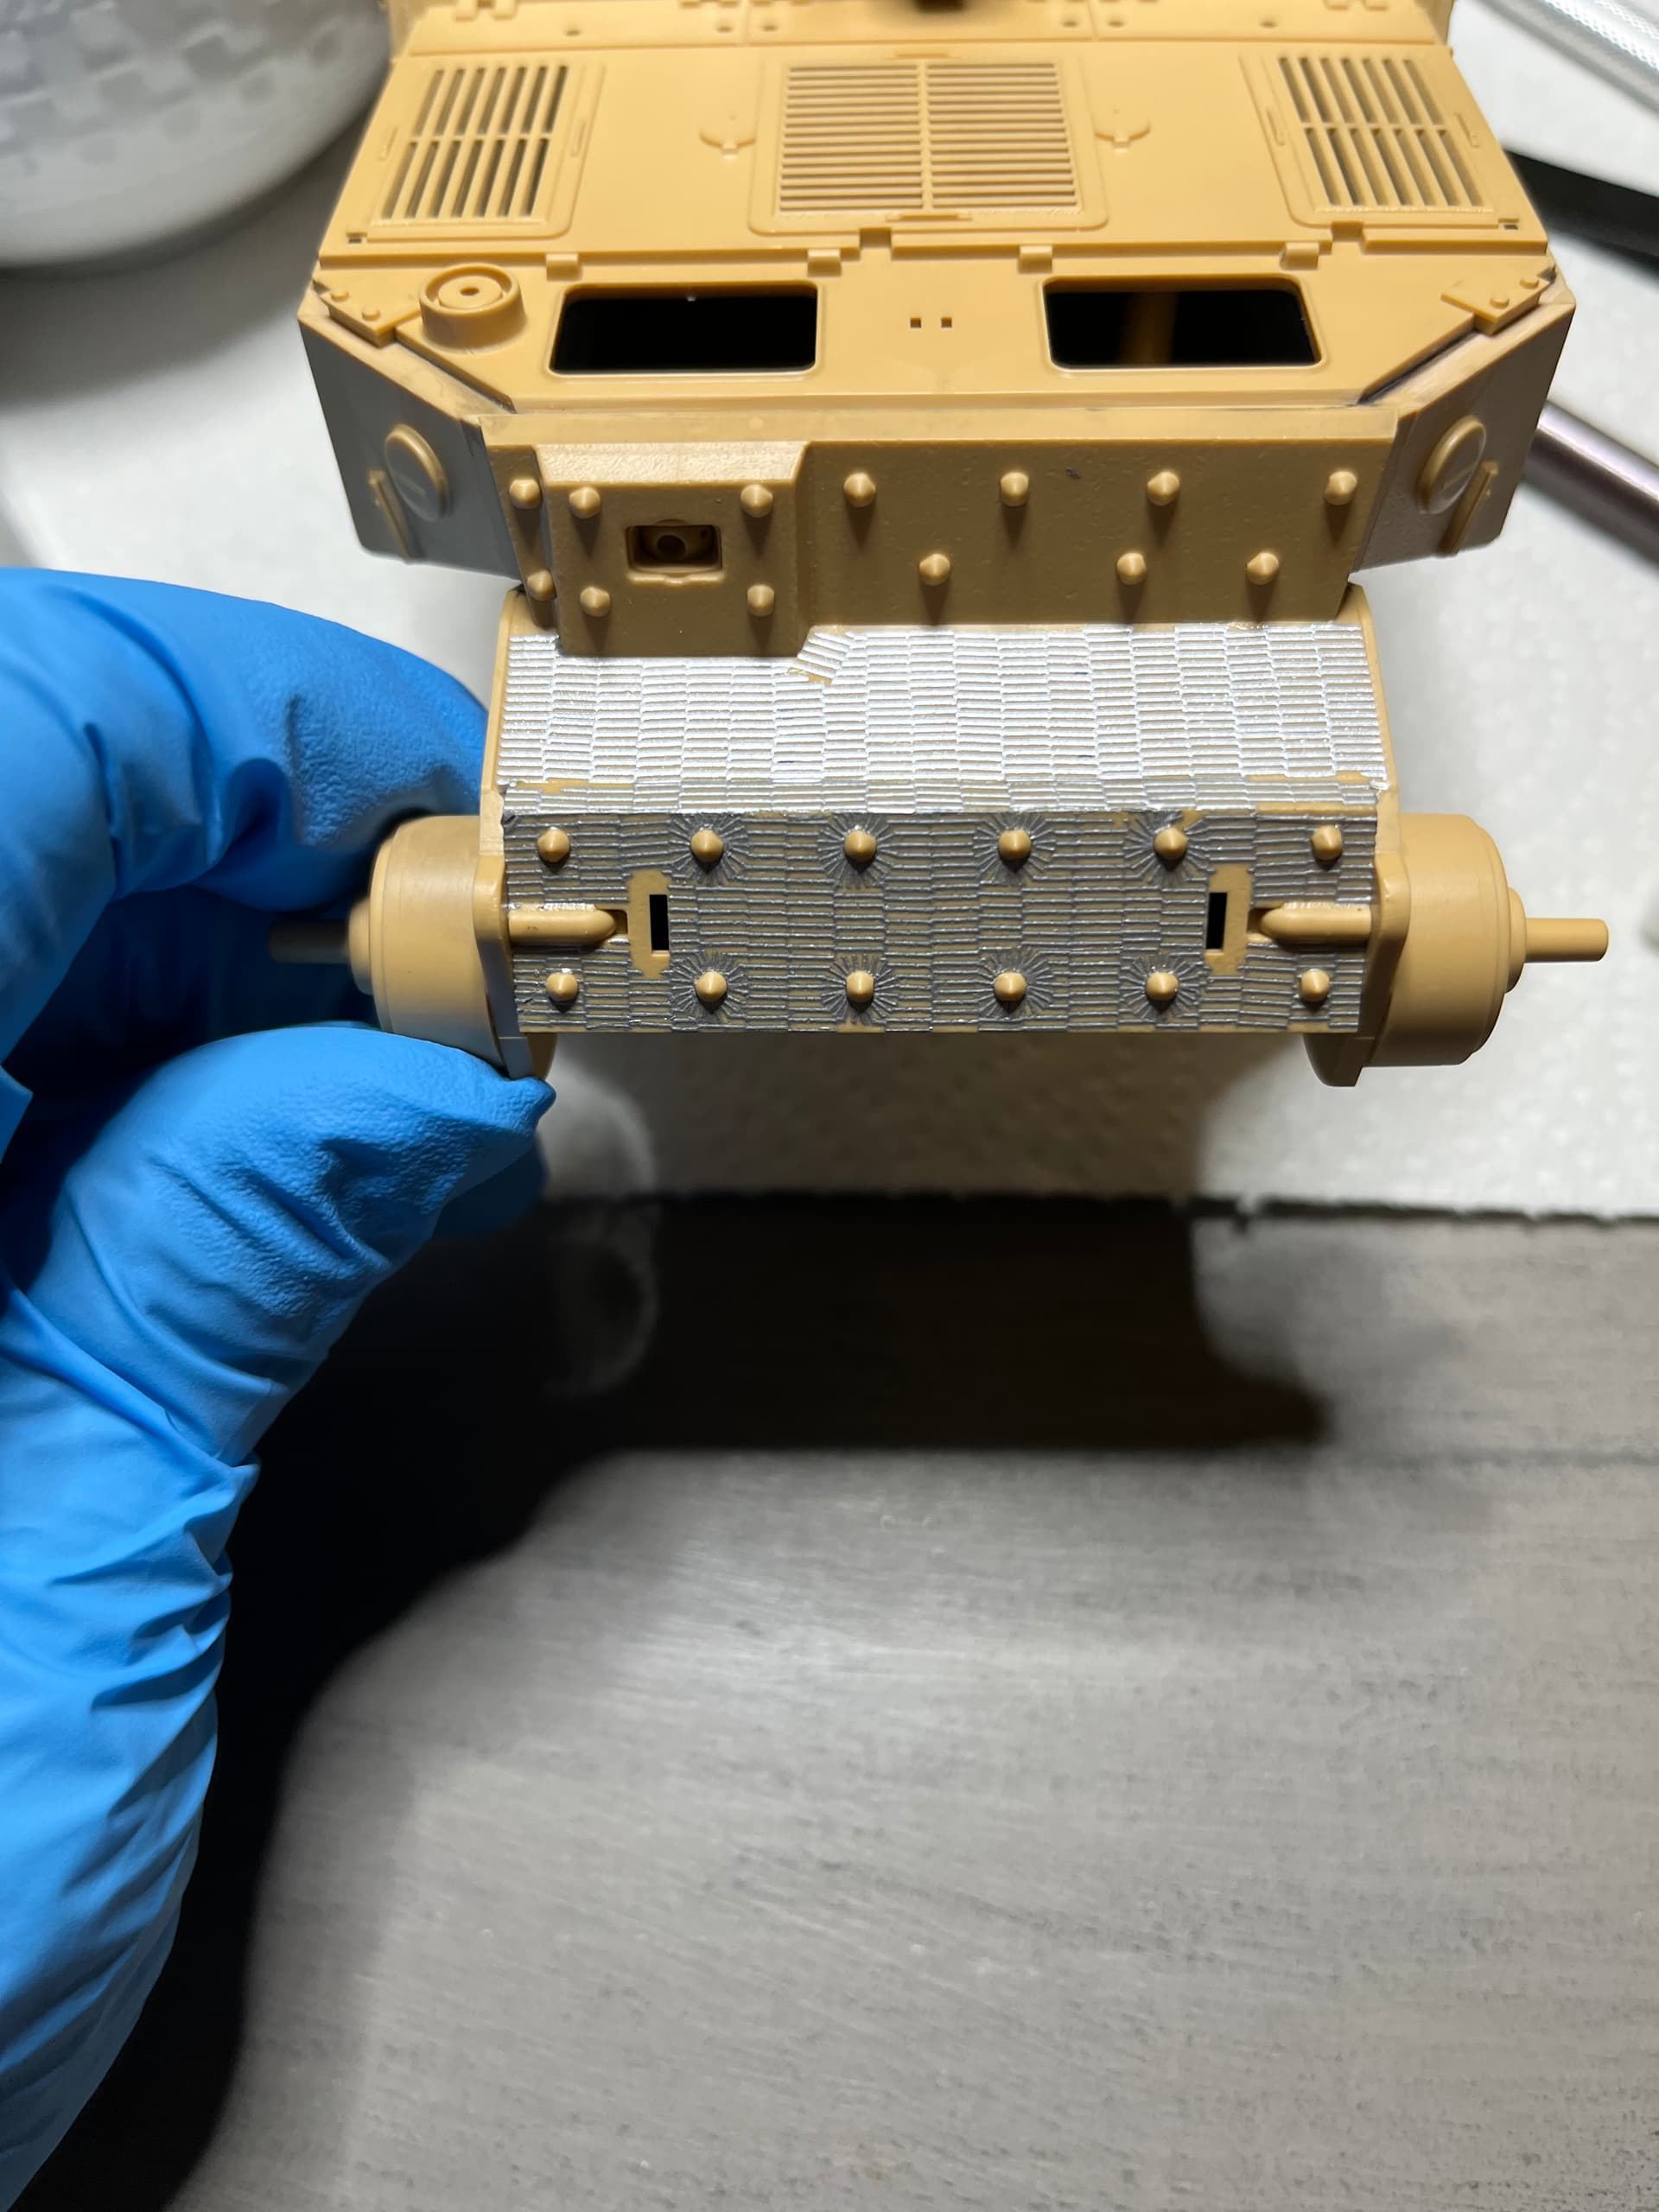
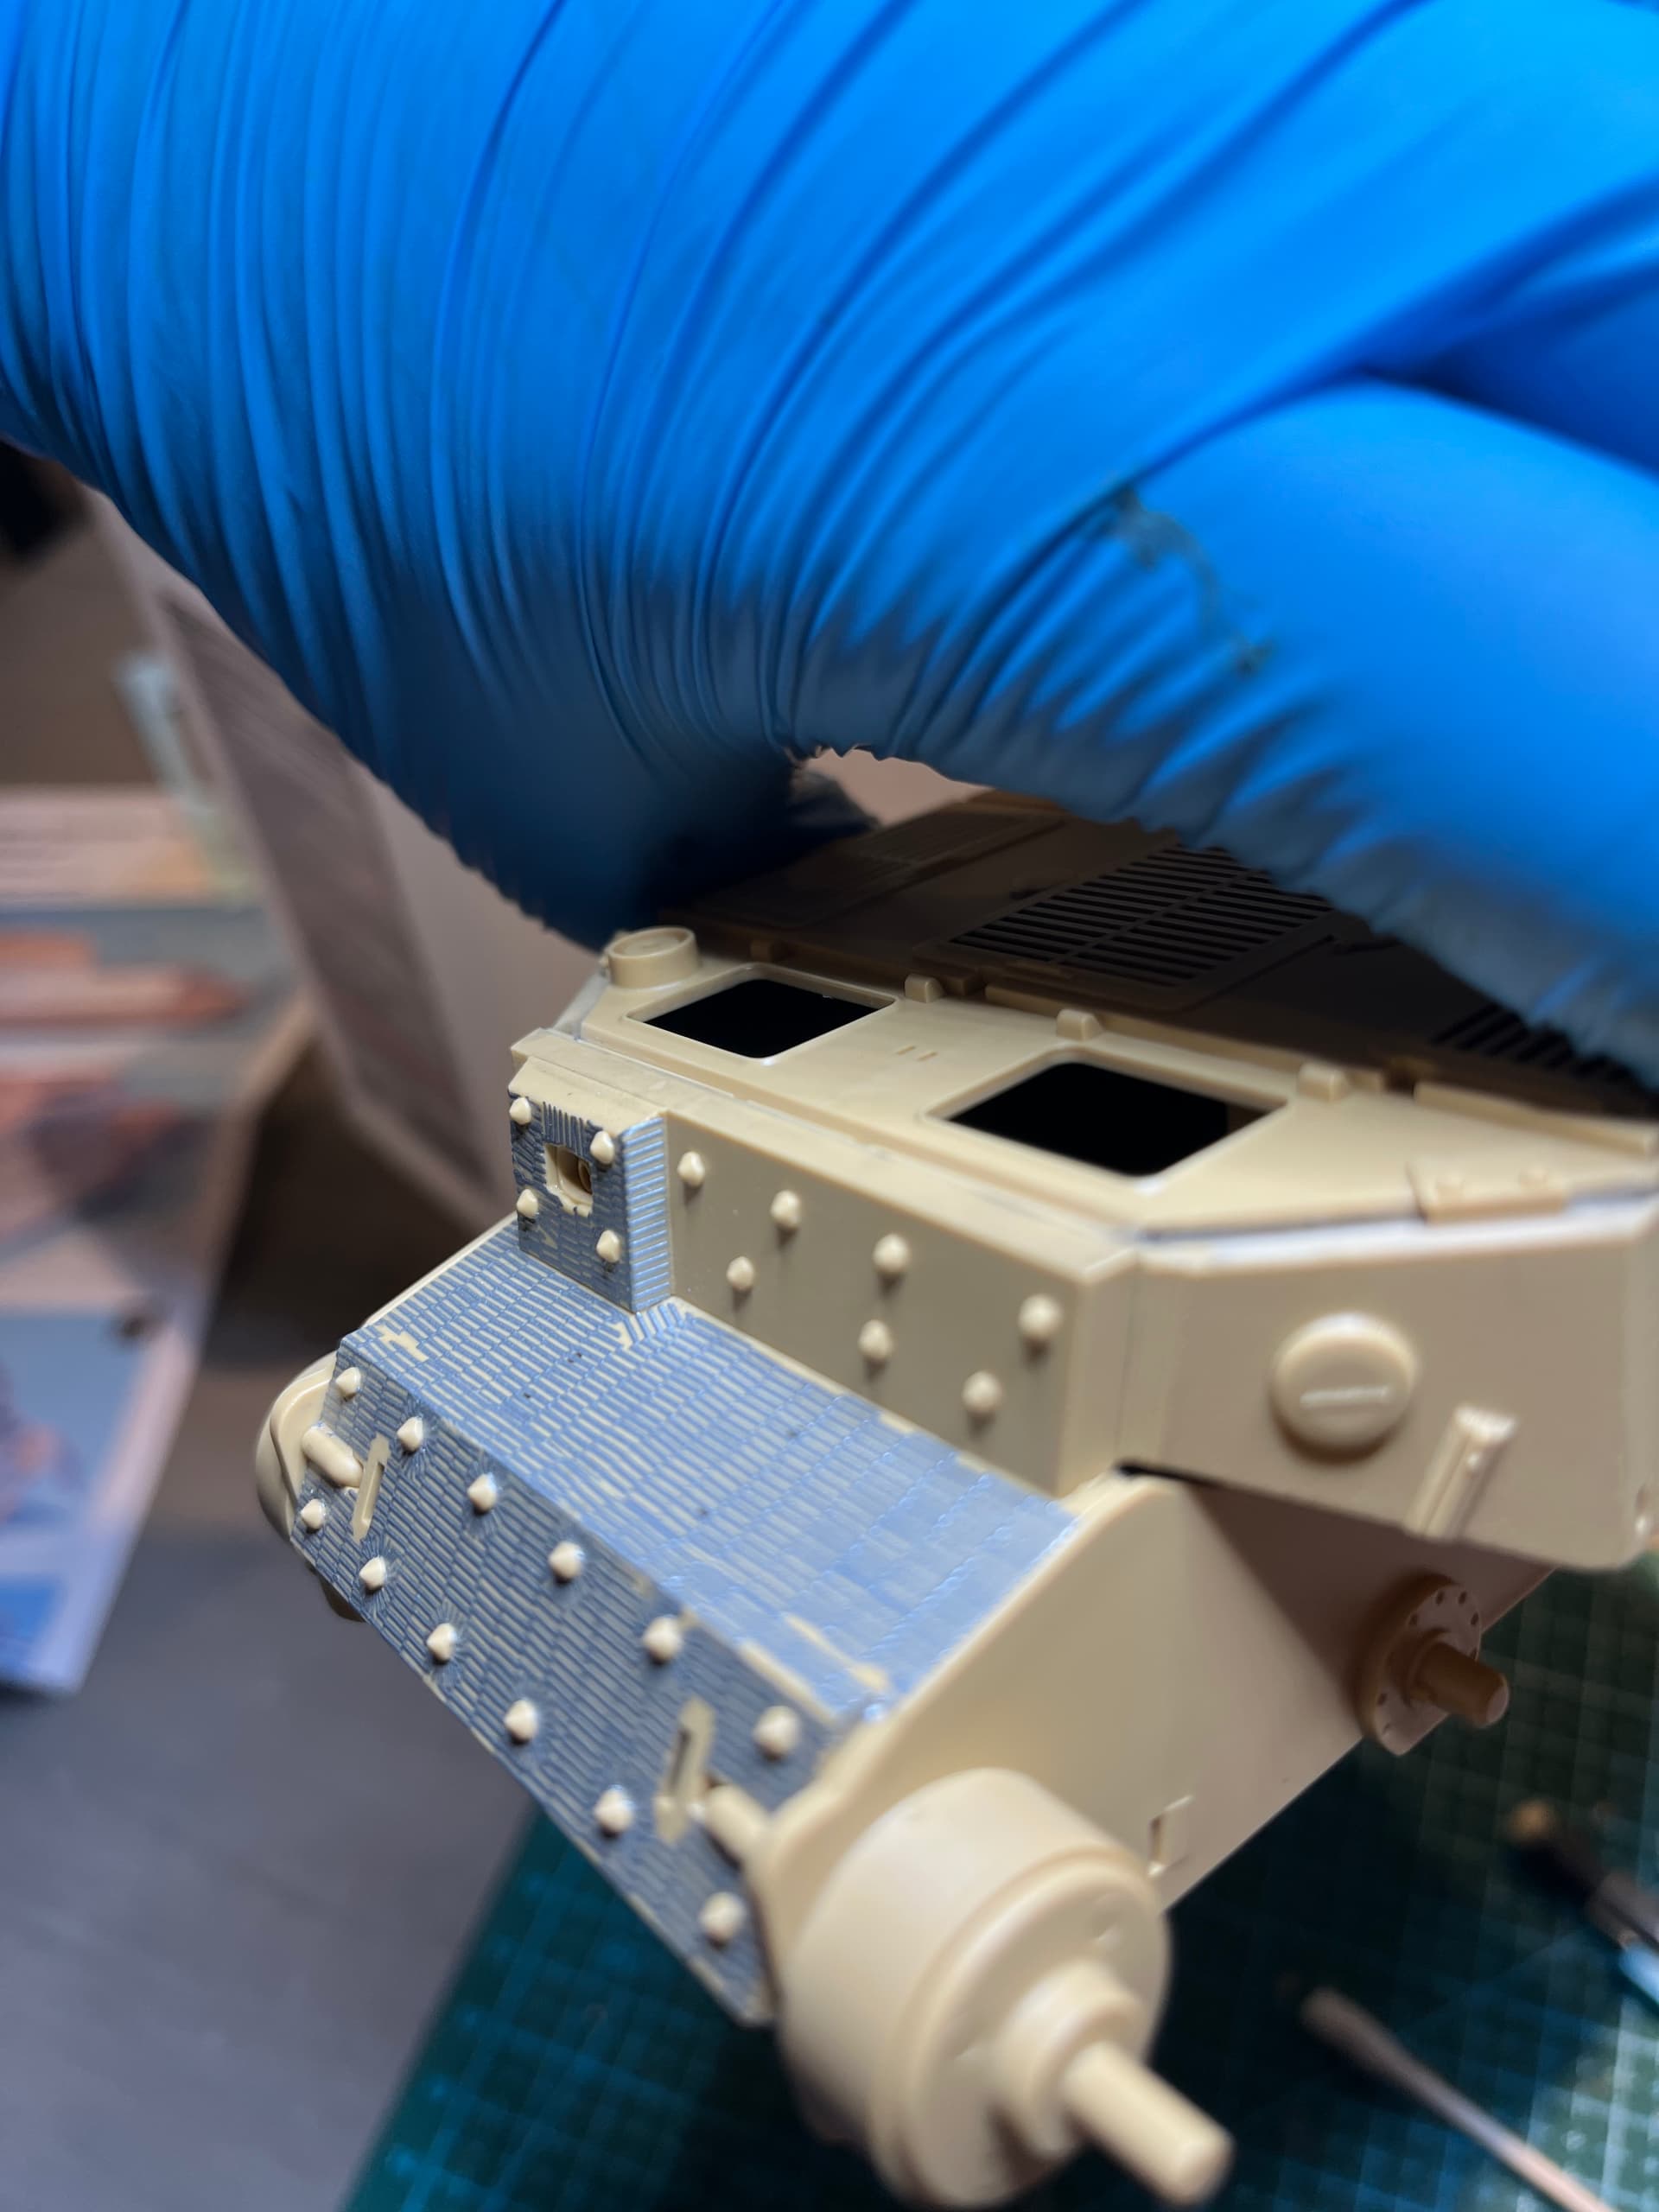
Went around each bolt head and cut the excess away, then took a mr mark setter damp brush and pushed them down. Much happier now

Think I’ll have to be careful painting. There is a definite texture to this stuff but it isn’t super deep
I thought the same after I primed the Tiger, the grey made it almost look non existent… But once the dunkelgelb and cam went on it came through ok. That may be it’s one area that could be improved though, the ridges could be a bit deeper
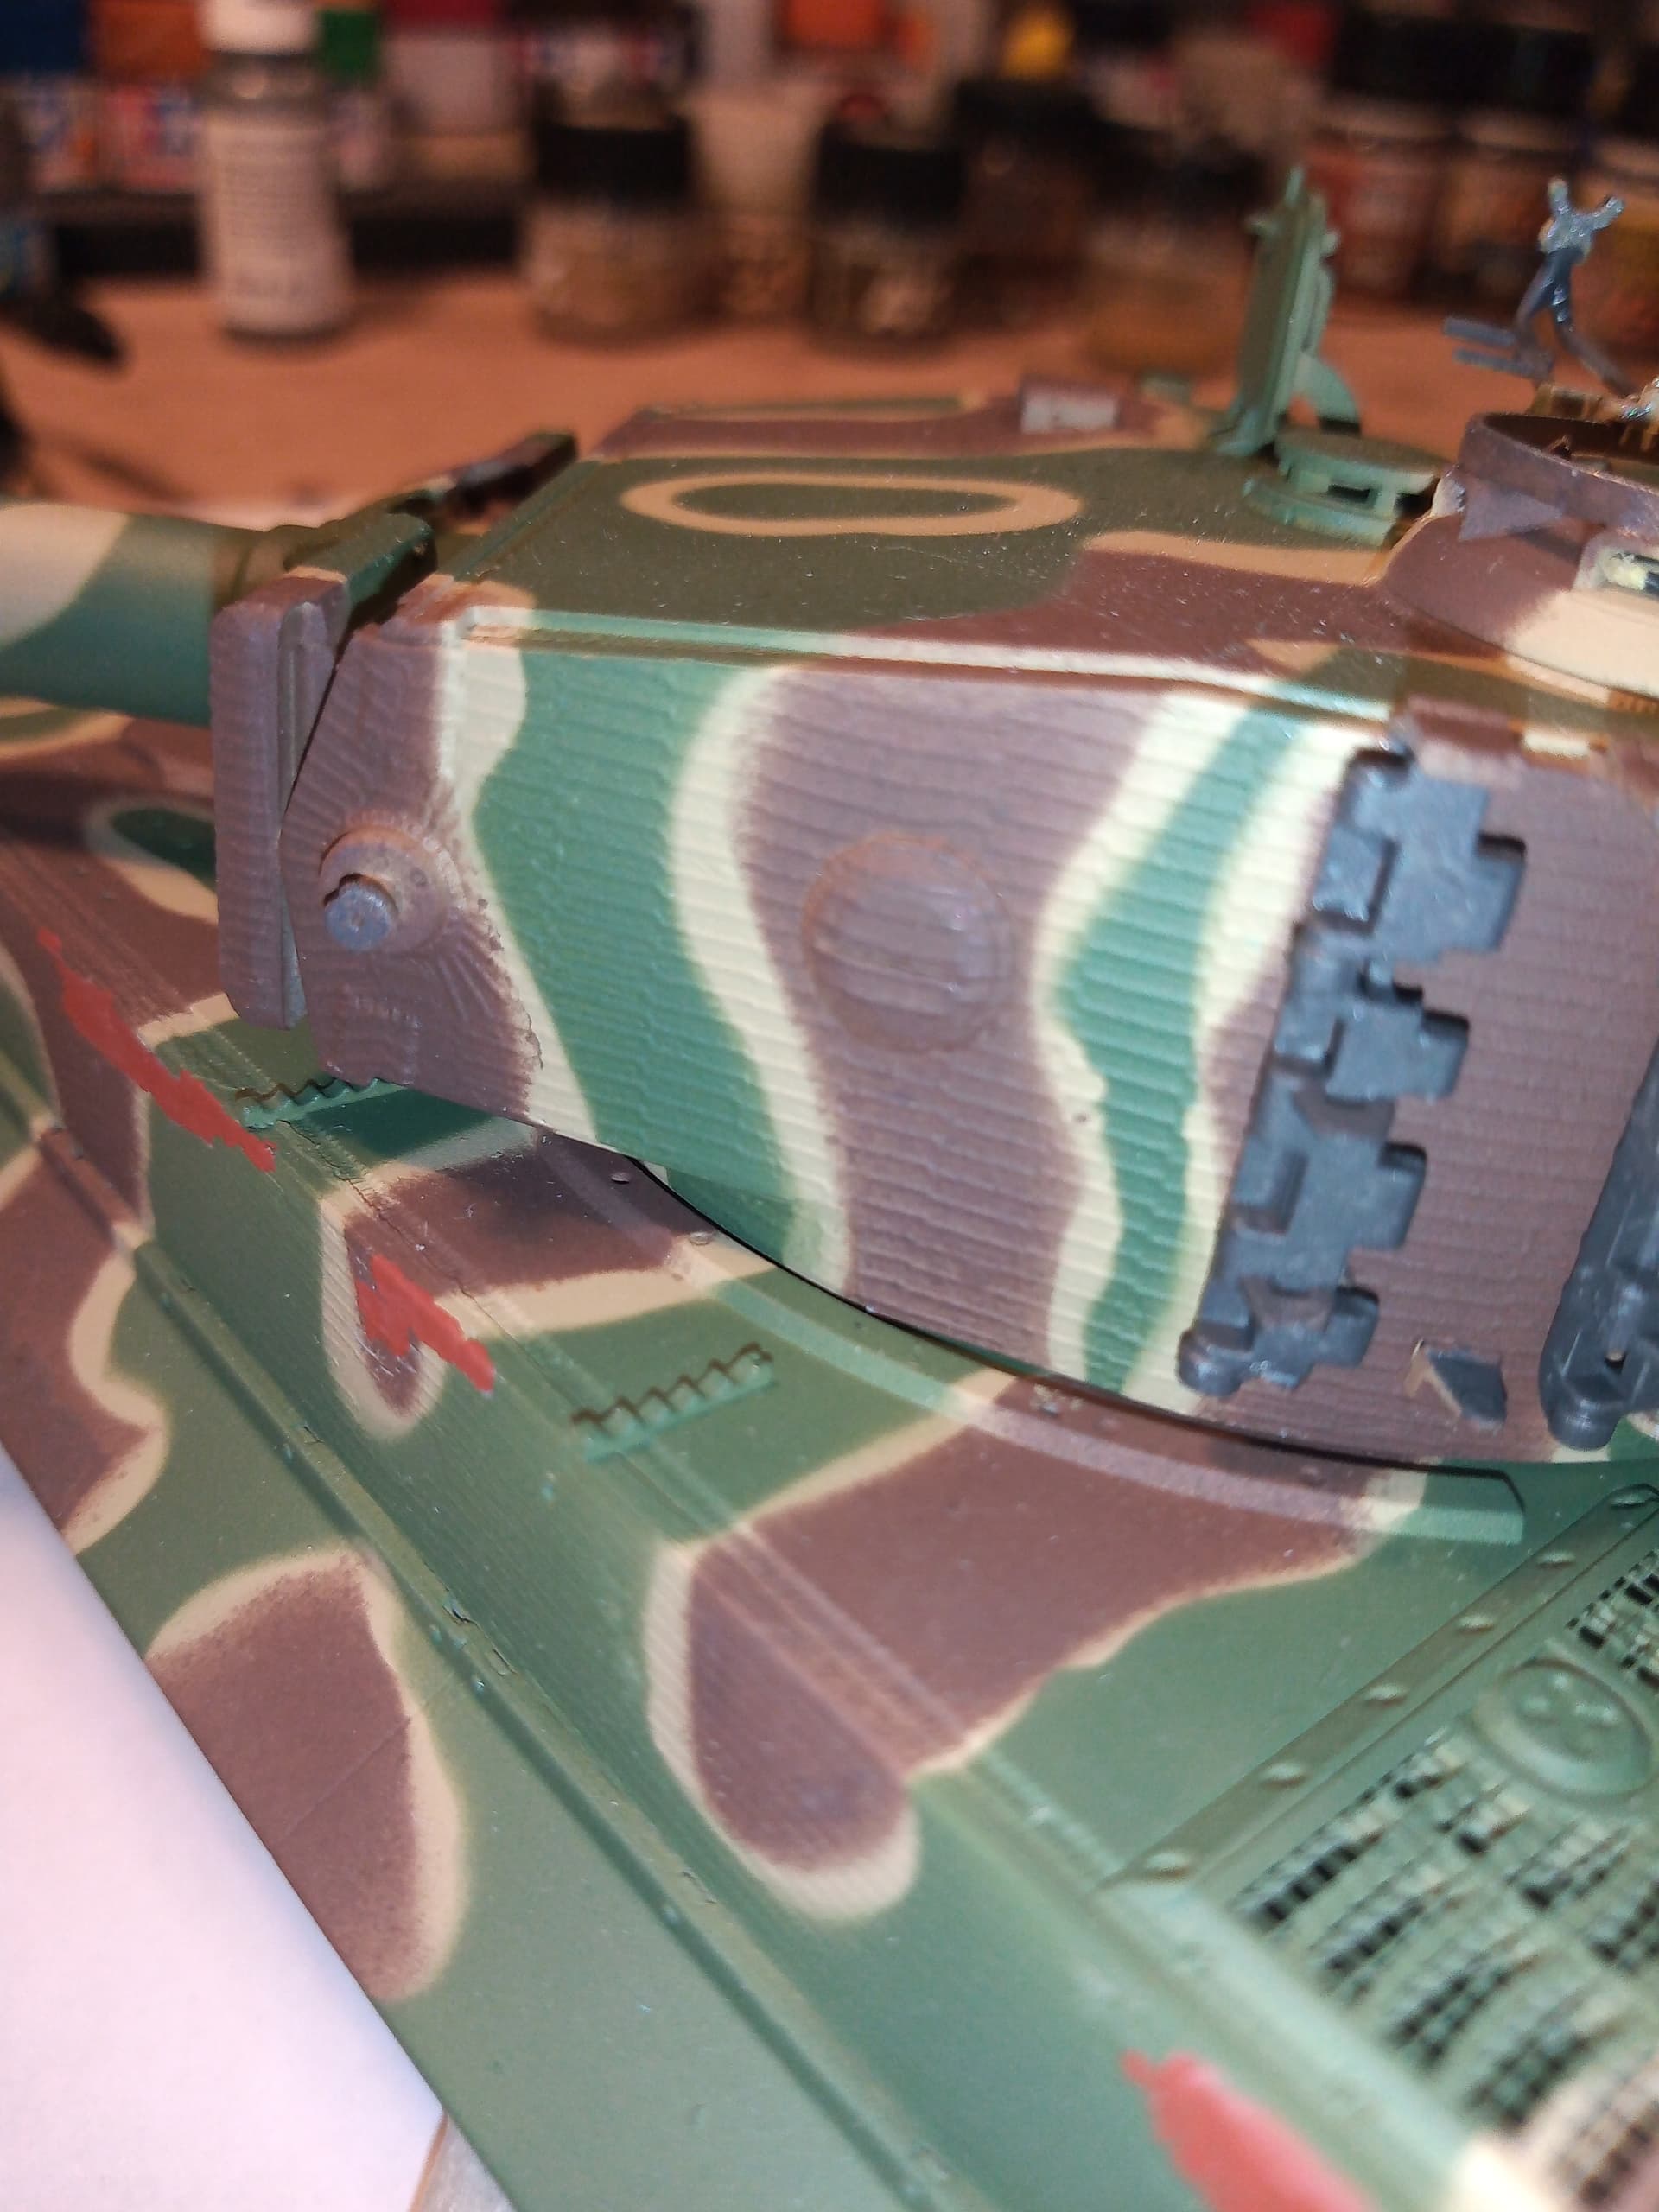
That looks good. It’s definitely something they could improve, but I am sure it’s a fine line. Also wonder if there is some technical limit to making it too thick.
I think in your case it is deep enough! Weathering should make it pop
Saw @petbat commented on your Tiger thread and indicated zimmerit was 6 mm thick or .2 mm in 1/35 scale so maybe it is just the right thickness
Mine had between 3 and 4 coats on, and I think that it looks ok. Plus the grey primer was a pretty thick coat as well ![]()
1 Like
The way I keep looking at it, is it is better than I would do by hand with all the bolts to go around
1 Like
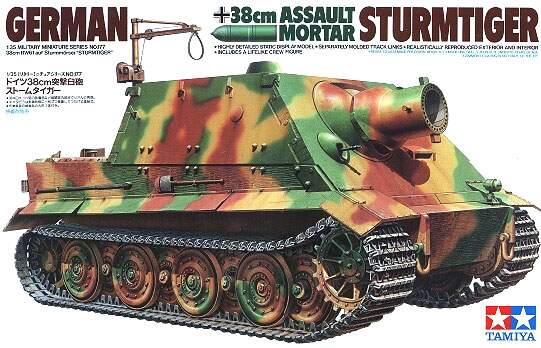
I got the same dilema with the Tamiya Sturmtiger i have in my stash.
I bought the Tamiya ZImmerit decal set for the Tiger, since I know I’ll be using just the portions on the hull, but like yours, the decals will be tricky to work around the bolts on the hull.

I used the same decal set on my Tiger I Mid and it came out looking great.

5 Likes
Tiger look fantastic! Be warned if the sturm tiger stuff is the same as the tamiya Elefant stuff the bolt holes have film in them and need to be cut out. I’ve found it helpful to drill out the holes in the decal sheet to make sure the decal lines up with all the bolts. Once down I trimmed any excess around the bolts with a new number 11 blade
1 Like
Good advice. I will do it that way. I’ll probably mask up the hull with some blue tape, then use it as a stencil on the Zimmerit decal sheet.
That’s actually a really good idea! I might give that a try for the other bolts
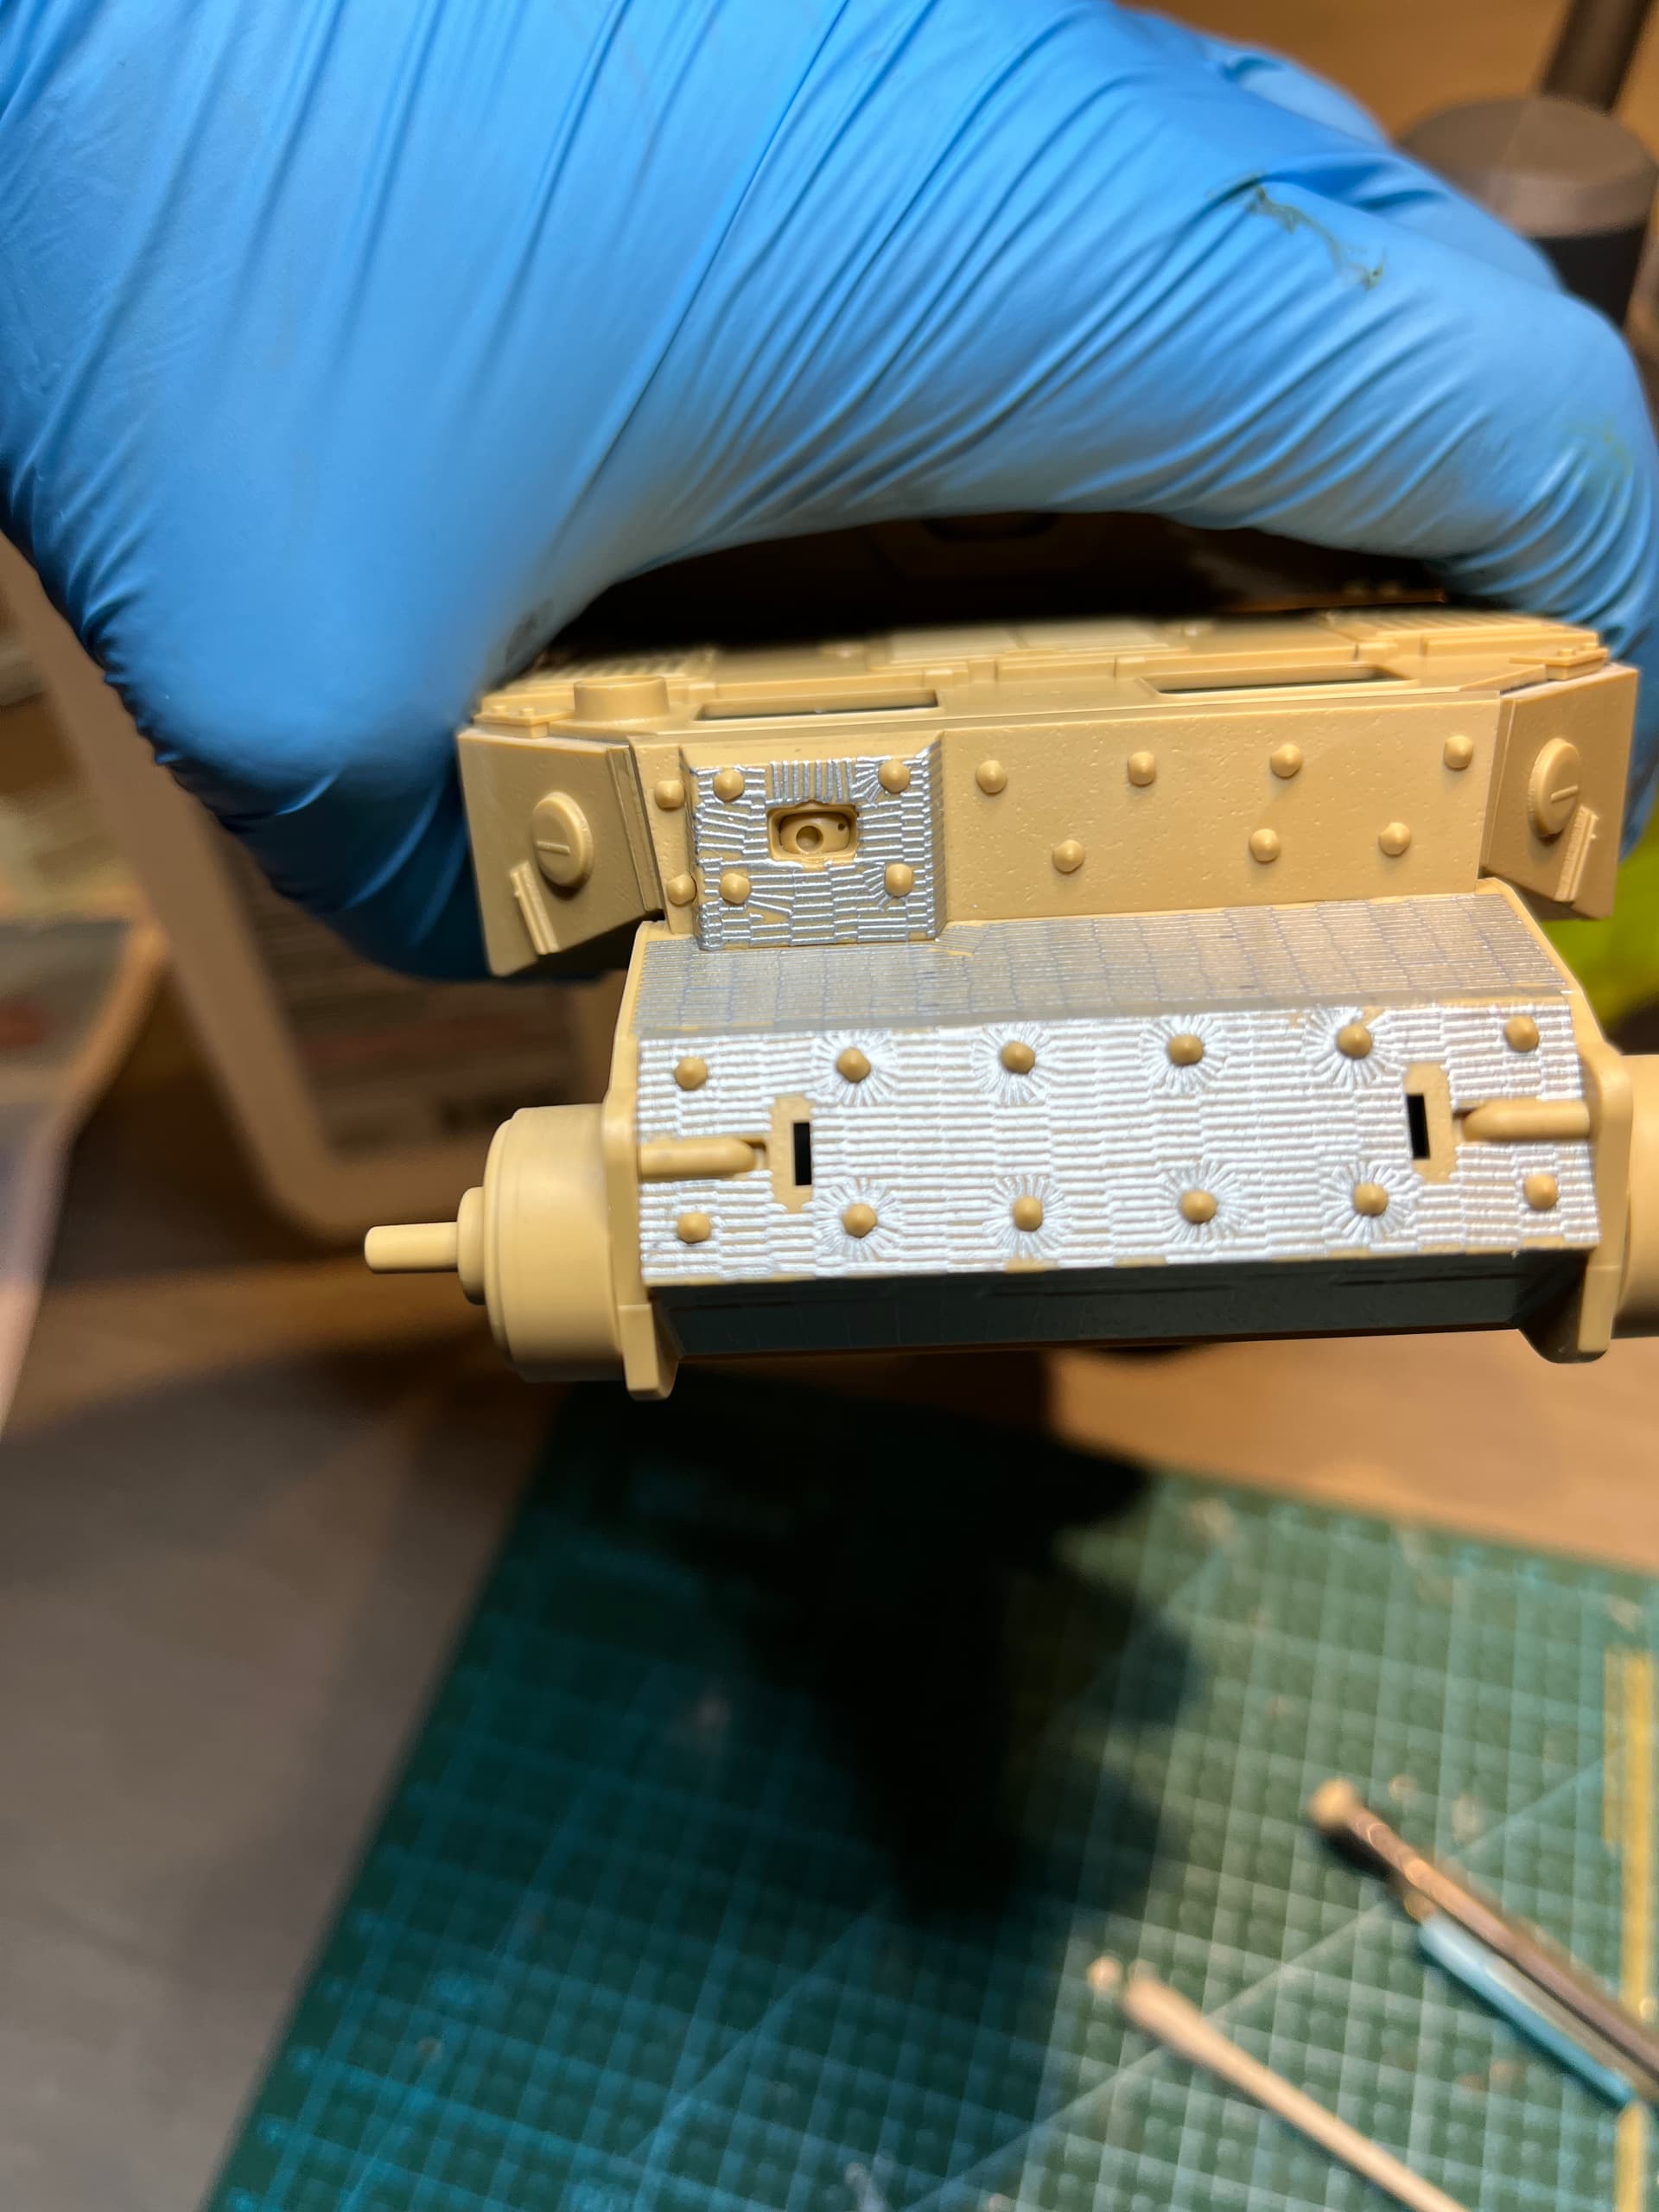
Got another piece of zimmerit down. This is stuff is awesome. This one went down way easier without the bolt. It was a tad long so I had to trim but it lines up super nice with the other piece
Will drill out the holes for the spare track links once or dries up
4 Likes
I’m a broken record at this point but I can’t give this stuff enough praise! Fit is near perfect and the stuff is durable and realistic!
Next update will be when she is done
5 Likes
It’s good stuff for sure. ![]()
1 Like