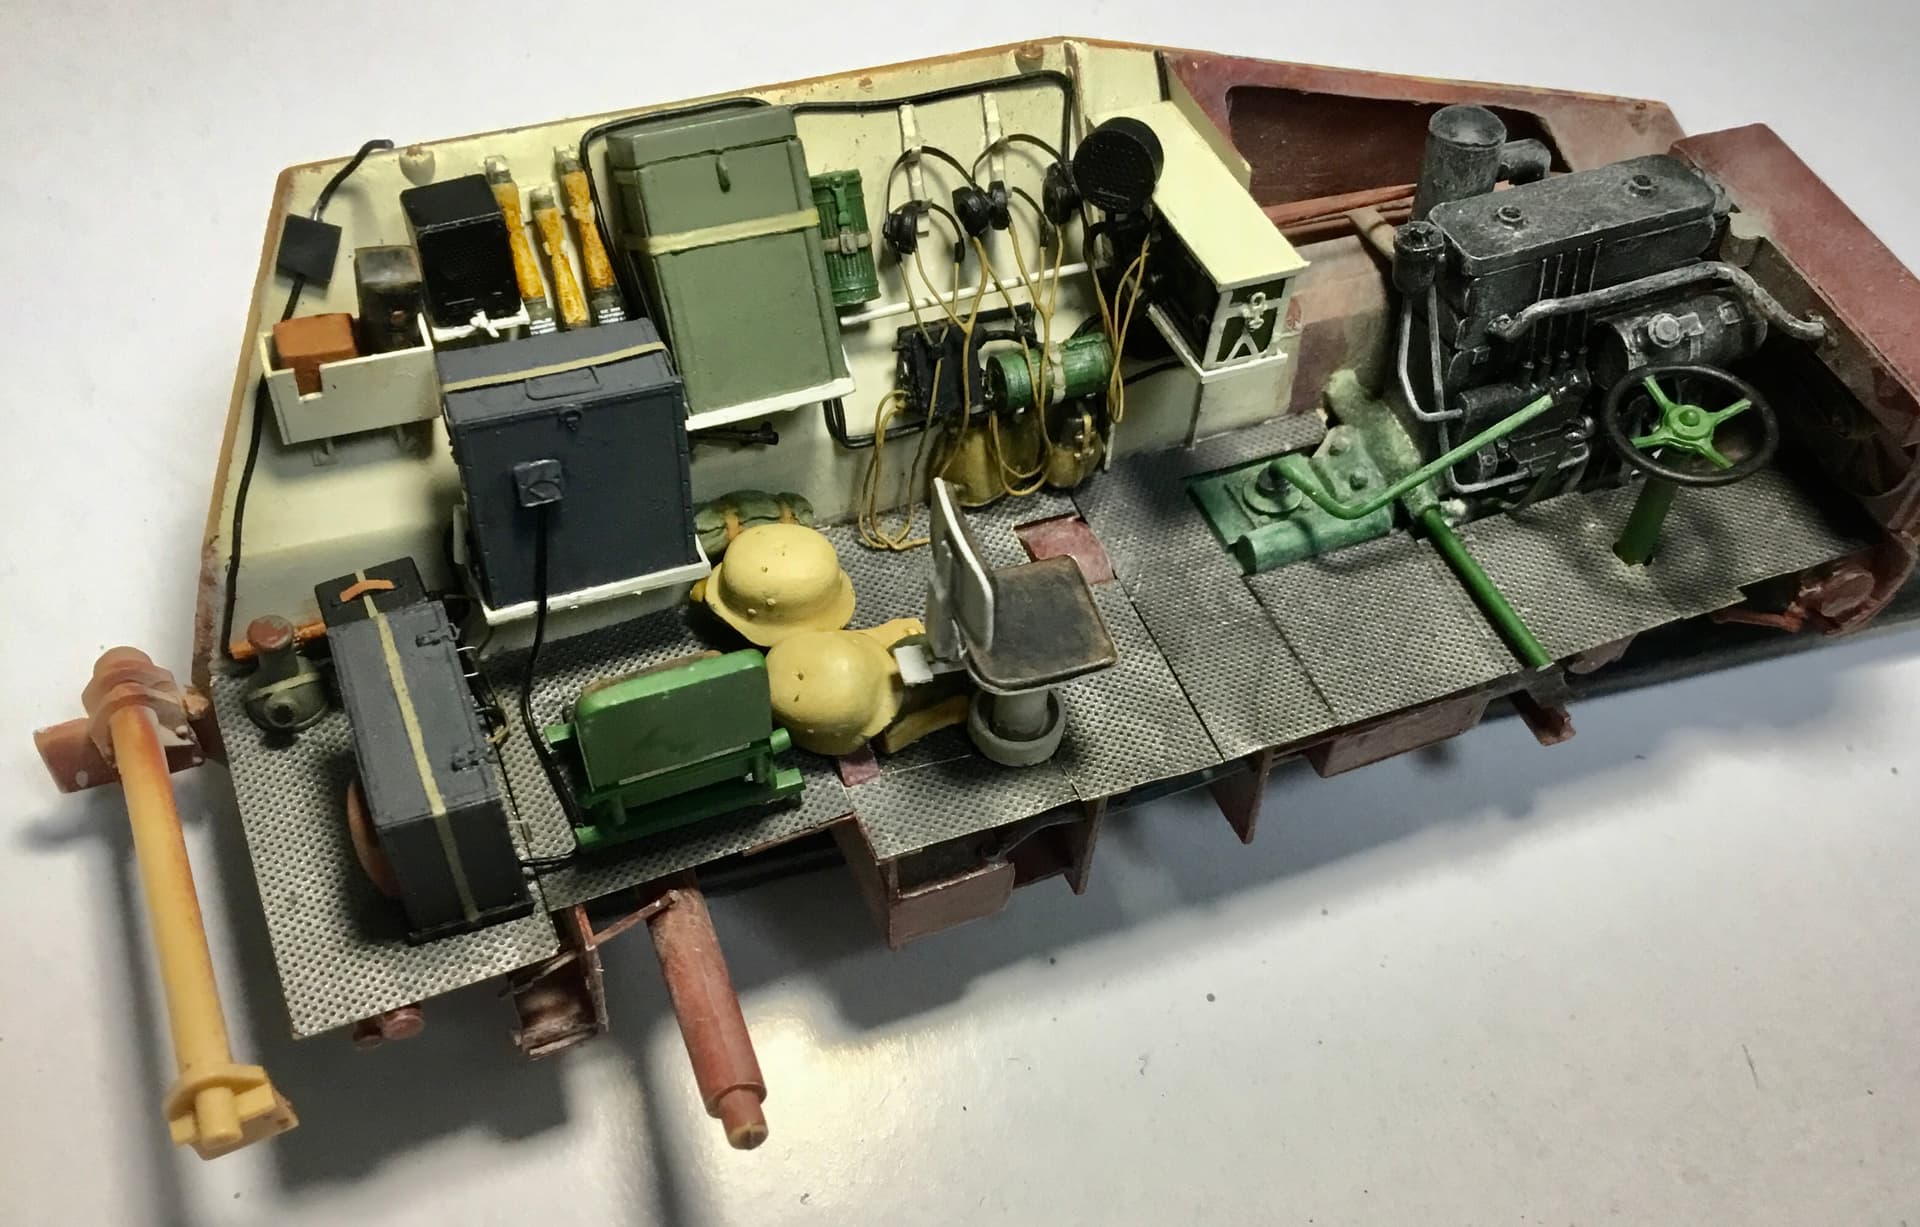
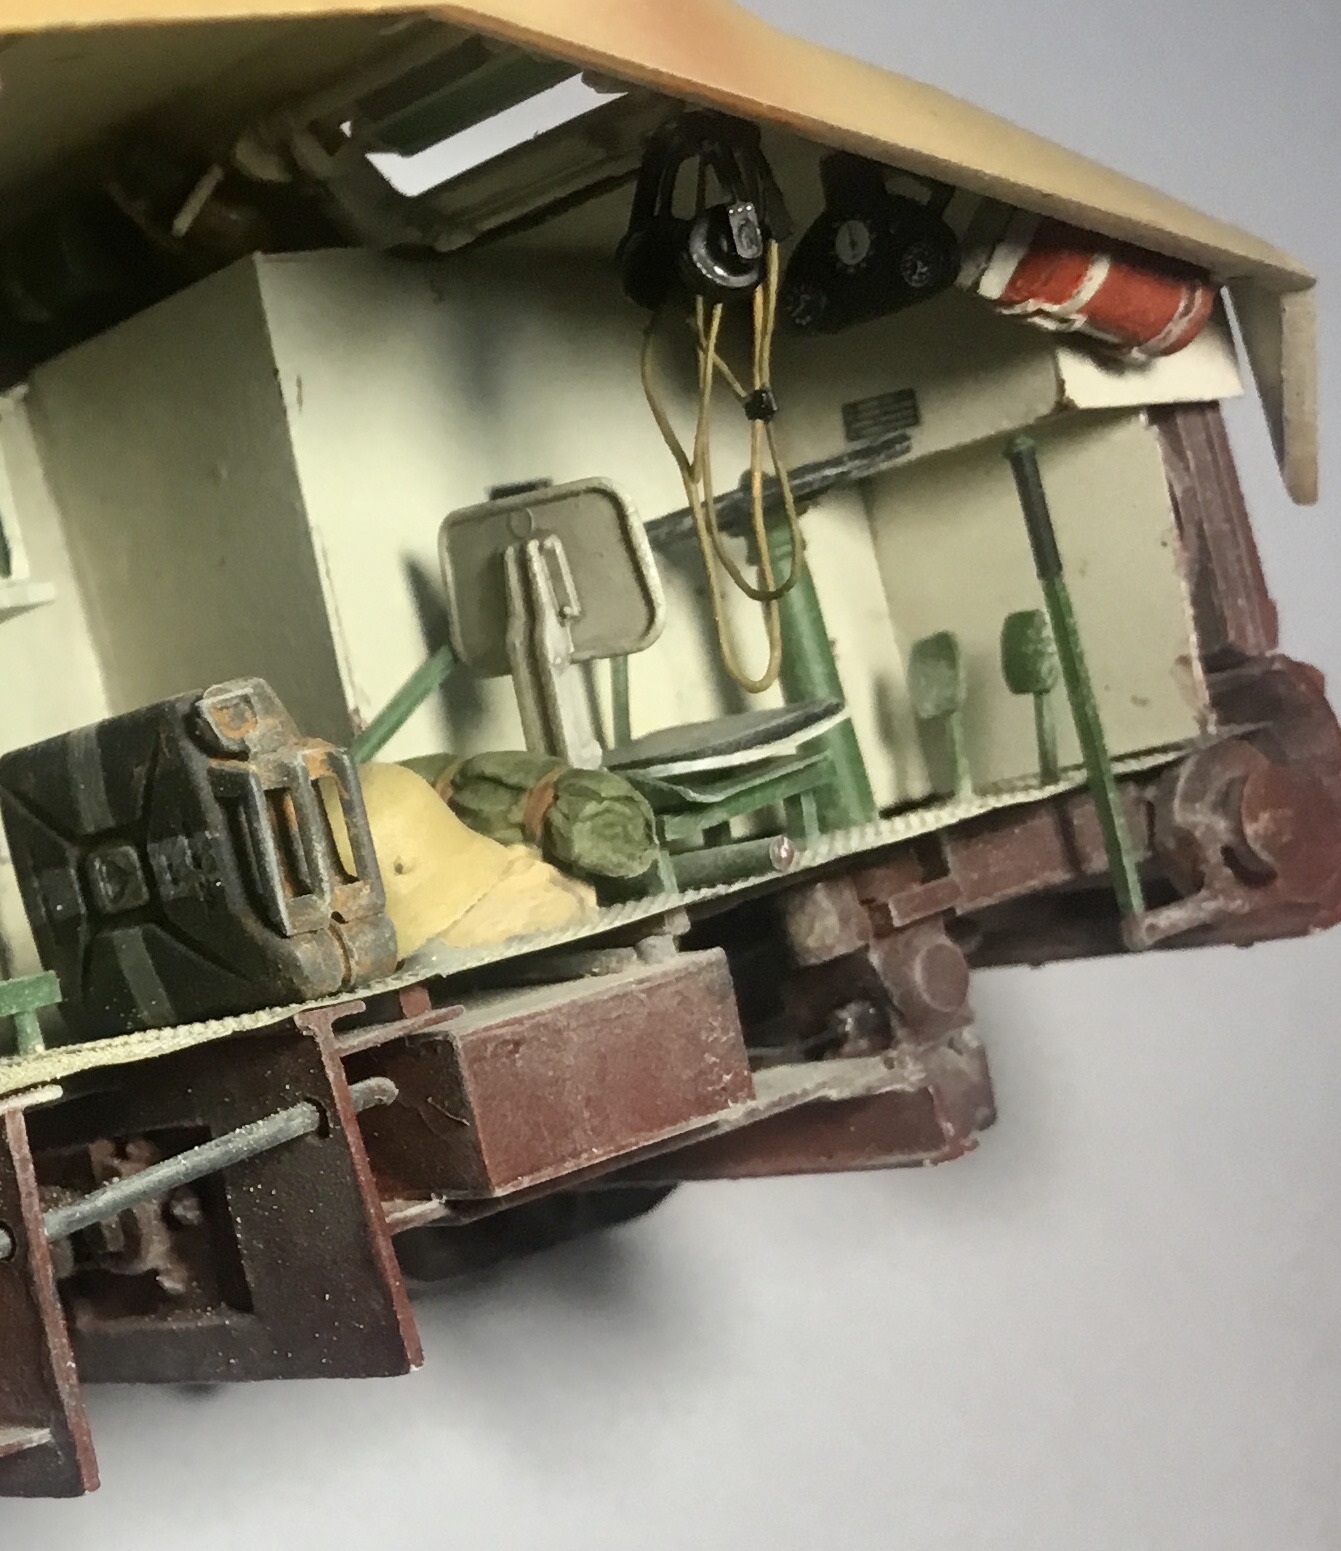
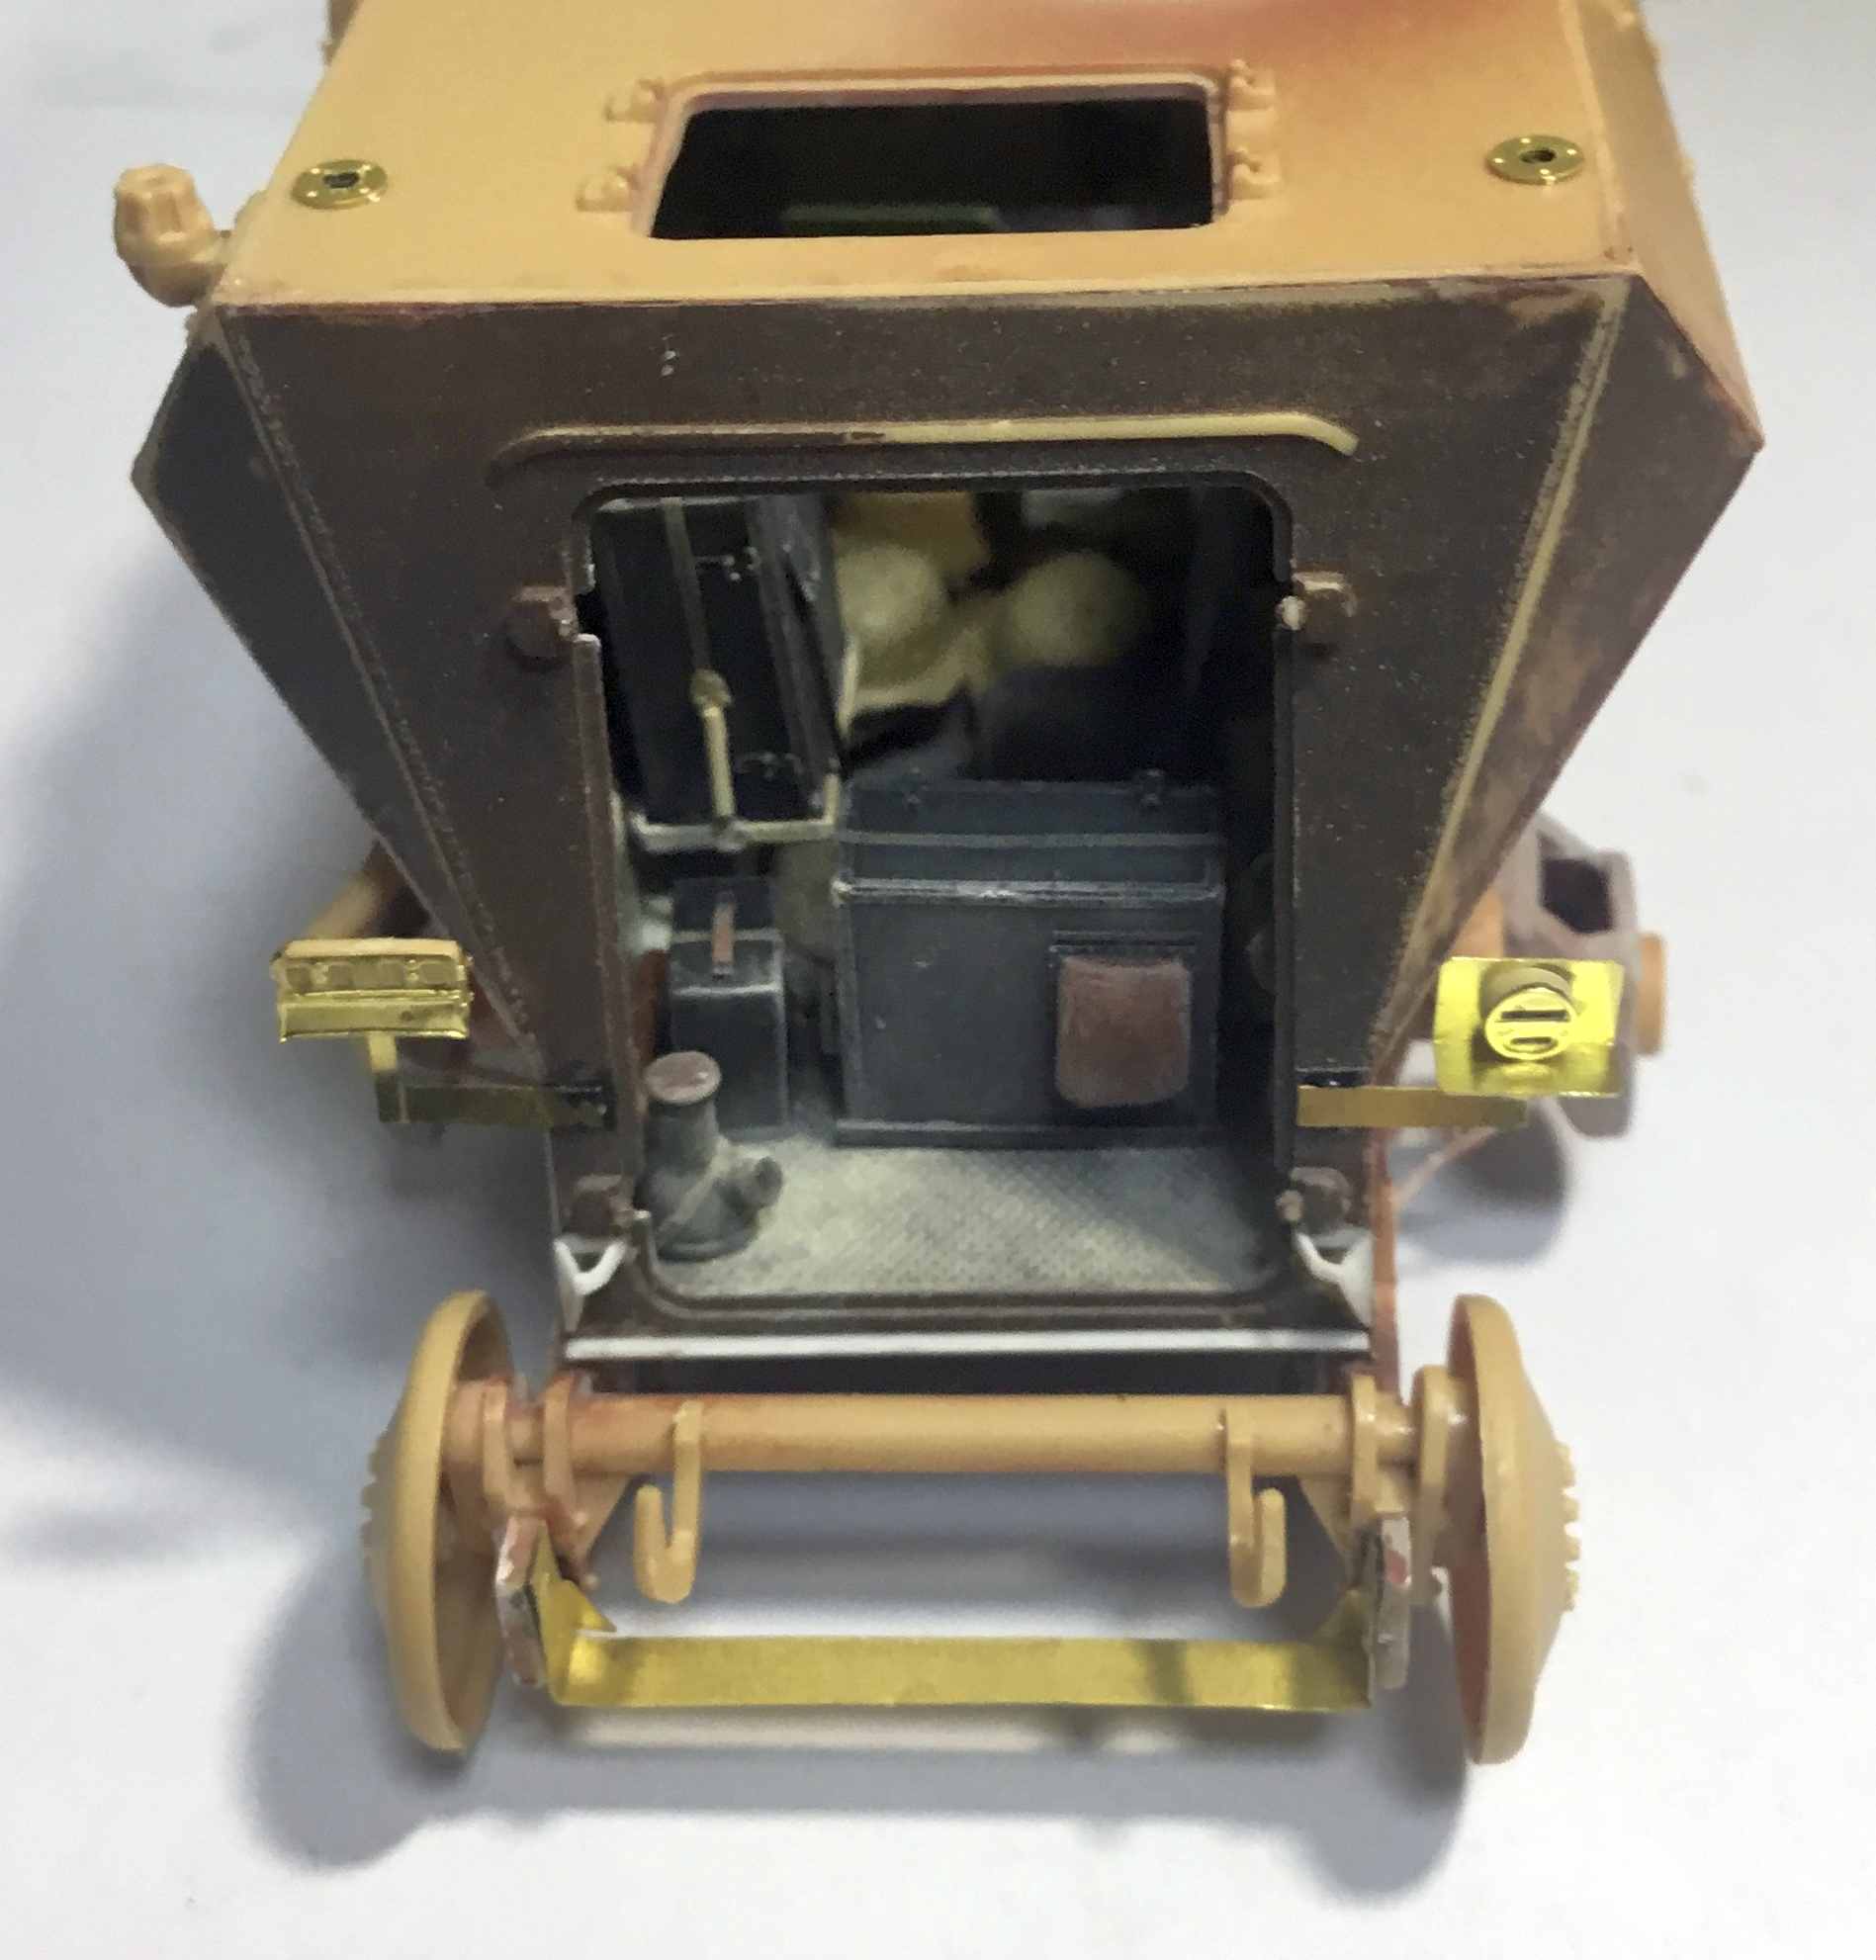
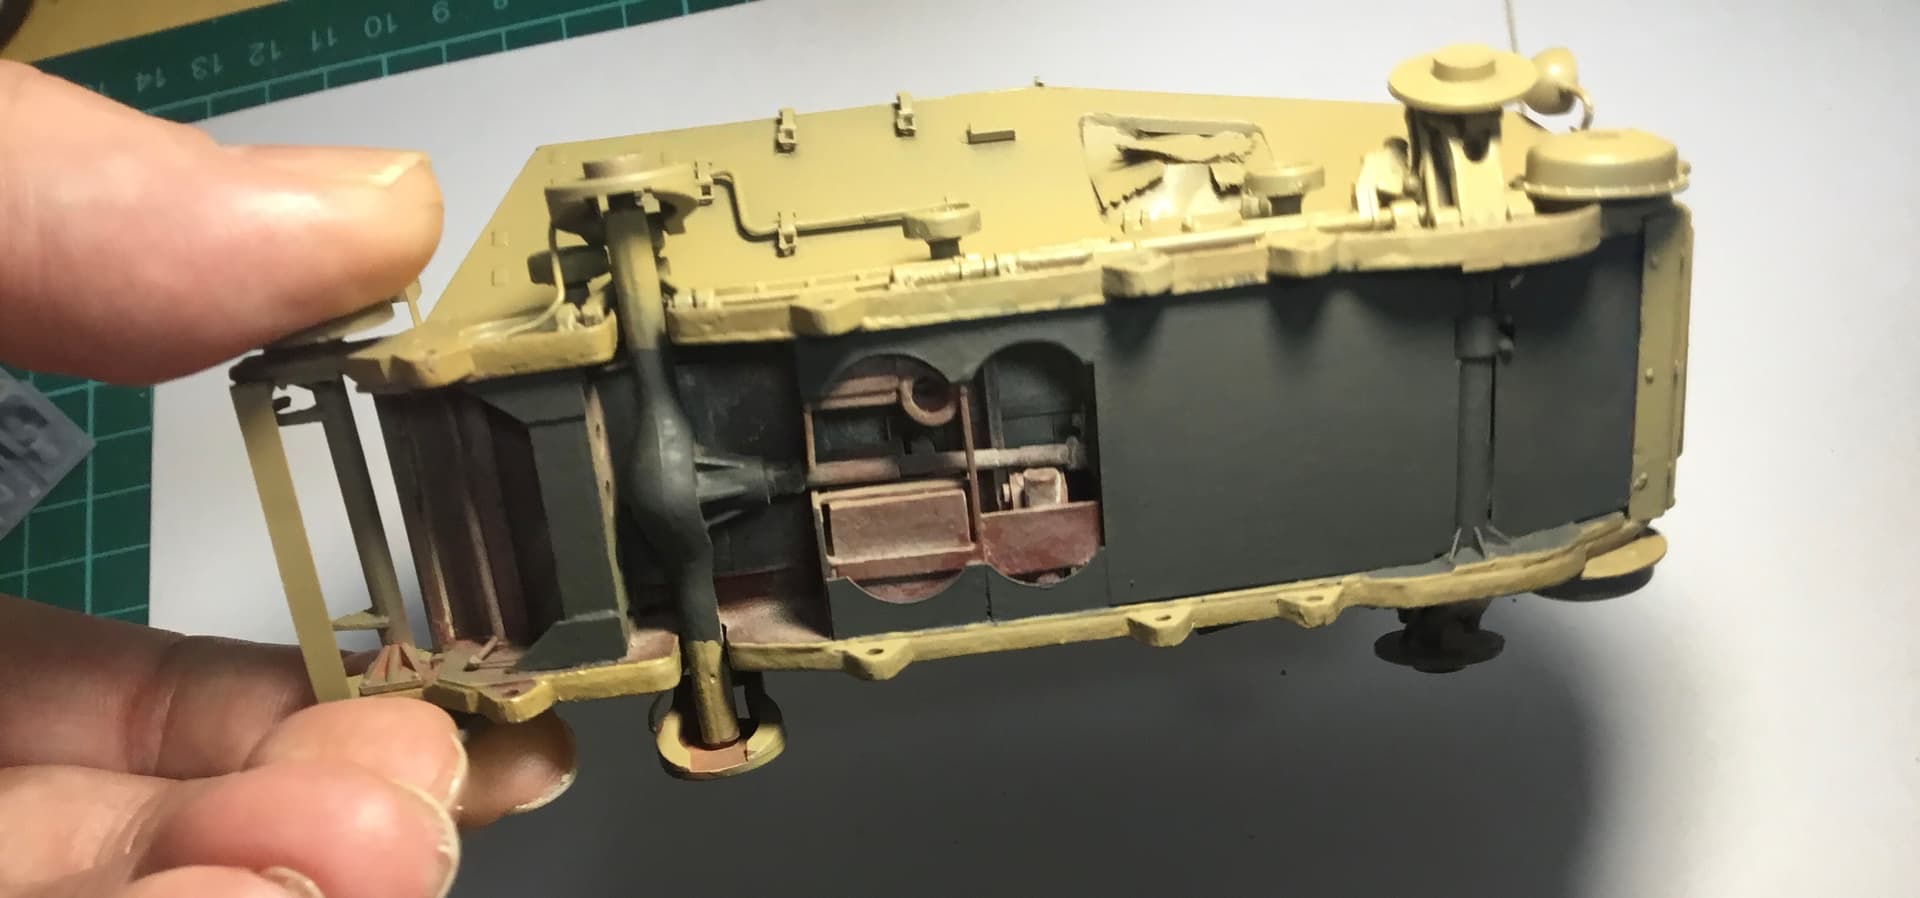
It’s all closed up now with right side and rear added. Everything fitted together without any pinging sounds so that was a relief.
Will finish the underneath of the vehicle and post a few piccies of that. The rear radio operator headset and mic will be on a figure.
A really fun project and gave me some idea of what the crew might have experienced… cramped…
Great skill and research interpretation Jeremy It seems such a shame to shut everything up, but we all know that great detail is in there. Will the back doors be open to allow some glimpse in on the phenomenal work? From the Stahlhelm colour I assume this will be a DAK vehicle?
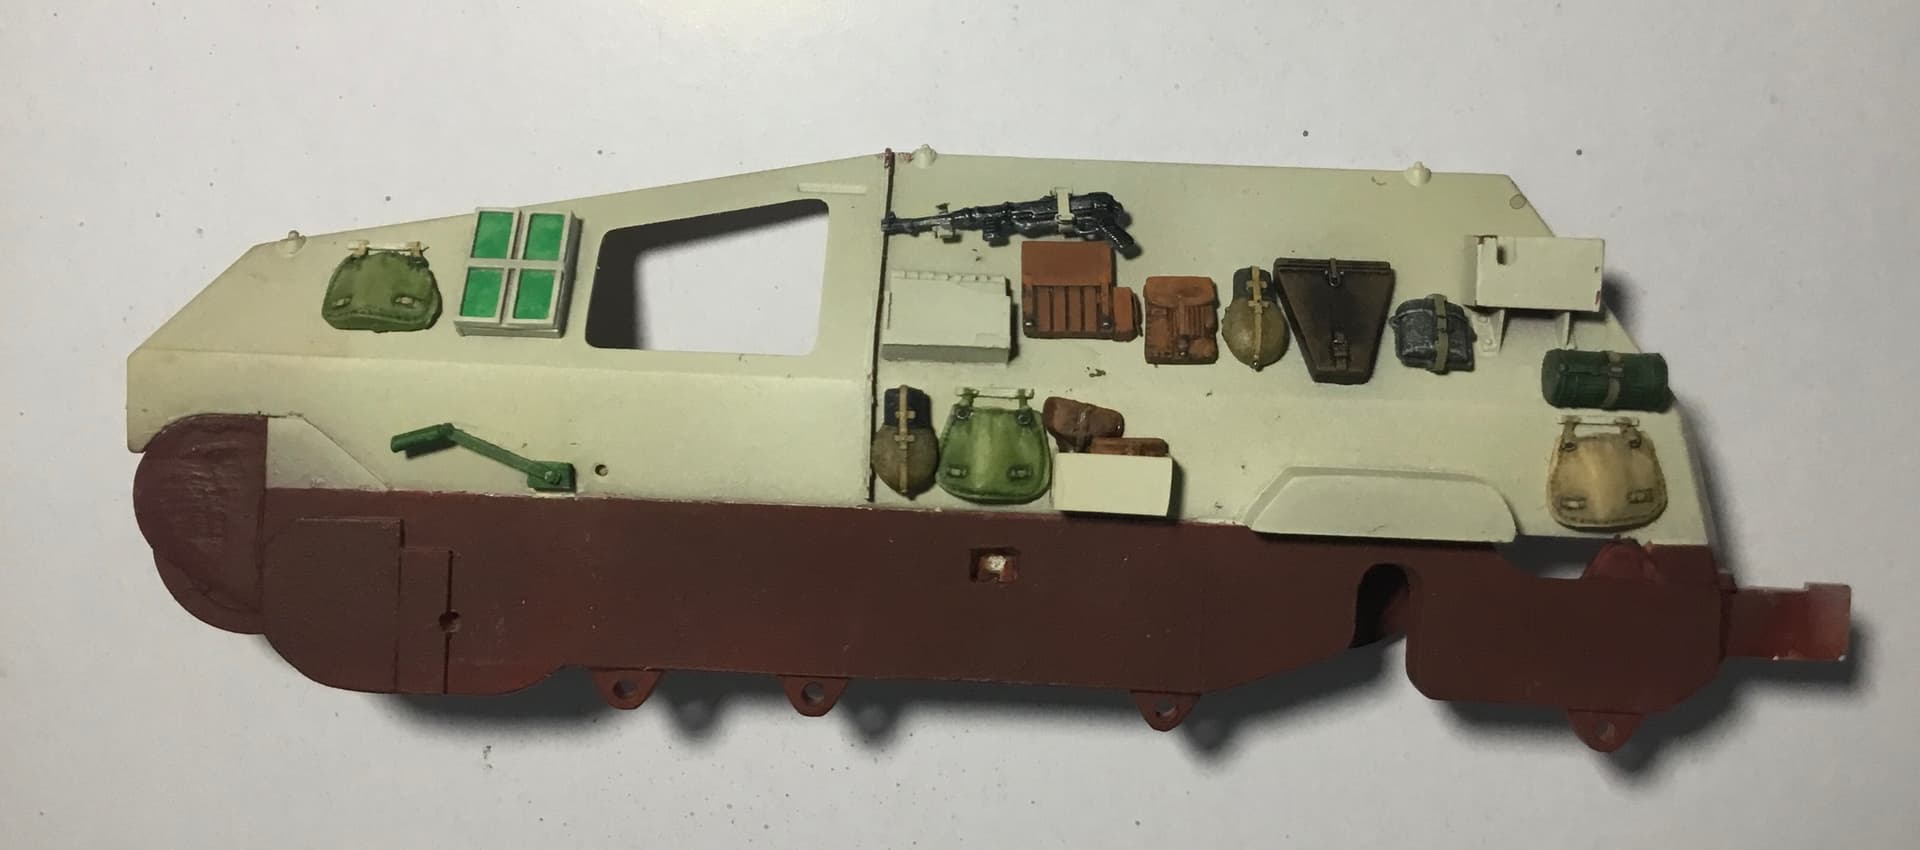
BTW where did you source the MP40 ammo pouches?
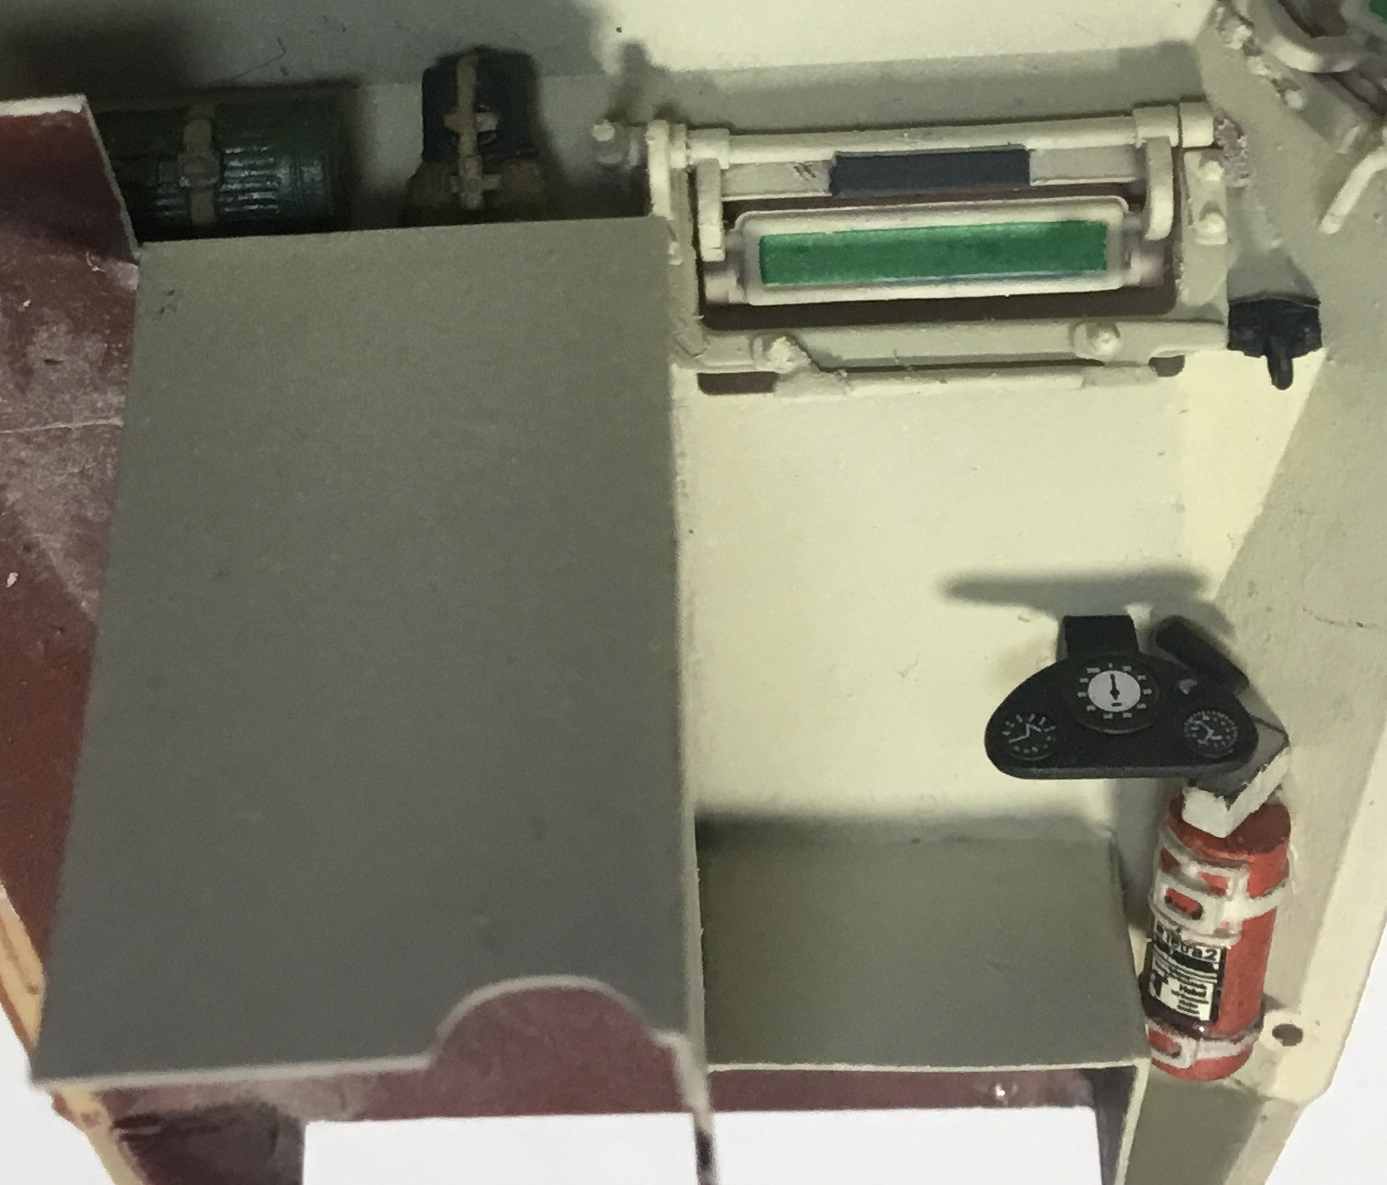
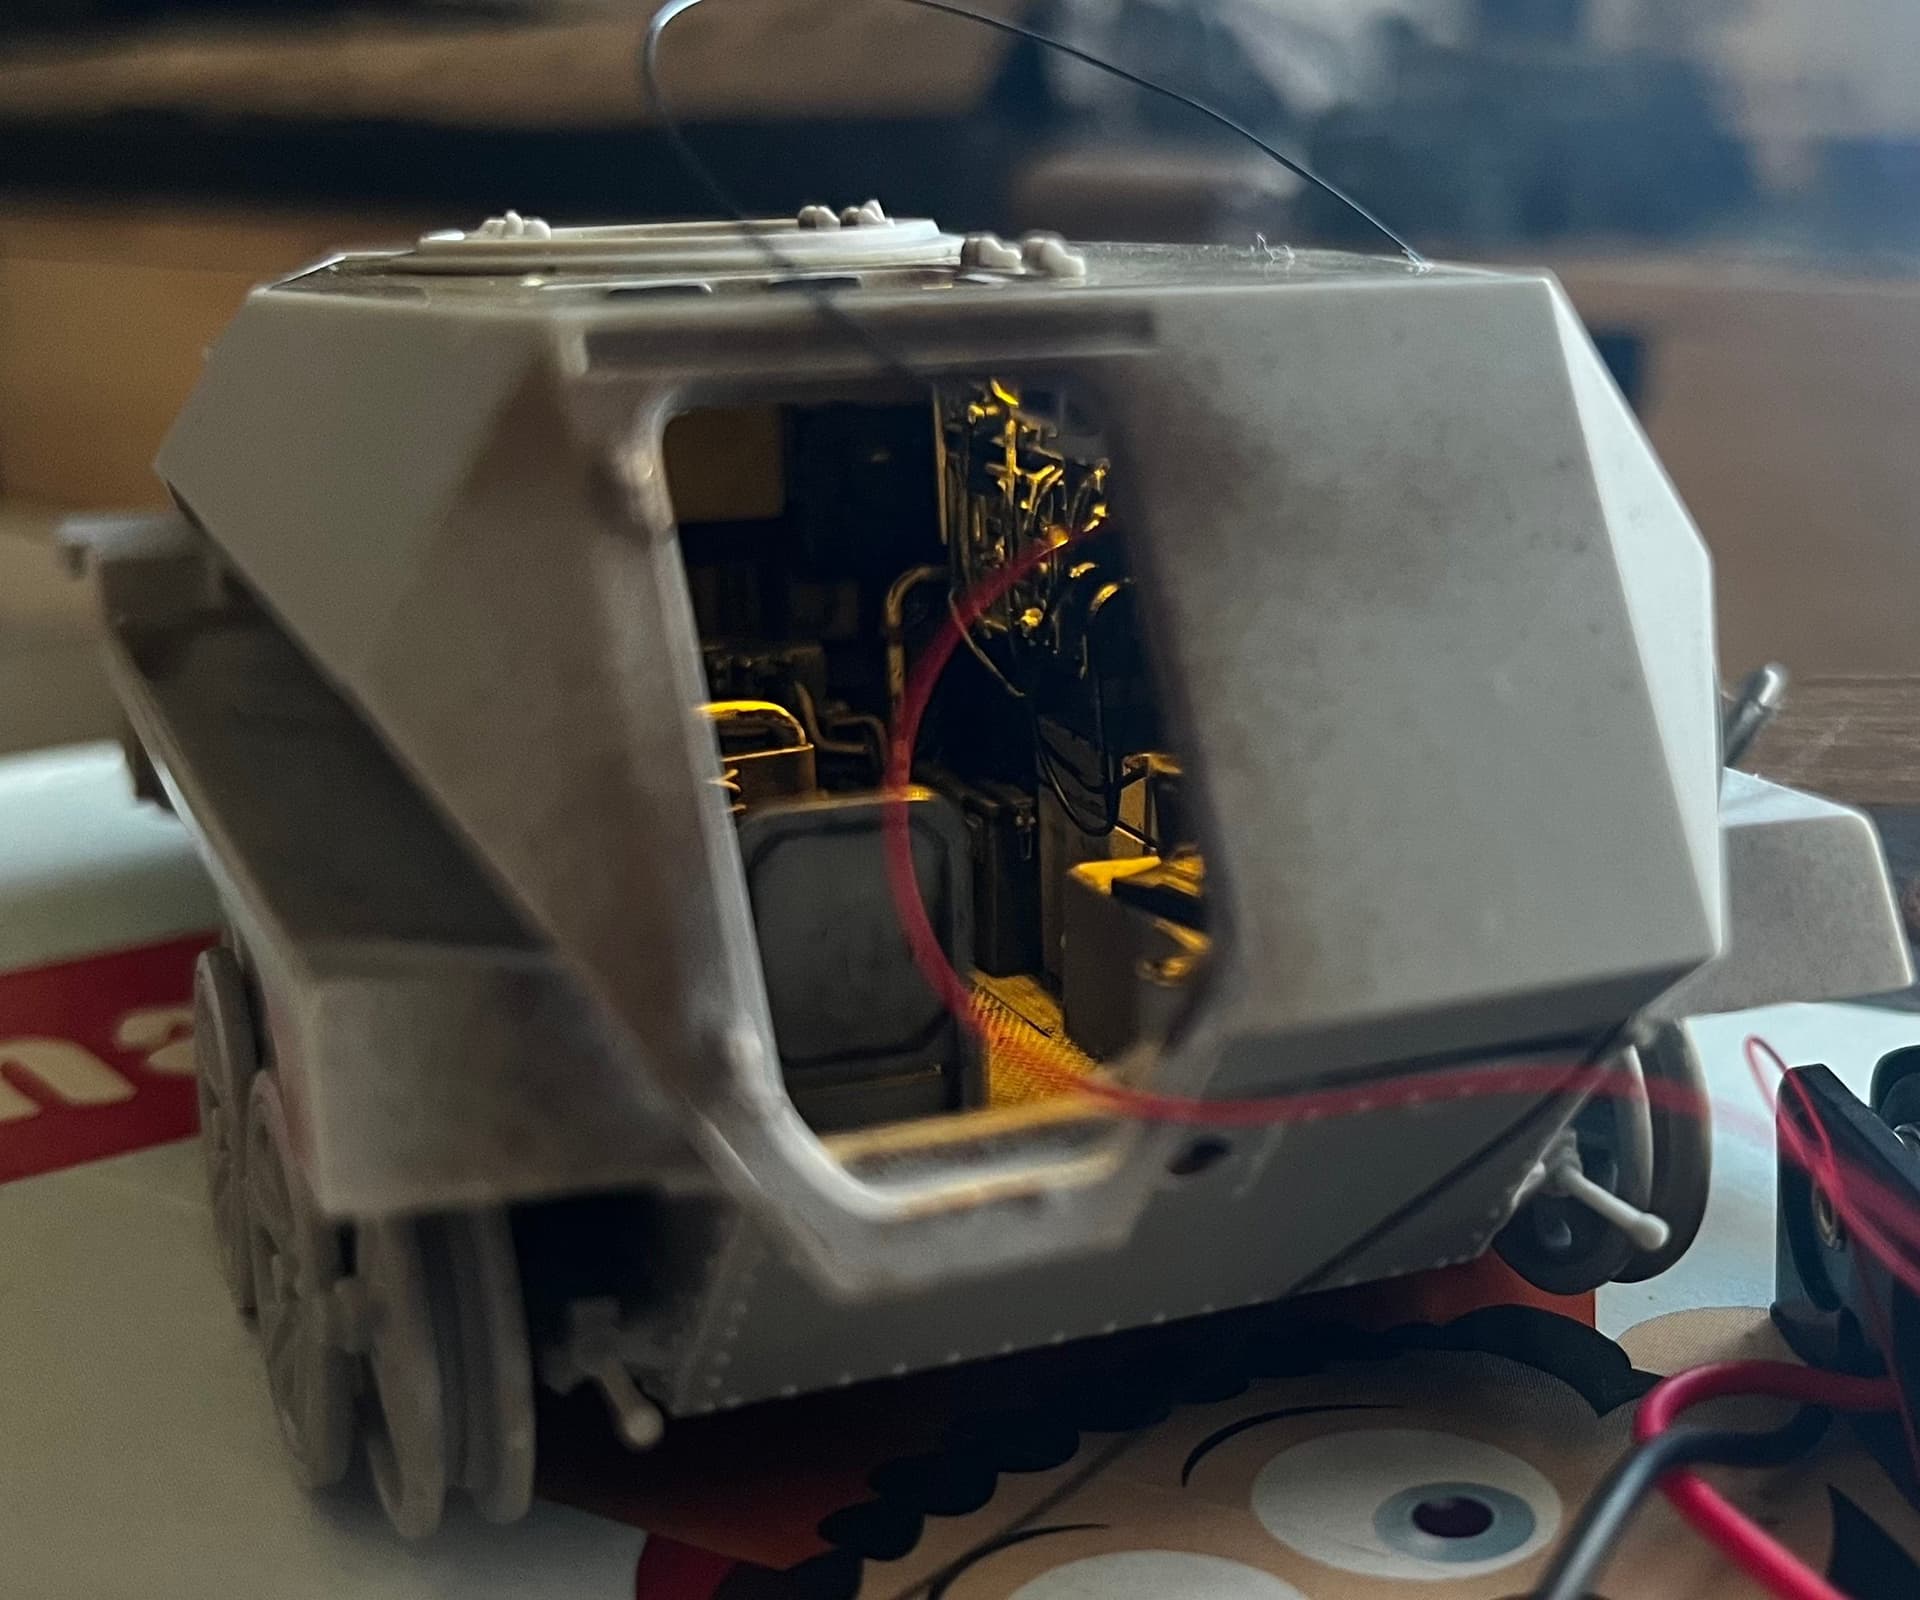
Hi Martin, yes, it never even occurred to me about an interior light and where it may have been.
Thanks, KoeSprueone.
And John, that is a great post for several reasons.
Firstly, it is a great thread on that vehicle as an artillery support vehicle and the interior. Which lead me to research it for any hints about what may have been inside the SdKfz254 which it superseded.
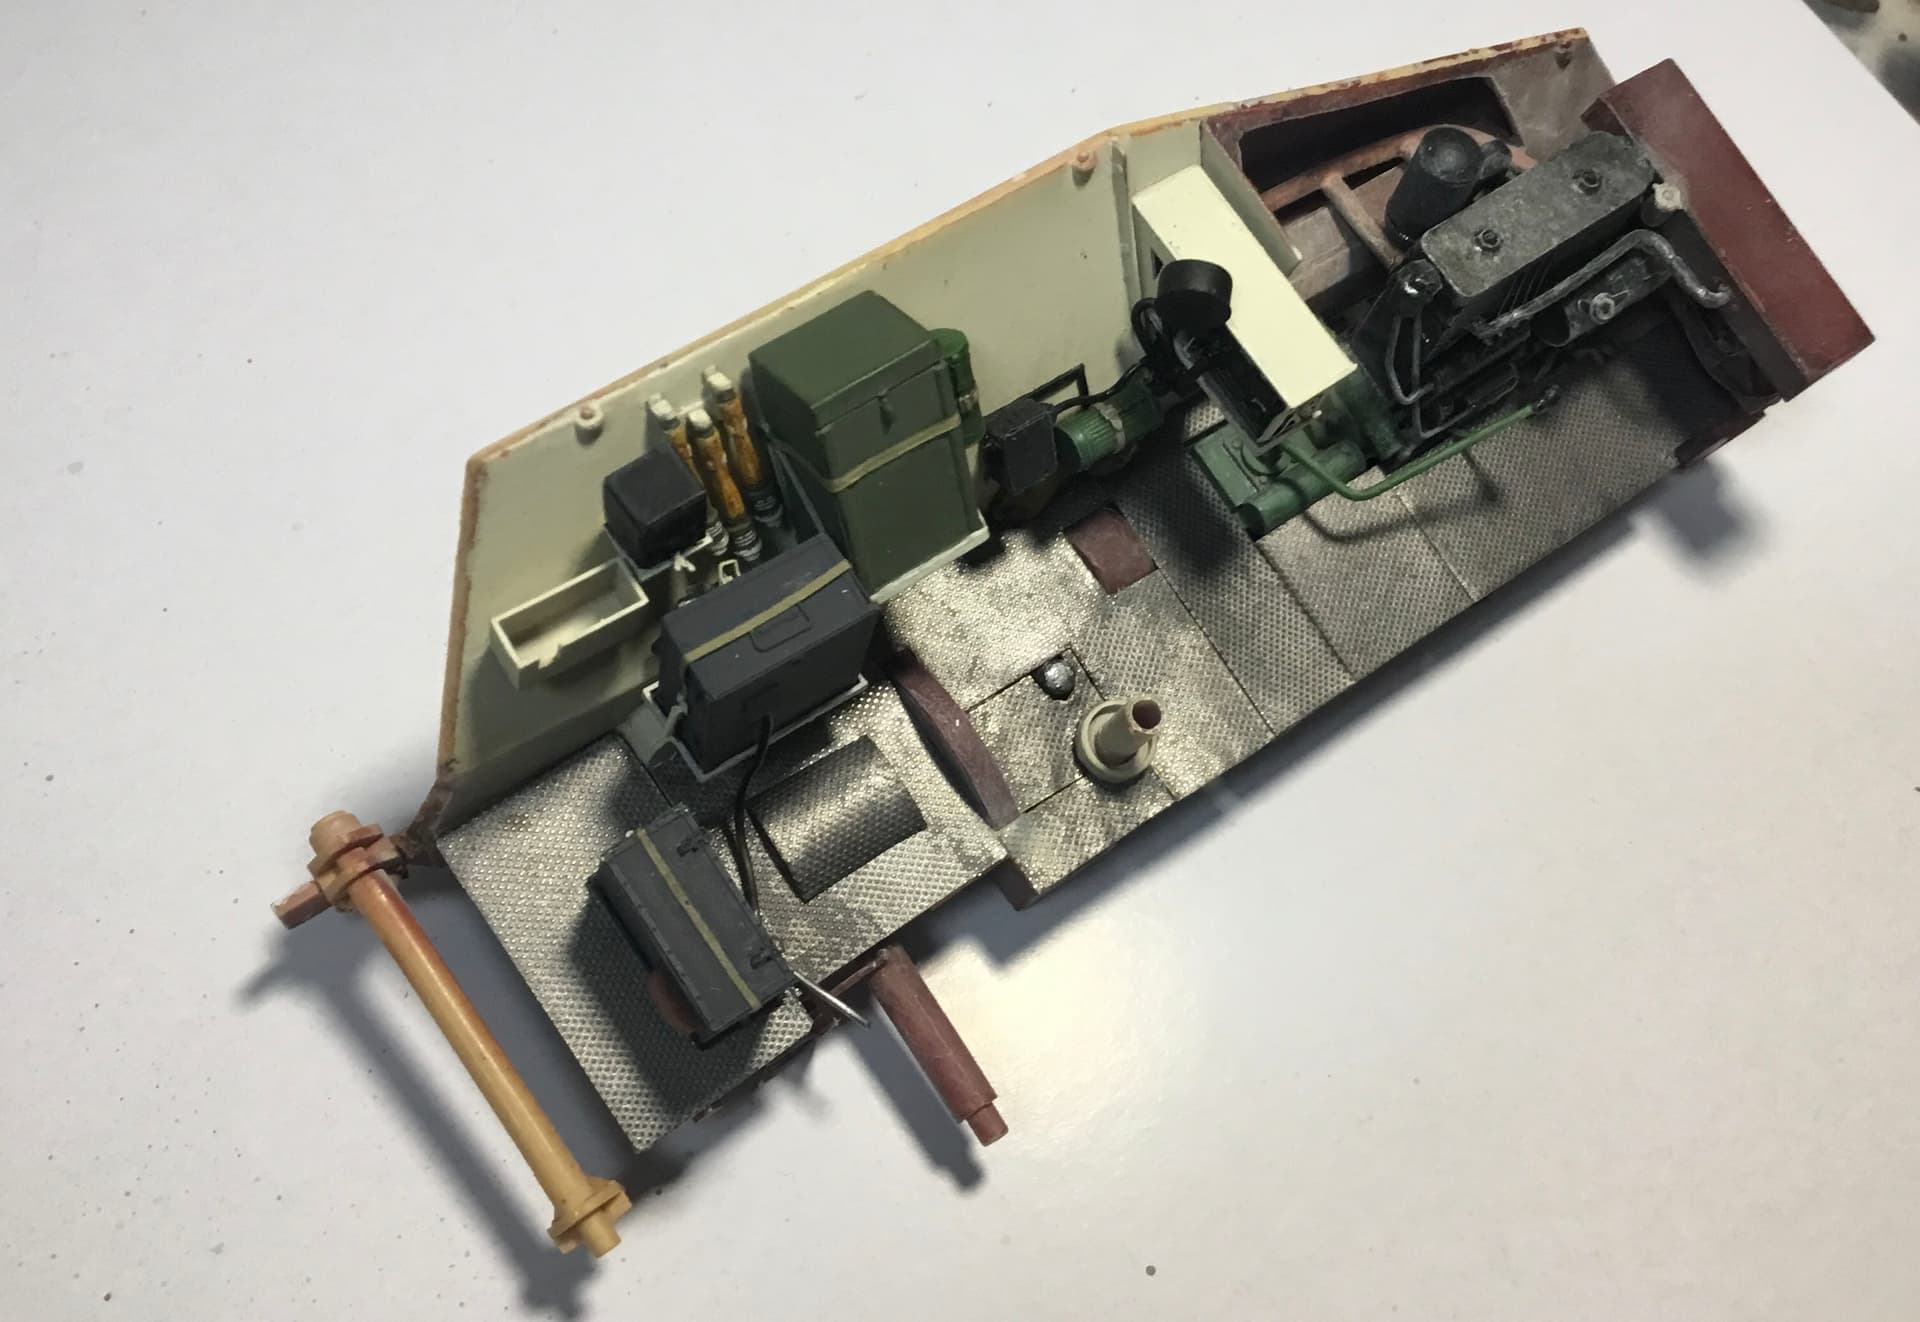
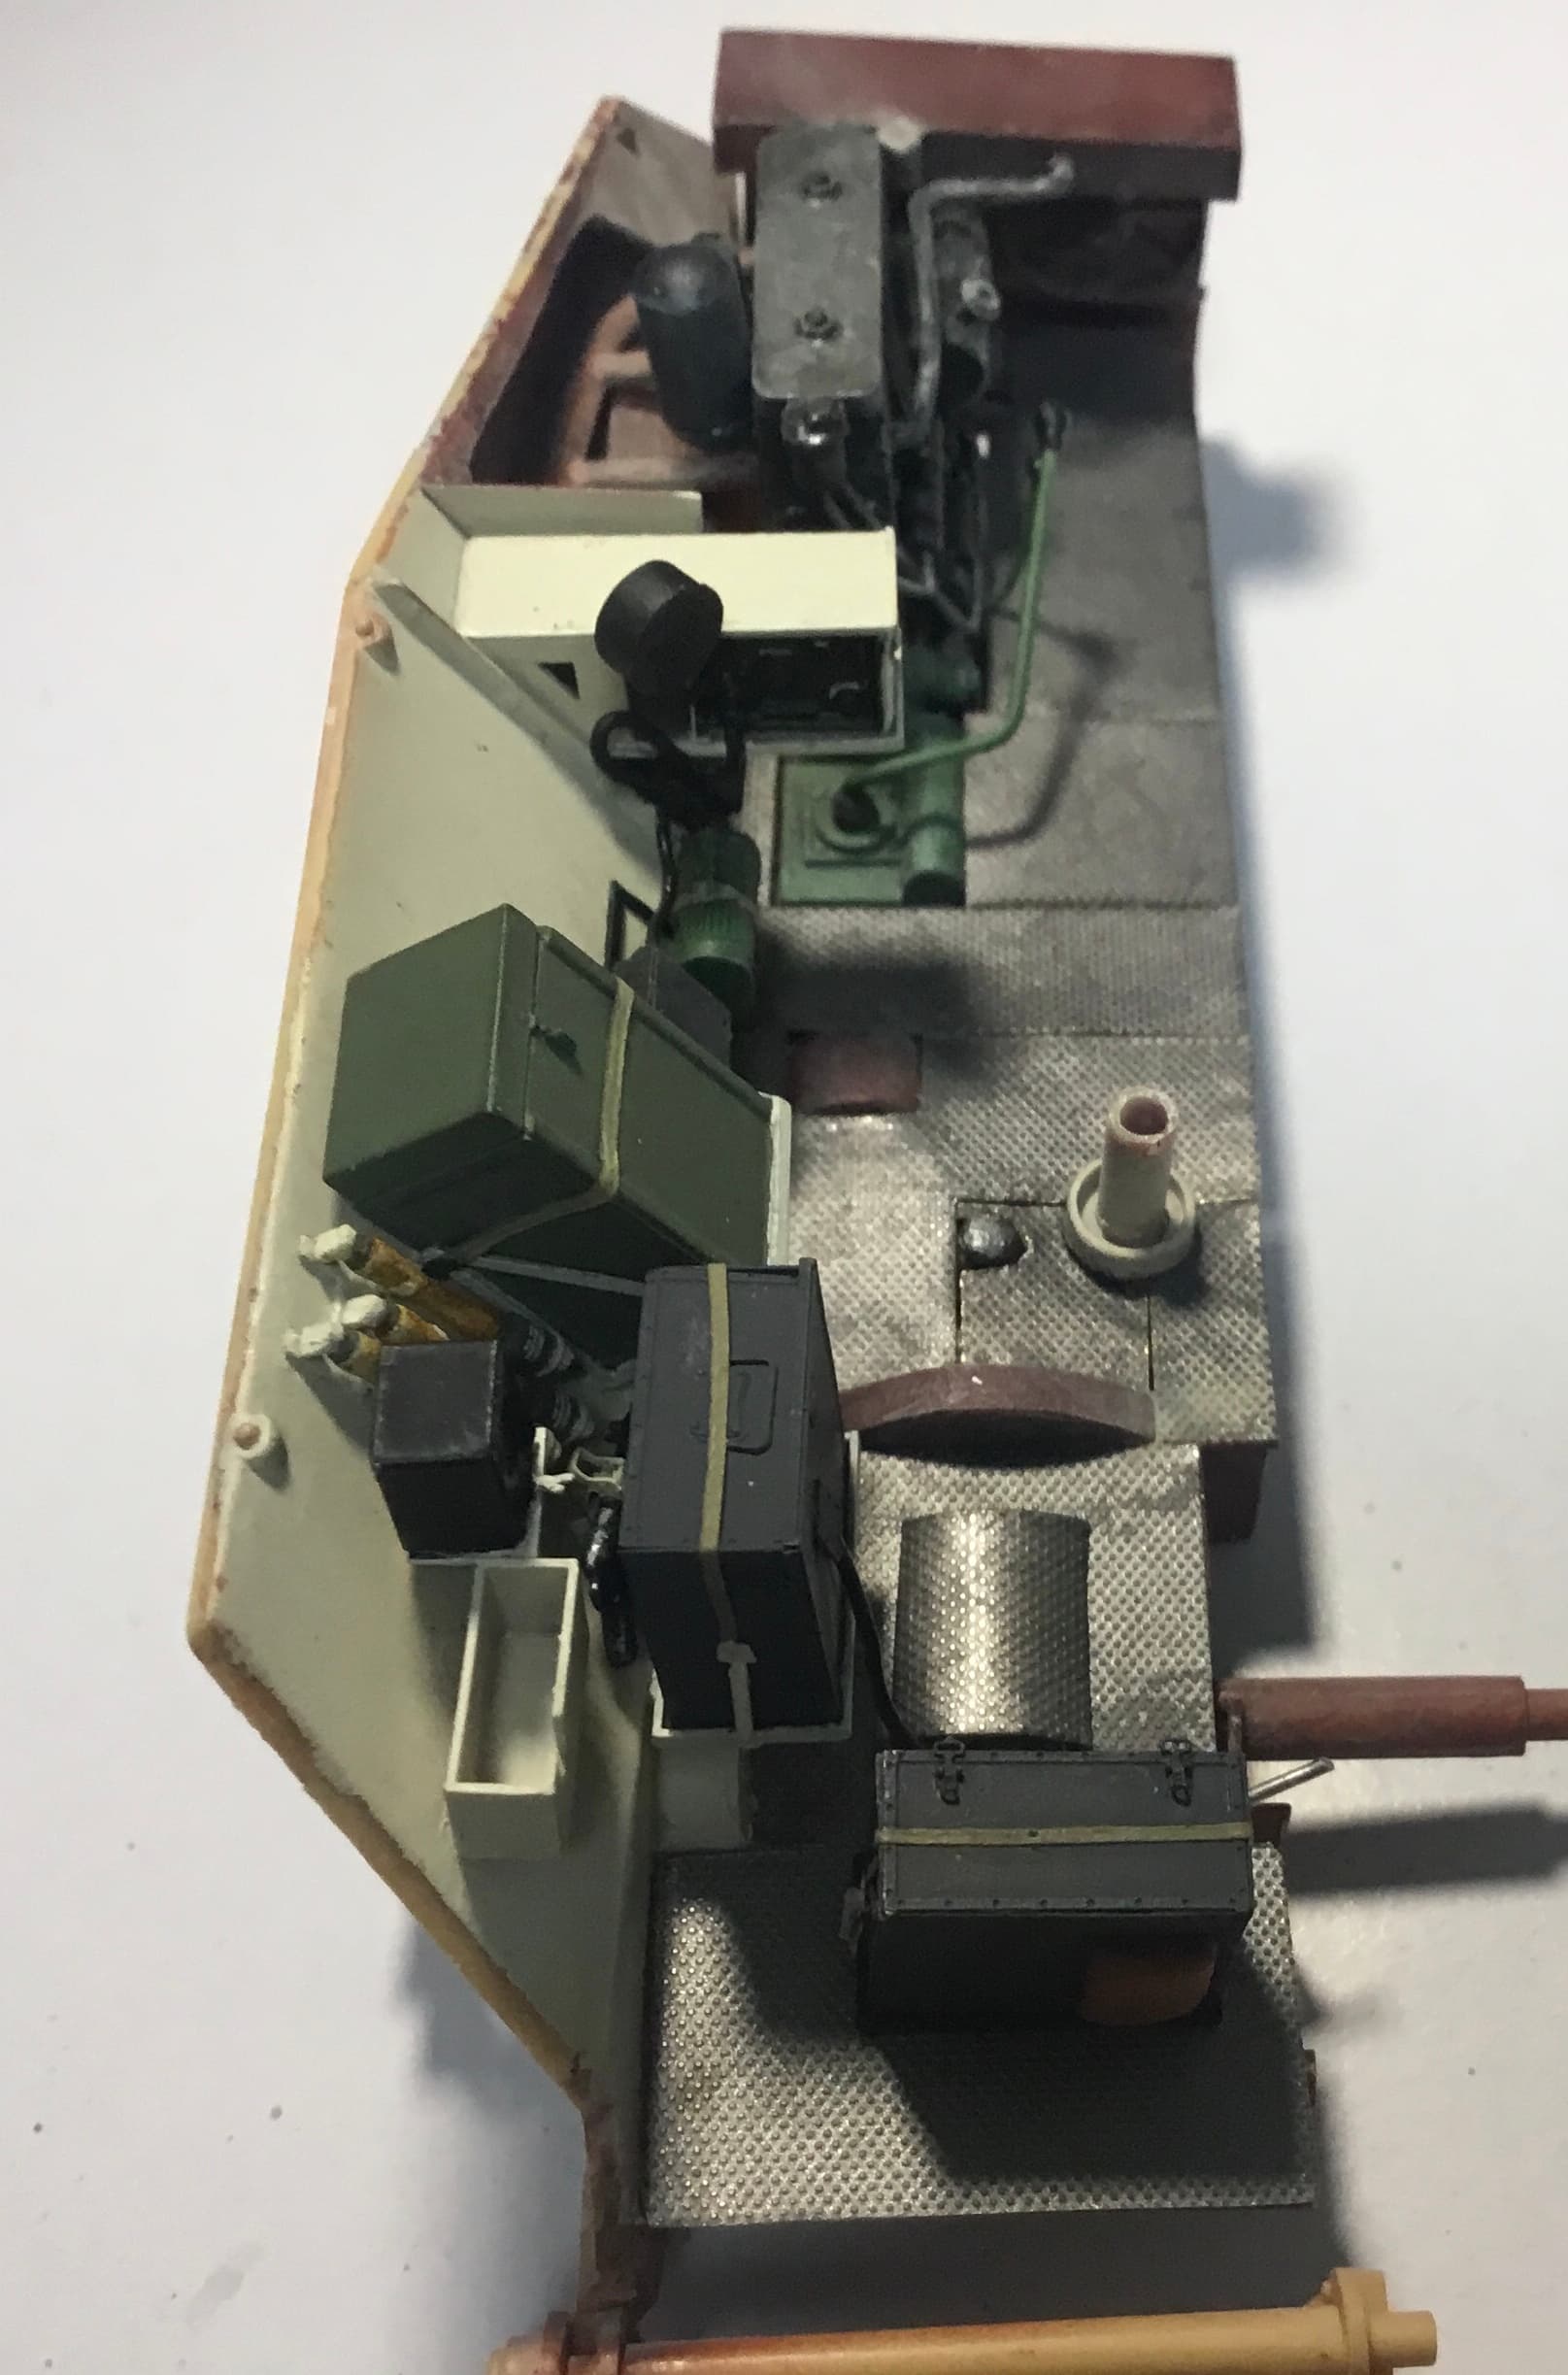
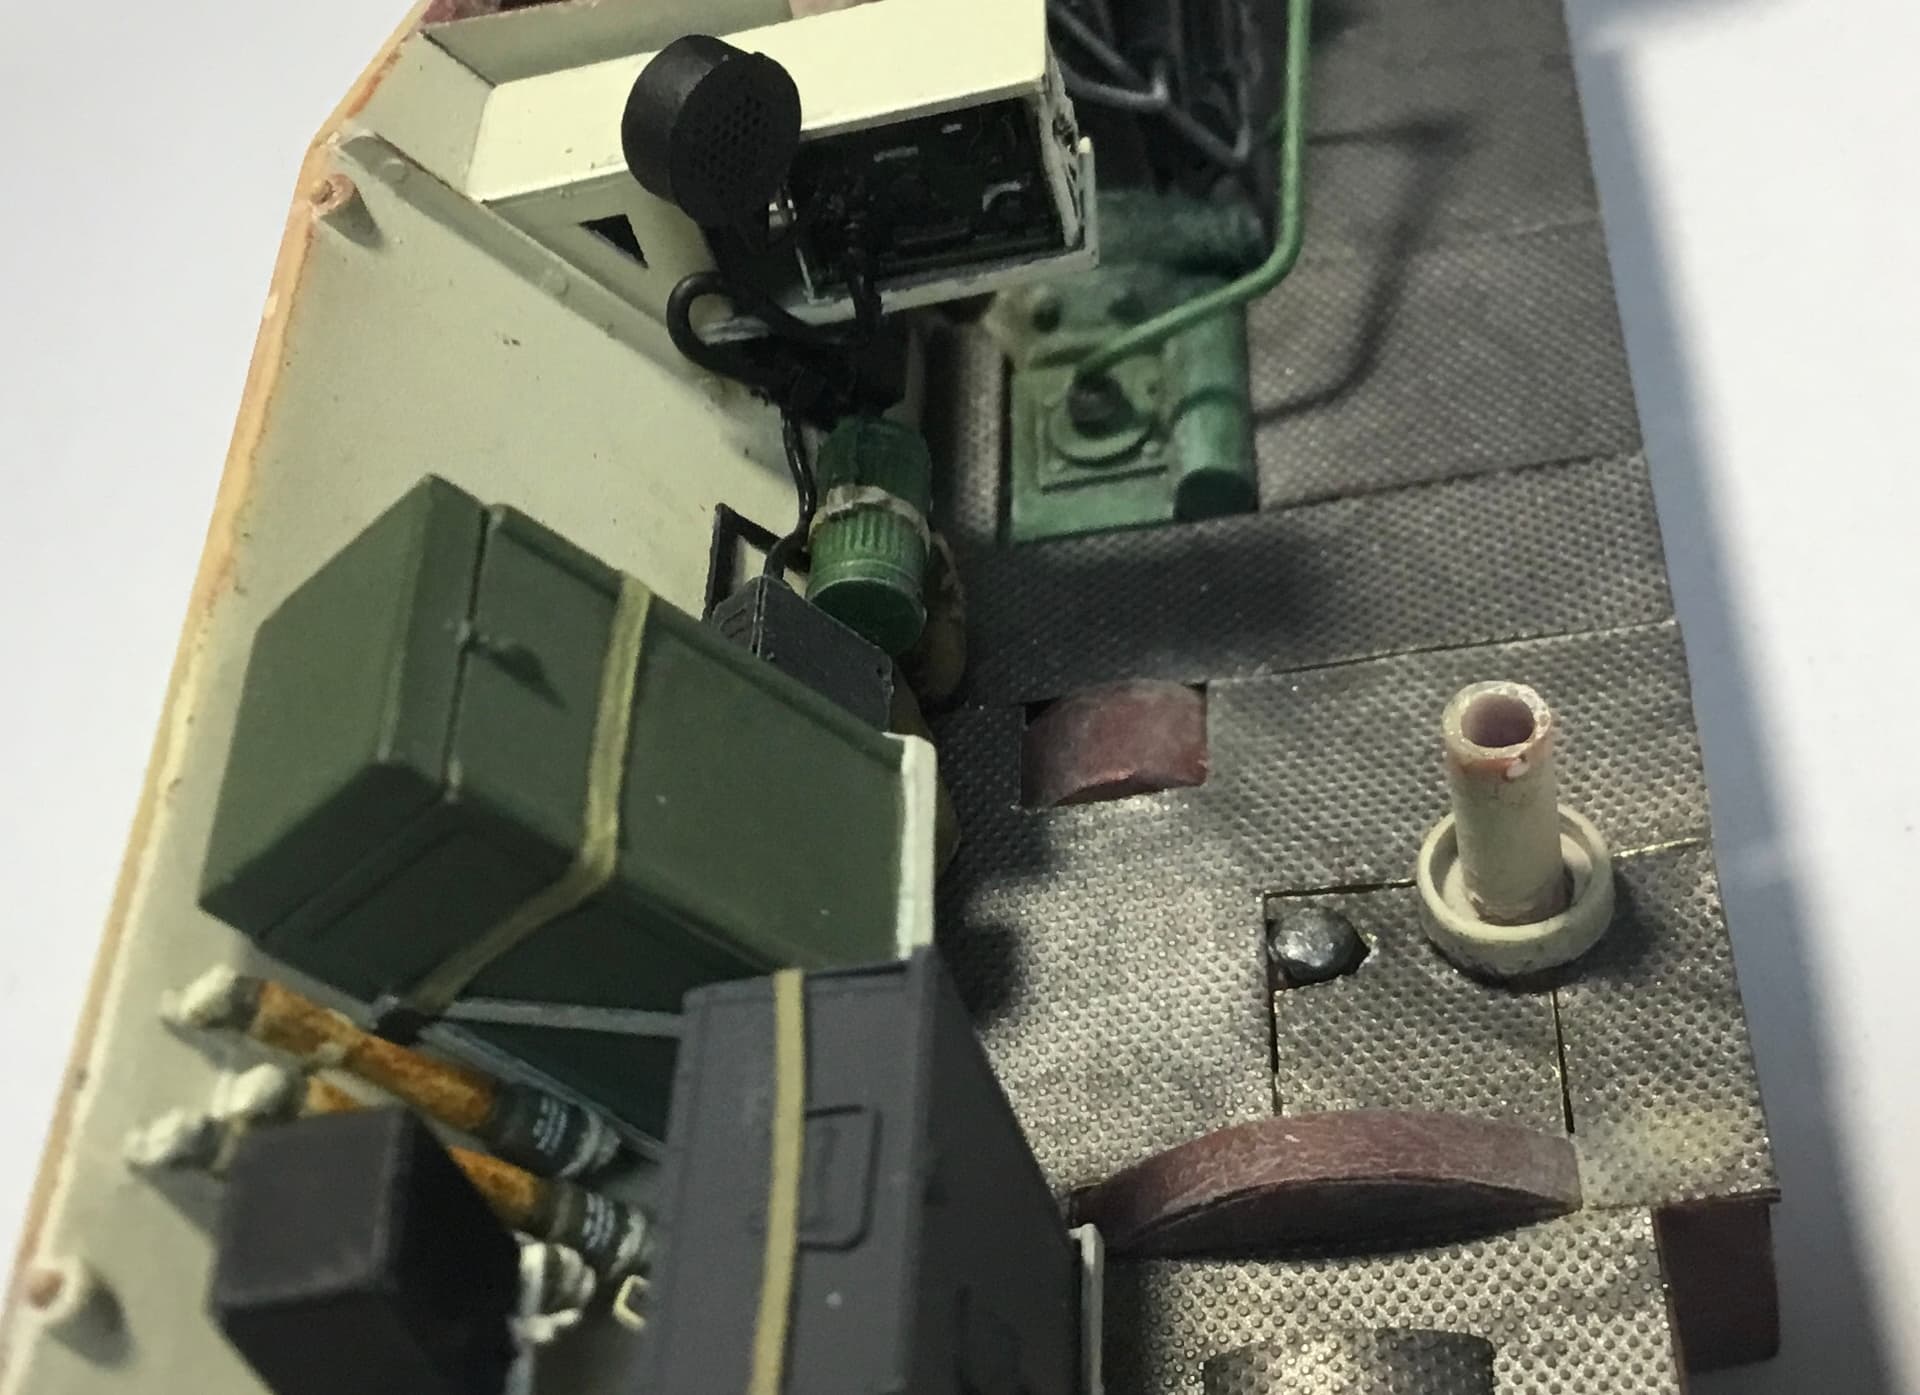
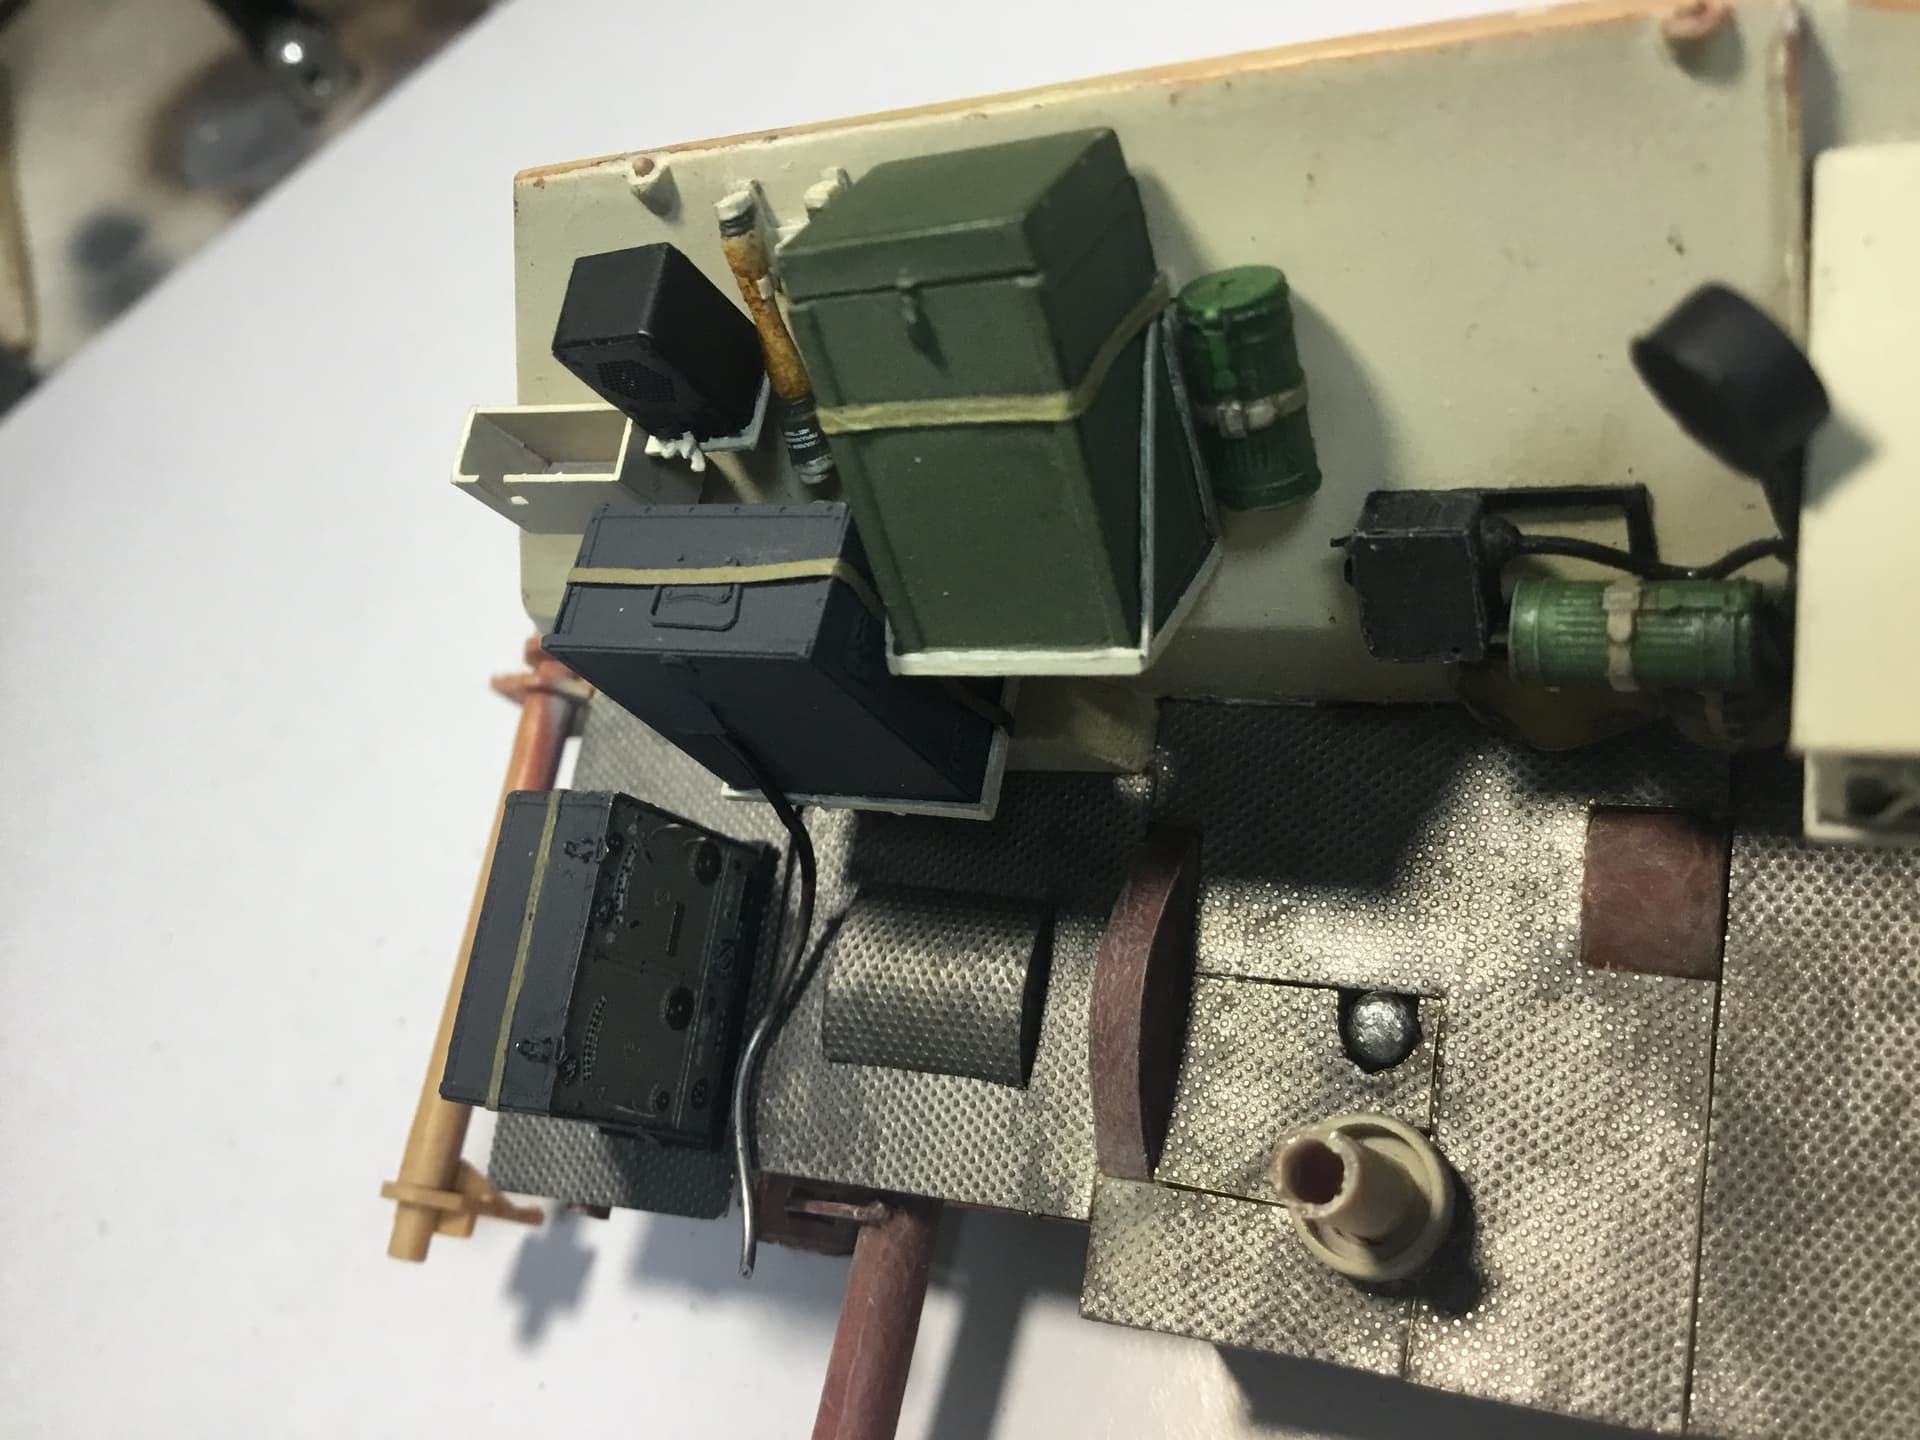
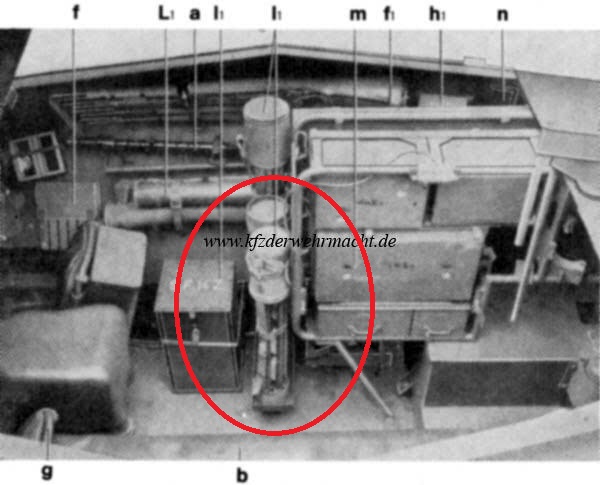
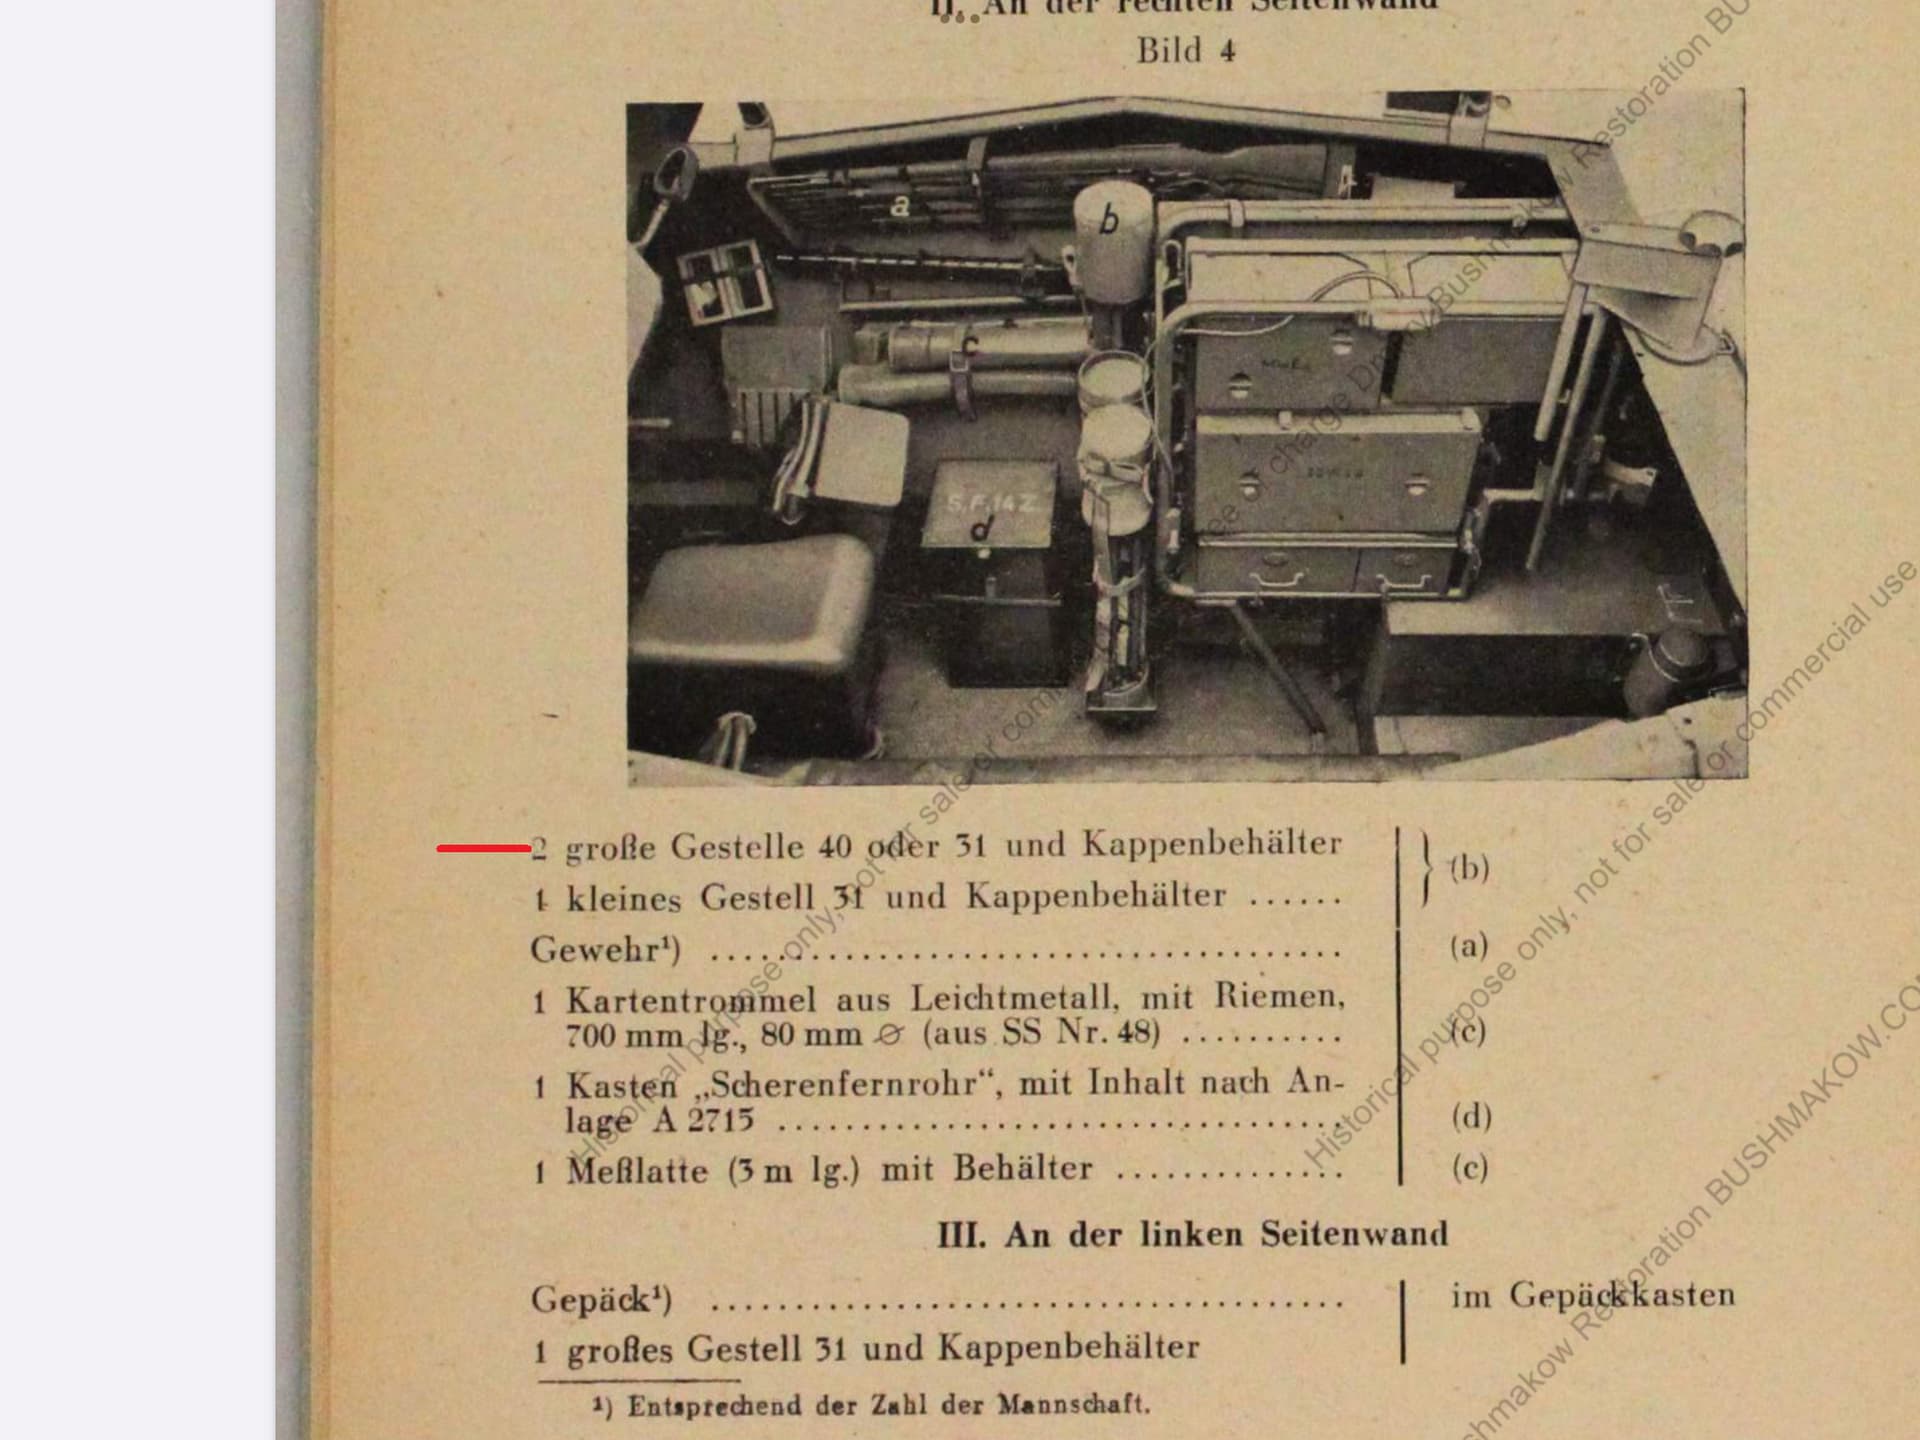
Secondly, and more importantly, as I was looking at related images on Google, I came across this image of an SdKfz 250/12 interior. And what hit me in the face was the two shorter containers next to the longer familiar telescopic stand holder as shown…
What is this, I said to myself! Having already researched about the length of the telescopic stand and found this info about the telescopic stands - Gestelle 31 is 98cm when folded in holder and Gestelle 40 is 95cm when folder in holder, both too long for the SdKfz 254 interior setup.
So, I found and downloaded a manual for the SdKfz 250/12 to confirm what the two shorter containers shown are…
So, it seems that the Gestelle 40 could be in two parts both of which were about 70cm in length. I had never seen this information before, but I believe it is much more likely that this Gestelle 40 version was in the SdKfz 254 (as for the 250/12) than two EM34s and the shoulder support.
It is perhaps too late to modify my interior, but a big thank you, John, as you led me indirectly to this new info.
Unbelievably cool! I’ve always wondered how a little interior light would work and it seems to work perfect. Your painting skills are really impressive.
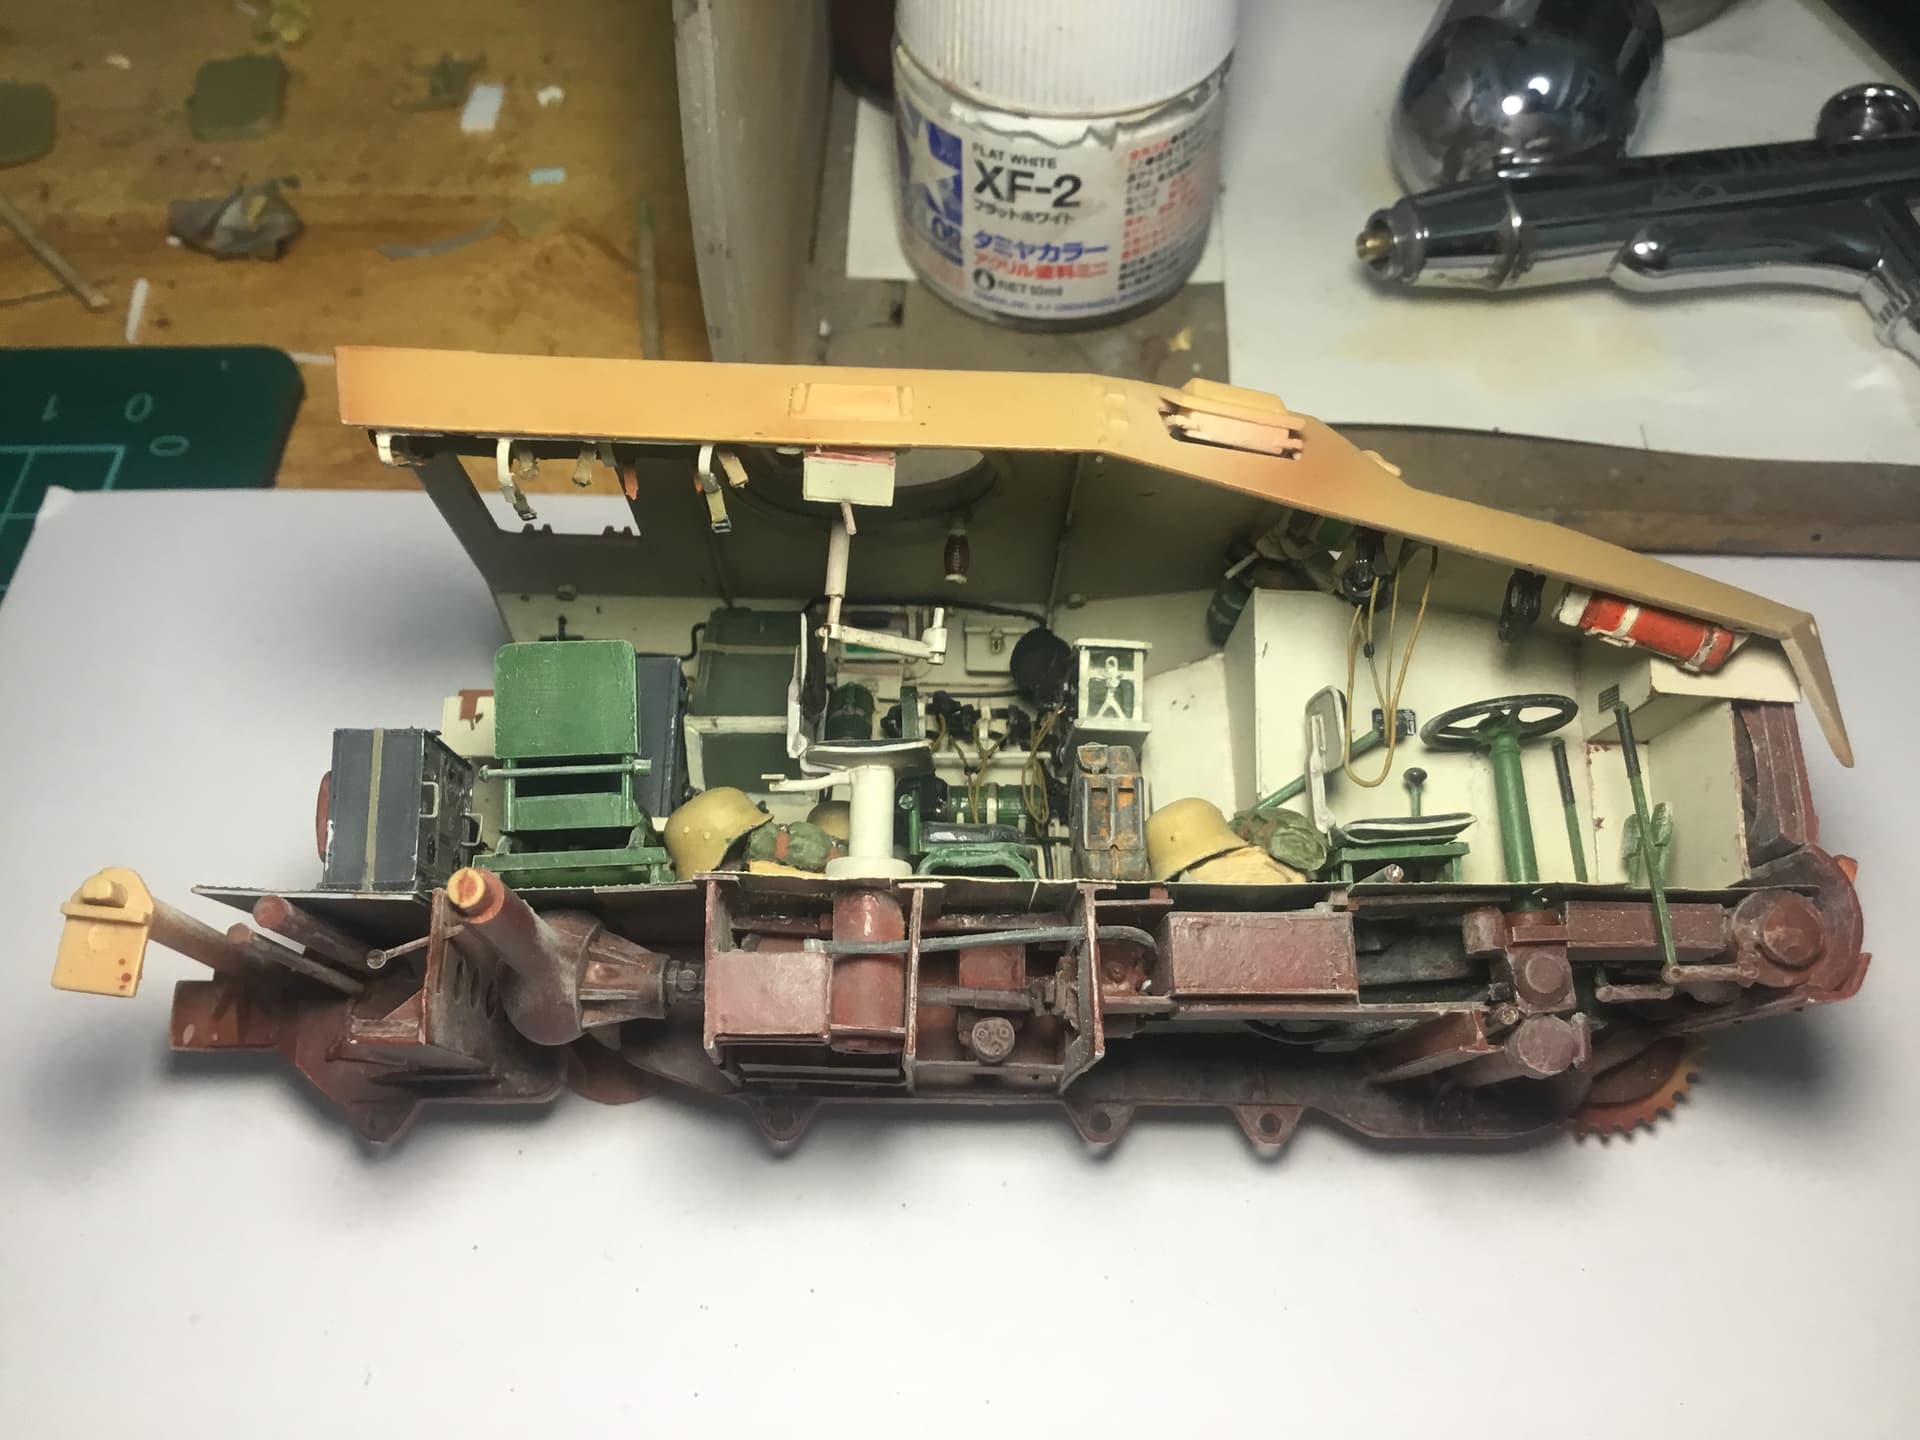
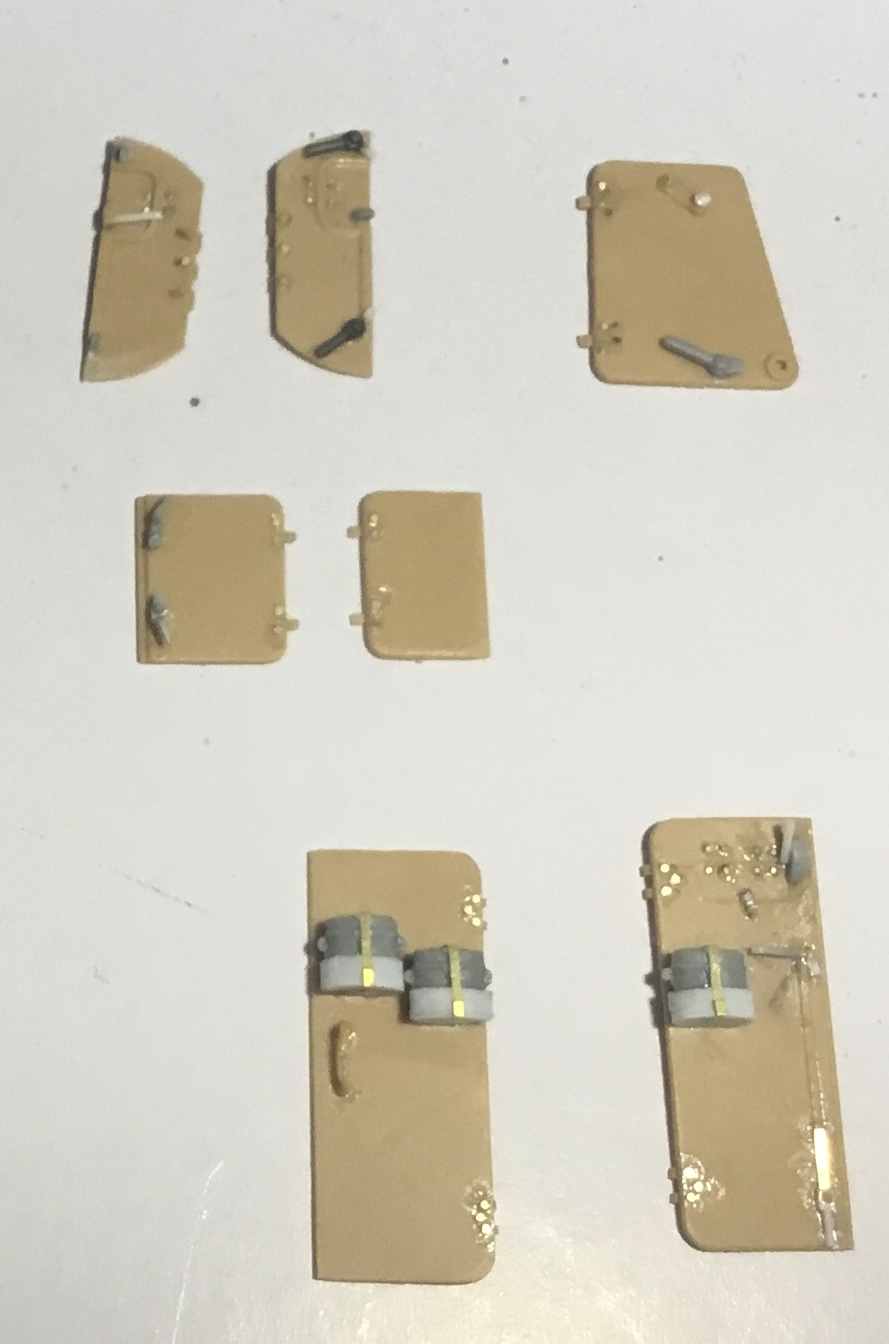
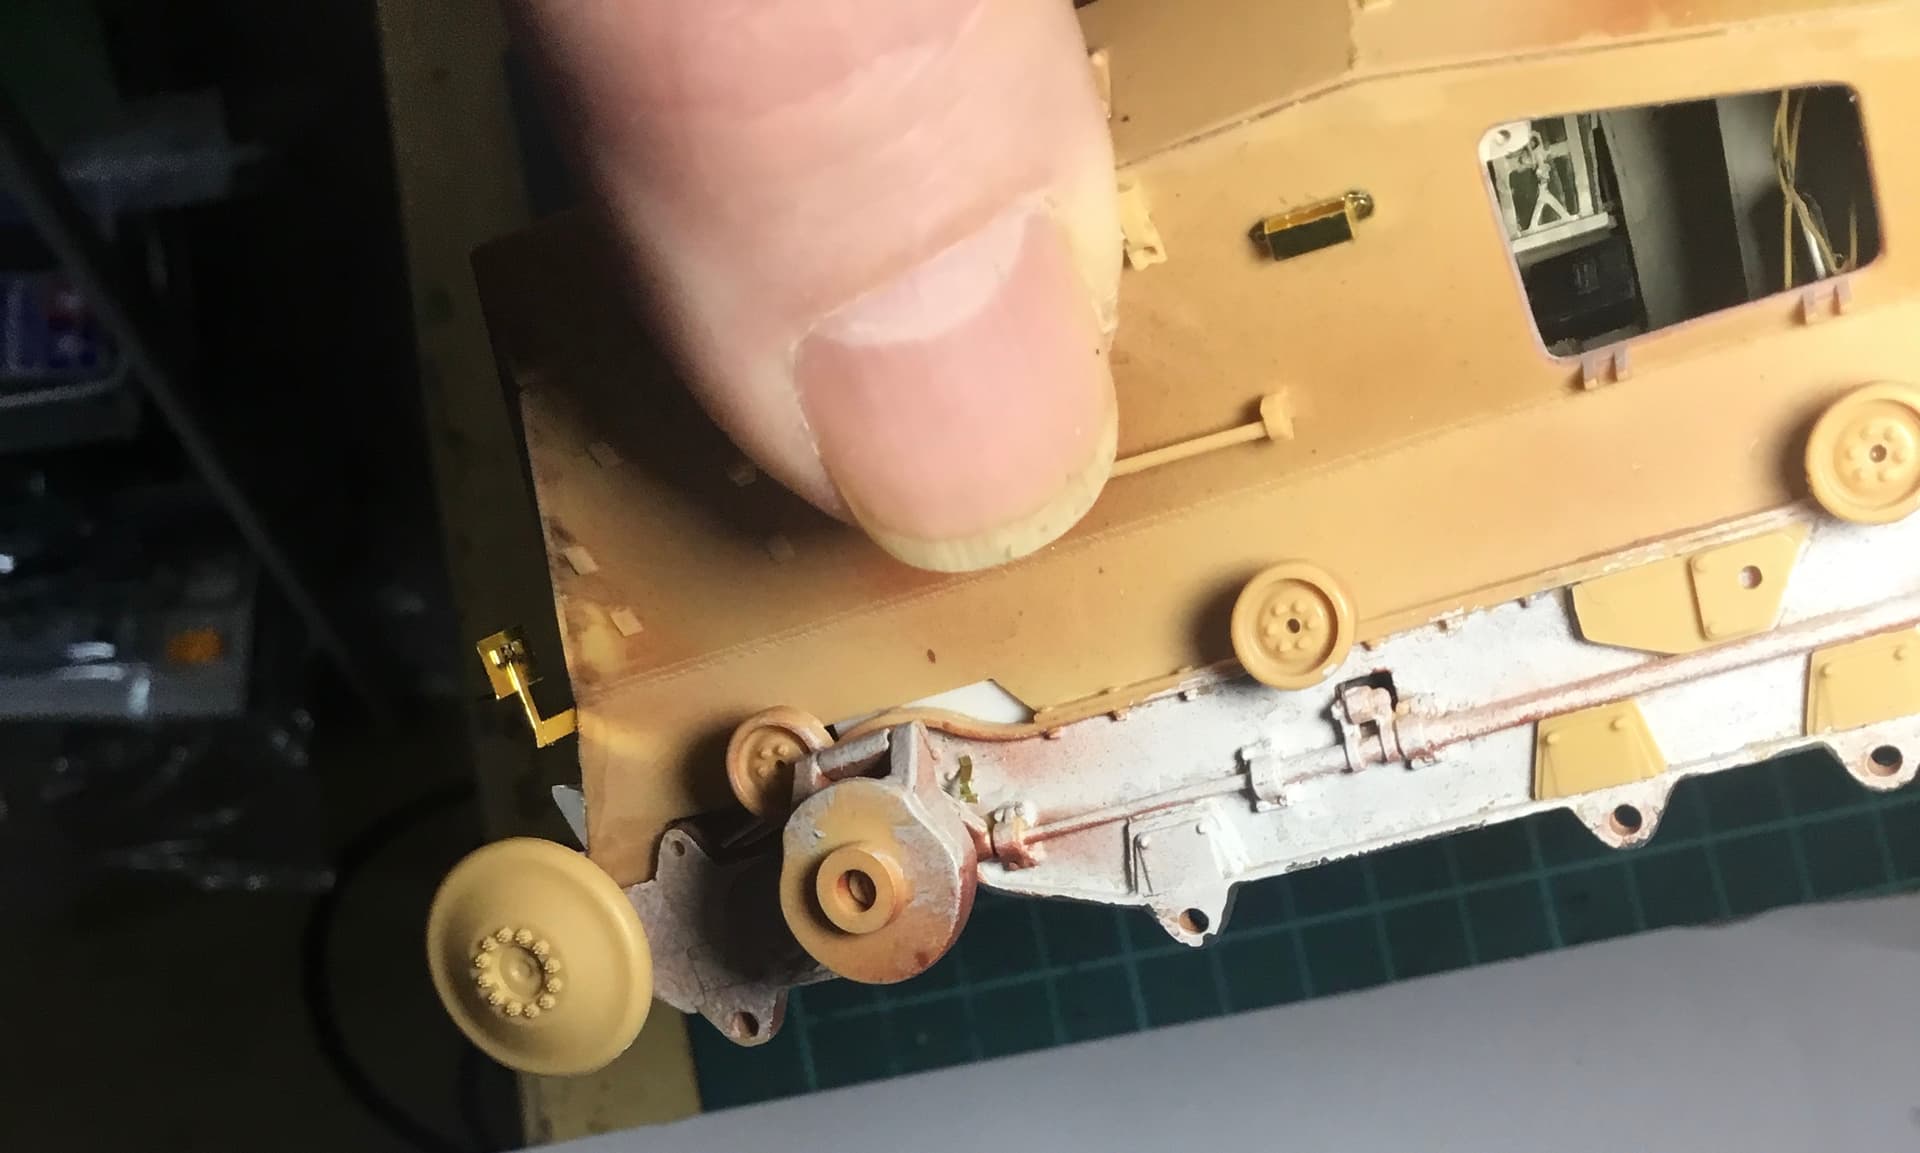
behind each wheel there are small stop brackets (in PE) to prevent the suspension going to high when wheels are moved up.
at each side of back door, there are stops (in white plasticard) to prevent the doors being opened more than 90 degrees to the chassis.
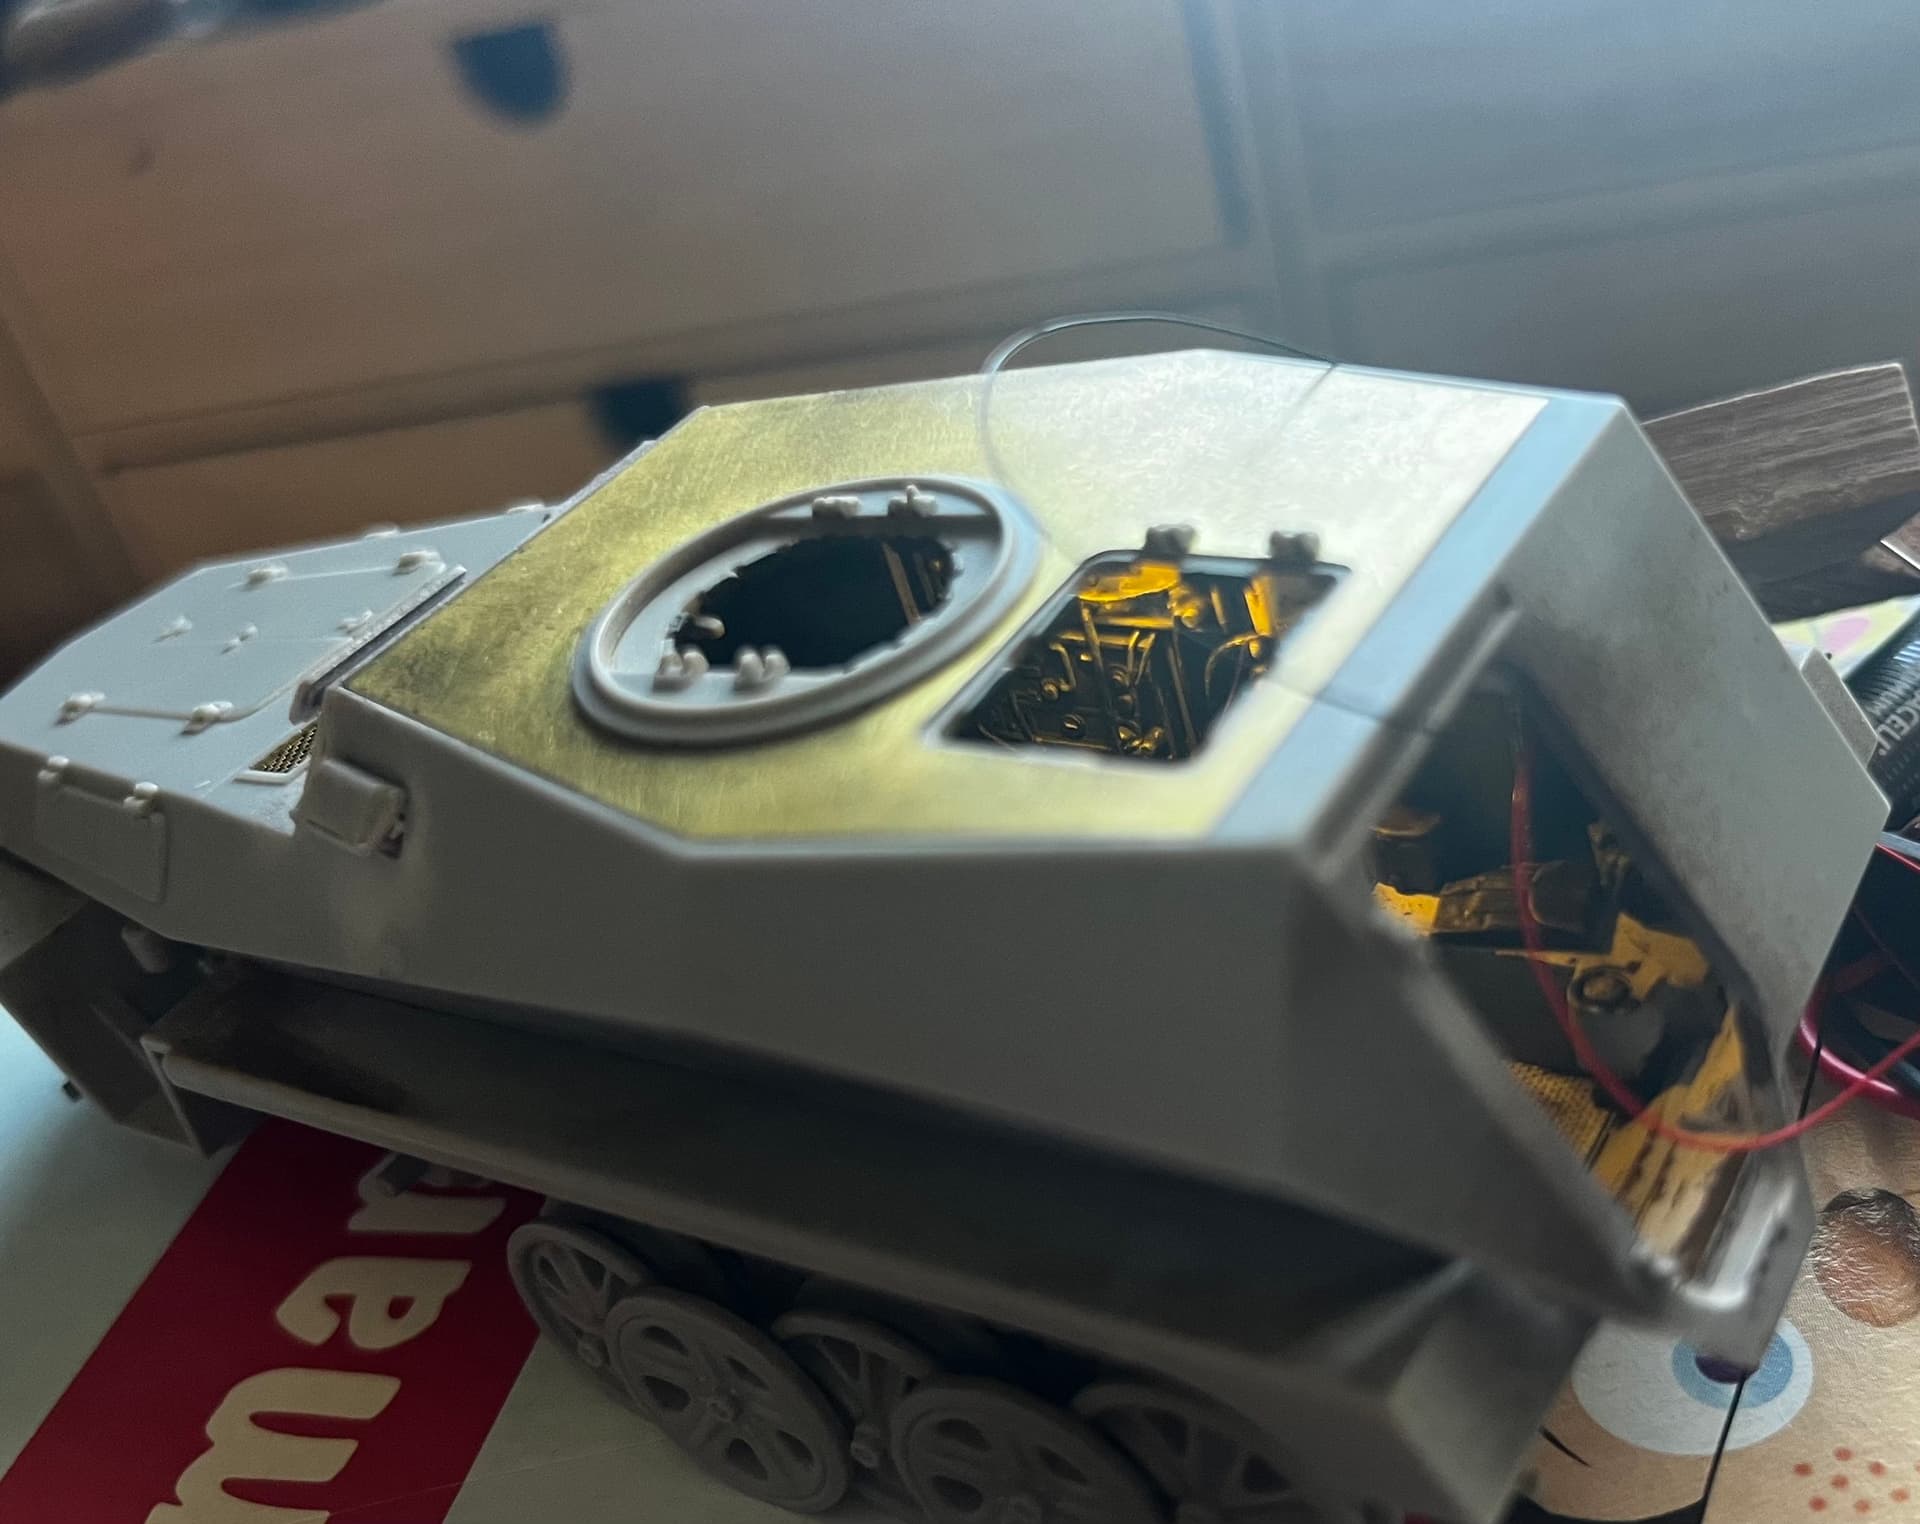
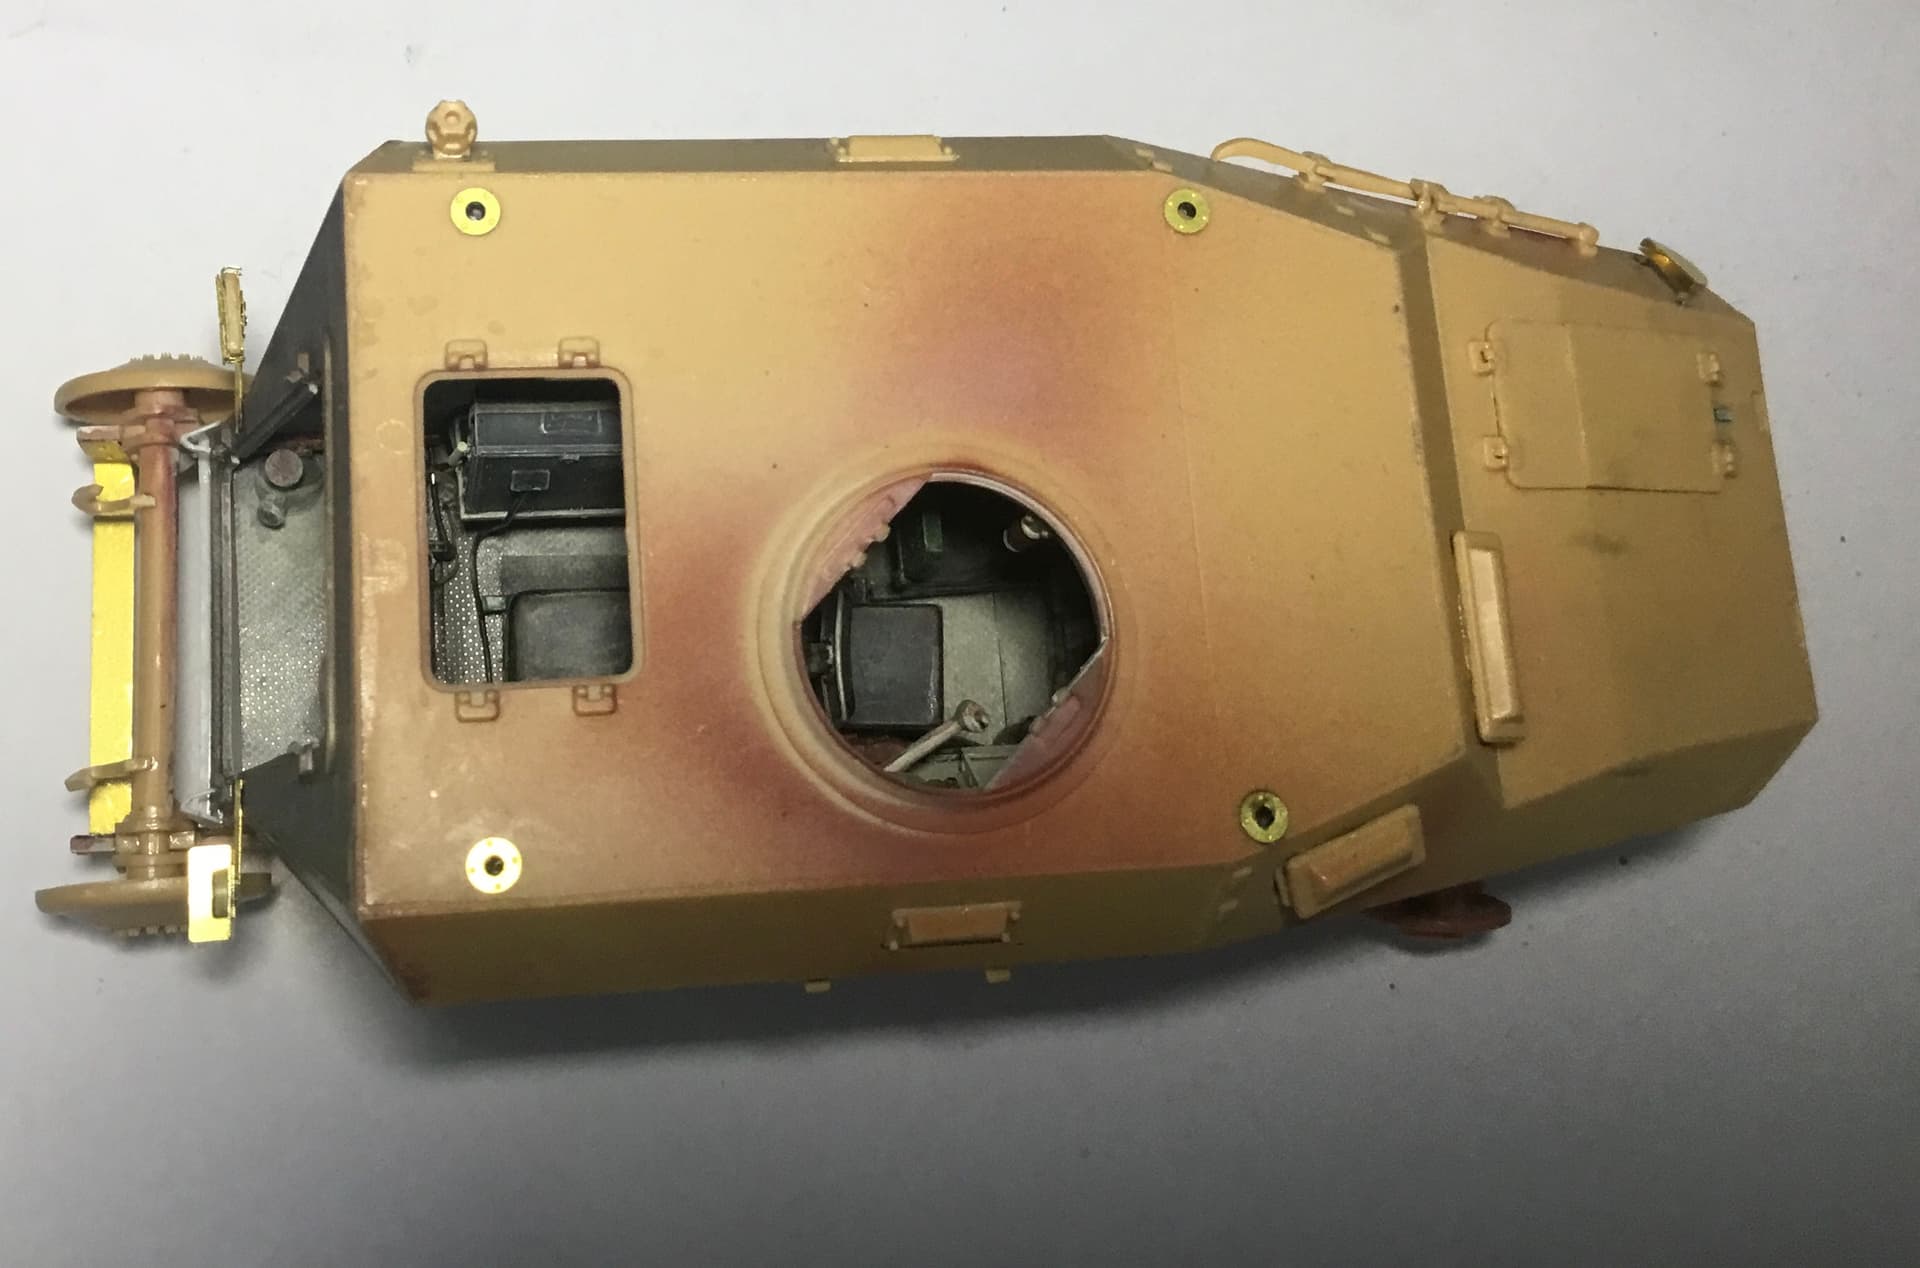
And PE, primer and base coat done… it all went together well though I had to glue parts of each section gradually to get the correct fit eg bit of back of hull, then bit of side, and so on