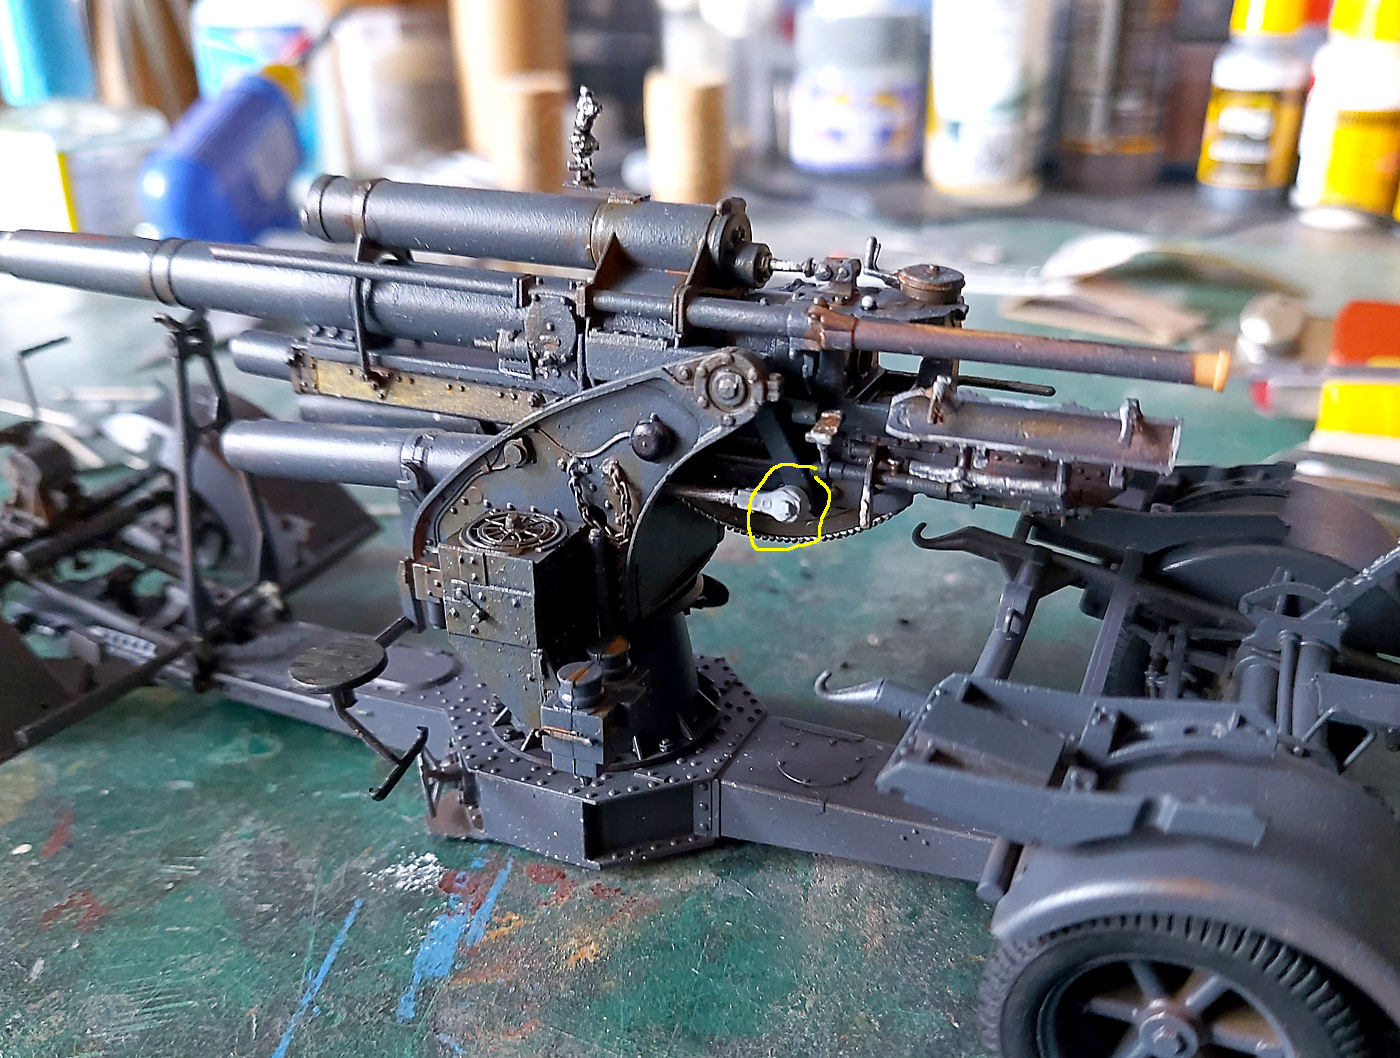
A new image. The green arrow indicate how far forward the barrel has to go. The yellow arrow points to the small part on the barrel that has to be trimmed down. Once trimmed down I managed to get the barrel far enough forward for the barrel lock to line up with its position on the barrel. I pulled it apart without taking a photo. Sorry. But don’t go past this point without checking that the barrel will go far enough forward.
Next step is to juggle it all together without glue so the barrel can be raised or swivled. My guess is that that won’t happen!!
OK I’m on a roll today. Heavy thunderstorms and rain. So stuck inside.
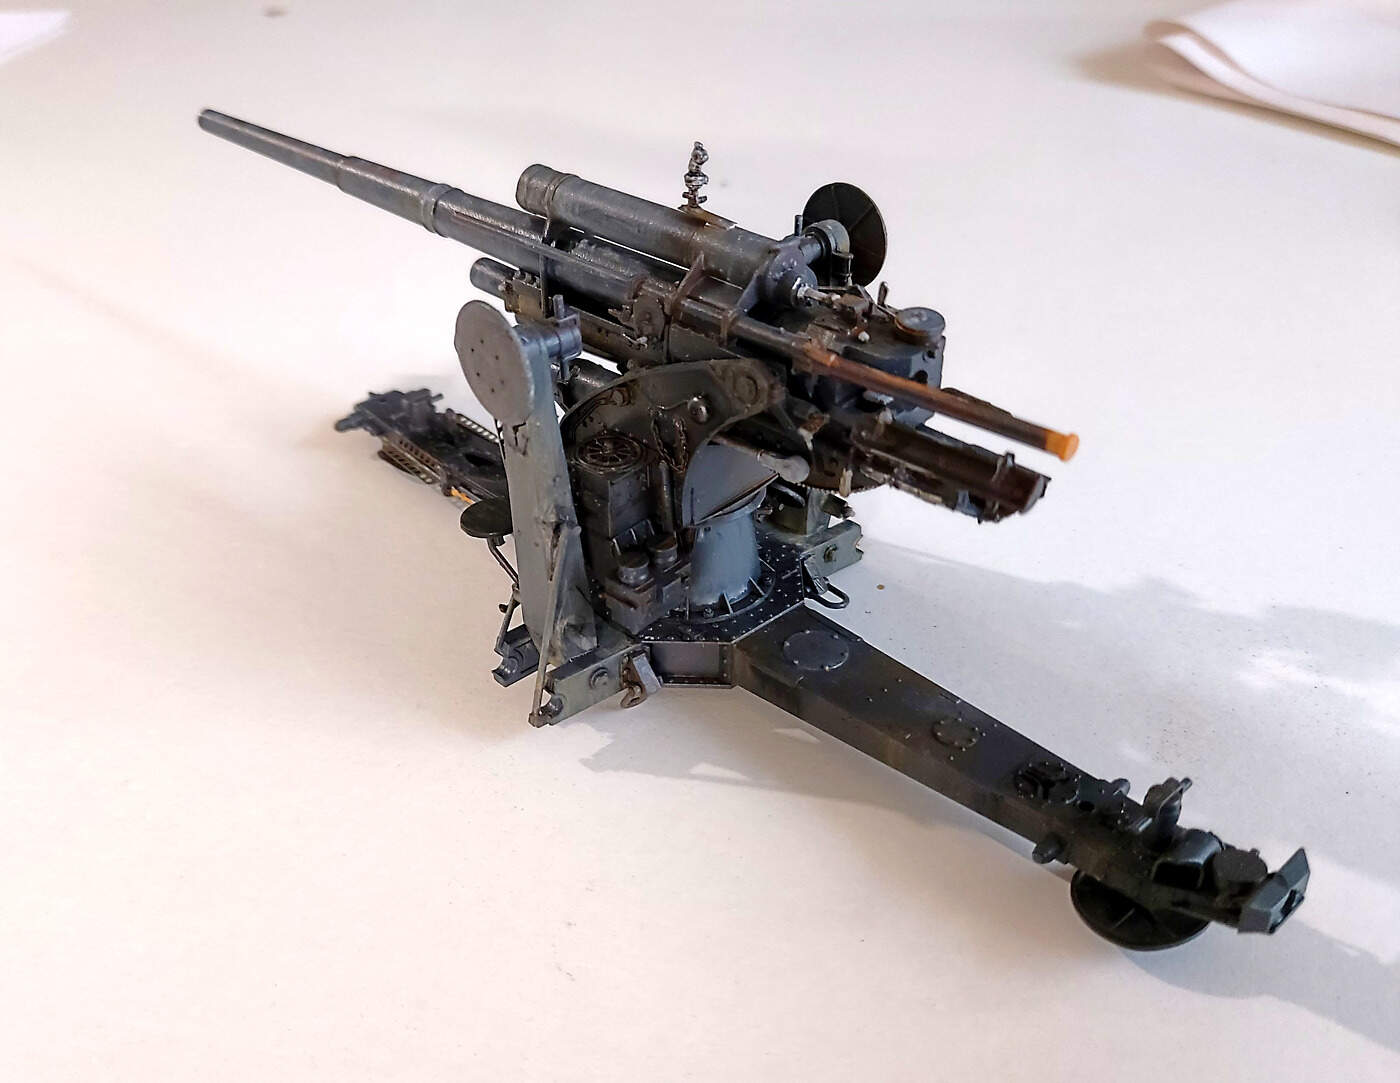
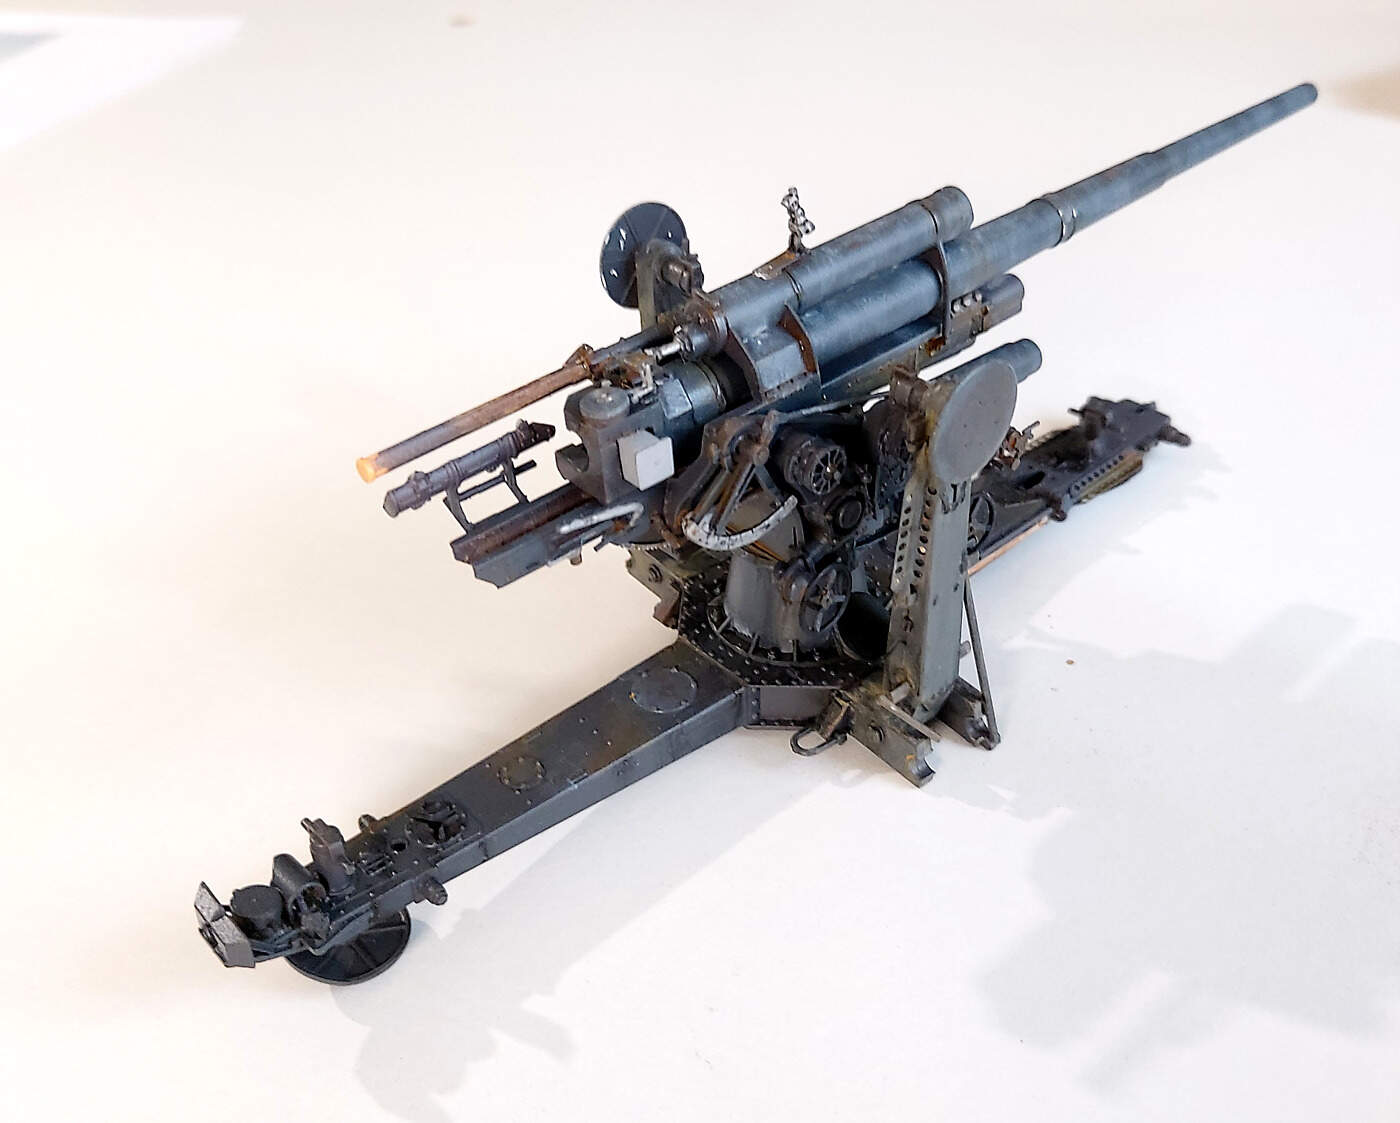
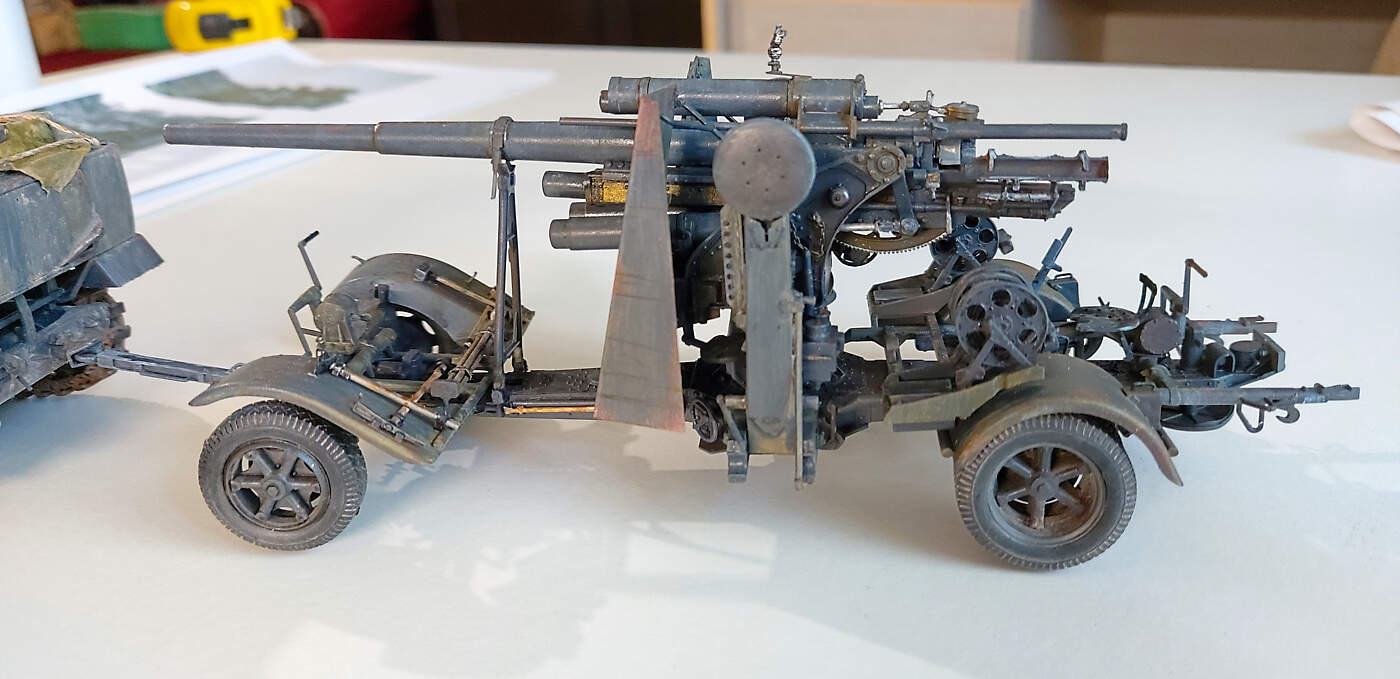
I want my 88mm in transport mode. So it’s critical that the balancing cylinders are positioned correctly and of the right length. That means not gluing anything until the length is determined. In the first image the yellow circle is a pin that goes into a hook. Make sure that hook is clean and the pin fits well into the hook. This pin/hook combination can be glued.
In the second image the yellow circle is the attachment rod of the cylinder. That has to fit over a pin on the gun mounts. Don’t use any glue if you want to raise the barrel.
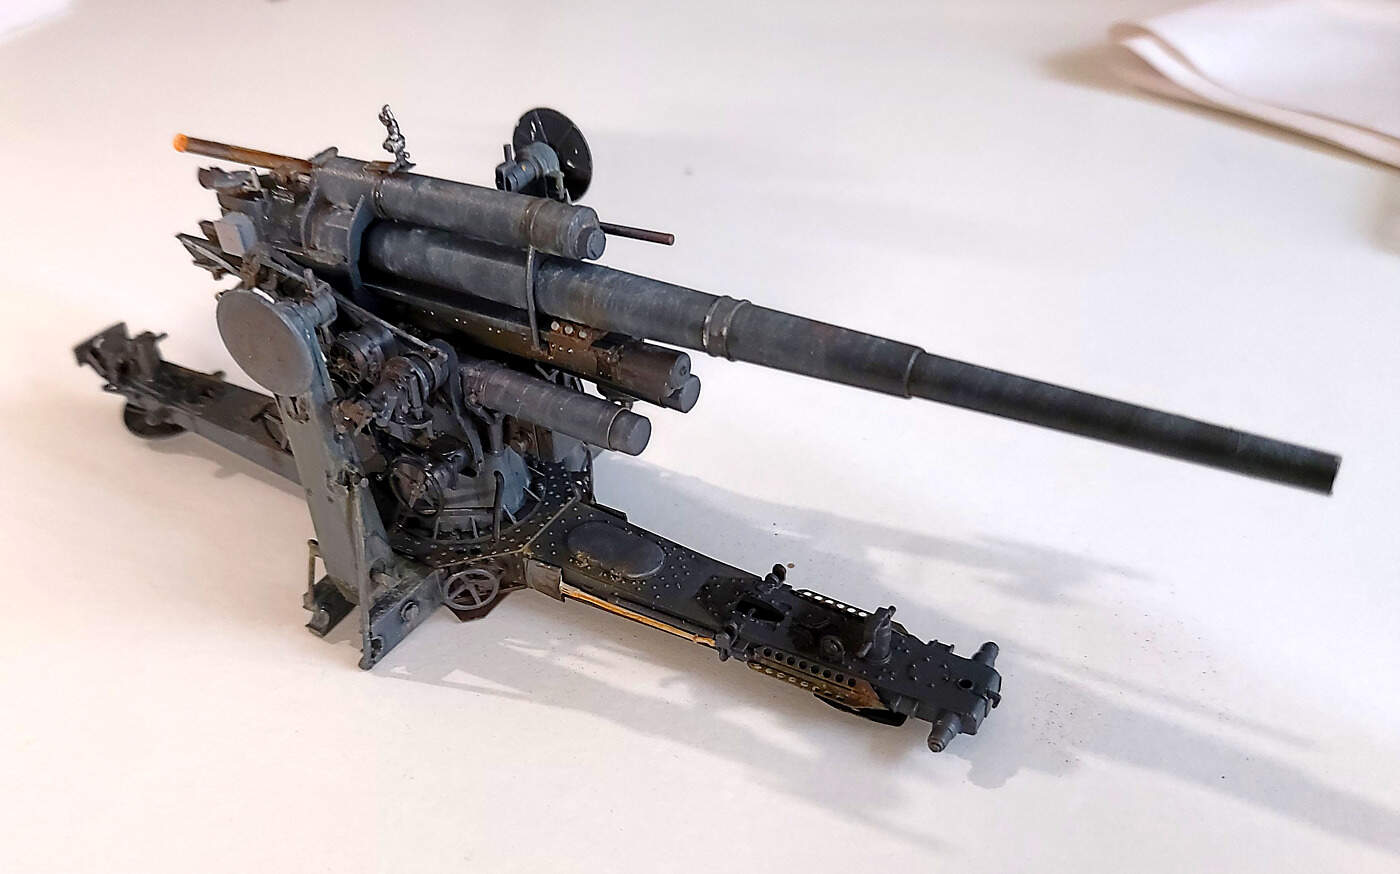
Despite my best efforts I was about 0.5 of a mm short. The result is that the barrel sits just high of the barrel travel lock.
I don’t mind if my barrel doesn’t rise. So I’ll glue it down to the travel lock. But be warned.
One more warning. This is a delicate build. Soft hands are required. Parts need a bit of force to meet up and fit in place. I broke just one part but!!! You will also do better if you have more than two hands. It’s a bit of a juggle getting all the parts to line up. You also have to force open the gun mount so the main pins will fit in. All good fun. Mines in now. It ain’t coming out.
Test fit. Test fit. Test fit.
Bit of an update. With chasing grand kids away from my beer and chocolates over Christmas not much got done at the bench.
I’ve been having issues with weathering using the oil dot method. I think all the small parts and few large panels don’t help.
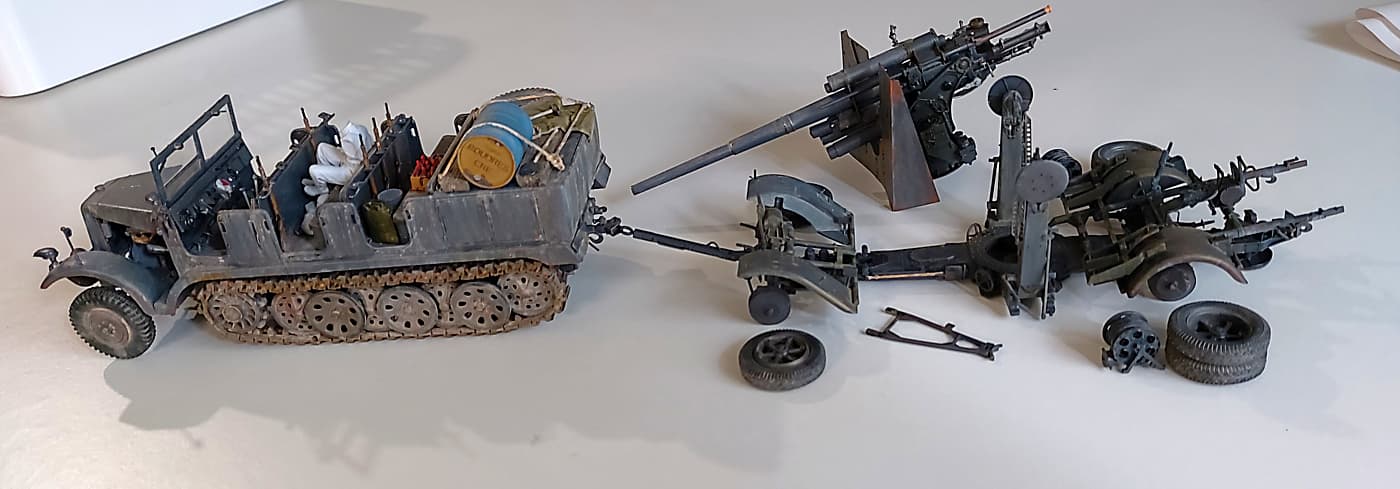
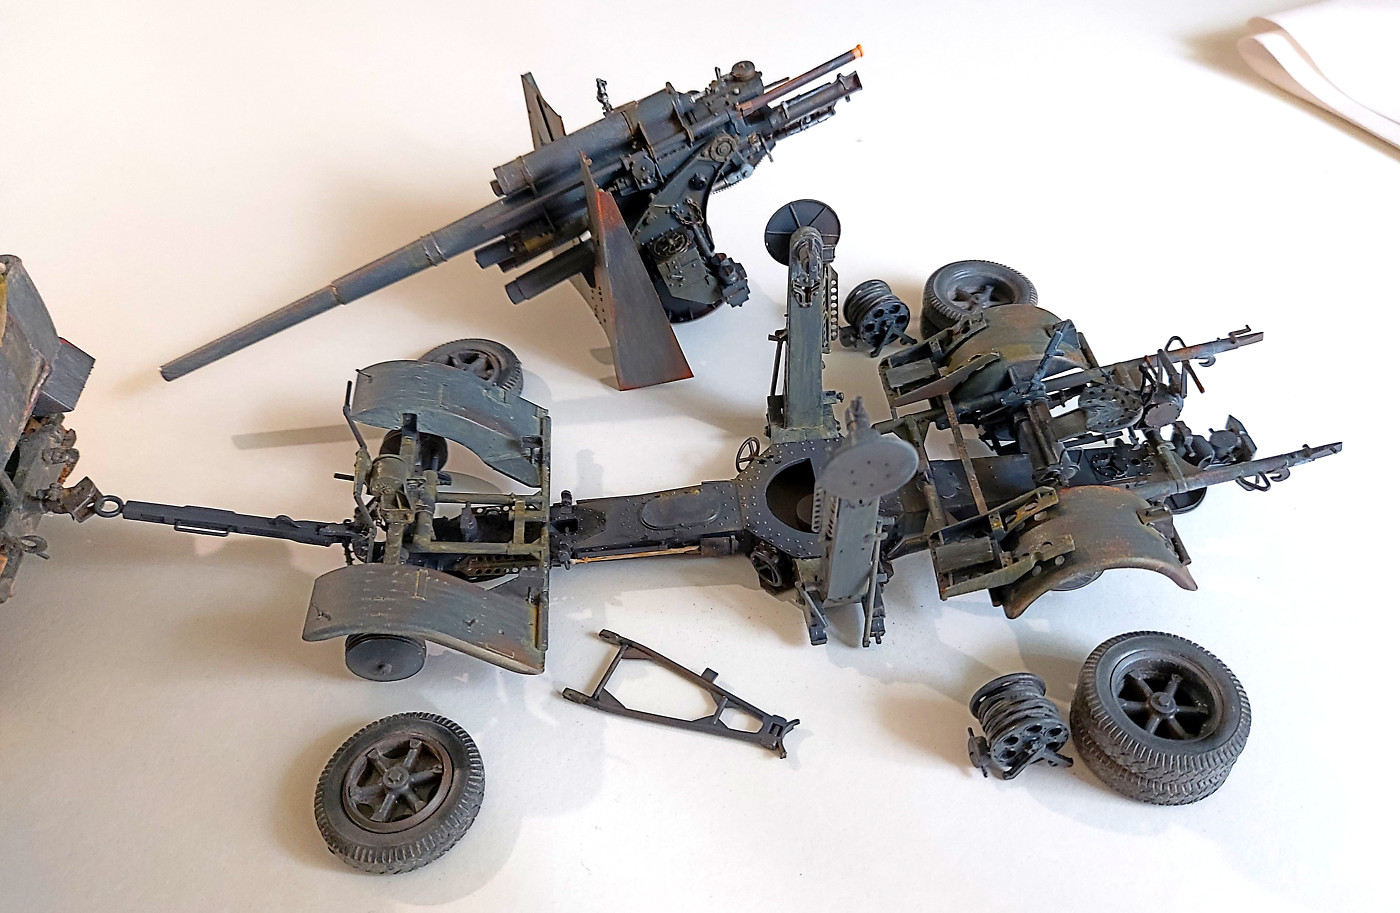
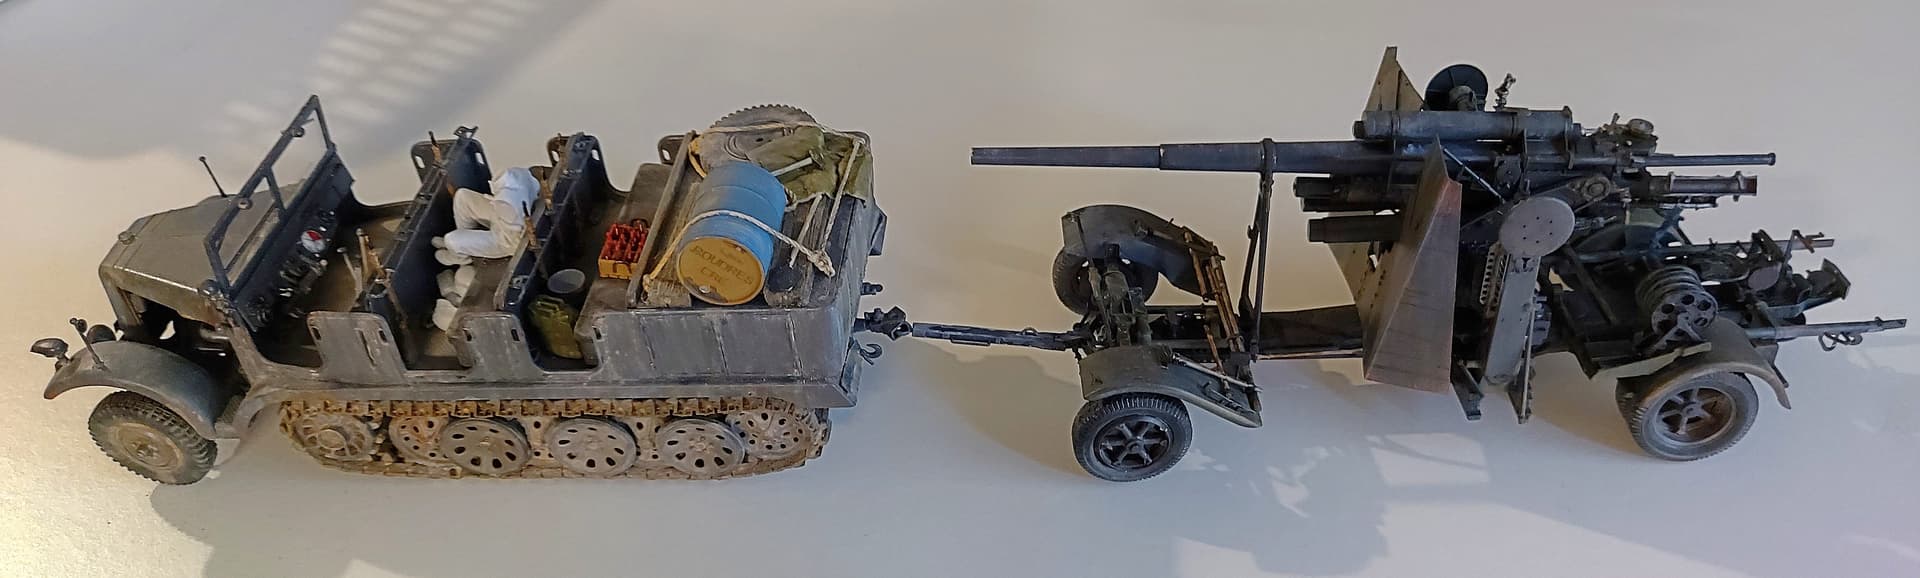
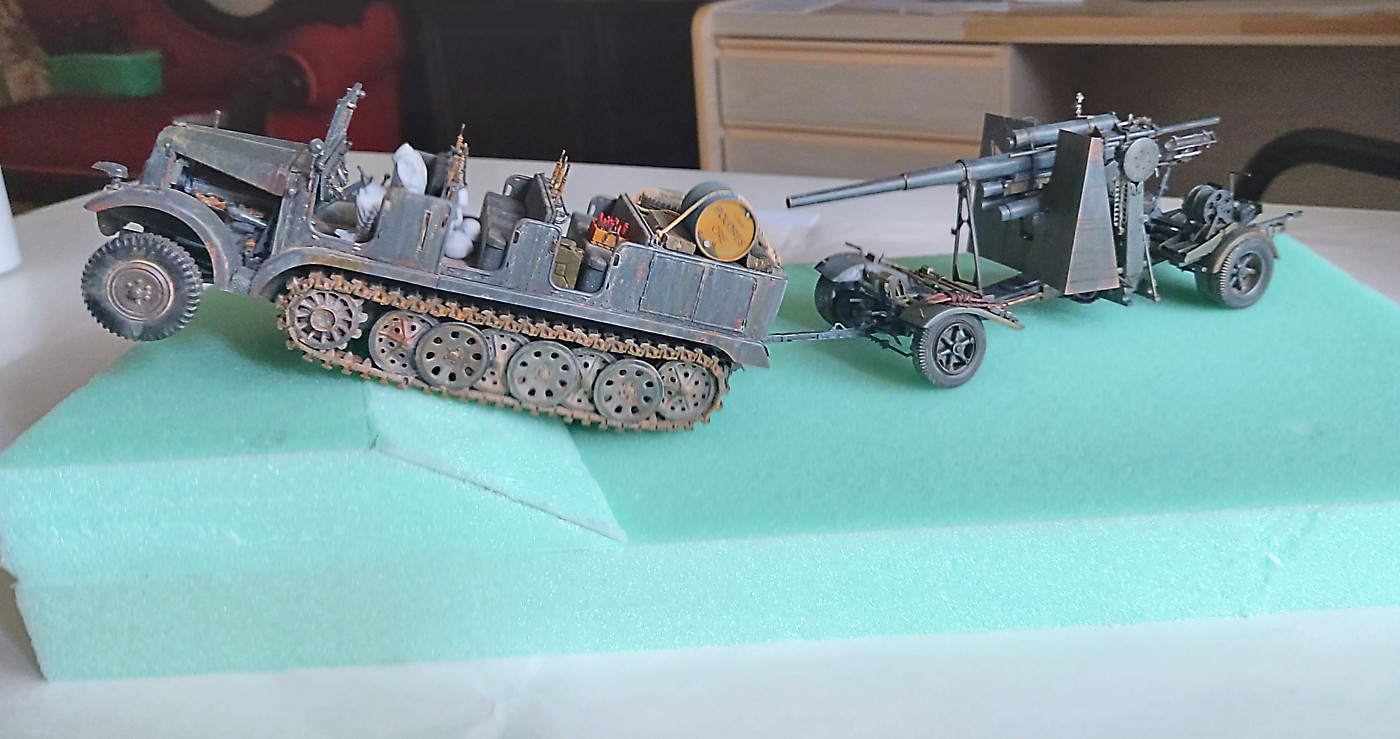
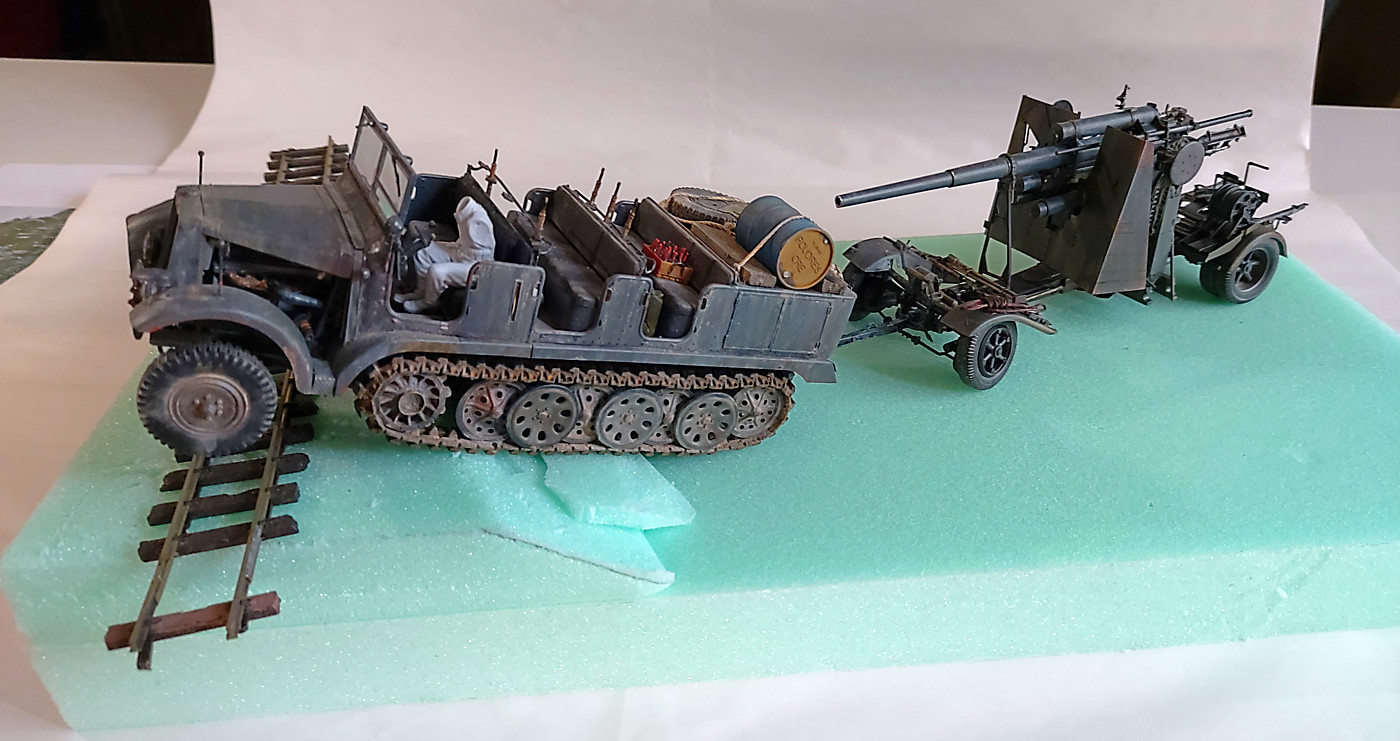
Anyway here’s where I’m at. I think the next step with be assembling all the sub assemblies. Then onto the diorama. Please excuse the poor old driver. He’s waiting for the hand of god to give him a head and some colour.
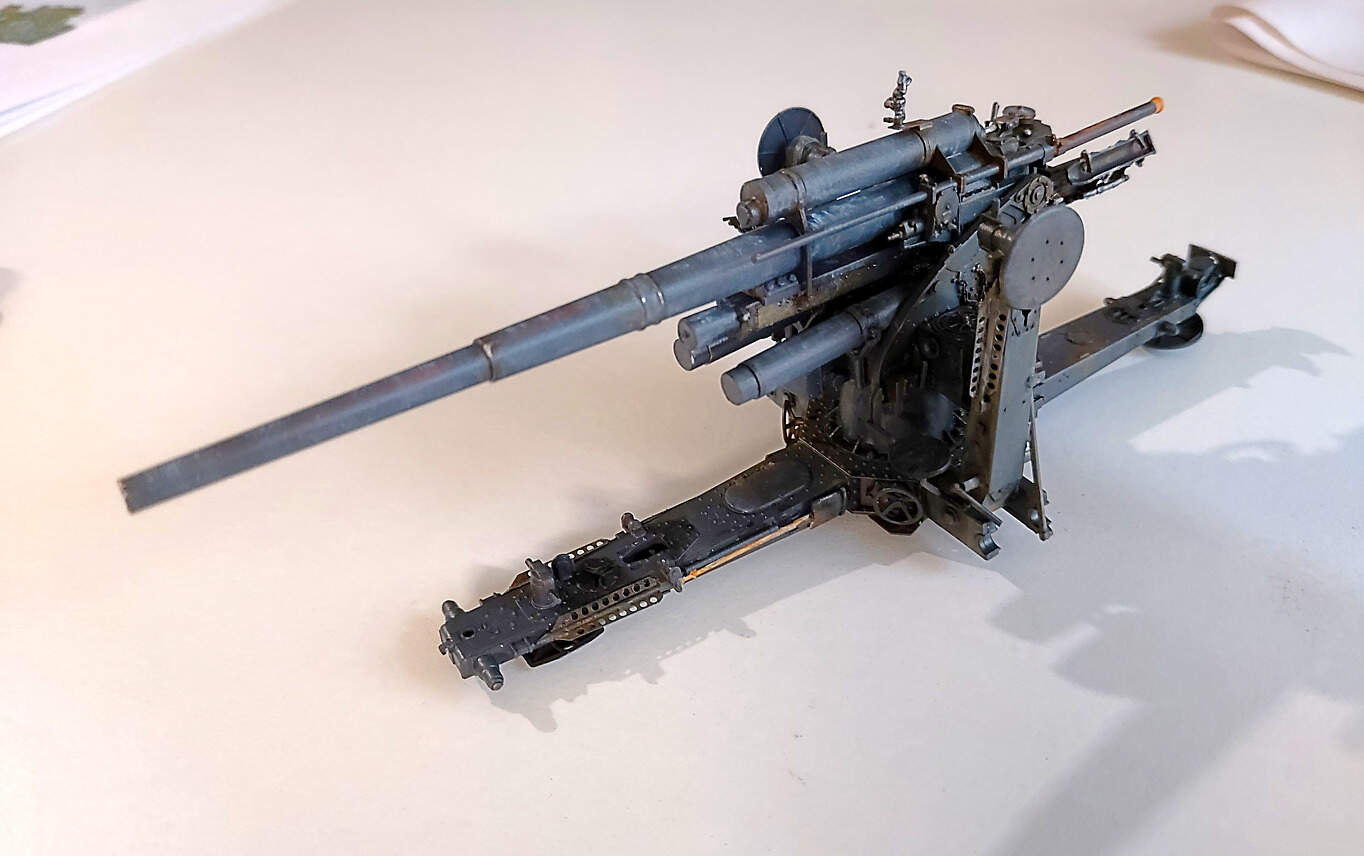
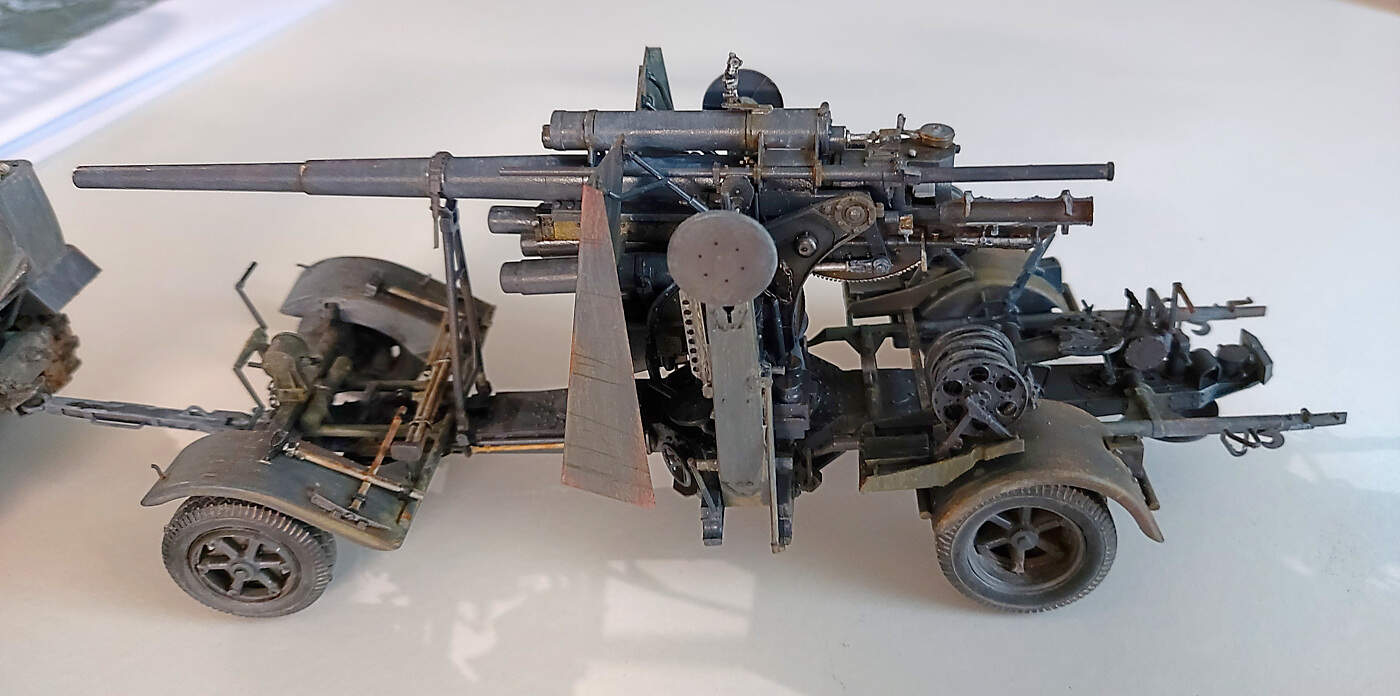
This is now one sub assembly. I had to install the gun because with the side supports on the gun couldn’t swivel enough to slot into its mount. So be warned!! One other issue to be aware of. The barrel support is meant to go on at this stage. If you do glue it in place good luck trying to get the gun shield on!
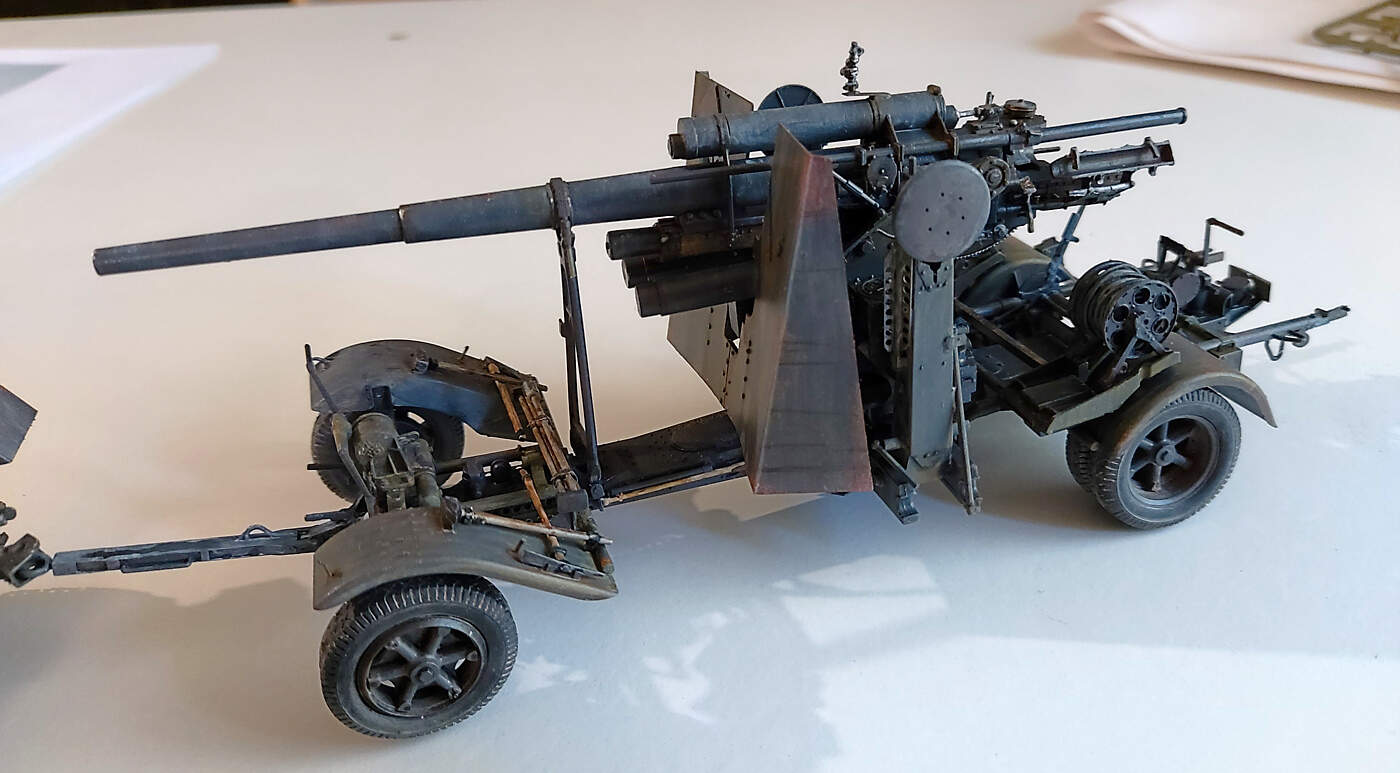
There’s some obvious paint touch ups to do. Weathered using the oil dot method. I think this method is over kill with something as fiddly as this. OK for large areas but it was a bit of a PITA working on small items. I’ll dust it up once it’s all finished. But that’s the gun all but done.
OK calling it done at this stage. I want to start the diorama. Building the diorama will determine the colour of the weathering and road grime etc.
More small details. ropes, cable etc later when huge fingers won’t knock them off!
Tyre and wheel aren’t glued on so they maybe a bit wonky.
Hint:
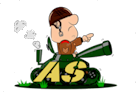
Be aware that the roadwheels have a suspension that allows them to follow, at least to some extent, the ground.
Fill out the groundwork to allow all of the roadwheels to be in contact.
Thoroughly enjoyed reading this build thread! I’m looking forward to seeing the diorama develop next. As I have said before “Accuracy is over rated when it prevents creativity” and this has creativity in spades.
AS Robin says, the suspension would need modification for this. The Front wheels would drop significantly lower when off the ground. The front spring would be a very different arc shape:
Robin I don’t even know yet if the embankment is too high or too low. It’s a mock up to ponder and procrastinate over.
I do know the diorama is way bigger than I had envisioned. So maybe I’ll find another approach. But all the feedback is taken on board.
Sorry folks. Health has intervened again.
I’ve been procrastinating and have taken on some of the above comments.
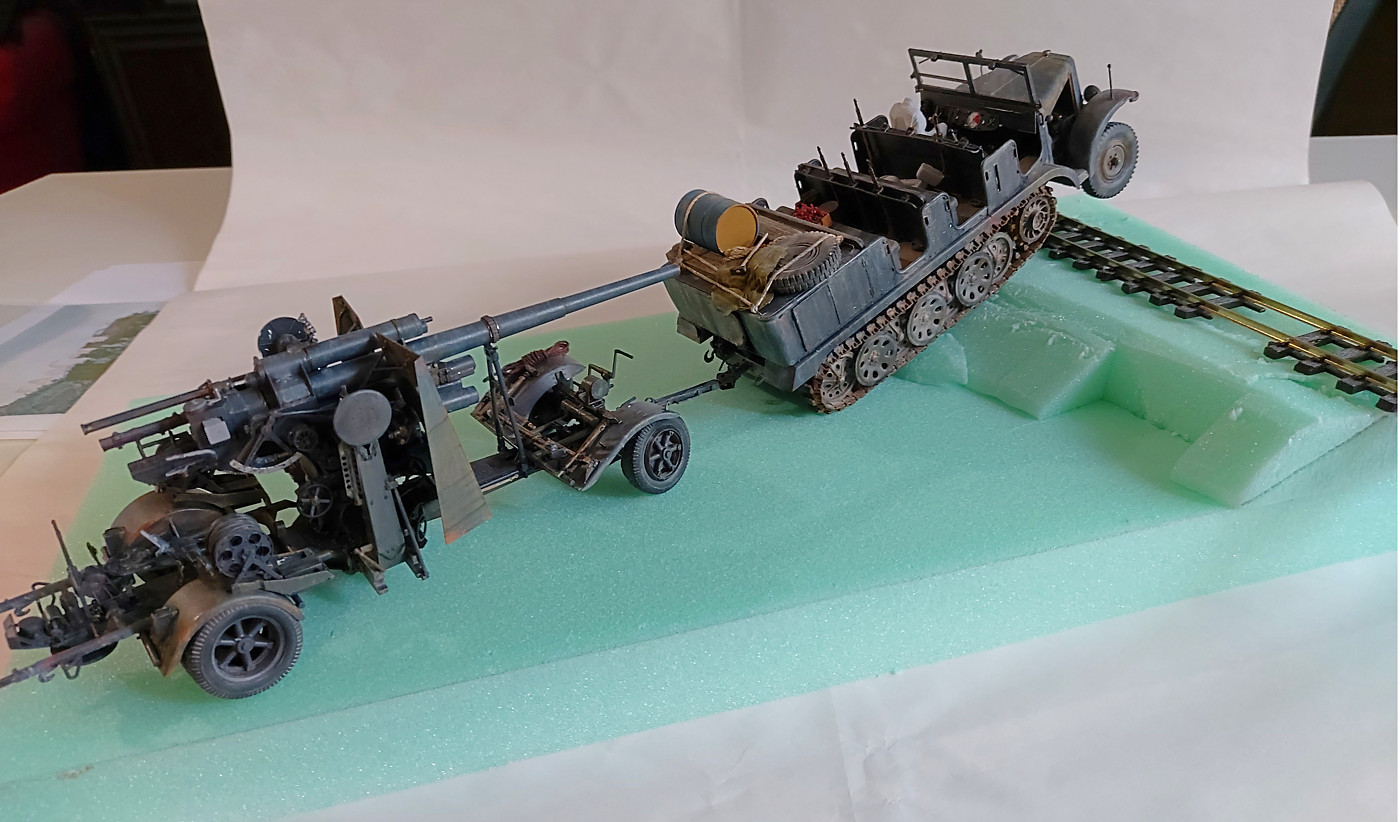
justsendit I can’t see a way of steering the front axle of the 88mm. So I’ve straightened the whole rig up.
petbat the front suspension is an issue I hadn’t considered. Other than pulling it out and starting again I think I’ll just ignore it!!
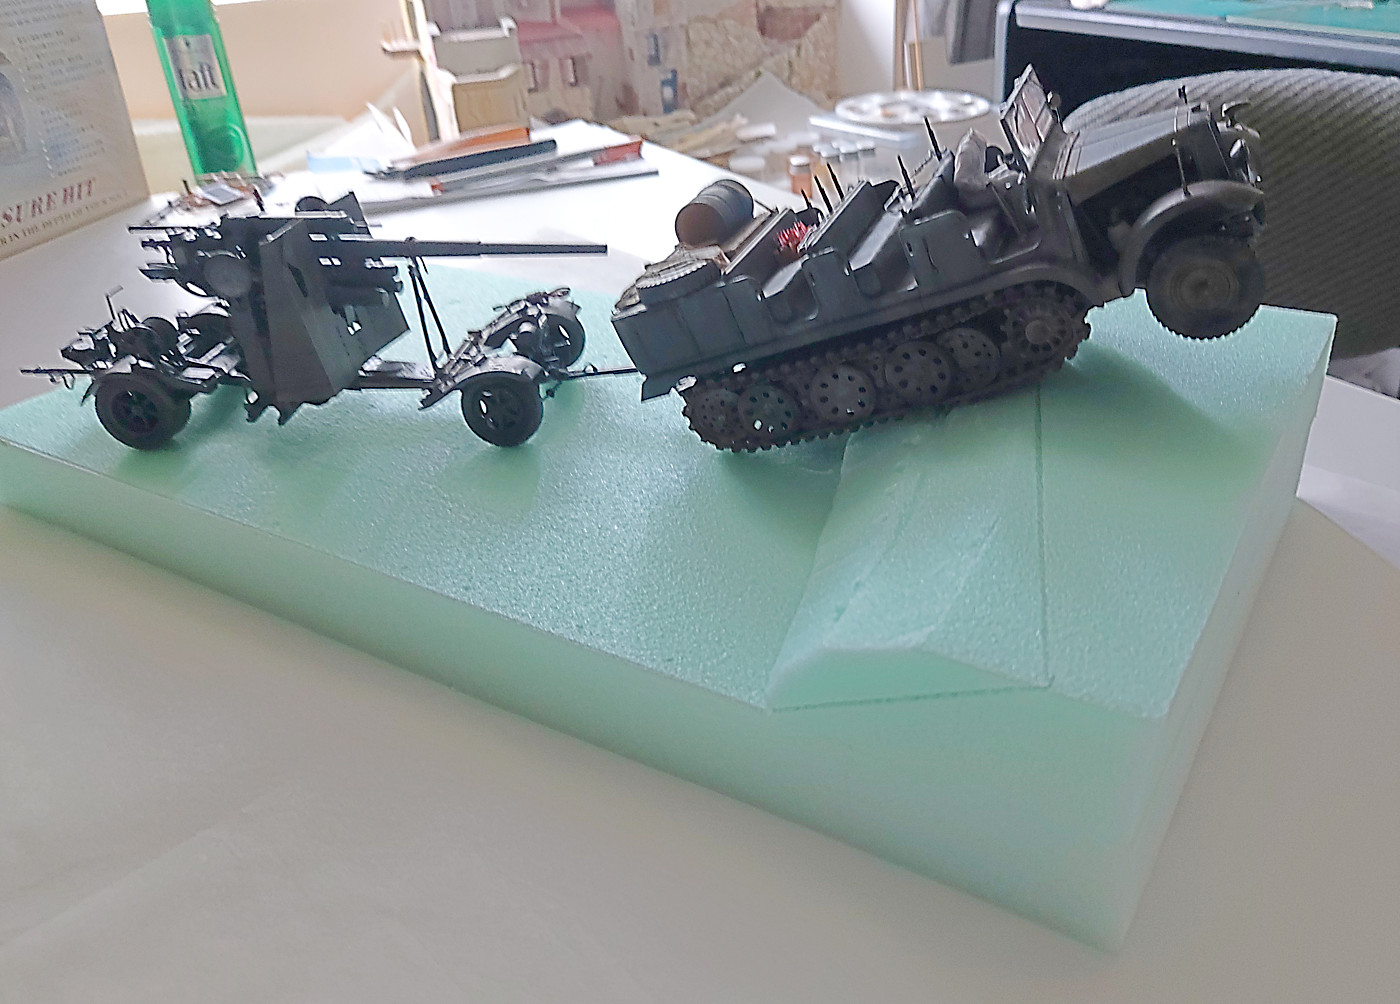
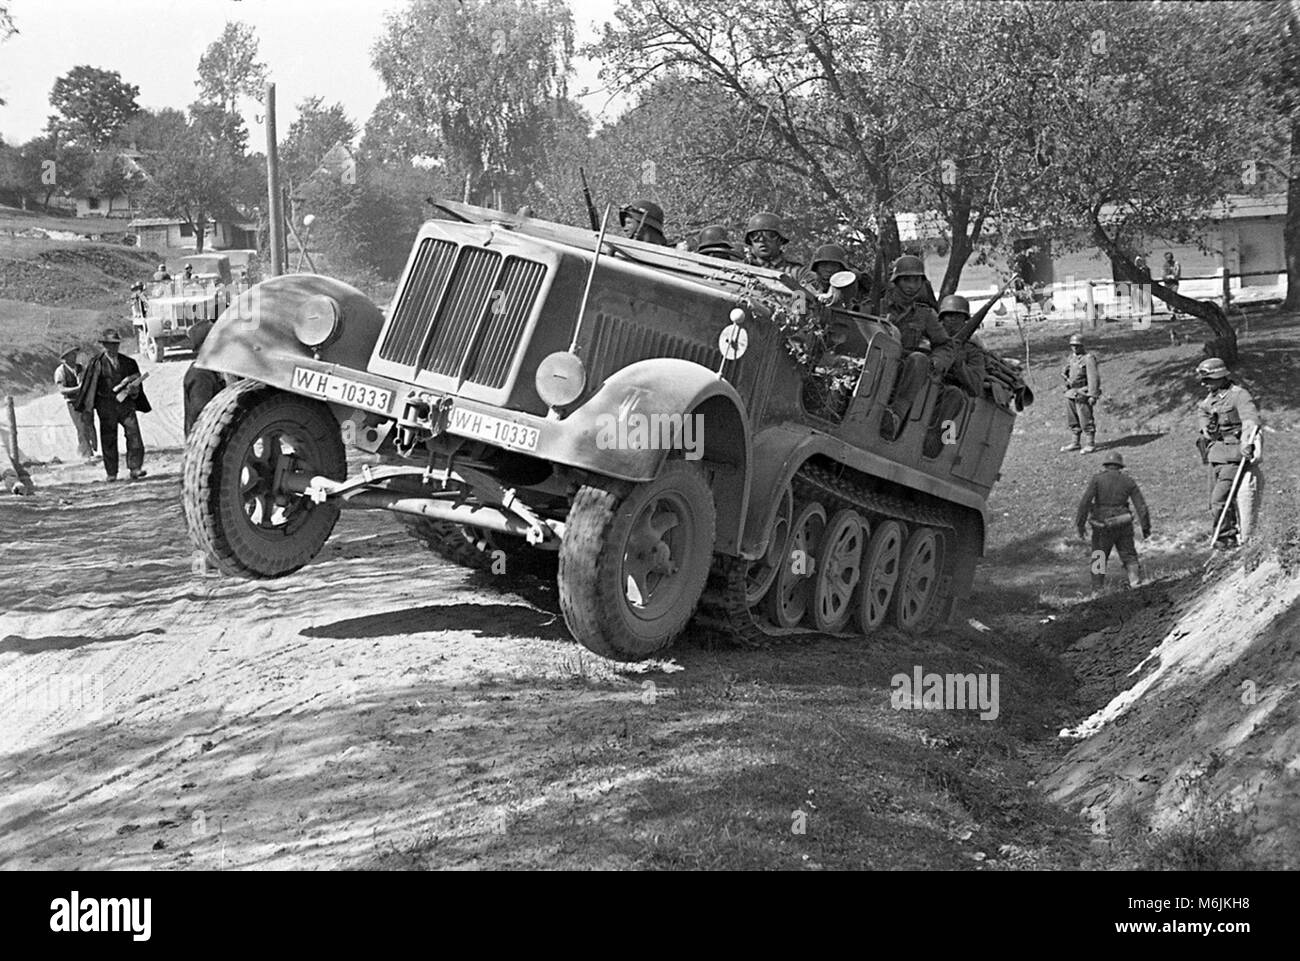
I’ve lowered the embankment. Not as aggressive and a bit move believable.
The ‘notch’ in the embankment is for a culvert. Too much real estate that side so I’ll put in a drain of some sort.
The track isn’t to scale. Just there to check the concept.
I need to determine if these guys are following a worn track or if they are blazing their own trail. What should it be?
Good decision Bruce to flatten the embankment & with some judicious groundwork around the tracks (i.e. to sink them into the ground a tad in an uneven way) it should look fine - and in answer to your question suggest it’s blazing its own trail over the line. I really like that there are some differences between the general appearance of the half track & gun, I’d suggest dustying up all tyres to match the base’s dirt colours when you’ve decided them
You build it however it makes you happy. That is the important point.
I appreciate the more dramatic pose of front wheels up in the air, but if it does end up bugging you, you could consider turning the combo around and have the 88 coming down off the tracks.