Okay.
You mean just reply on my own topic with new photo’s and updates?
If that is easier to follow then I will do that.
Otherwise, explain to me please.
Thanks again for the reply.
There are two different Reply-buttons and they give slightly different results:

Nr 1 creates a new post and sends a notification to the other poster that you have replied to his post specifically (varanusk in the image above)
Nr 2 creates a new post which is a reply to the whole topic.
When I posted this reply I aimed it at you by using option 1
2 Likes
Okay I got it.
I will be using this option now to update my topic as I’m building along.
I will not edit the exisiting topic anymore.
Thanks for the suggestion and have a nice day.
I think that this is a bit to hard for me to understand.
I guess I leave this as it is, since it is so technical and I can’t really imagine/make a picture of this how it works and happens.
Topic: Your first post and all the replies to it.
Post: An individual entry in a topic.
This is a post made by me in the topic (SD. Kfz. 9 FAMO) created by you
1 Like
I like Robin’s explanation. I worked for 4 years for Chas C. Stadden Studios in the 1970s, casting white metal figures in silicon rubber moulds. Later I worked for a seal and gasket company that injection moulded plastic seals. The whole point of the moulding/casting process is that one component, either the mould or the part must have some flexibility (in “real” casting of course, the casting sand is the “flexible” component, in that you knock it off!) in order to be able to remove the mouldings from the mould. Undercuts and deep holes in parts can only really be catered for in slide moulds or multi-part moulds. As Robin says, ideally there should be a slight “lead” on the part to allow easy withdrawal. The other feature of injection moulding of course is the “pin” marks made by the extractors. As the mould wears, or if it is run too hot, “flash” occurs and the extractor pin marks become more prominent. At Staddens we would build up and cut out the flat rubber moulds to modify the run of the parting line (what you would call the mould line) so that for example an arm or leg wouldn’t “bury” in the mould or to avoid the line running across a face. We also tried hard to get the mould halves of equal thickness, to prevent mismatch (steps in parts) which spoil detail and are hard to clean away. Ideally the metal feeds would be under the base of the figure where you wouldn’t see it. My pet hate is when manufacturers feed into knife edges or flat faces that will be on display.
1 Like
It is interesting stuff.
But I’m not able to form a picture of this.
Maybe if you can send a video that shows me how it works?
Or to give me a nice idea?
If it isn’t the point to show me how this actually works, what would be the take away for me for this?
I think that I can take from this two ‘story’s’ that it is hard to make perfectly good parts for a model making kit.
And that the older the kits are, the more cleaning and correcting of the parts I need to do.
And that it is not always possible to get rid of all ugly things that could be appearing on the model, because the parts are simply not that better.
I hope I did get a little more understanding of what you and @Uncle-Heavy want to tell me about the parts and moulding process of a model kit. And that it will help me to improve on my next builds and current project.
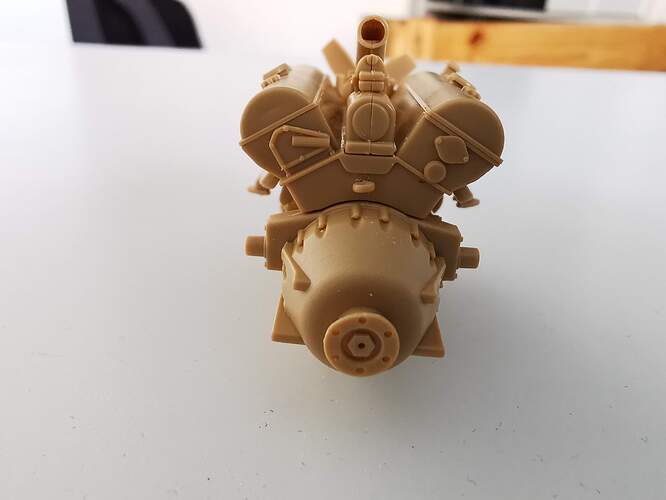
Here is an update on the progress I made so far with my current project
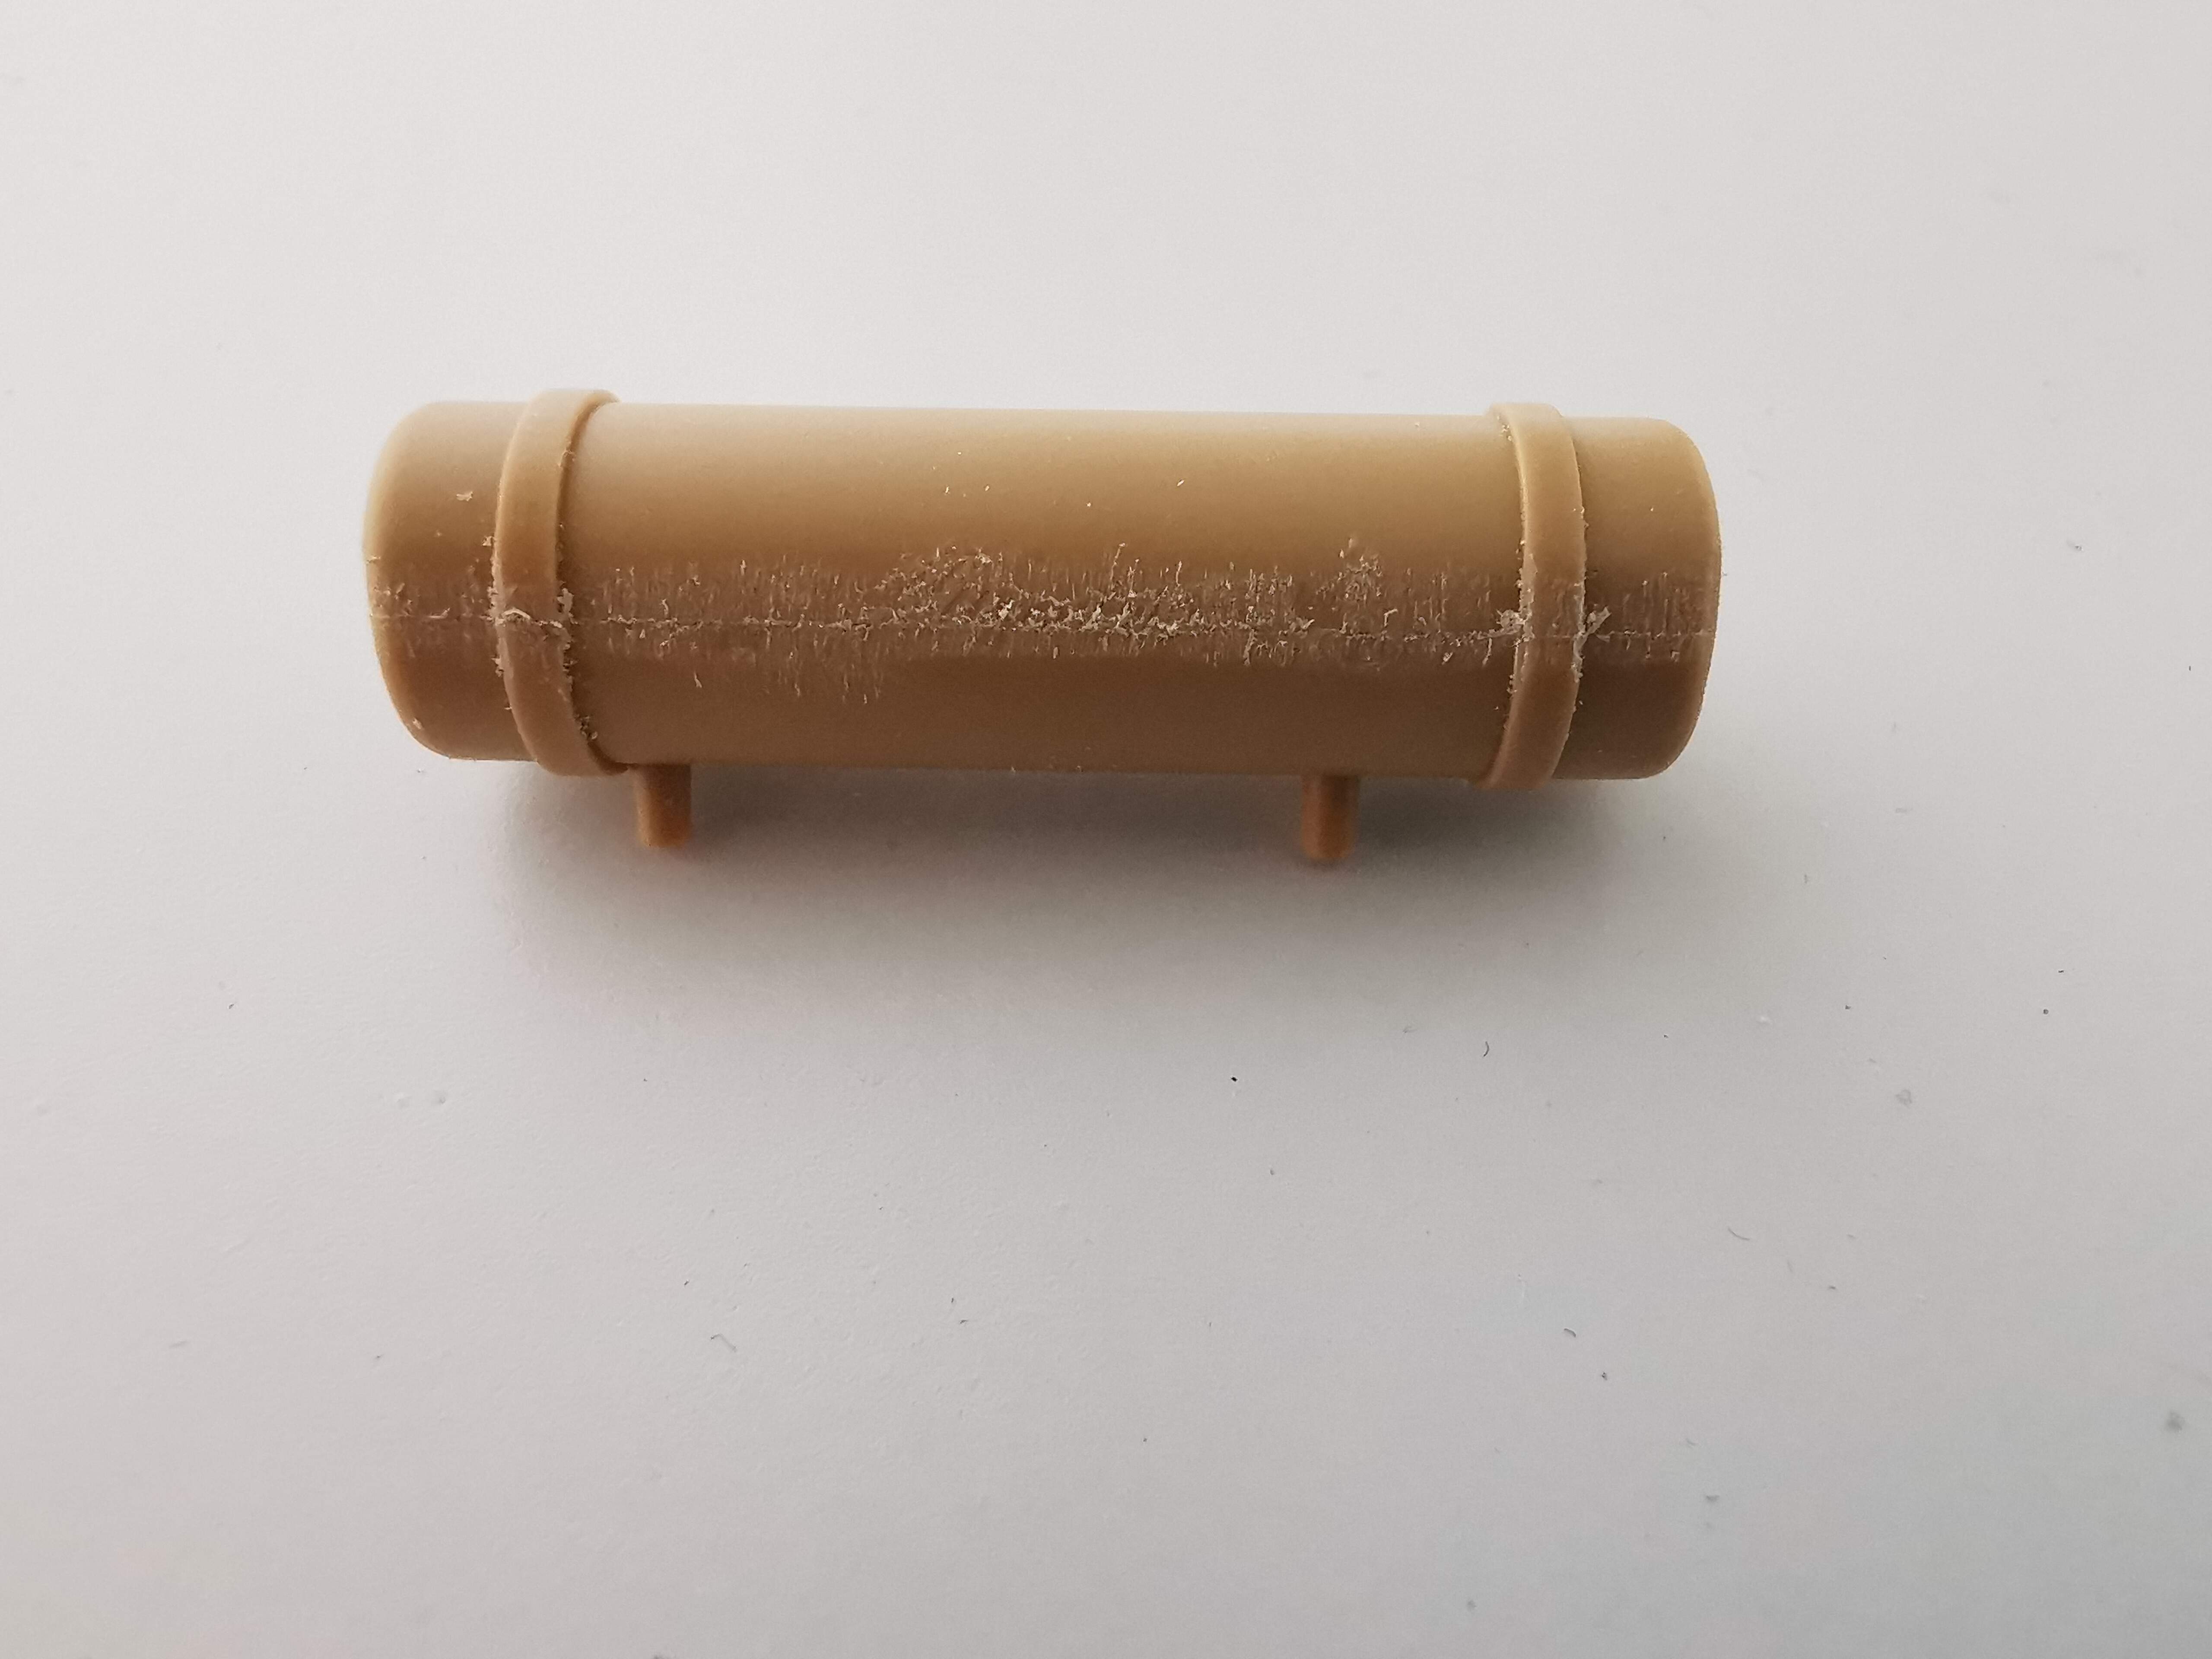
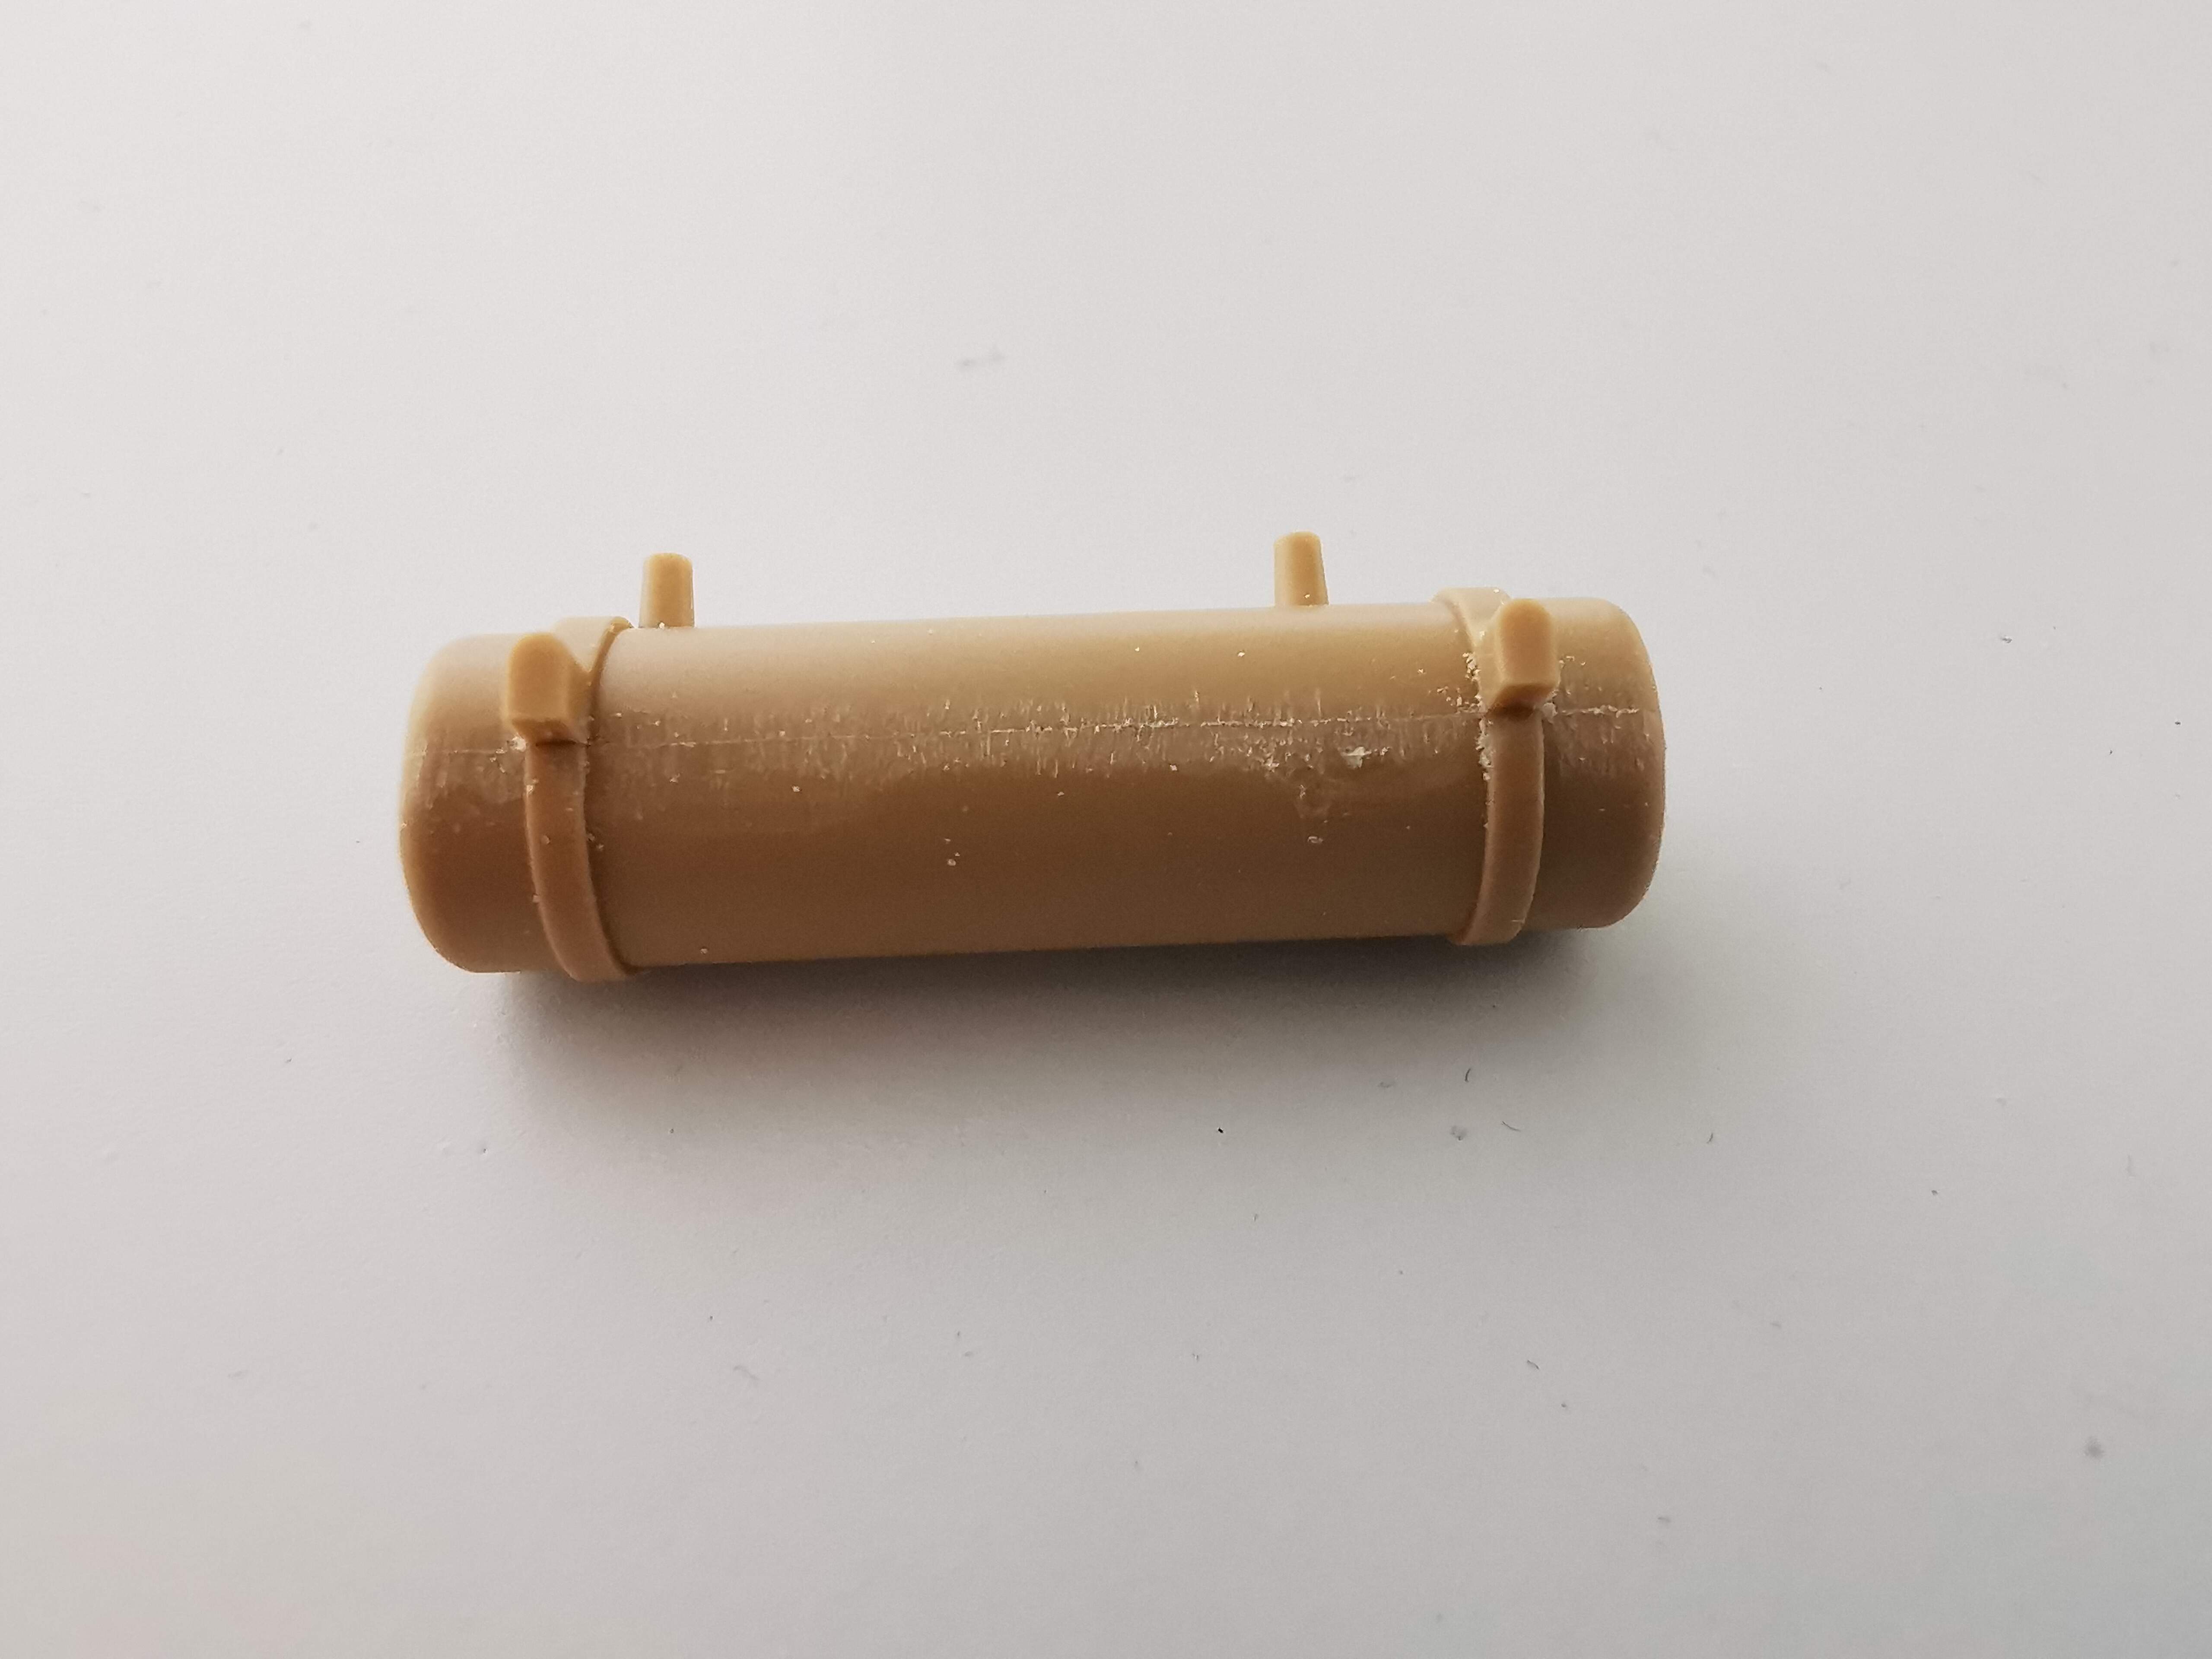
Air tank assembled
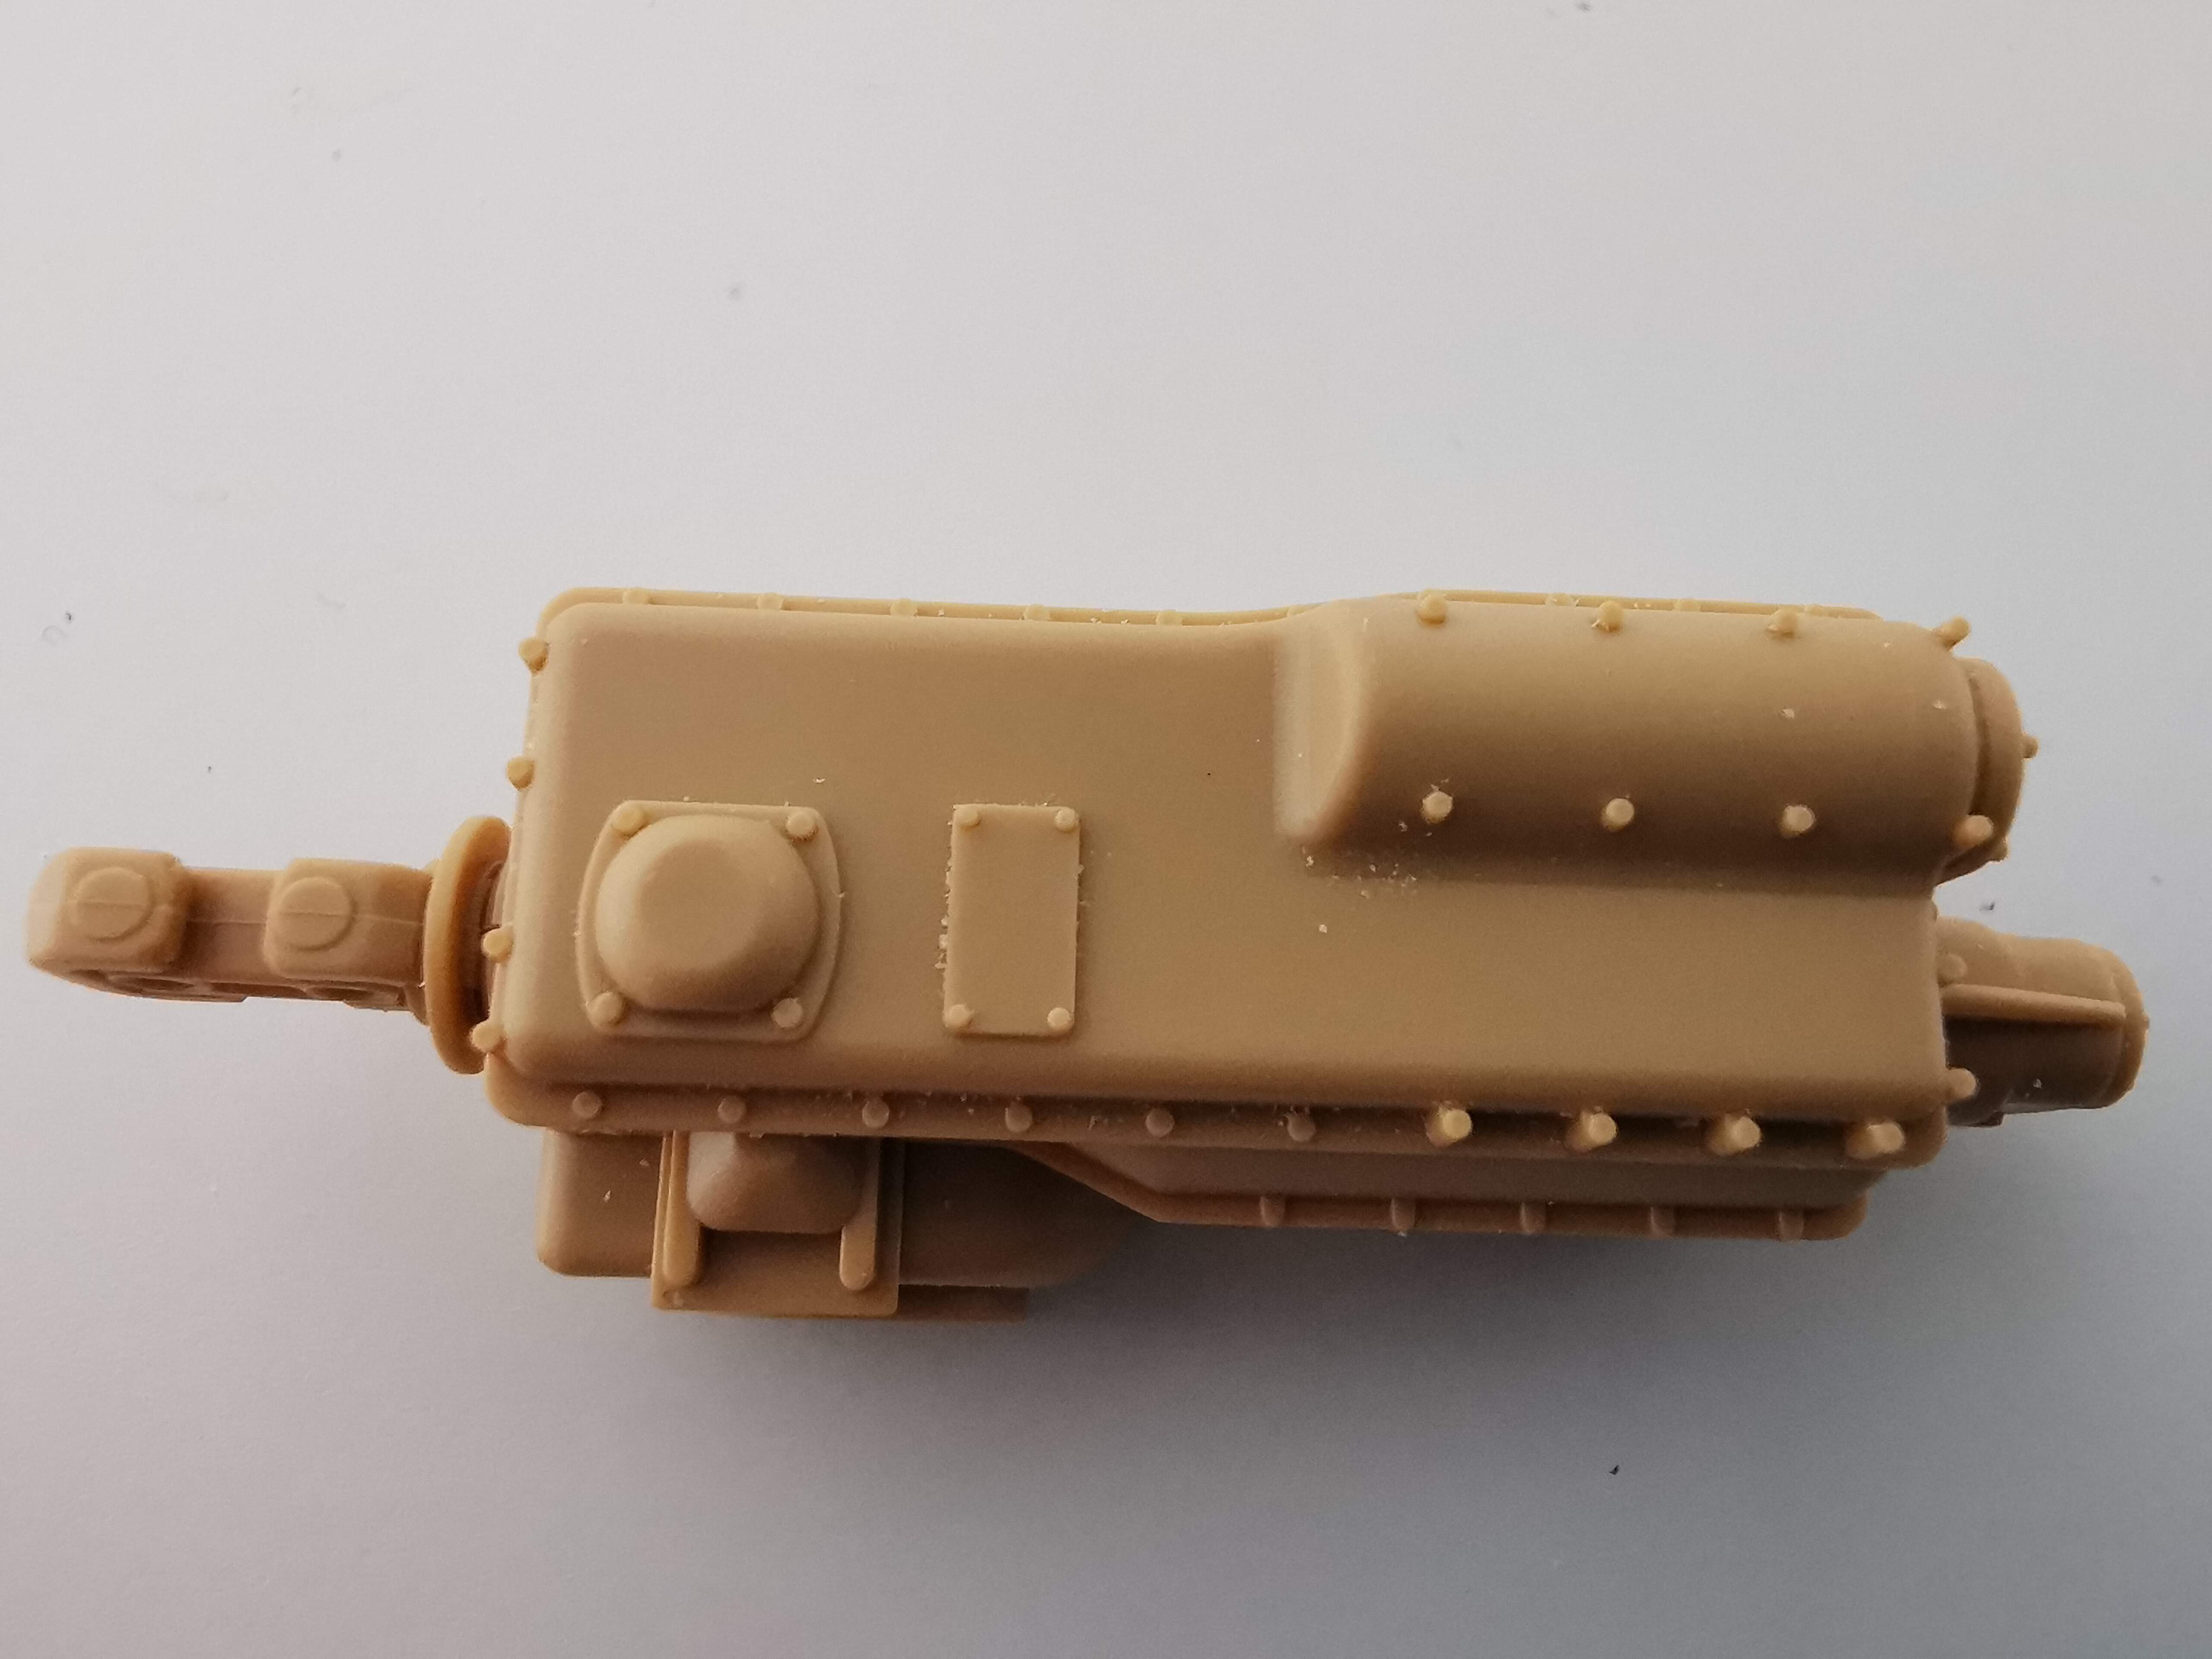
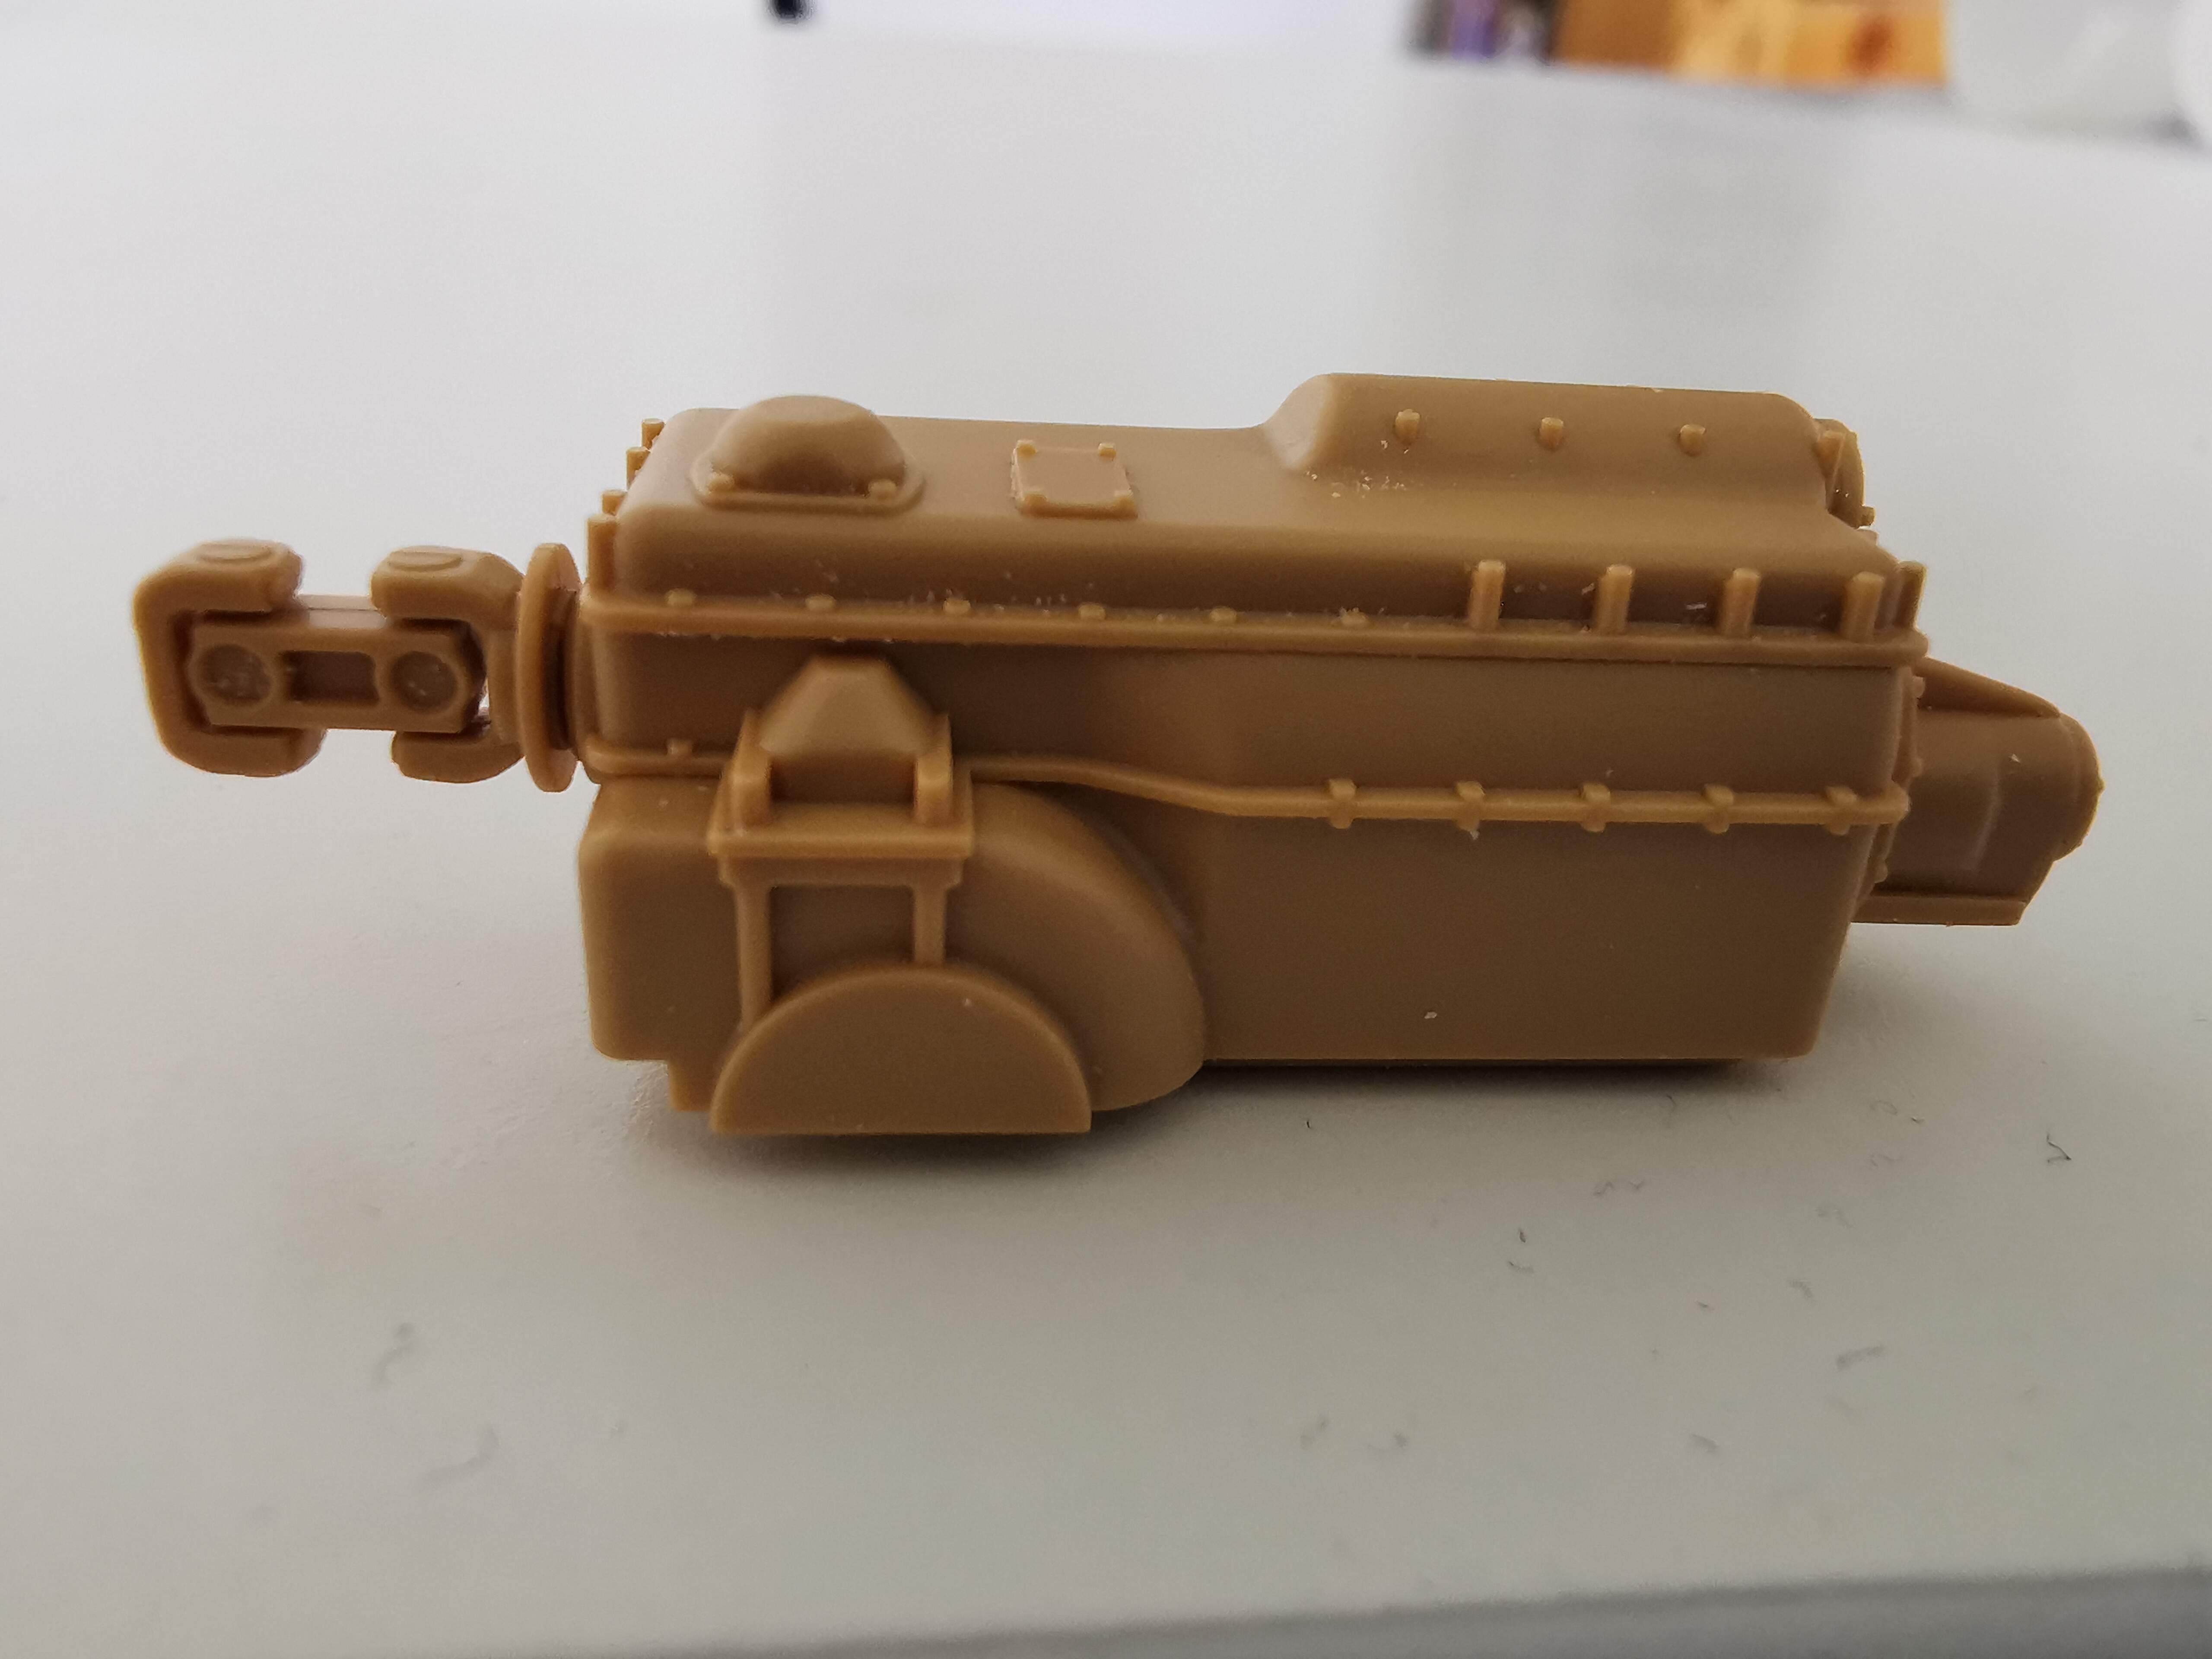
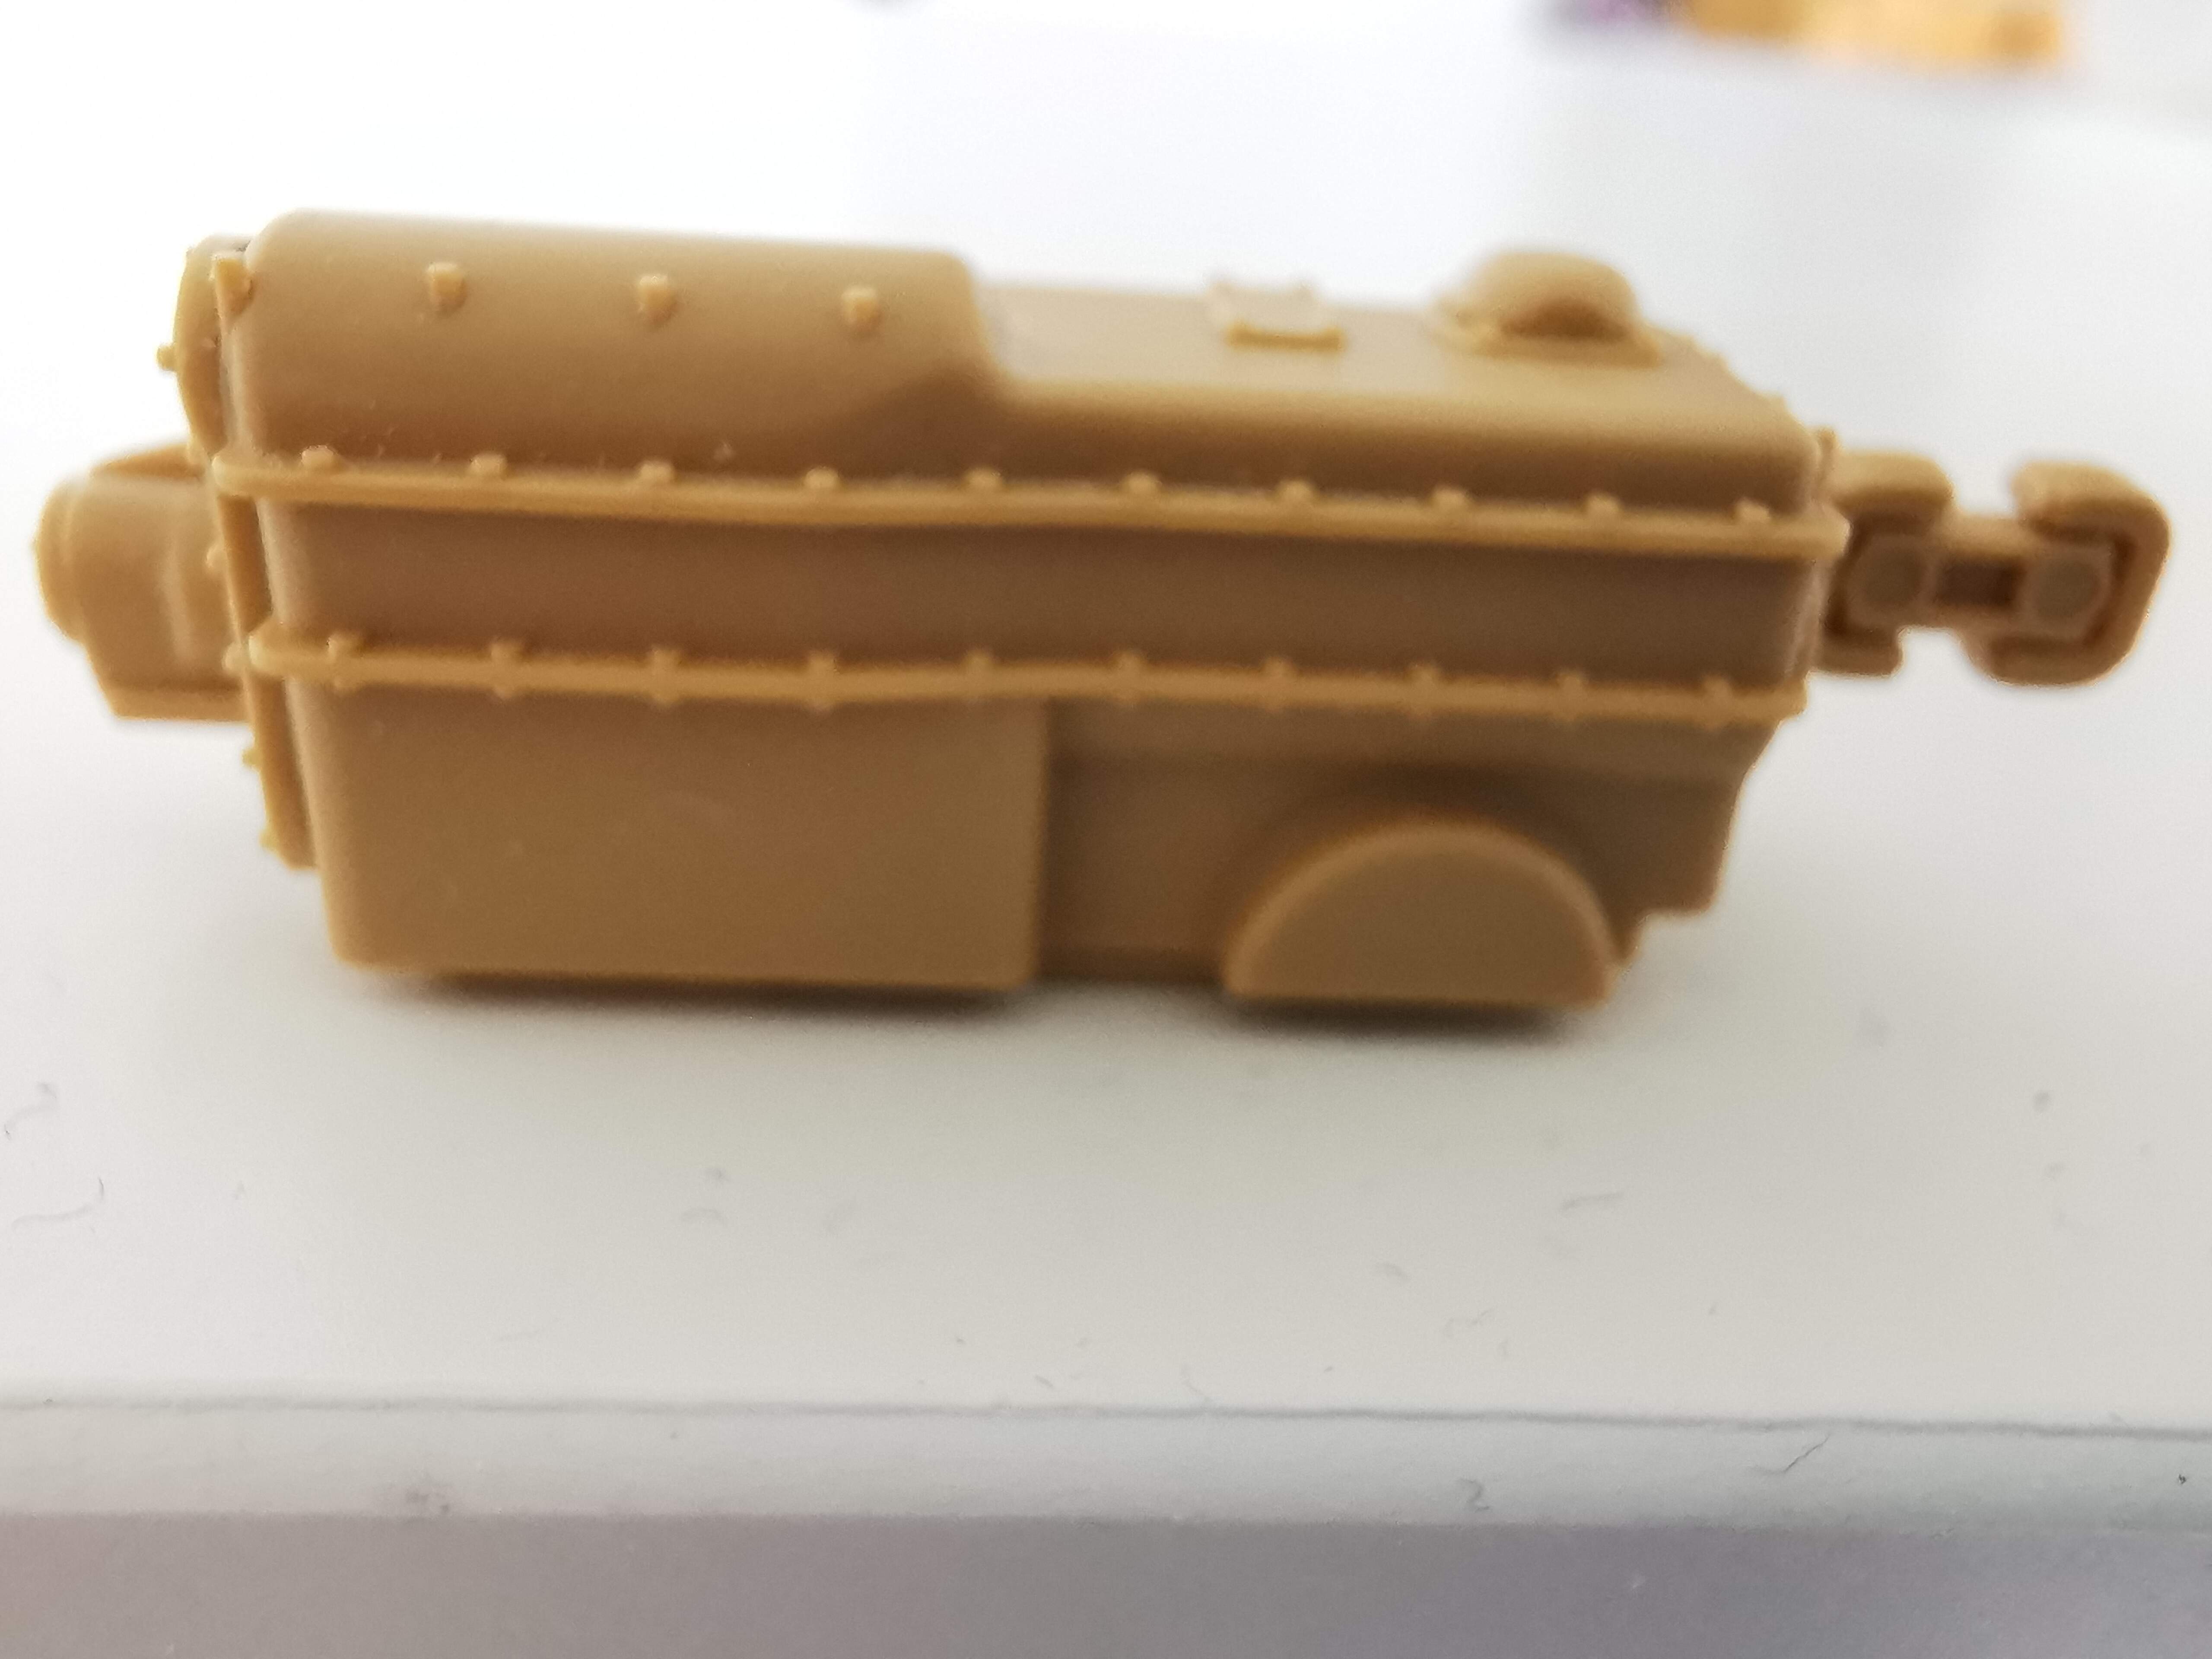
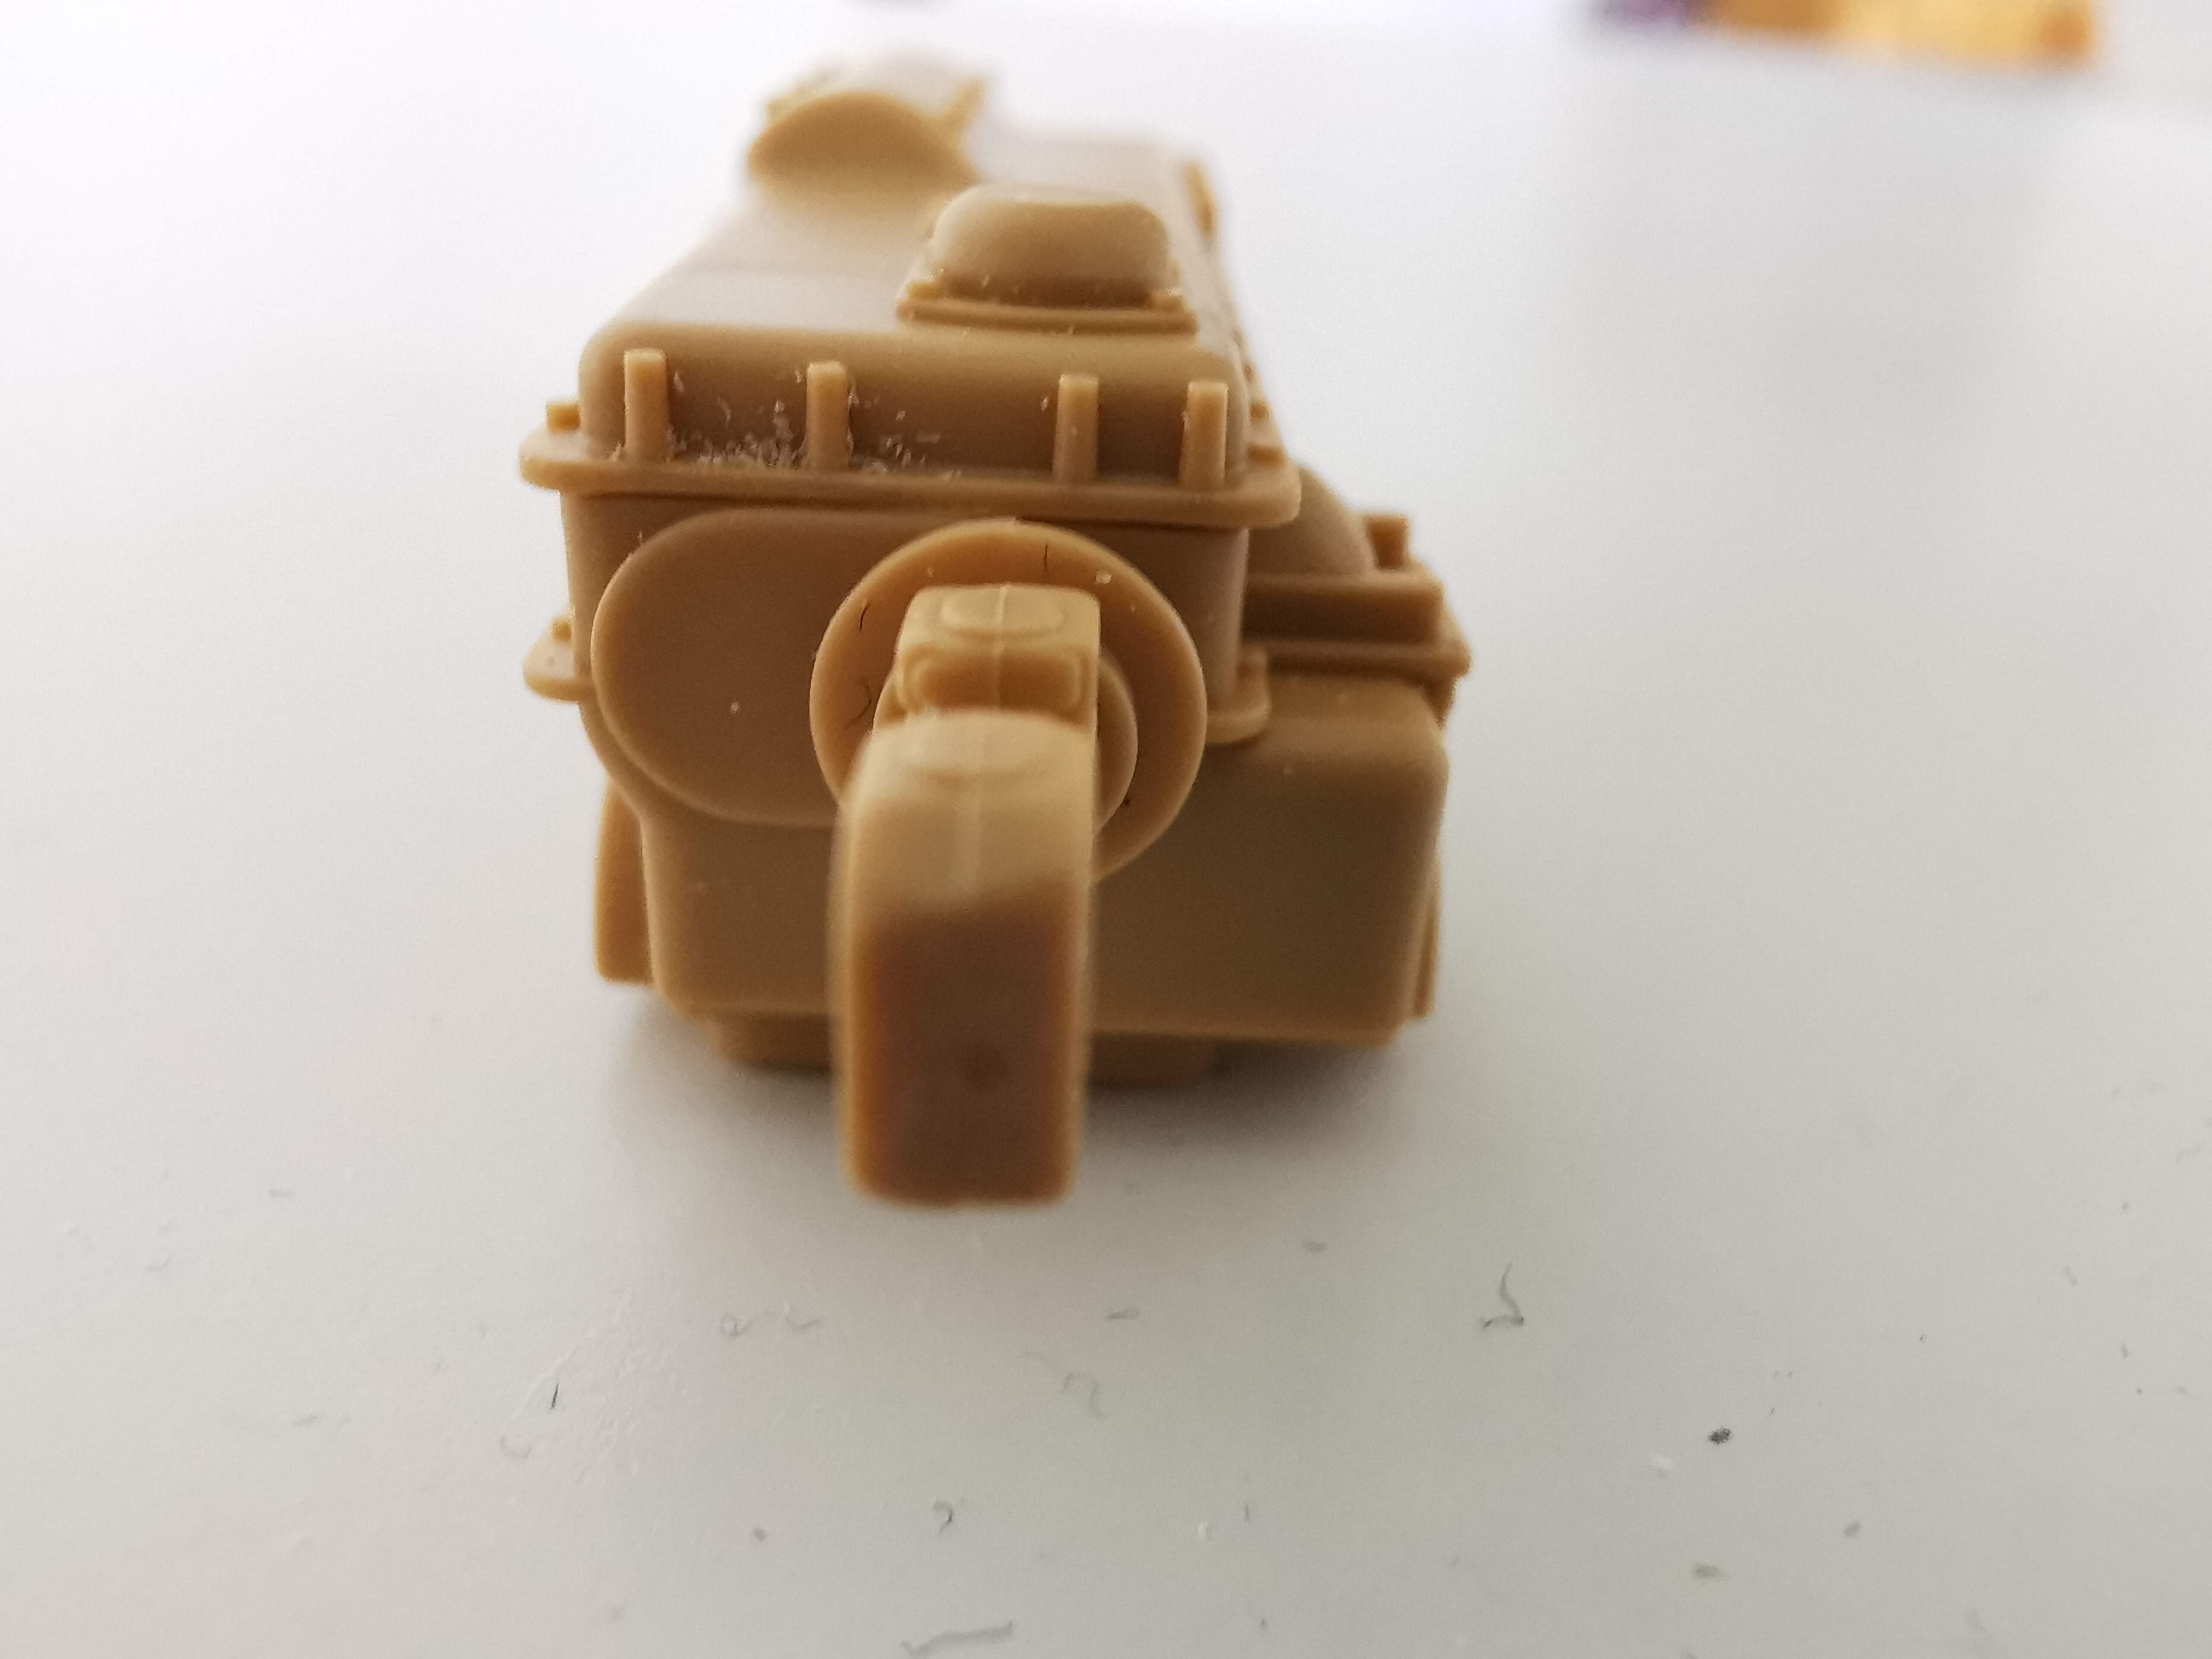
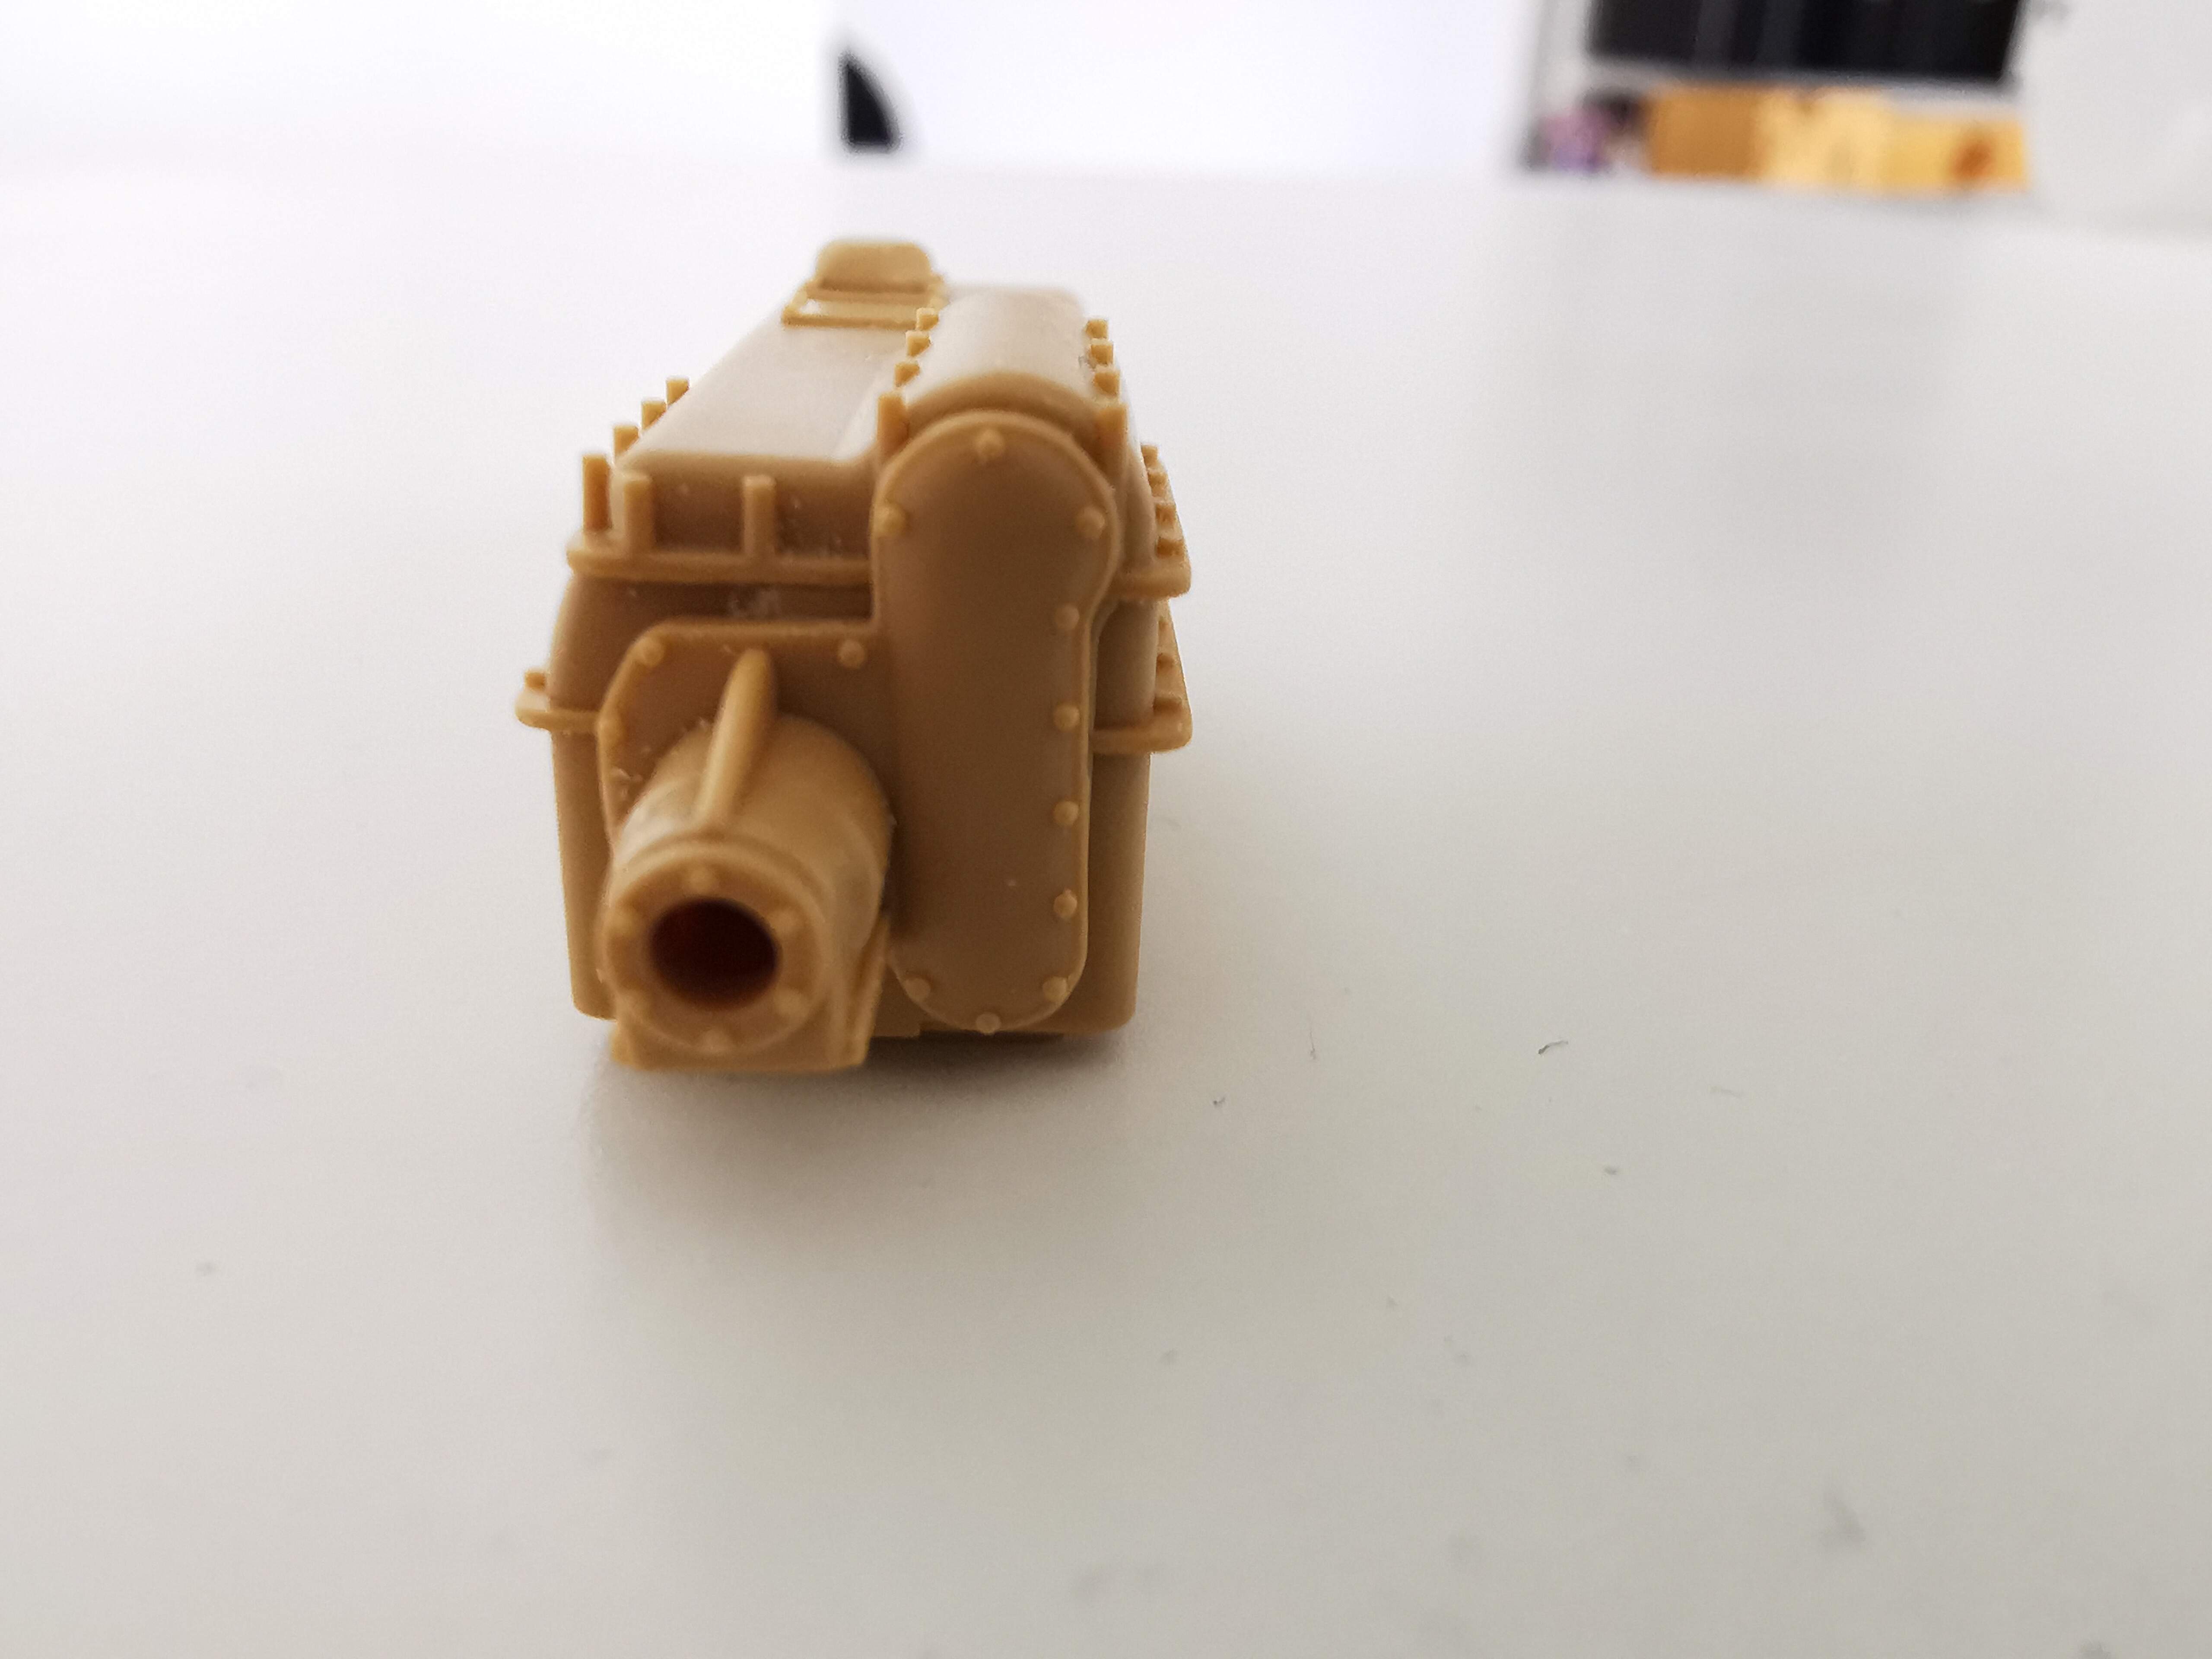
Transmission assembled
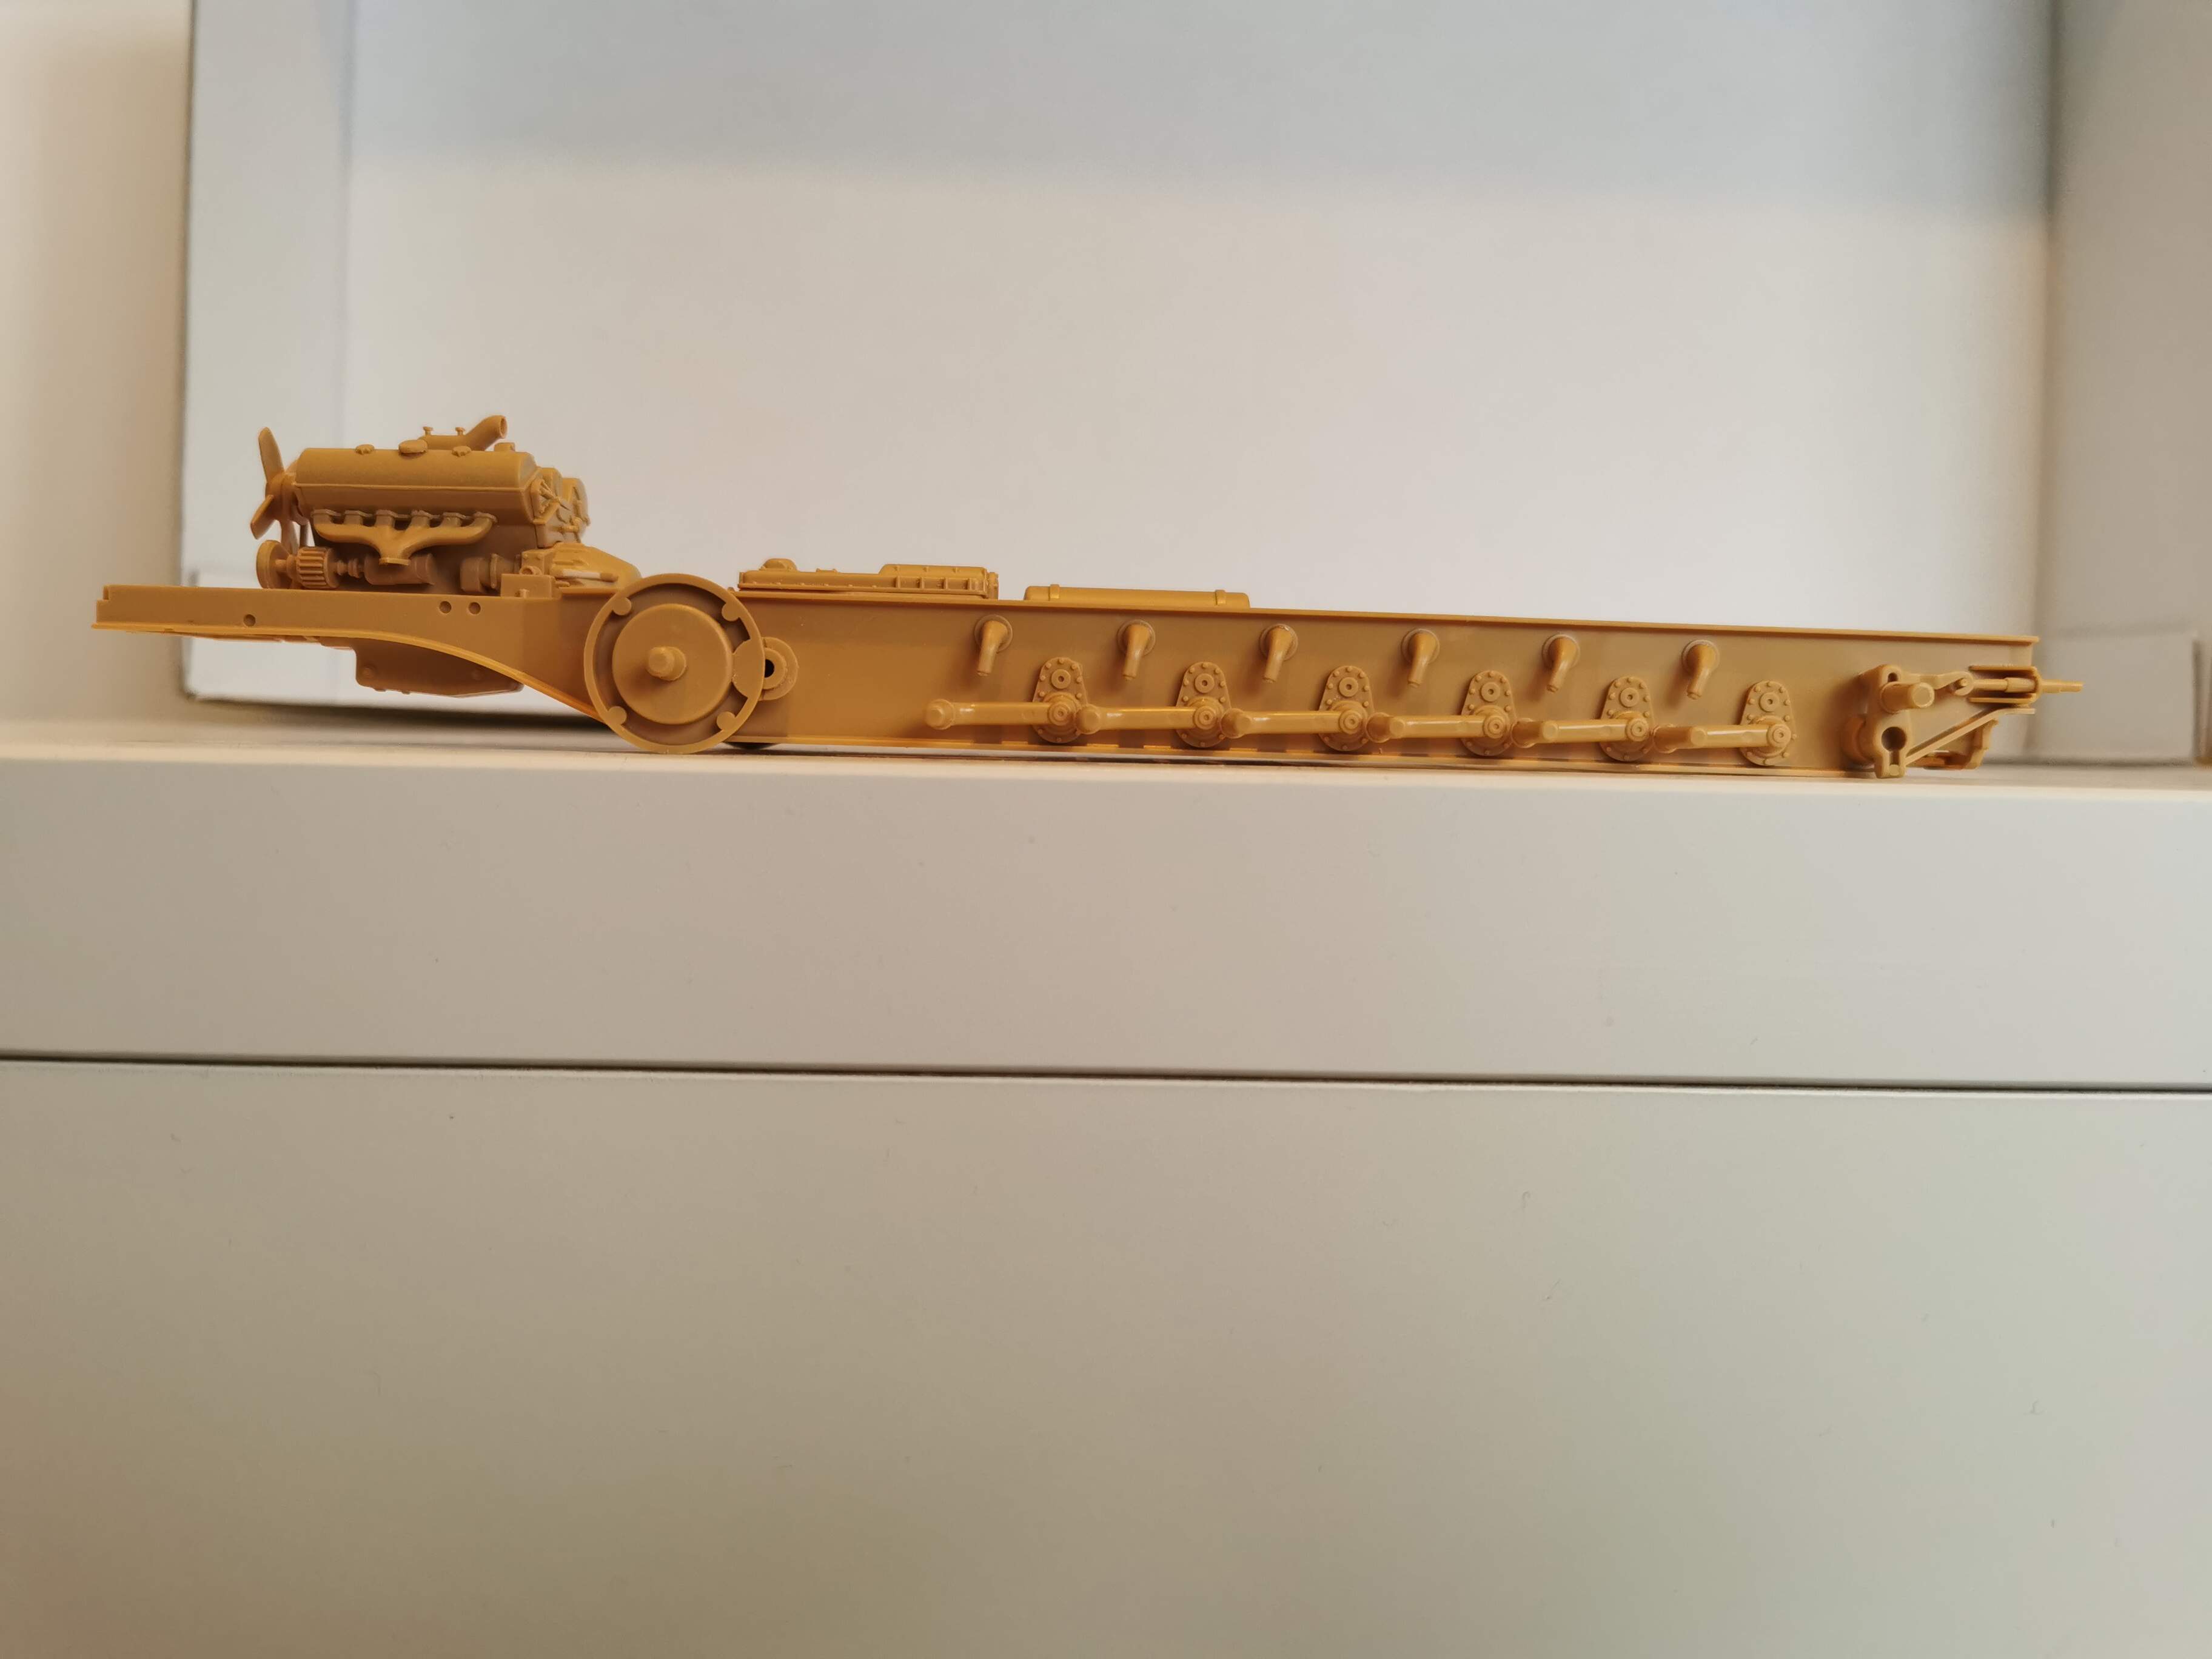
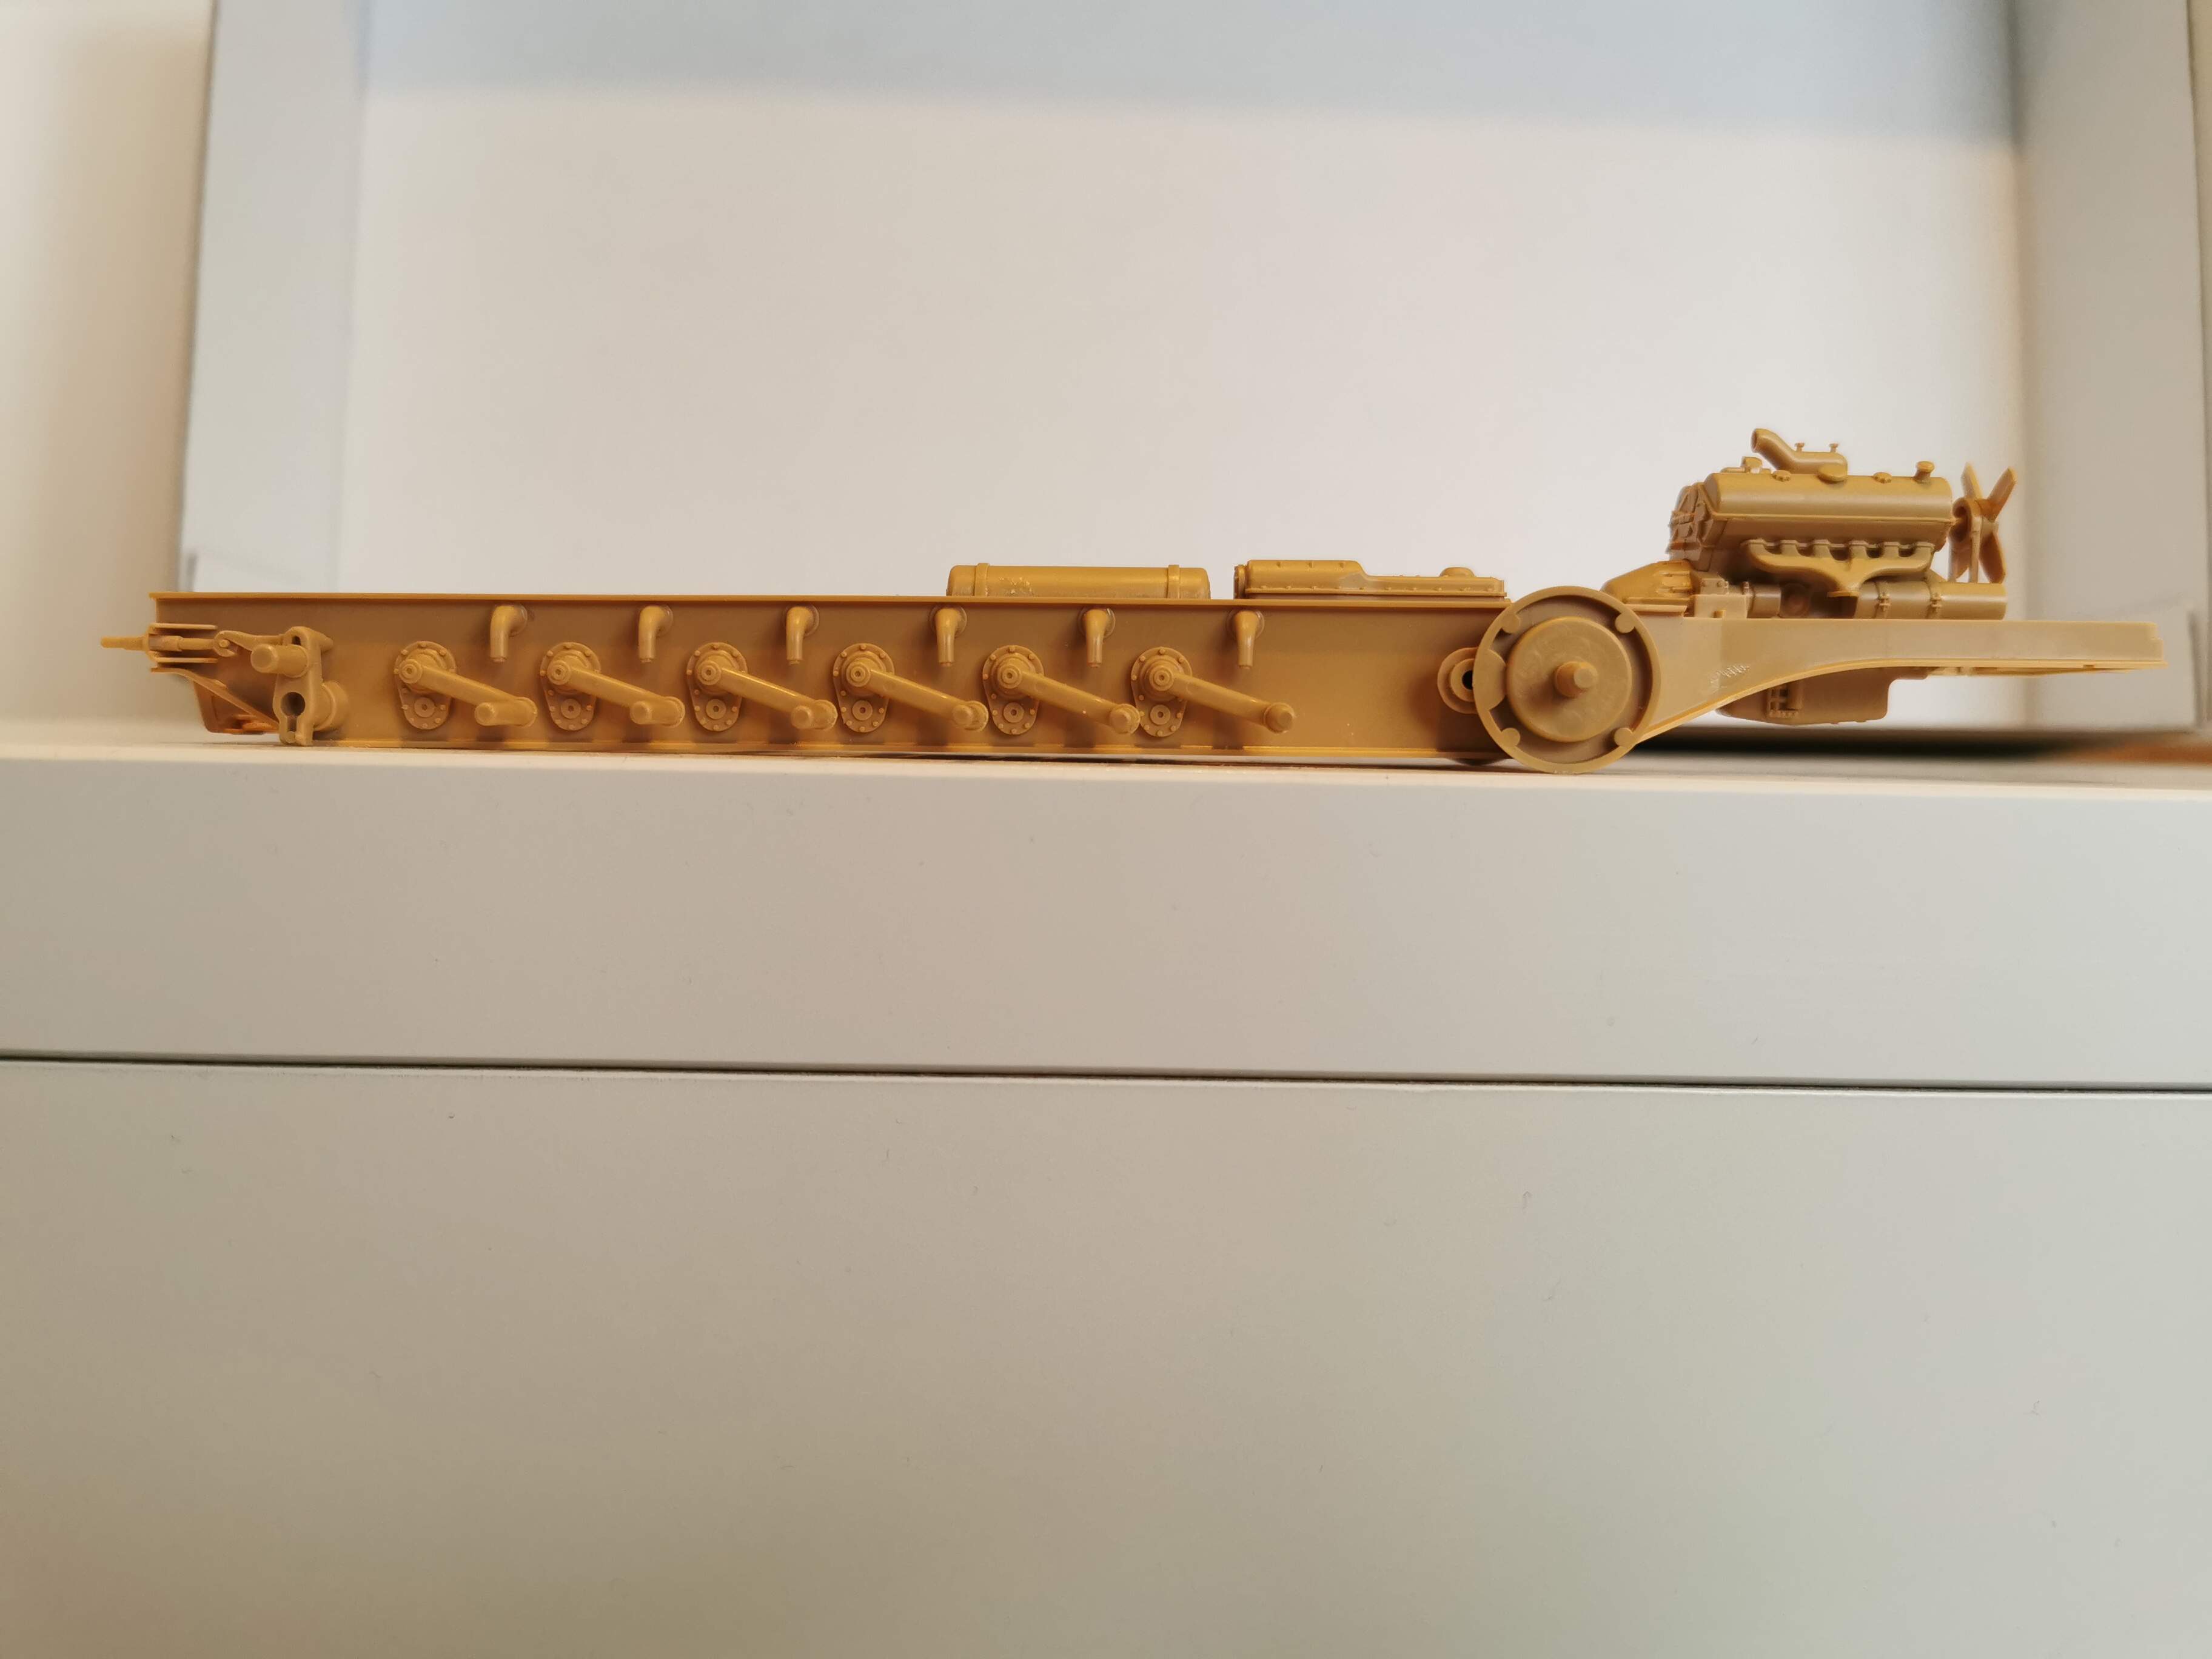

Air tank mounted on the frame. Transmission mounted .Suspension arms mounted
4 Likes
The main lesson is that parts often need to be adjusted before they can be glued together.
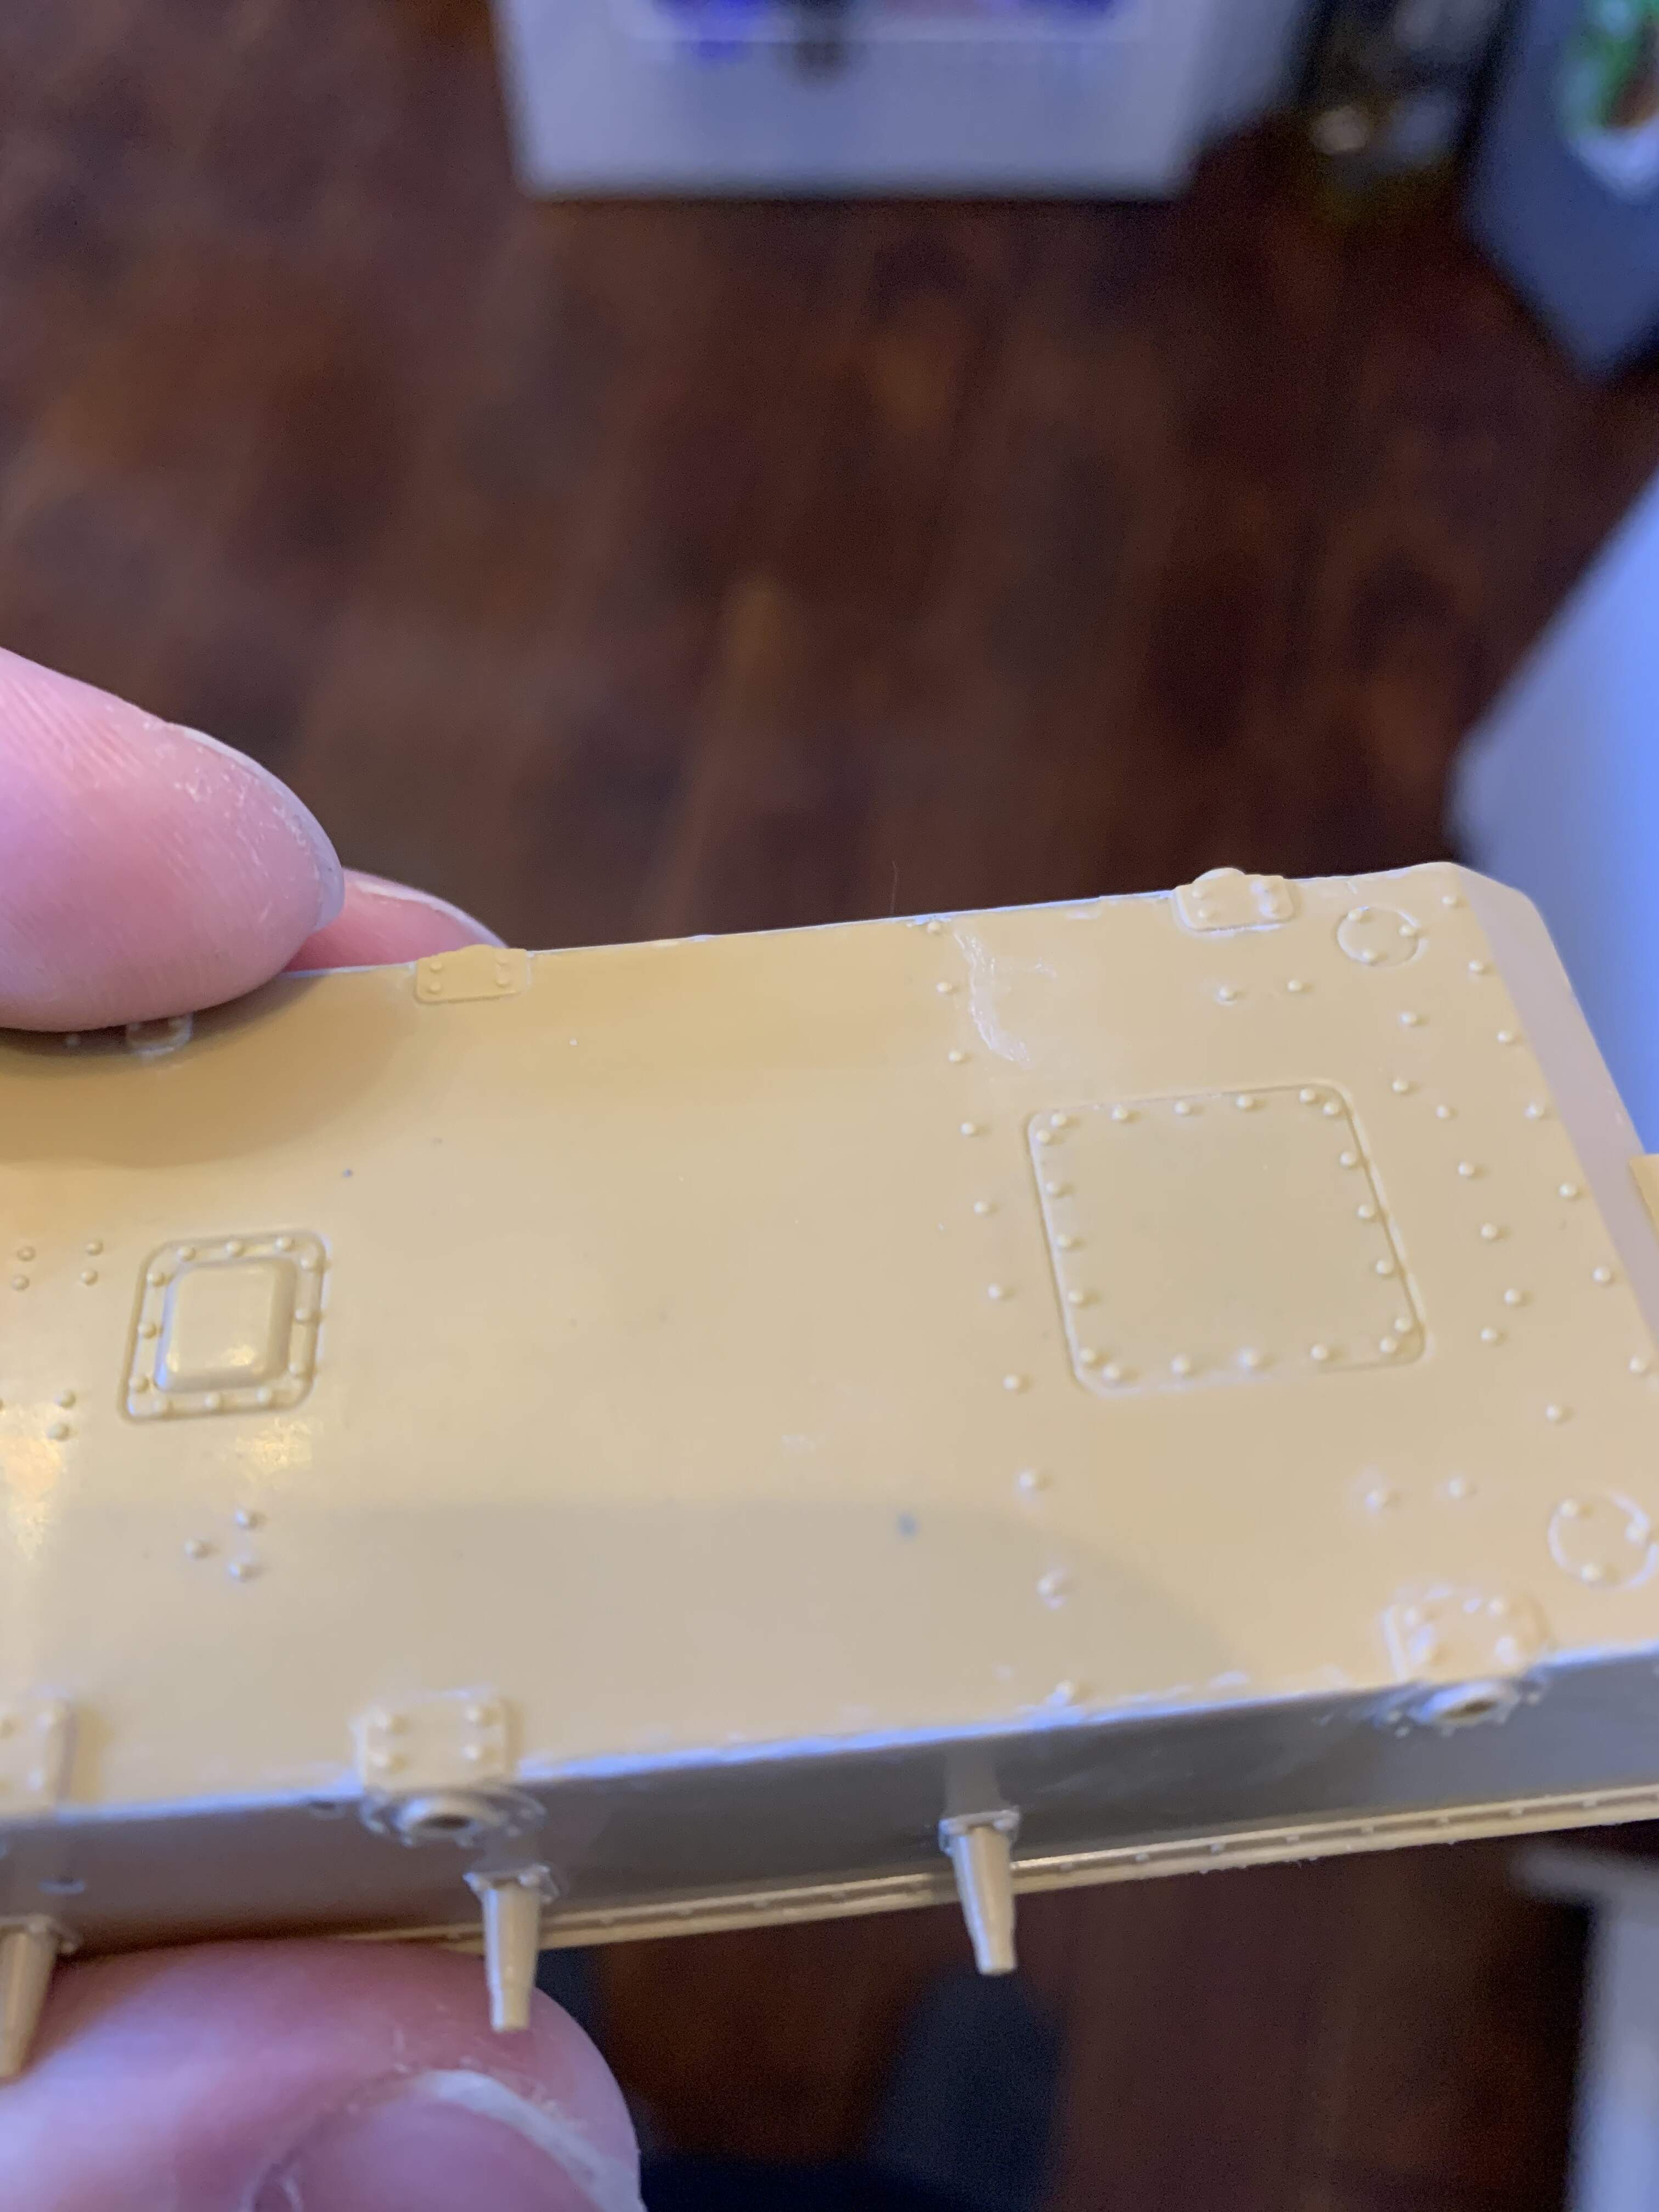
The gaps in this image
are caused by the release angles (the blue triangles in the diagram) on the
two halves of the carburetor.
The engine block could also have release angles, hard to tell from the instruction sheet. I would need to check the actual part and how it is located on the sprue.
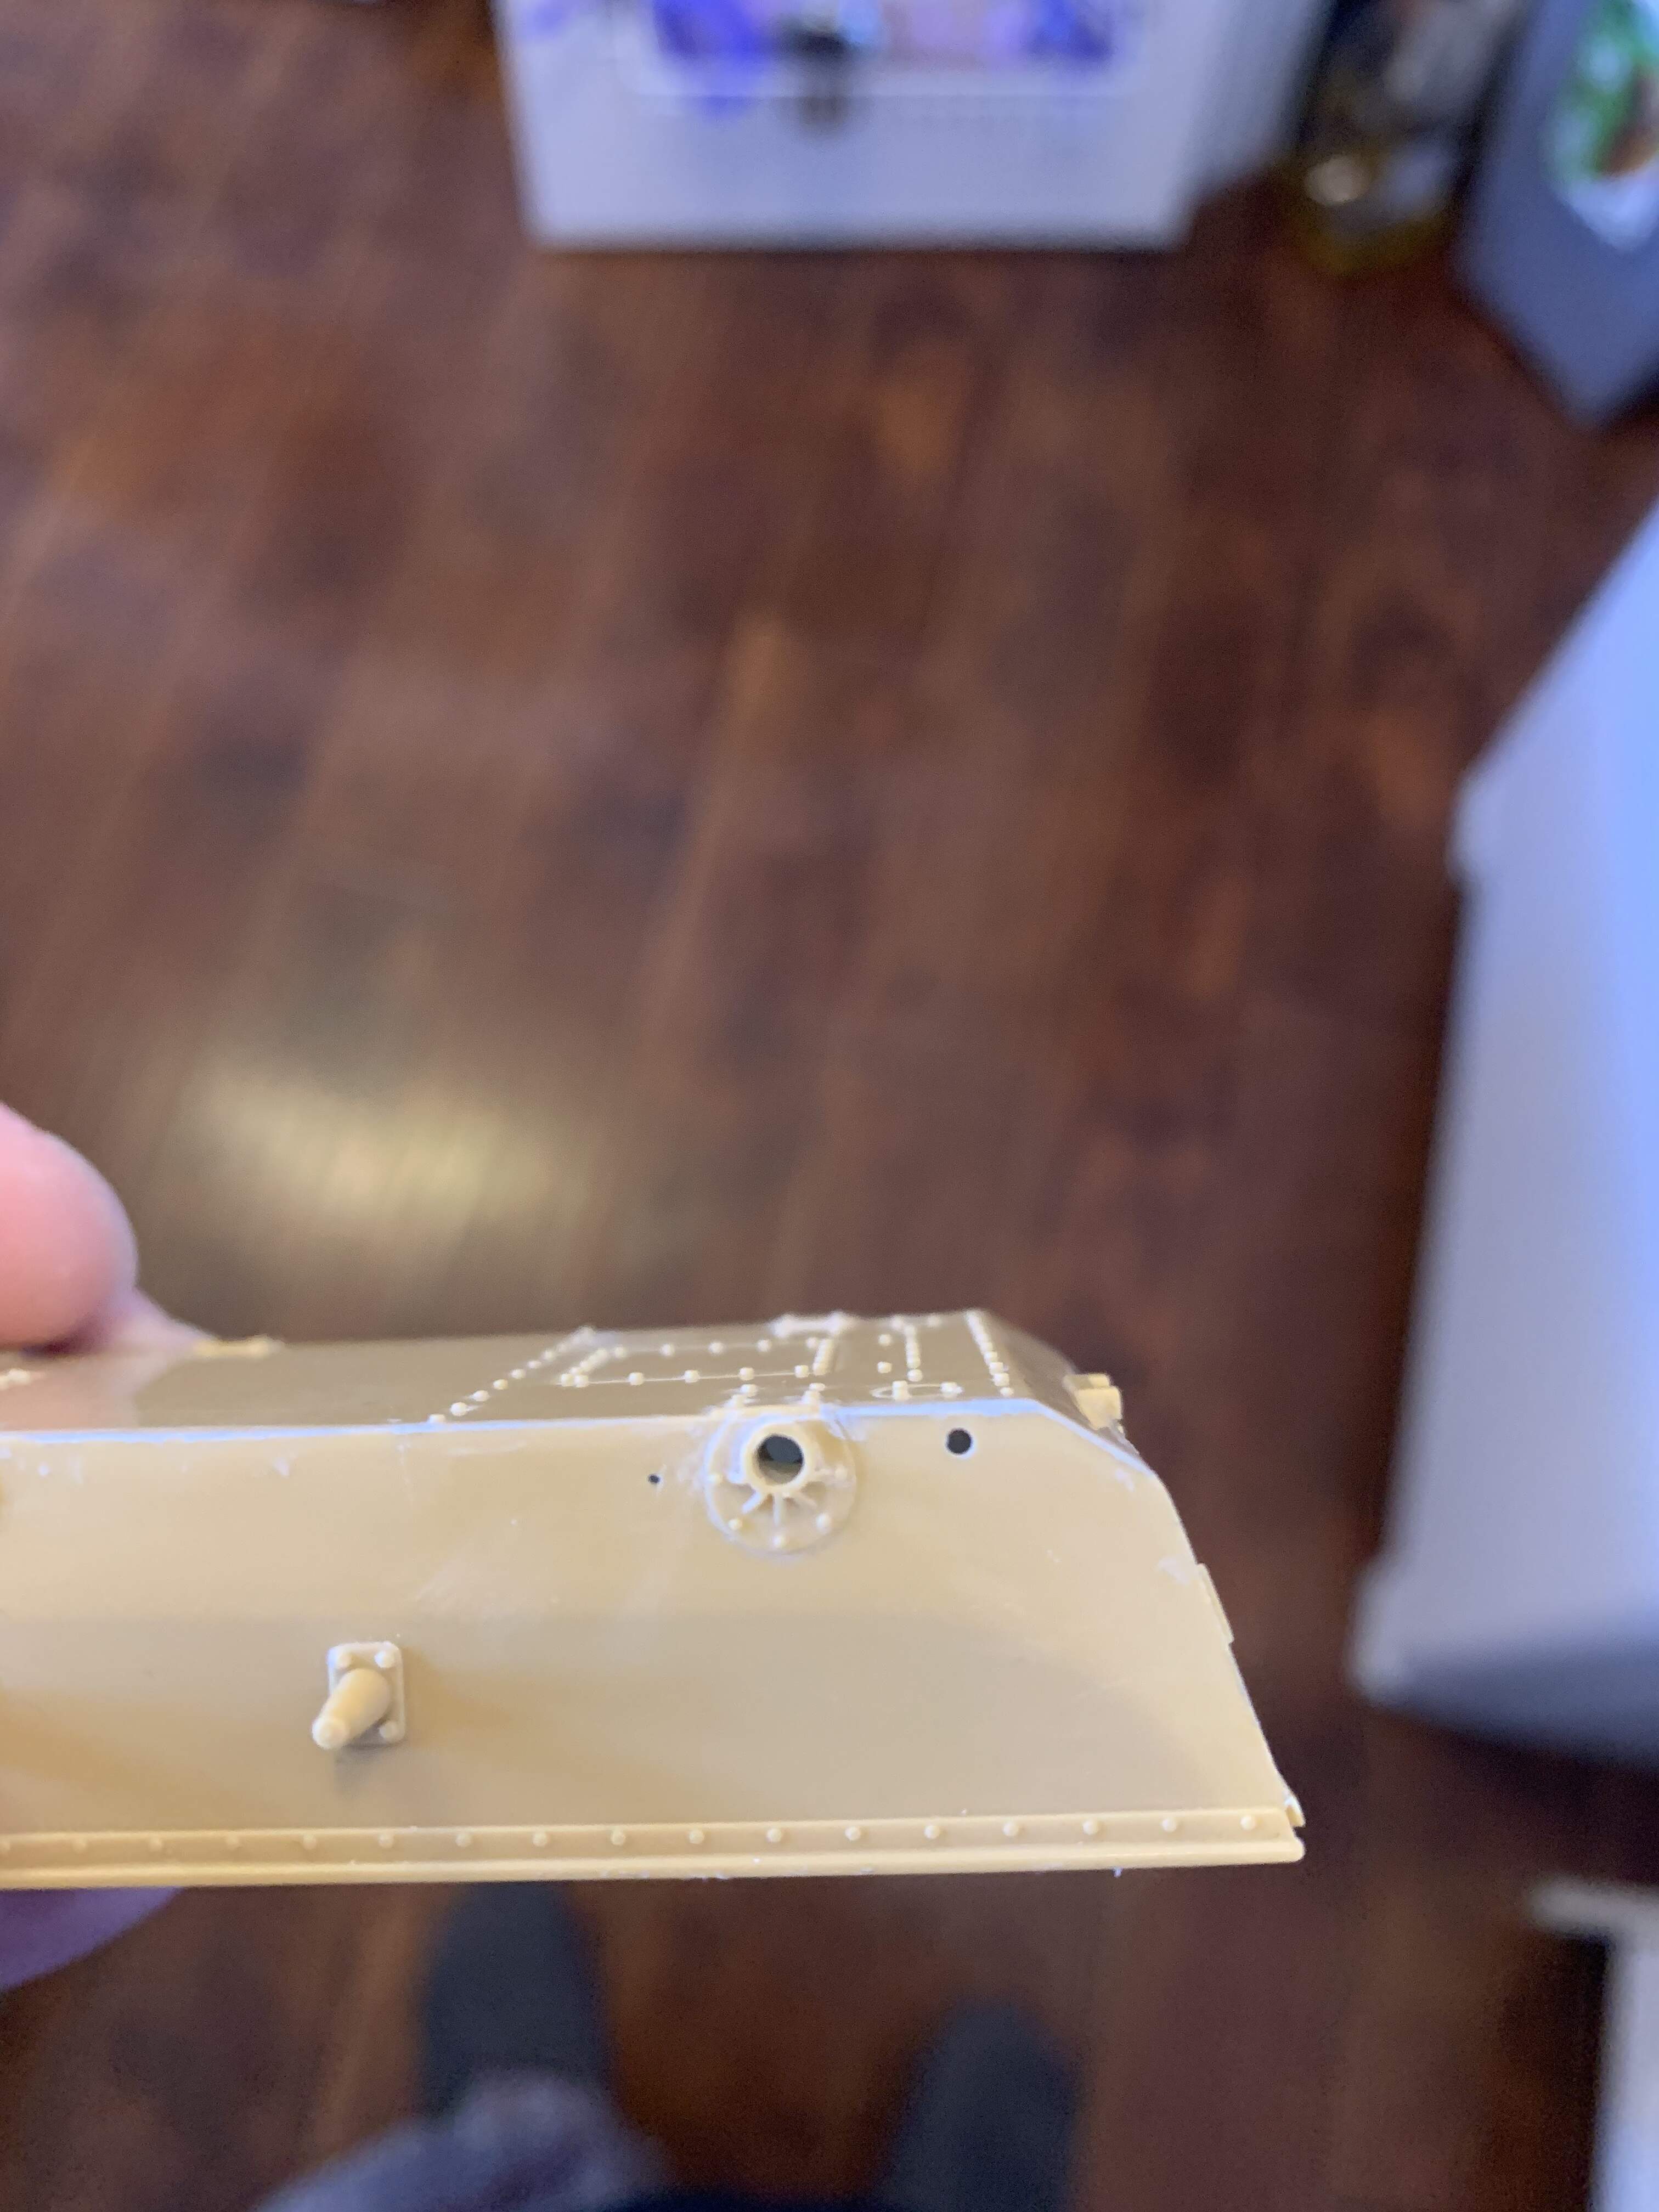
I have marked the surfaces that caused the gap under the carburetor in your photo.
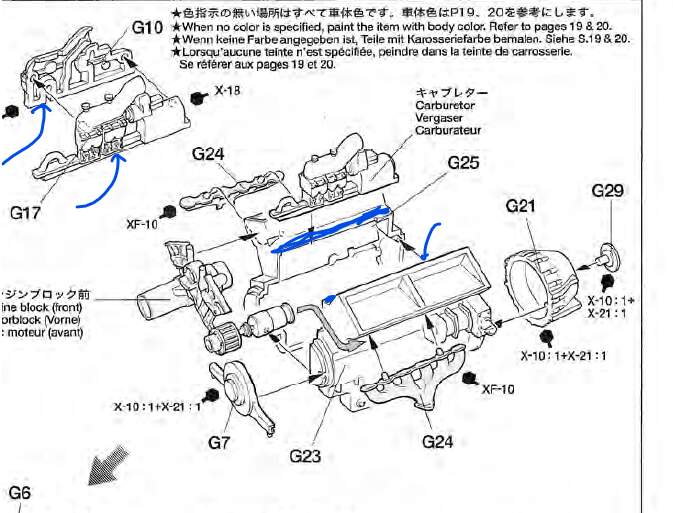
I would glue G25 to G24 and when the glue had dried I would file the area for the carburetor flat. Asamble G10 and G17 and file the surface that mounts to the engine block. Two flat surfaces = no gap. One flat + one angled surface = gap
4 Likes
Okay, I will remember that for the future.
So it could mean that I have to file quite some plastic part away if I want to make them both perfectly flat.
To make them level with each other and to make it fit perfectly, with no gaps on the parts.
I think I’m getting the picture now.
Yep! Some kits require more work and others are easier …
It is usually easier to eliminate gaps before gluing parts together.
Ah okay, thanks for the tip.
Then I will first test fit the parts, then assess if there is anymore more work that needs to be done.
Filing away unregularities, trying to use putty to get rid of the gaps or if I have to remove seamlines or pin marks.
I don’t have putty yet, but it will be on my list for a next big order.
I’m now using some more glue, hoping that that gets rid of the gaps and unregularities a little.
Thanks for reacting, much appreciated.
1 Like
I would add that you really don’t need expensive tools to clean up parts. I bought a bag of 200 number 11 blades on Amazon for like 9$. They lose there edge somewhat fast but I don’t care, they were a few cents each. I keep the dull ones for other tasks but switch to a sharp new one for mold line clean up and such. I bought a 6 pack of different shaped needle files (again these can be found on Amazon) for around $10, and then some various grits of sandpaper, 320,800,1200, and 2000 grit.
Clean up mold seams and such but don’t go crazy filing away chunks of plastic, it often takes just a few shavings of the knife or passes of a file to remove gaps. Whatever can’t be removed with the tools can be filled as long as it isn’t too big. I find more surfacer great for this task. Paint it on, give it about 10 minutes to begin curing, and then scrub perpendicular to the seam with a alcohol soaked Q-tip. Here are som some small gaps I filled last night using this method.
They still need work but this is fairly easy to do. It costs about $30 to get everything you’ll need to clean up parts but this is saved the first time you don’t ruin a part by having the rights tools. Half of modeling IME is having the right tool for the job
4 Likes
Riffler files are also very useful since they make it possible to file behind obstacles.
2 Likes
What does IME mean?
And how are you going to work on those places that you have ’ filled’ ?
And thanks for the recommendation of the files.
I will have a closer look at them later on.
Thanks for replying.
IME = in my experience
I’m not sure exactly what you mean by “work” on the places I have filled
Do you have to sand those areas to make it level and to make it smooth?
Do you have to do other things to make it look nice when you are going to paint?
Or is it ready as it is?
For example, you don’t have to do anything more on those surface areas and it is ready to be painted?
Hope I have provided enough information for you to be able to understand what I mean.
Yes some touch up is necessary. The nice thing about Mr surfacer is you can let it set up for about 10 minutes and then take a isopropyl alcohol damp q-tip and rub perpendicular to the gaps. This will remove any mr surfacer above the level of the gap while leaving the stuff in the gap alone. This greatly reduces the sanding required. If you fill gaps with milliput, stretched sprue, or super glue then you need to sand, again perpendicular to the seam works best until it is flush.
I have just painted the last wheels for further construction of the model.
It took longer than I had wanted to.
I think I’m going to try next time when painting wheels to get a circular template and airbrush the wheels.
As this makes it easier and less time consuming to paint the wheels.
Nevertheless, I hope that you like the results.
Apologies for the overlighting of the photo, just wanted to make a quick photo.
Didn’t want to take so much time to make good/perfect photo as I’m wanting to do more things.
I’m finding the results of the painting of the wheels reasonably good.
Maybe some imperfections, but other than that. Okay.

4 Likes
I was planning to buy model putty if this is the right name for the product that is intended to fill gaps for the model making hobby.
Mr. Surfacer is from the same company as the paints of Mr. Hobby I believe I have?
What is that alcohol you talk about?
Anyway, thanks for replying again.