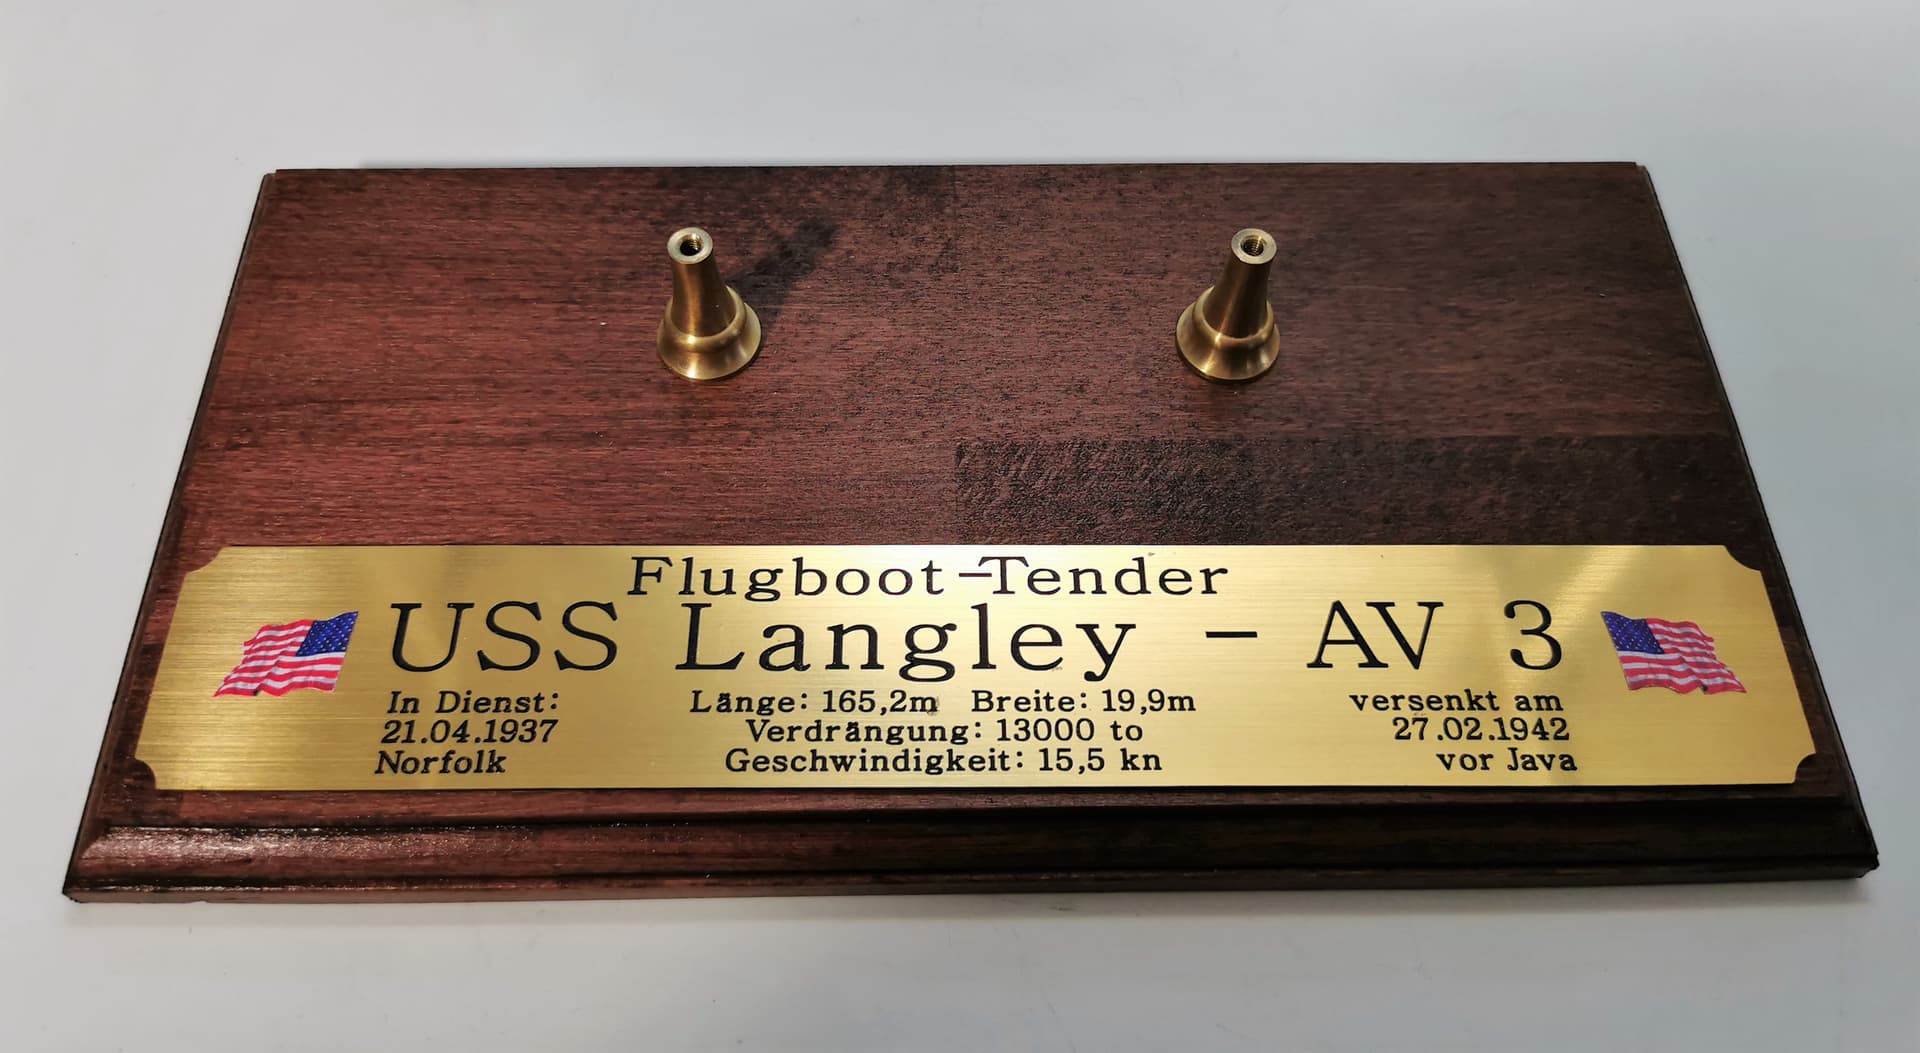
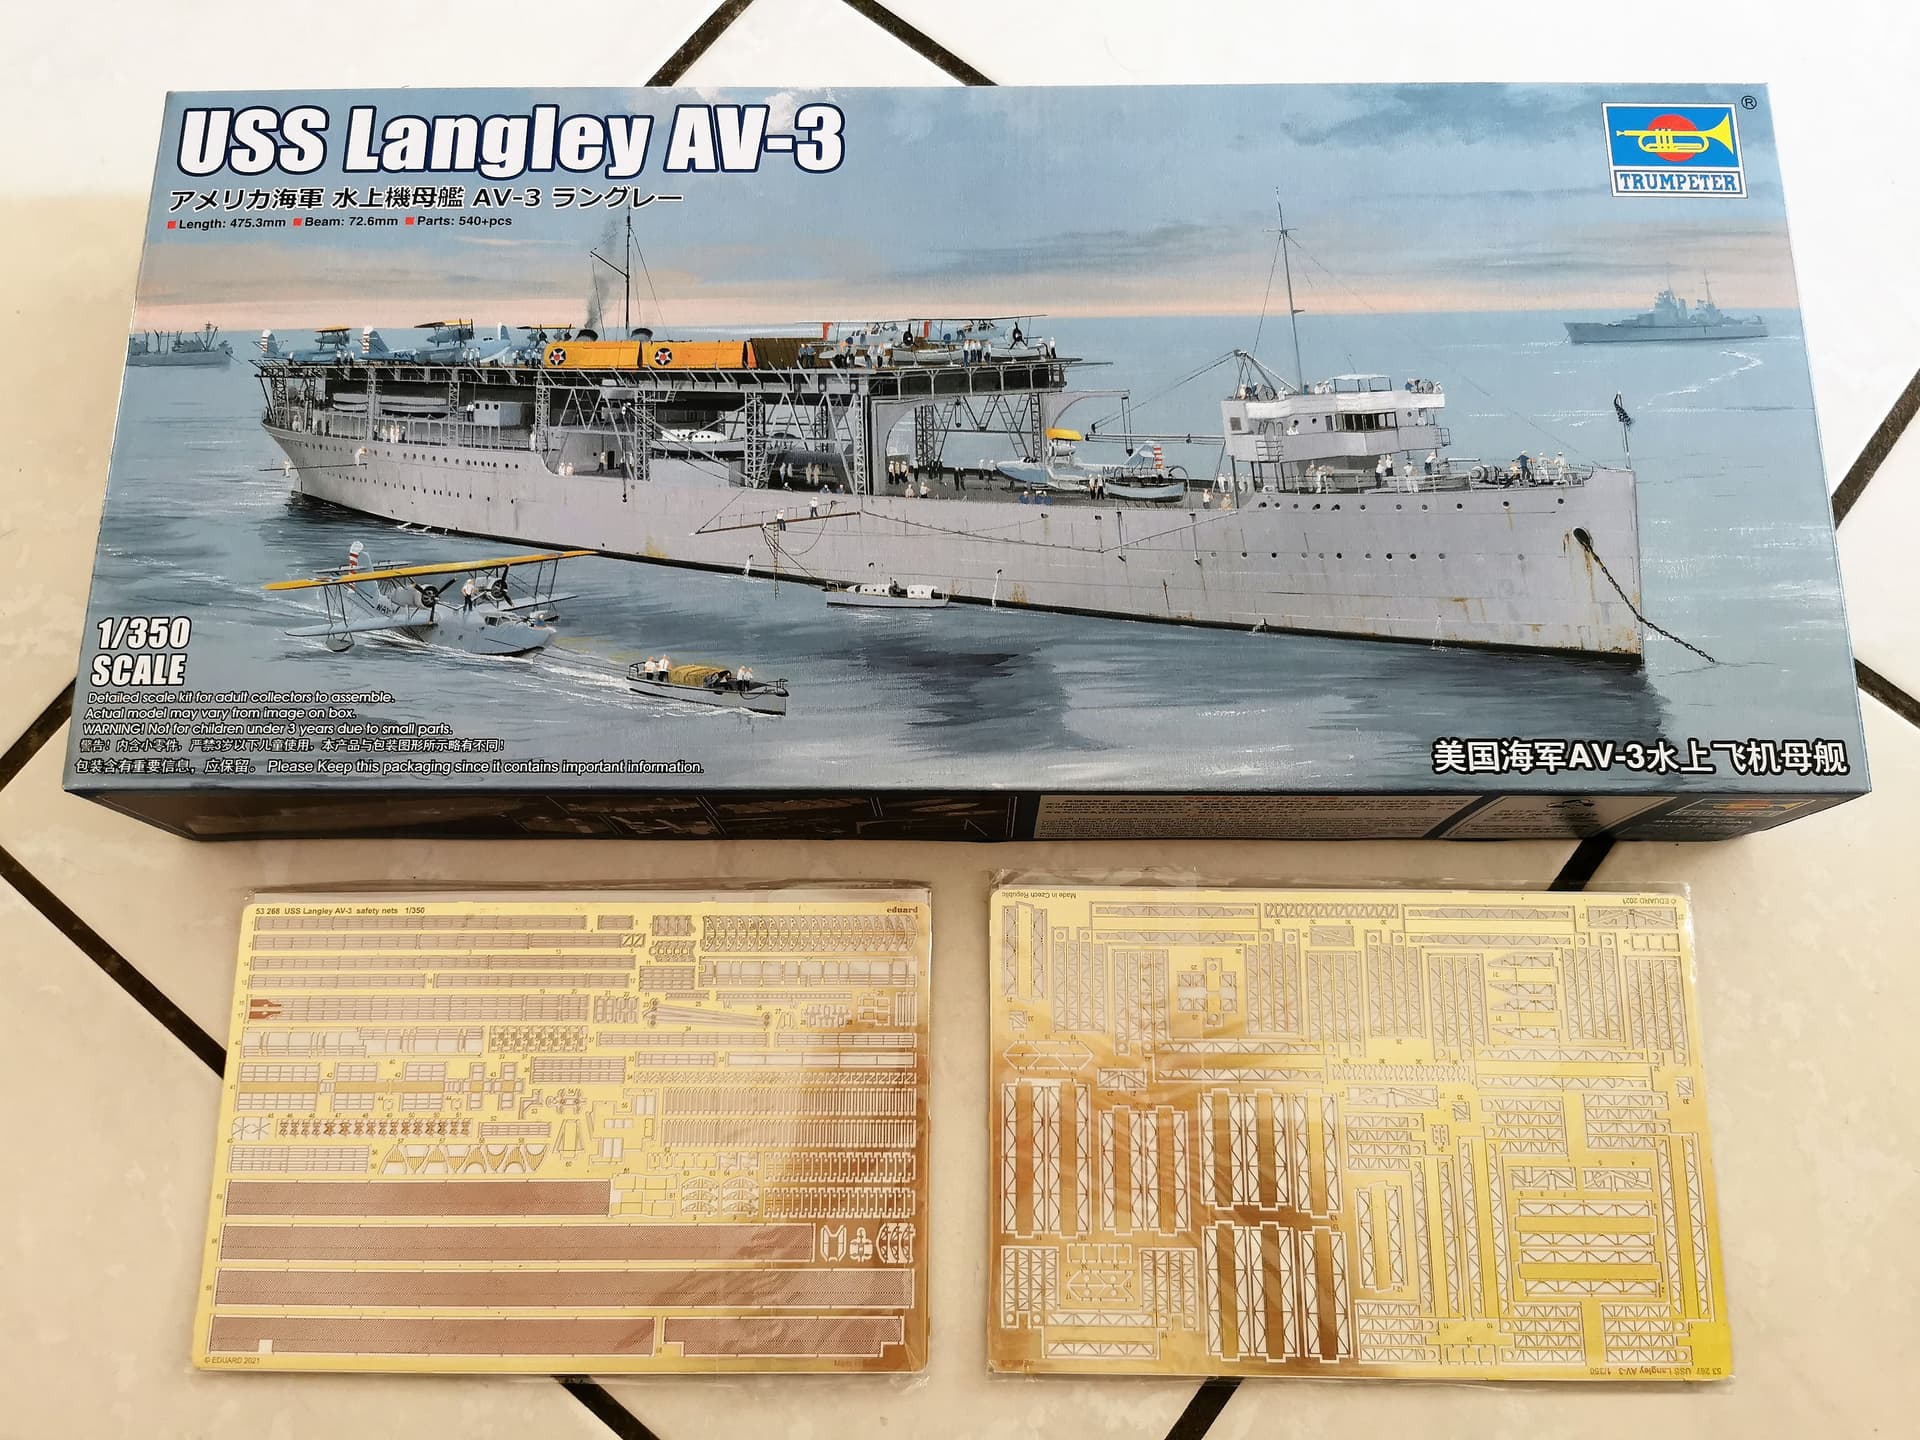
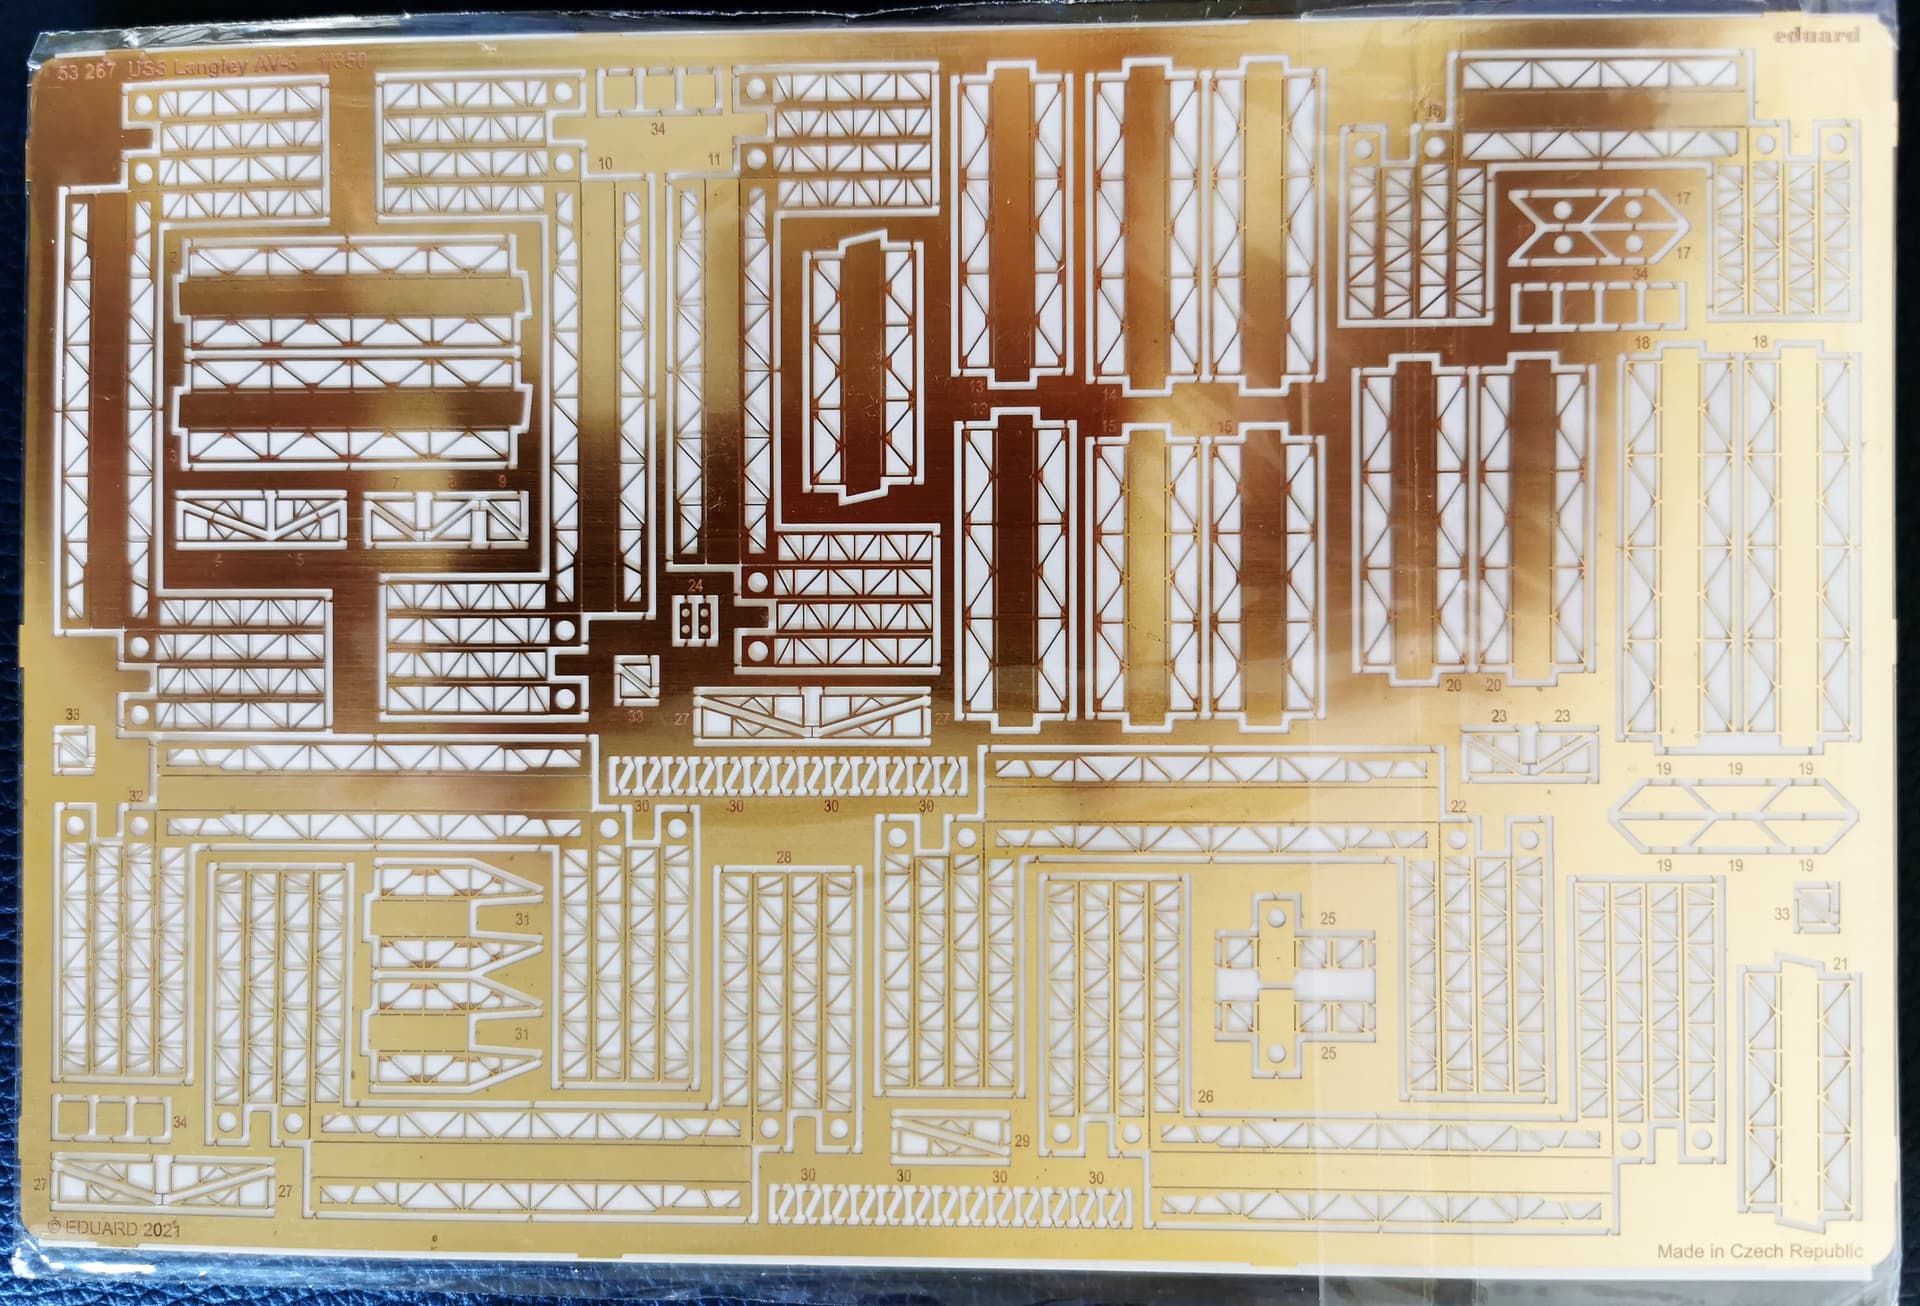
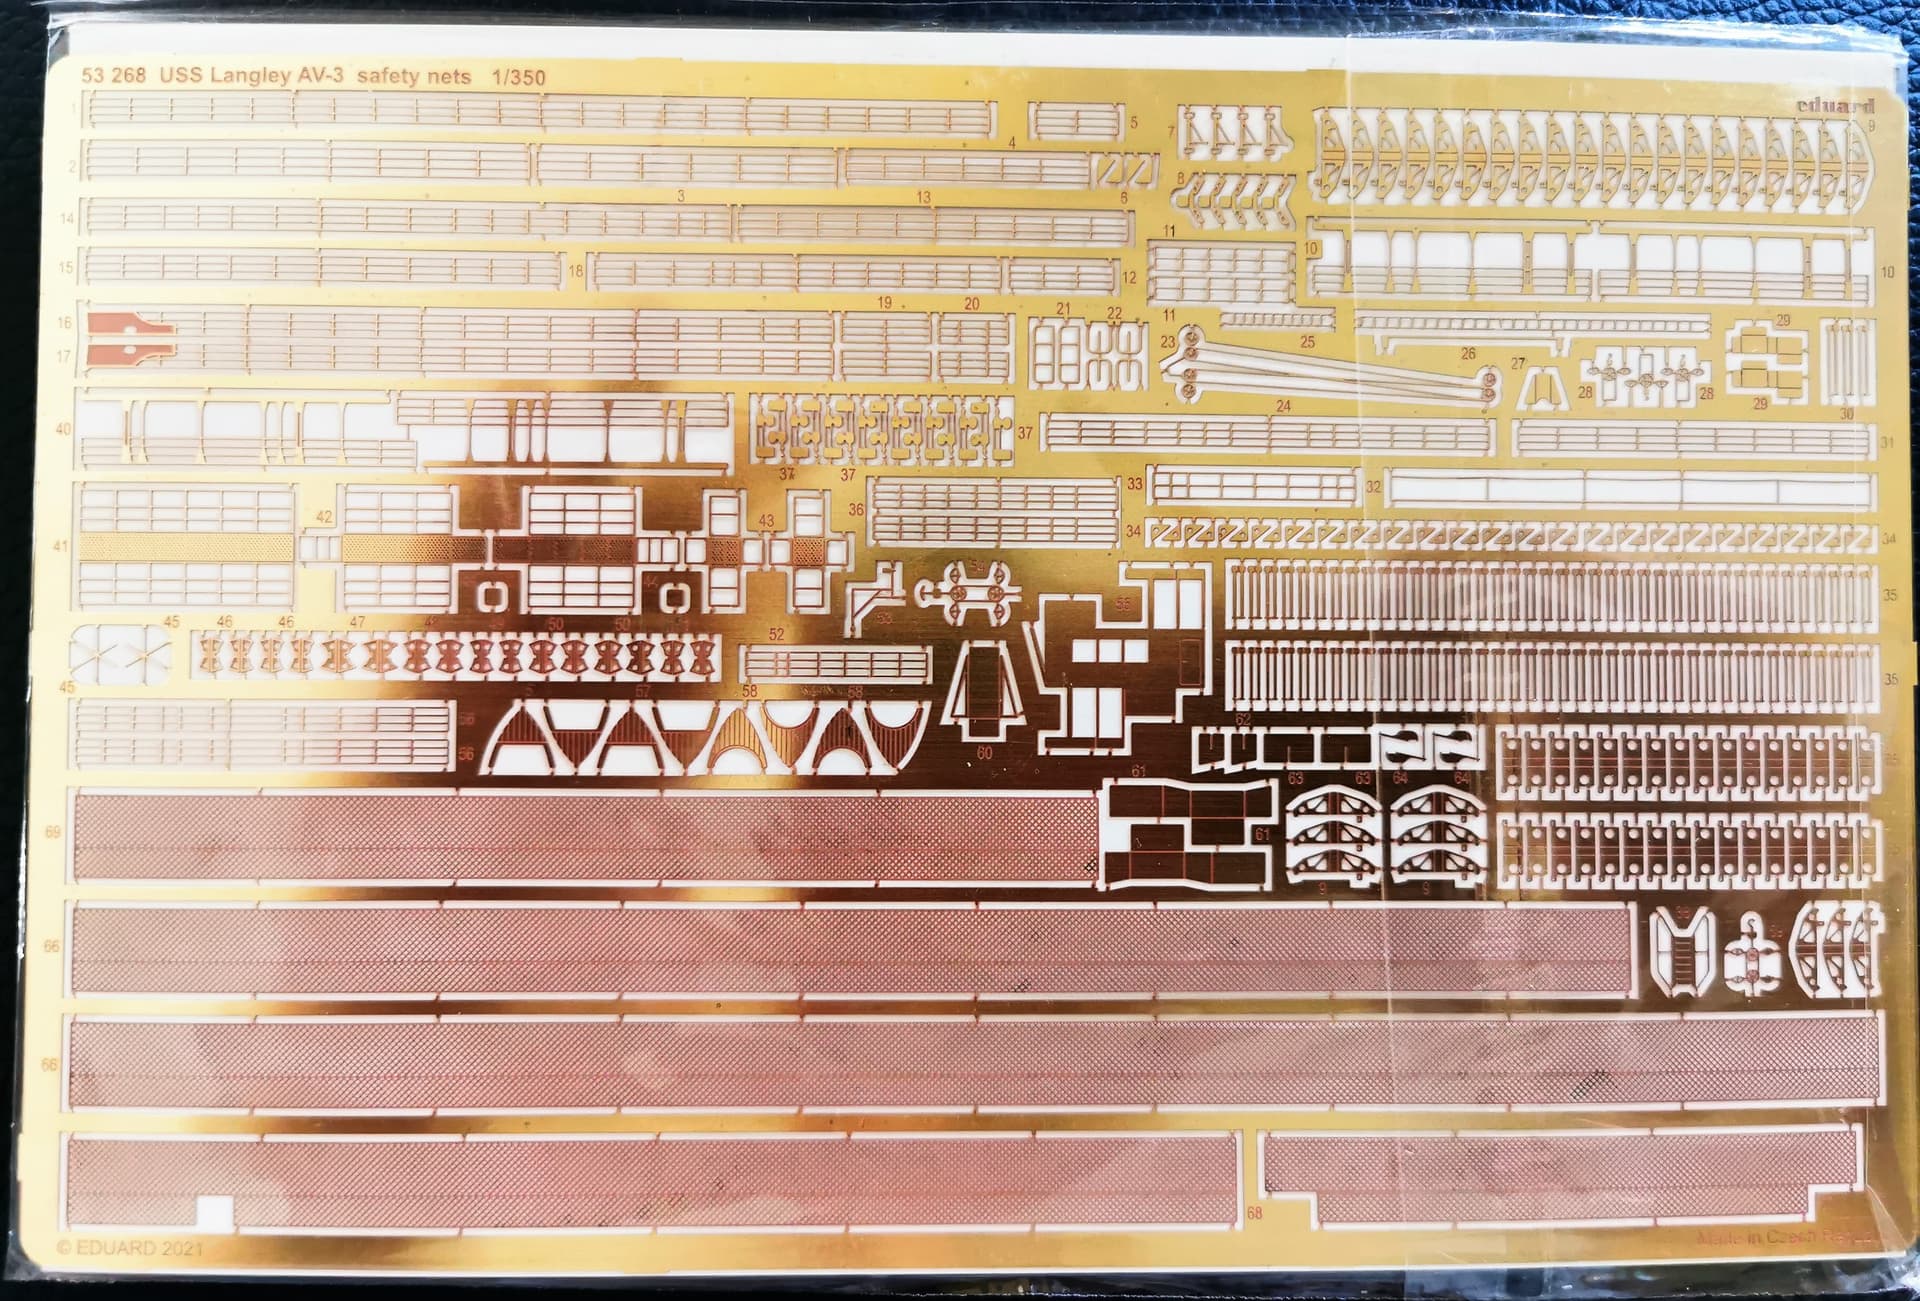
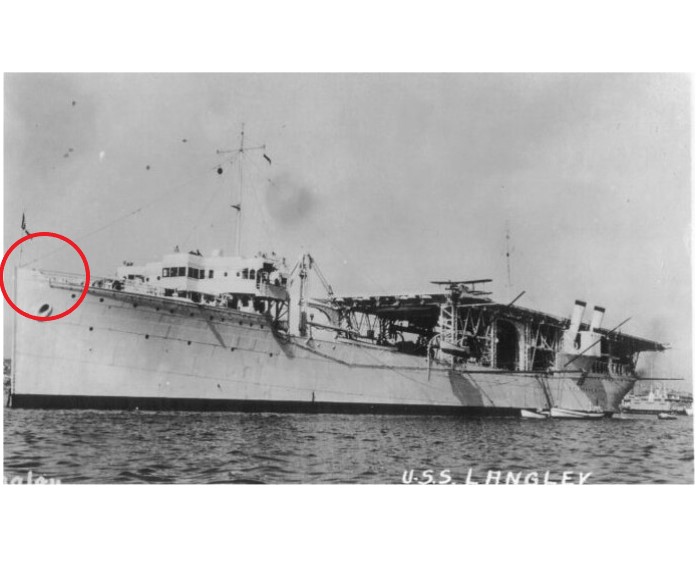
To be honest I originally planned to build a big, fat british or japanese battleship next. But suddenly there was this, to me, unknown ship chugging unexpectatly into my radar. The surprise war even higher as I explored that EDUARD will offer two upgrade sets for it in August - thats when my decision to buy and build it was finally triggered. The ship is in my eyes somehow ugly but also fascinating. With the possibility to show all the beams, girders and stanchions now in etched parts quality it should look impressive in the end. This are the main ingrediences of this build:
But gentlemen I will surely need your help here as I know really almost zero about this ship. I learned that you can not really trust TRUMPETER´s painting suggestion. They ask for Mr. Hobby H308 FS36375 grey for the surface sides and cocoa brown for the underwater color. Is this correct? It would have been cool to place 32 Curtiss P-40 Tomahawk on her but it seems that no one offers them at this time in 1:350 scale
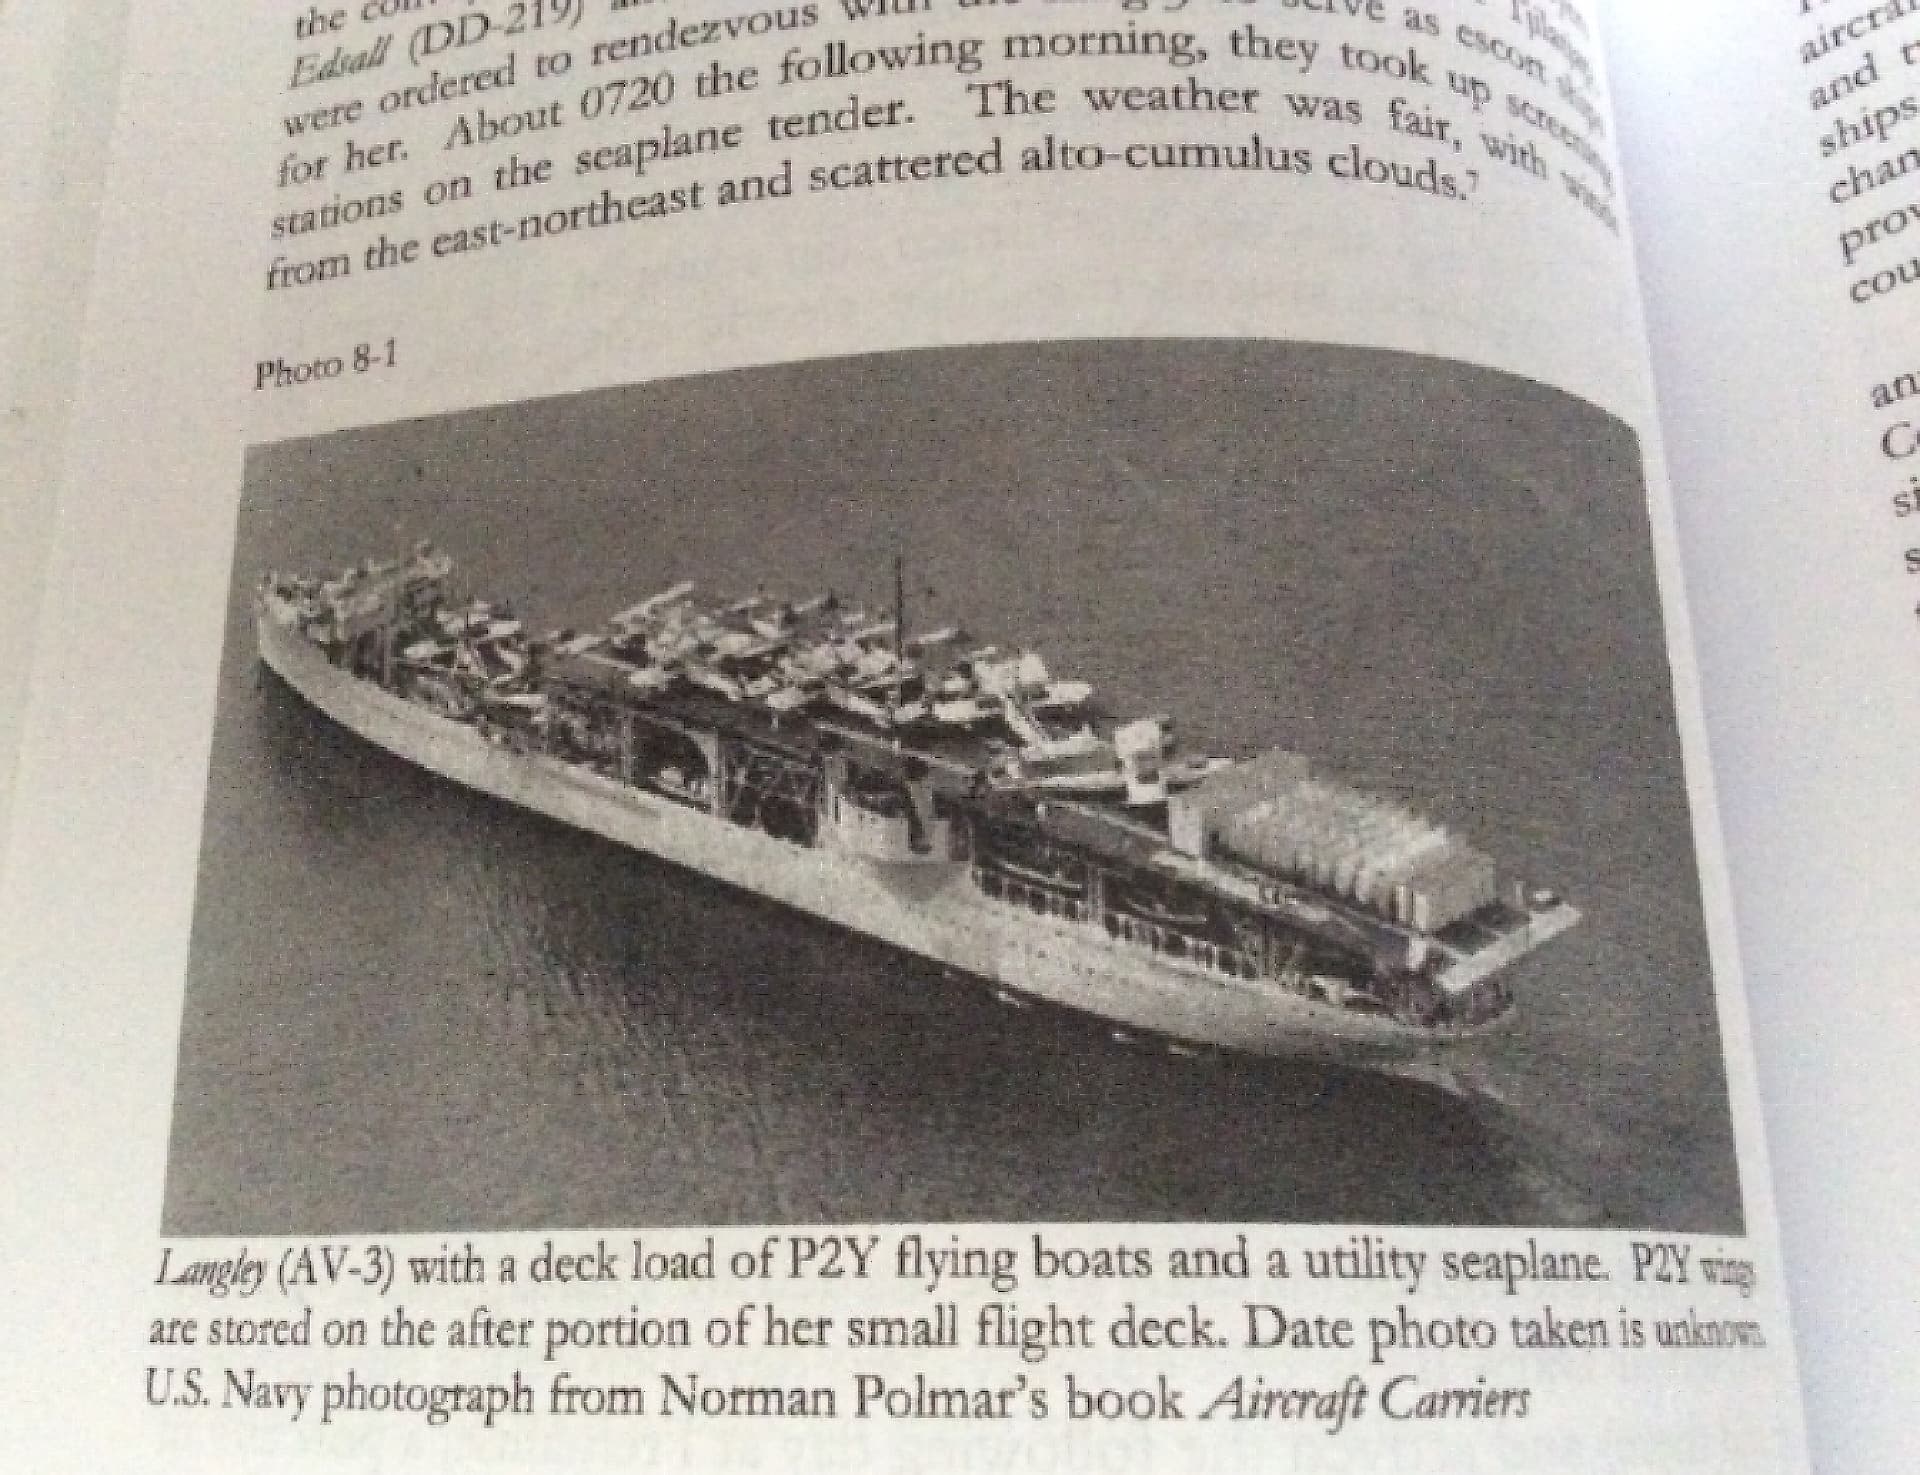
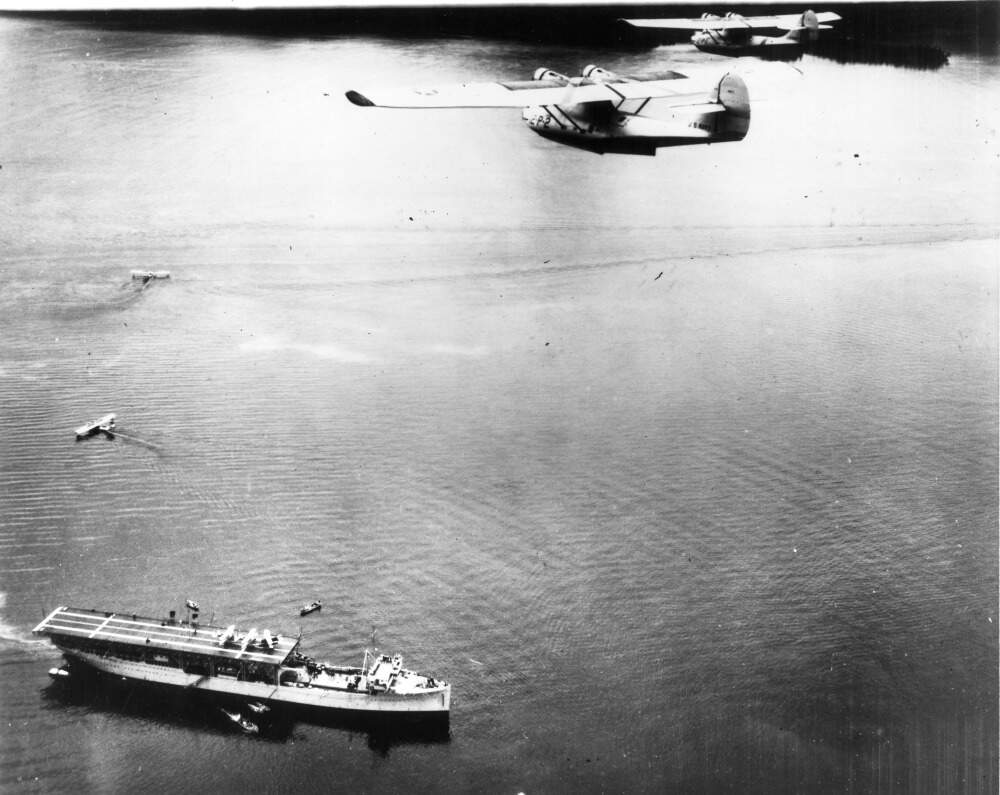
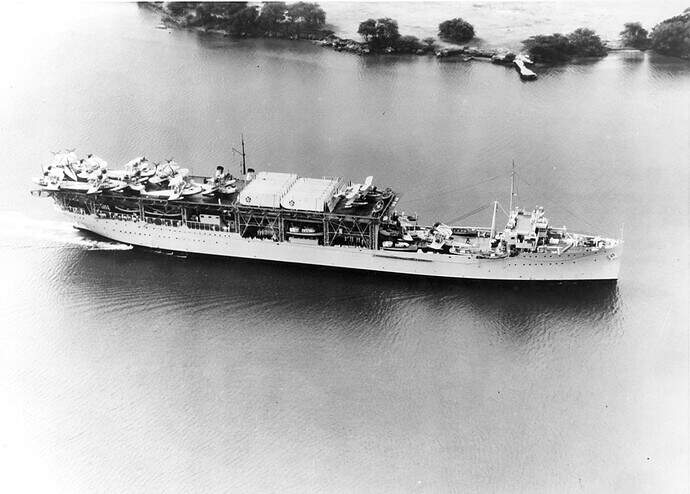
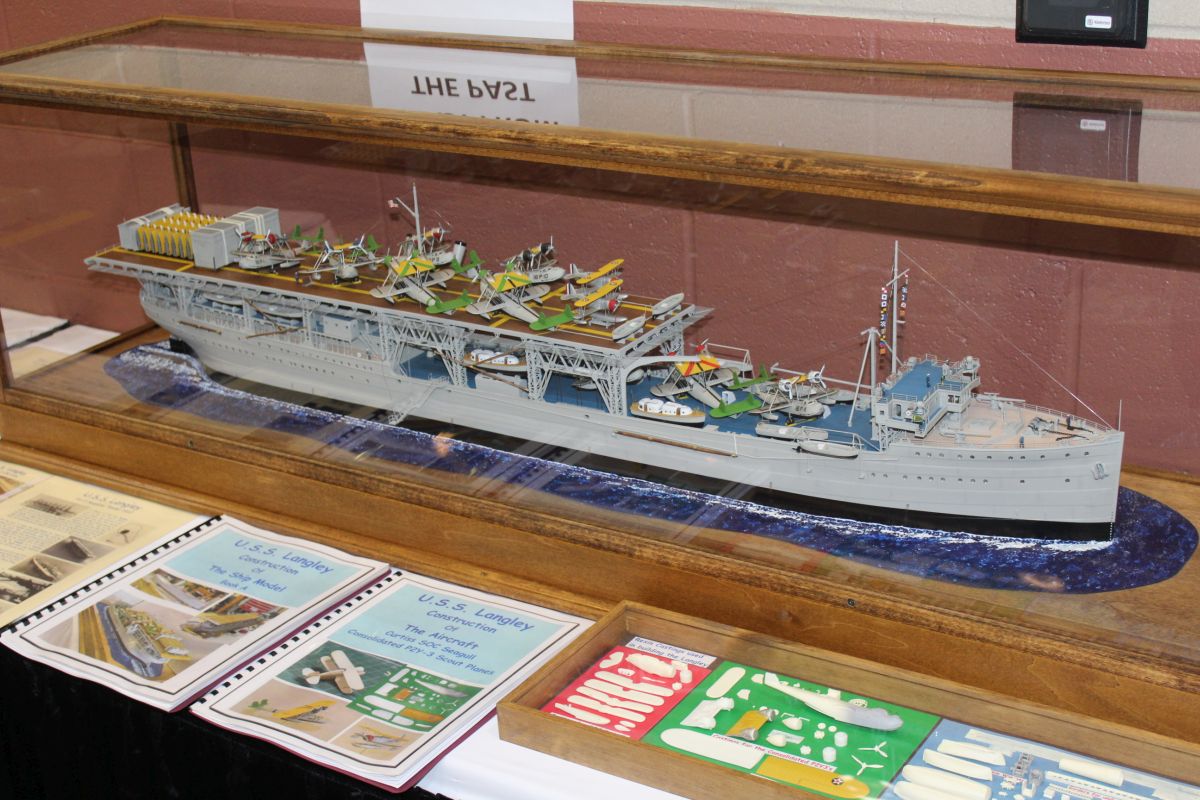
Which aircraft complement did this ship had during her short service as an seaplane tender? Divergent to the boxart TRUMPETER just provided six Consolidated P2Y seaplanes. I have no Idea if the suggested painting of the aircraft in silver and yellow upper wings is correct or if they need blue/grey painting?
Rigging of this thing will also be a mystery to me - maybe someone can give me some help here. But this problem have some time…
Hi Thomas,
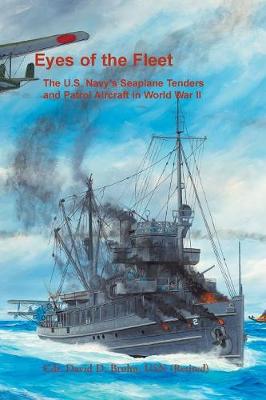
This book talks about this ship amongst others, I have a copy and will check it later today or tomorrow when I have access to see if it gives any information, I have read it but it was a couple of years ago.
@Luciano: Thank you for offering your help. Interesting book you have there. I would be glad if your could have a glimpse inside to see if some useful informations are inside about the Langley
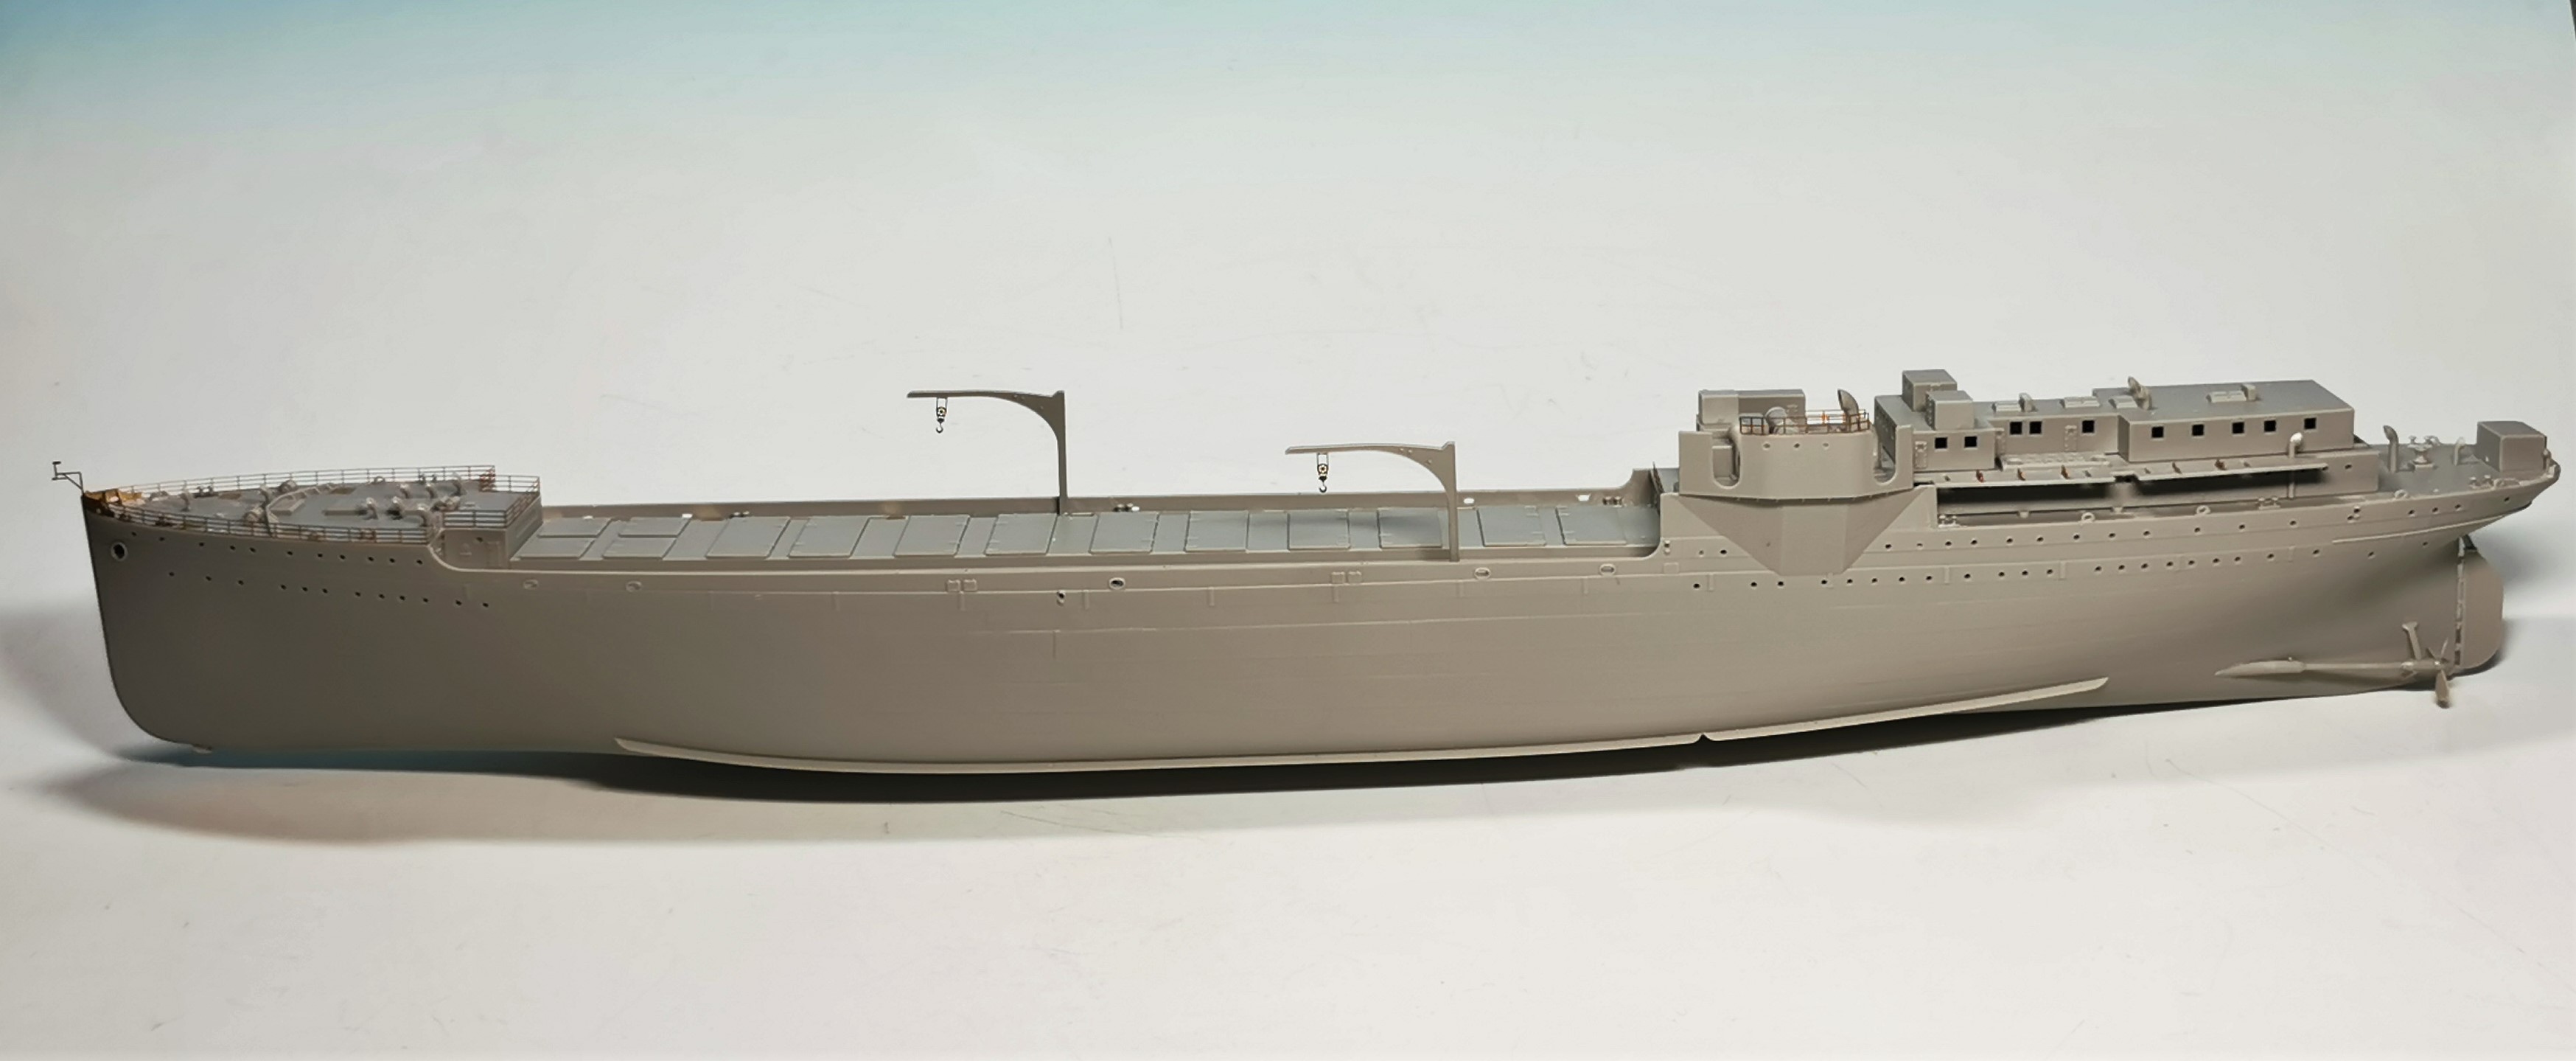
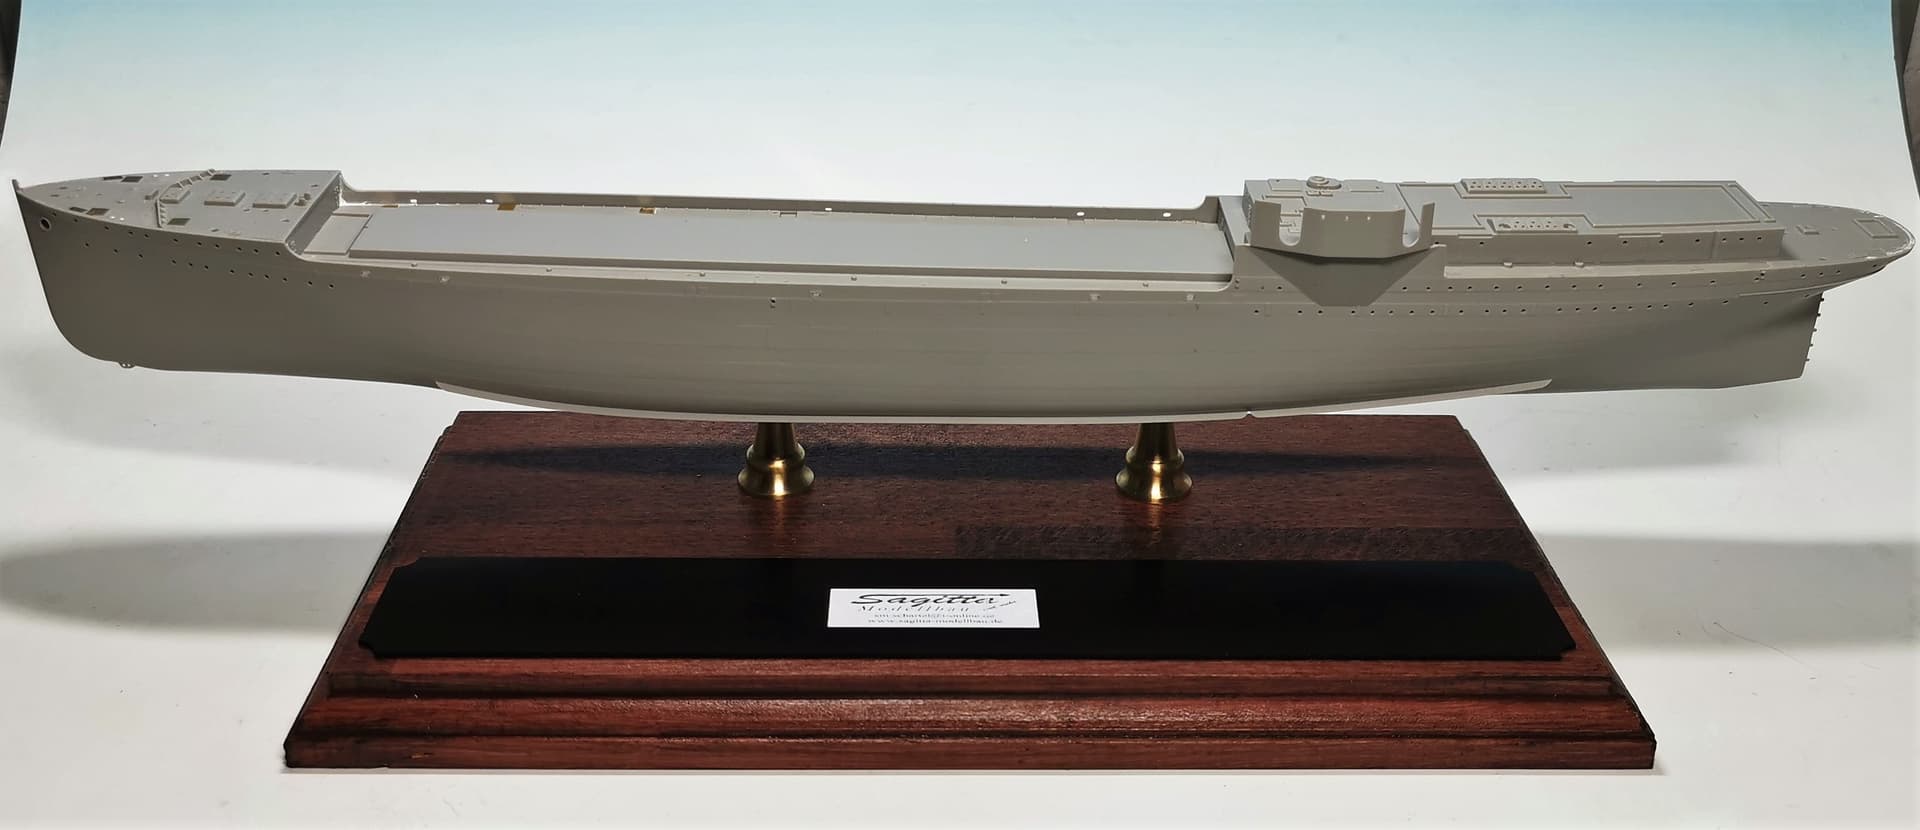
Started with the ship today. I decided to show the ship in a full hull display. I therefore used solid brass pedestals from RP toolz of Poland. They are very good value for the money!
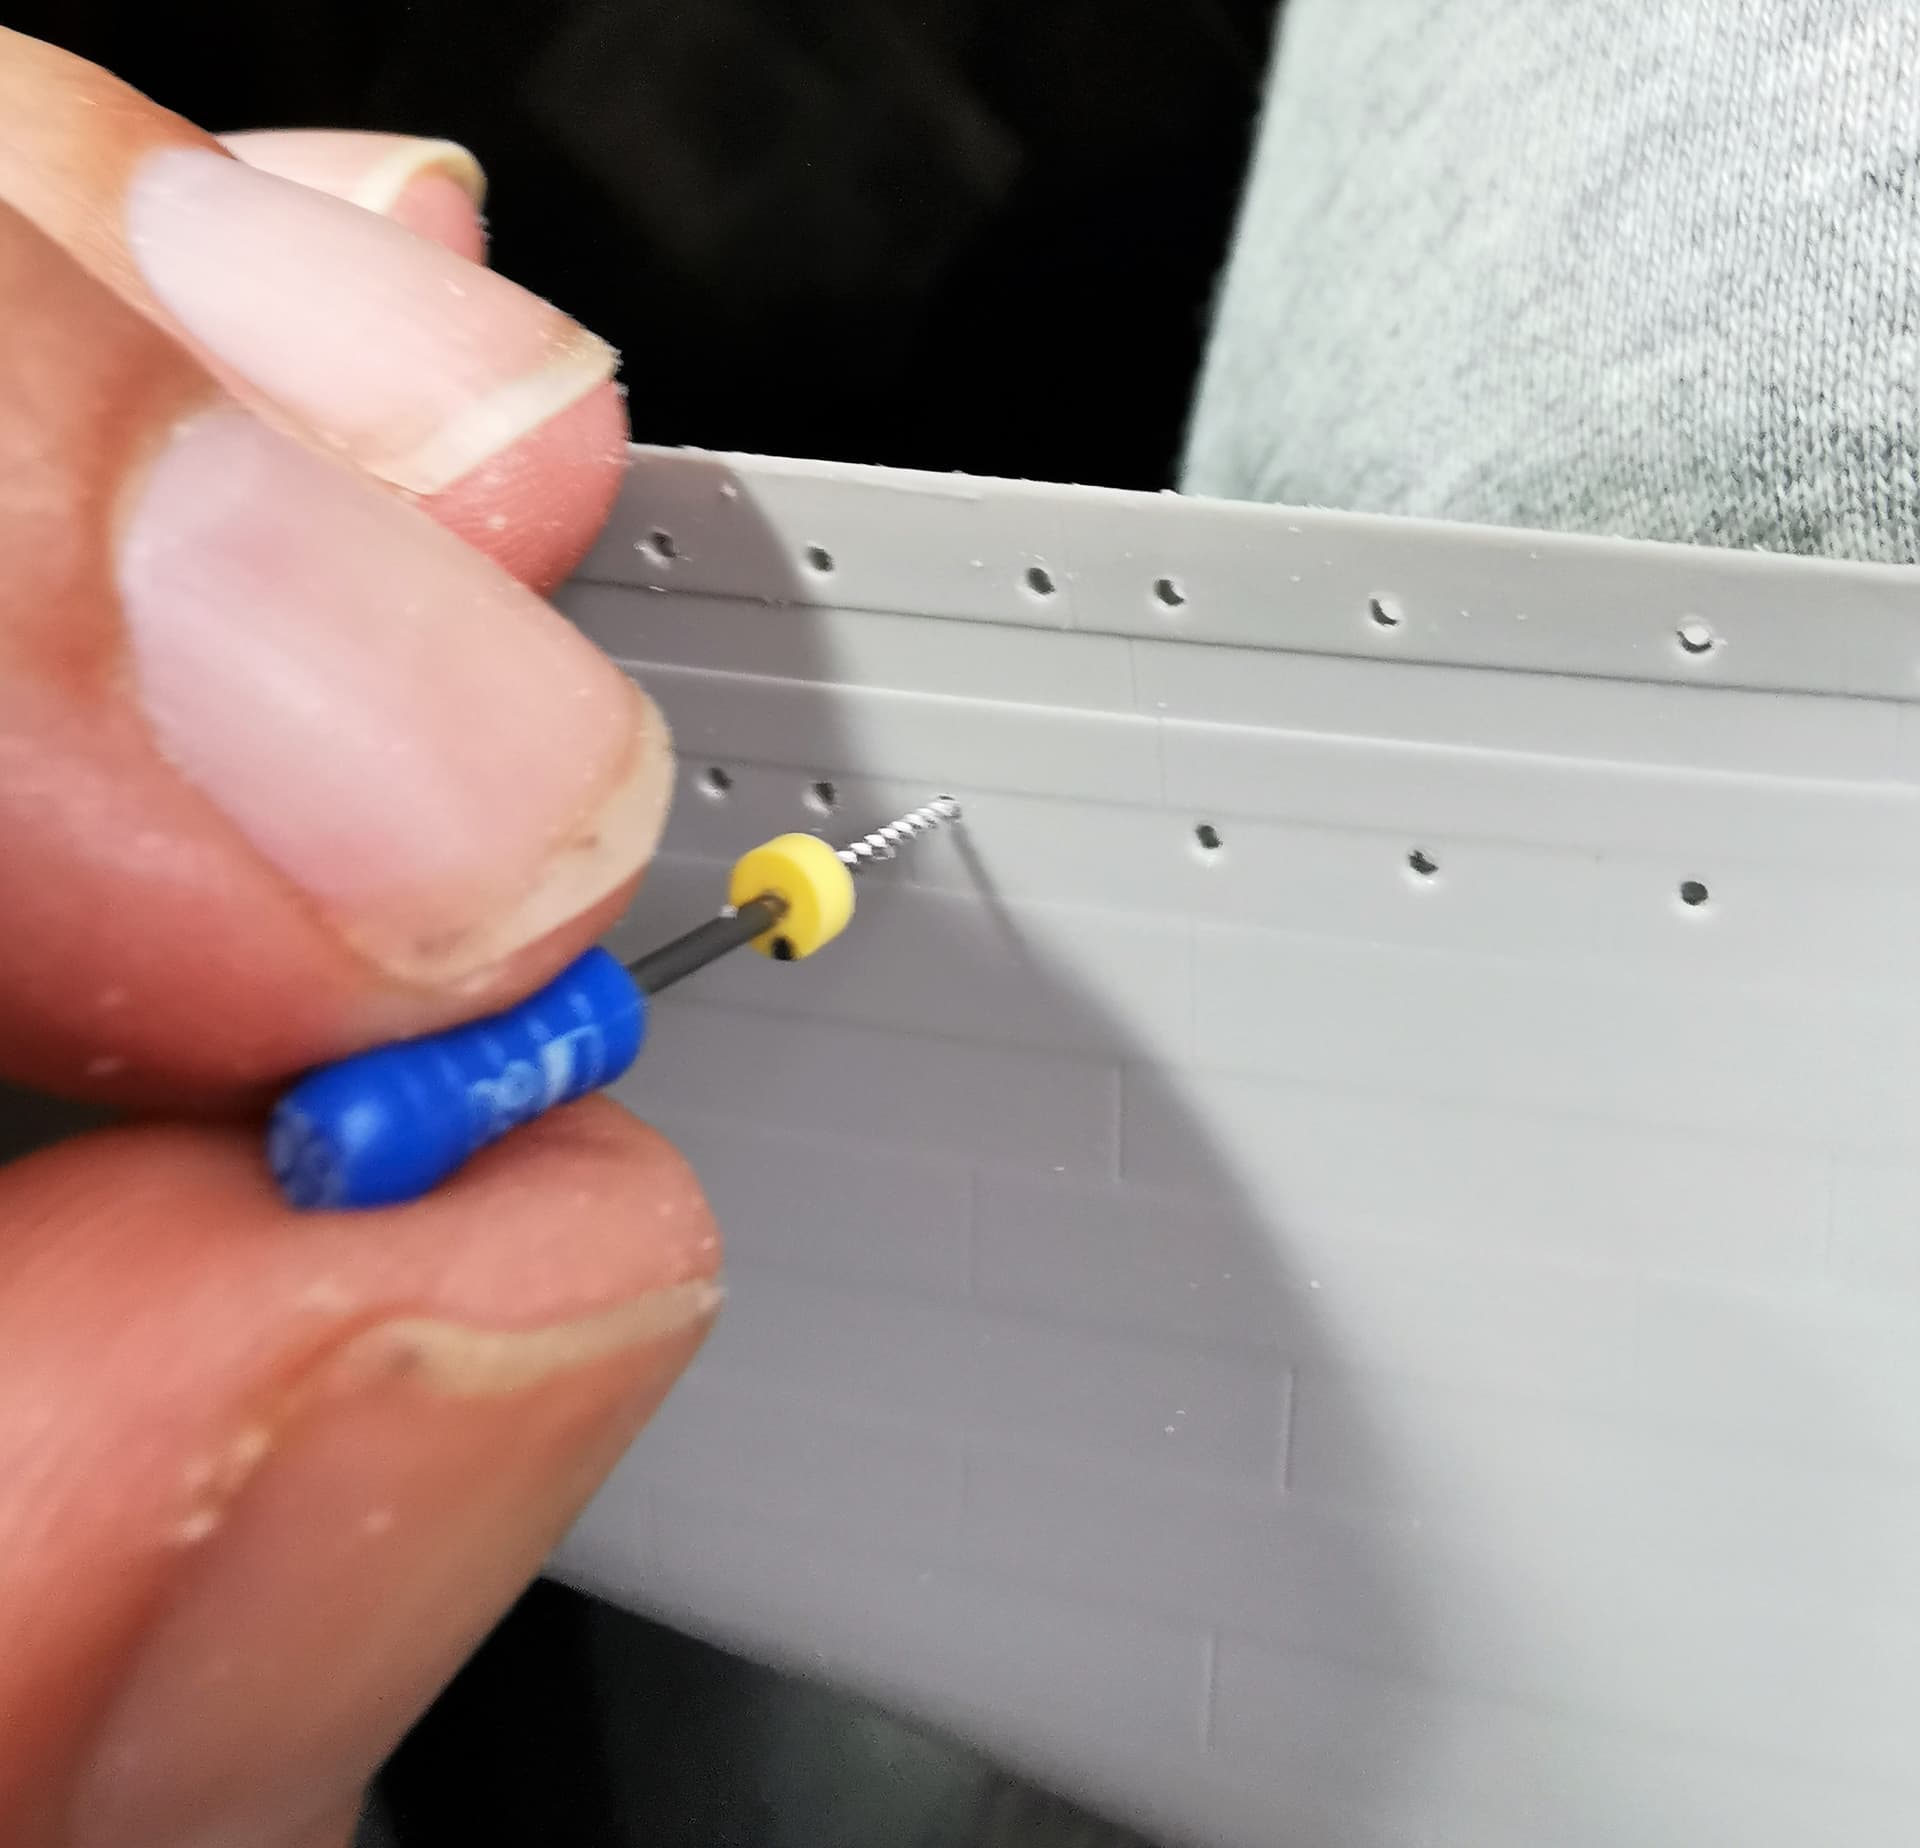
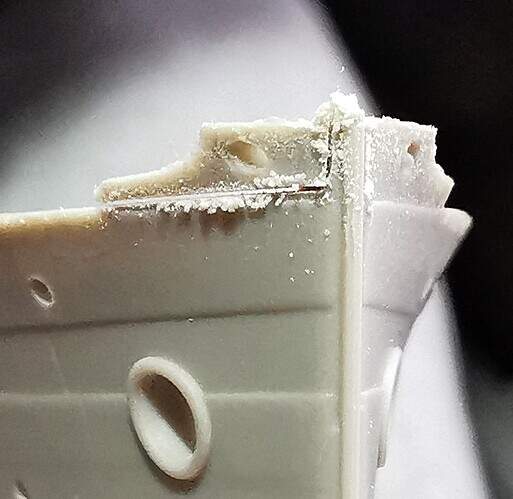
First work was to drill out the portholes. Recently I had a root treatment and I asked my dentist if I can have the microfiles later and he agreed. Tried one with filing some small flash away and it worked perfectly
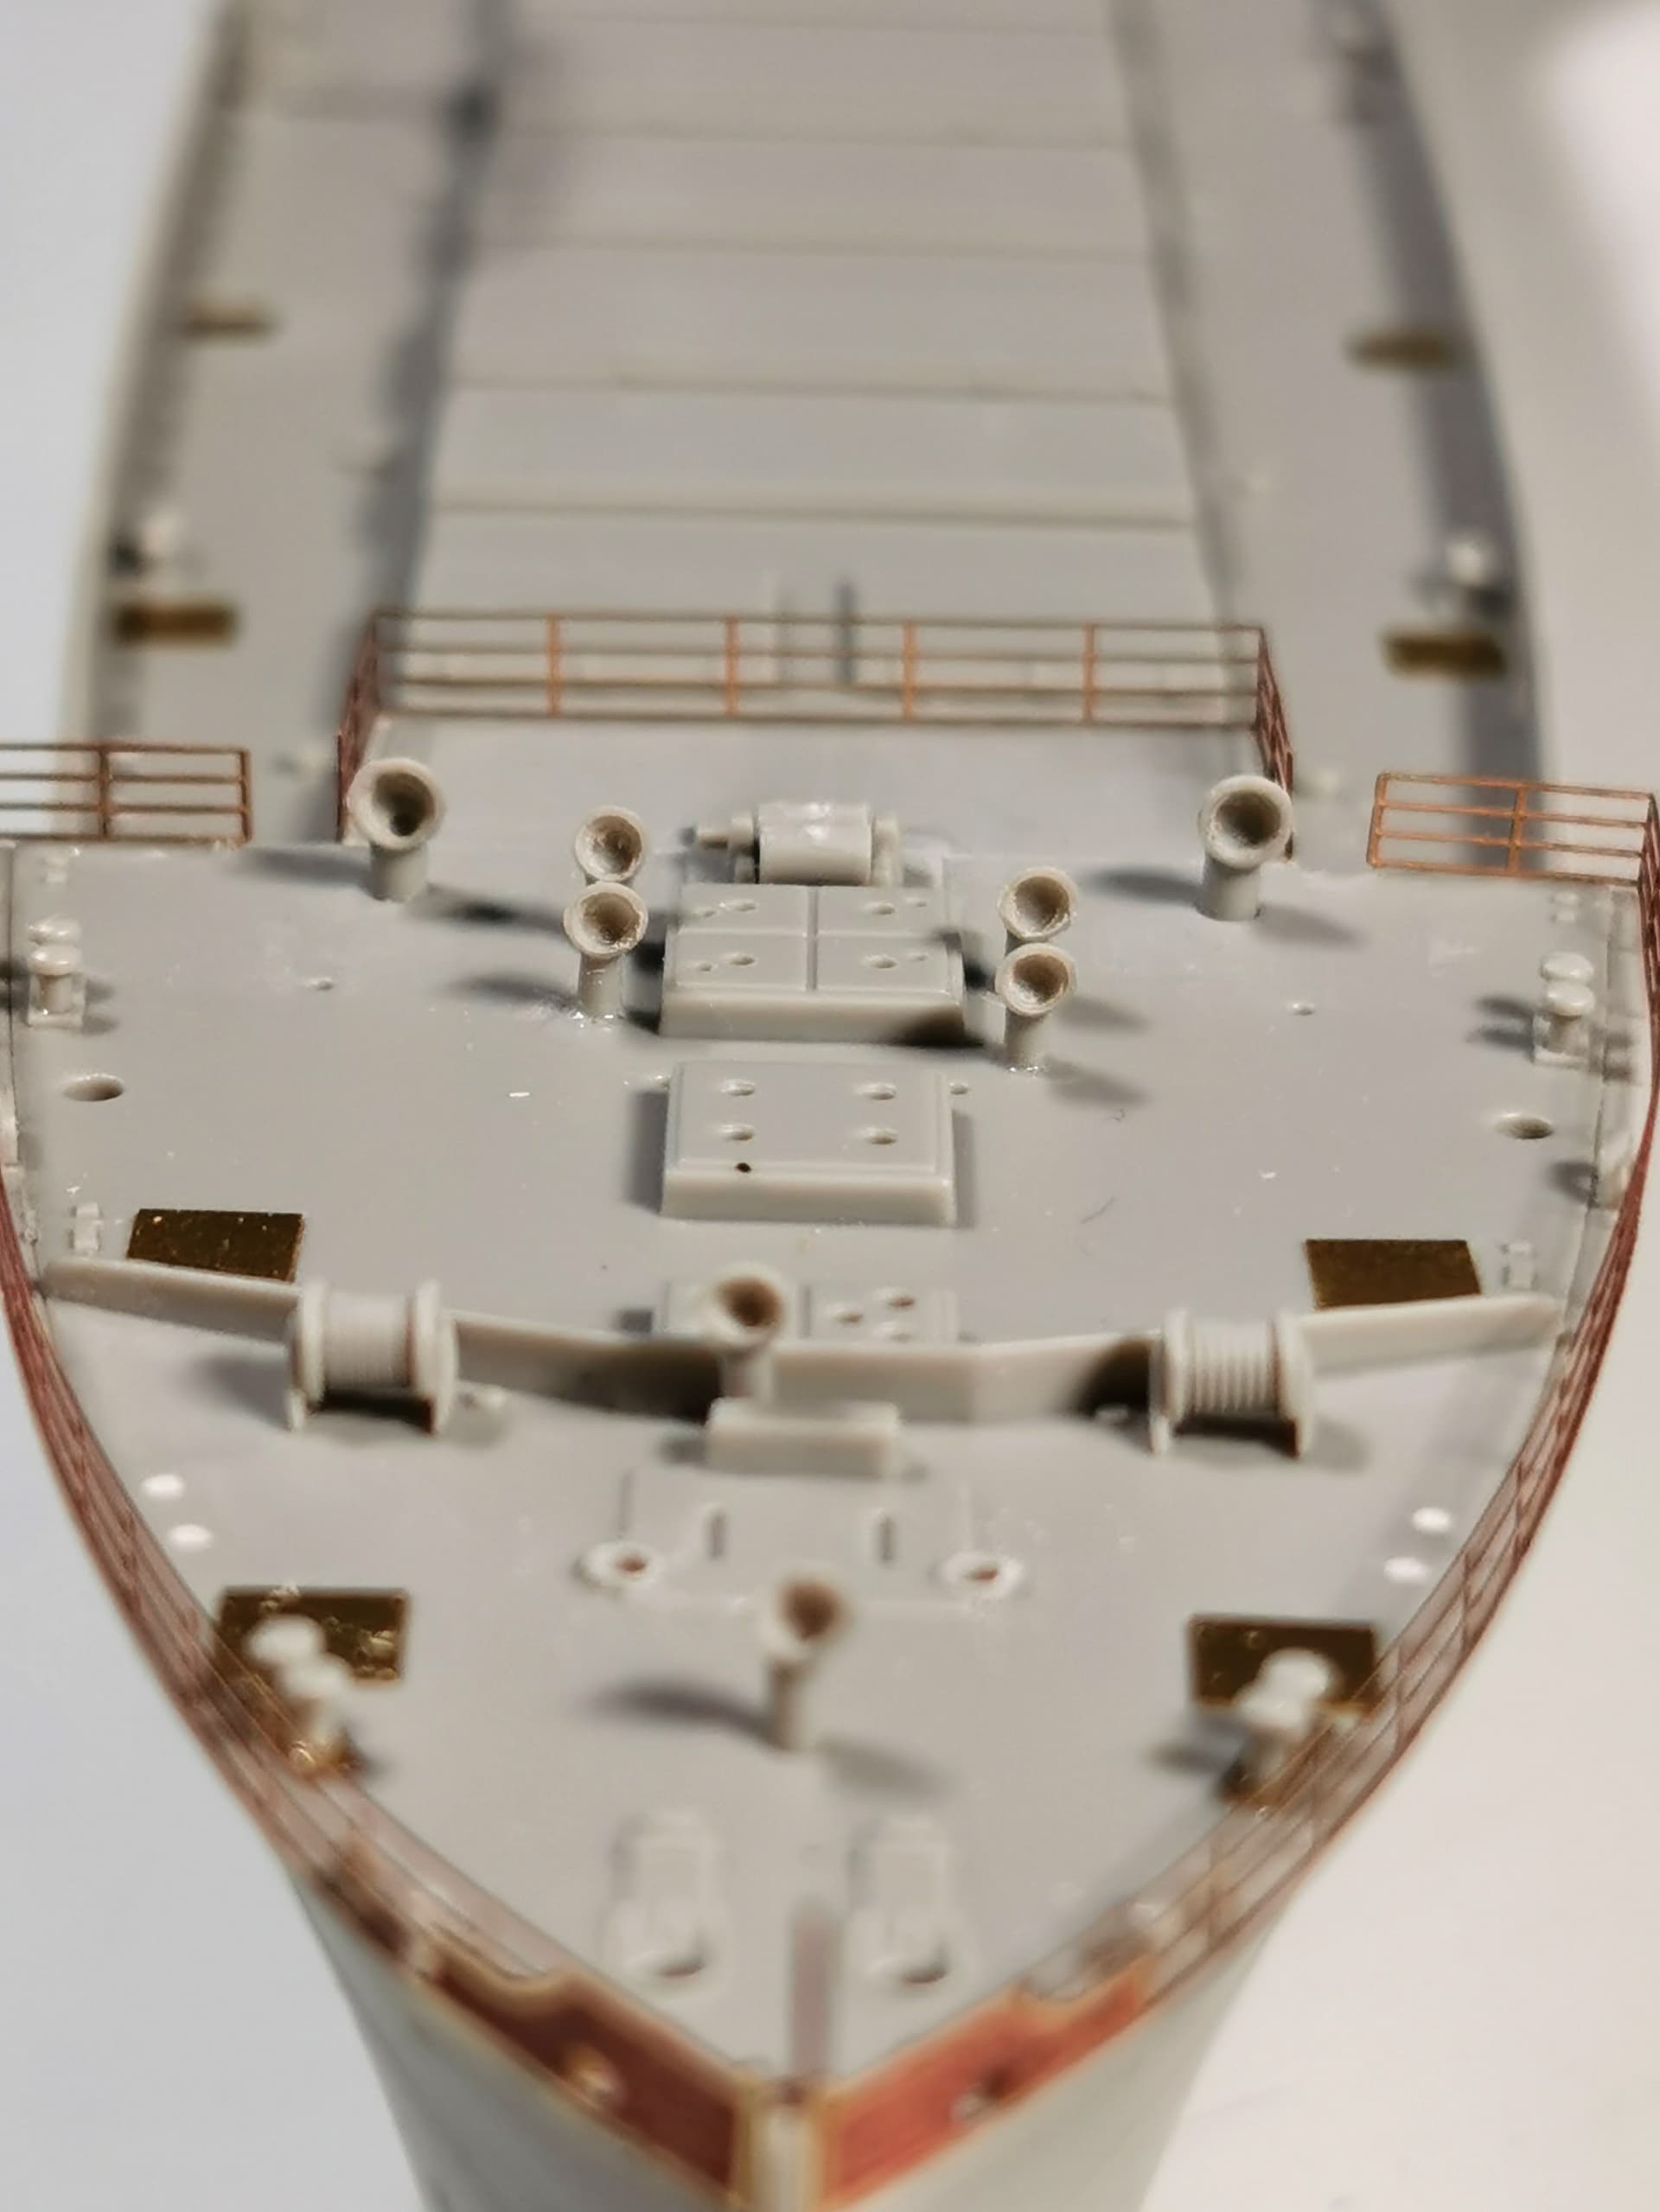
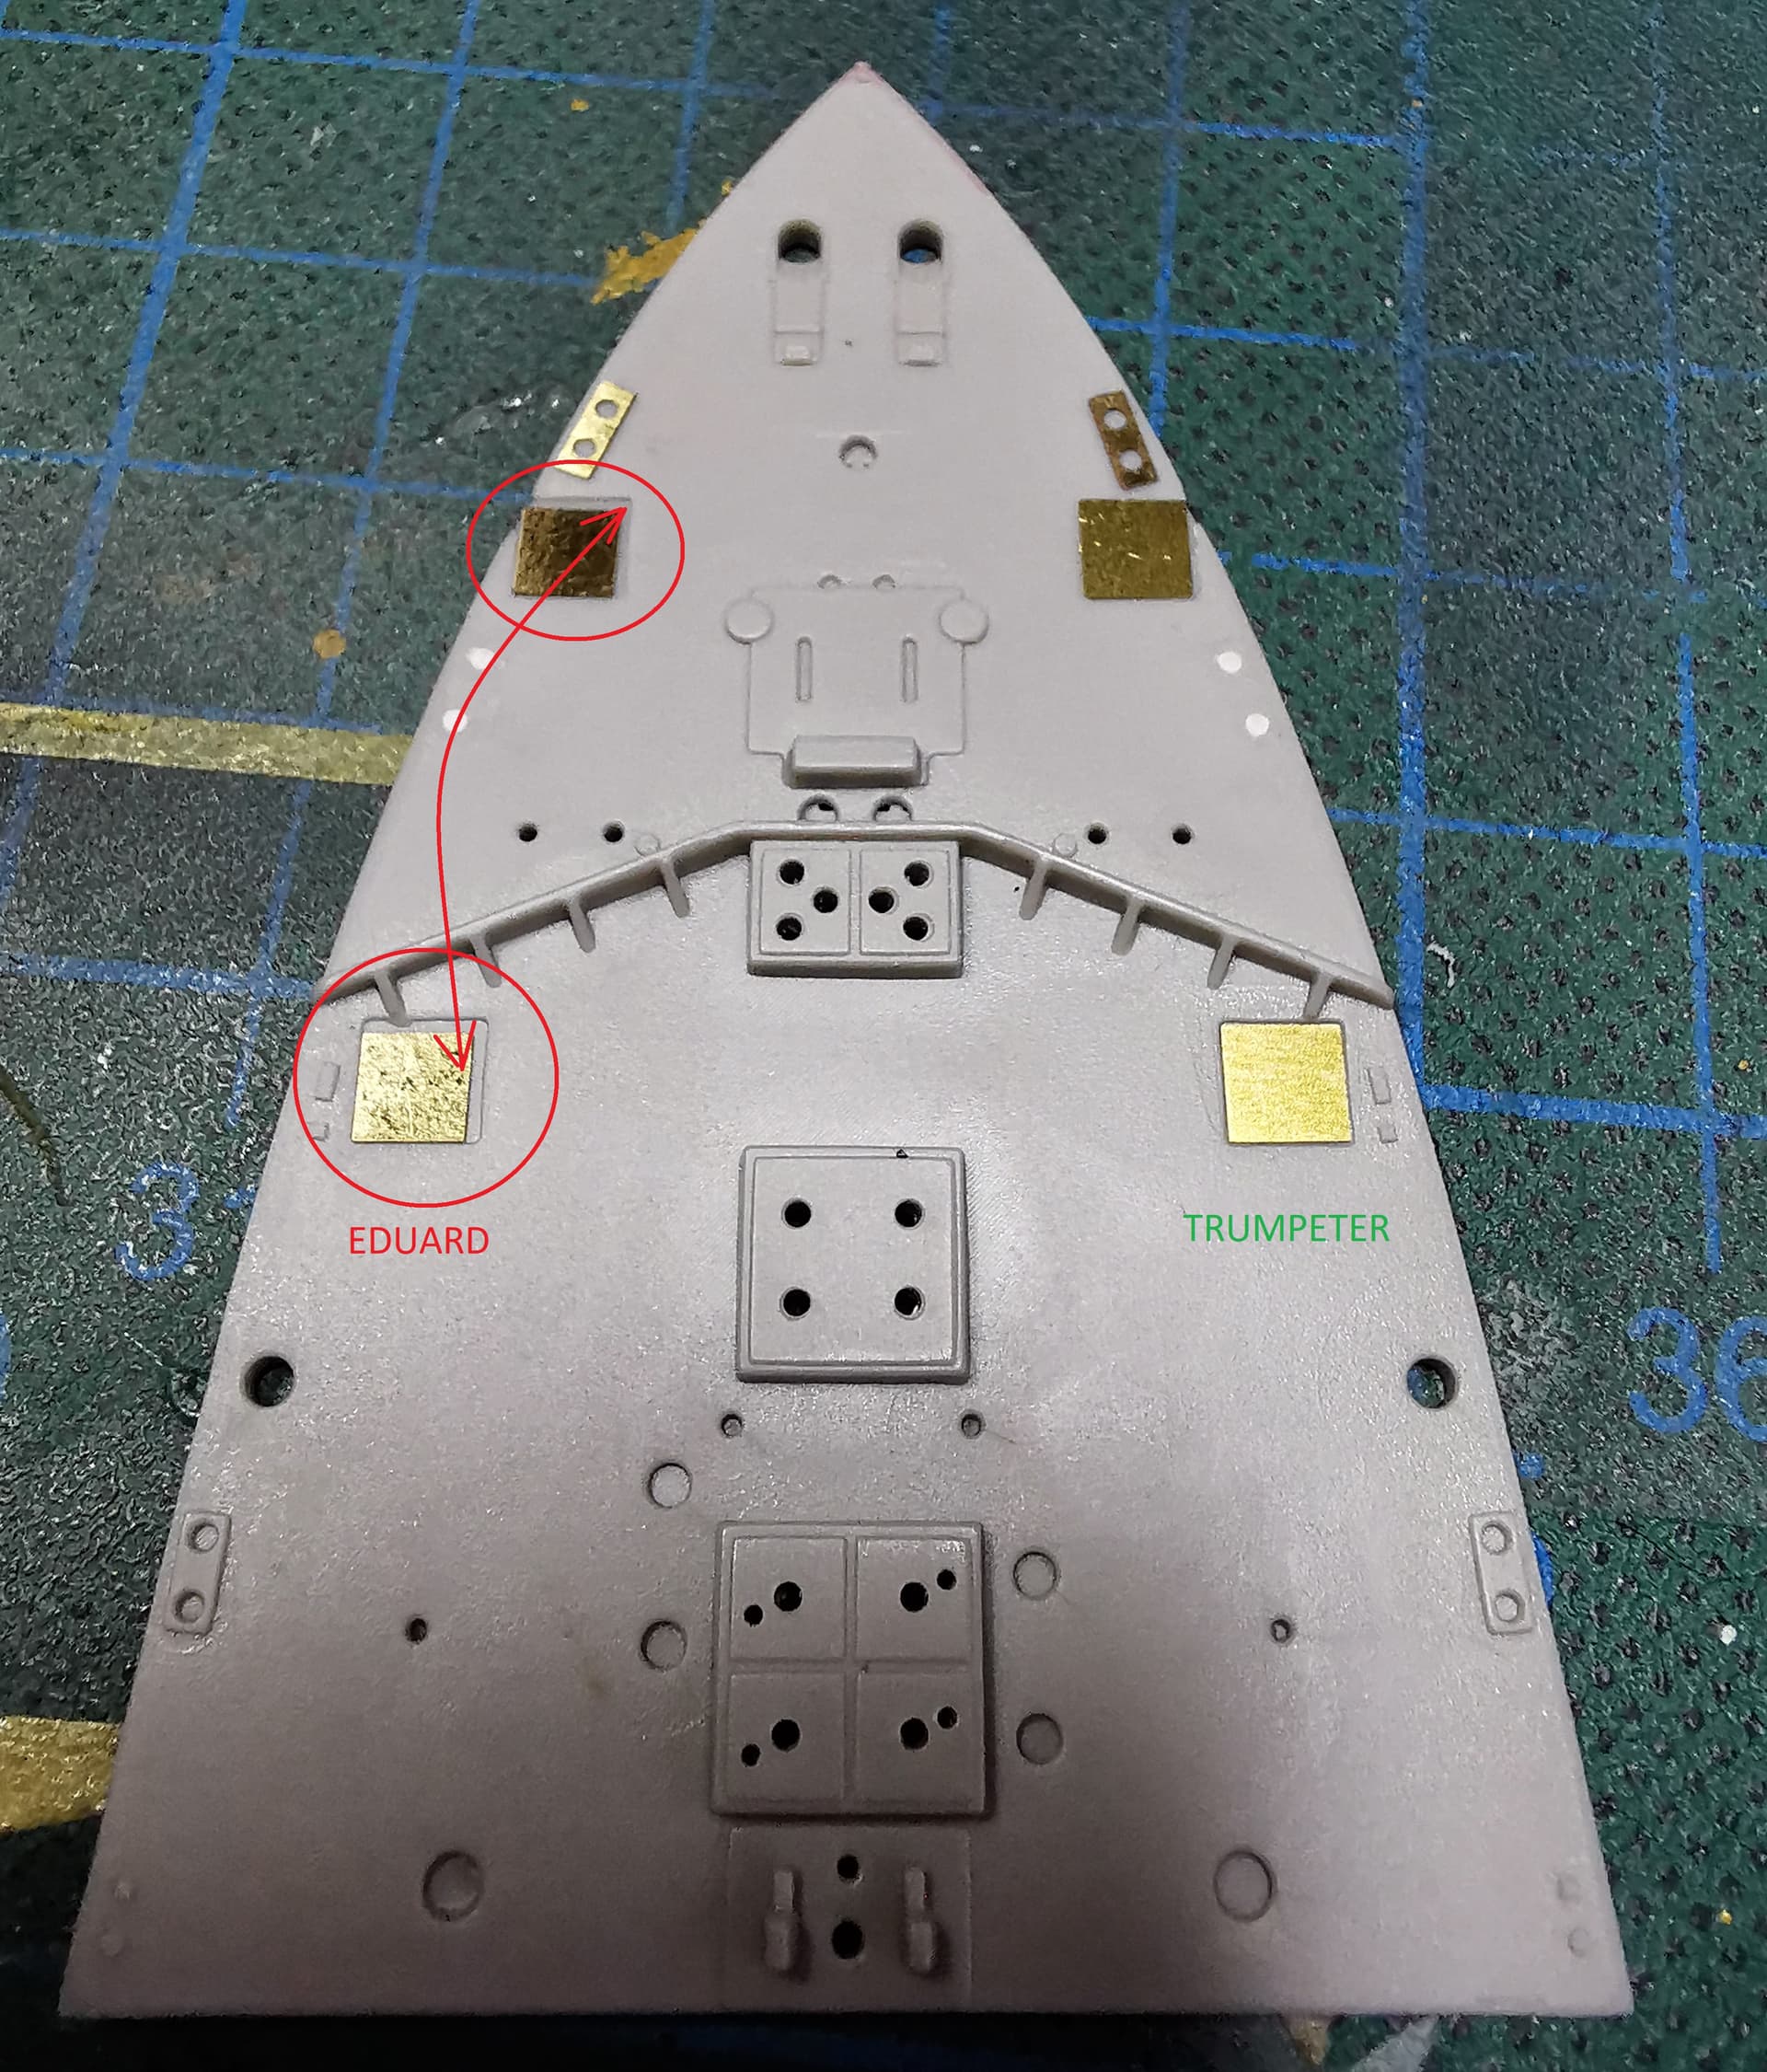
The foredeck had some adjustments necessary: Eduard advices here to move the foremost bollards more forward and glue the cover sheets for the removed beams. Here you can see, that sometimes EDUARD is not always superior to TRUMPETER´s own etched parts: They are just too small - TRUMPETER´s etched cover sheets did fit perfectly
great subject, I’m already looking forward to watching you doing the PE work - you are a real master there! I’m in and following, even if I’ll not be the most frequent poster.
Thomas, some information from the book;
At the time of her loss she was carrying 32 P-40E’s, 27 on the flight deck and 5 beneath it on the main deck.
Before her fateful last voyage she had supported Patrol Wing Ten after arriving in Darwin on 1st January 1942 and assisted the RAAF in anti submarine patrols.
The photo from the book does show her loaded with P2Y flying boats.
Nice start. I just picked this up as well, so I’ll be watching with interest. I’d love to do her with a deck load of P-40s, which what she was carrying when sunk.
“Pawns of War” is a good read, if you want more info on her demise.
@Shanghaied: A lot place here, thanks you are with us Tom
@MartinJQuinn: Come in sailor, heartily welcome. Me too would like to show her with a load of P-40 but so far no sign to get one even not 3d-printed
@JJ1973: Hallo Jan, immer willkommen. Thanks for the flowers ("… you are a real PE-master…") hehe no I am not. I feel like an advanced member but there are much more able pe-bender masters than me outside
@Littorio: Luciano thank you very much for your support, very appreciated. One question though: I am not sure what you mean with "I hope EDUARD have you replace the upper central bow wall?! Can you explain me dumb this one a bit more specific please?
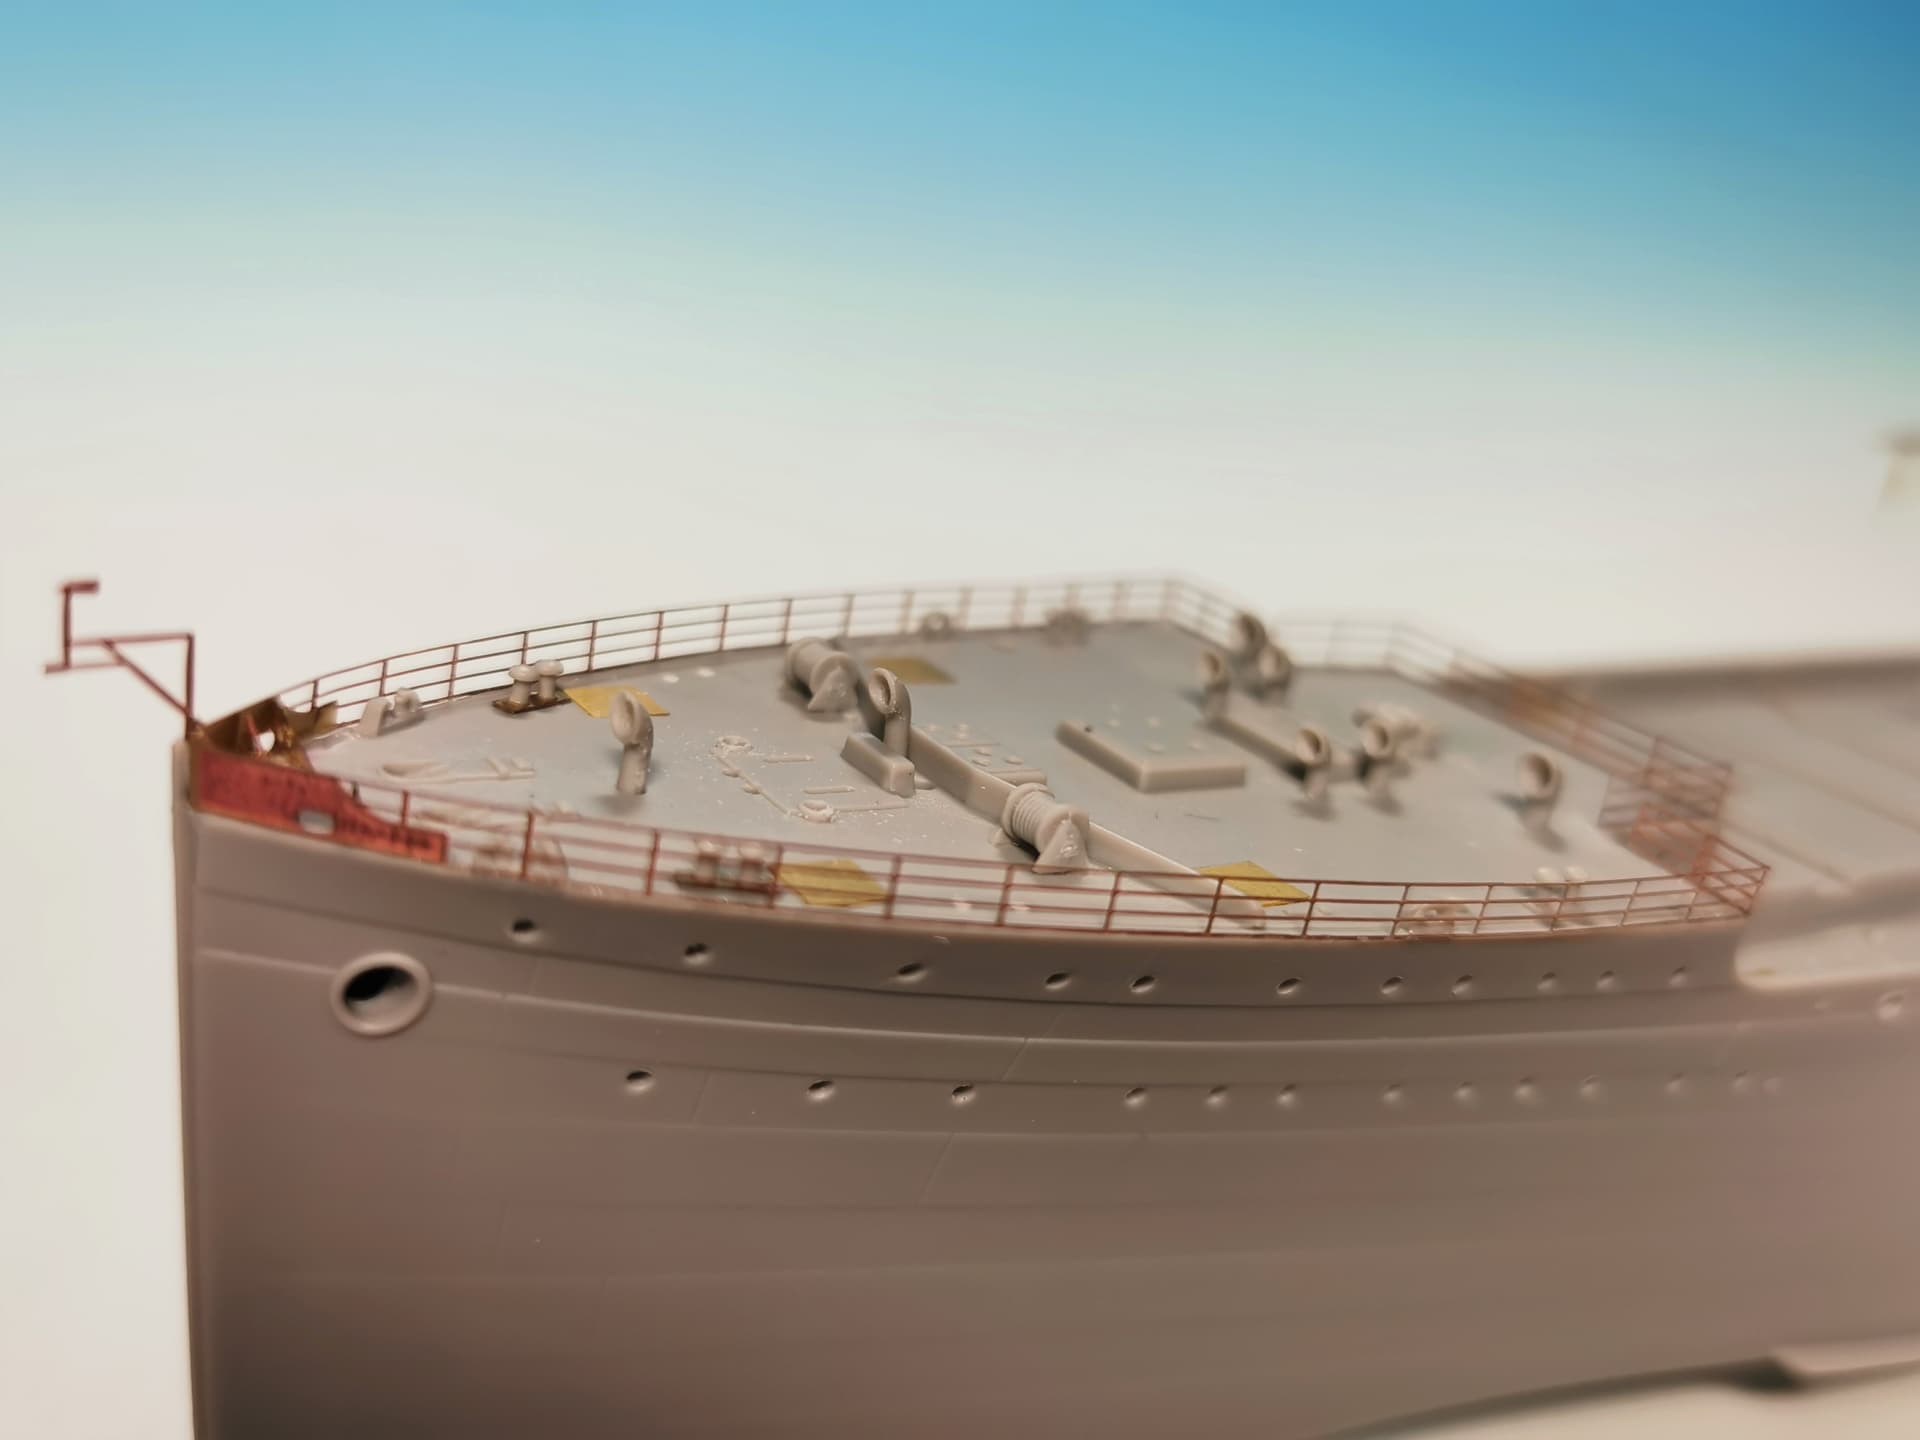
Luciano now I know what you mean, sorry Of course Eduard provided this wall together with the railings. They were thinner than the kit original walls and have triangled reinforcement sheets against heavy waves. I will show some pics later, I already finished the bow area exept for the anchor winch
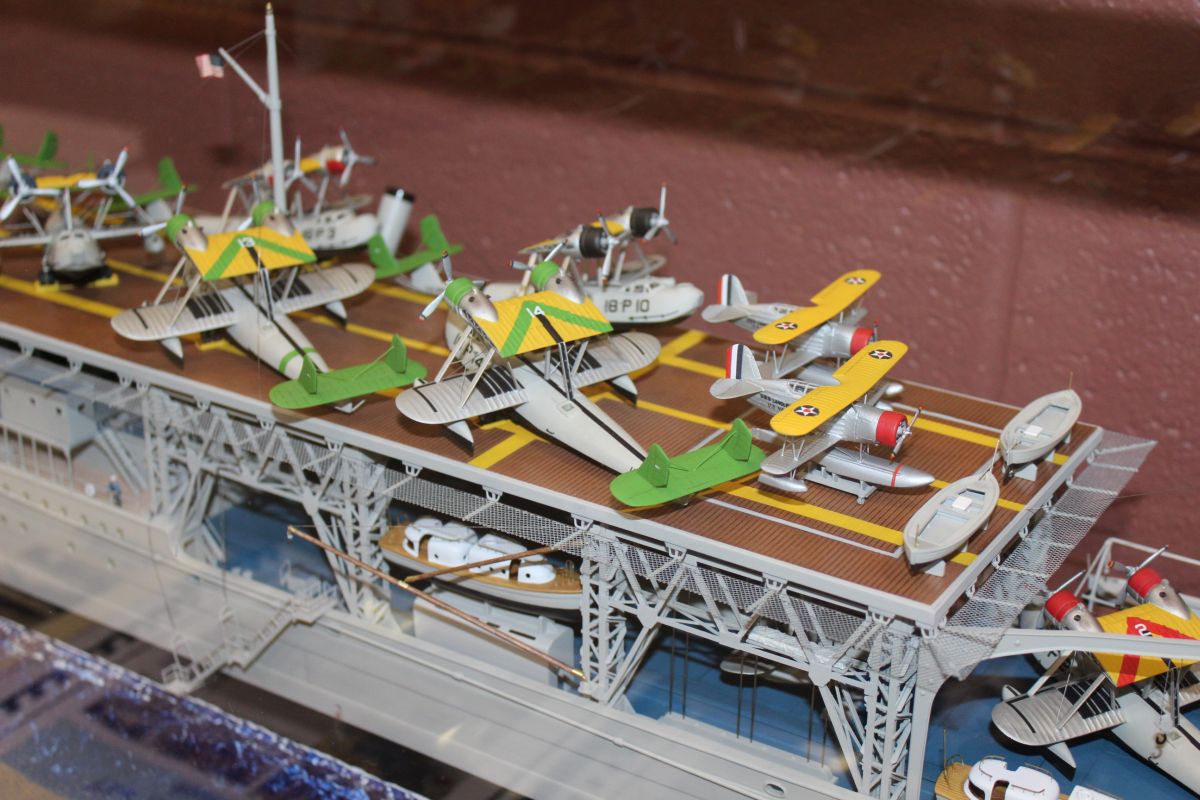
@JPTRR: Fred thank you very much for these useful pictures. This gives me more informations about the painting of the aircrafts; interestingly they appear to have had green and red colors for different groups of the squadron?! I am not sure about the yellow markings at the flight deck; from the pictures of the real ship from above the stripes look very light light white to me
These other biplanes - what types are they? Maybe I will be more luckier to find them somewhere in 1:350 scale?!
Looks like some work to scratchbuild these containers and the stowed wings of the parked aircrafts. There is a lot fun ahead of me
Ok sorry for being lazy in posting some pictures gentlemen. I have holidays and spent some time with the family and striving through the forest with our dog.
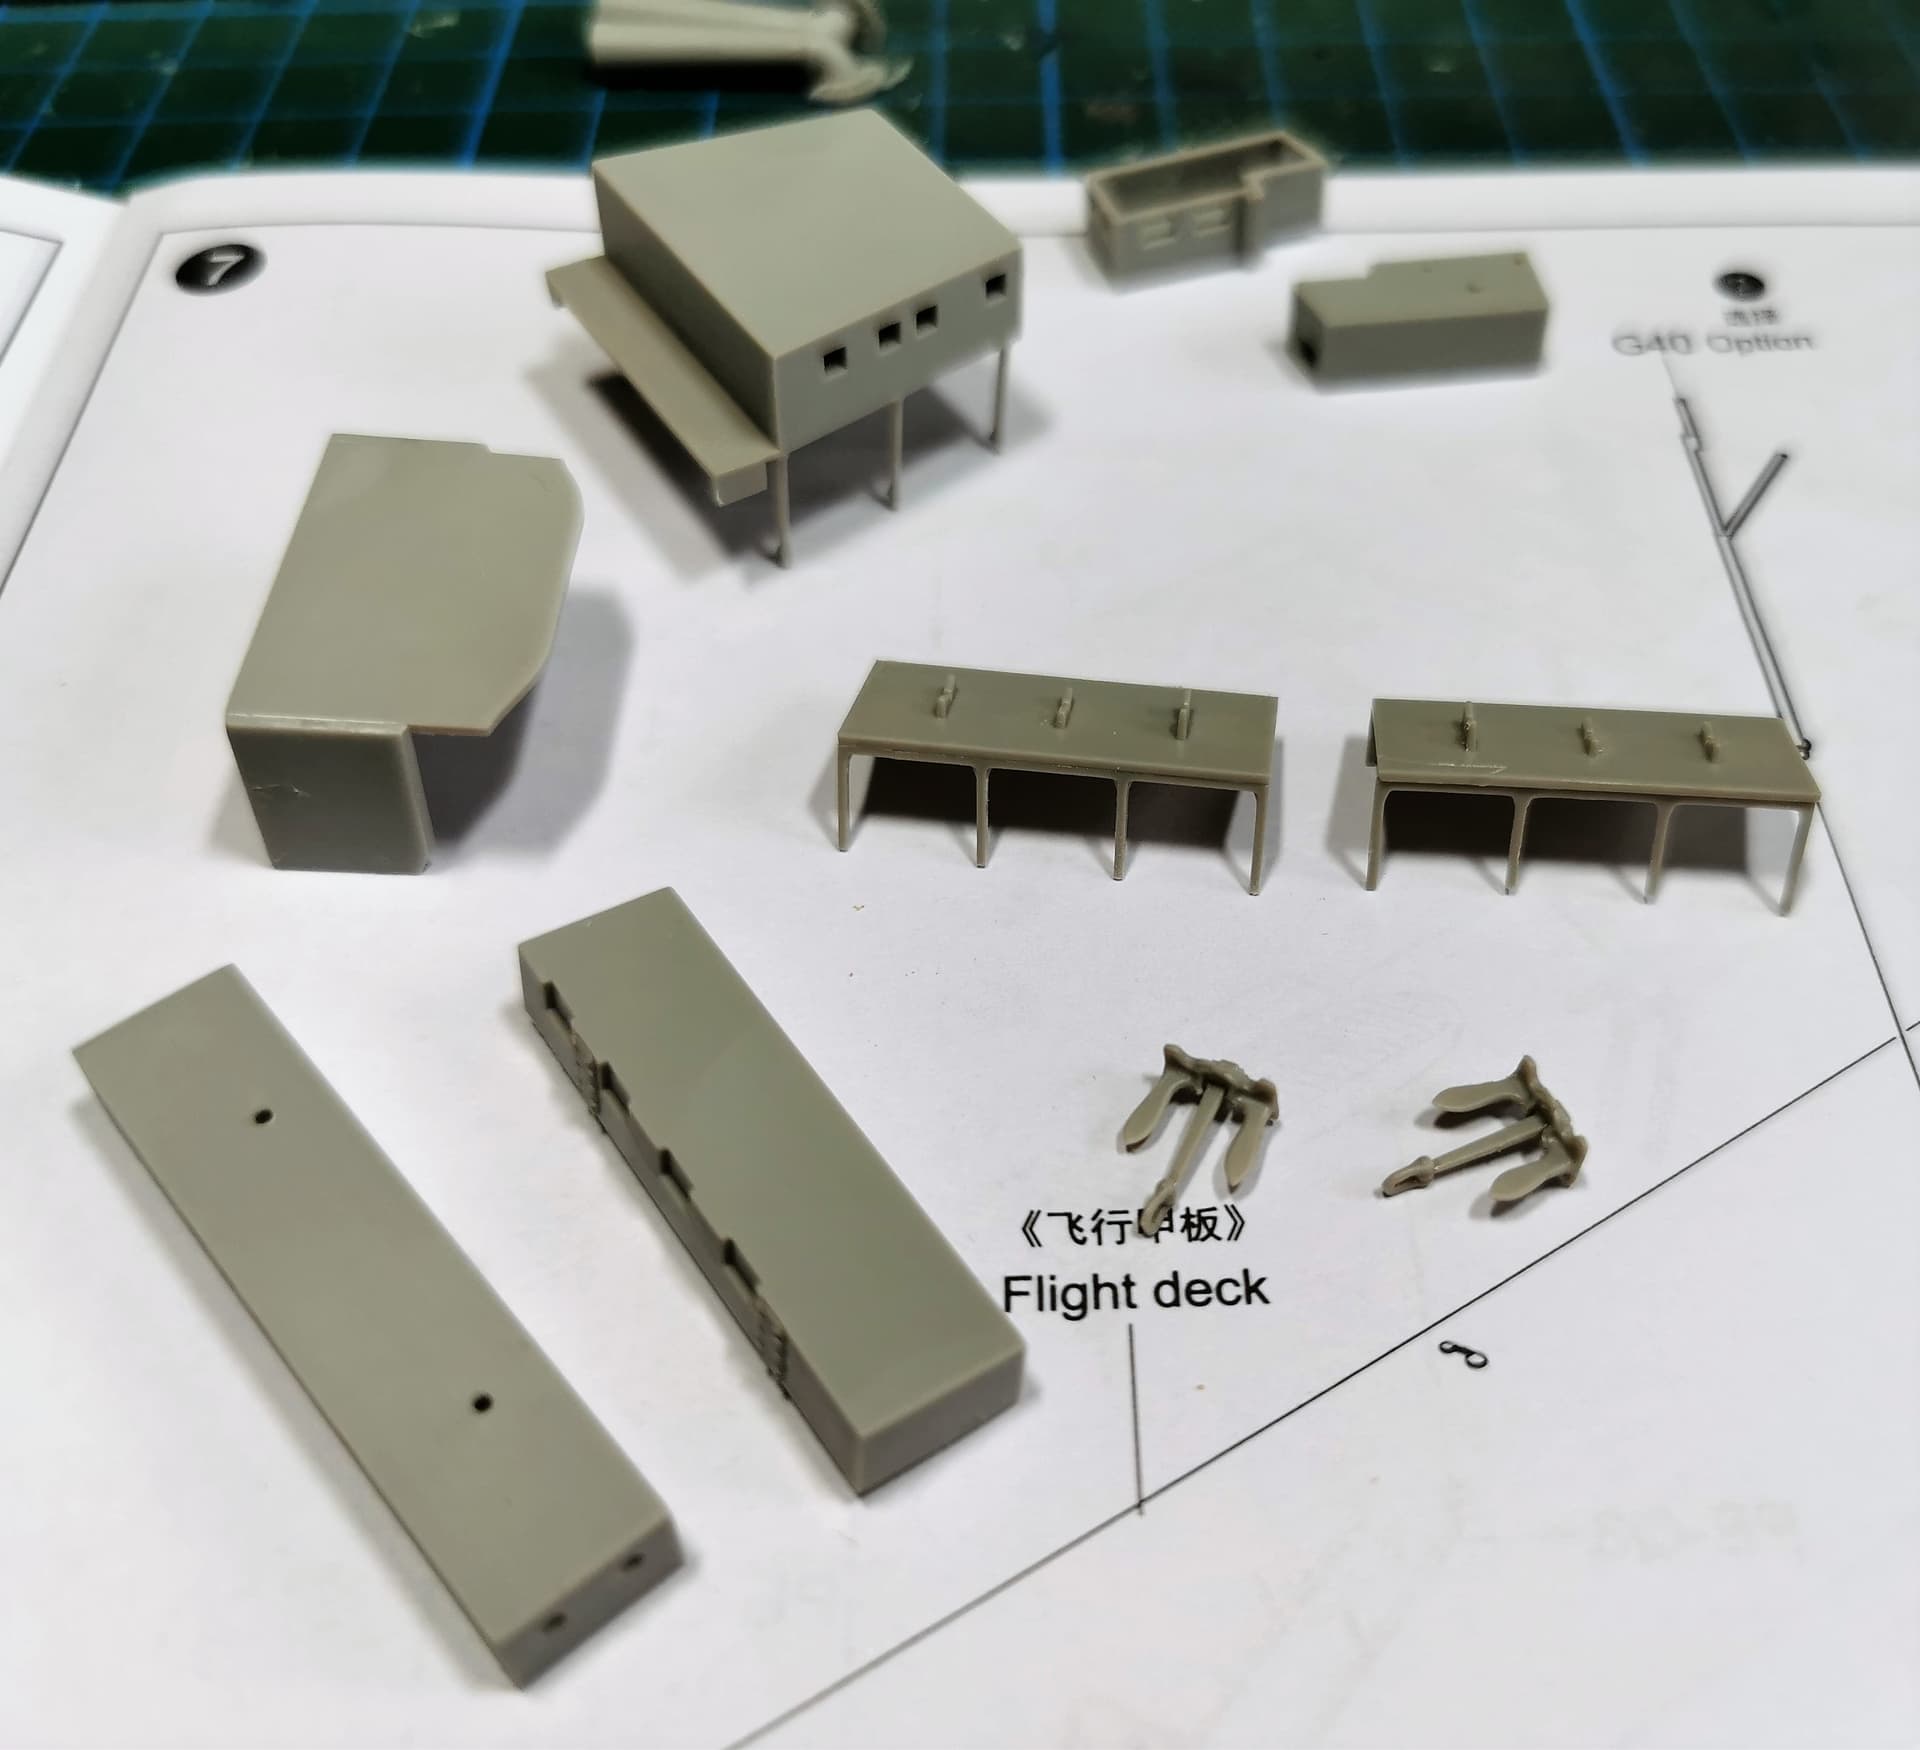
The kit is not too difficult and also have an overseeable account on parts. I didn´t followed the manual steps and jumped instead forward and backward inside the instructions. My aim is to assemble as much as possible but leave some parts in smaller subassemblies for a better and easier painting later. The bow part is already finished exept the anchor winch. I drilled out all ventilation pipes for a better resembling.
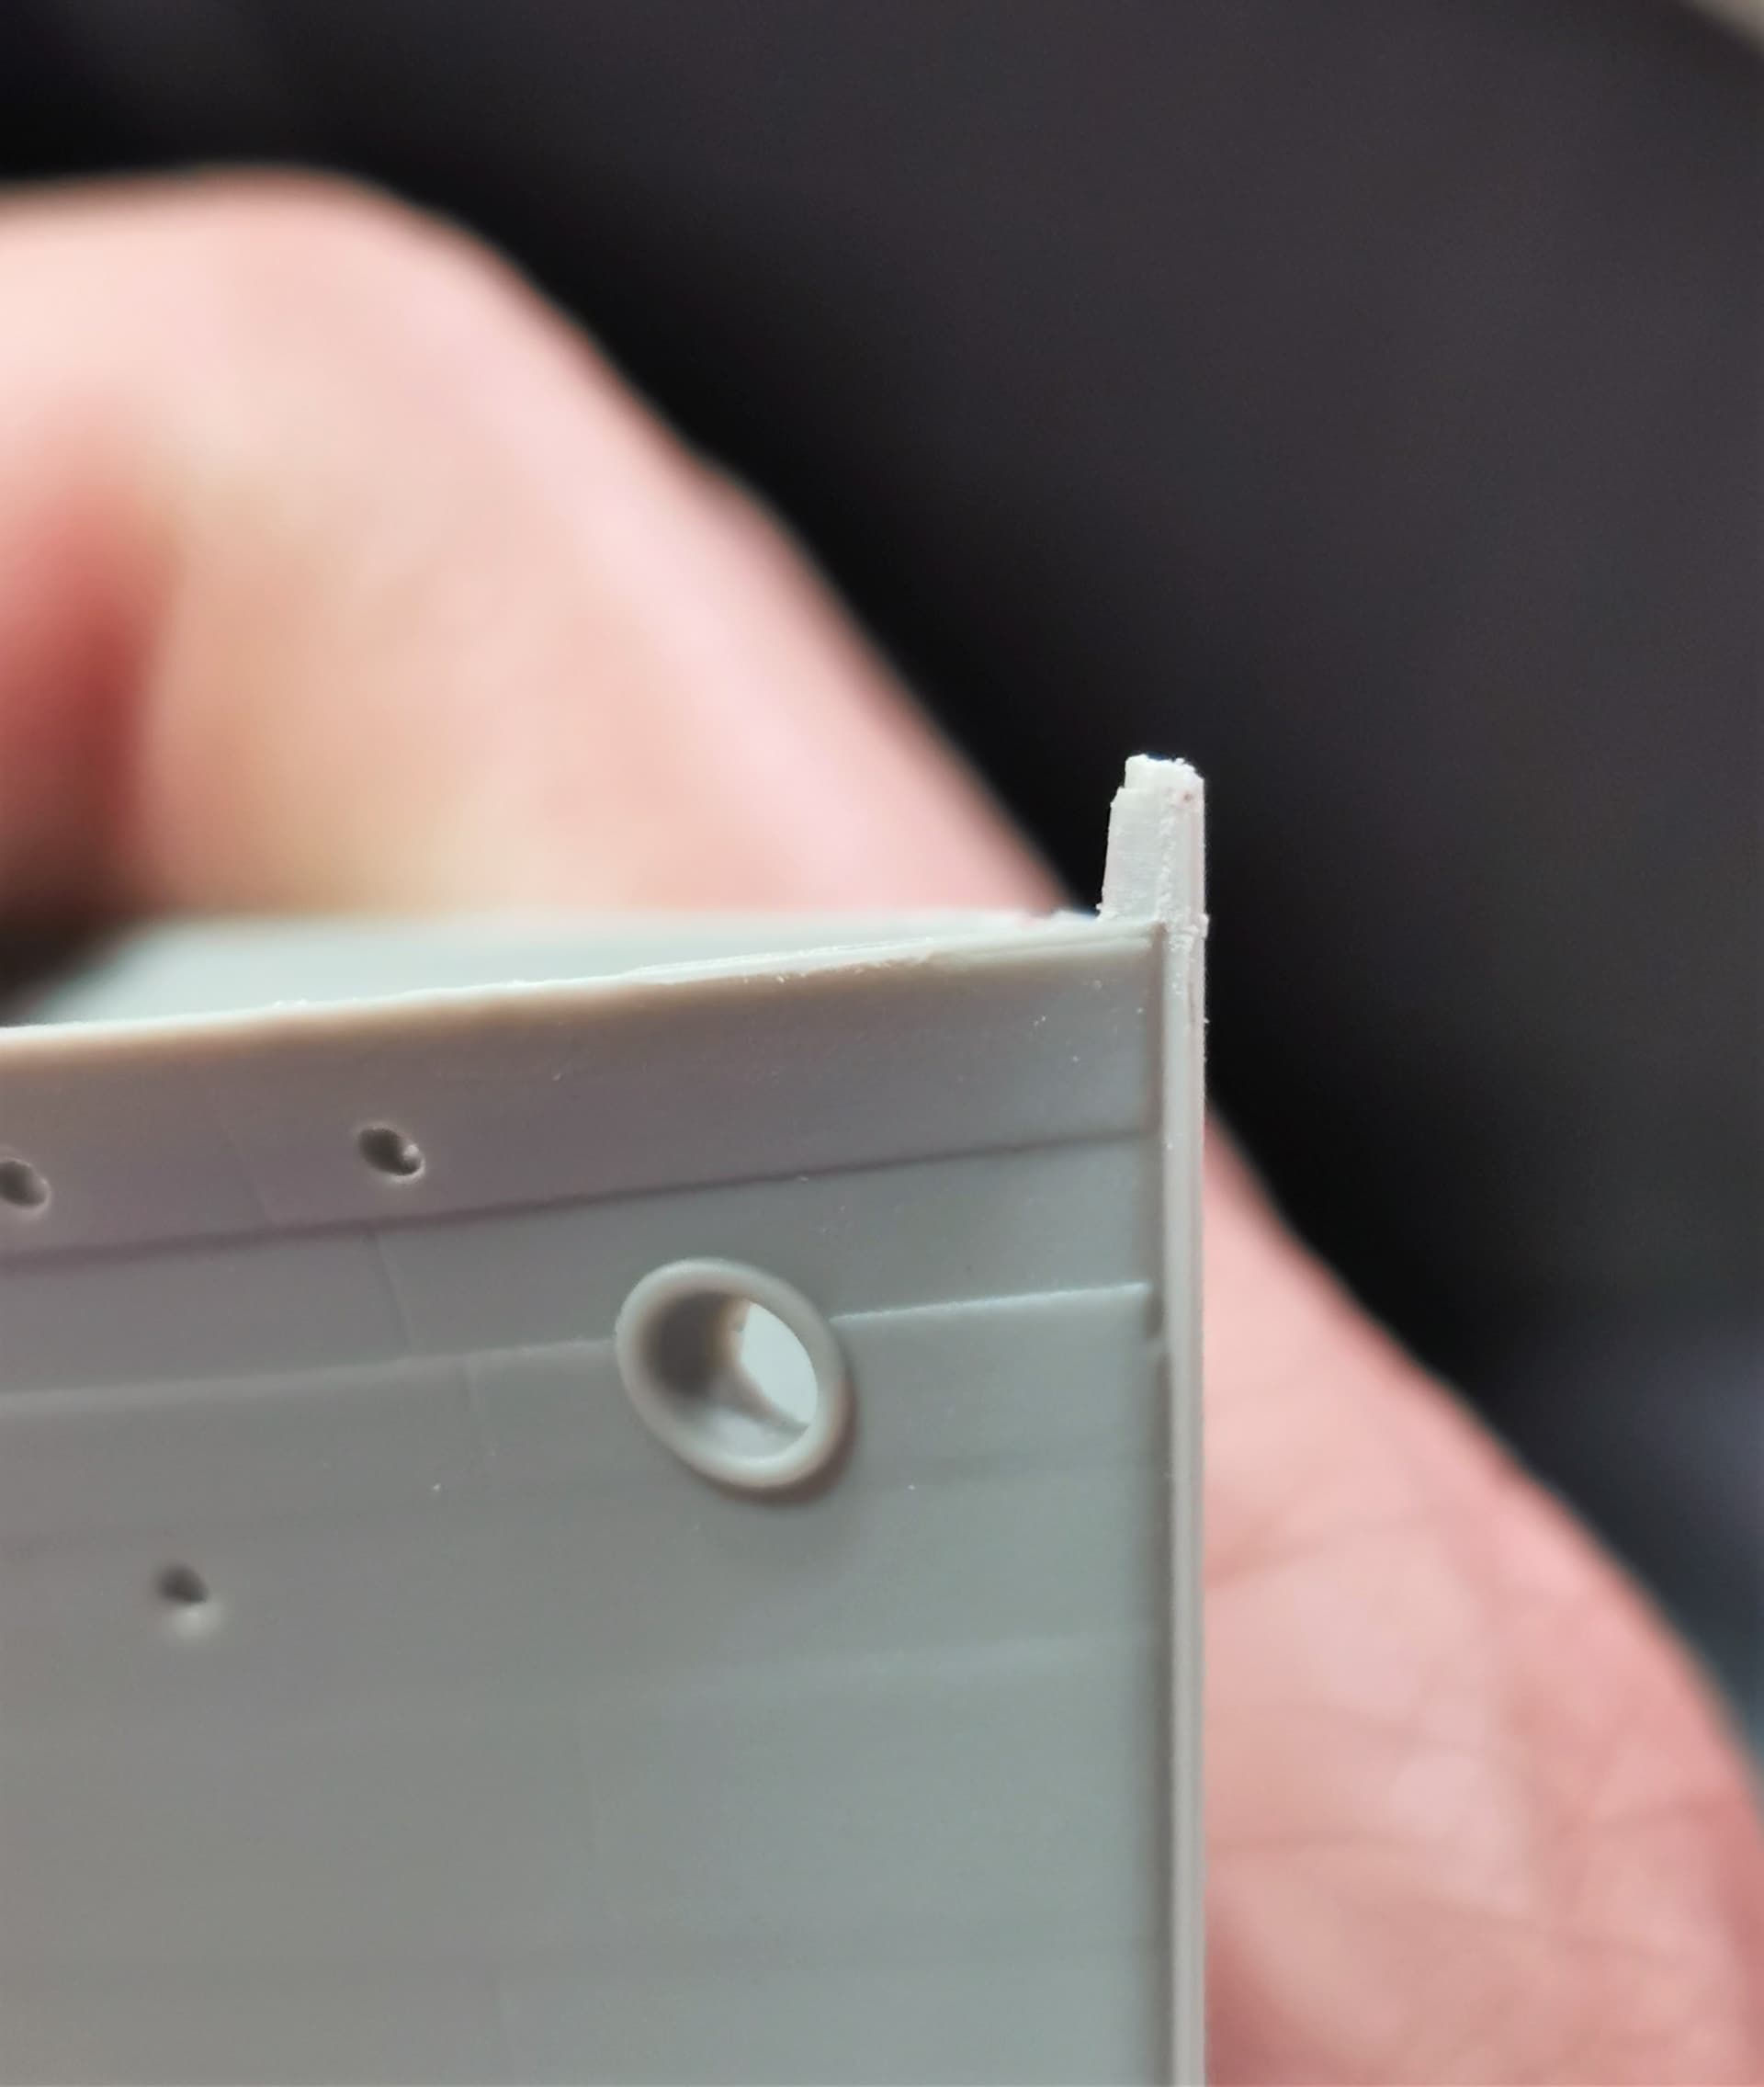
Here you can see the new etched central bow wall. Everything fits very well but these railings of EDUARD´s recent sets are more thinner and therefore fragile IMHO so keep a calm hand there
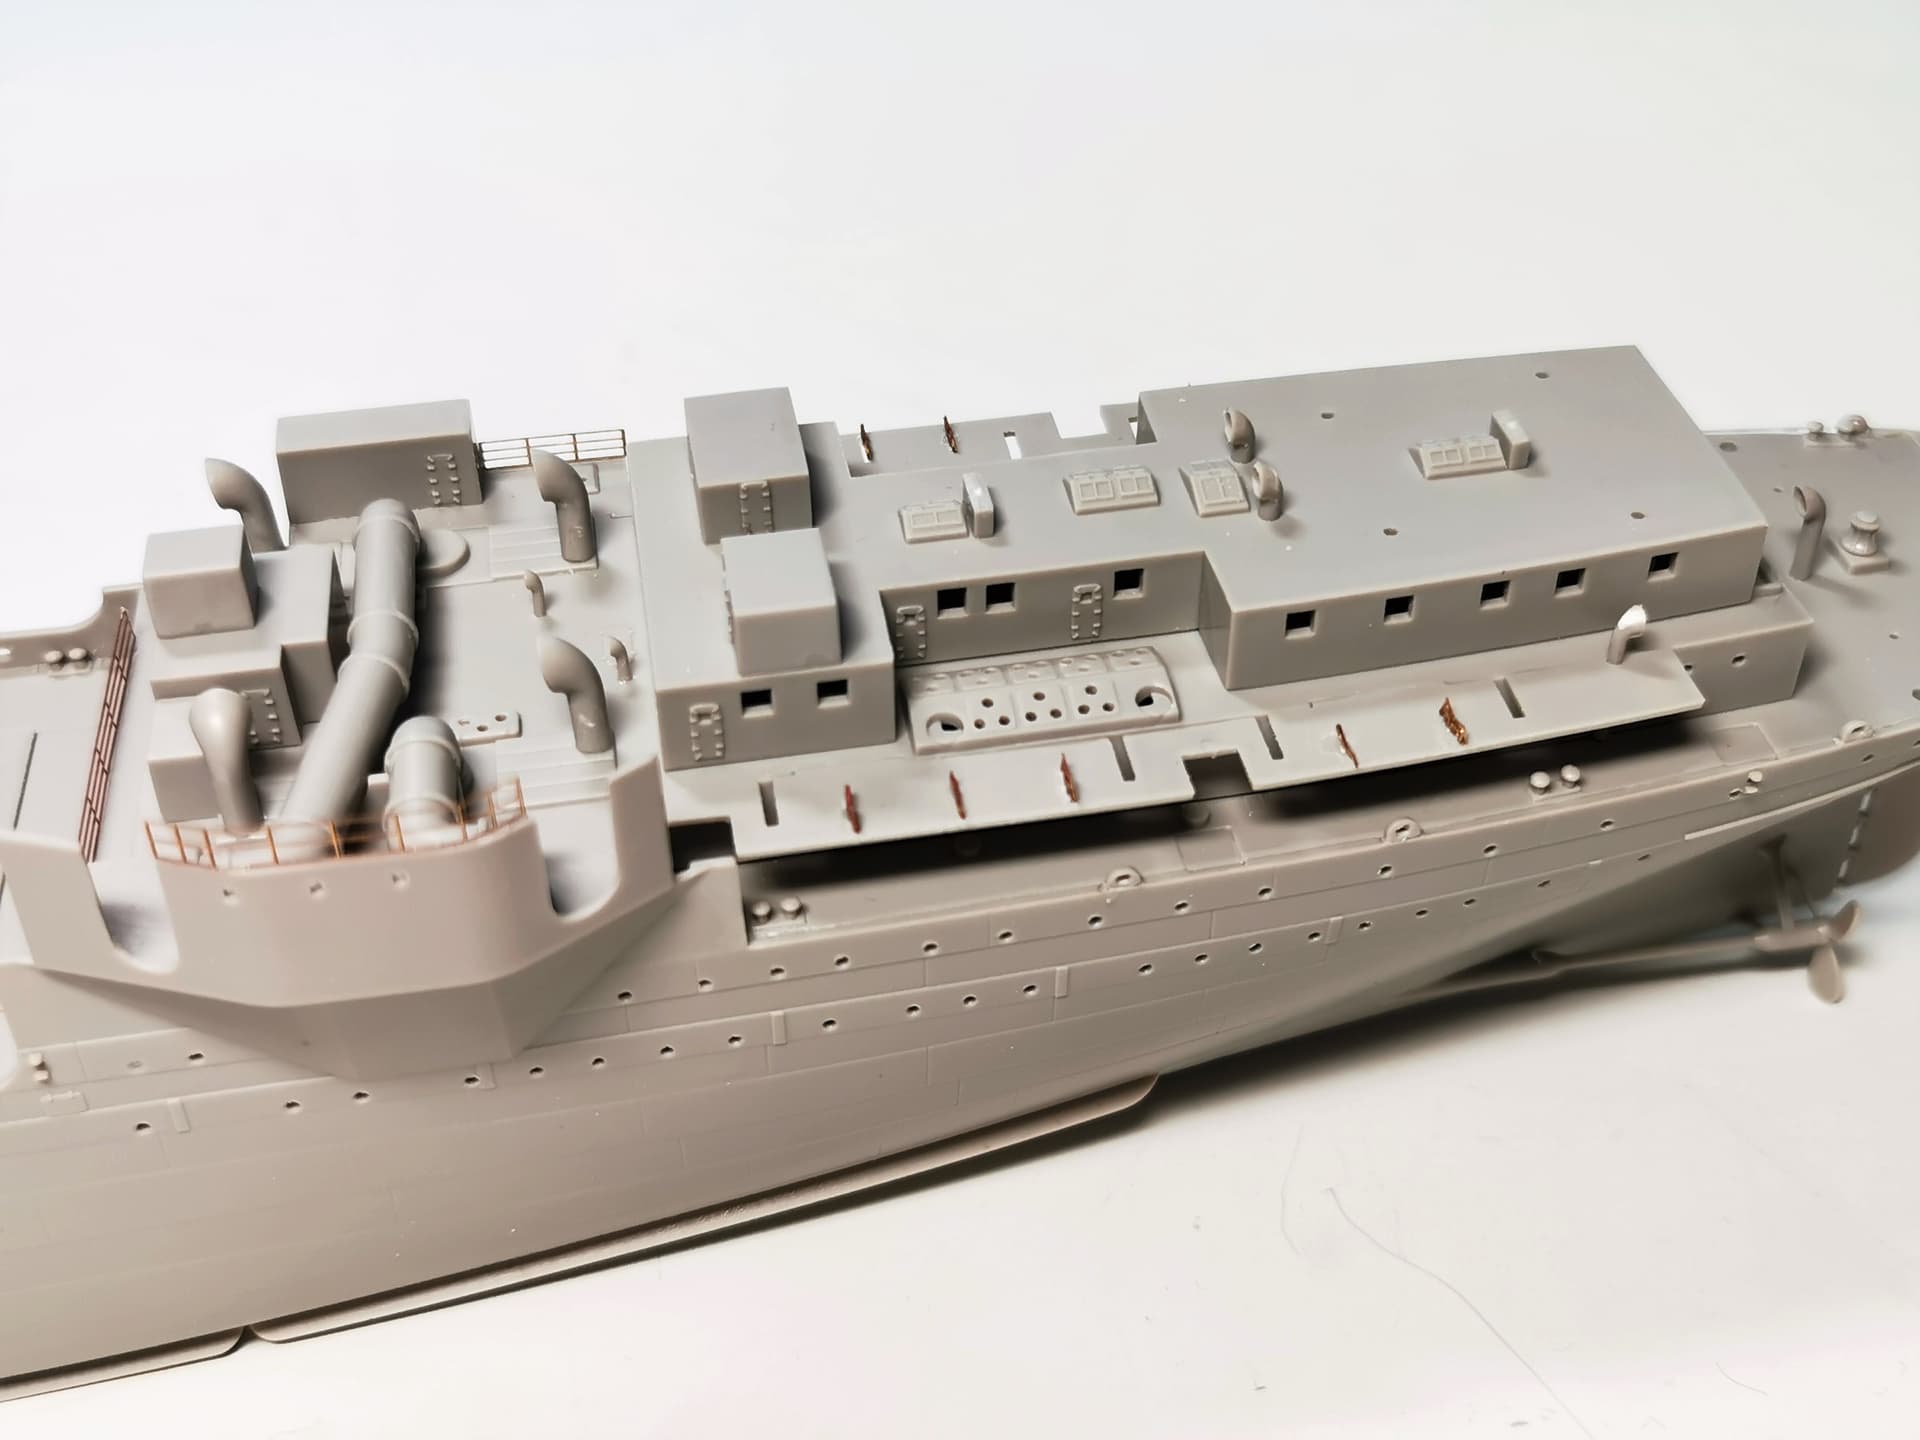
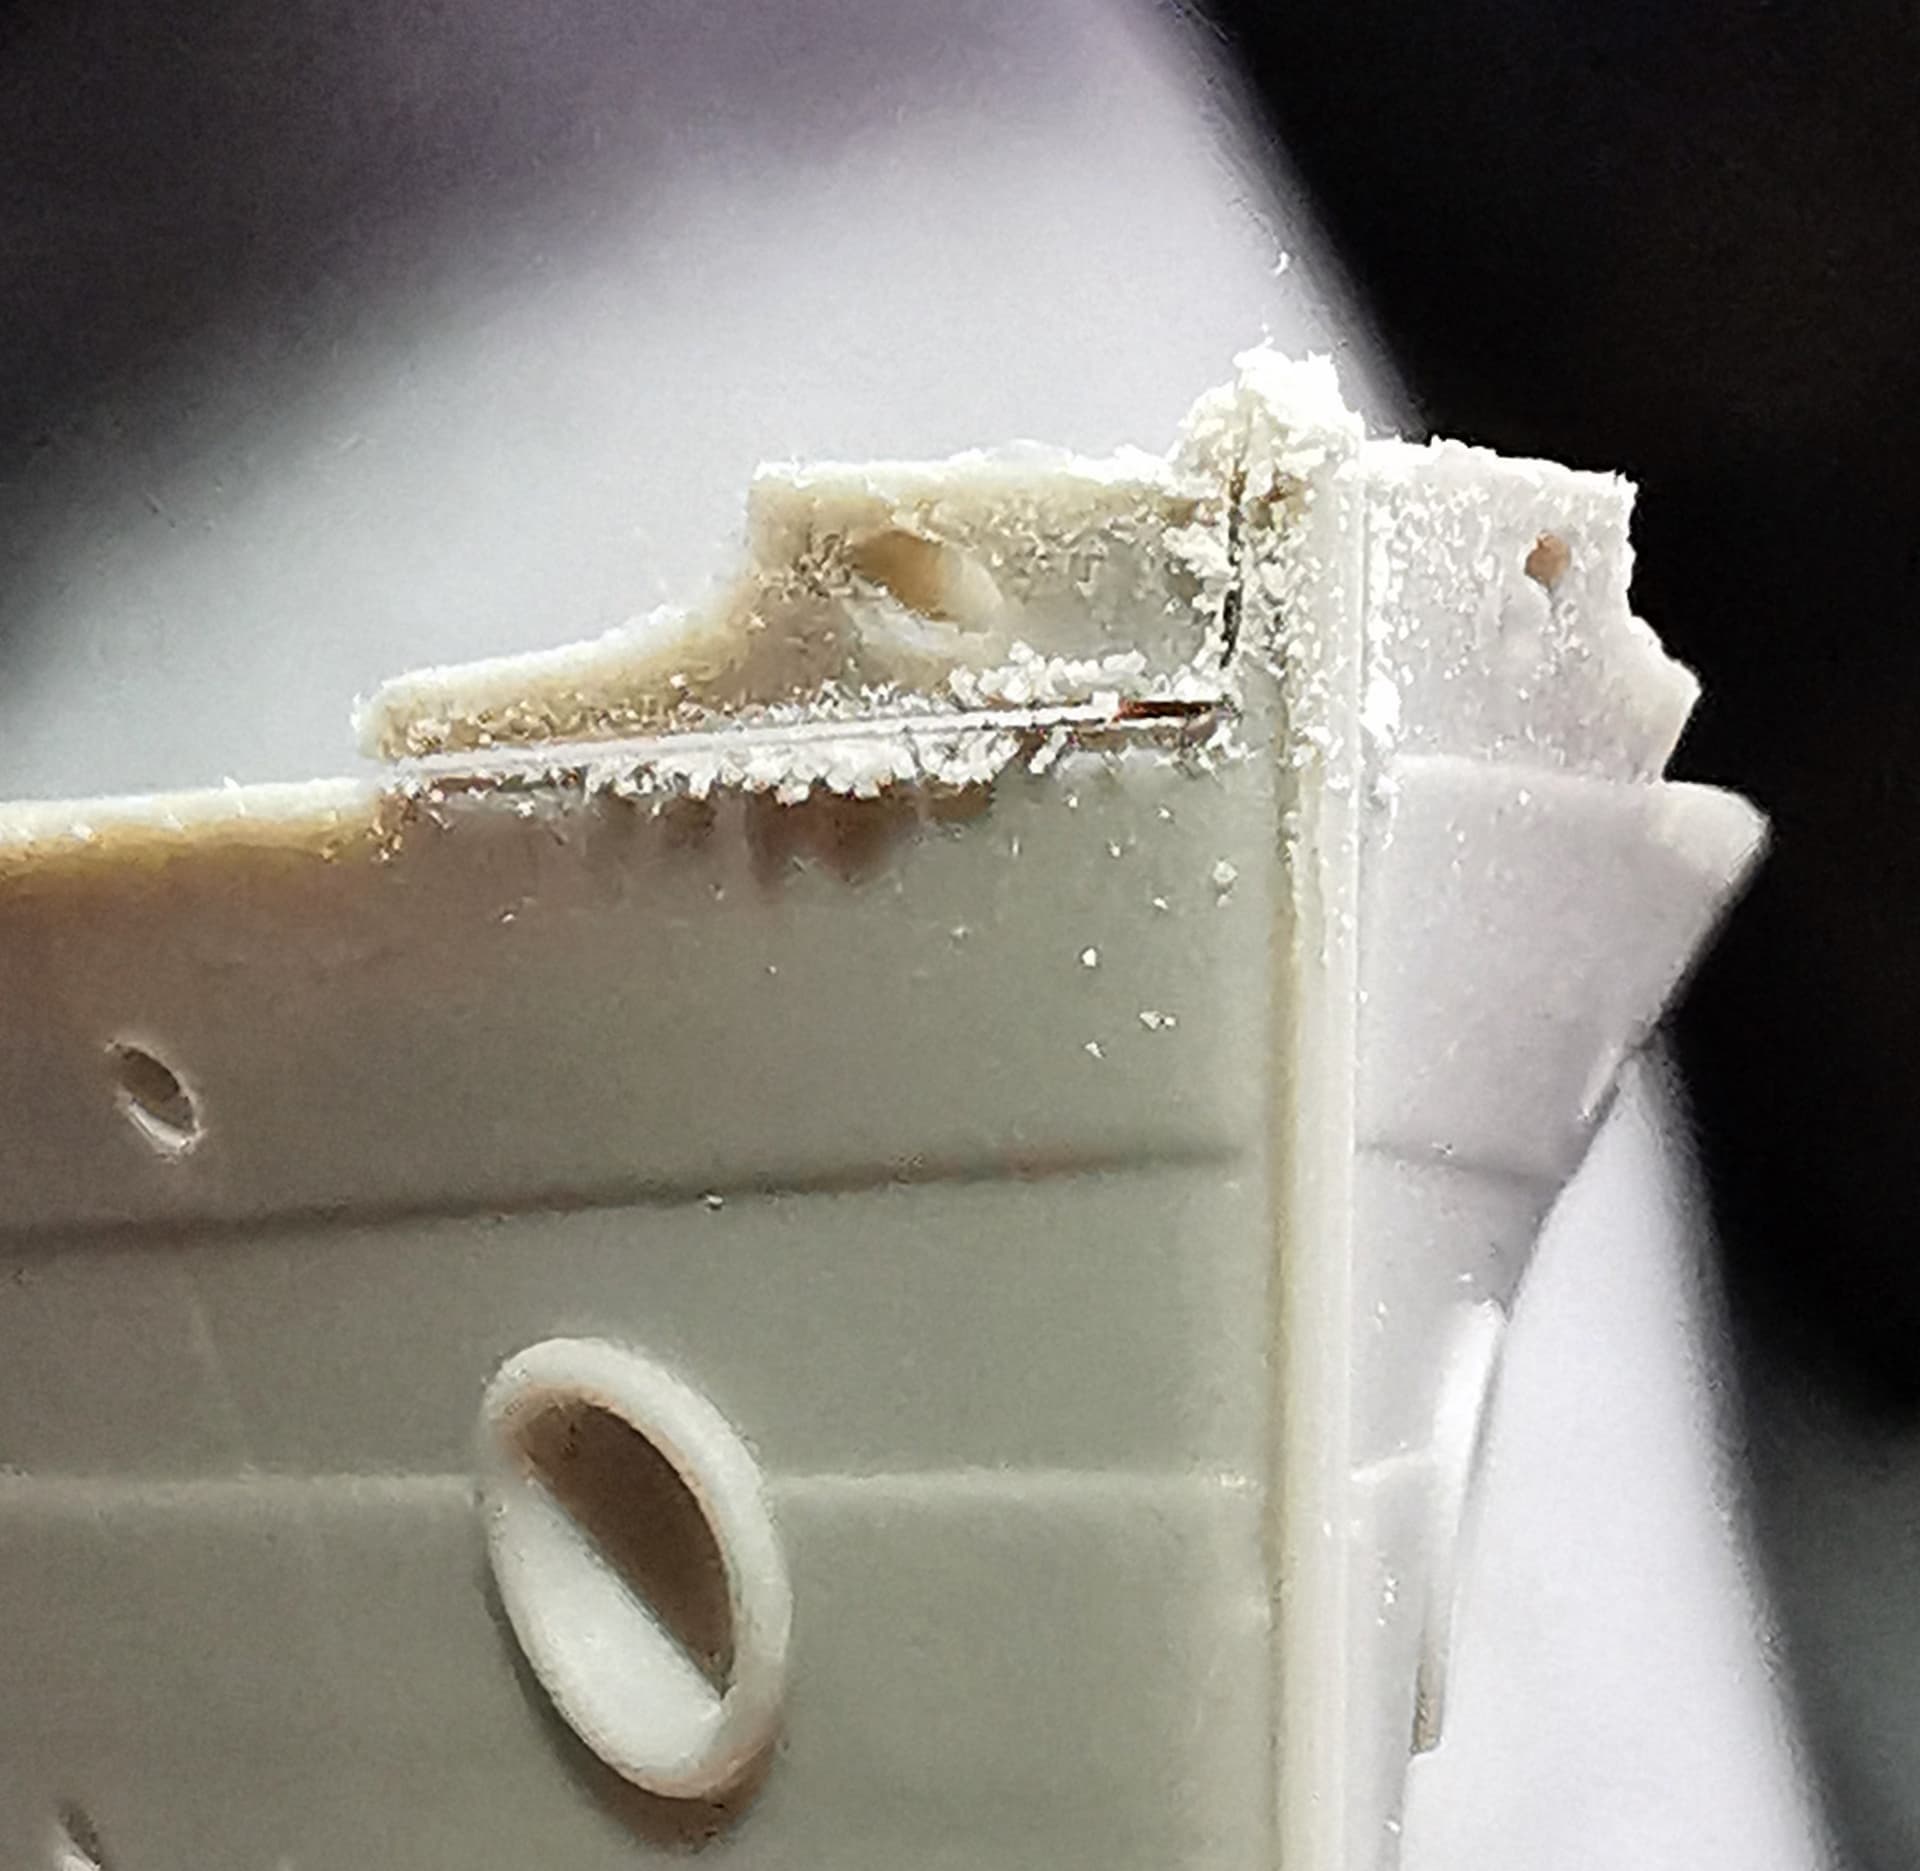
some of the aft superstructures were assembled without glue. I didn´t liked the etched stanchions for the lifeboats as they didn´t have a feather edge and were very difficult to bend, almost all my tries were failures so I didn´t used them all.
I might know the person who built that Langley. I wrote to him to ask if it is indeed him, and if he would mind you contacting him.
In the interim, I will look up what kind of airplanes those are. I think the wheeled ones might be Vought corsairs. I’m not very knowledgeable about yellow wings except for the very last generation before the monoplanes came out.
U.s. Navy aircraft between the war or some of the most colorful airplanes you’ll find it. The Navy painted the Tails different colors, each for a specific ship. Then each aircraft would use a specific color for its specific Squadron. Then the Chevrons and stripes and cowling colors would be solid, or segmented, depending on what section or flight in the Squadron the aircraft was assigned to. If you would like, I’ll try to find you some resources for that. It should be very easy to find out there. I remember happy notes on it from somewhere. And if I recall correctly, the aircraft carrier tail color yellow was different from the color of the wing. The top wing were painted Chrome yellow. The ship tail yellow was called lemon yellow.


 Of course Eduard provided this wall together with the railings. They were thinner than the kit original walls and have triangled reinforcement sheets against heavy waves. I will show some pics later, I already finished the bow area exept for the anchor winch