Thanks — I’ve done that before as well, but only when making welds using putty from a tube. Not sure how well it will work with two-part epoxy putty, especially if it sticks as poorly as mine did.
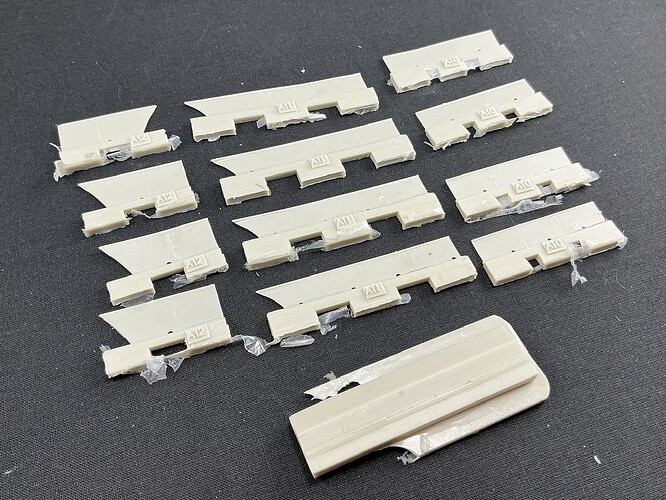
Okay, on then to the next bit of major work: the splash plate around the roof of the superstructure. Resicast usually gives you plenty of spares for parts you might lose or mess up, and these are no exception:
That’s plates for two BARVs, plus one jig to form them on, because they’re cast flat but need to be curved outward. The instructions tell you to use a hair dryer, and I prefer that to the hot-water method of heating resin for shaping, but … these just did not want to cooperate. I’ll spare you the details, but suffice to say I’ve seen that I’m not the only one having trouble doing this. Someone building one on some other site (I don’t recall which) replaced it all by soldered brass sheet, which I suppose probably means he was a railway or steam modeller before he discovered that tanks are much cooler things to be building models of. As I myself saw that particular light much earlier in life, I solved it the armour modeller way:
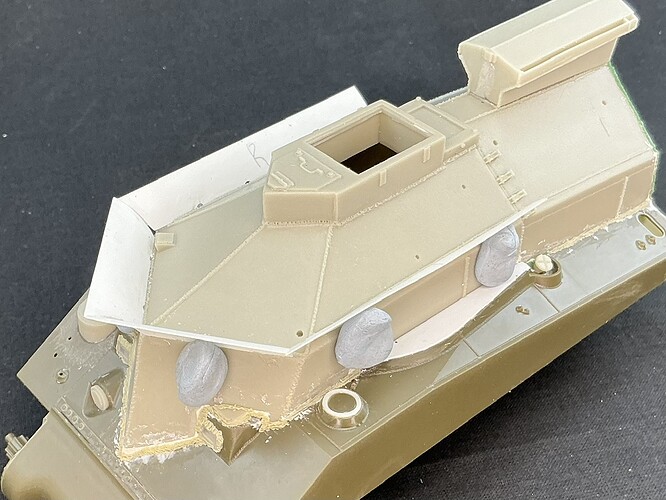
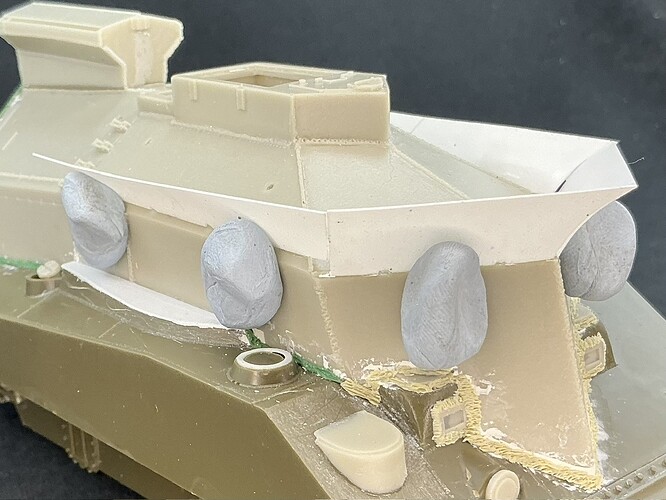
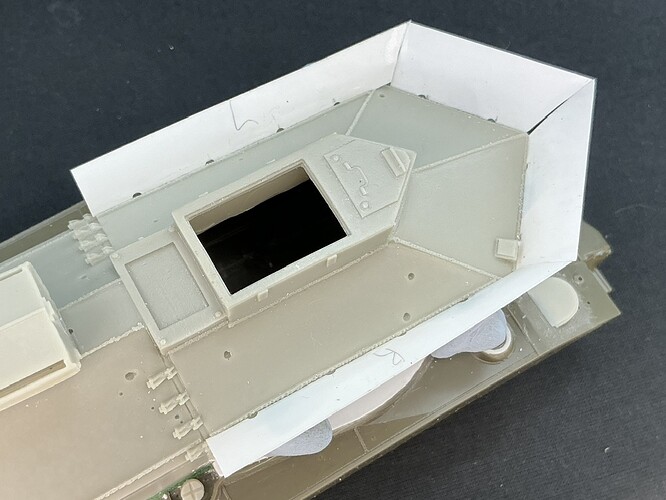
0.25 mm plastic card, onto which I simply put the resin parts and cut around them with a sharp knife. I then curved them by pressing them around an aluminium knife handle with my fingers, for which you need a much smaller diameter handle than the curve in the parts, because they bend back quite a lot. A bit more fettling later and they fit well enough, the Blu-Tack supporting them in the right position, of course.
The drainage holes in the underside are in different positions than on the Resicast parts, because I took their locations from the pictures of the real BARV I linked to before. The ones in the front plates were made with a round file, because I forgot to add them before bending the parts. Those on the side plates were made with a punch and die before bending, by making a mark where the hole was to go and putting both parts into the die at once, then punching out a half-hole out of both at the same time.
The third plate, at the back, still needs adding but I made a mistake measuring somewhere, so the ones I cut are too low. I’ll add them next time, as I don’t feel like making new ones just now.


