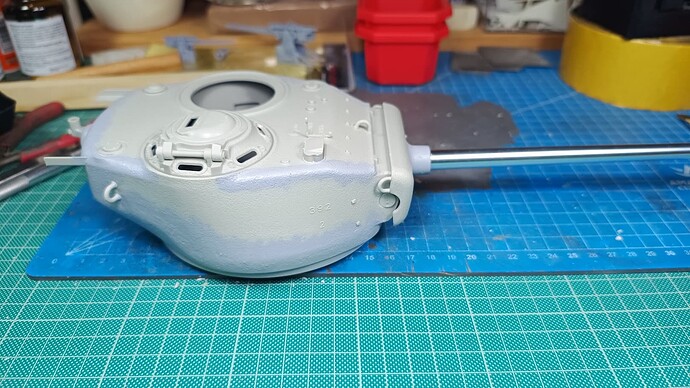
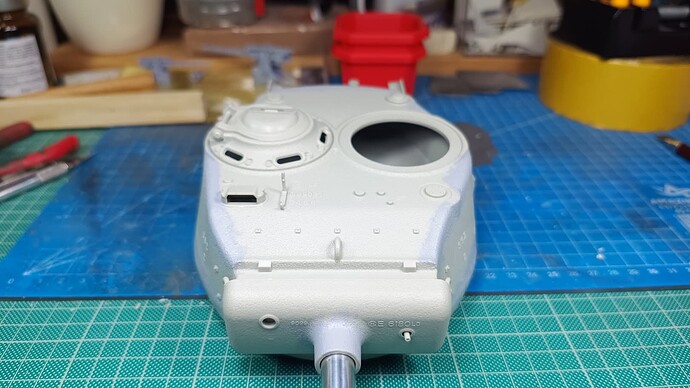
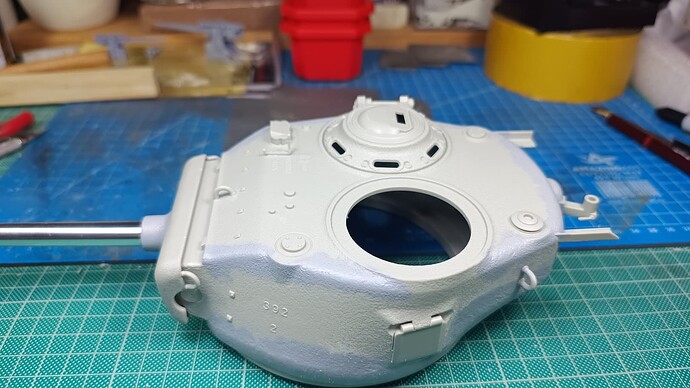
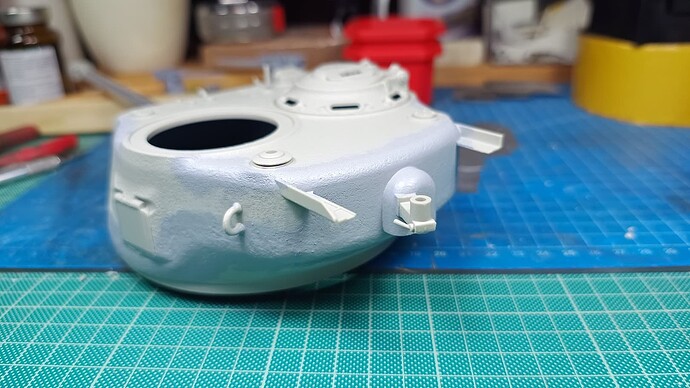
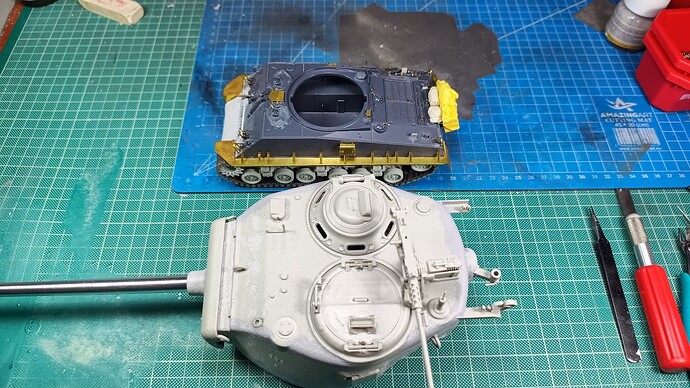
Sherman T23 early turret - 1/16 scale

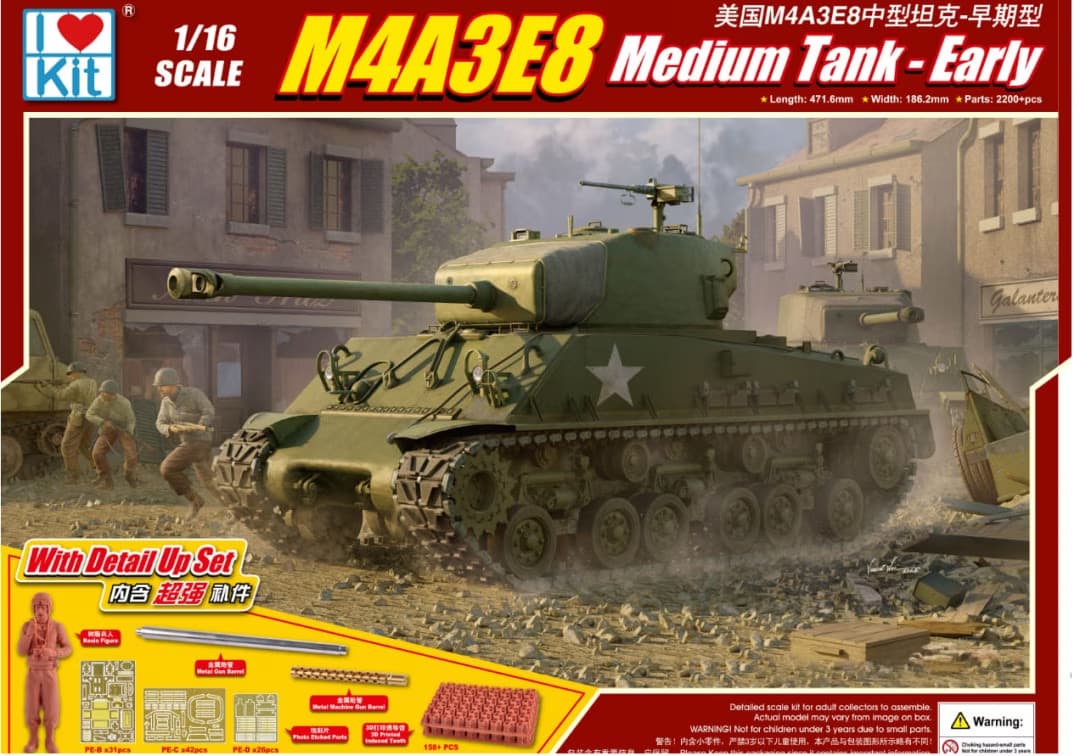
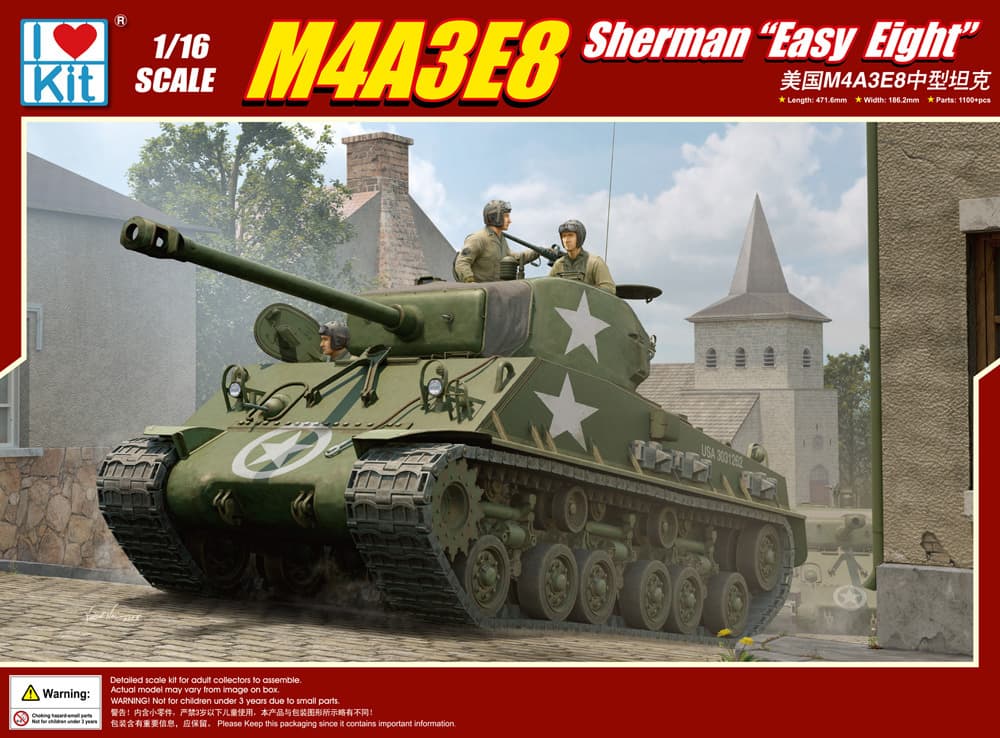
I recently got hold of 2 1/16 scale WW2 Sherman kits from ILoveKit.

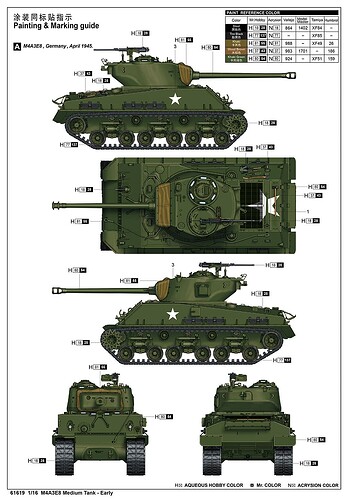
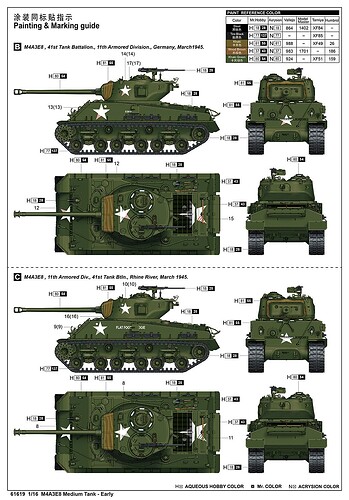
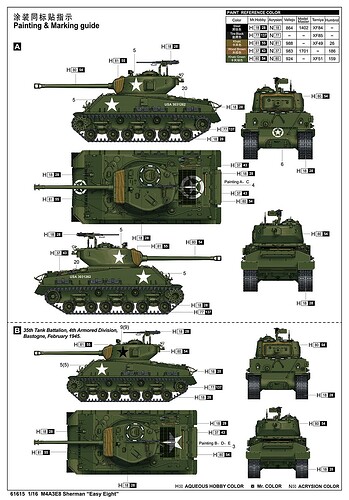
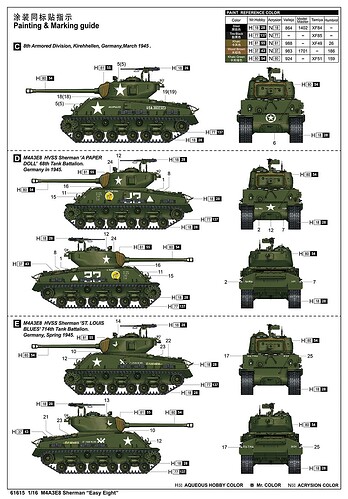
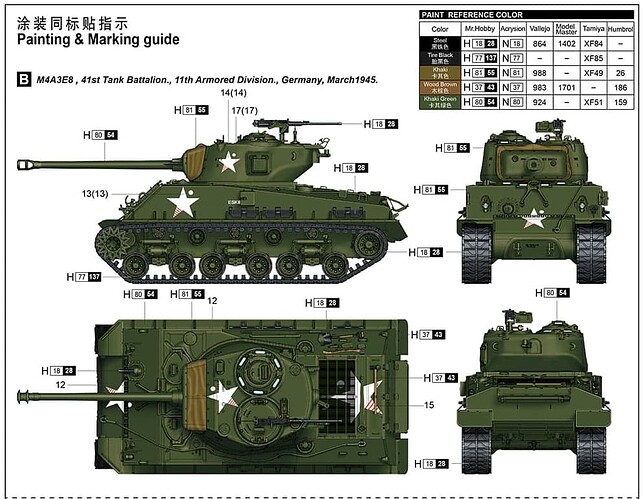
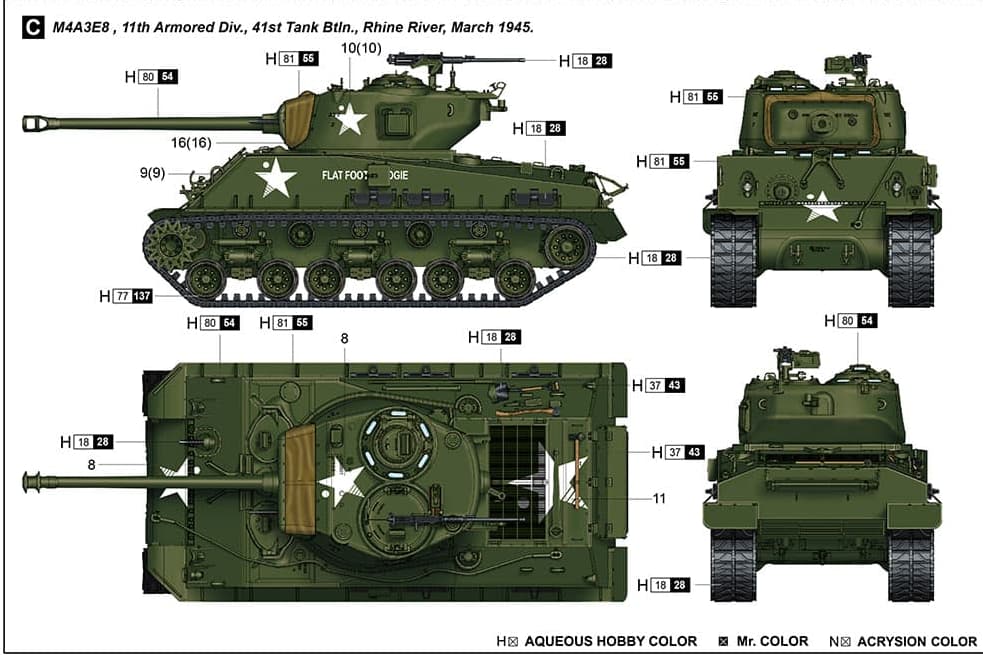
I have yet to decide the exact vehicles I will build. There are decals included for a generic vehicle plus some known photographed vehicles. Below are the markings included in both kits.

Early T23 turret

Late T23 turret

At the moment I am working on the early T23 turret with the split hatch loader’s cupola from the first kit, trying to figure out what needs to be done and how to improve on it. The kit includes extra photoetch parts to be used for some details but this will be discussed on later posts.

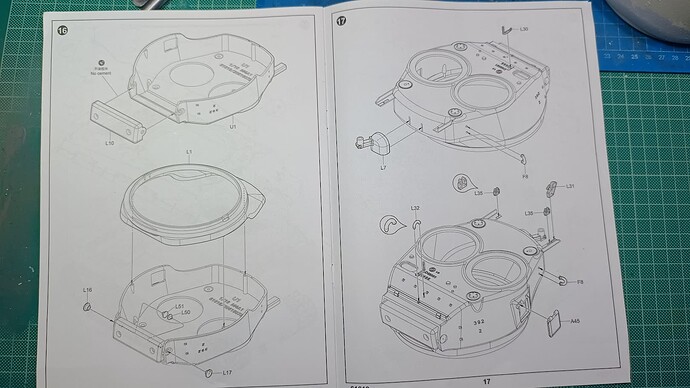
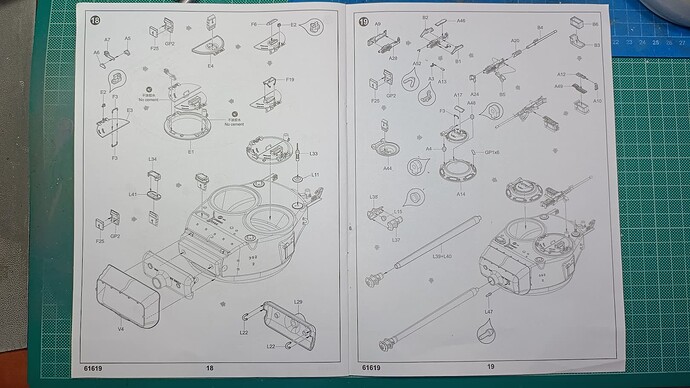
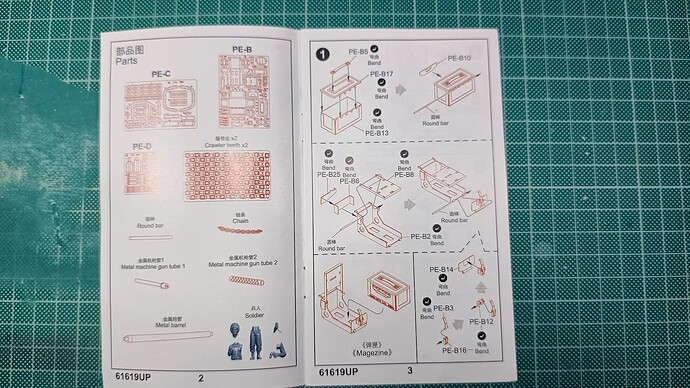
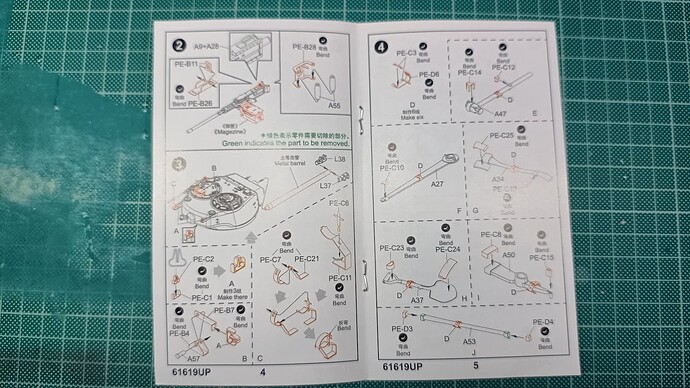
For start, here are the kit instructions for the turret assembly plus the instructions for the photoetch parts.

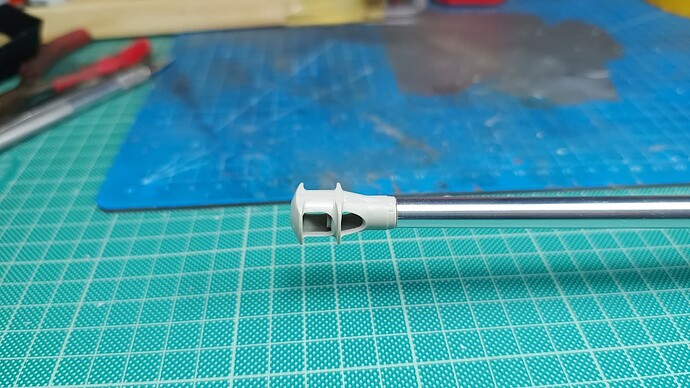
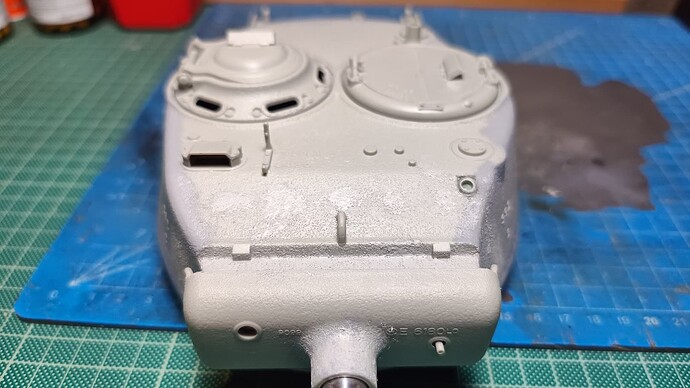
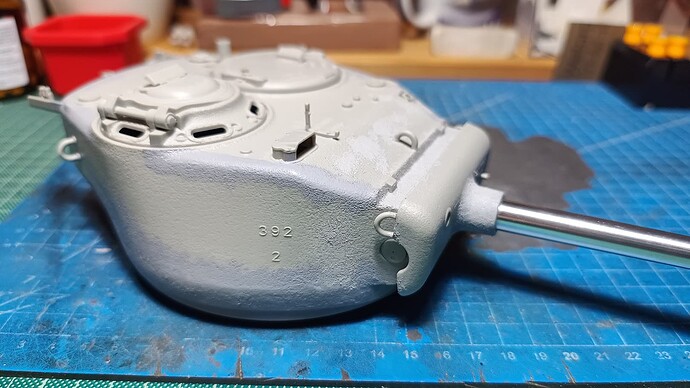
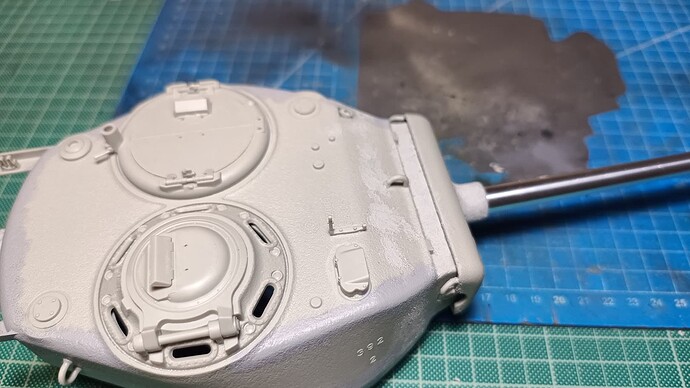
I have completed the basic assembly of the main parts of the turret, plus the commander’s cupola. The turret has decent fit but filling, sanding and retexturing of the surface is required along the lower and upper part seam line and at areas where mold lines were removed. I also textured the exhaust casing at the back and the mantlet neck around the barrel where there was no texture.

At the moment I am looking into the following details and would appreciate any feedback:

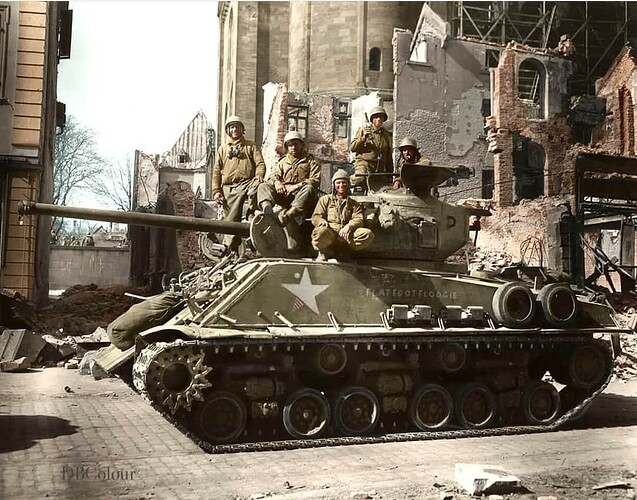
Mantlet cover and its mounts. I am leaning towards building my own cover and not use the rubber one included. But most of the photos though show this type of turret without a cover plus without the mounts for a cover. The mounts are molded but can be easily removed. I have found a couple of photos of early T23 turrets with a cover and the basic mounts, not the more elaborate ones seen on later style turrets.

Photo for discussion purposes, illustrates the type of cover I am referring to:

Turret mounted searchlight. The kit does not include one but I can source one out. I think this was standard issue and it should be installed.

Mortar opening. It can be seen in some photos, not provided in the kit, not even a blanked hole or any kind of detail.

Antenna position and number of antennas. The turret has two positions molded but the kit offer only one mount for the left side. Specific vehicles might have different configurations so this might require photo of the specific vehicle that will be represented.

I will keep working on the details plus try to figure out what is included in the kit that is not shown in the instructions, since ILovekit offers common sprues on most of their 1/16 releases. I would like to avoid purchasing after market stuff if possible.
8 Likes

Looking good so far Nikos … I always find the Sherman variants and Mks a bit of a minefield …

3 Likes

Anyone know if this beast served in the U. S. 11th armored division? My dad served in it during WWII 41st tank battalion company A and if a dozer blade is made for this one.
Just asking

1 Like

Yes it did see service. Decals are included for two vehicles:

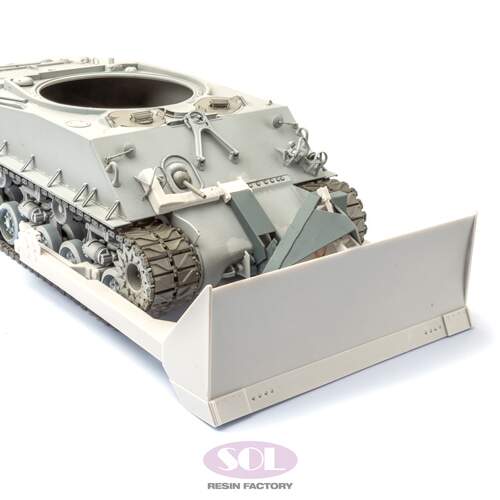
Sol Model offers a dozer blade (and a M50 conversion as well, just saying)

image

Here is the history of A company, if your father is Tec 4 Goldman he was in the command vehicle and he is mentioned twice. :saluting_face: :saluting_face:

http://www.11tharmoreddivision.com/history/A-41st_History.html

5 Likes

Great. Now if I can only build it as a memorial to him he was company A tank was Avenger

2 Likes

Yeah that’s my dad

3 Likes

My dad never told us this until I was back in the states in 83

2 Likes

And thank you

2 Likes

You are welcome. Do you have any photos of the tank? Are we sure it was an E8 not just a M4A3 76?

2 Likes

Not sure and sorry no pics

1 Like

You beat me to it Nikos … I was readying up on it … Fantastic that it mentions your dad Robert @Robert_Goldman … Now that will be a very cool build :+1: :beers:

3 Likes

@Robert_Goldman I did a bit more research into what would be the best possible option for doing Avenger and I think you have the following choices:

The Battalion most probably had M4A3 75mm tanks during the early time frame of deployment. In the link I shared above it is mentioned that the tanks had duckbills installed on the tracks on Christmas day 1944 before moving near Baalons, France. In the actions that followed the next days a tank from B company was hit. It is this one:

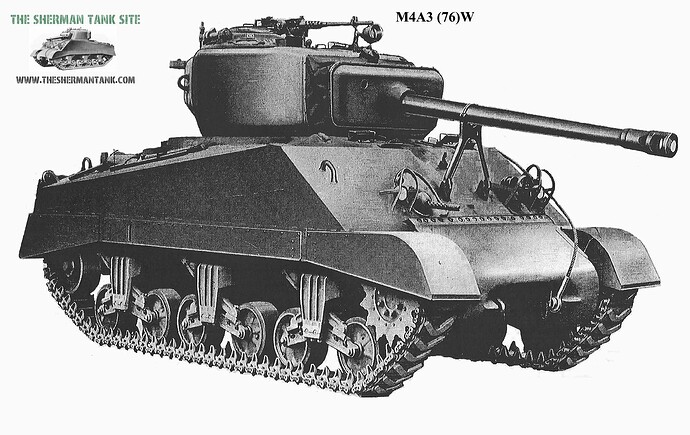
So we know that B company had M4A3 75mm tanks and it might be safe to assume that this was the case for A company as well. They received replacement tanks some days later and it says that they fired a lot of 76mm shells so they either got M4A3 76mm tanks or M4A3E8 76mm. There is this video showing the procedure of whitewashing the tanks in Bercheux, Belgium; January 11, 1945. The tank is a M4A3 76mm. So both cases are plausible.
They still had some 75mm tanks until mid February, as this photo shows

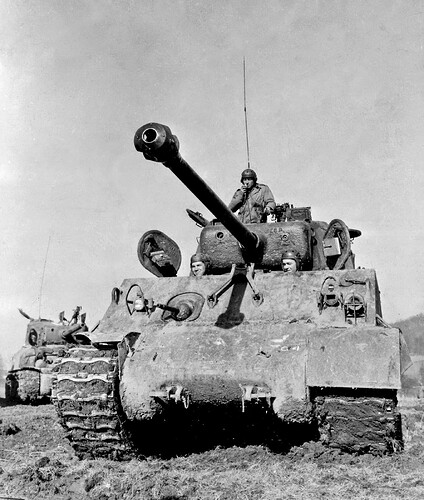
The 11th Armored started receiving M4A3E8 tanks in late January of 1945, which I assume replaced losses. In mid to late March they started installing extra armor on their tanks following orders from General Patton.
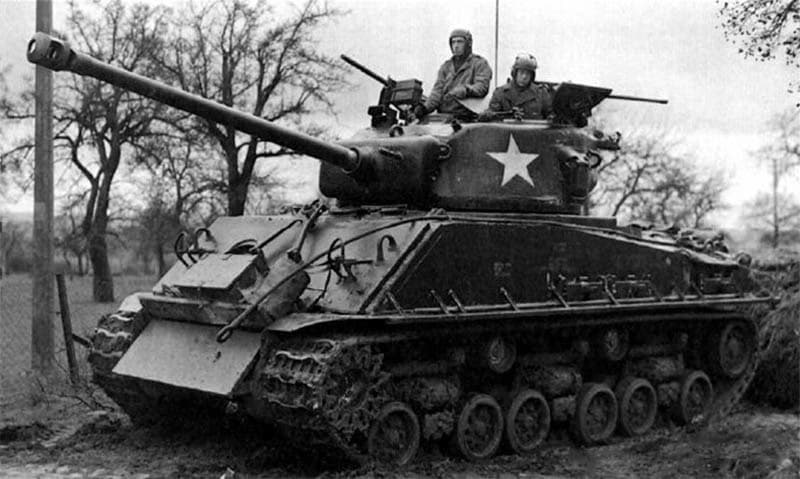
So a M4A3E8 is possible as an option for A company in Germany, similar to the decal option for tank Eskii in the kit.

For a later vehicle you can add the extra armor as can be seen in this photo of a tank from the F company

That is all I could find, perhaps other people can dig up more info.

So to sum up, you have the following options:
For late December a M4A3 75mm VVSS with duckbills.
For January and later either a M4A3 76mm VVSS with whitewash or a M4A3E8.

Hope I helped… :saluting_face: :saluting_face:

4 Likes

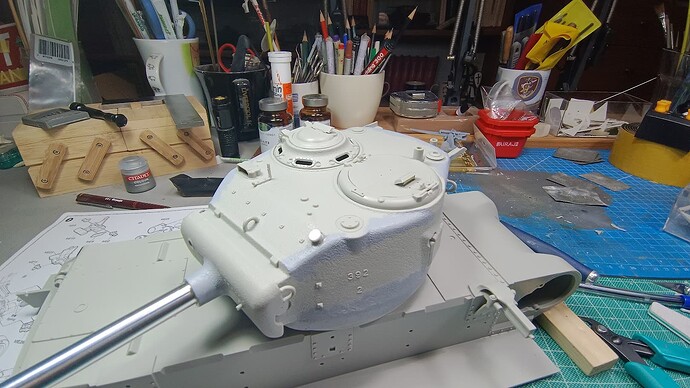
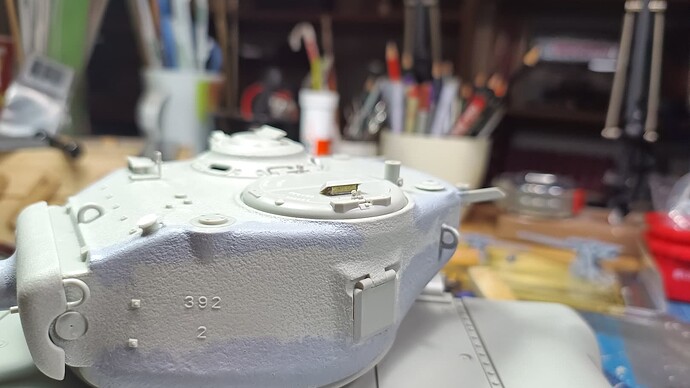
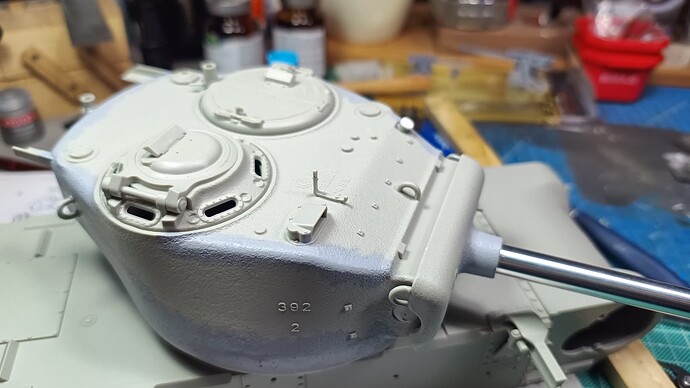
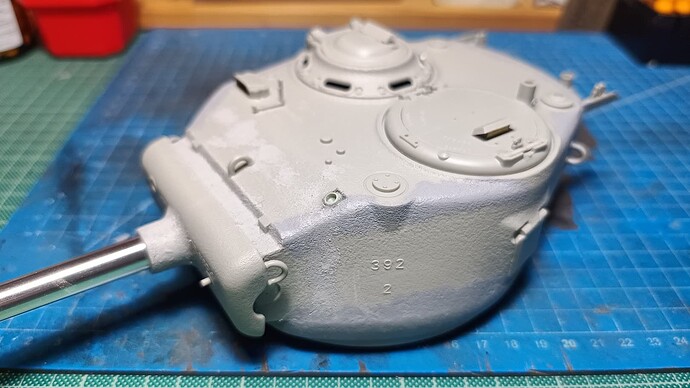
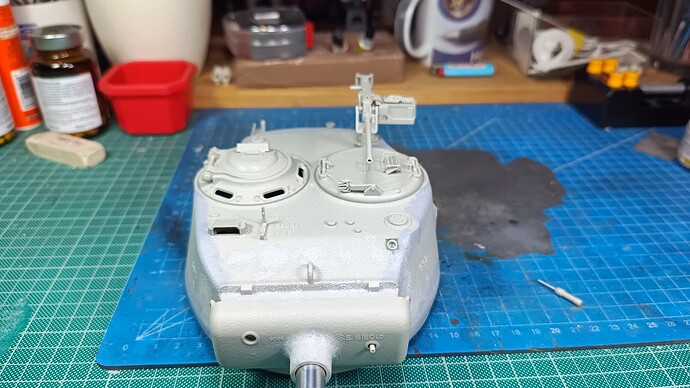
Now back to the build, I added the mortar and the cupolas to the turret. The periscopes were masked for painting. I left out the gunner’s sight periscope since it can be added after painting.

5 Likes

Thank Brother you are amazing …

3 Likes

Now get to it !!

2 Likes

I’ll most likely buy the kits but unless the docs can cure the nerve damage I’ll end up leaving it to me grandson …

3 Likes

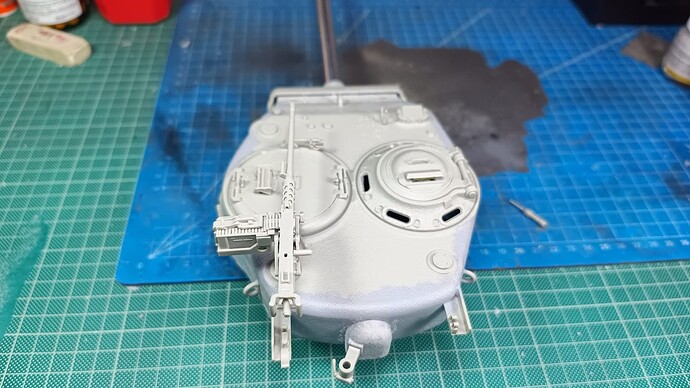
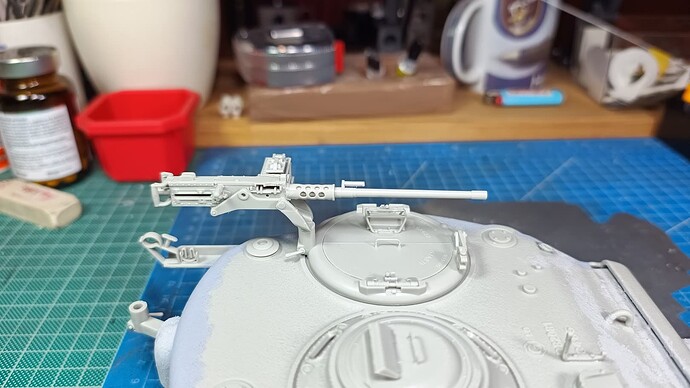
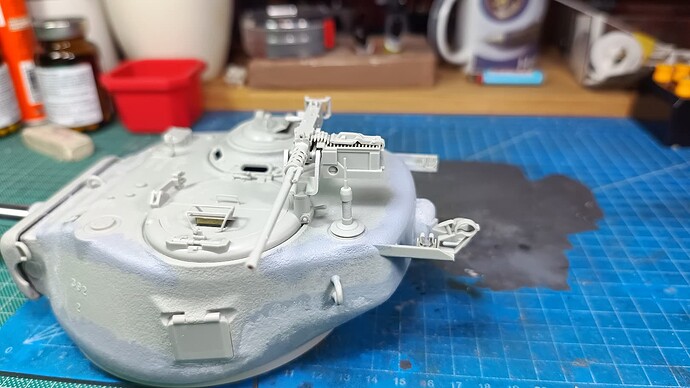
I continued to work on some of the turret details. Since almost all of the photos of M4A3E8 in WW2 show them without canvas covers I decided to remove the molded on mounts. I also cut the mortar cap since it was a late war addition. I textured the surface a bit and now I need to work on the weld lines and complete the assembly of the .50 cal and the rest of the details.

I am still undecided about the antenna position.

5 Likes

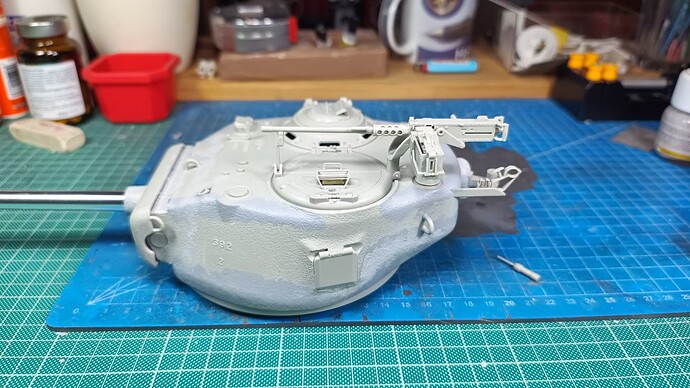
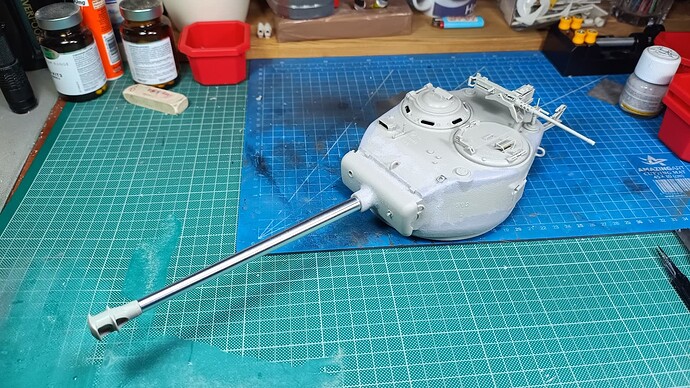
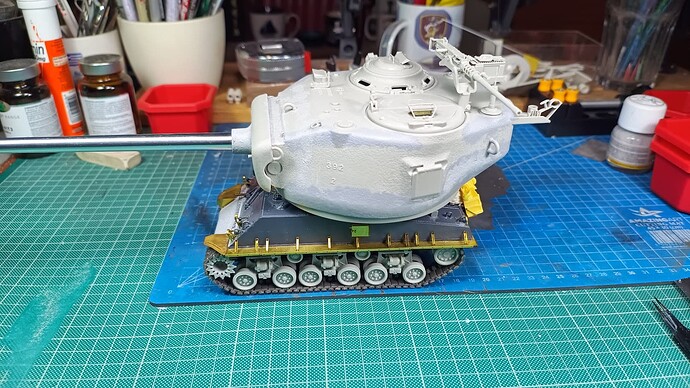
Assembly is almost complete, the antenna position is left to be decided because as you can see the .50 cal has clearance issues as it stands. I think the best option is to move it to the rear right side of the turret and blank the left side mount.

And a dry fit to the hull… something is off by the looks of it

It is a huge model, you better stock up on olive drab cause I am about ready to order some and prices might go up due to demand…

5 Likes

Those are great pics, nice build too!

3 Likes

I like this :joy:

3 Likes