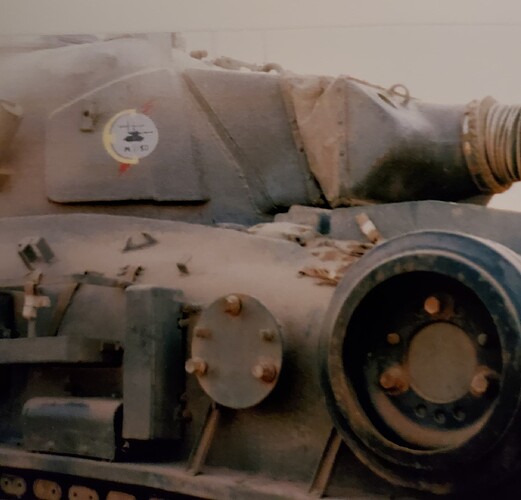
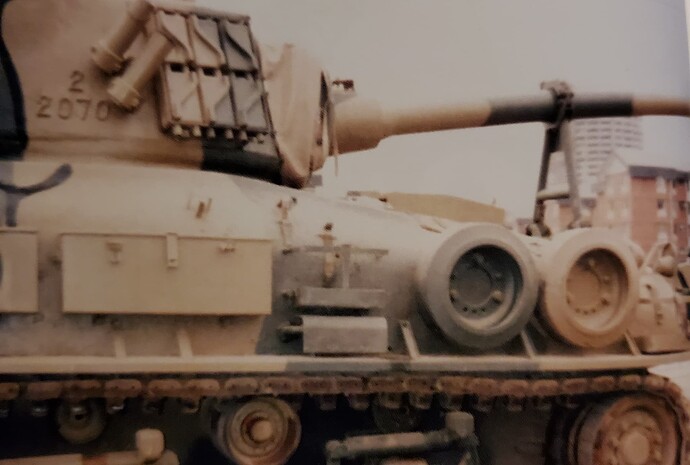
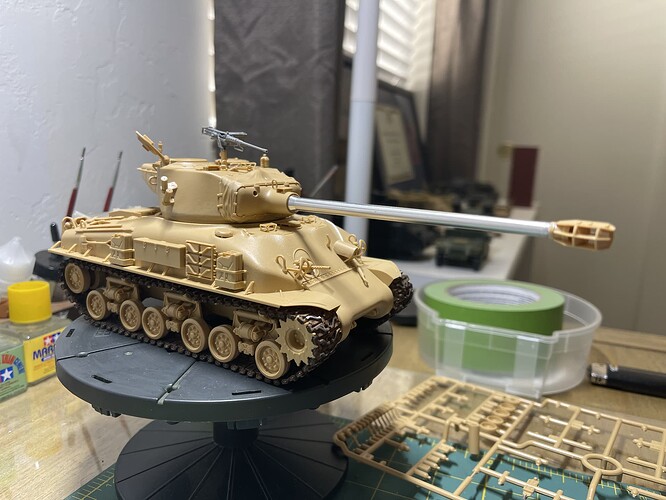
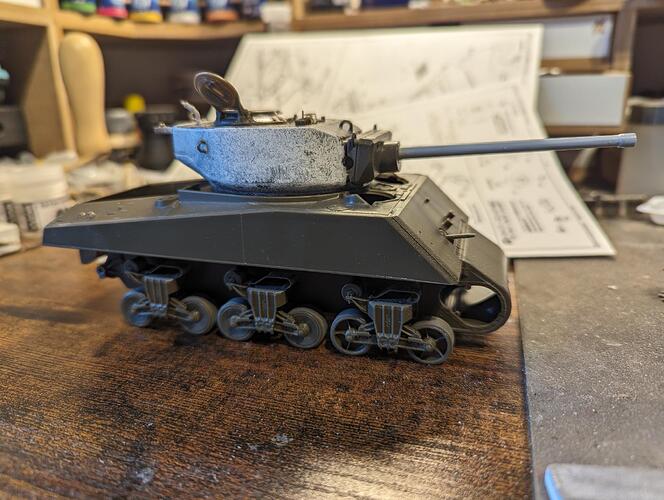
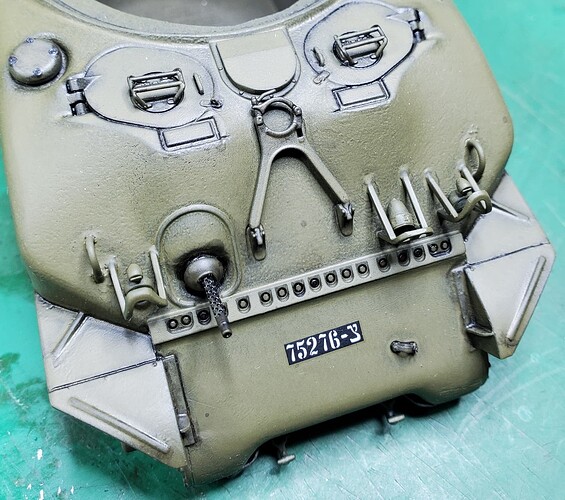
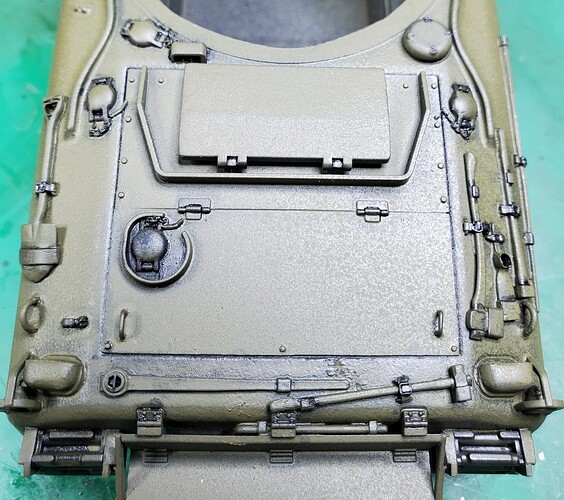
I’ll be tackling one of these Chilean bad boys during this campaign. While the aux generator is now inside the engine compartment for HVSS Shermans and the exhaust tube is now coming through the left side of the hull, there is what seems to be a configuration difference for the Chilian versions. The first pic is the 60mm M50, with a boxy vertical/horizontal configuration just aft and below the jerry can stowage bracket. The second pic down is the M51 with just the normal boxy horizontal configuration just below the jerry can stowage bracket. Why the two vehicles show different configurations of the exhaust tube is not explained in Tom Gannons’ book “The Sherman in the Chilean Army”. None of the IDF M50’s show this Chilean configuration from all the photos I’ve seen. For the modeling of the Chilean M50 60mm, I am good with the photo evidence that vehicle shows, but if anyone can explain further why the configurations of the two vehicles are different, then by all means share it with the group!
Since this is the first campaign I’m joining, do we post our progress and results here, or someplace else?
Here, one thread for all the builds
I’ve been posting, along with others, our progress of builds right here.
This is the place!
Michael ![]()
![]()
Well, we’re off to the races.
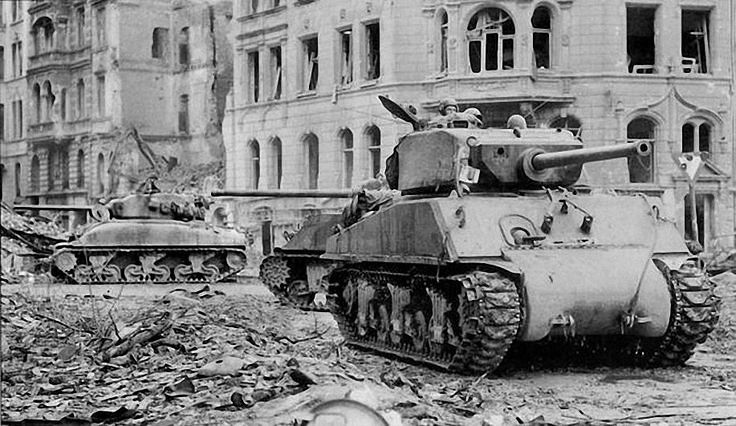
Asuka M4A3E2 I had in the stash. I’m building it as a vehicle of the 3rd Armored Division, that was photographed in Cologne. This tank was upgunned with a 76mm gun. I’m planning to give it an M2 coaxial as well. Not all upgunned tanks had this, and it is impossible to see in this picture. And the absence of evidence is not evidence of absence and all that.
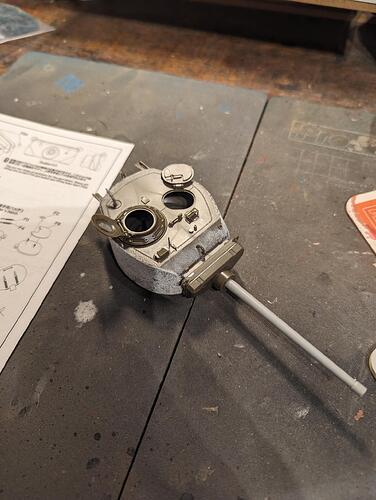
Base model Asuka, barrel from a Dragon kit that I had in my spares box (includes rifling, yay!), antenna base is a 3D printed item. More goodies will be included along the way.
@ColinEdm looking great!! I hope mine turns out half as good!
I did not know Asuka had released a Jumbo! ![]()
Now I need this…

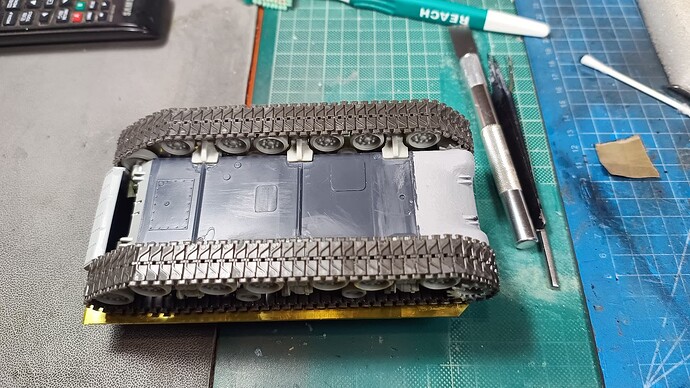
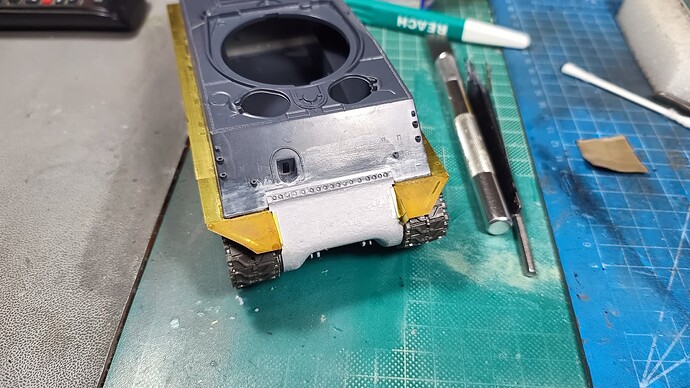
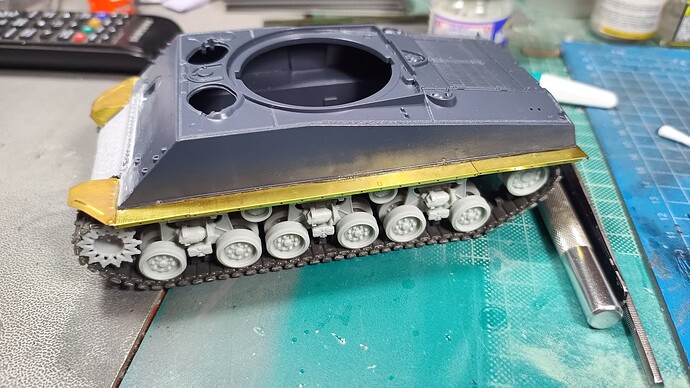
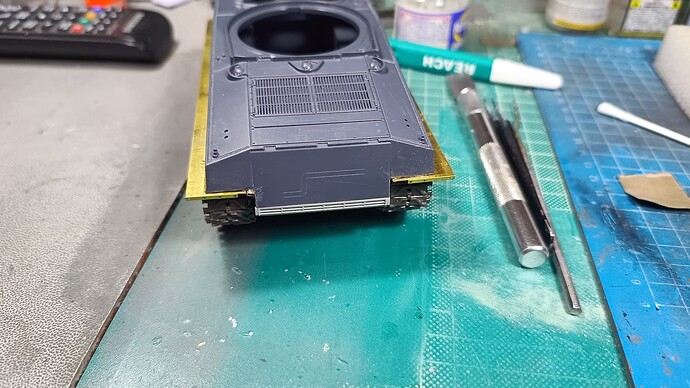
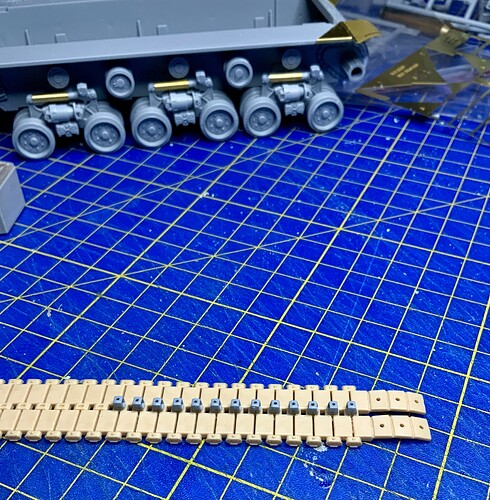
I finished the tracks on mine, I wanted to fit the fenders in order to check for dimensions etc. I think the suspension should be 1-1.5mm outwards. I will try to fix that on the next build.
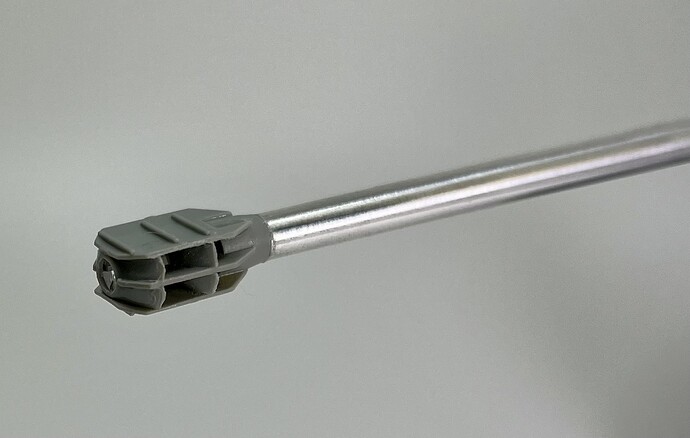
I’m not using this ones as an entry (I have a couple others), but I used a similar setup when i build my M51; though i used the kit’s stock muzzle brake.

Well hopefully I’ll get this done before the deadline… but with my record… LOL
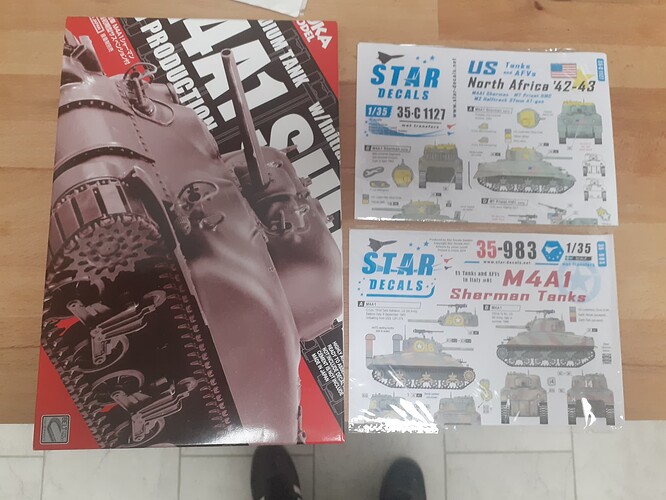
Asuka Early M4A1
I’ve scraps of old etch sets to use but threw so much away when my roof leaked and I had to shift everything out so not sure what I have in the way of sand skirts etc
considering both options out of the Africa decal set or option A or A1 out of the italy set though I’m loathe to spring for a set of deep waders from Heavy hobby and the Eduard ones are like hens teeth.
Still its early days and plans could change. I did see a nice British scheme today pre El Alamein.
So used to playing in 1/16th now this seems tiny.
Keith
Tiny update.
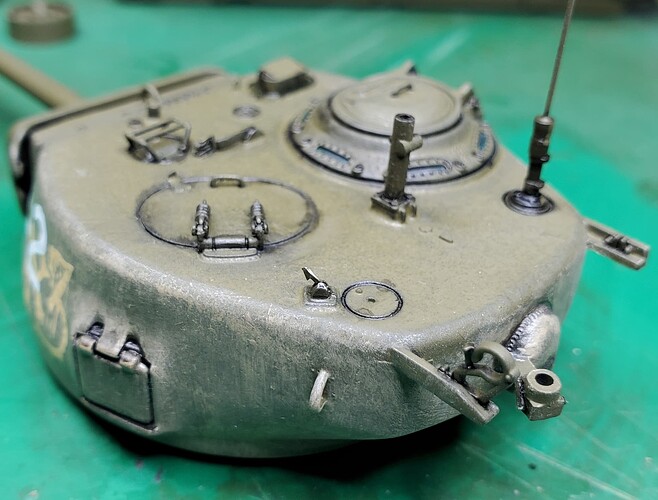
Applied ever so slightly some Tamiya black panel line accent color to the turret. Might look rough at the moment, but not to worry, all of it will be blended in when sand weathering is applied along with pastels.
It’ll look really nice. i can already see it. ![]()
Happily plugging away on the upgunned M4A3E2. Started on the hull and suspension. Since the Asuka suspension is fully workable, it was easy to give the Jumbo her signature nose heavy look.
I agree. Taking one look at tracks that required as much work as the kit itself is not for me. I go metal almost every time before I’ll to that again.
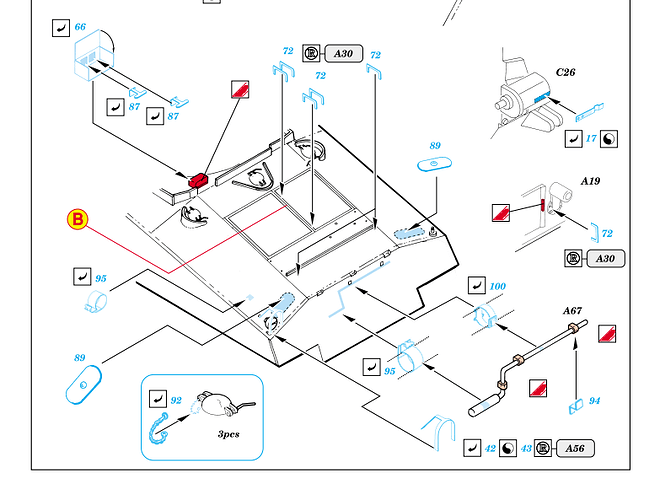
Am I correct in thinking that I should not add PE parts 89 on my Korean War Sherman and that I need the square engine bay door supports (for when opened) left and right?
