Very useful comparing pic; looking for paint!
1 Like
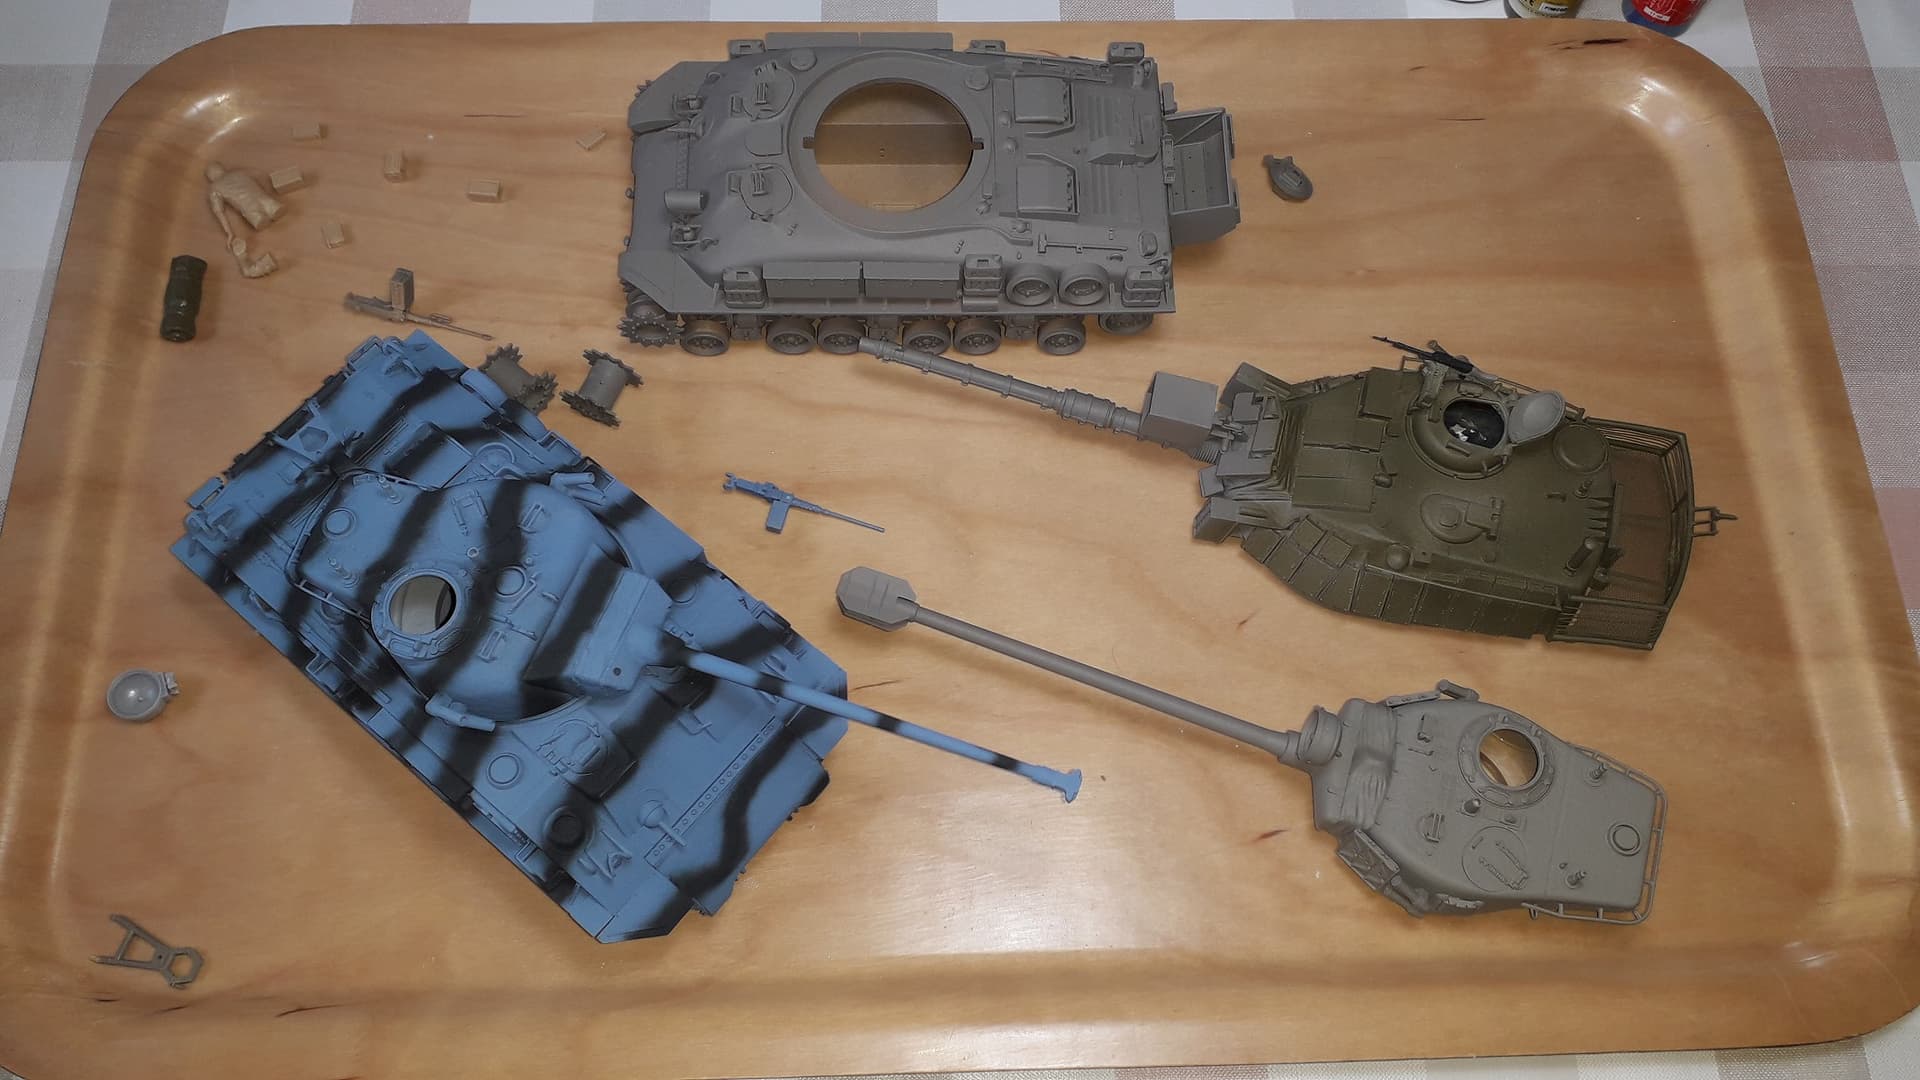
And paint I did!
Twice!!
because I messed up by mixing up. I ended up grabbing the wrong jars, so the M51 got the paint that was meant for the M60-turret, which got a dose of the green I used for the Australian M113.
The blue is from a 15+ year old Union Blue Andrea-bottle, which had small lumps in it and thus jammed the airbrush. Did come out quite ok, though. The black stripes are Tamiya NATO black. Which turned out to be too broad and too few. But I’ll leave it like that.
So I had to redo the M51 with German camouflage beige and M60 in Sinai sand grey.
9 Likes


What a beautiful conversion! The El Alamein Sherman II will always be one of my top Shermans because it was the first version to be used in combat. The Brit desert look with it’s colors even the ones without Camo look amazing and blanket bin, side skirts etc…
Can you post some video of it running?
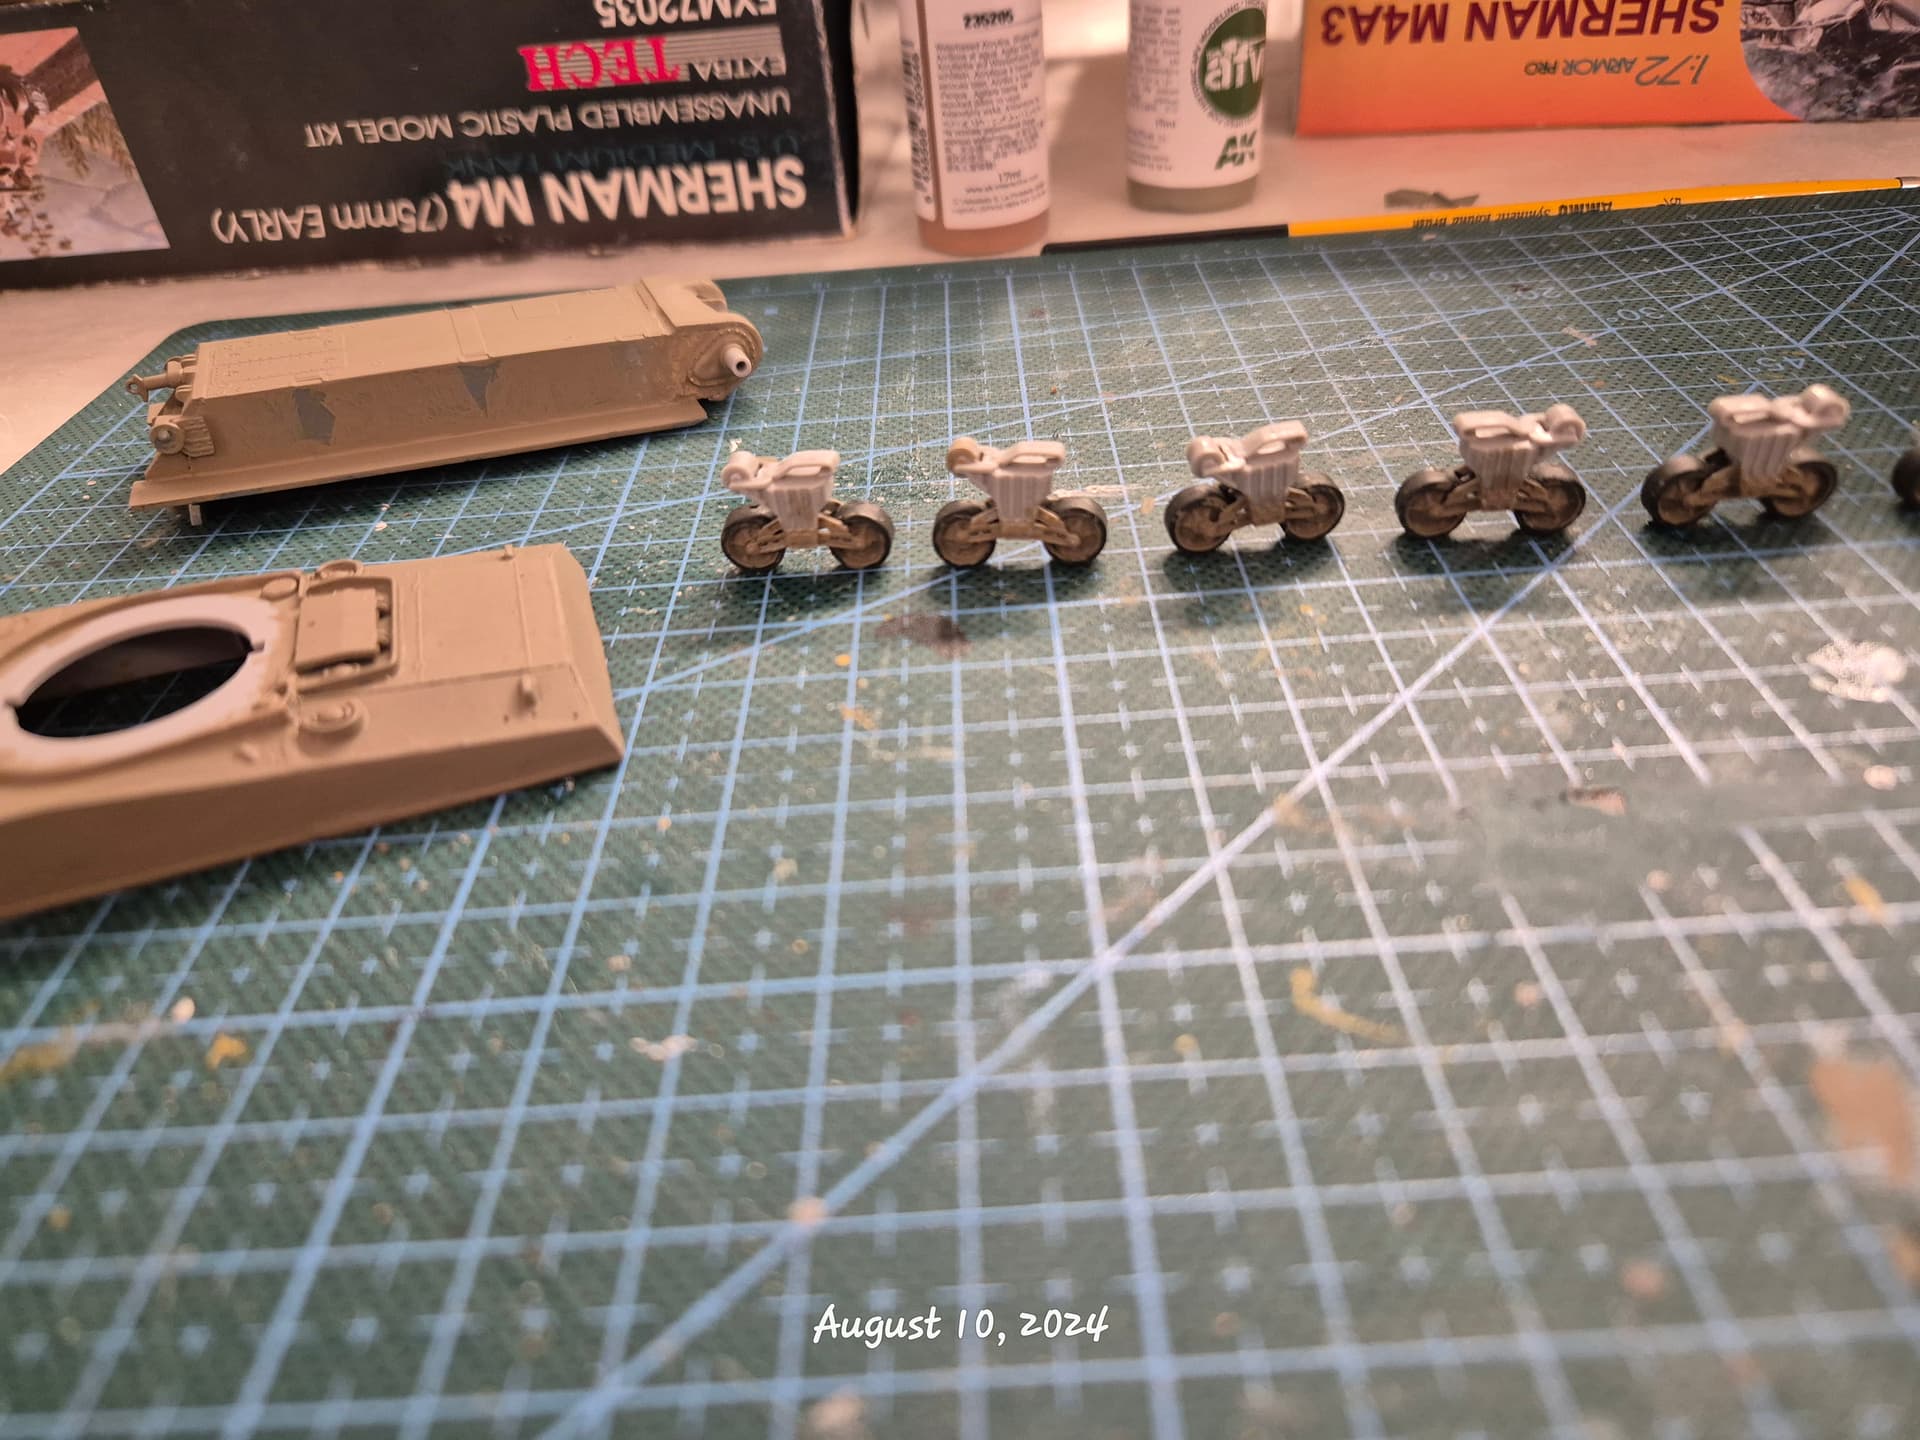
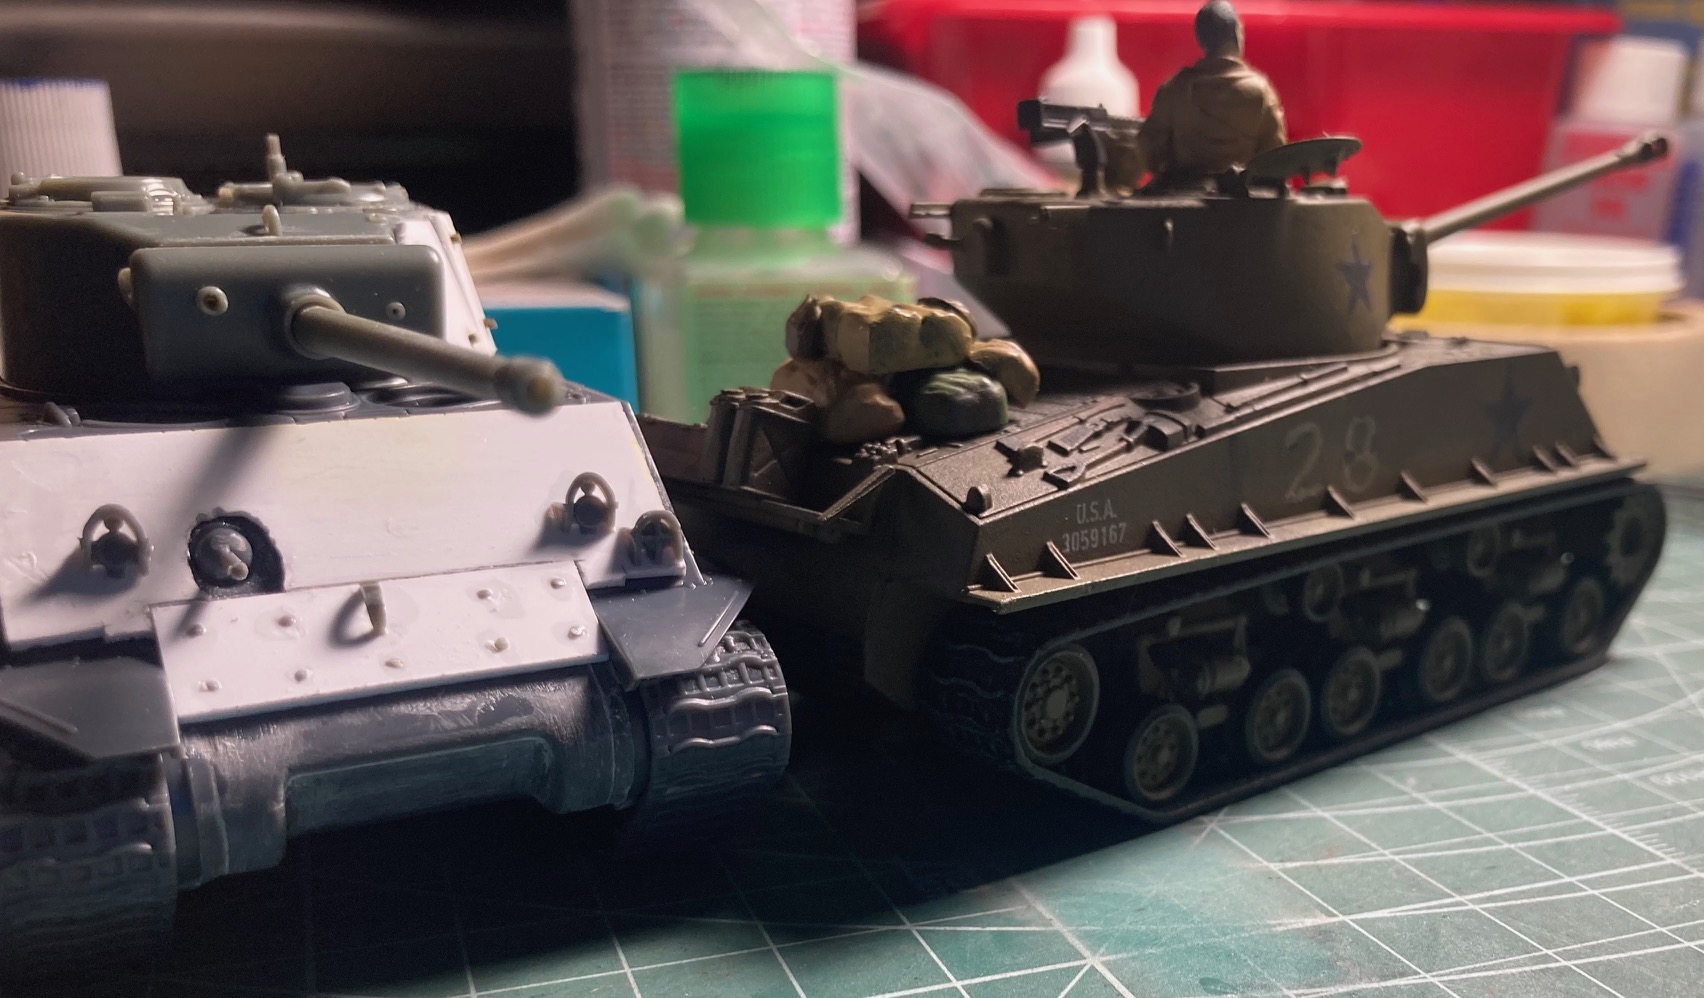
These little 1/56th tanks are a nice break from my RFM early M4A3 76w HVSS kit that I’ve been building on and off for the last 5-6 months. I think the RFM kit has more parts in the provided interior gun detail than these little guys have in the entire kit, LOL.
I’ve found that building one of these little guys over the weekend rechargers my modeling battery from the fatigue of building highly detailed kits. You can build one of these OTB in a few hours and then paint it the following day and they’re really fun to look at if you can overlook the simplified details, molded on tools, etc.
My son and I normally build the Rubicon 1/56 scale Shermans but I wanted to try these little Italeri M4A3E8s out to see what they’re all about. What I’ve learned over the last week after building two of them is that they’re a bit harder to build than the Rubicons. I’ve noticed that even the Italeri promo pictures of this little tank show a lot of gaps in the tracks and other areas. I was wondering if I could build one just a tad cleaner with the tracks looking nice. I’ve always been an average to below average modeler but now age has become a factor too, shaky hands, eyes are a mess etc. Anyways, here’s some of the things I learned from building these little Italeri E8s.
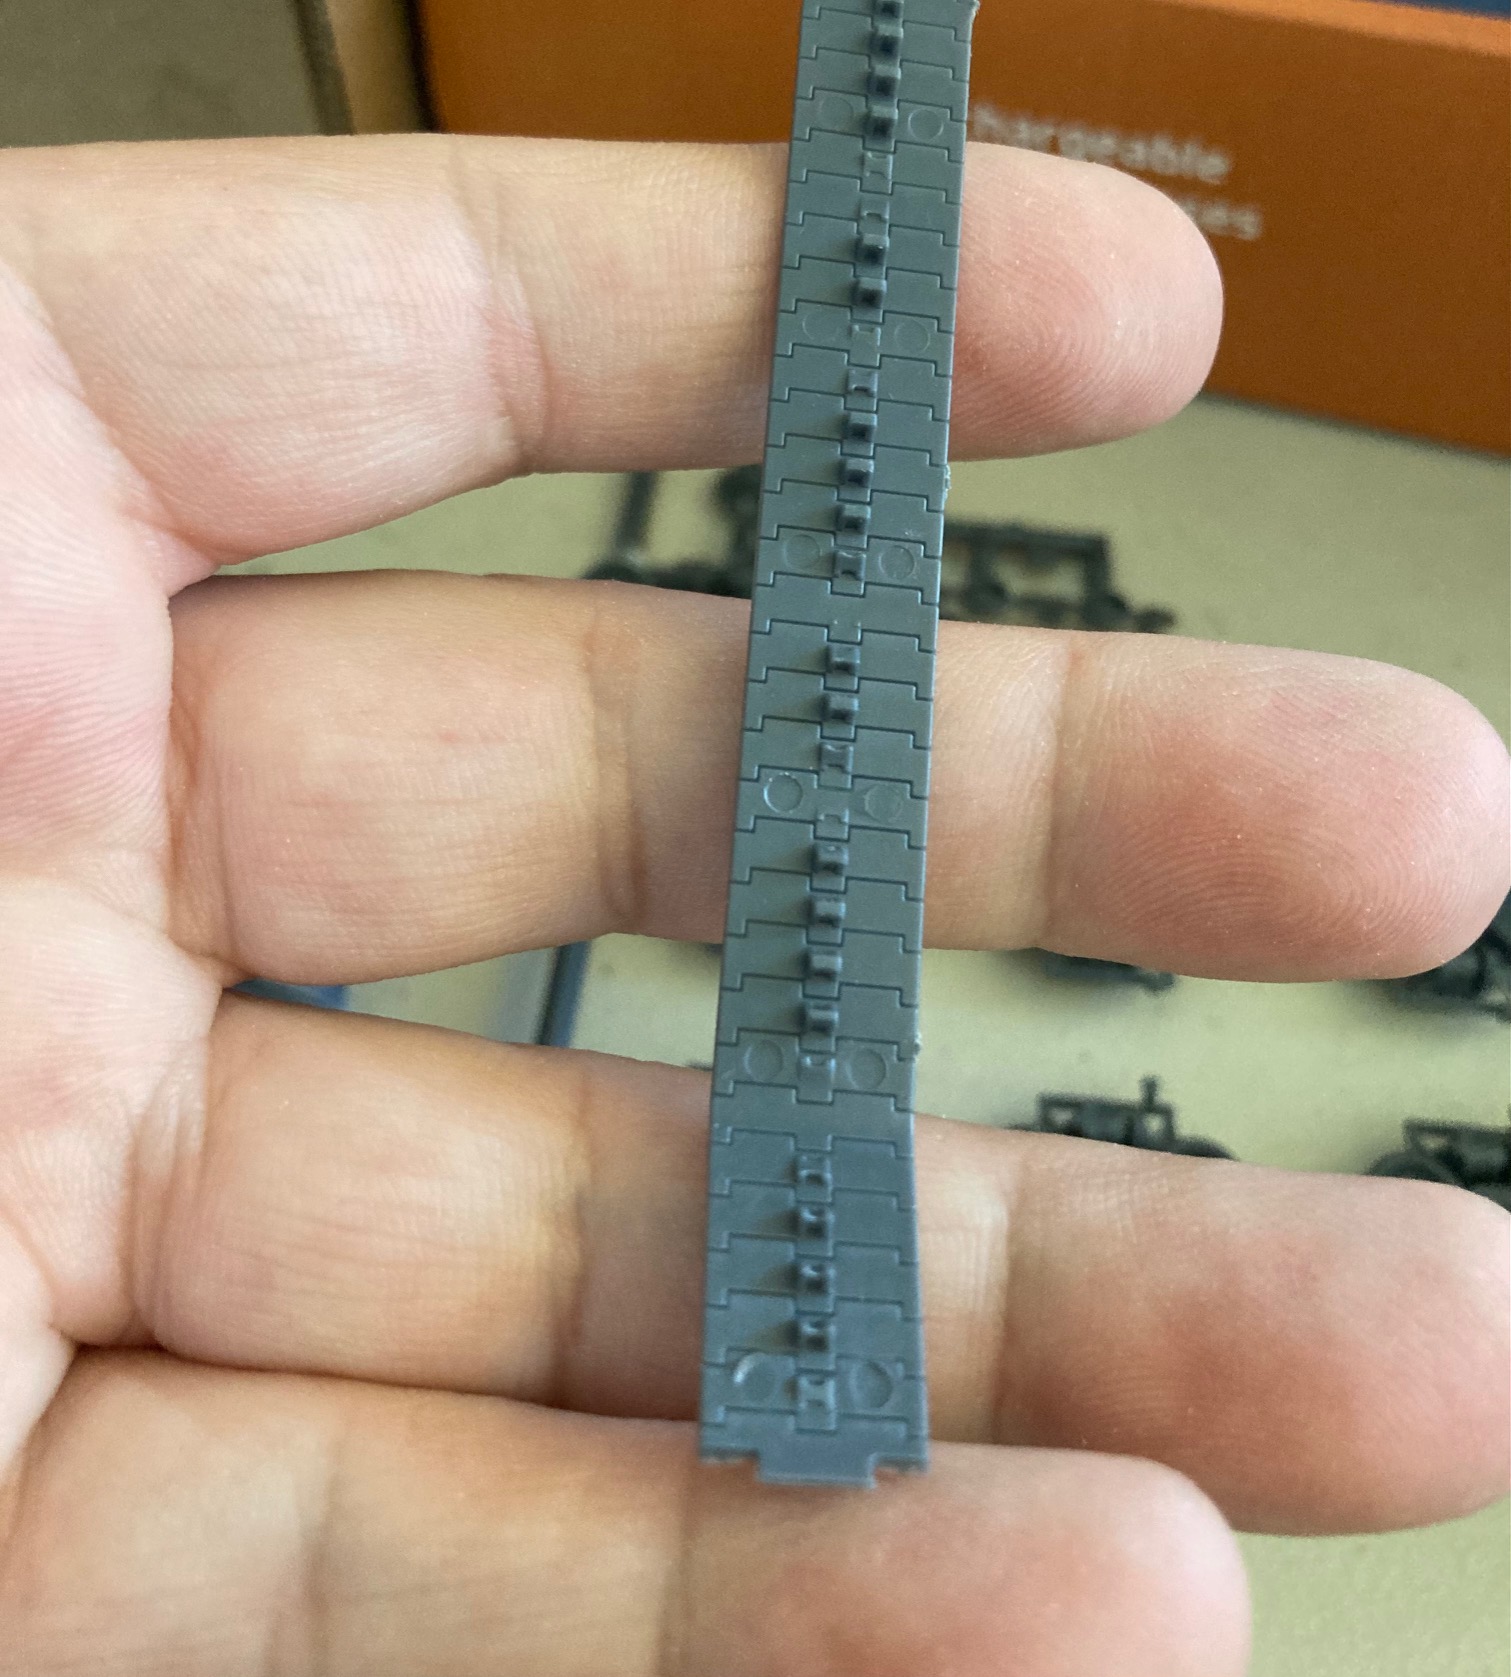
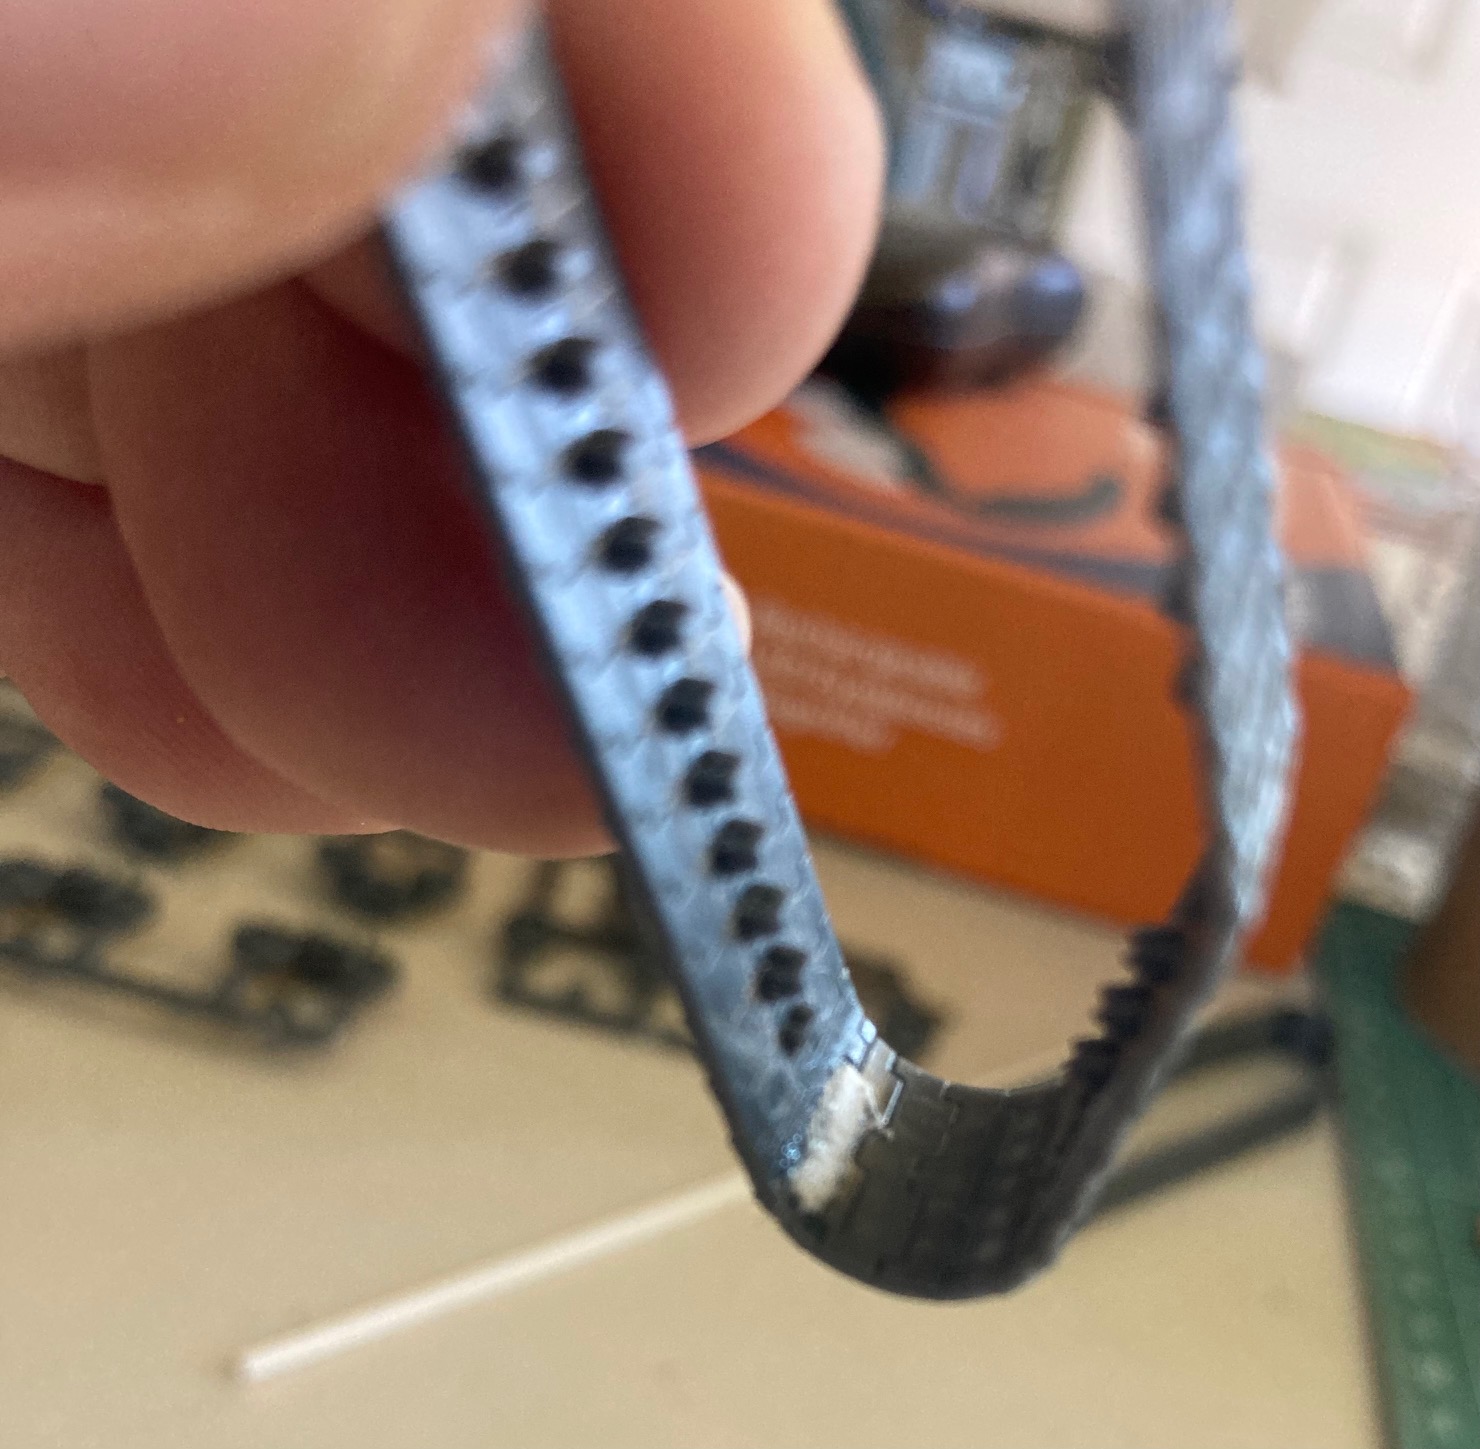
- Don’t build the tracks the way it says on the directions to build the tracks! It’s literally impossible to build them the way they say to build them without ending up wit gaps in the end. The insides of the little T-66 tracks need some sanding on all four of the pieces it takes to make one side. Also, the tabs on male end that slides into the slot has to be reduced slightly to close the gap properly.
- I glued mine separately then I reinforced the fragile joints with very thin pieces of sheet styrene that I had flattened even more. Basically used it like welding.
4 Likes
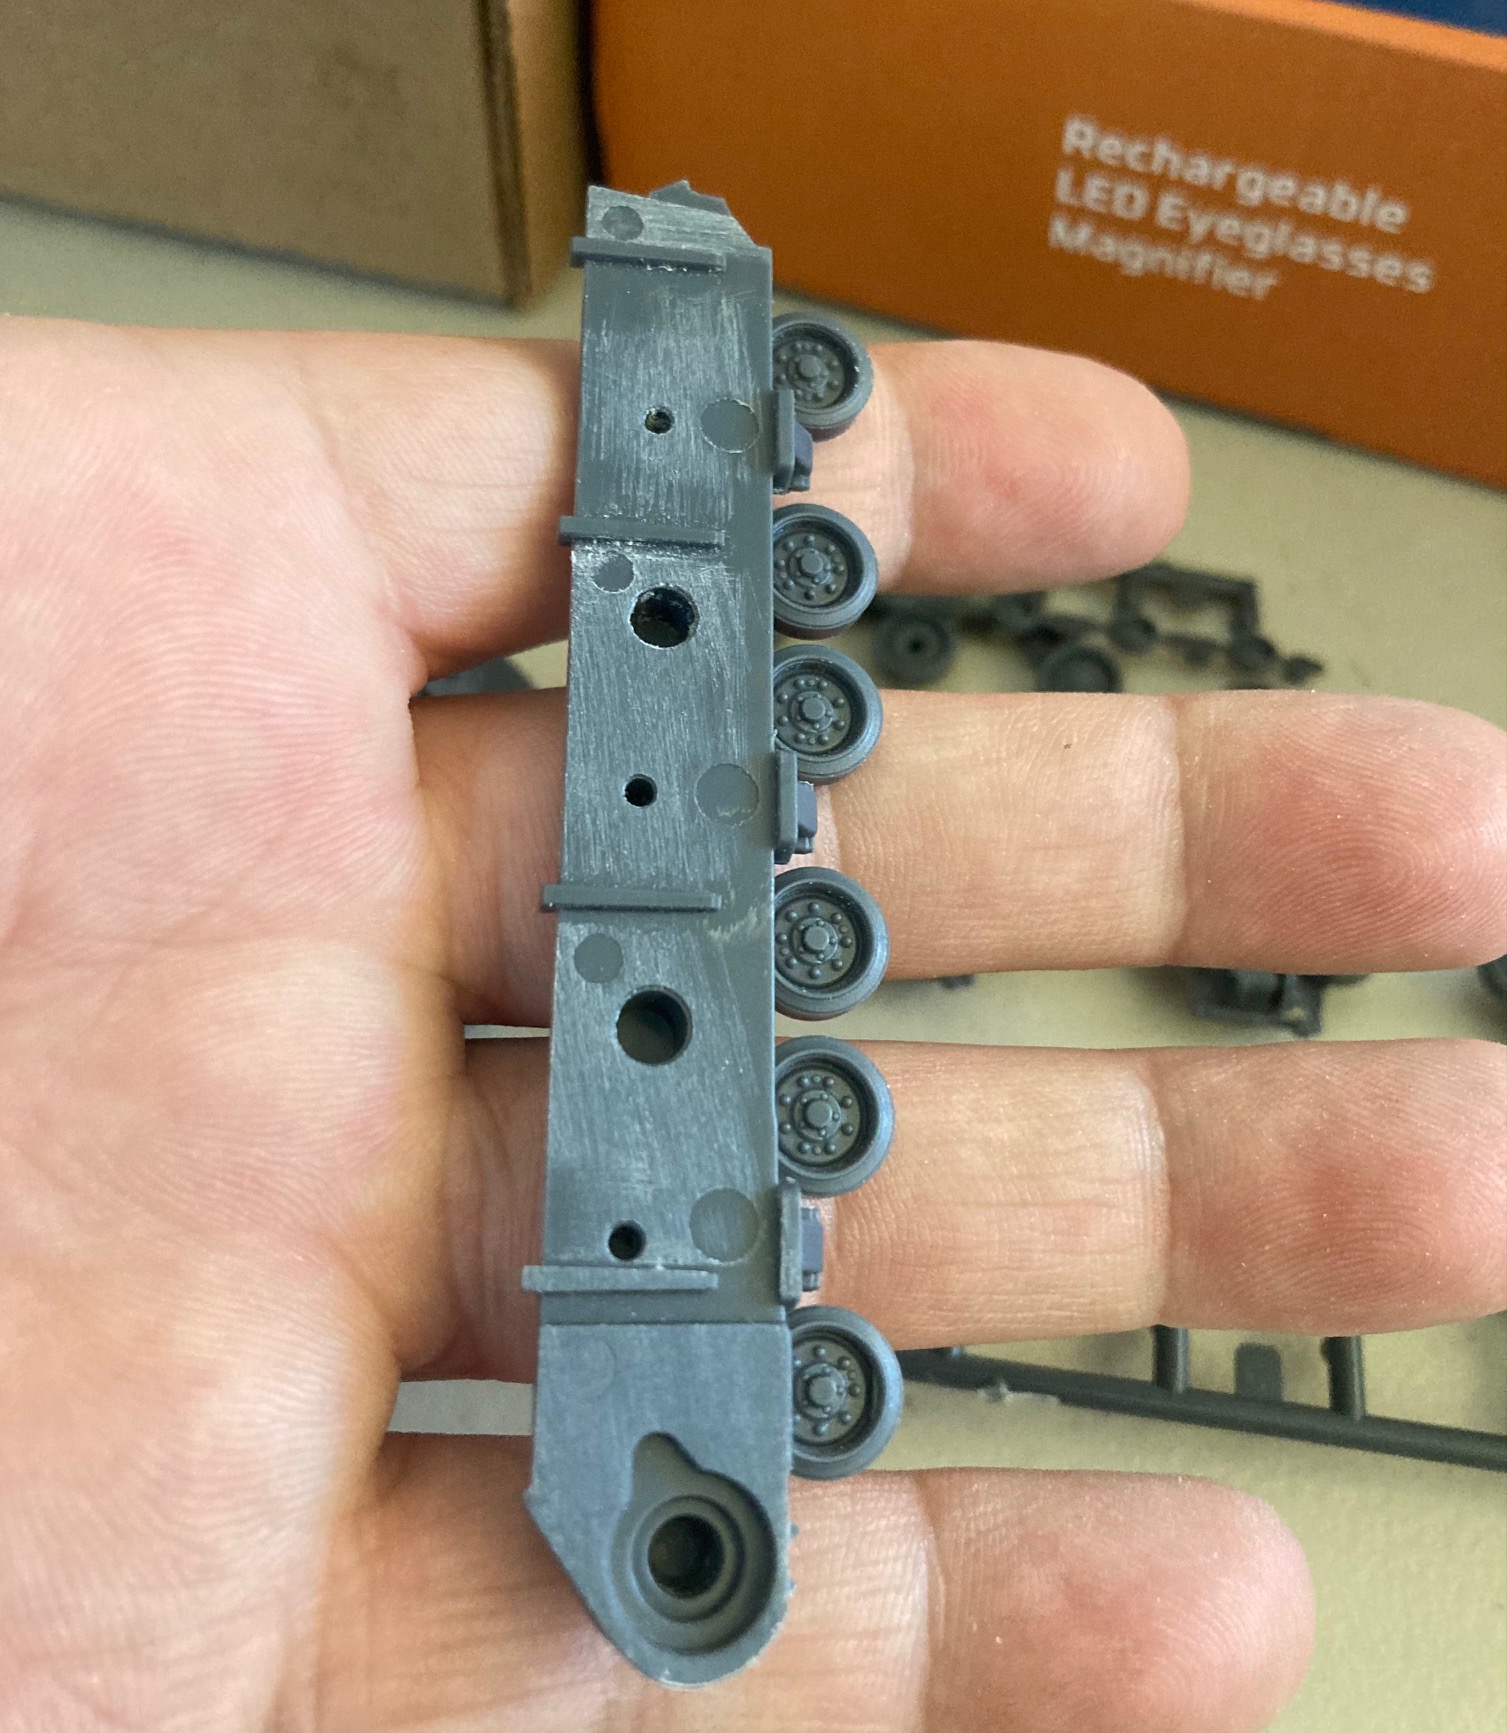
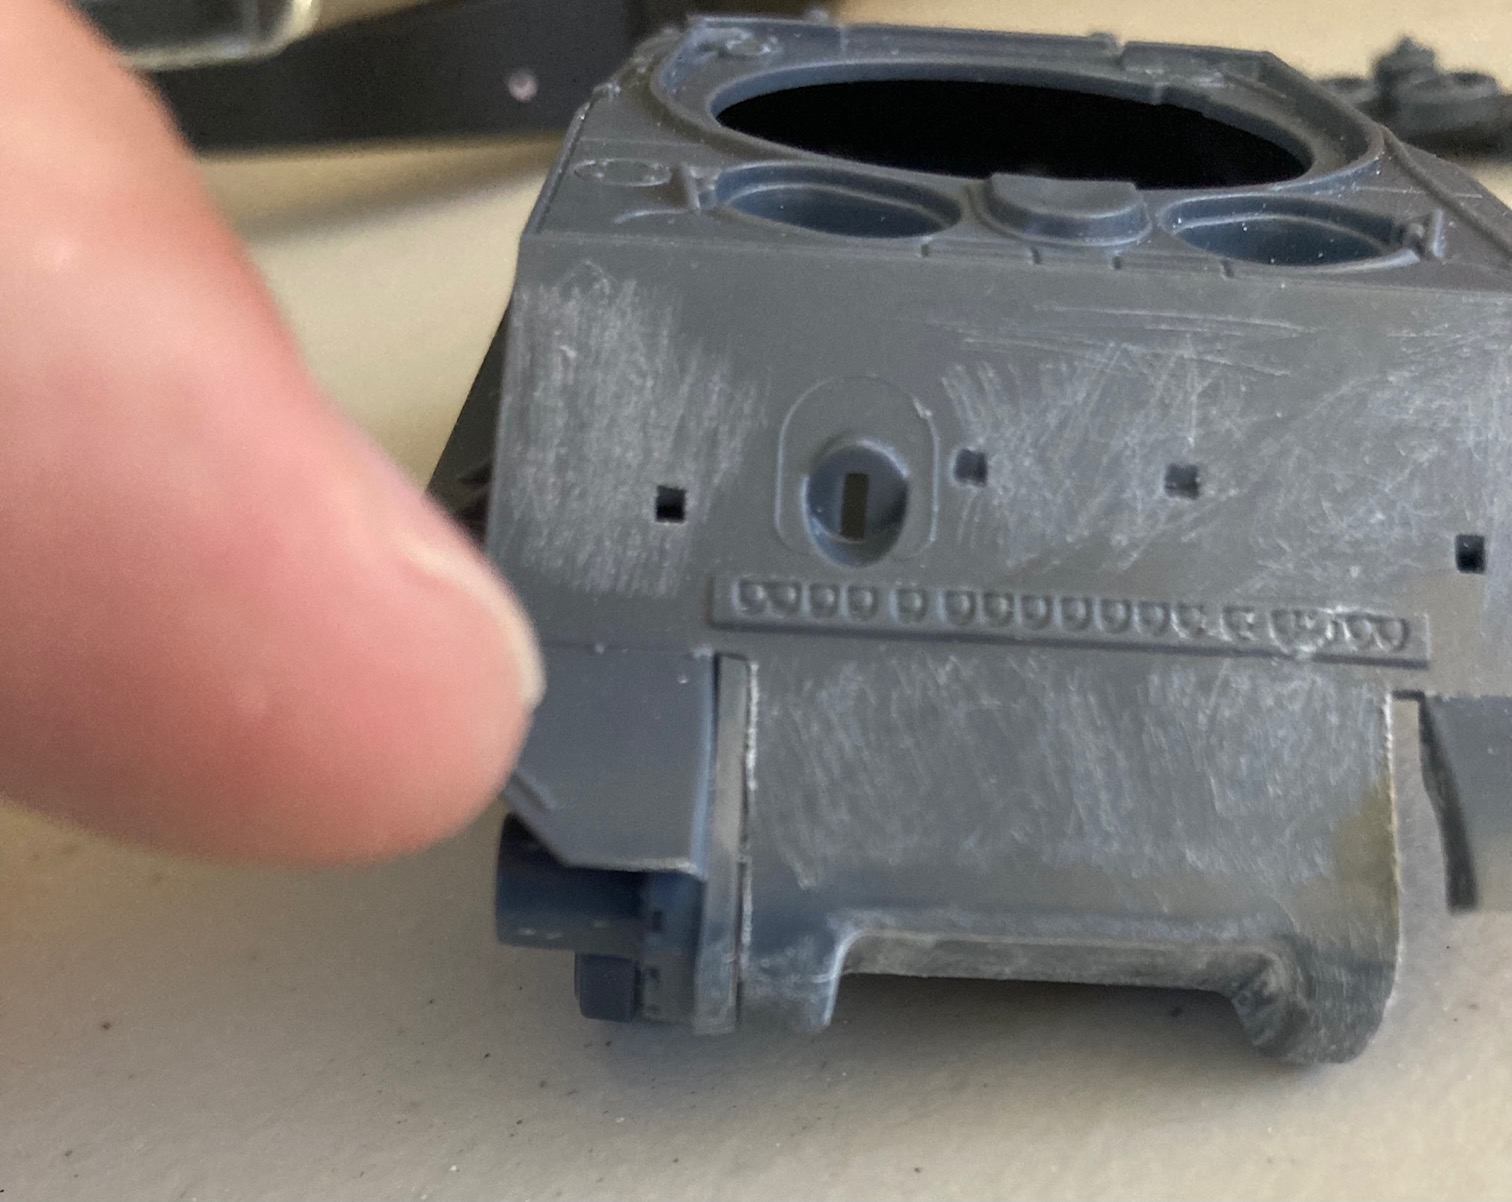
Italeri did something weird with this kit. The Final drive assembly/differential cover comes together in four parts when you join the upper/lower hulls and the sides! Unfortunately it forces you to join the four sections early on to make sure that you line everything up correctly and the so you can sand everything down.
I probably didn’t need to clean this one up so much as I knew I’d be adding the extra armor and all this stuff will be covered up anyways. Maybe I could’ve save some time here but I wanted to line everything up as best as I could.

More sanding inside the back and side pieces to get a flush fit.
5 Likes
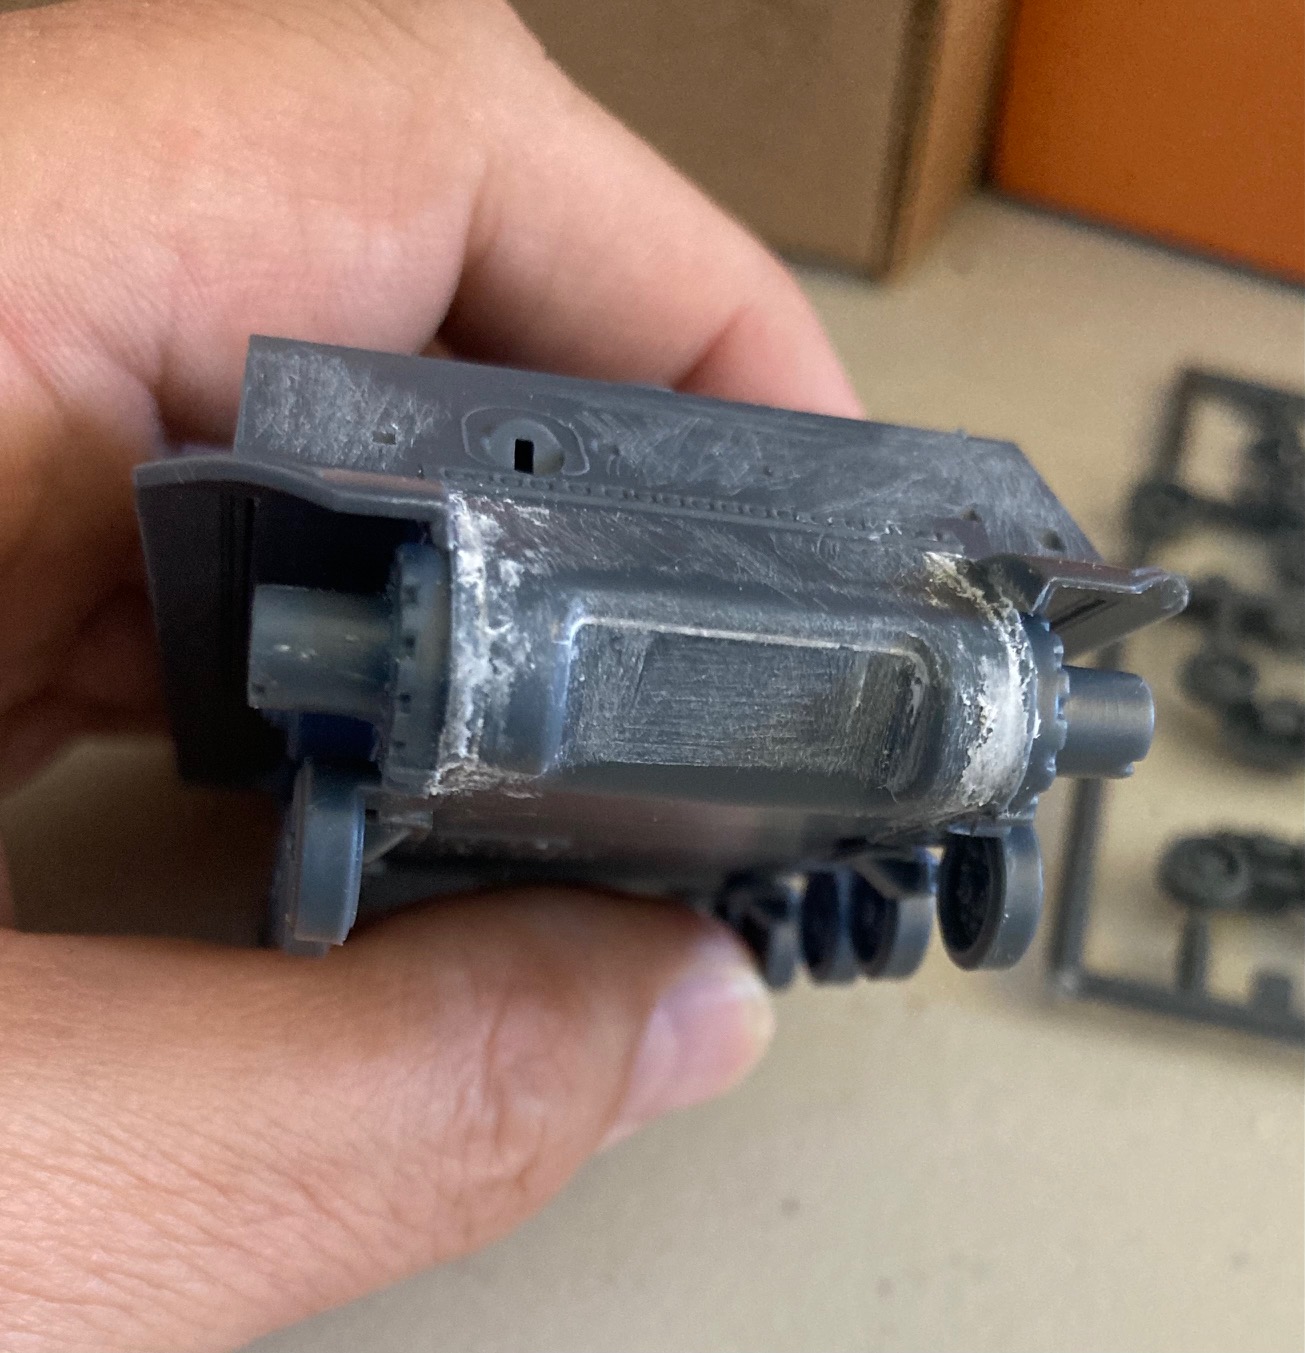
So after more sanding and filling it started to look like an FDA.

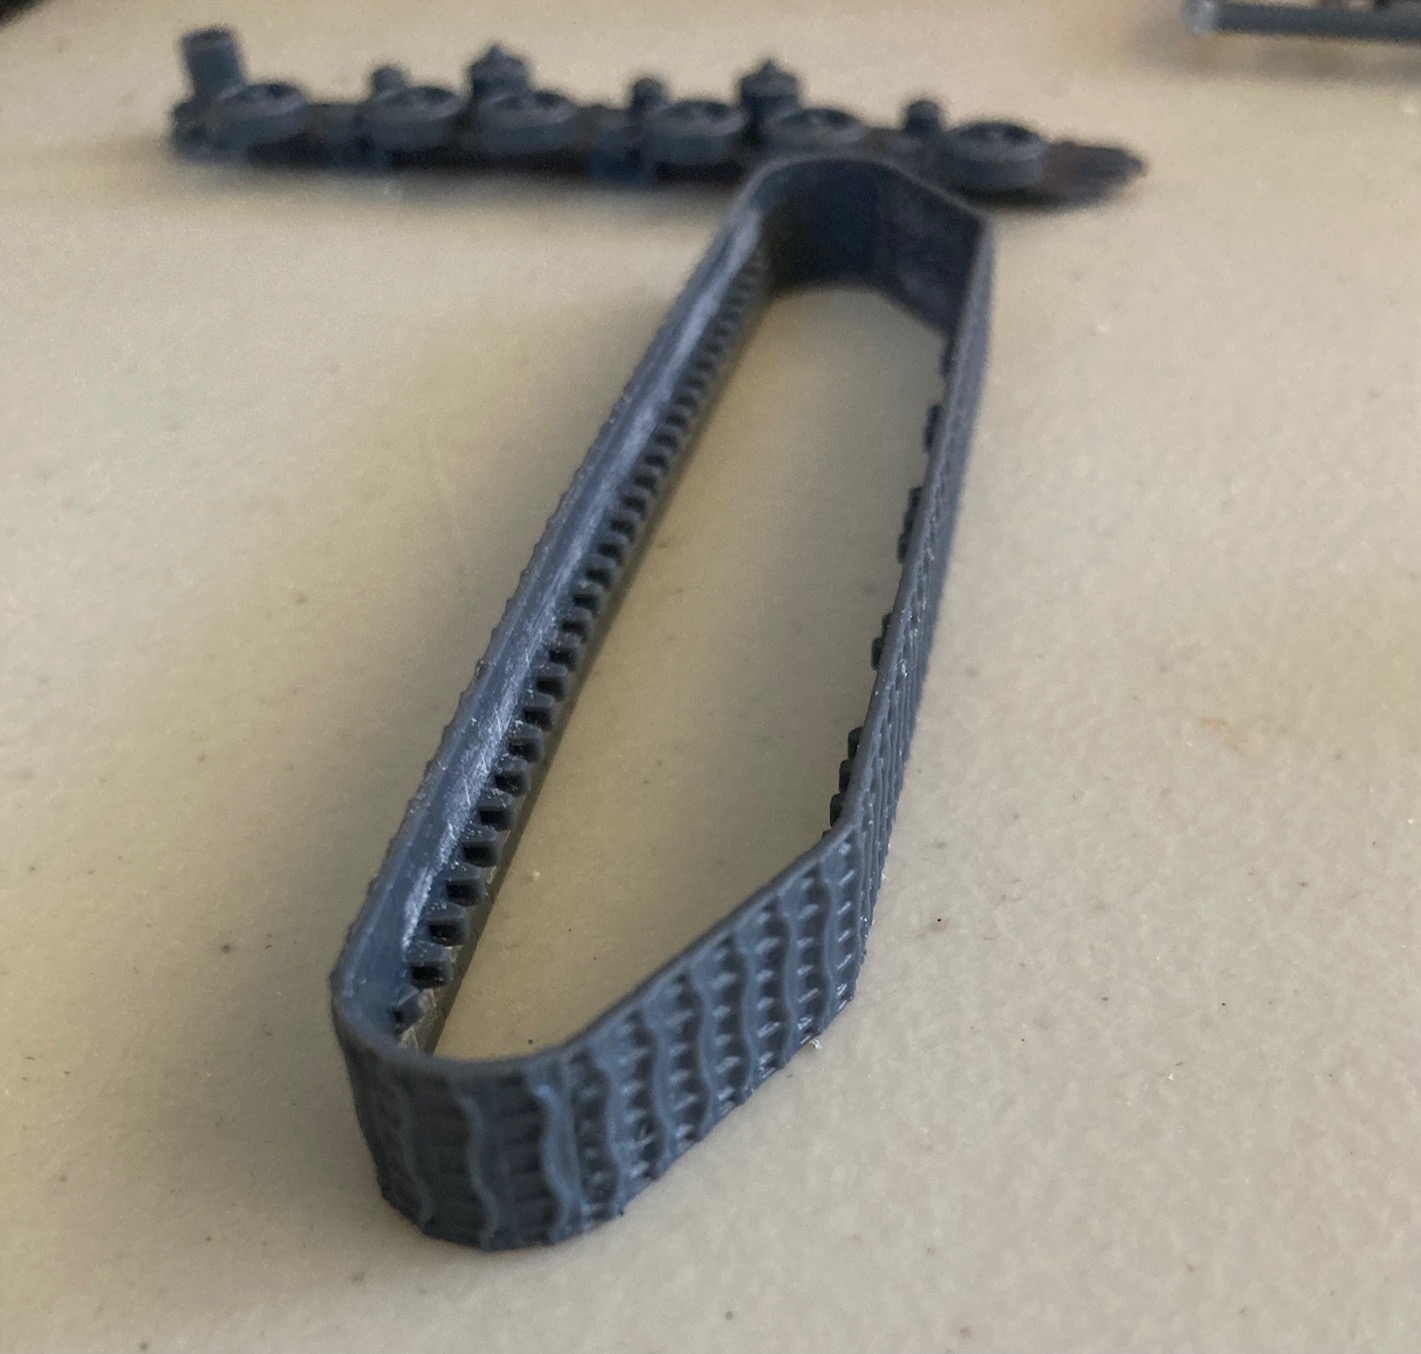
Here I was also dry fitting the tracks. NOTE, there is no guide to how deep the tracks can go, you can push them all the way until they hit the side of the lower hull. I learned to center them using the guide horns on the inside of the bogies. The first one I did I got it wrong but the last three I’ve done I learned and centered the tracks correctly. Had Italeri designed these tracks to be built first like I’m doing it, then they might’ve provided a guid horns in the areas where they’re missing just to butt up to the proper position on the inside faces of the sprockets, idlers, and bogey wheels.


If you center these correctly the sprocket will almost be flush with the outside edge of the track, the track will be proud of the idler and bogey wheels by about 2mm.
5 Likes
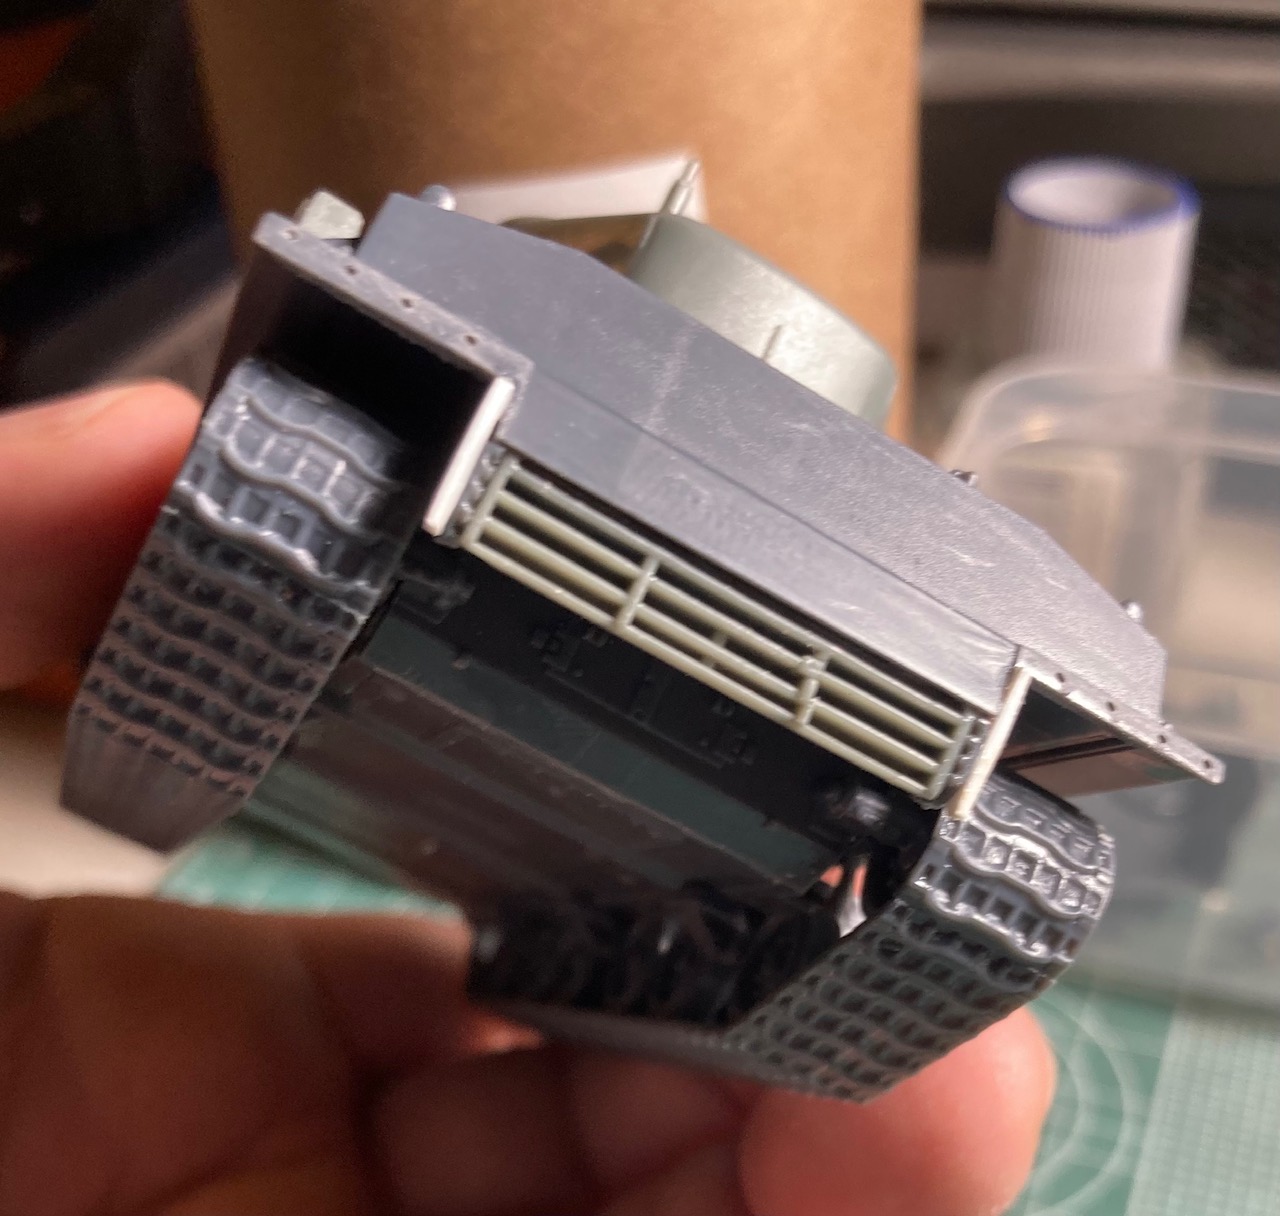
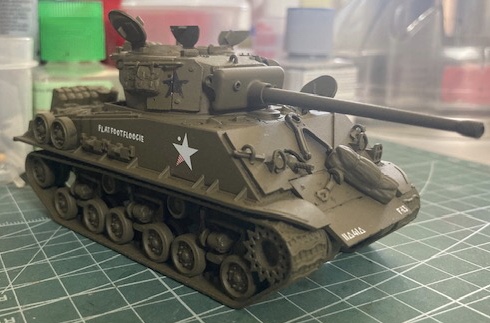
In the previous post you can see I added the early exhaust deflector from Rubicon spares. The Italeri kit comes with only the later armored one seen mostly on Korean war Shermans. Italeri should’ve included both and also a second turret shell with the early loaders hatch. I had to grab an early turret from my Rubicon spares as well.
Then I added the turret ring from Italeri turret to the Rubicon.
The Italeri turret is smaller side to side but even tho it was a closer fit the Rubicon fell right into place.
3 Likes


Then started fiddling around with some crew and stowage arrangements. I used stuff from both the Rubicon spares and what came in the Italeri kit.


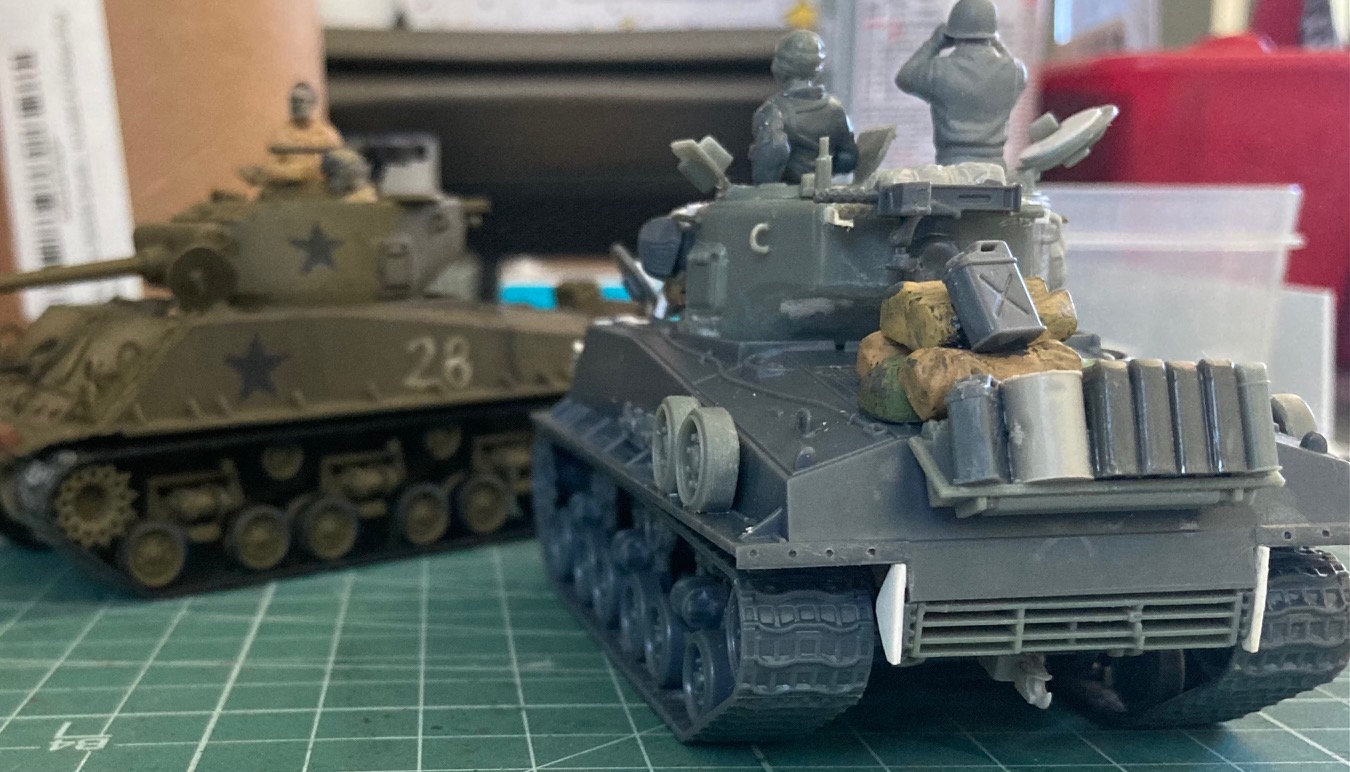
On the is last picture you can see where I built the small track tools seen stowed inside flat foot floogie’s lift rings

12 Likes
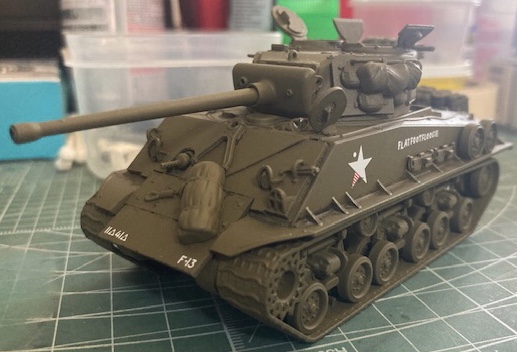
So I didn’t set out to make a perfect replica here, just a fast and fun little project with some of the correct basics like early turret, early deflector, armor plate that is cut like on floogie, no muzzle brake etc. it’s a basic version of floogie without super accuracy but still just a blast to slap it together. I hope to get it primed later today.
BTW, I forgot to mention that the rear mud guards are molded into the upper hull. So I had to cut those off because floogie didn’t have those. I think the Rubicon kits are better in some ways and the Italeri is also better in others. If I was a wargamer table top player it’s rubicon all the way, those little things are built like tanks. So much plastic sturdy as can be I would let a child play with unpainted ones like toys, they are that well made. But Italeri has more style and attention to detail. Rubicon is easier to build, think Tamiya fit at 1/56. Italeri takes more to build clean but looks really nice when completed plus they are the only T-66 tracked M4A3E8 available at 1/56.
3 Likes
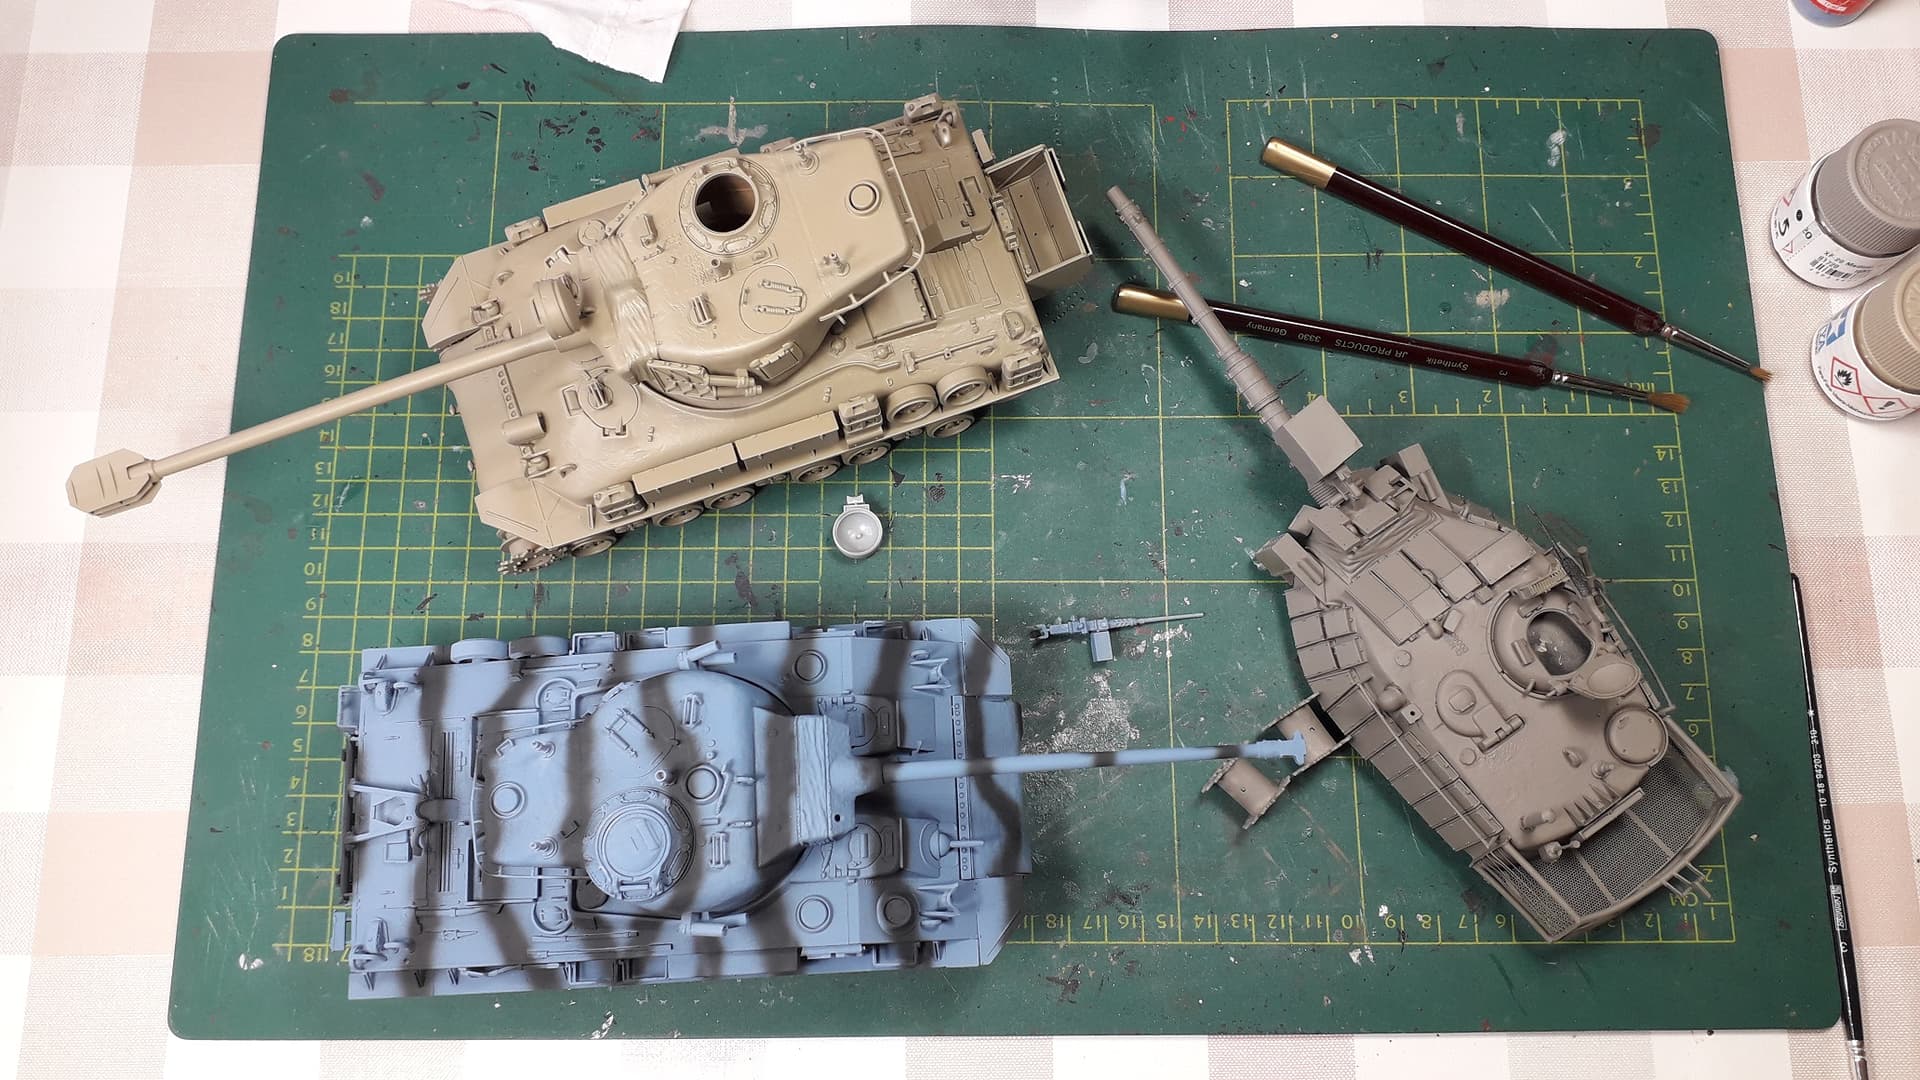
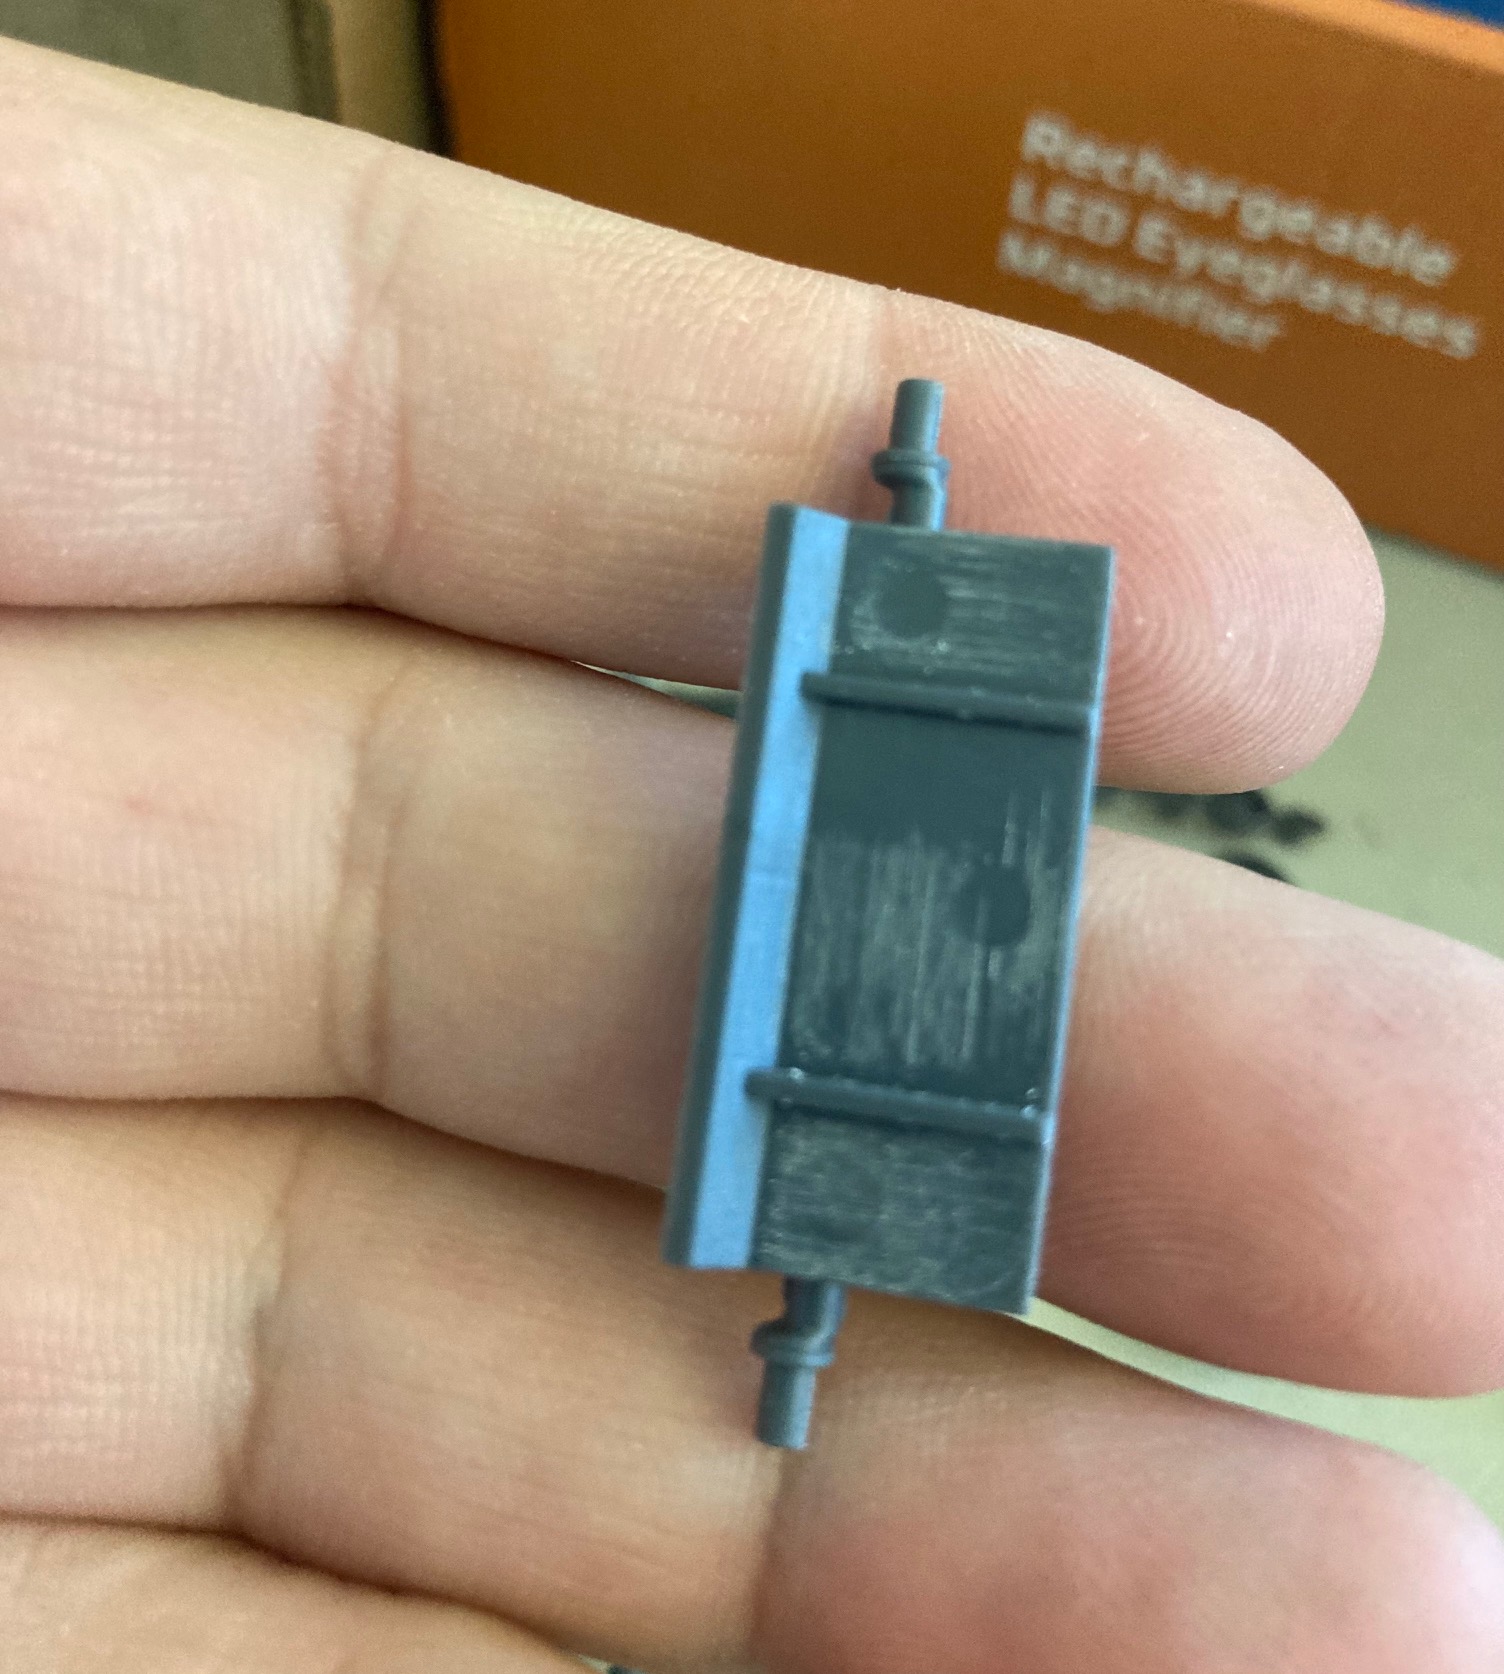
The Lebanese M50 is painted. The only markings are a white X, made up out of a spare killring decals from a German FlaK or tank.
Now on to the tracks; 2 parts per link and then weathering.


19 Likes
That kit gave me fits when I tried to build it…getting the suspension lined up, getting the tracks lined up, everything about it was a challenge for me. I had such a rough time that I ended up using the turret for an M50 based on the cast hull instead of letting it sit on a tank with a messed up suspension and tracks.
2 Likes
Had a chance to mess around with this yesterday. Hopefully today I’ll have time to paint tracks and details so I can weather it a bit tomorrow.
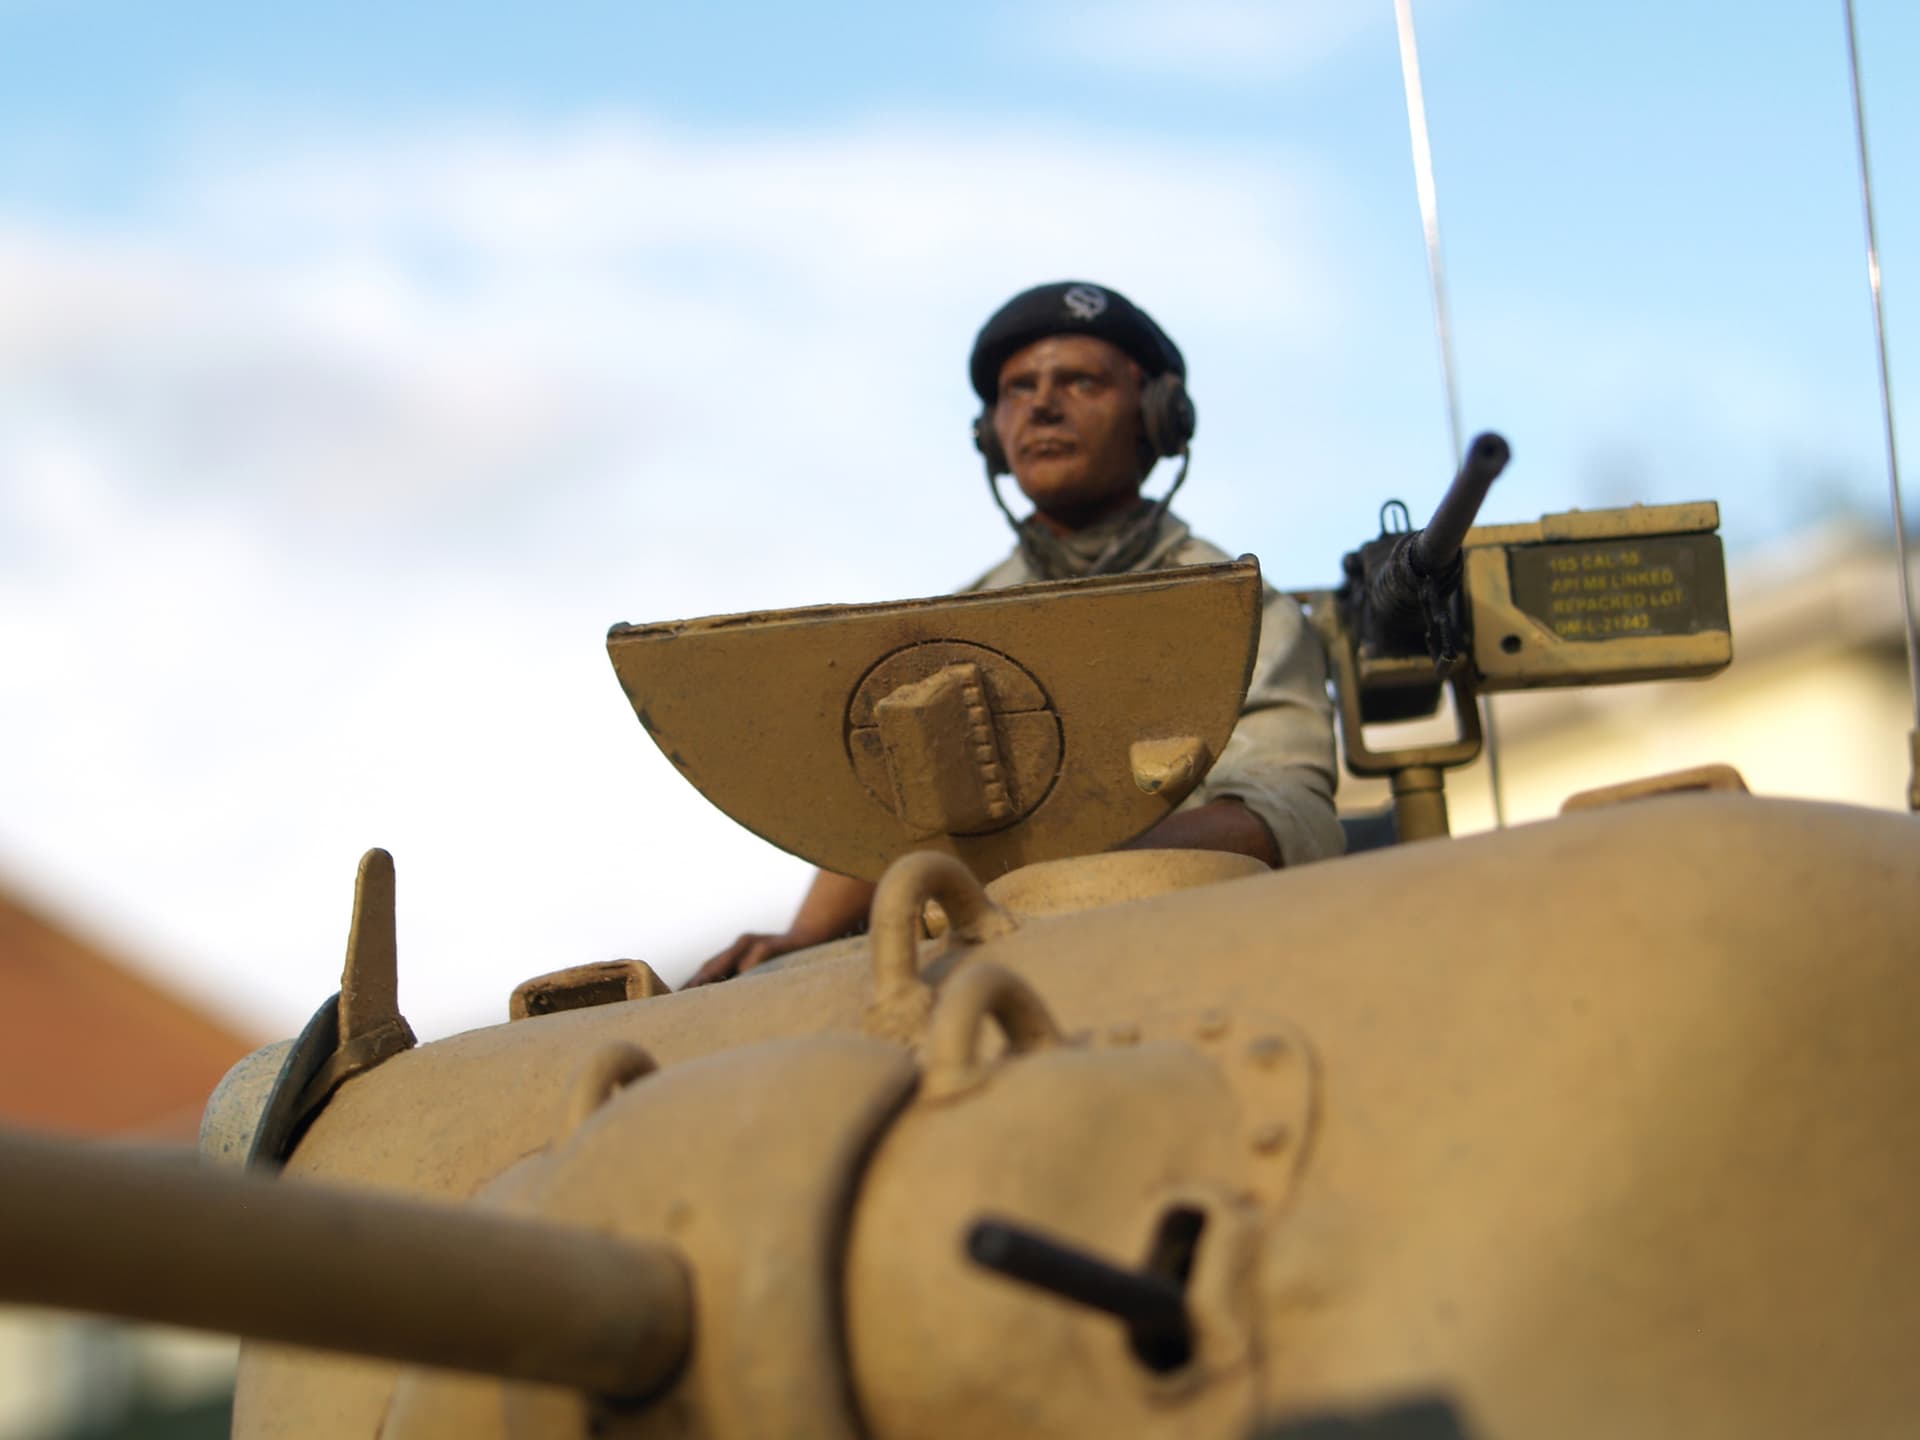
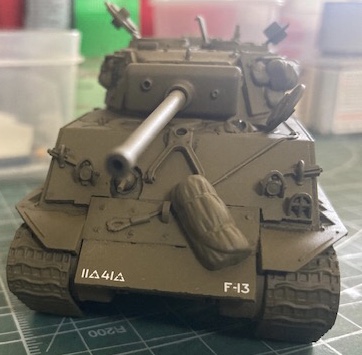
Flat foot floogie didn’t have bumper codes or the name on the starboard side, although it did have a very faded and damage star on that side. I purposefully added these markings to create more interest at this small scale. I’m building my 1/35th RFM version to look exactly like the photos. This one came with the markings so I added them. After I finished realized that Floogies has her port side spare track links upside down. The real tank has them going in opposite directions from port to starboard, they don’t match from side to side.
11 Likes
SLA South Lebanese Army (phalangist) allied with Israel.
2 Likes
I need to stop being side tracked and finish some Shermans!
3 Likes
Had made a start on a 1/72 scale Sherman.
A Sherman Mk I (M4 105mm howitzer), in British service, Italy 1944-45.
As there isn’t a kit for that, I had embark on converting the foe part of a Dragon M3A3 105 mm kit with an Extratech M4 (early). It turned to be a mistake as the two hull have about 0.5mm difference in width, and the walls of the sides have different thickness.
A trying to resolve it, and still waiting for the gun’s metal barrel and crew figures to arrive

3 Likes
A bit more progress on my Sherman - the fit of the sideskirts/fenders were a bit problematic and needs to be cleaned up a bit more.
More to follow ![]()

12 Likes
21 Likes