Some initial paint on the Sherman and some work on the crew. I decided to add a driver.

6 Likes
@Erik67
Wow, this is progressing very quickly! Well done!
1 Like
Hello! I guess I’ll thow my hat into the ring. There’s some FABULOUS shermans being built here!
I’m working on a Tamiya M4A3 105mm. pretty much straight out of the box. I’ve been engrossed with the 4th armored’s muddy November Lorraine campaign, and am attempting a diorama with this one.

7 Likes
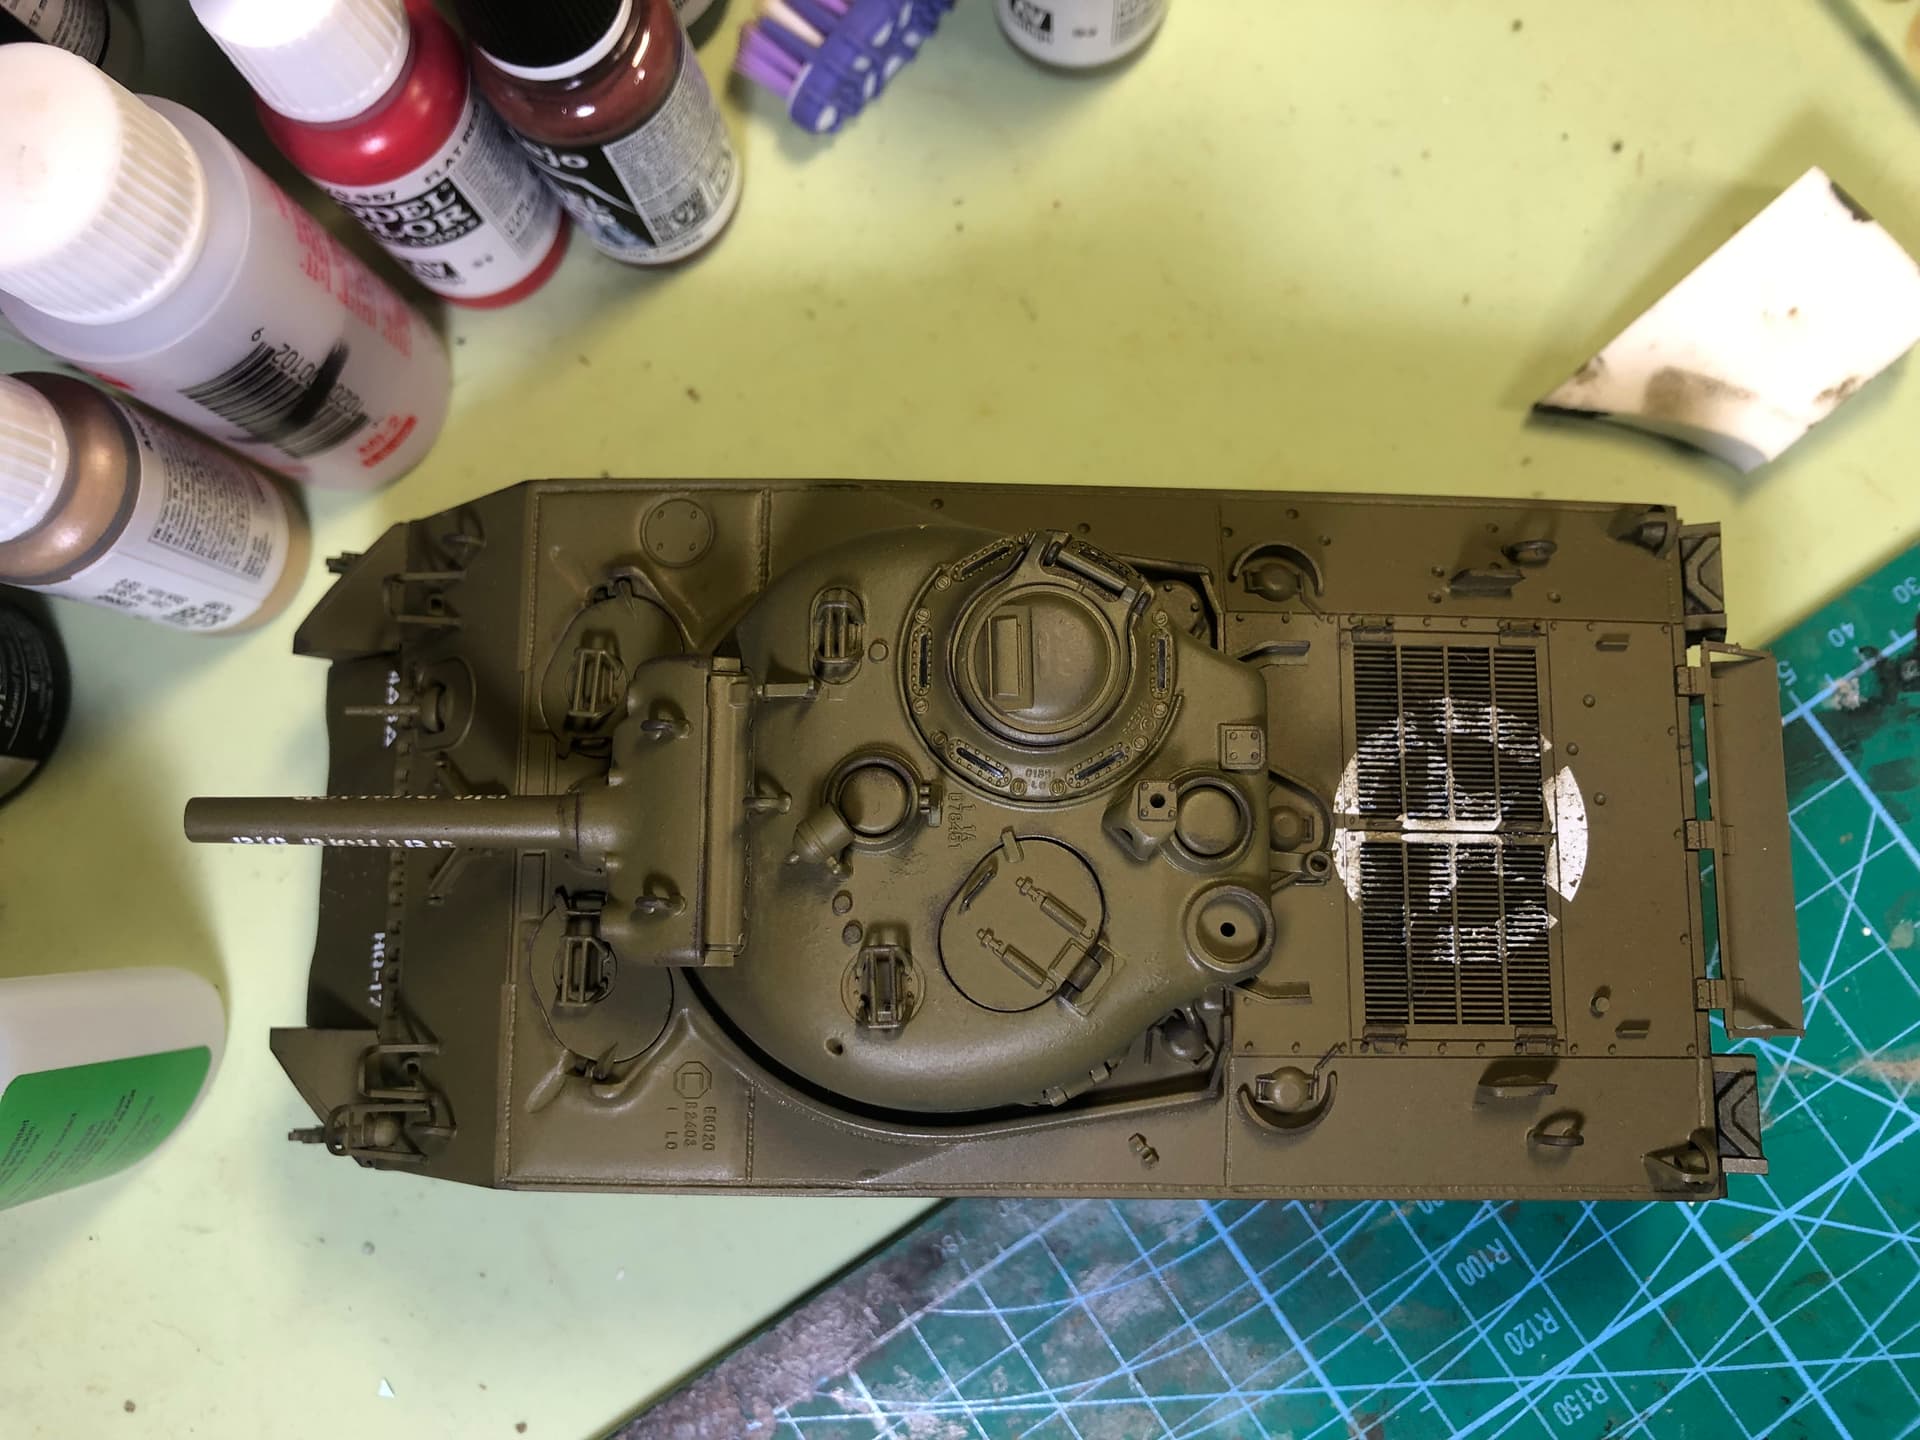
I’ve made progress with my M4A1E8 - it’s almost ready for paint! In addition to all the Italeri, Academy, and MP parts I added the spare links and fender braces from 3D-printed parts based on files I found on Cults. I also added some T-hooks from Elephant. Oh, and a couple of resin casting marks from Archer.
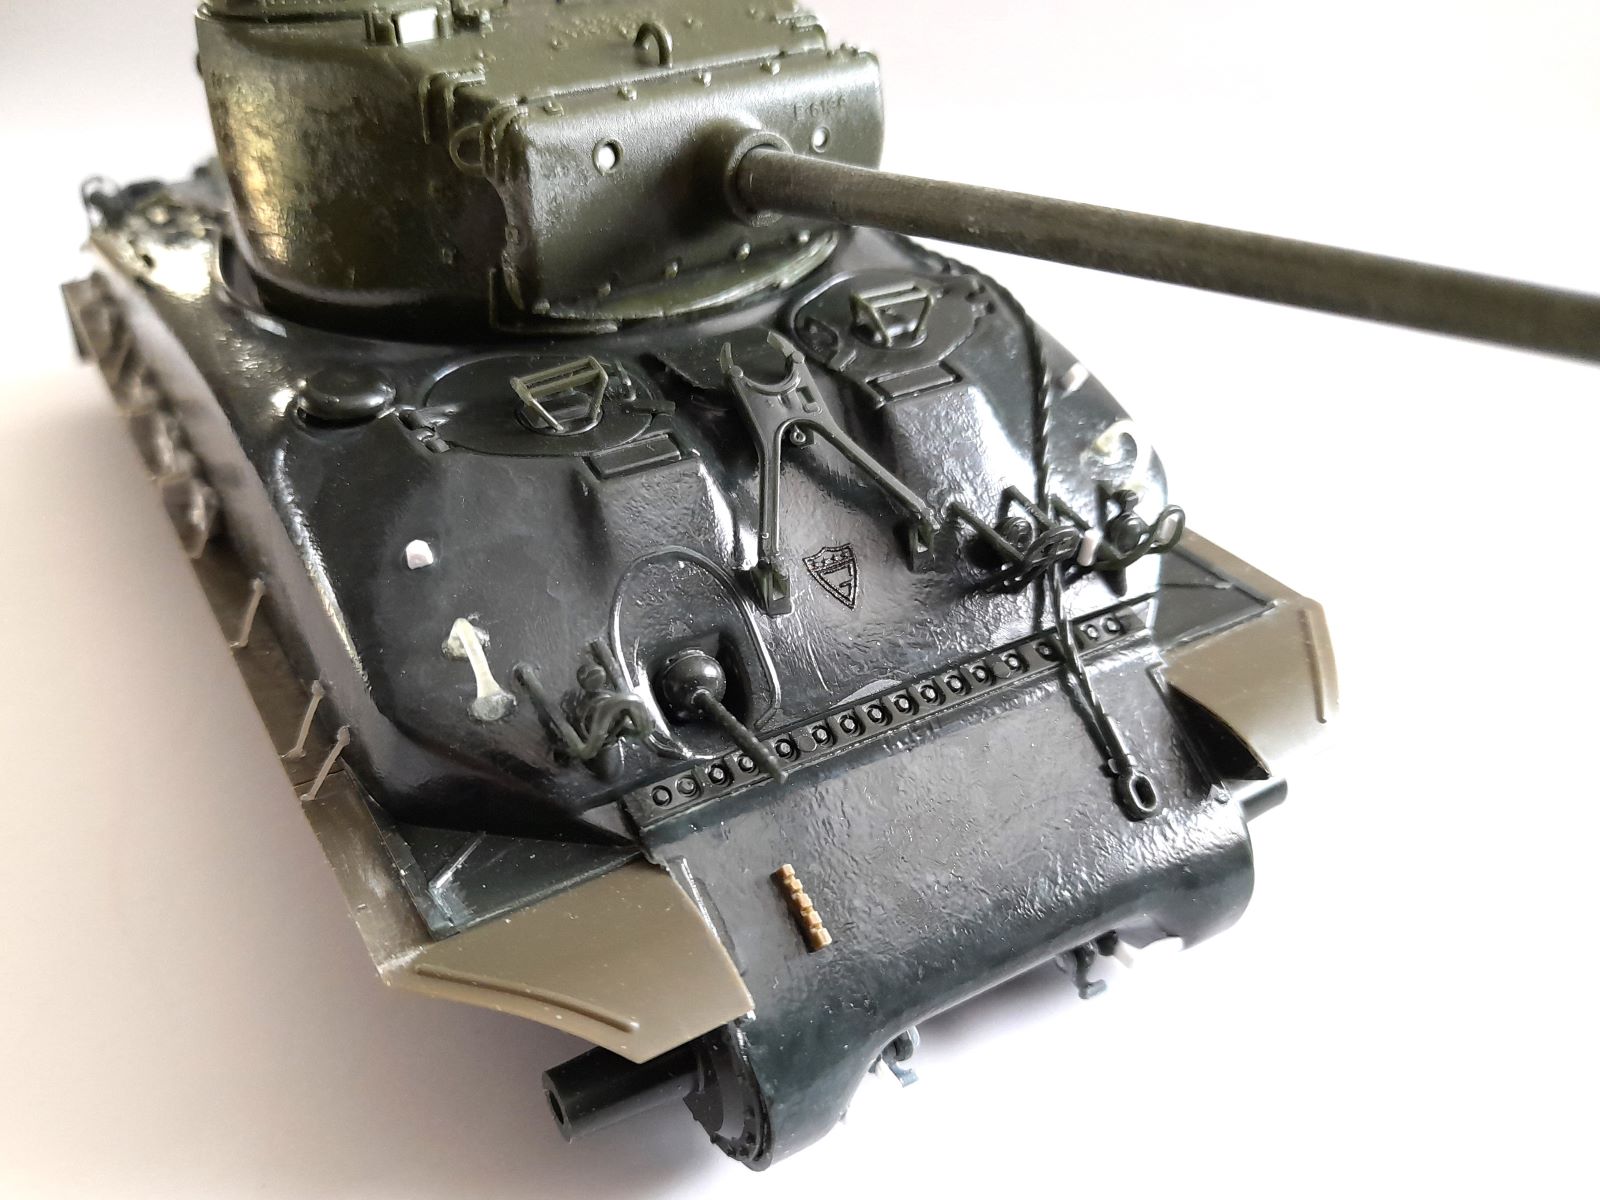
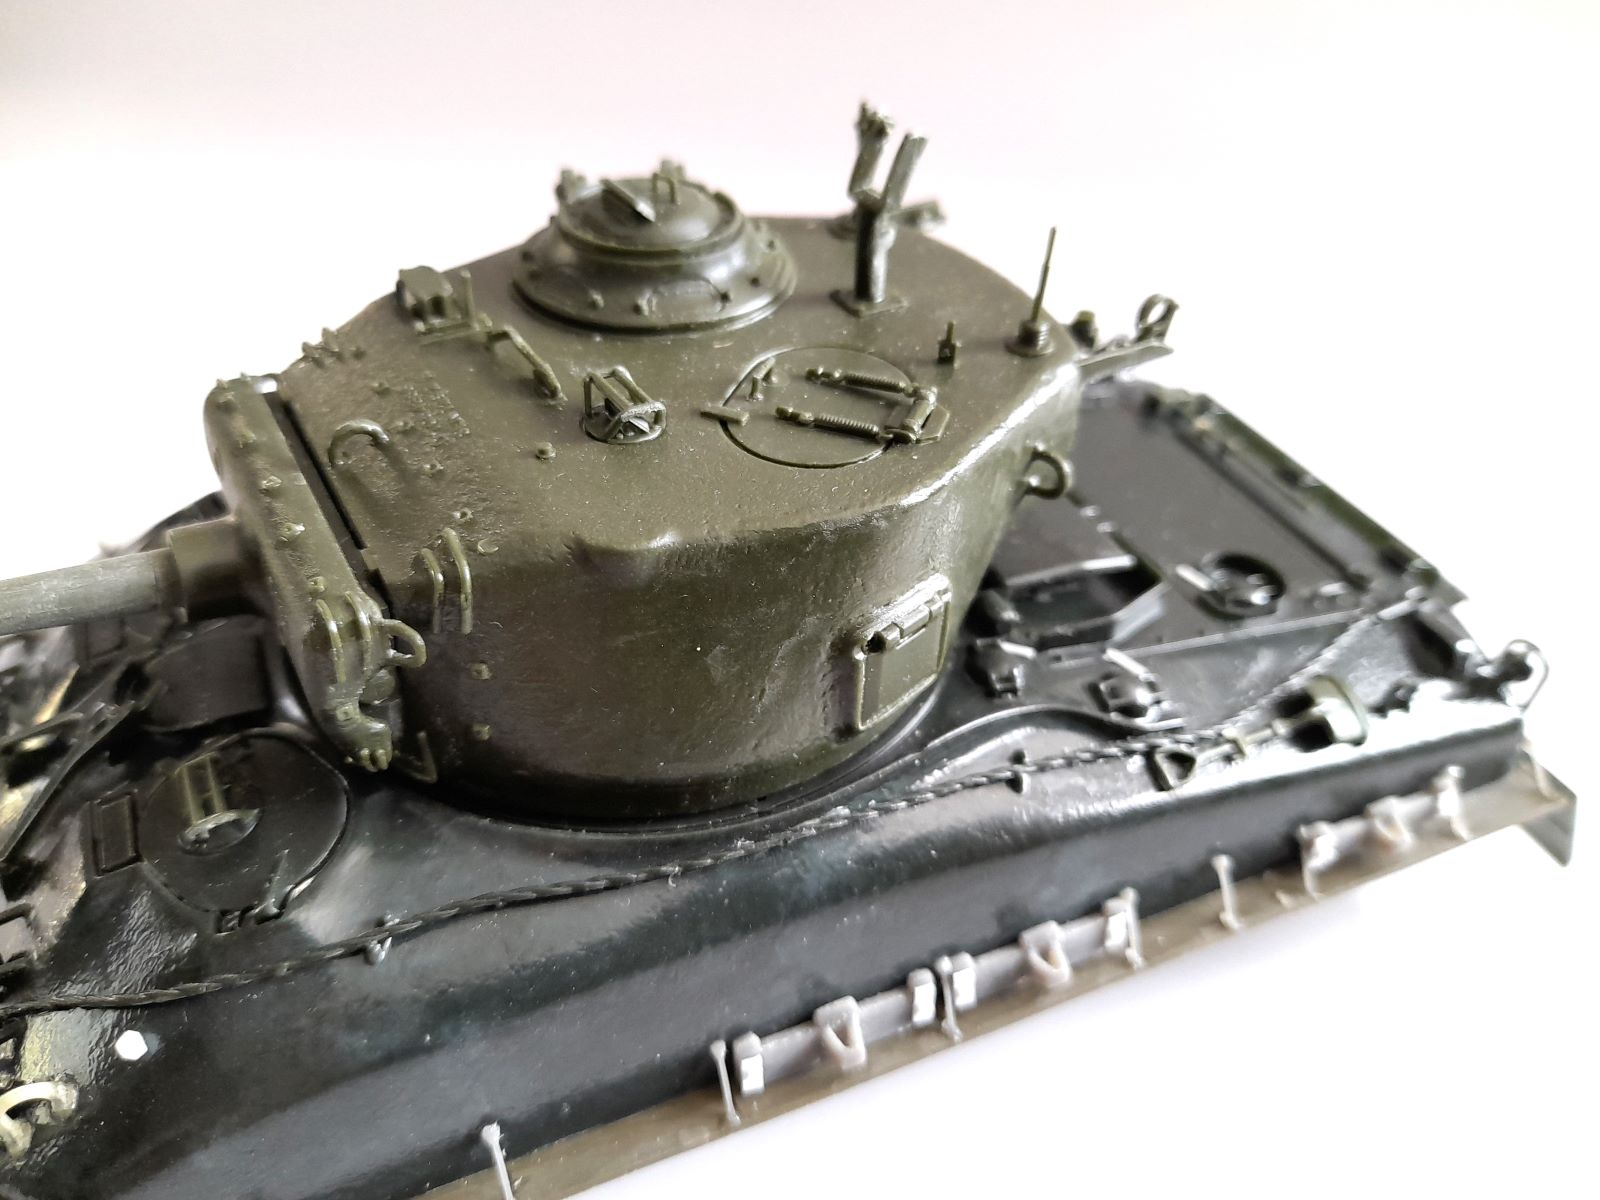
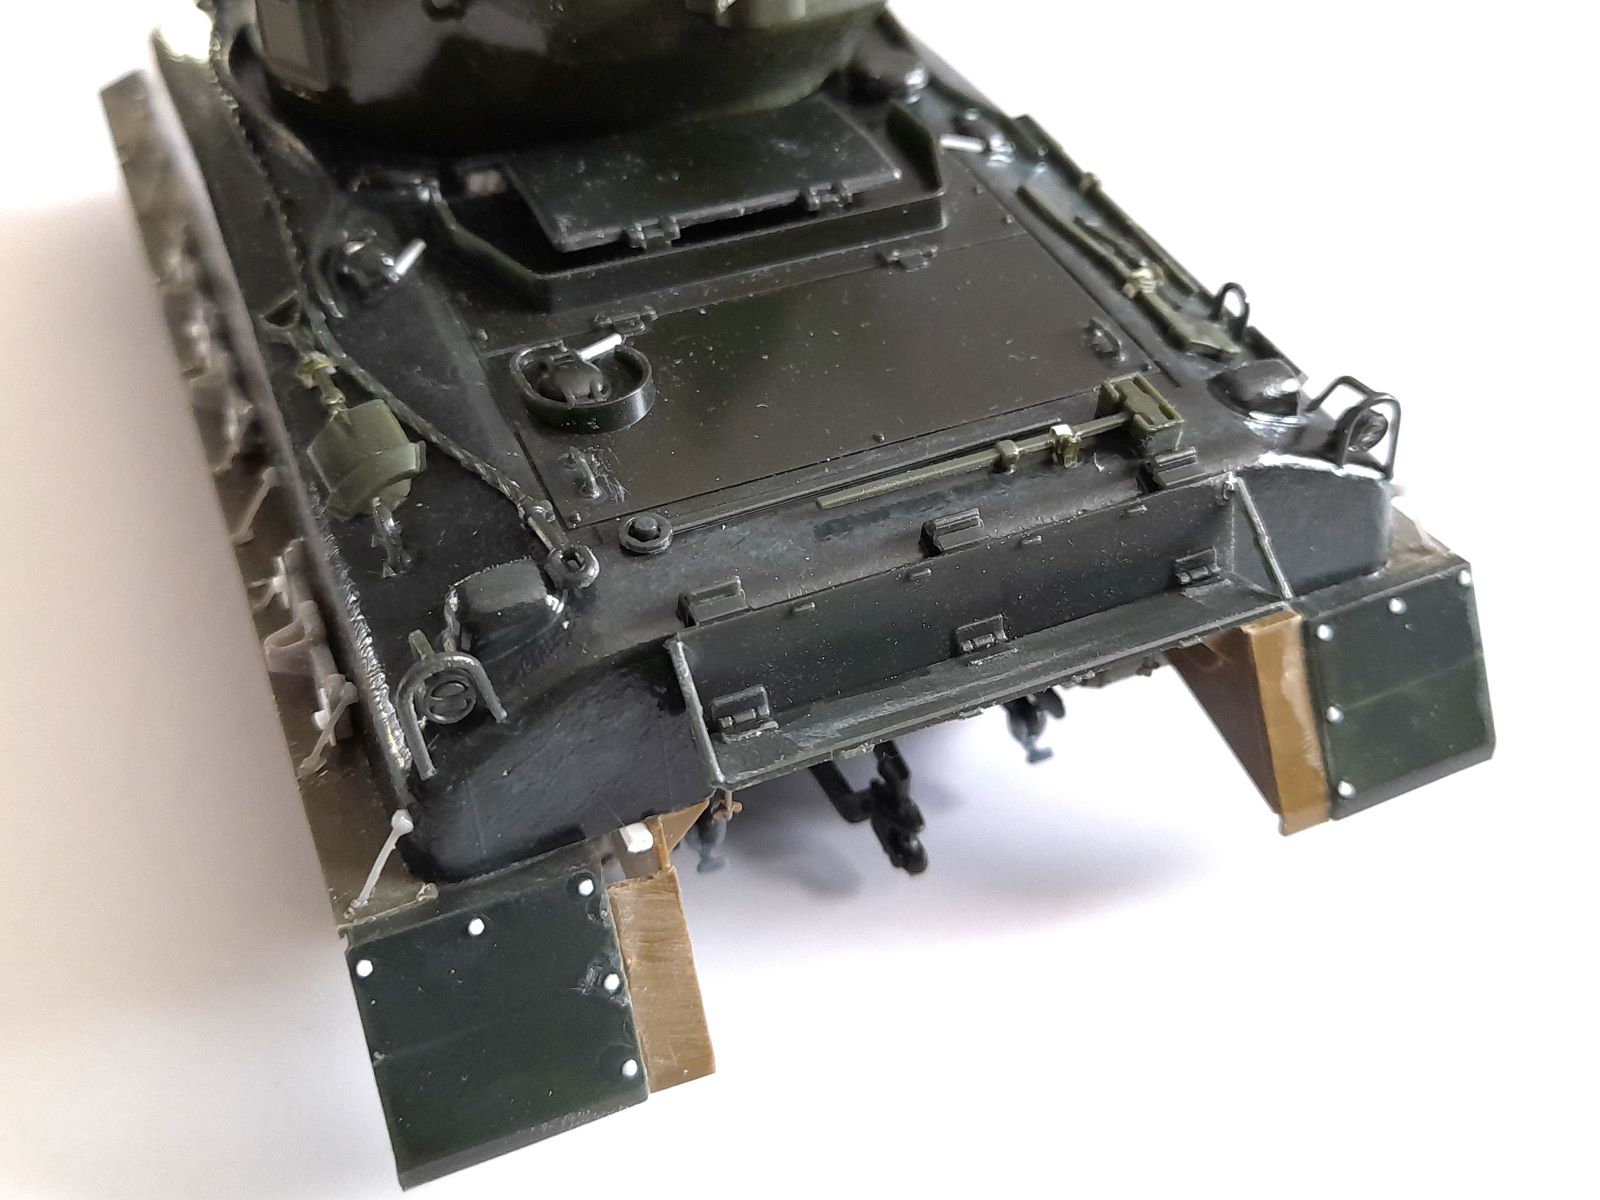
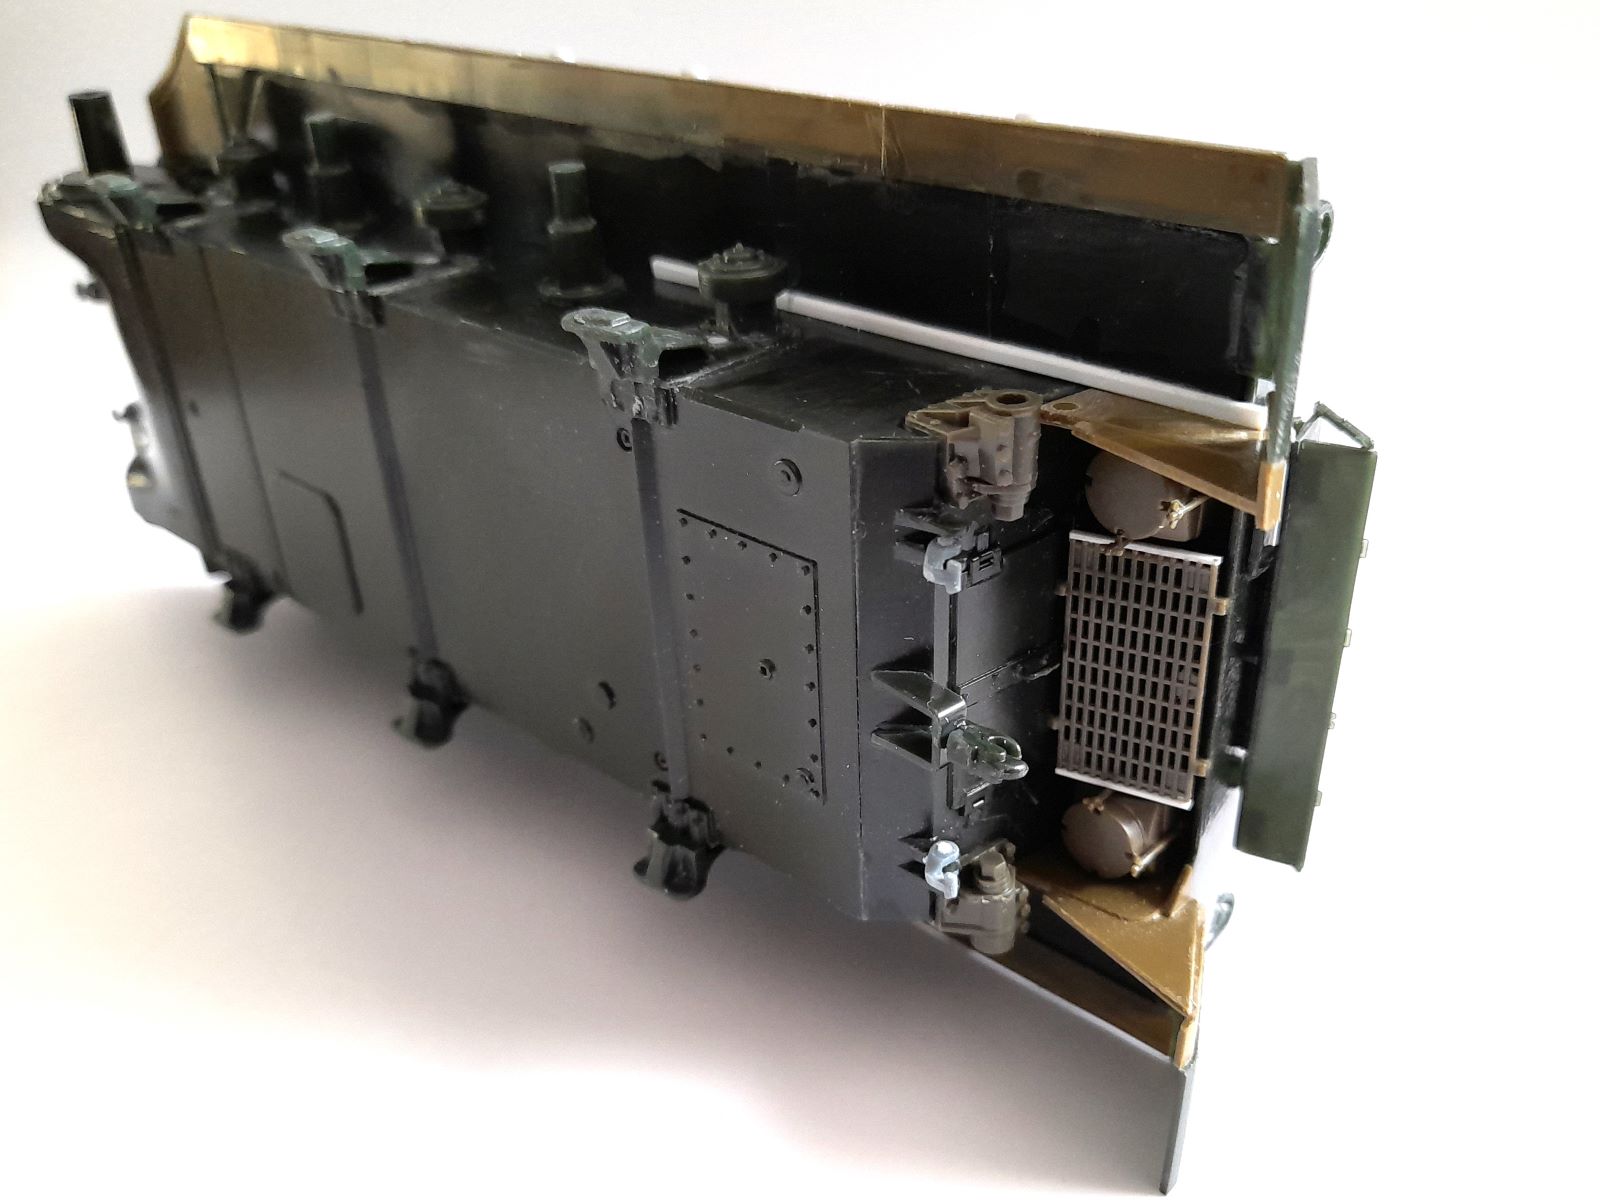
10 Likes
That’s a motherbeautiful machine!
1 Like
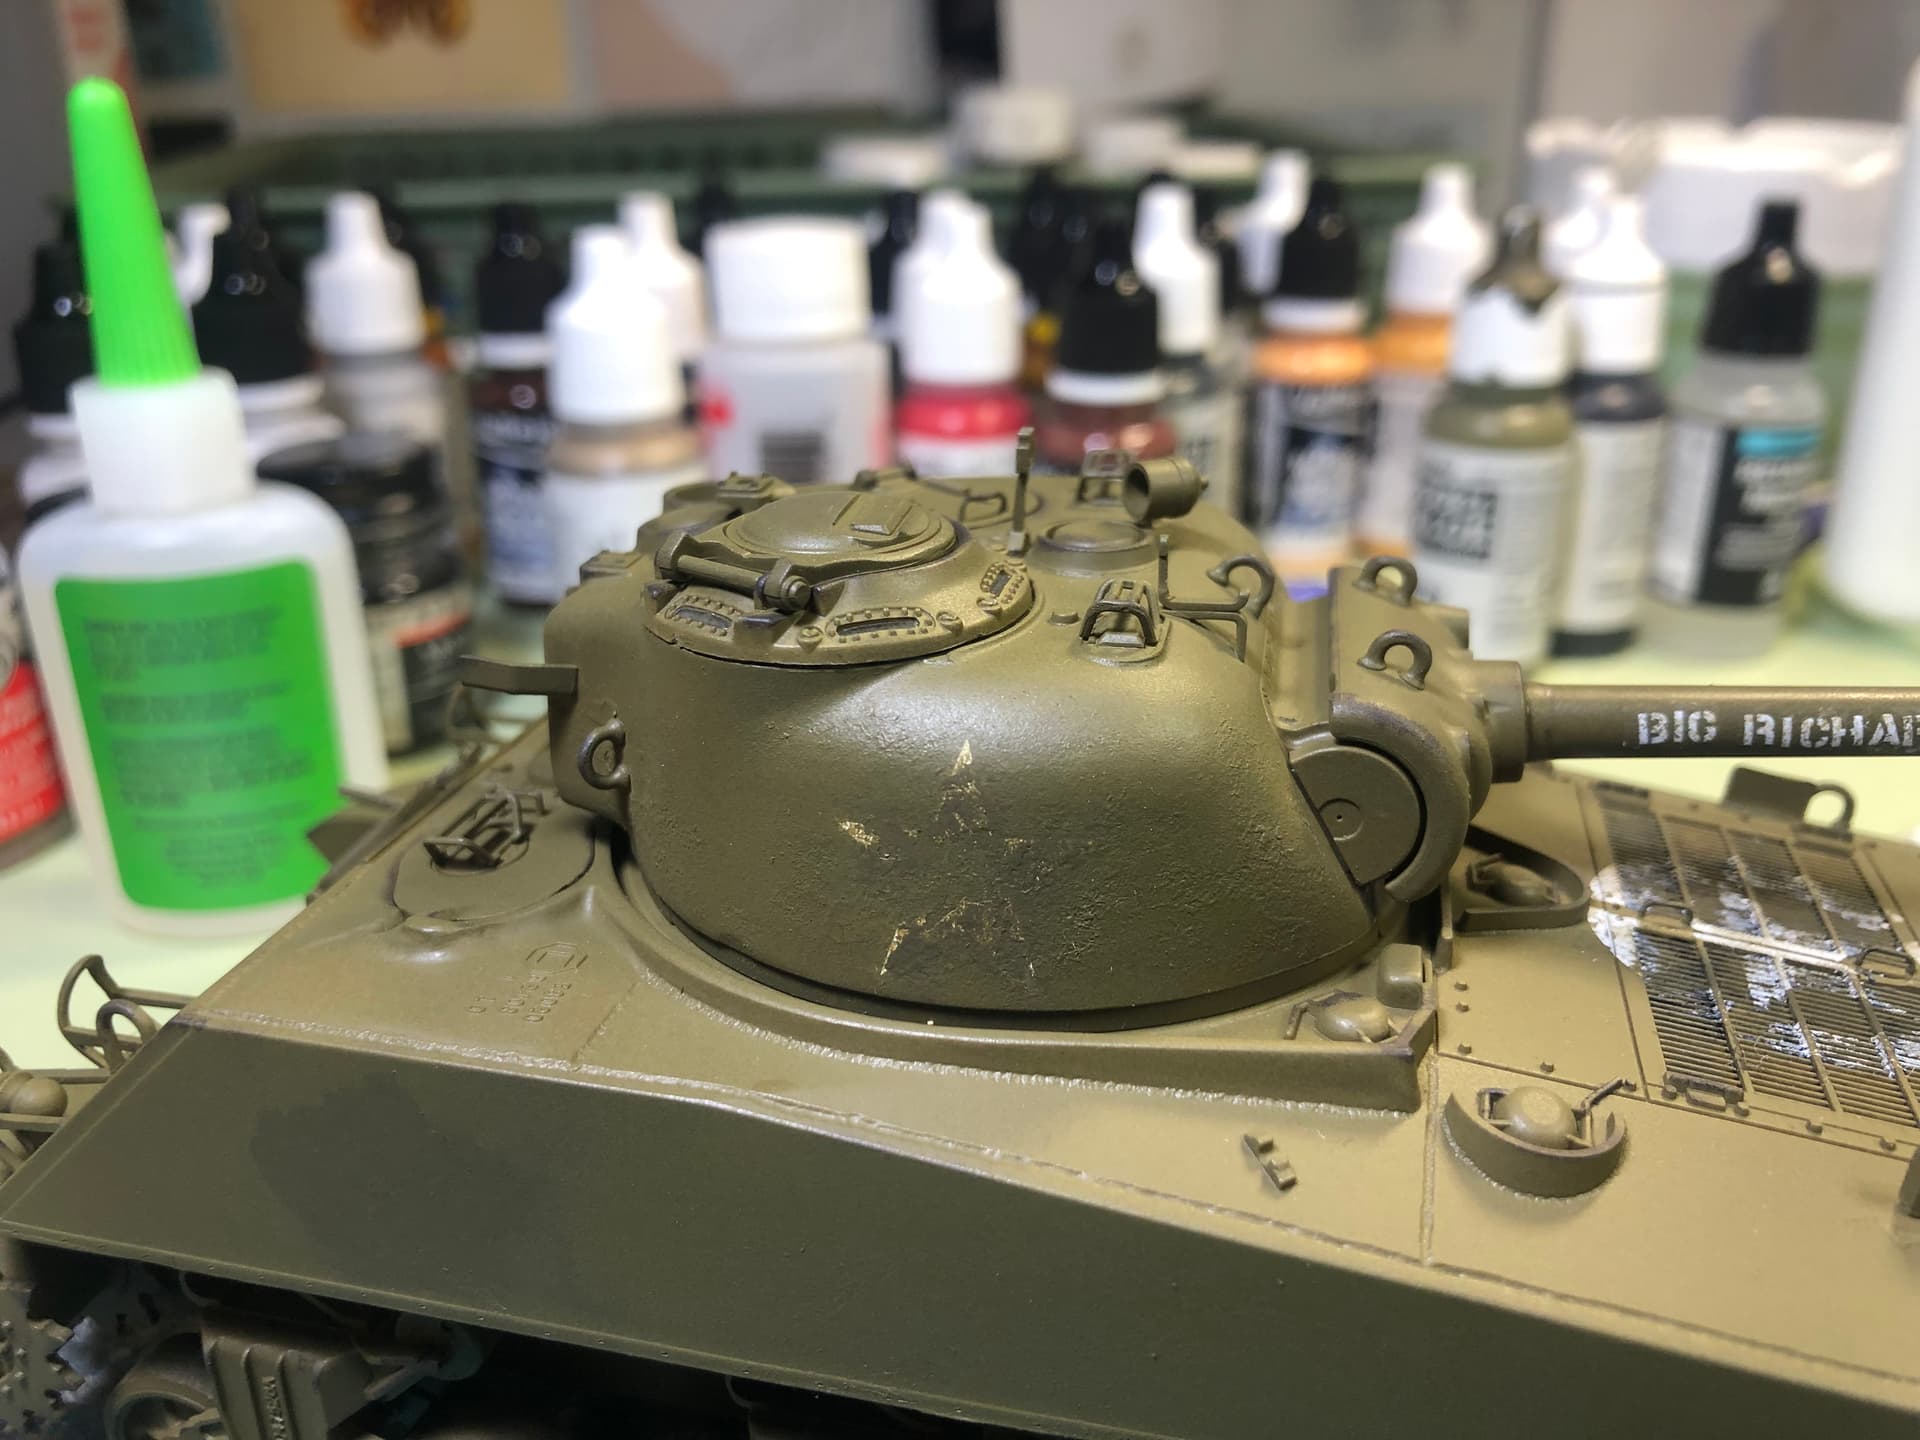
And you added a Sherman Comb! I thought people had forgot about that little tidbit. Excellent detailing!
Thanks guys! The tough choice now is whether to weather, or finish it with remnants of factory black sealant gunk?
1 Like
@barkingdigger
That’s moving right along, you might beat the new Takom release. What did you do about the muzzle brake? That kits vas
1 Like
I’m afraid to admit I used the Academy gun and brake as-is. If I find it too offensive I might put a canvas bag on it! (Tissue and PVA works wonders to hide bad moulding…)
4 Likes
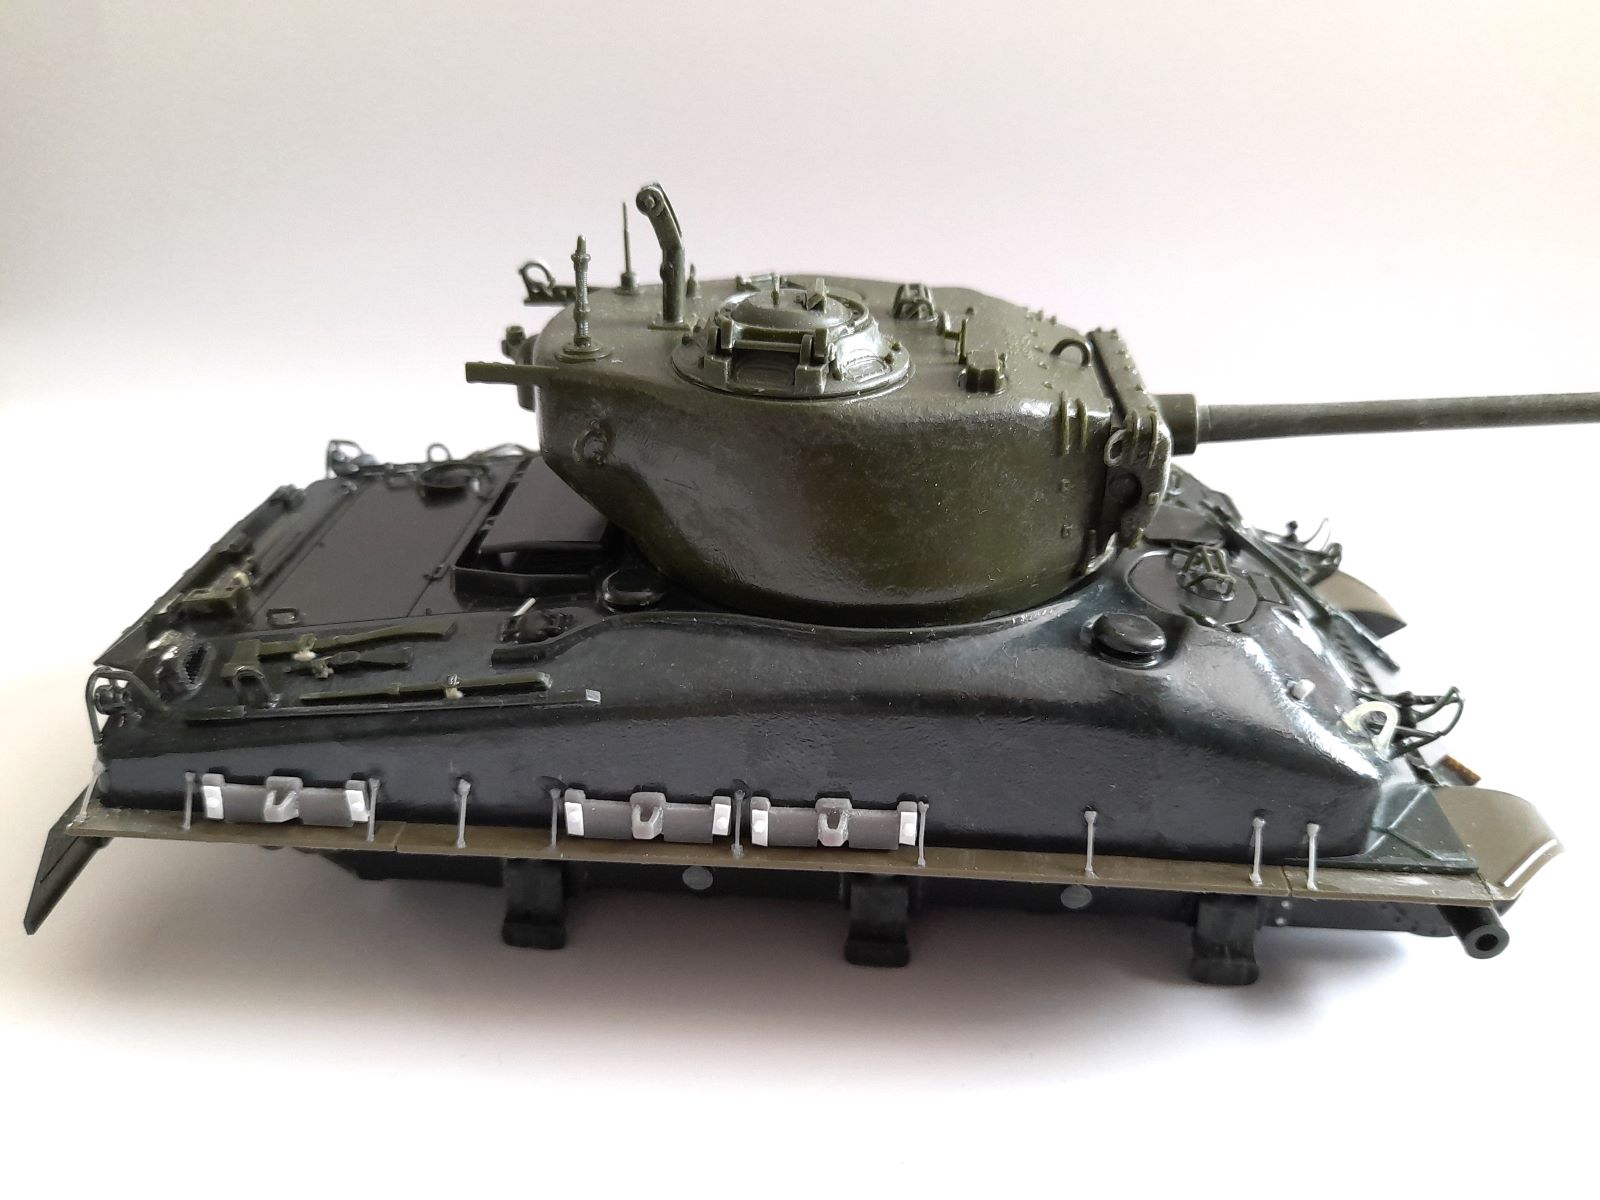
In addition to finishing the M4 (105 mm) HVSS I started last year and hopefully also building a model of T6 as mentioned earlier, I’ve decided to do a Sherman quickie, too, that involves the following and a bit of scratchbuilding:
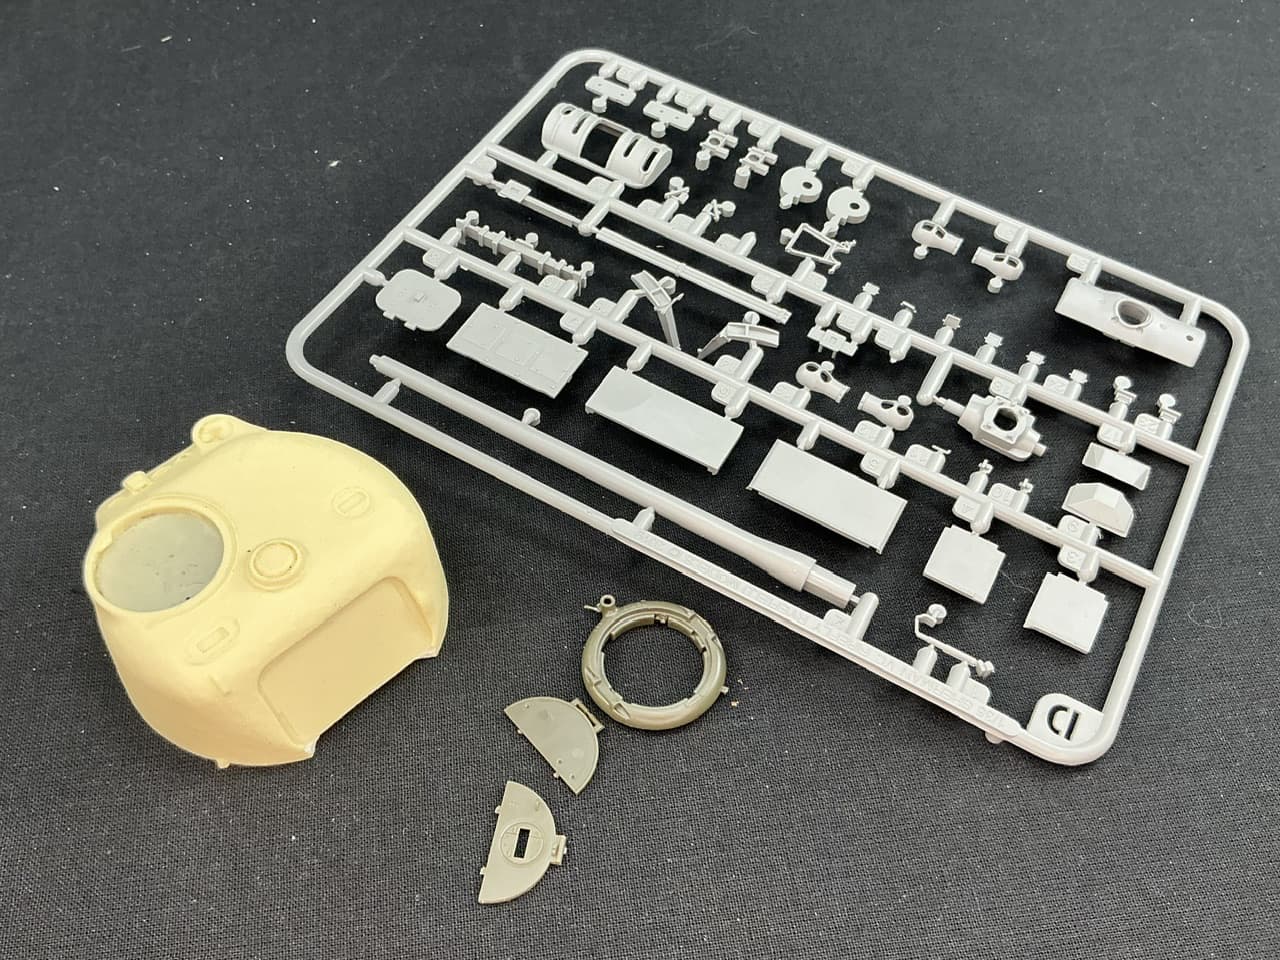
That’s a resin turret someone gave me a few years ago, but I don’t know what make it is. The broken-off lip at the front will be easy enough to replace. The grey sprue is left over from when I back-converted an RFM Sherman VC into a plain V, and the hatch is spare from an Asuka kit. I’ll need some more spare bits, like periscopes and flaps for them, as well as some plastic card and strip, and either a block of wood or foamboard — as I’ve not quite decided how I will go about scratchbuilding the rest to look something like this:

Though that’s not a 17-pounder turret, some of these tankkazematten (“tank casemates” — the Dutch term for what’s now known as a bunker was kazemat into the 1950s at least) in the IJssellinie did have those.
I’m also undecided whether I want to build it in more or less the present-day state or as it would have appeared when these were active military installations. Compare:
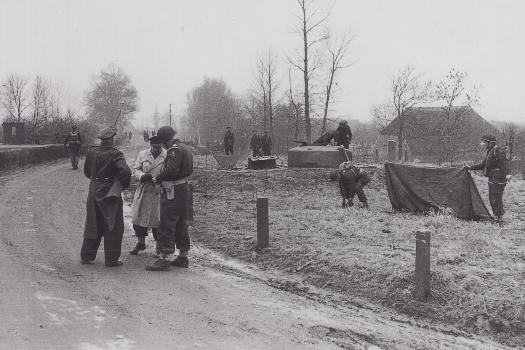
(That’s a Ram, BTW, not a Sherman.)
4 Likes
I did a IJssel bunker a decade ago with an extra Dragon M4A4 turret. It’s easy bunker design. Most only need a concrete pad and simple rear door that you could scratch in a few minutes.
2 Likes
Hmm. Did not know this was running. May join with an old Dragon Thunderbolt VII. Have wanted to build that one for over 15 years.
2 Likes
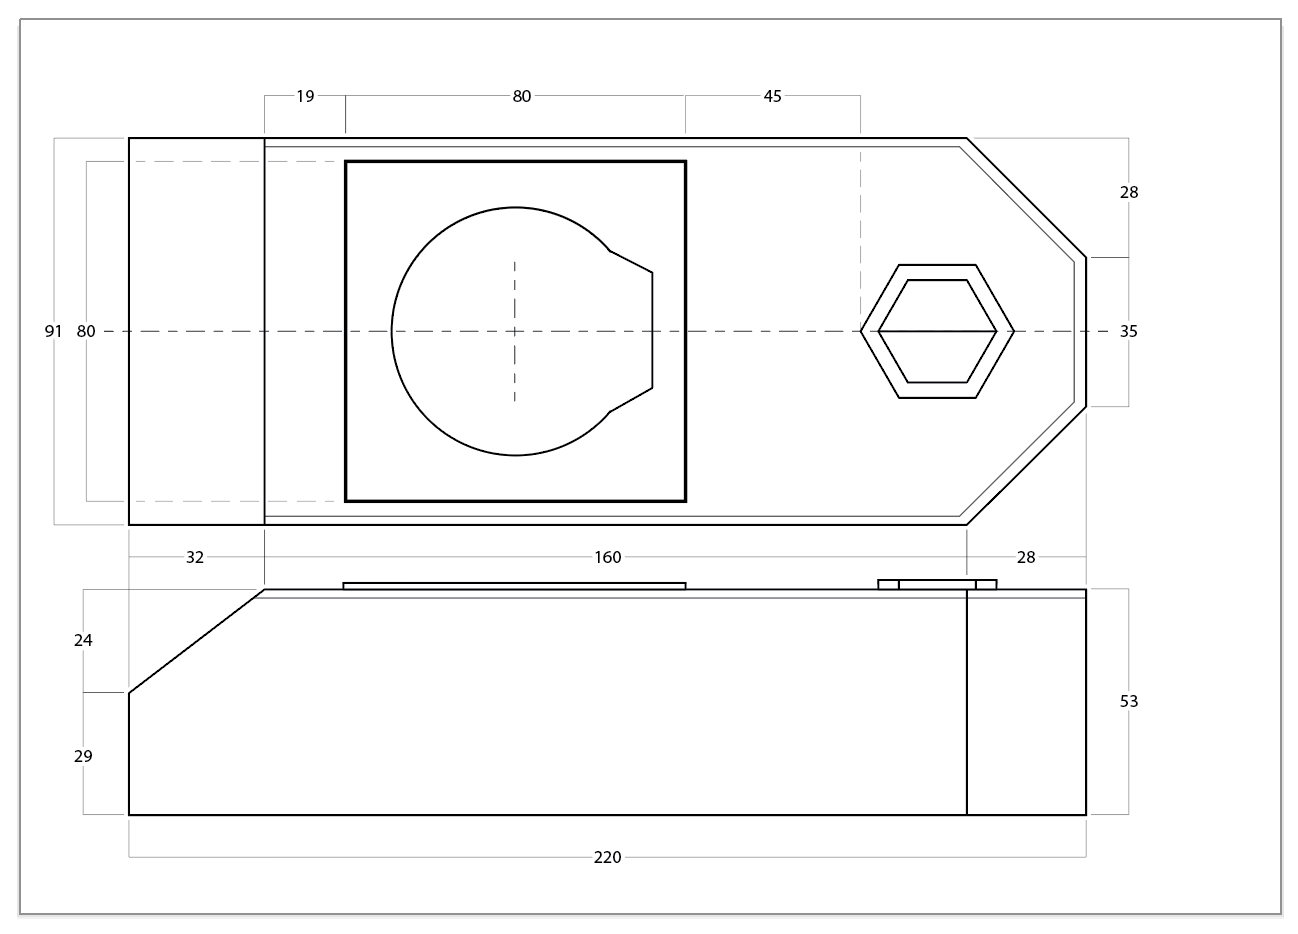
The main difficulty I had was working out its dimensions, but I think I’ve got them reasonably correct by now, after looking at a lot of photos and measuring things in them. (If the IJssellinie was closer to where I live, I’d just go there and measure one up, but to do that I would need to spend half a day getting there and then the same back again.)
5 Likes
Looks real good. I don’t think I had any dimensions.
I used had these photos which make the bunker look different.
BUNKERINFO - Bunkers, Info, Foto's, Locaties en Meer!!!: Tankkazemat and came up with this.
Ijssel line observation bunker
Makes me want to try again.
3 Likes
I think so too. Using google maps on my phone (51.972354, 5.872959), I got 200mm by 85mm for overall dimensions. I would trust your measurements more.
2 Likes
The idea that aerial photographs would help didn’t even occur to me … I took measurements in a number of different photos in which I could measure things like the turret diameter, and also measured a 1:35 scale Sherman to work out the minimum distance between the turret and the hexagonal hatch. (Because that gives access to a room in the concrete part of the casemate, behind the Sherman’s hull. The crew entered through this hatch and then crawled into the tank through the engine hatch in the rear plate.)
2 Likes
@Damraska
I don’t recall now which, but either the DML Thunderbolt VII or the Thunderbolt VI kits had issues with their decals. I know that the side armor on the VII is hollow and it should be a very thick solid slab of armor that was taken from the glacis of a Panther tank if memory serves correct. The rest of the add on armor is pretty accurate tho. “Expedient Jumbos” is what I’ve read that Zaloga calls them in his books are one of my favorite Shermans to build.
2 Likes
Thanks! I bookmarked your note for when I build the model. If I recall correctly, I purchased a set of decals specifically for that project, perhaps because of the issue you mention. (That was over 15 years ago. ![]() ) The armor thing should be easy to correct.
) The armor thing should be easy to correct.
Many years ago, I built a Dragon M4A3E8 105 (?). It was a fun model, my favorite of the 2006 to 2010 period.
1 Like
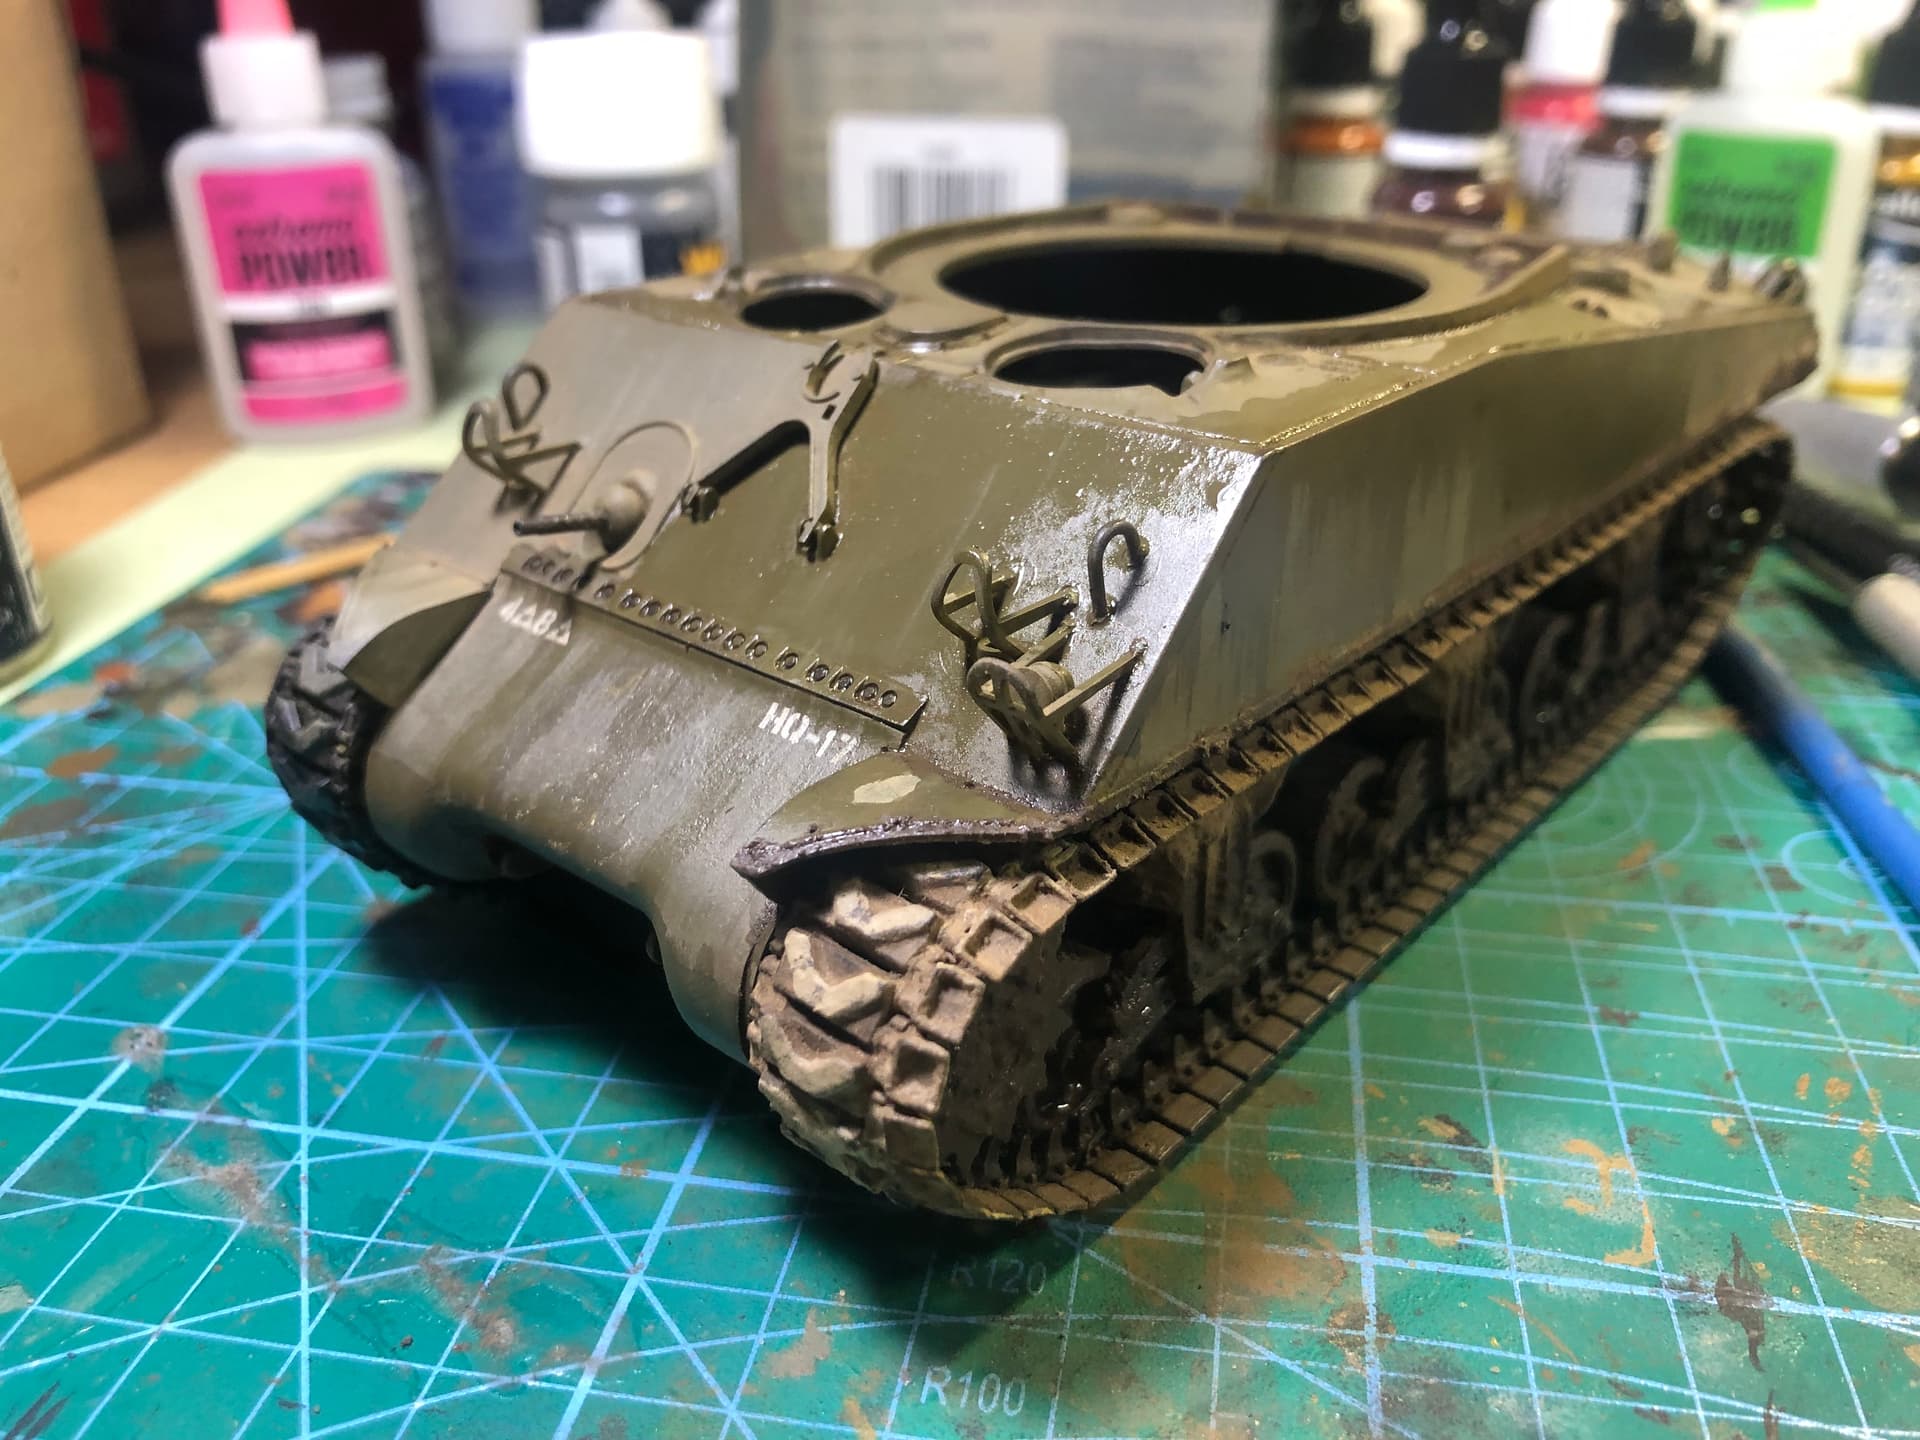
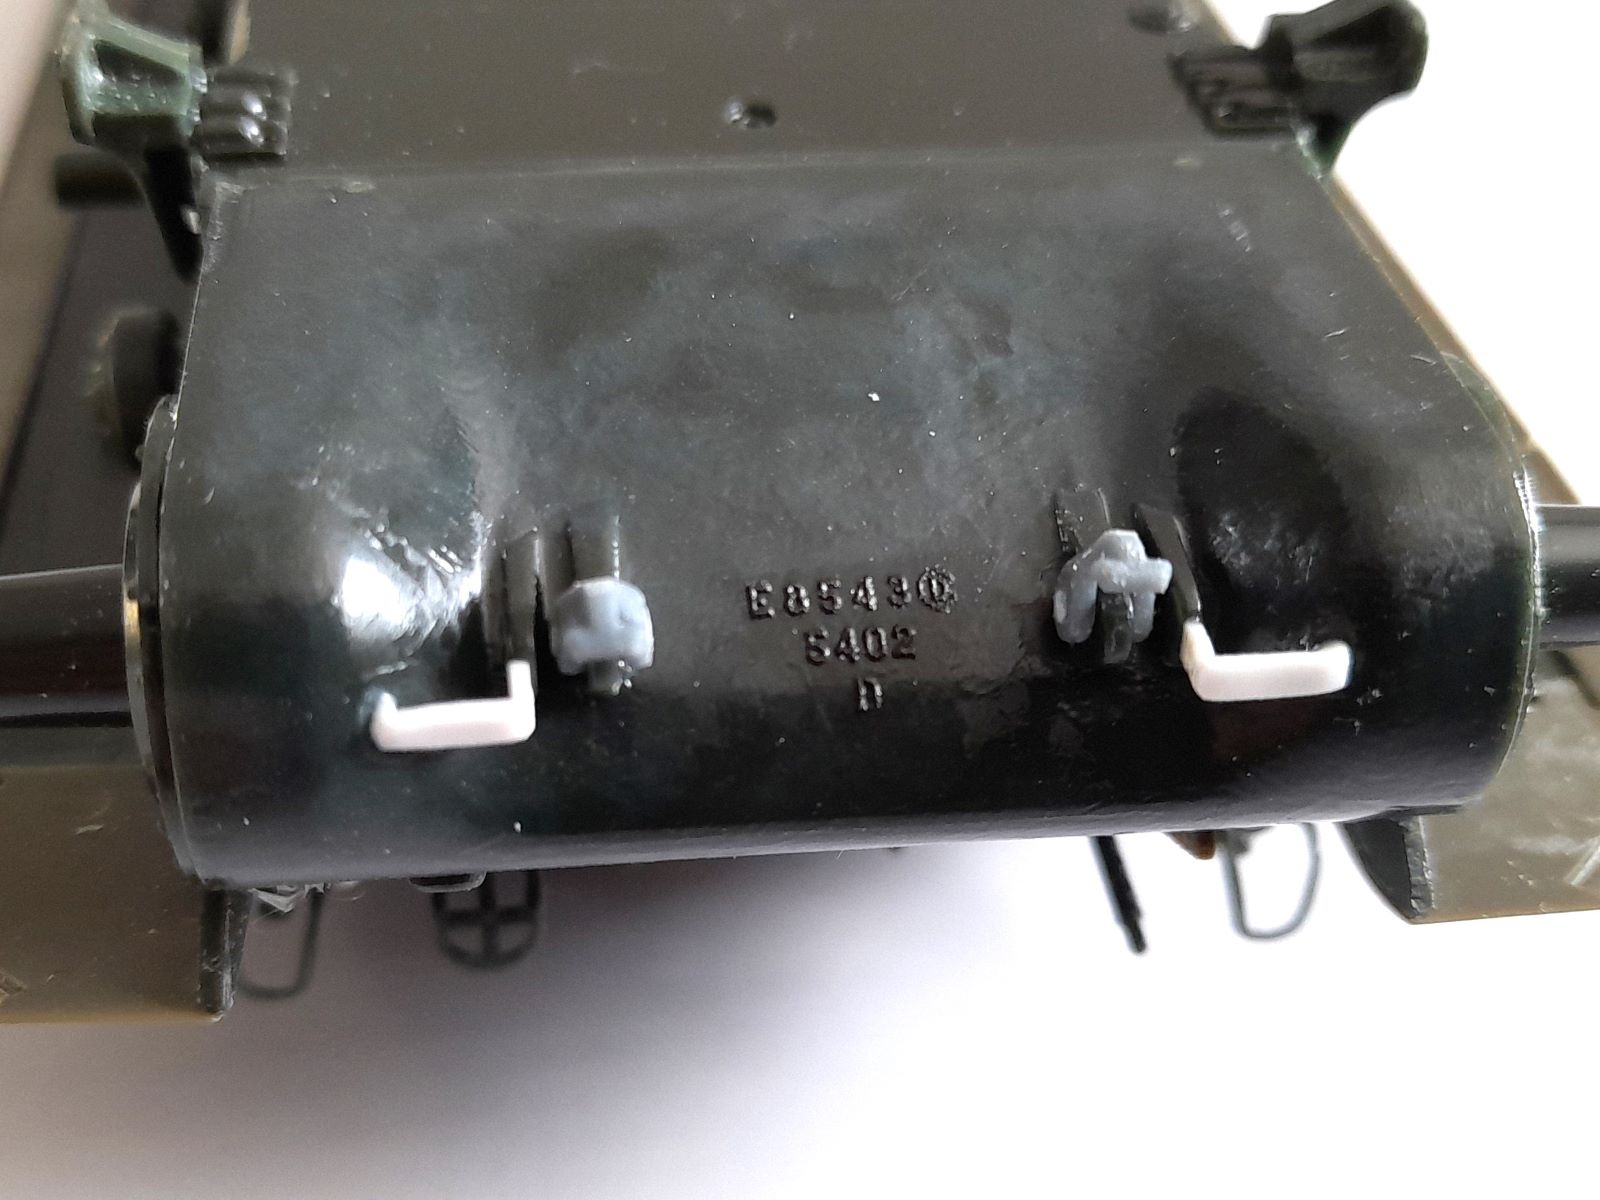
Progress is being made, not exactly fast but progress none the less. Spent a number of weeks staring at the running gear going I need to paint the road wheels. Before actually doing something about it. I got some assorted wheel masks from Aliexpress that I thought were firm foam but turned out to be what appears to be ABS plastic, not that that’s an issue just didn’t pay enough attention to the product description. So I had filed them away for future use, so when the future arrived I had to go through just about every draw going where did I put those LOL! The smallest hole was a little on the large size but close enough that it’ll dissapear under weathering.
So the running gear is on and drying, the turret is mostly assembled with some detail painting needing to be done. The interior of the hull has been completed and weathered. I’ve also got some photo etch masks of hand prints that I’m going to try out to leave greasy/dirty hand prints around the turret and interior. I’ve ordered a couple of metal barrels for this kit as I’ve picked up an Airfix kit of the M10 for next to nothing and it’s the Academy kit reboxed. So here are some progress pics of the kit.
 IMG_2442 by Chris Wilson, on Flickr
 IMG_2443 by Chris Wilson, on Flickr
 IMG_2444 by Chris Wilson, on Flickr
 IMG_2445 by Chris Wilson, on Flickr
 IMG_2446 by Chris Wilson, on Flickr
 IMG_2447 by Chris Wilson, on Flickr
 IMG_2448 by Chris Wilson, on Flickr
8 Likes
