Ship Docks & Piers = Trestles:
The White Pass and Yukon Train meeting the Cruse Ship at the dock:
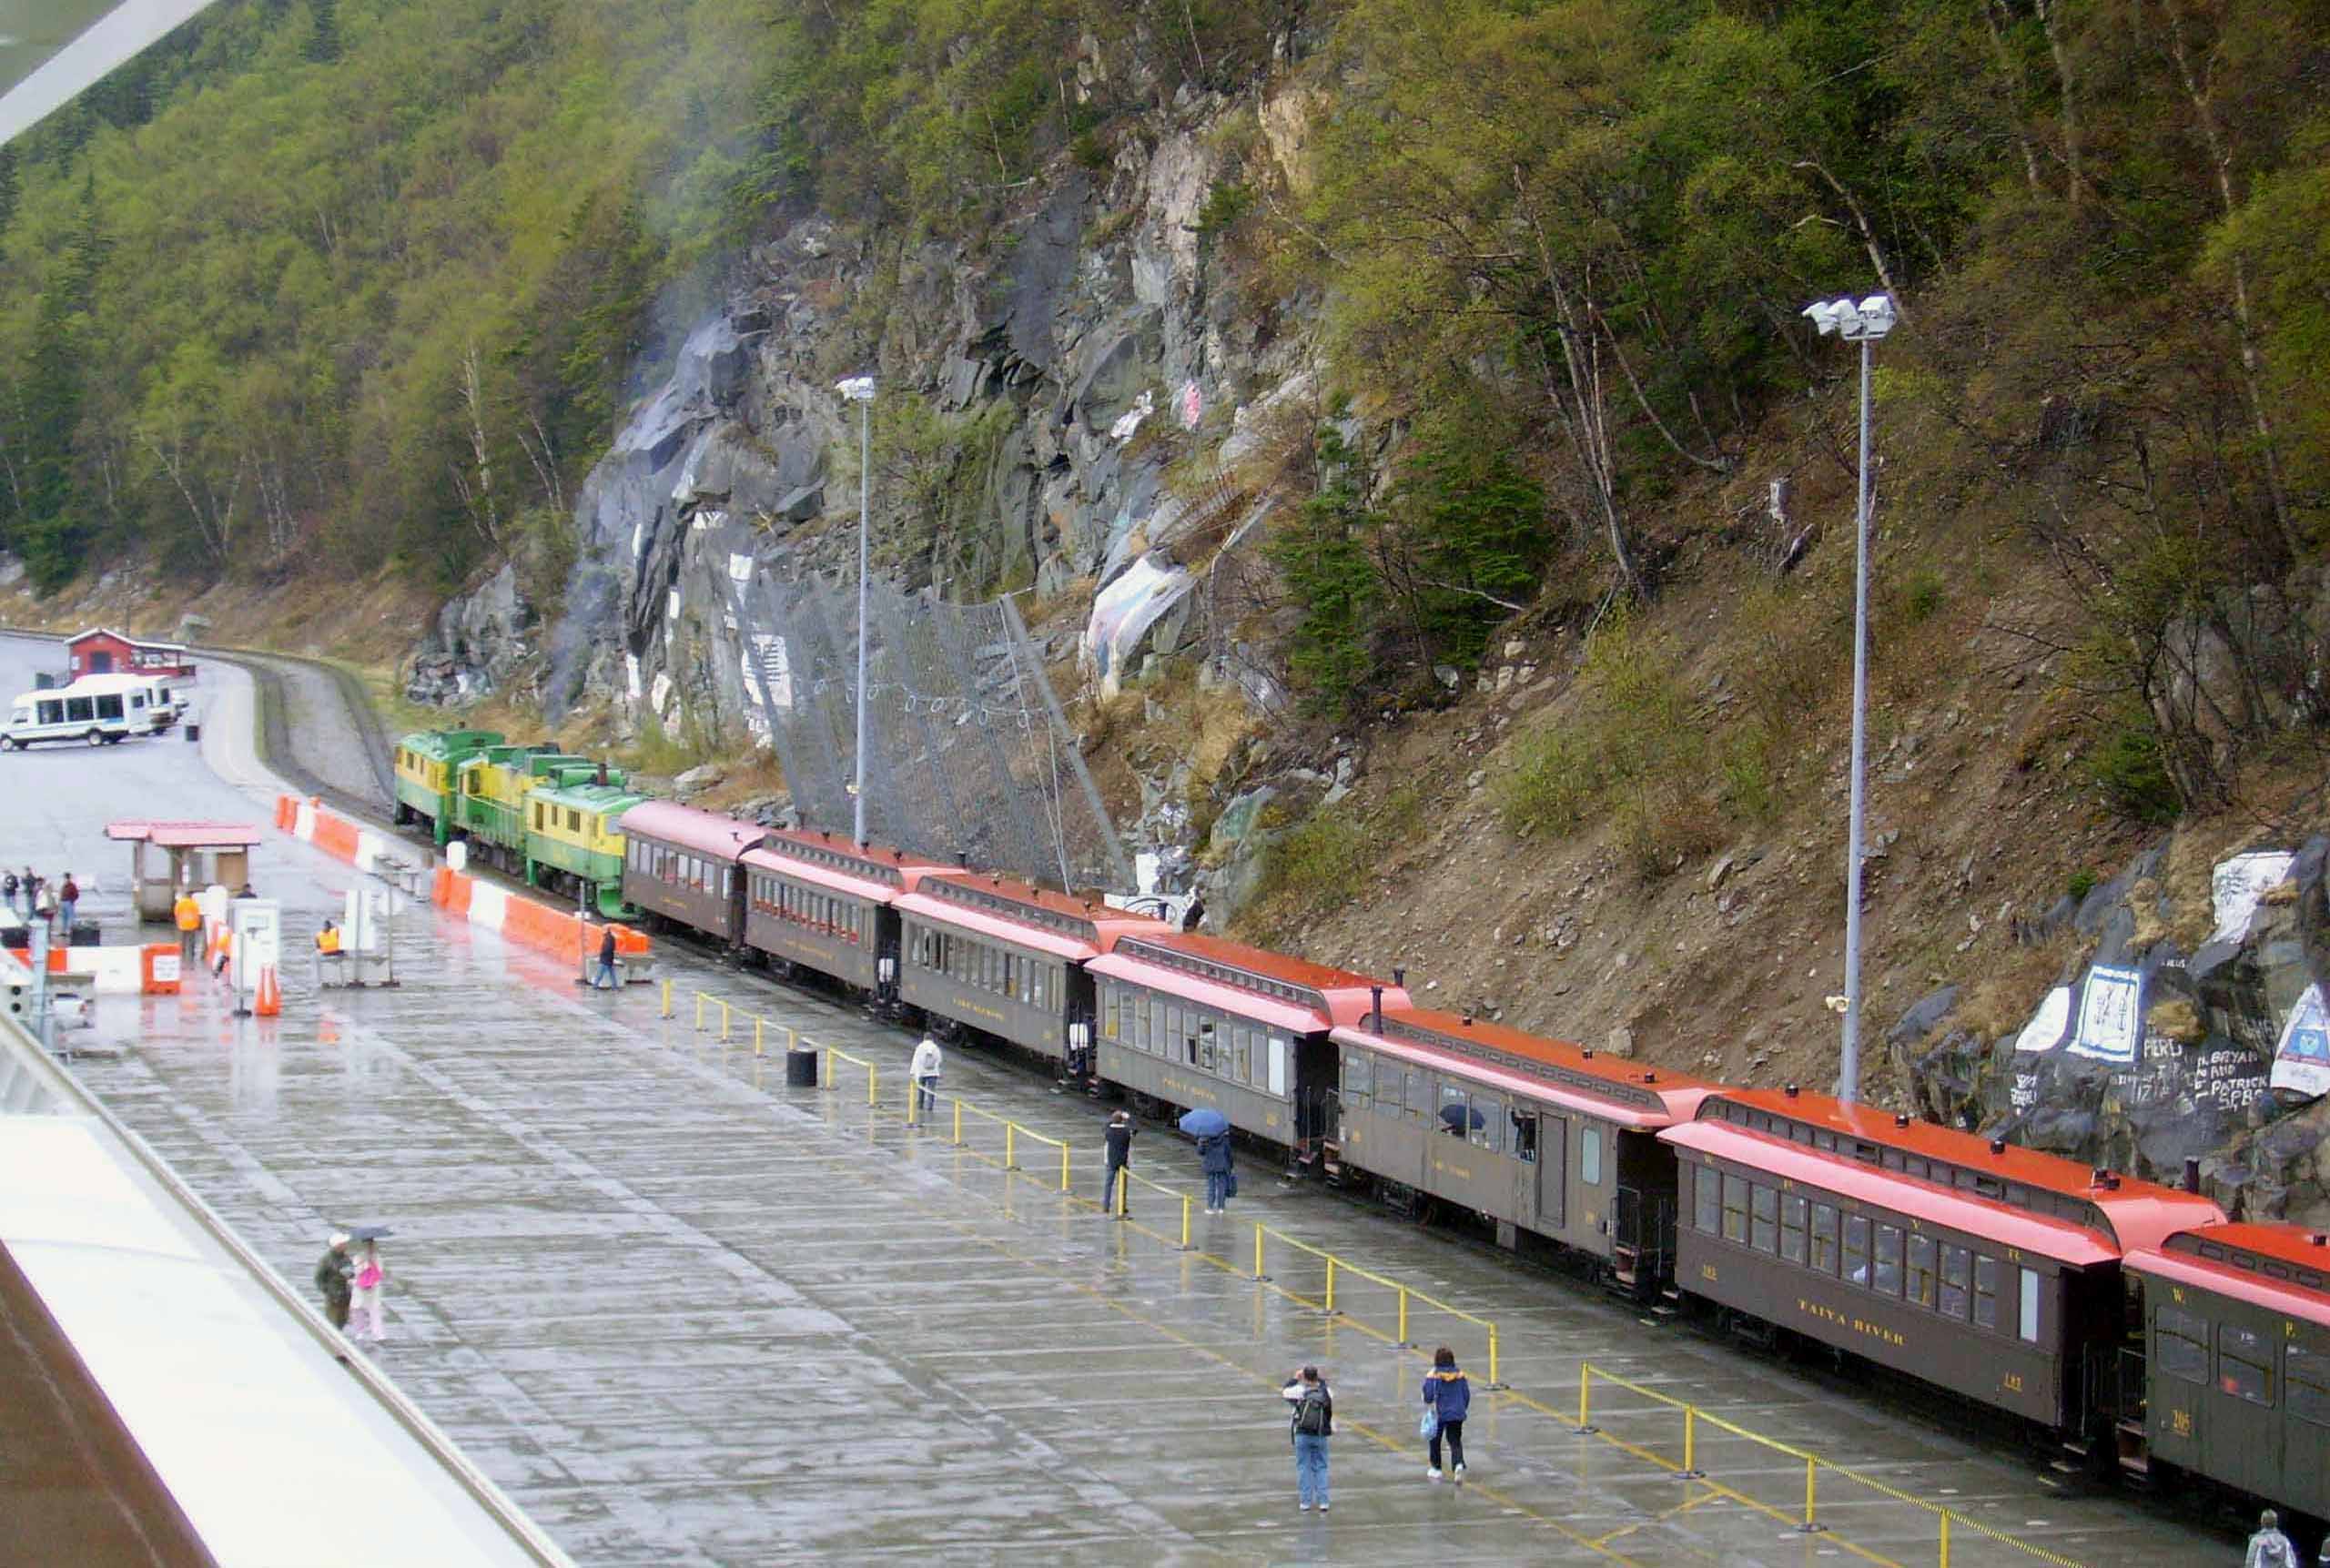
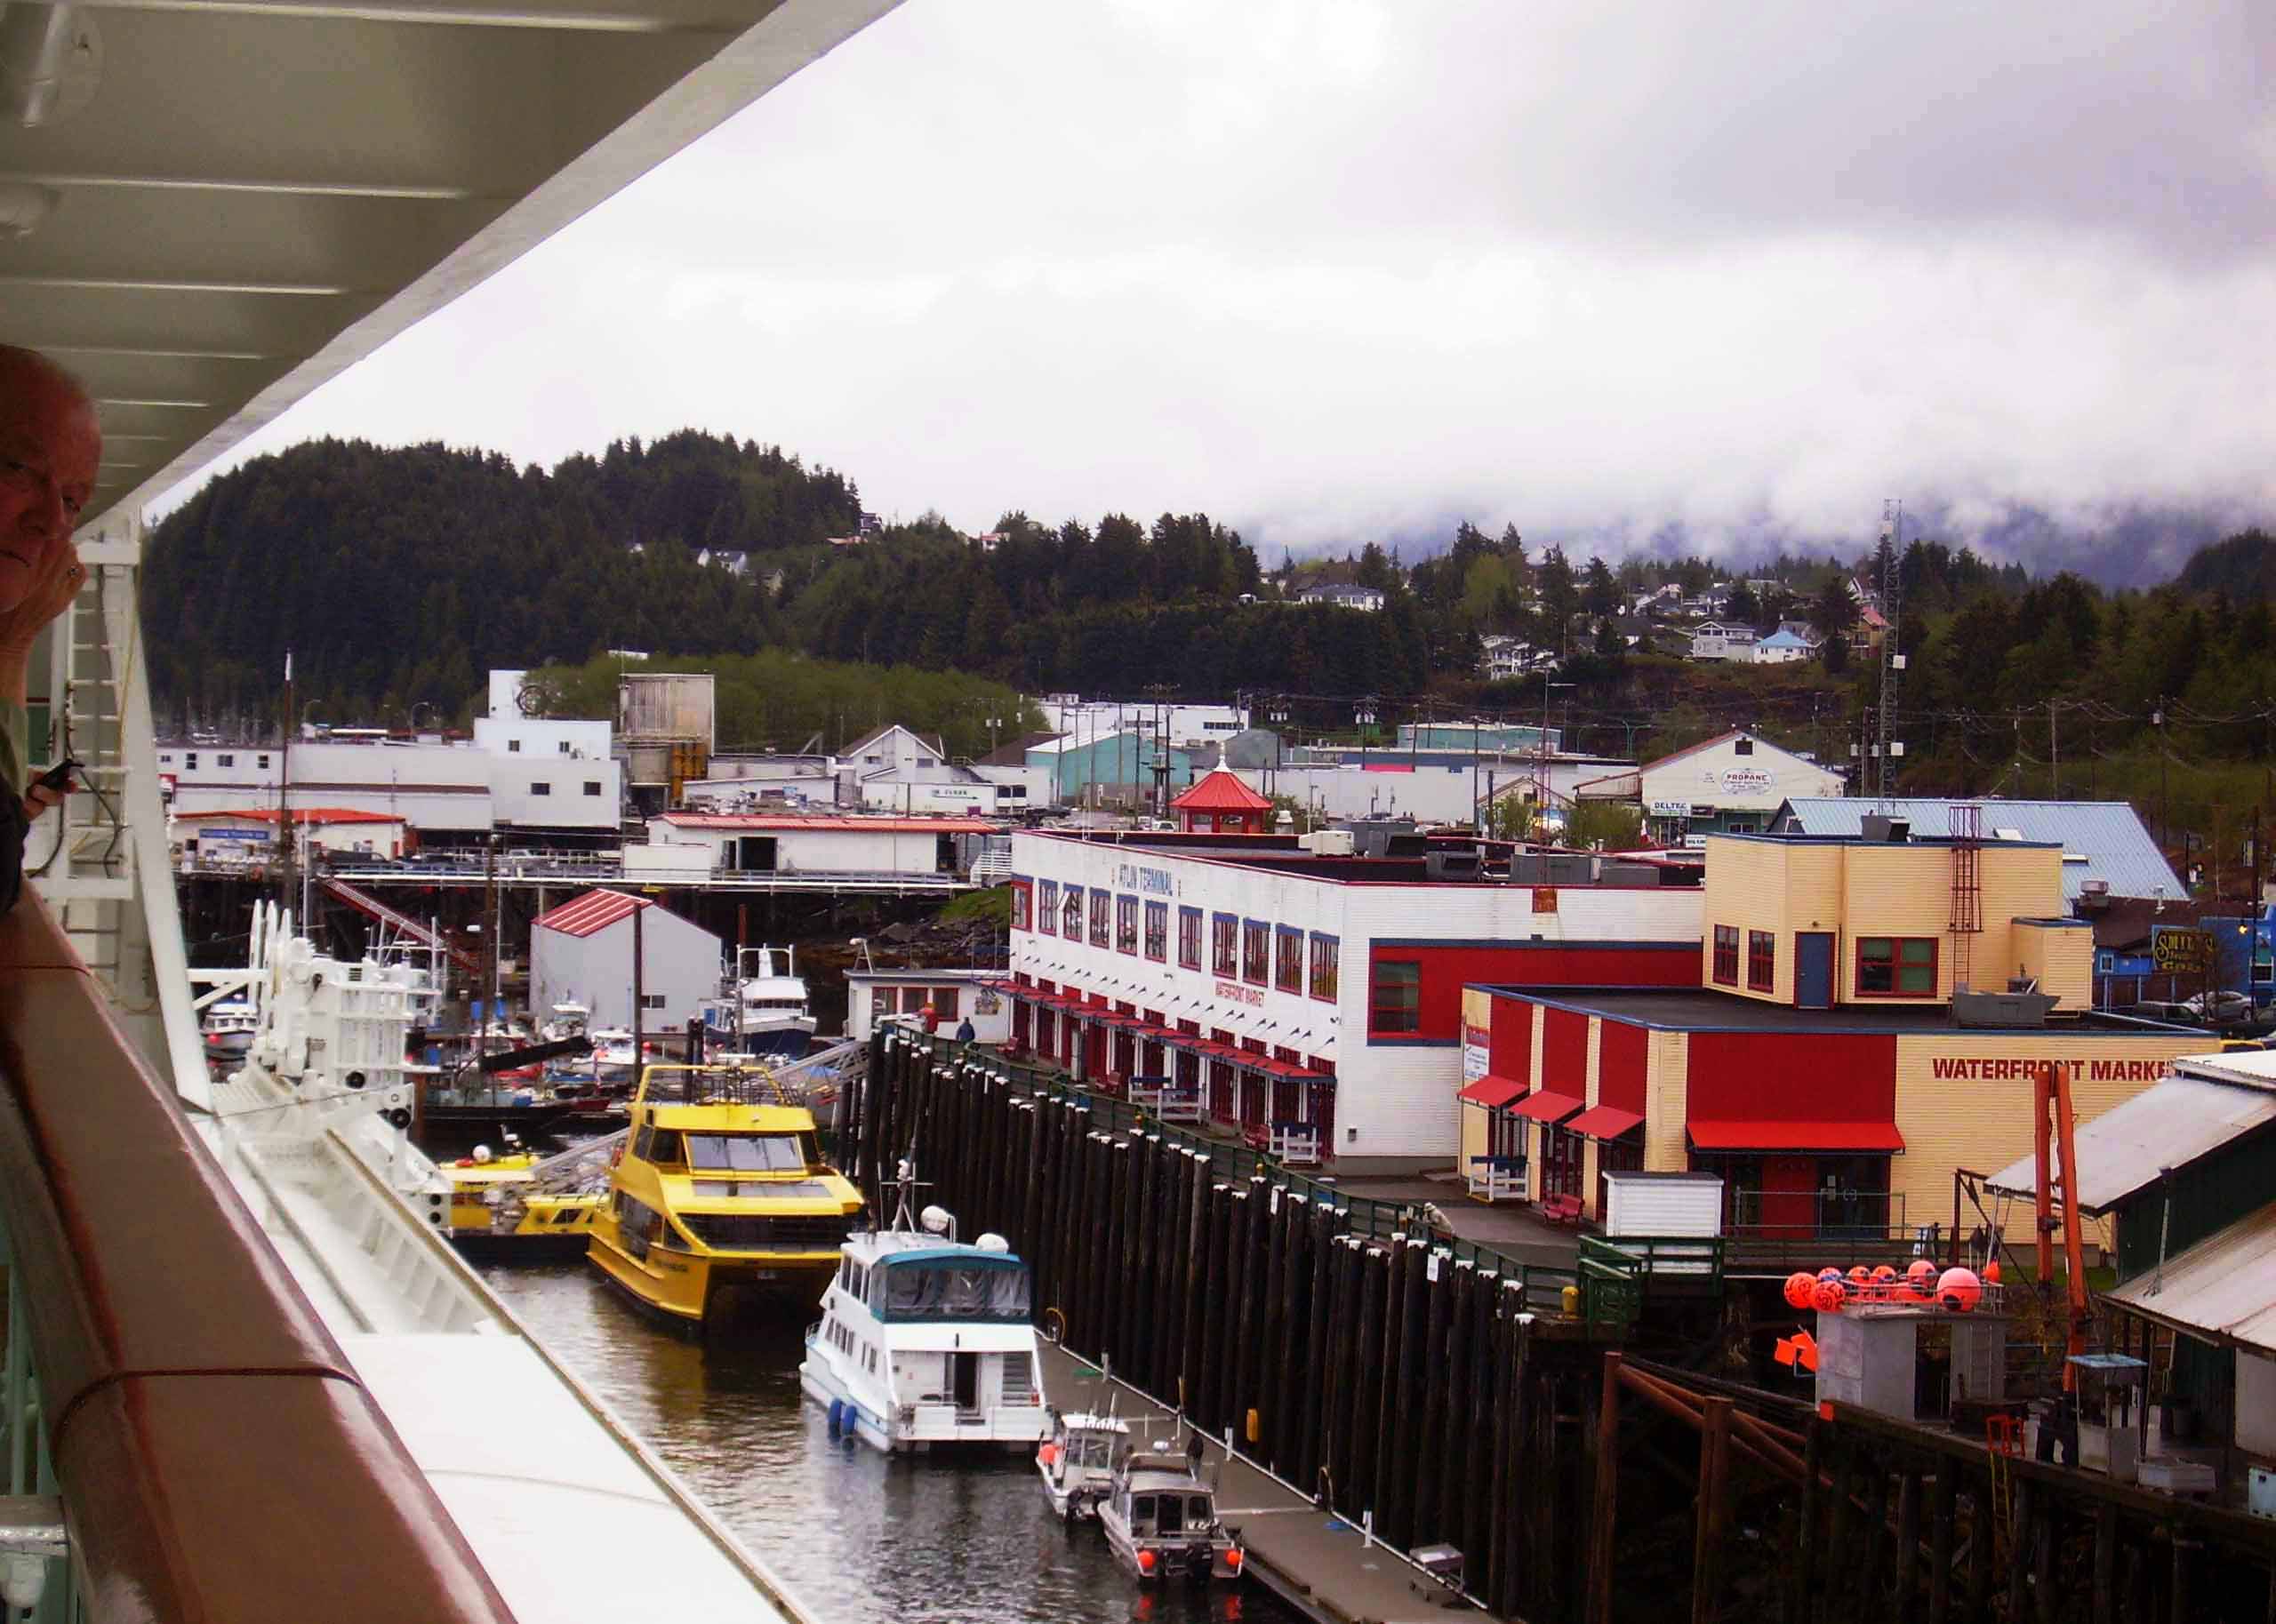
All Photos Credit Rosemary Koenig-Welch
Ship Docks & Piers = Trestles:
The White Pass and Yukon Train meeting the Cruse Ship at the dock:
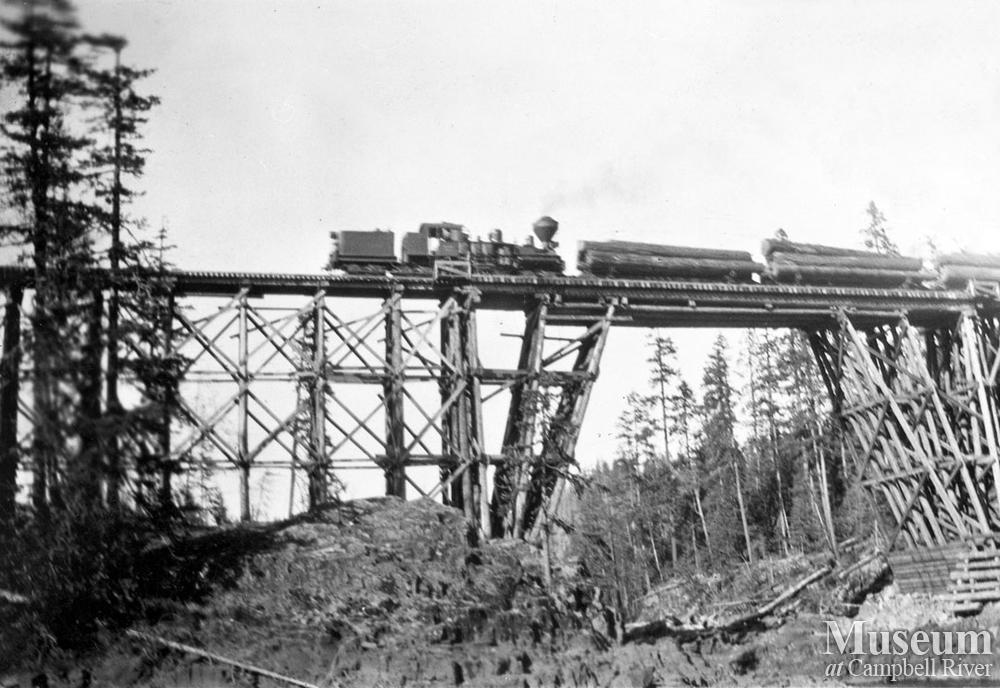
If you would like to see a fantastic collection of logging photos* from the Pacific Northwest I suggest you visit this site from the Museum at Campbell River; British Columbia.
http://gallery.crmuseum.ca/category/gallery/discovery-islands
*Logging, steam donkeys, bridges, camp life, pole roads, cat logging, highline logging, saw mills, log ponds and log floats.
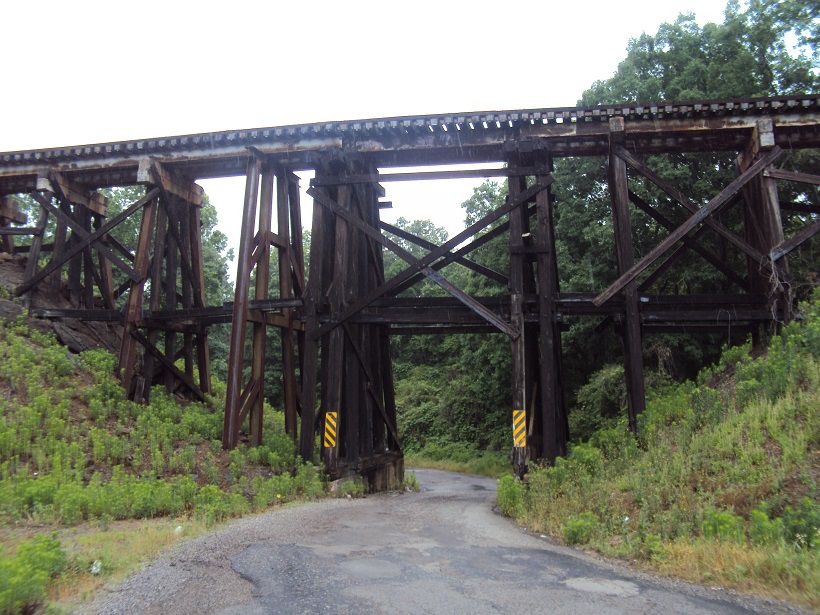
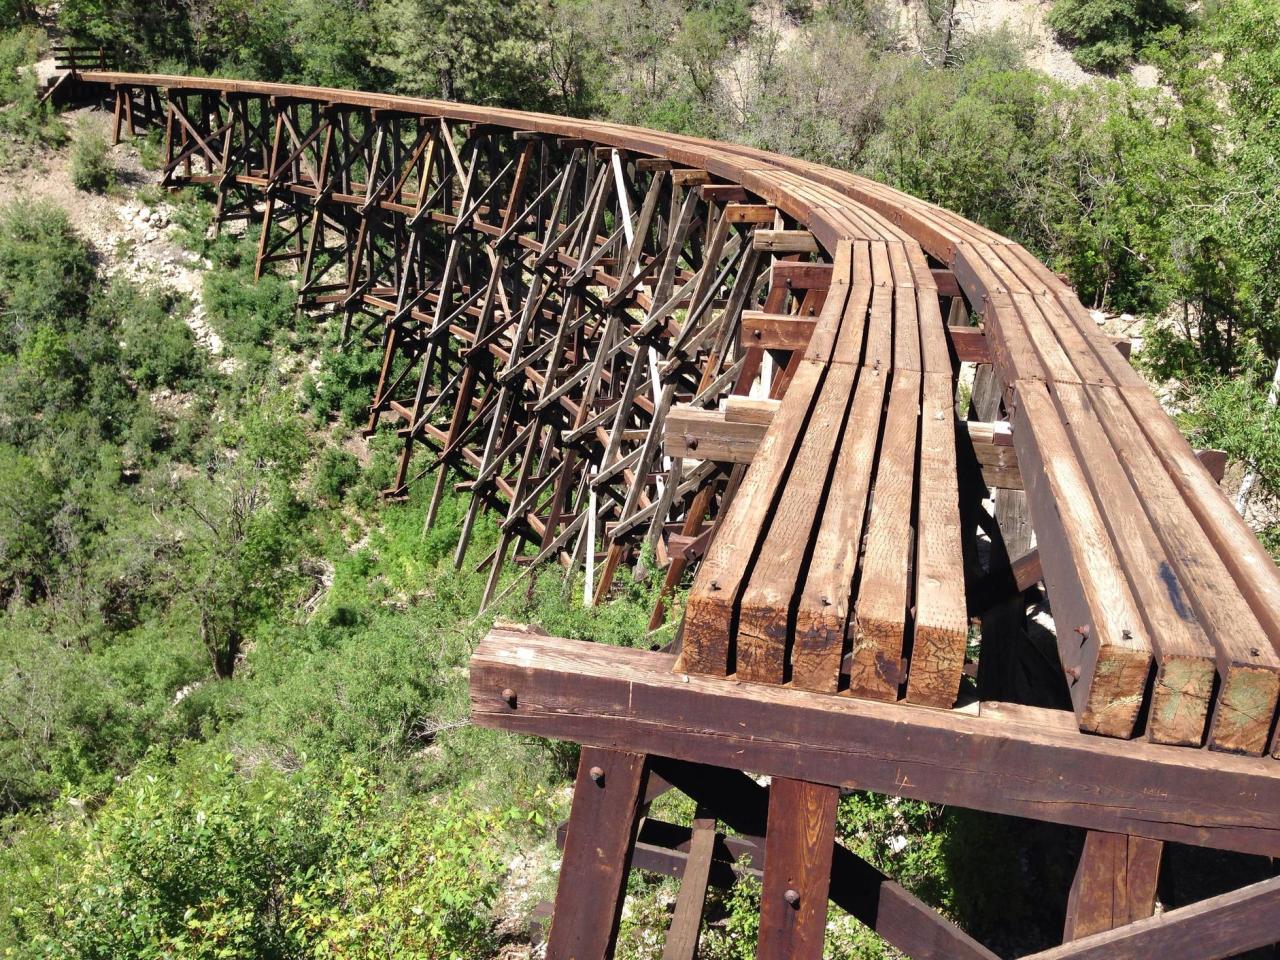
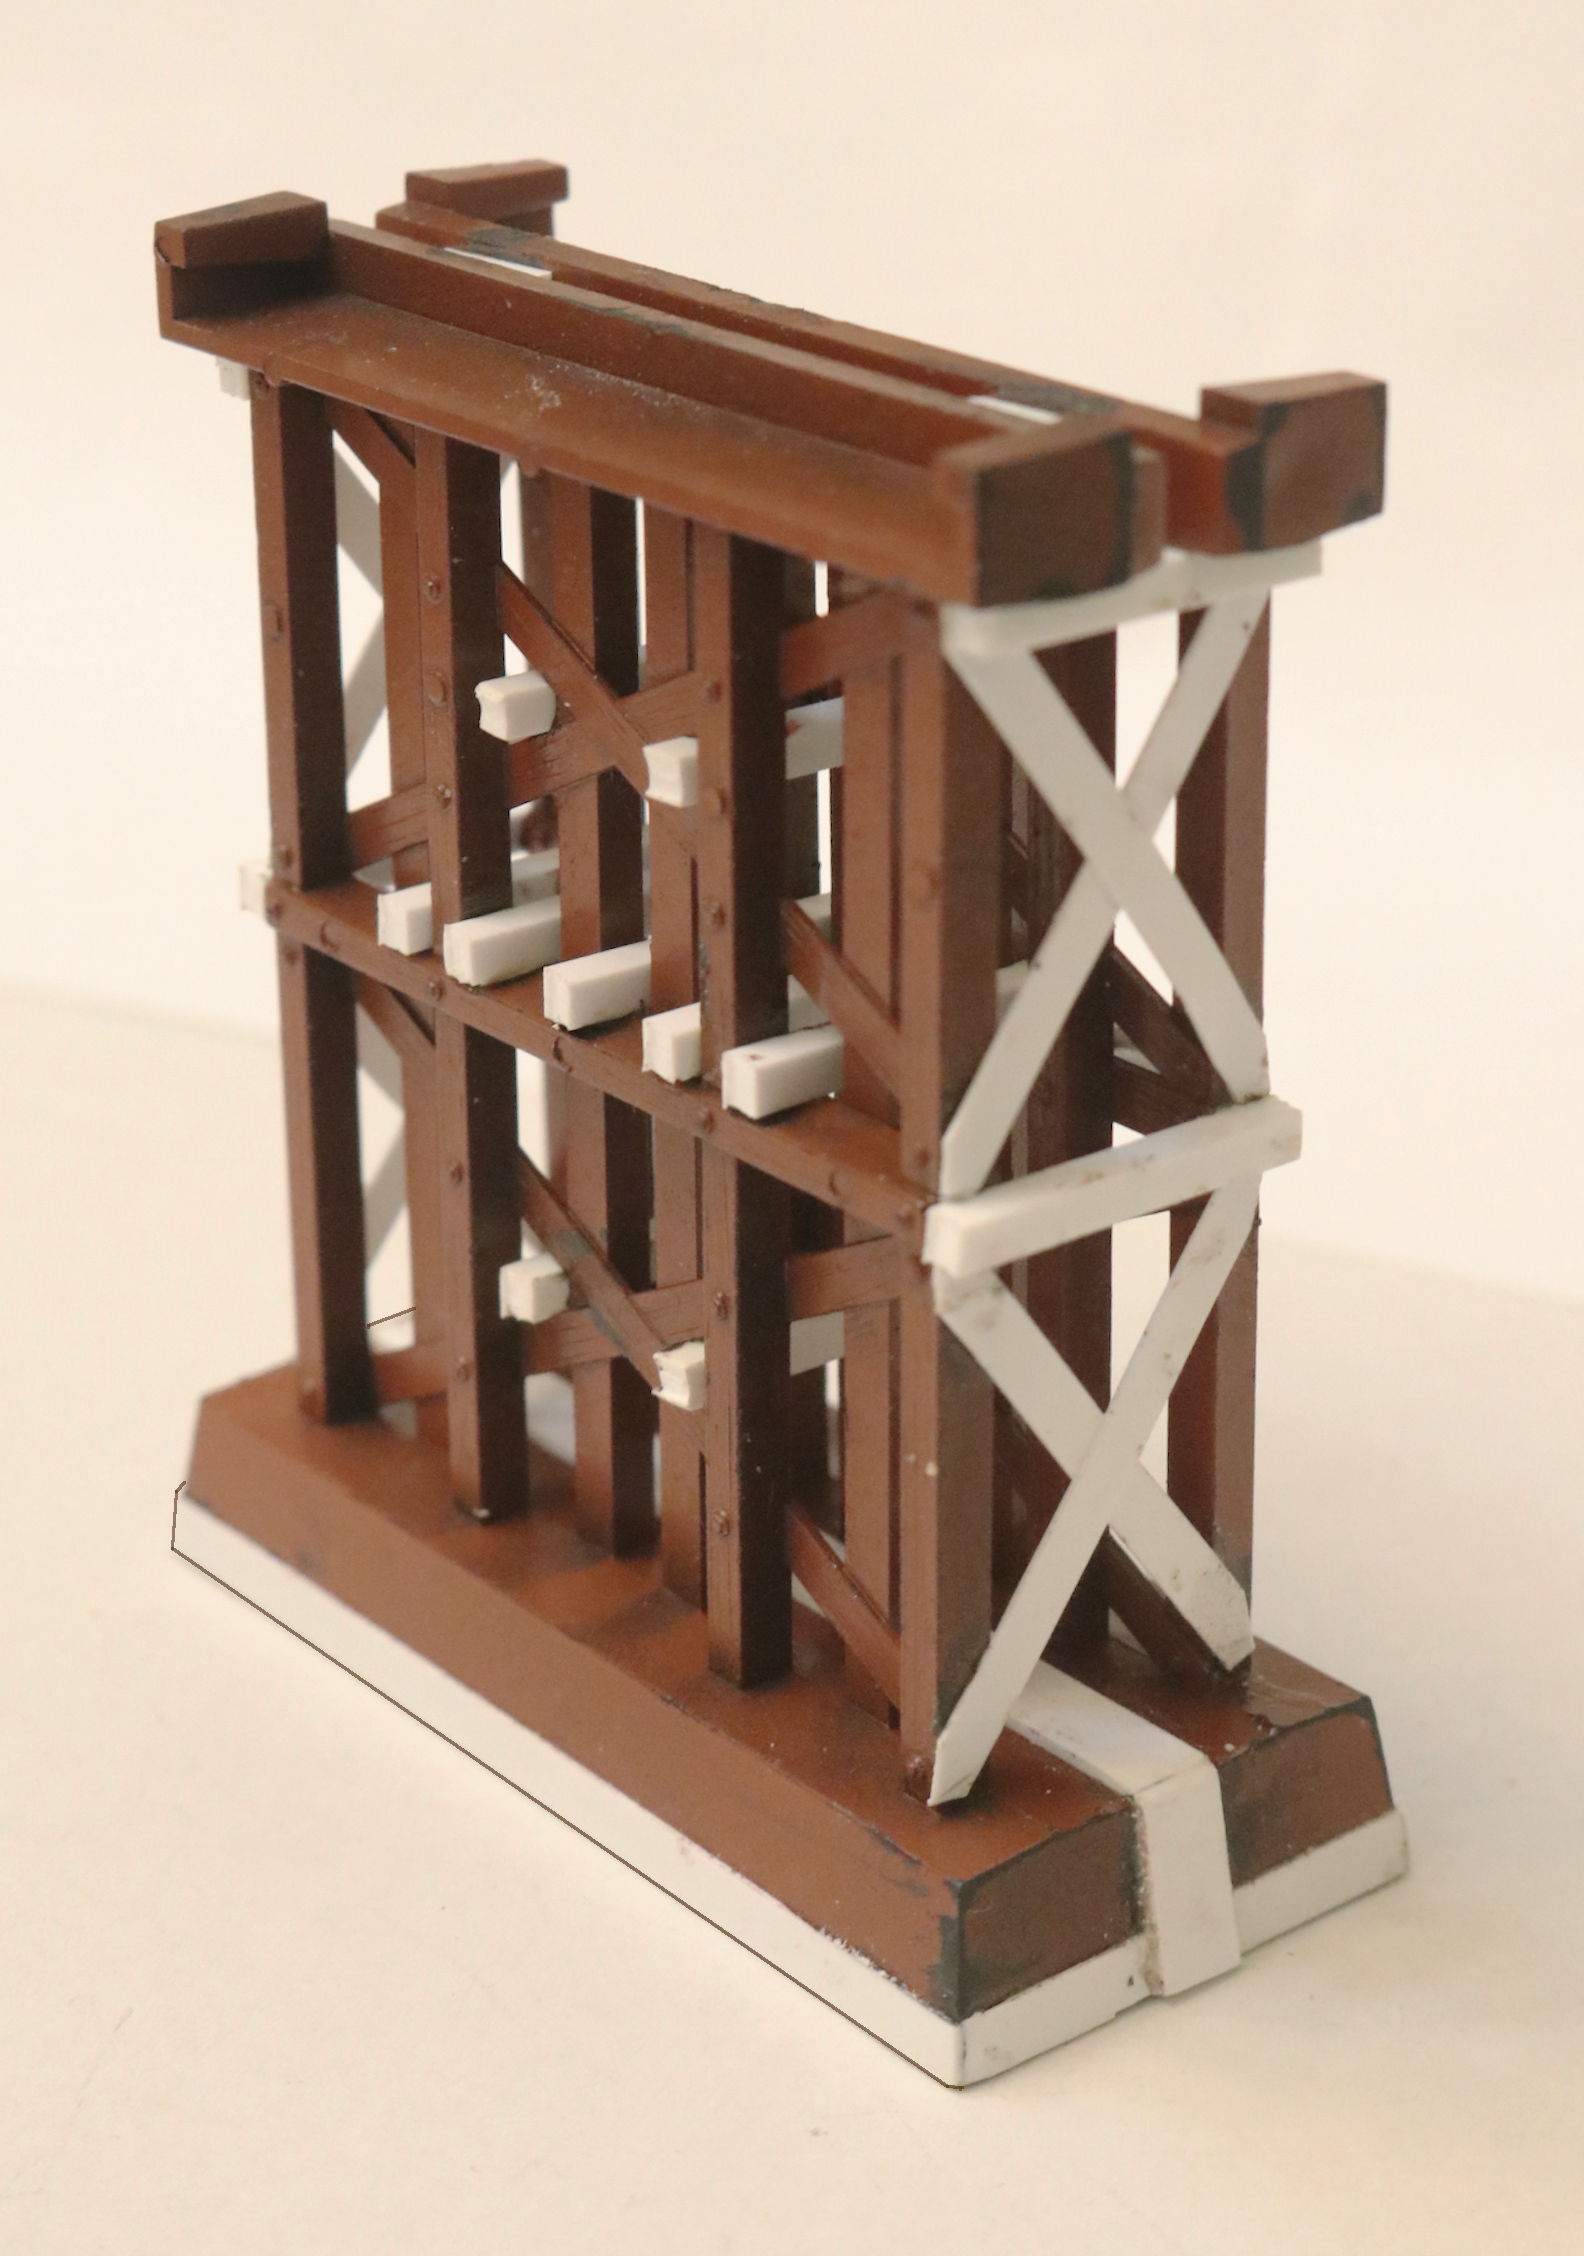
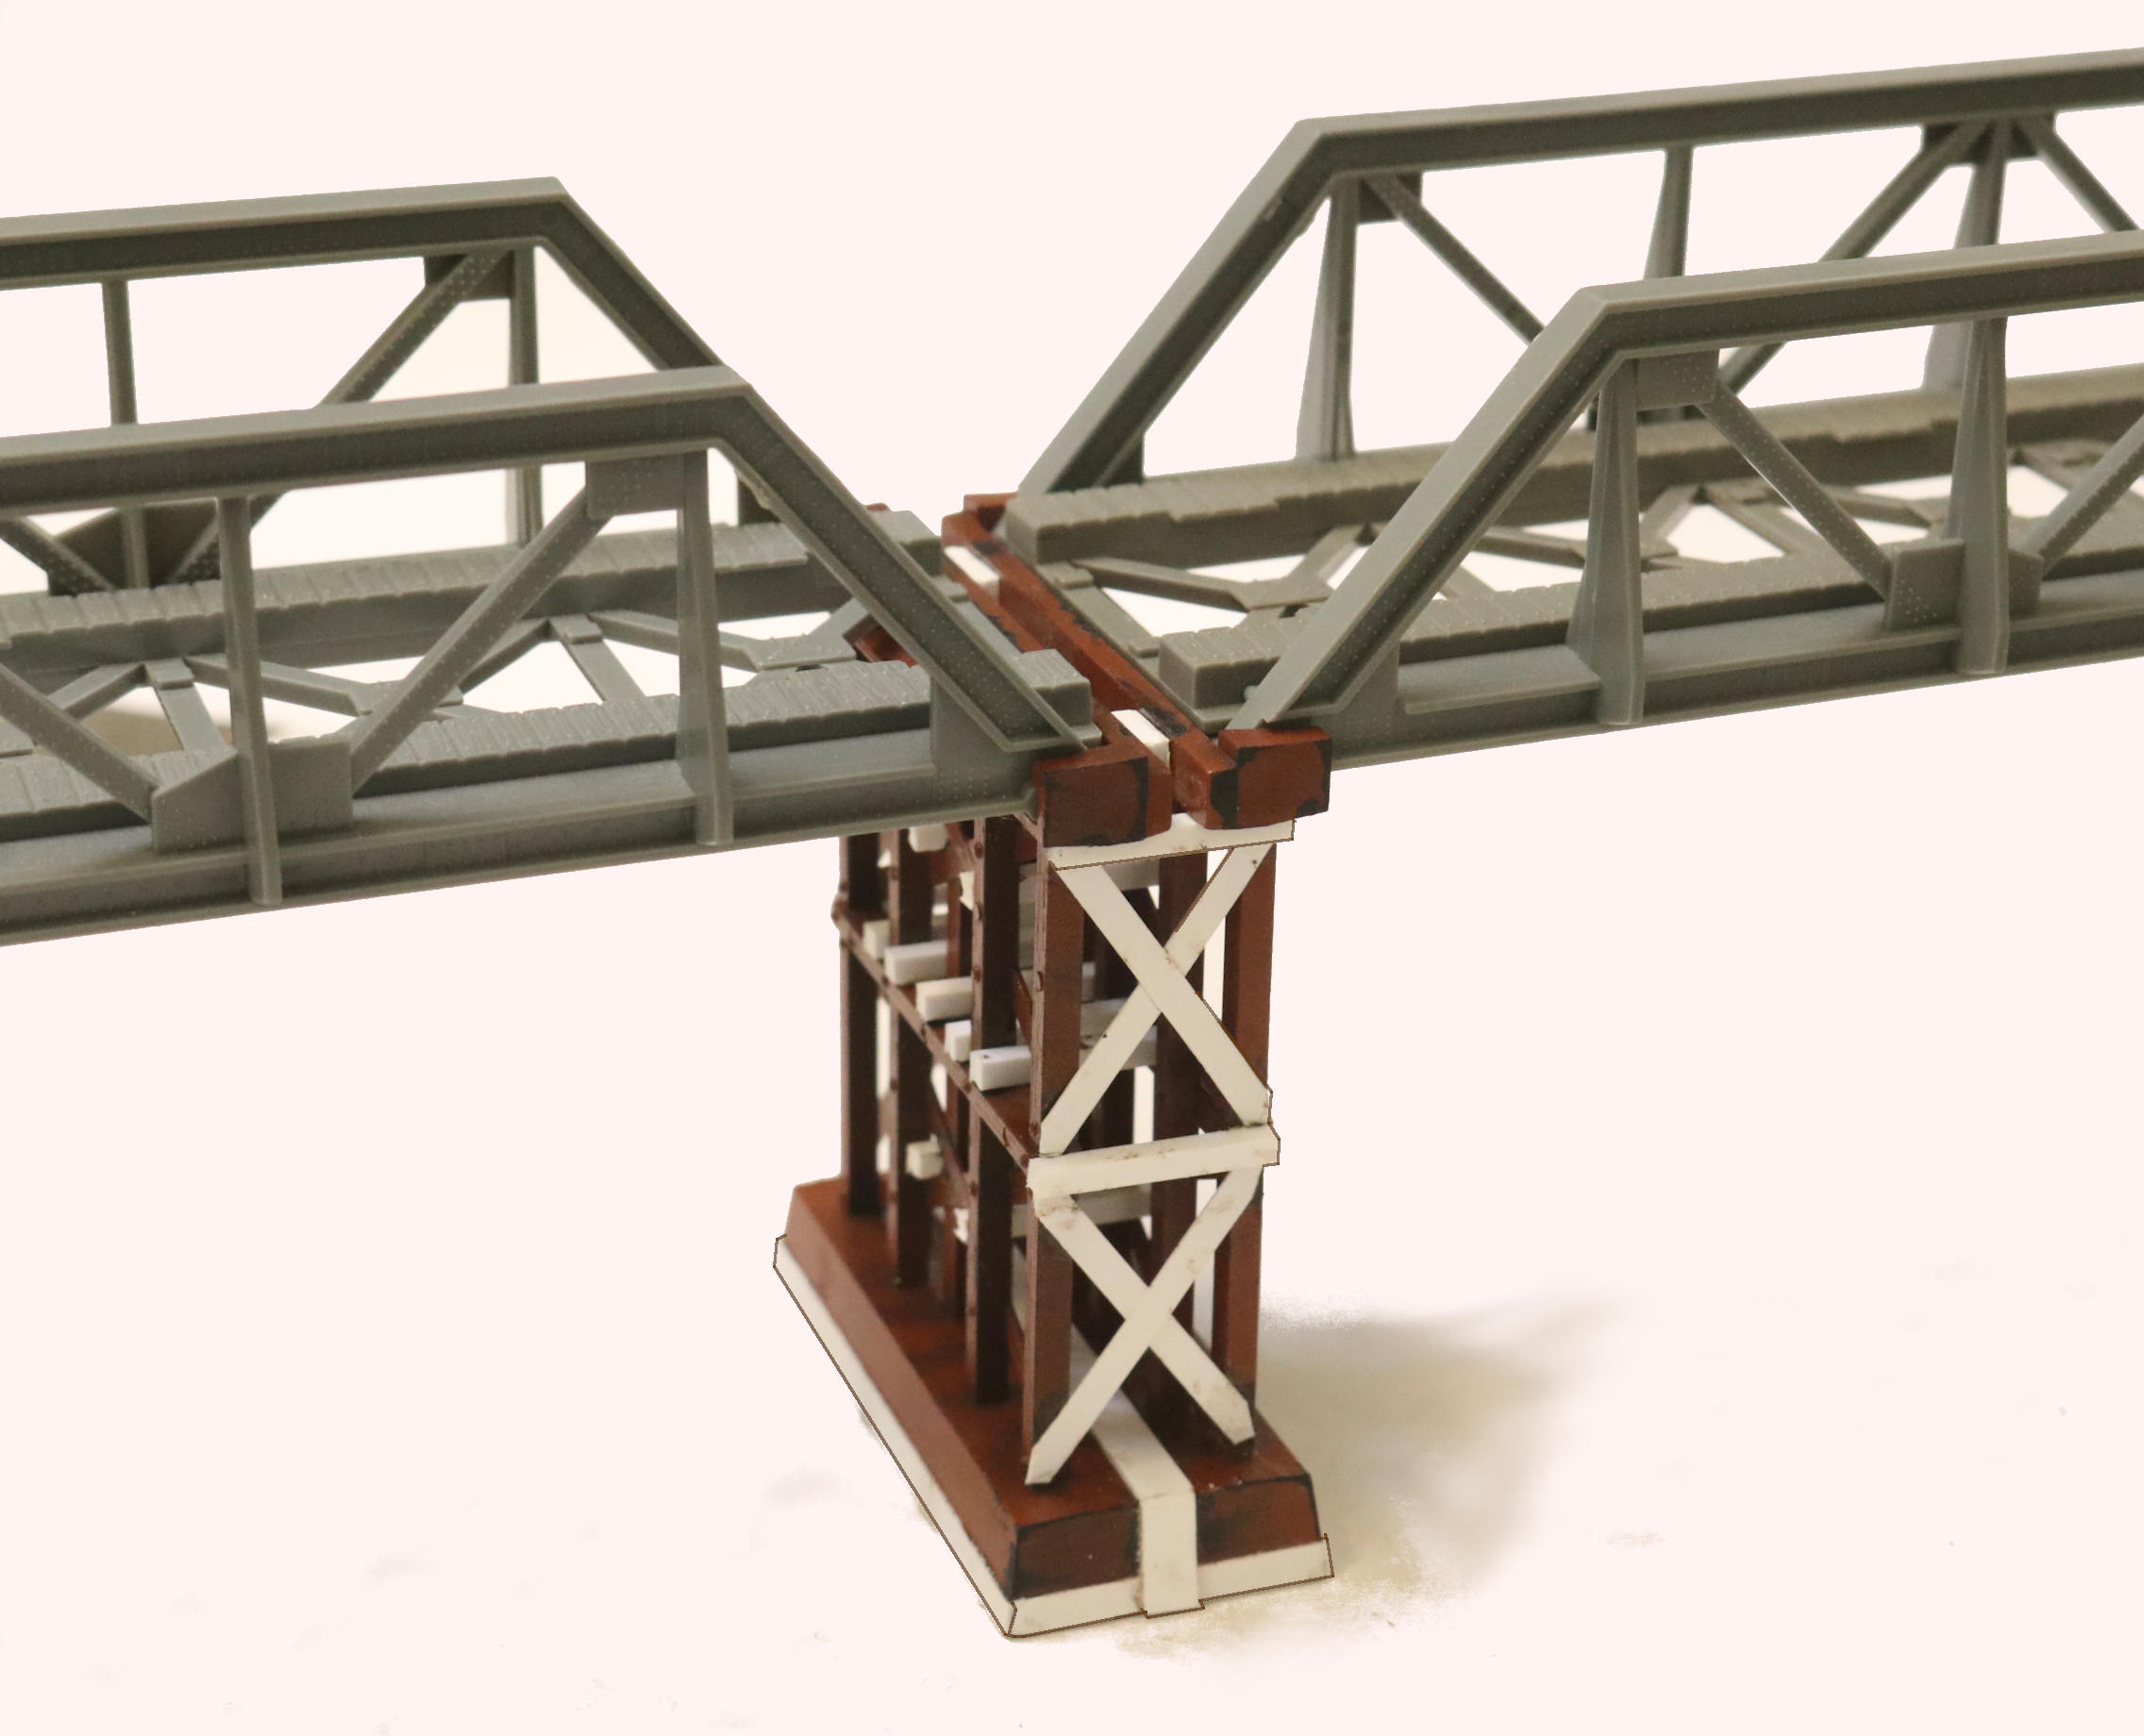
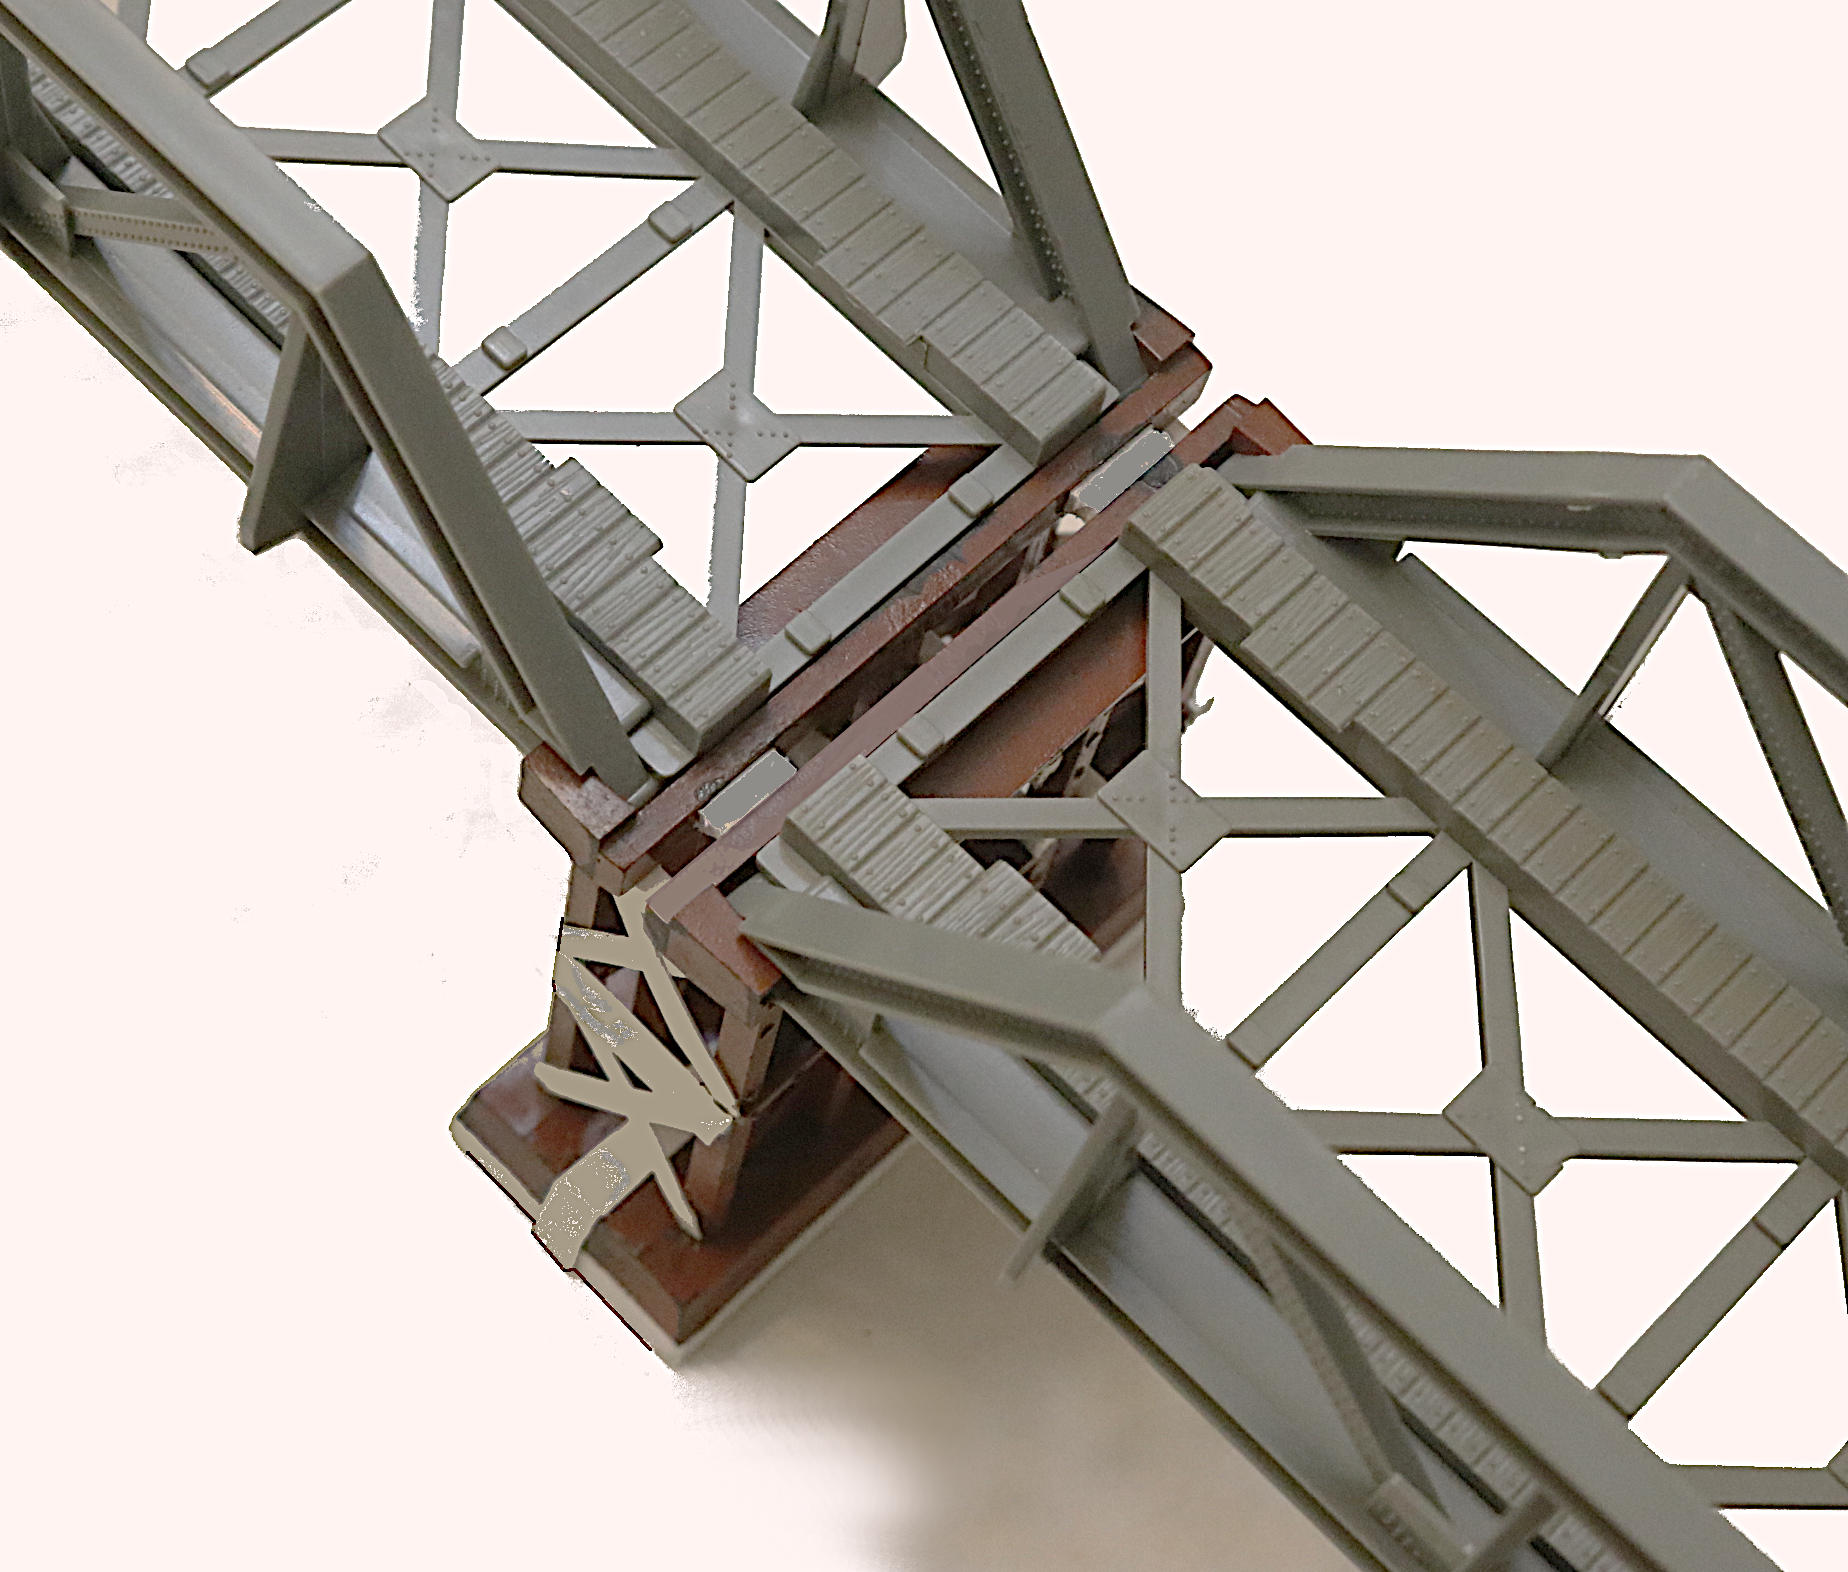
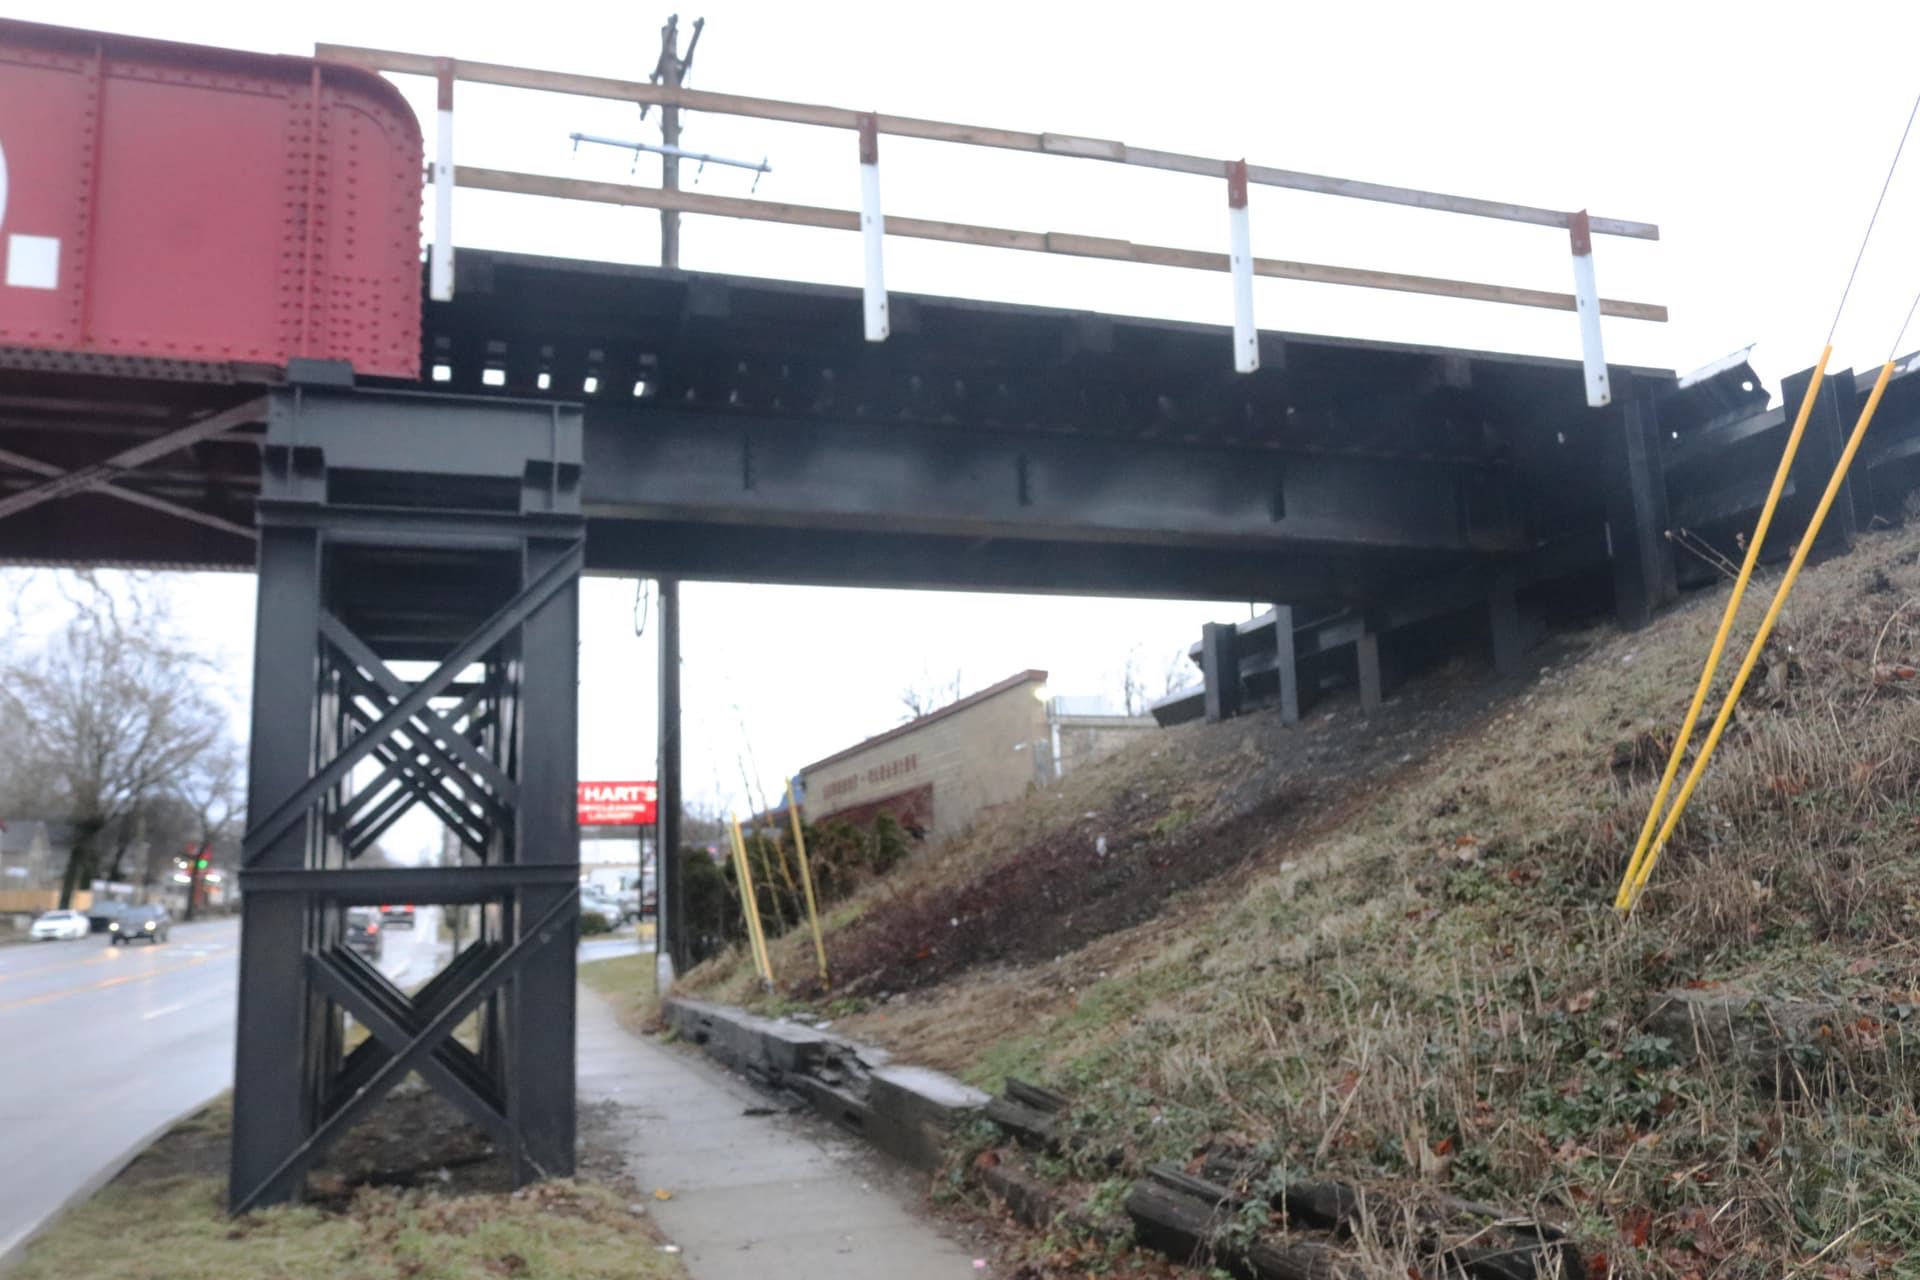
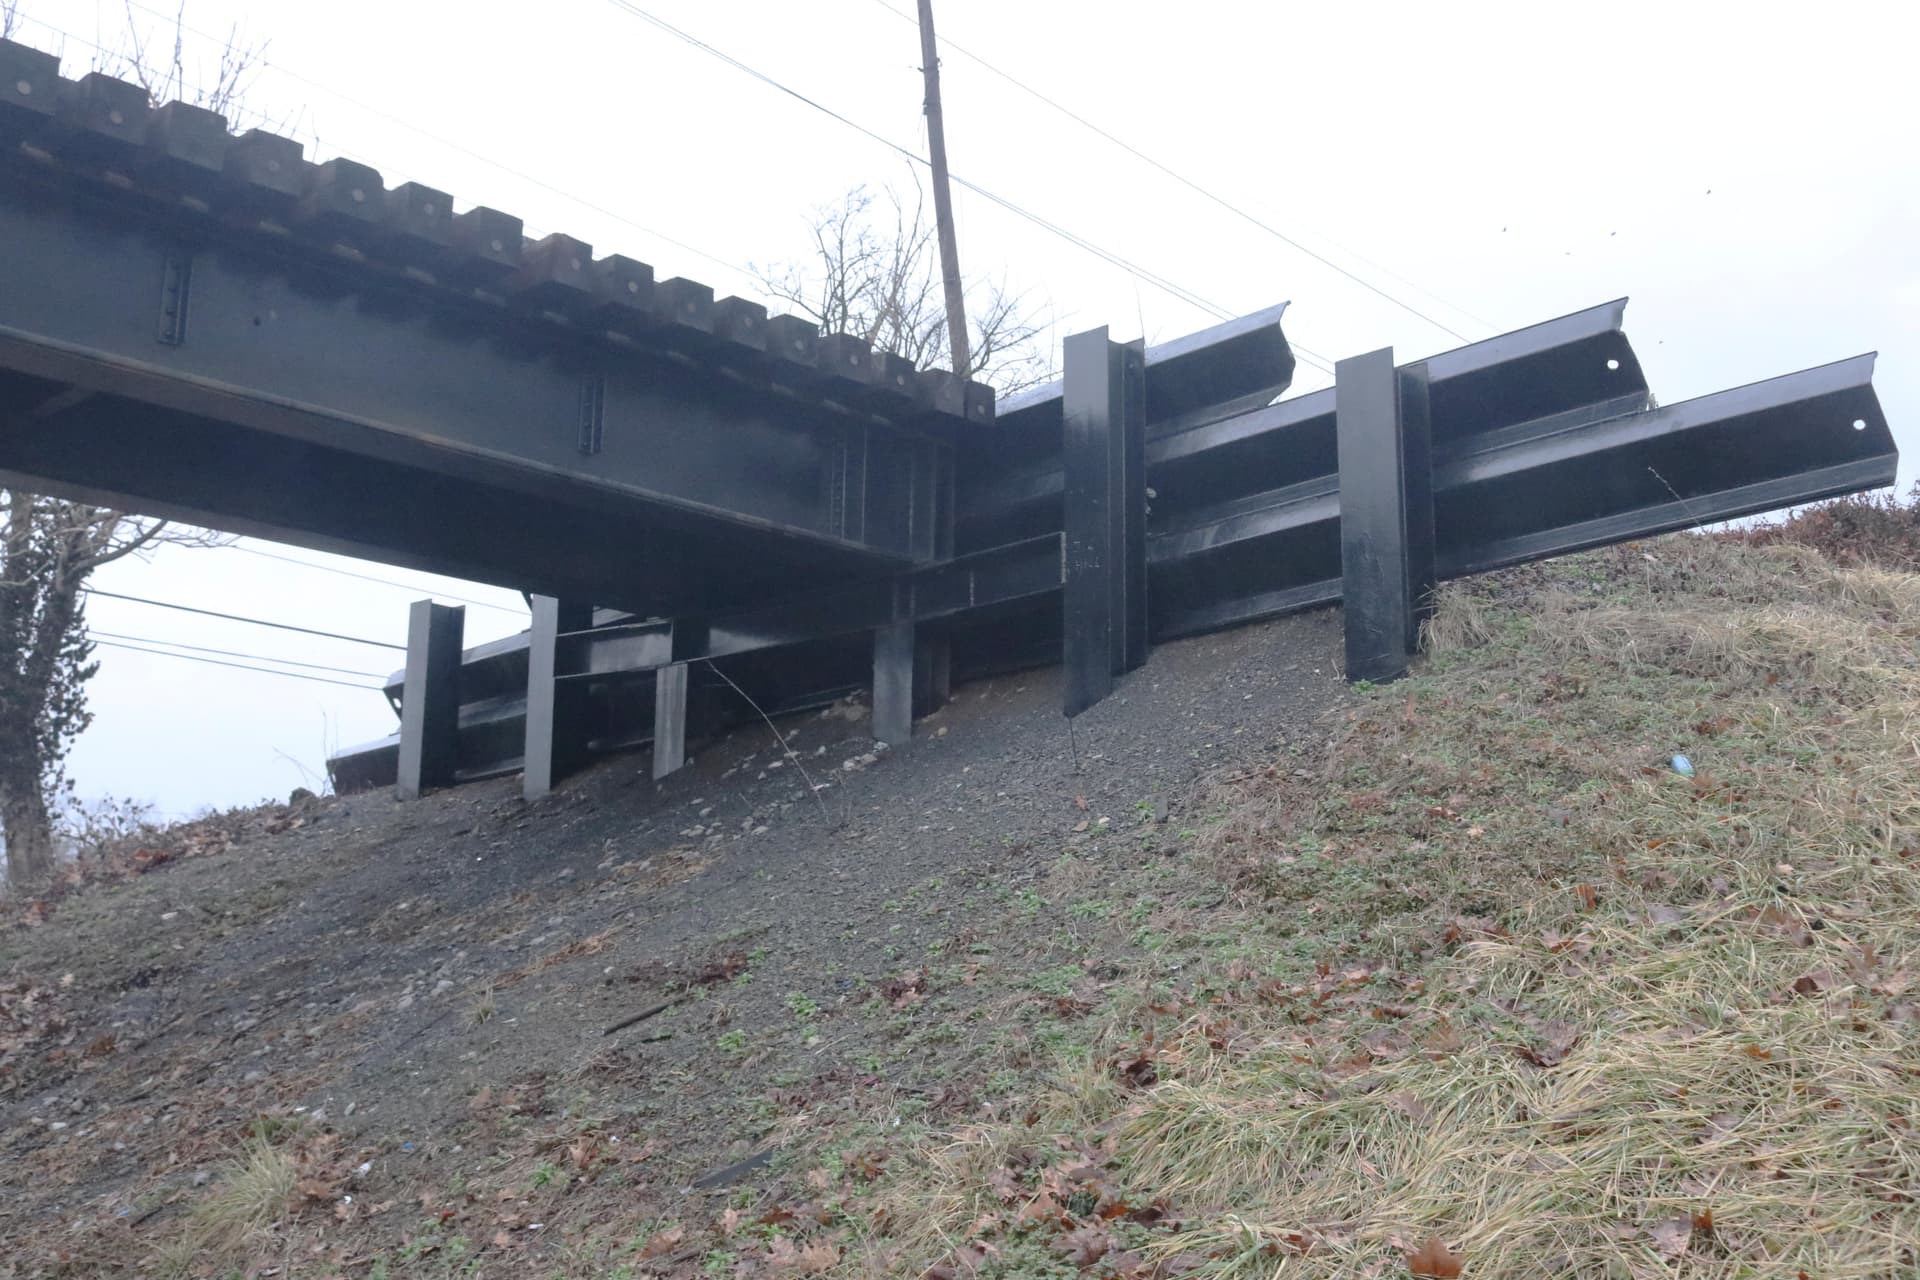
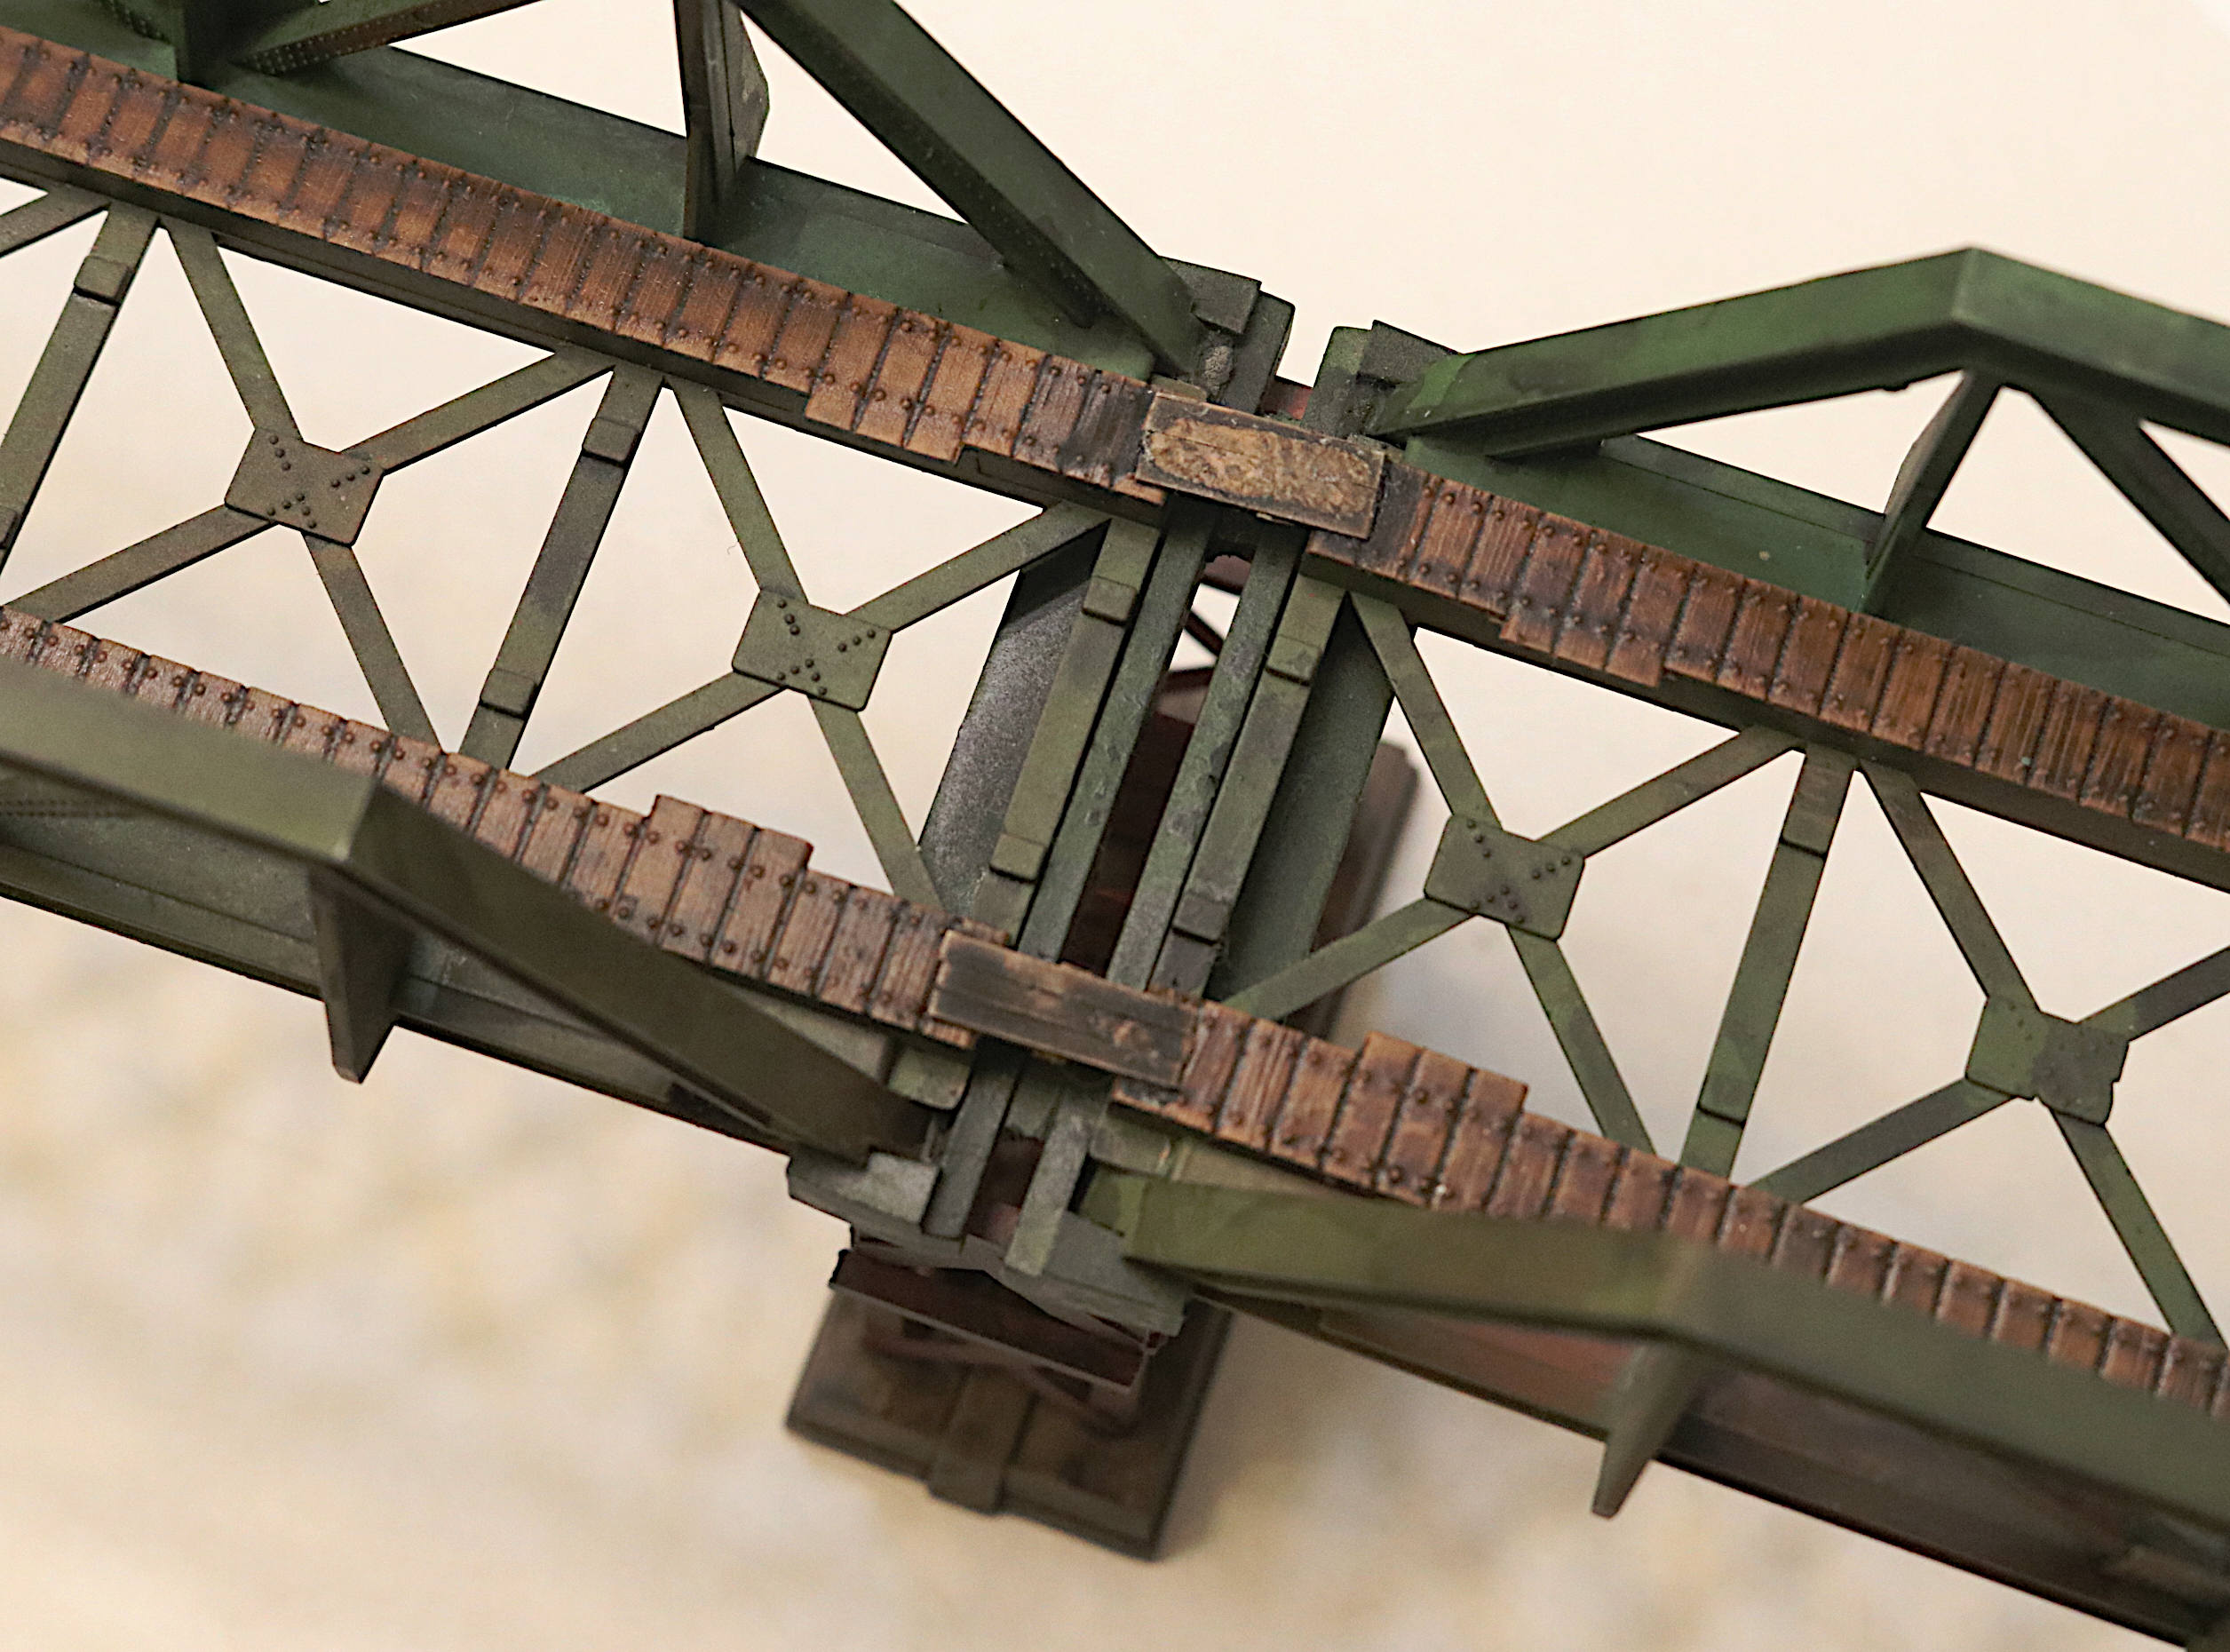
Also Note: The interesting and unusual “leaning bents” to better support the main bridge section. This keeps the main “flying” span from being so long. This design totally avoids what would otherwise be a need to construct a more formal (time consuming and expensive) wood truss span across this wide gap.
I sort of have a crusade going here in support of anatomically correct bridge models.
As modelers we strive for accuracy in our scale models however I all to often see a model 60 ton train (or 60 ton tank) posed as crossing a bridge that was built for horse and wagon that could not possibly support more than perhaps 10 tons.
(it’s a Don Quixote sort of thing. I have also been known to sometimes tilt at windmills, and other impossible dreams as well.)
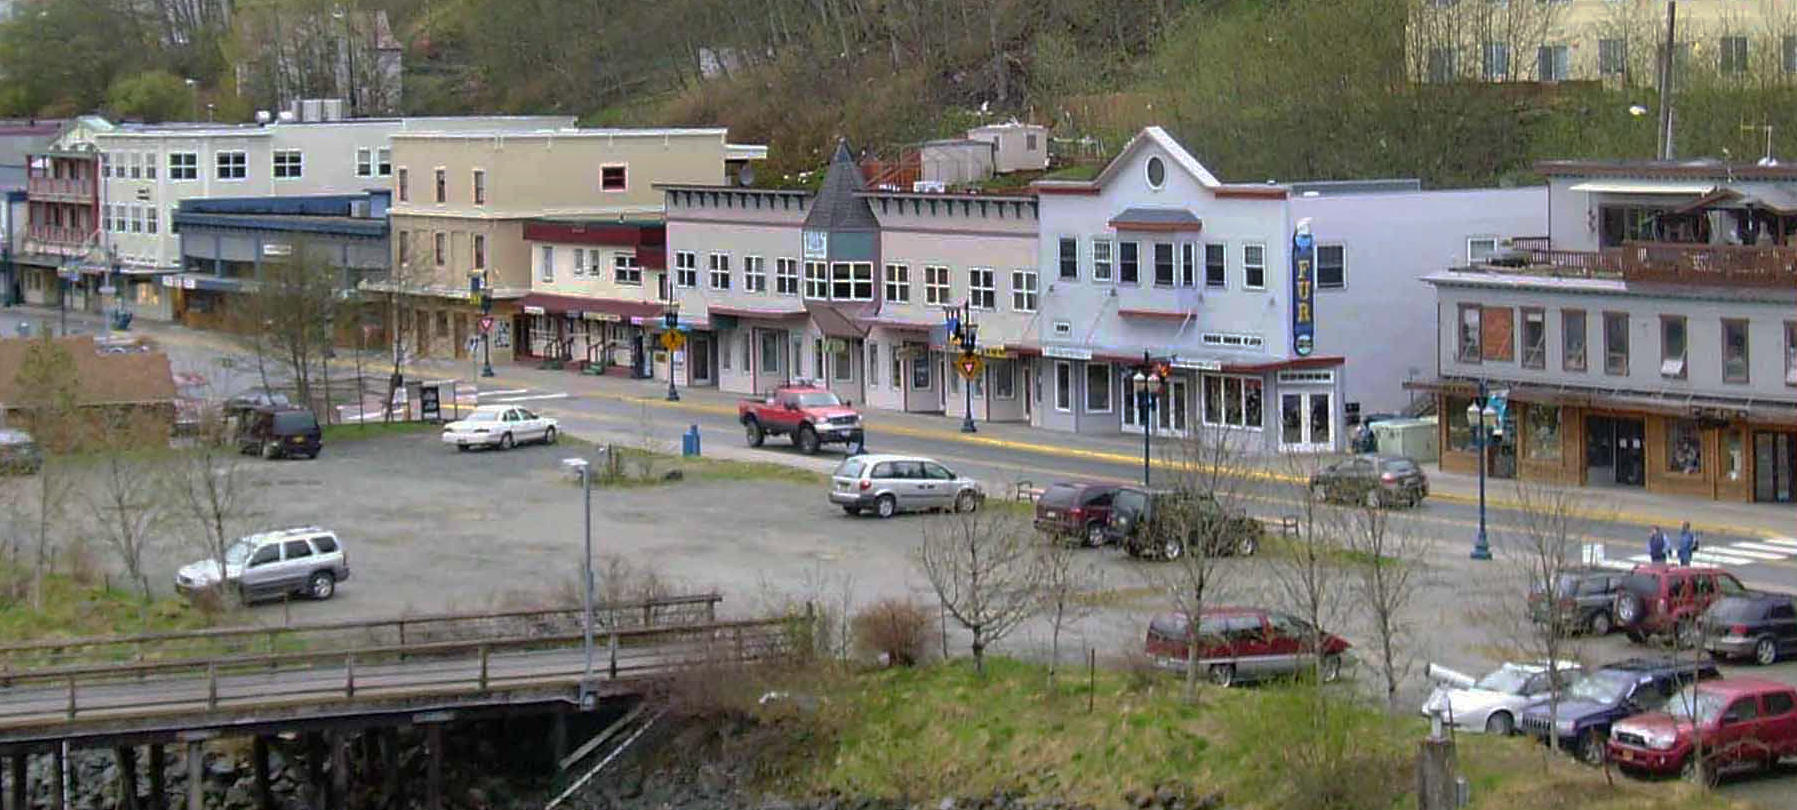
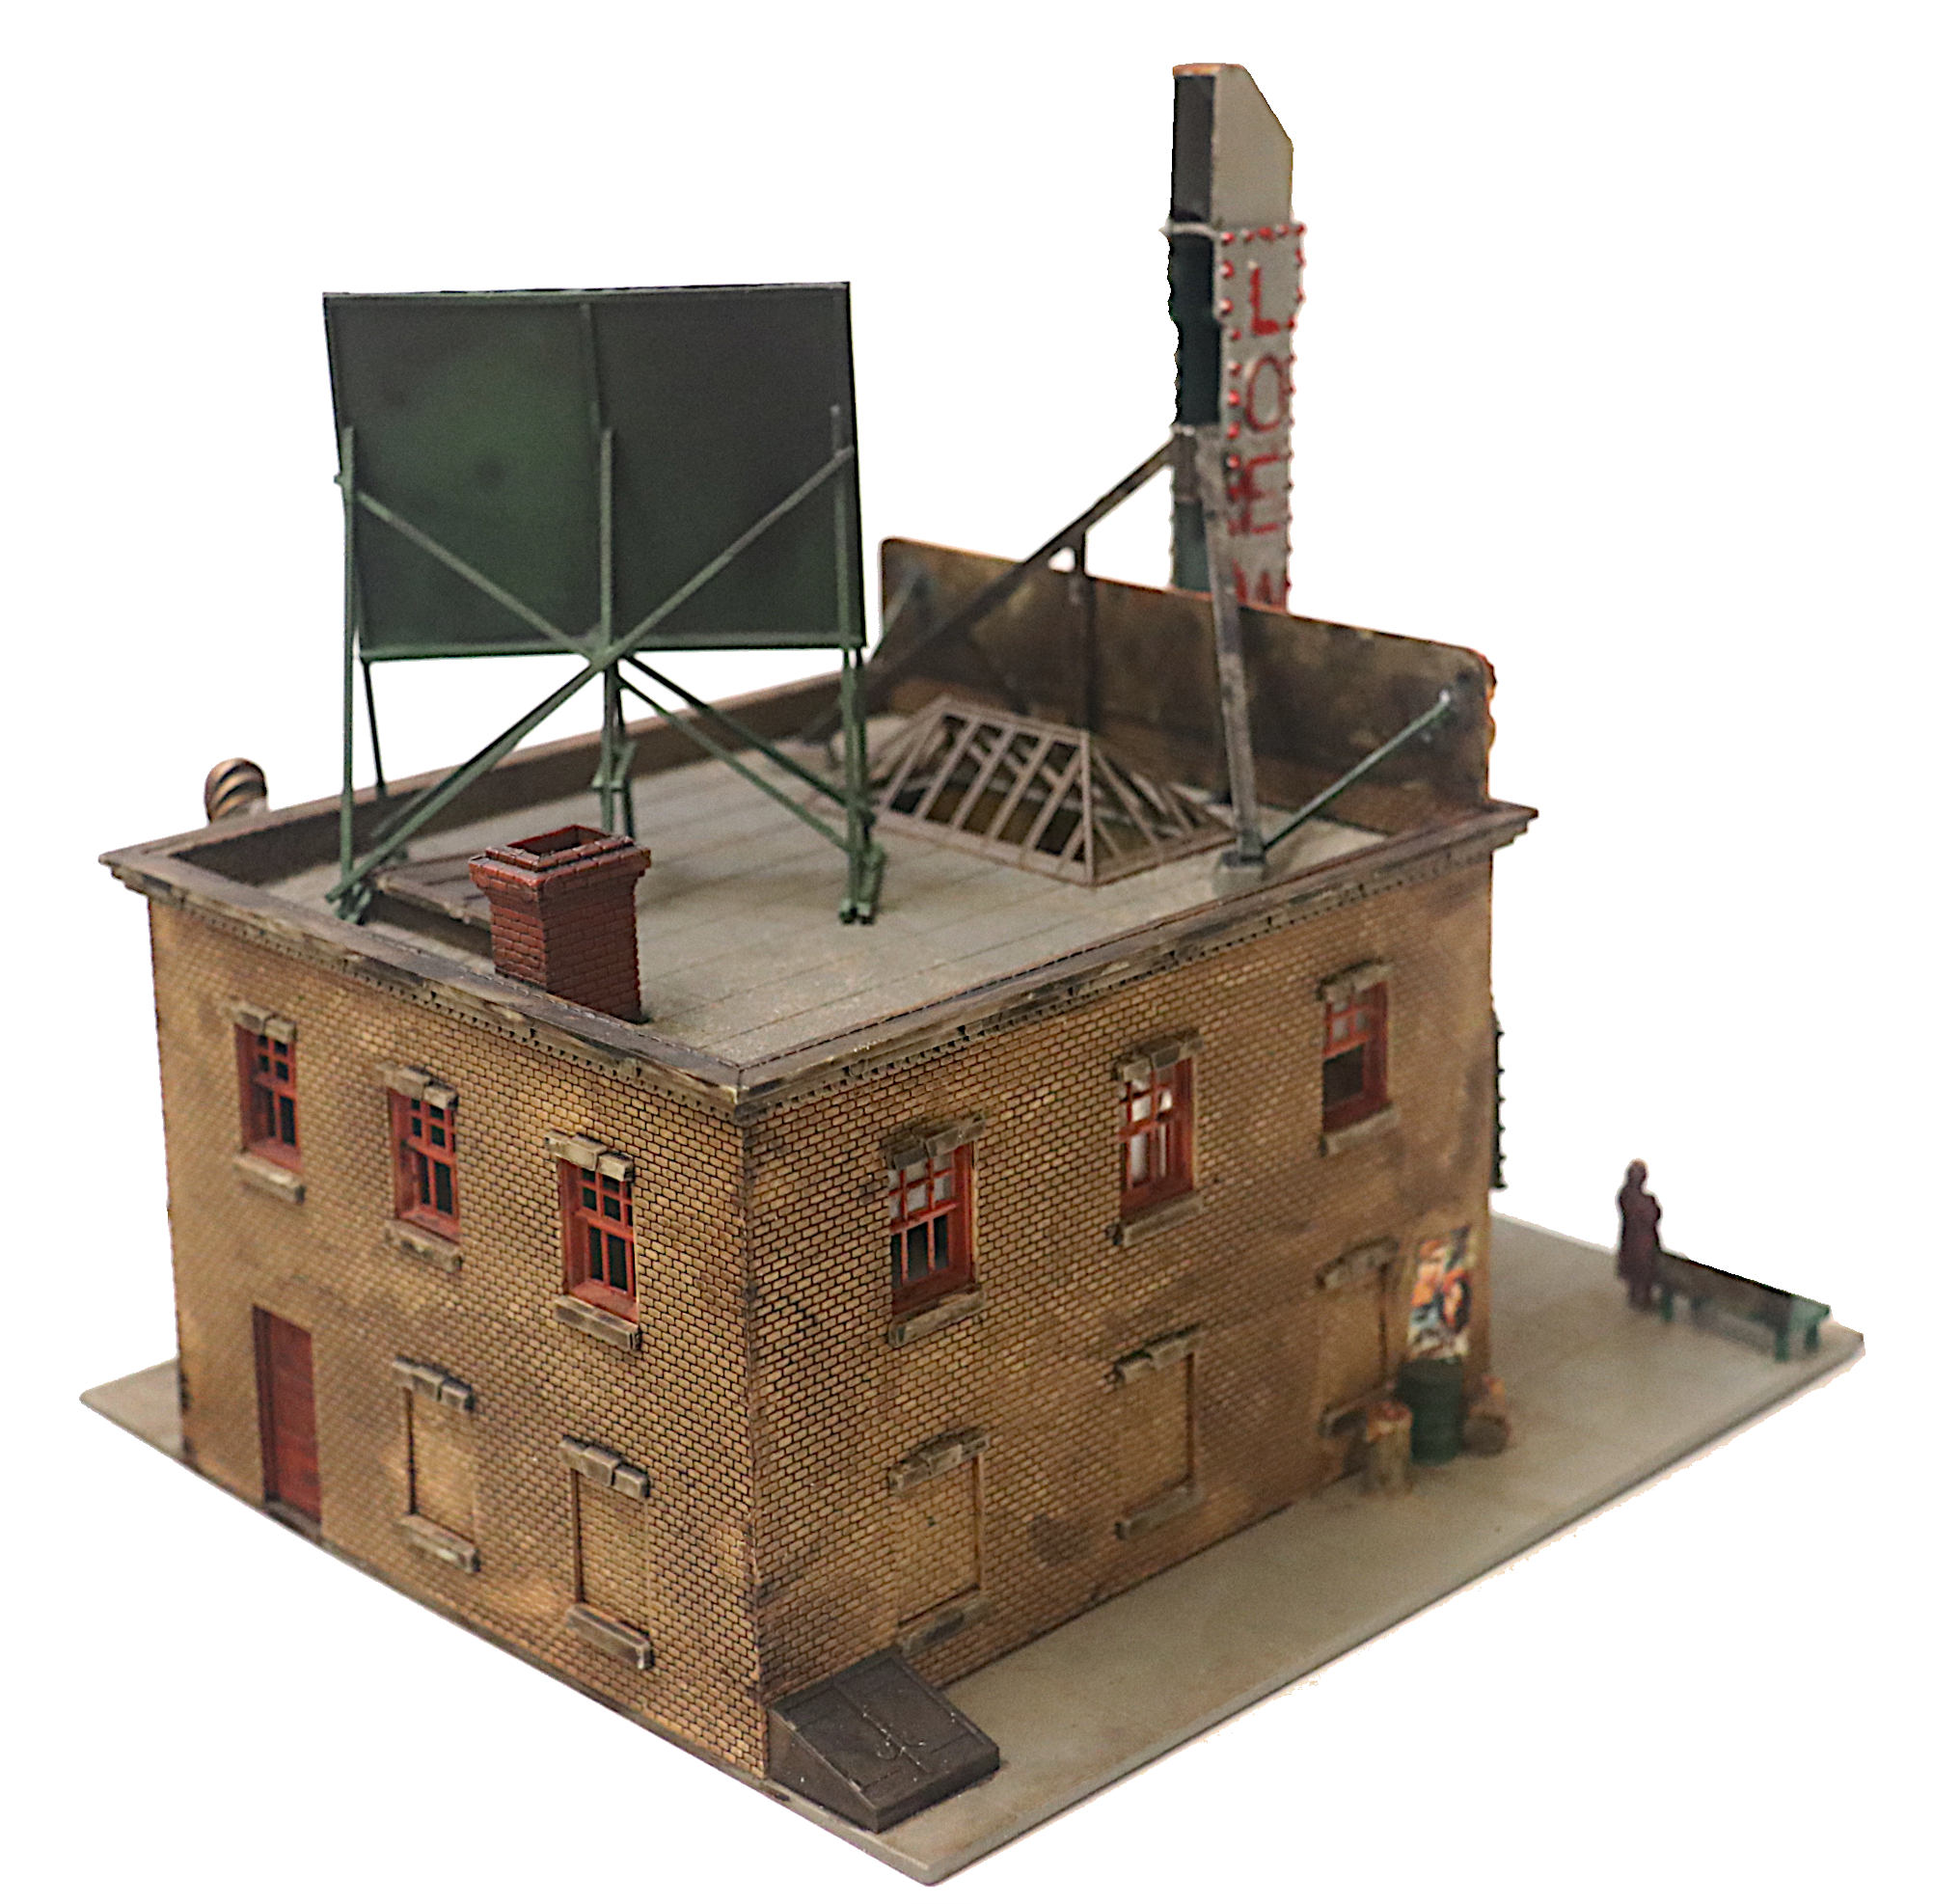
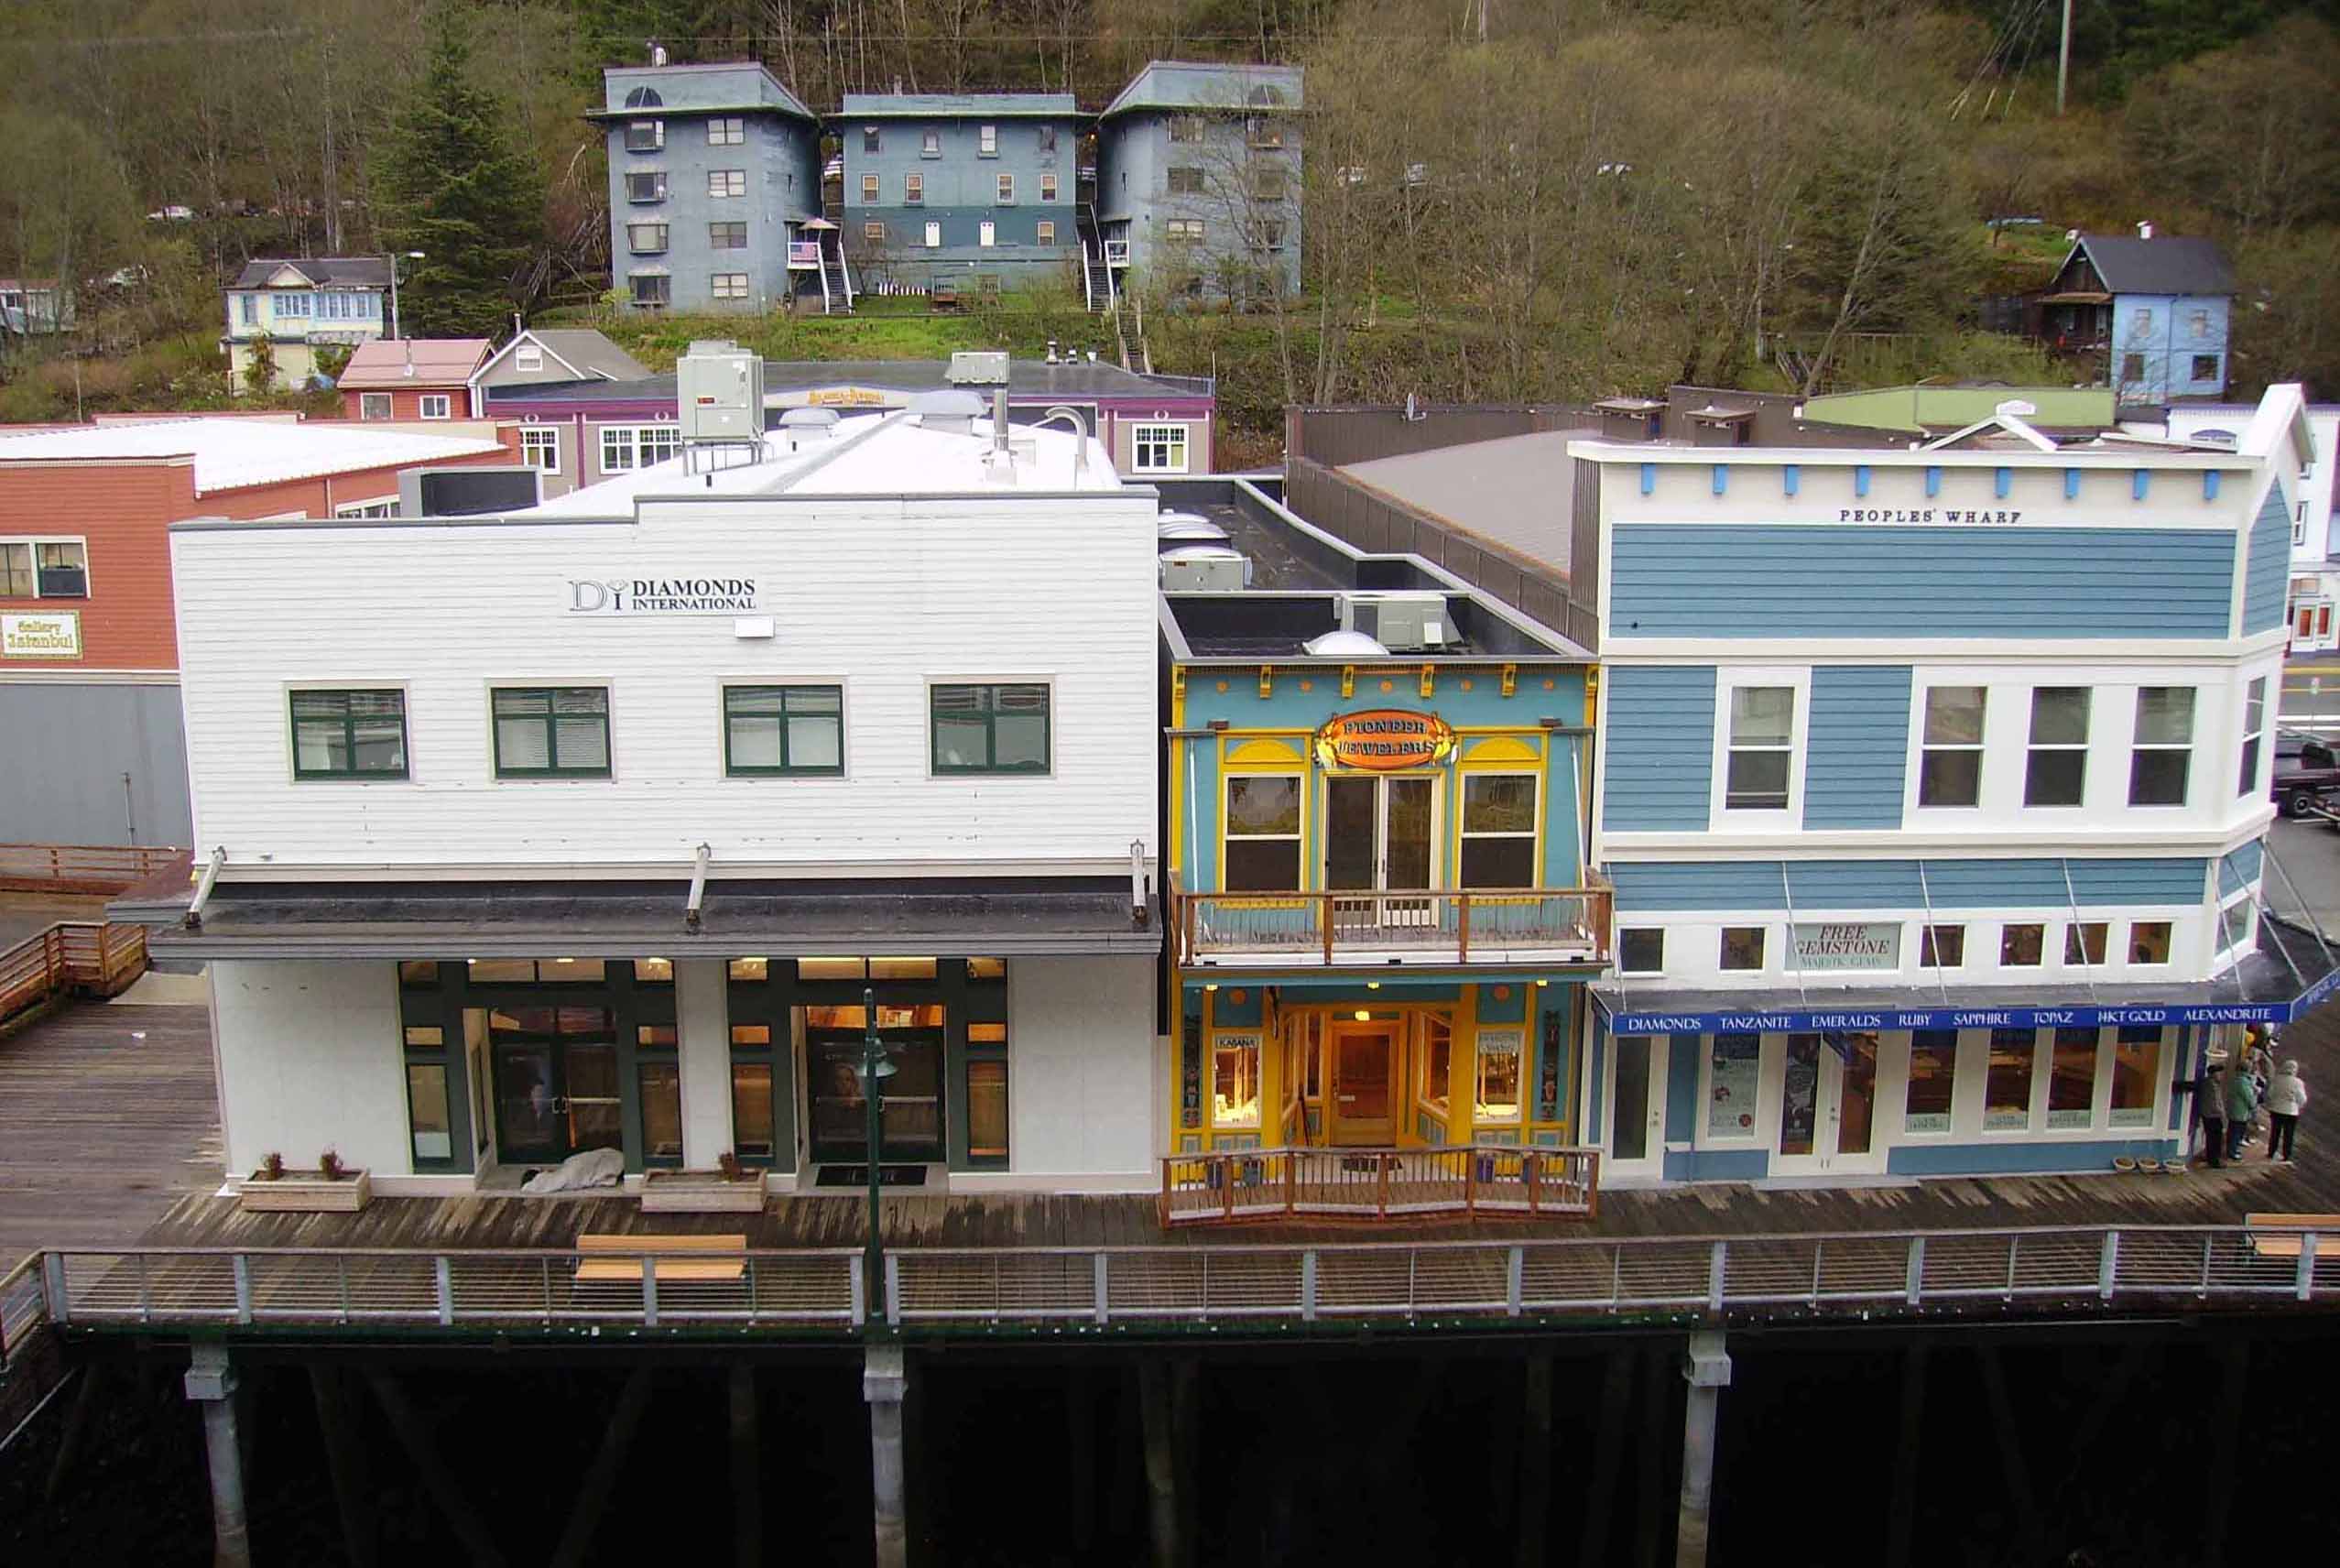
The warehouse and trio of stores almost look like models.
I totally agree, which is another reason I felt I should include them.
I think it is the uniformity and reflectiveness of the colors of the strurtures that gives the impression. They are as clean and bright as a plastic model.
Well (no offense to the locals) but it IS a seasonal cruse ship “Port 'O Call” so everything just might have that “brand new/but old” & somewhat “plastic” appearance. Also it was a bright but rainy day so that also gives everything a very clean look.
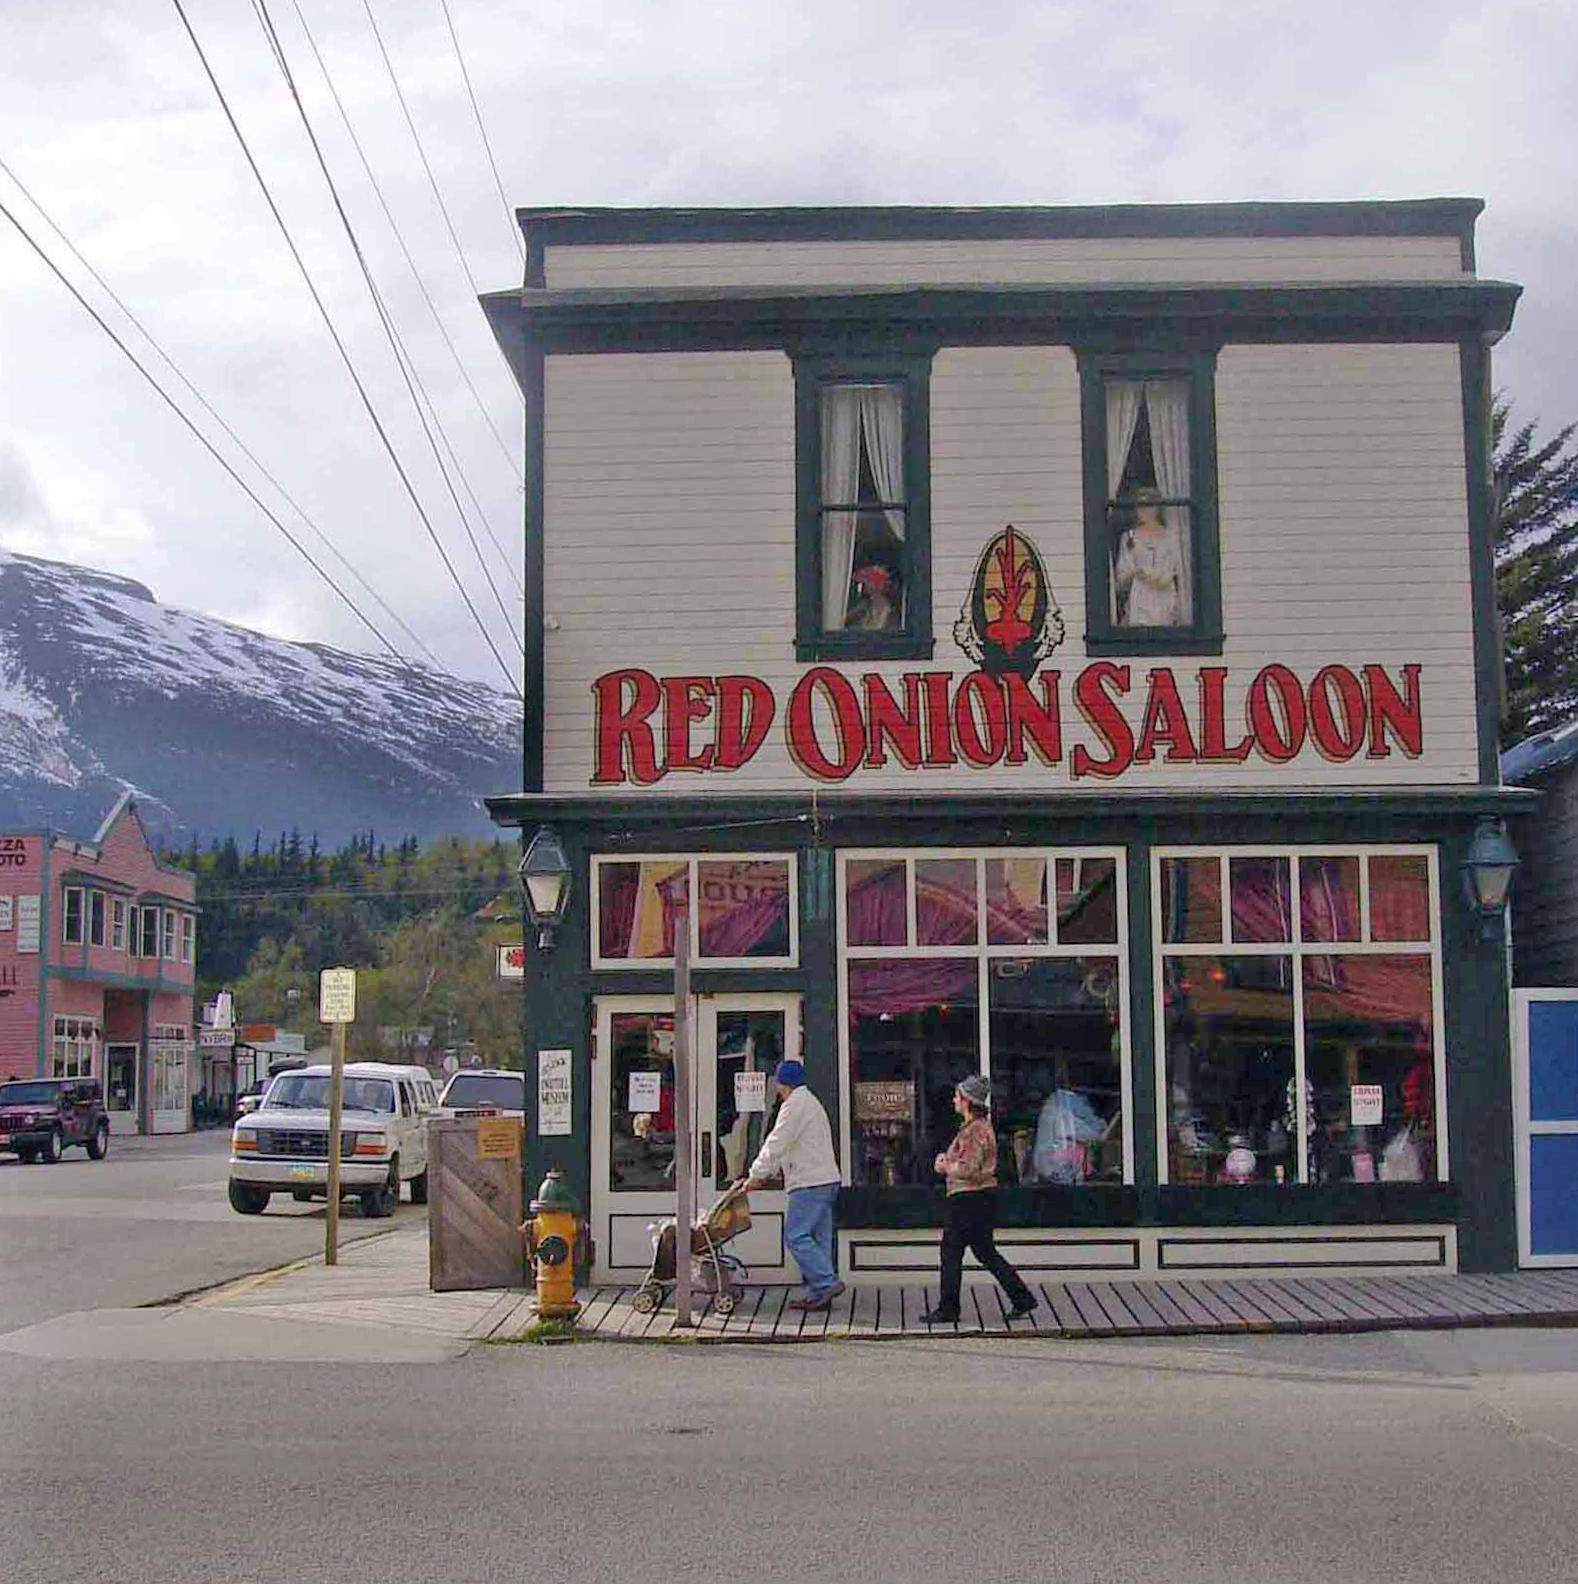
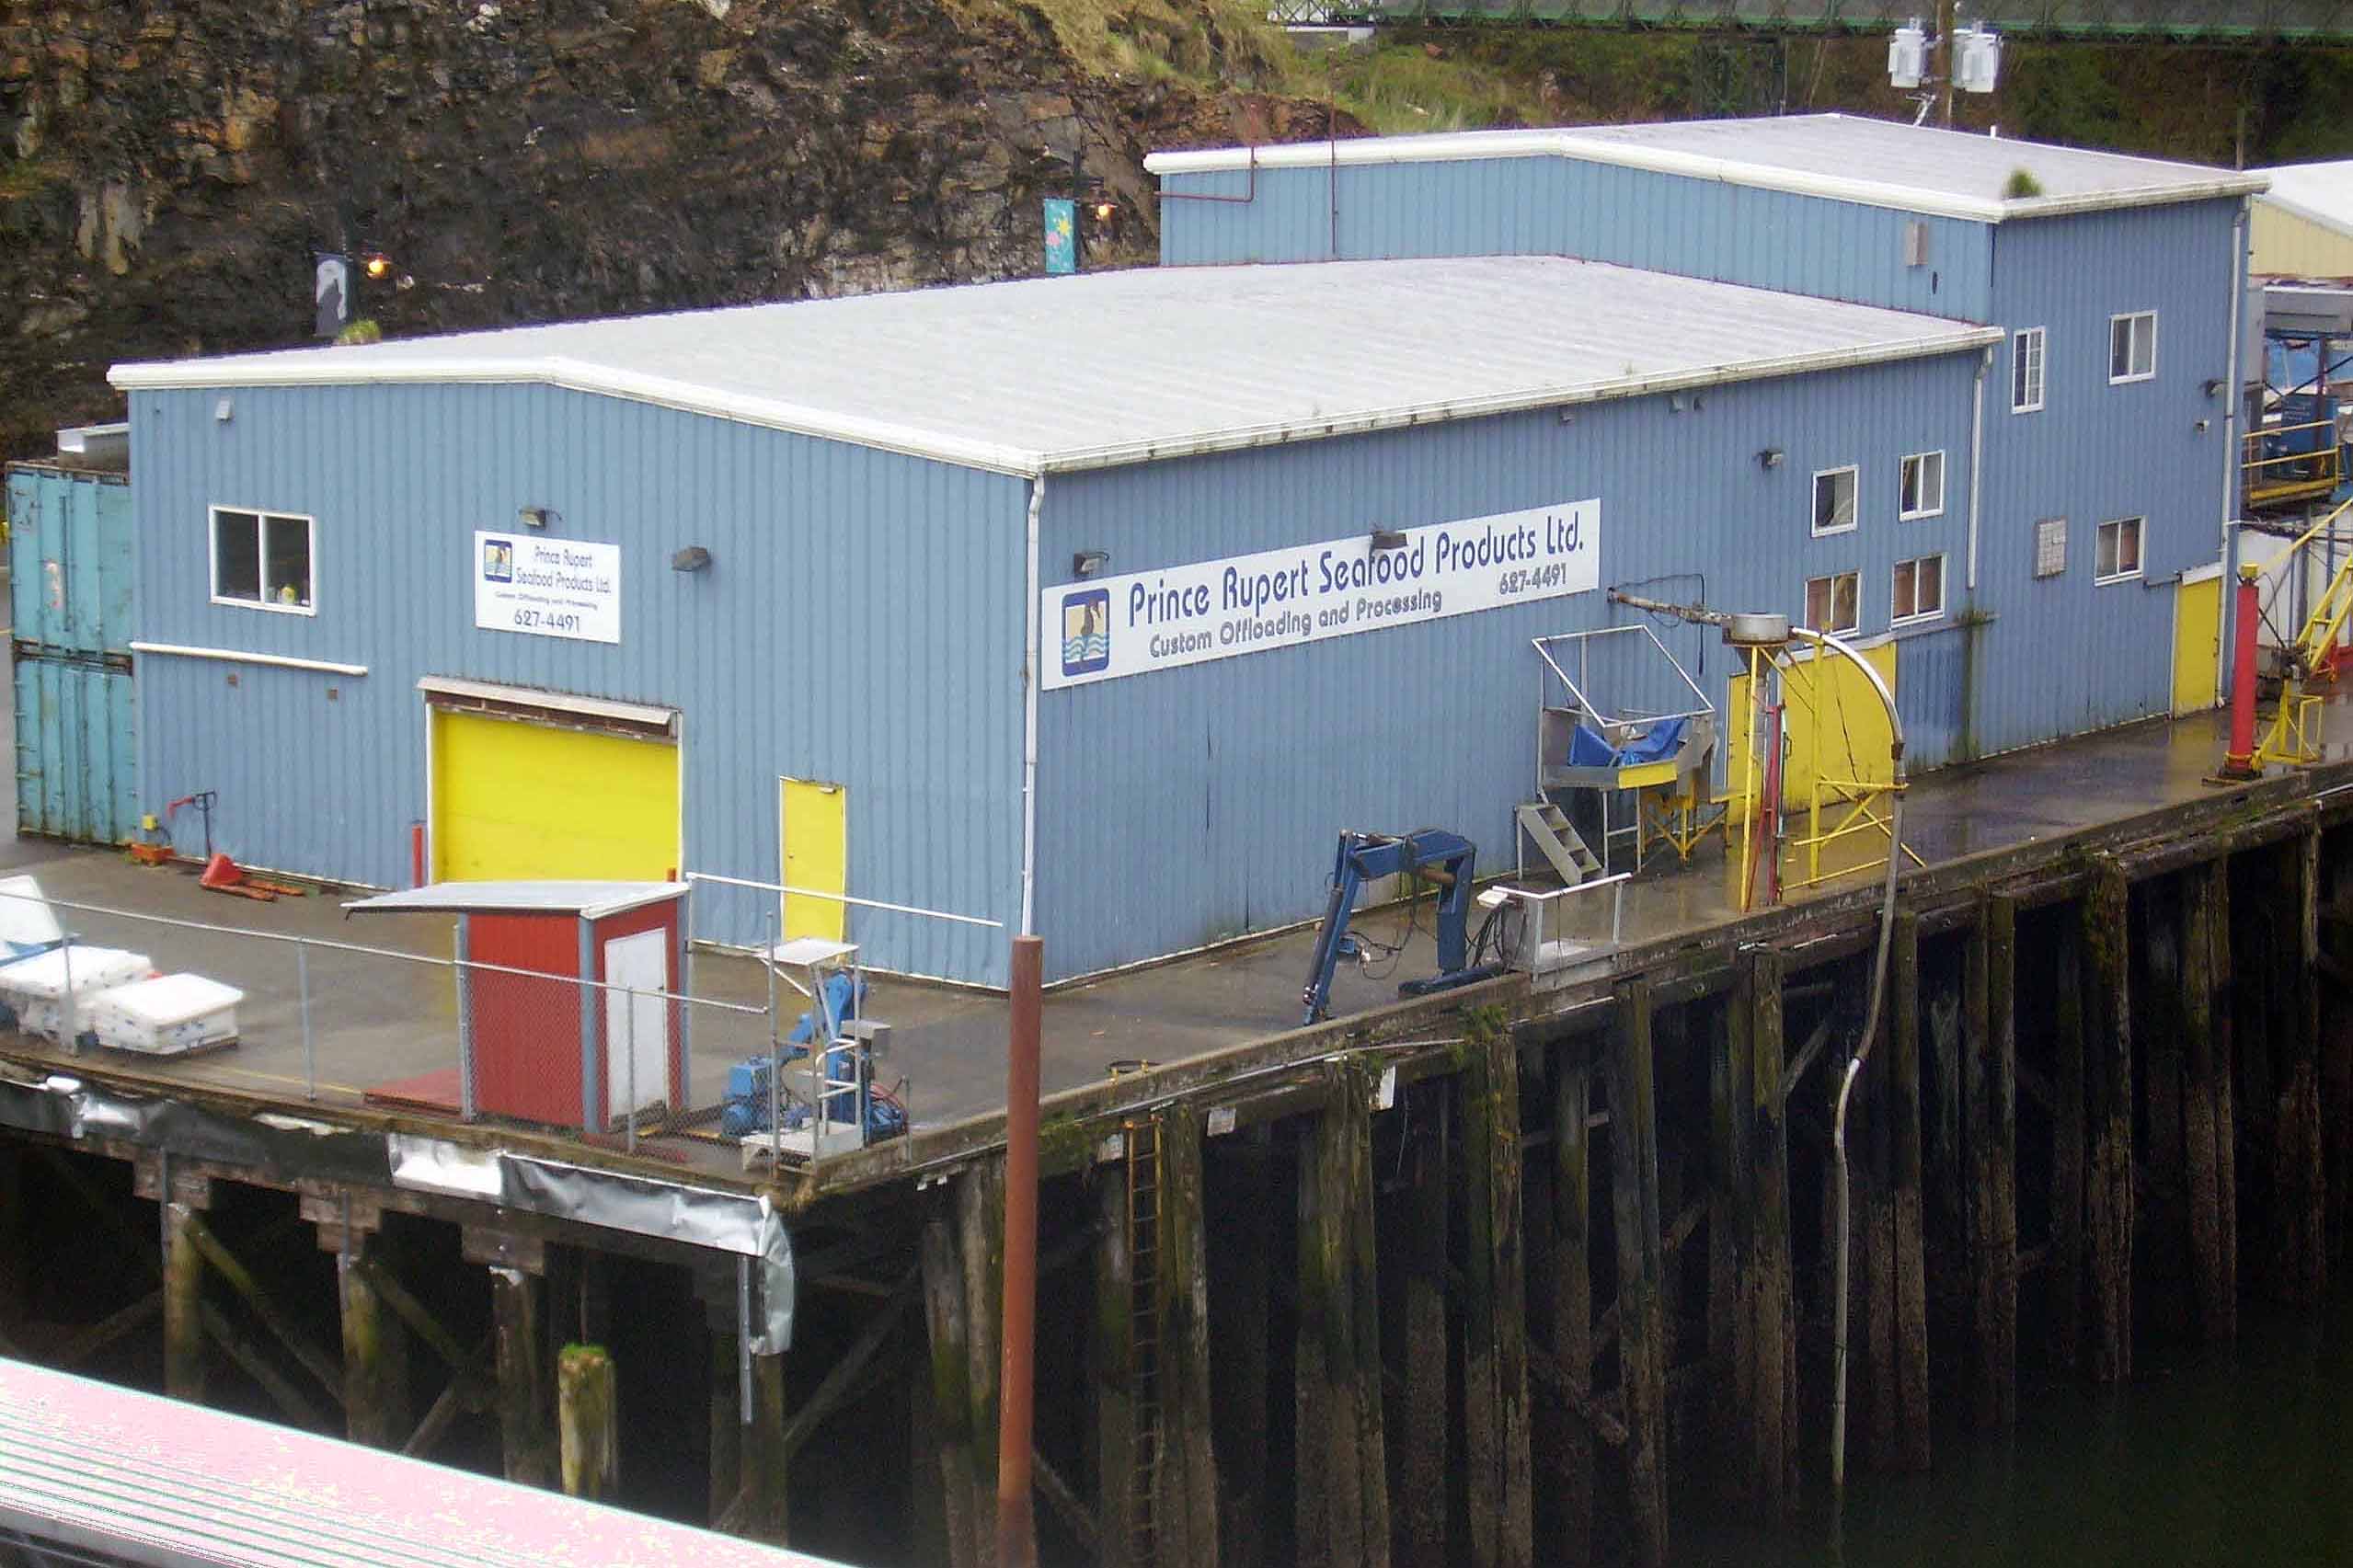
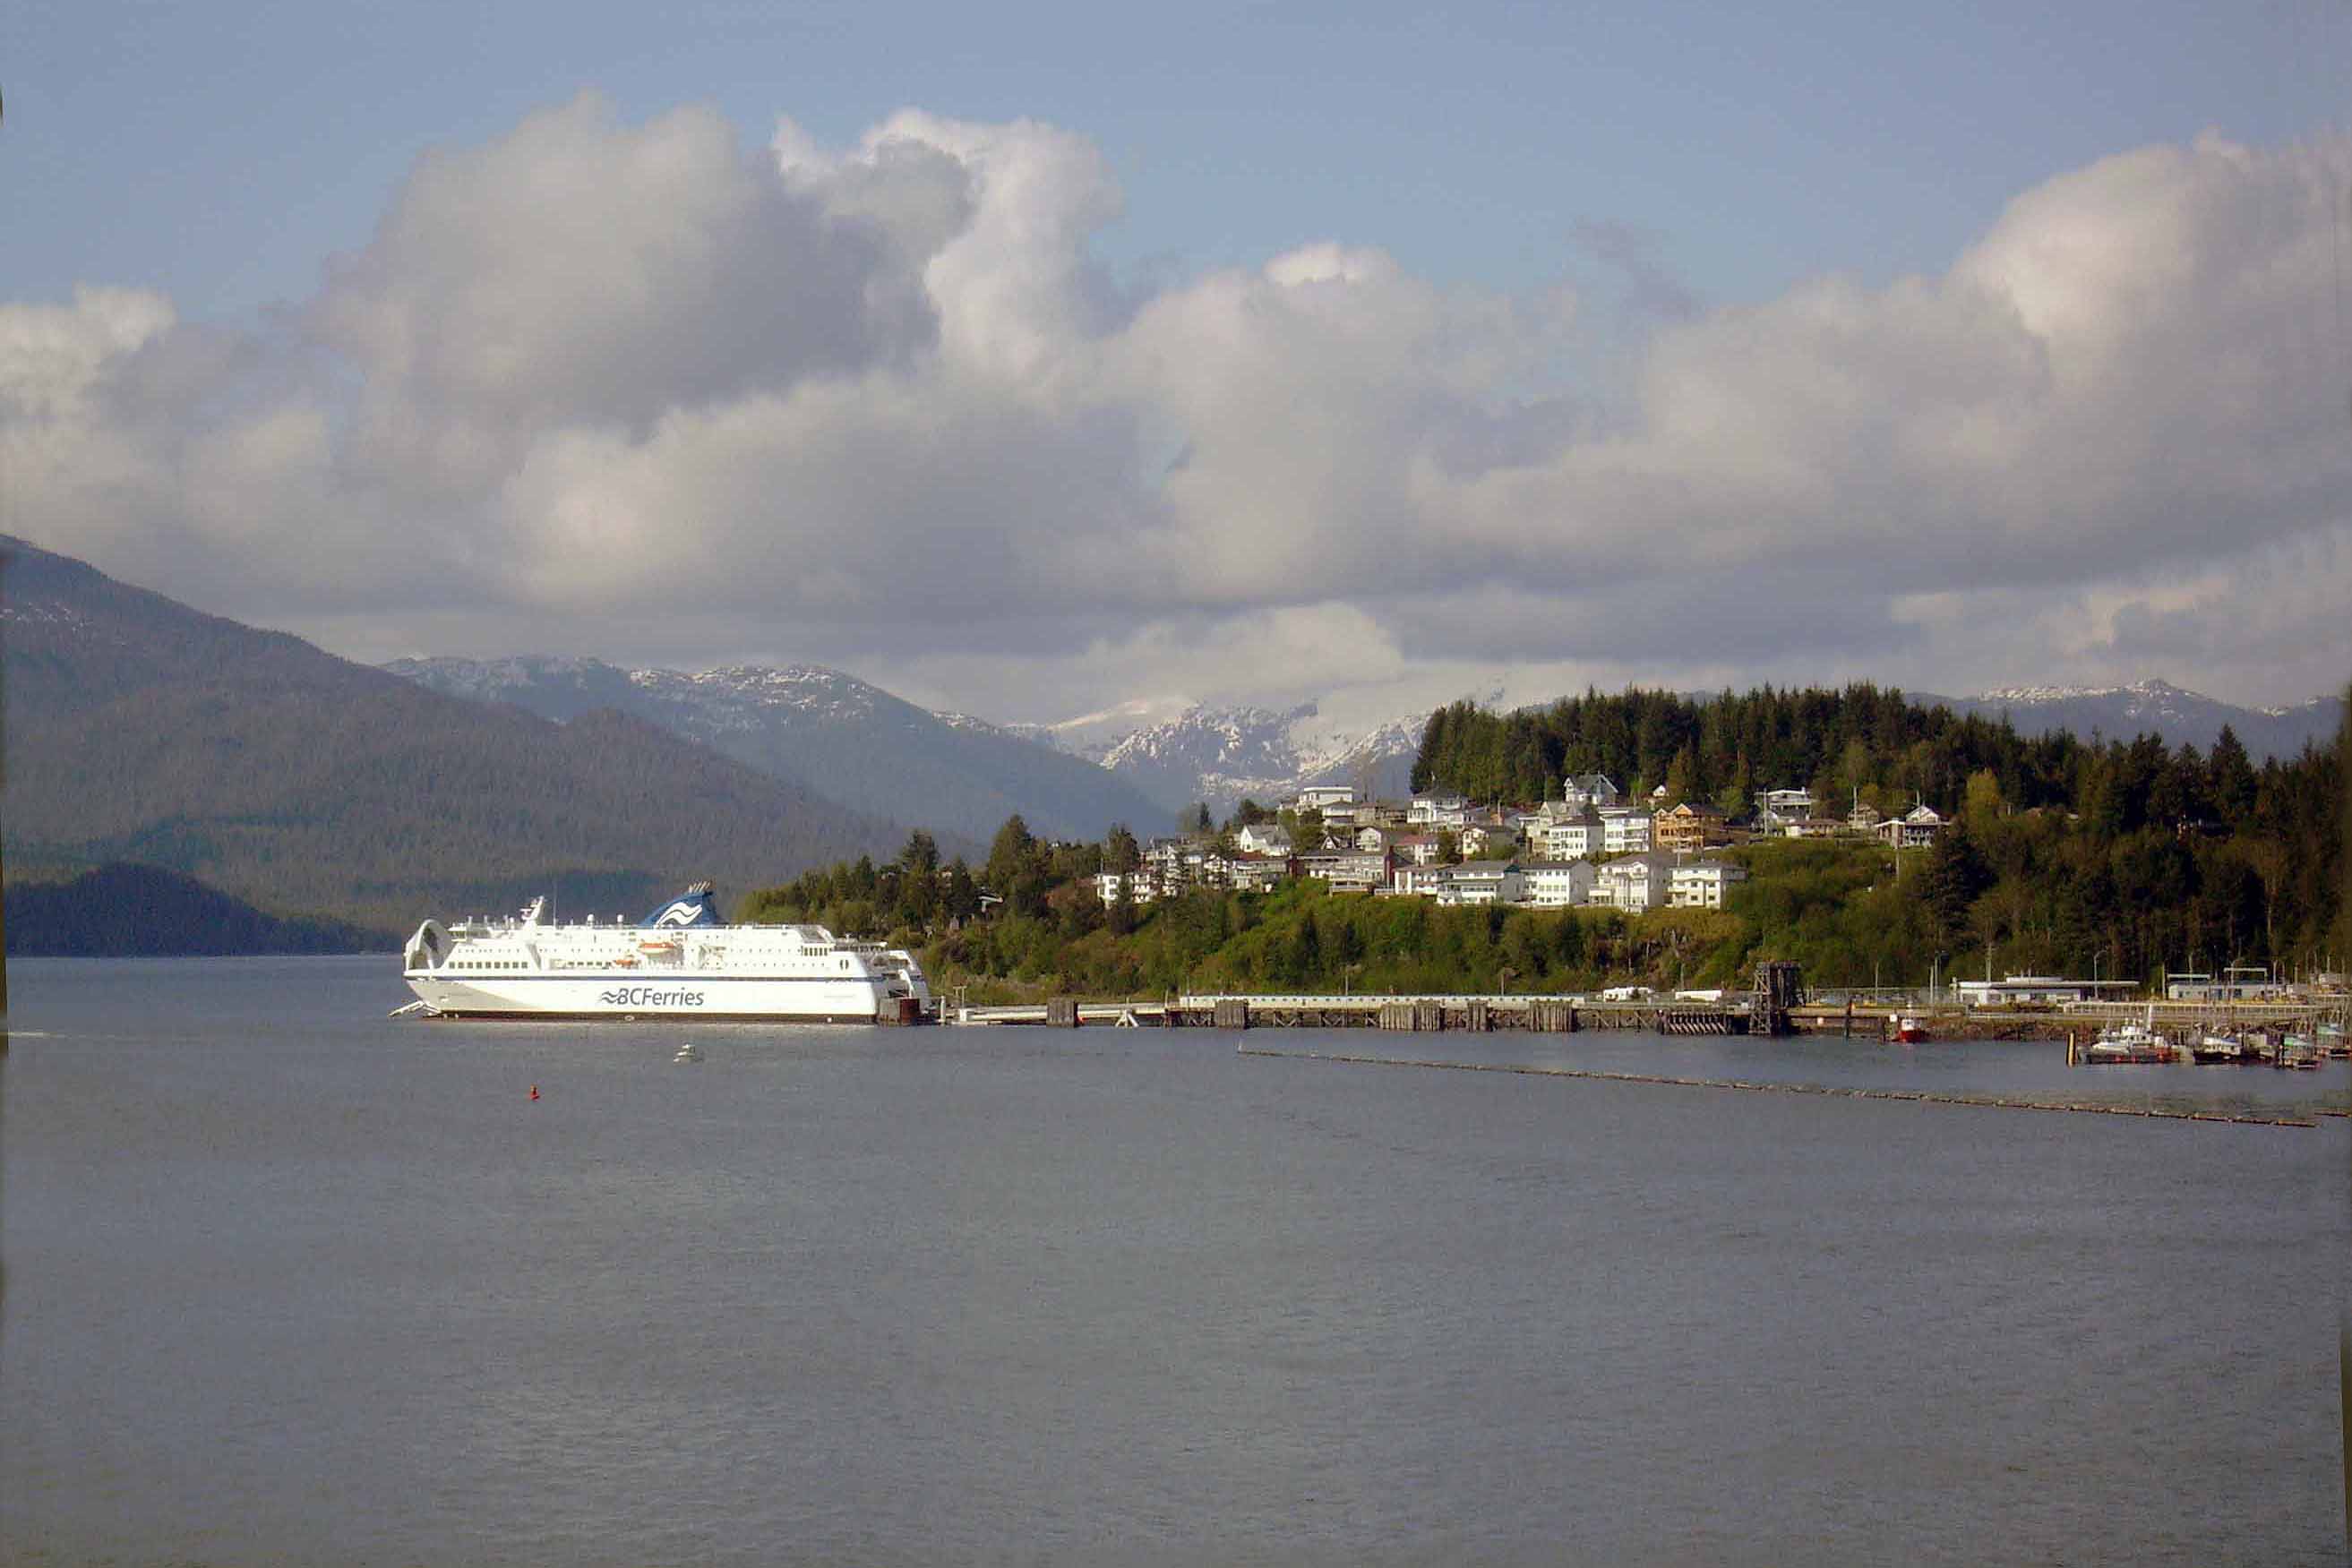
Here aree a couple more of my sister’s photos:
*Of course if tAlaska were my “layout”, I would want to get in there with a lot of weathering pigments, washes and shaders and make it look more 1880 to 1940’s true to life!
(Without the Disneyland plastic, super clean vibe.)
Such as . . . . . . .
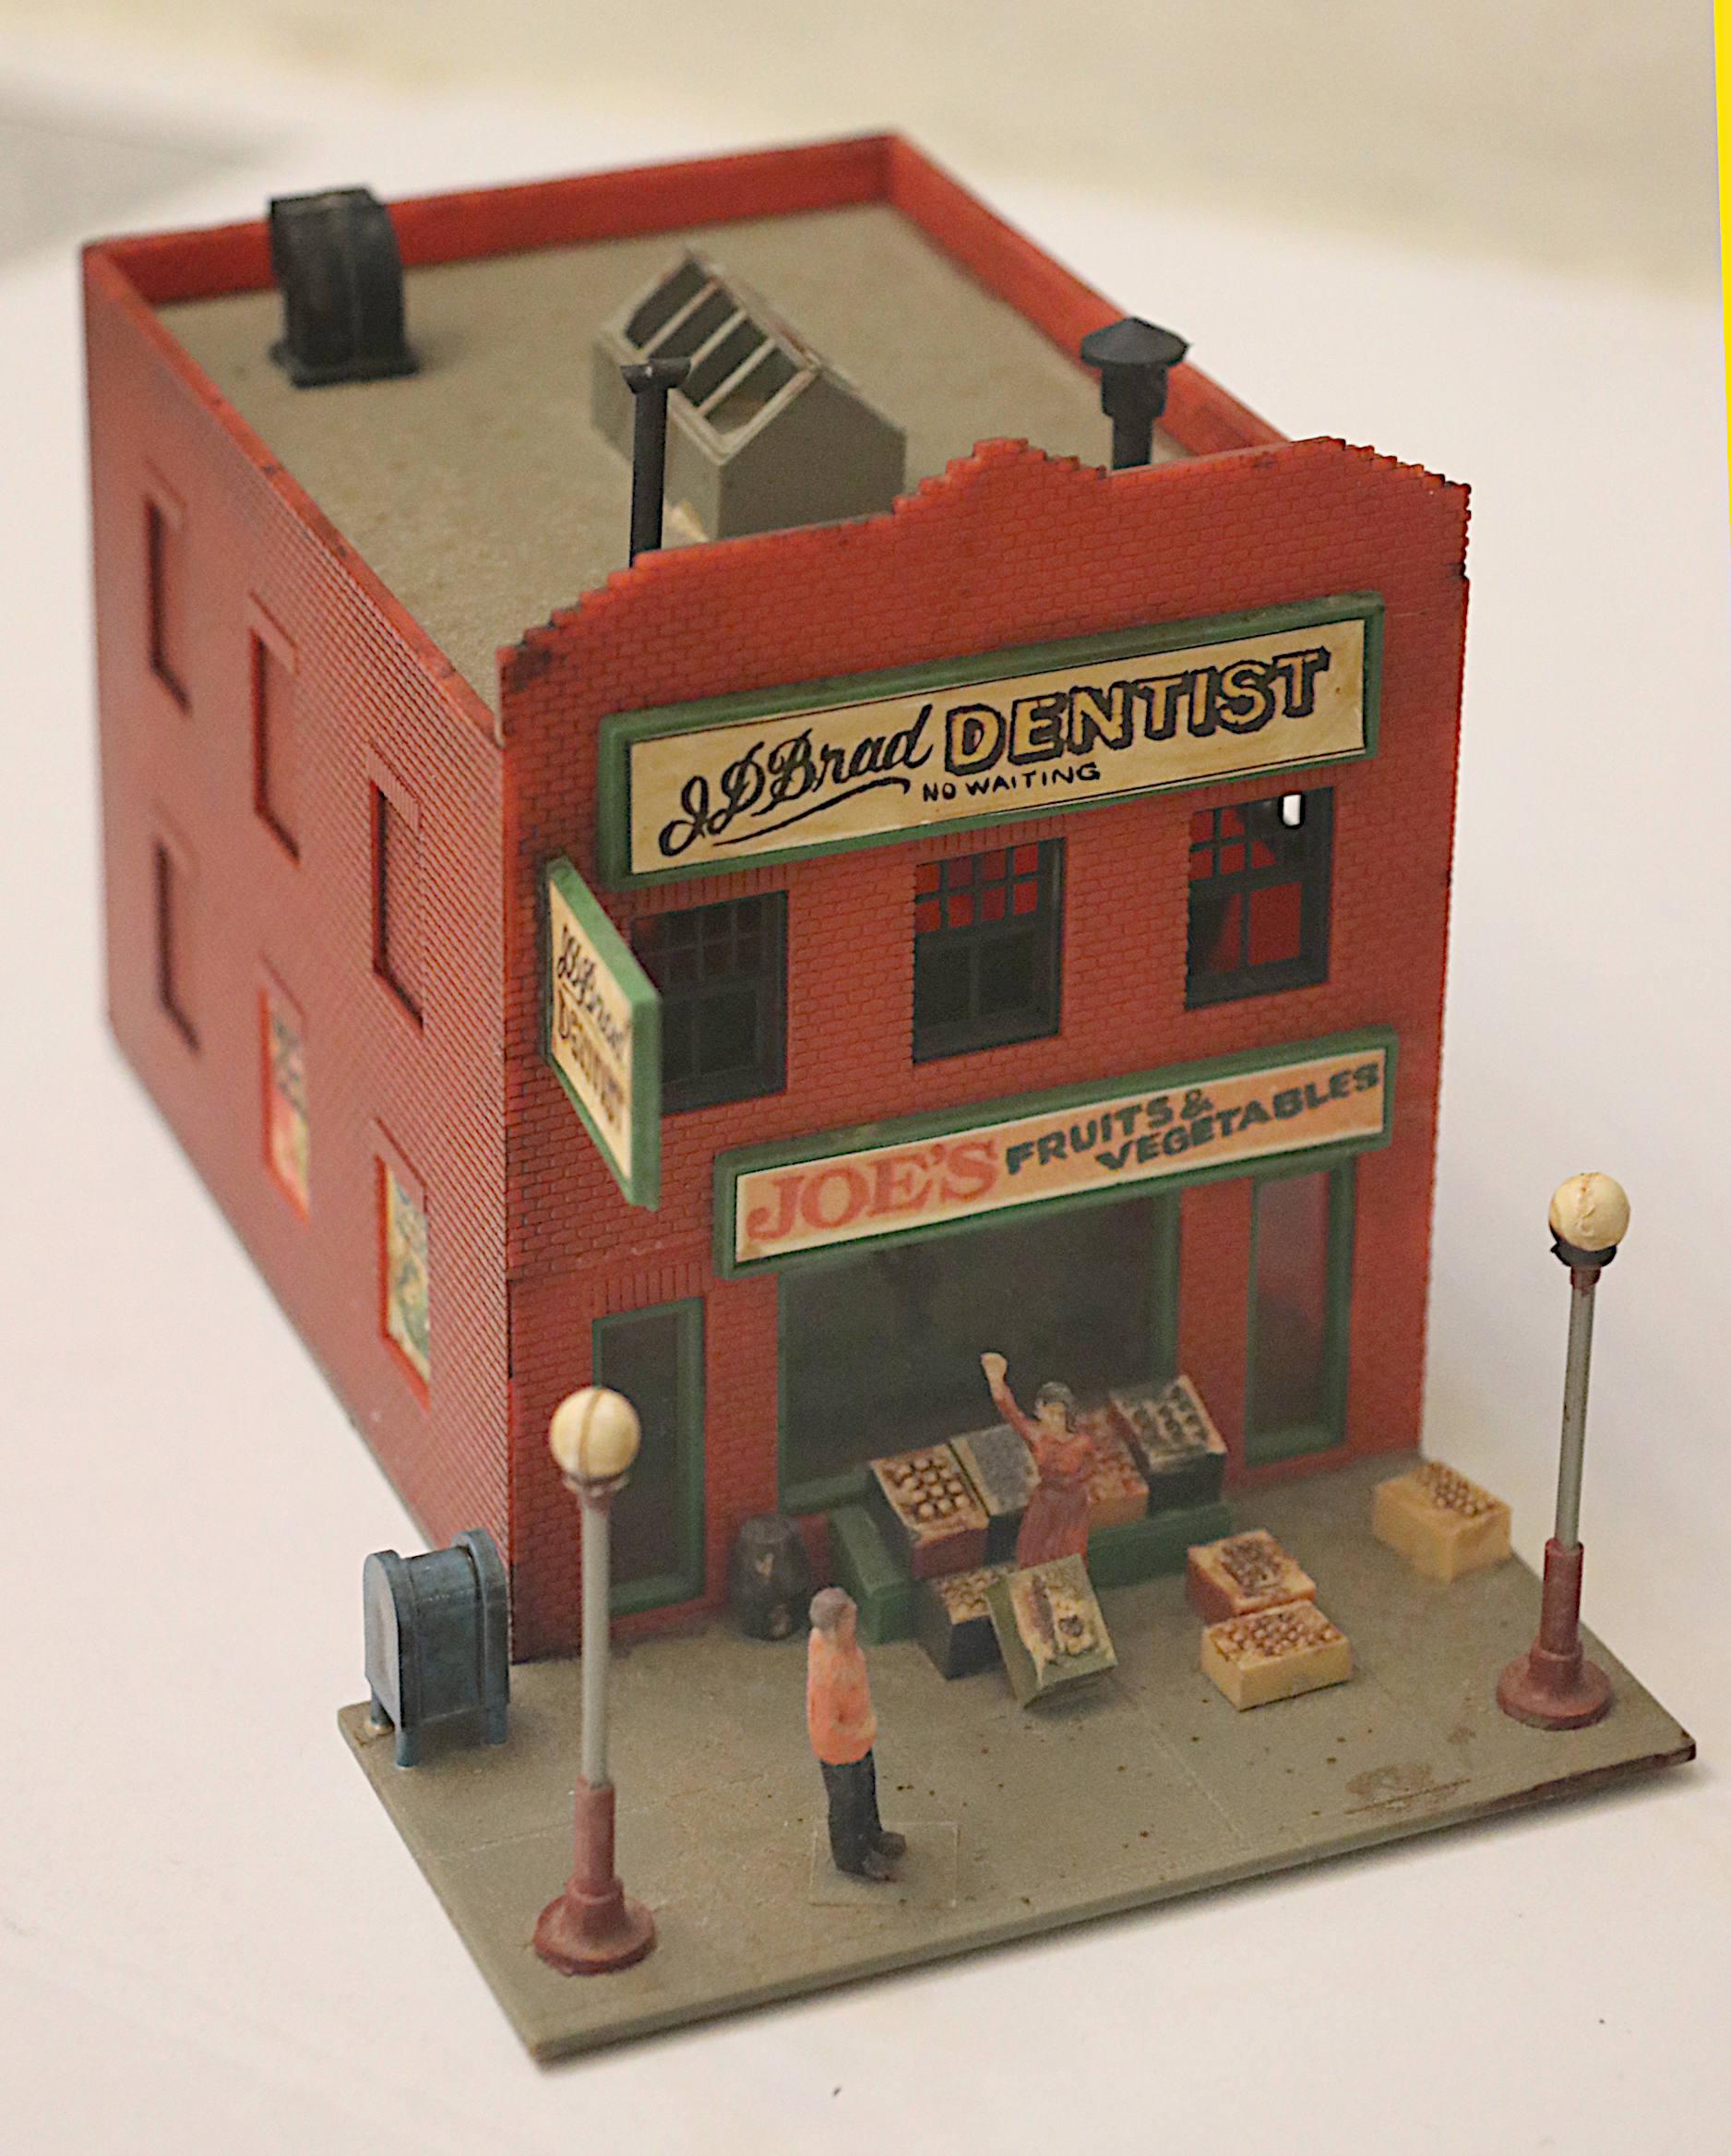
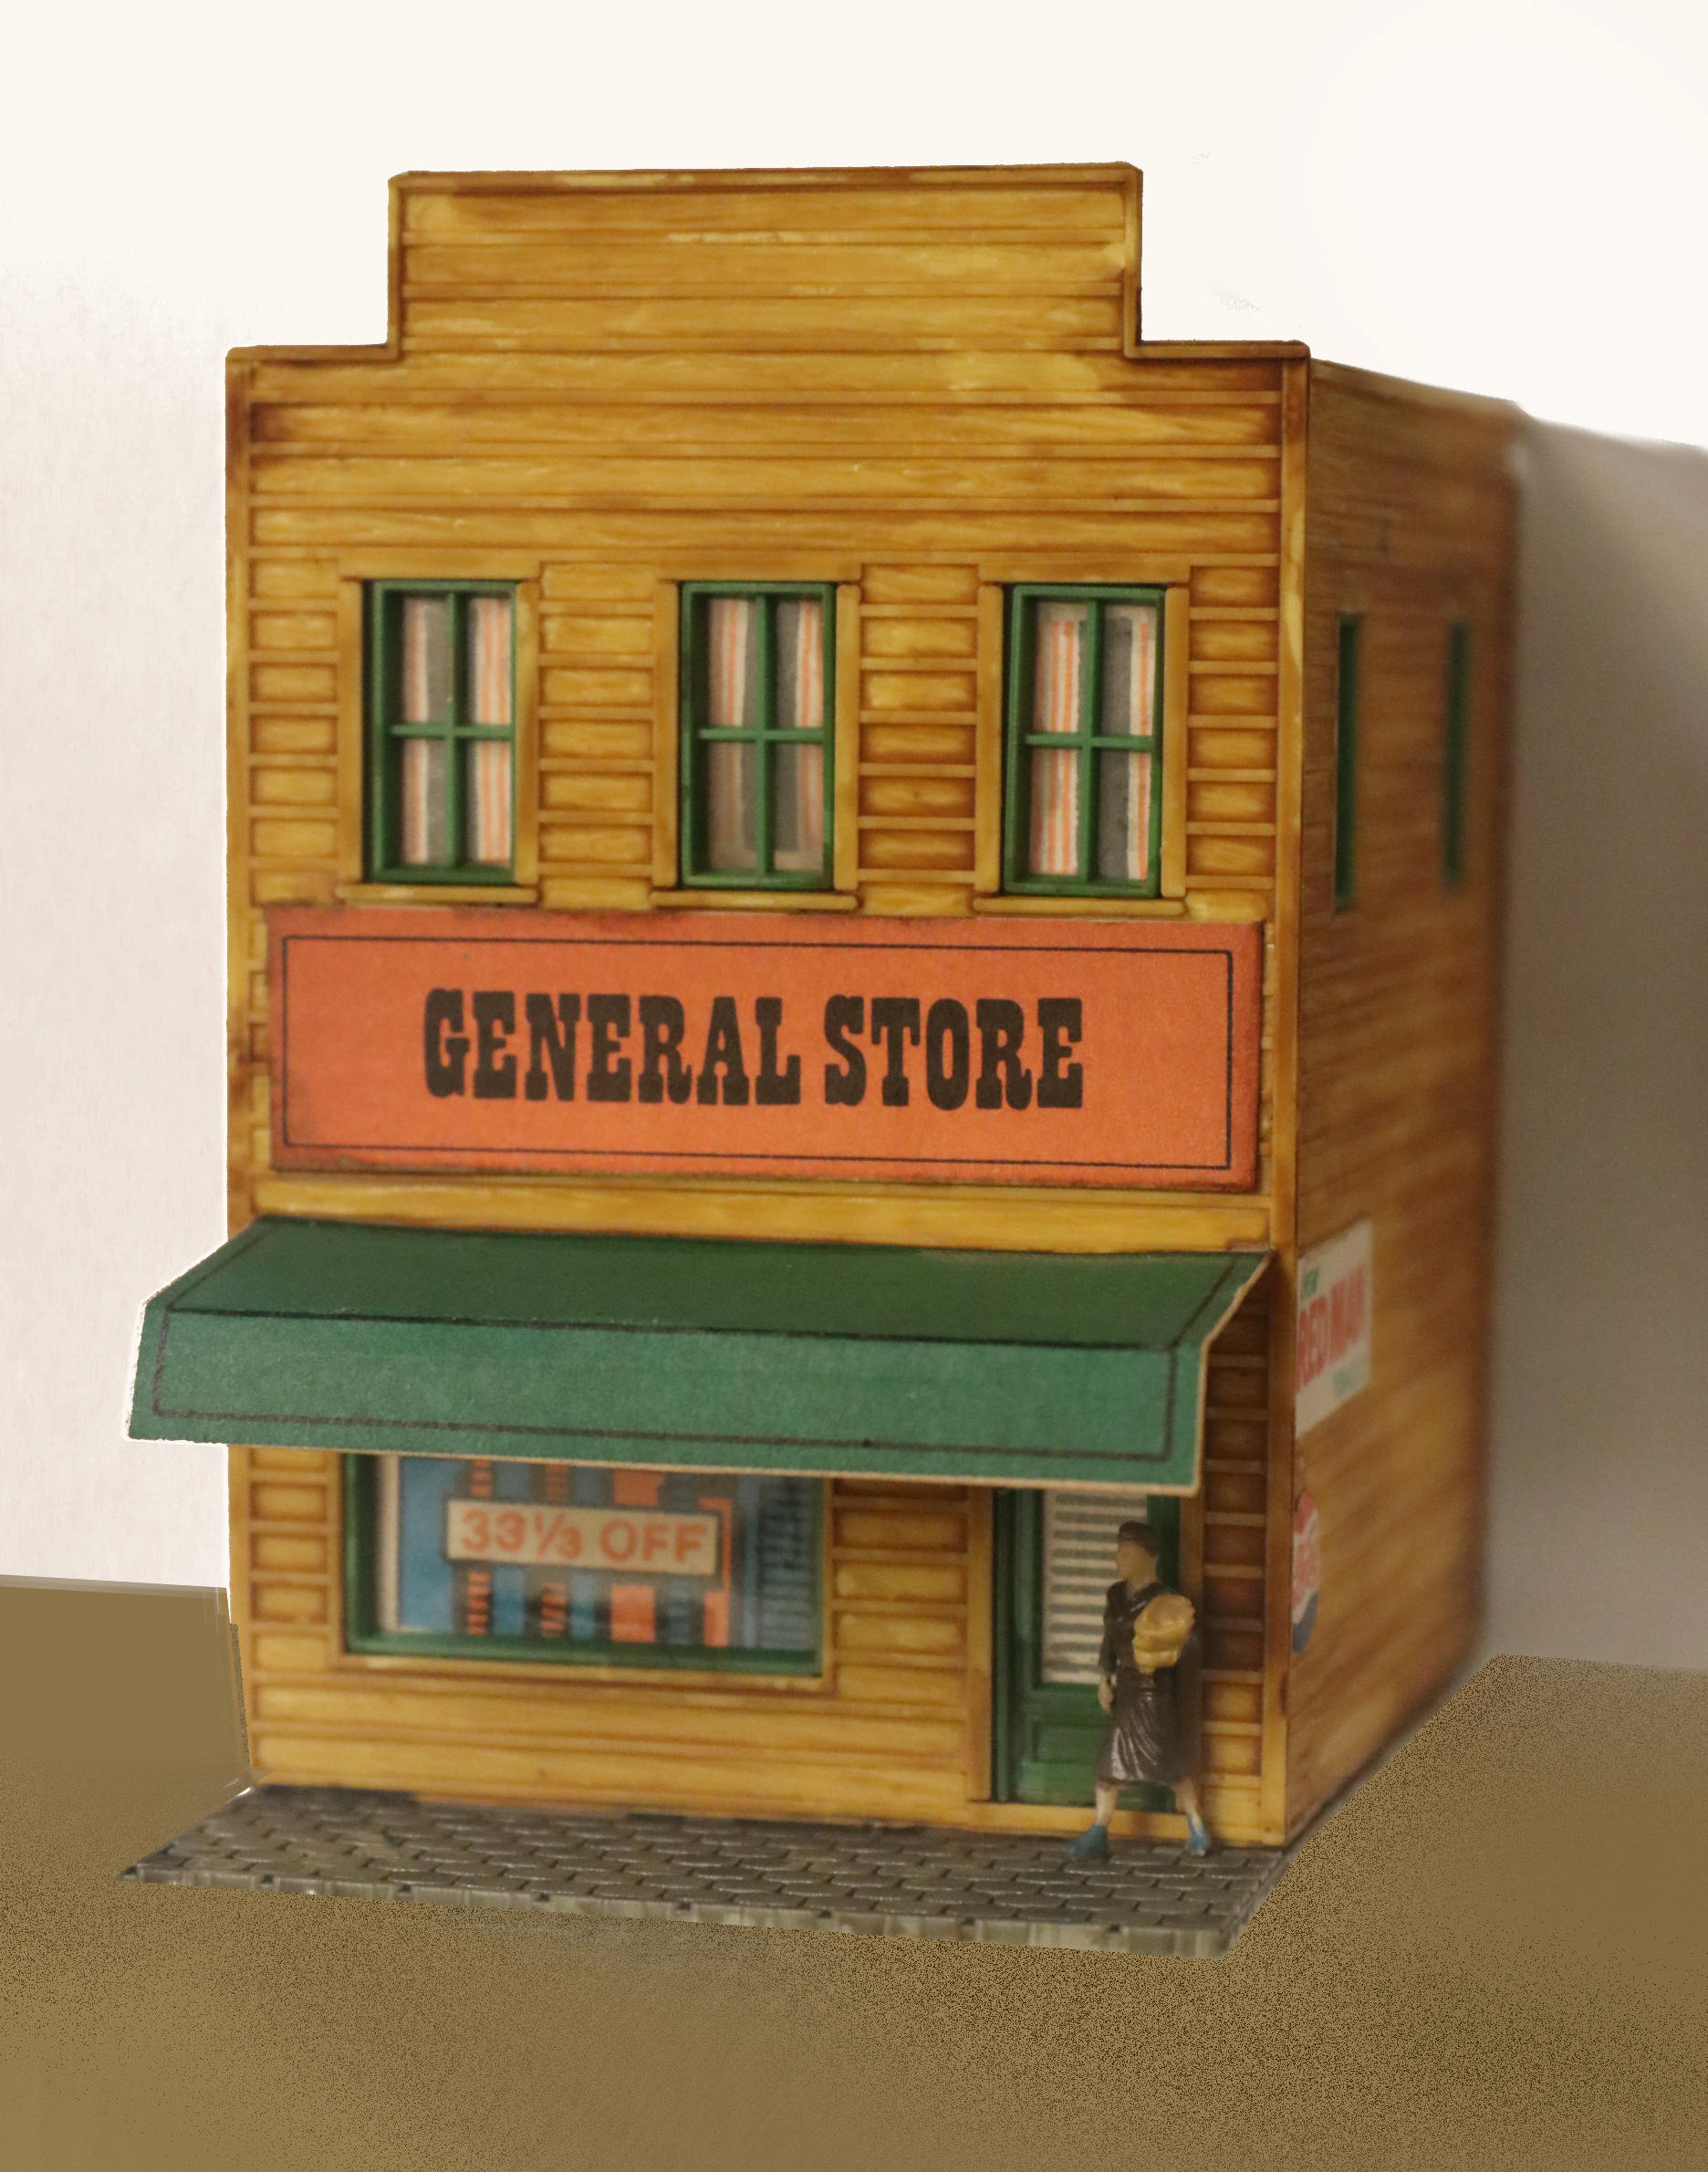
yeah, this is definitely an N-Scale window display. I have to say that the figure painting is very skilled
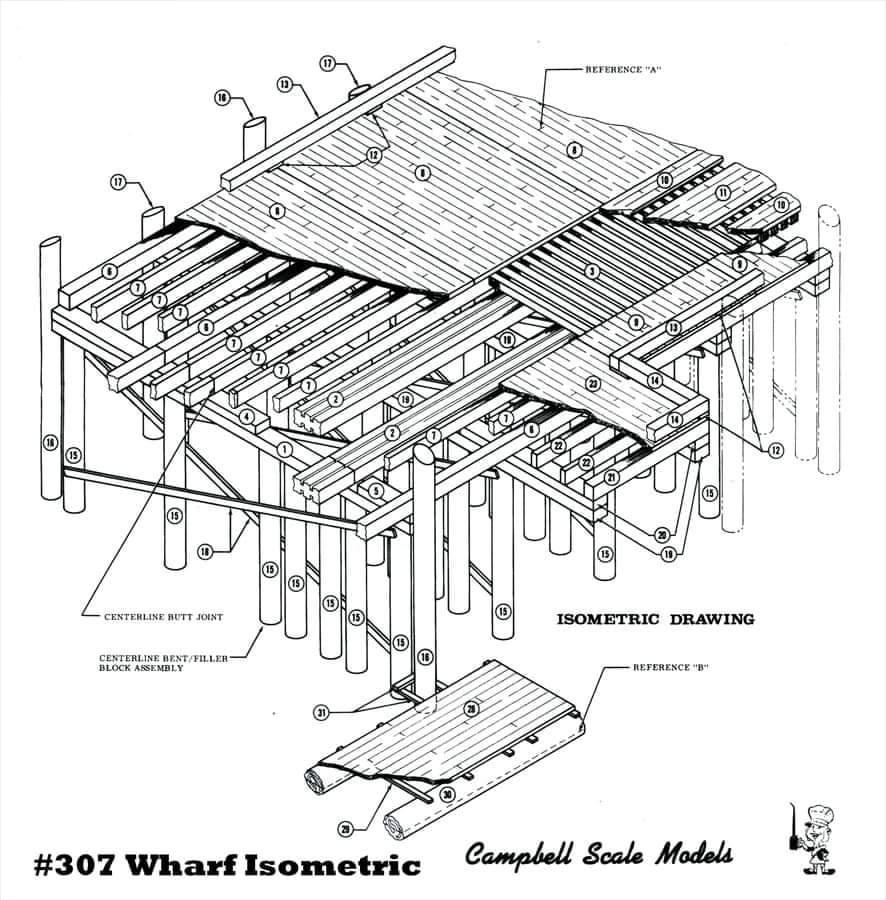
Some dock/pier/wharf reference from Campbell Scale Models:
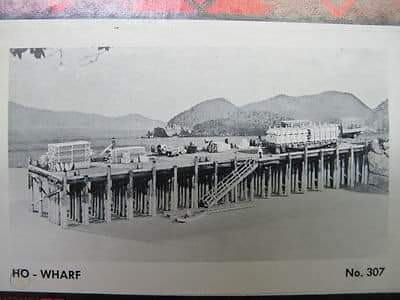
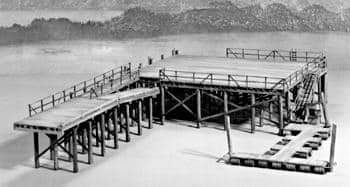
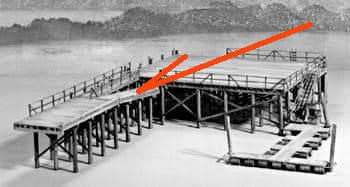
I have no idea what function that “down ramp to nowhere” is supposed to serve. (Red Arrow) Anyone else have any “dockside” ideas on the matter?
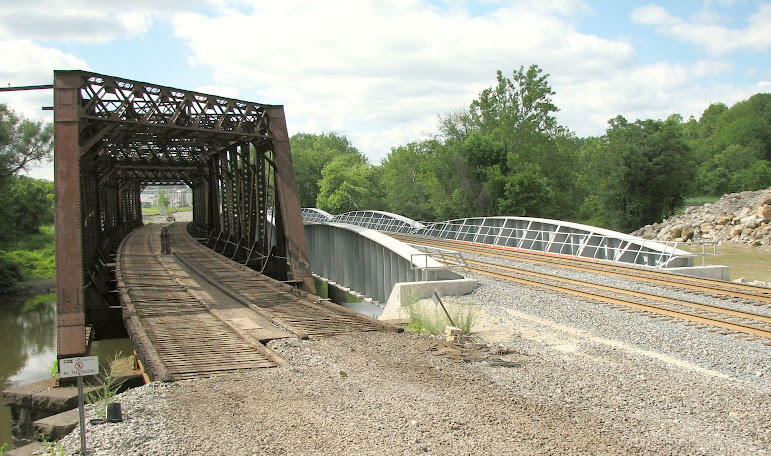
Besides the occasional (fairly rare) leaning bents shown above, trestle bents will very often be “skewed” or angled to better clear a railroad, road or stream that crosses under at a sharp angle.
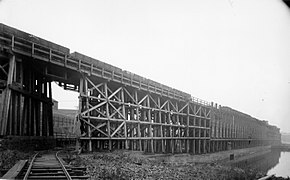
Sometimes even the bridge truss structure itself may be “skewed” to better accommodate the angle of the crossing.
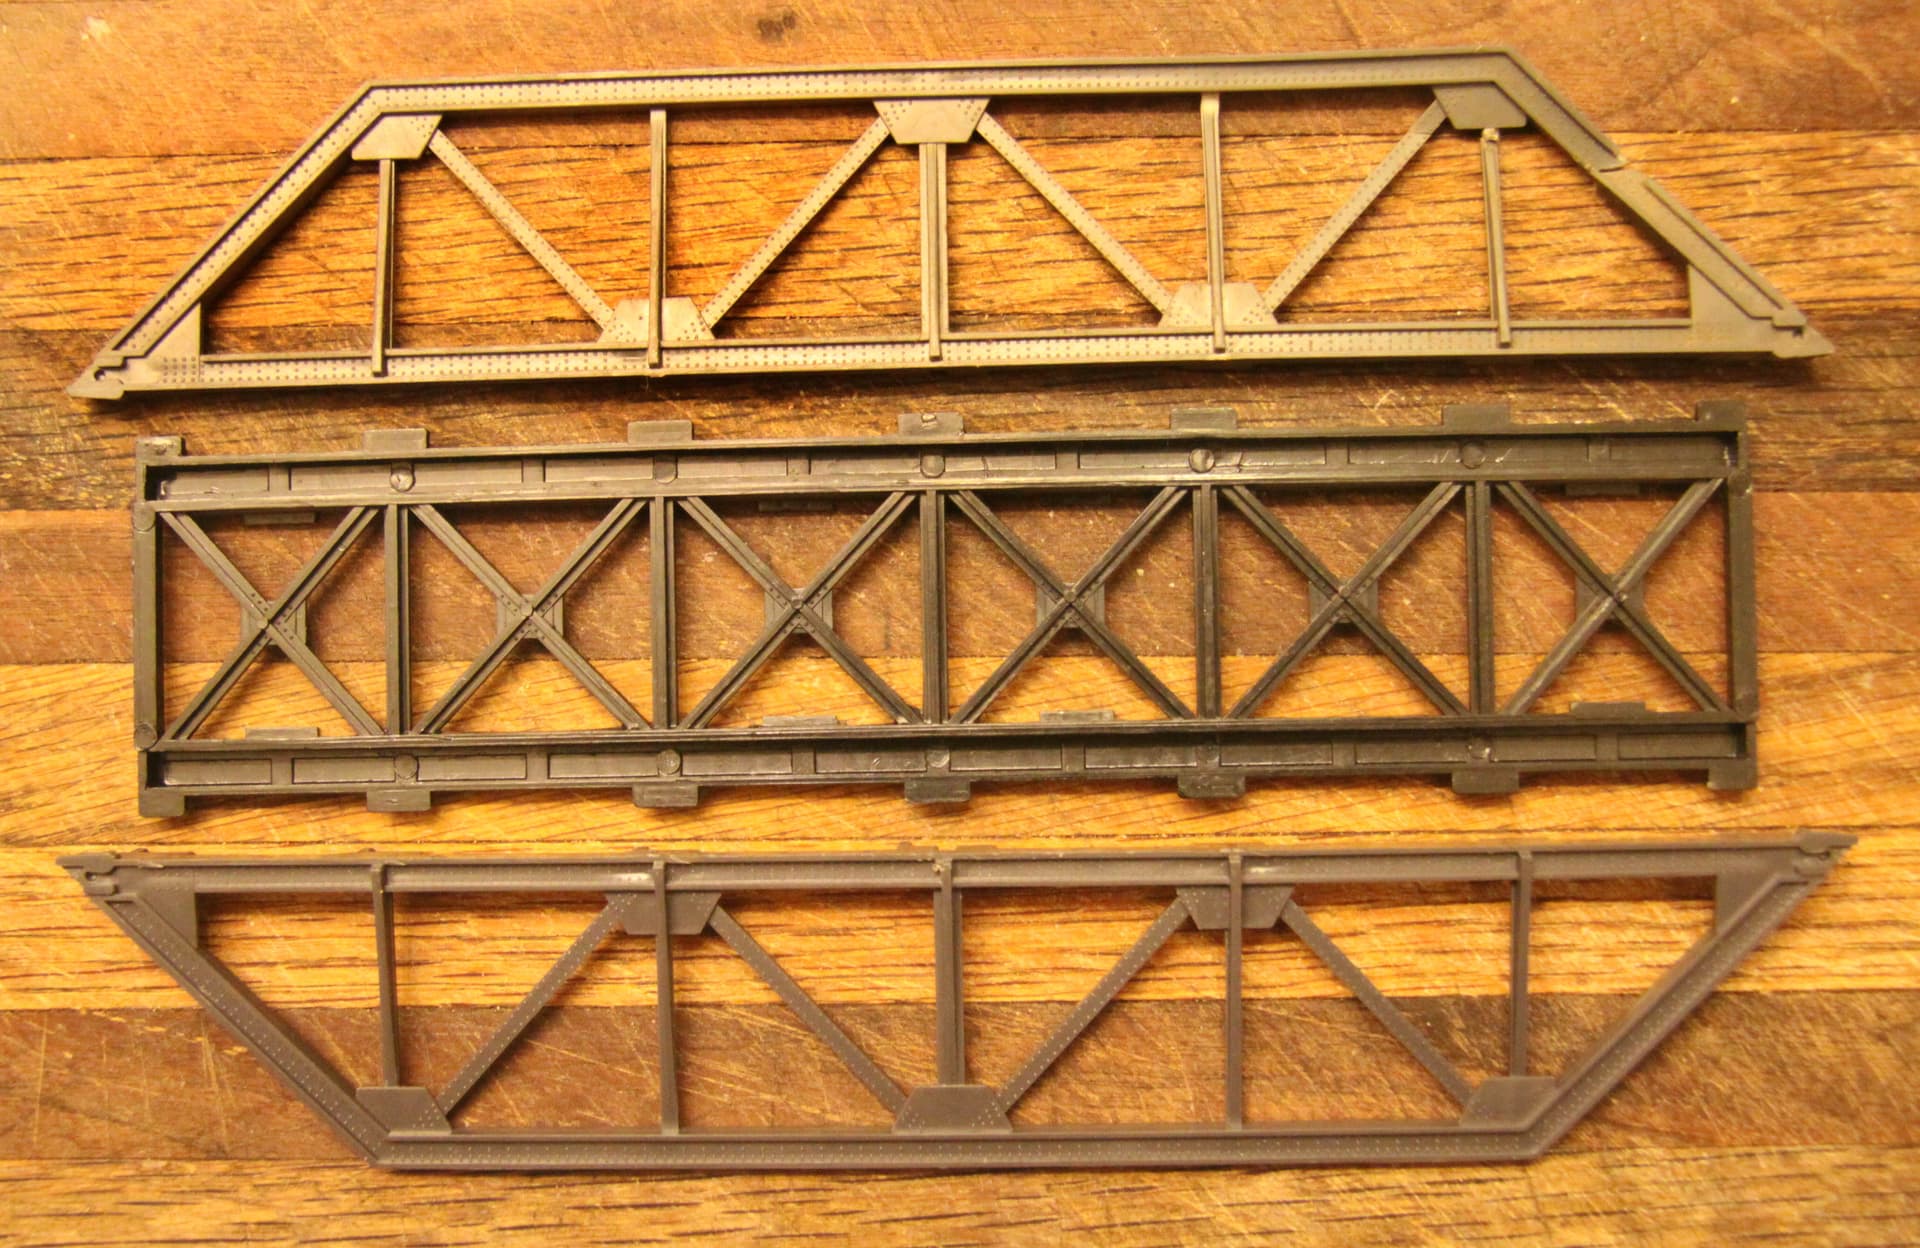
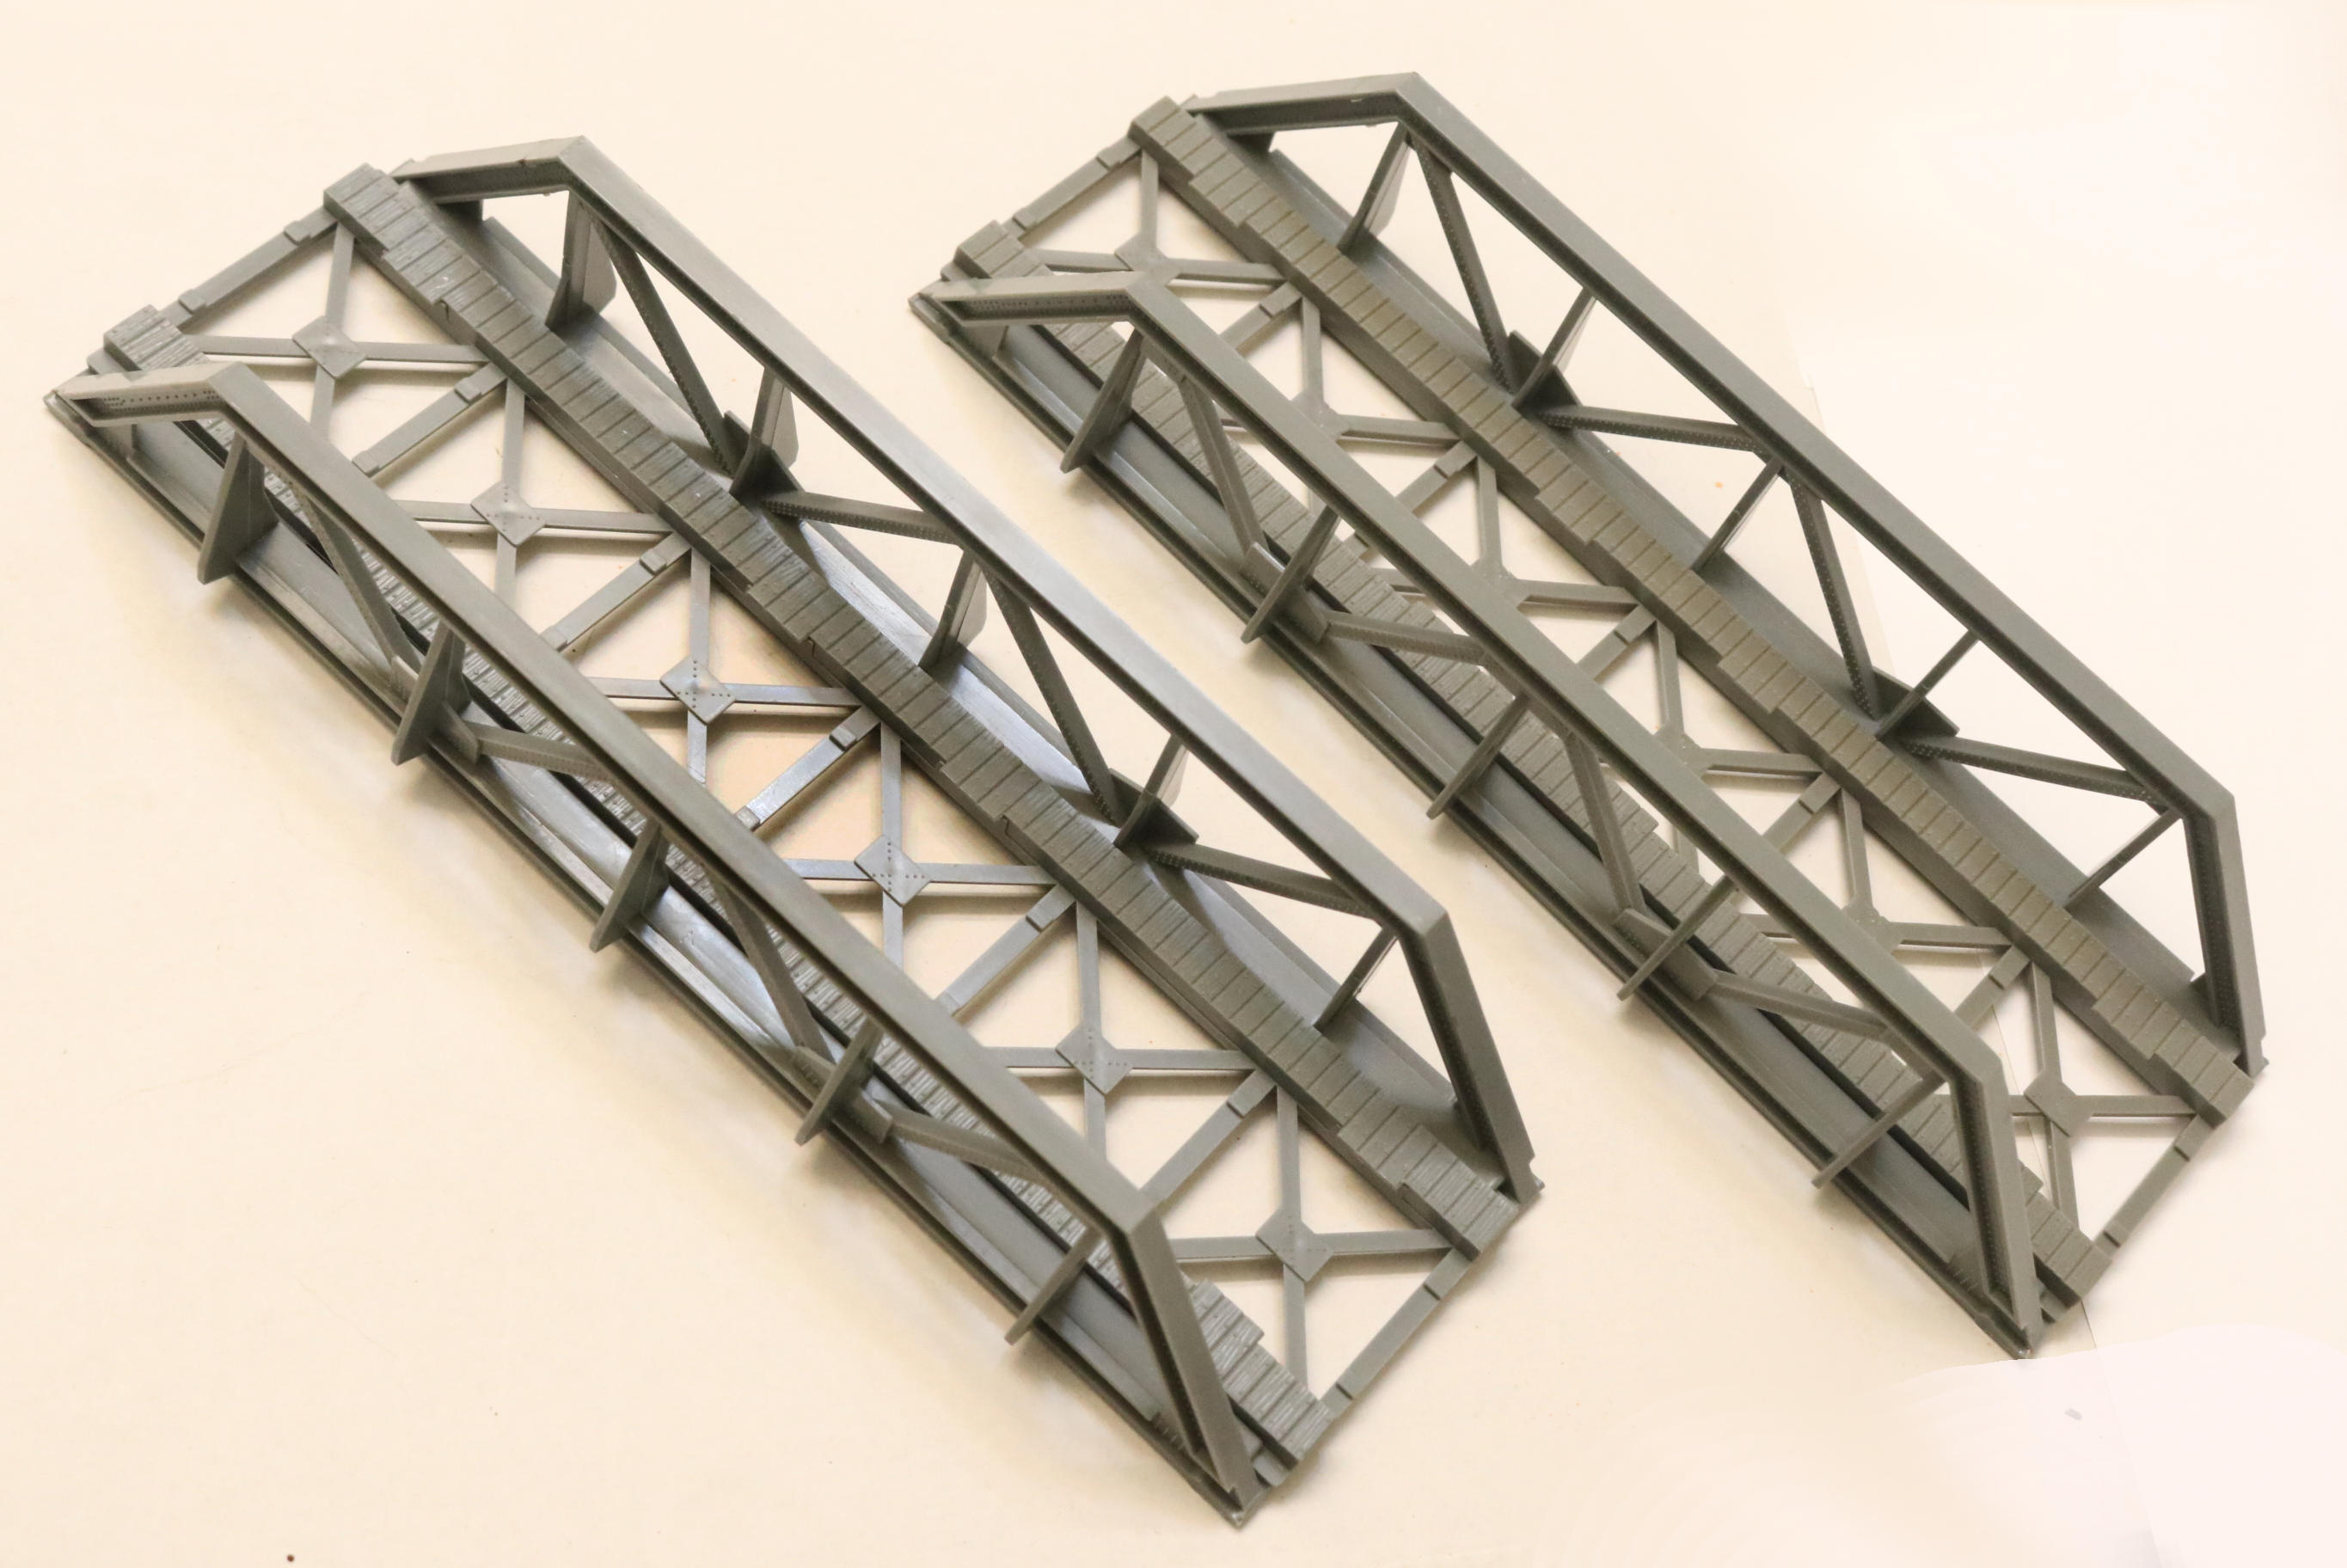
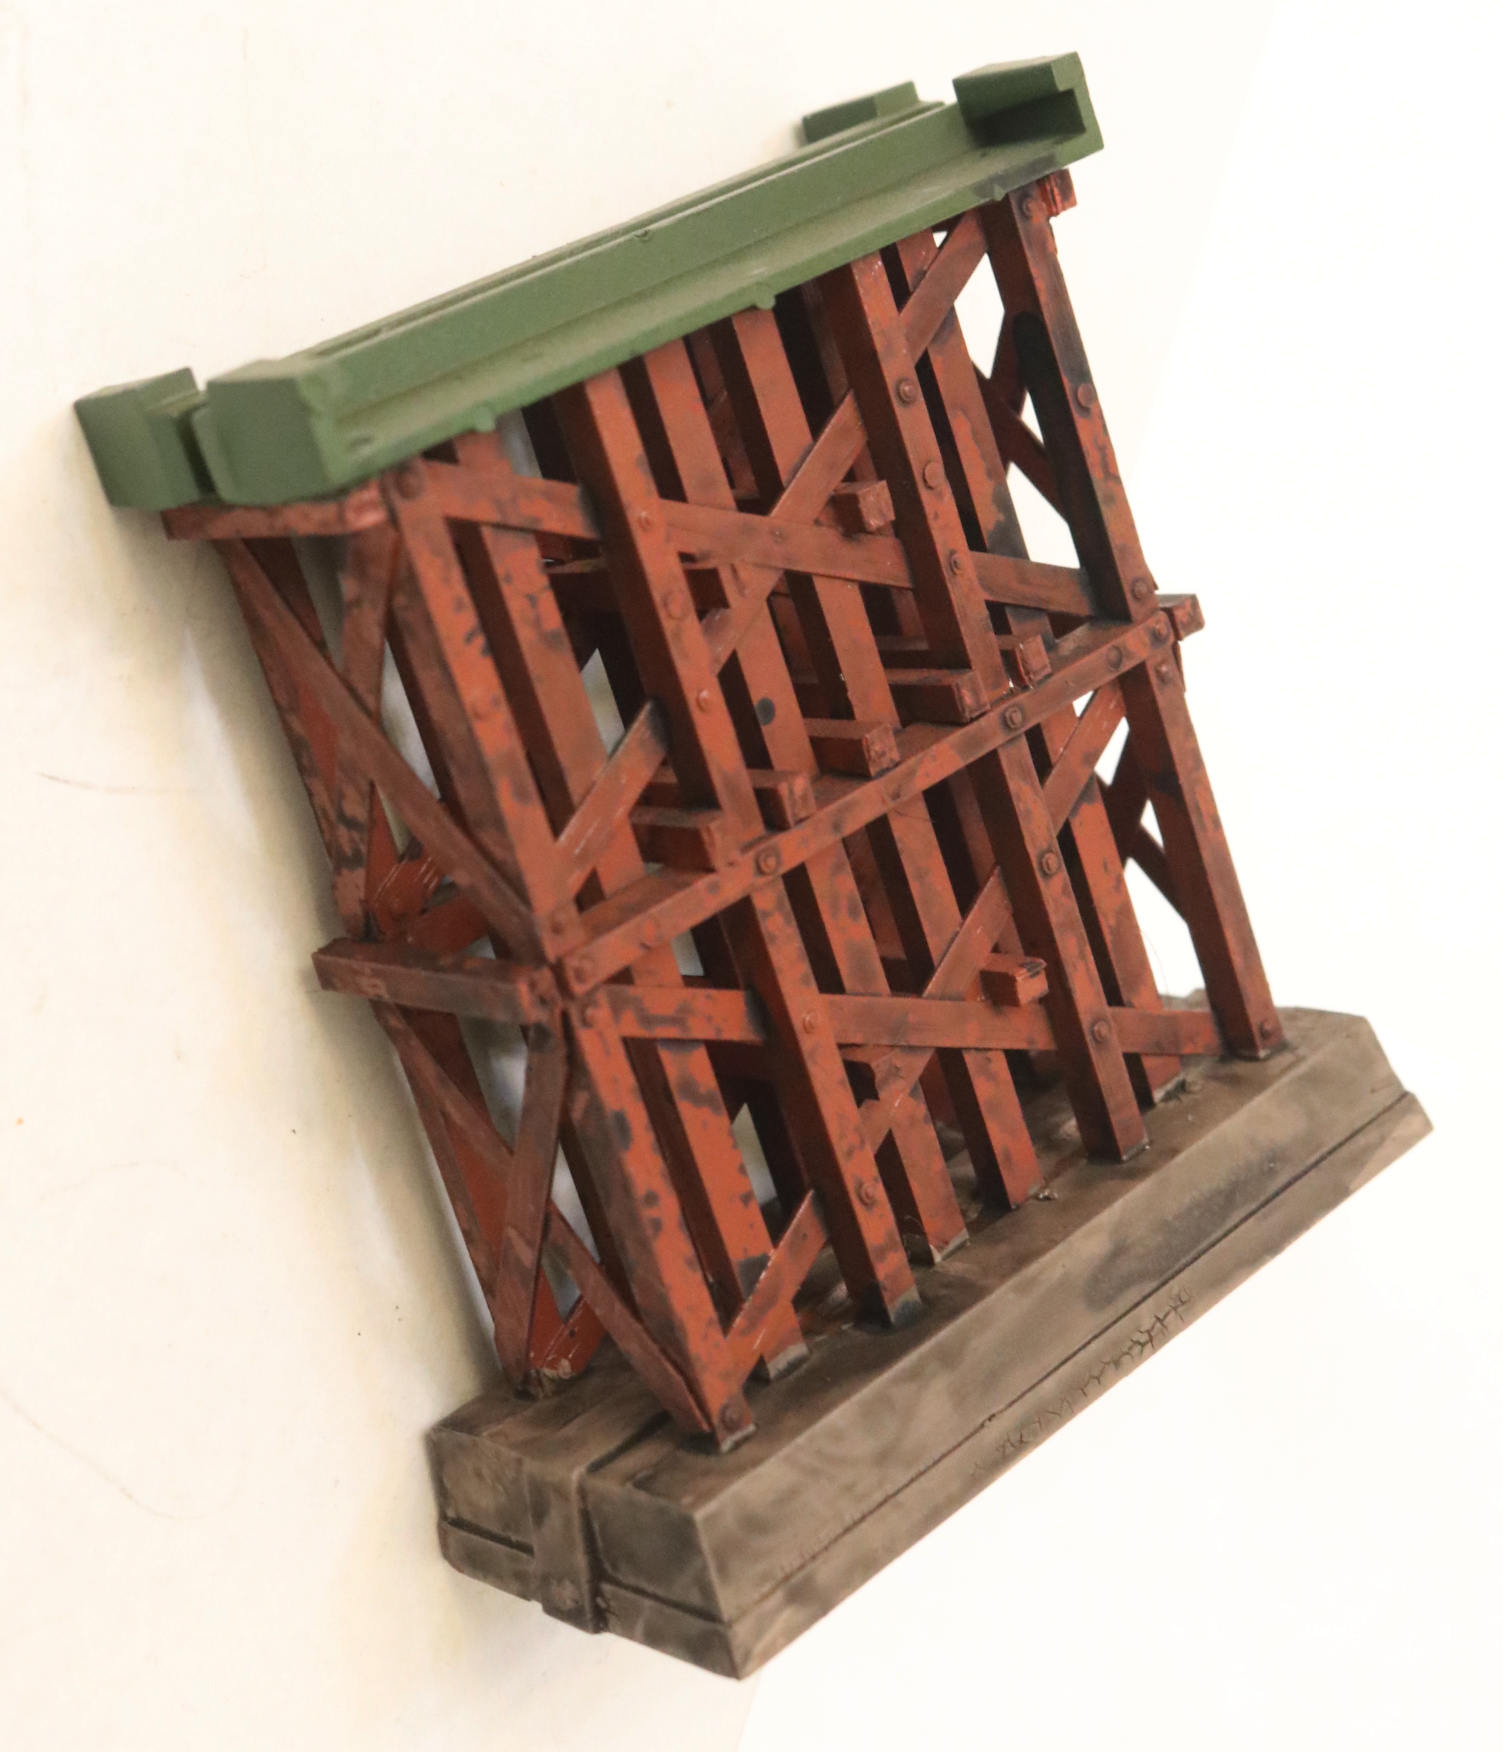
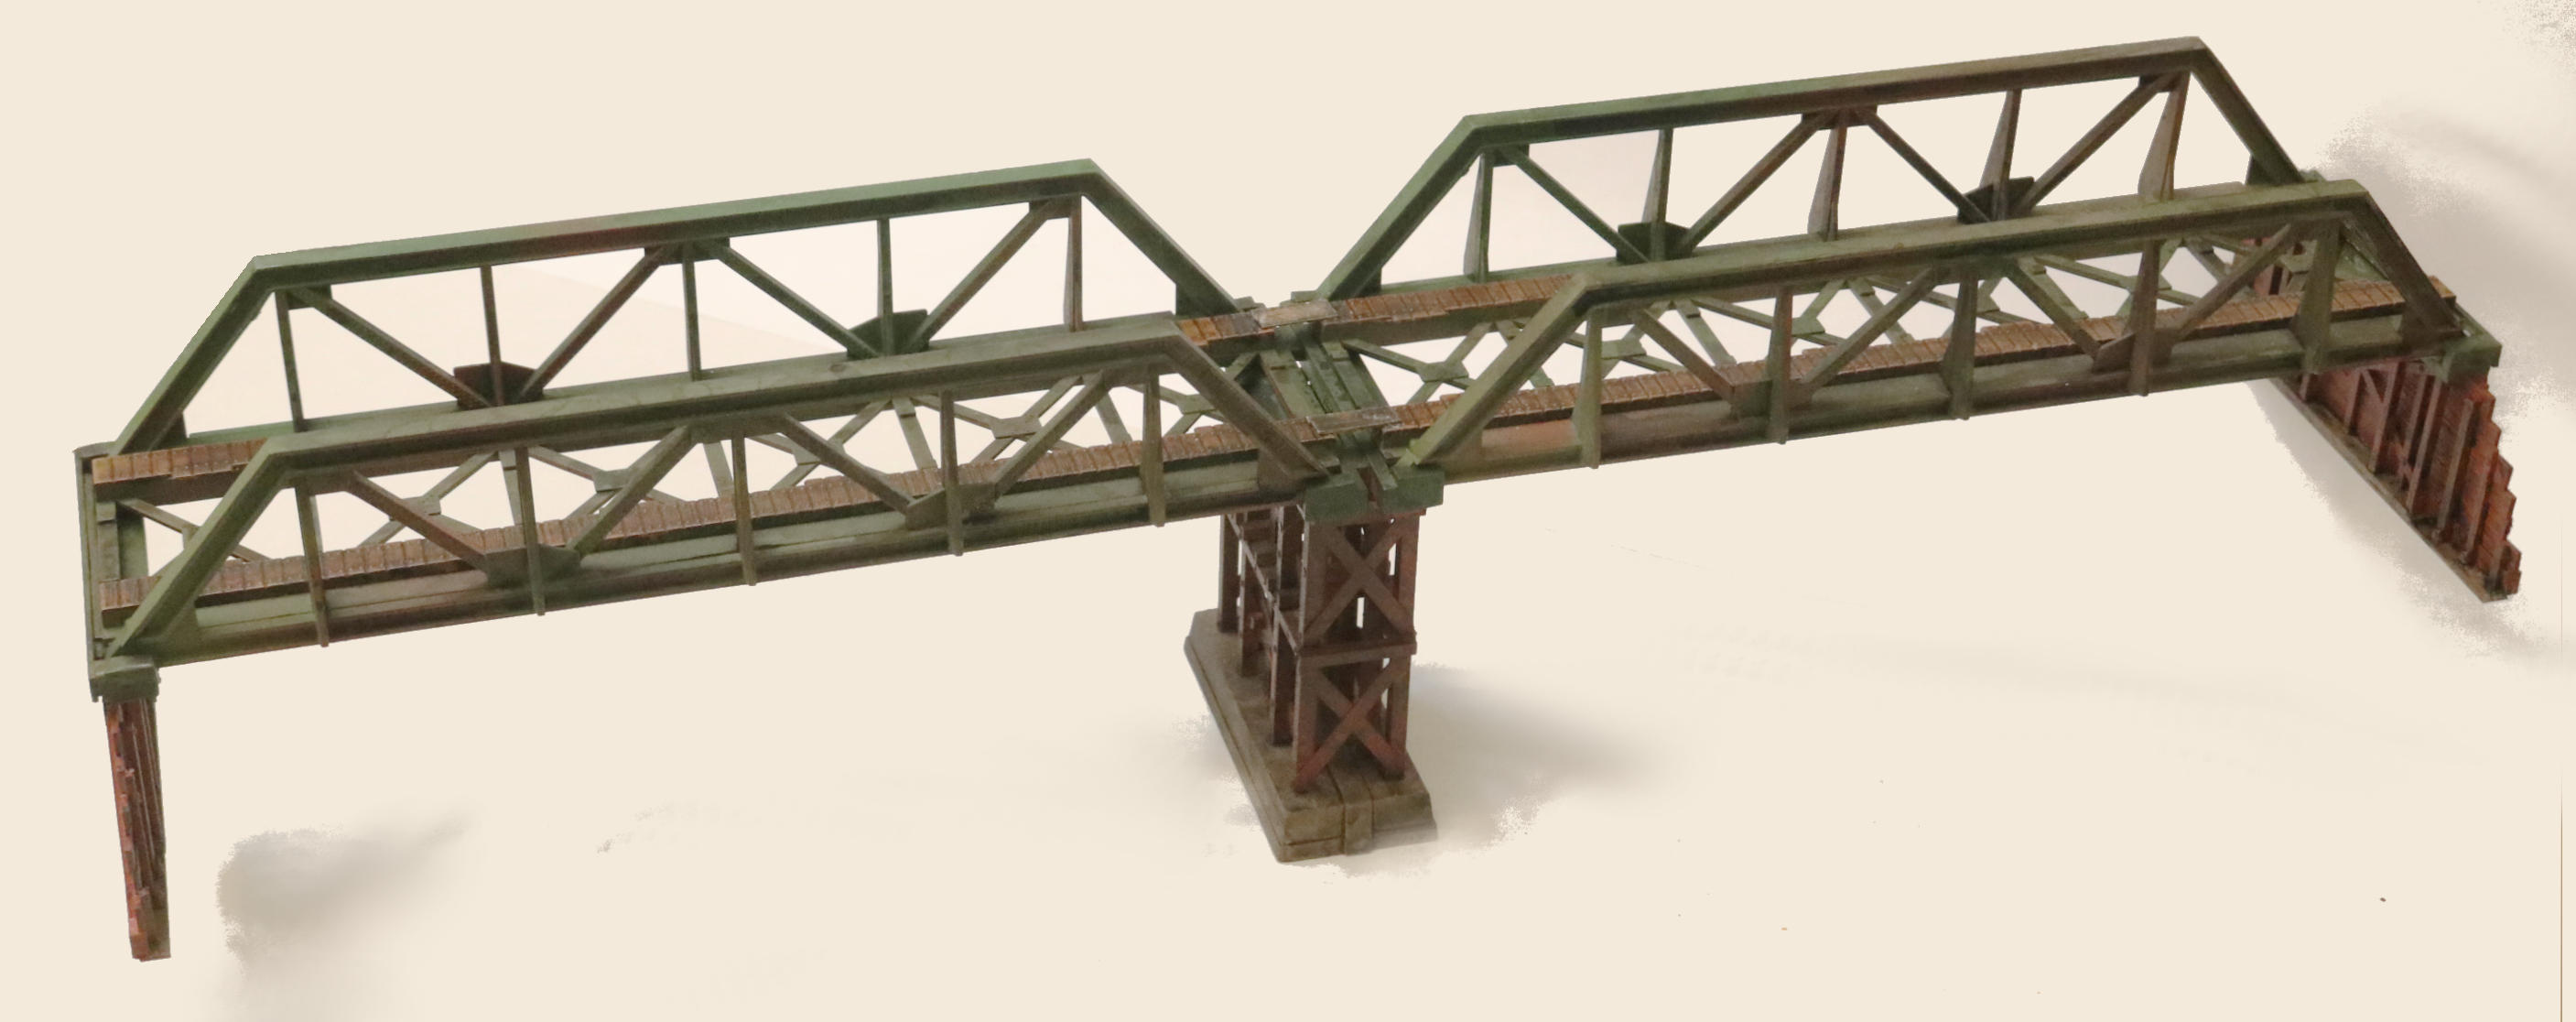
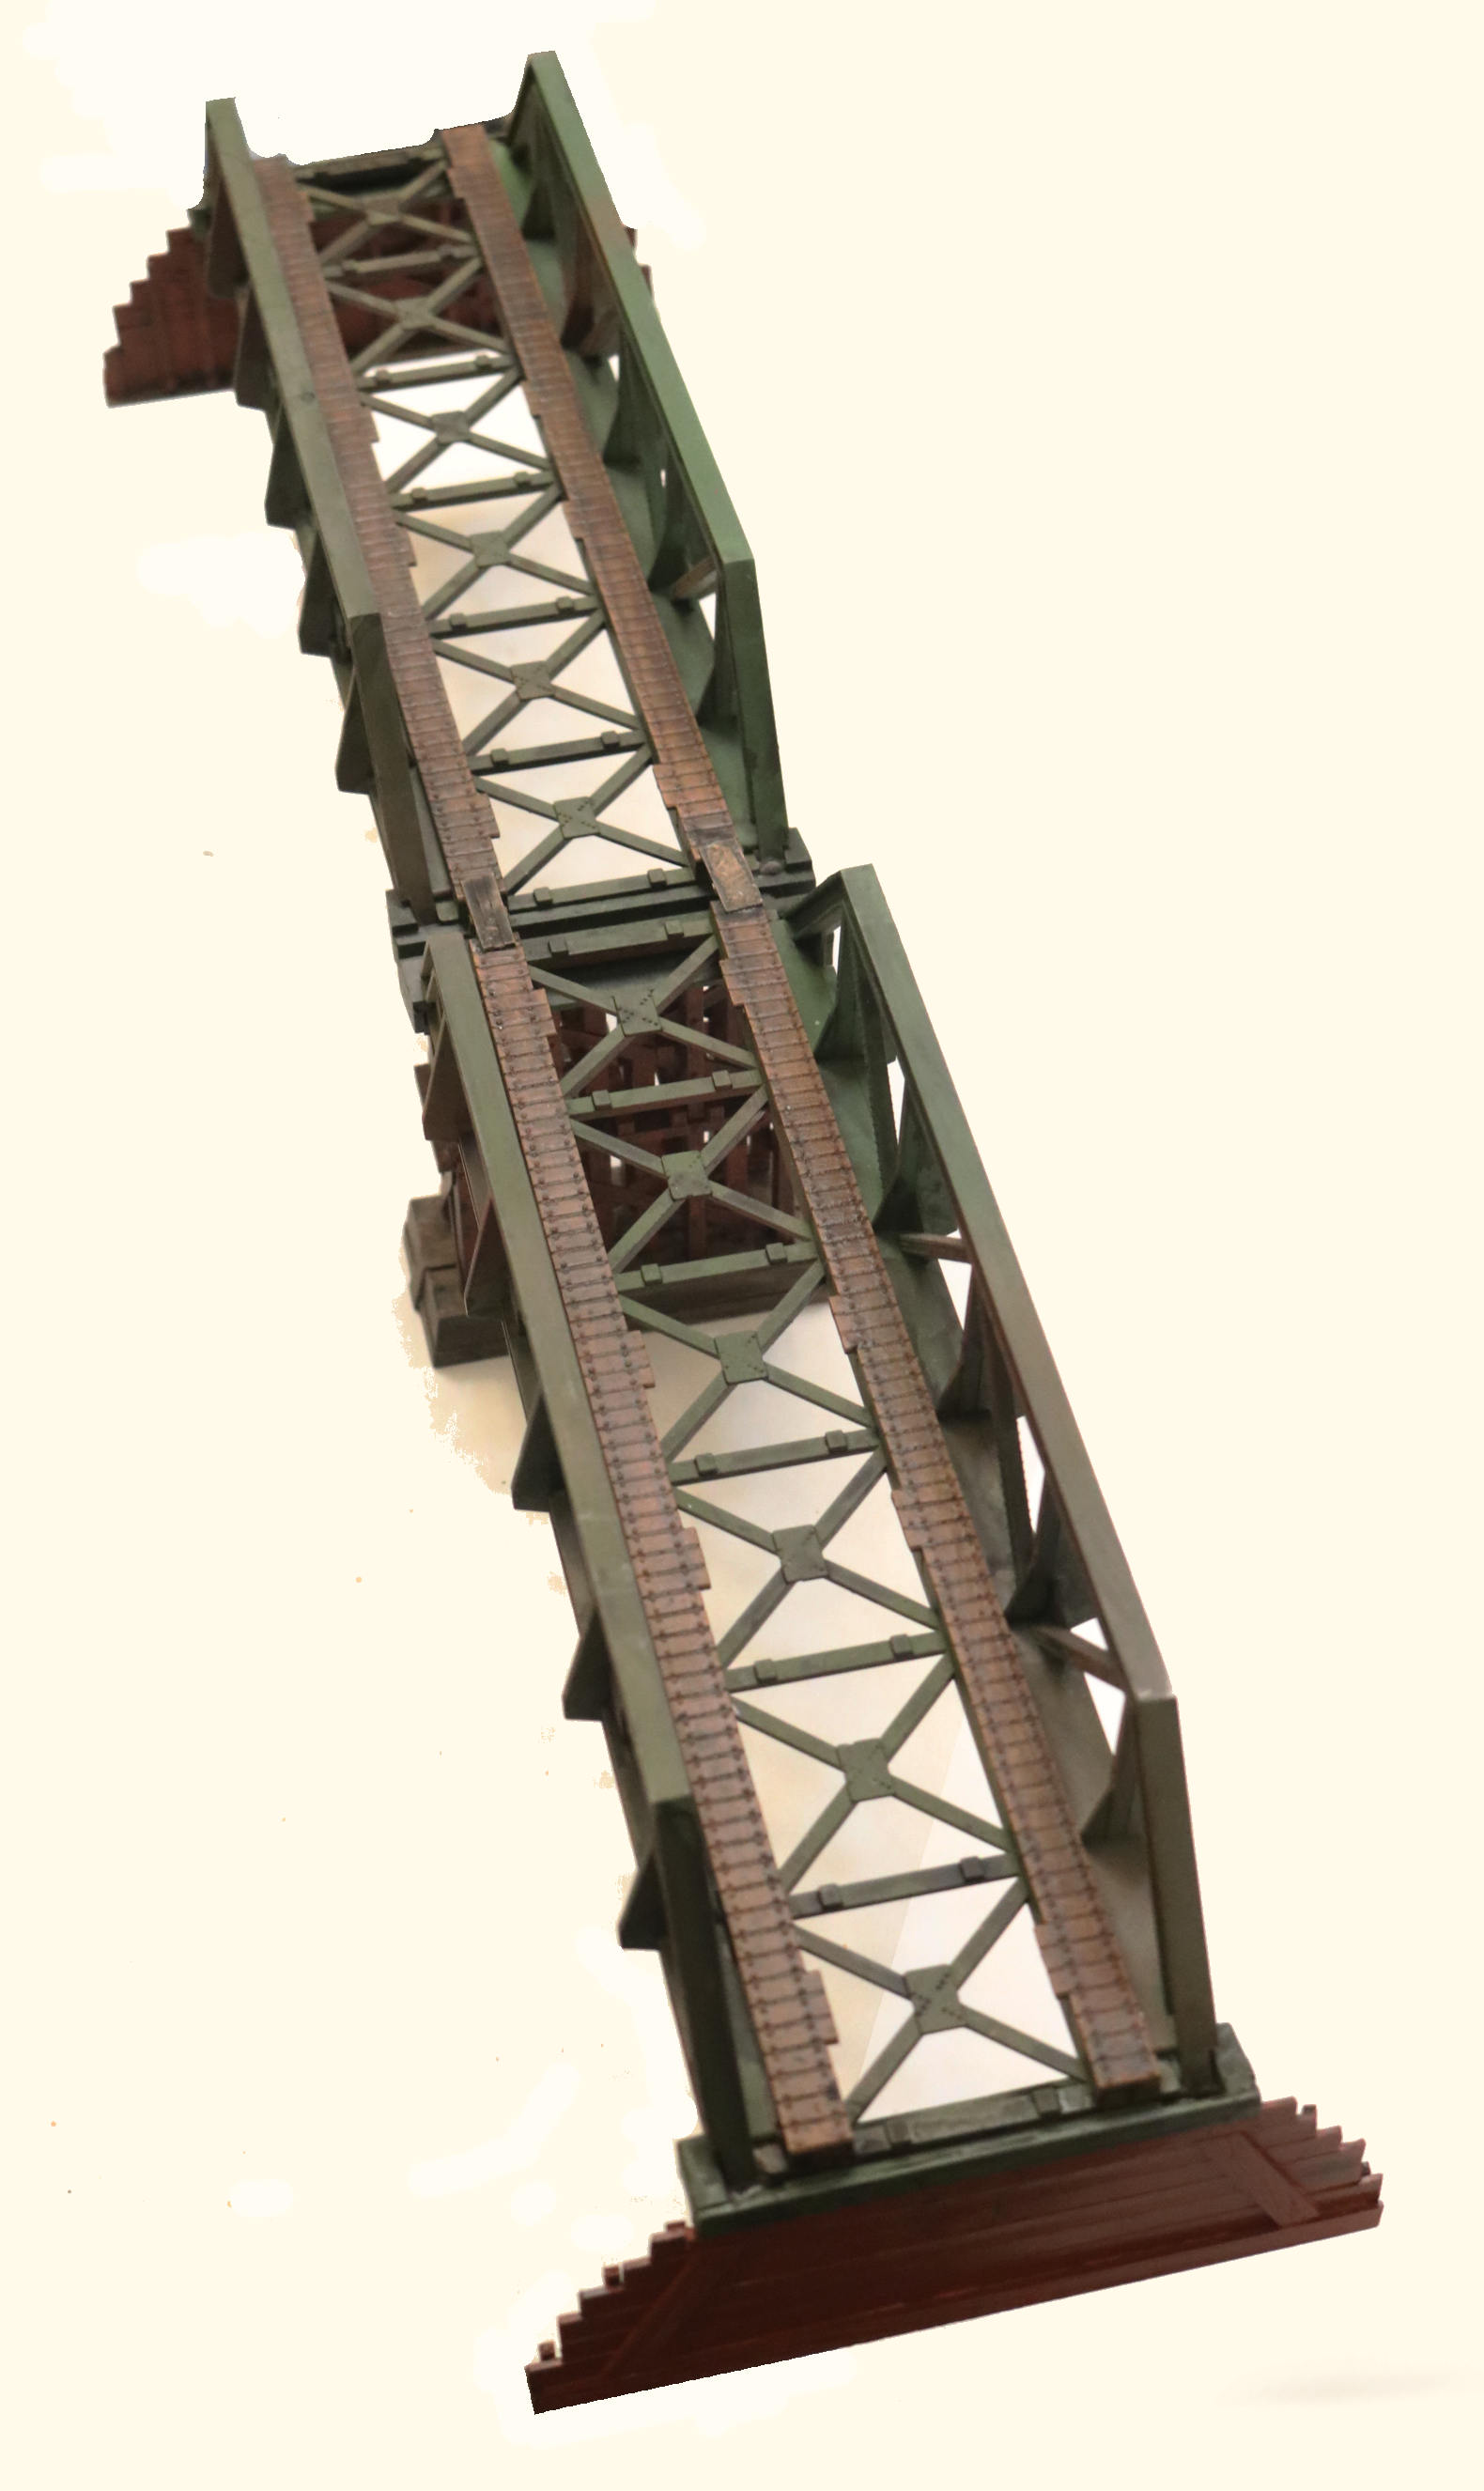
Starting Here on a New HO Railroad Bridge:
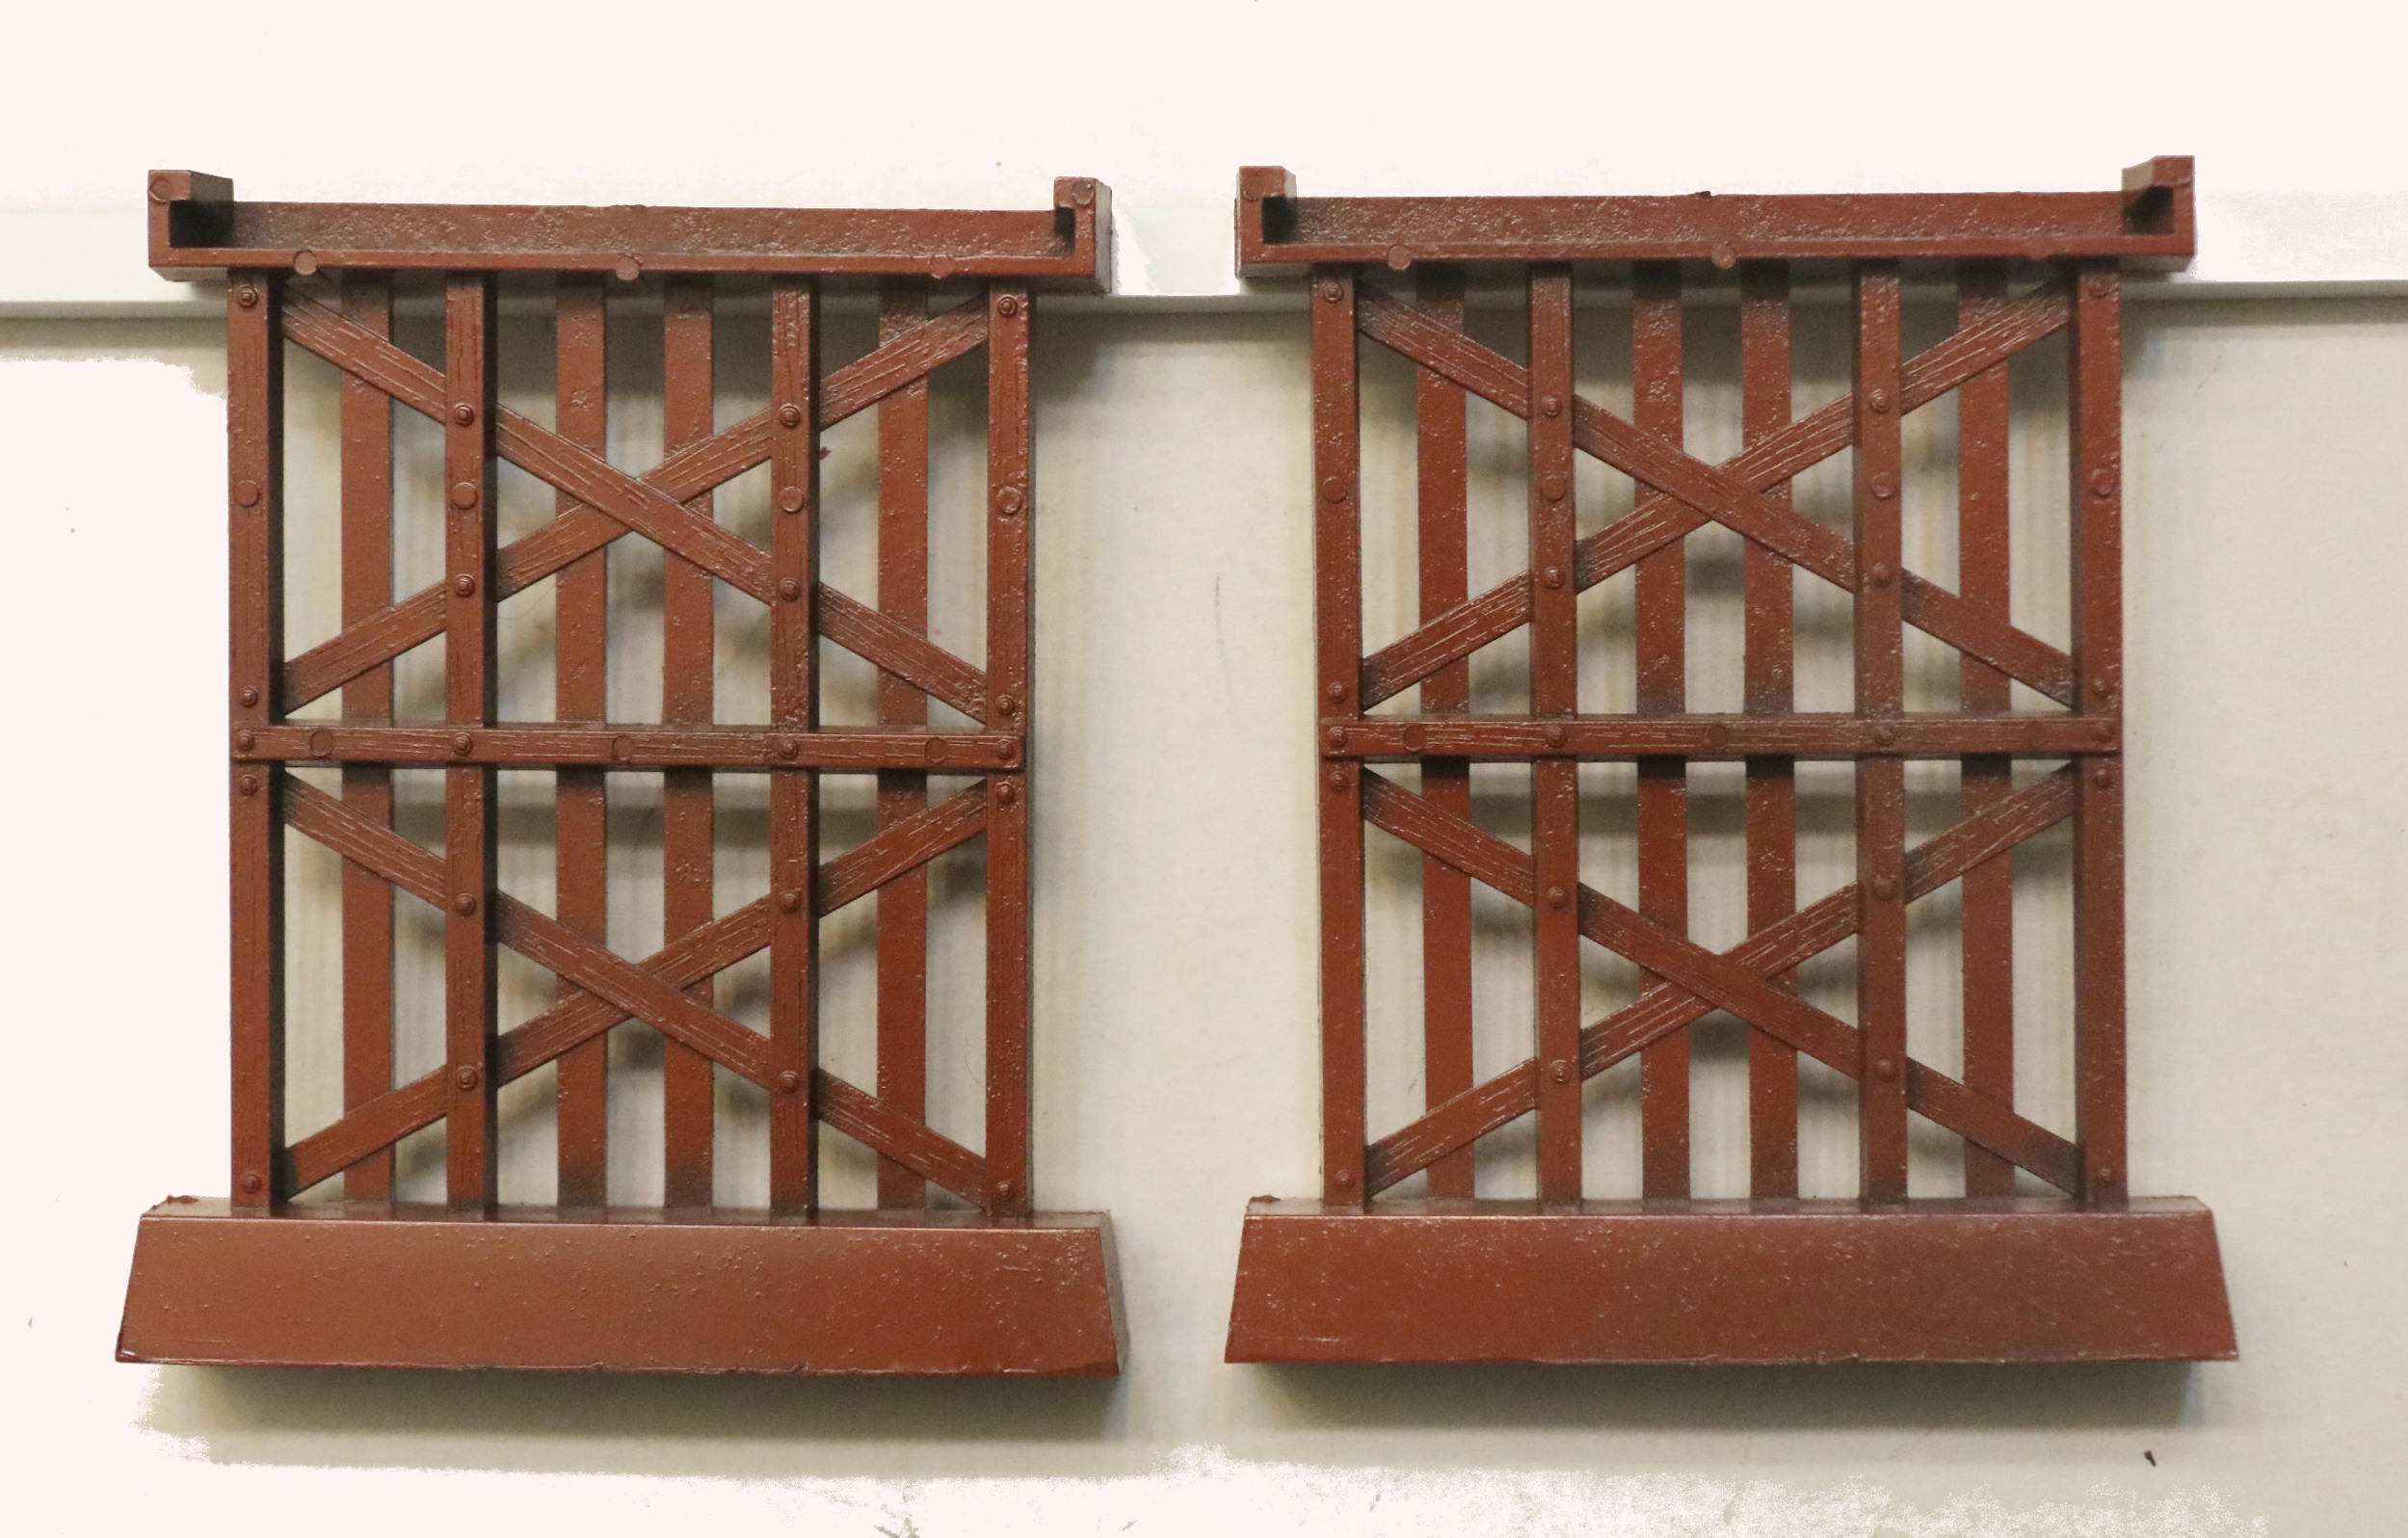
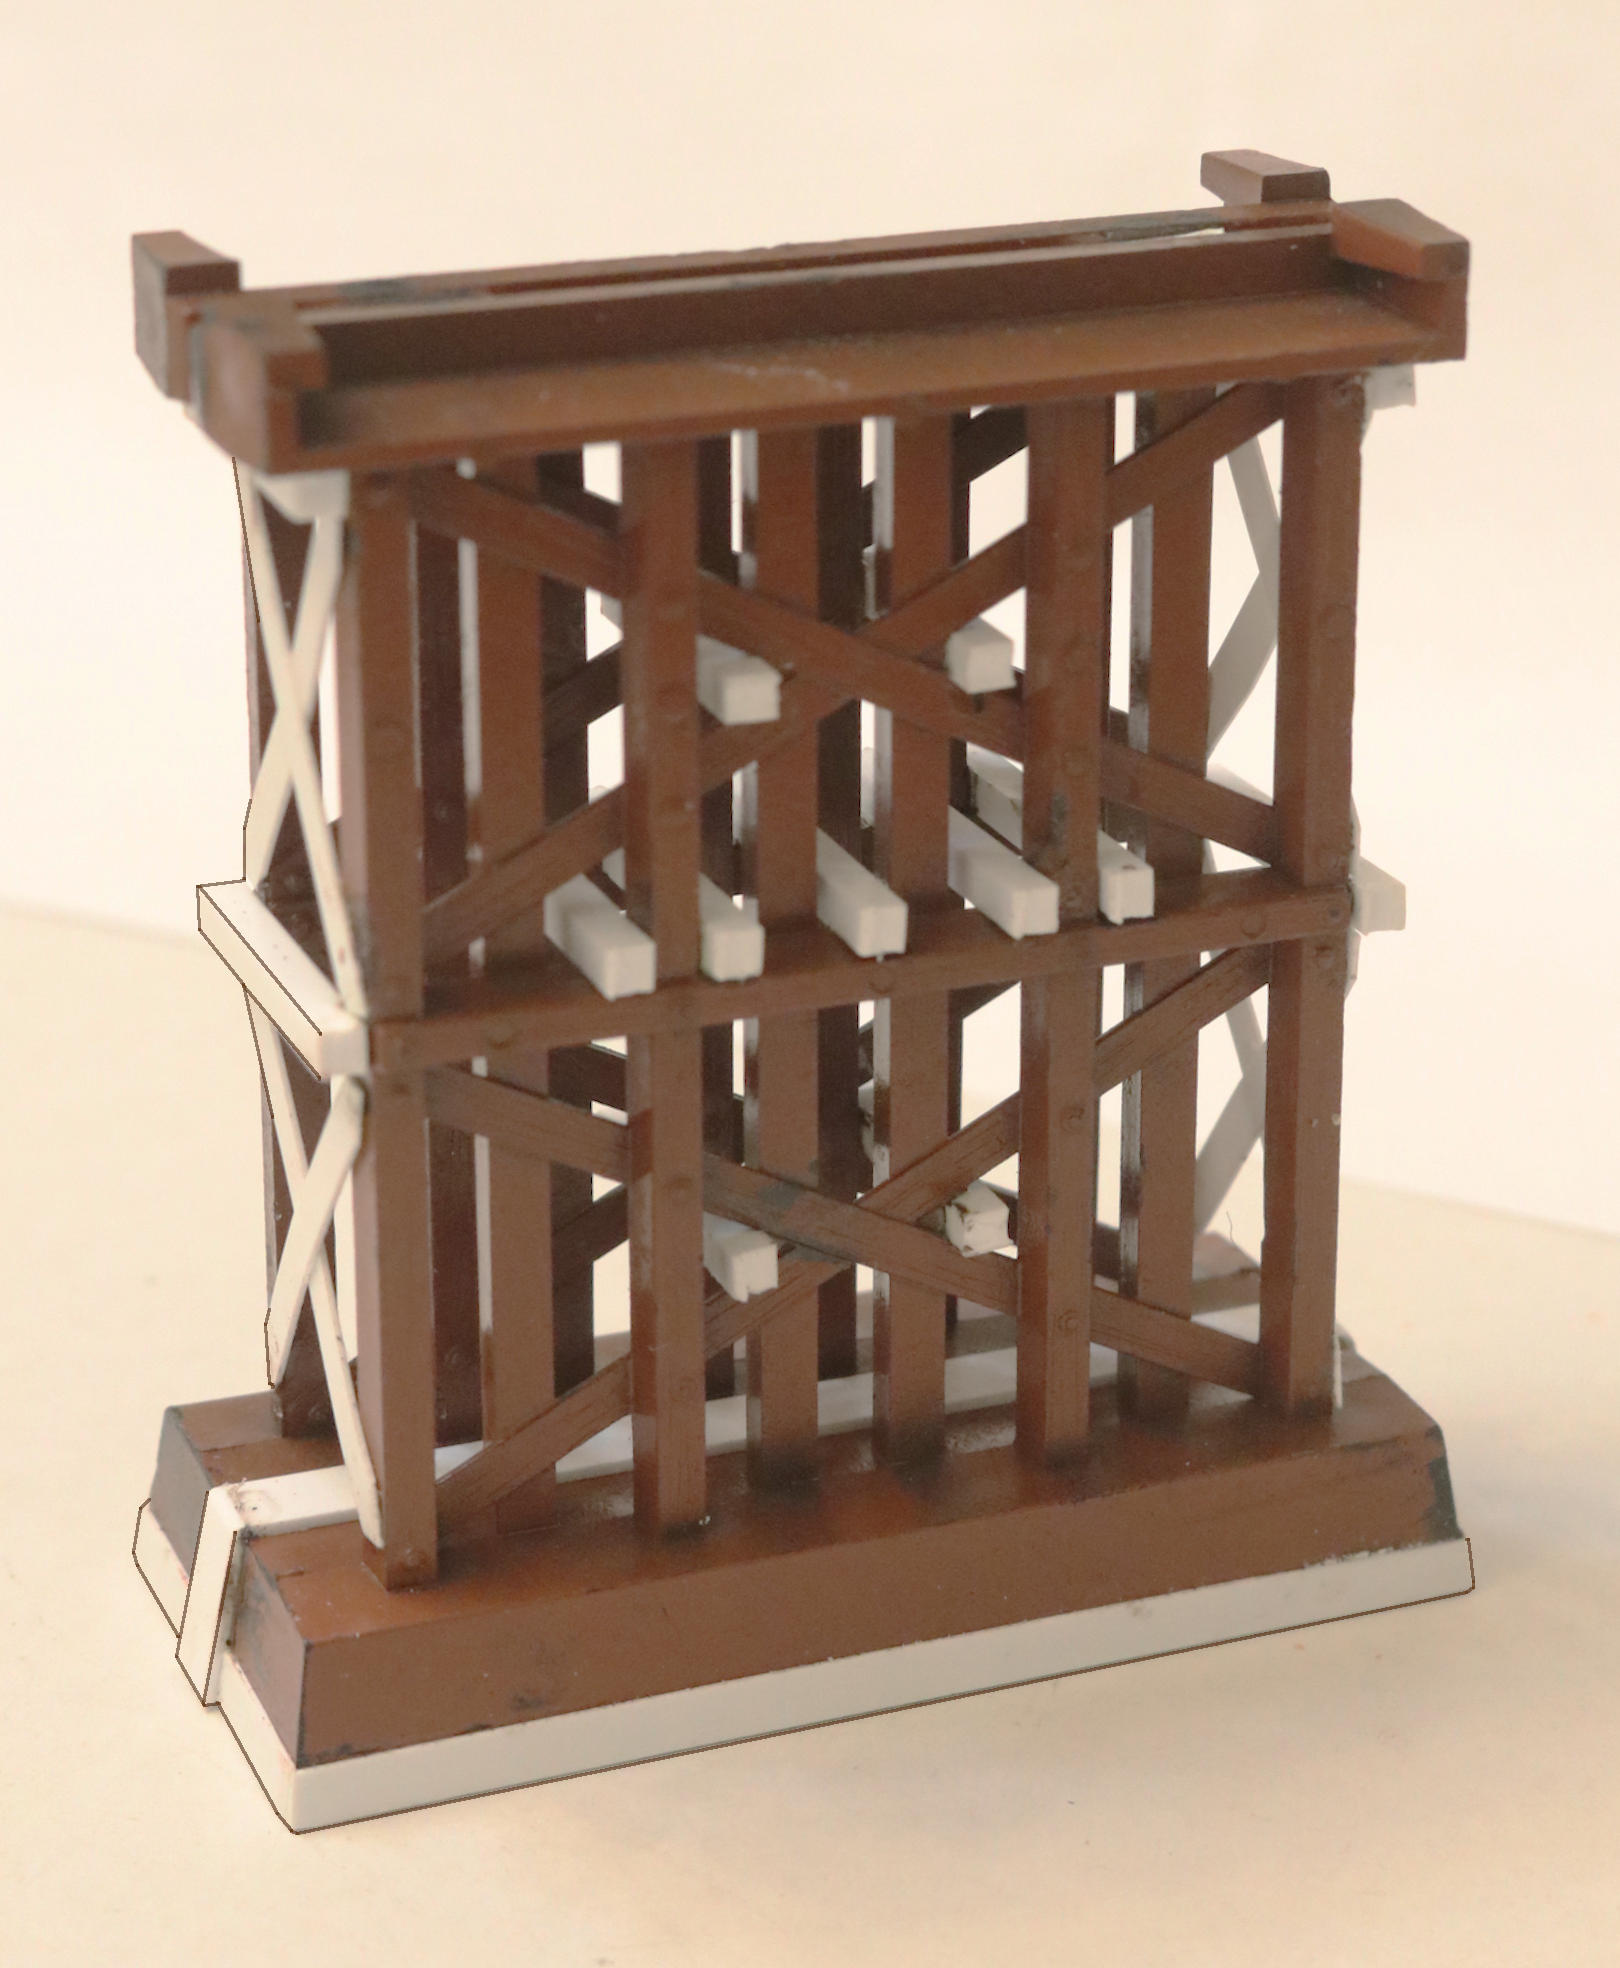
Been looking thoughtfully for sometime at these “wooden” piers from Tyco. ~ Again items picked up from the local hobby shop miscellaneous “junk” bin!
For the moment I have left my additions unpainted so everyone can see what I have done to combine the two piers.
CONSTRUCTION HINT: Use your sprue cutter, nipper pliers to make quick work of cutting your Evergreen “planks, boards and beams” to length. As you can see, the square end cuts leave a nice “wood grain” roughness to the plastic. Where possible I leave the beams overly long and then go back and cut them to exact length once glued in place and the glue has dried. This reduces the need for making all those duplicate “exact length” cuts on your work bench. It consumes a little more material but saves a ton of time and hassle making all those many precision length cuts.
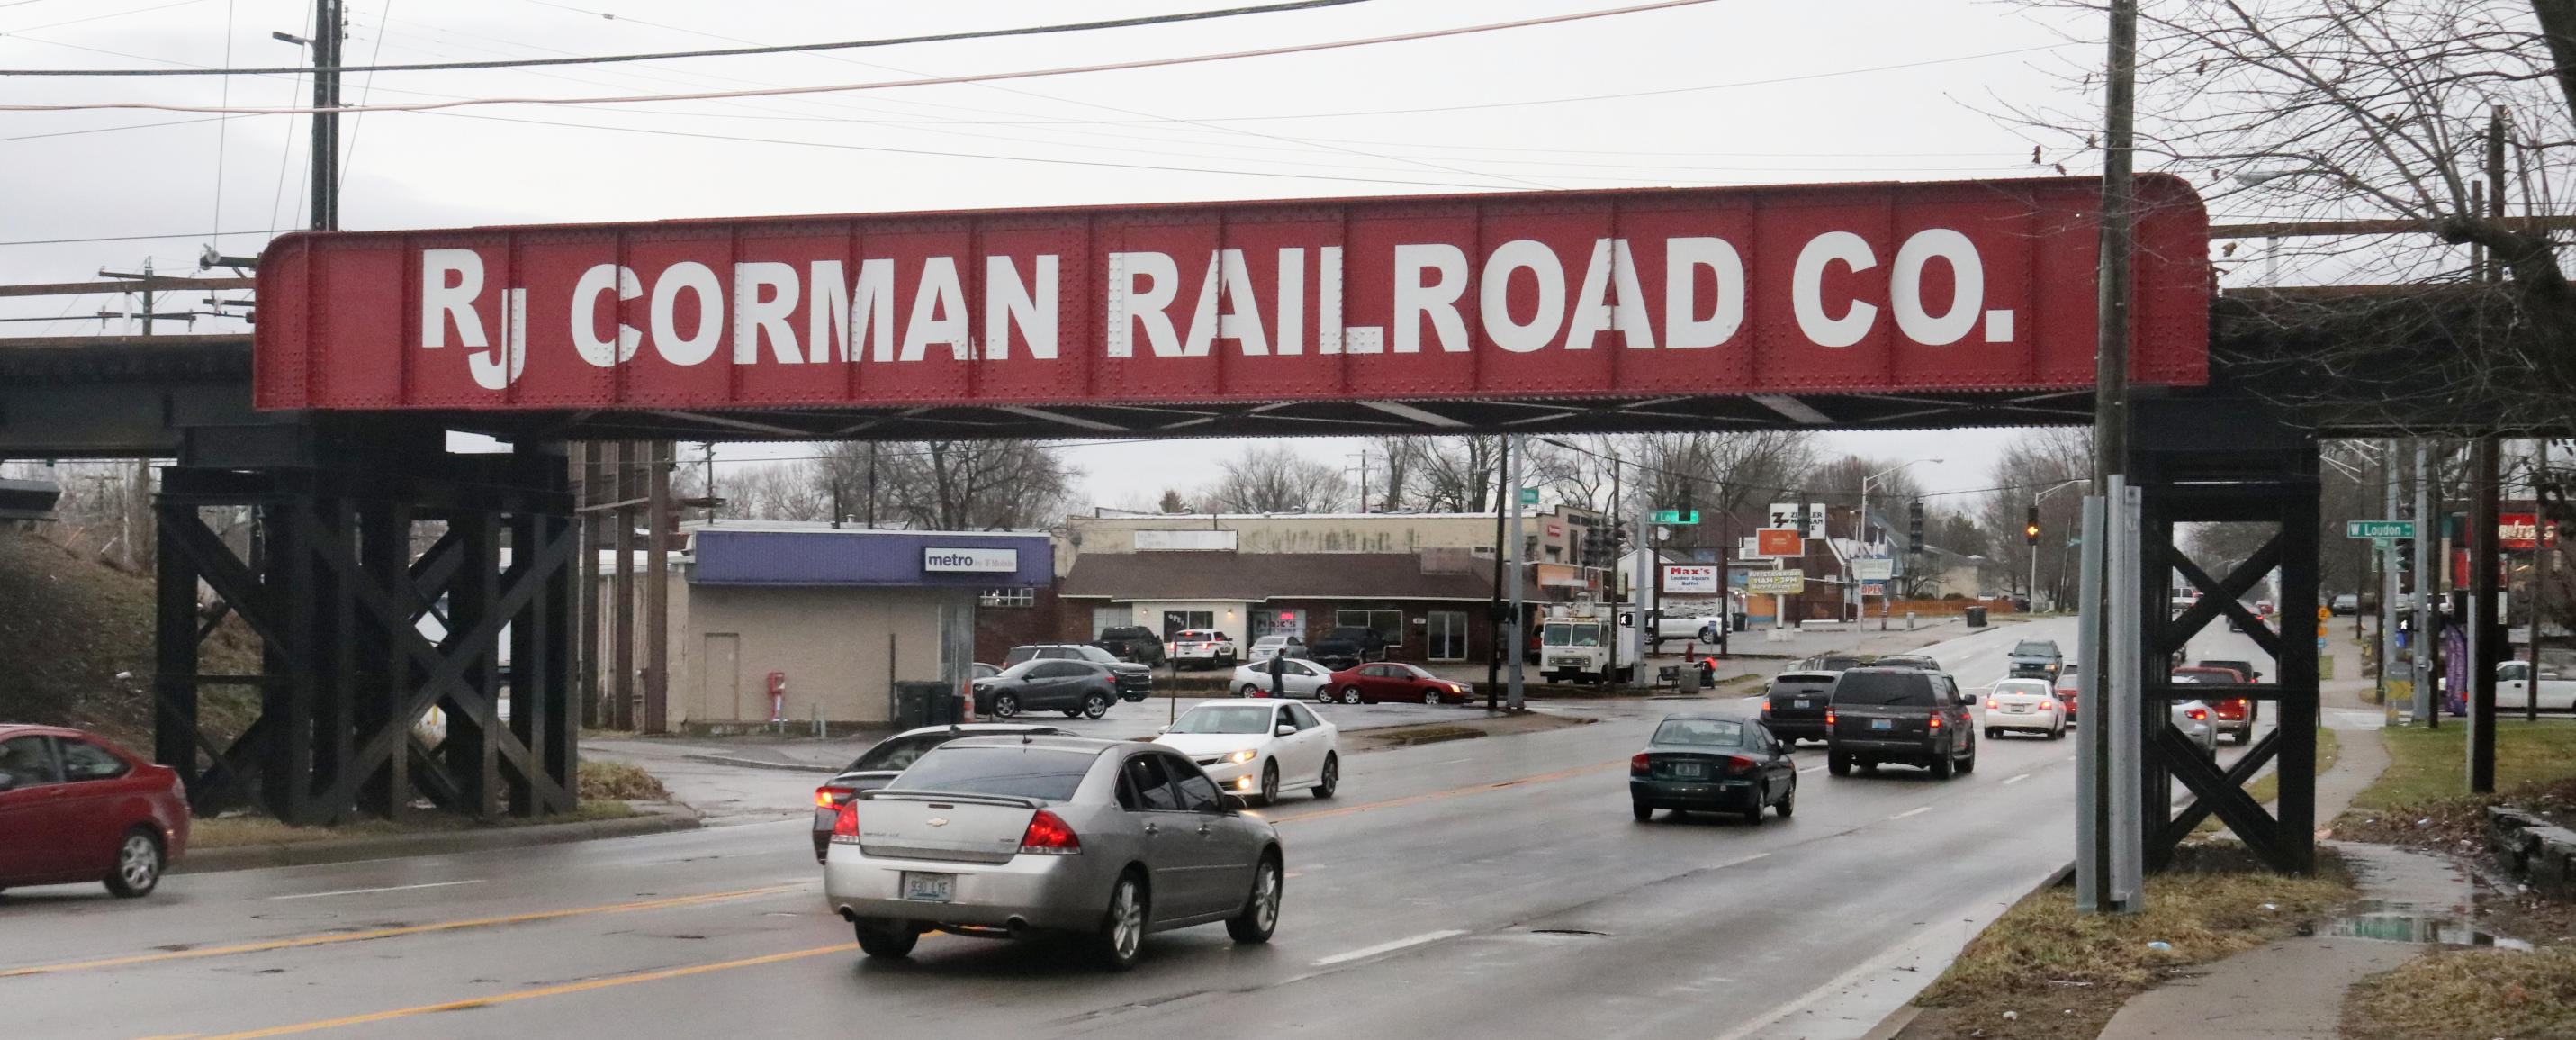
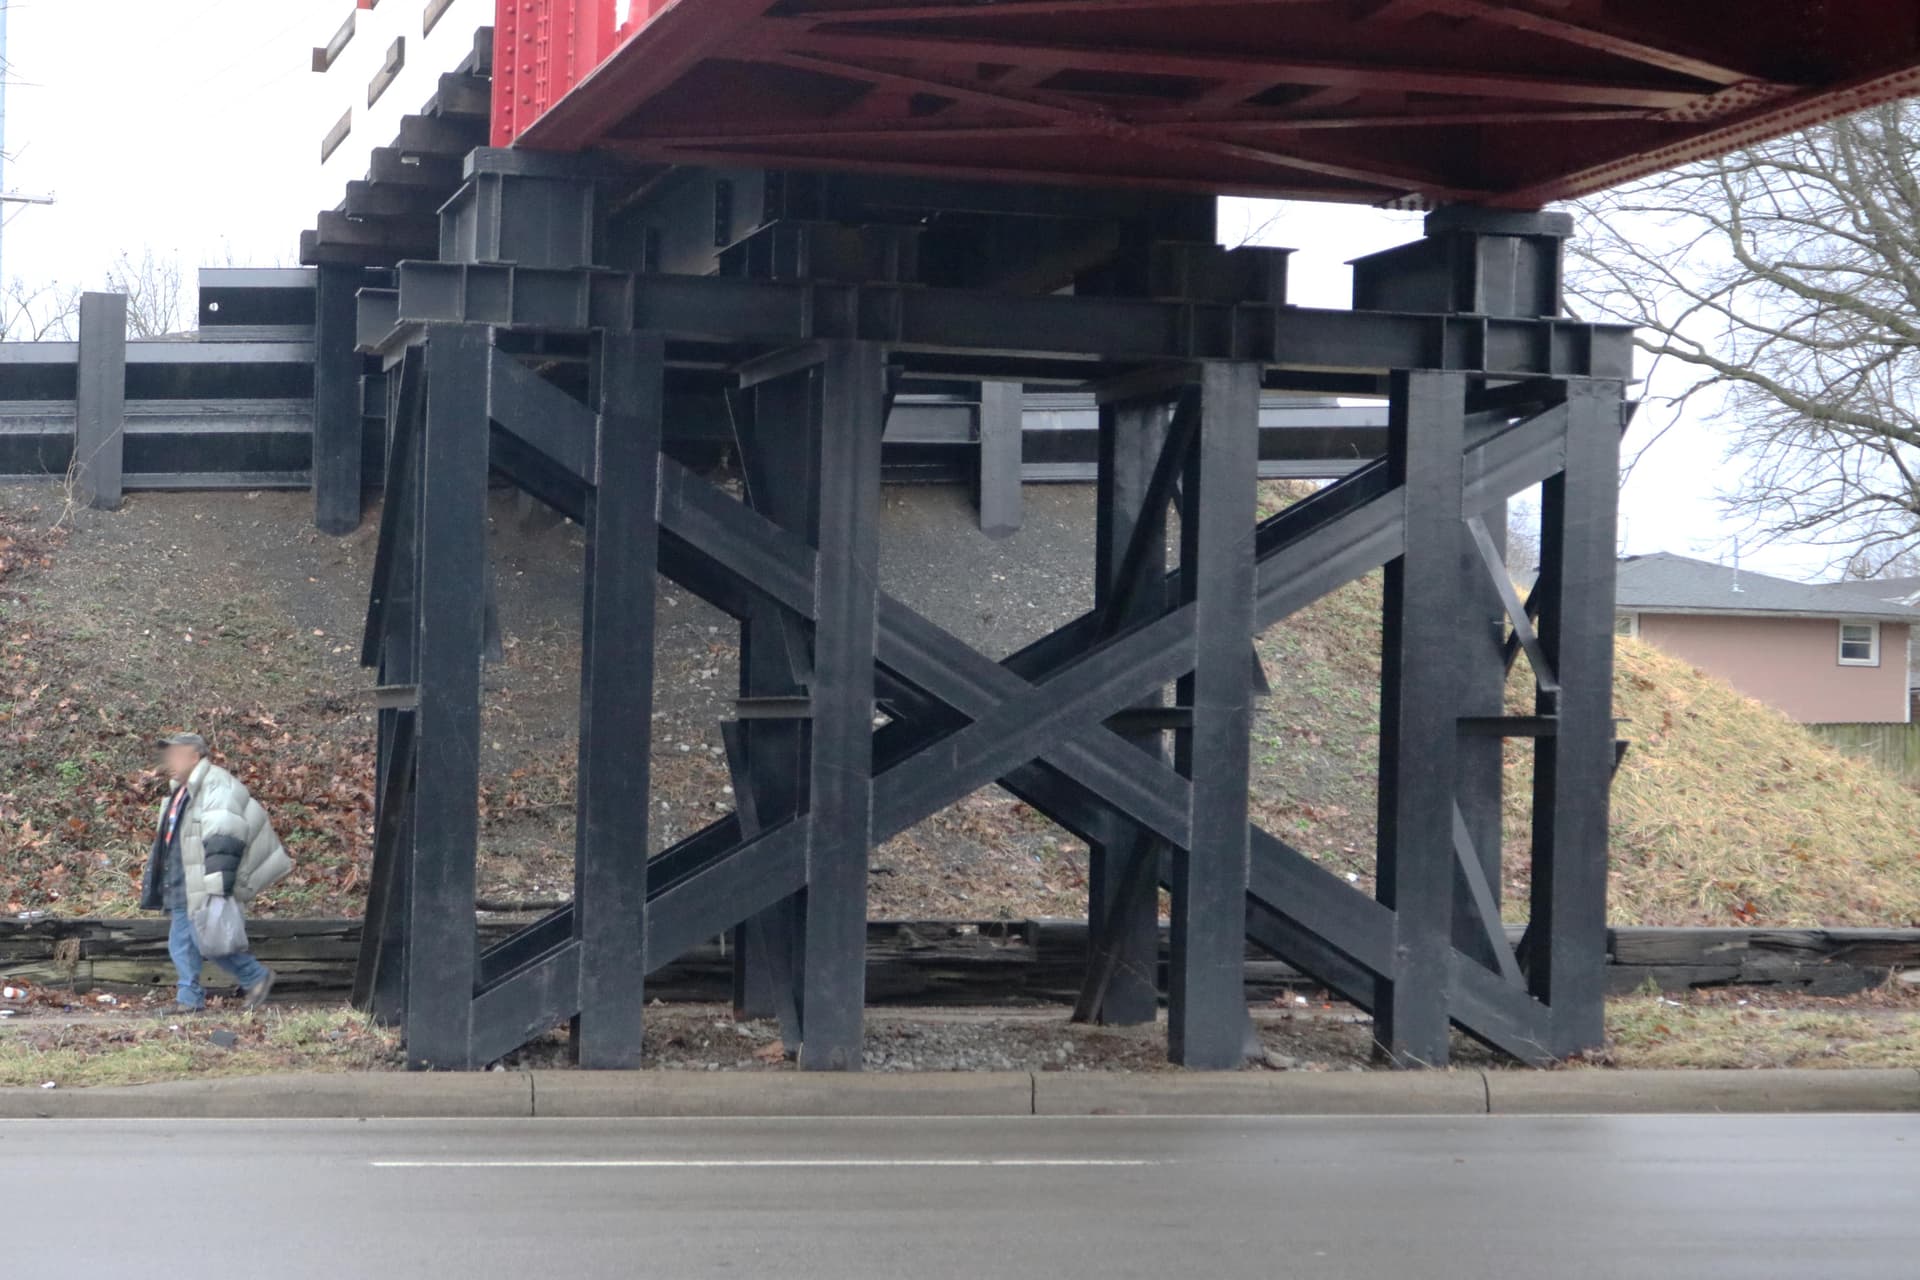
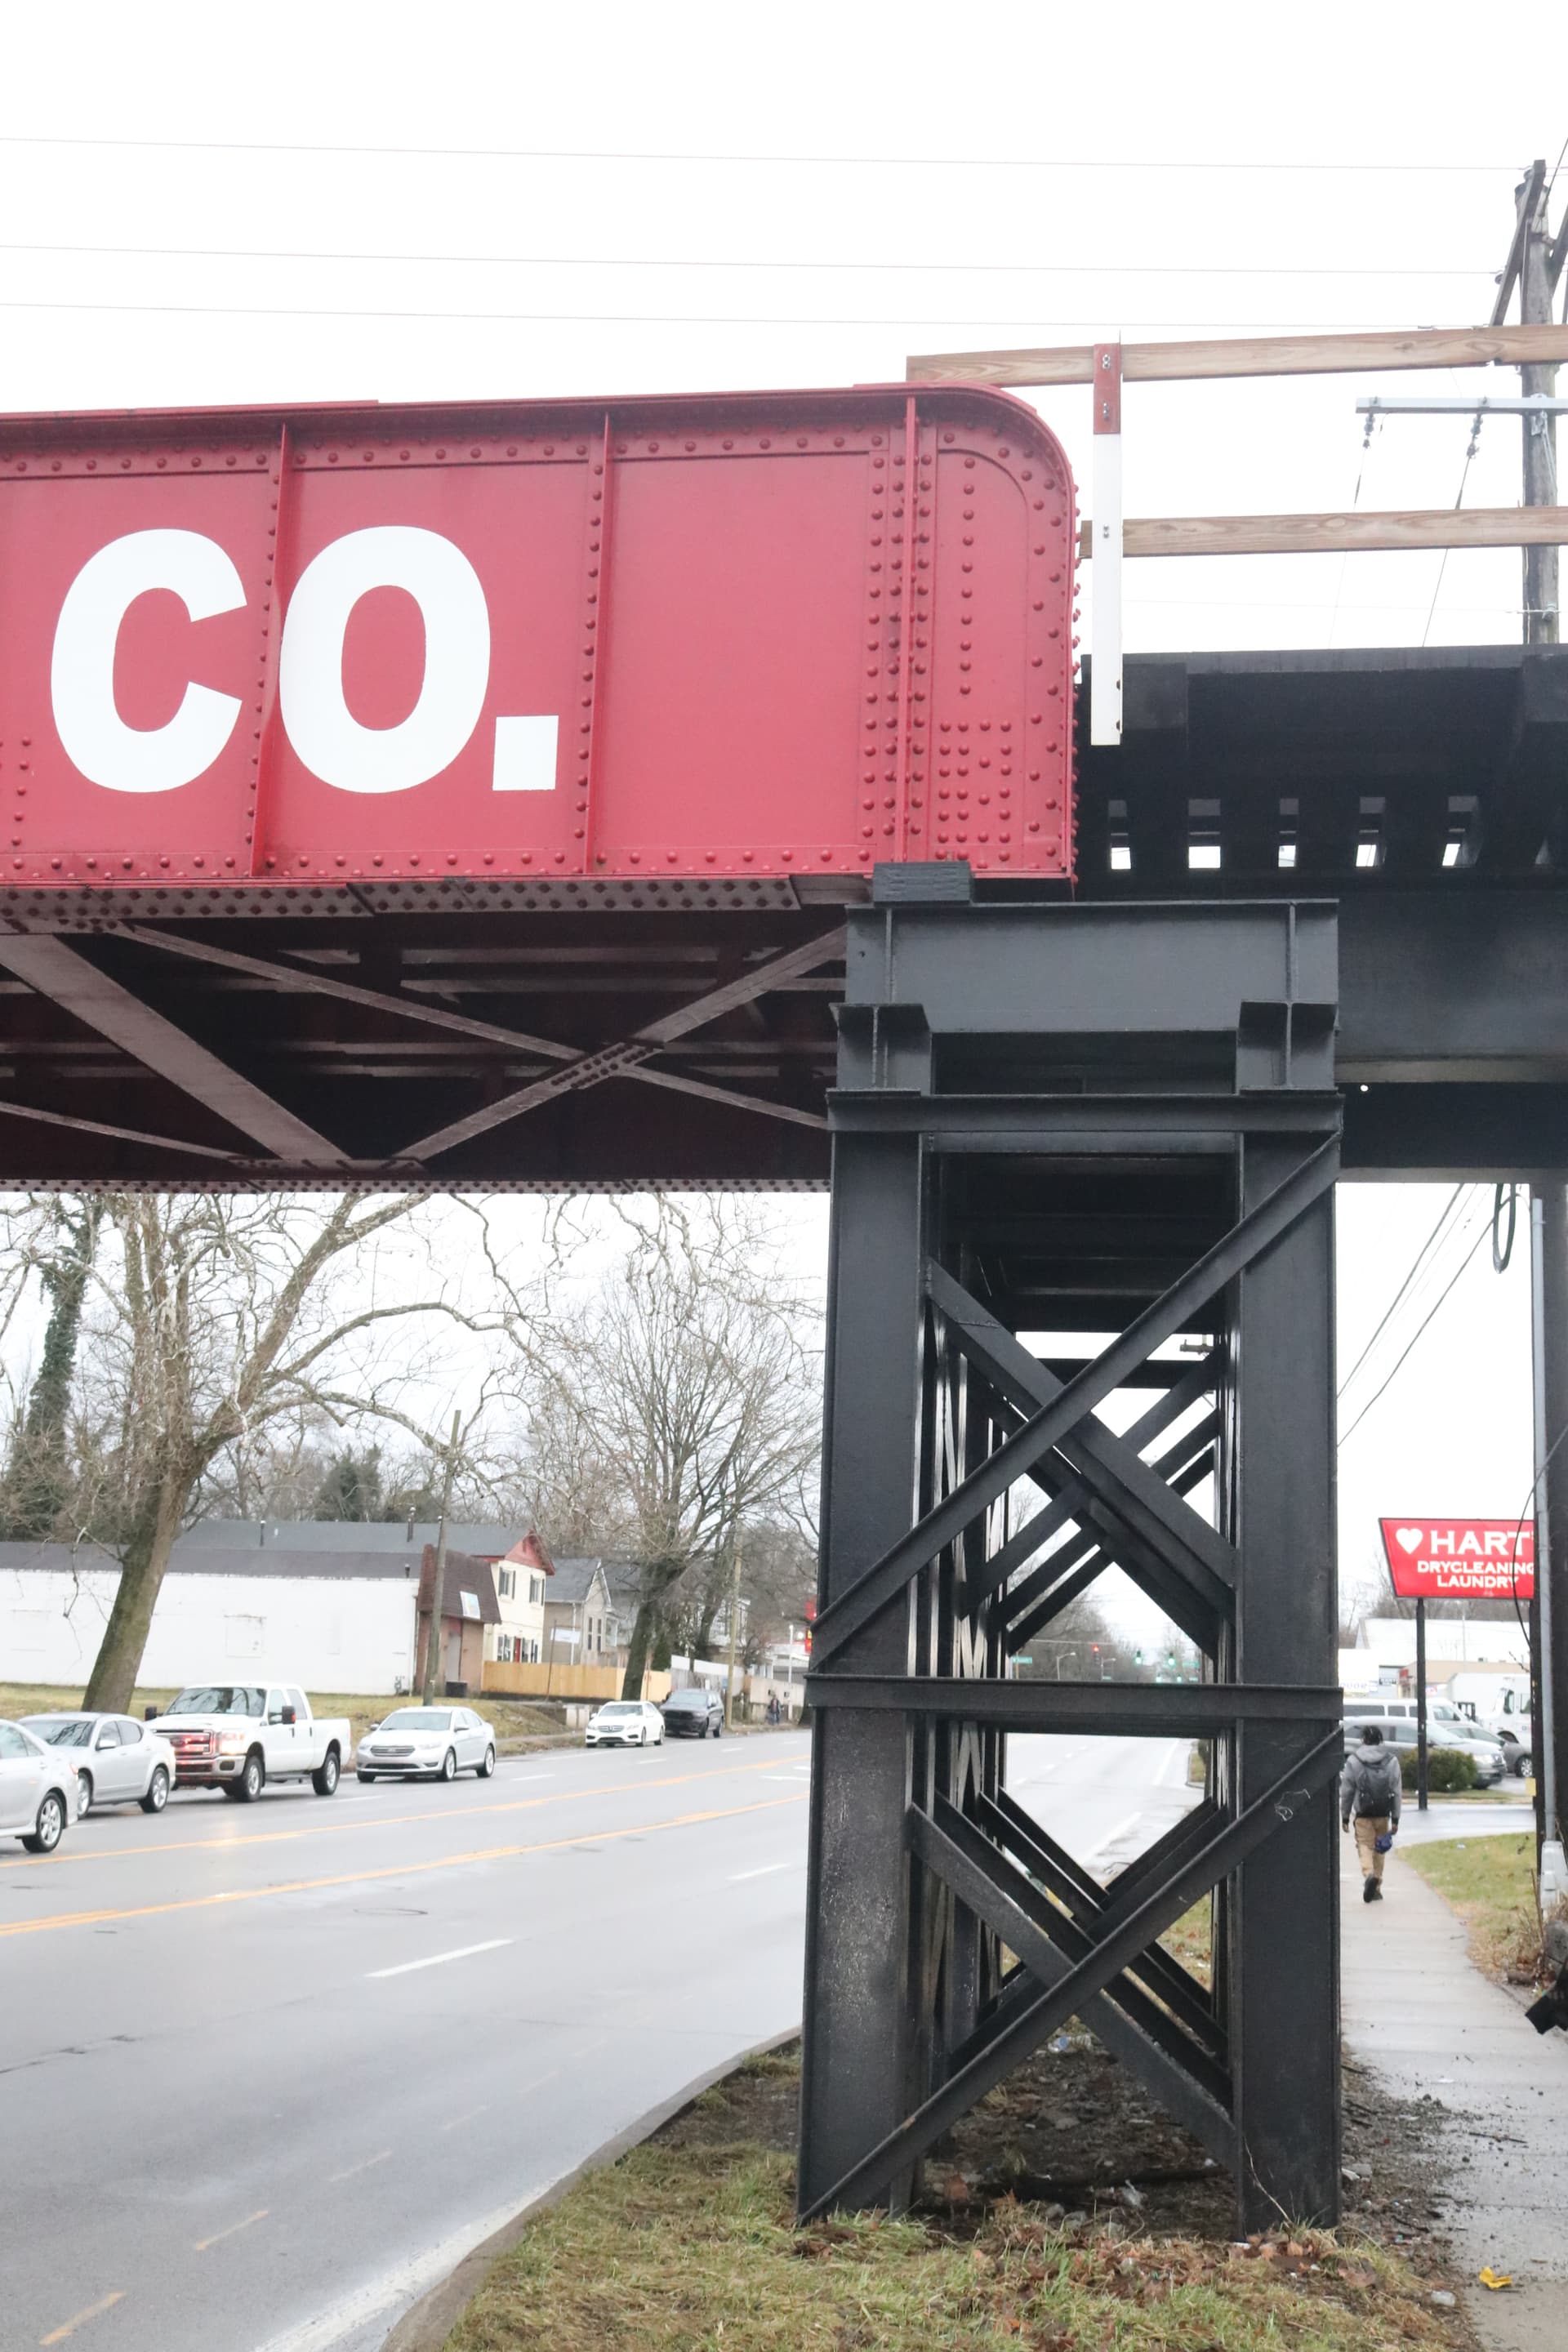
Not exactly the same thing but this is where I got my inspiration for the massive center pier construction:
All Photos ~ Mike Koenig 2022
One of several similar bridges on the North side of Lexington, KY.
Zooming the upper picture (the ‘No. 307), the ramp goes down to what looks like a floating dock for small craft like the 12’-15’ rowboat pulled up next to it.
Current Status on the Bridge Work:
Working now of the two end bridge abutments.
Those walkways are intended as being wood so a little buff color paint as a basecoat and then lots of Sepia and Black Washes applied over the base and they now look like this.
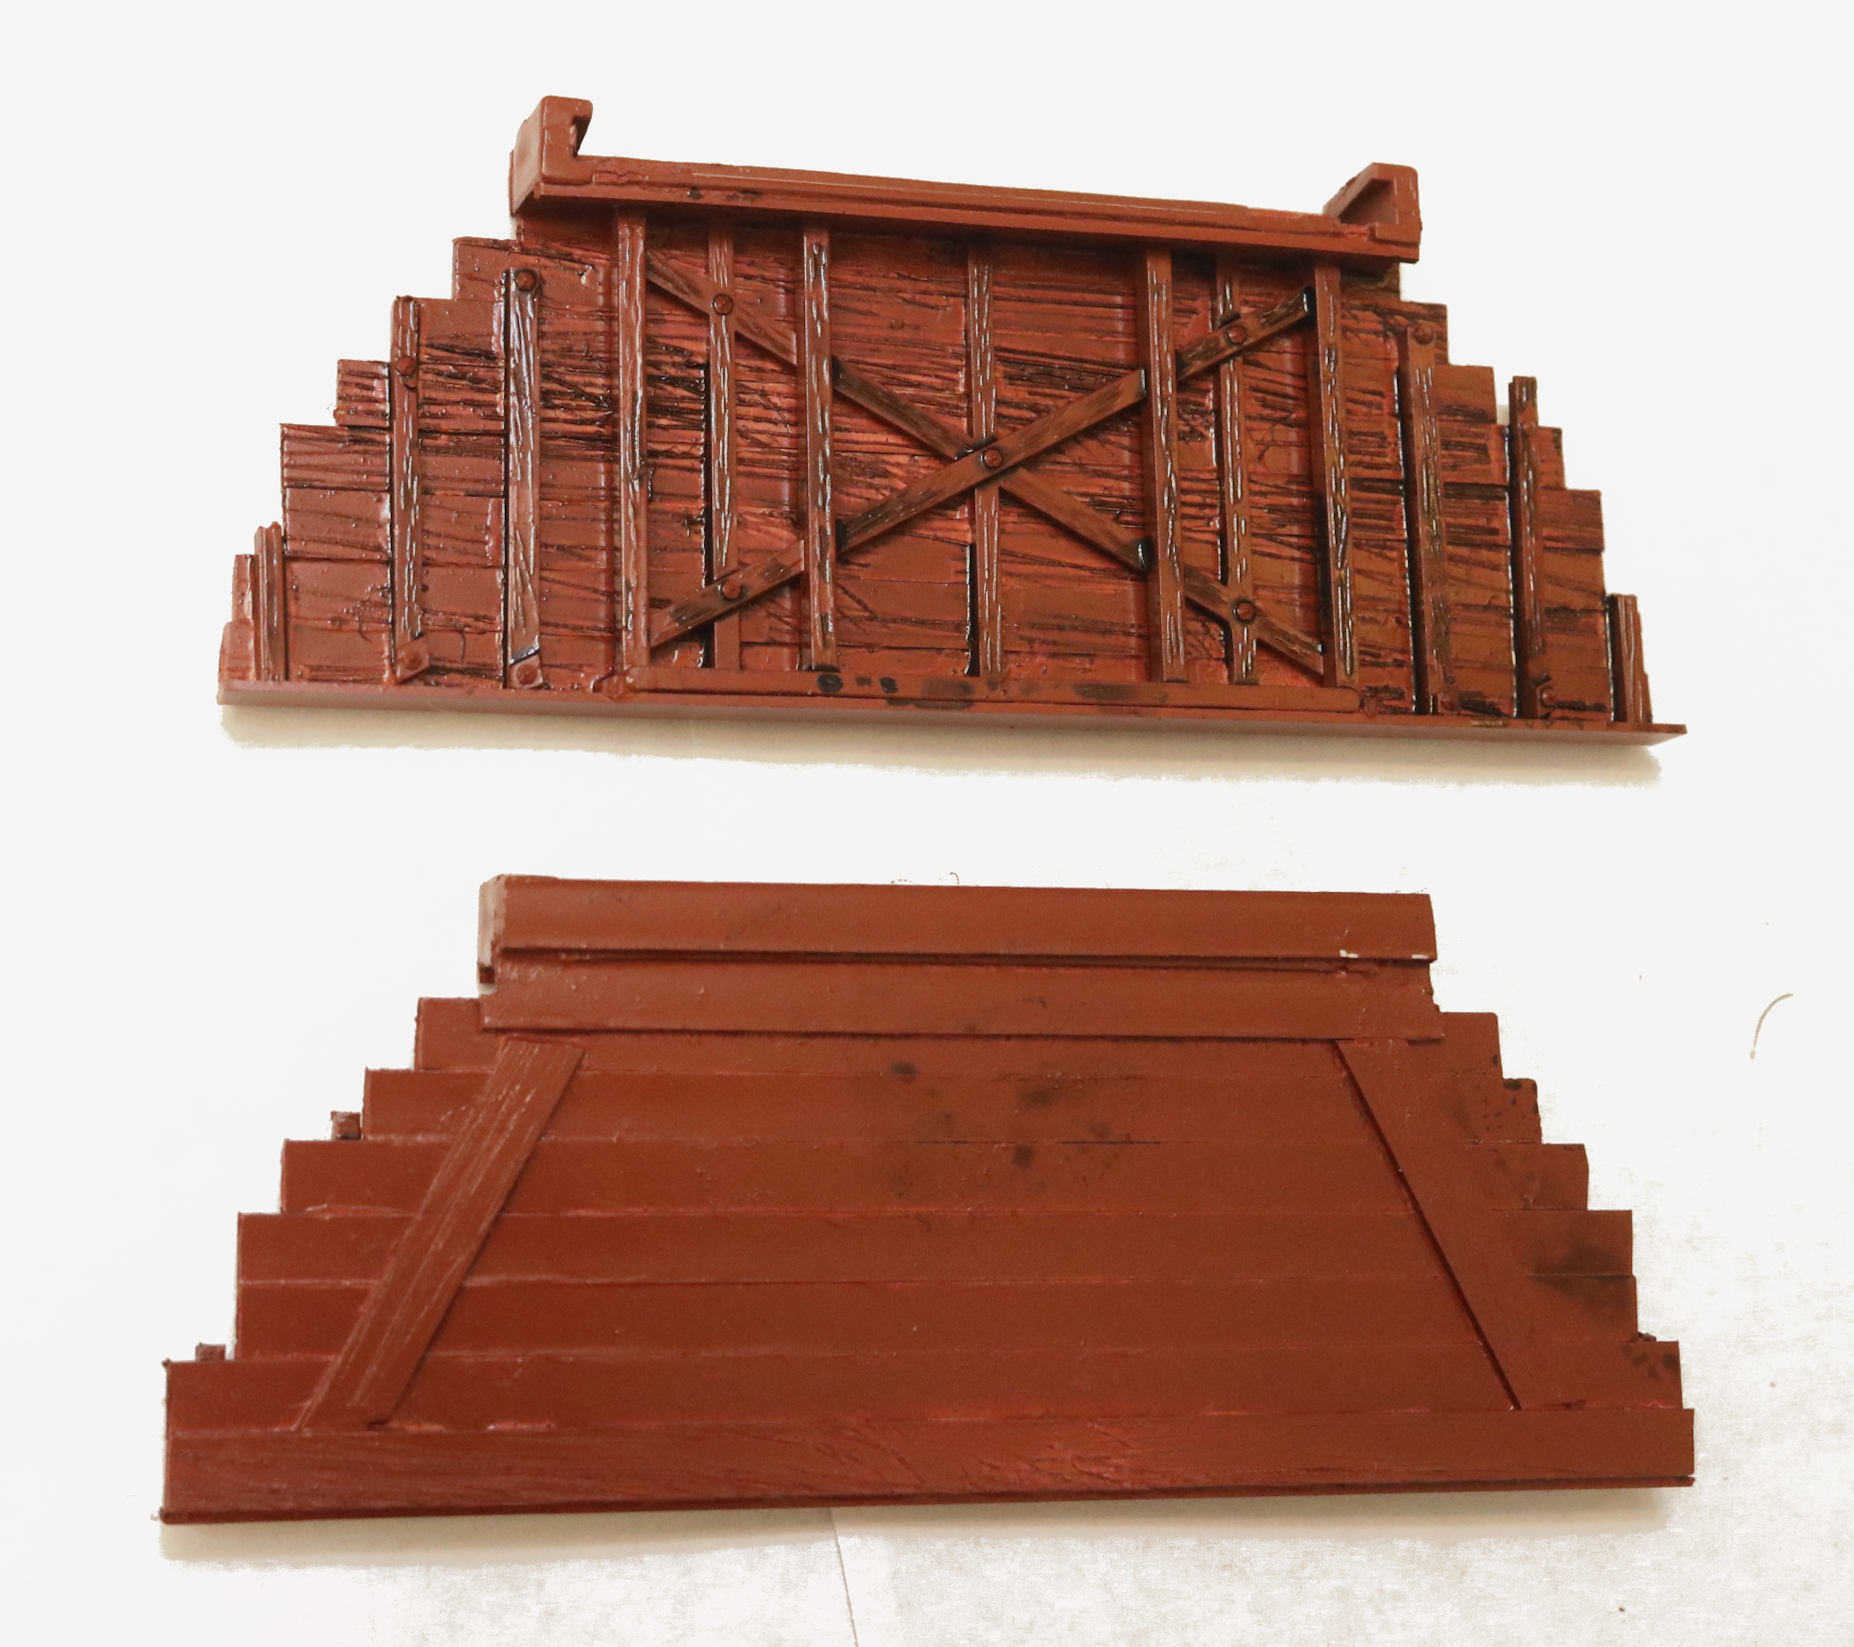
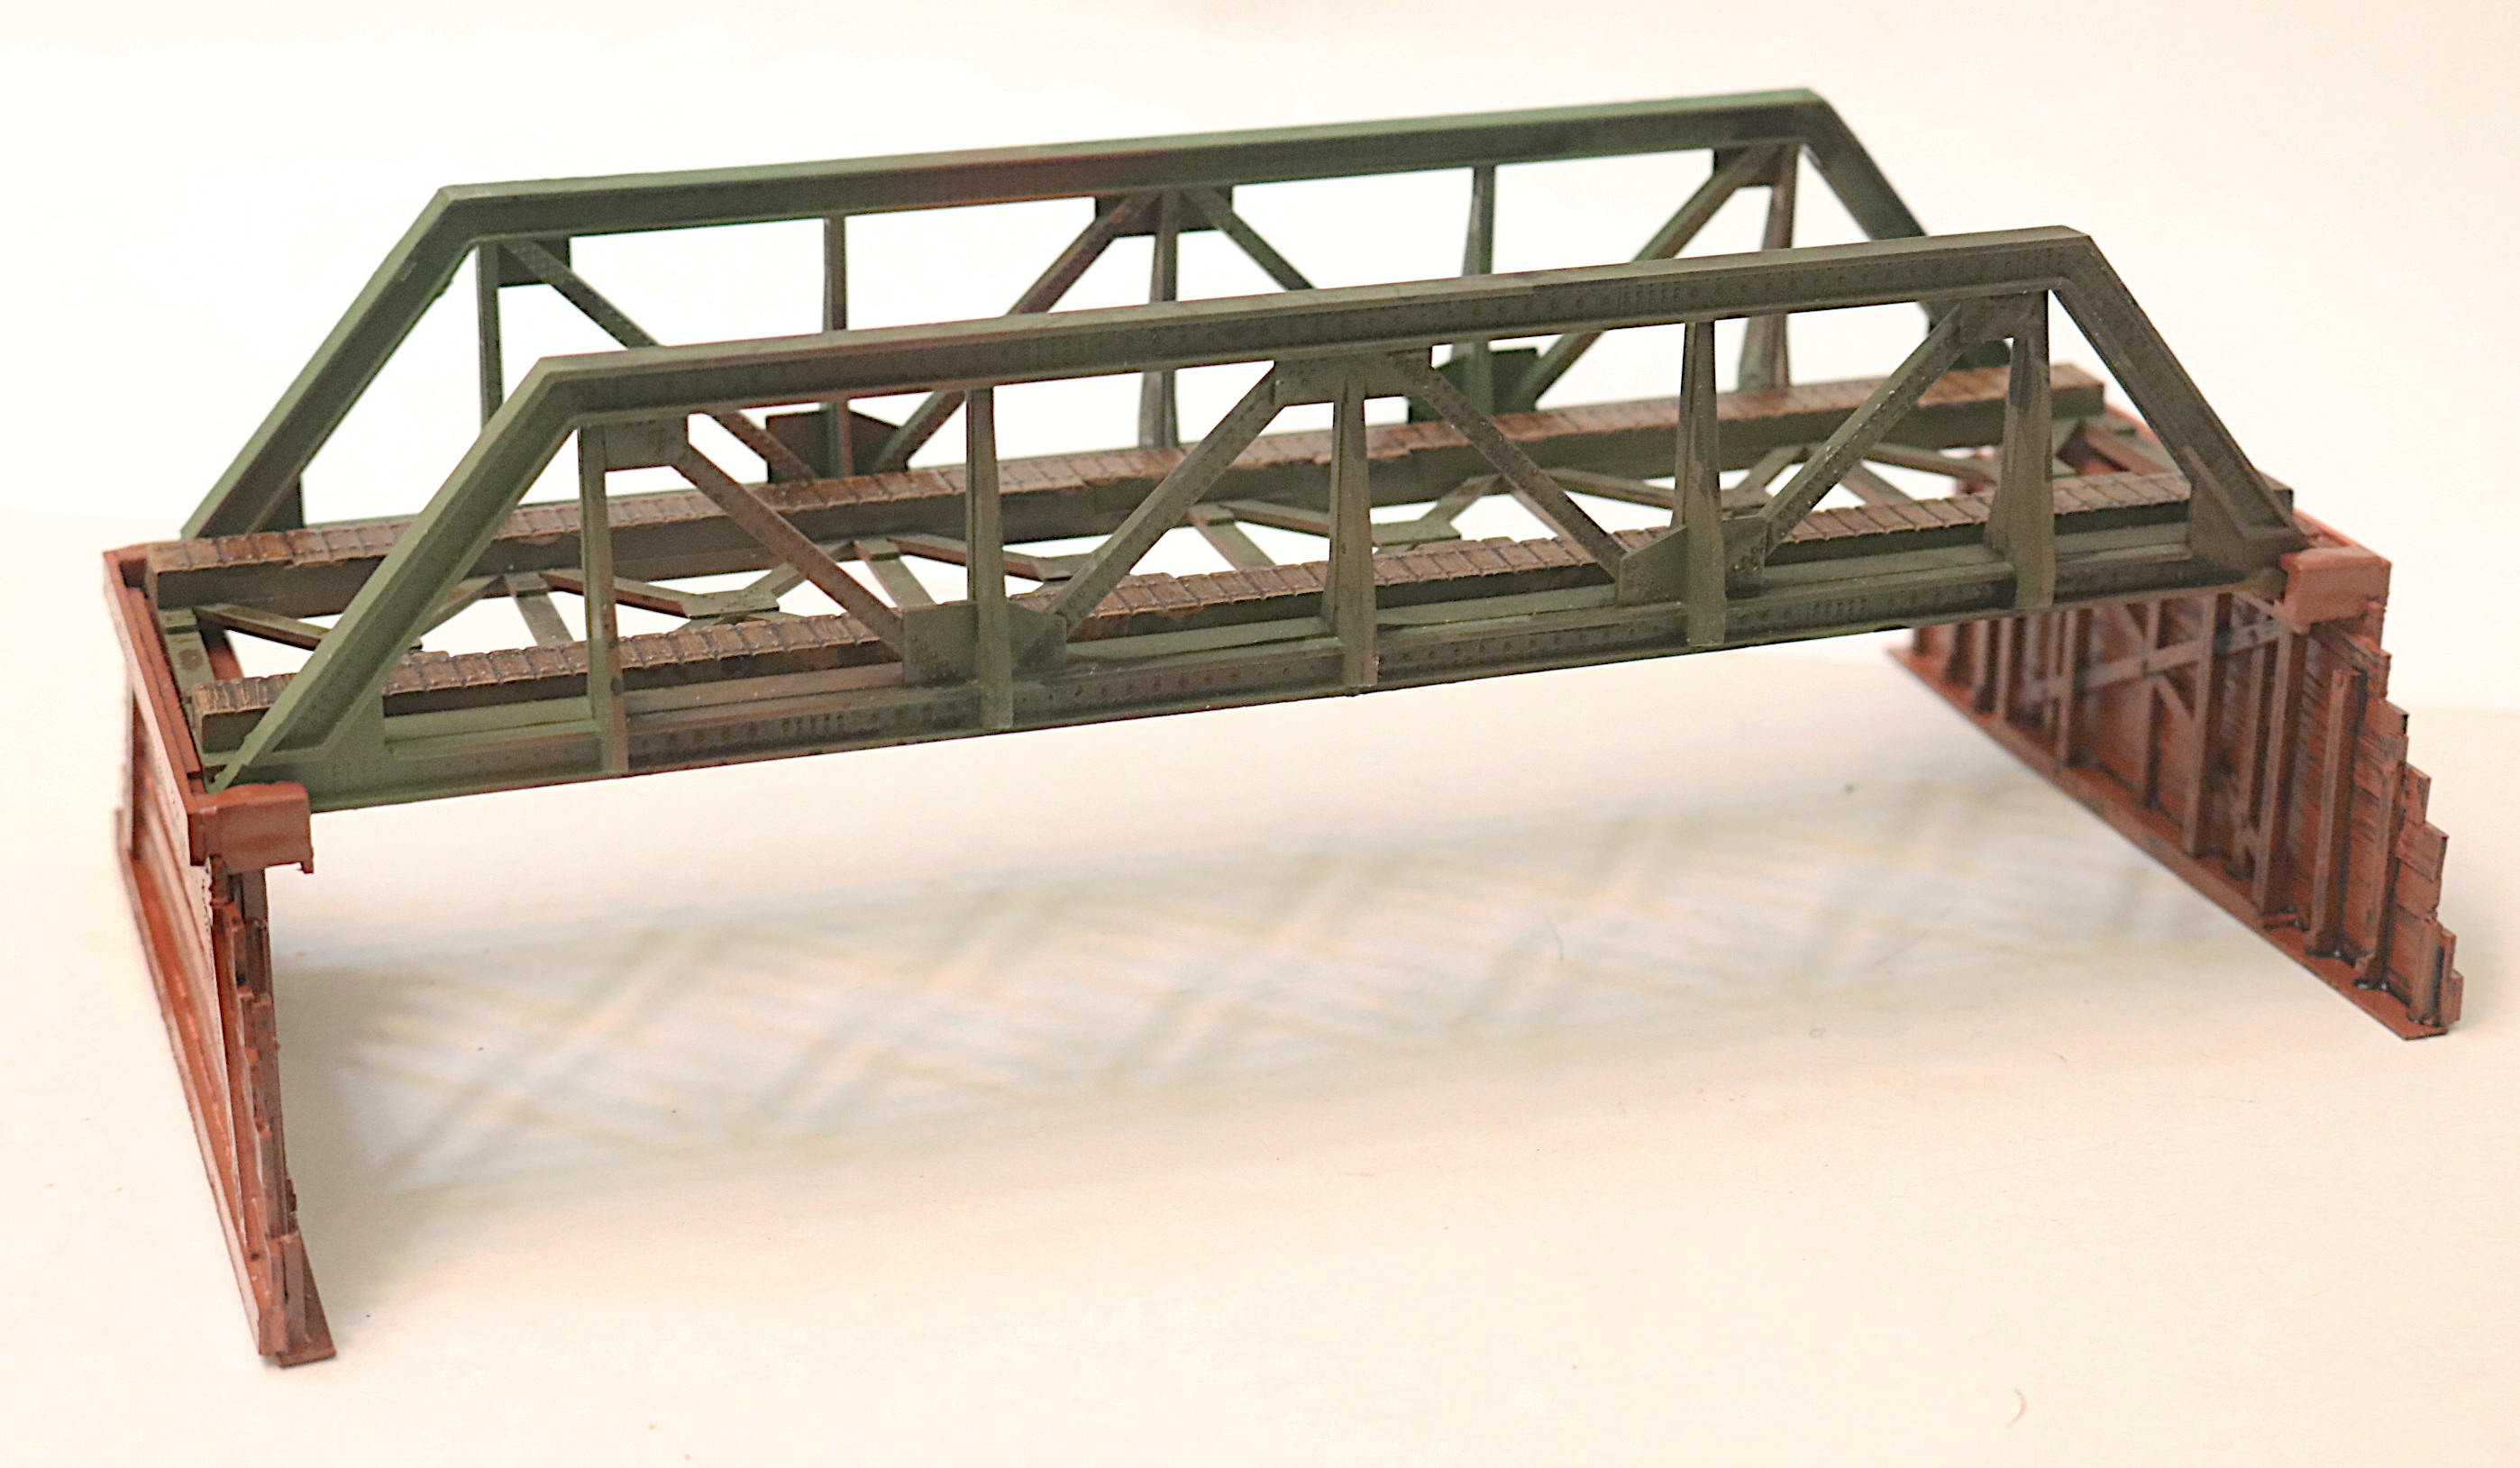
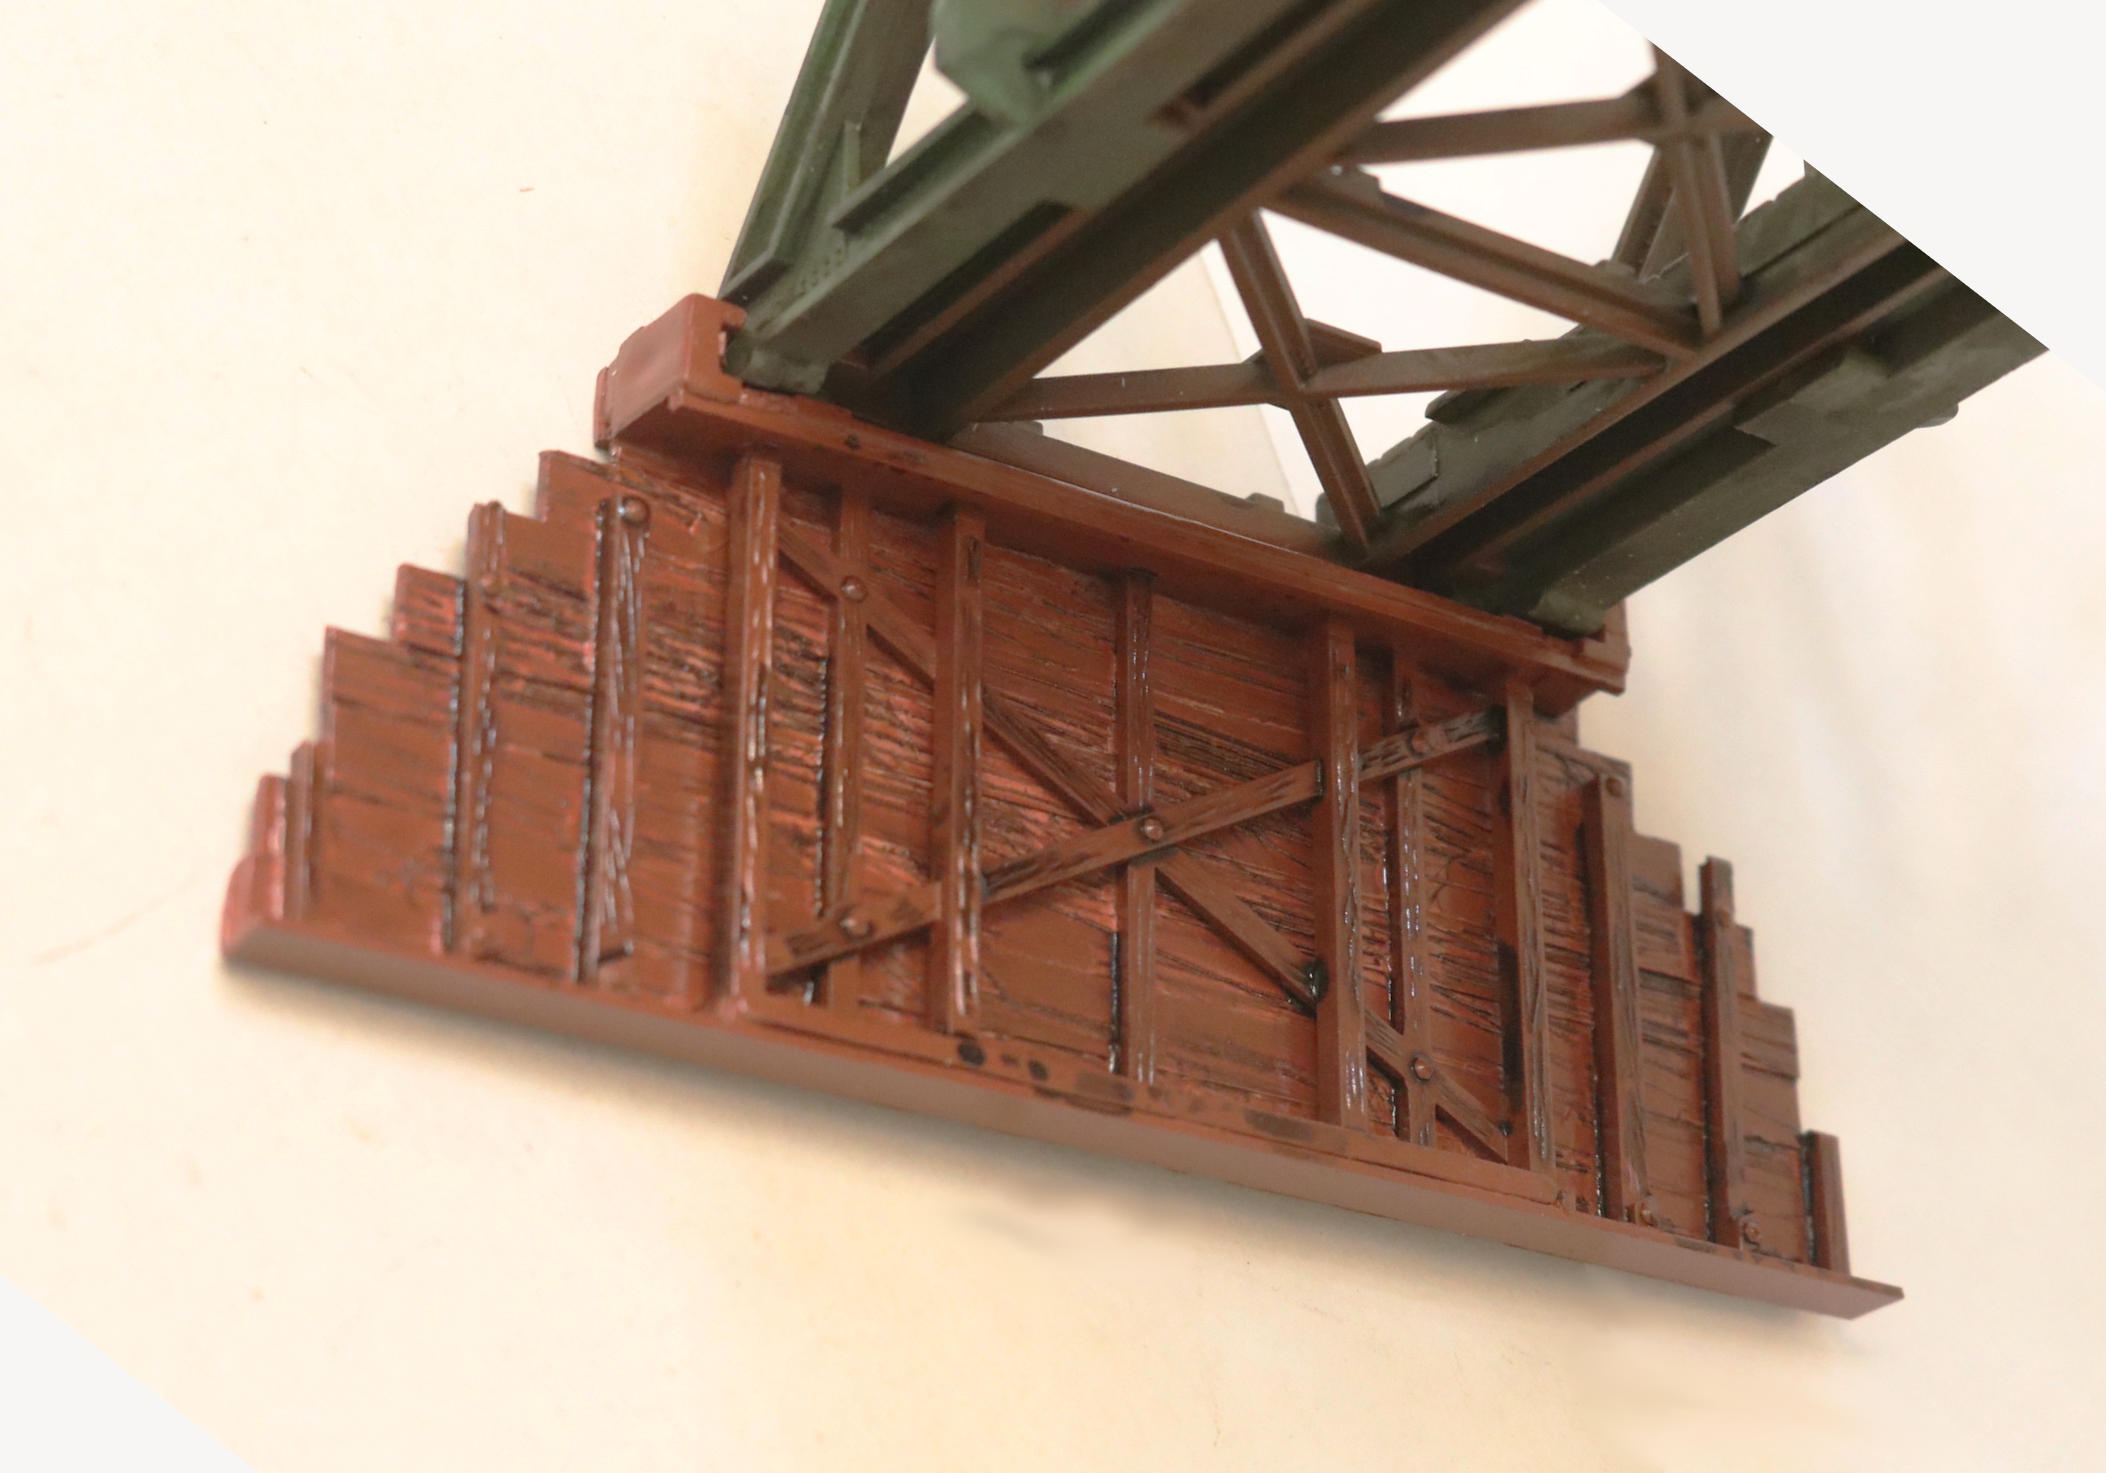
End Bridge Abutments:
Where the Wood 'n Steel meets the Dirt!
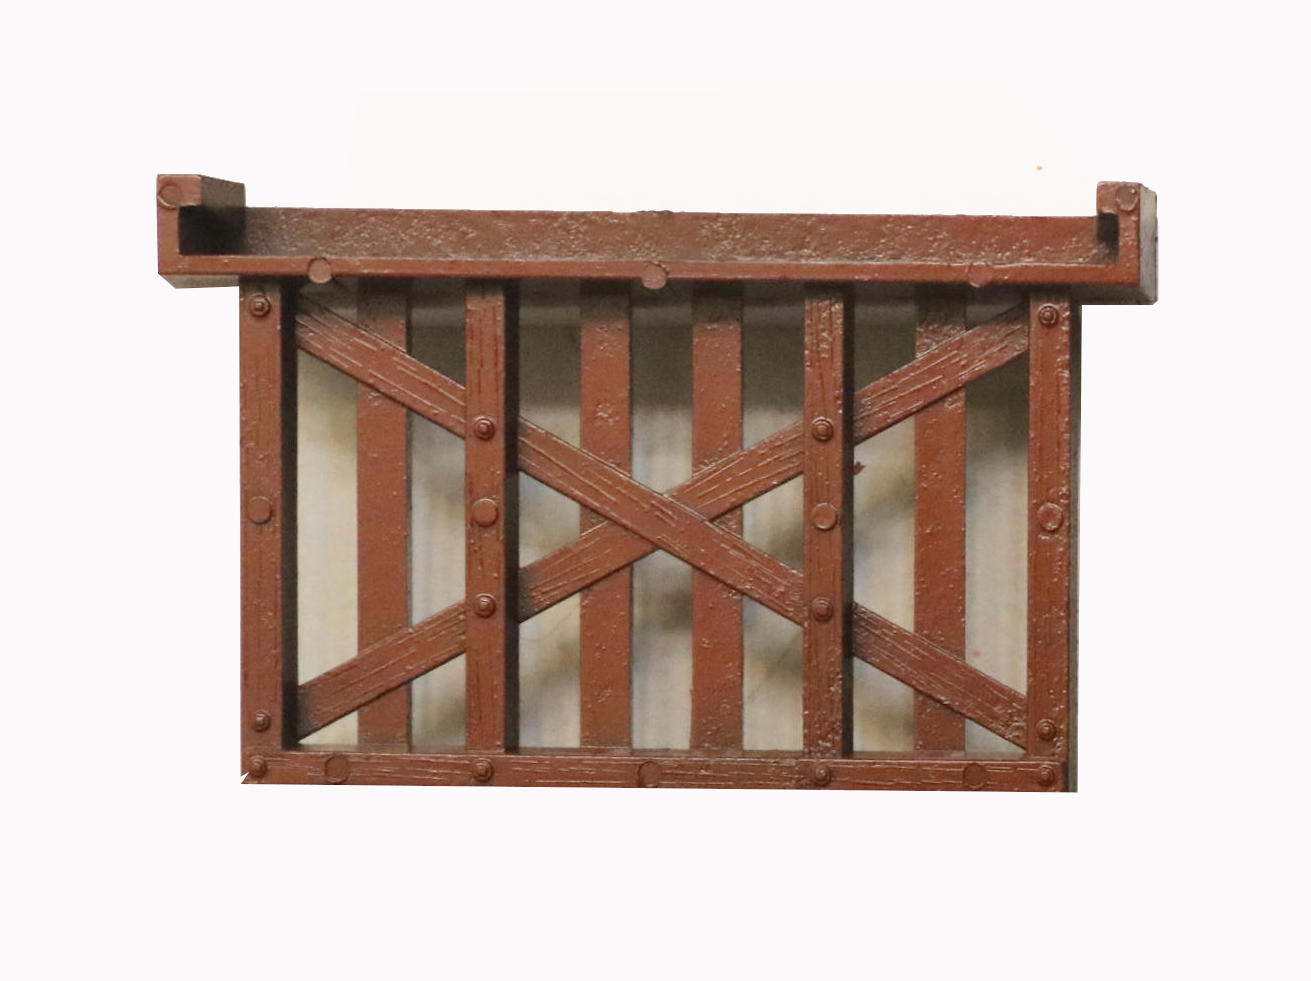
Here is how my two end abutments turned out. Again this started with a “wood” plastic pier that I then cut the bottom half off of to shorten it. The retaining wall portion of the abutment was Evergreen strips given a wood grain by dragging a hobby saw over the tength of the strip several times to create the “grain”.
Unfortunately I was having so much fun with the build last night that I forgot to take any progress photos while unpainted to better show the construction.
The local hobbyshop has one more bridge like this in their junk box. I think I am going to build a second, smaller bridge like this single span version seen above to also display/sell there.
Either that or it must have been a rainy day on the layout!
Another example (sort of) of this type of wooden end abutment:
Photo from Blair Hobby Products
Mike, those pile bents and abutments are clever. Look prototypical. Love how you combined the two to make a sturdy piling.
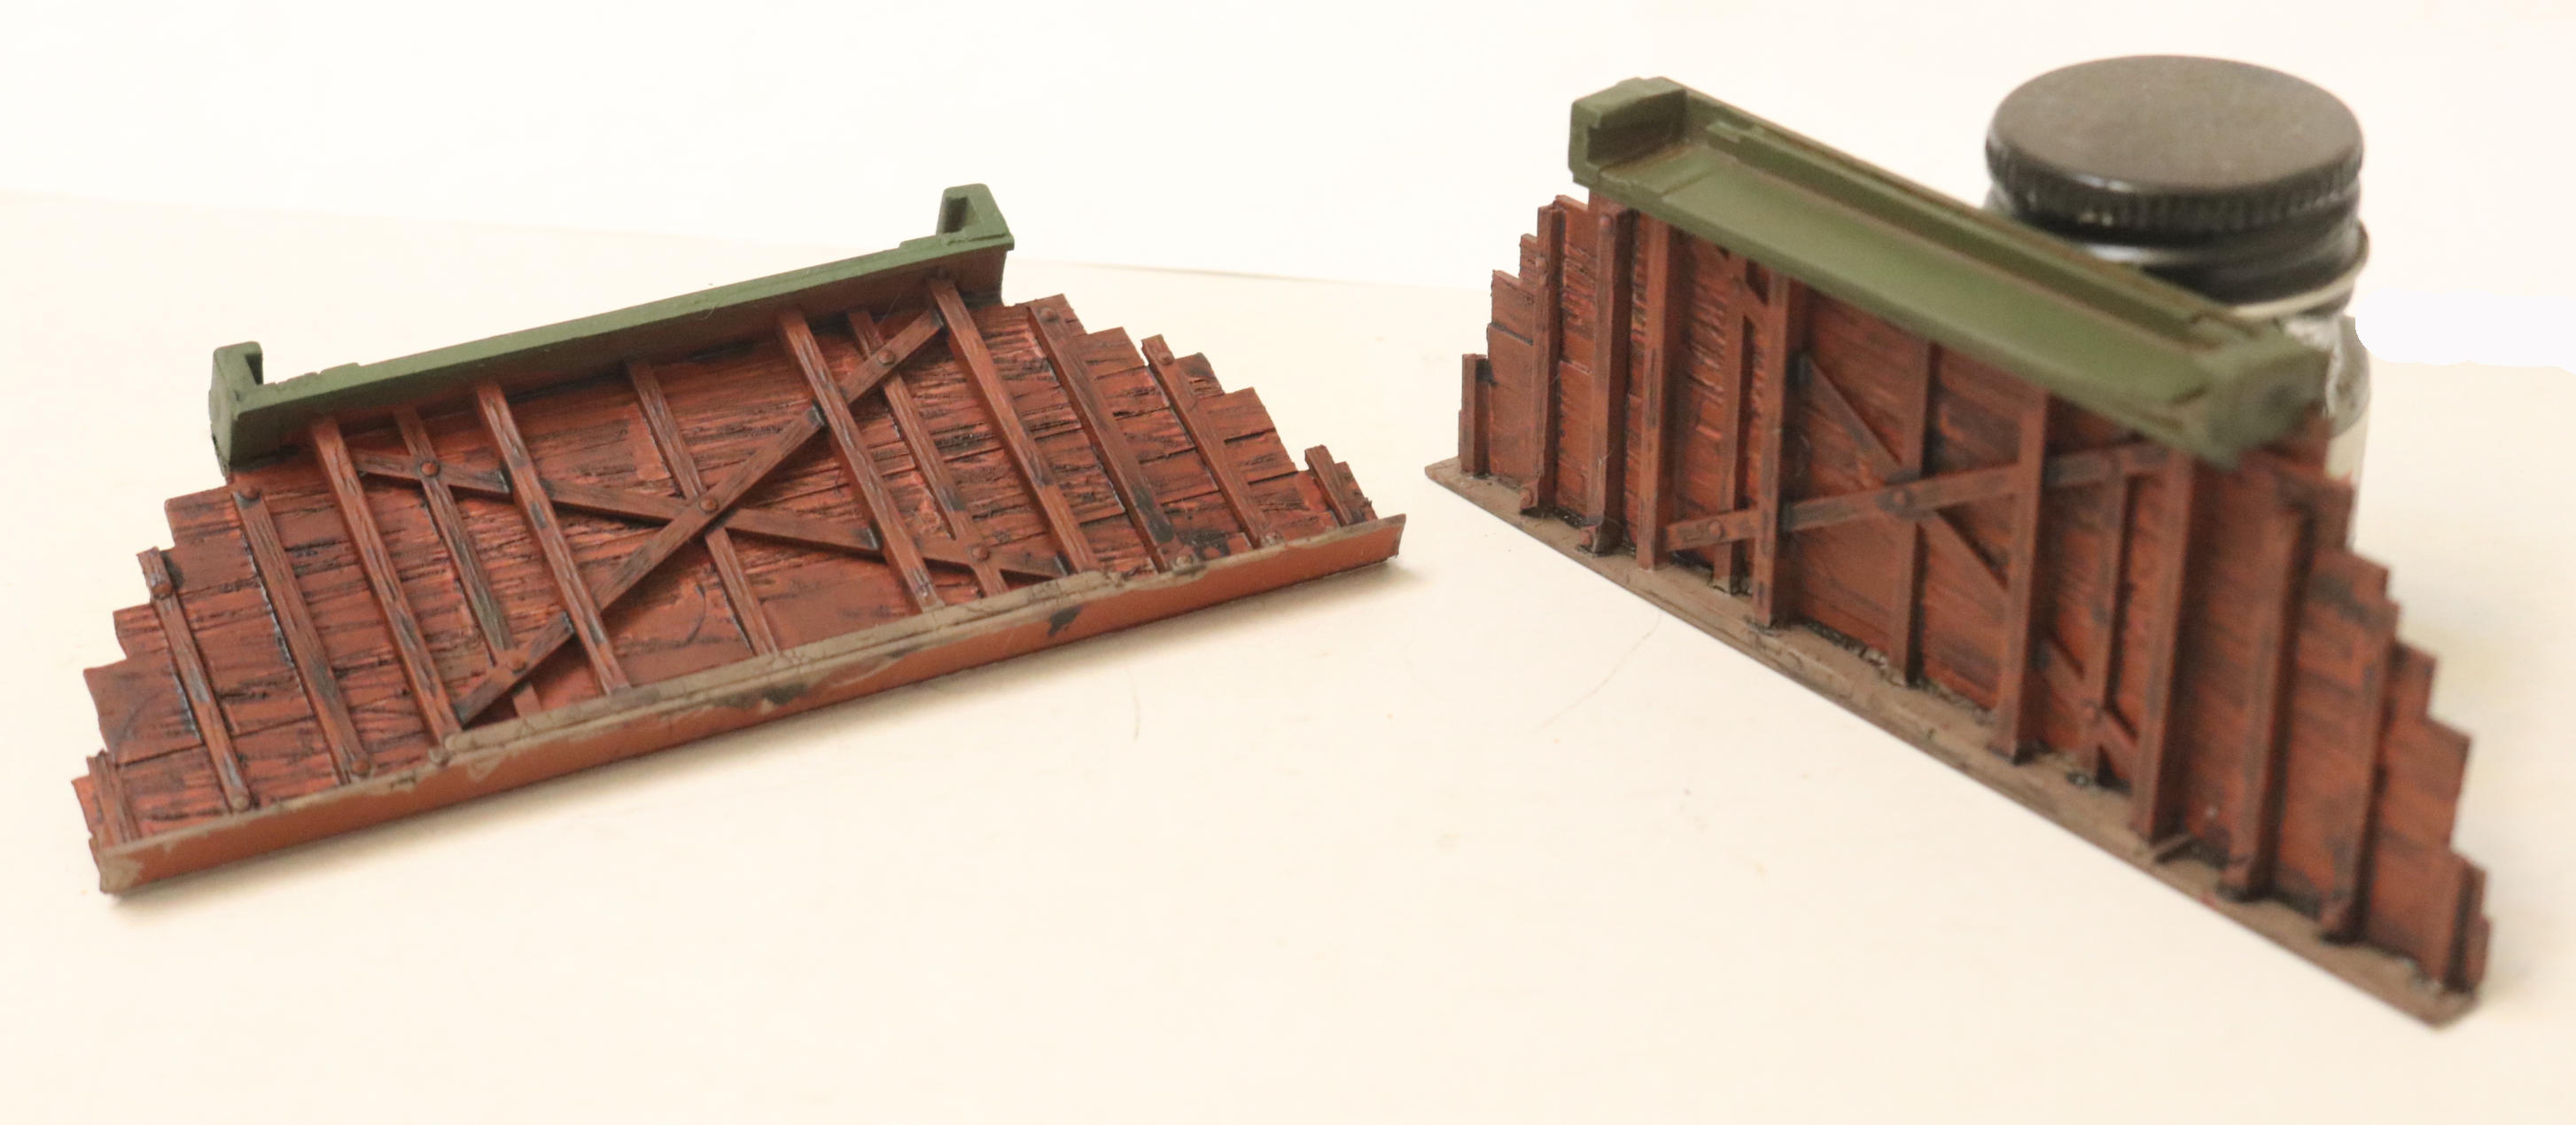
Final color treatment on those end wall, bridge abutments:
I feel if you break a larger assembly into parts (using color variations) you make the scale structure look even smaller and more detailed than is might appear otherwise.
I will probably also add just a touch of greenery and some weeds to that tiny bit of groundwork at the bottom of the wall to provide some further color contrast.
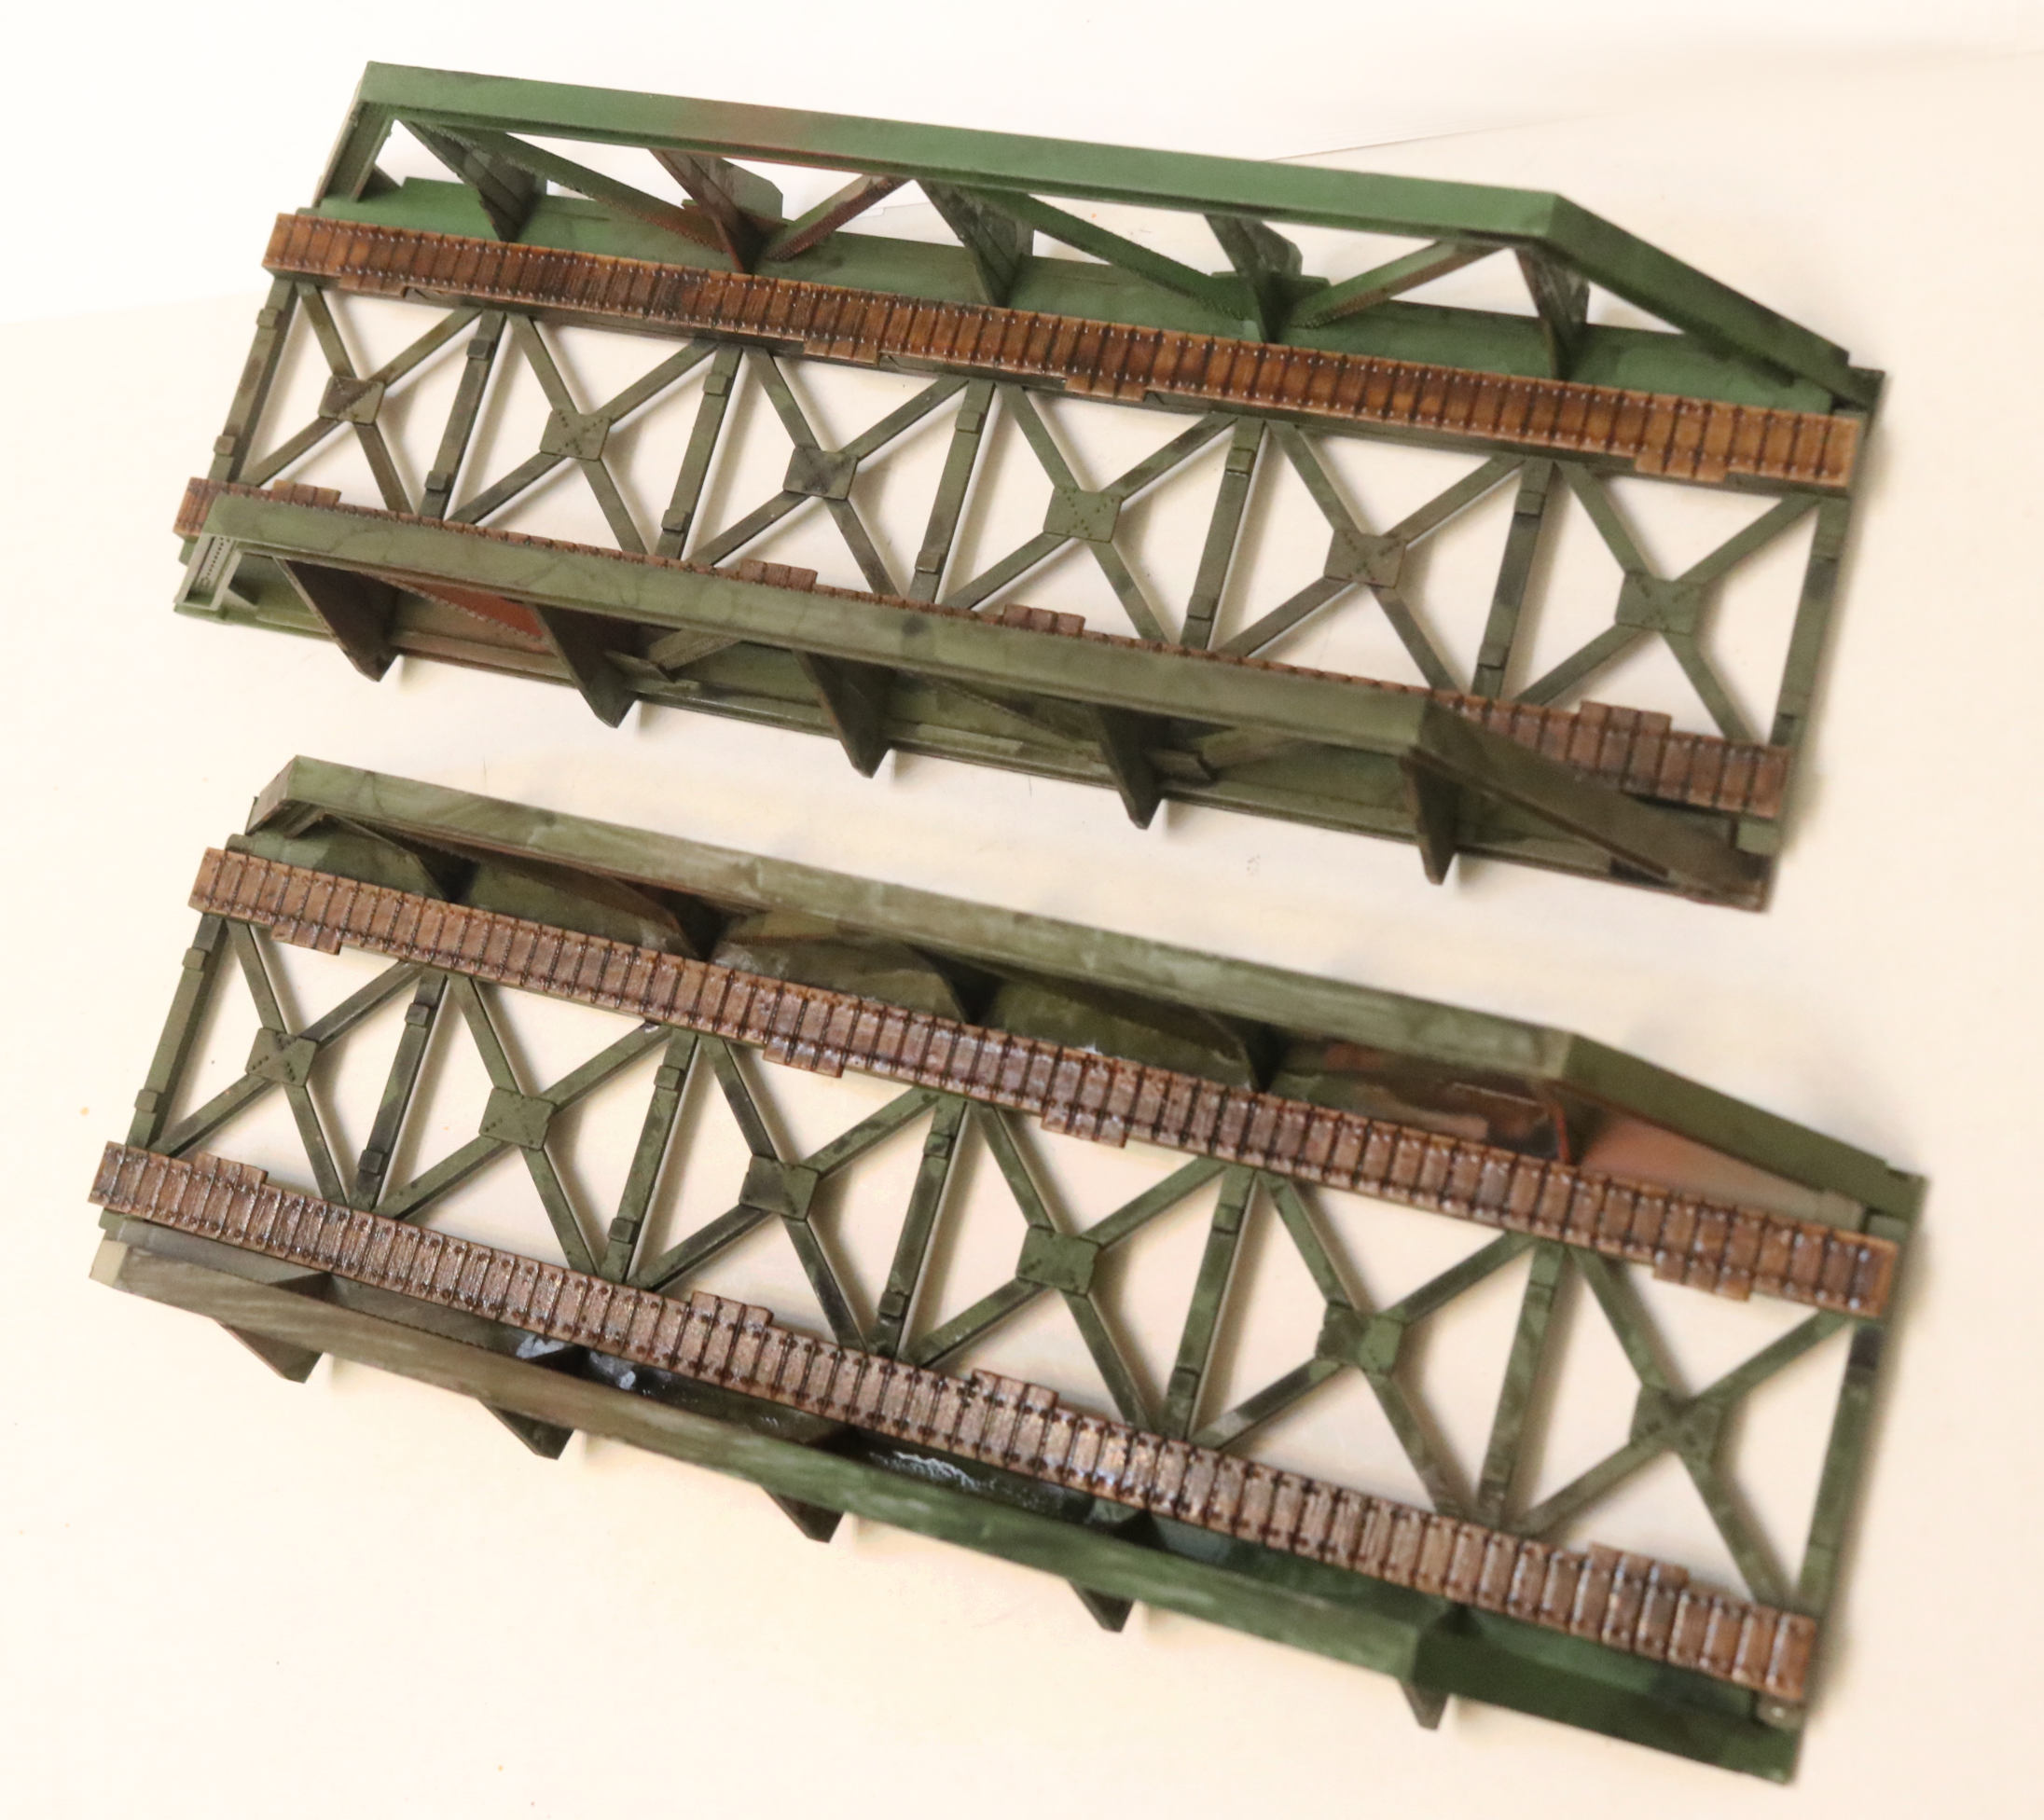
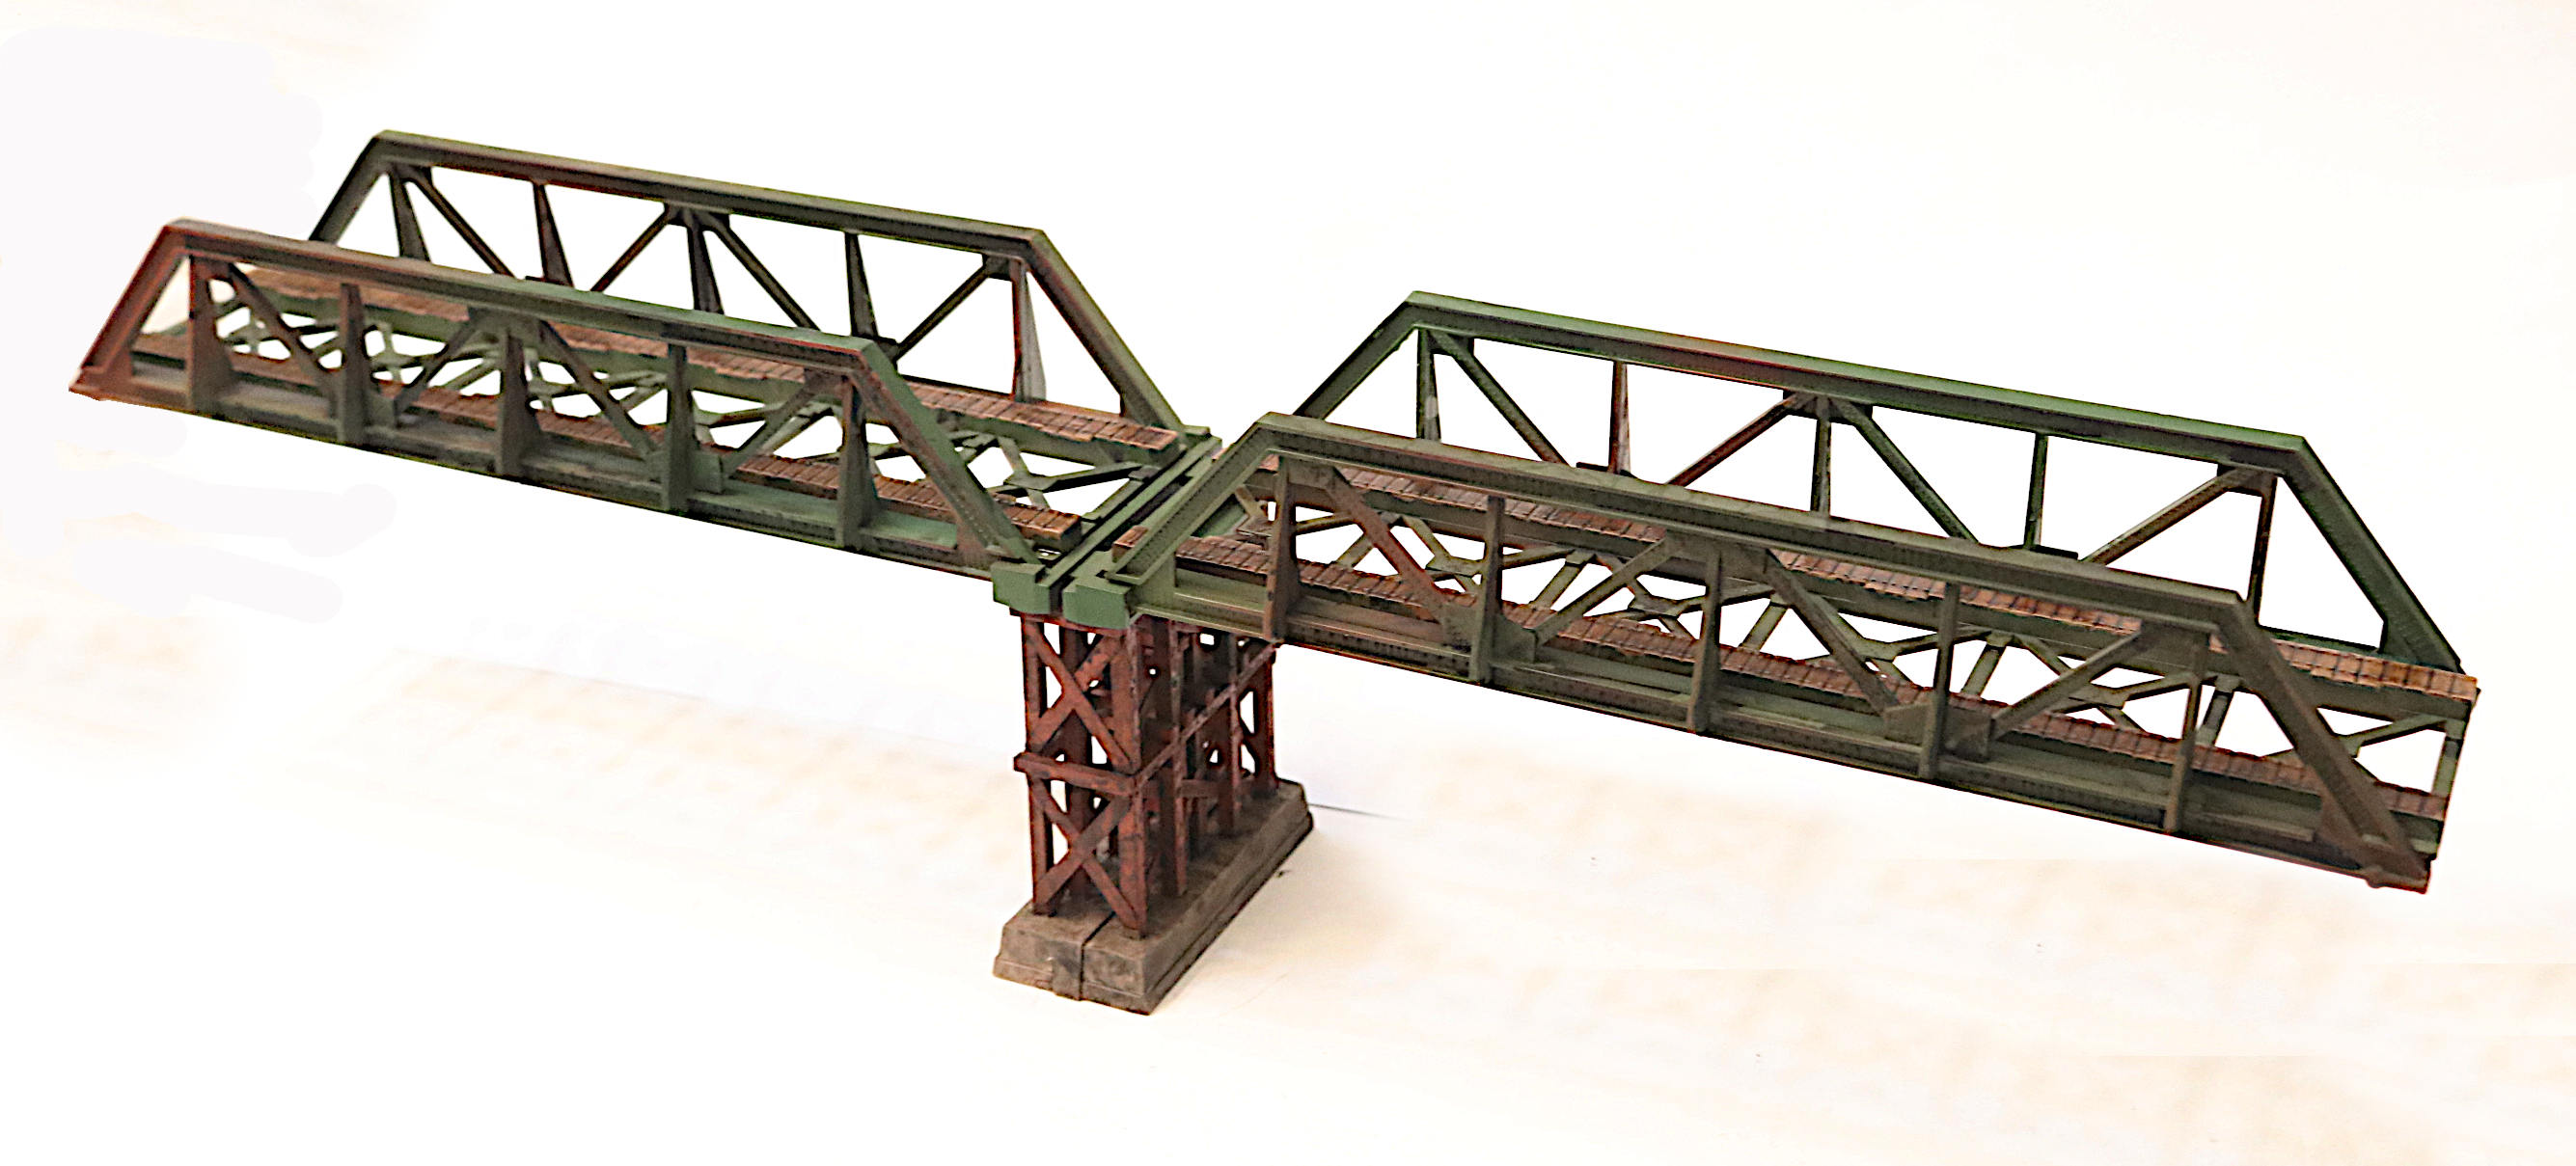
Final Twin Span Bridge Structure
With end abutments and earth retaining walls added:
Please all: Please consider donating to a Ukrainian relief fund.
Here is an easy way that strikes close to the hearts of all modelers.