Small fry AFV's, light panzers, halftracks, trucks & armored cars etc

The distressed paint effects on both of your vehicles are really fun. They have a lot of character because you combine many colors in very interesting ways.

Did you use hair spray on the Panzer 38(t) Ausf. G? Some of the paint effects look more involved than dab and smear.

I think you just convinced me to beat the stuffing out of my Sturmpanzer IV.

It just occurred to me that your Panzer 38(t) Ausf. G differs from the Ausf. B because it has tool boxes instead of tools.

2 Likes

Doug, thank you.

The 38t got the standard black based/shadow enamel Floquil/Gunzy painting for the base paint job. Then two coats of AK “Worn Effects” chipping fluid, the less aggressive one. The two chipping fluid layers were at 90 degrees to each other for cross hatch coverage. Tamiya white with a touch of buff to make an off white was thinned 50/50 with Tamiya X20A thinner and lightly sprayed. Bigger open areas getting 2 or 3 coats.

Then it was chipped shortly after by scrubbing with various old paint brushes. I wasn’t happy with the results.

I got annoyed with the model, so it was hit with Mr Color Leveling Thinner. That nearly stripped the paint in places as it cut thru the paint like a hot knife :hocho: in butter :butter: :flushed: It did exactly what I wanted on the front…

…but royally screwed up the engine deck.

Had to let it sit and completely cure for several days to fix the mess. That’s why the RFM Stug III G got so much of my attention the last several days…lol.

Today, the edge work was done with VMS Nick & Chip paint. It’s easy to apply with a liner brush. It’s very easy to remove with a water dampened brush to tidy up.

Your supposed to varnish clear coat first to make it easy to remove. I don’t because it leaves a nice chip effect where removed and its still easy enough to remove in my experience.

Next Tamiya white was very lightly dry brushed into the nasty looking areas like the rear engine deck etc.

Followed by the oil dot method using Winsor Newton Titanium White. Little dots of oil paint are applied to open areas and a thinner (mineral spirts) dampened brush used to create the streaks. I used AK’s streaking brush which works amazingly well with its notched tip.

Model after the edge work with VMS smart paint, Tamiya White dry brushing & oil dots plus AK streaking brush. Done in the order mentioned.

HTH

10 Likes

Thank you for the very detailed explanation! I am about to give some of that a try on my Sturmpanzer IV.

2 Likes

Doug, my pleasure.

BTW - I tried a premixed wash for the first time ever, the previously mentioned Tamiya Panel Liner. Shake the bottle well and occasionally shake during the session. It’s easy to use and gives a good result.

The wheels were hit with the panel line wash around the outer bolts and center bolts last night. Followed with a light dry brushing of Winsor Newton Titanium White.

Most folks like to apply gloss coat etc before washes etc. I applied directly onto the paint as I like that look on AFV models. The wash behaved very well on the flat surface.

I think Tamiya’s panel line washes are an excellent starting point as they are much easier to work with than oil paints & thinner initially. A mix of the brown and black would probably make axnice accent color suitable for a wide variety of models.

7 Likes

That produced a really good result!

My attempts to accent panel lines continue to fail. Badly. Vallejo paints produce a really toothy surface. I am of the opinion that any panel wash, regardless of pigment load and viscosity, will bleed out on such a surface.

A few months back, I experimented with Vallejo Gloss Varnish as a surface treatment. Those experiments were not really successful.

2 Likes

That’s a really excellent effect Wade! I have a bottle each of the Tamiya Panel Liner black and brown but haven’t tried them yet. I’ll have to break them out on my current build (Pzr. IV70A) when it’s time!
@Damraska I sold off my entire Vallejo paint stock (and I had most of them) 2 years ago. Just too many bad performance issues.

2 Likes

Thank you, Matt.

I was very pleasantly surprised by the Tamiya Panel Liner wash too. Please let me know what you think of them. I wish,Tahas an Orange tint version. Mr Hobby has Orange but I’ve heard the Mr Hobby versions are very slow drying.

Doug, you’re very brave! Much Respect! I find Vallejo a difficult paint to use. Any tips would be much appreciated.

I mix Vallejo 50/50 with “medium” plus a drop or two of water to get Vallejo to work like paint. Otherwise, it just a glob of grease that comes out of the bottle after mixing. Most of Vallejo is from ~2010 but it was just as hard to use when fresh & new.

I can’t imagine trying to airbrush Vallejo. Maybe I could with the #5 Fire Hose needle in the Paasche H.


Today, I’m playing with a pigment…lol

Knocked the bottle over and made a massive mess. At least 3x the mess of spilled paint. Scrapped up most of it with an index card and put it back in the bottle.

No pictures, Wadimir isn’t letting them through “for security” reasons aka saving some face.


Giving the 251/23 priority after digging the Sector35 tracks out of the stash for it. It needs a little more drying time on the oil paints but that should work out about right to get the tracks ready.

5 Likes

Decided to apply VMS Track Black 2.0 Pro with an old Testor’s paint brush instead by immersion in a small container.

1000023777

Tracks seem the correct length out of the package. Five seconds to open a package of assembled Sector 35 tracks rocks vs having to assemble!

Placed ~3cc of fluid in a plastic cup and rounded up an old frozen dinner tray I kept just for this task.

Being lazy, I didn’t wash, clean or prep the white metal tracks. I counted on the brush application to take care of contamination.

The VMS product rocks! It’s fast and worked like a charm. It’s actually better than the old model railroad Blacken-It from back in the day that’s long gone.

Rinsed in cold water. Hopefully dry and ready to paint the rubber pads & weather tomorrow.

8 Likes

Today, I didn’t catch one of the pre-assembled tracks was a link longer…so Struggle Bunny Strunk Back…

Weathered the tracks, pads are rubber IIRC.

First track installed OK…

The other track was a link short…

…weathering up one track link!

8 Likes

Struggle Bunny :rabbit: :rabbit2: is assembled & painted. Needs flat coat & mounted on a base after everything cures for a few days. Have find a handel for the rear doors too.

11 Likes

What a huge effort against the odds! Excellent result, though!

1 Like

Matt, thank you.

Seemed like this 251/23 might end in the waste bin several times. With the broken sprocket, jacked up fender plus gap, lost width gauge/curb feelers for the front, broke star antenna and fragile roof plate this one has been an unfun build. Fitting track on the now glued solid sprocket used a weeks worth of swearing :face_with_symbols_over_mouth::laughing: :rofl: :joy:.

However, the 251/23 proved very fun to paint and I’ve enjoyed that and weathering very much.

It’s helpful to me having an occasional model like the 251/23, it makes trying new things much easier when the project becomes bin material. For example…

  1. Majority of paint work with an Amazon nail salon airbrush & mini Compressor.

  2. Painted chips & edge highlights, had never done that before

  3. Heavy oil dot streaking, first time going so harsh with it. Tried a new brush designed for that application.

  4. My first heavy use of pigments, mostly gun metal for main gun, MG & tracks.

So the 251/23 proved a good learning experience and test bed build. What I learned at its expense helped with the other models in the paint & weathering process.

I ordered these items…after rewatching Nightshift’s Winter, Ice & Snow for Panzer 38t

1000023904

1000023905

…going to try adding winter ground work on a Mig ground mat as a base for the 251/23.

That’s not something I’d risk trying with 38t but why not with this 251/23? If that goes OK, then maybe the 38t & RFM Stug III G bases will get something similar.

Any ground work or snow :snowflake: application suggestions or video links are much appreciated.

4 Likes

I picked up some Vallejo snow type stuff. Acrylic paste. I tested it on an old model just for hee haws, but i would like a tutorial myself.

2 Likes

@Petro Marc, please tell us your impressions of the Vallejo snow.

Will be happy to share my adventures and misadventures doing winter wonderland ground work.

This will be my first attempt in ~30 years so it may prove “interesting”. One prior attempt involved a heavy layer of baking soda for snow which worked ok until the flimsy base flexed, broke the snow scape and the King Tiger slid to the other side!

Going to keep it pretty simple. Polyurethane sealed base with part of a Mig ground mat with a dirt road is my plan. Basically, similar to this plus some snow effects minus the spring flowers of course :wink:

7 Likes

Decal day…

9 Likes

Decal Day! Taco Tuesday! Yee Haw!

1 Like

Dee-kals or Deck-ulls?

The amount of color variation per unit area on both those models is really impressive. Using different techniques, I could not achieve even half as much variation.

The Panzer III N looks lovely.

Is the green tank also one of yours?

3 Likes

Matt, Taco Tuesday :taco: is the day, definitely much tastier too! Will take Cholula over Micro-Sol any day, especially near lunch time!

Doug,
DEE-cows (Nawf Ker-lina version) vs Deck-gulls, I’ll take the cows vs the gulls…:wink:

Thank you, the Tamiya Pz III ausf N has been a fun project! Happy the N is finally is getting close to the finish line.

Yes, I wrapped the green Tamiya T-55A pictured above summer last year. Excellent kit to build, zero issues was a total joy at nearly every step.

Started in late 2017 but carpal tunnel derailed the build, could work maybe ~10 minutes before my hands went numb. I’d just rescued Kali Kat, I’m amazed she understood not to get on the workbench etc literally from the start. After surgery, within a few months was able to work ~45 minutes with no issues. Later, ~3+ hours, my hands were almost as good as new except for my grip. I’d hoped to do a build log but my old phone croaked before I joined Armorama. Finally, painted in 2019 and weathered and finished in 2023, I took the long road.

There’s several newer kits with better details that don’t need as much aftermarket or scratch.

7 Likes

Your models are all excellent but I really like the color palette on that T-55A, combined with the realistic and restrained painting style. You are very good at painting within the lines, so to speak. The base is also very nice. Scale plant diorama products have improved significantly over the last 15 years.

Glad you hands healed up to a useful state. My back works in a similar way. Absolute limit of 3 hours at the airbrush before fatigue failure.

4 Likes

Doug, thank you. There’s a sort of interesting story to the T-55A’s paint work.

All of the following models are painted with the same way:

Same techniques
Paasche H airbrush,
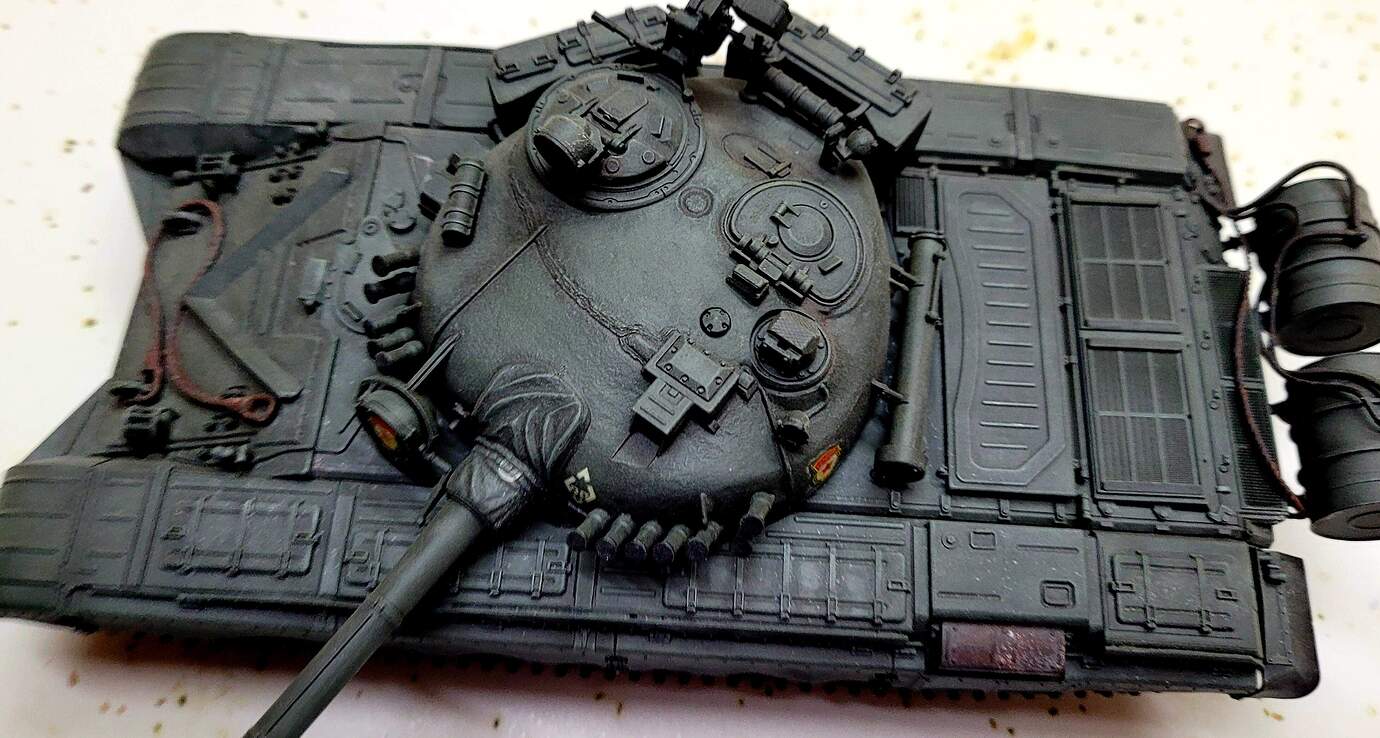
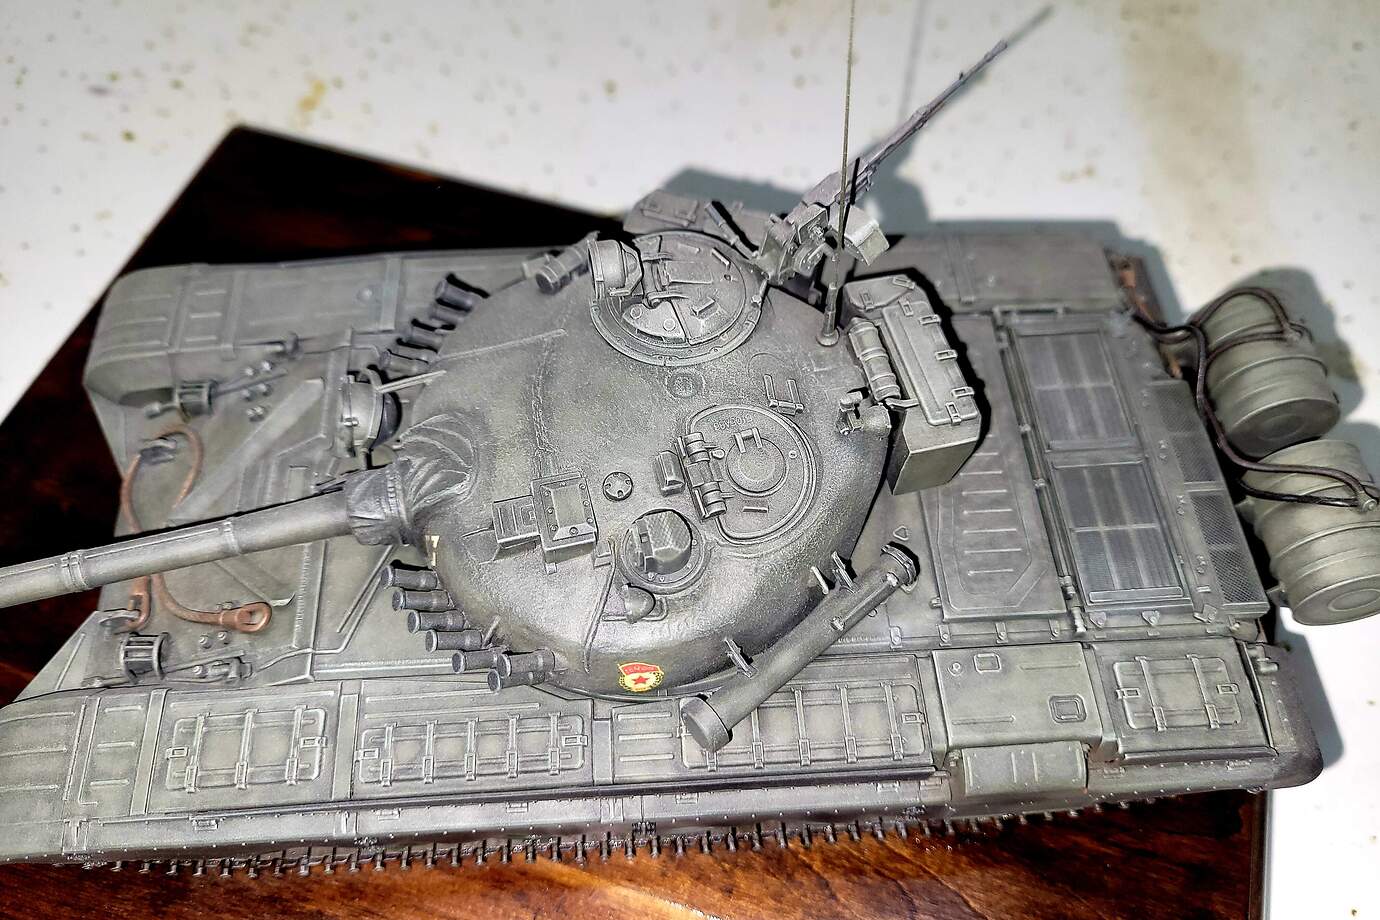
Floquil Weathered Black base coat,
Floquil British Dark Green
Highlight mix of Floquil Interior Buff & British Dark Green

The only differences are the washes & drybrushing.

1993 - Tamiya T-72
Wash: Tamiya X-1 Black thinned w/X20A
Dry brush: Mix of Winsor Newton Titanium White oil paint & Floquil British Dark Green

Lot of tide marks, didn’t know to work the wash or wet the surface with thinner before applying the wash. Didn’t understand black was a poor color for the wash choice.

1996 - Tamiya T-72

Wash: Tamiya X-1 Black thinned w/X20A
Dry brush: Mix of Winsor Newton Titanium White oil paint & Floquil British Dark Green.

Changes the surface was wiped with X20A thinner before applying the same wash. Still didn’t understand black was a poor color for the wash choice. Also the paints were thinned with lighter fluid instead of Dio-sol.
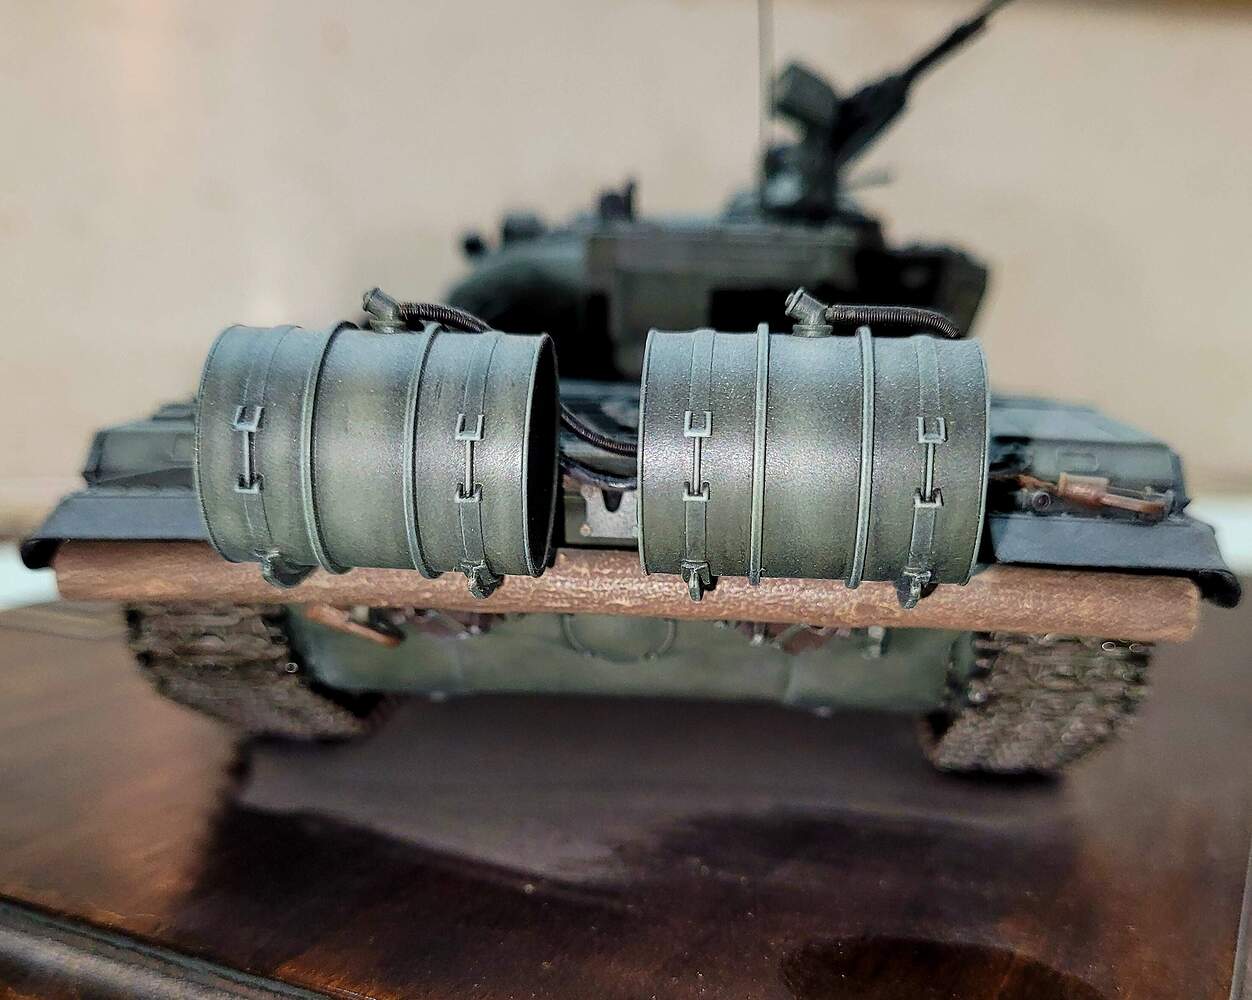
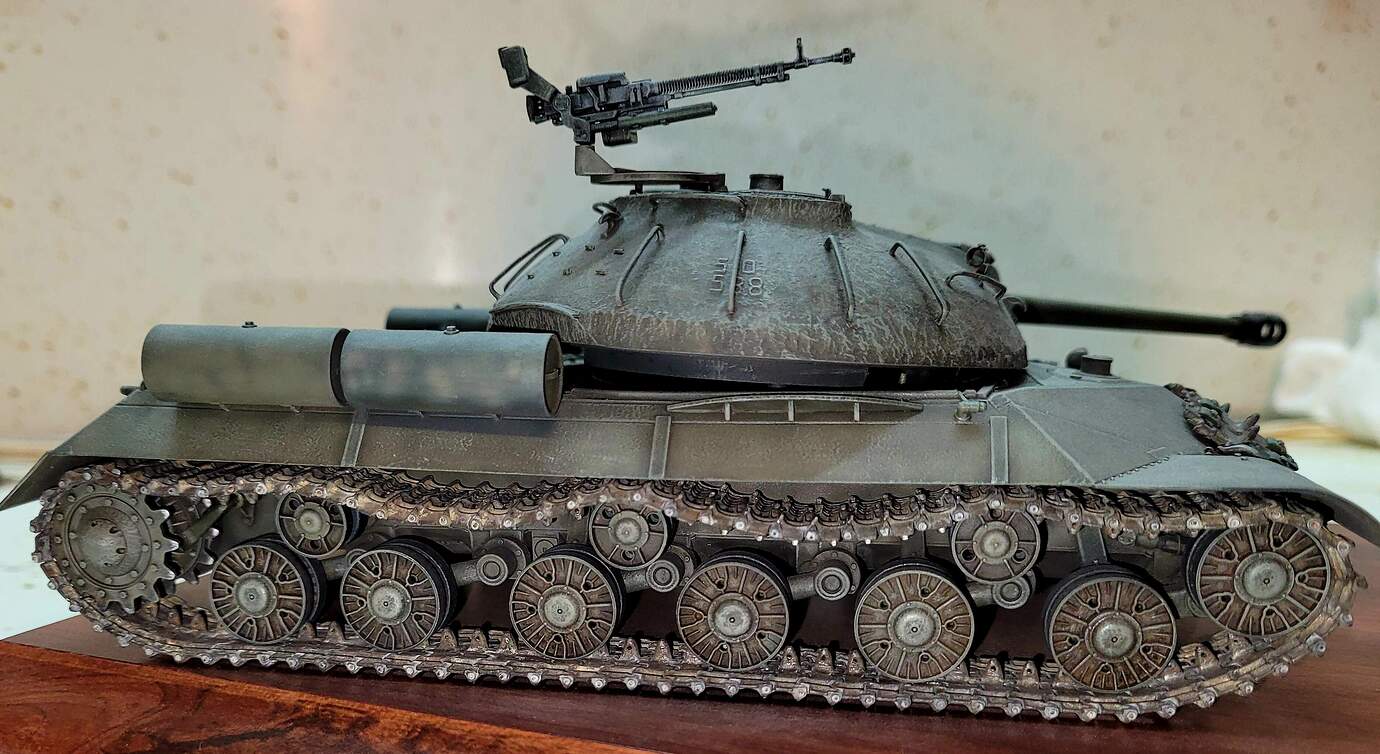
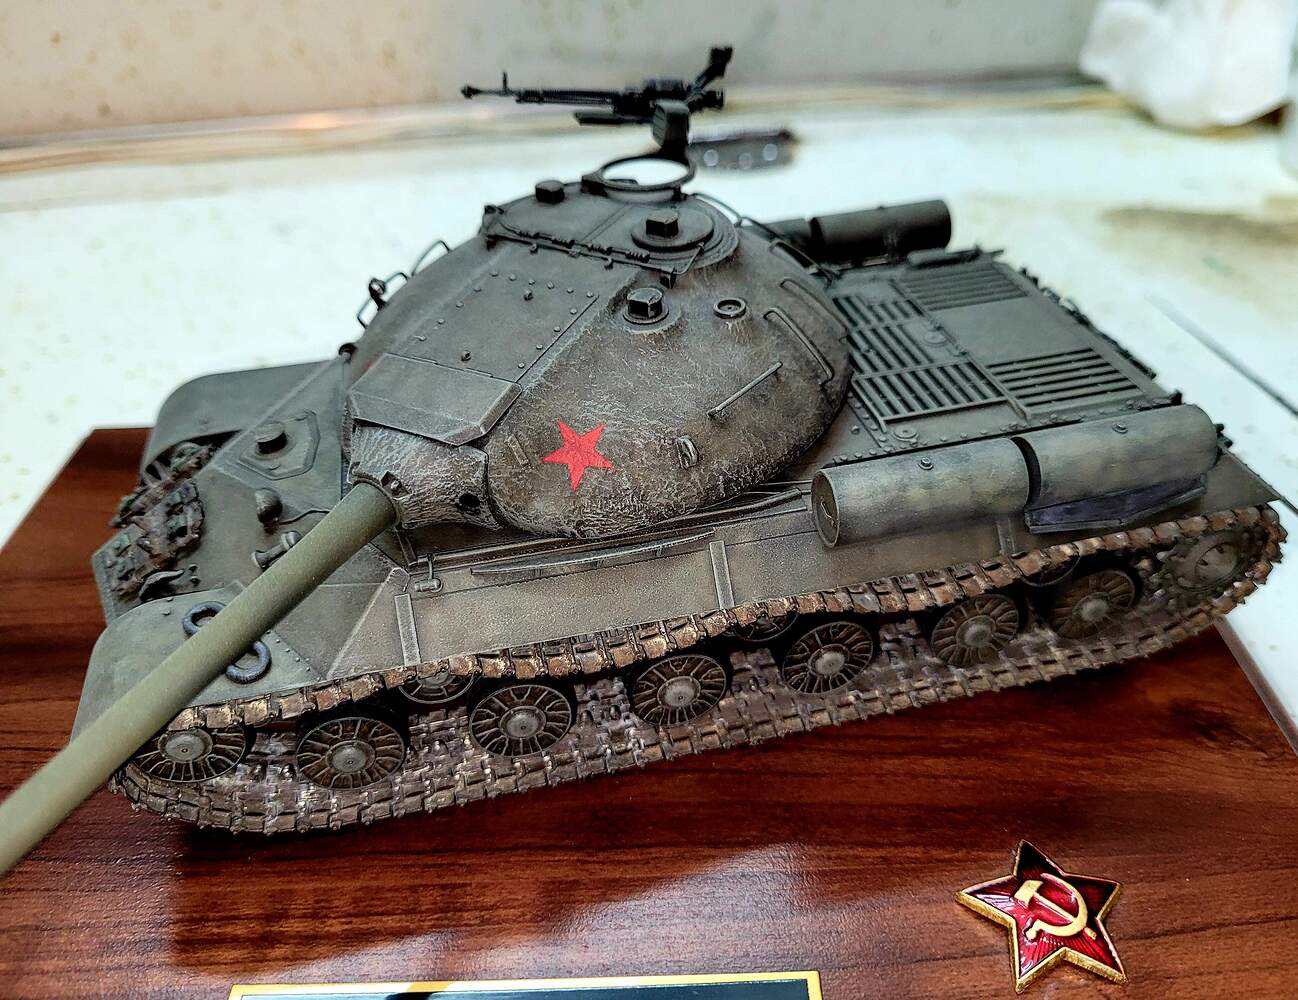
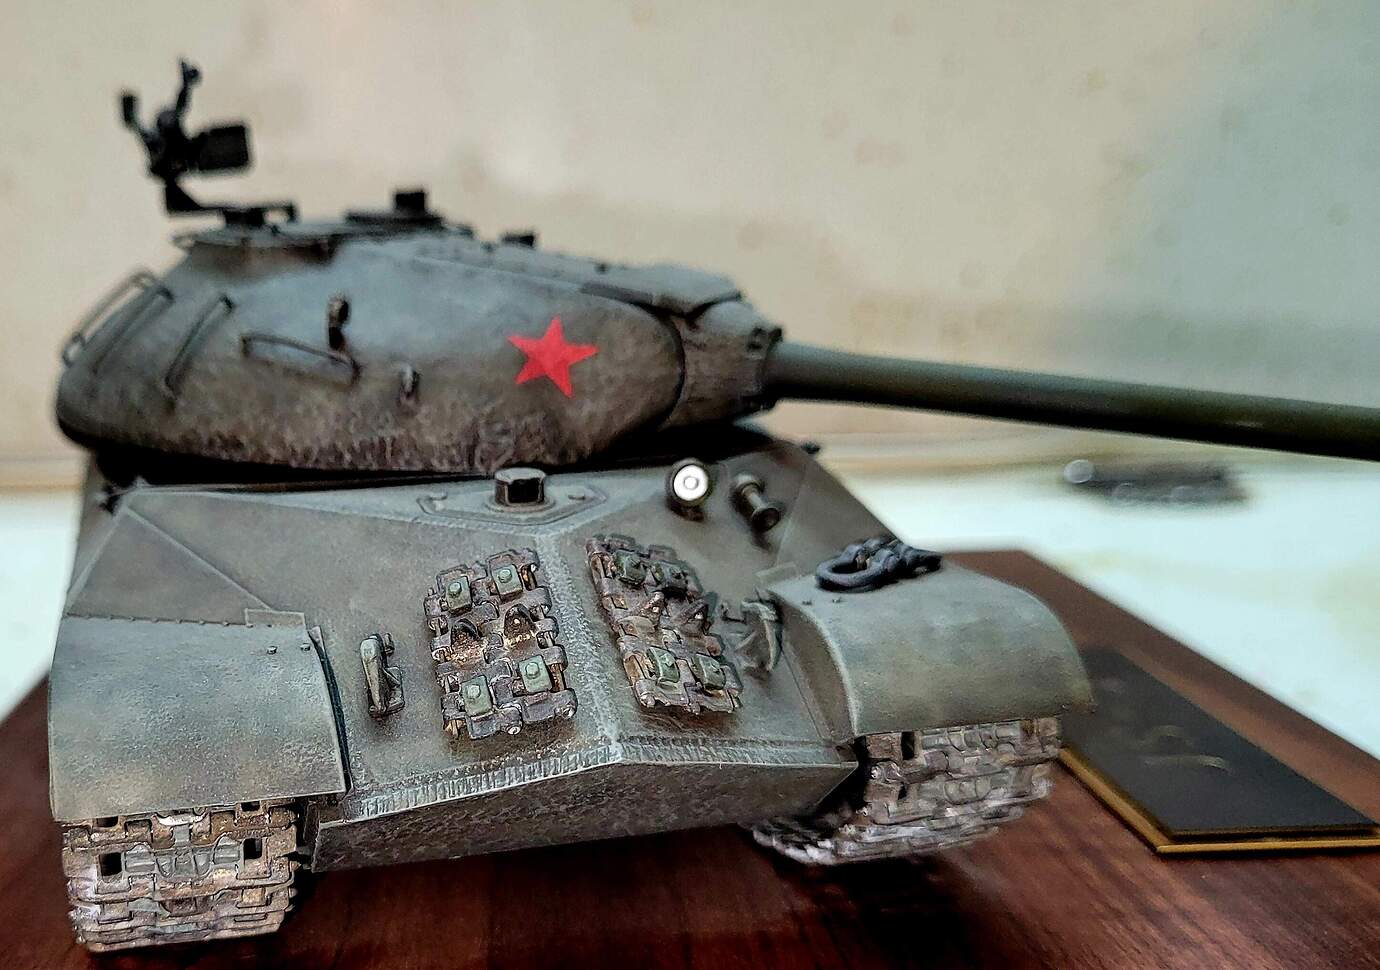
1998 - Tamiya JS-3

Wash: Winsor Newton Raw Umber thinned with lighter fluid. Surface wiped down with LF before wash.

Dry brush: Mix of Winsor Newton Titanium White oil paint & Floquil British Dark Green. Drybrushed more harshly than prior builds based on feedback from AMPS & quality modelers

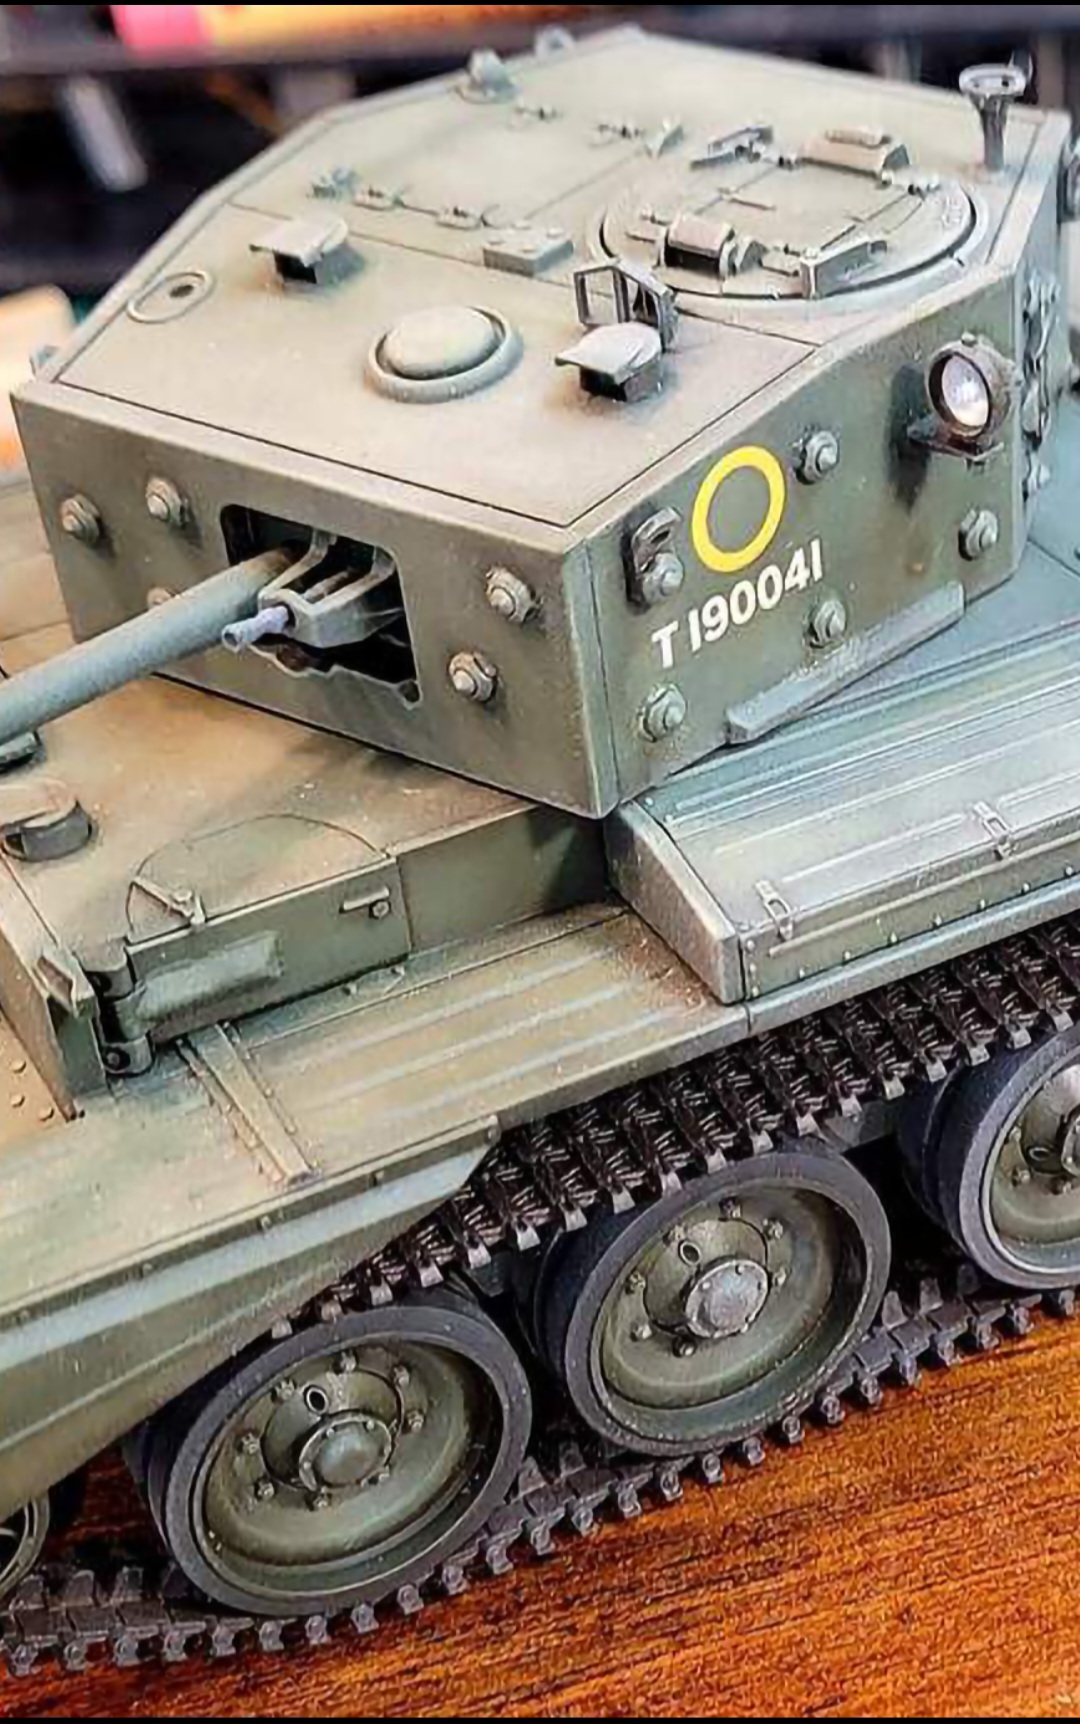
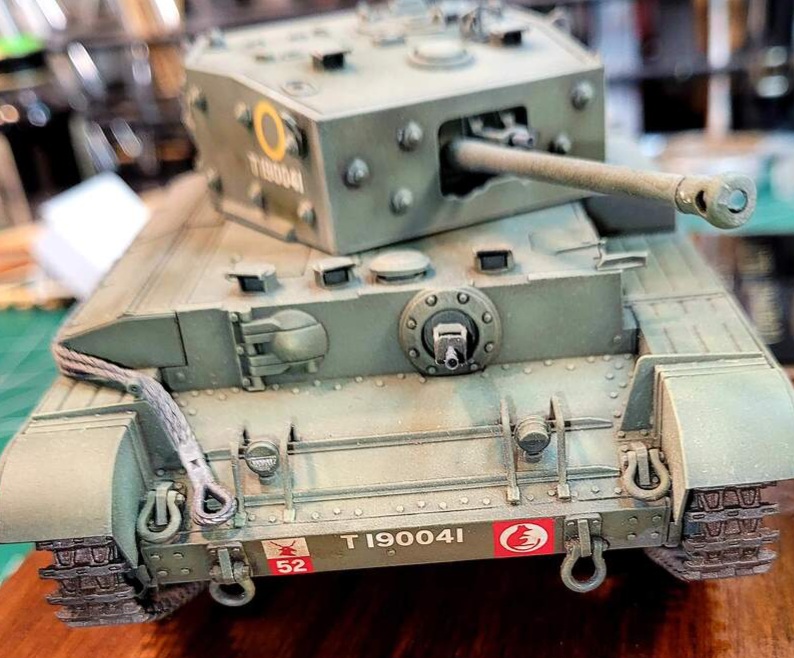
2009 - Tamiya Cromwell
Same as JS-3

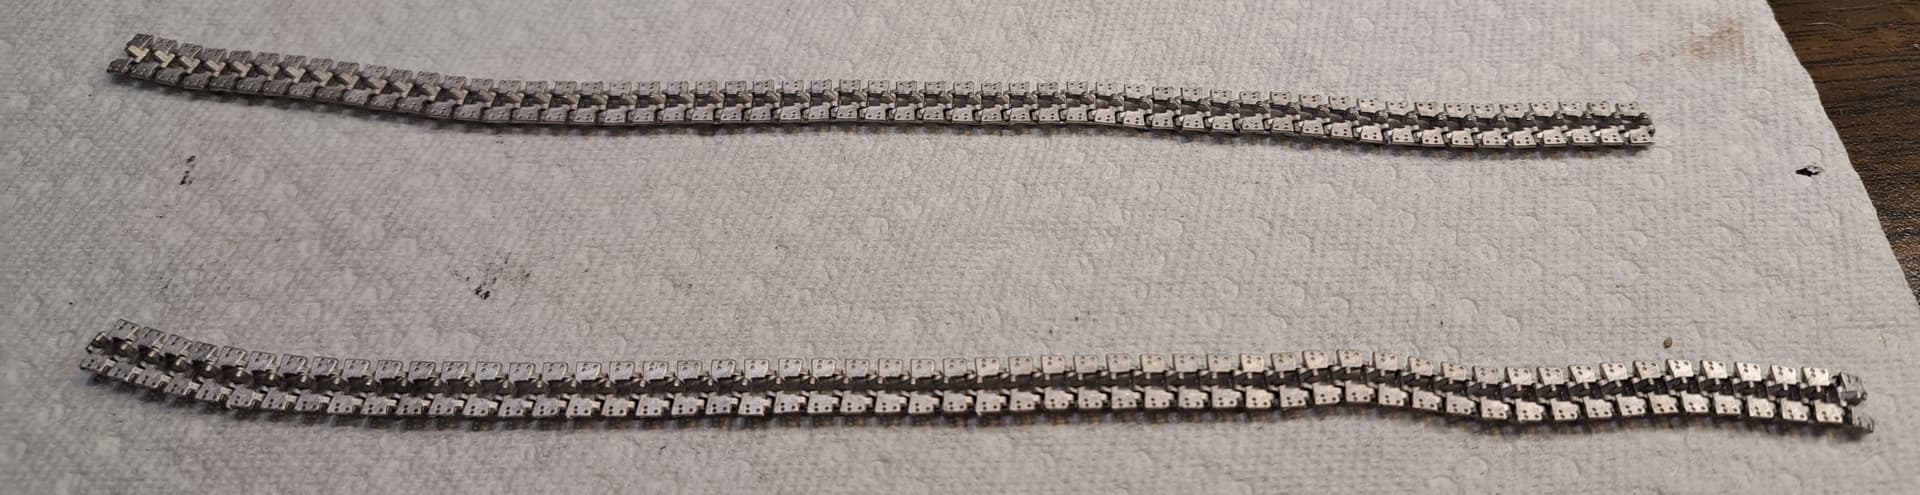
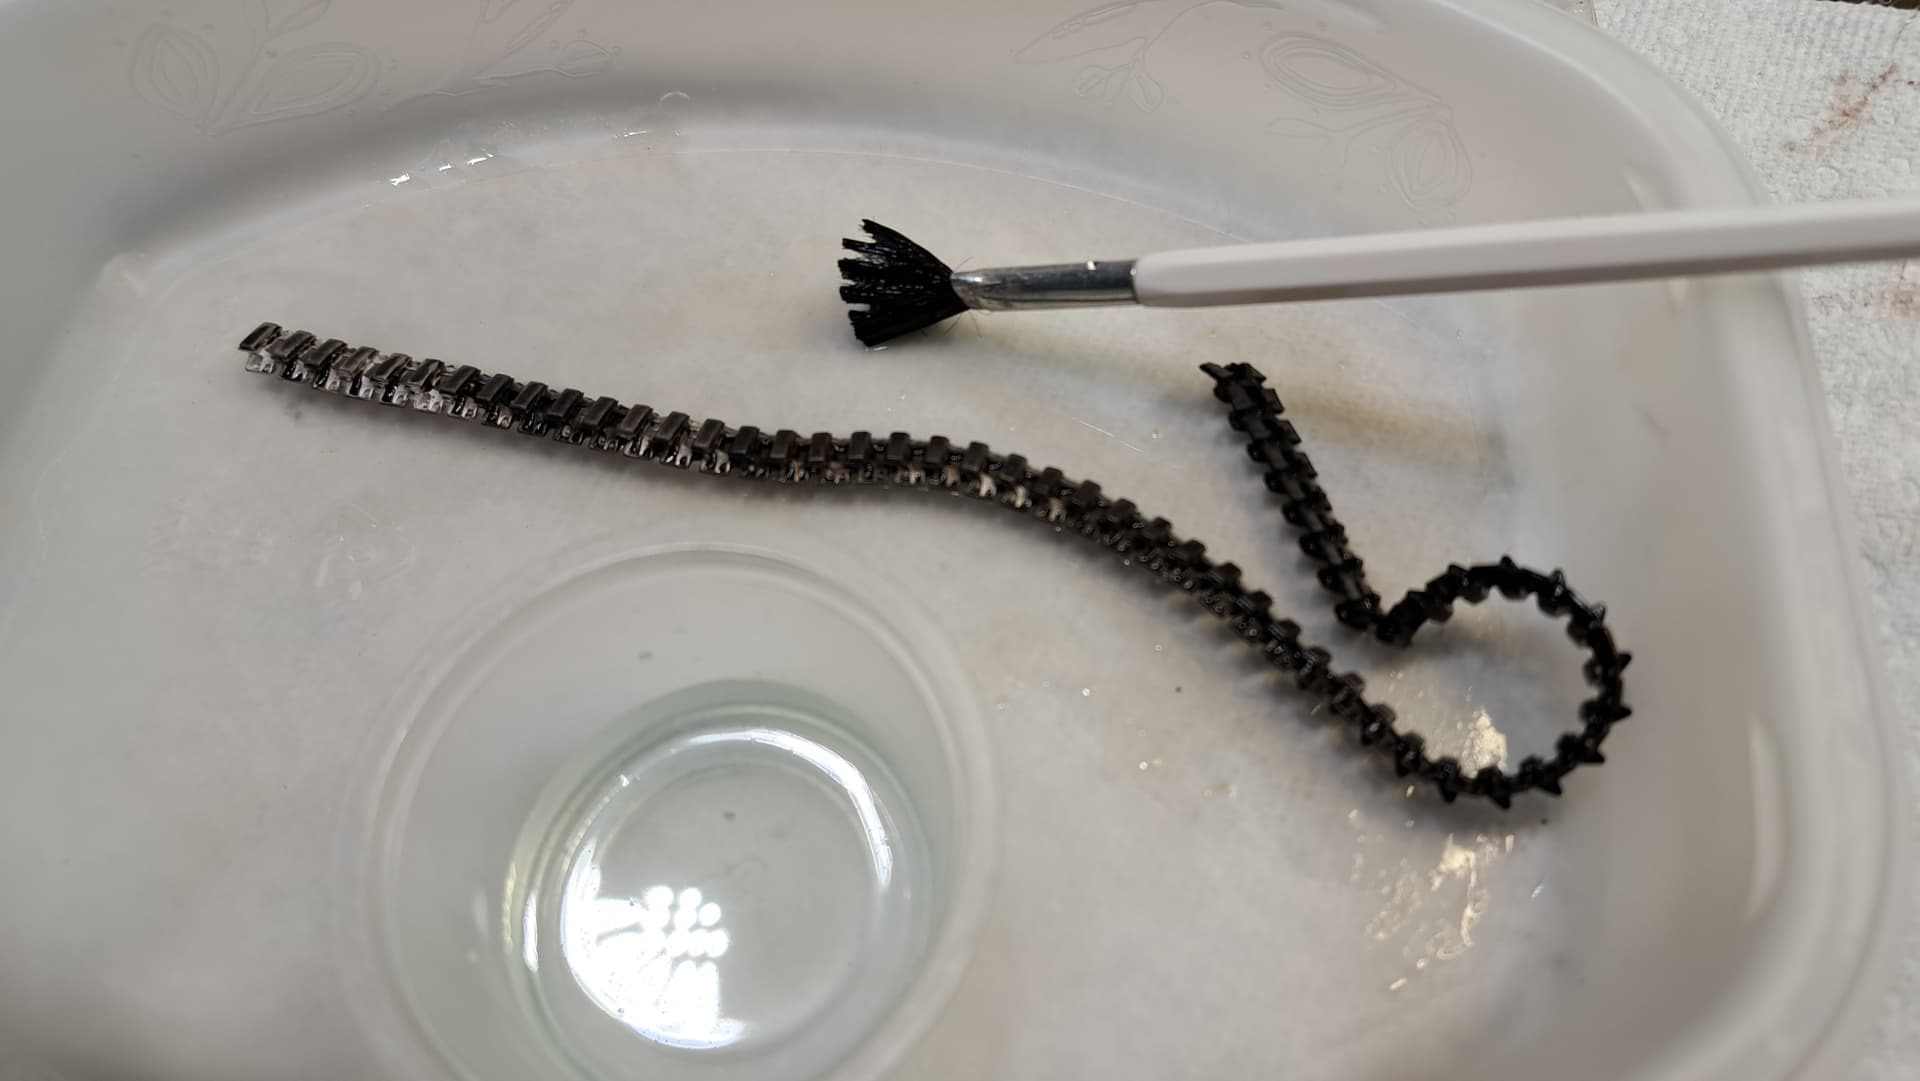
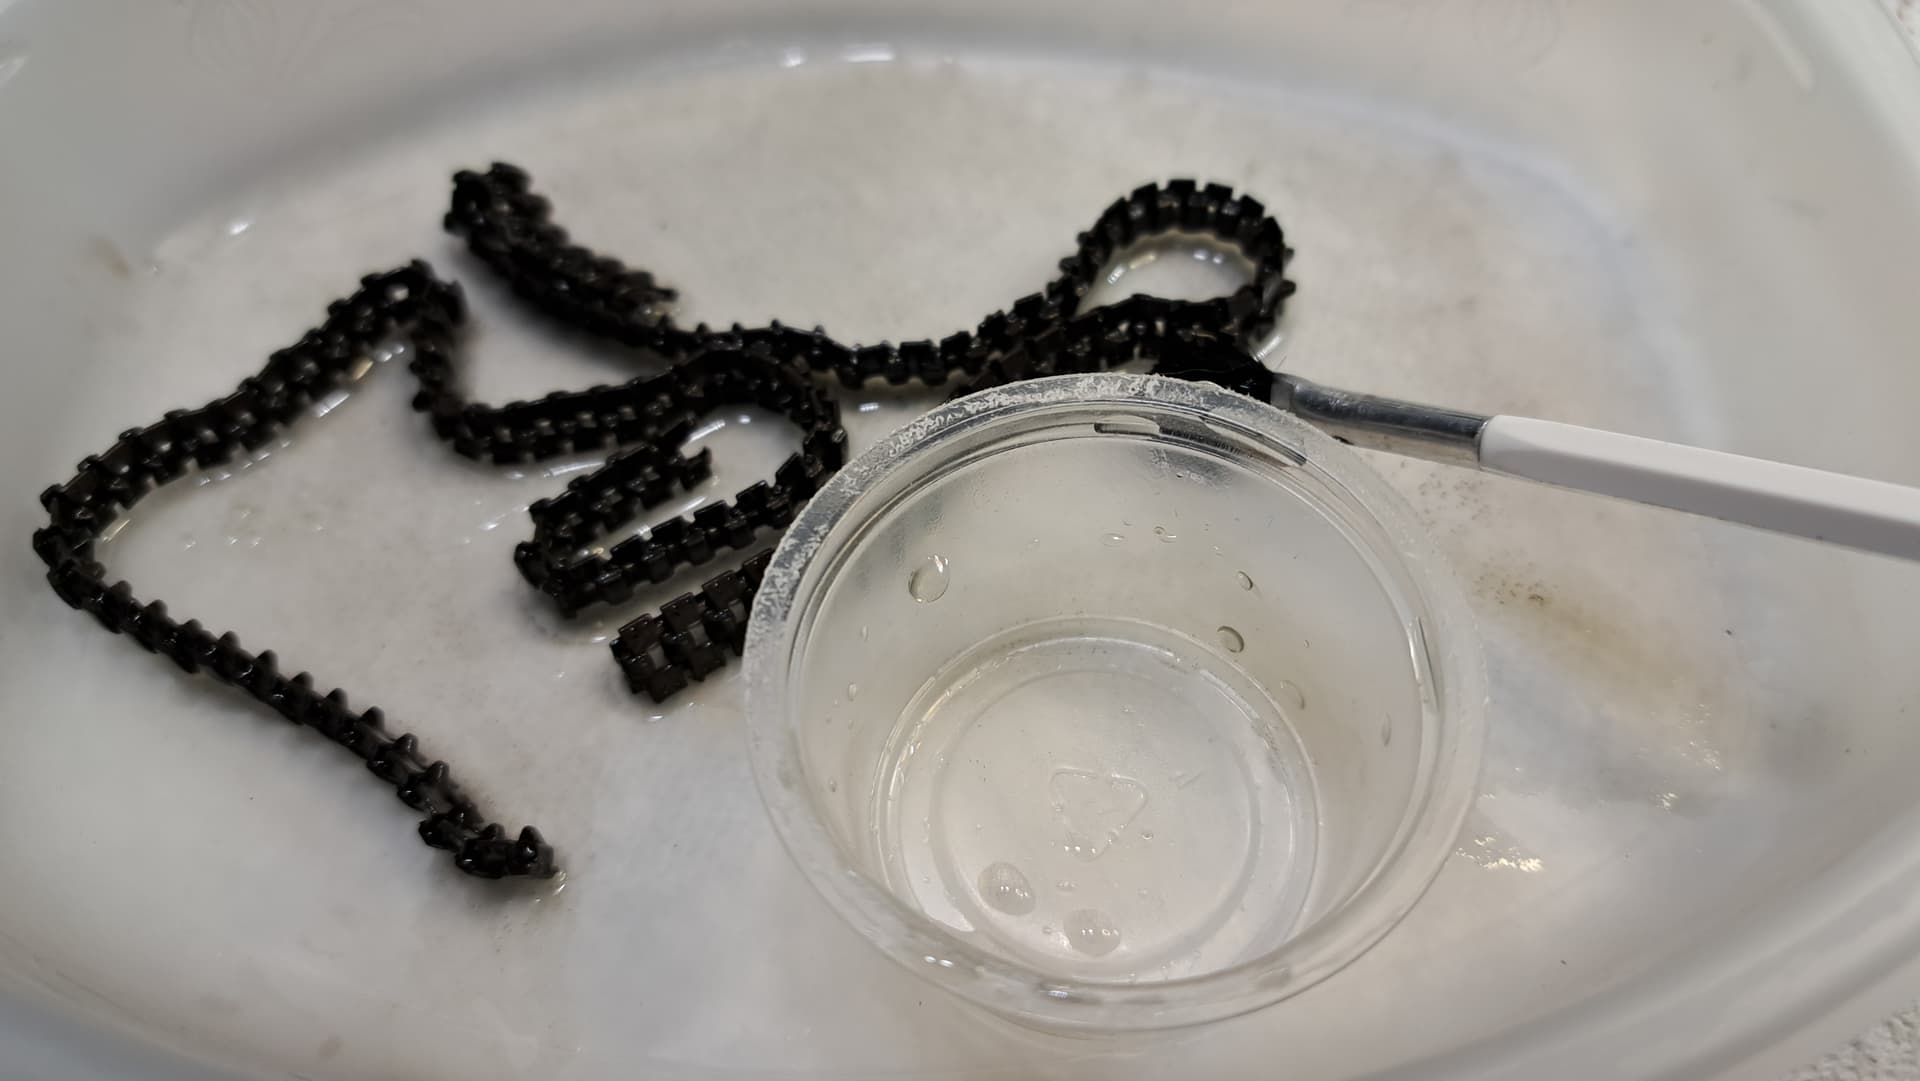
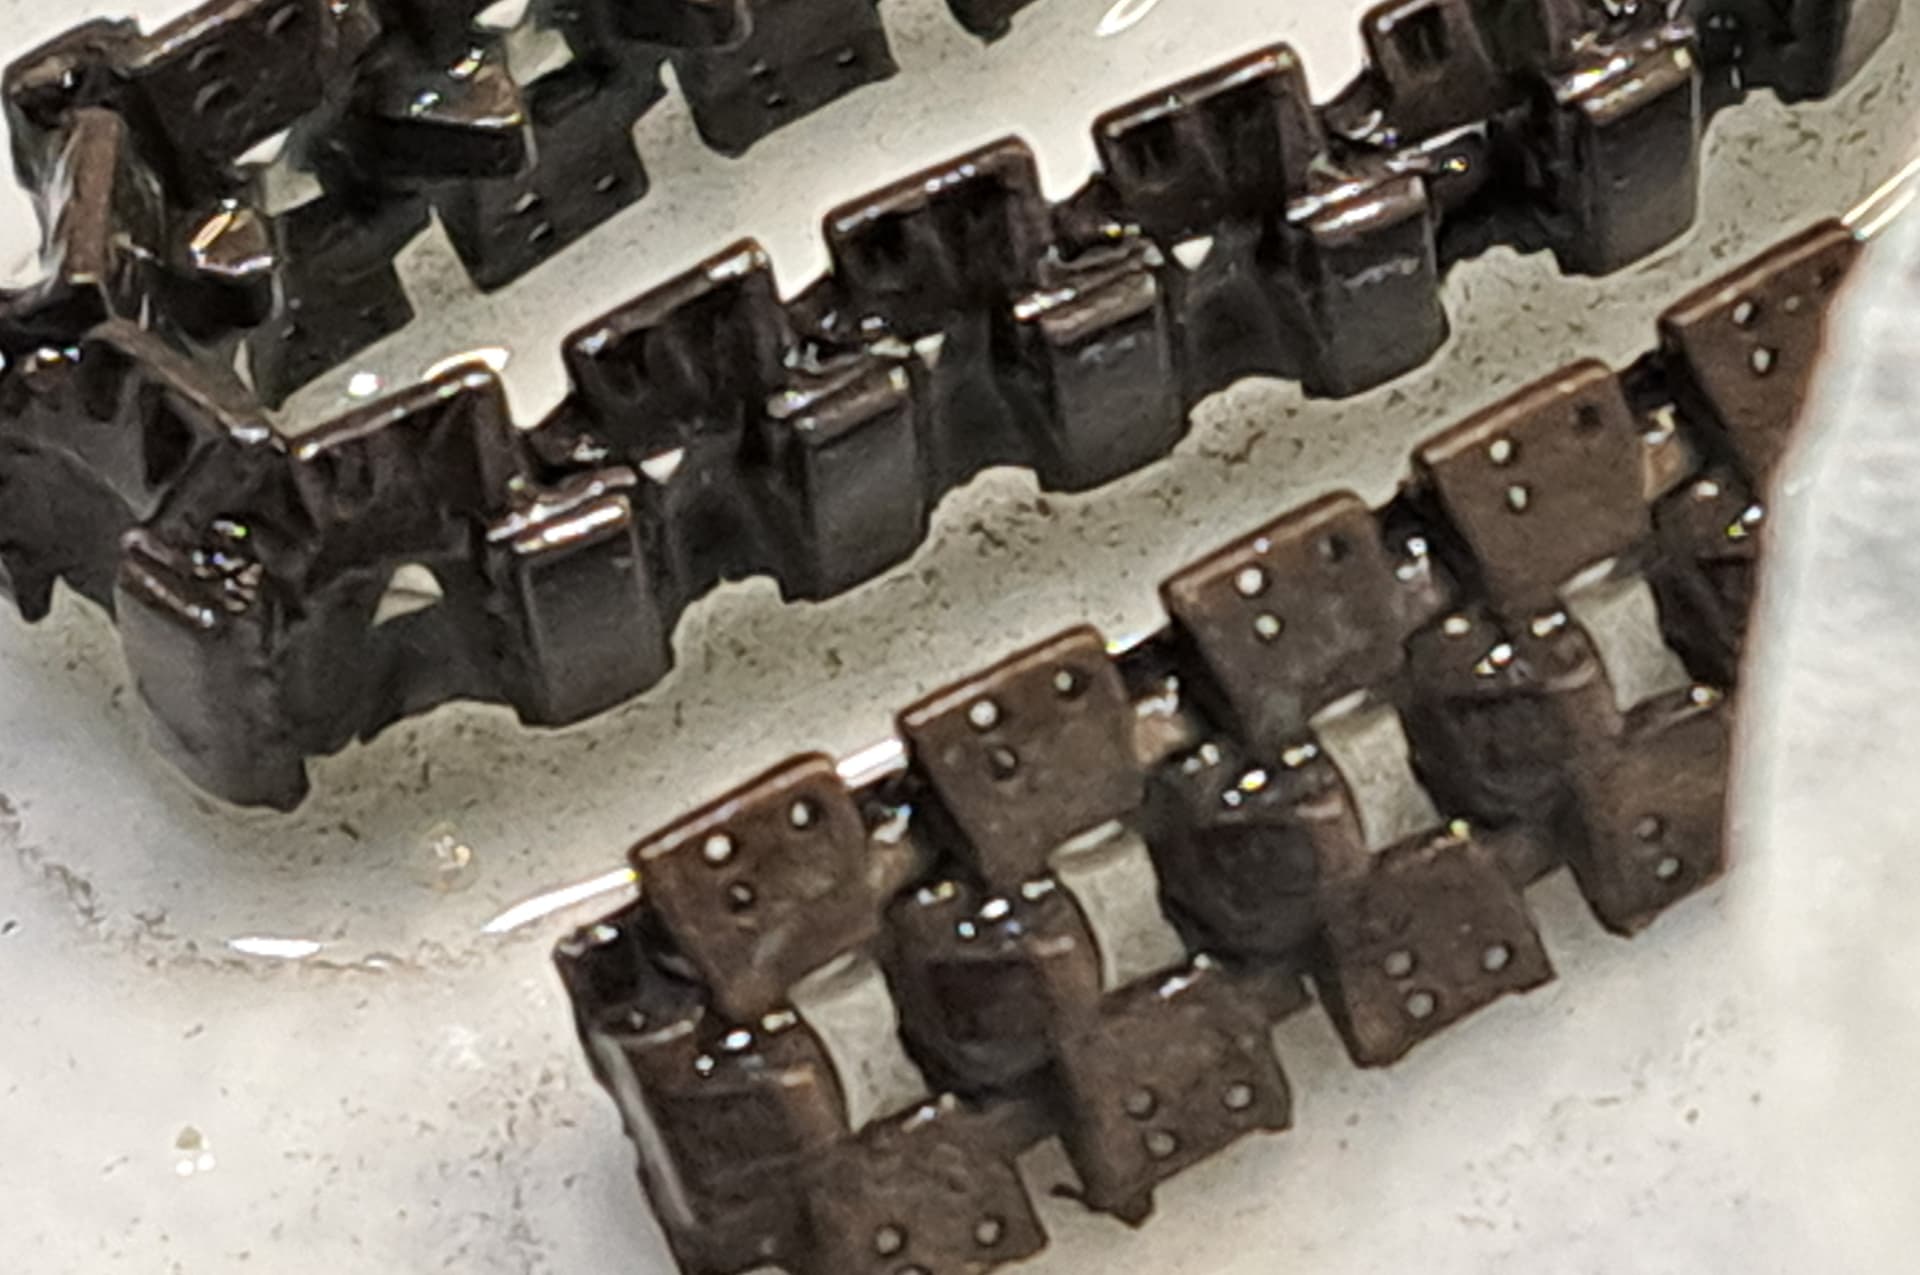
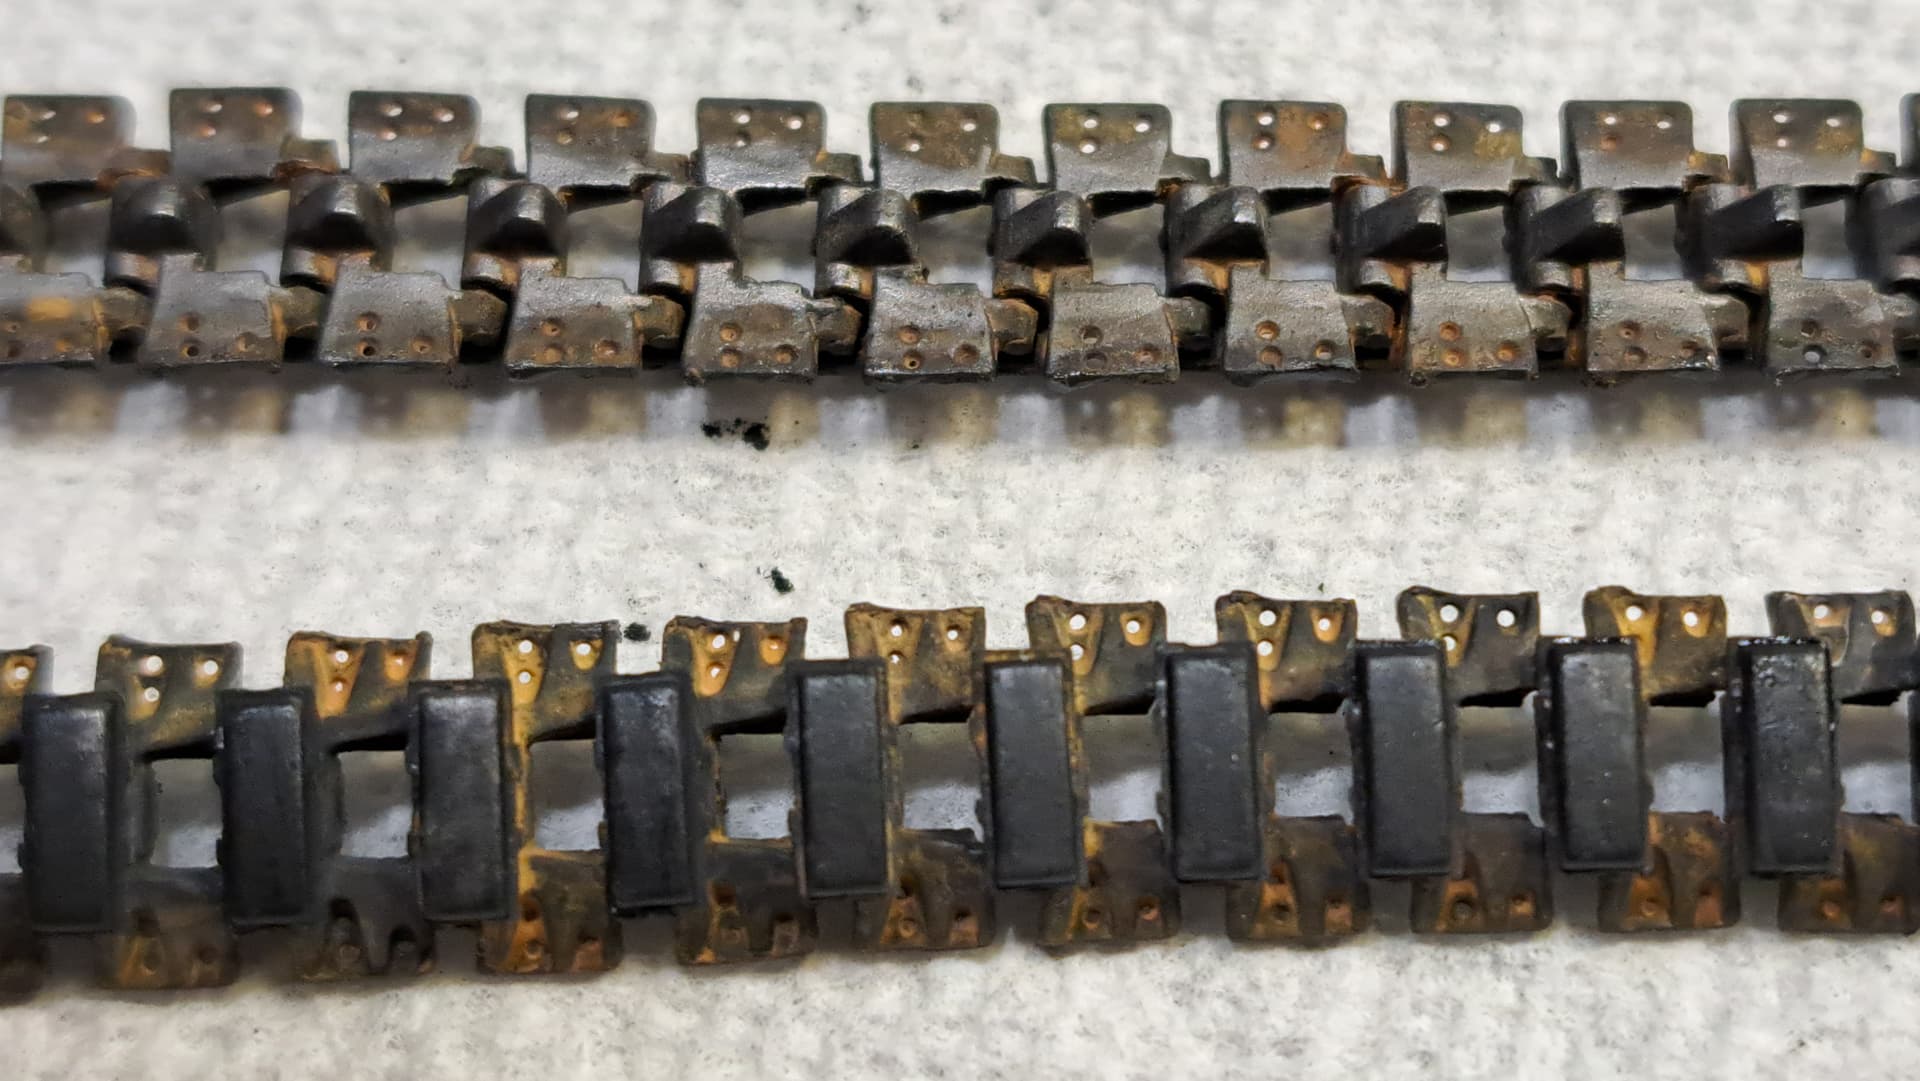
(2020) reworked, fixed tracks & flat coat added a layer of pure Titanium White oil dry brushing

Same as JS-3 but flat coat got wet and had to be repaired.
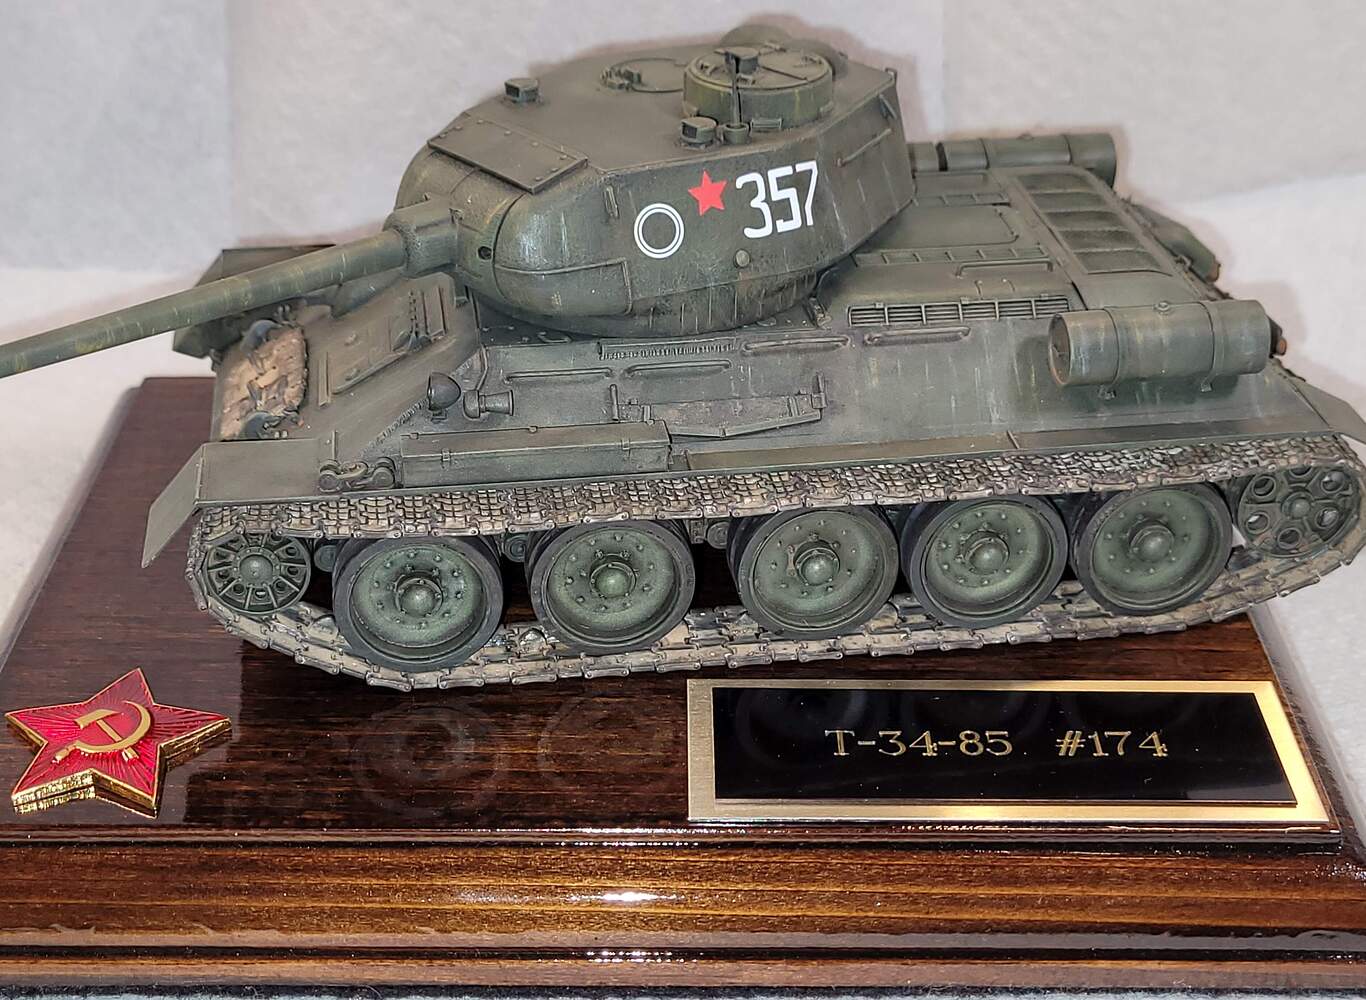
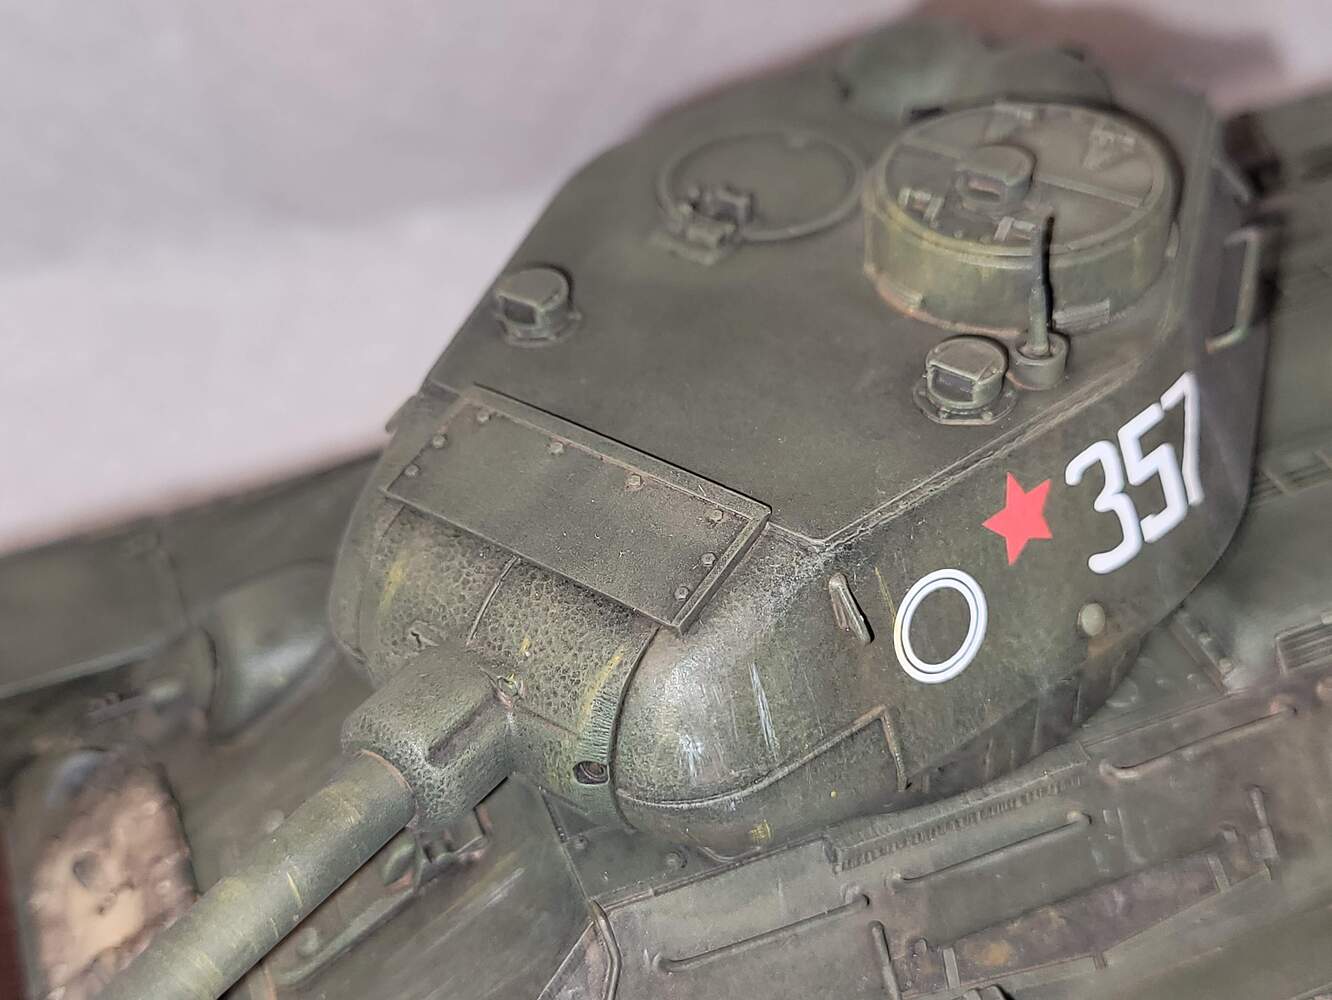
2021 RFM T-34-85
Same as JS-3

Asked Martin Kovac aka NightShift for constructive criticism a few months after becoming a Patreon. He said try adding vertical streaking.

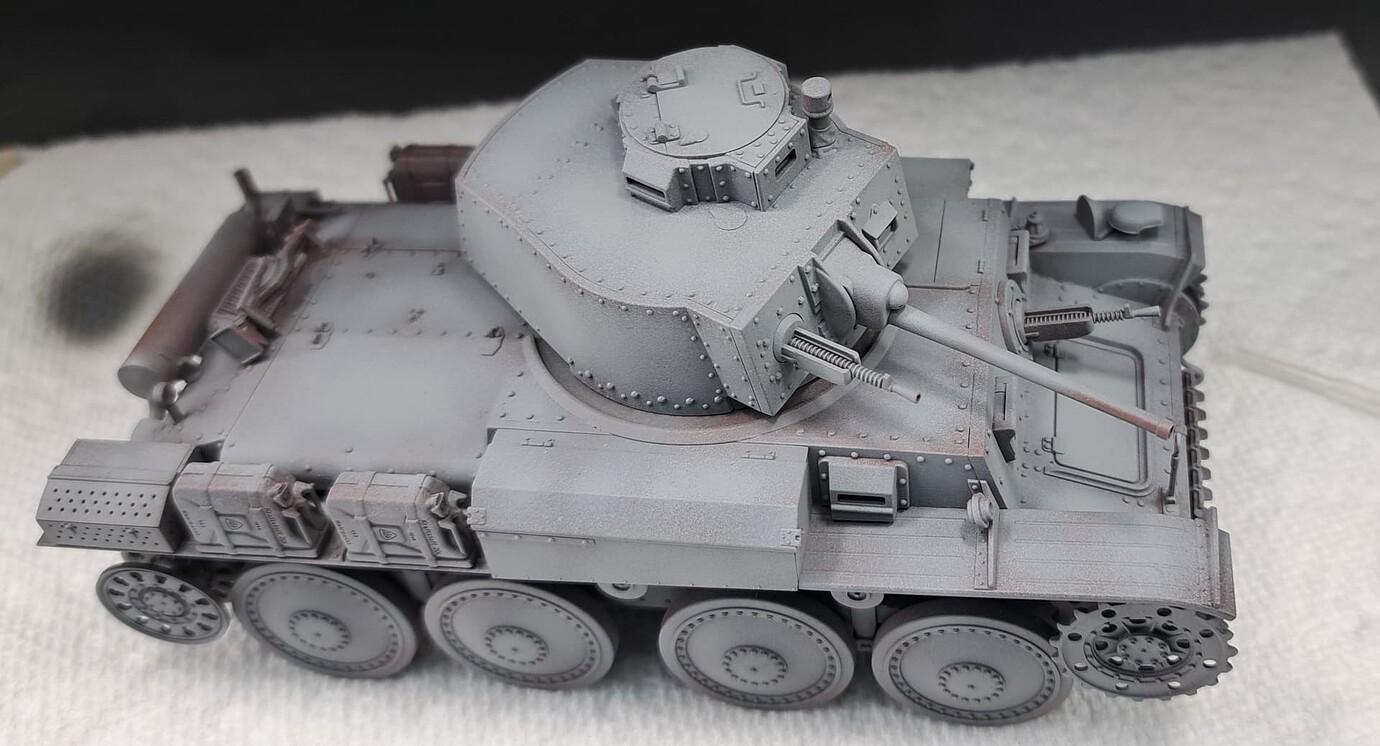
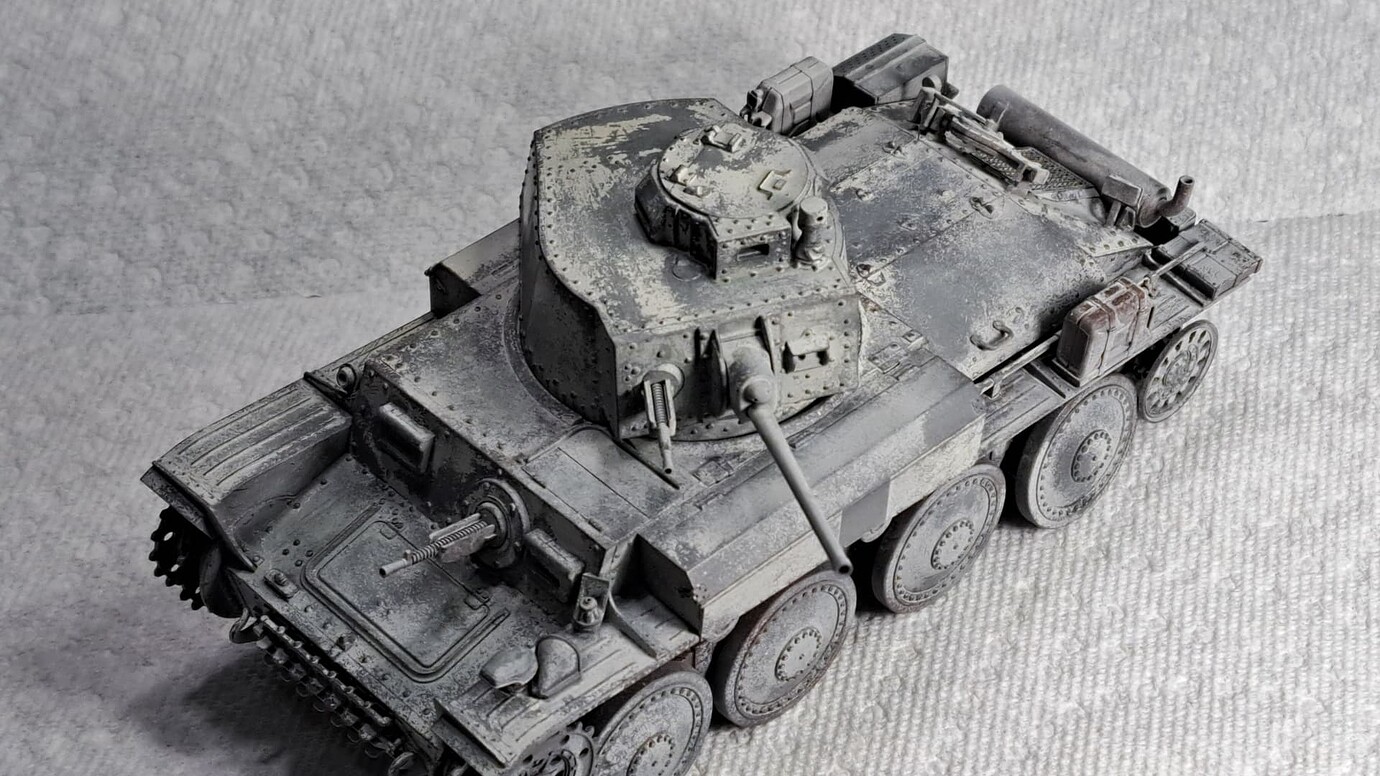
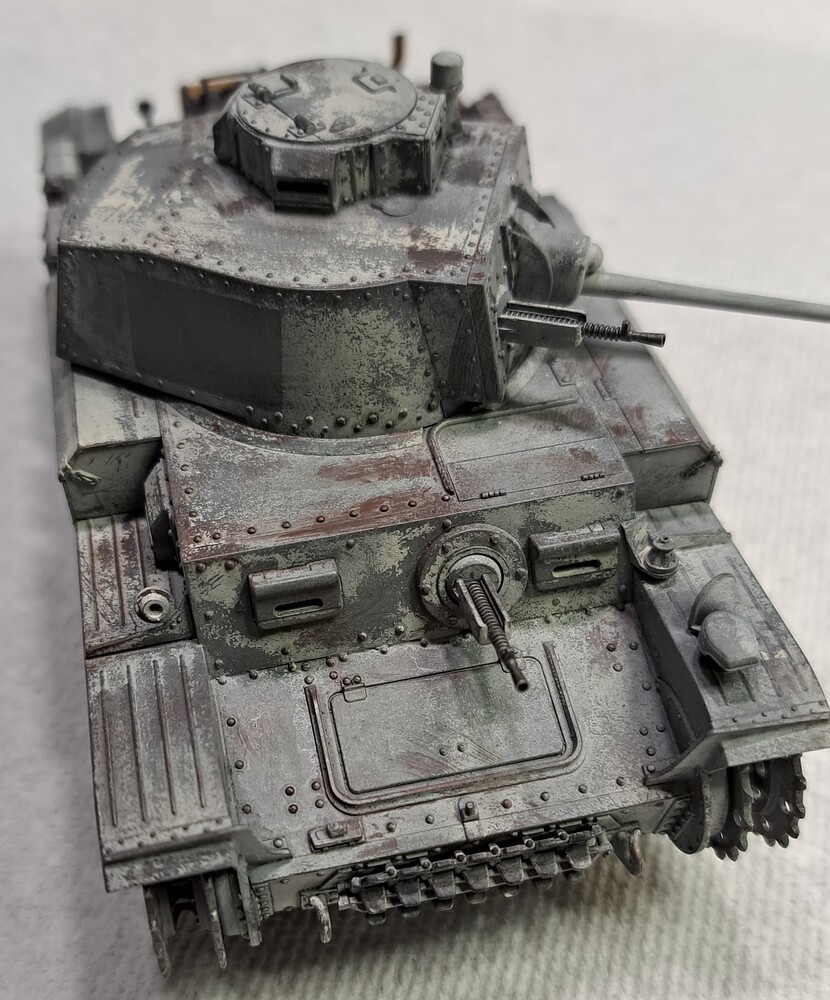
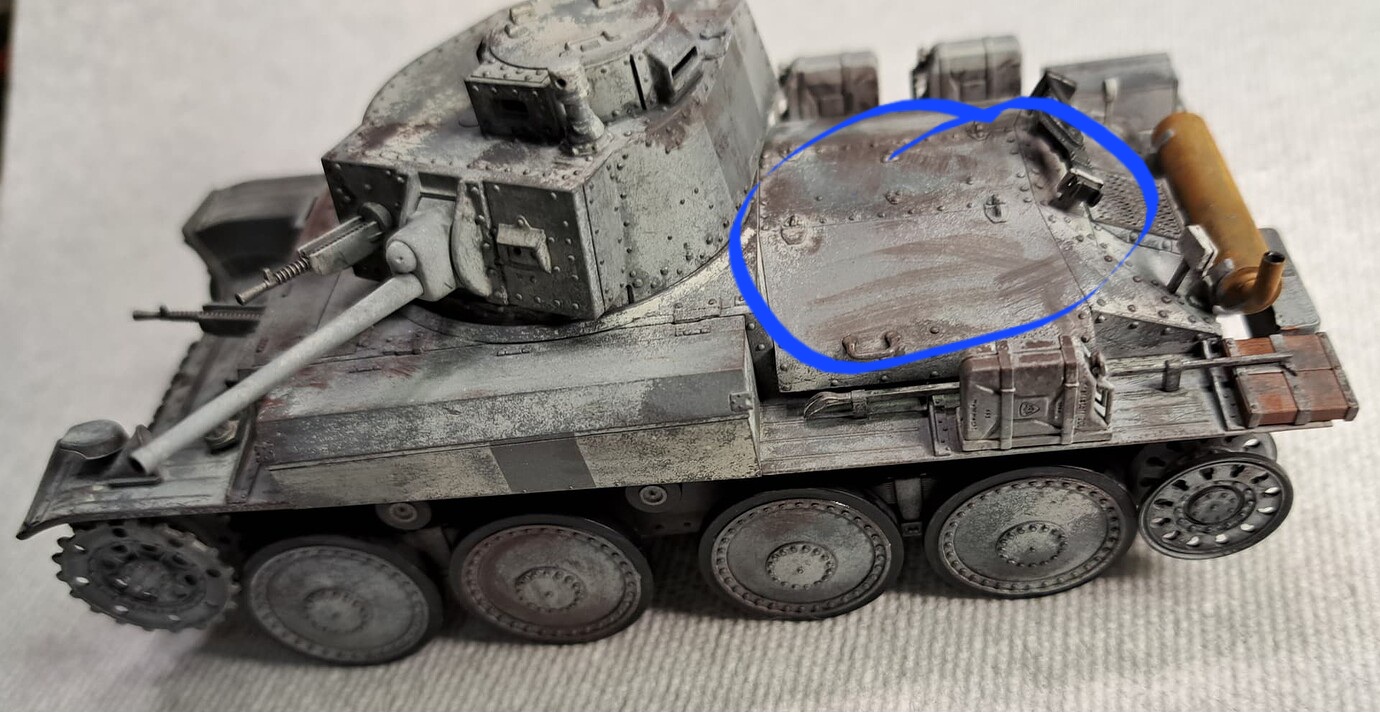
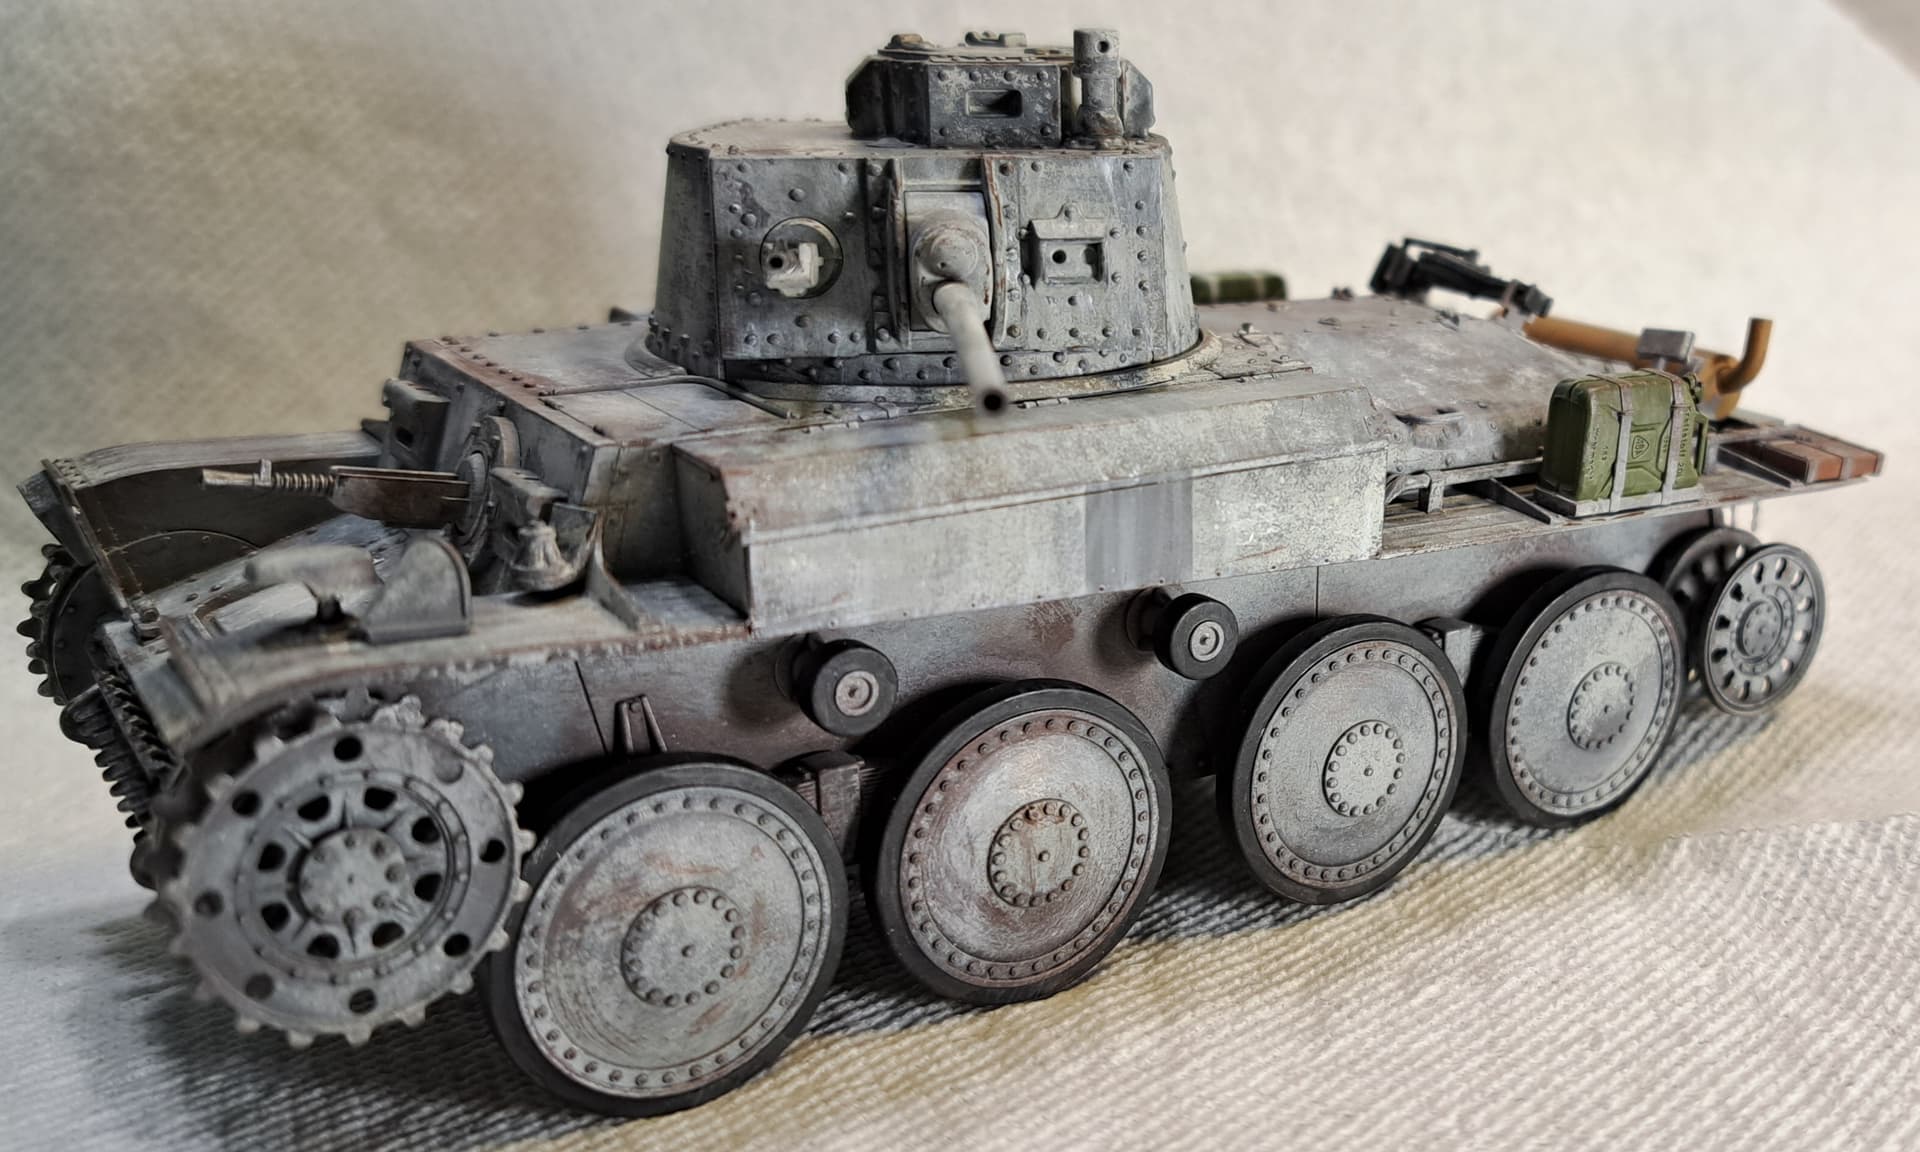
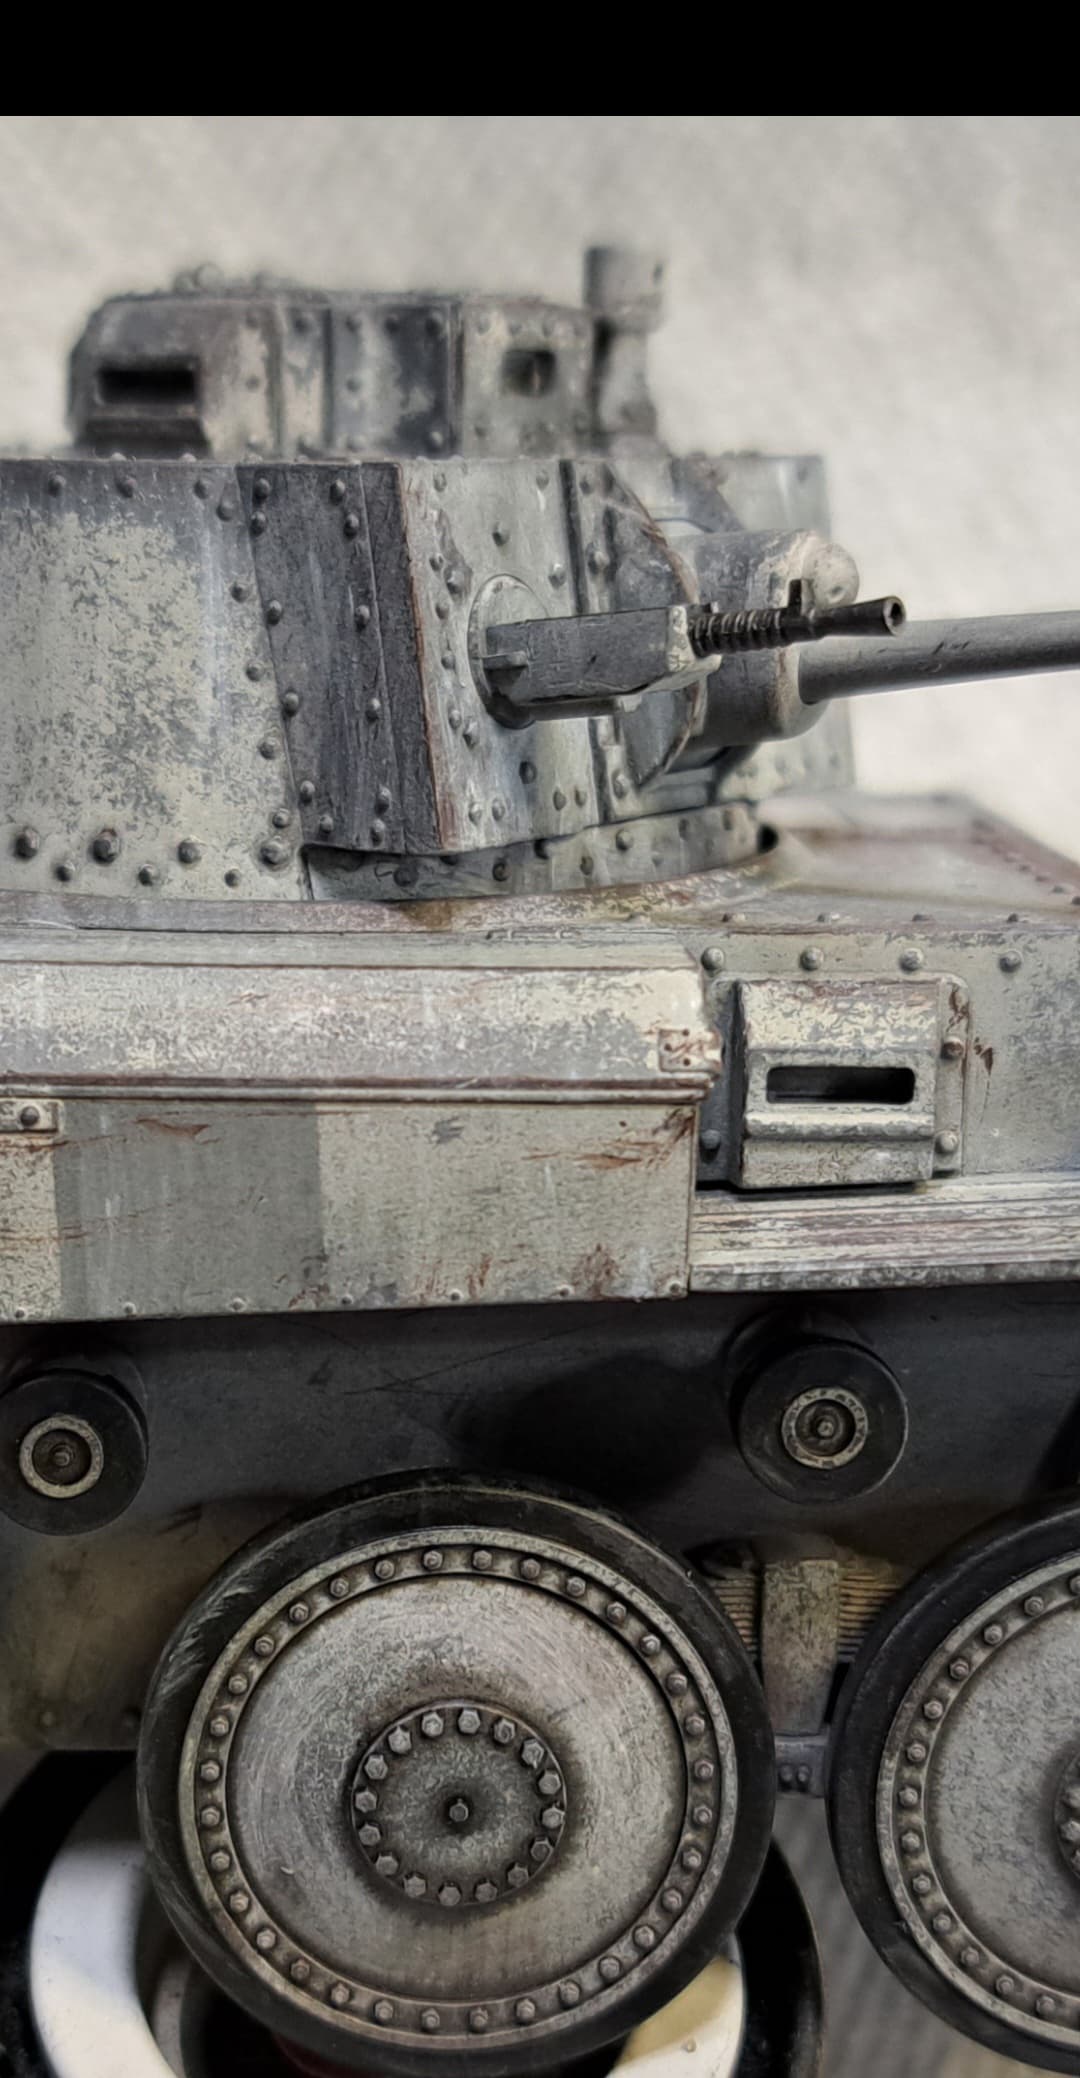
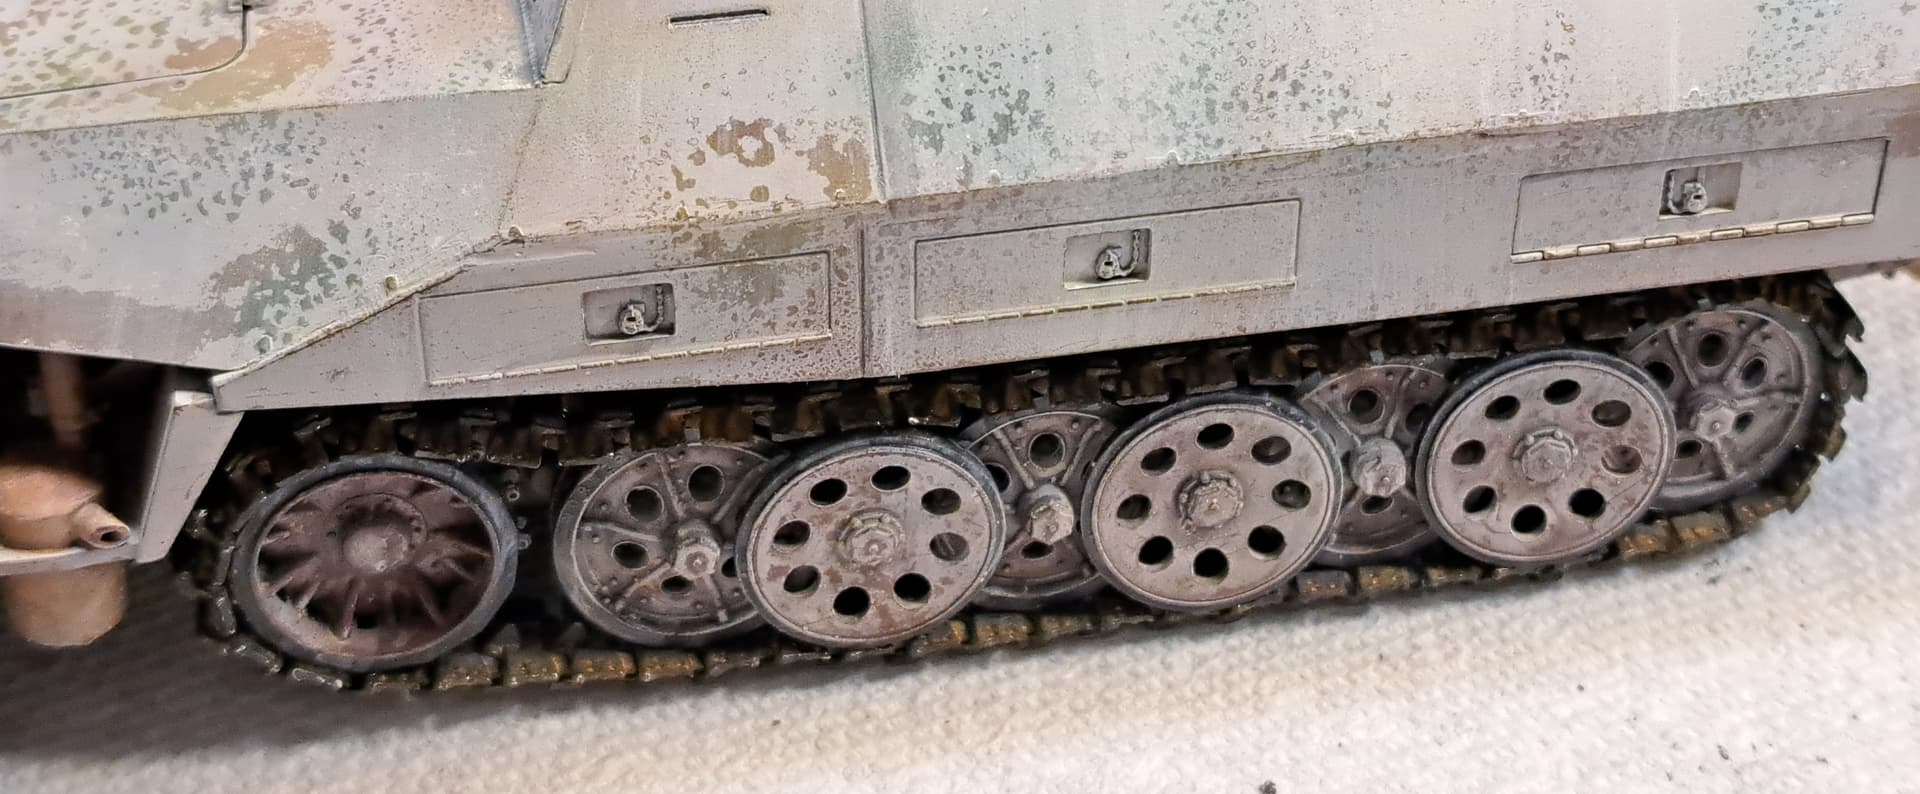
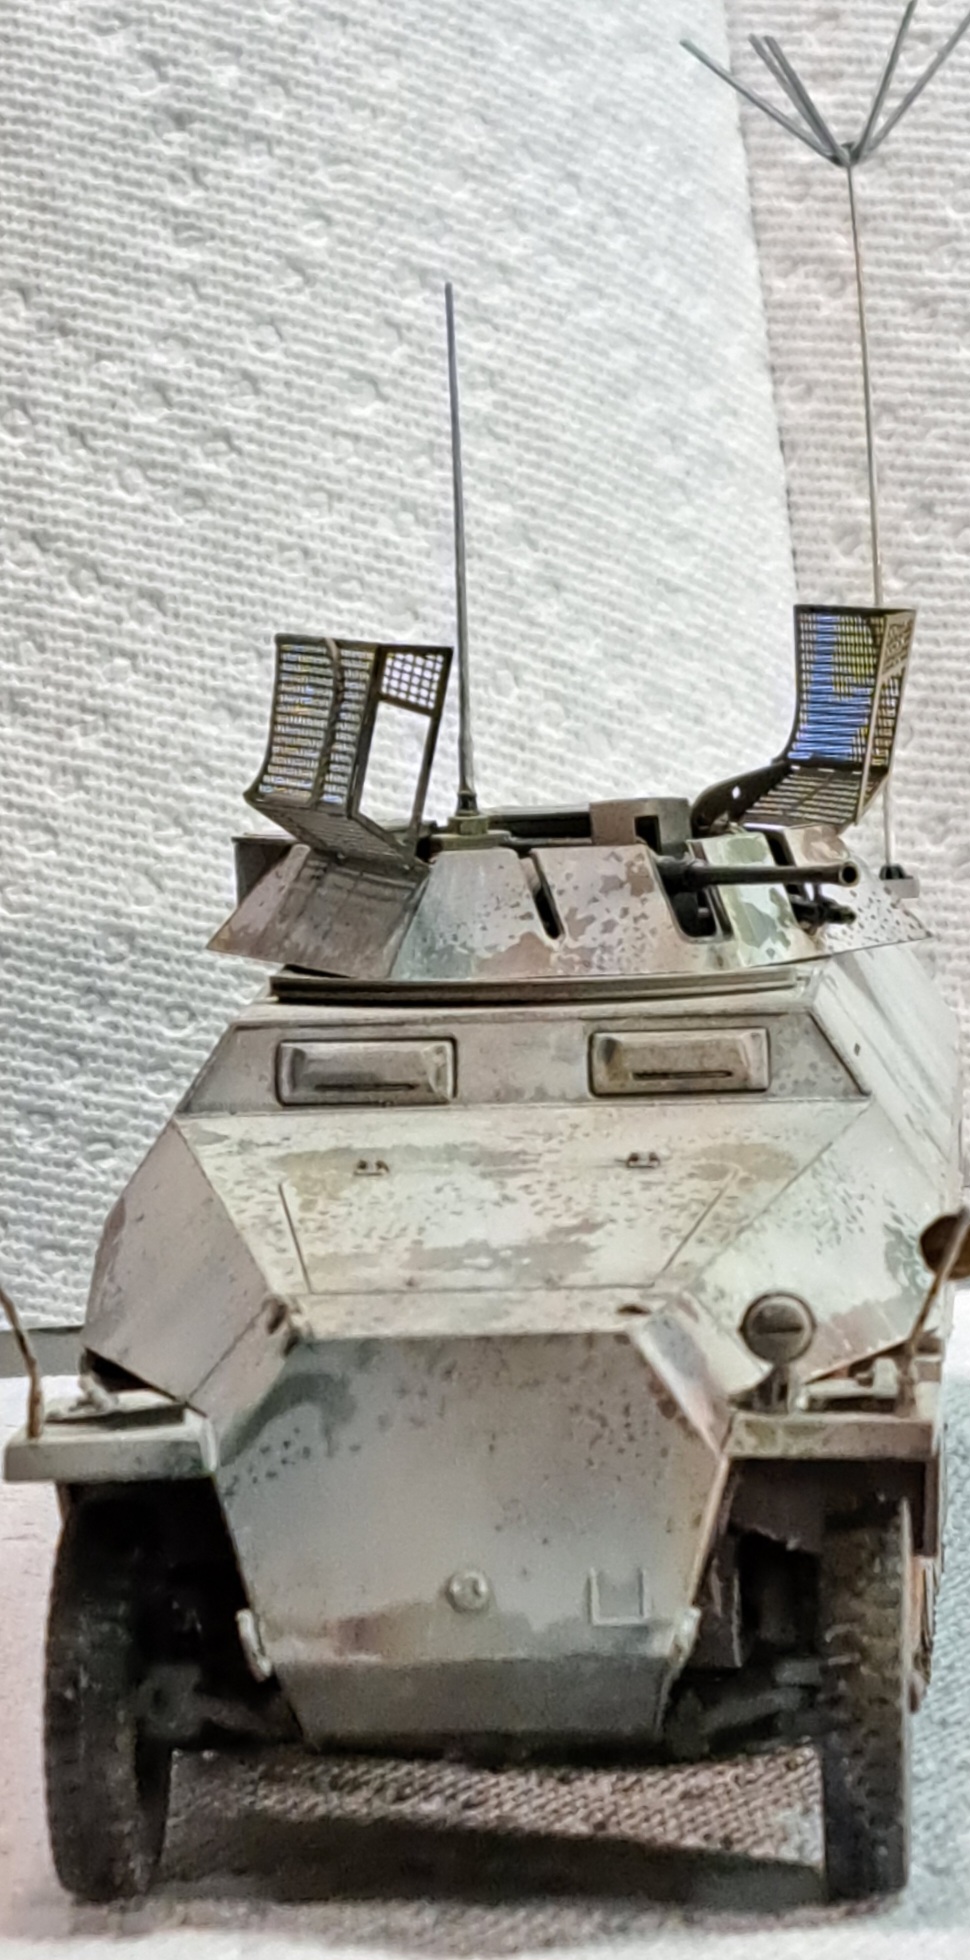
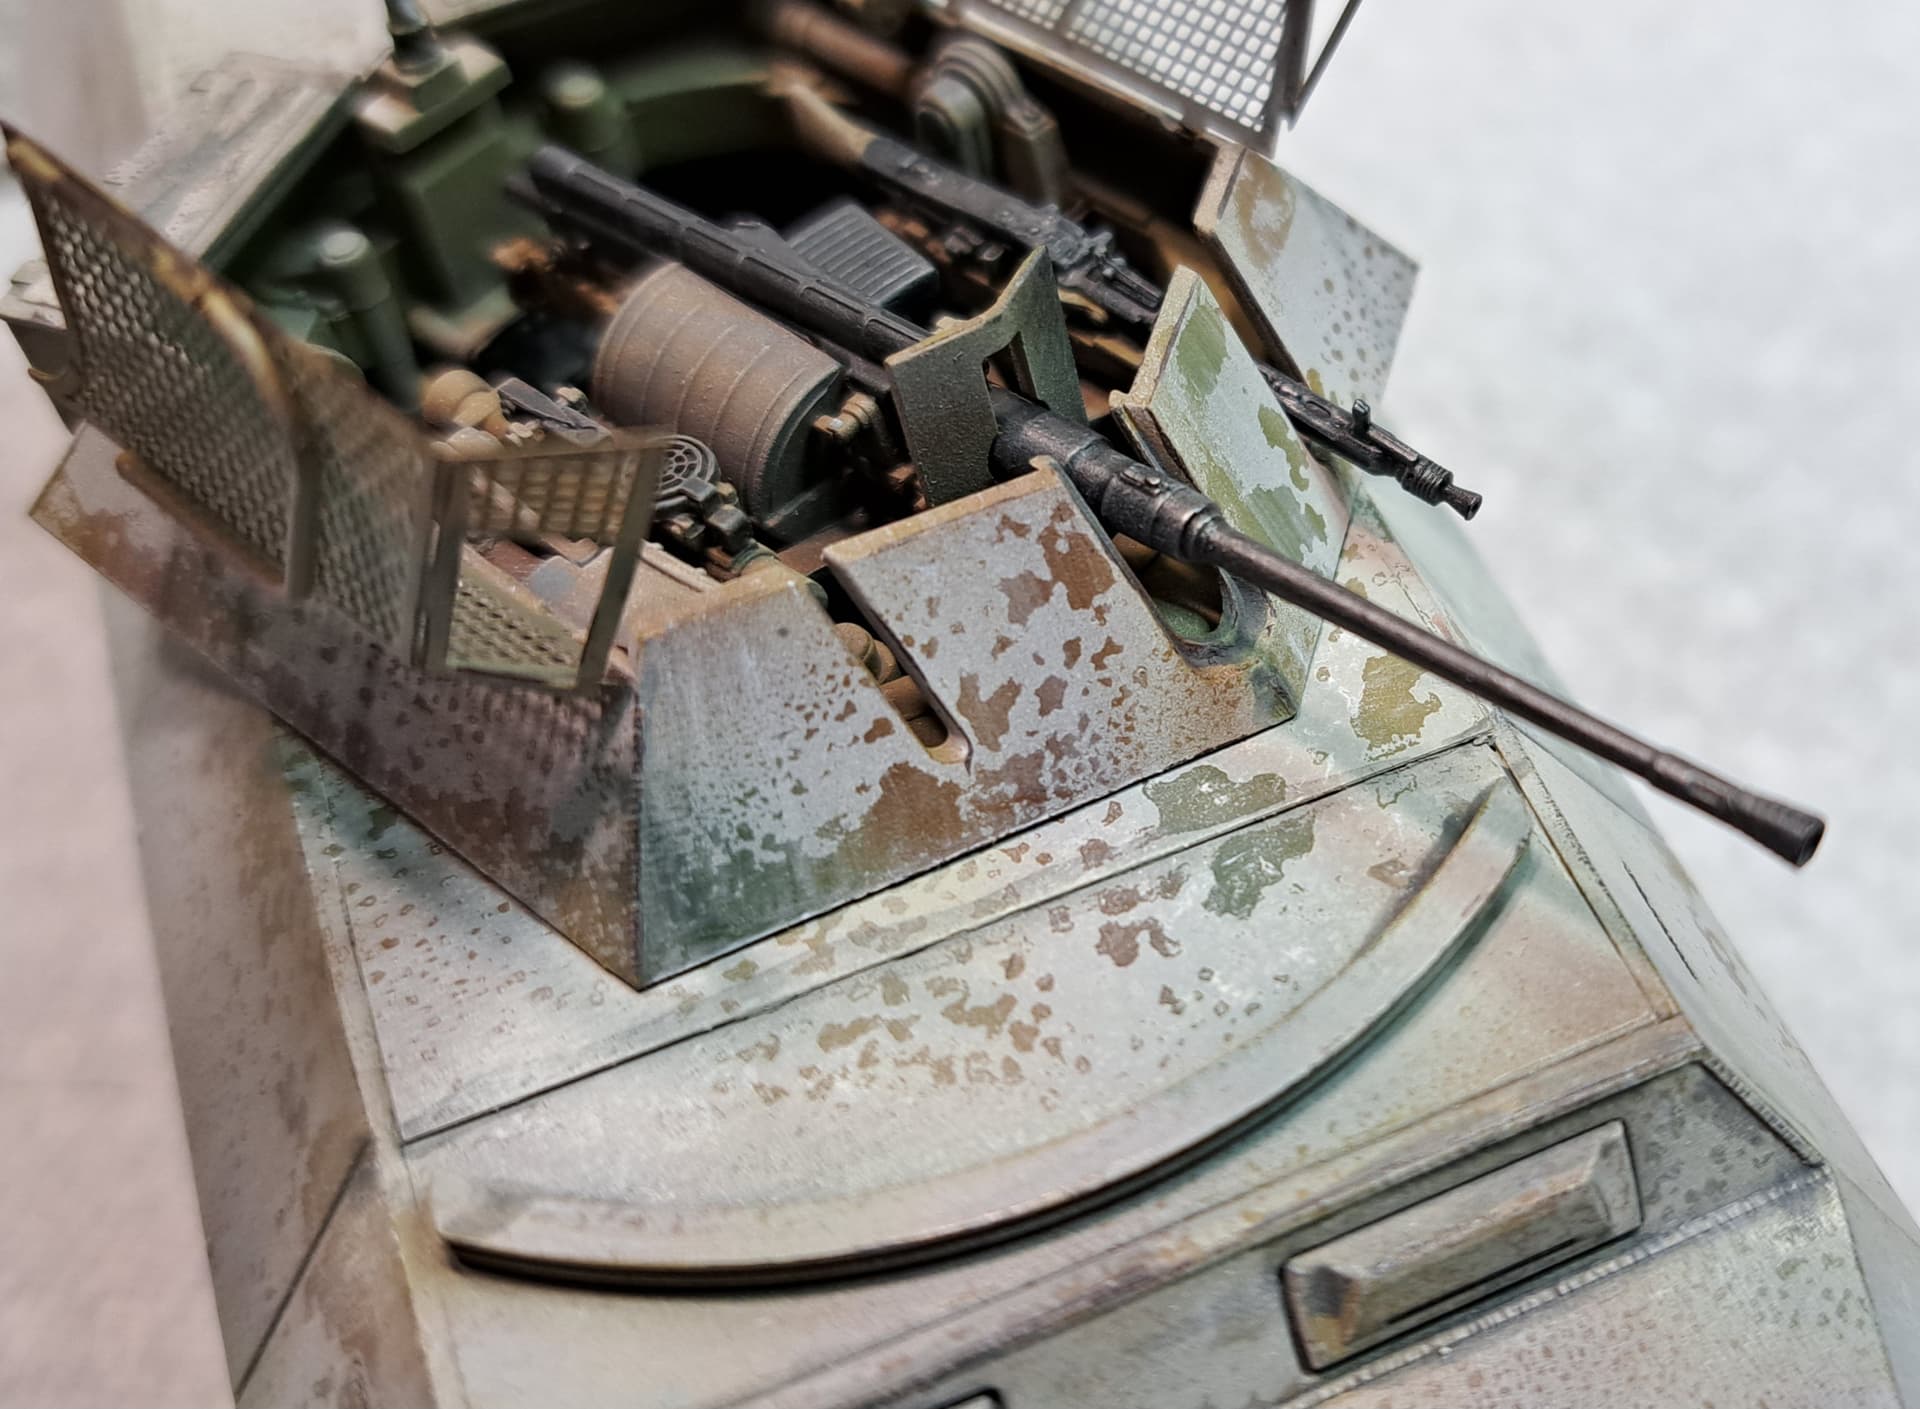
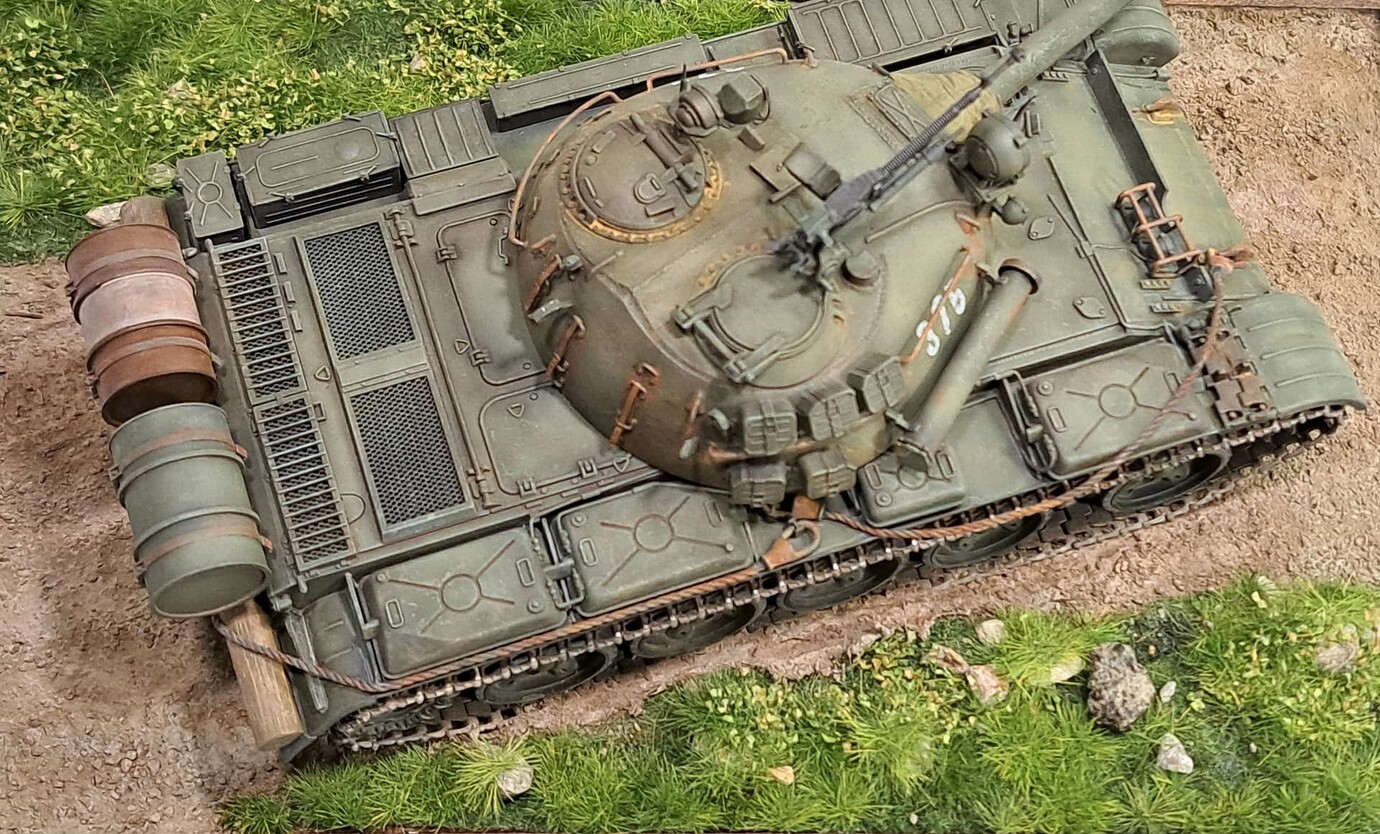
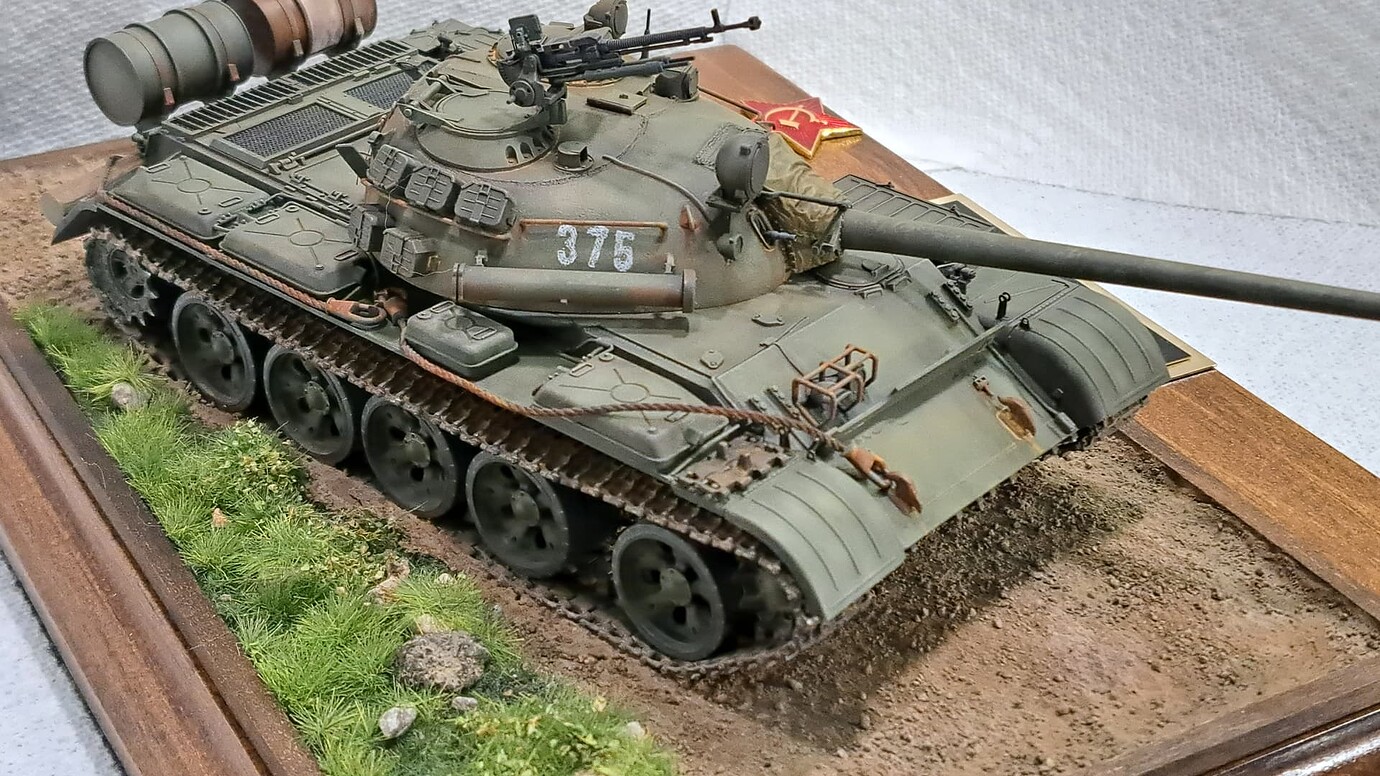
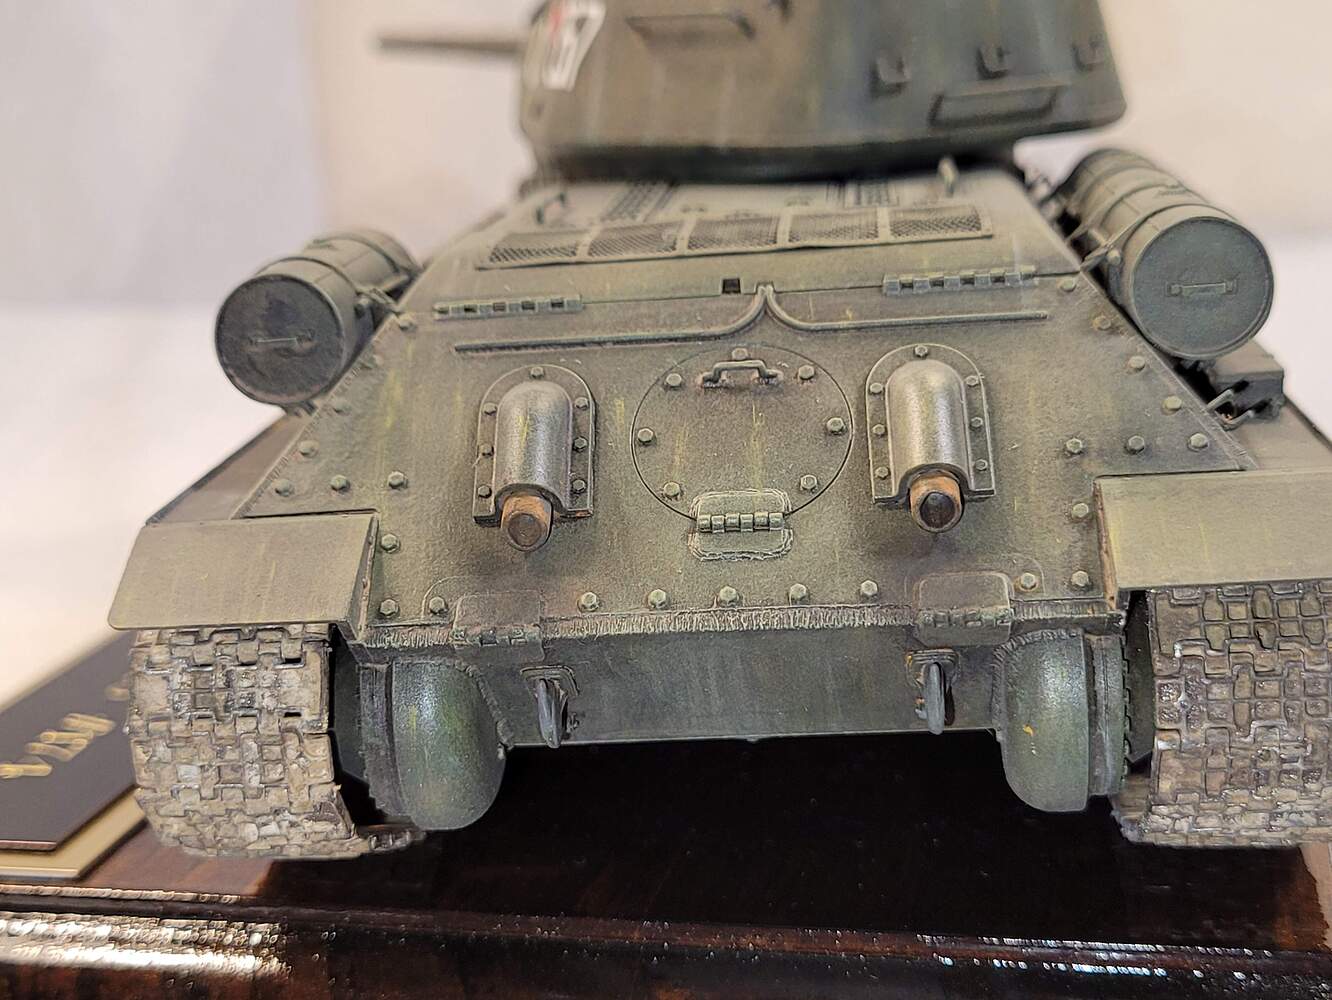
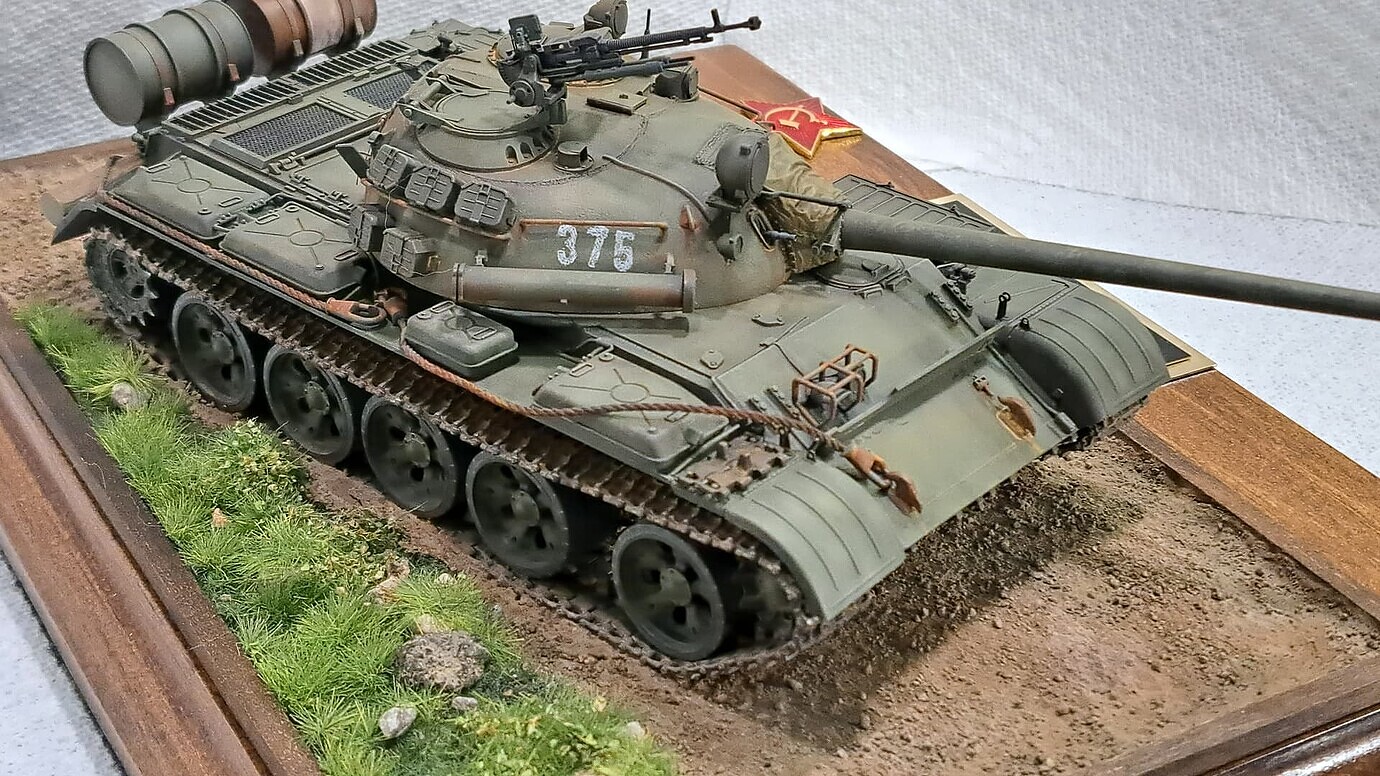
In 2019, the T-55A was painted and weathered in 2023. By 2023, I’d read so much repeated criticism of the Tamiya T-55A kit it was unbelievable :flushed:.

Decided the model was likely a write-off, not AMPS worthy and too just have some fun finishing it. So in addition to the JS-3 style finish, slapped on a couple of heavy washes of Floquil rust & dirt made with Mr.Color Leveling Thinner almost as a joke of going Spanish-School. Those were followed up with pins washes Mr.Color Hemp & Mr. Color Leveling Thinner. Drybrushed as per normal plus an extra dry brushing of Winsor Newton Napels Yellow oil paint.

11 Likes