Spray Zimmeritt? Madness, I tell you! Sheer madness!
4 Likes
Anyway the silly experiment will be at a future date.
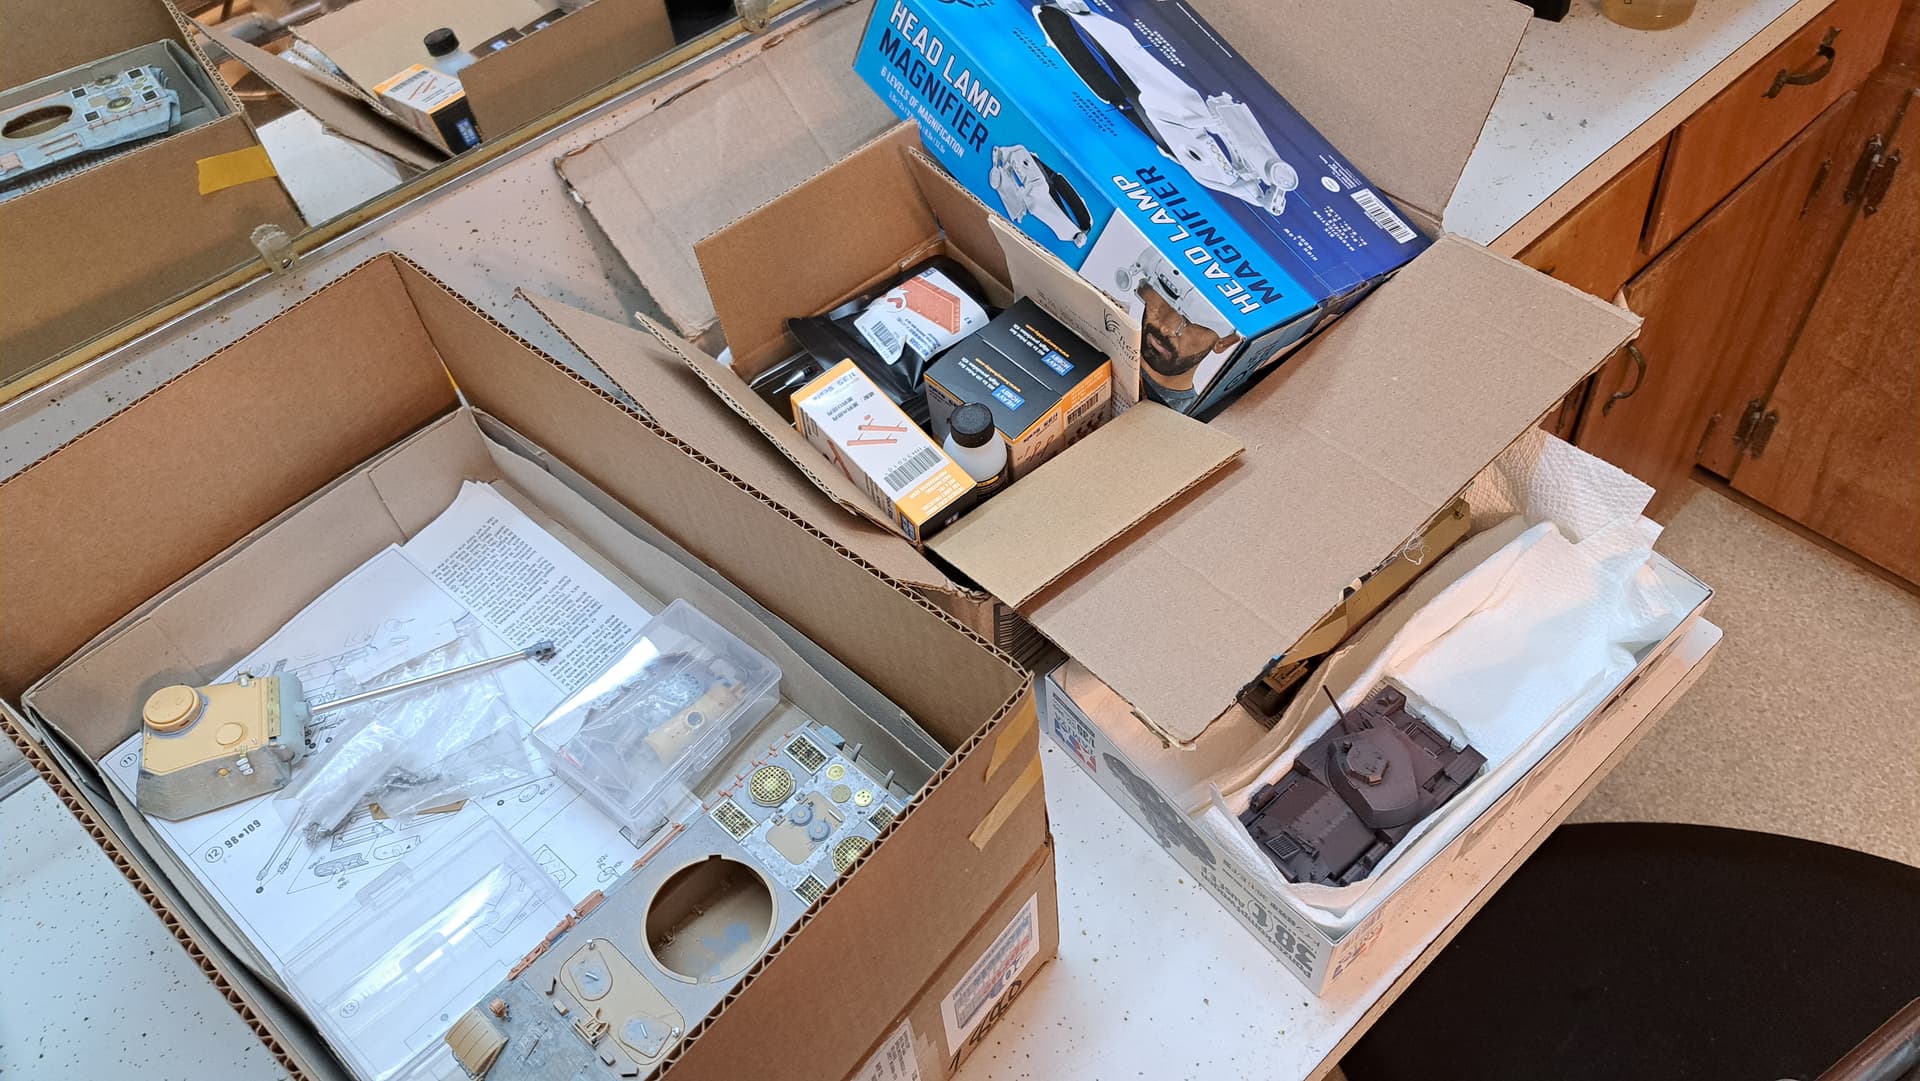
Today the Nail Polish Airbrush and mini Compressor Test.
For less than $60 via Amazon Prime to one’s door. That’s less than the cost of the 251/23 at Sprue Brother’s.
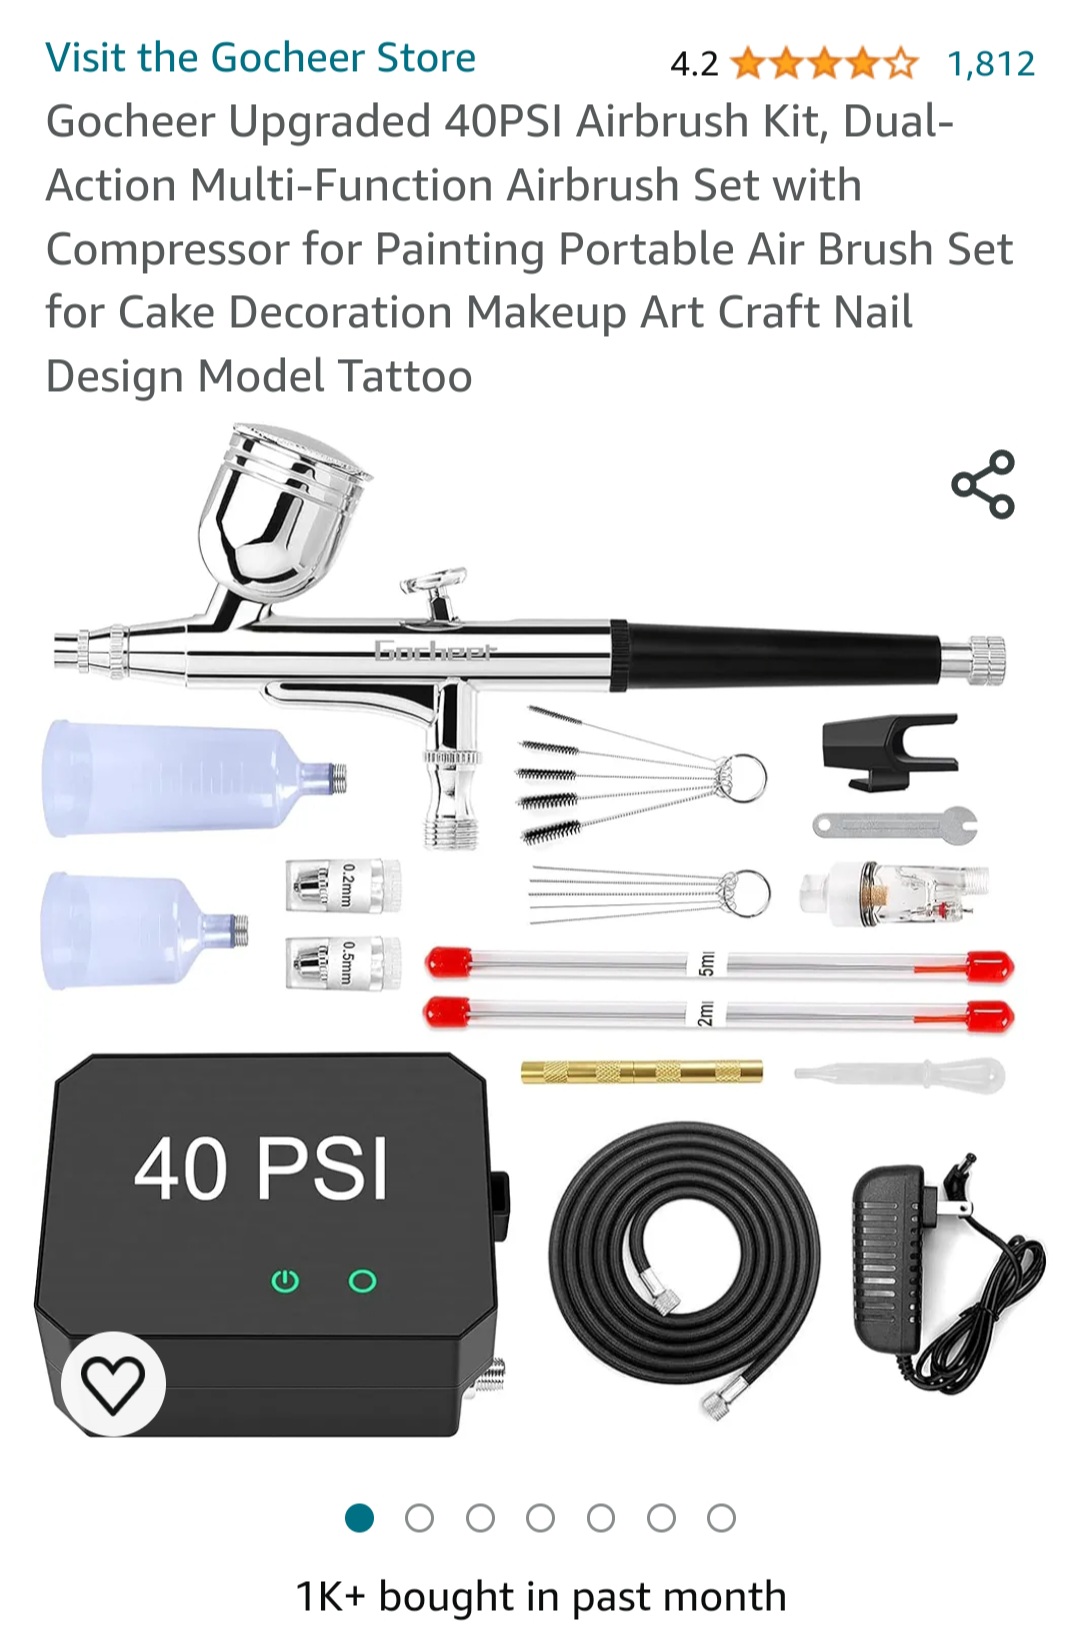
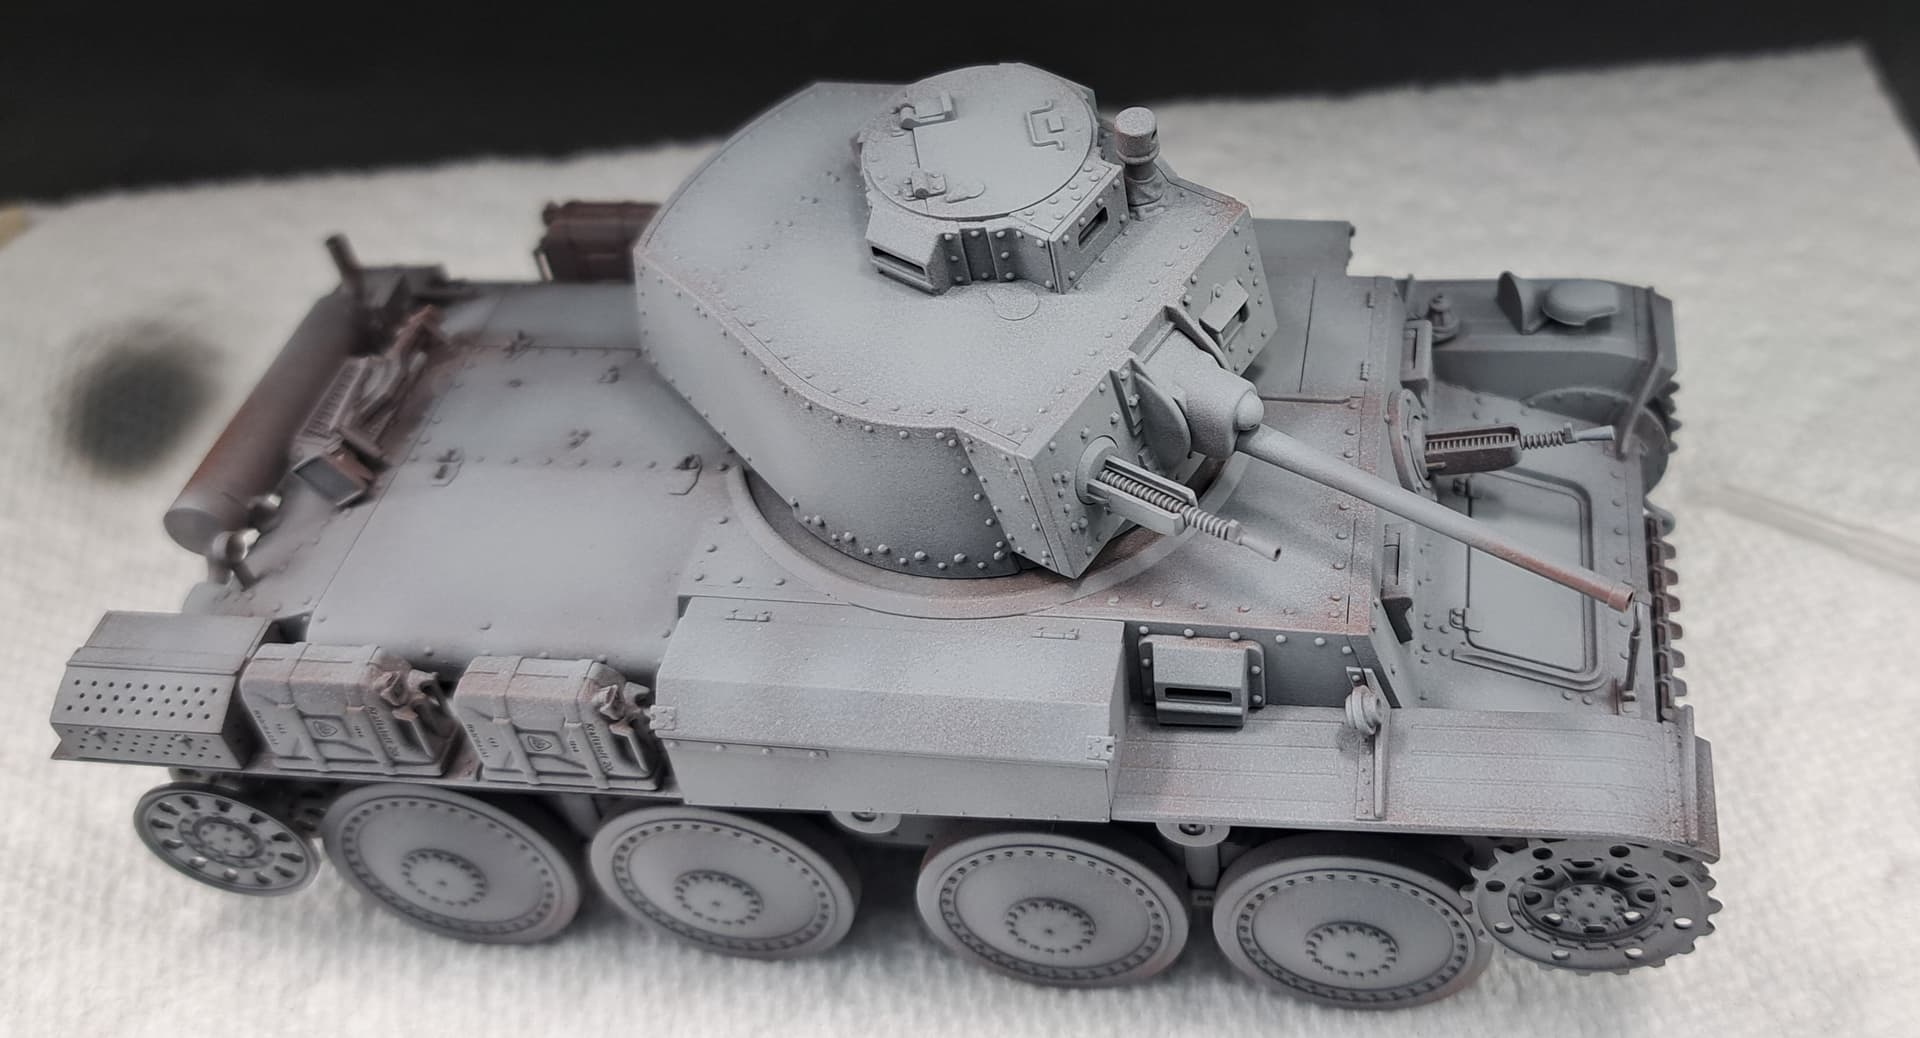
I was impressed because I half expected the little compressor to seize and burn out during the spray session. It probably ran a total of 40 minutes and is still functional. The 40 psi seemed more like 18 psi with thinned Mr Surfacer 1500 and Mr Paint Red Oxide.
Both were shot with a custom Weathered Black mix of gray & black Mr Surfacer. Overall all the nail salon set performed pretty well for base coat. I’d definitely use it again for shooting the base coat.
Not being able to control air pressure made applying color coat less satisfactory for my personal preferences. It was necessary to spray before and past the model for acceptable painting. If coats of color are what one wants this set up works well. I think it would work well with masking and spraying etc.
I didn’t find a method for over lapping spot & dot plus squiggles which is my preference aka Shadow Painting or Black Basing as it’s often called today. Probably won’t shoot color coat again with this set up.
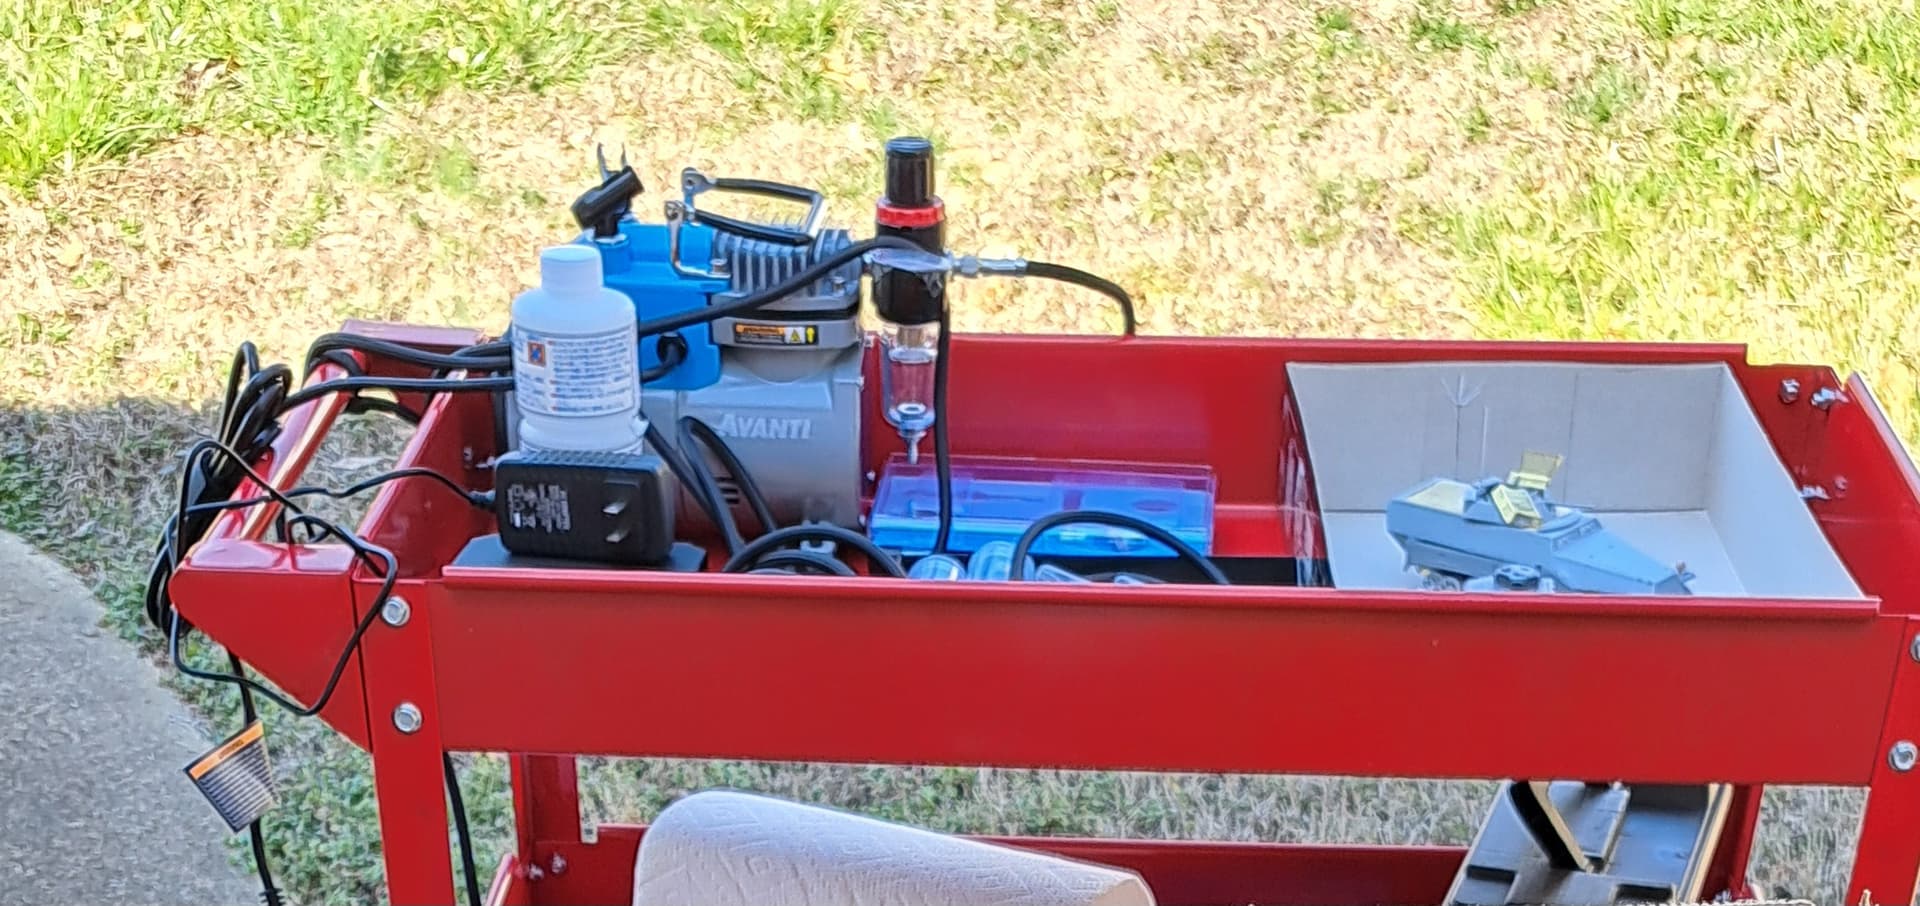
For a mobile airbrush & compressor plus tools etc, this set up is easy to transport and I think it’s a valuable tool. I’d buy again in a heart beat.
The two small fry above will for cure a few days. Afterwards, they’ll be touched up & camouflaged per normal (Paasche VL w/tank & regulator etc).
I like the idea of keeping the 251/23’s bottom in red oxide plus camo colors. The Panzer 38t will get some additional Floquil Military Color Panzer Gray.
5 Likes
My long visit wraps soon with electrical issues finally sorted on the Trans Am after almost four weeks in shop.
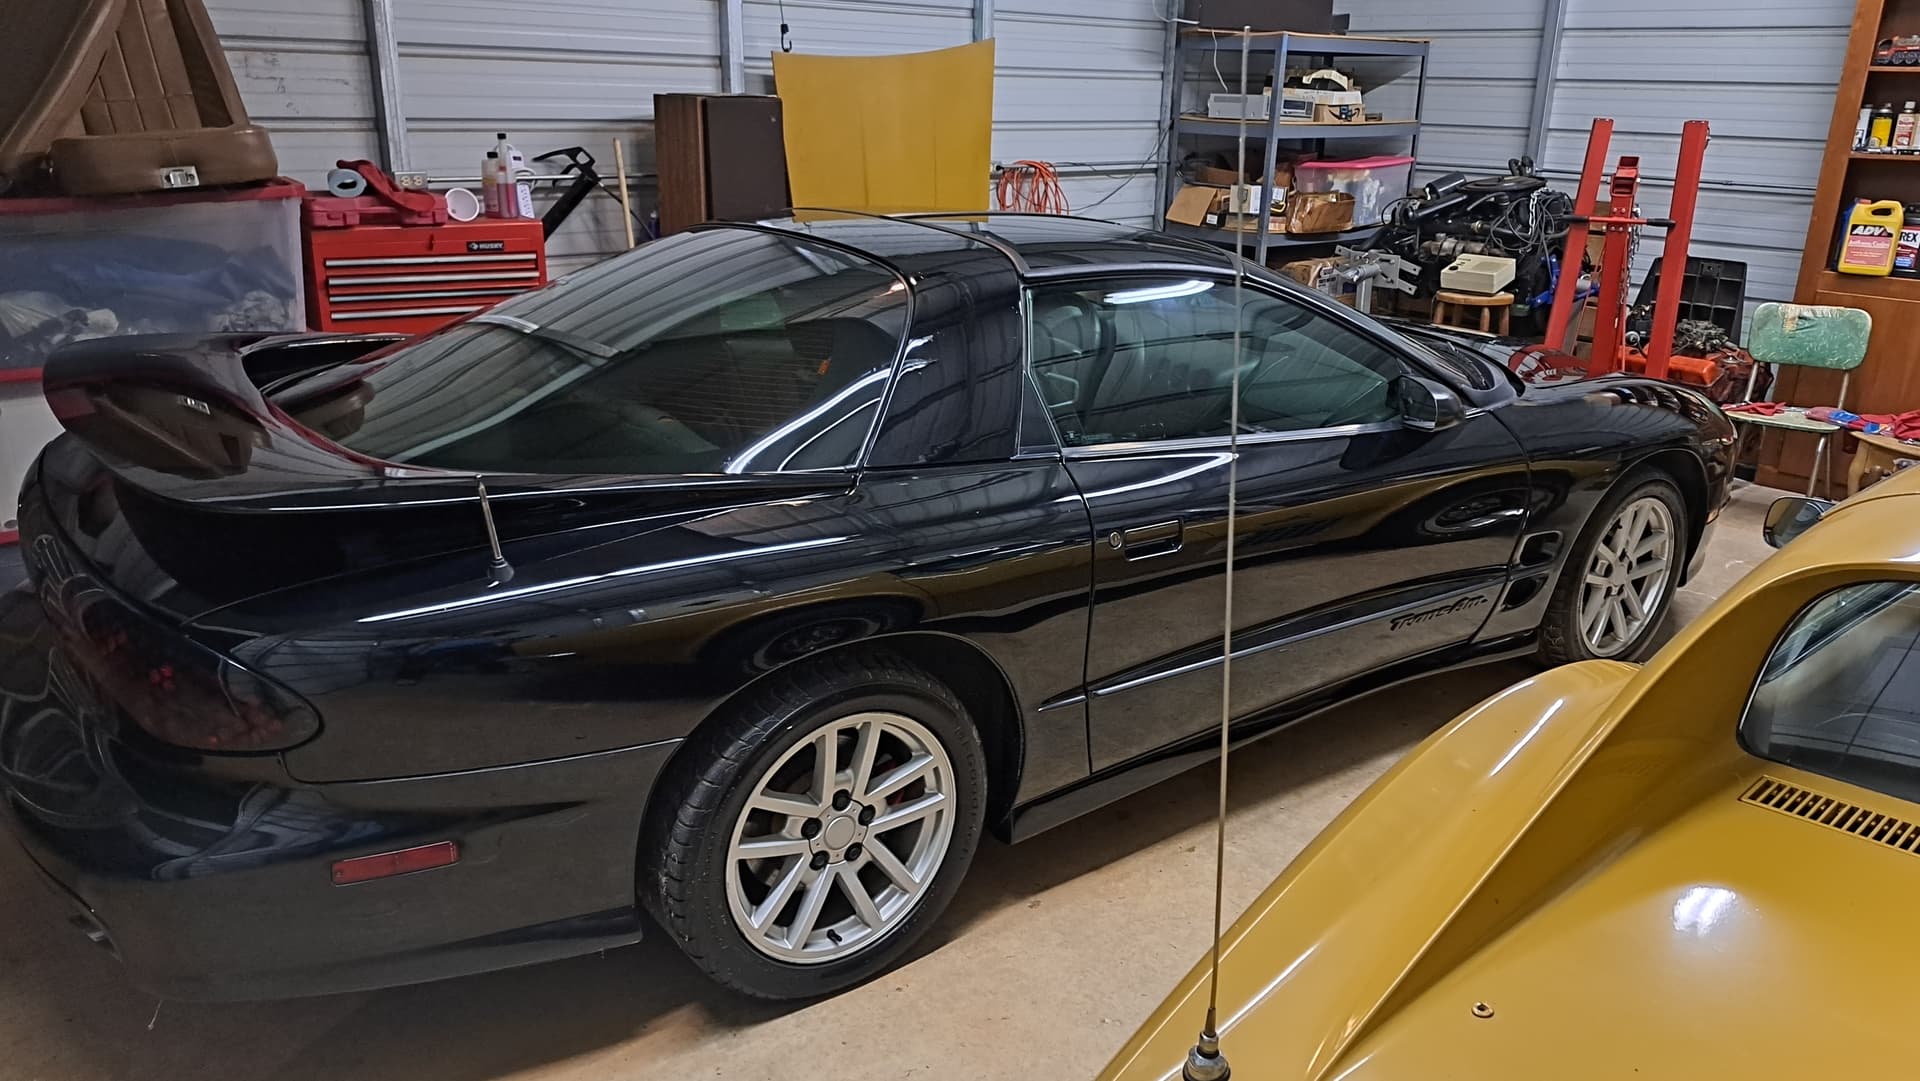
Accordingly the mobile hobby shop is packed and ready to roll. Never expected the Italeri Panther to have two newly built and base coated models riding shotgun.
Plan to wrap the two small fry on returning home and then get after this fat stack of built models that need finishing.
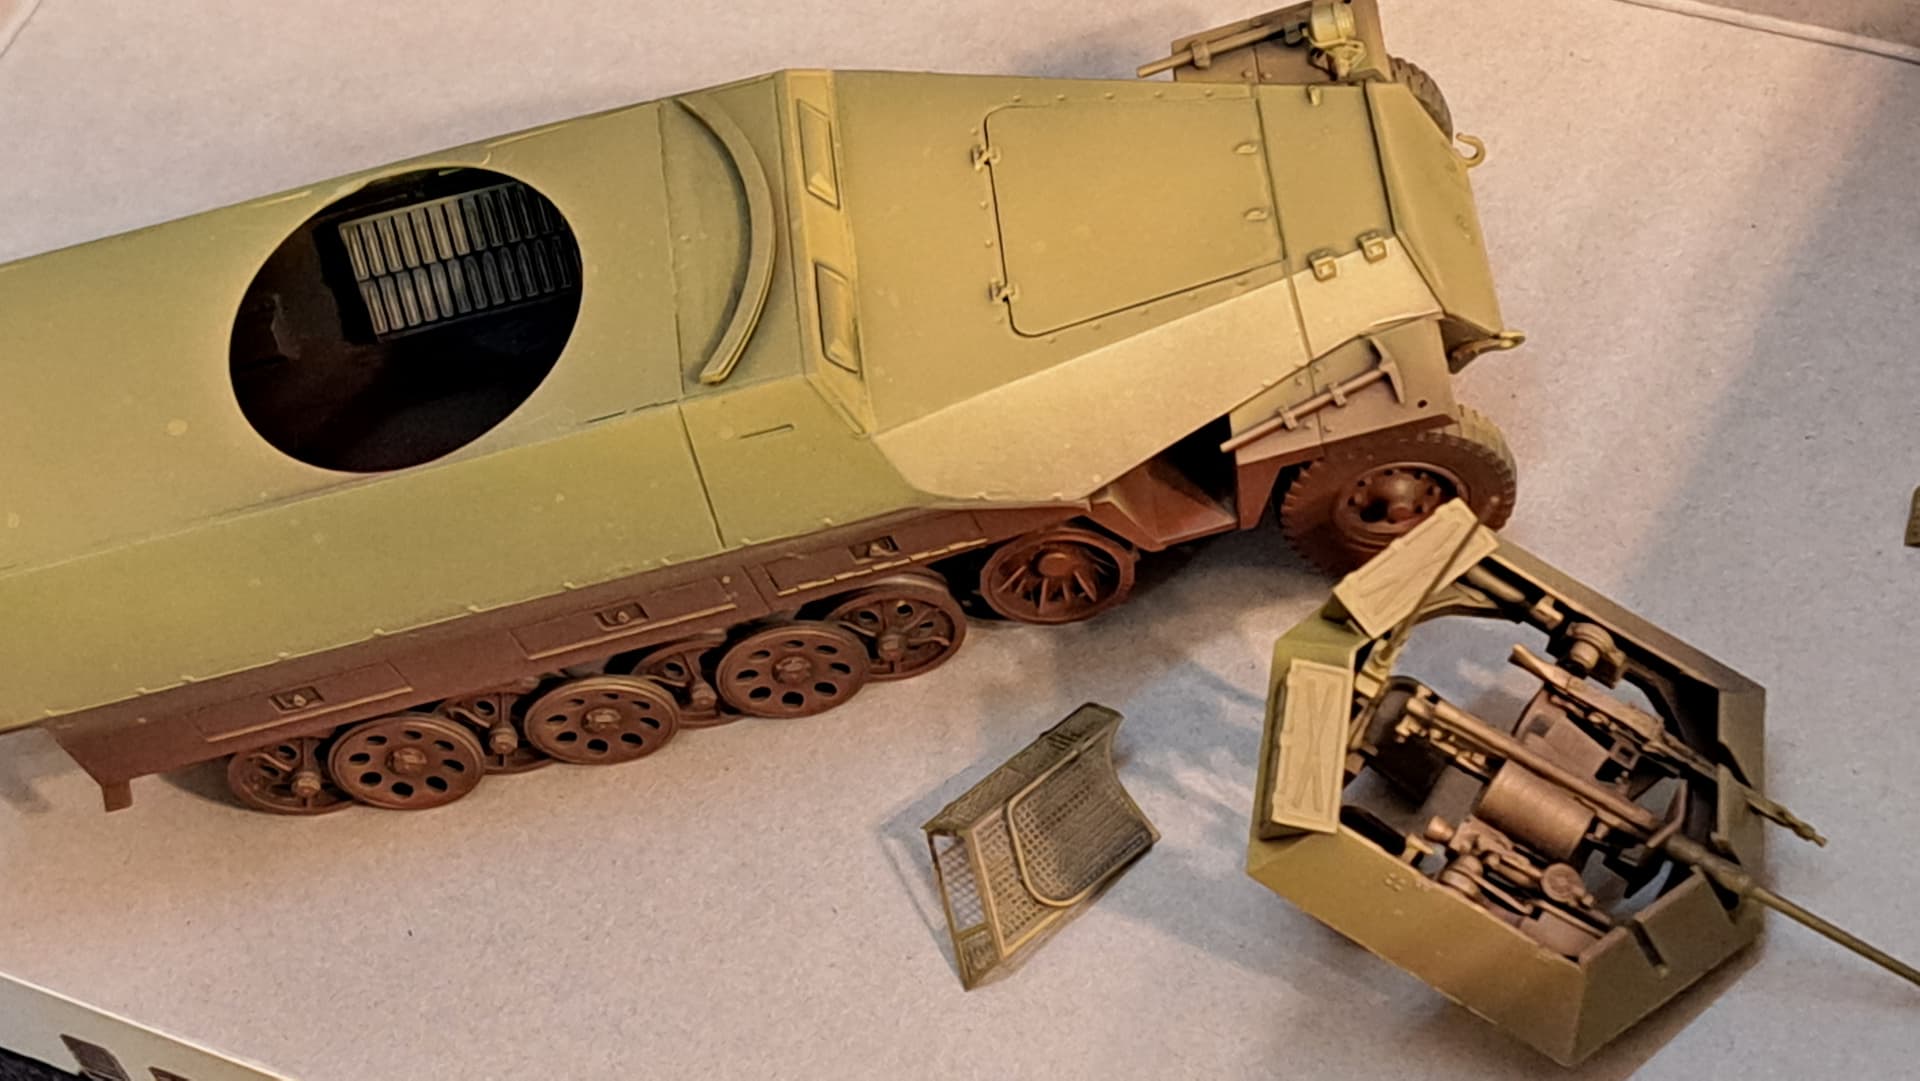
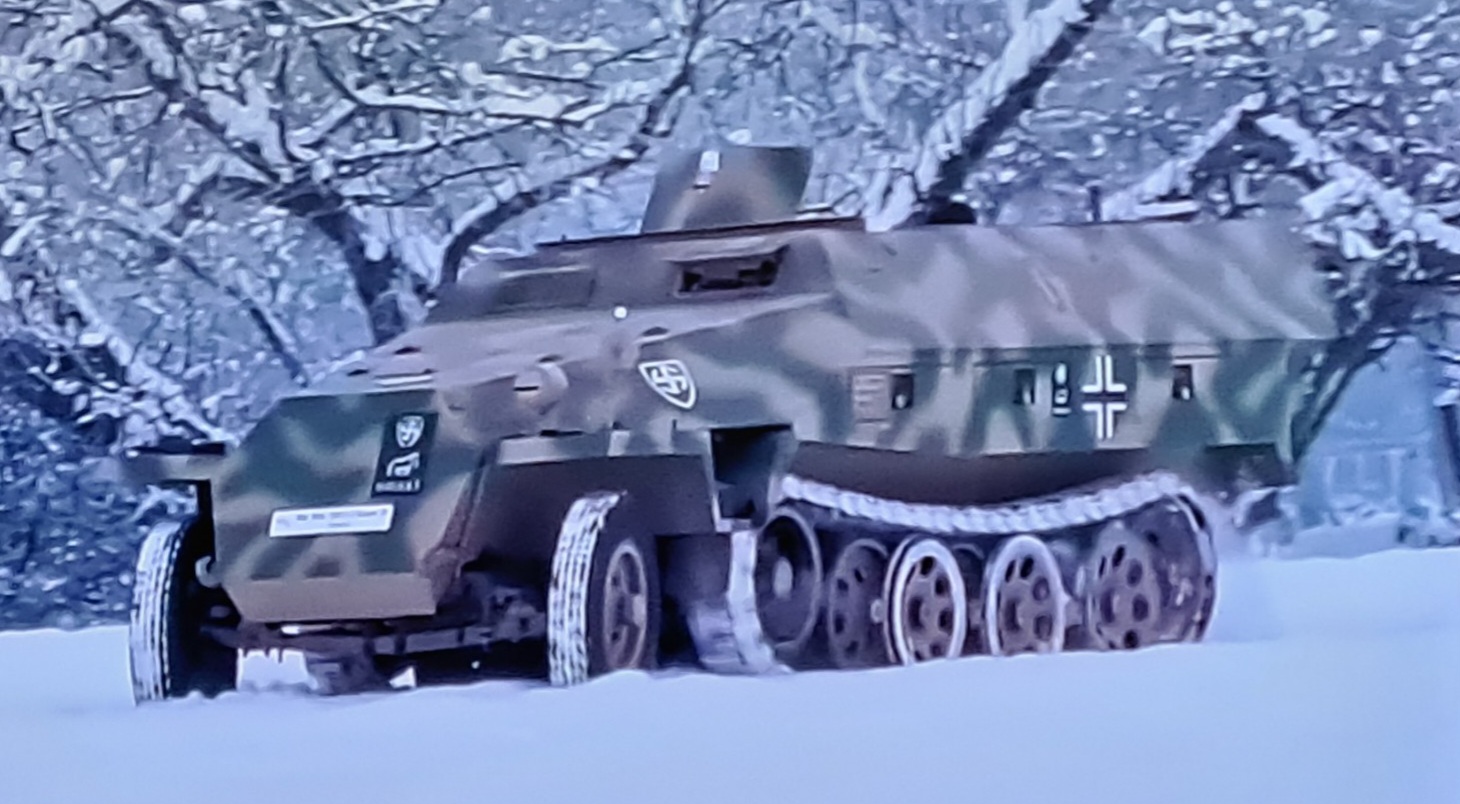
Next visit, I’d like to keep with the small fry theme when on the road. I think an old Tamiya 251/D using some of the spare parts from Dragon’s 251/23 might be a possibility.
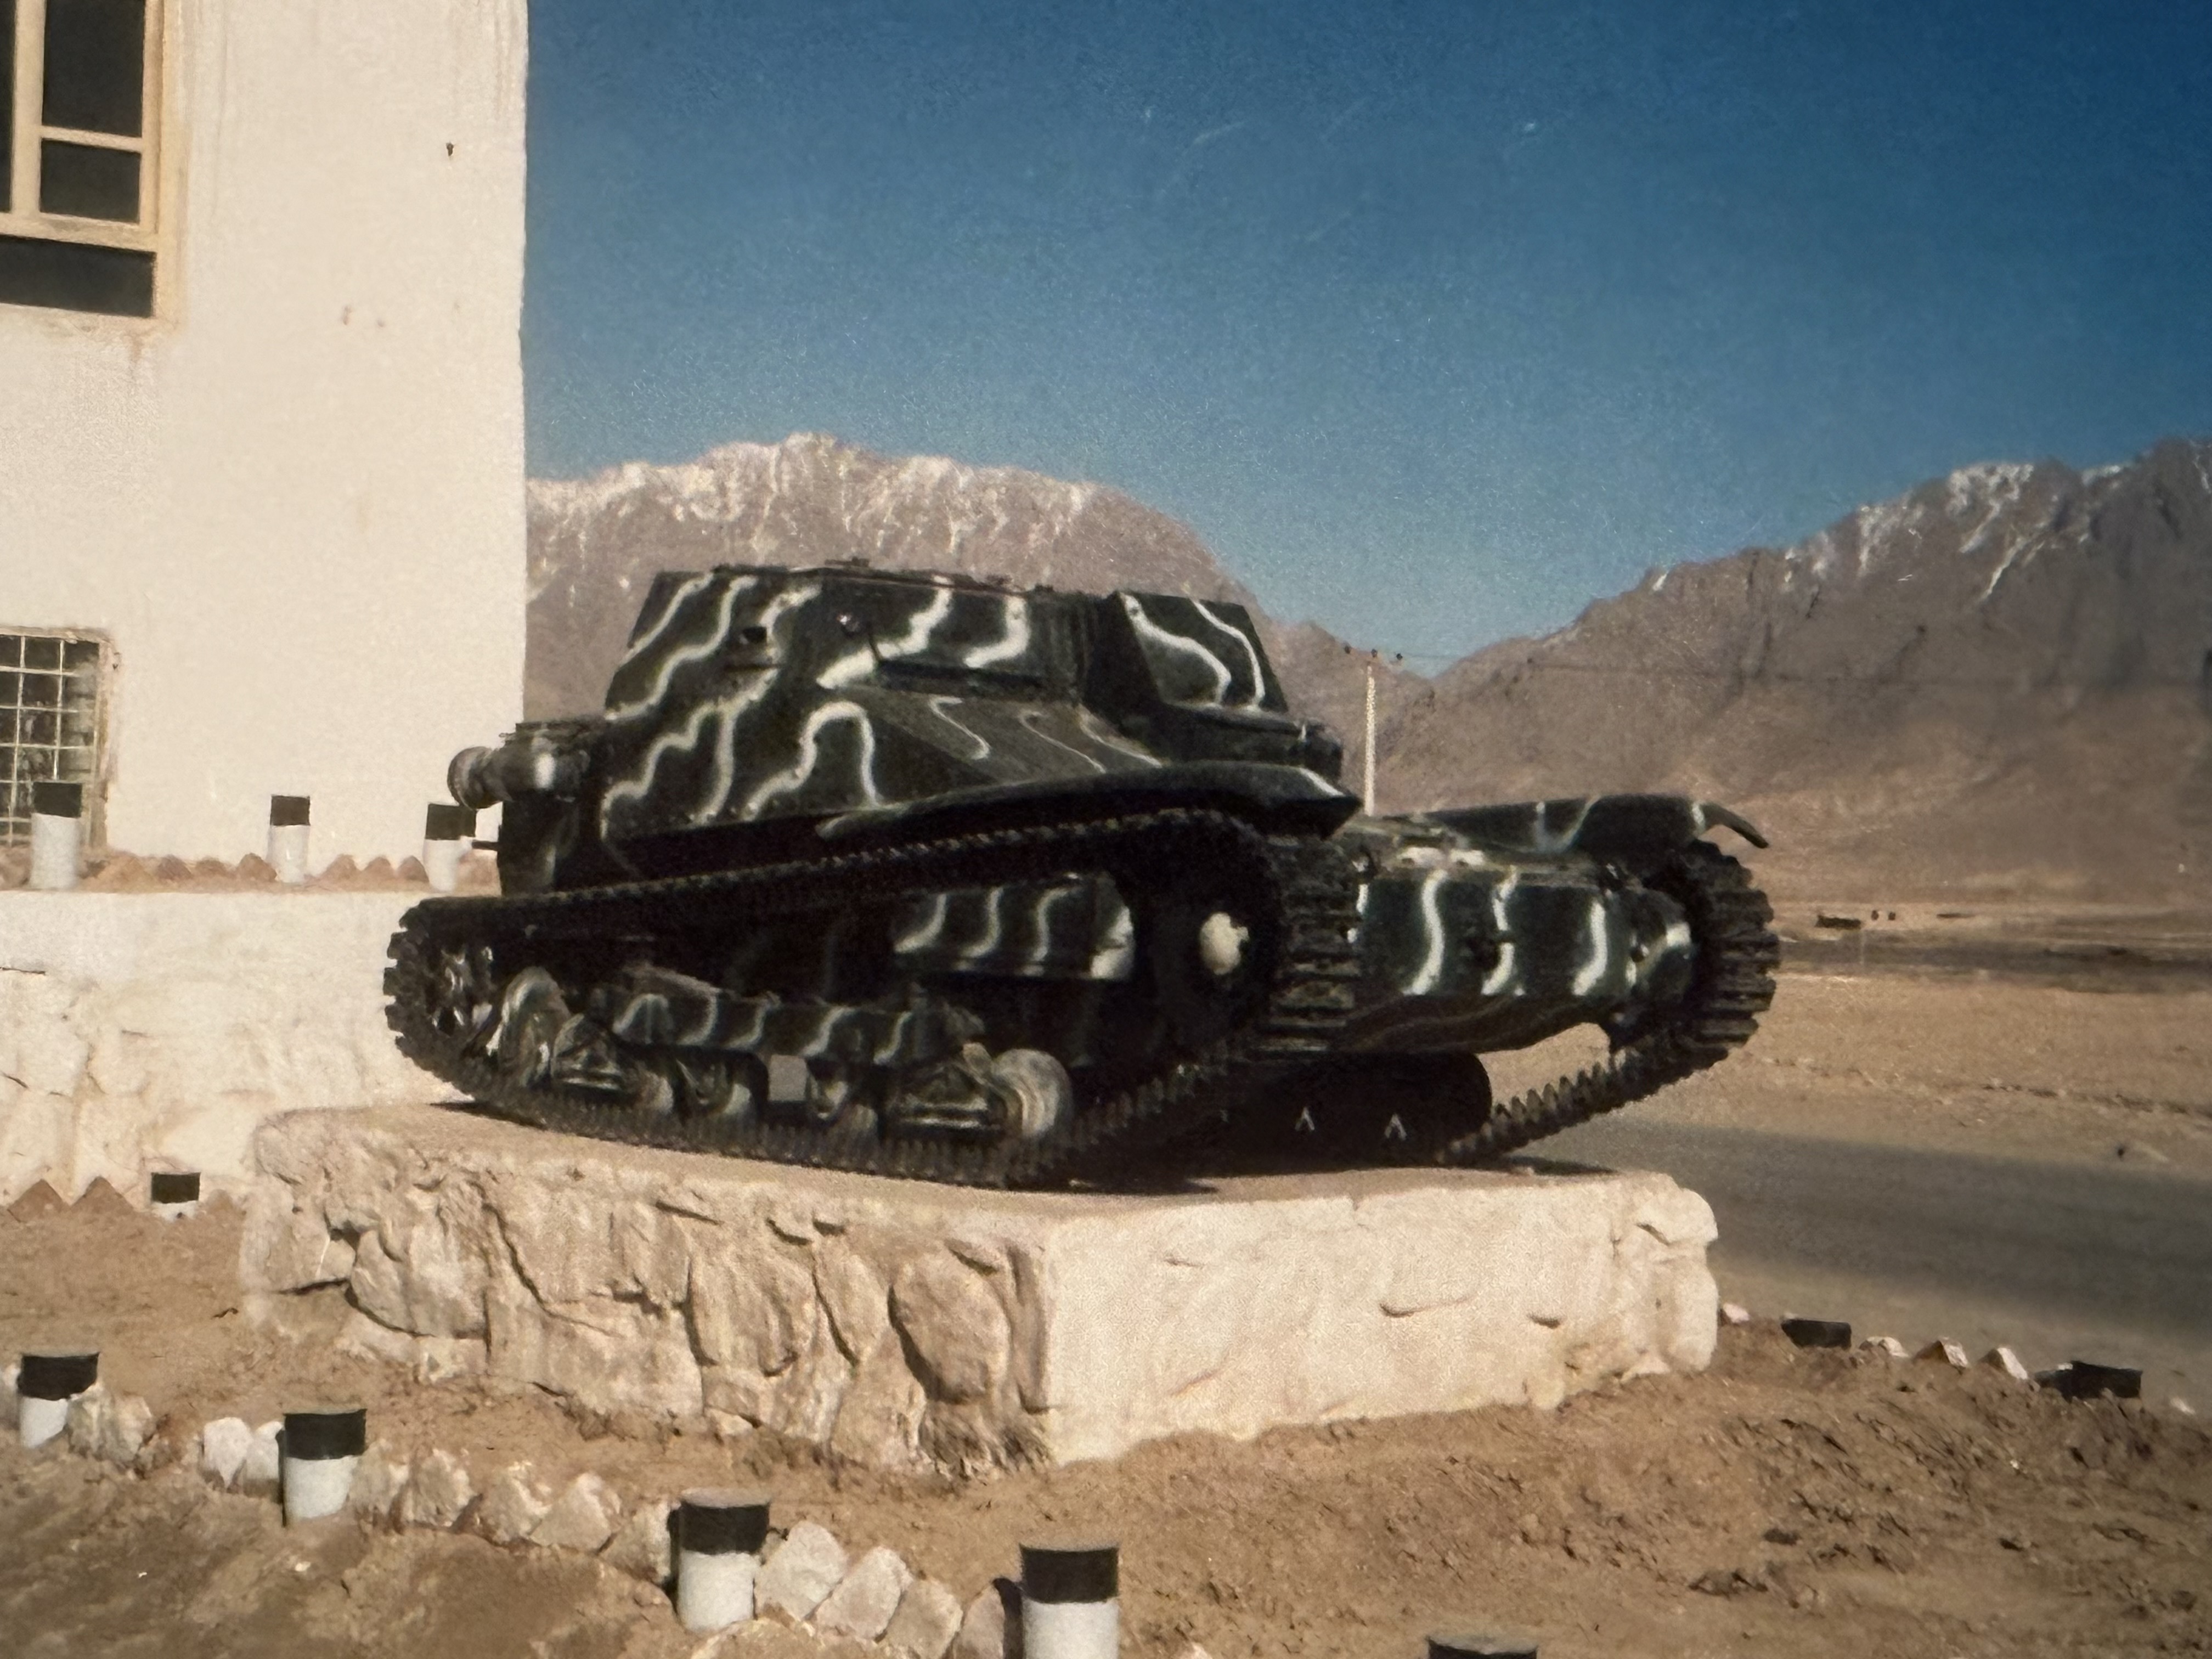
I really like this restored museum 251/D that was found buried at a scrap yard under a pile of junk in the 1970’s. This picture sold me on wanting to build “014”.
6 Likes
Chick magnet??? ![]()
![]()
![]()
—mike ![]()
4 Likes
Mike, they could help attract kitty’s back in the day but never to standards of a genuine…
…Kill Bill style machine ![]()
5 Likes
Blog & words, TL DR stuff.
Hopefully will have an update of sorts today, tossing this post out as an obligation to motivate hitting the hobbyroom.
Really want to rip into a Takom Tiger but the in process kits are way too many to start anything else until something gets finished. Have had the Takom Late Tiger & a Tamiya Sherman on the dining room table considered starting them but put them away. Haven’t been very much in the groove for model building on my various started projects for the last two weeks.
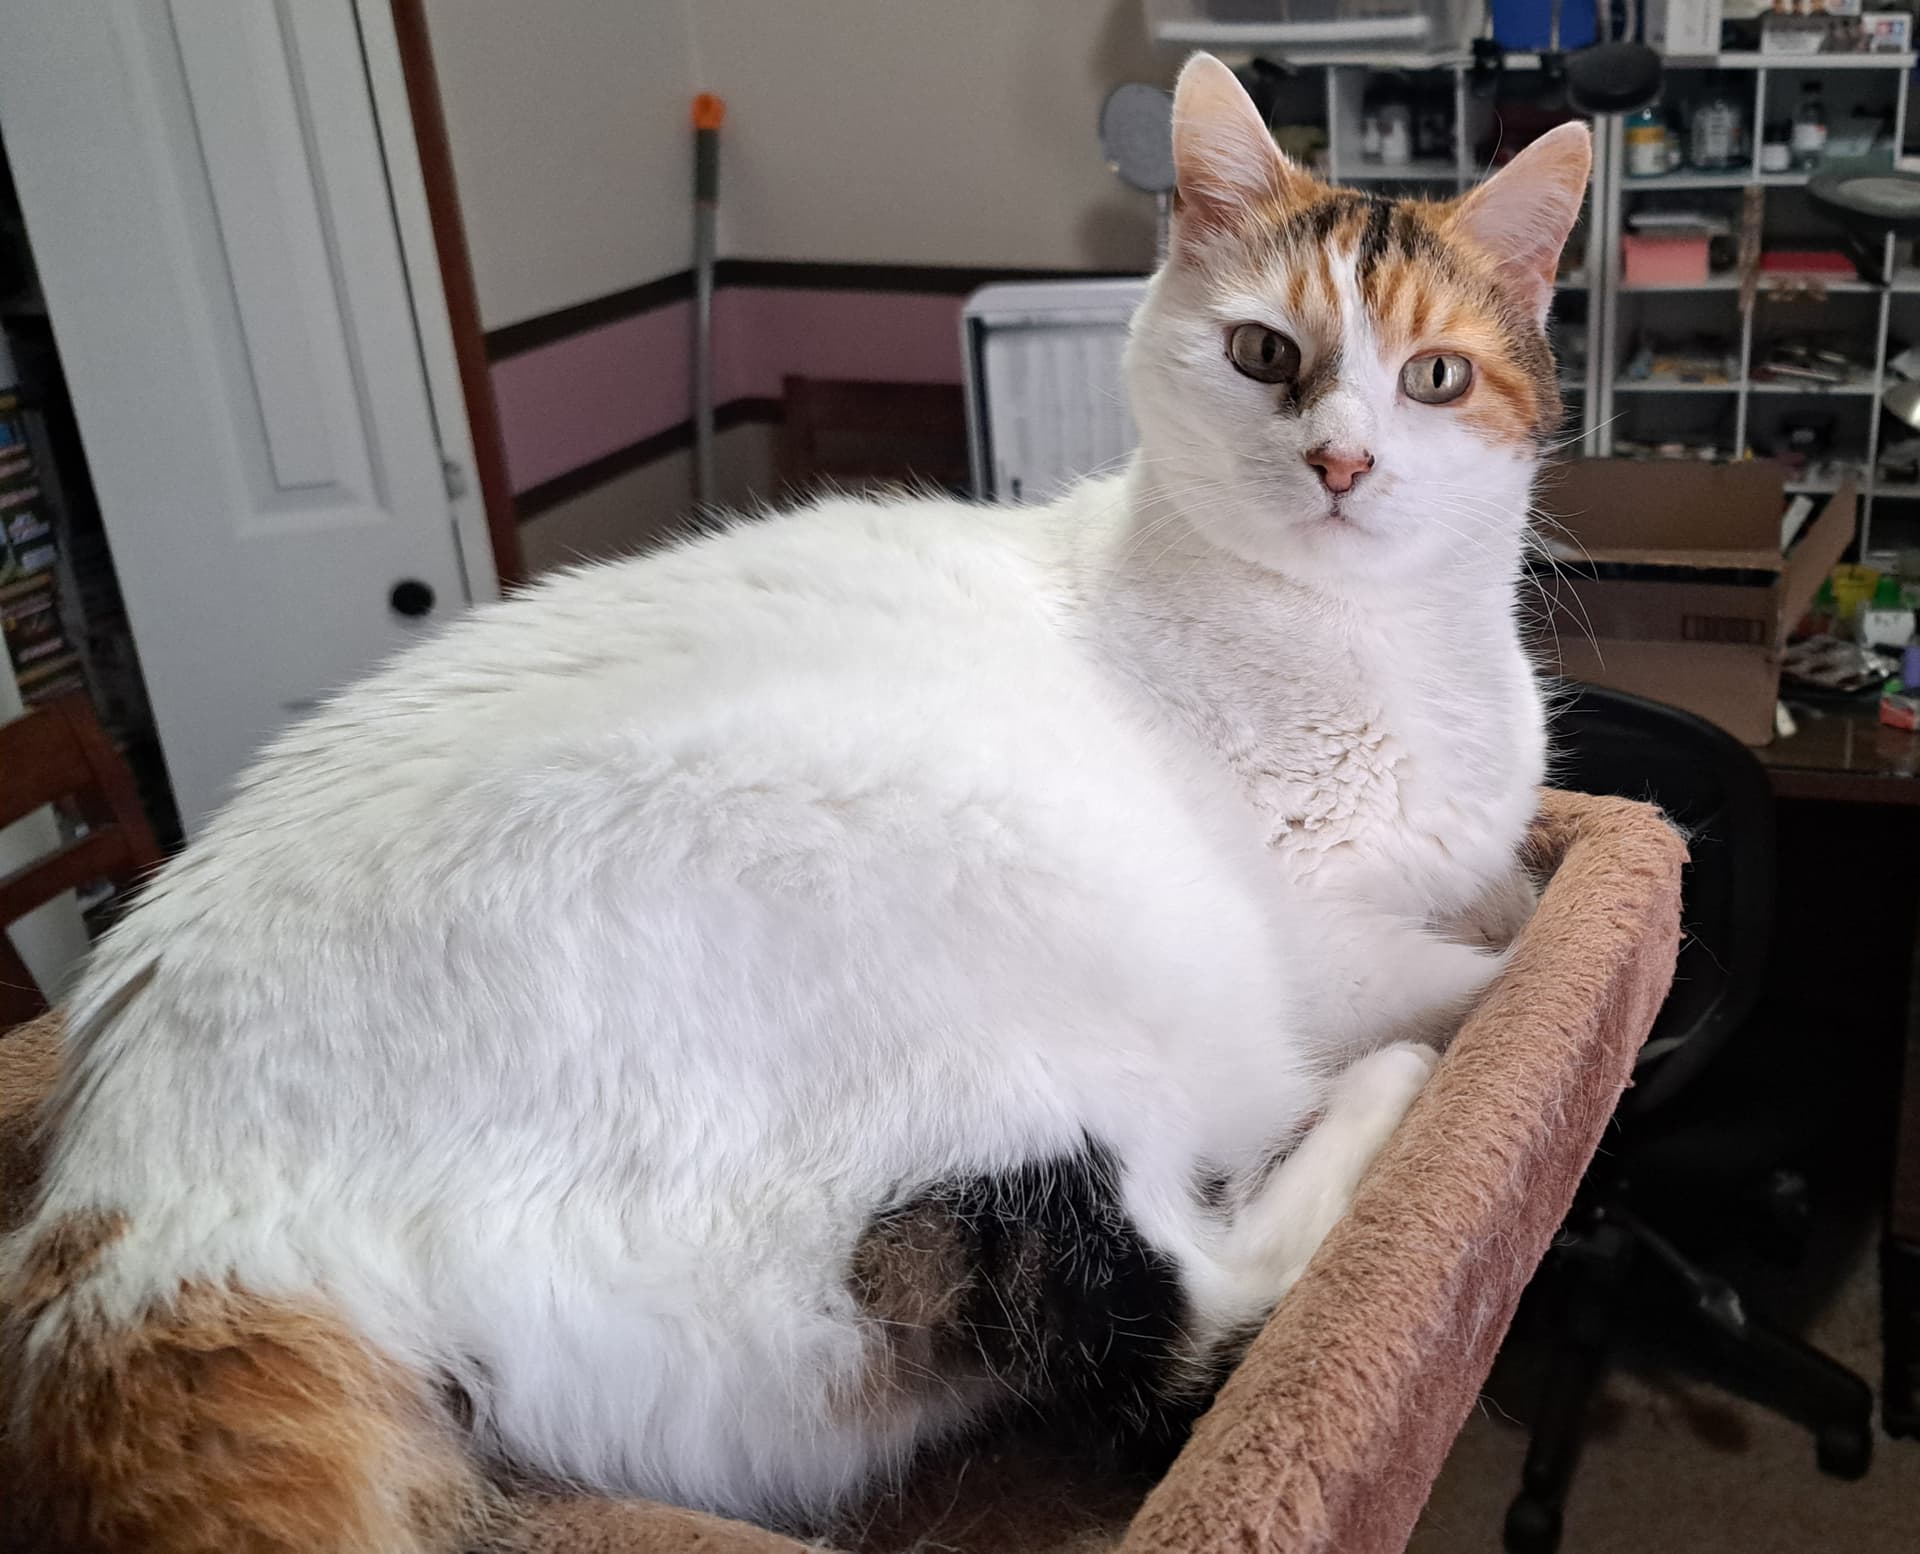
After being away for a while, Kali gets upset ![]() when my attention turns elsewhere. We’re still going claws in the leg mode if I sit down in the hobbyroom and don’t focus on Kali Kat.
when my attention turns elsewhere. We’re still going claws in the leg mode if I sit down in the hobbyroom and don’t focus on Kali Kat.
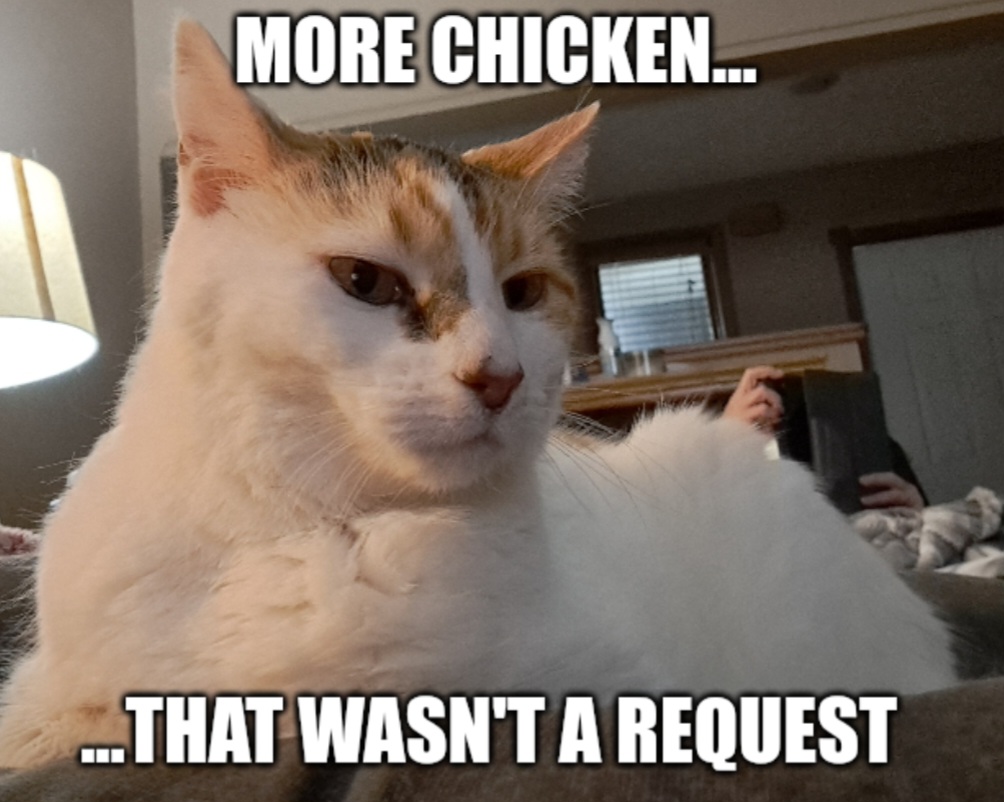
Another rotisserie chicken sacrifice and a couple episodes of the new Shögun remake is needed to get back in her good grace’s.
Cheers ![]() and thank you for reading.
and thank you for reading.
7 Likes
Gives new meaning to the term “p*ssy whipped”!
6 Likes
You need to reset the tone with that cat. You are master no matter what they think.
5 Likes
LOL!
Probaly so. I suspect an elderly person previously had her before she’d ended up on the street. She wants to eat at the table with the family. Expects too. We’ve never allowed that but over seven years and counting she she still expects a place setting at the table at dinner time. She’s an older vindictive but loveable cat that’s very set in her ways at this point.
Anyway, she headed to the hobbyroom got in the hobby room cat tree for the first time since I’ve been home.
This ^^^^ means “clearance” for business as usual with no repercussions.
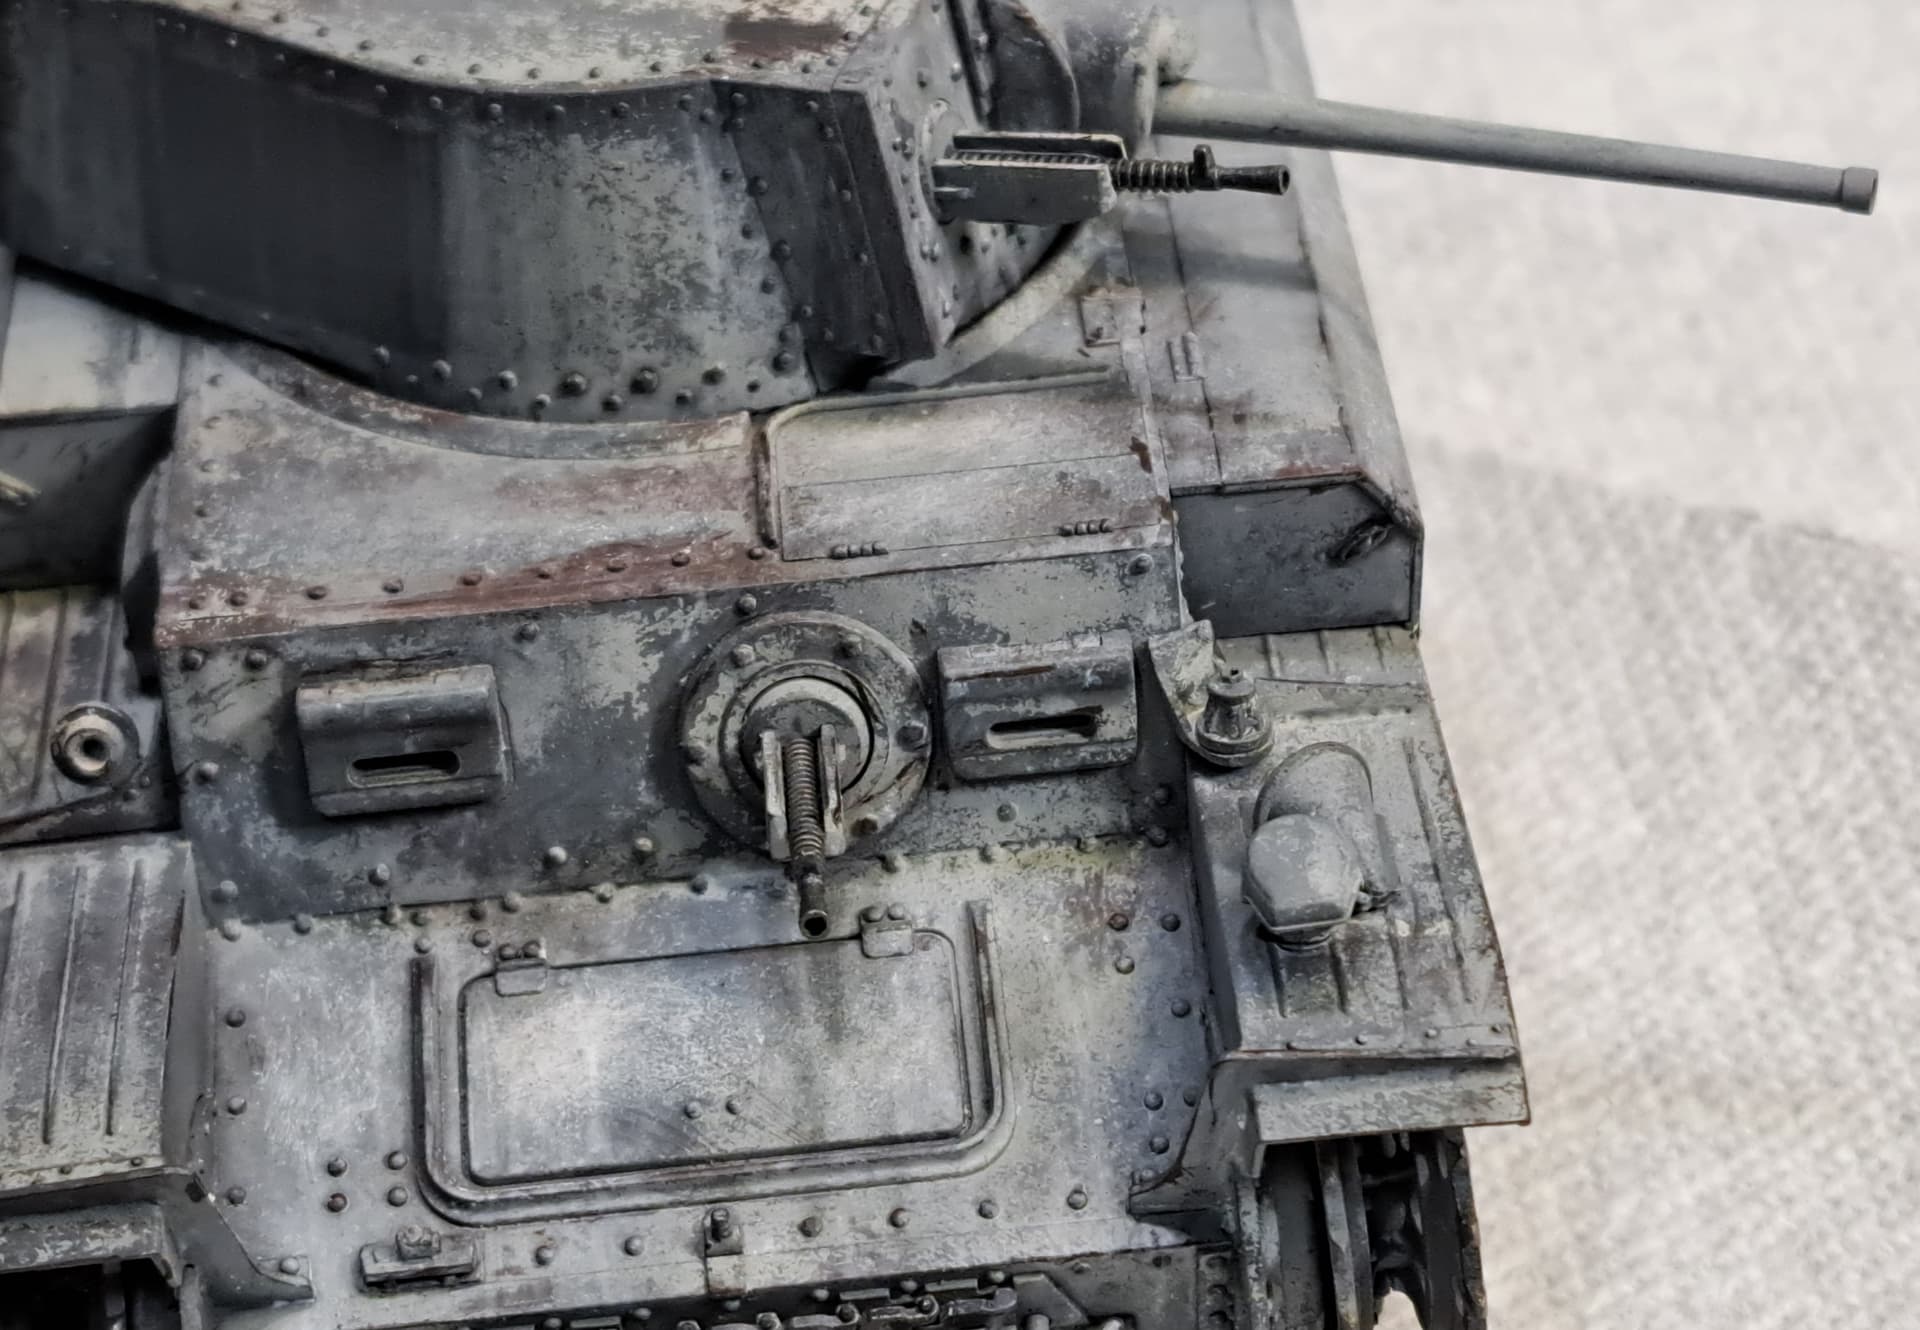
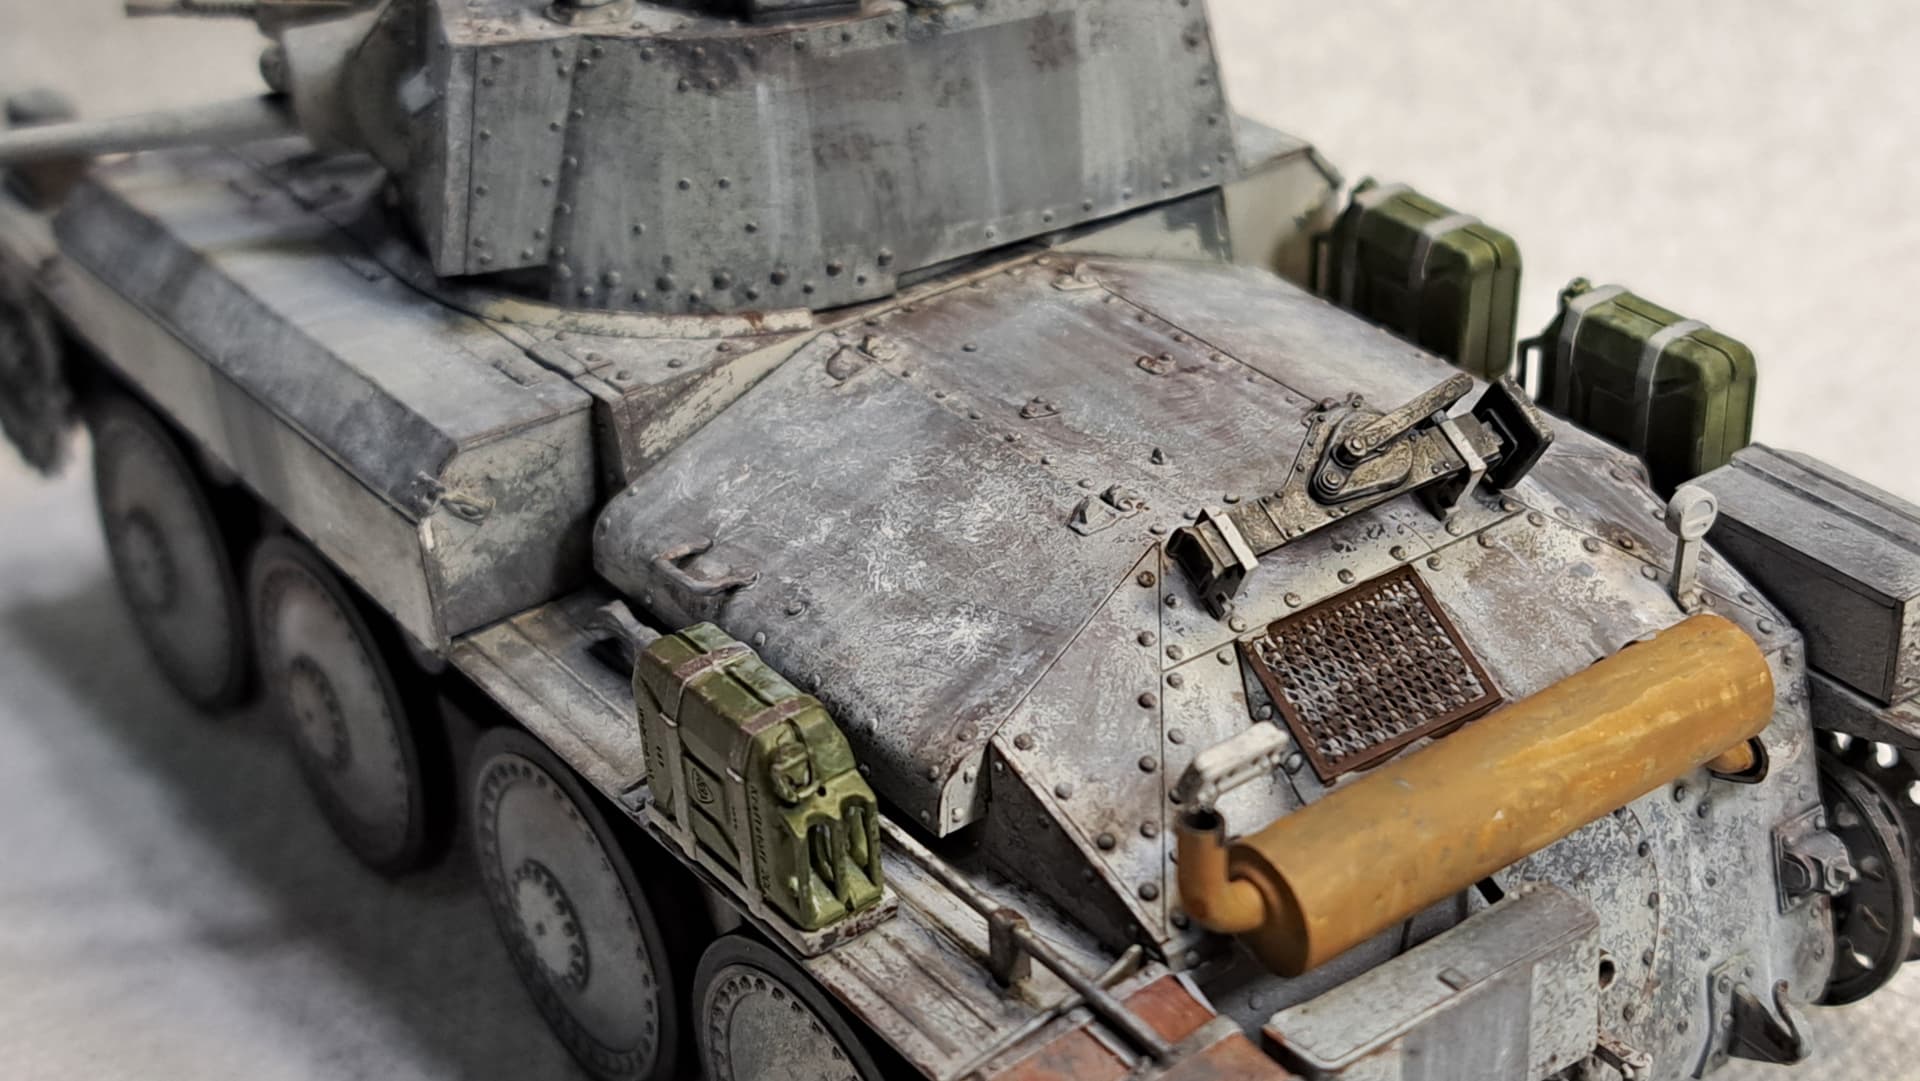
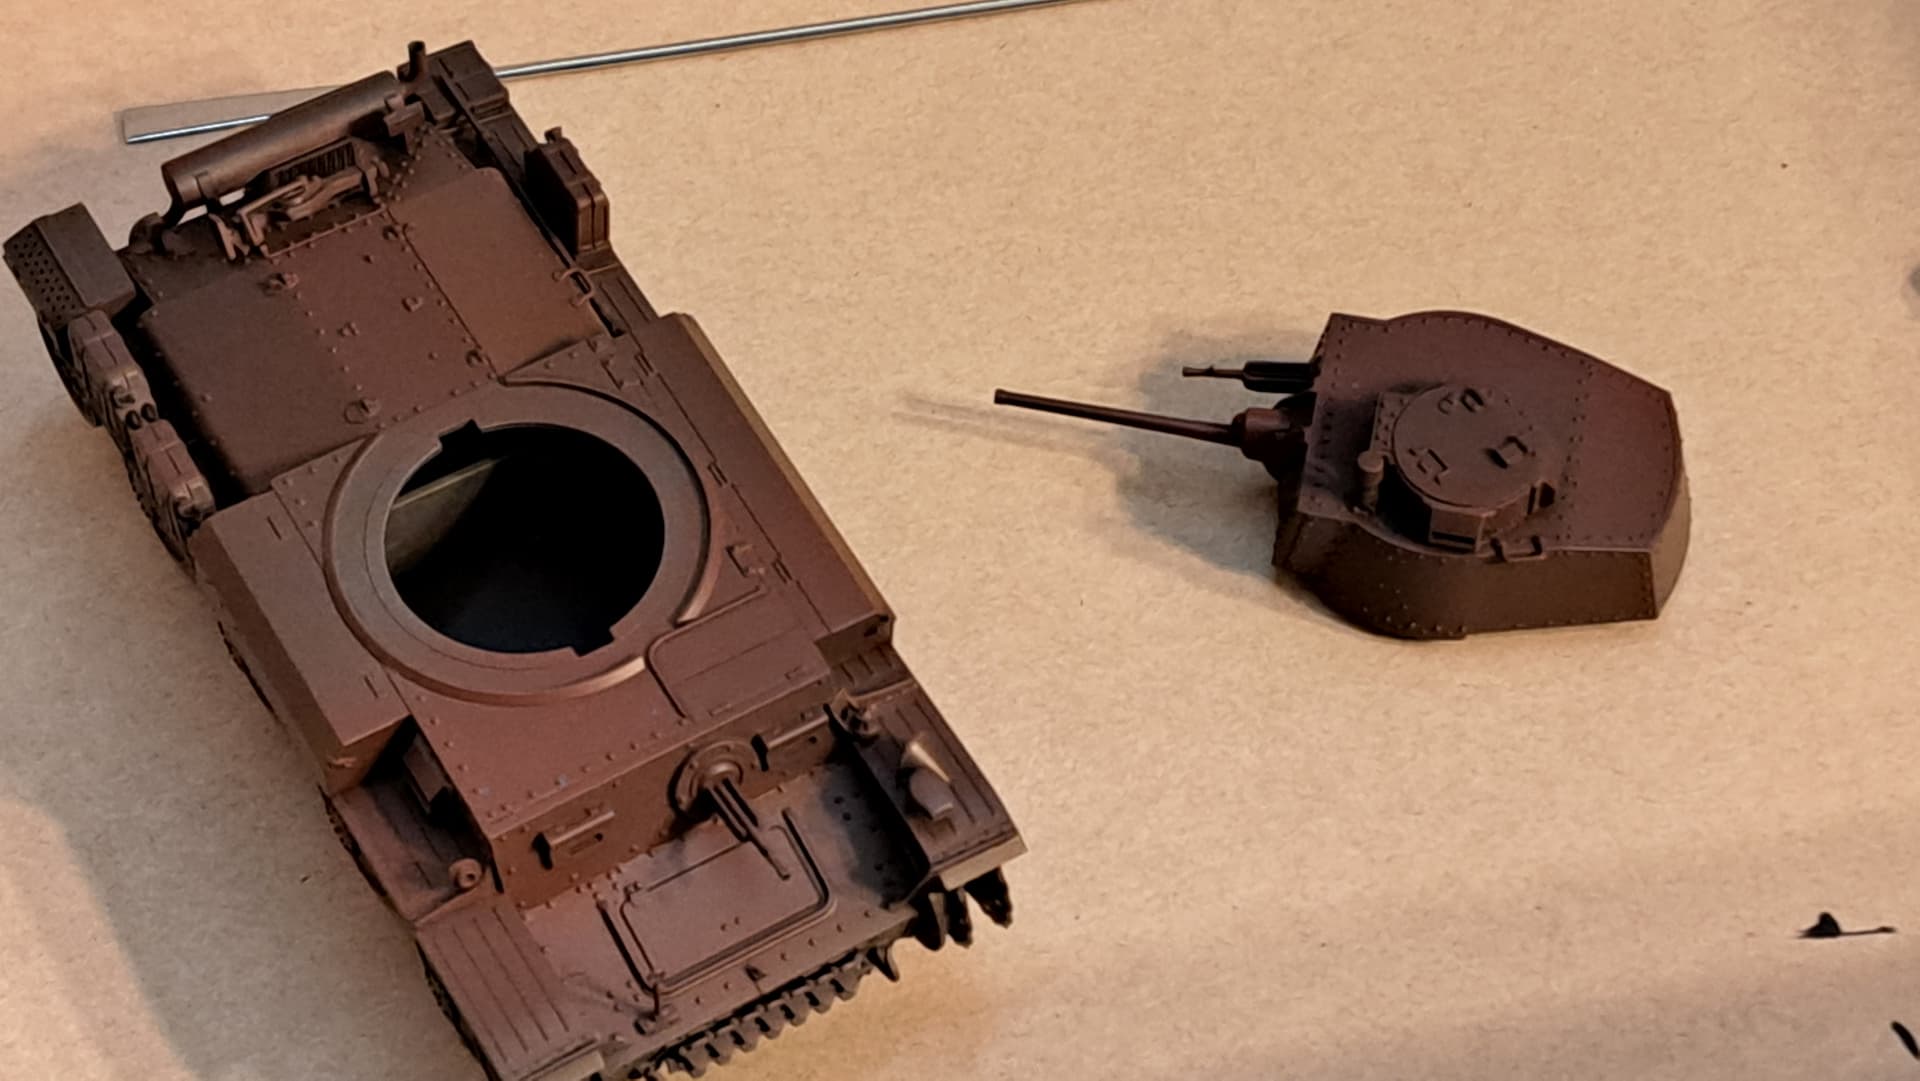
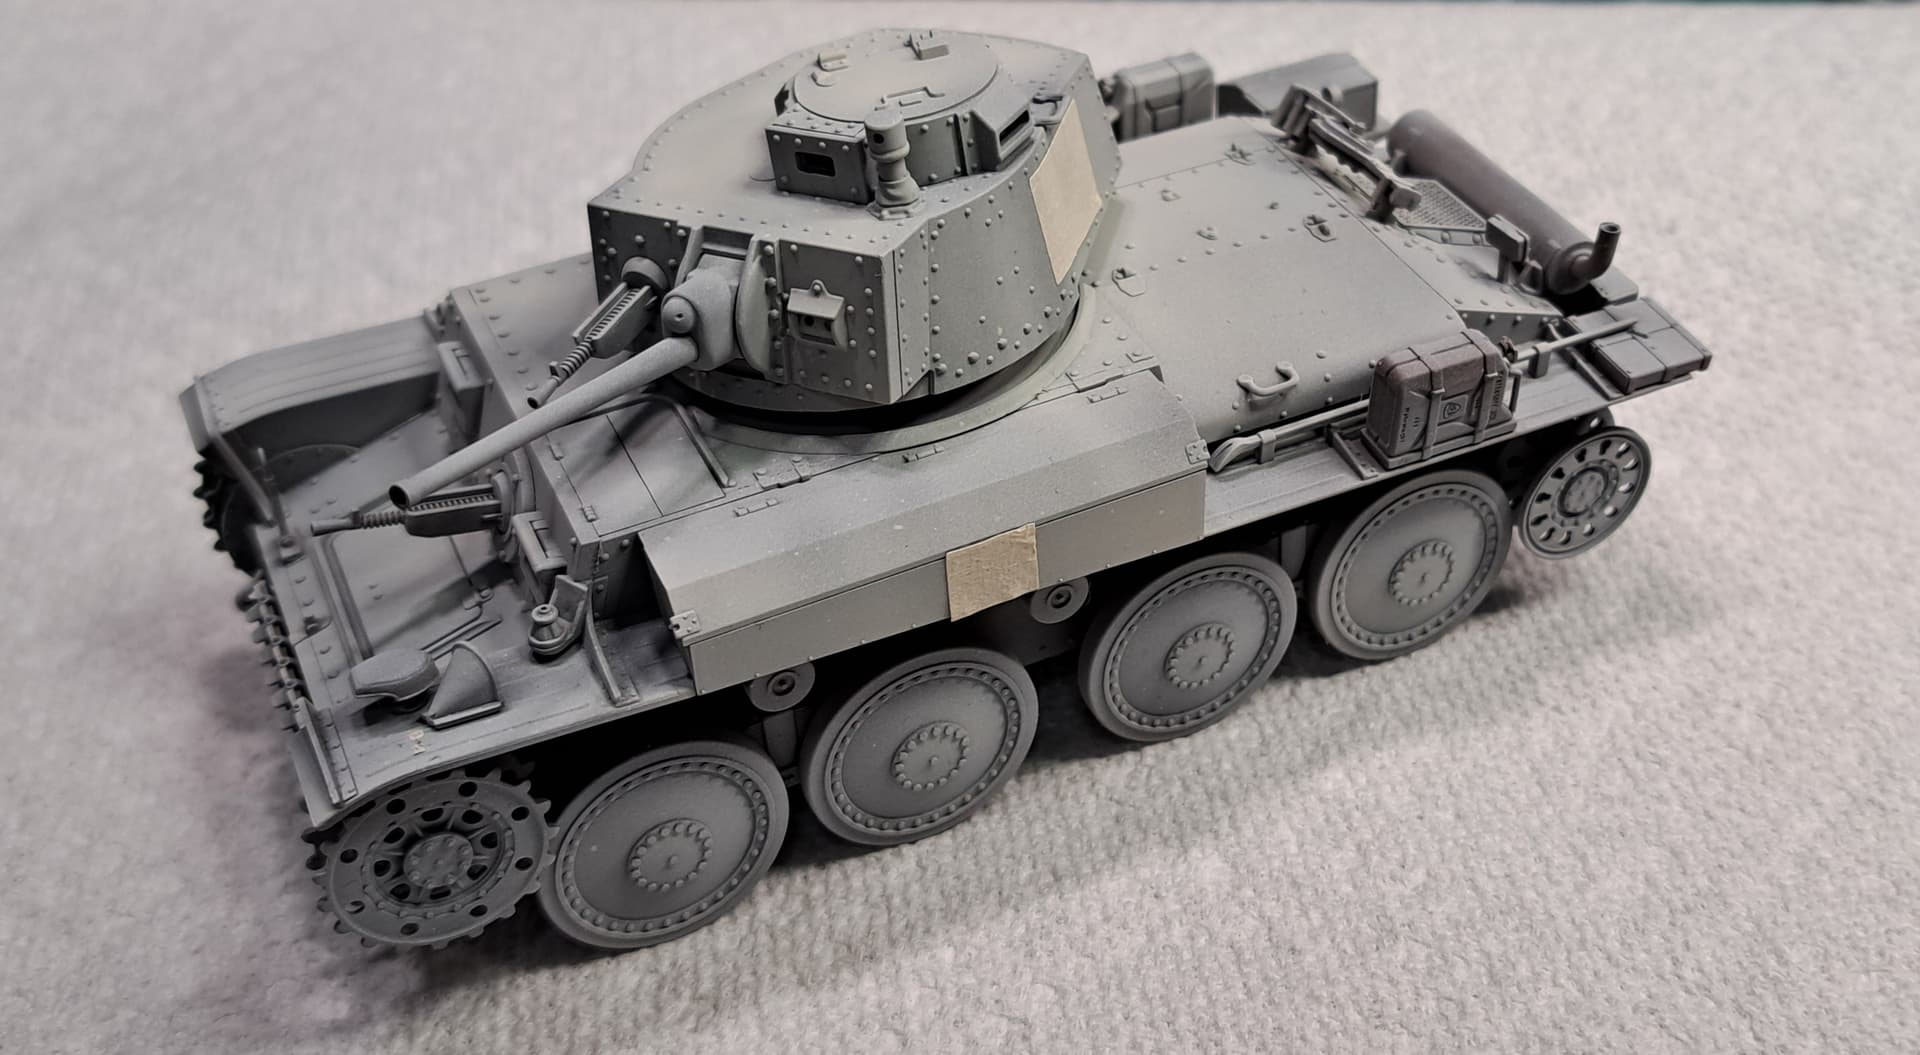
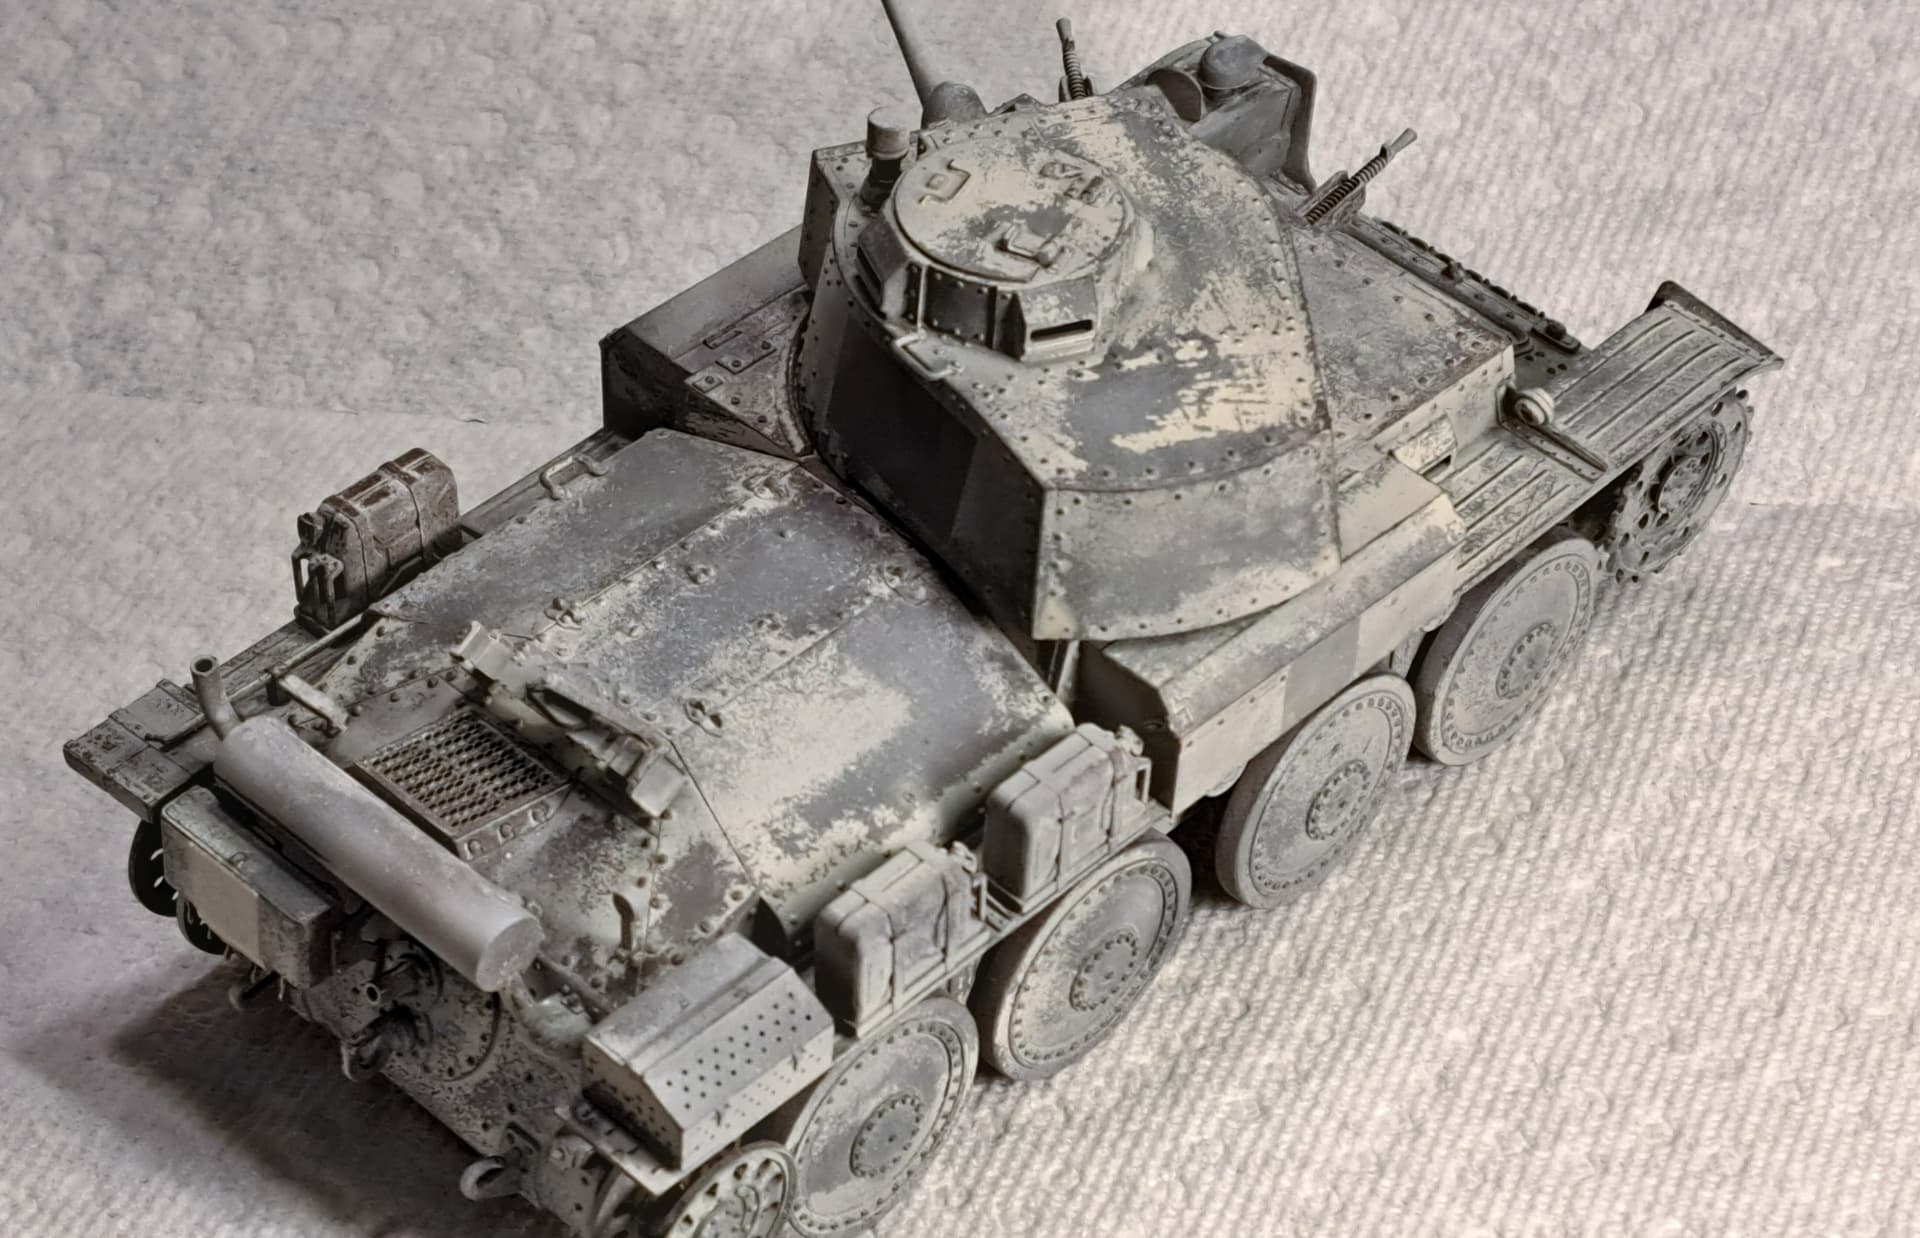
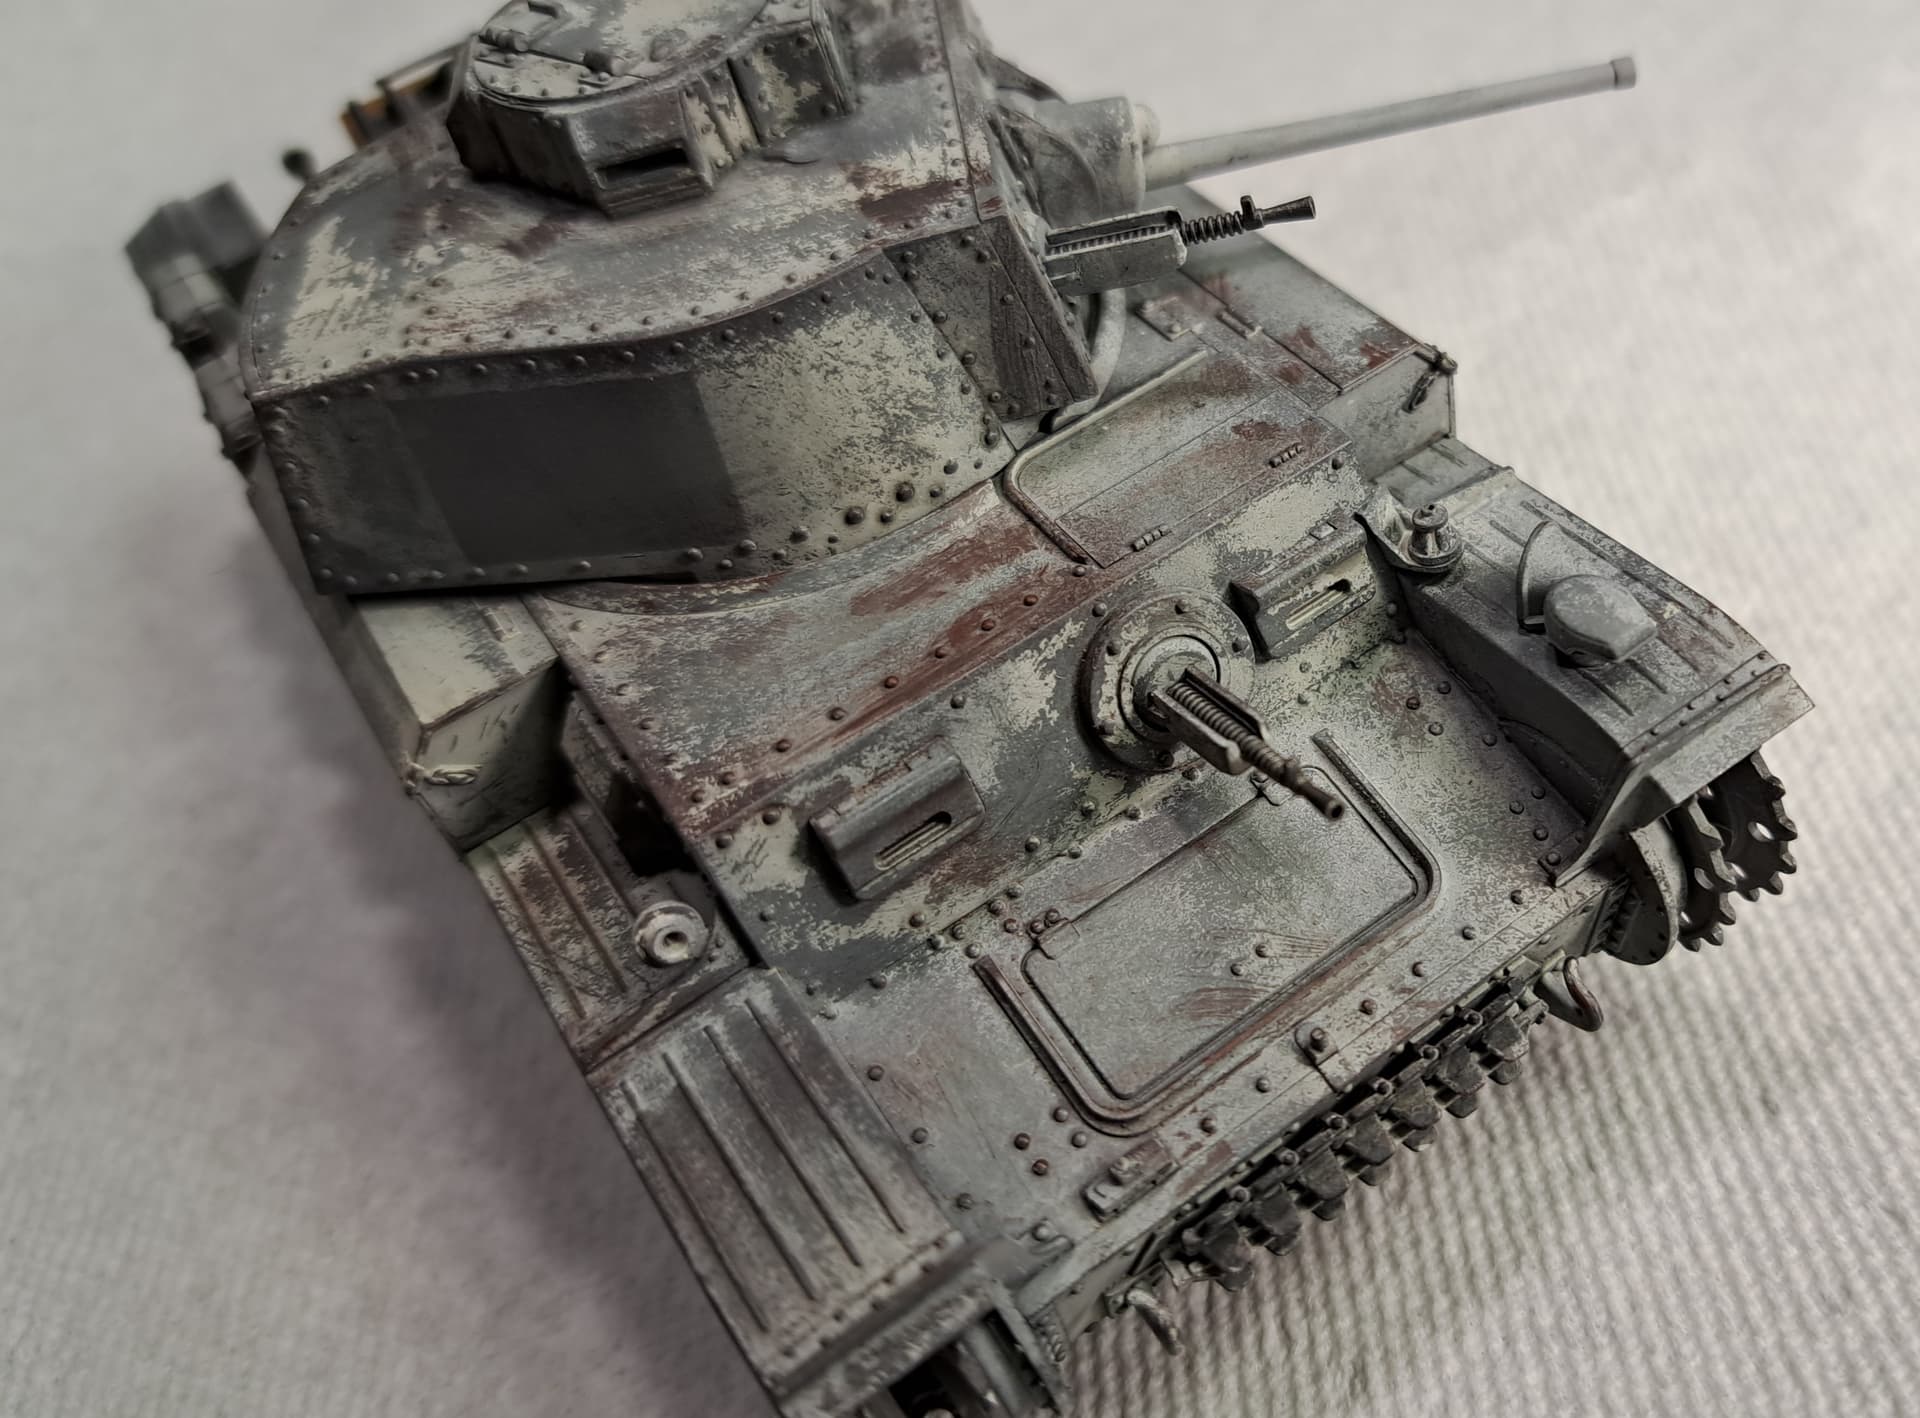
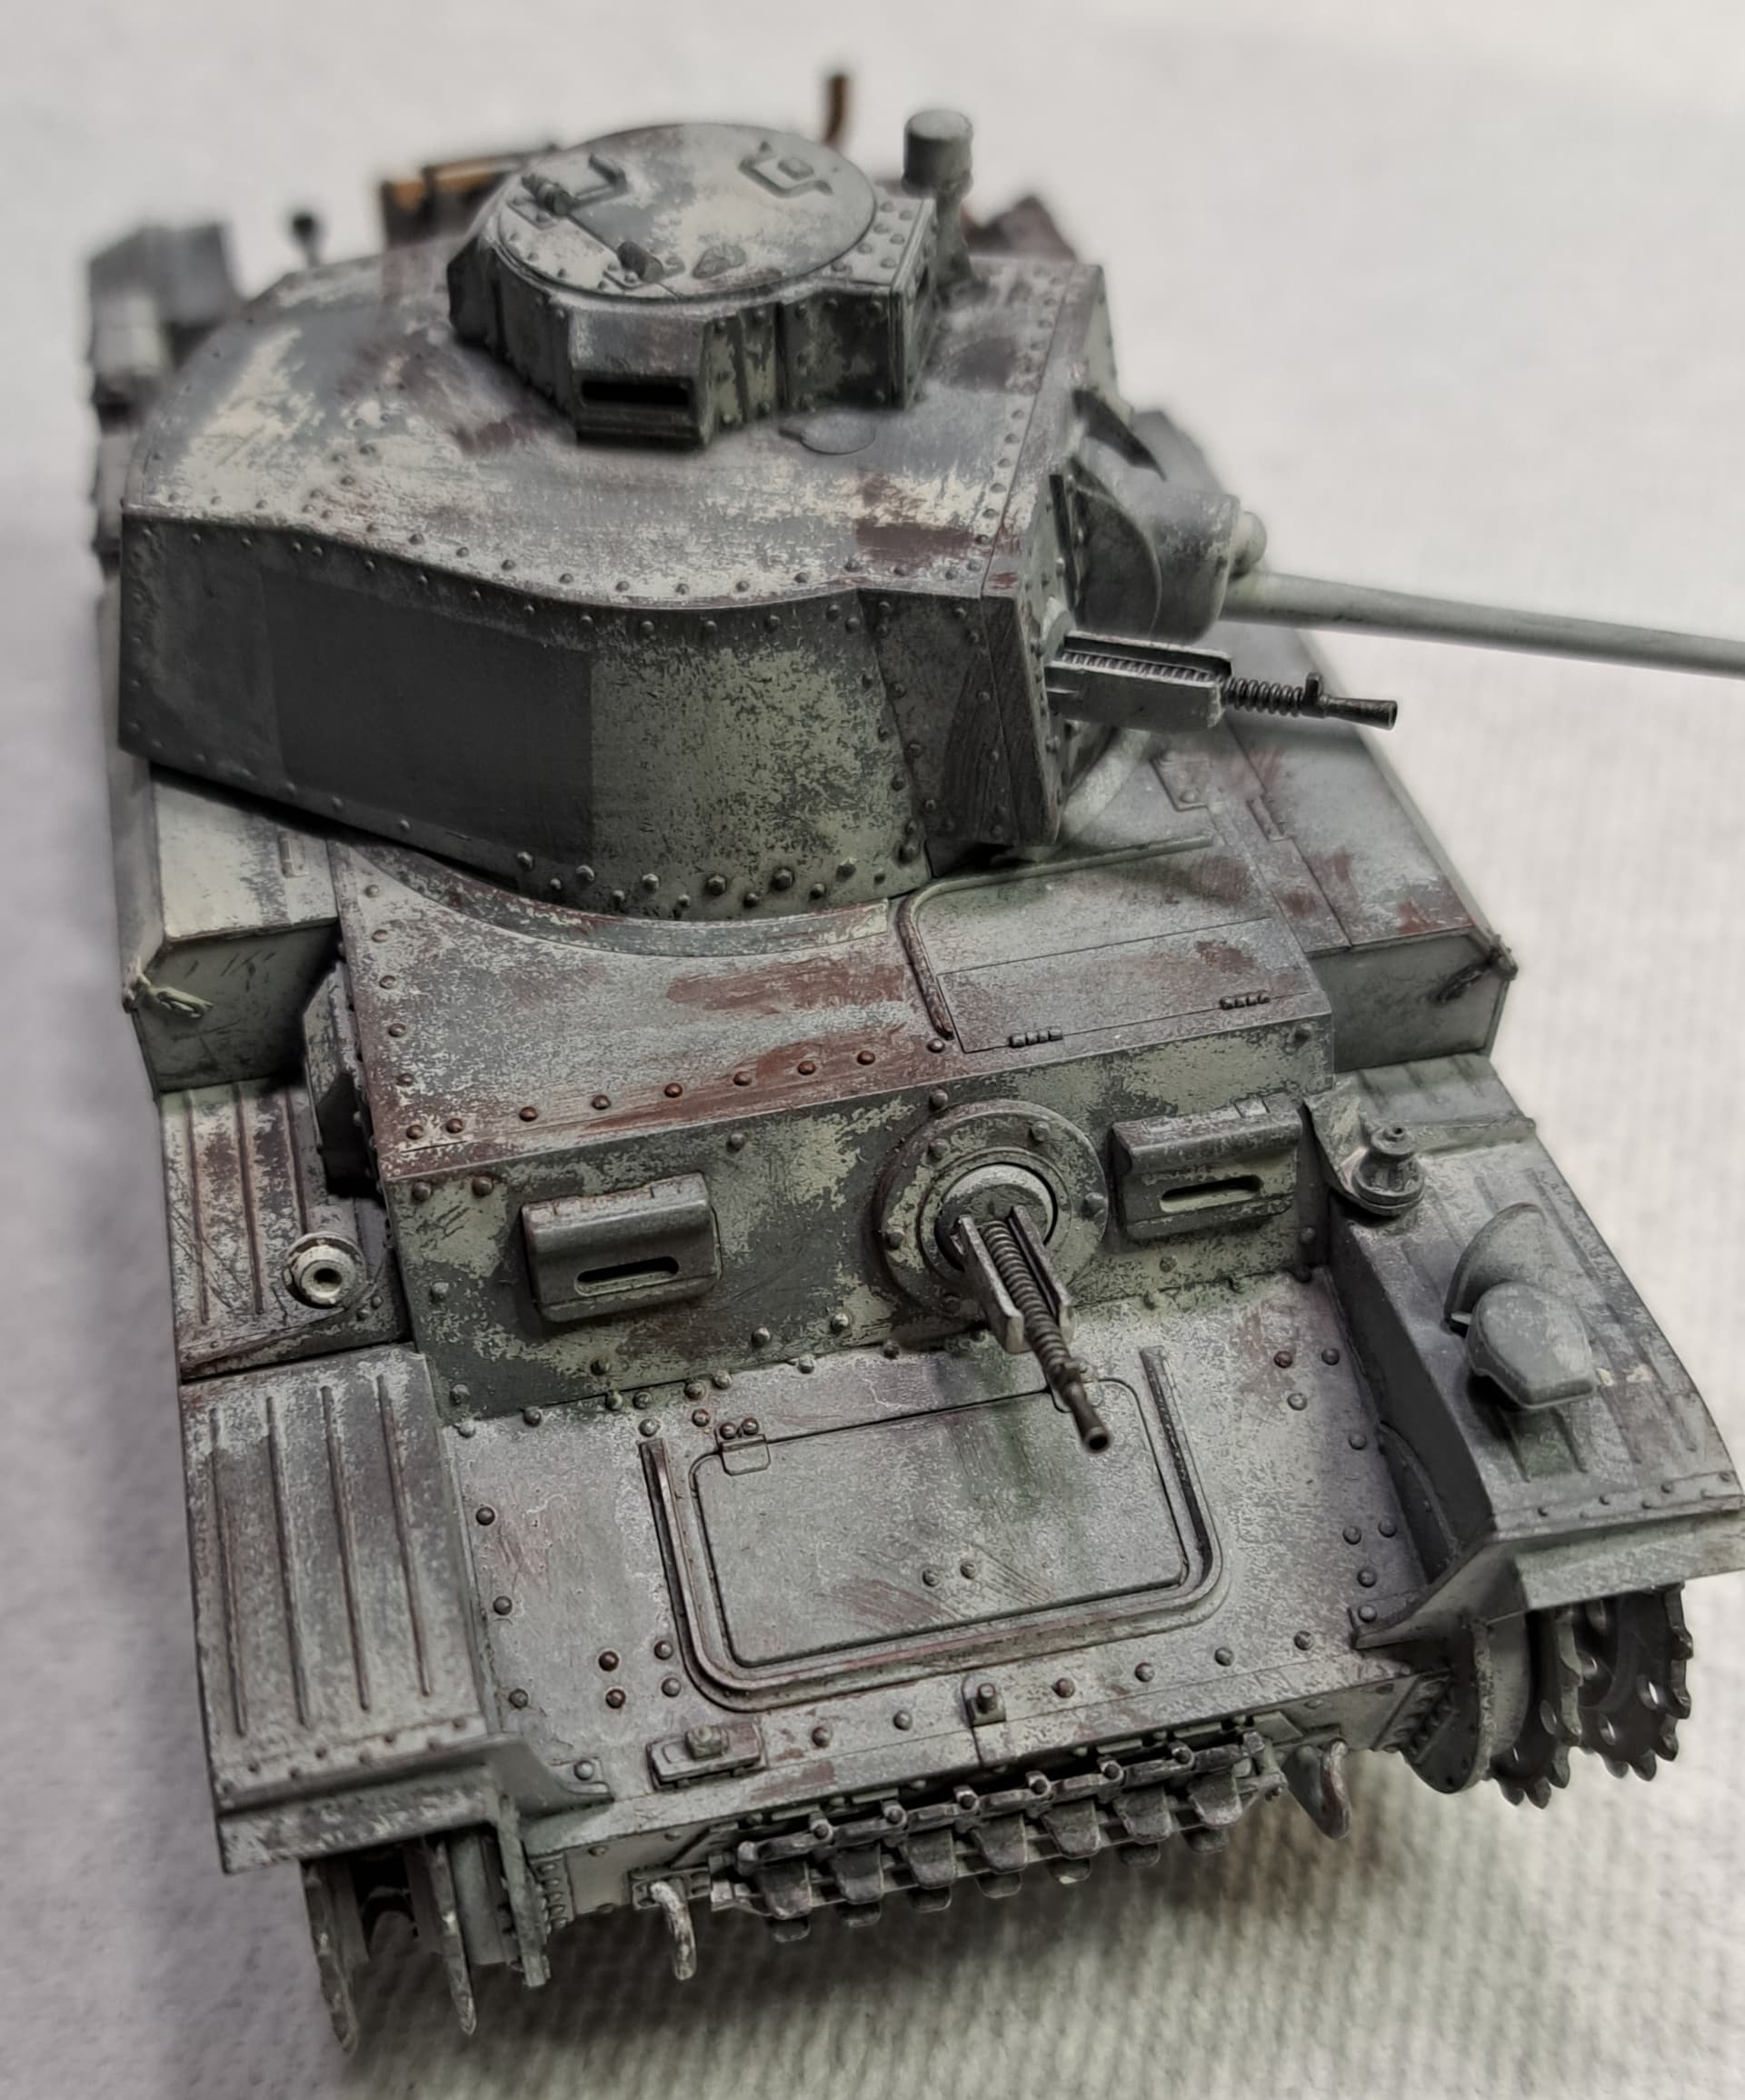
Had a base of Mr Surfacer 1500, plus MRP red-oxide & Dunkelgrau 7021. Layer of highlights with Floquil Military Color Panzer Gray & FMC Panzer Gray +FMC Interior Buff
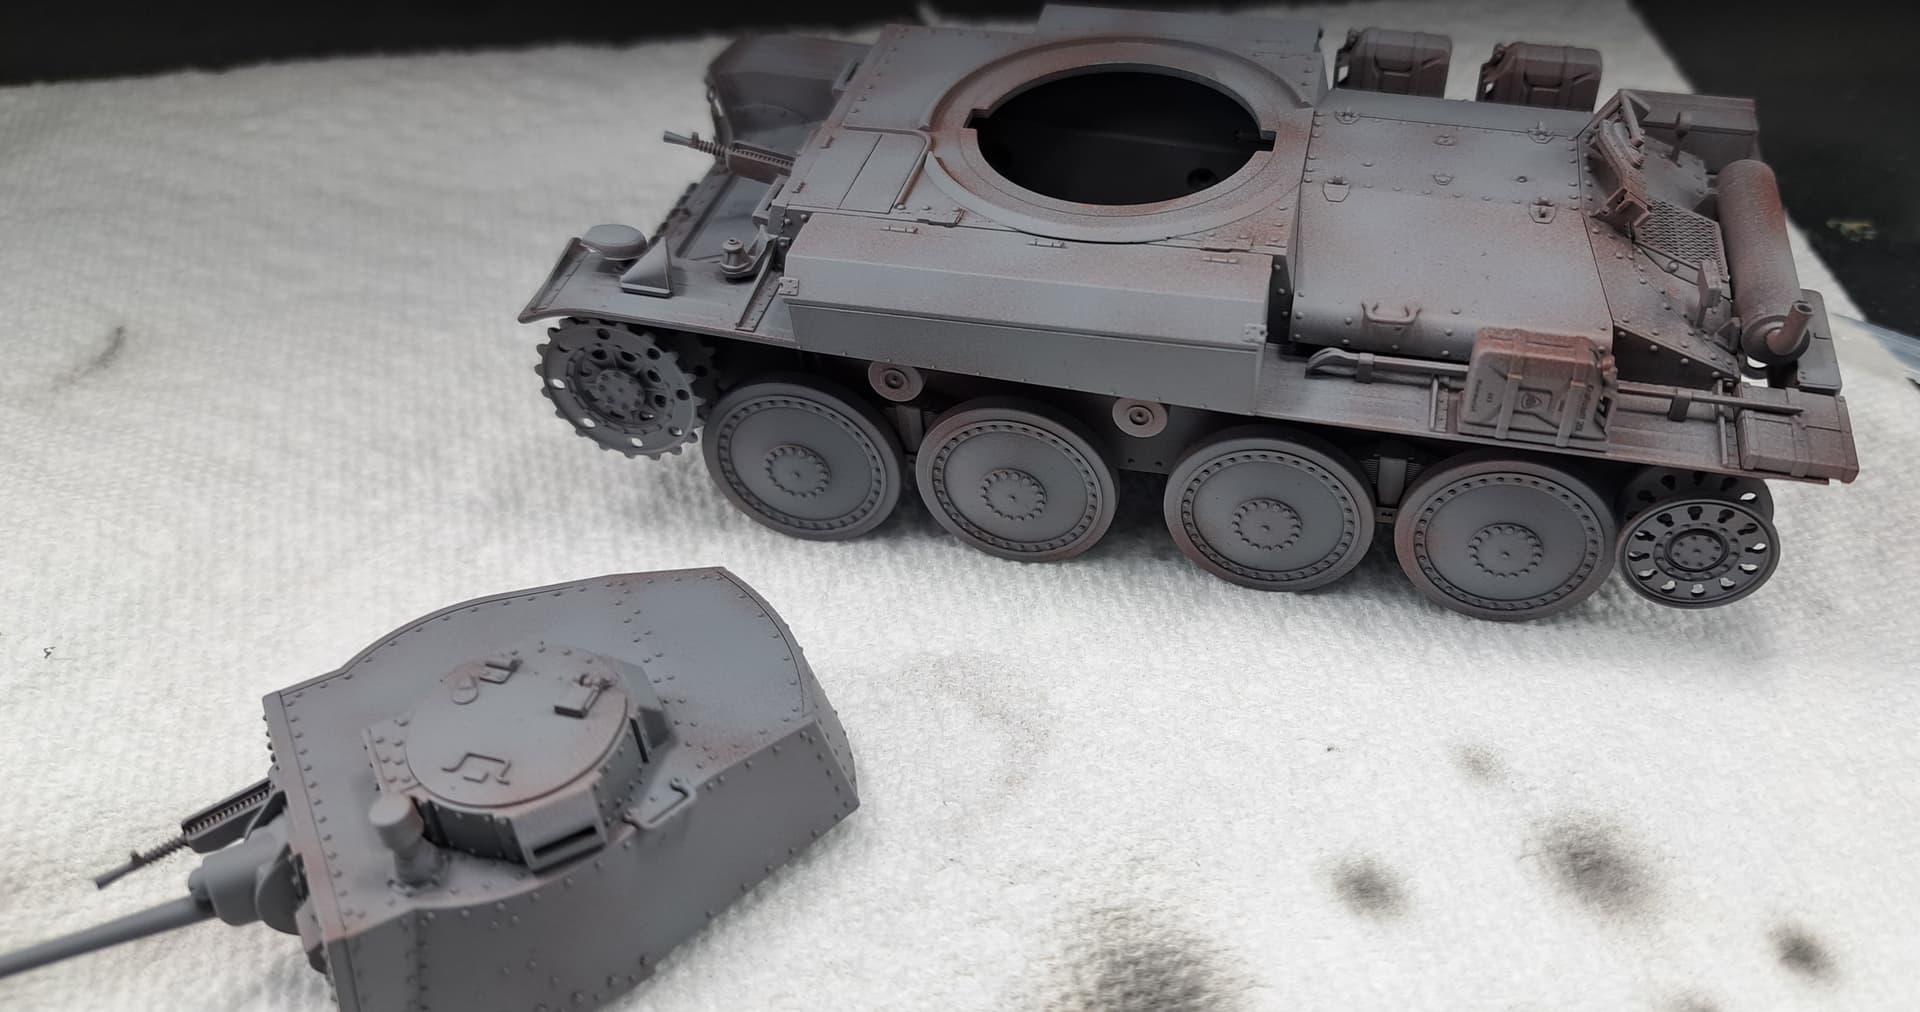

Four shades mixed together.

Will let this dry overnight and probably hit with chipping fluid & Tamiya white for a winter scheme.
…and yes if you’re wondering she “supervised” the painting process start to end from her tree.
10 Likes
Traumatised.
When you disappear for too long she thinks she’ll end up on the streets again
7 Likes
I think I might want to give the little C.V.33 Carro Armato a try. (pictured above) Looks like it could be a fun little build,.
2 Likes
That’s probably right On the Mark. She was down to 7 pounds and it was 17 F outside when I rescued her. She wouldn’t go outside for six months. She over ate all the time hit 14.3 pounds briefly. She at a healthy and correct 11.5 pounds now.
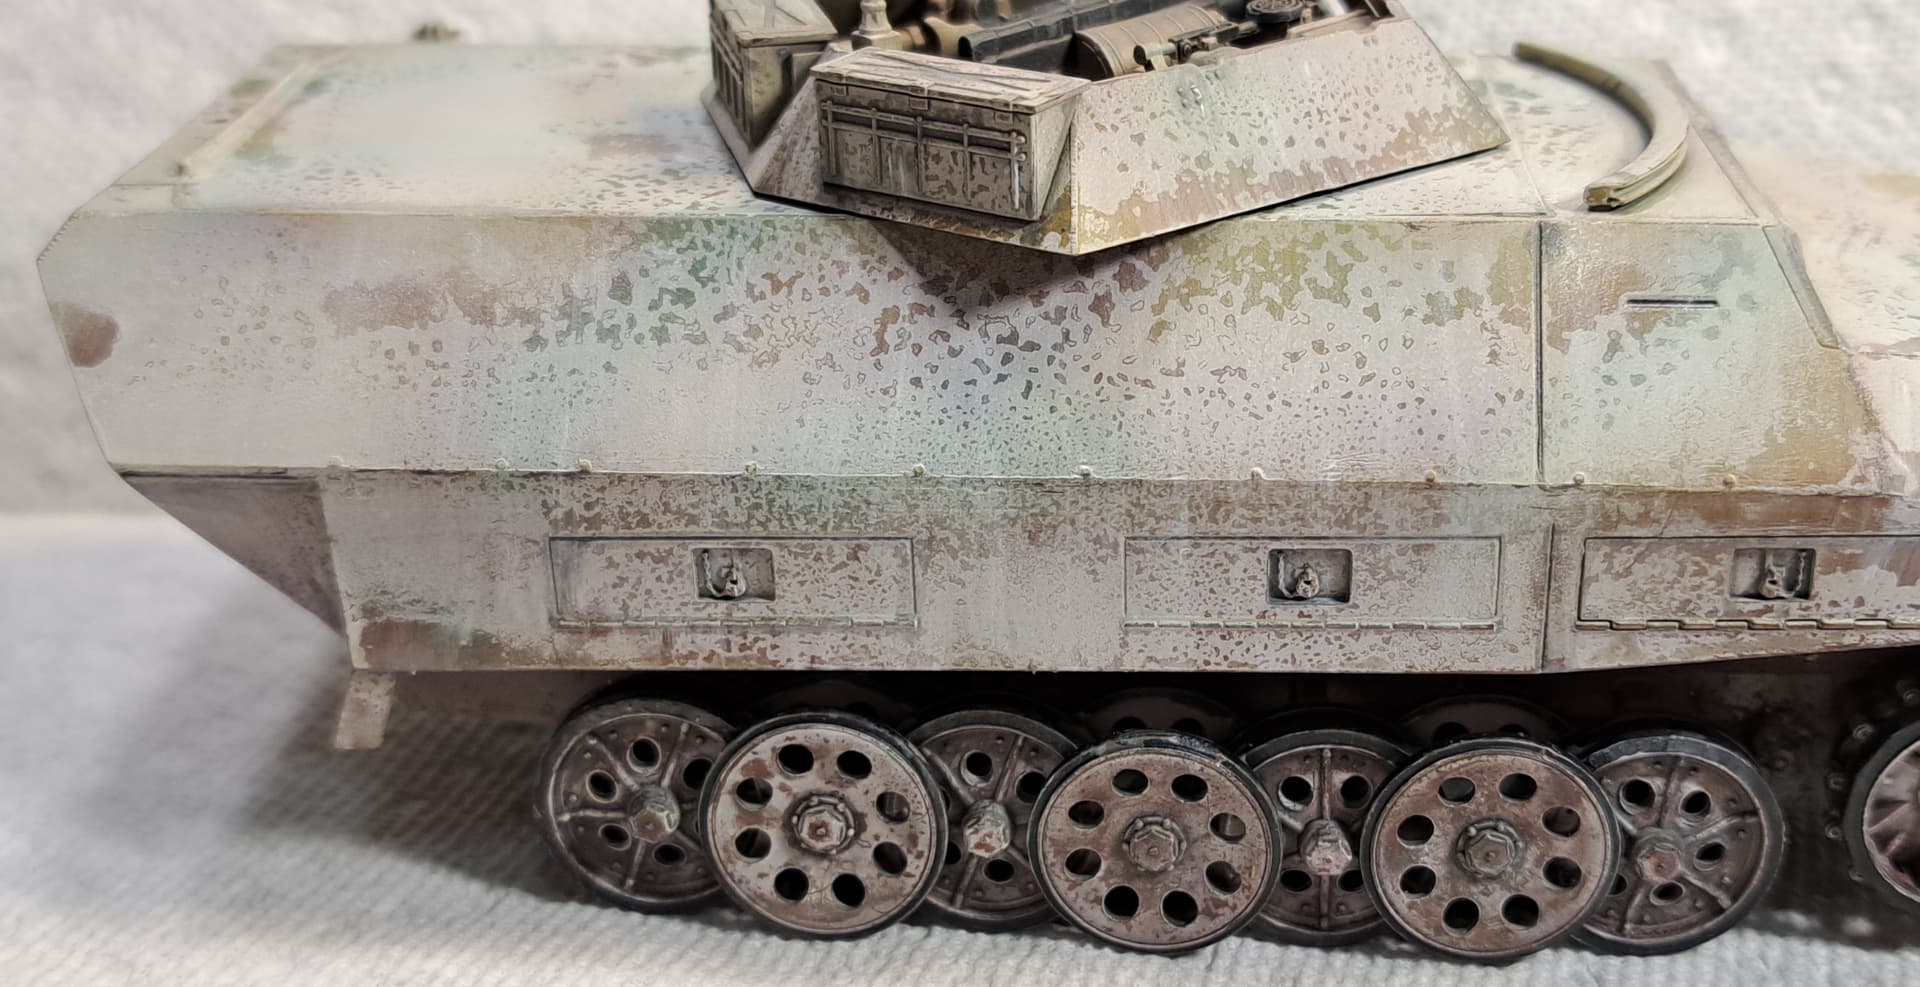
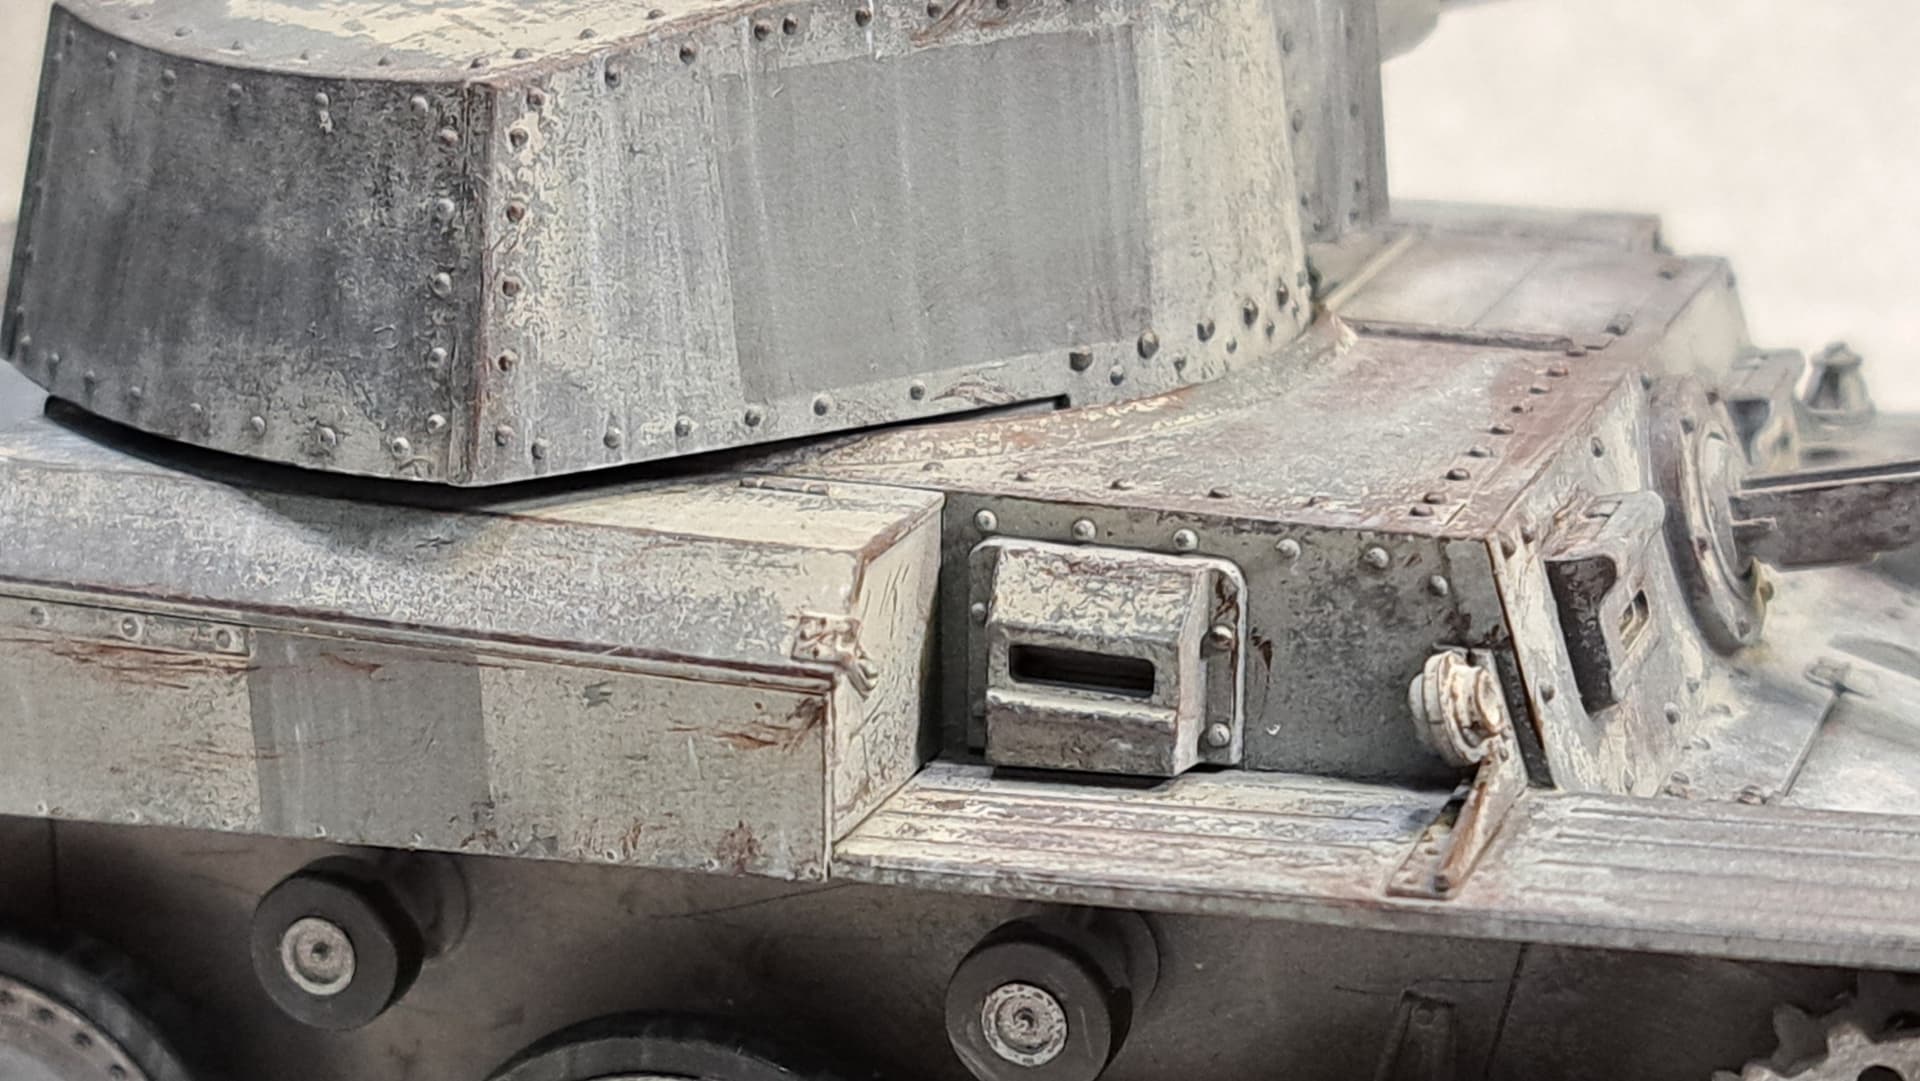
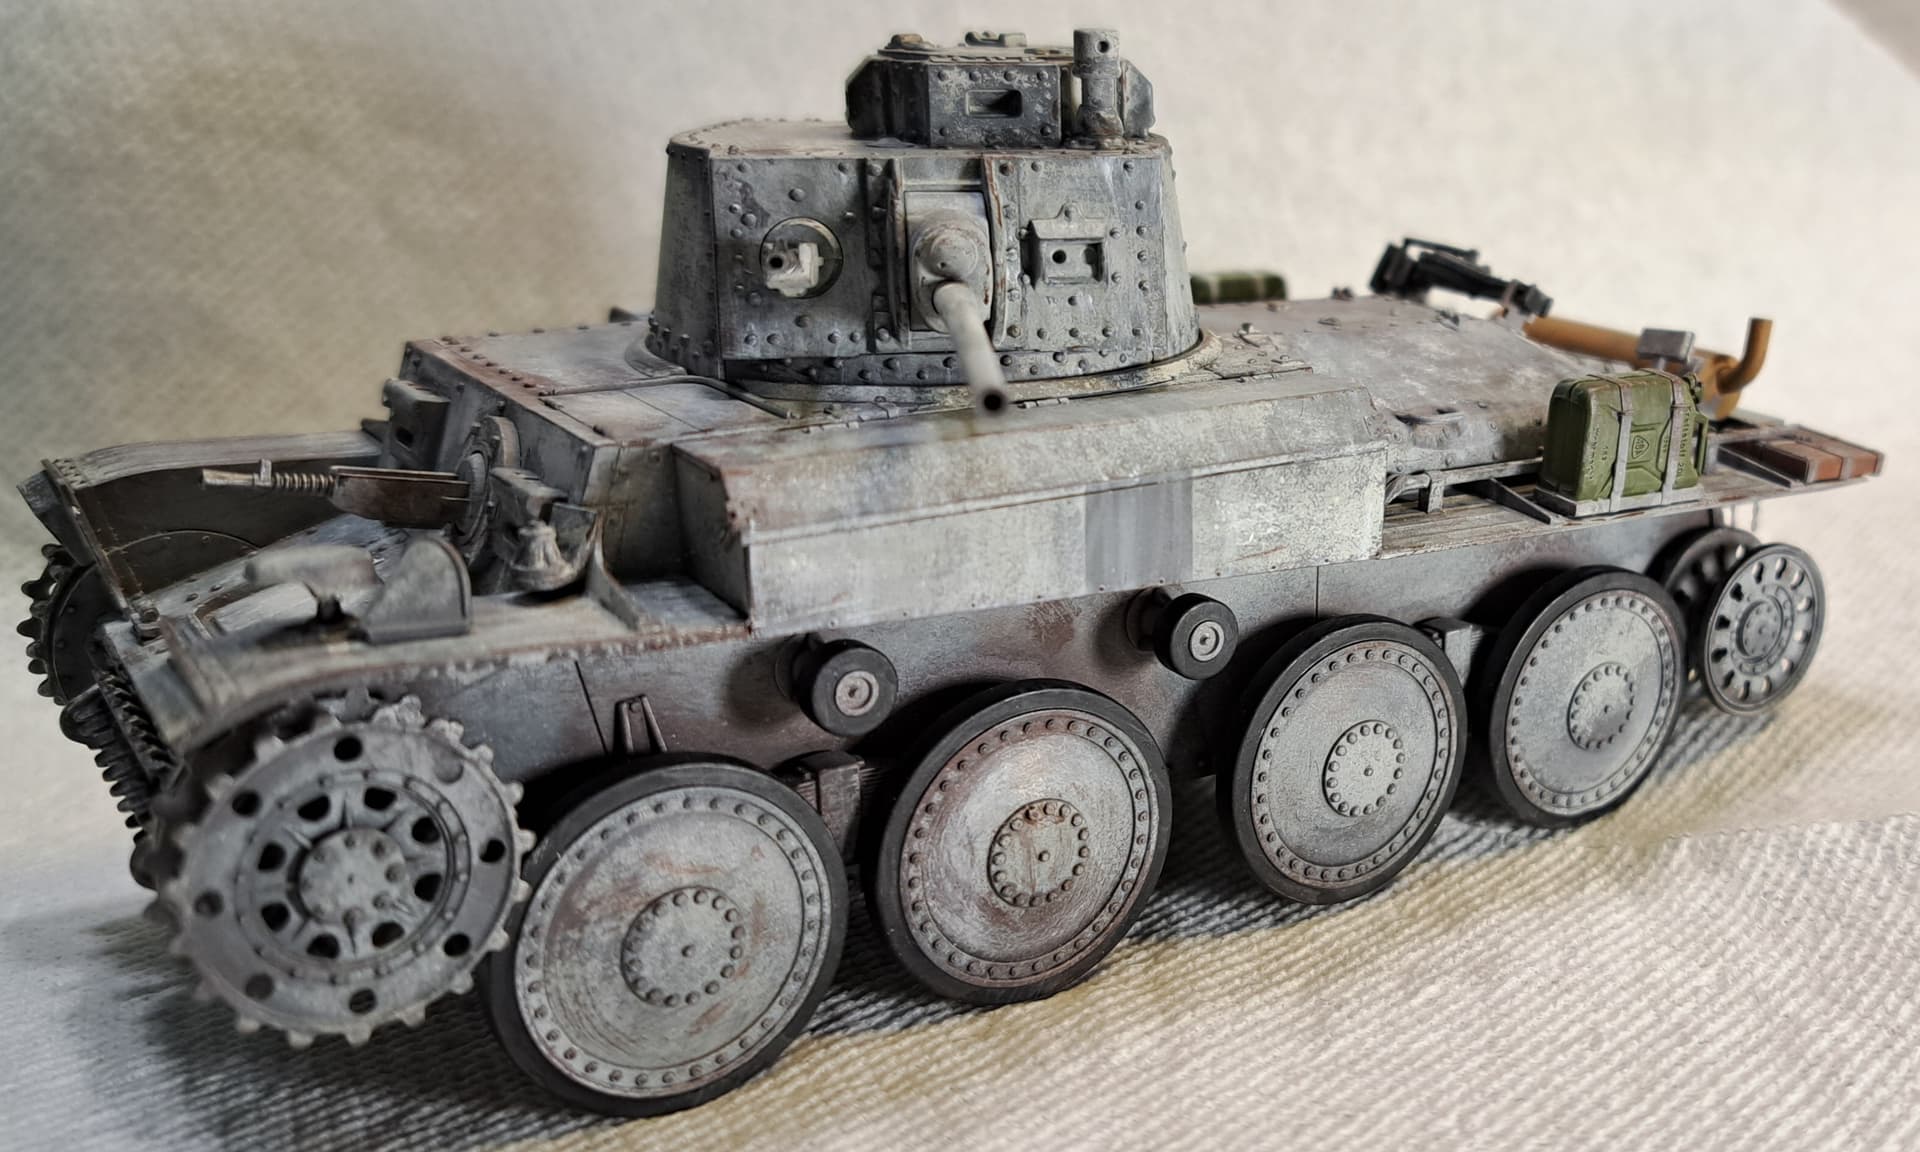
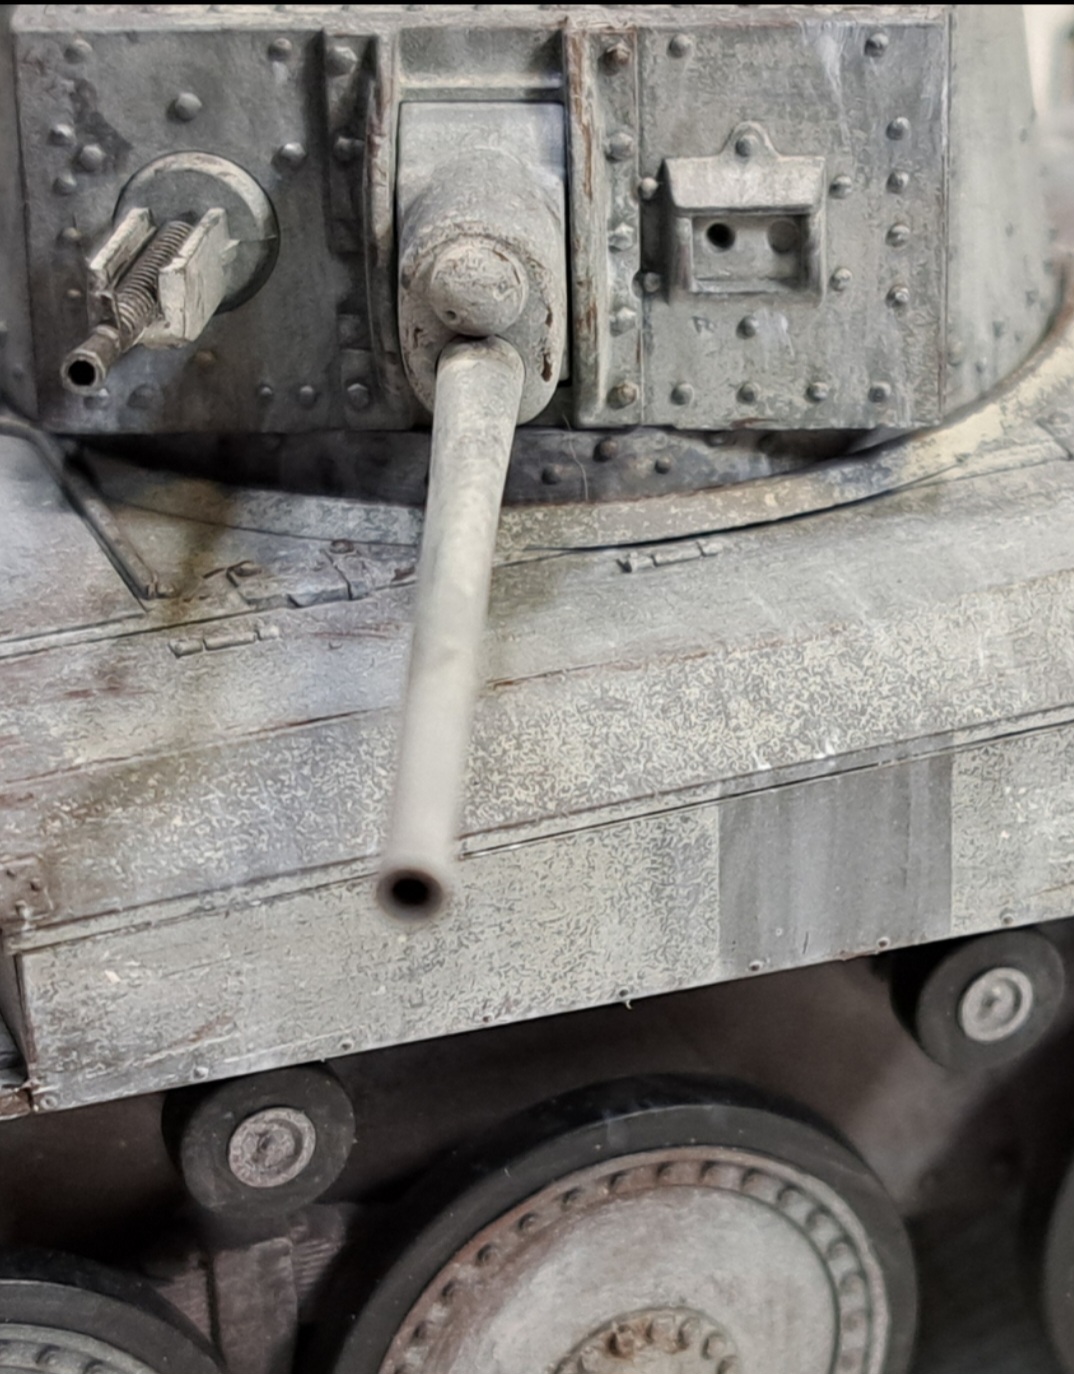
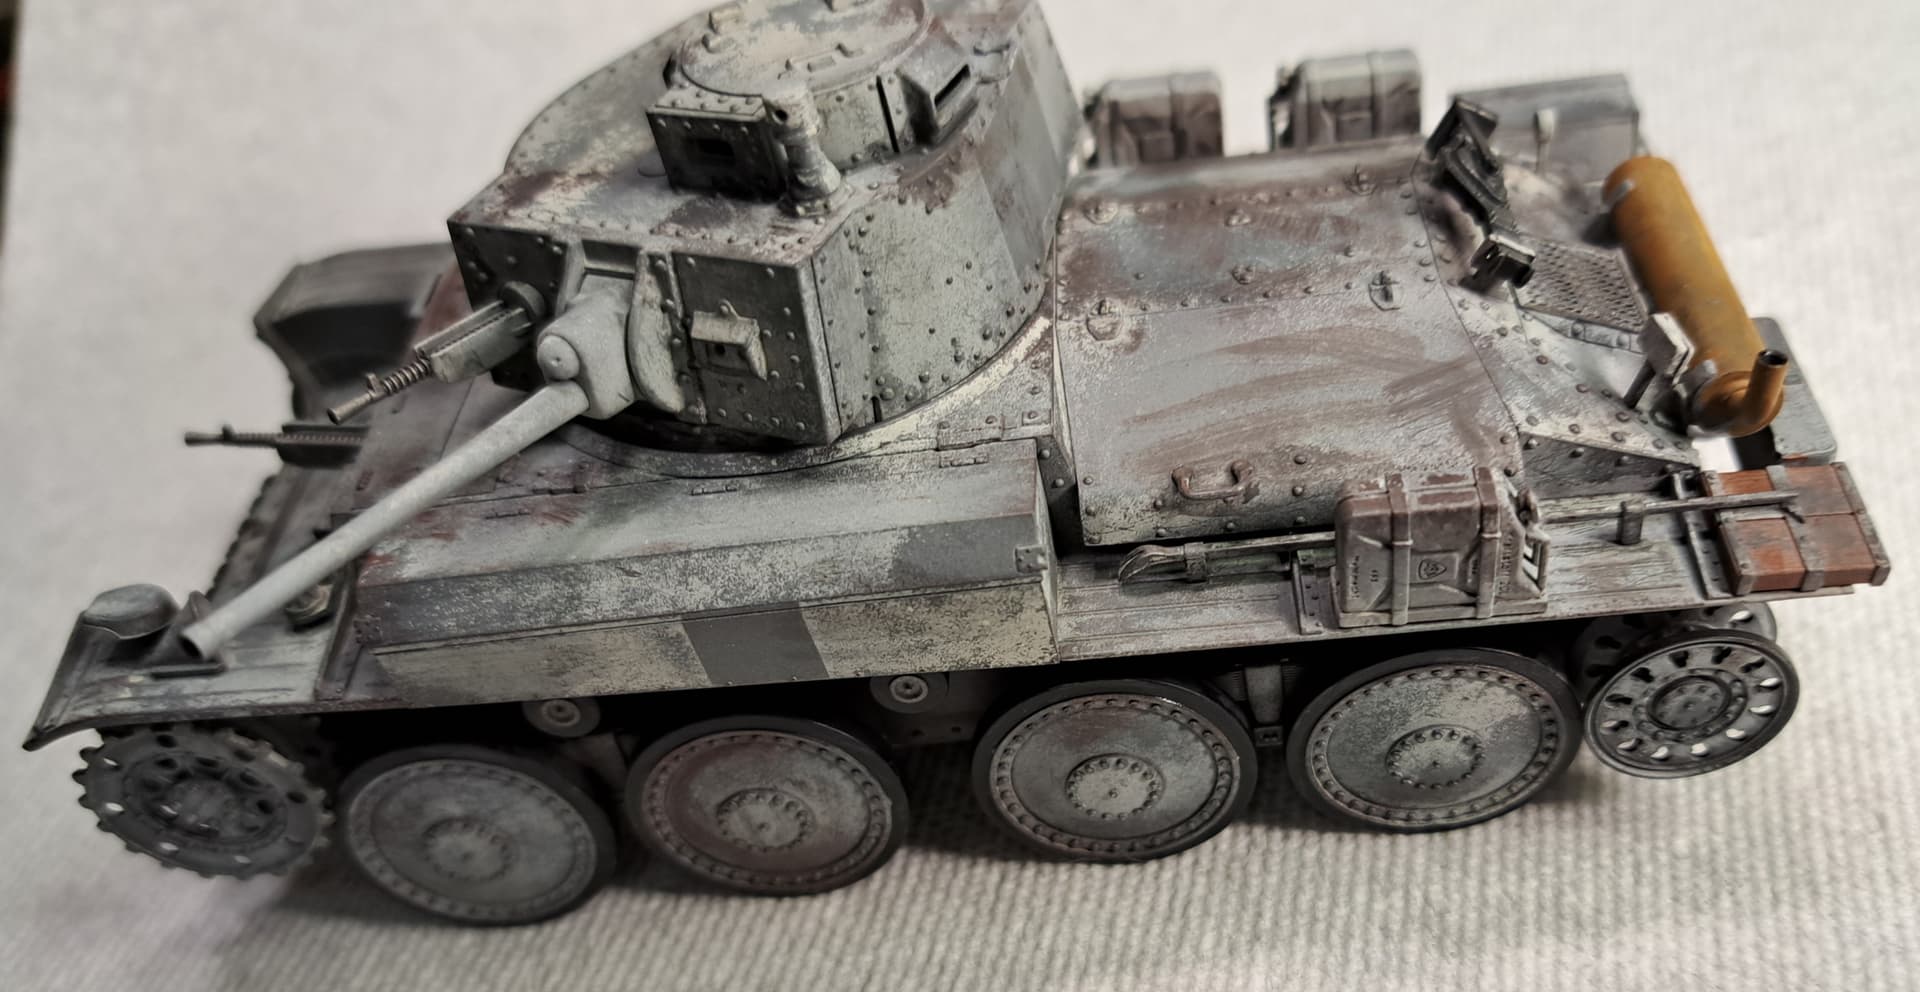
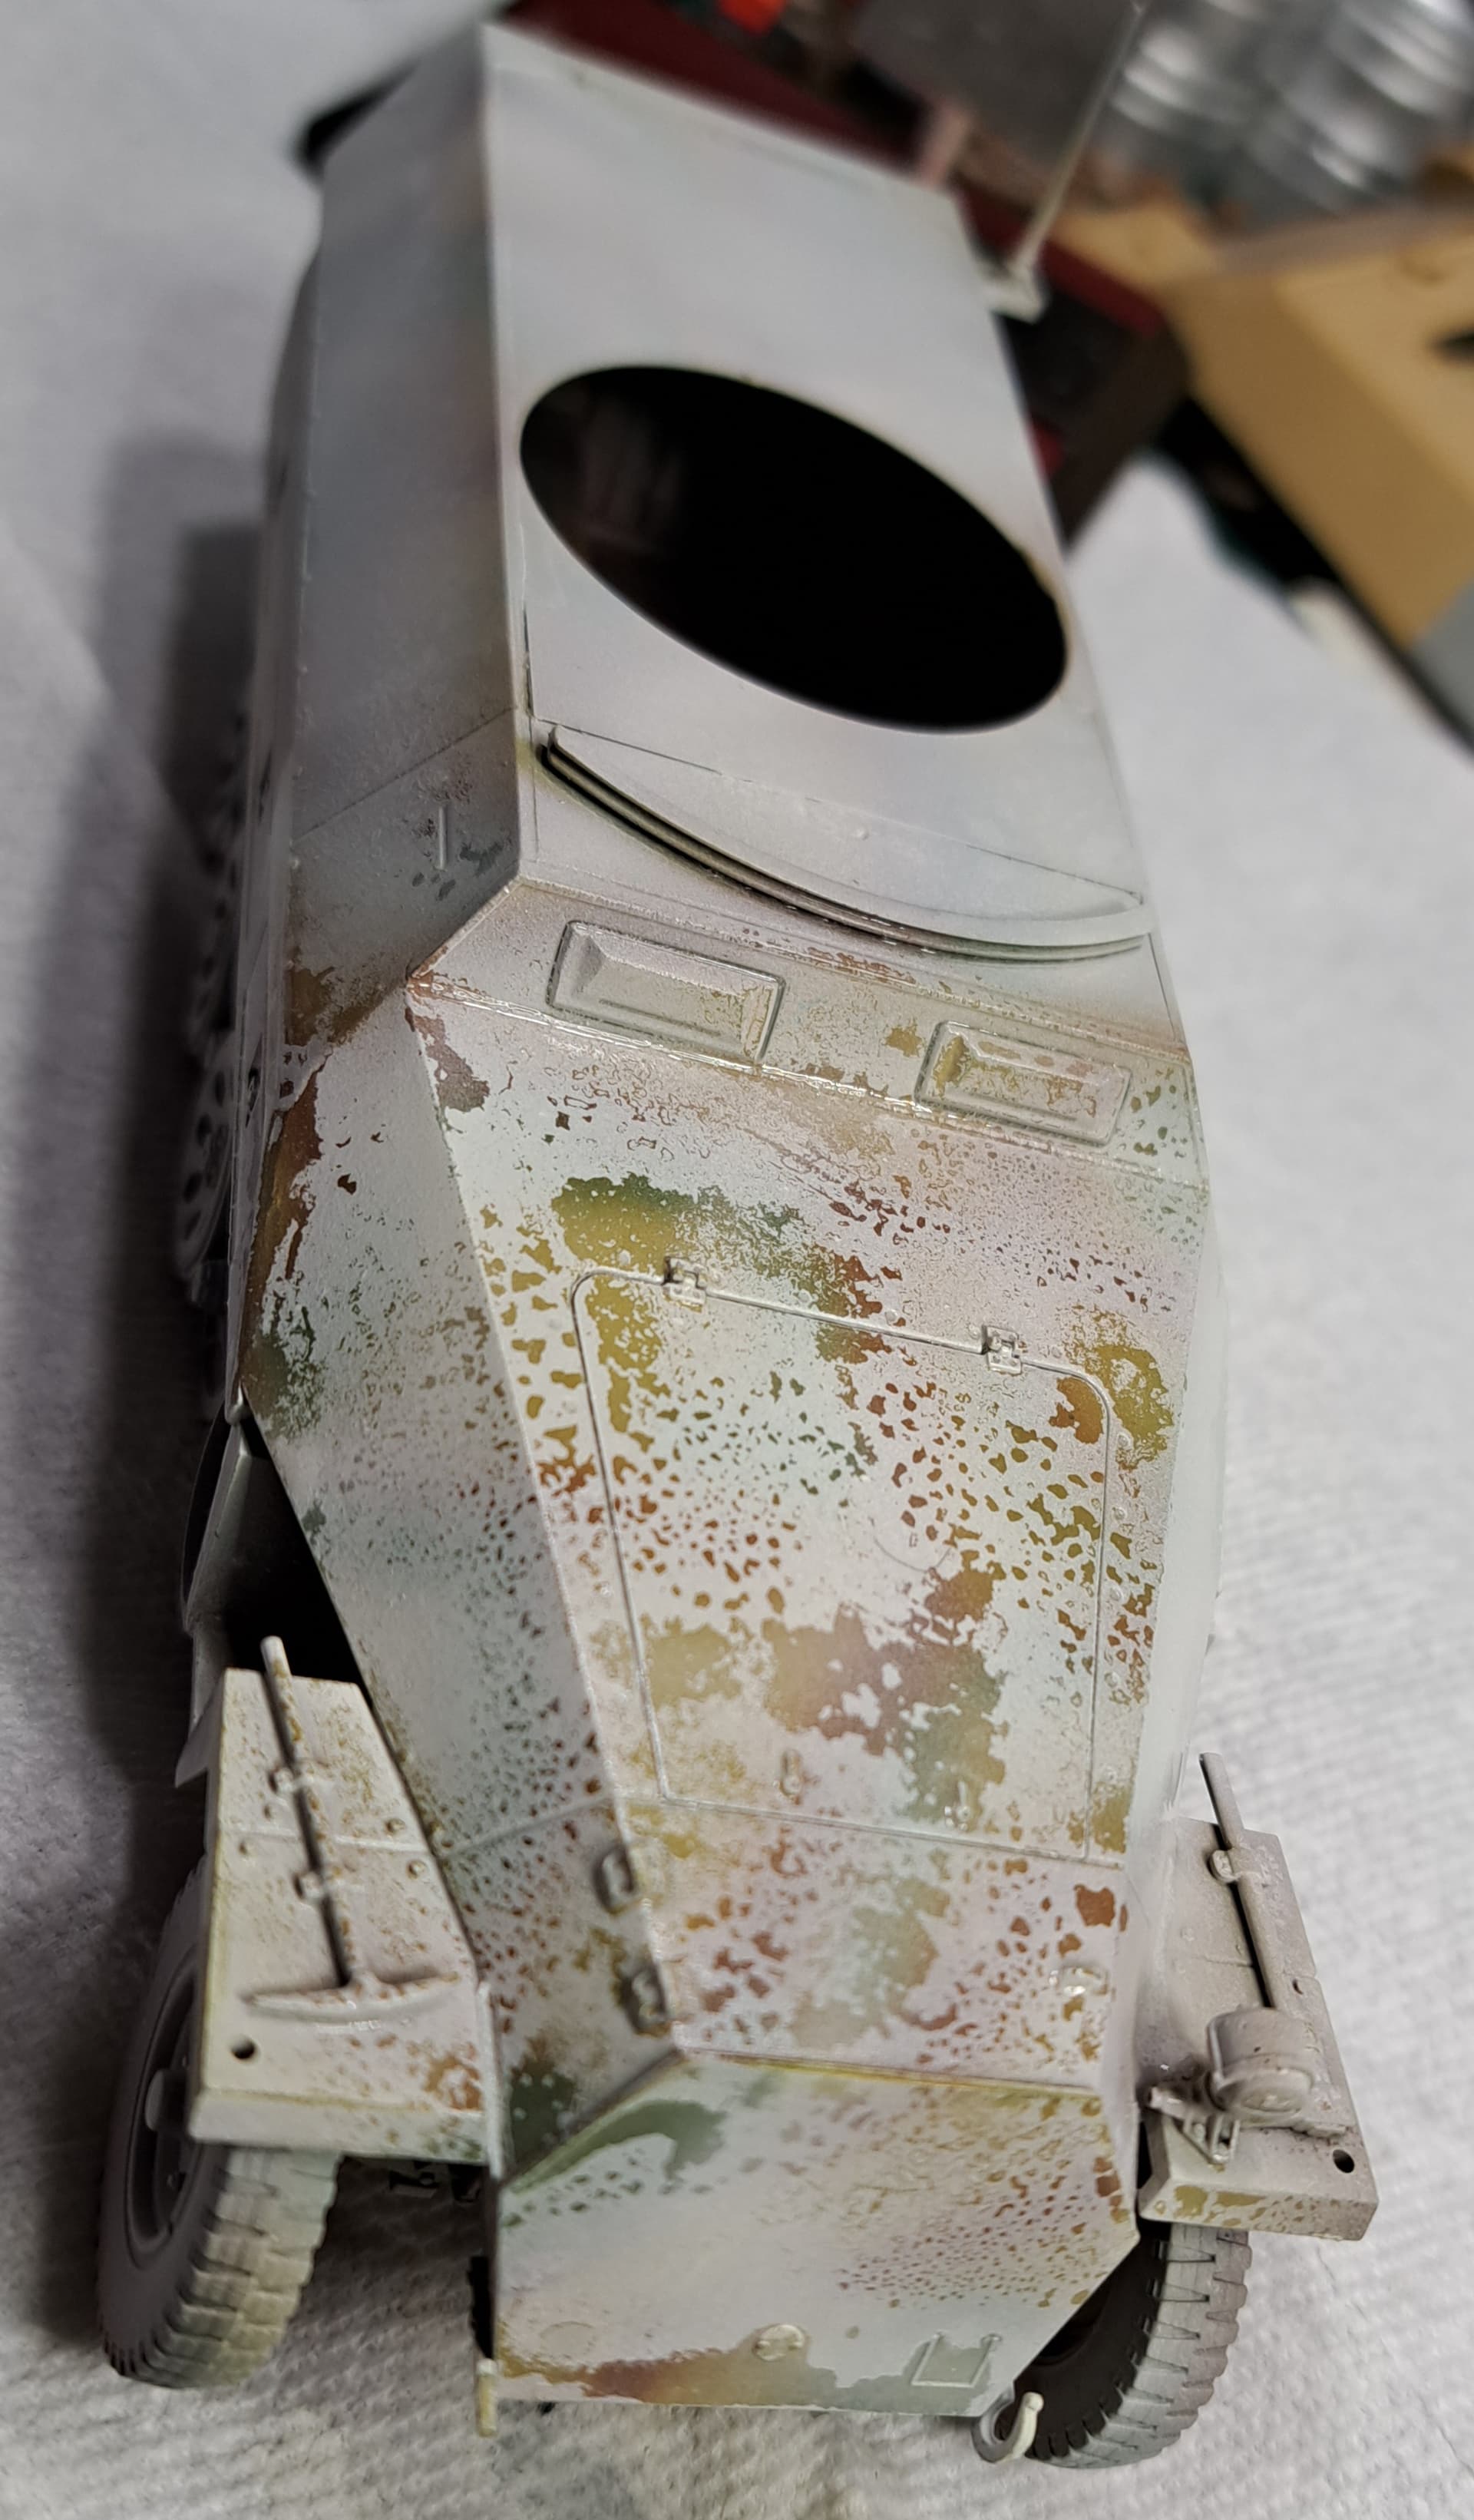
Said to hell with it & sprayed chipping fluid plus Tamiya white & buff mix today.
Cleaned airbrush, took a brief break and got after it.
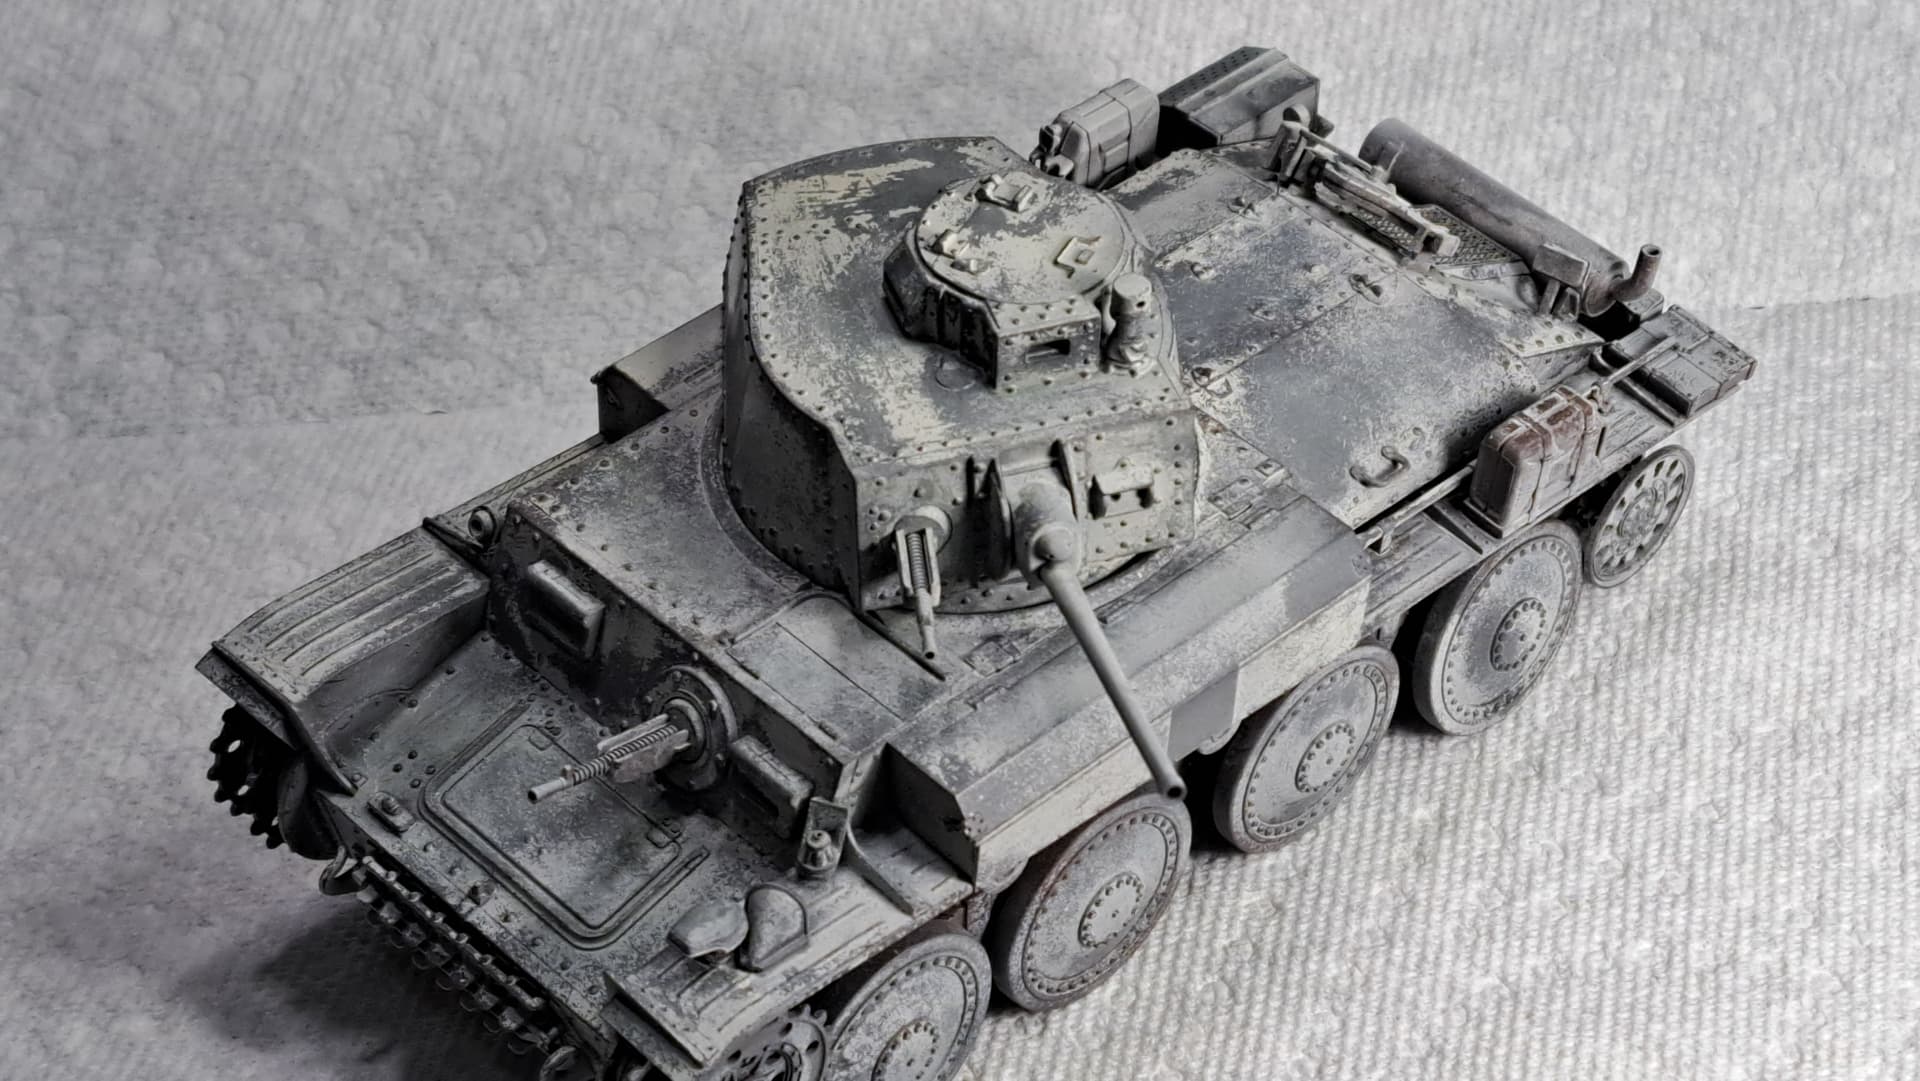
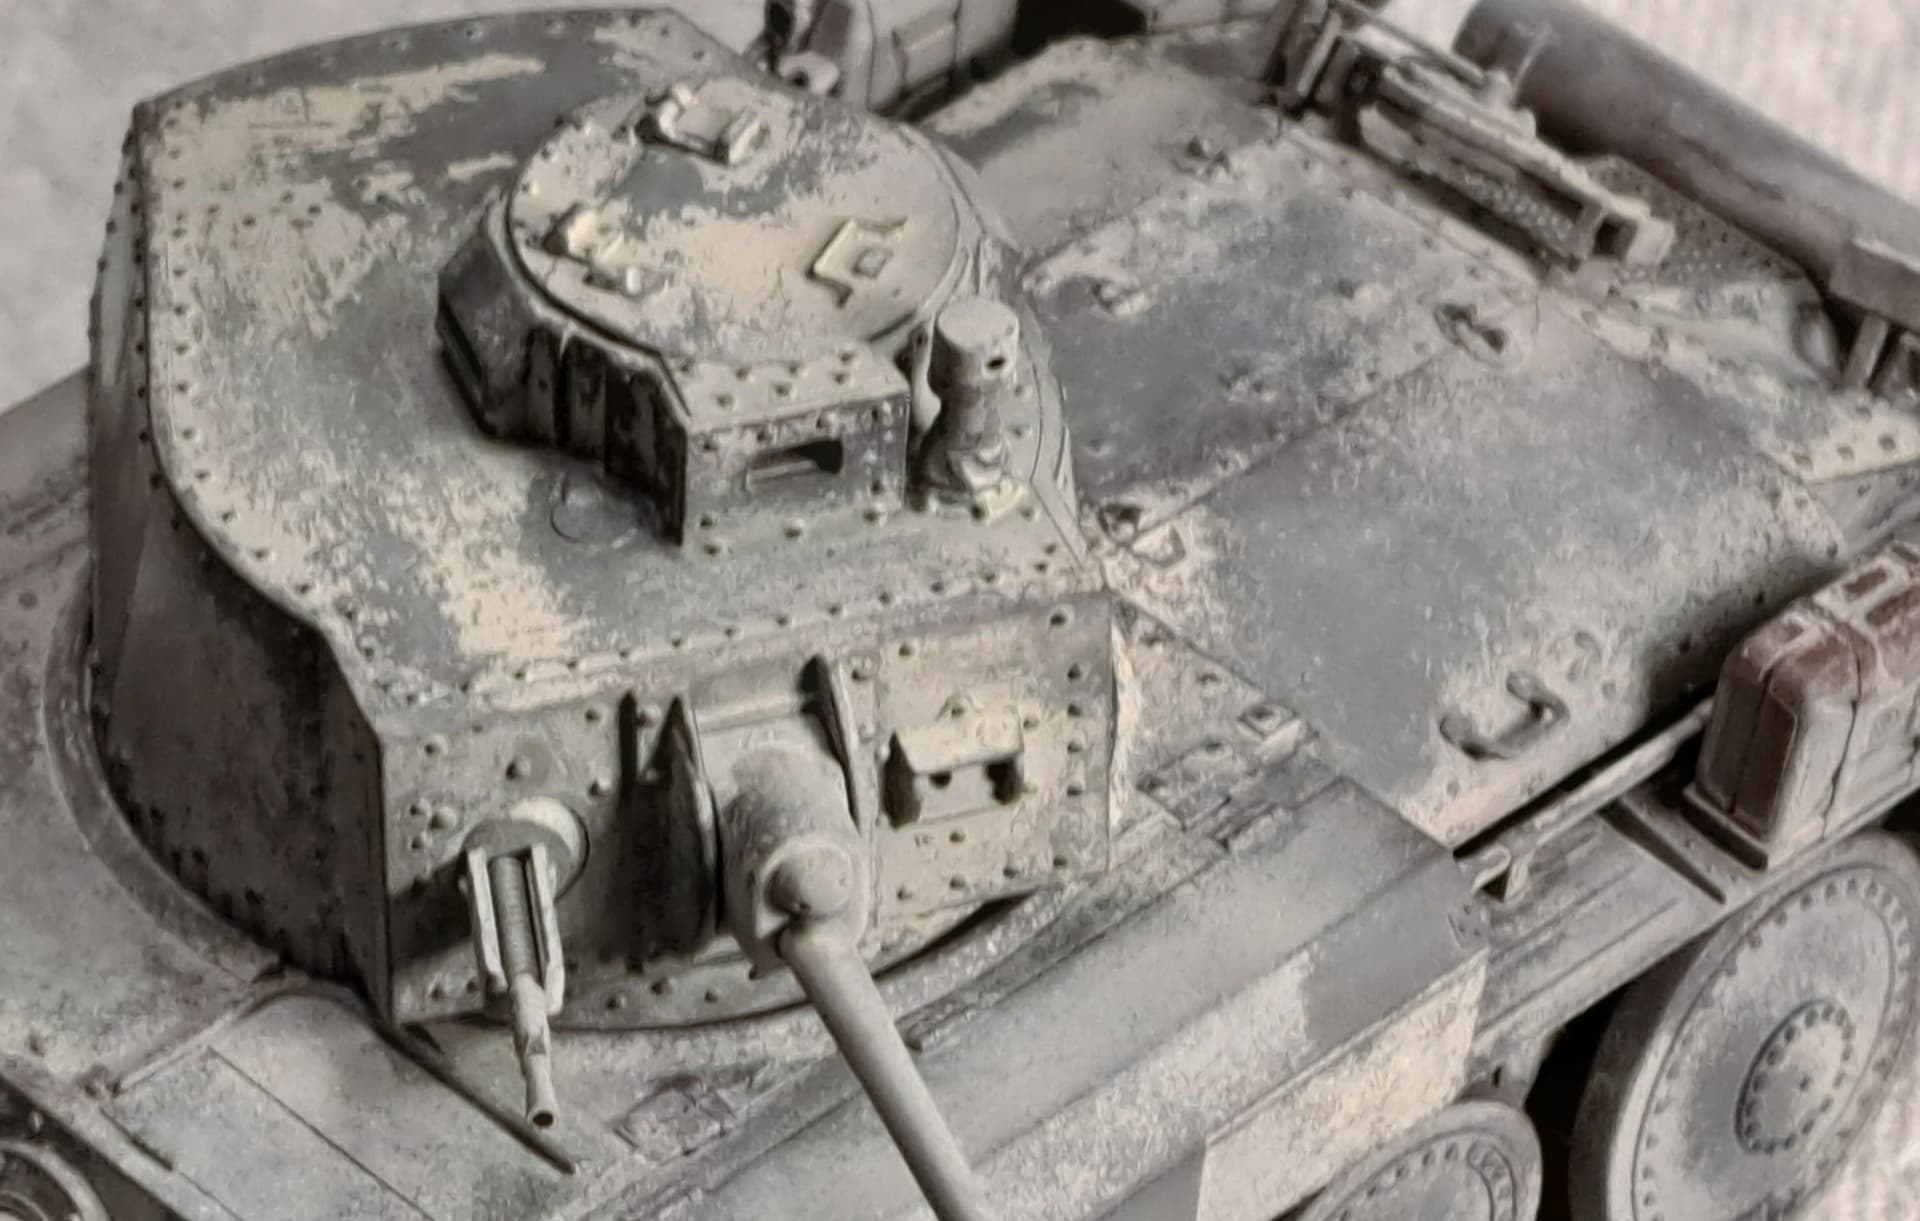
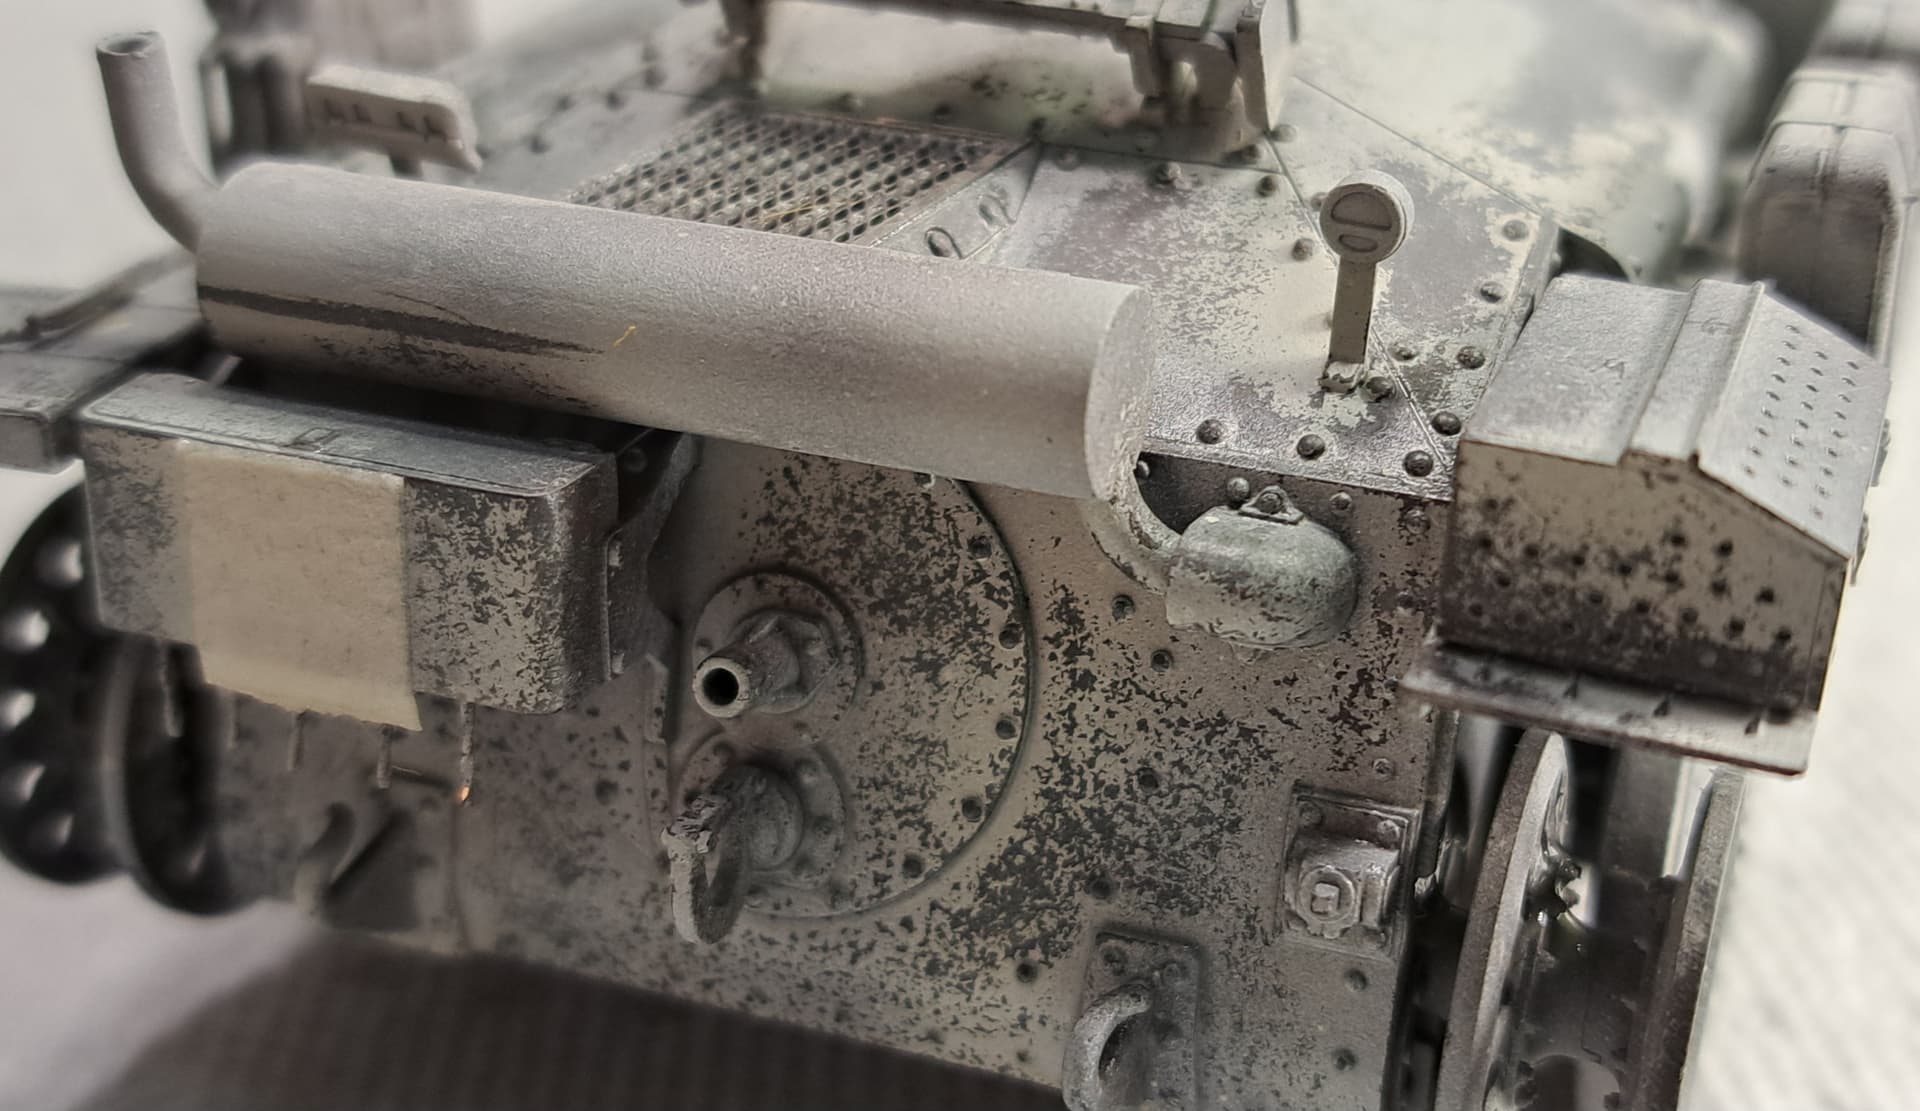
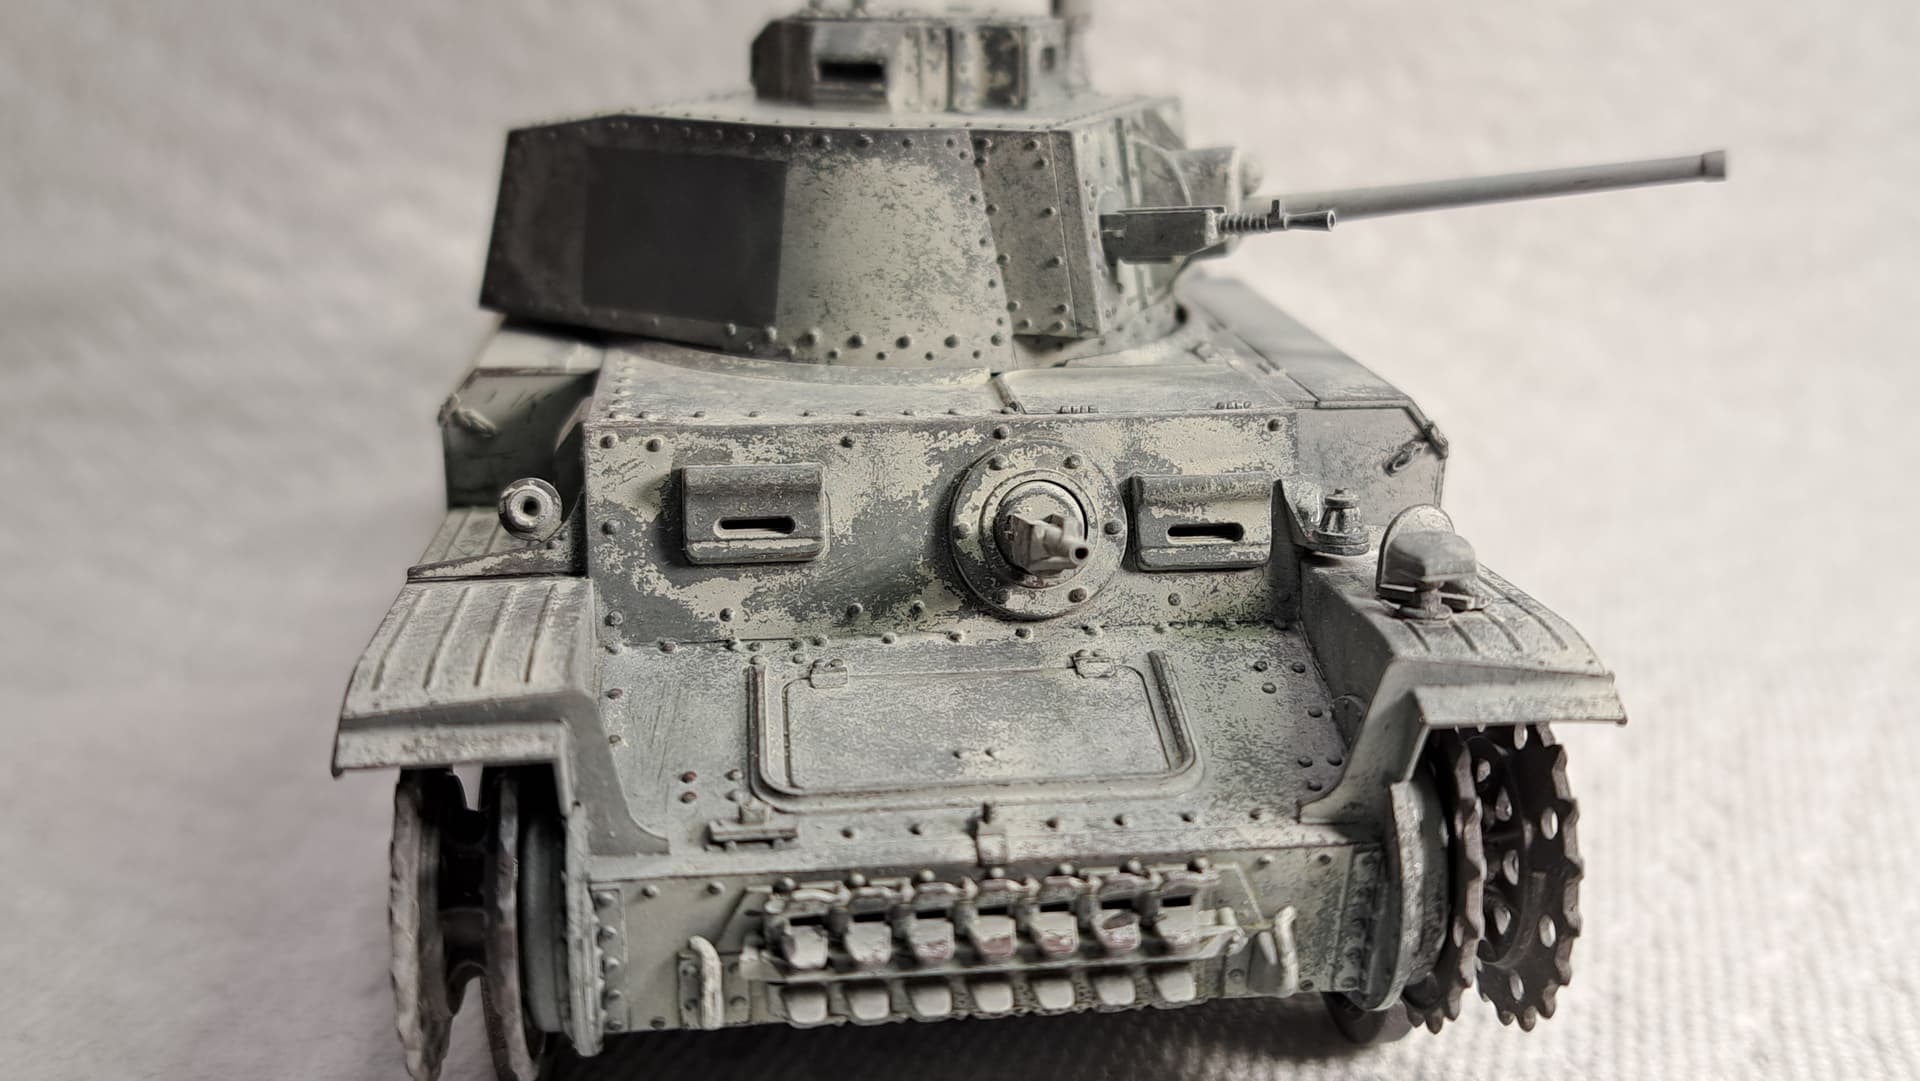
Round 2 of chipping after painting somw details.
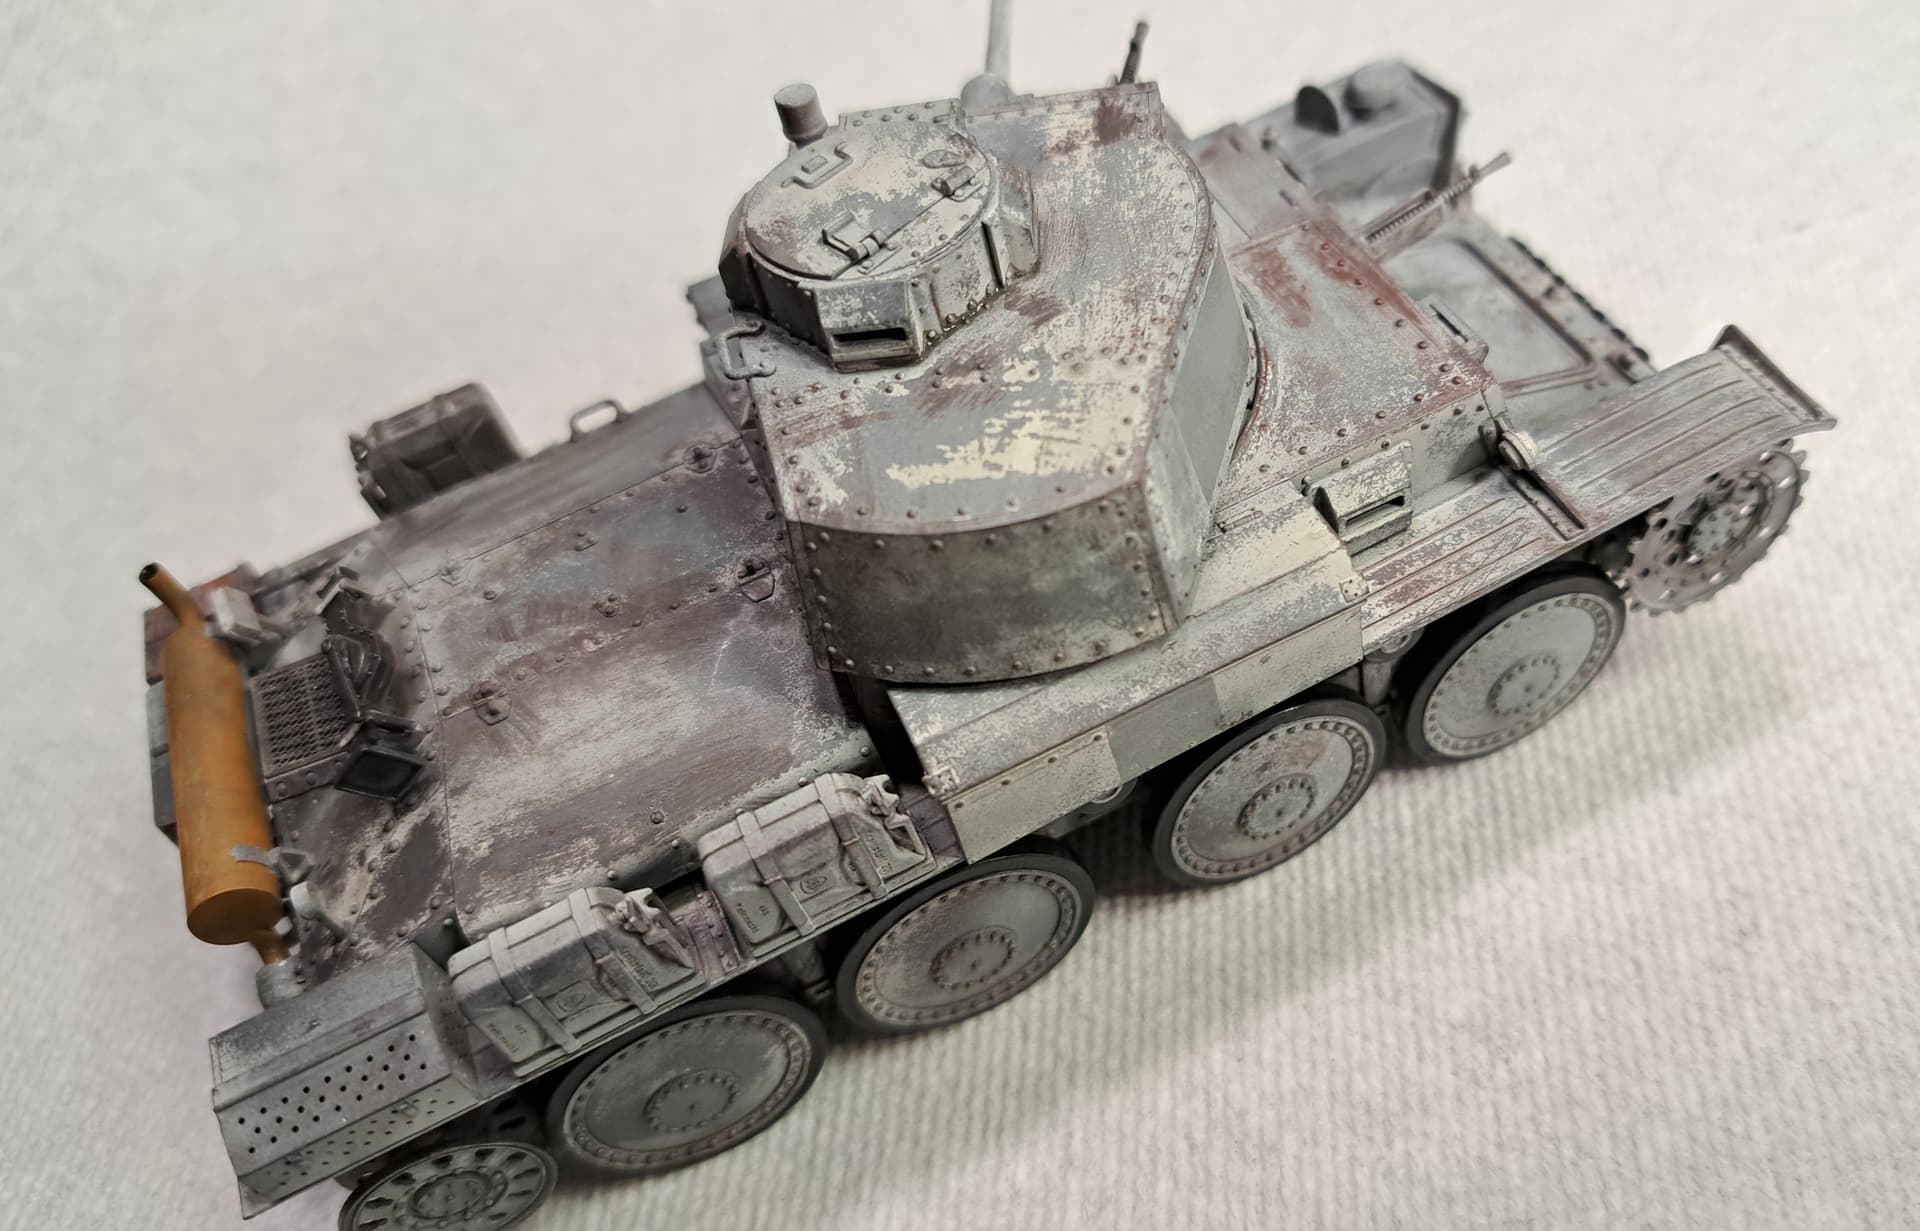
9 Likes
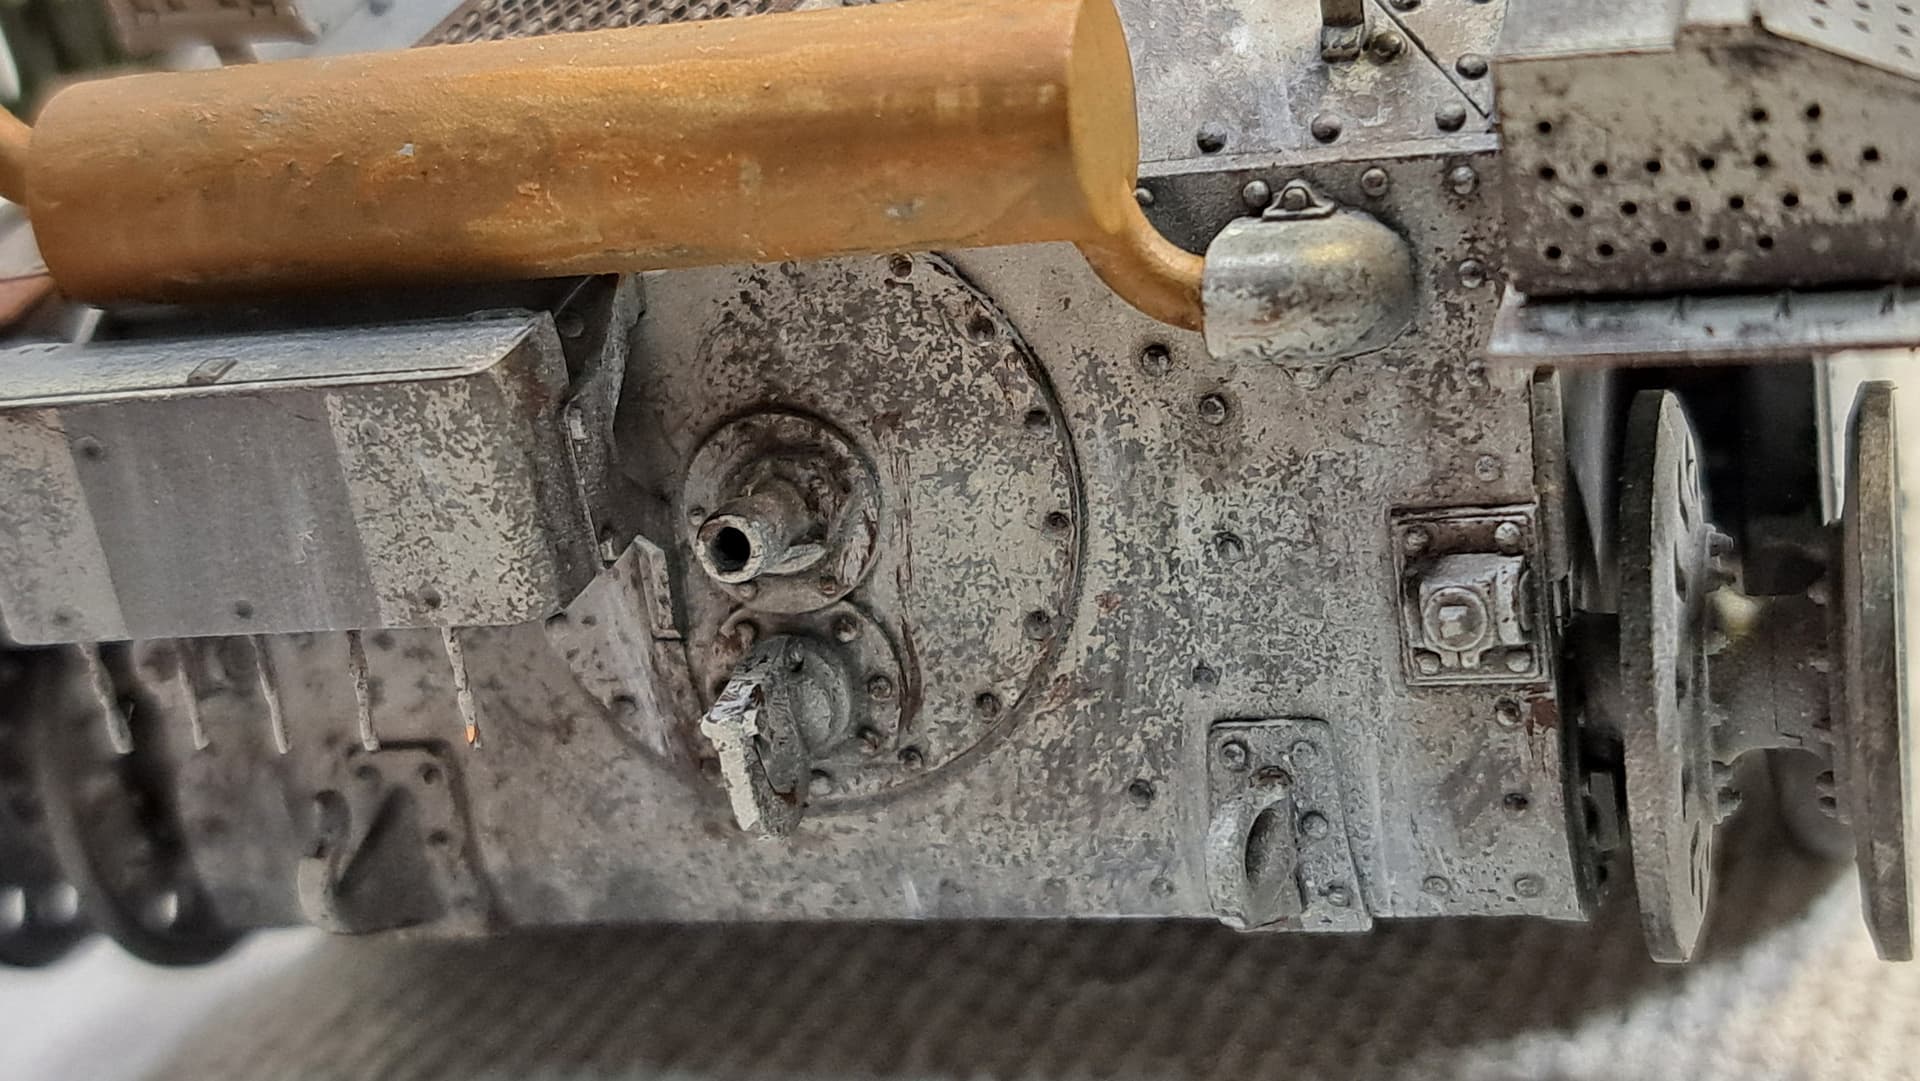
Woof! That is one beaten up 38t!
1 Like
Built one from Bronco nd its a nice kit.
2 Likes
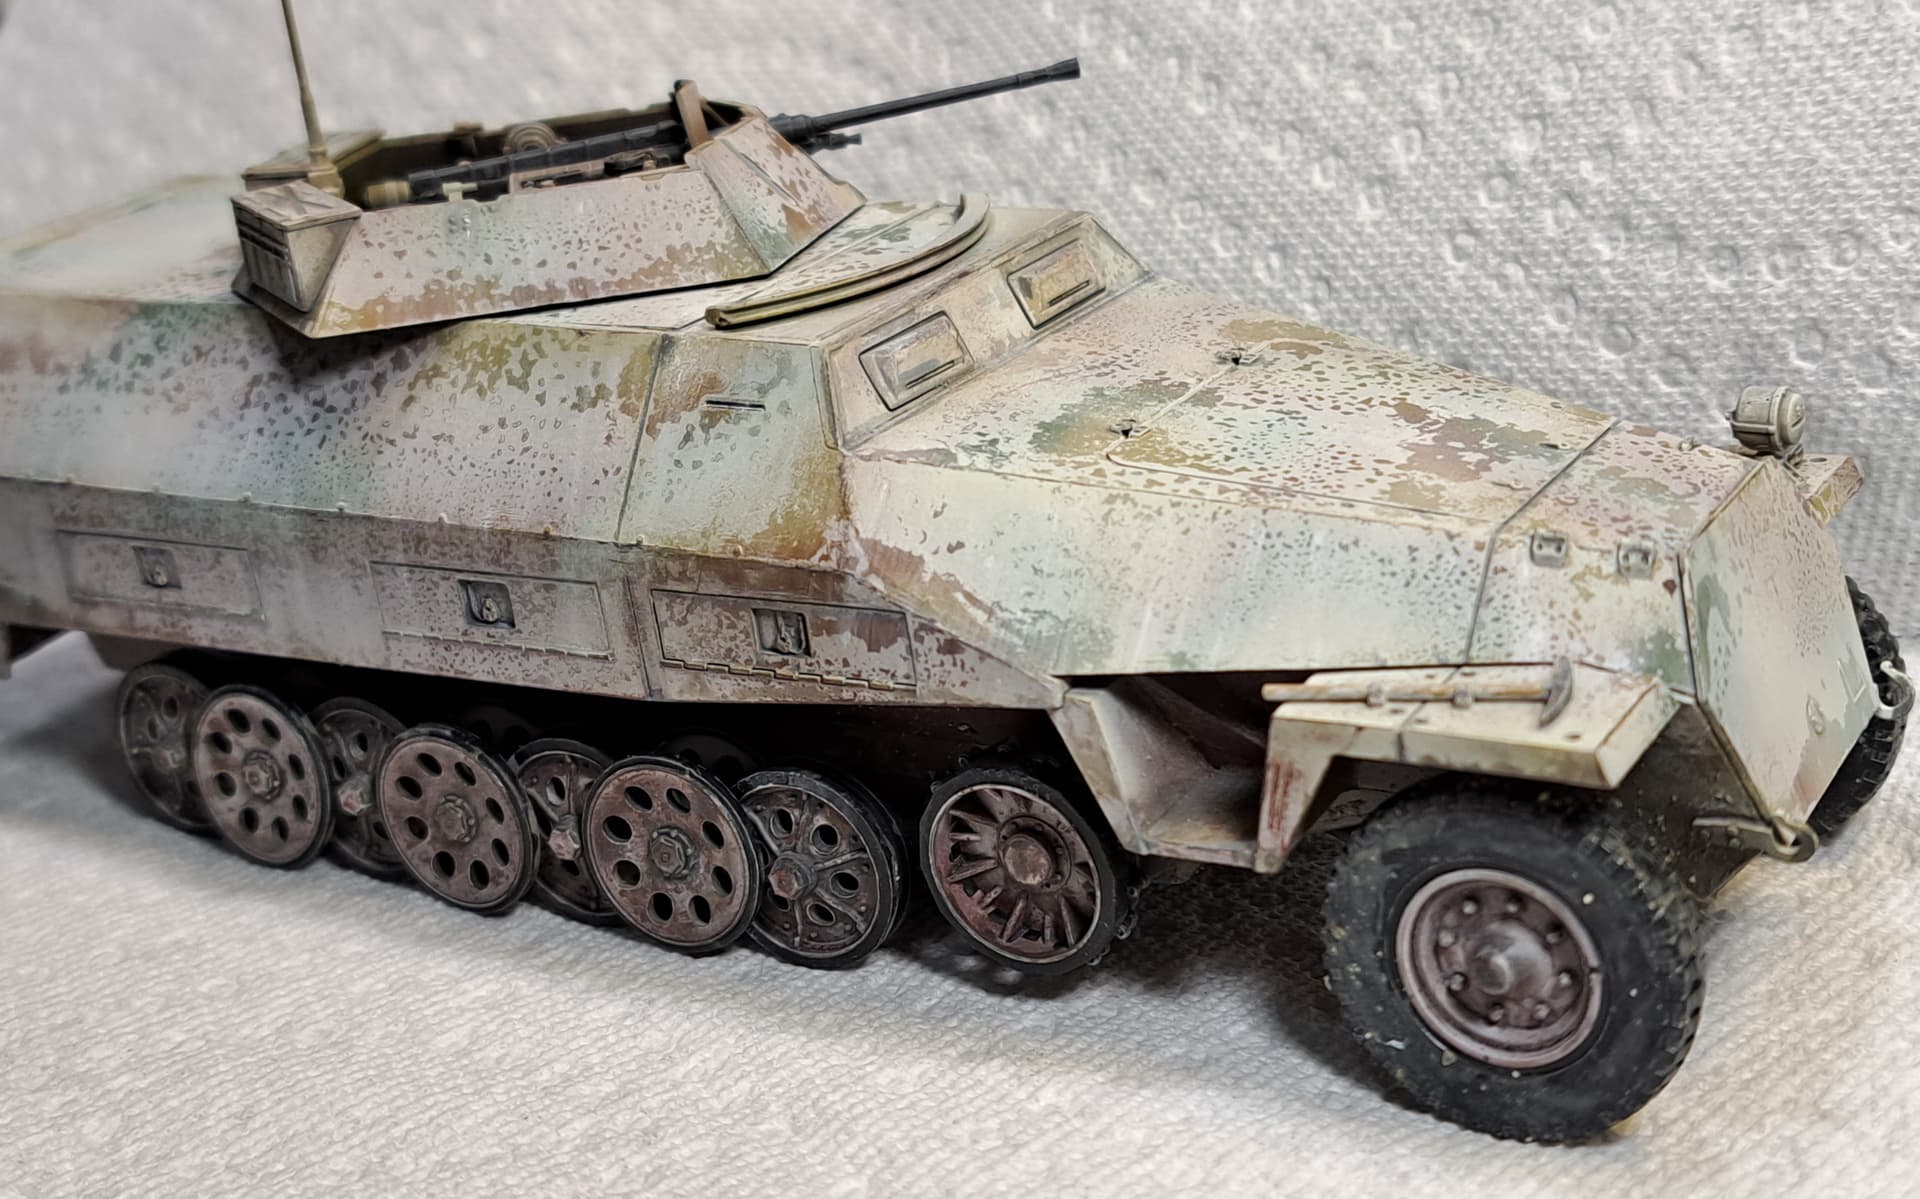
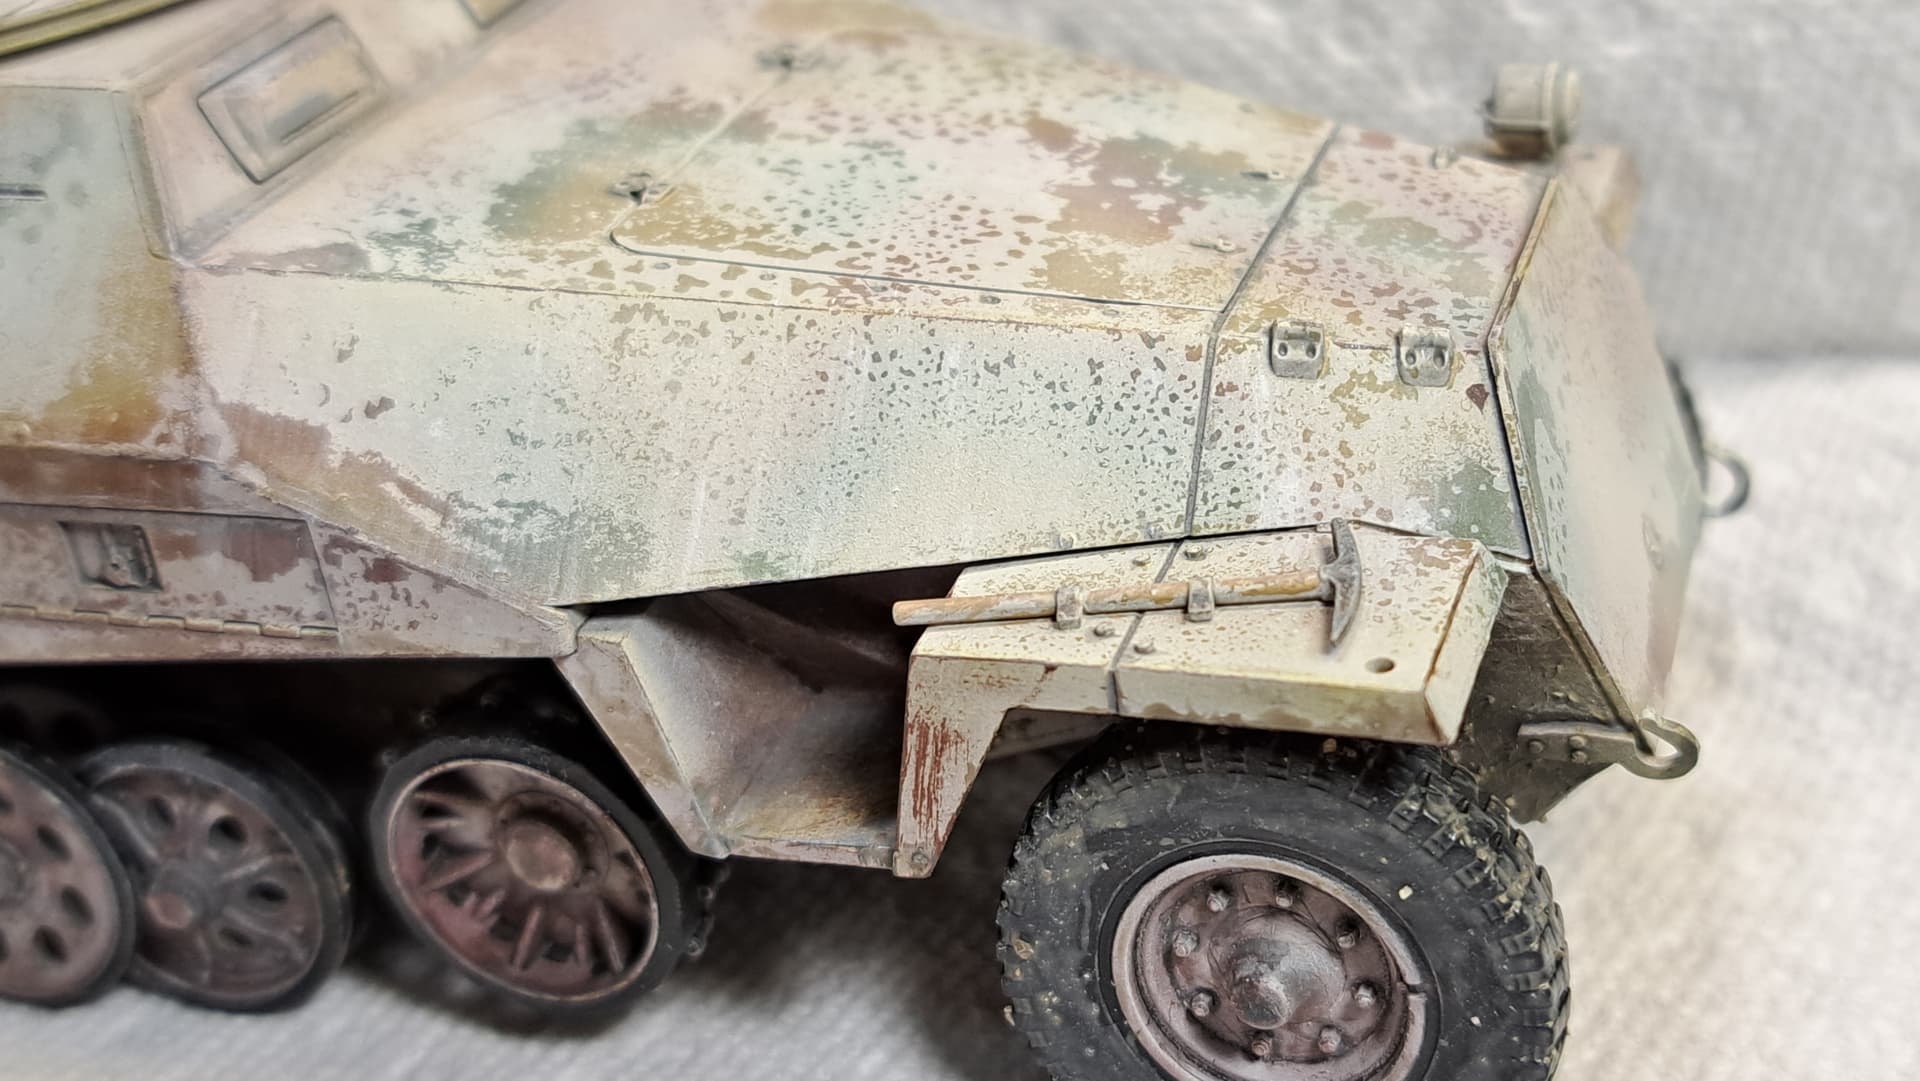
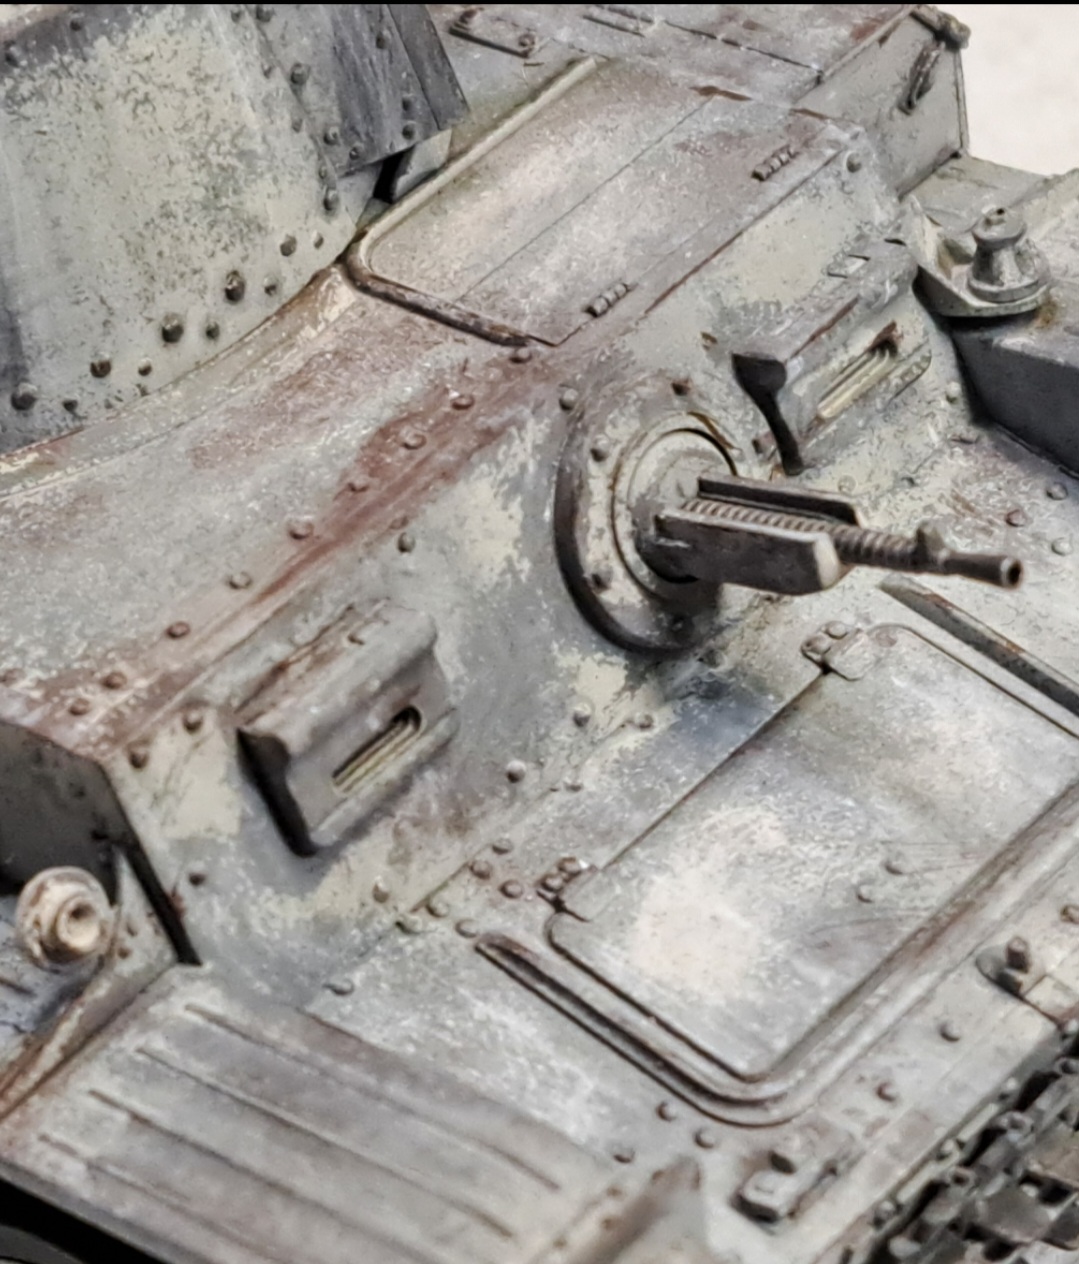
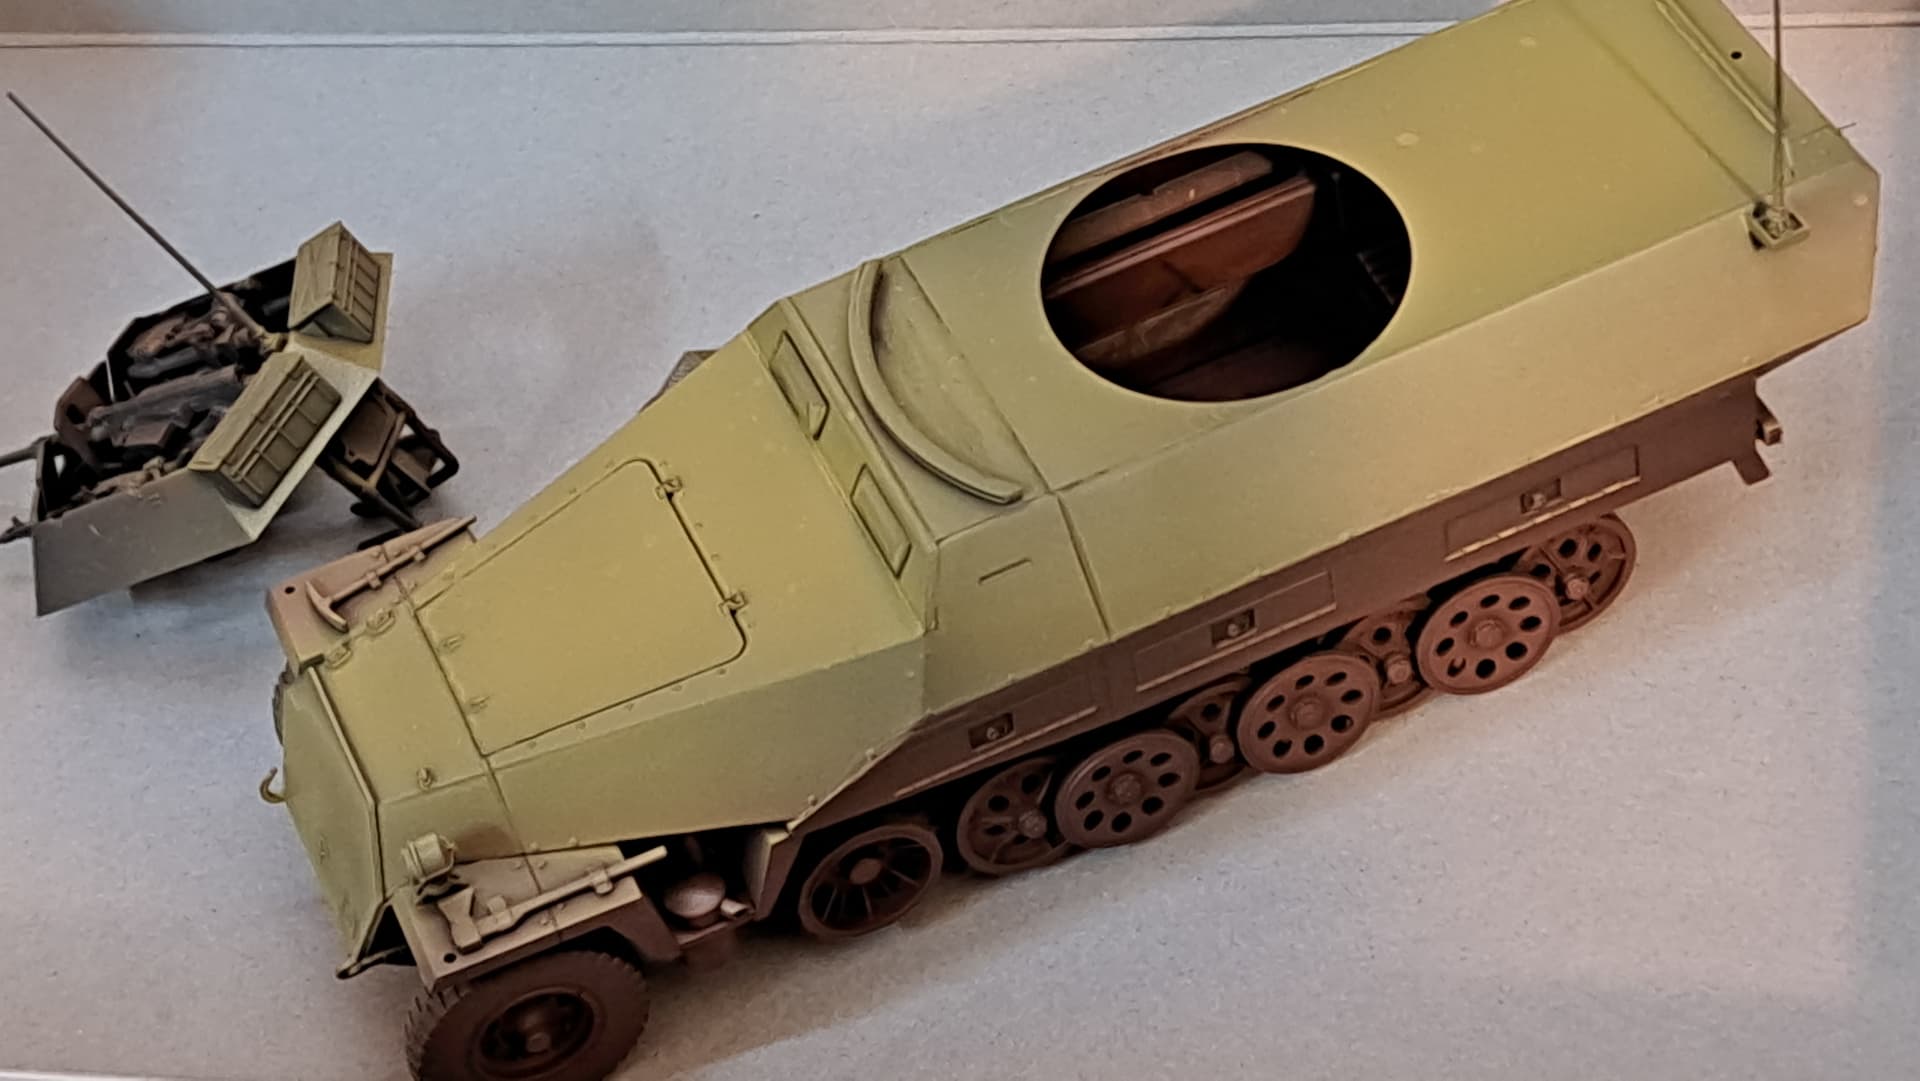
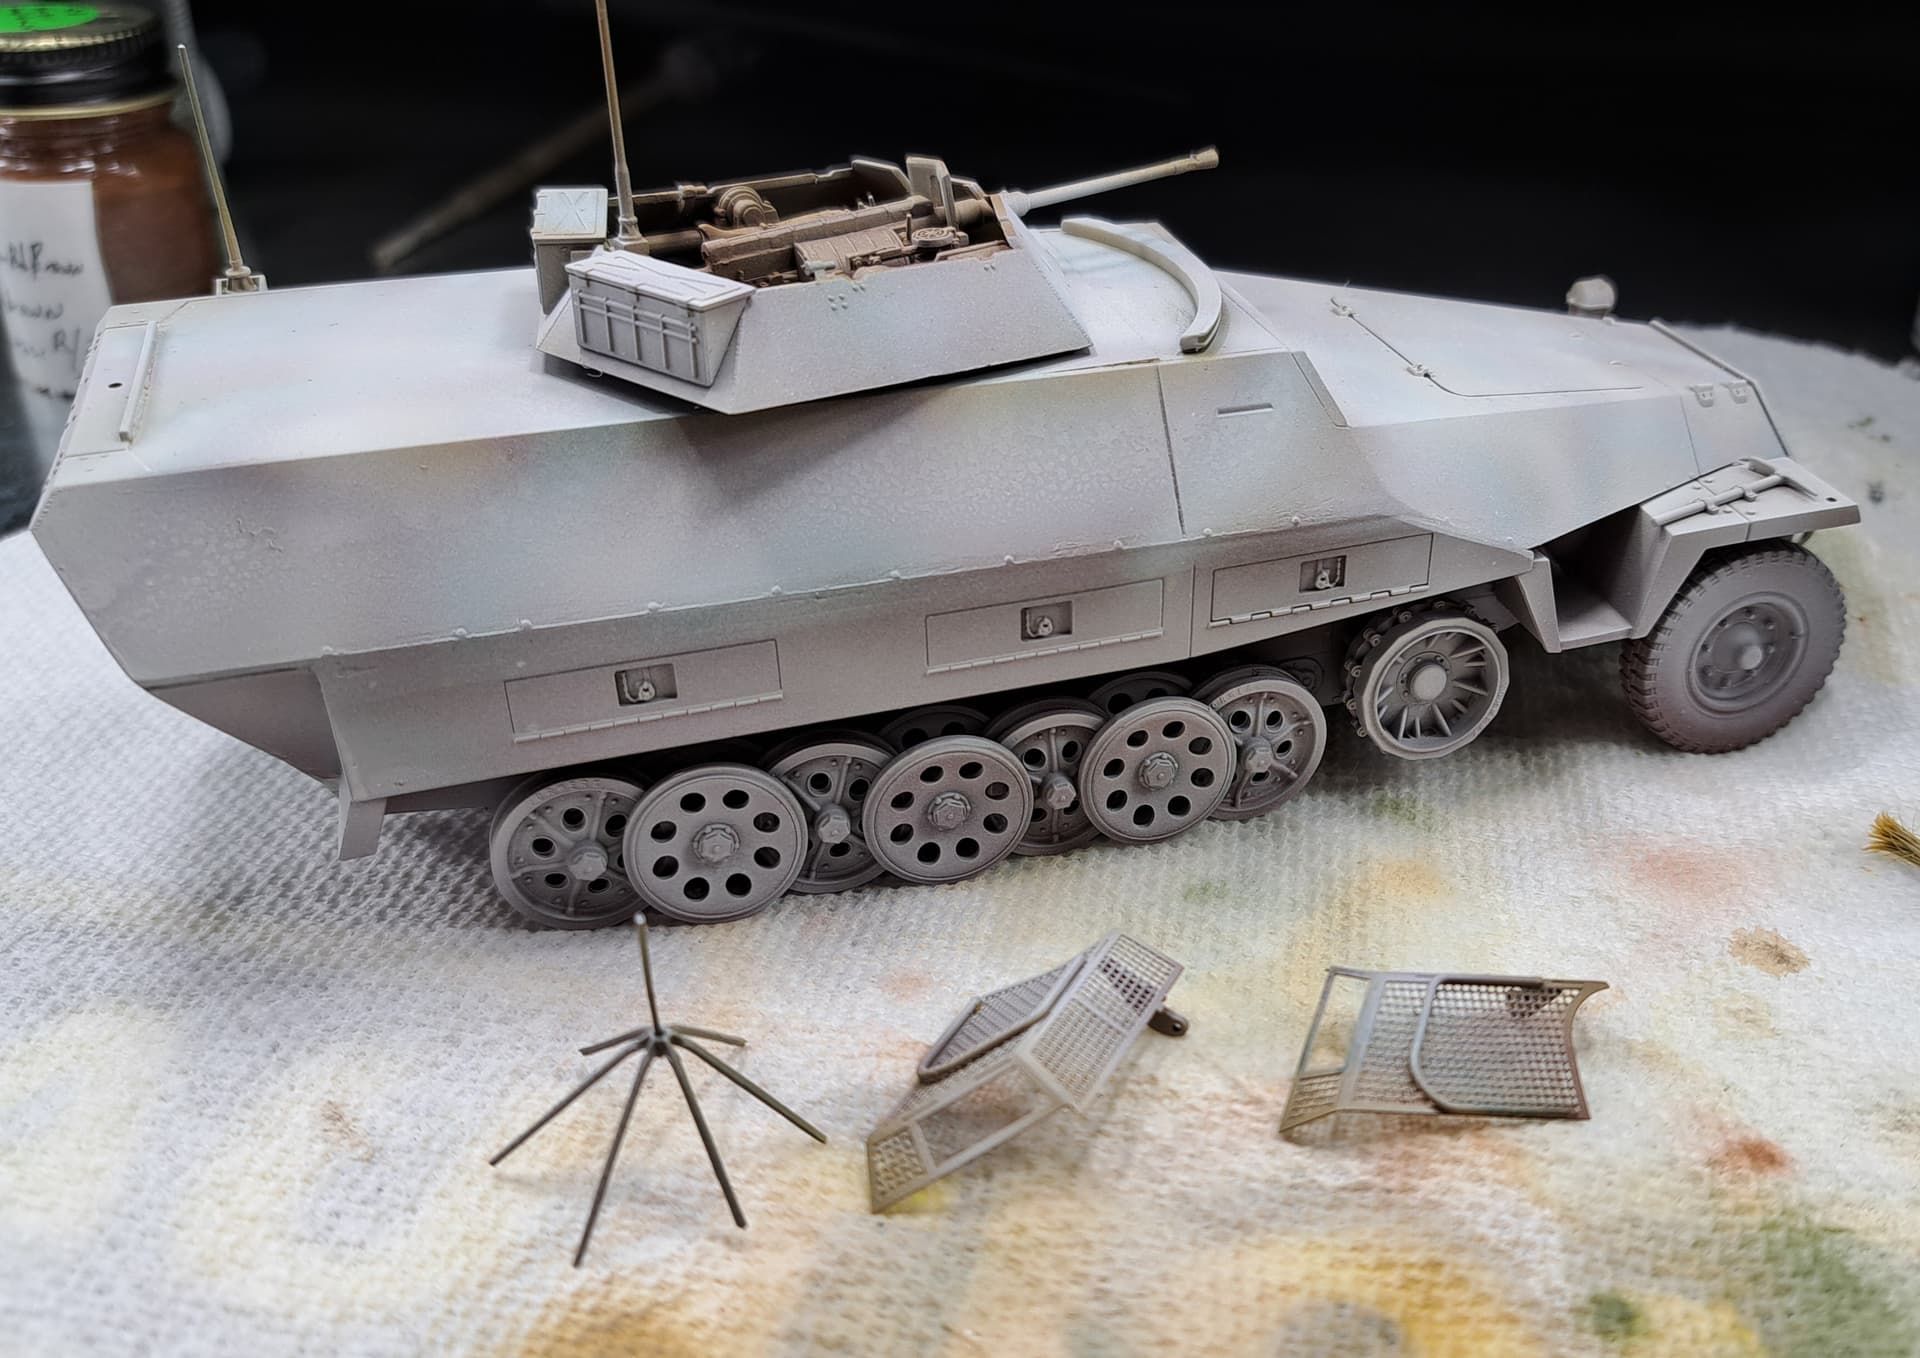
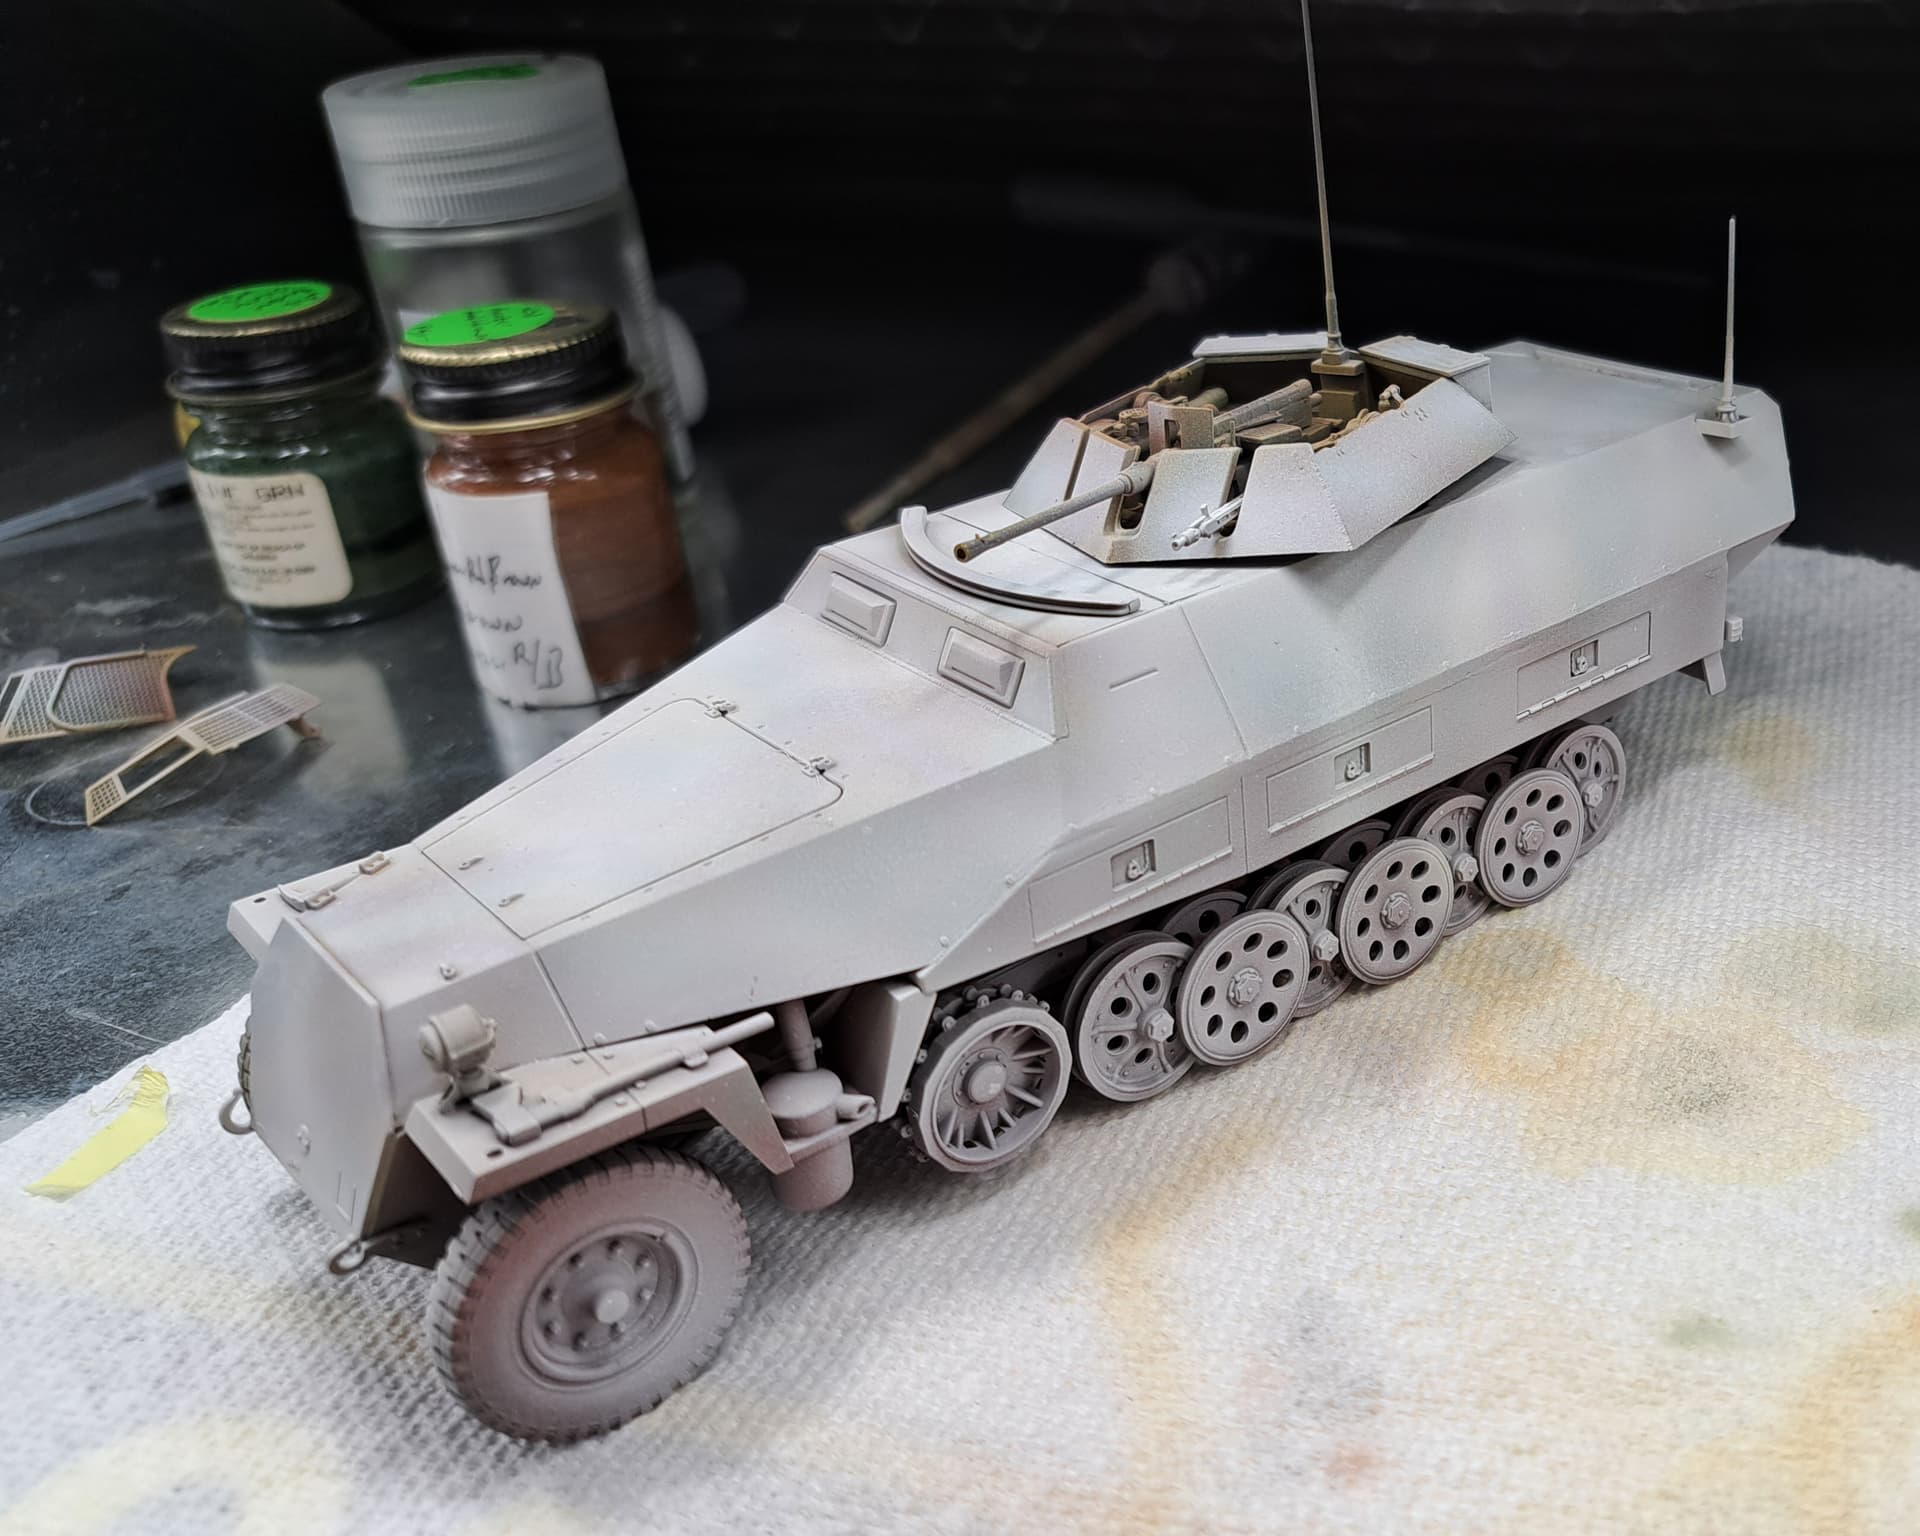
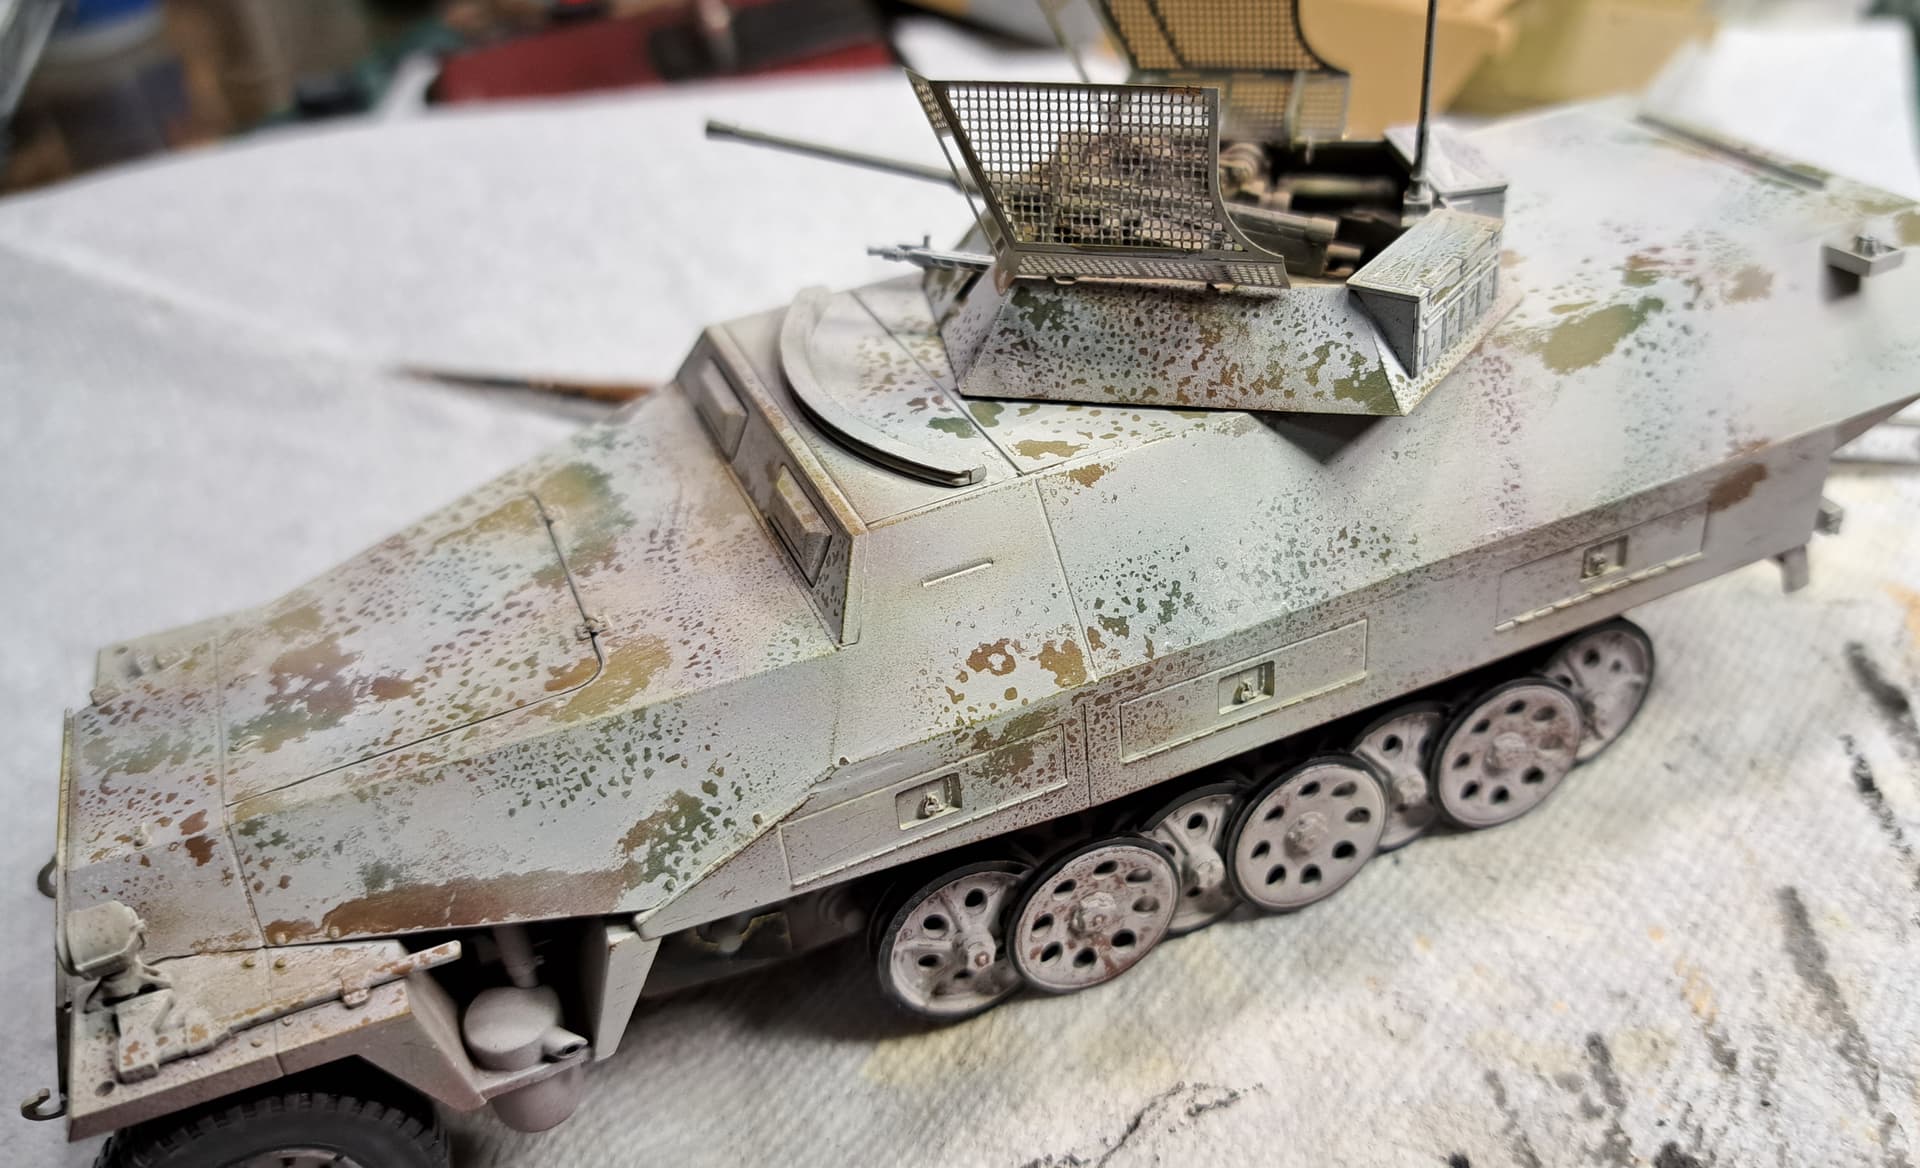
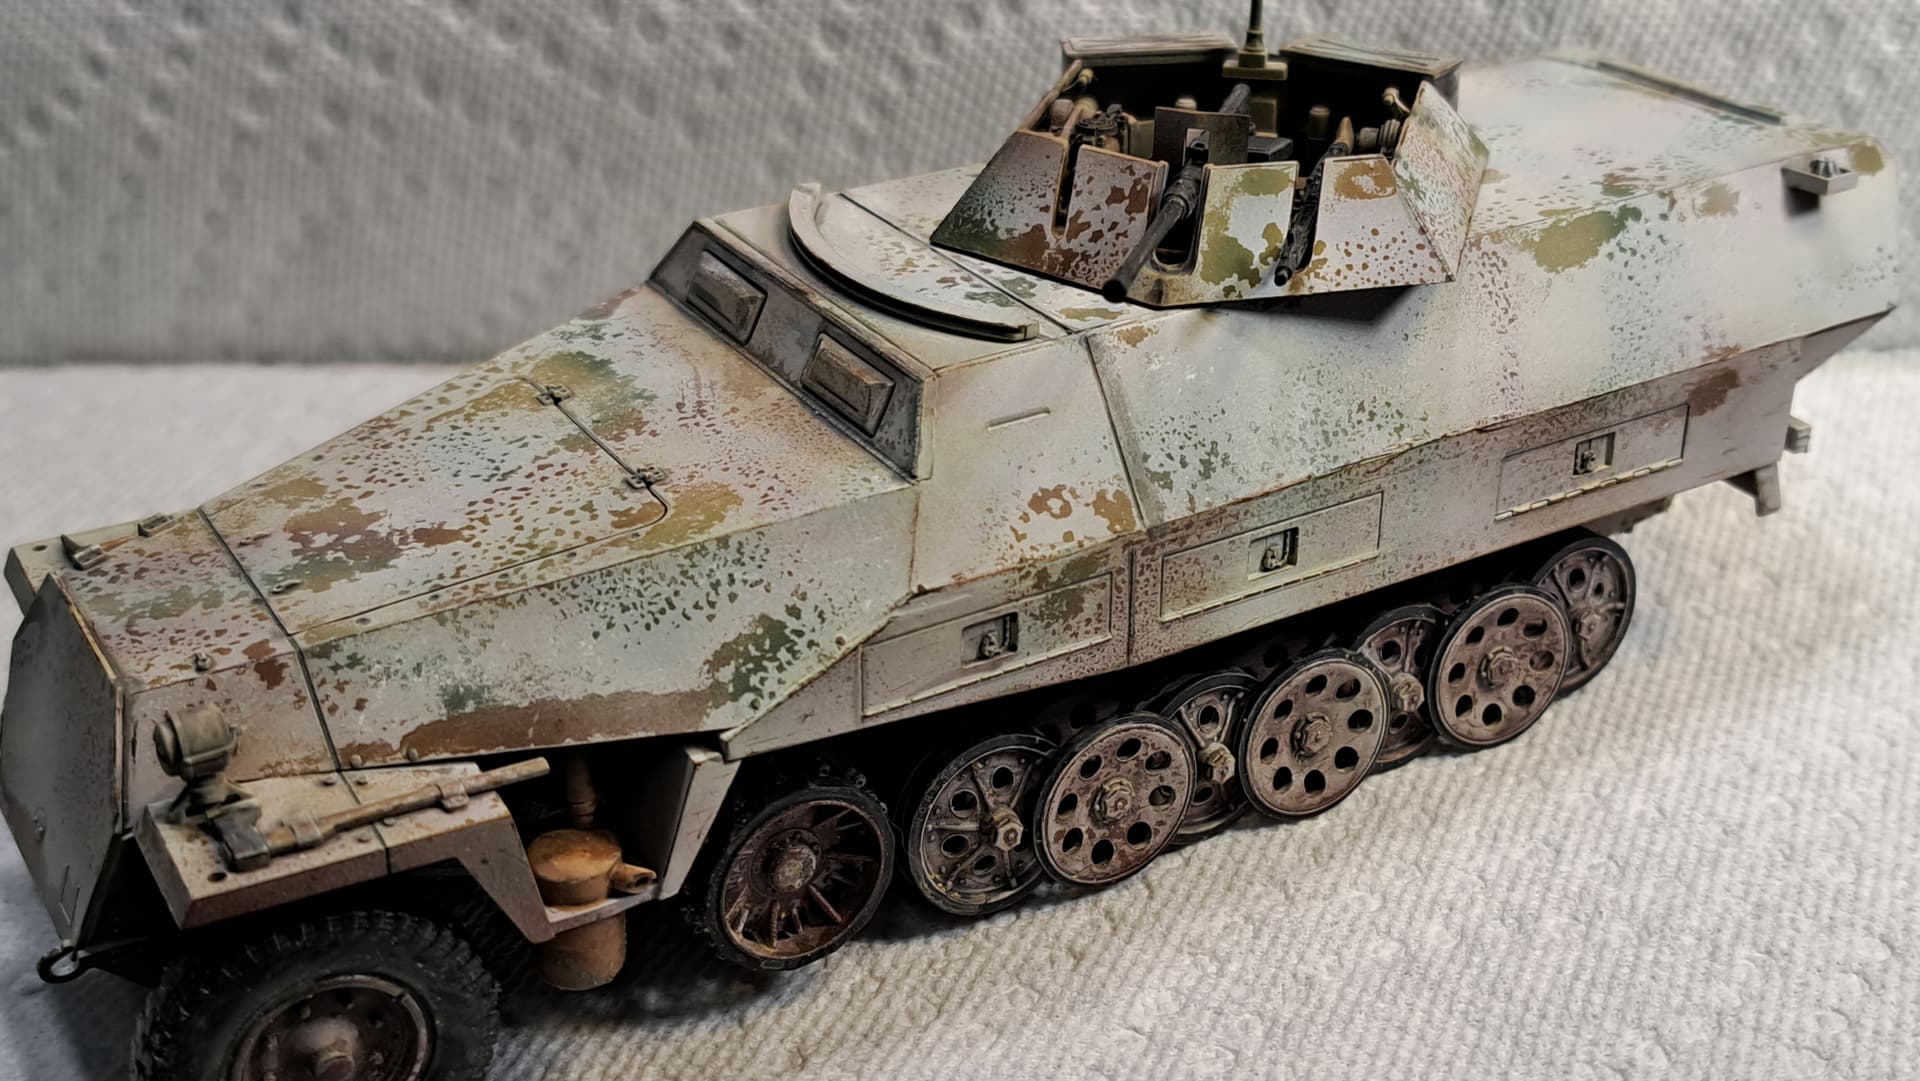
251/23 on the bench so things instantly went wrong today! Broke the star antenna before the compressor filled the air tank. Not an issue will replace the plastic rod with Aber brass or something like that.
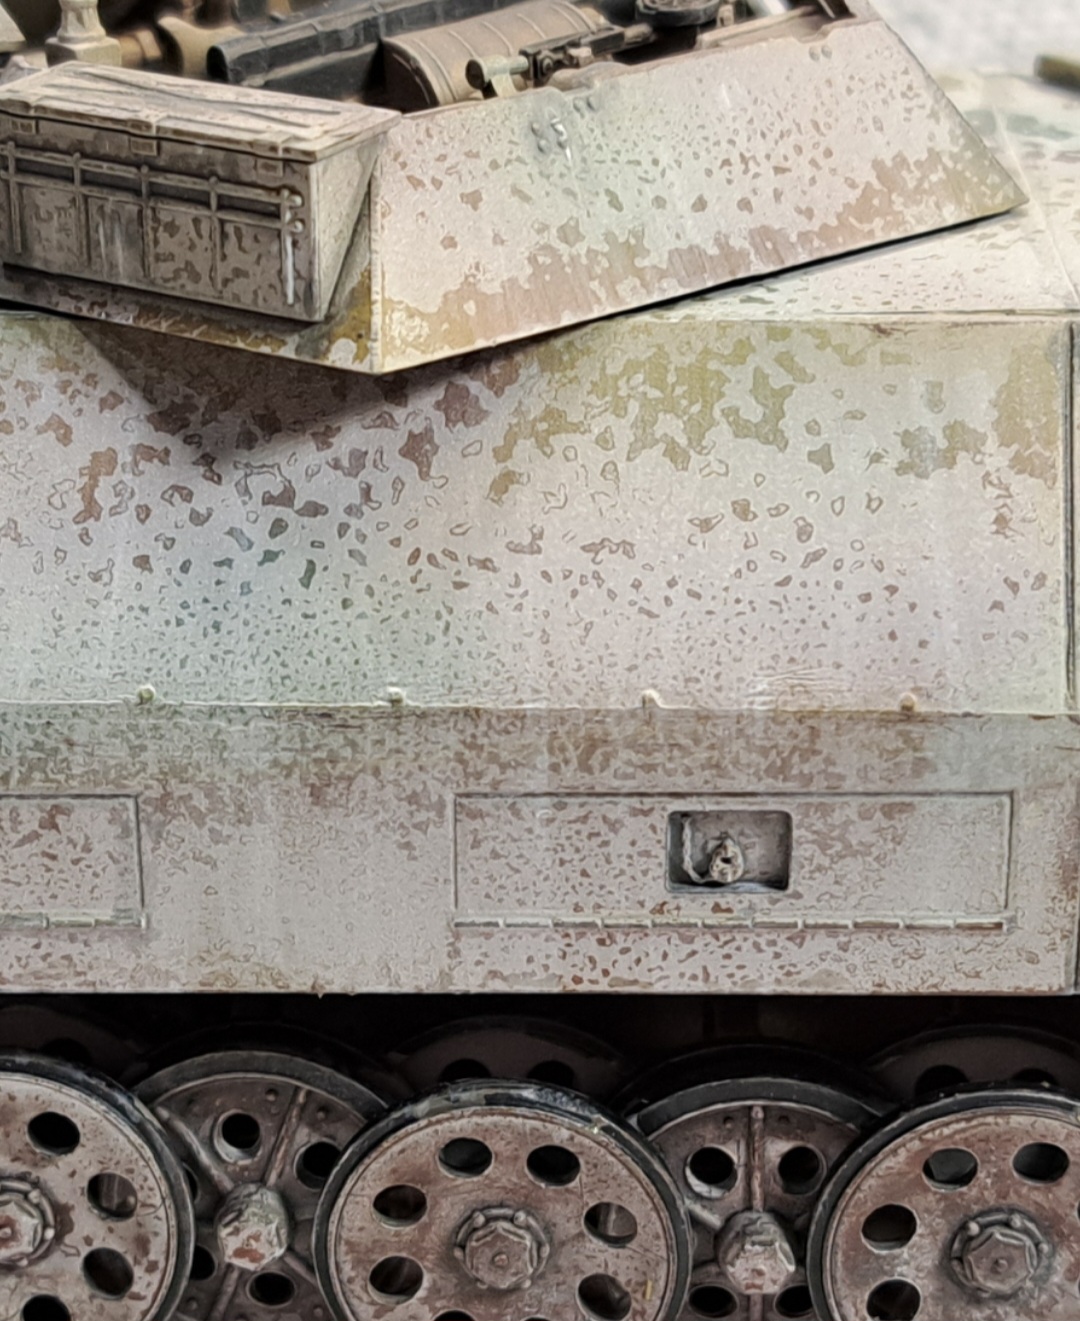
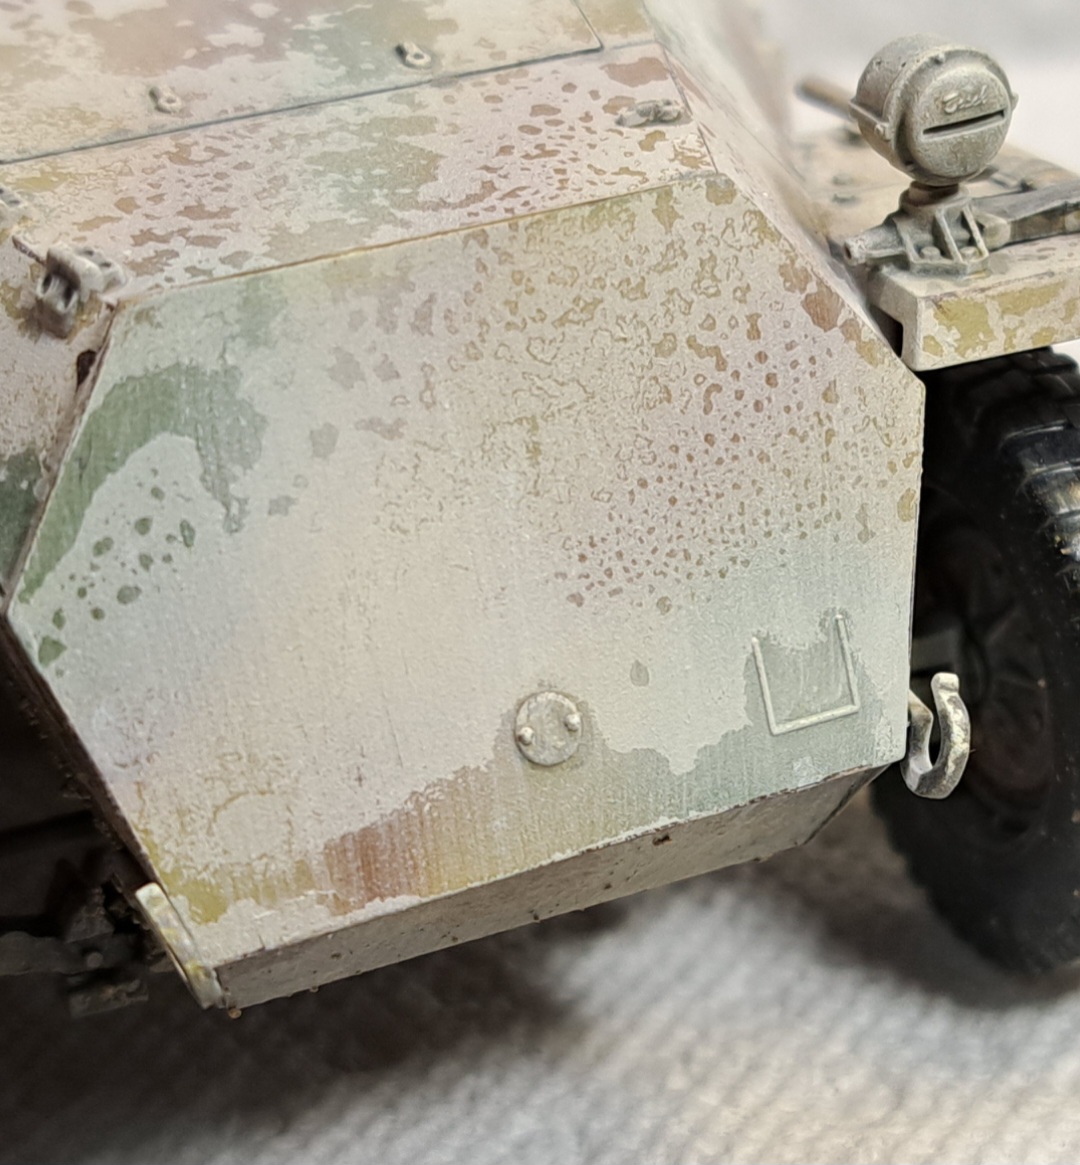
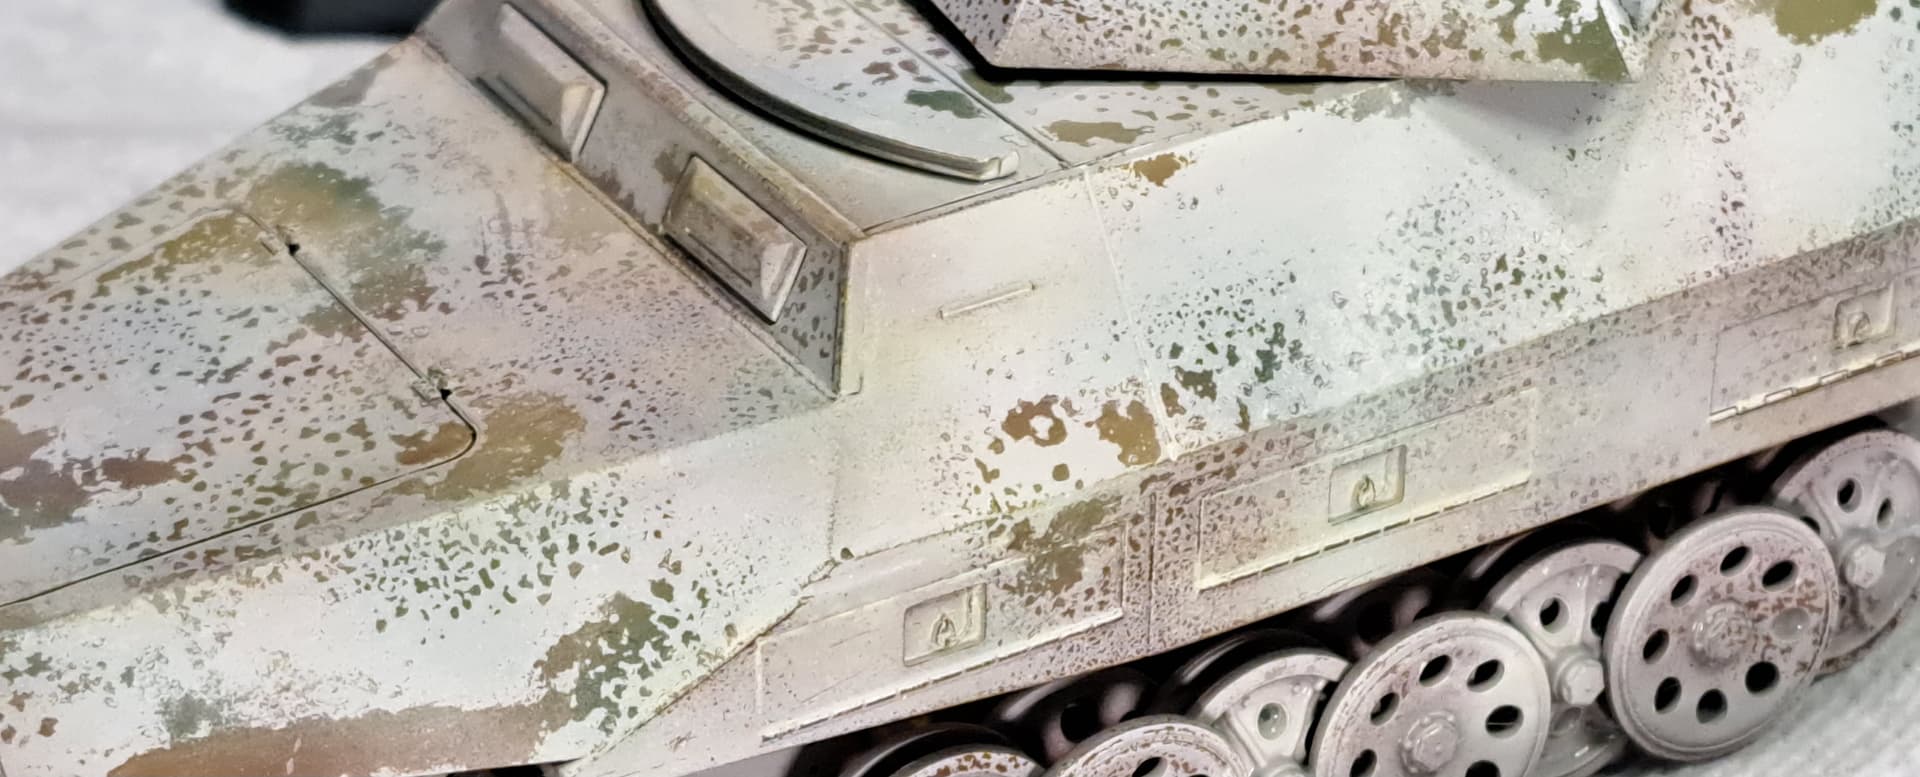
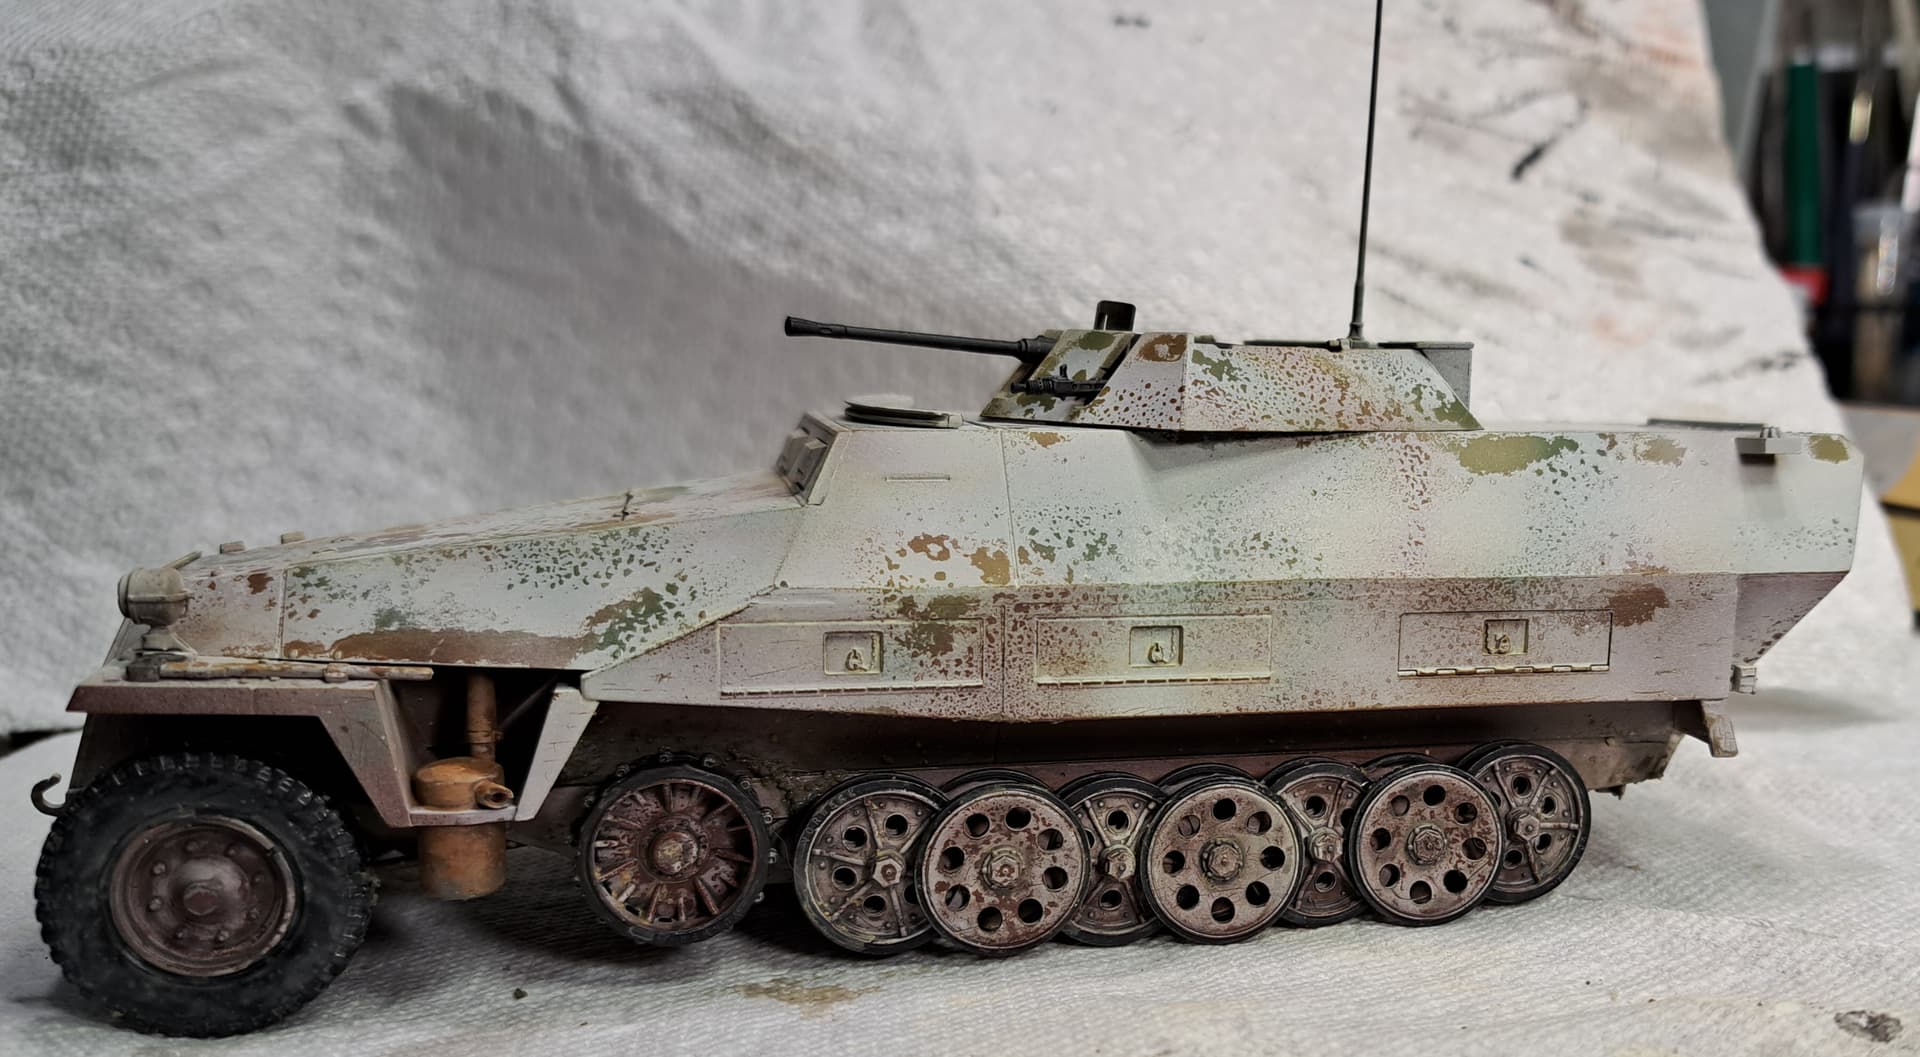
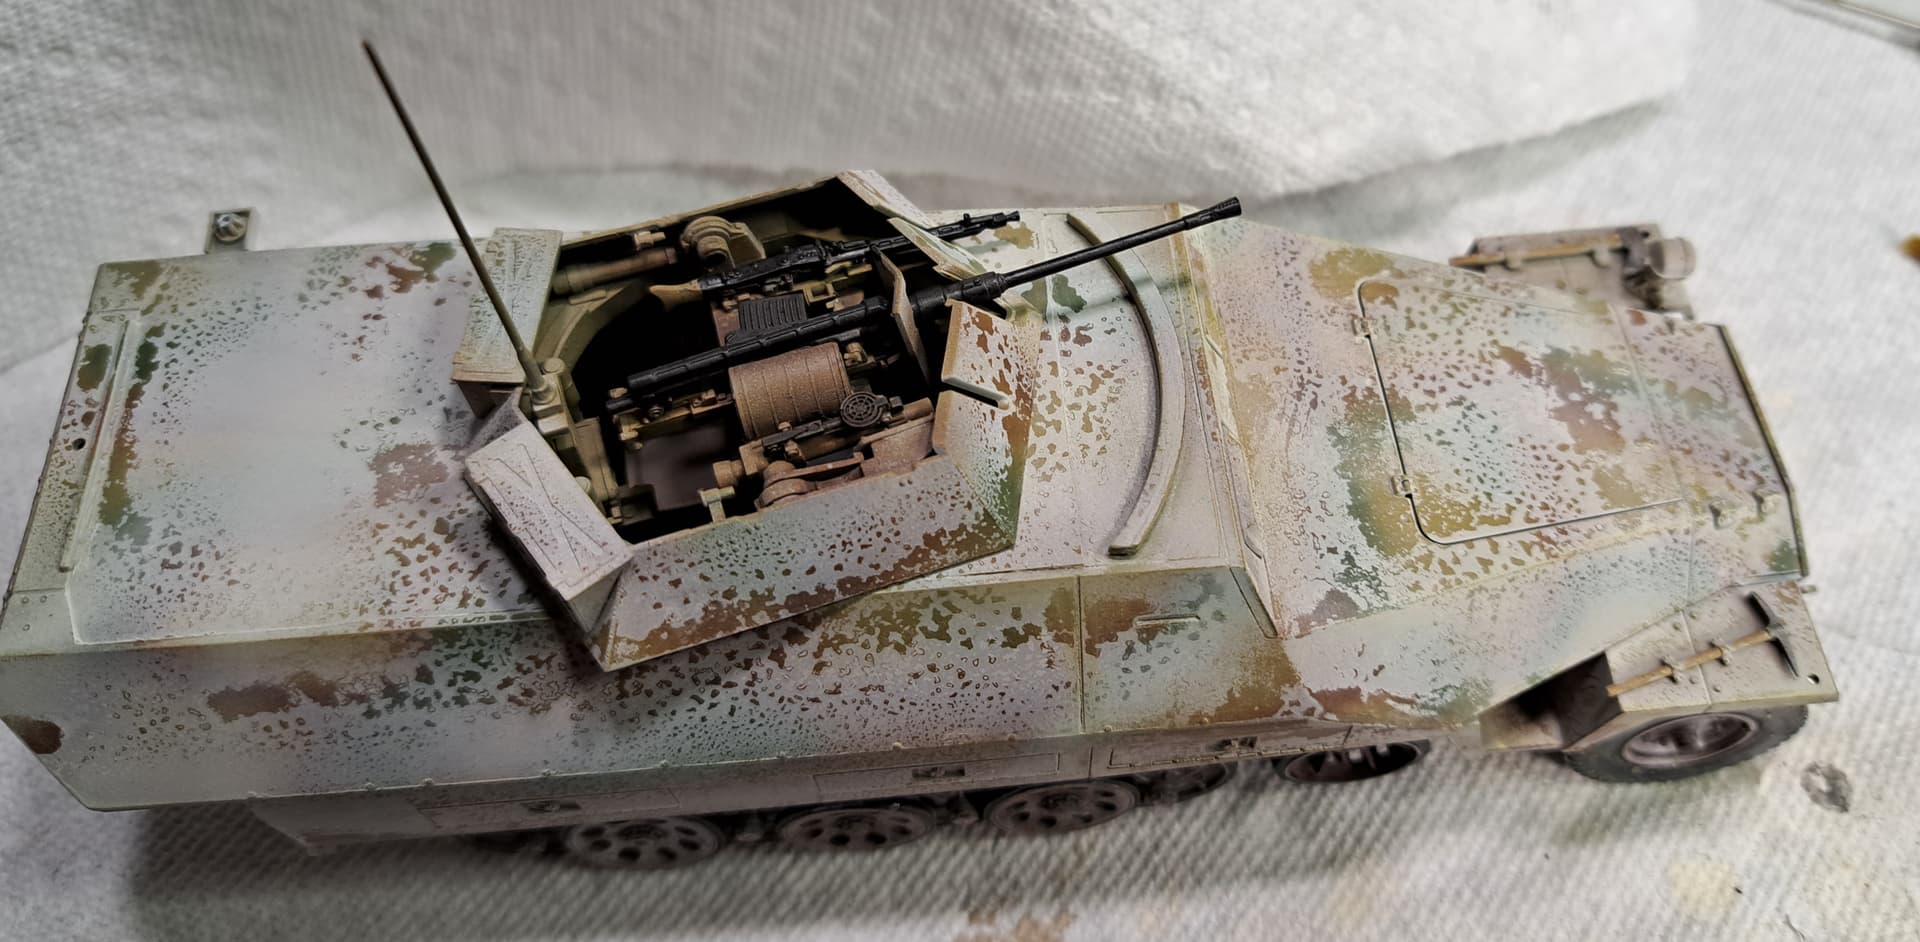
Faint over spray of Floquil Military Color Dunkelgelb (Panzer Dark Yellow) and I was much happier with the 251/23.
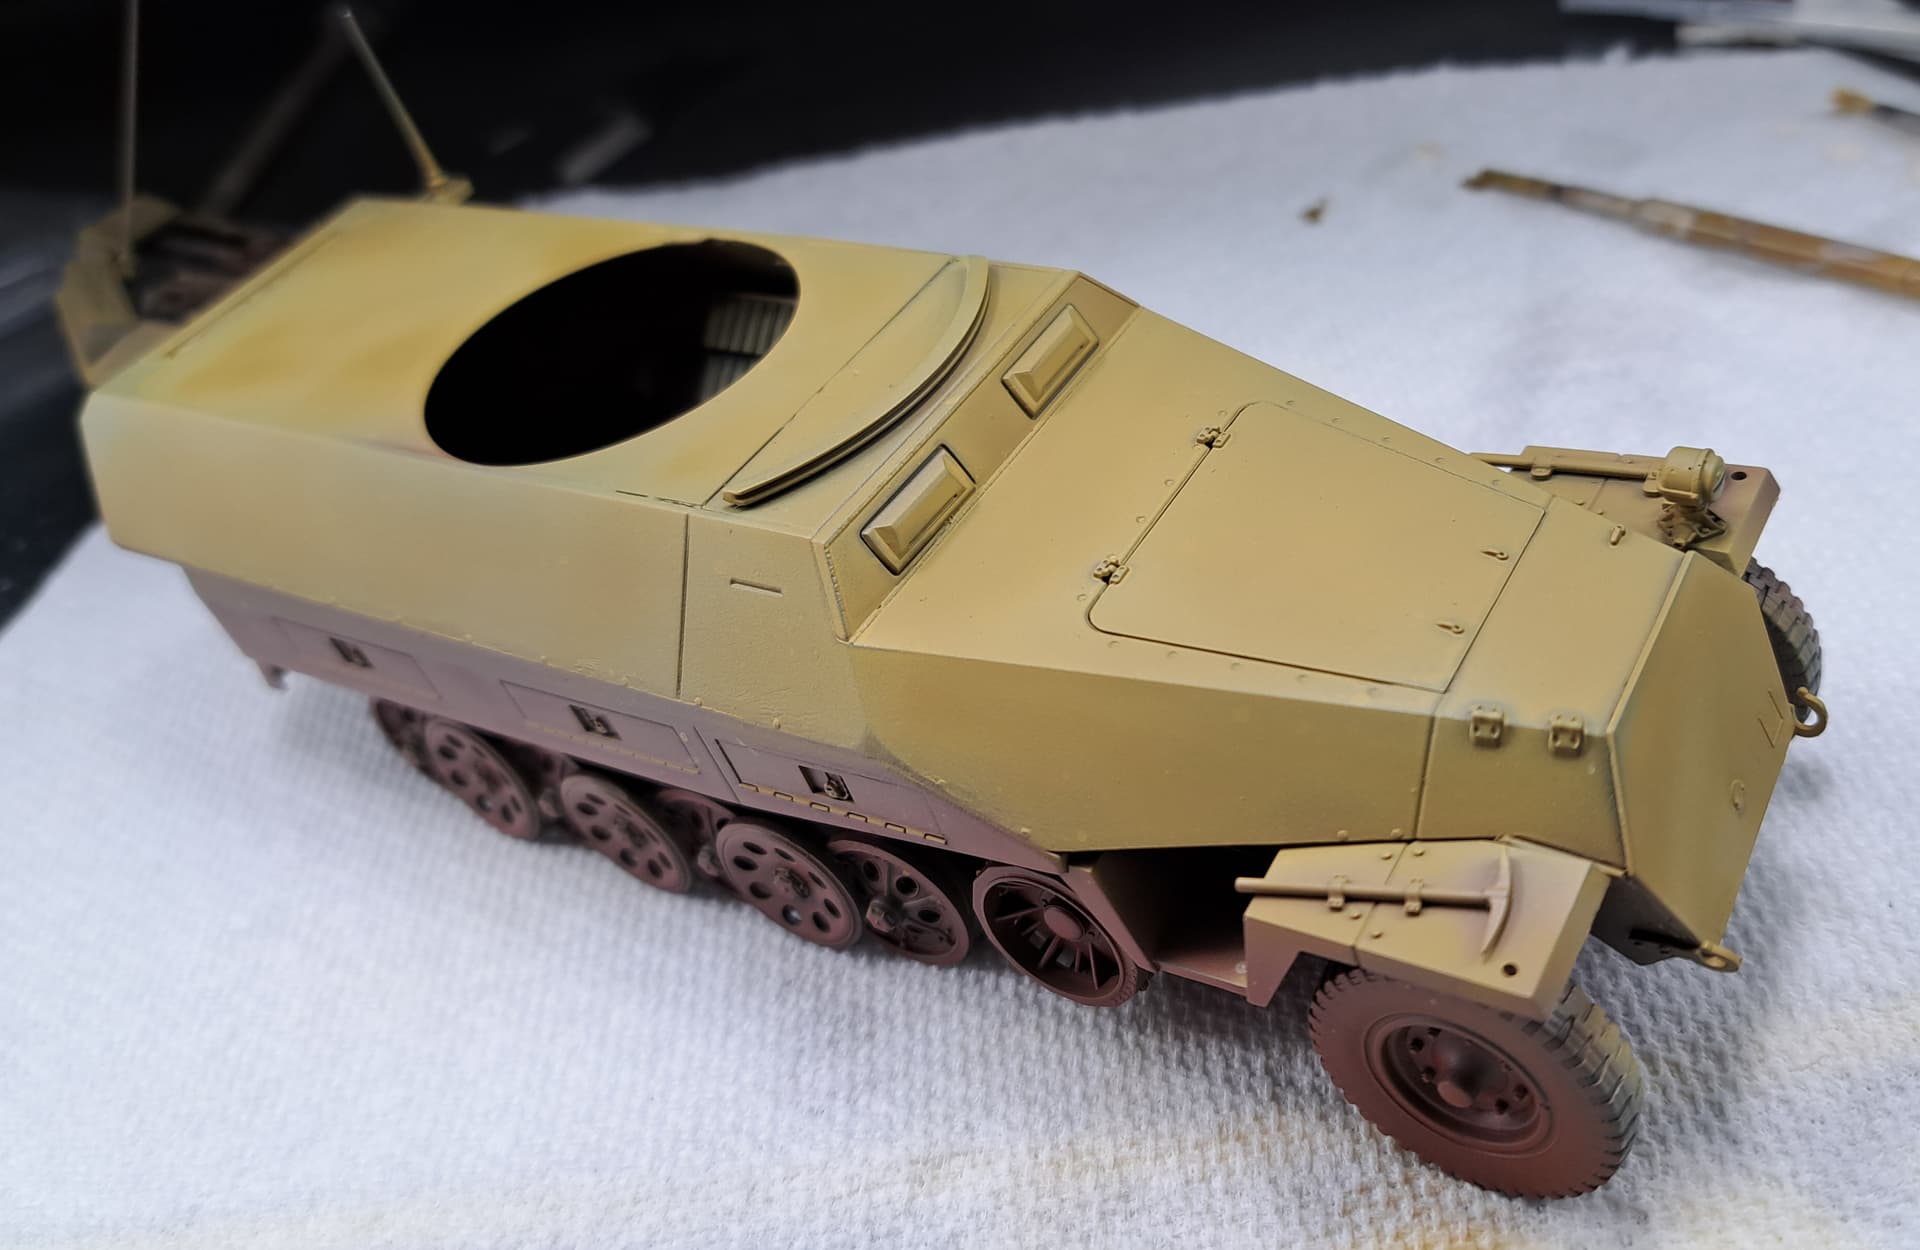
Followed with custom mixes of my interpretation of Olivgrun (RAL 6003) & Schokoladenbraun (RAL 8017) using FMC paint in a very sloppy. Decided since this is paper panzer to tweak the tri-color with a couple of random steeaks of FMC Panzer Interior Buff RAL 9001 ‘Cremewiss’ or most commonly called ‘Elfenbein.
The result was suitably ghastly as desired.
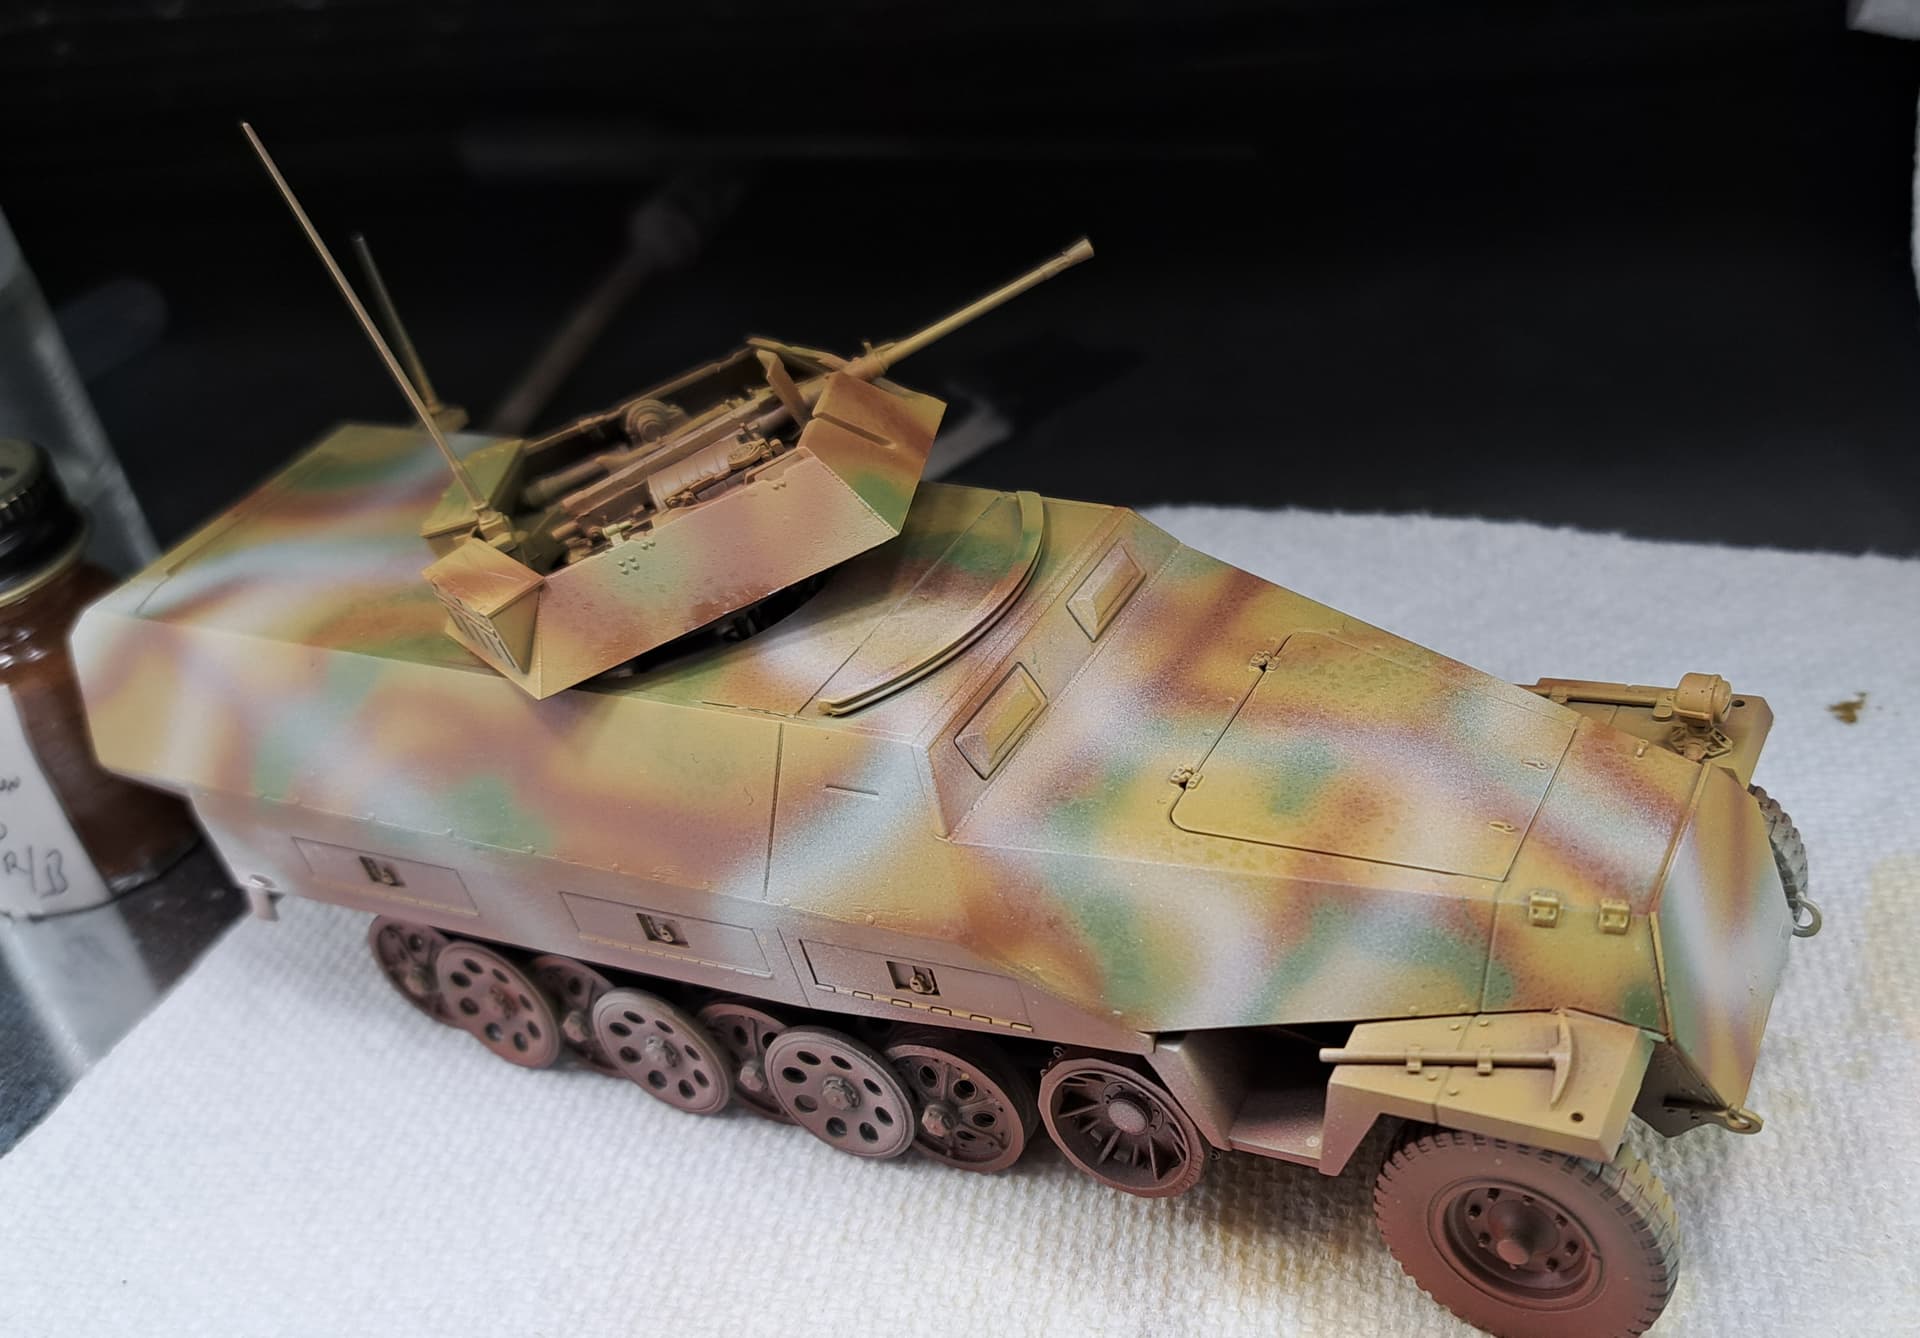
I wanted a lot of color variations under the white wash coat.
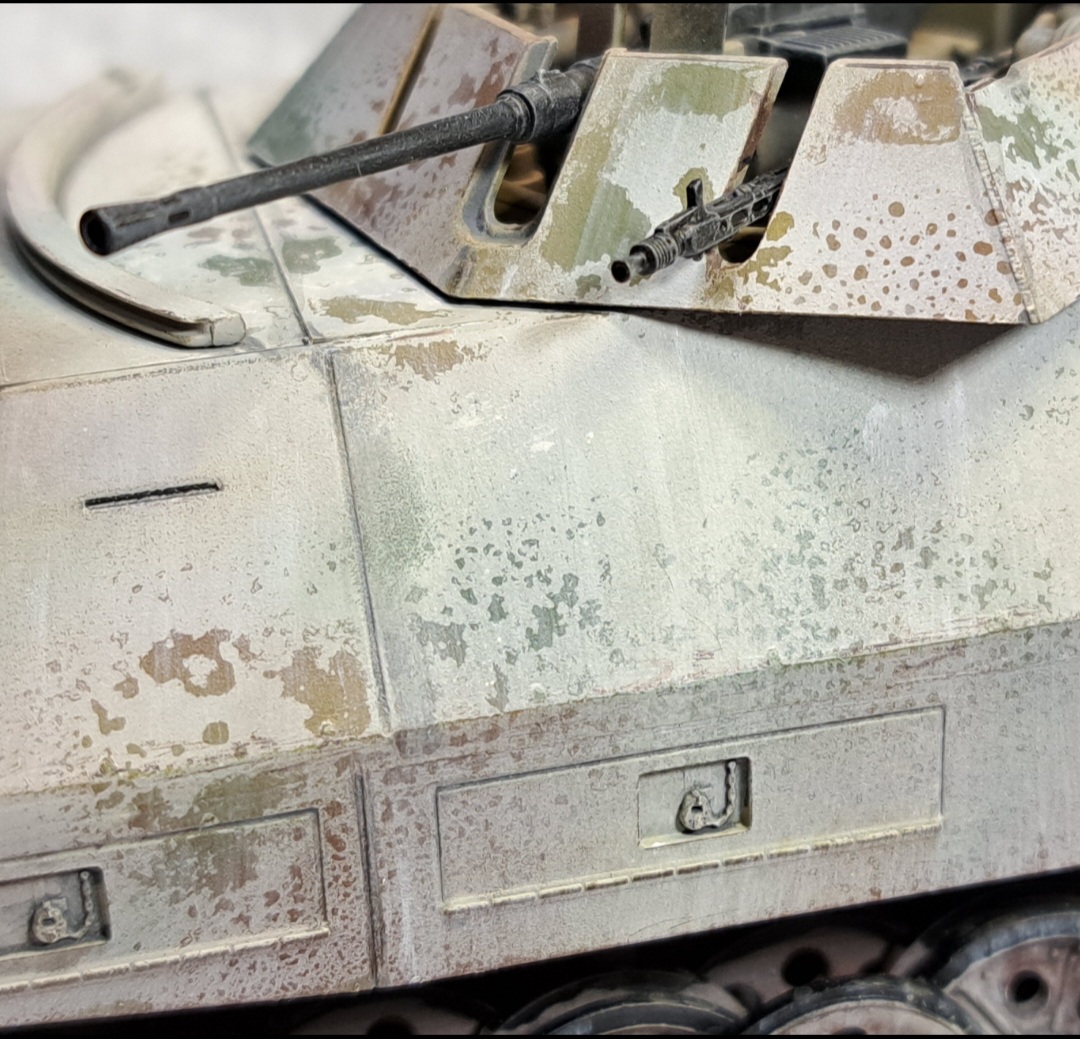
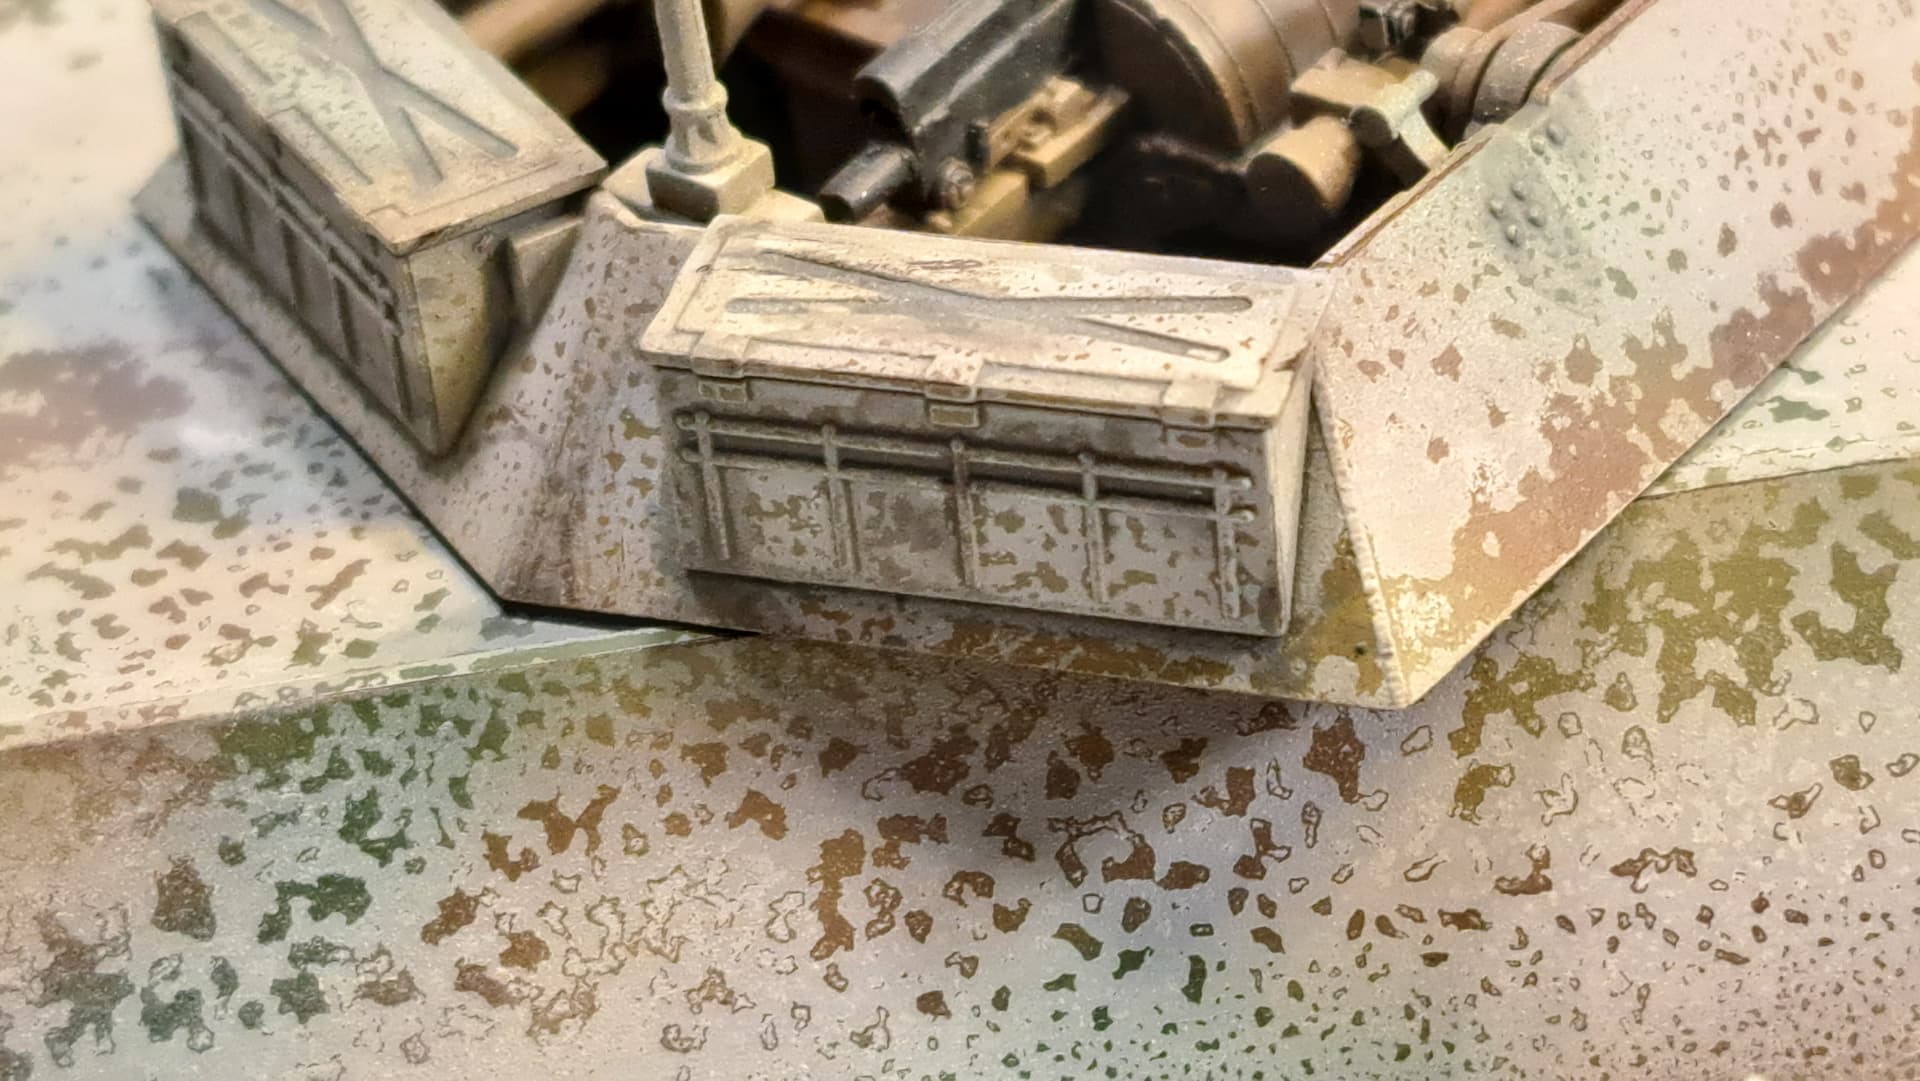
Fun chipping session later ![]()
…
Chips away…
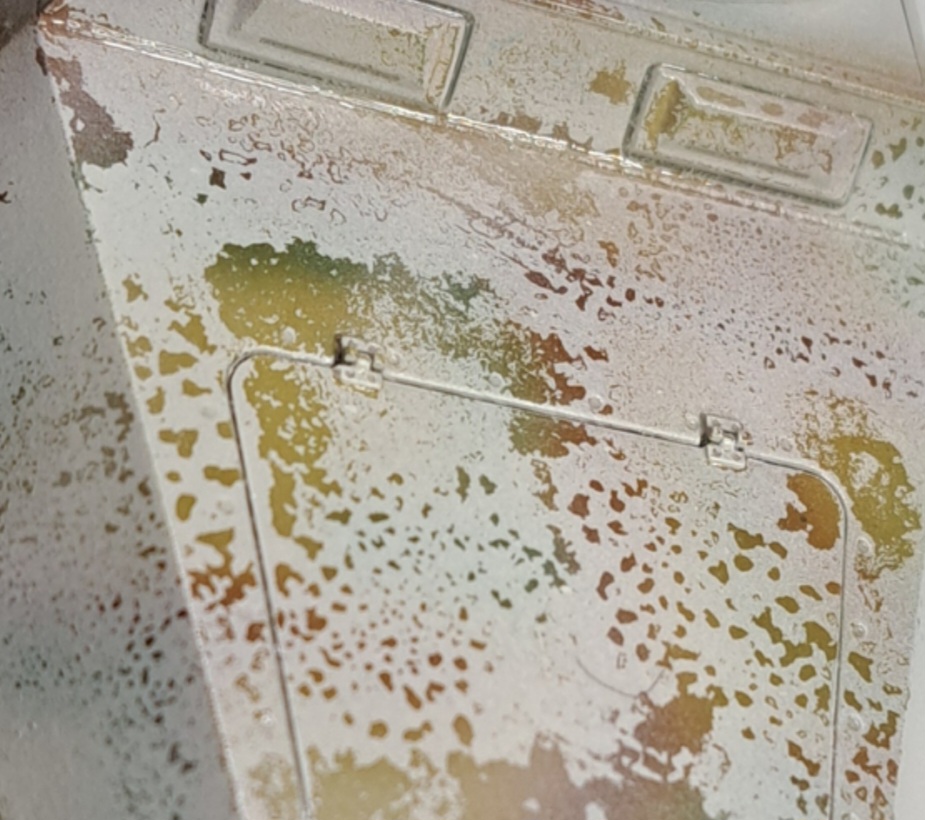
The struggle bunny 251/23 slowly grinding forward…
5 Likes
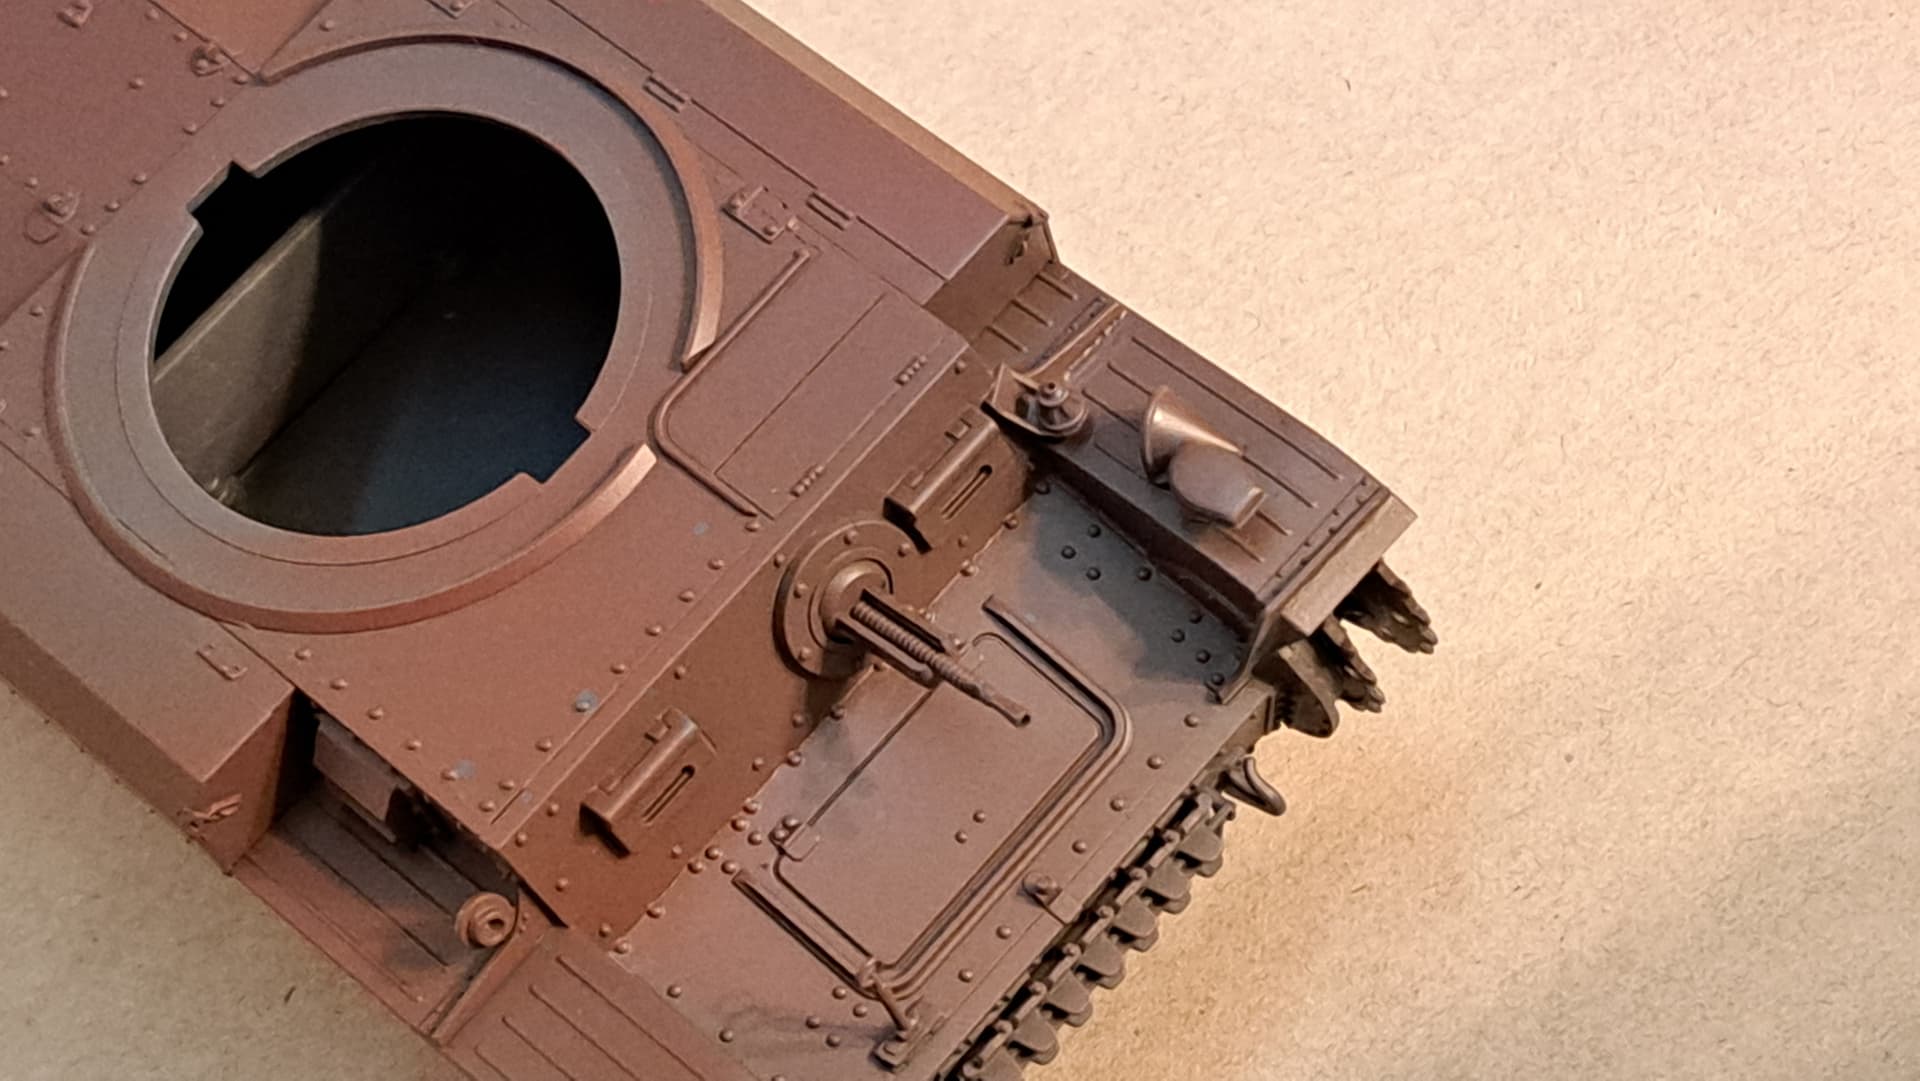
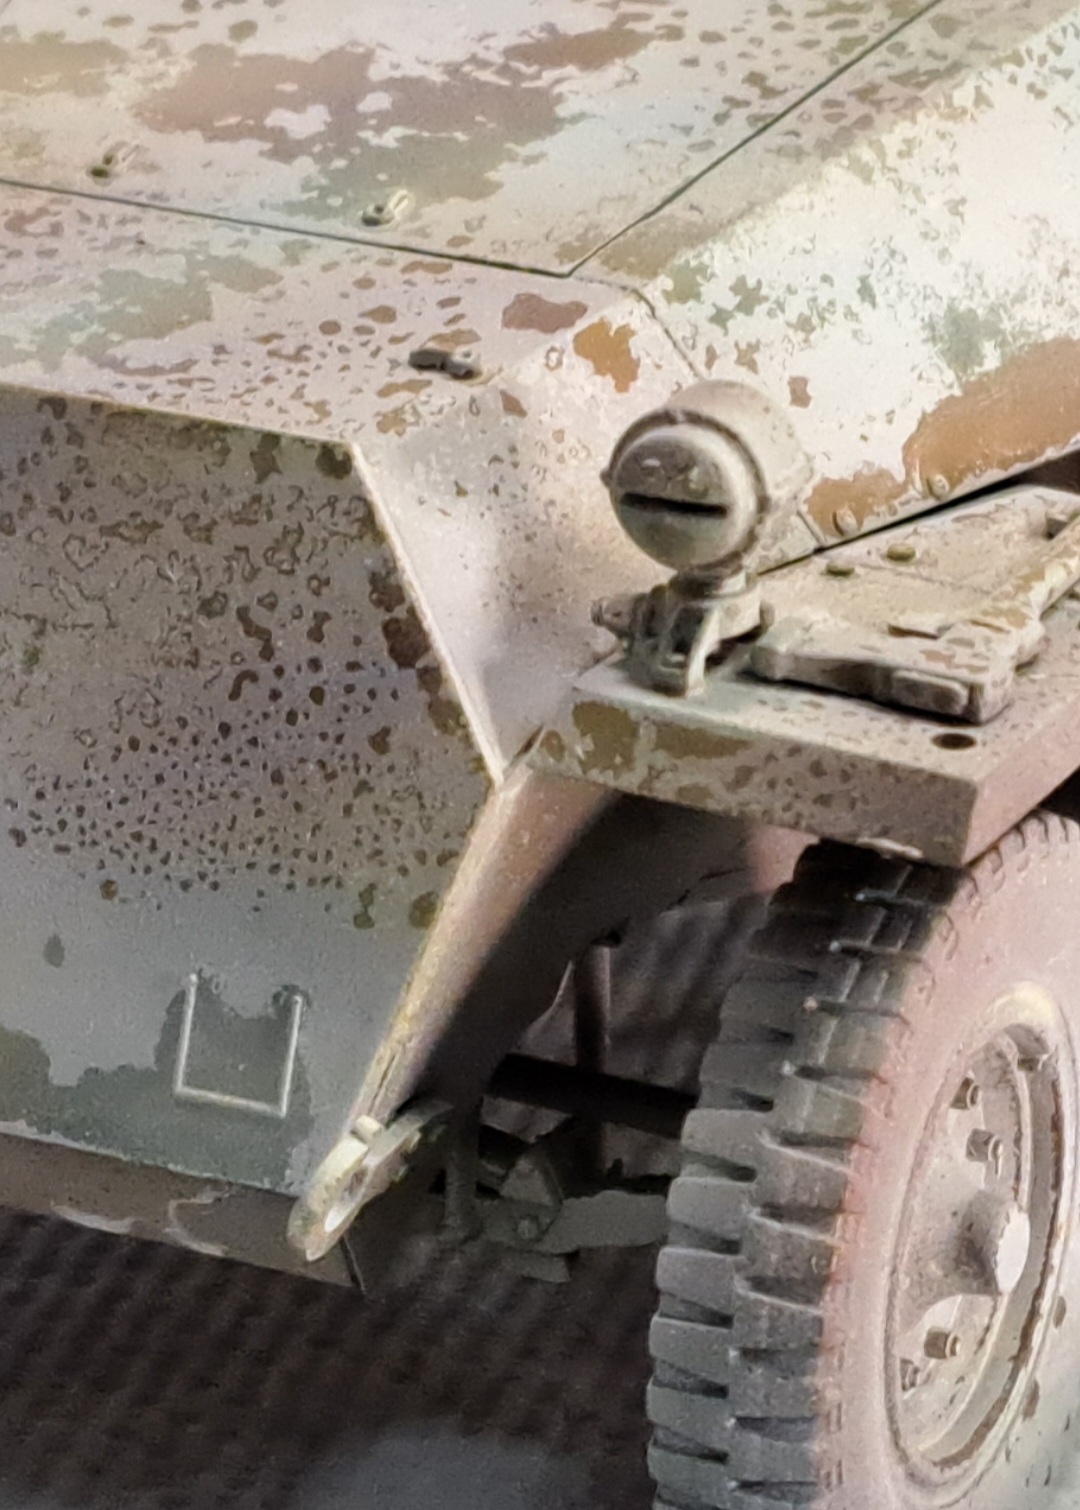
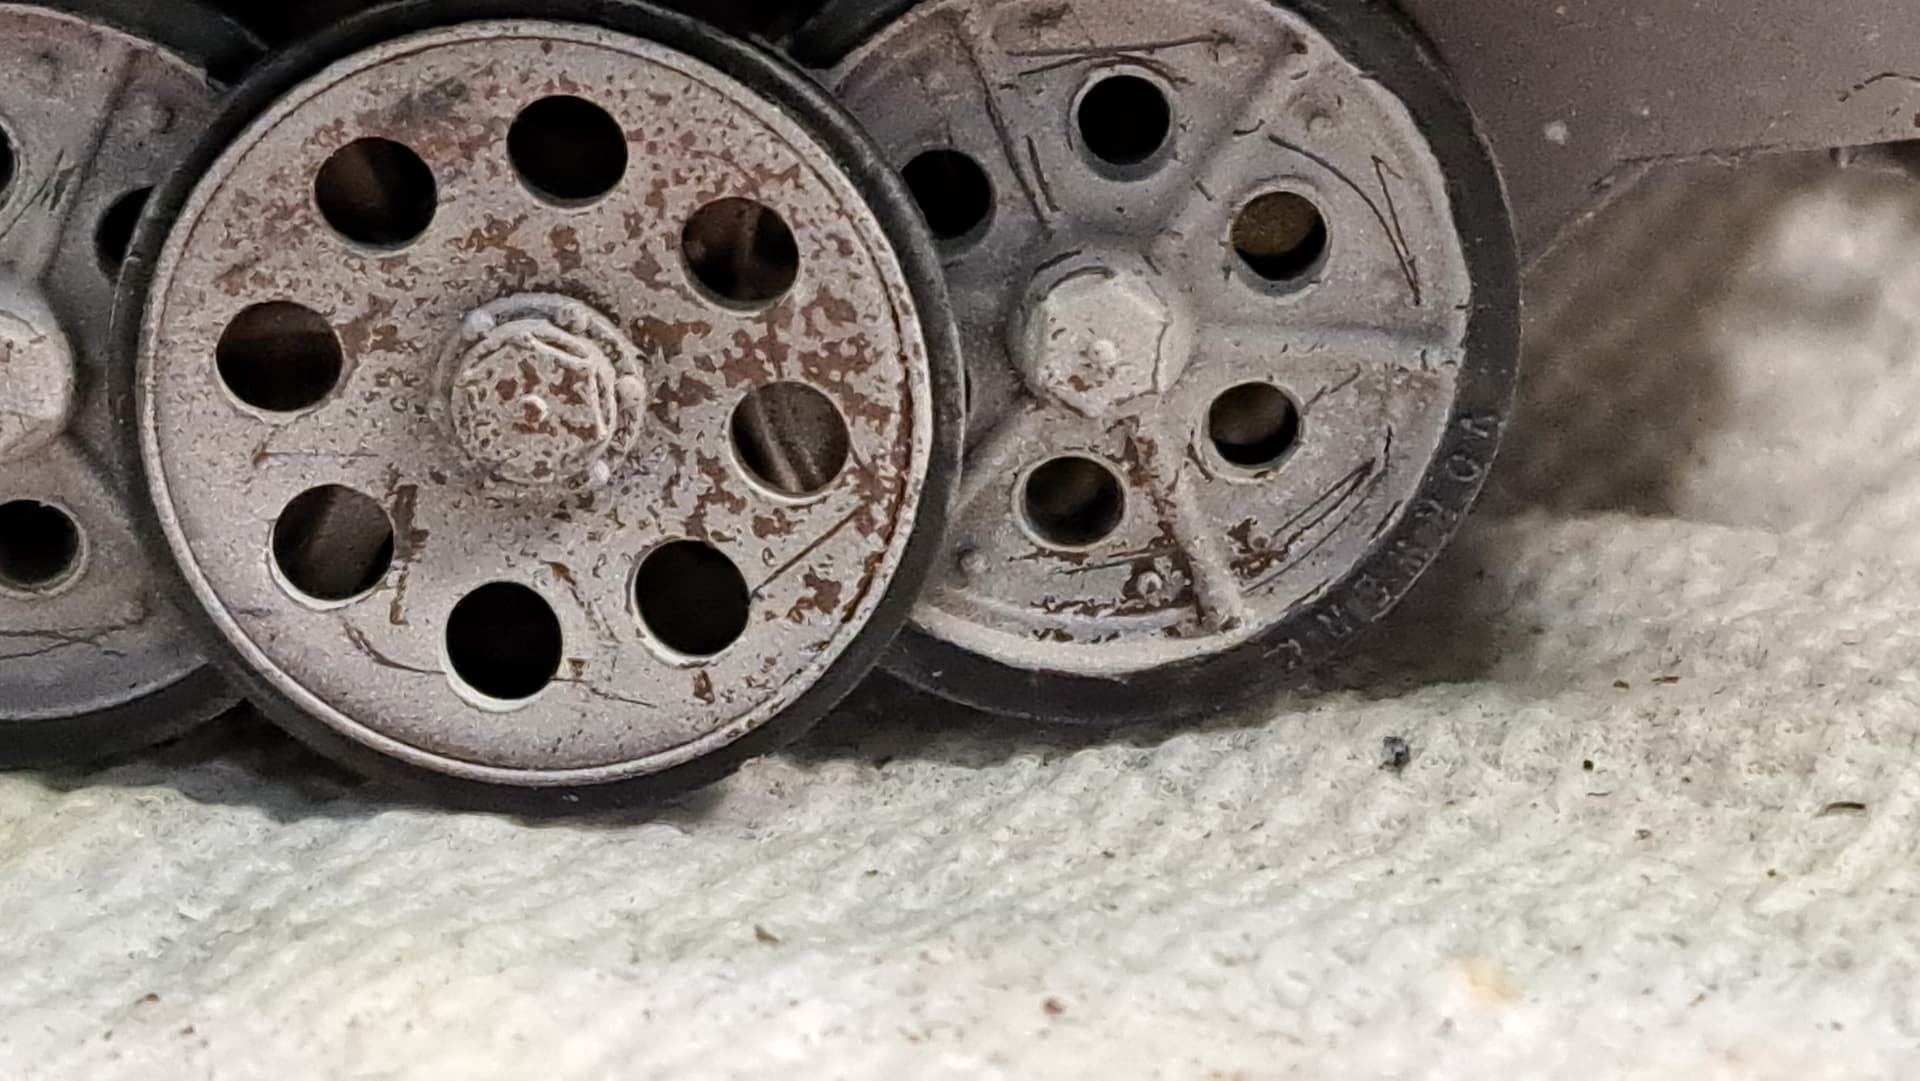
My struggle bunny project took a turn for the worst during detail painting & weathering. Harsh dry brushing & harsh chipping have a lot in common, set backs like this where the attachment pin shears off from overly aggressive brushing.
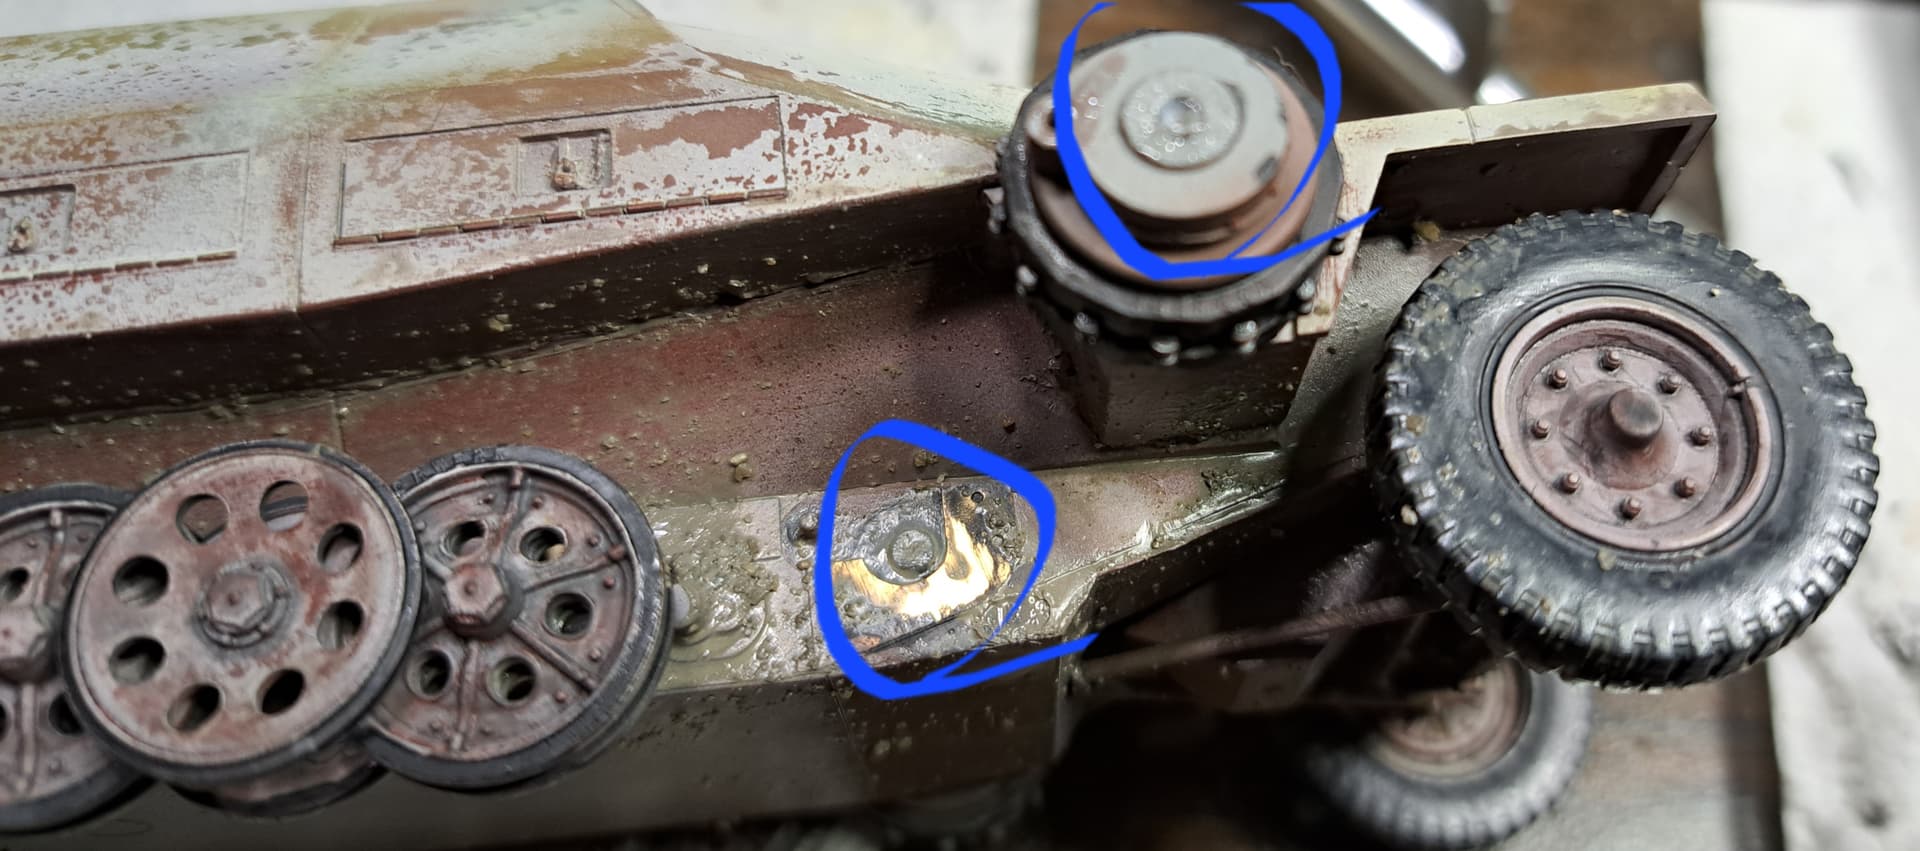
Drill out the old attachment pin to 1/16 inch (freedom unit) and put 1/16 inch (freedom unit) styrene rod in it.
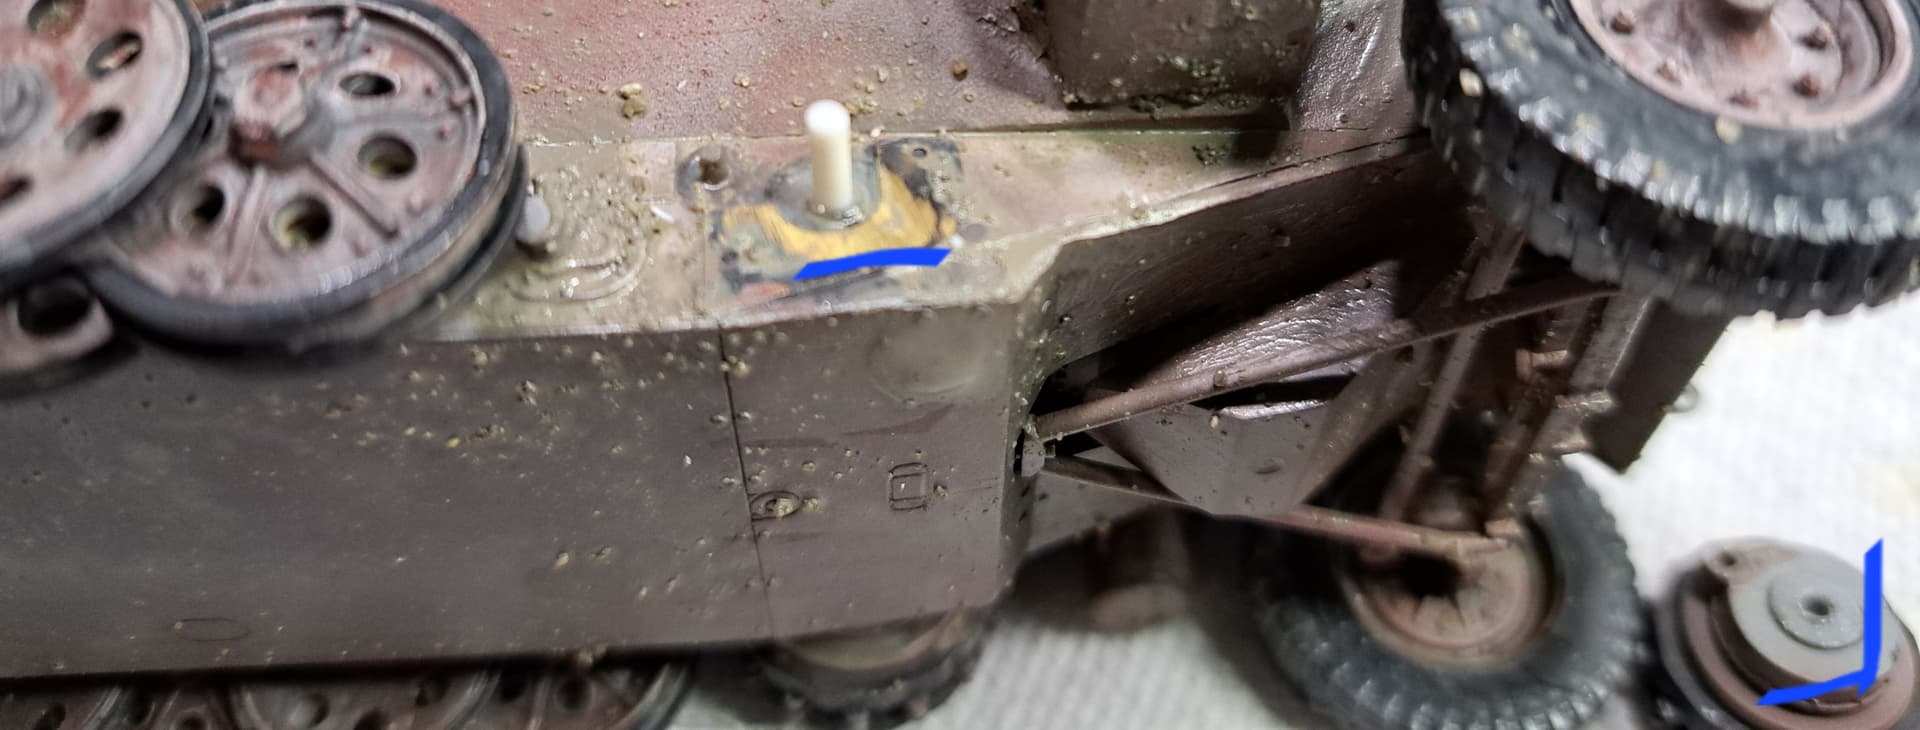
Thankfully the small alignment pin didn’t shear off so getting the position accurate was do able provided I drilled out the exact center of the old pin.
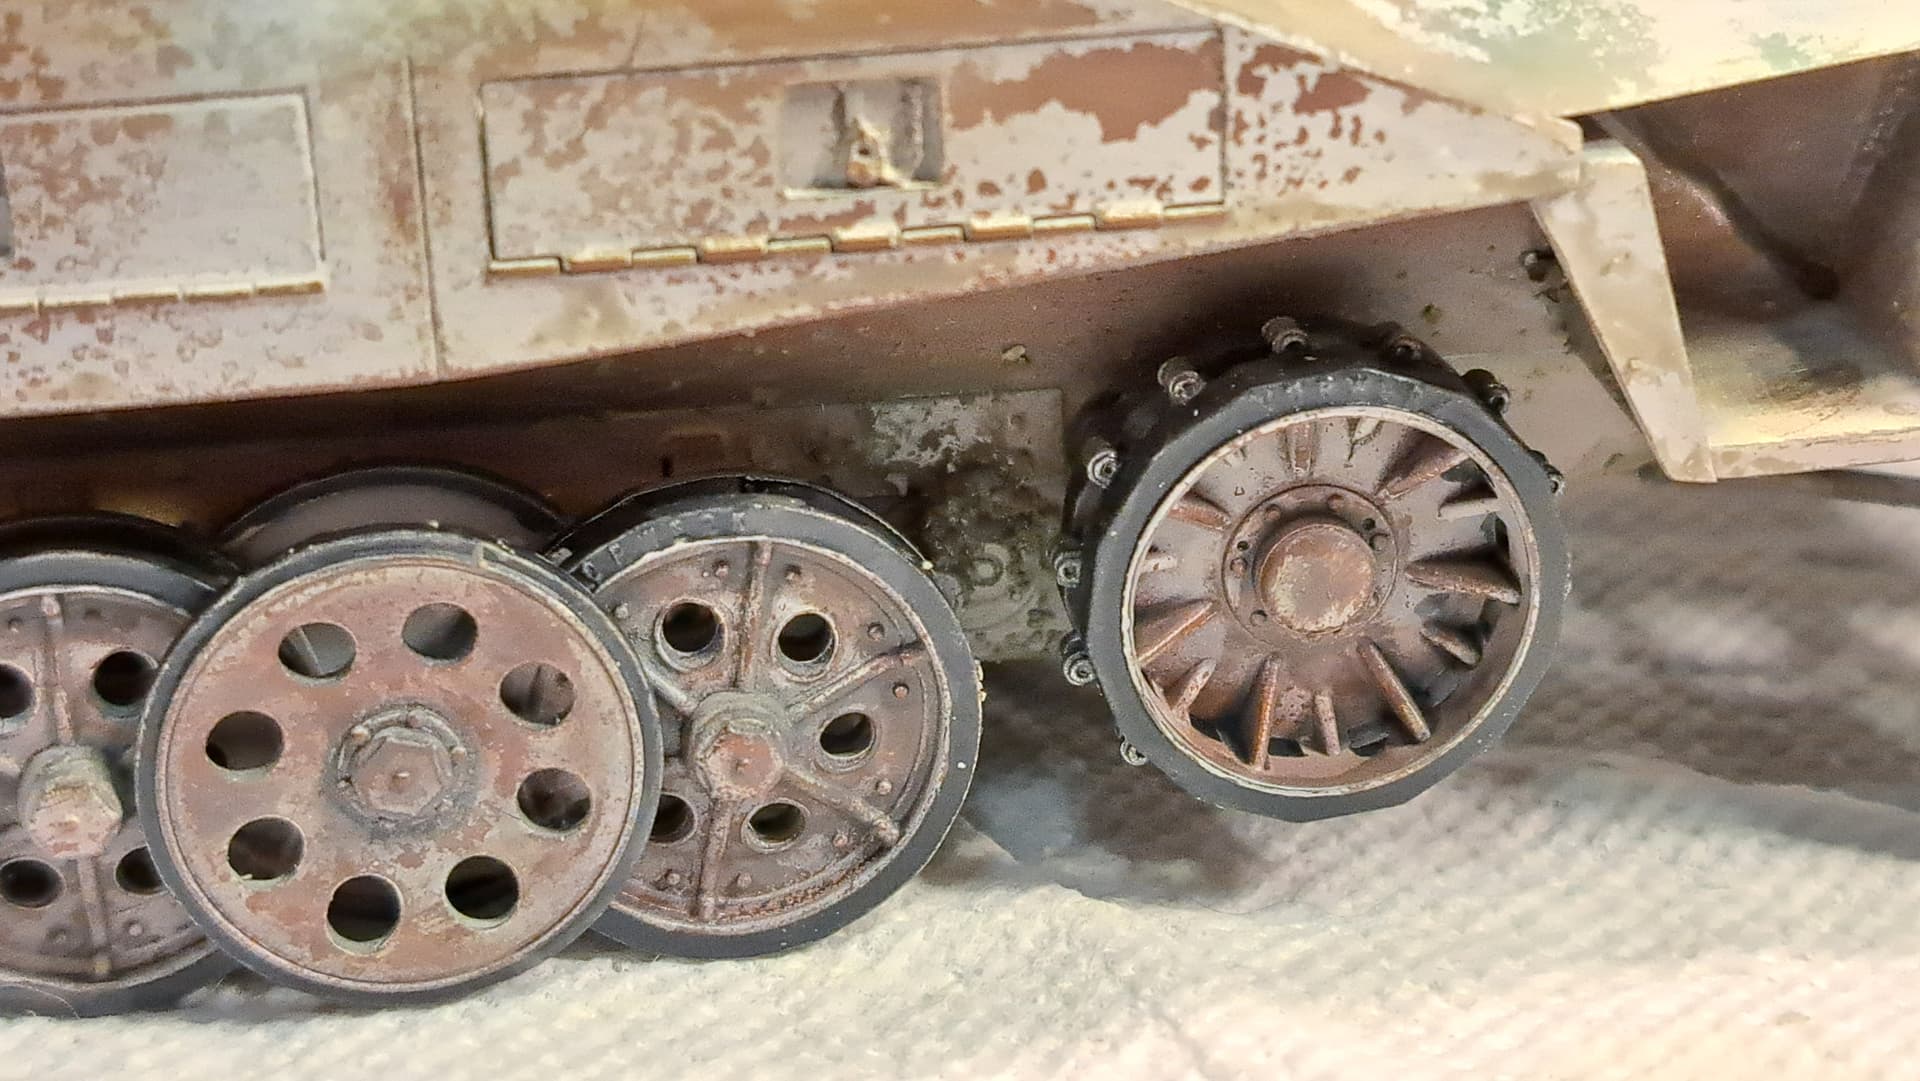
With that fixed, here’s the current status. Painted various details, added a little acrylic dirt paste to the lower hull & suspension. Additional chips on the wheels plus a wash.
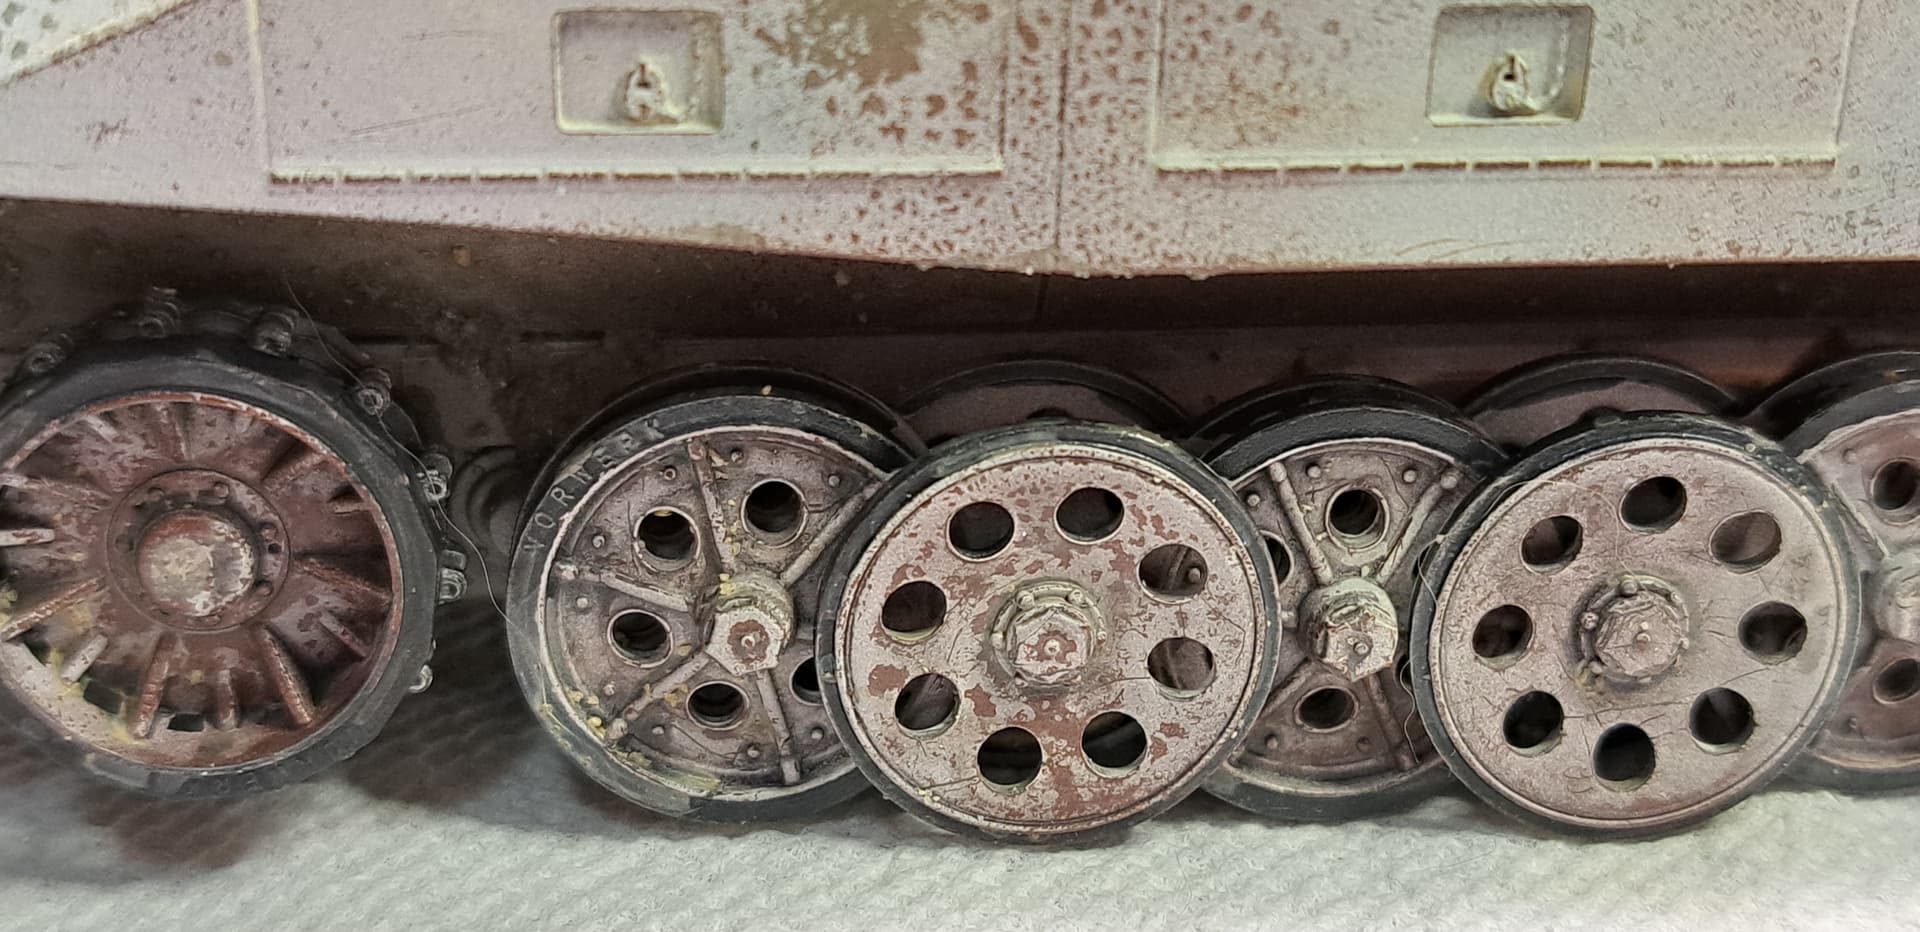
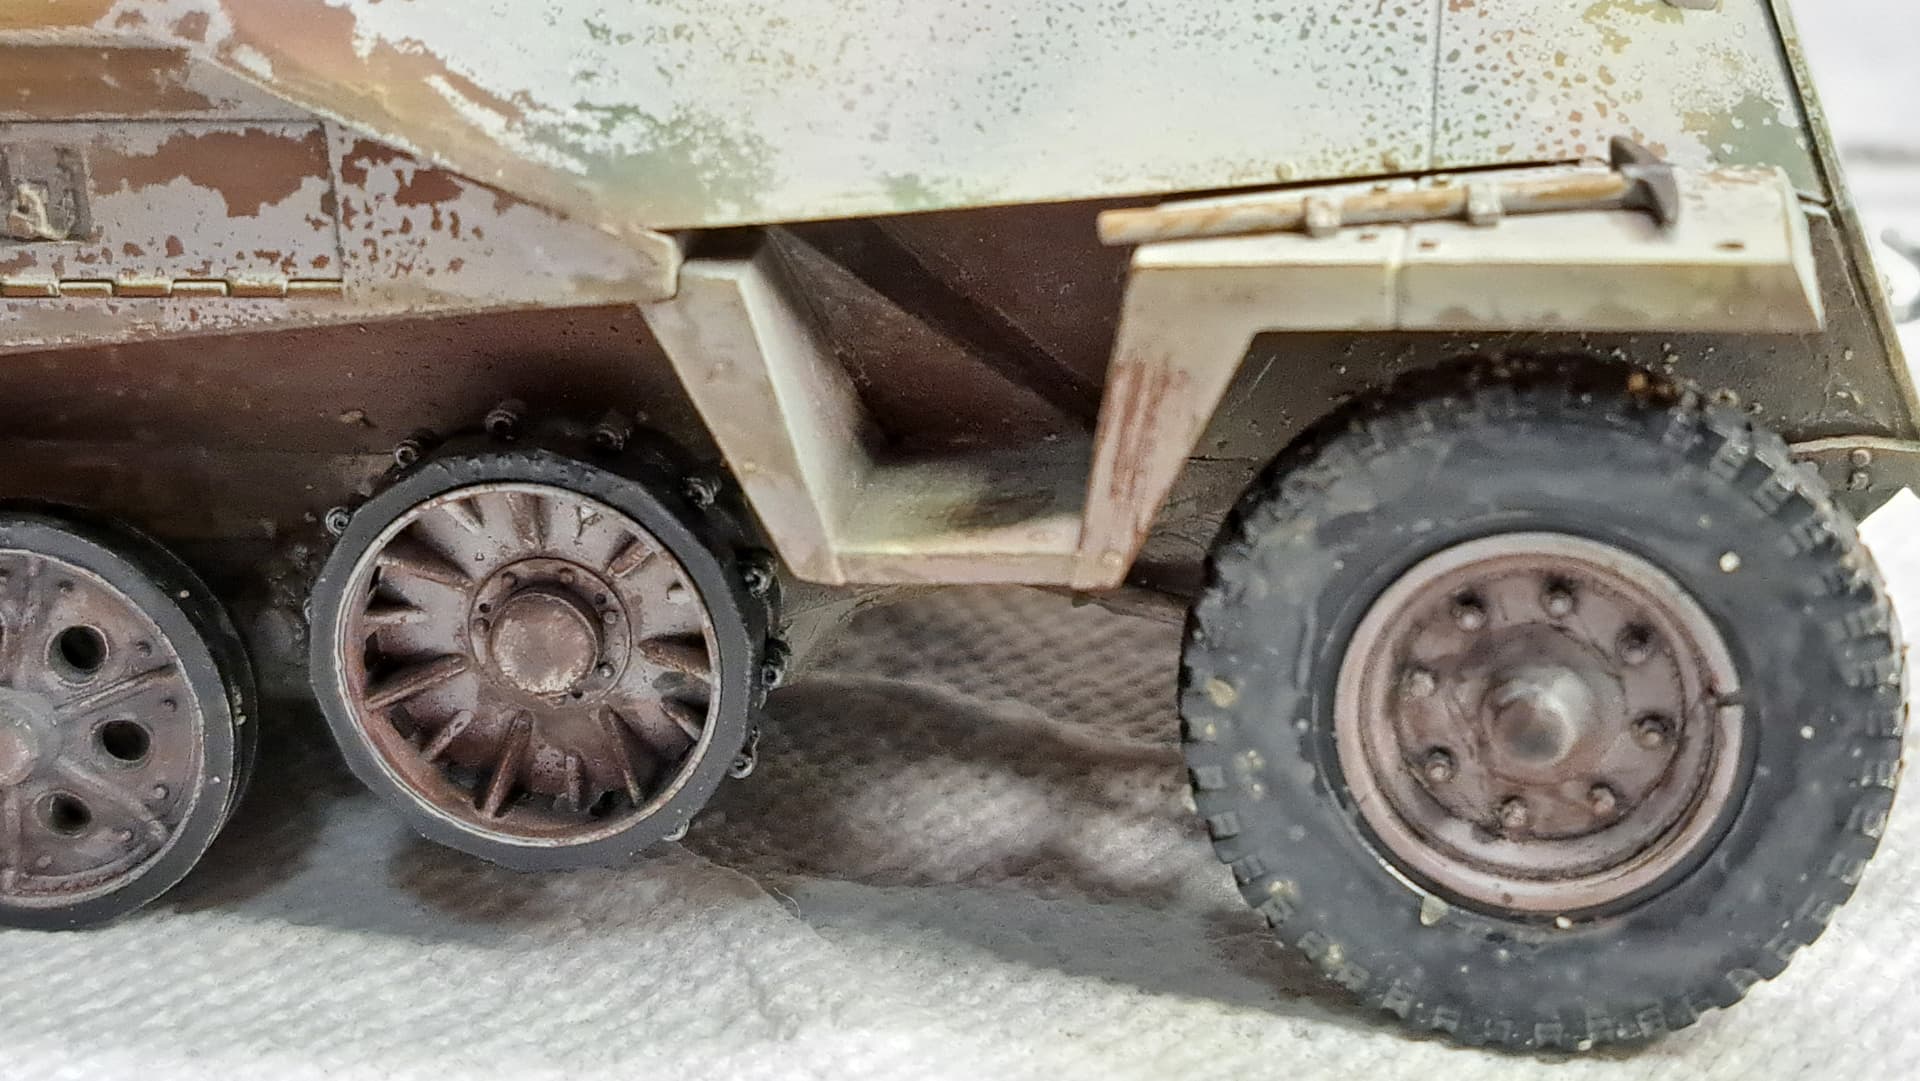

7 Likes
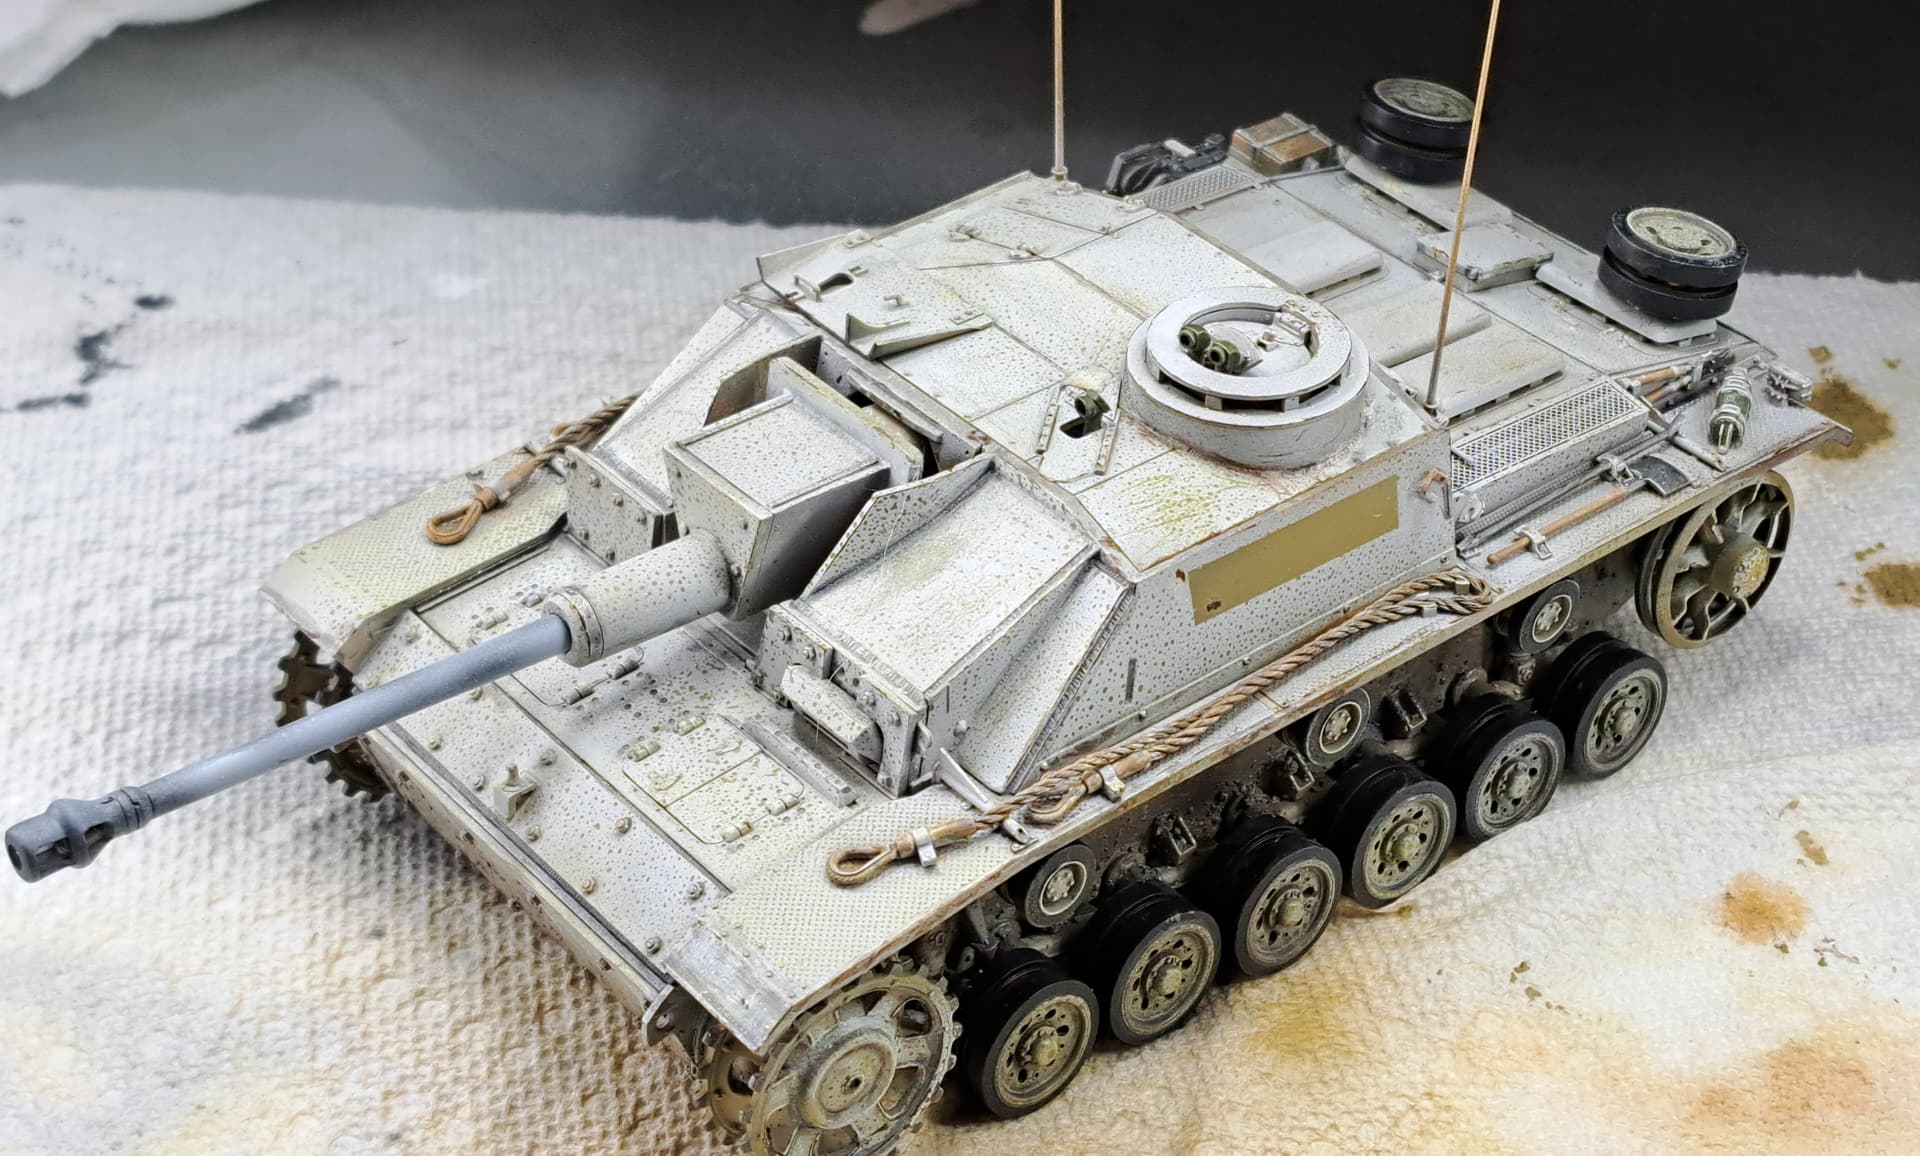
Still fiddling with weathering my struggle bunny…since this one is really a lost cause decided to try an edge highlight technique.

Liked the edge highlights and applied them to a Stug III G.
7 Likes