and the instructions are clear and unambiguous?
Asking for a friend …
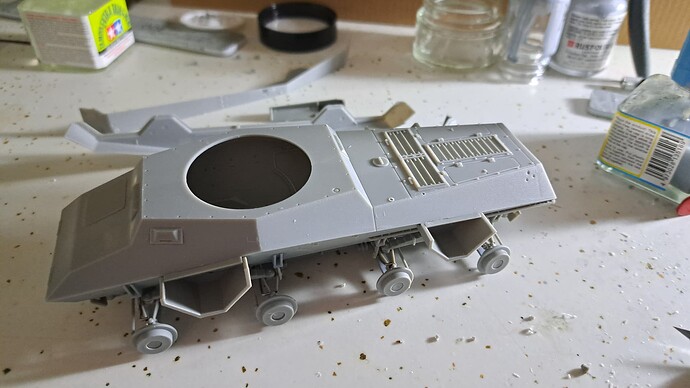
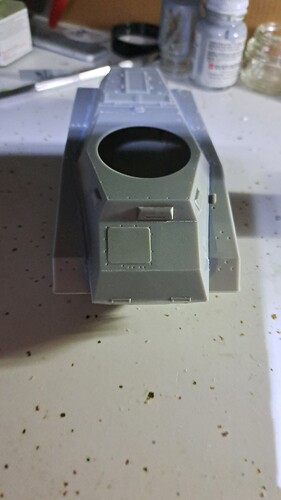
Robin, by Dragon standards they are clear…so far after 14 of 25 steps.
Ready for step 15, on return to work bench.
Would really like to have a drink from the fountain that drive comes from.
Doug, happy to share it’s called Buff’s Back to the Basics, Cold Brew.
-
no reference books allowed
-
basic tools (nippers, knife, liquid cement, sanding sticks, paint brush etc)
-
a good quality injection molded kit know to be suck free, that favors Tamiya & Ryefield but generally avoids most Italeri, Dragon in general.
-
have at it
Key is no references and quality kit to build.
Excessive rain & wind from Hurricane/Tropical Storm Helene, lost power here this morning.
Sadly Harbor Freight sold out of generators, so I don’t get to paint now that the rain stopped. Found a little time and “LED lantern” to get some hobby time.
Stay safe Wade! The world needs your reviews ![]()
Wade, you have a great build philosophy. Enjoy the hobby and not be sucked down the rabbit hole, is my two cent take on it. BTW that is some dedication working under LED lamp light.
You’ve inspired me to start working on my AFV Sd.Kfz. 251/3 IV Ausf. D today for the D-Day build.
Hurricane modeling by lamplight. Now that’s hardcore model building! Model on Wade! Woof!
Thank you Steve & Matt.
Learned the hard way long ago, with enough reference books, I couldn’t actually get anything built! I still like doing reference builds on occasion but try to limit those to once or twice a year.
Back to normal modeling again.
Wrapped step 18 of 25 today.
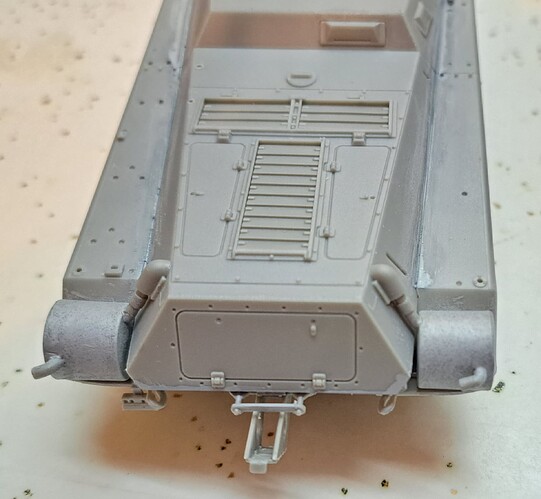
The front bumper lined up very nicely.
Decided to skip the spare. The RFam kit will have a spare. Need to do something to make them slightly different.
I like the optional right hand exhaust tip
It allows pointing both exhaust pipes to the left.
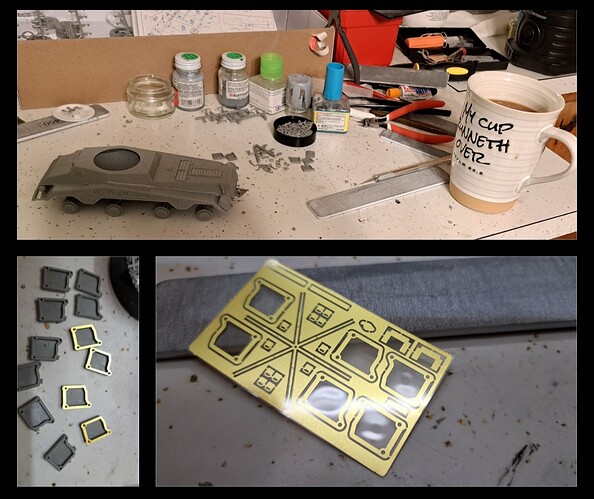
Broke the cardinal rule this morning of no beverages in the hobbyroom. Apparently, I should do that more often with Dragon kits!
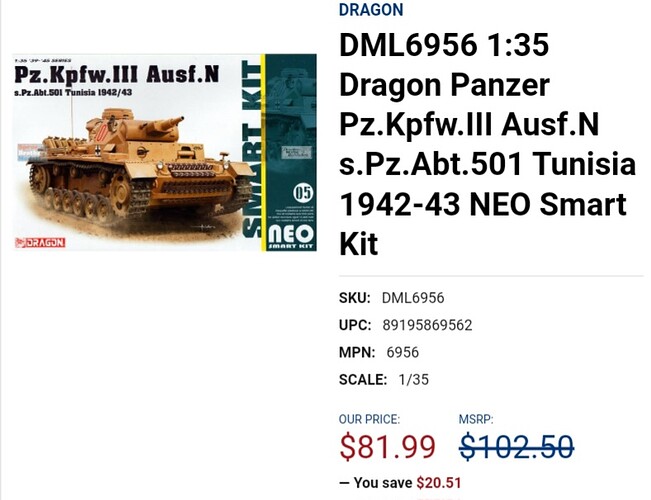
The jerry can PE actually fit the jerry cans for the Puma kit totally unlike Dragon’s Neo 5 Panzer III ausf N #6956 ![]()
$102 MSRP? What she said…
Saving 20 bucks while still spending 30 too many …
sheesh …
I don’t care how NEO Smart it is, a vanilla Dragon kit breaking the $100 ceiling? Preposterous!

Nice detail on the Puma.
Michael, thank you. It’s a decently good Dragon kit even built out of the box. Has a few PE goodies etc that come with it.
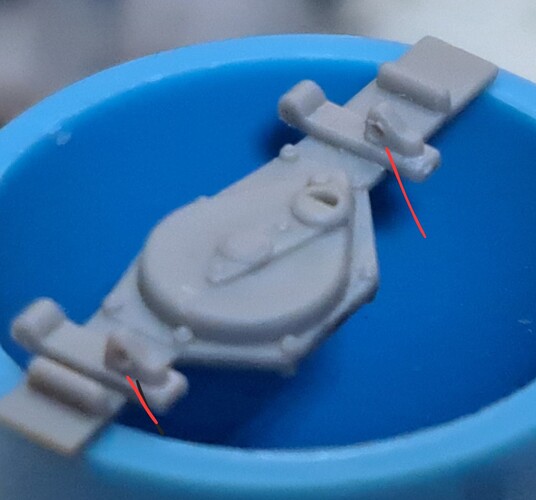
I had to drill out the holes in the molded on half wingnuts on the jack.
Wrapped assembly of the lower hull so step 20 is done.
Five more steps to go. I hope to be spraying paint before the weekend.

Dragon Fanboi’s, DML Butt Pirates & Dragon Model Limited man-children should probably skip this post and head to the bunker it’s a…
![]() Warning! Wade’s World Diatribe
Warning! Wade’s World Diatribe![]()
Situation
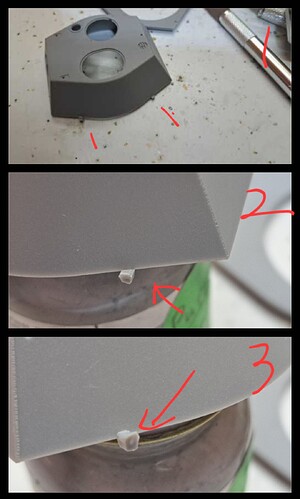
Early this morning working on the Puma turret, I found the two sprue attachment points on the turret interesting.
Data
Frame 1 - Two attachment points, very reasonable for a large part like this one
Frame 2 - Attachment point is flush with the bottom edge. This is an ideal attachment point, it’s easy to remove with one snip with nippers properly positioned.
Frame 3 - Fumbled attachment point! It rides up the exterior face of the part instead of being contained on the bottom edge as the other attachment point is in Frame 2.
The point in frame 3 requires two flat snips to properly remove plus dressing the exterior face to make sure its perfectly smooth. Certainly doable but it requires additional time.
Analysis
Dragon knows the best method for attachment points as shown in frame 2, yet Dragon makes attachment points as shown in frame 3.
Opinion
Attention to good design is a key difference in a good kit and outstanding kit.
I can tolerate a new but ignorant manufacturer making attachment points like shown in frame #3 better than an industry veteran like Dragon who obviously knows better but often fails to do better.
If all problems were small problems like this ![]()
Wade, are you a model builder or a wimp? ![]()
No, I will not start defending Dragon. They deserve everything they get (even though I have a lot of Dragon & Co kits in the stash).
They make some really bad mistakes but this one isn’t one of them.
I have seen worse, from Dragon and others …
Snip snip and a some swipes with a file to remove the rest. I would also file all around the lower edge since it seems to have a flare.
I’ll start complaining when the attachment point is inside a hard to reach corner of the part or the attachment point is larger than the part. In some cases it is a LOT easier to make new grab handles from copper wire than trying to clean the plastic part.
Robin, there’s definitely far worse.
However, the Tier 1, best manufacturers (for painless build-ability) Tamiya (newer), Academy (newer) Ryefield & Meng seem to get this right vast majority of the time. I suspect Magic Factory & Amusing Hobby also get it right but haven’t build one of their respective kits yet.
Dragon regularly screws this sort of stuff up even running the gates into details more complex etc. I found it ironic DML got this right on one gate and wrong on the other one on the same part.
The Dragon Puma is a very good build, probably the best of the ~35 to 40 Dragon AFV kit’s I’ve built.
The Puma’s keyed metal barrel and keyed muzzle brake is very nice. Easy to get things aligned correctly ![]()
Anyway, back to the bench, I’d really like to paint this Puma tomorrow.
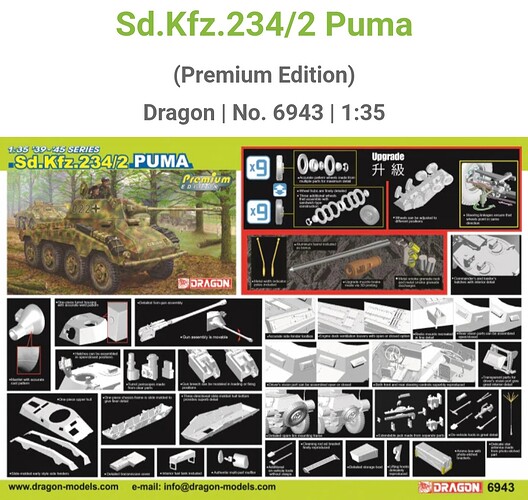
Yes Dragon/DML. When you think the kit inside the box is going to look like the Box Art.! ![]()
![]()
![]()
Sorry, I couldn’t resist.
LOL! Indeed!
Weather permitting, I think this is going to be ready for paint tomorrow.
Wade’s World Review ![]()
2023 release
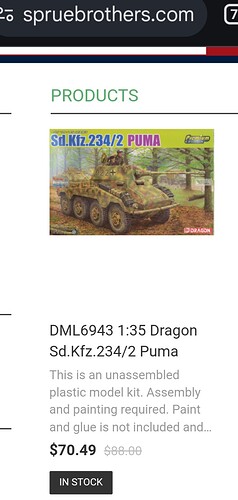
3 Price ~$88 MSRP (wtf?), Spruebrothers.com $70, (via Cyber-Hobby, I paid $47.39 w/free shipping)
4 Instructions Overall very good for Dragon, zero glaring issues, parts placement is reasonably clear.
3 Molding Quality Not at all impressed, kit looks older than it’s age (2006).
4 Plastic Quality Serviceable hard gray Dragon plastic
4 Parts Clean Up Much better than the typical Dragon kit. Wheels are very well designed. The new copper color PE is much easier to cut and clean than the old nickel-silver color PE. 3D printed muzzle brake is excellent and already cleaned.
5 Ease of build Suspension is a fiddly but everything fits well enough. Keyed barrel and keyed 3D muzzle brake are nice. Easy to place in proper orientation.
4 Accuracy I’m without reference on this vehicle. Kit looks reasonable.
5 Fit Best fitting Dragon kit, I’ve built in 1/35 scale. Very impressed ![]()
5 Doesn’t Require Aftermarket metal barrel, metal smoke grenade launchers & canisters, 3D muzzle brake plus PE, clear periscopes, two sets of wheels, fantastic for one box! The kit turret MG sucks and wasreplaced with a turned brass barrel but this is very minor. A+ for Dragon.
4 Details built Out of the Box former Panzer Police will be just a hair grumpy tool clasps and clamps aren’t provided.
** 41 points out of 50 **
41/50 is a very good score overall so if THIS 2023 Premium Edition kit can be acquired at an acceptable price, it’s recommended. I’d pass on other Dragon kit versions of the Puma unless they have the cool 3D muzzle brake & other metal parts.
With two new 1/35 Puma releases, one Ryefield and one from Mini-Art, there’s no shortage of quality new Puma kits available.
Despite the 41/50 score, I wouldn’t purchase this kit again for $47. The Ryefield Model’s kit would be my choice and hopefully will follow as a build next year.


