And then… just like that… it started to look like a Hornet…
And then… just like that… it started to look like a Hornet…
Looking good Carlos ![]()
Thanks Johnny. I’ve got a lot of seam clean up work ahead on this one… the undersides of the leading edge extensions and wings have a very loose fit…
and now back to our regularly scheduled Blue Angels Hornet build…
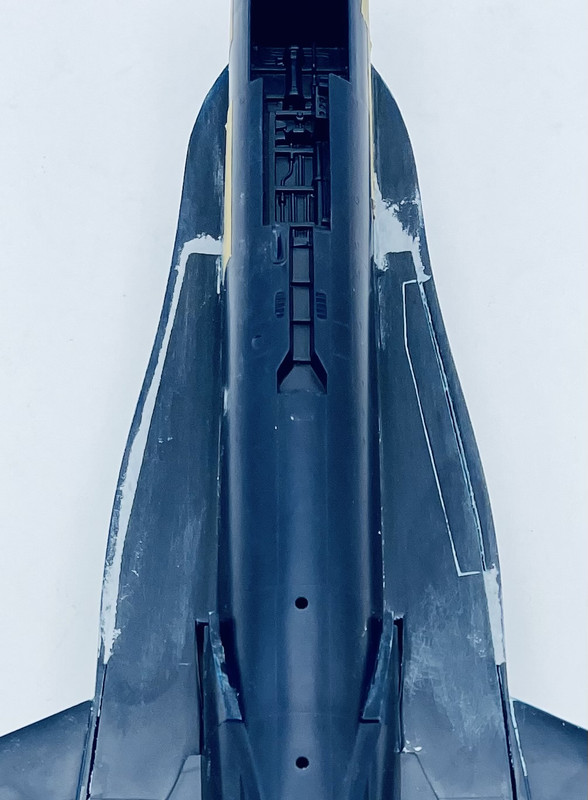
I have been doing seam filling and clean up. Thankfully the worst ones are on the undersurfaces due to the kits engineering. I’ll be using some strip styrene to shim some of them.
I also cut the stabilators from their center linkage
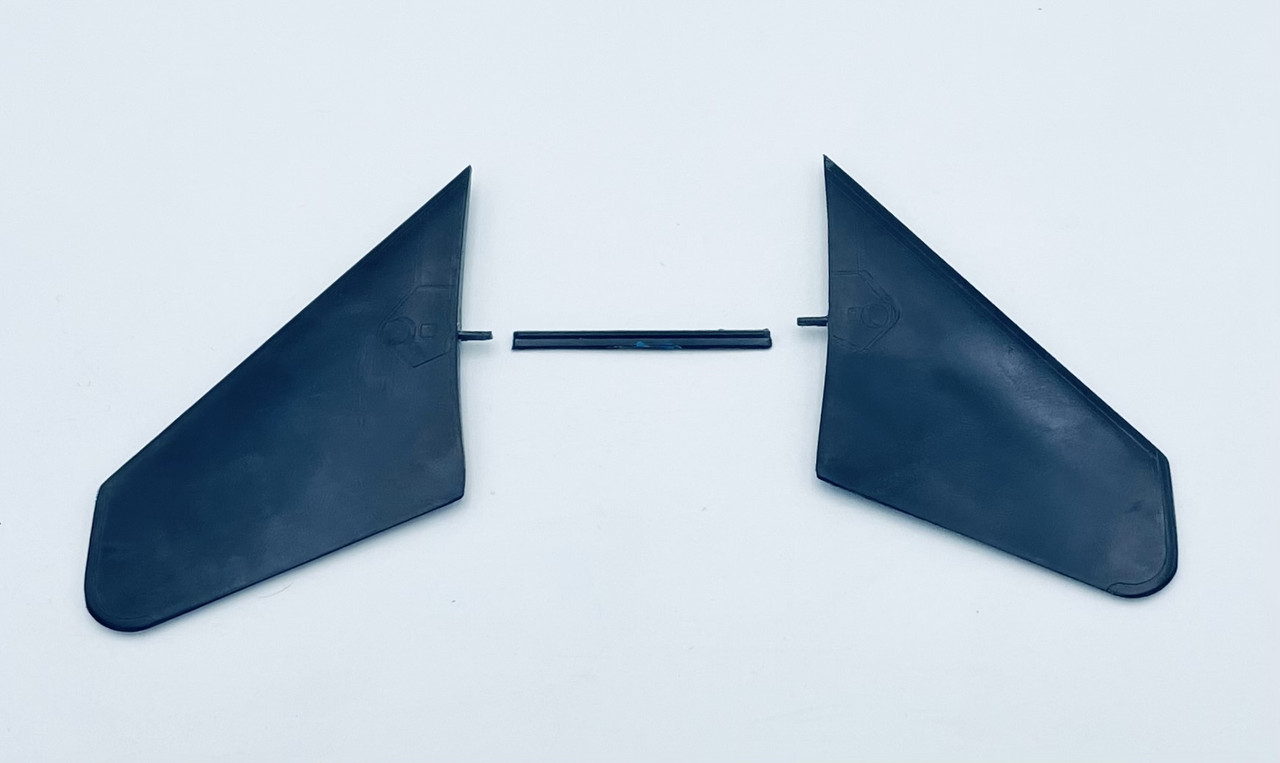
and I test fitted them in the aluminum tubing… perfect fit after mold seam removal…

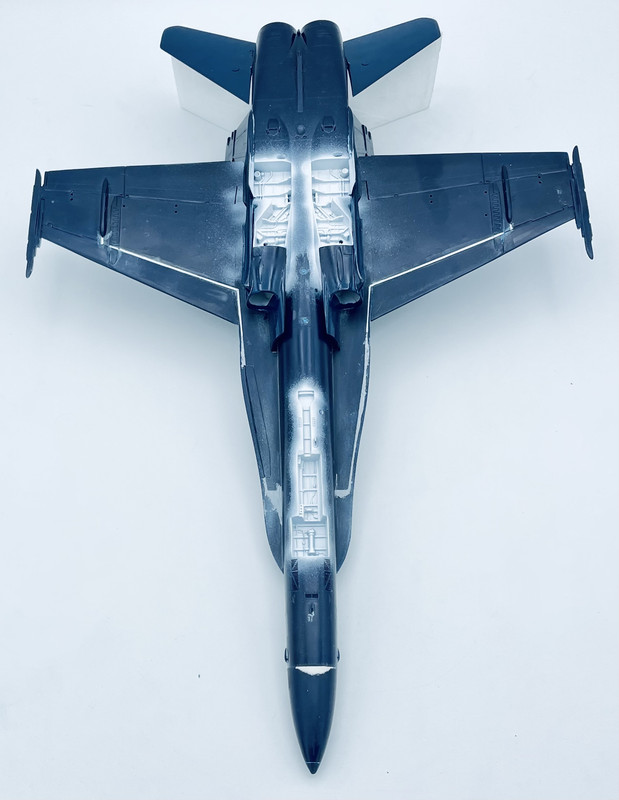
the masking tape is protecting the raised detail while I do filling and sanding on the fuselage joint seam…
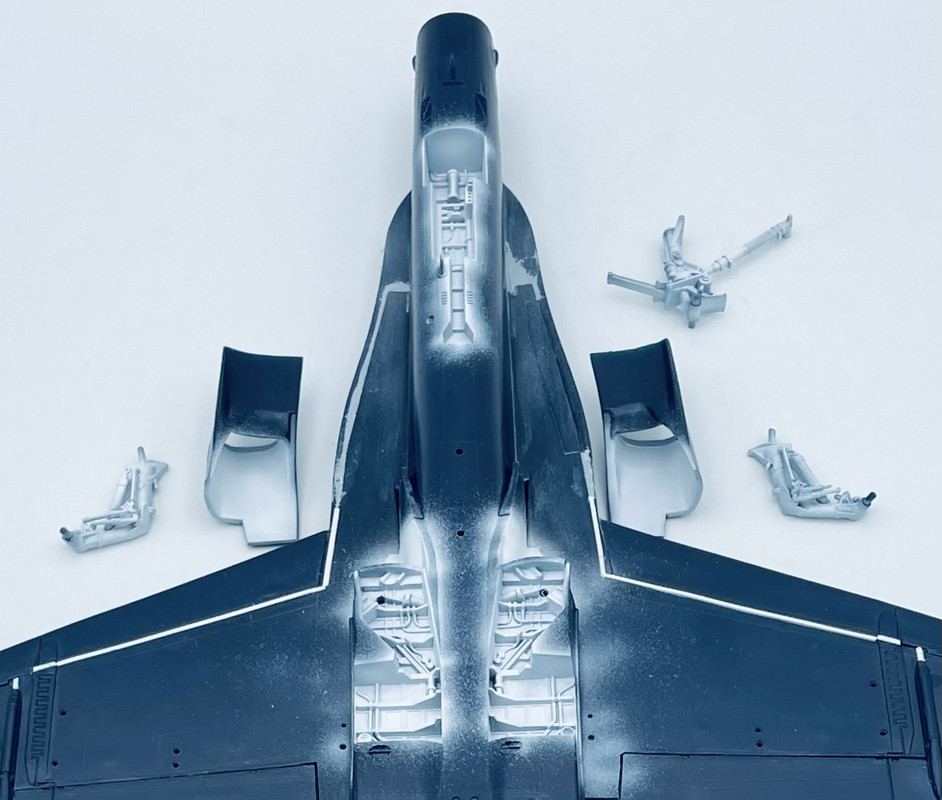
Had an airbrushing session this morning, applying a coat of Tamiya White Liquid Surface Primer into the intakes, wheel wells, and landing gear struts. Using this stuff as a base under any white paint gives the most vivid white top coats I’ve ever achieved.
You can also see where I added strip styrene shims into the largest gaps of the upper & lower halves seam on the wing undersides.
They were some serious gaps Carlos… Looking good though ![]()
Is it okay with a late entry? I started a F-16 three days ago.
Thanks Johnny. Yes indeed, those gaps were quite pronounced. But then again, putting them along natural hinge lines for the leading and trailing edge flaps does help for clean up. In hindsight, it’s probably a bit easier to apply the strip styrene to the lower half before joining the top and bottom halves.
Yup!! I am the campaign leader and haven’t even started my CF-188 ![]()
It is next on my list after I finish a pallete cleanser tamiya P-51
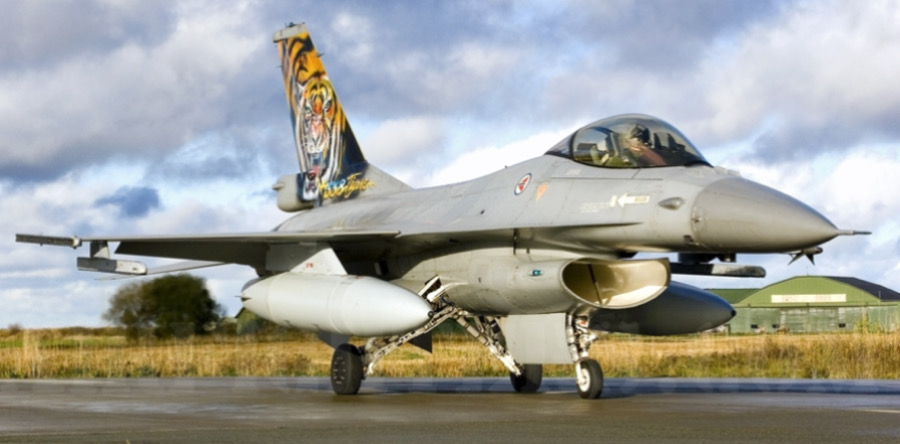
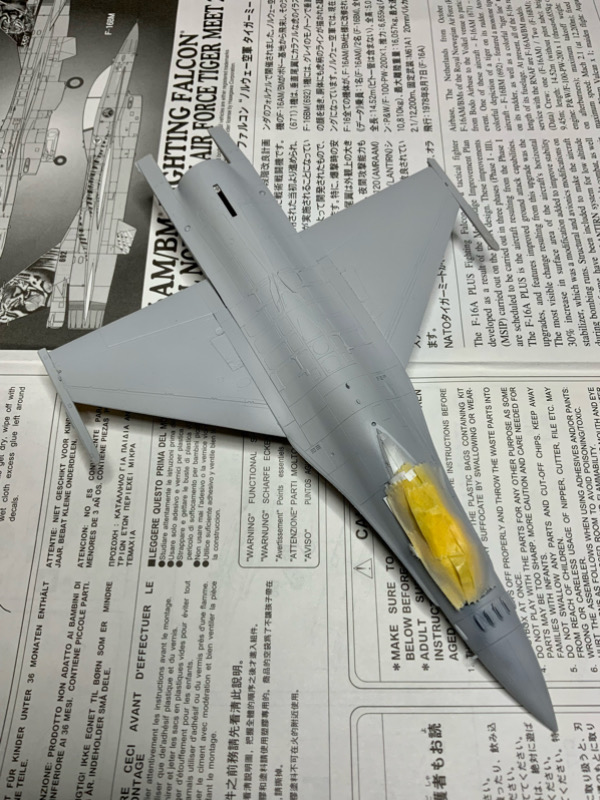
Sweet! My entry will be a 1/72 scale Norwegian F-16 MLU in the 2010 Tiger Meet scheme.
This build is based on Hasegawas kit 01949
This is a kit from the late 80ies and it depict an A model rather than a MLU. I´m trying to fix this…
People with more knowledge than me claims Hasegawa nailed the form of the fuselage and I have to say the fit so far is excellent.
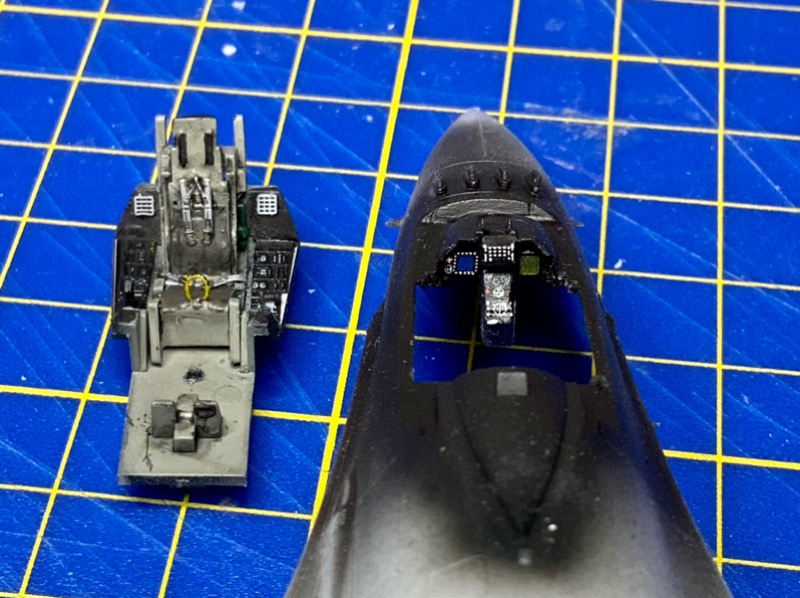
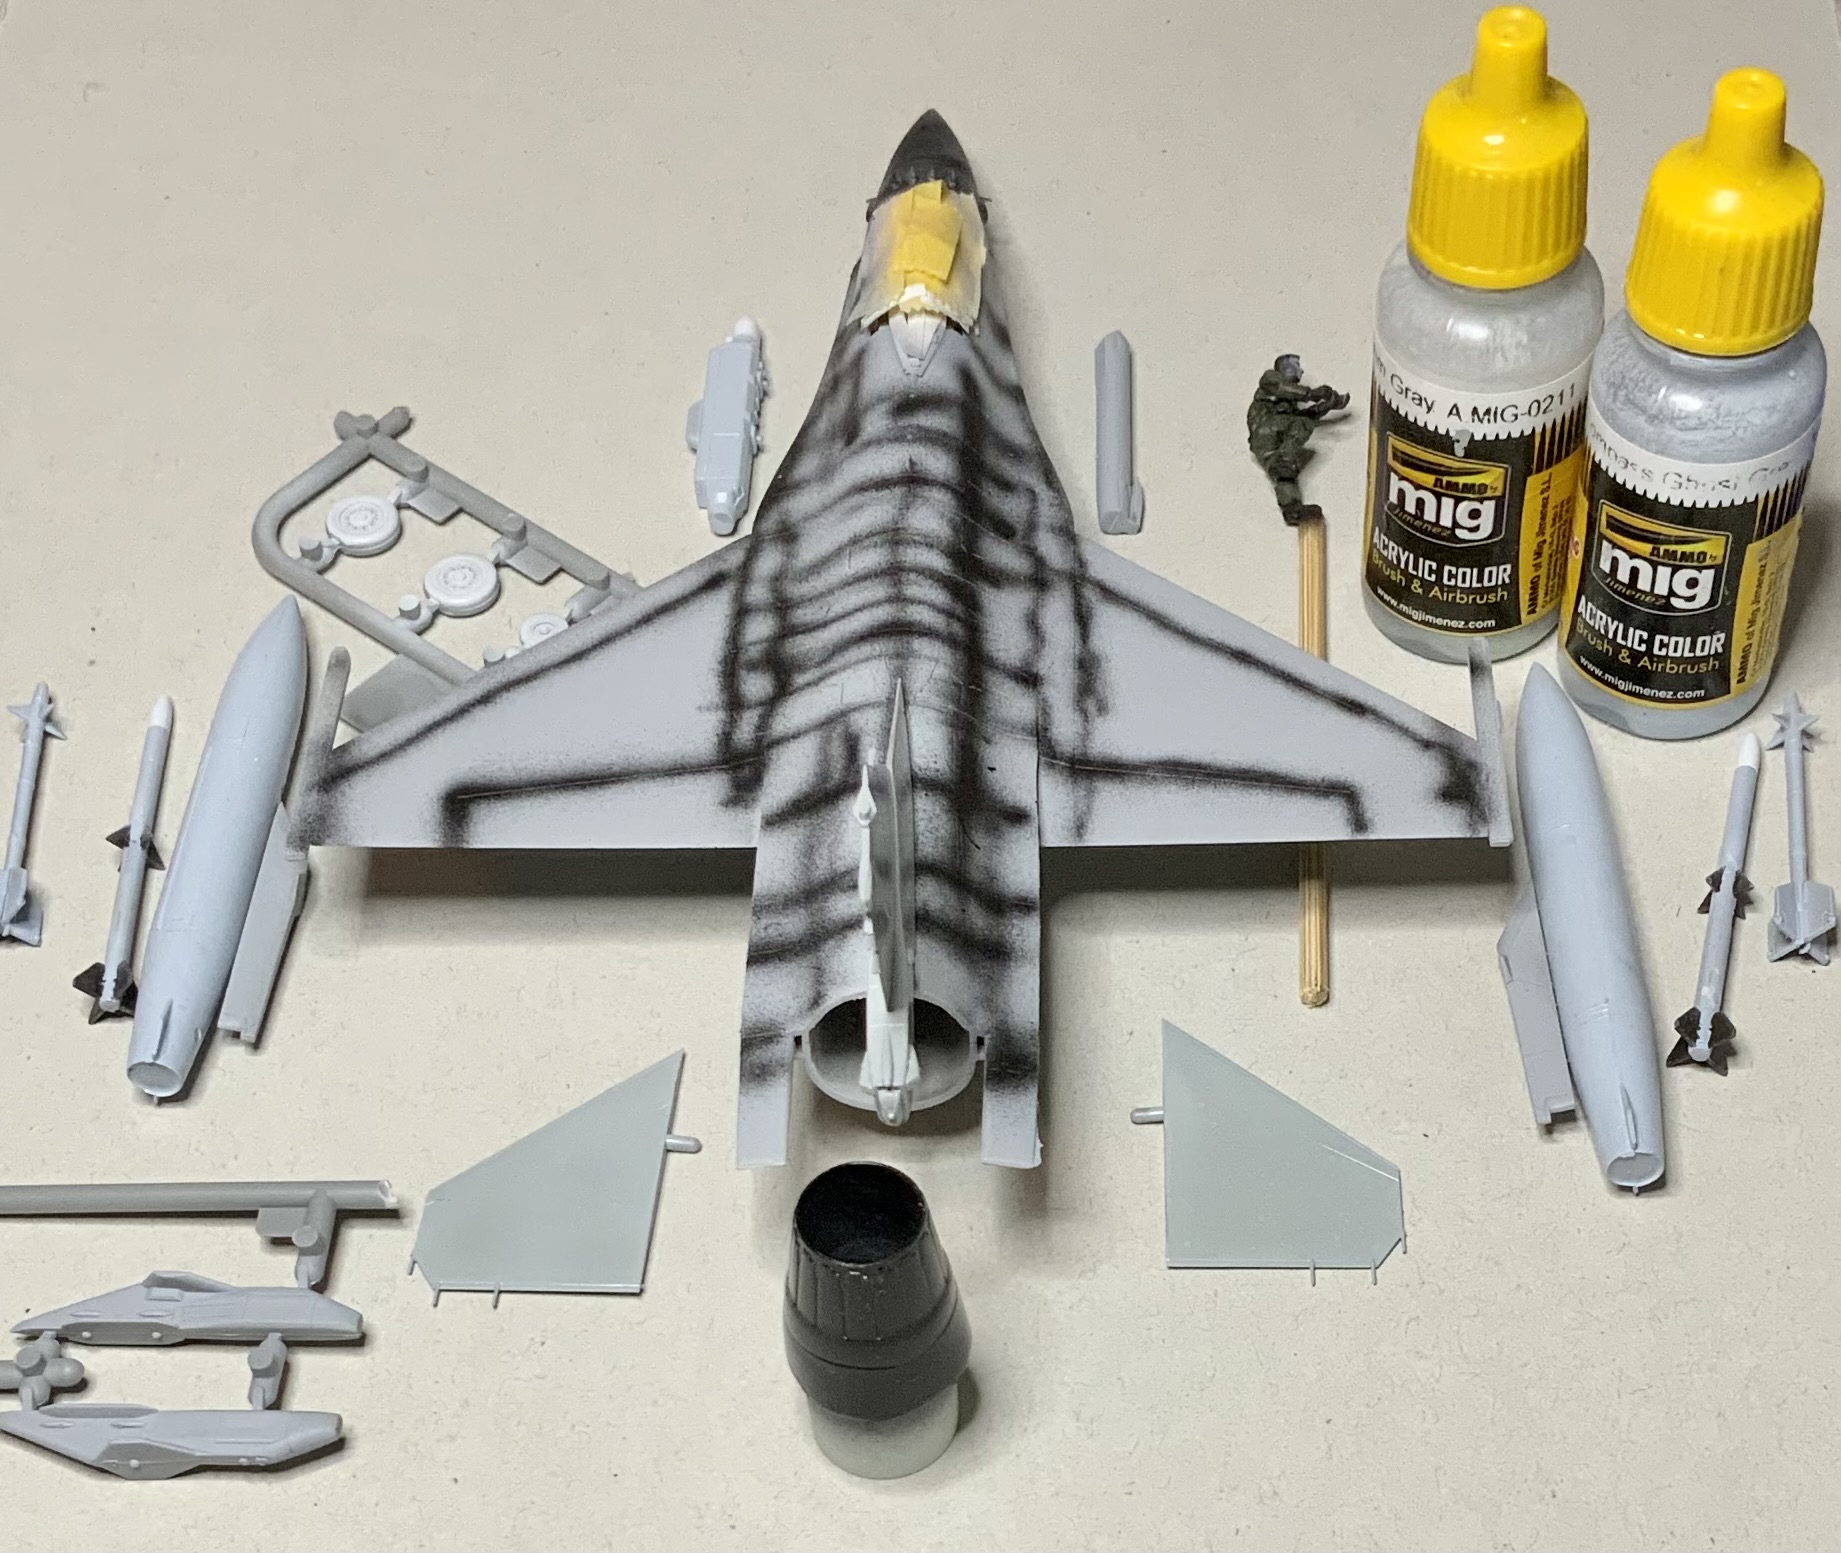
As on most airplane kits I started with the cockpit, and here the kit shows is age. The original seat is not very good so I swapped it with a seat from Revell. I have a couple of crashed Revell F-16 kits and they will serve as parts donors. Further on I used some prepainted Eduard PE parts for the cocpit and used a Revell instrument panel since this is more correct for a MLU. To make this fit I had to cut the «hud box» out of a Revell fuselage an fit it to the Hasegawa fuselage, removing the original «hud box» with a razor saw. This was actually rather easy and with a bit of filler and some sanding it turned out ok.
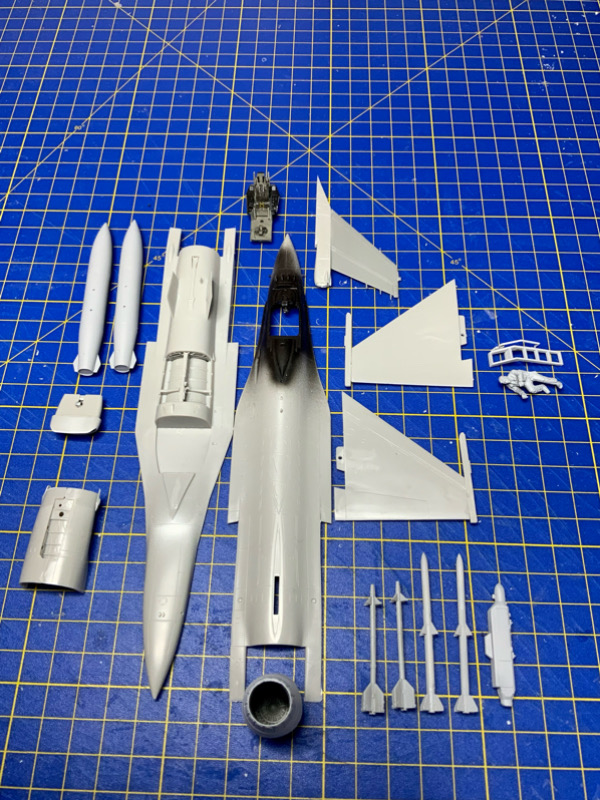
Next up is the fuselage. I took the tail fin and stabilizers from the Revell kit. Parts of the loadout is also Revell and with a sniper pod and AN/ALQ-131 jammer from a Hasegawa weapons set.
Yesterday I did a quick mock up to see how things are going. So far I´m happy.
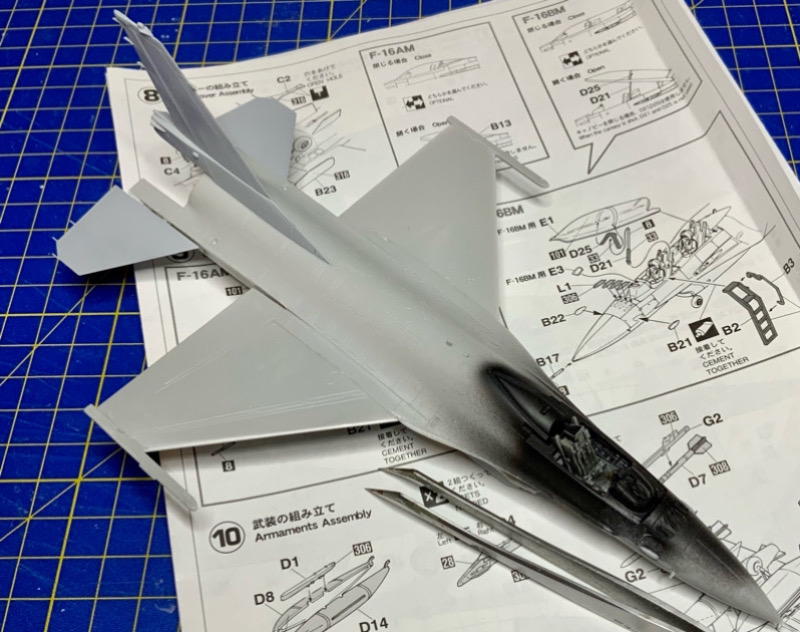
This evening I did some painting on the drop tanks and missiles, but the most important ting was the fuselage reinforcement plates and priming everything.
Looks very promising so far, go for it! ![]()
![]()
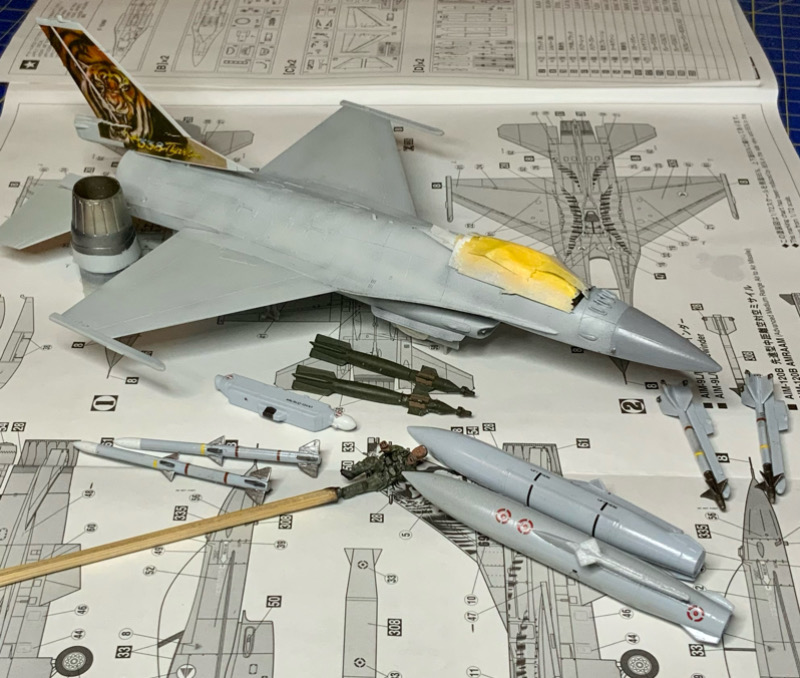
I managed a couple of hours at the workbench tonight as well. The most prominent result is the pre-shading of the fuselage. I also gloss coatet the engine nozzle, preparing it for some metallic paint. Some time was used selecting pylons for the weapons as well. Summerized, most of the time was used for very basic painting. And the pilot got a glaze coat of paint as well.
Looks Great, Eric! A Beautiful little kit - looking forward to see it with the very colorful markings.
Todays progress report… basic construction completed… all I need to do is add a few bits here and there, but it’s ready for painting…
Looks like a Hornet now.
Some paint and some decals. The tail tiger cracked a bit but it is possible to save. It is very thick and needs a gallon of decal setting. Landing gear is also on, I used a set from Revell since they are better detailed.
After encountering a few problems with the decals on my Thunderstreak build, I decided to go with some AM Blue Angels decals for this project and ordered them last week. These arrived in the mail over the weekend.

I did a little more work on this today.
I had puttied up a divot on the underside of the radome where it meets the bottom of the fuselage. After letting that dry overnight, I sanded that smooth. Then once that was done I added the wingtip Sidewinder rails
Once those had dried, I added some Micro Krystal Klear into the spot where the projection lens for the HUD is on the IP hood

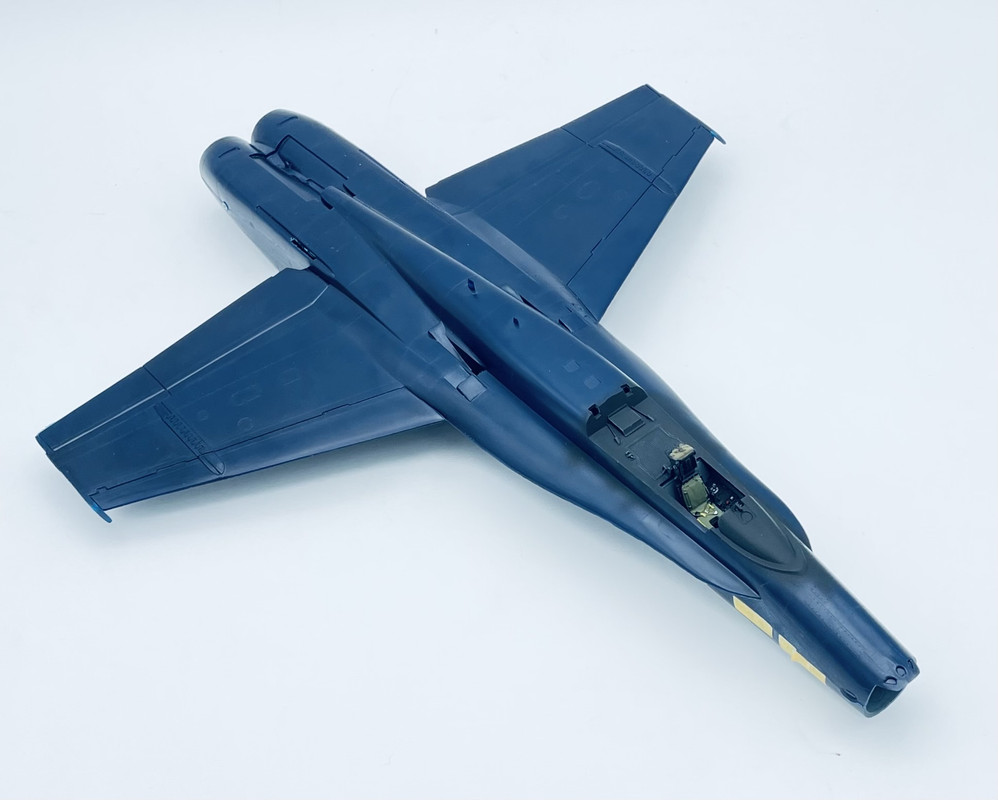
Tomorrow I’m going to mask off the wheel wells and intakes, then paint the underside in the Humbrol Gloss Midnight Blue… at least that’s the plan…
Today’s update:
Gloss Blue airbrushed on to the lower surfaces

I’m going to let it dry overnite, then do the upper surface tomorrow…
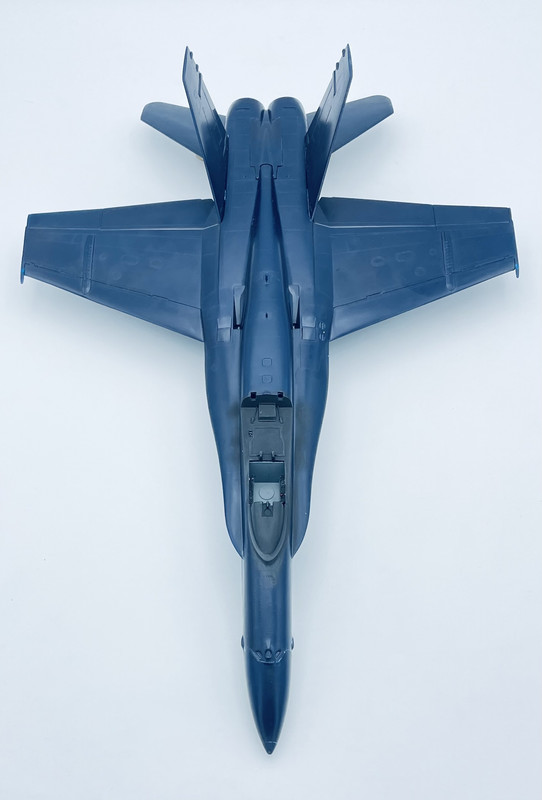
I was able to get a photo of the topside Gloss Midnight Blue after today’s airbrush session…
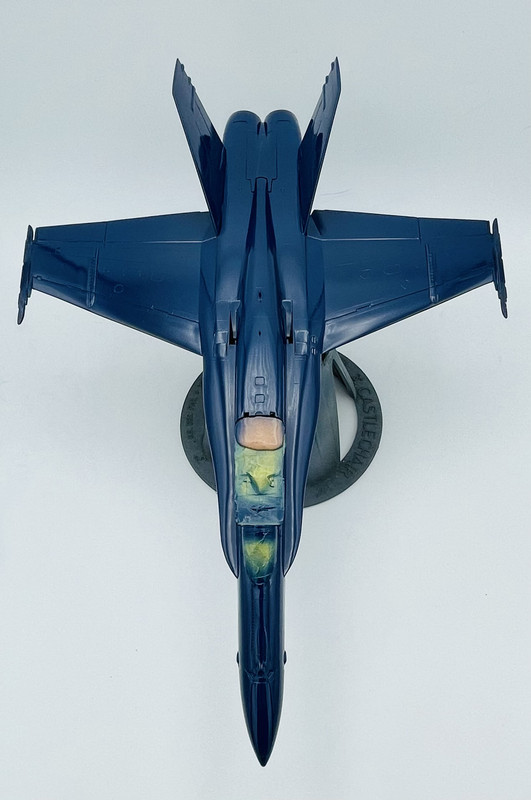
now everything gets to sit and dry until the next planned session on Monday…
That is a nice looking blue bird Carlos…