HP
Hmmm, this is what I can see at my end.
They are just denying “comfort” to the enemy
That JLTV towing a camping trailer has a Mark 40 and 7.62mm medium machine gun in the back with a .50cal CROWS II = interesting!
1 Like
3D printed parts have arrived and here I can show the first progress.
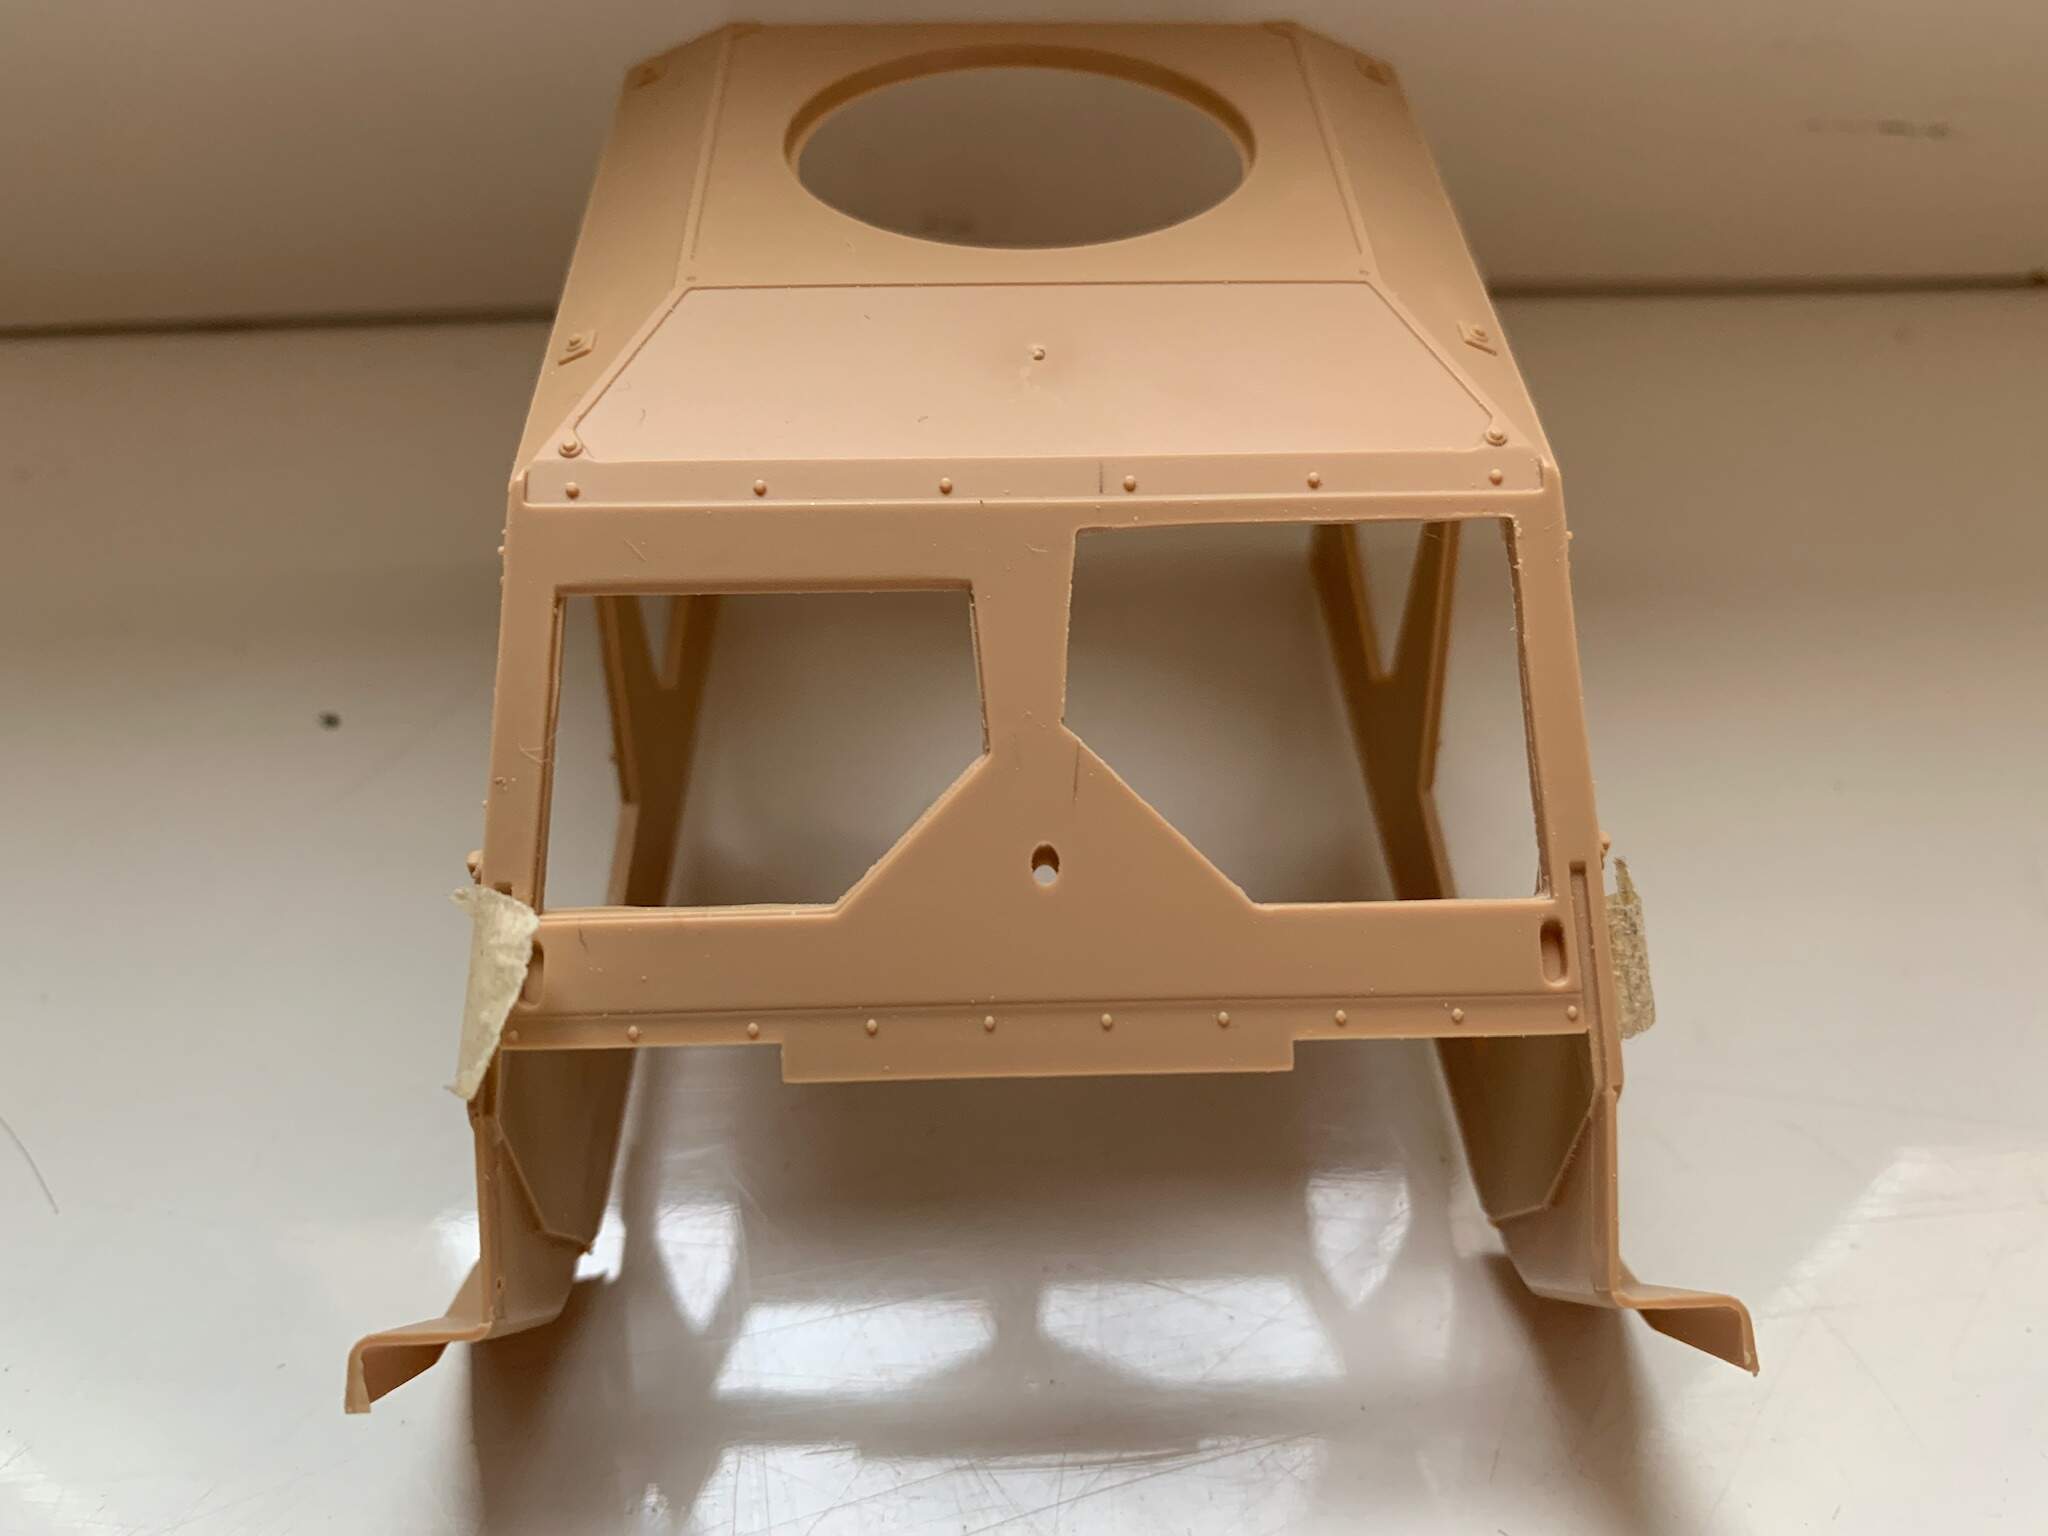
I have started adding the windshield glass frames that in the M1245 are larger than in the M1240.
In this picture you can see the difference after I have created a larger space on the right to accommodate the new frame.
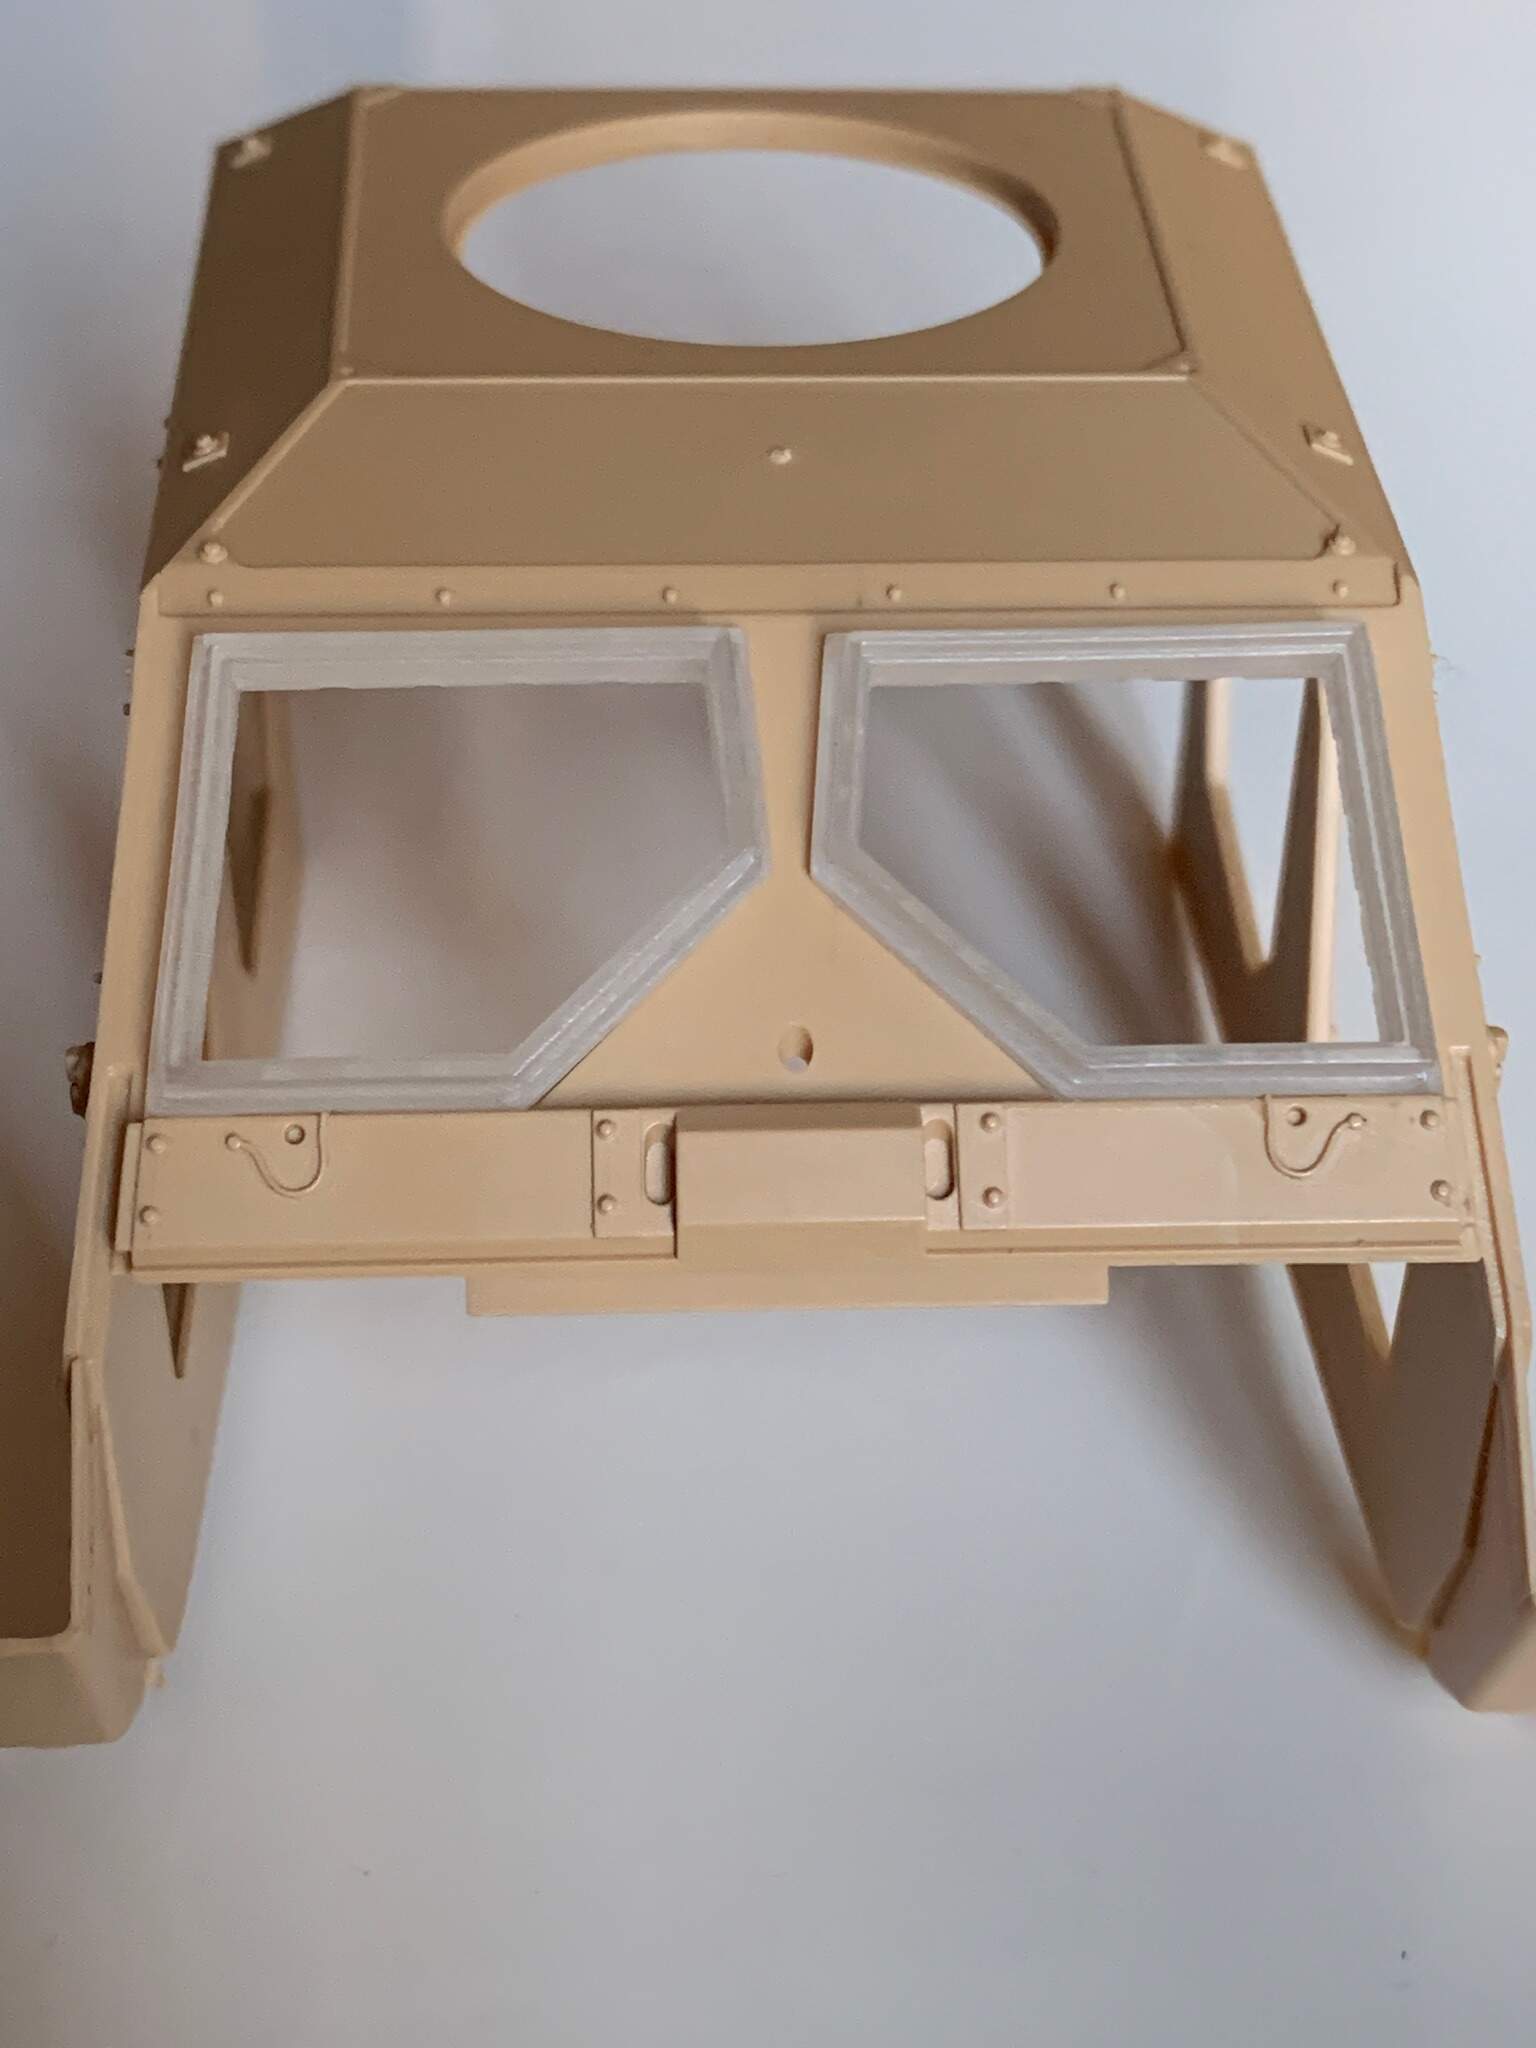
And here the cabin after mounting both the frames.

Next in the assembly lines is the additional front bumper.
2 Likes
Hi Ettore,
Just found this!
It looks like an exciting built. I’ll follow your progress with great interest.
Peter
You printed these pieces at Shapeways, right? How is their quality, are the printing lines visible?
Mario
My mistake, it was the Panda kit. Looking to buy the RFM Kit soon if I can afford my other arm & leg.
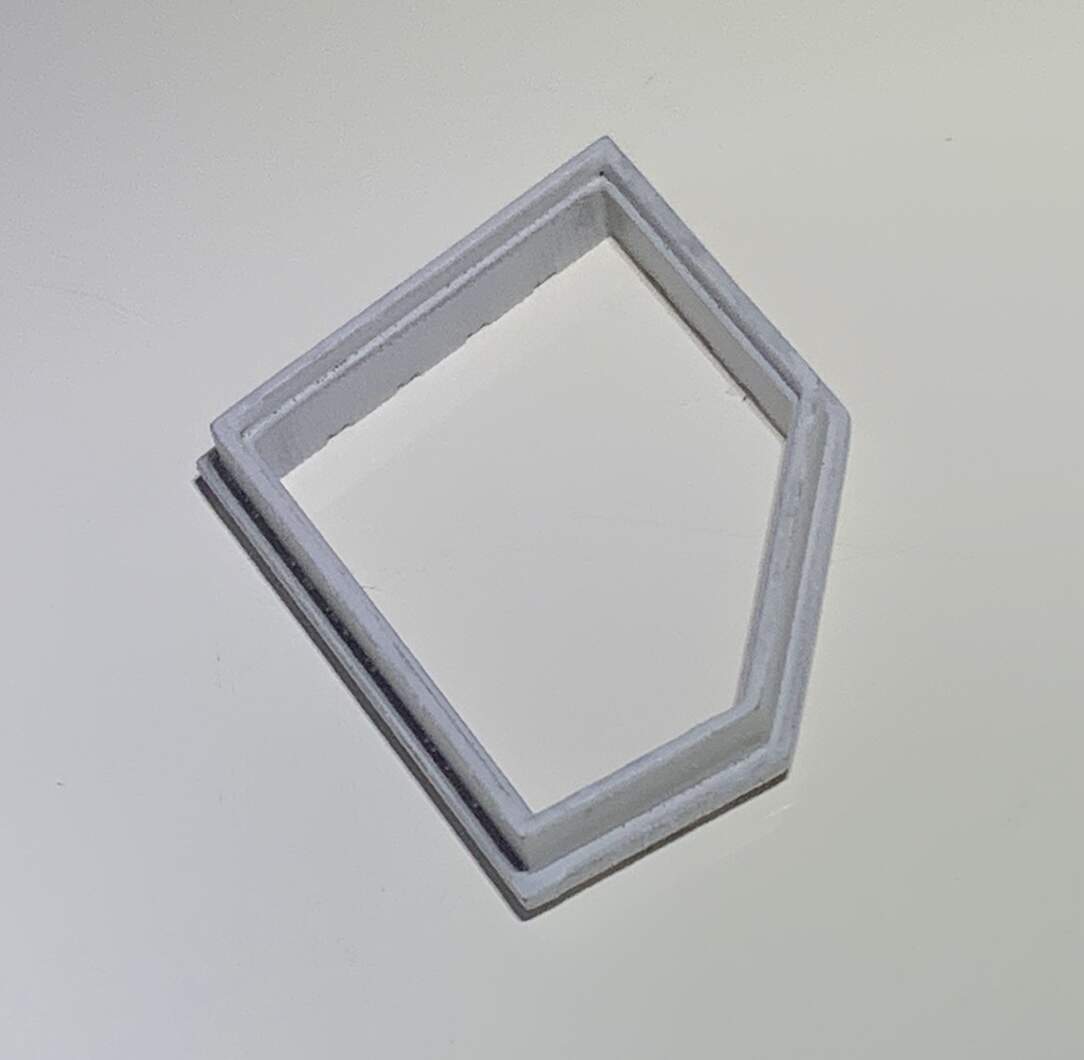
Yes Mario, it has been printed by Shapeways.
There were some printing lines on the vertical walls that it has been easy to sand away.
Here is a close picture after I have also applied a light primer.
Looks good. I remember the first 3D printed piece I got from Shapeways… printing lines everywhere. It seems the resolution was improved.
Mario
Very nice work
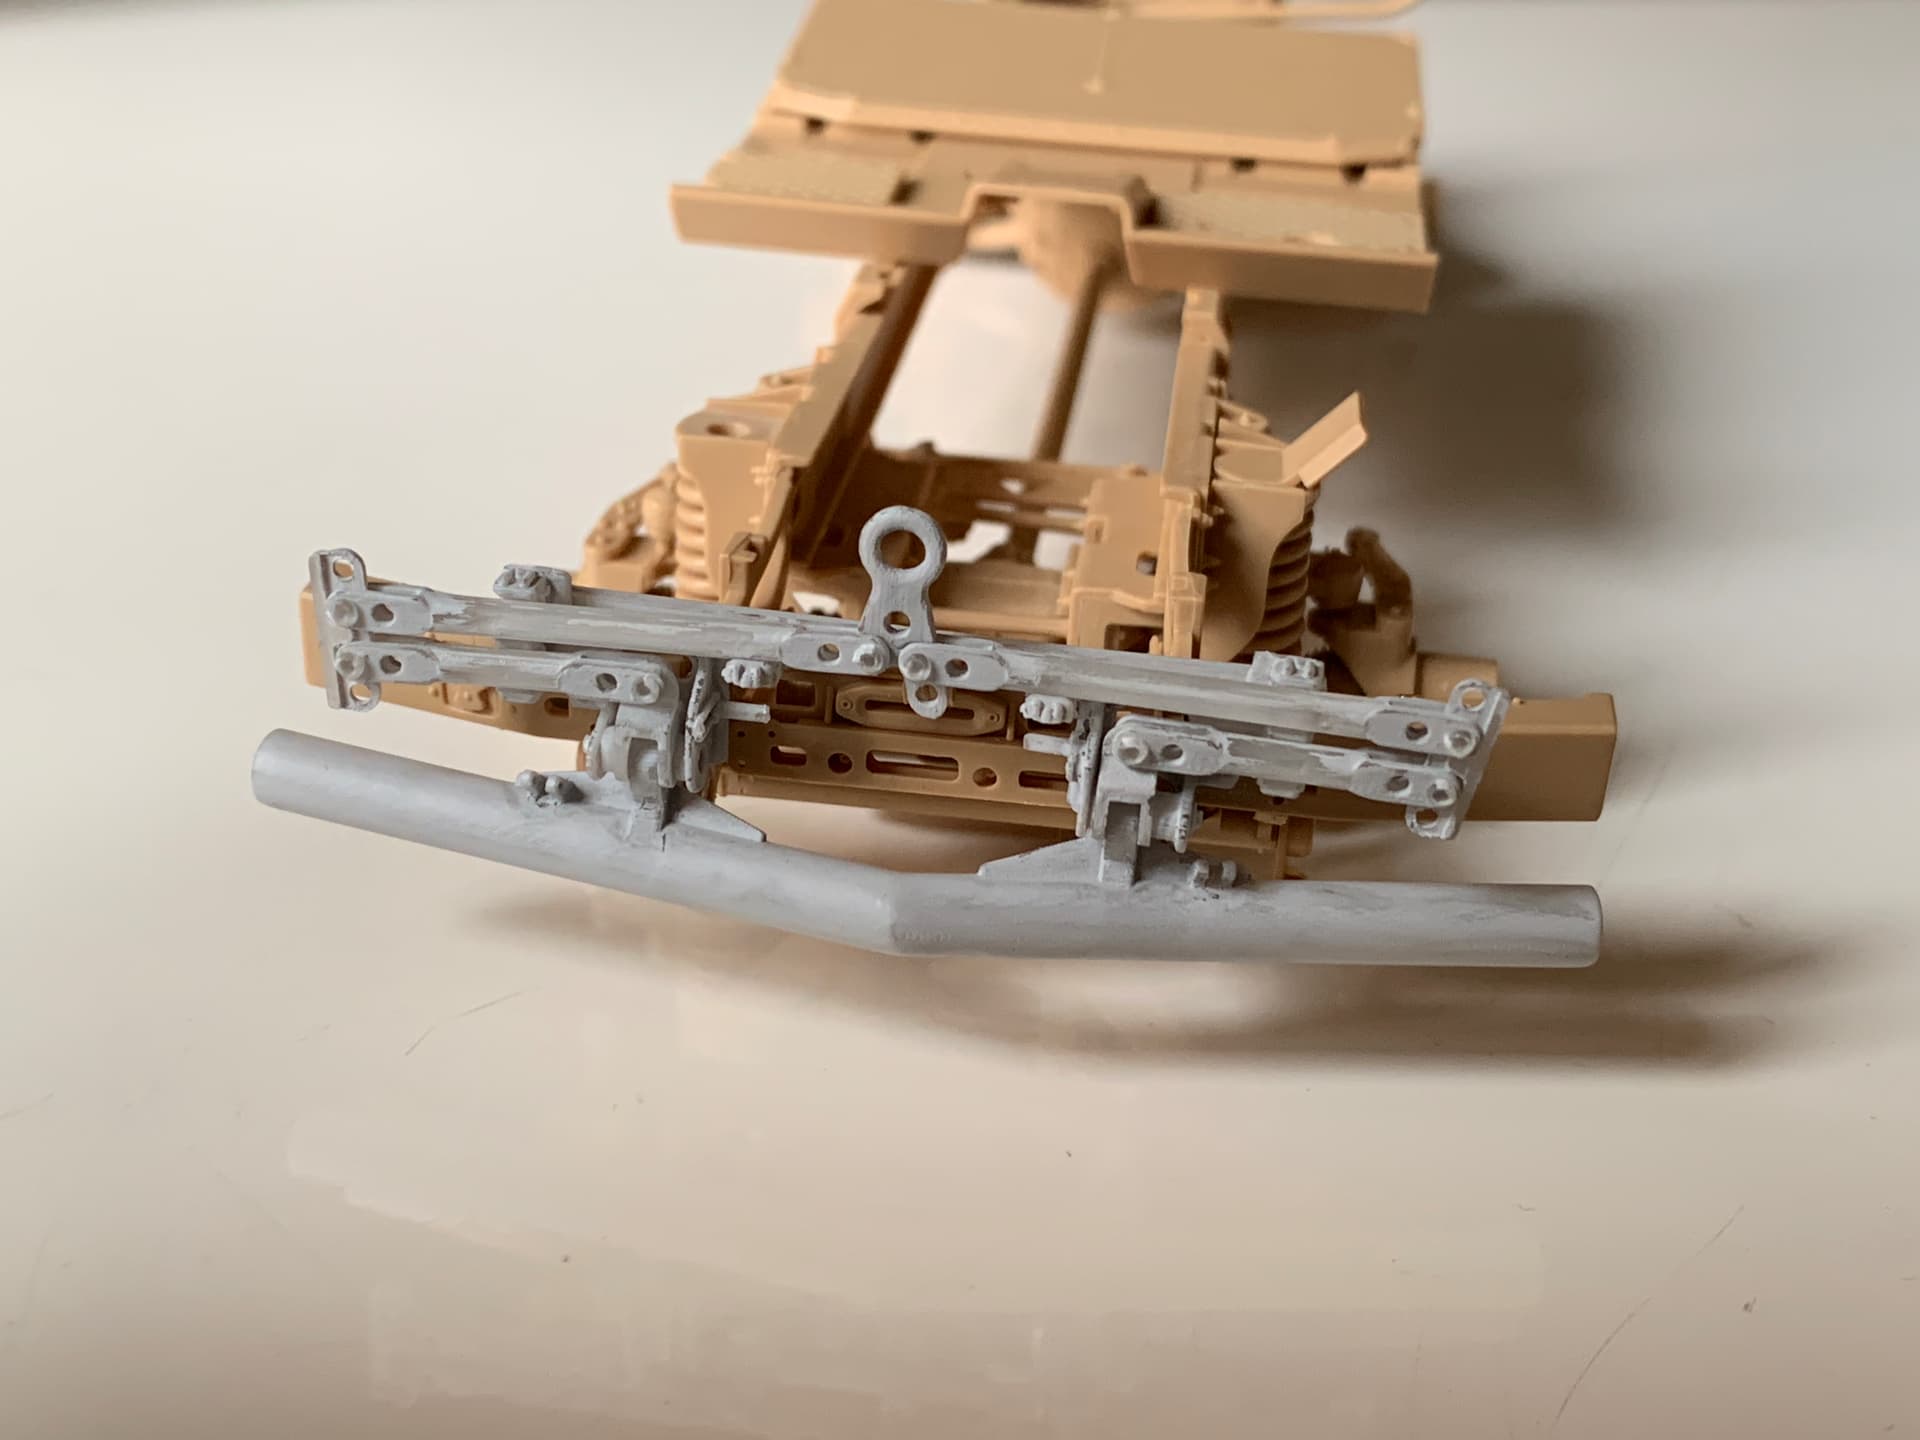
here comes the additional front bumper
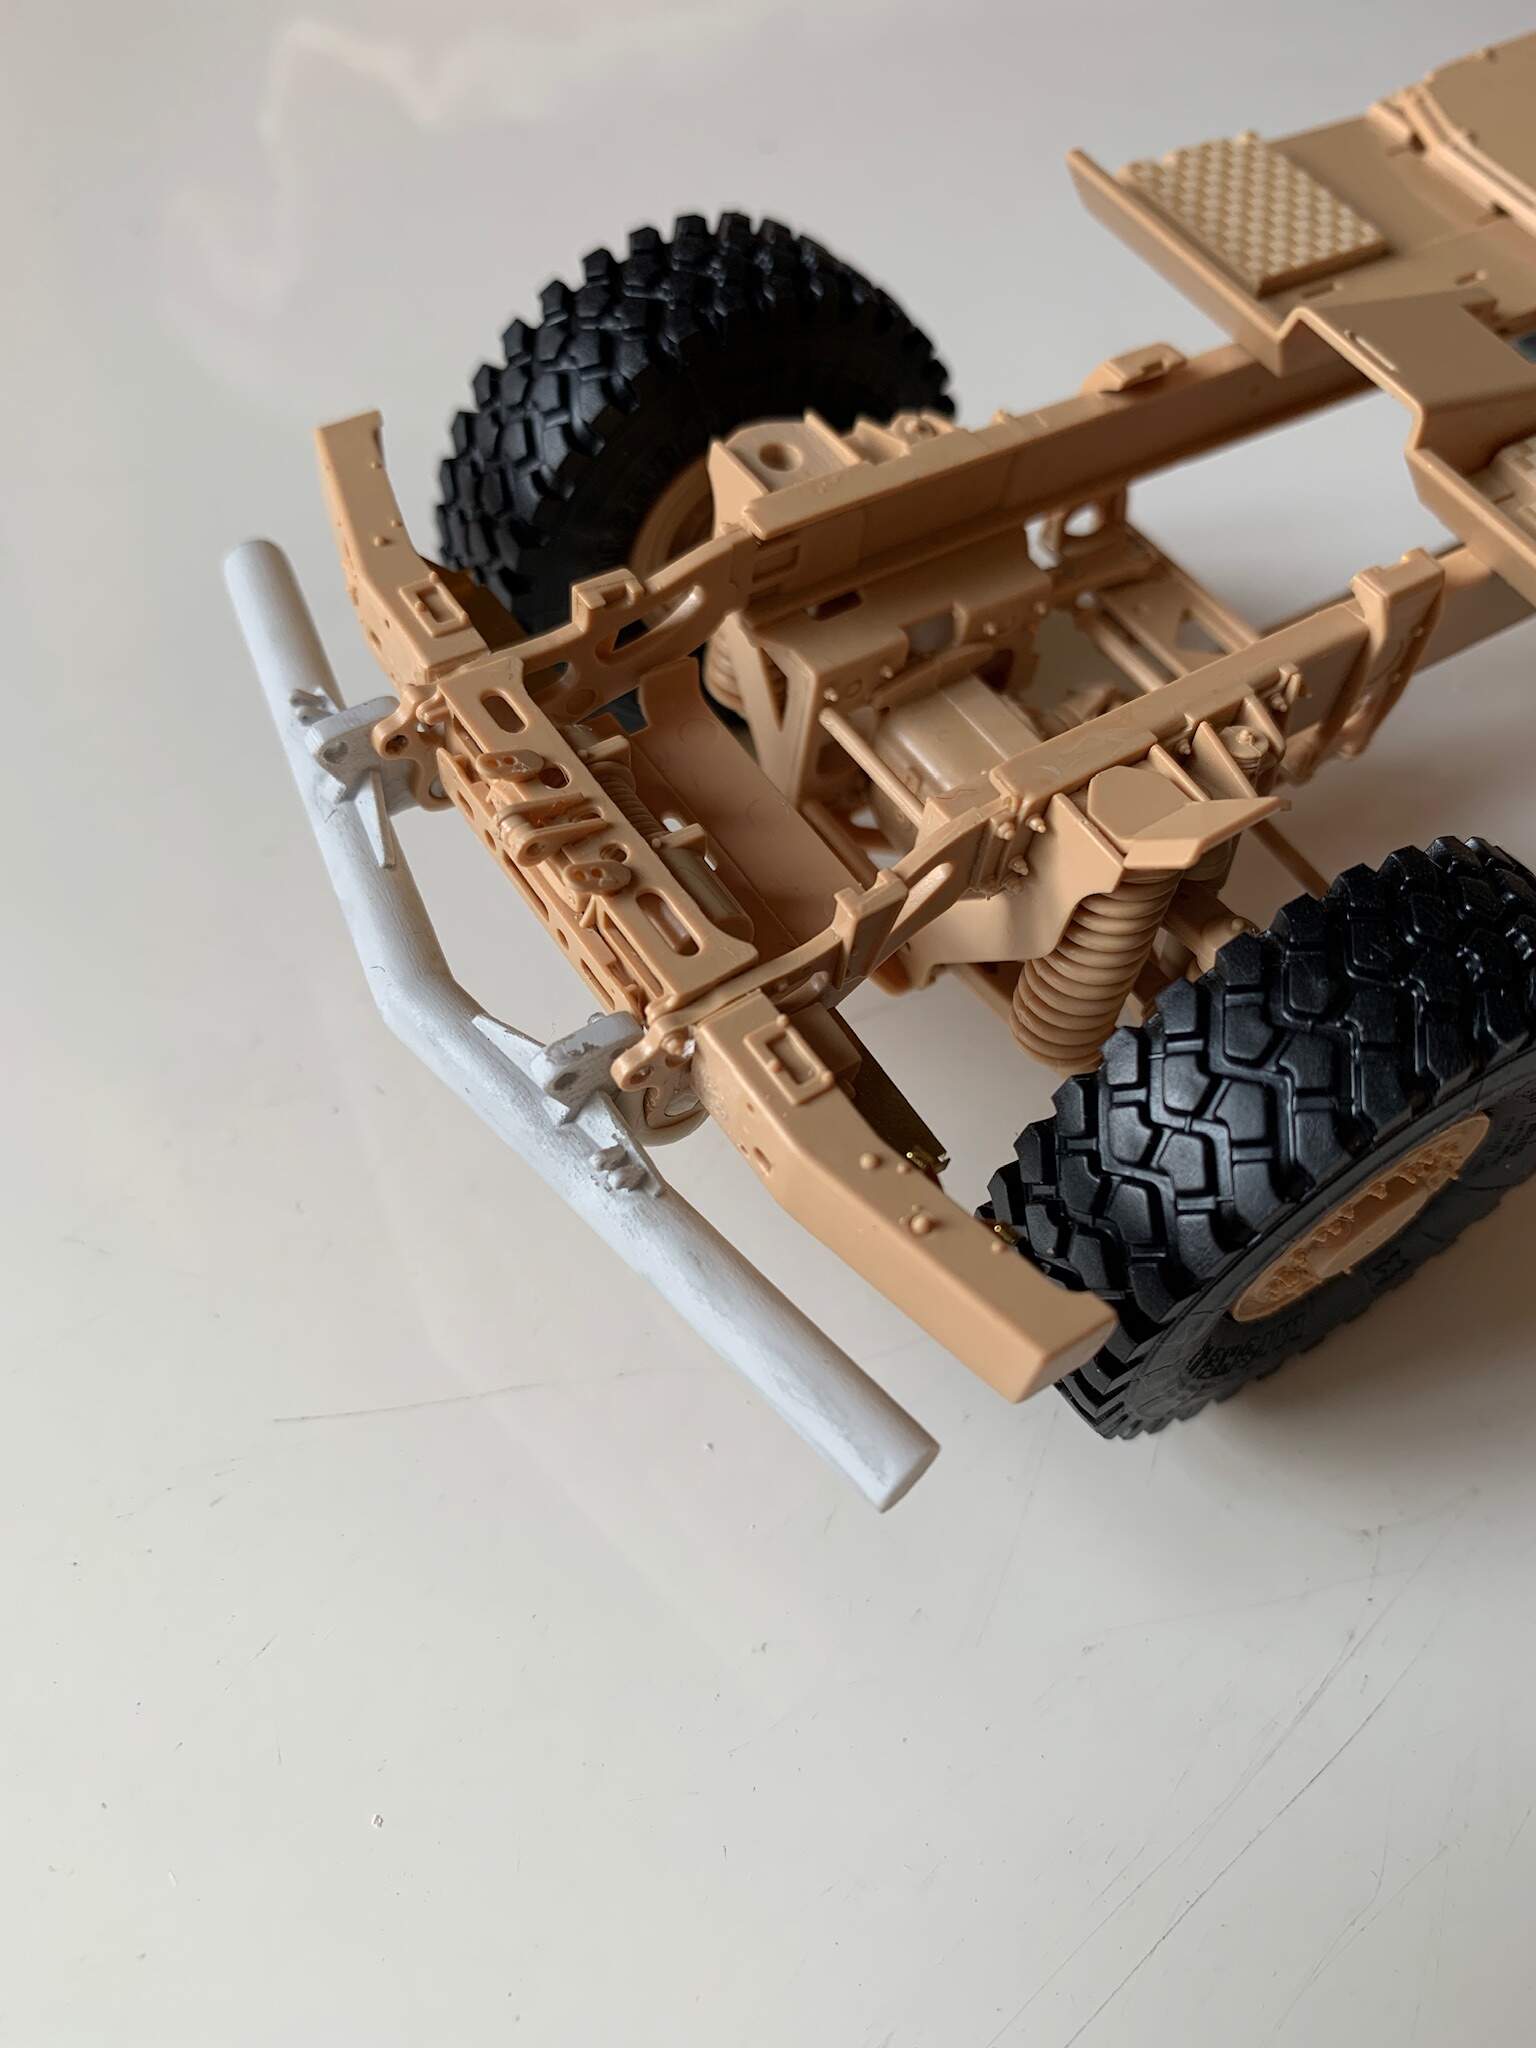
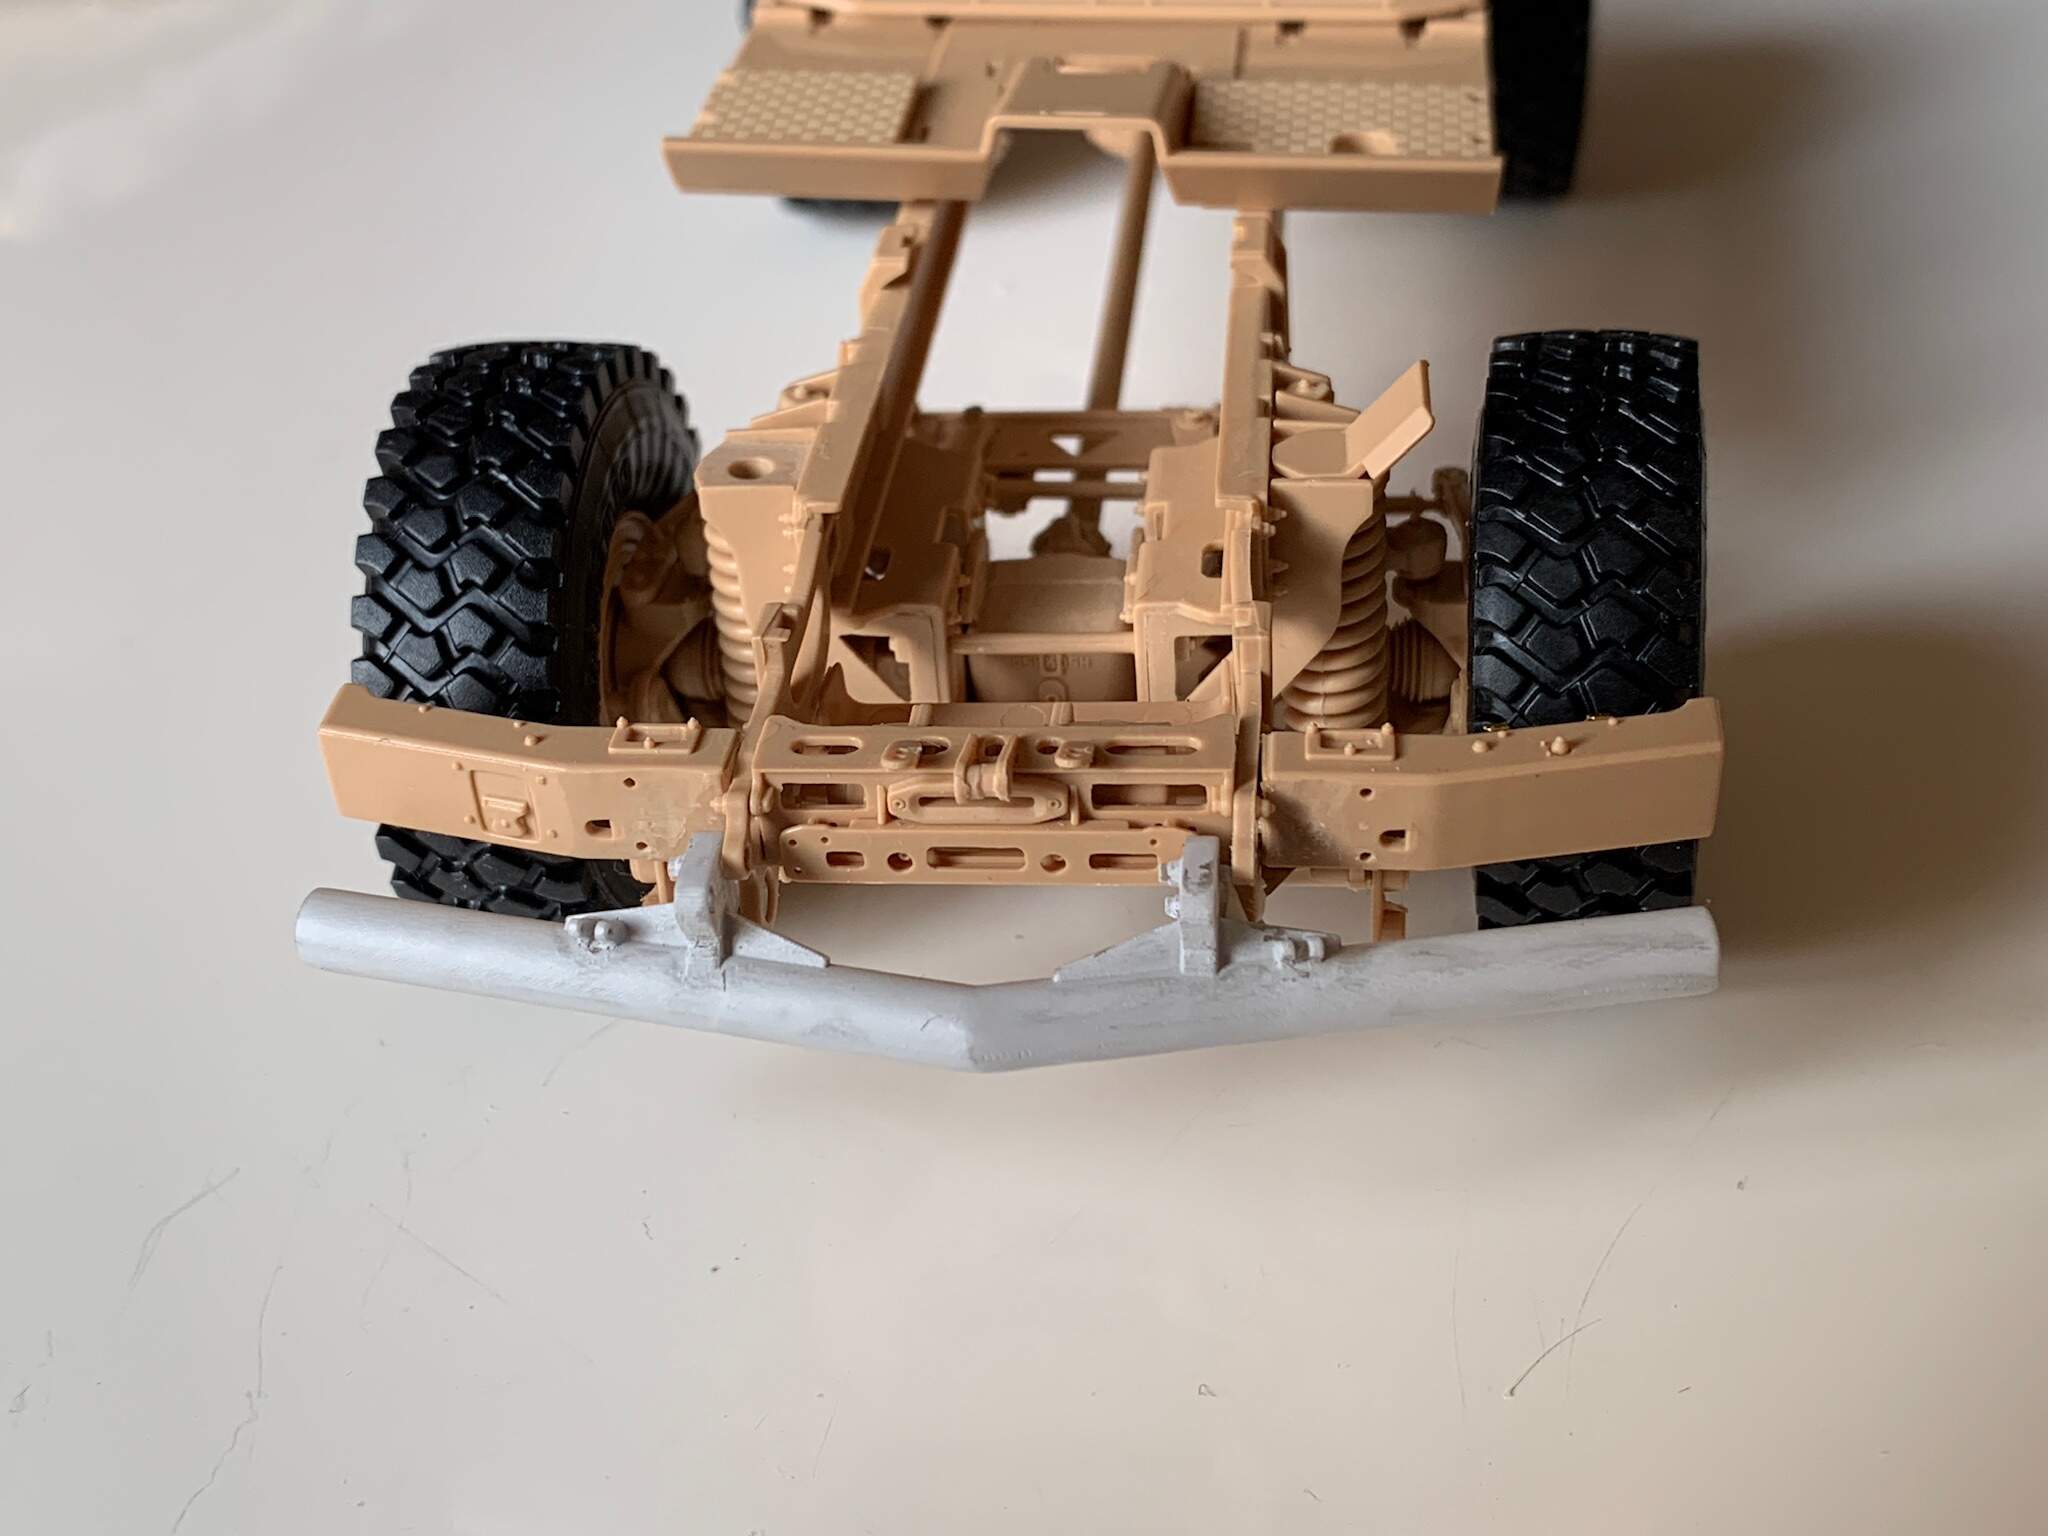
But I have got a bad surprise when assembling the bumper to the frame: the plates attaching to the frame aren’t distanced enough; after a quick check I have discovered that I have ordered for printing the wrong version of the bumper, the one I drew years ago for the Panda M-ATV.
It’s not a big issue, I’ll order the correct version soon as I order the other parts that I am drawing.
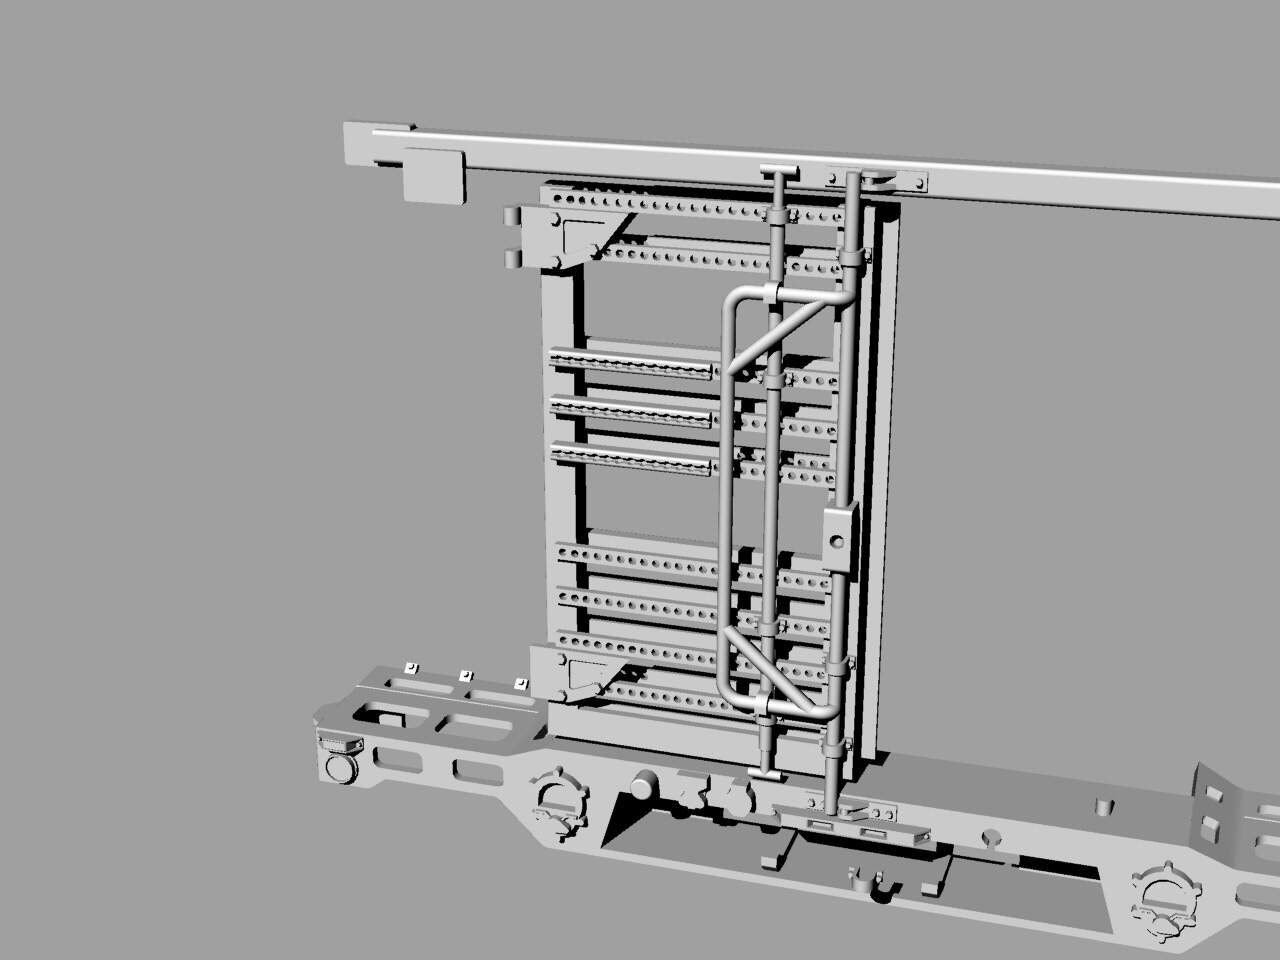
Next in the assembly line is the foldable tow bar (see render below)
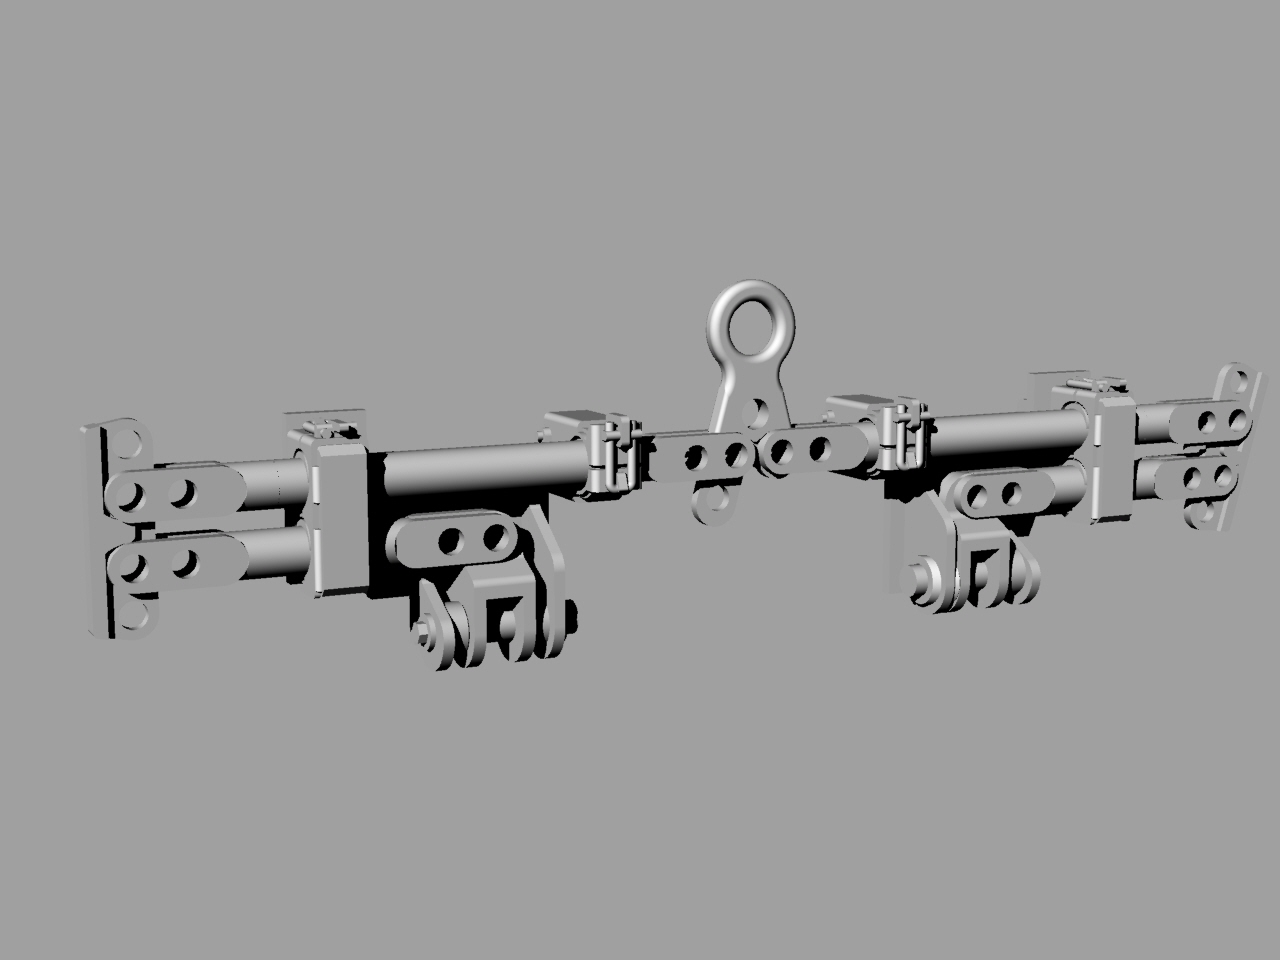
I have disassembled the tow bar in a set with 16 parts and 10 pins.
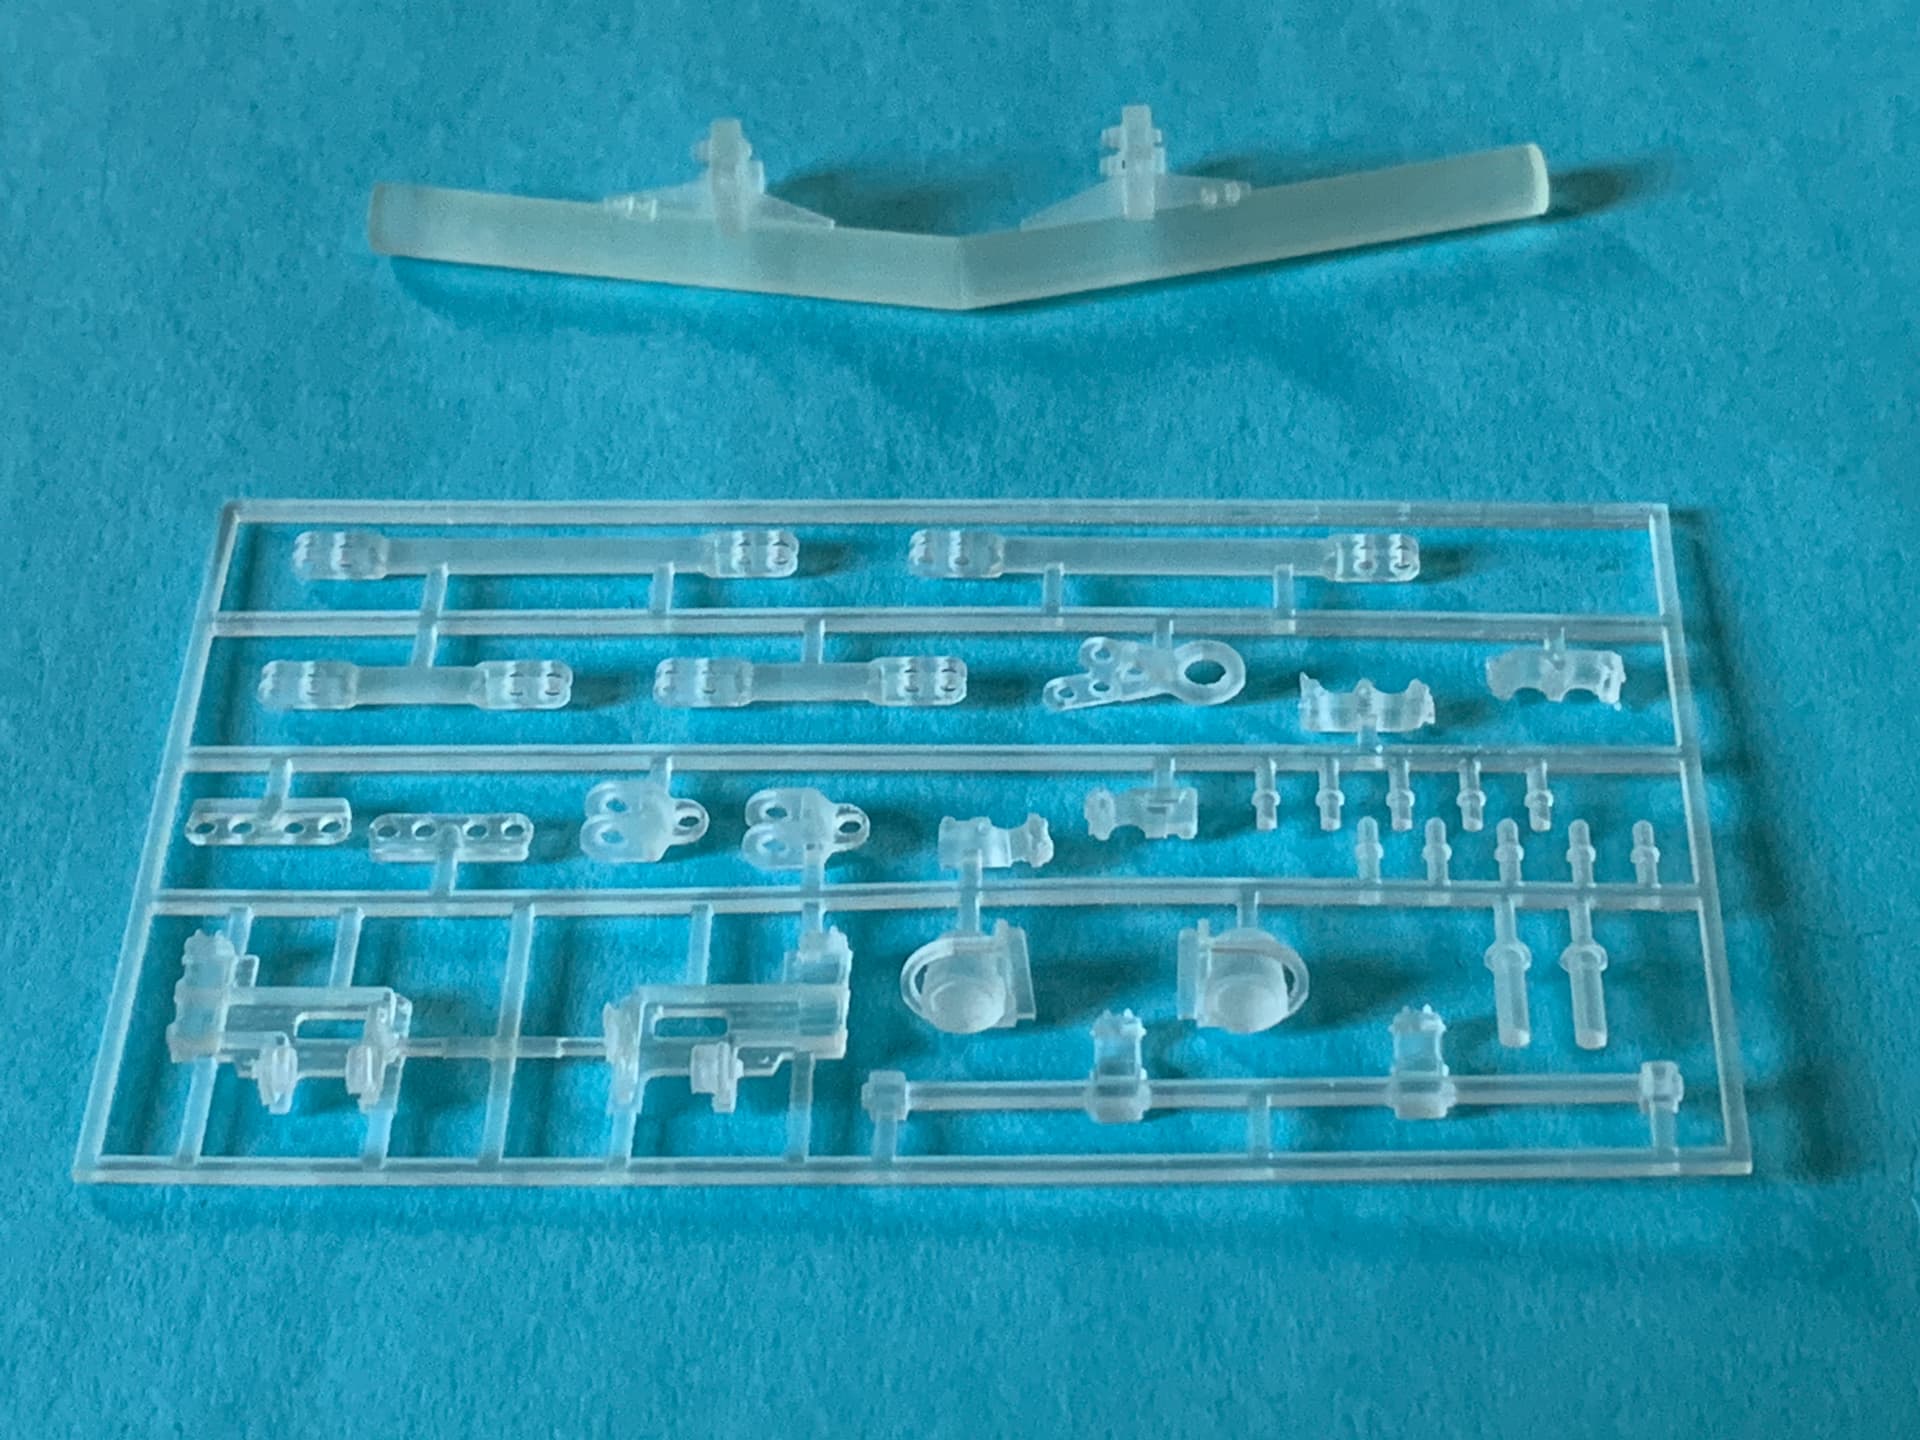
in the sprue are also included the two additional lights integrated in the front grill of the M1245 (another diiference from the M1240).
I have assembled the tow bar and attached it to the front bumper.
It’s a temporary mount that doesn’t include the external half of the bars stoppers.
There is also more cleaning of some parts to be done; I’ll do it at a later stage, before the final assembly and painting.
Next in the assembly line comes the real stuff, the cargo bay. Stay tuned.
4 Likes
Here is the cargo bay floor, with new fenders and bumper.
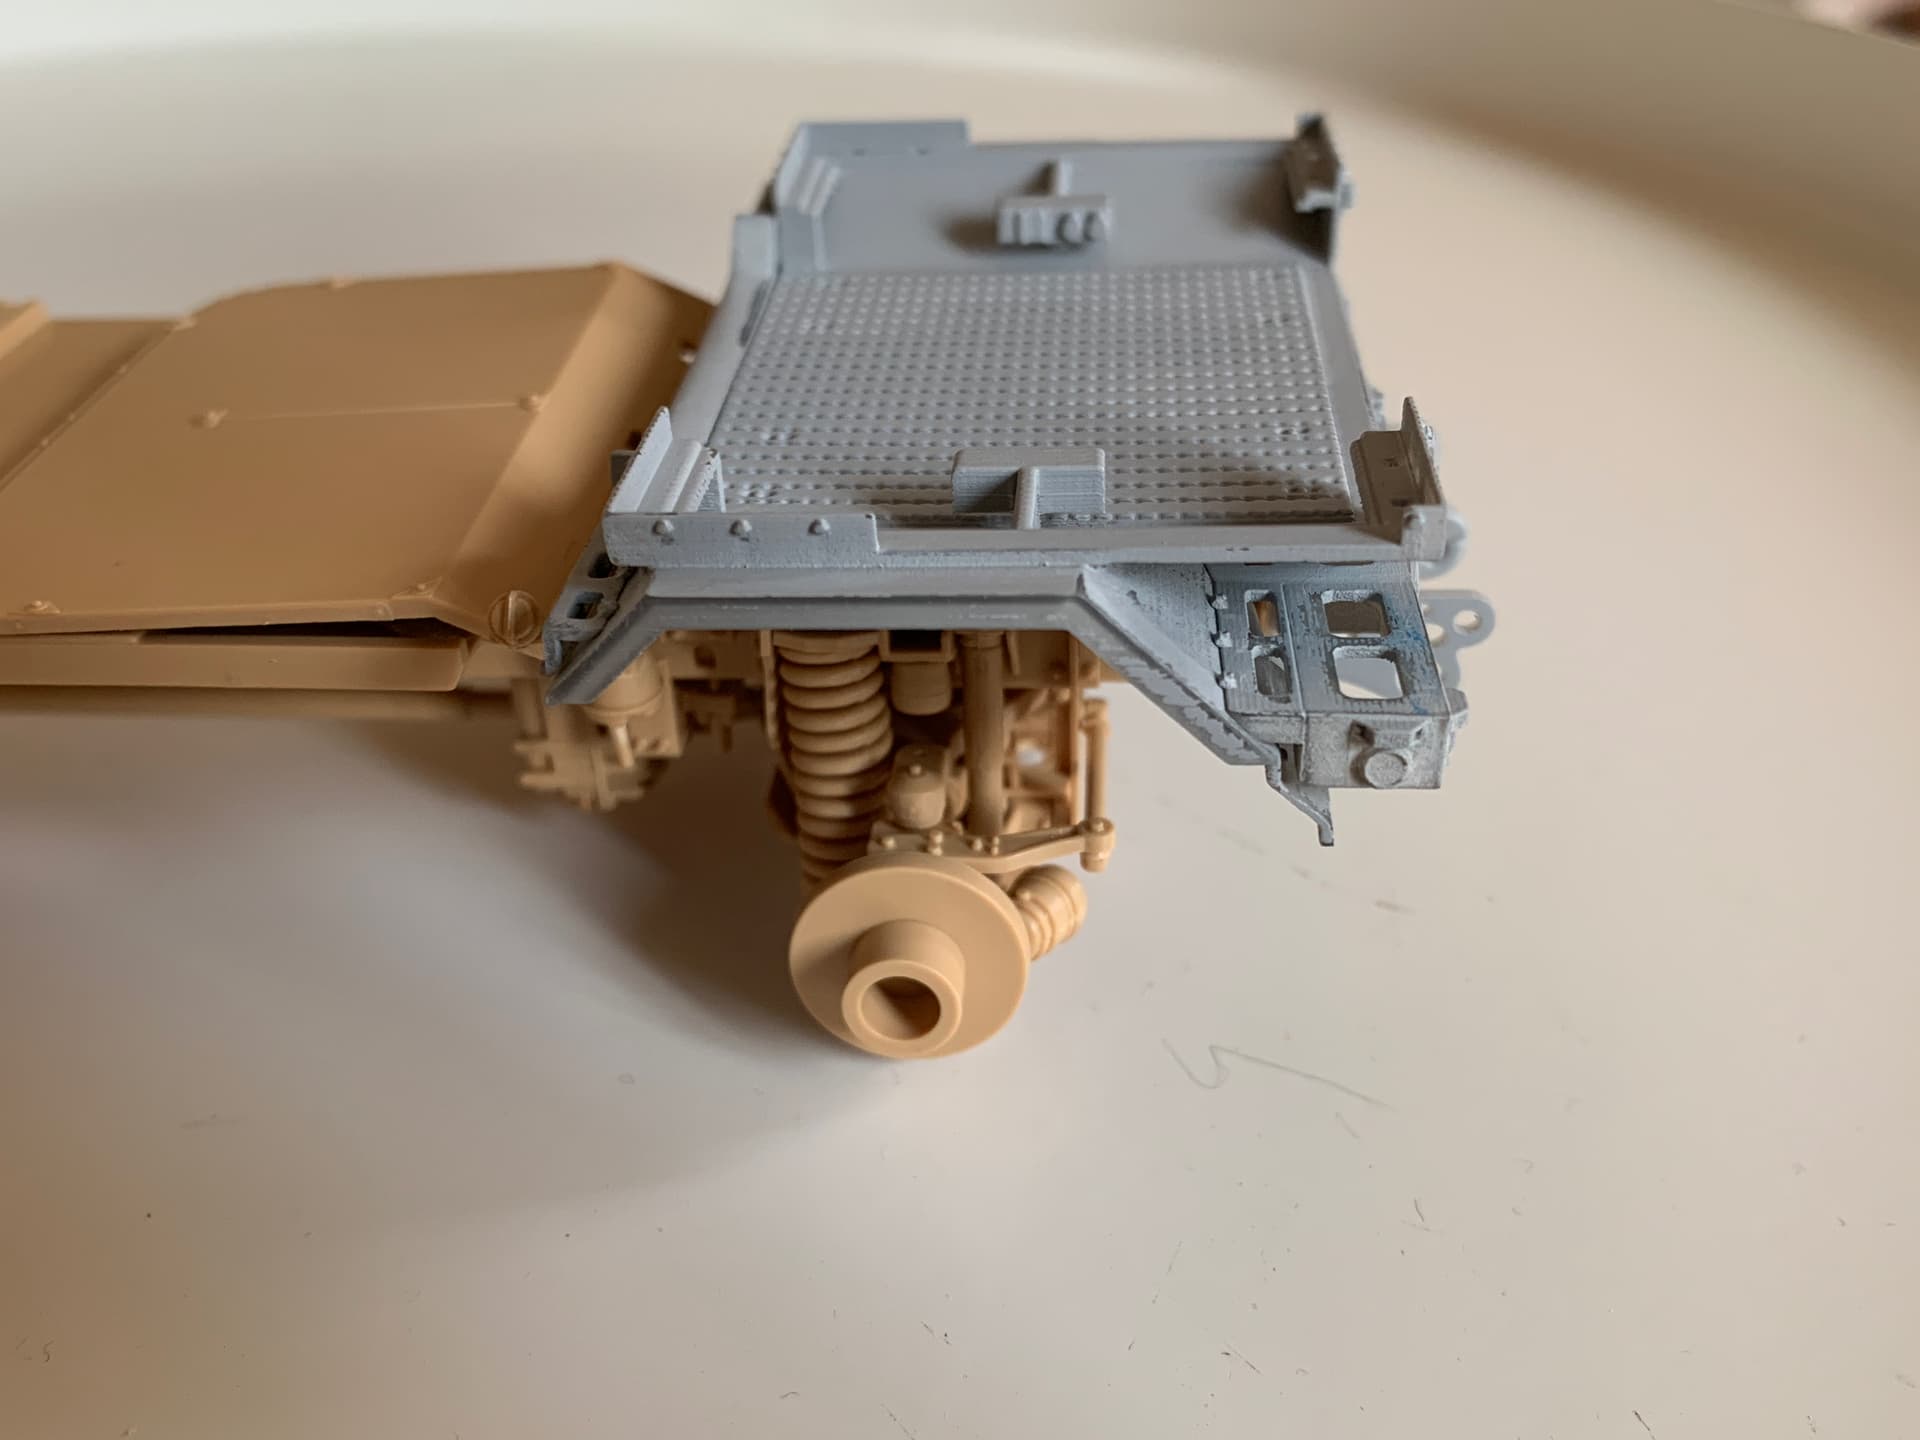
M1245 has longer frame side members than M1240.
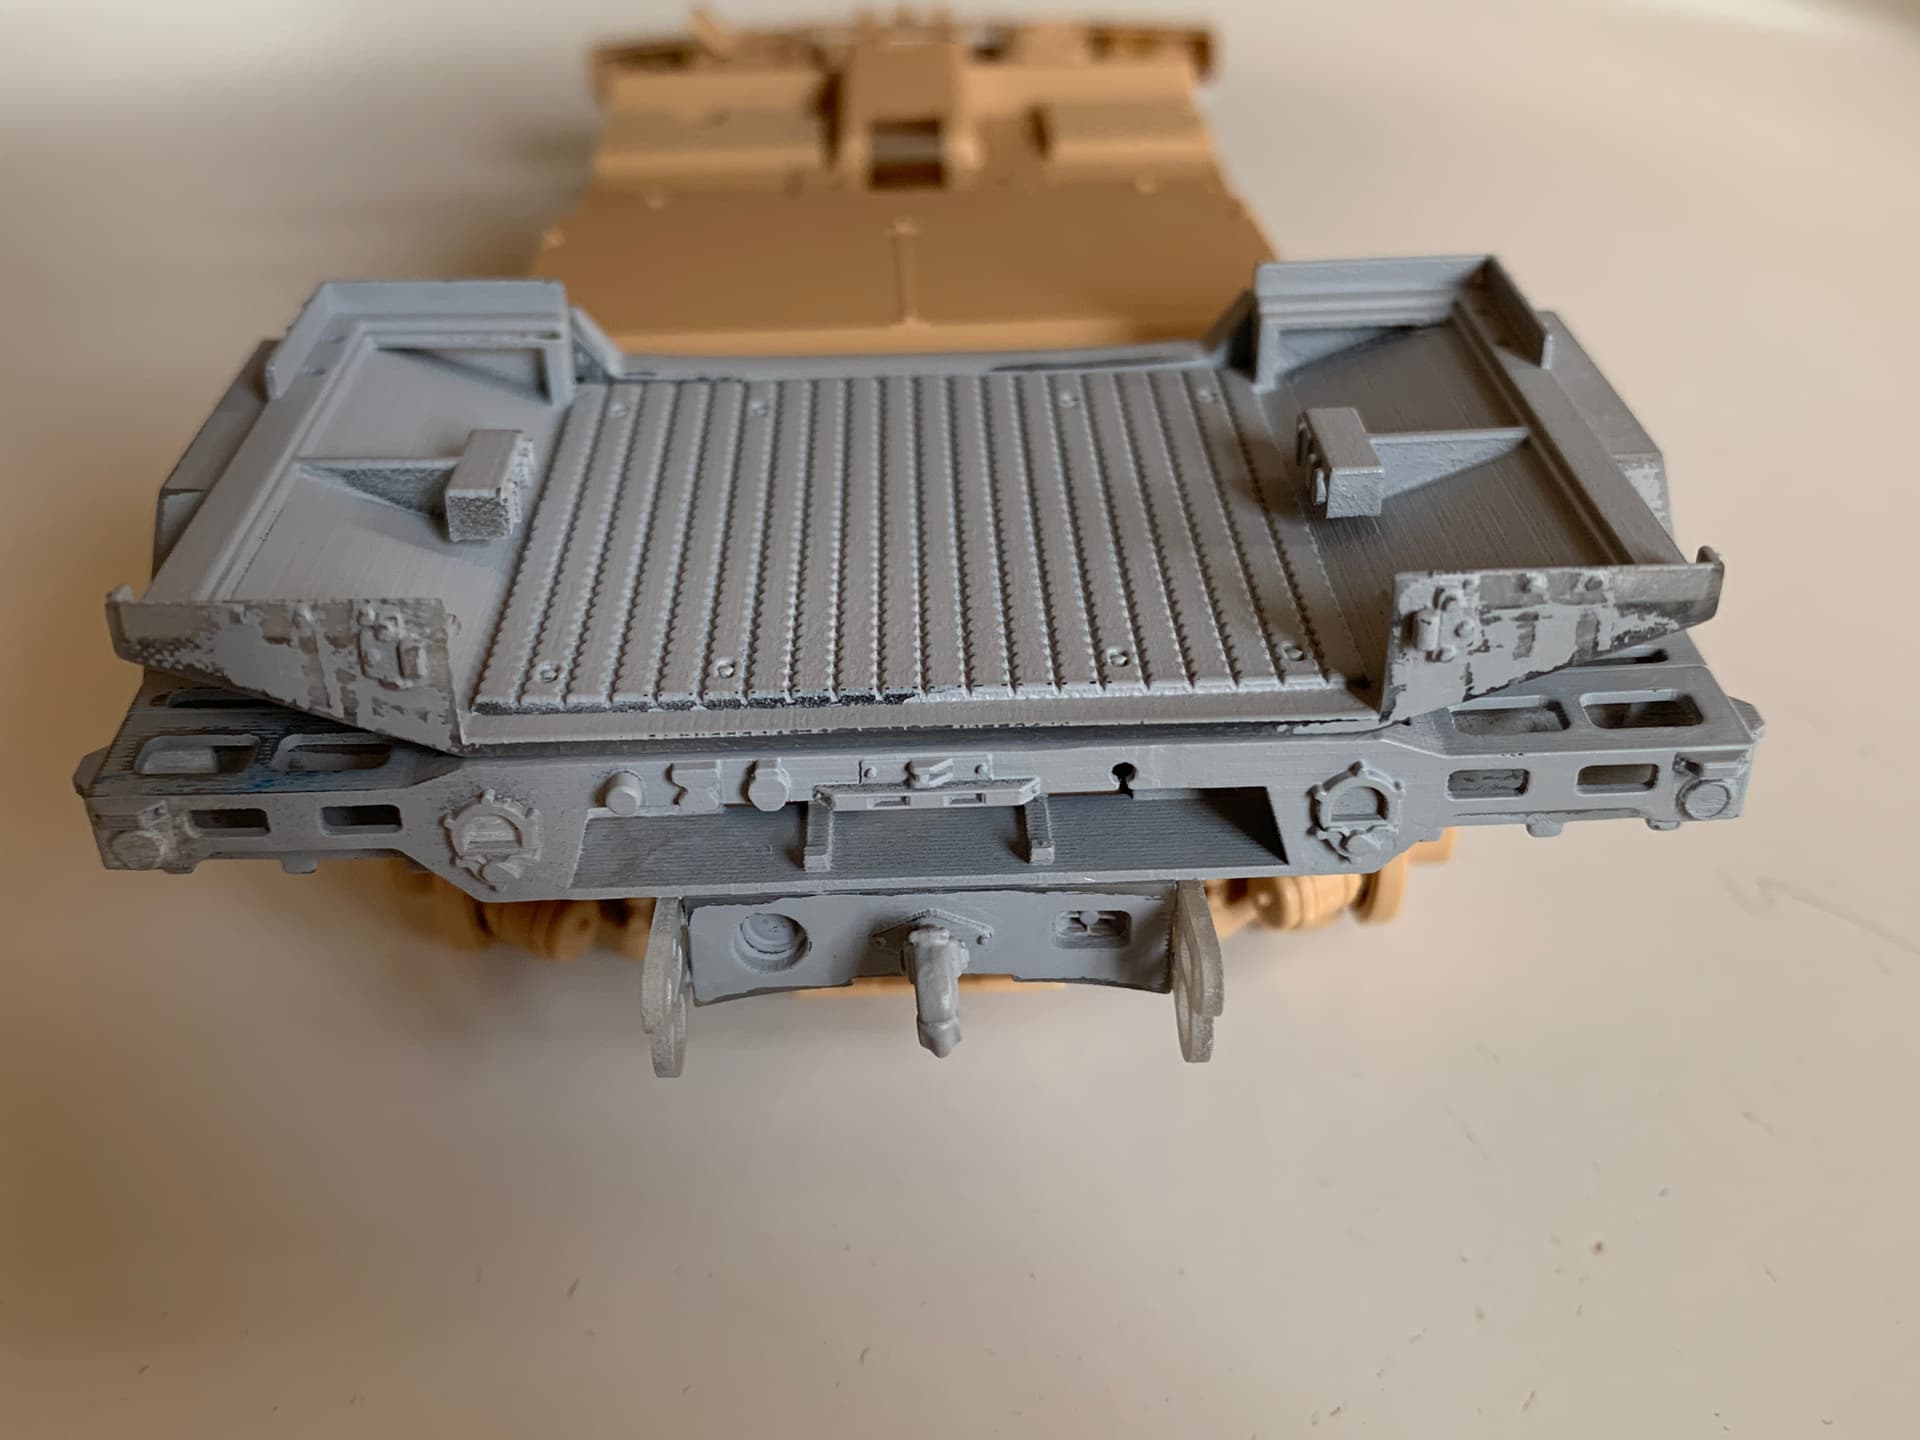
I cut the rear end part and installed a new and longer one, as long as a new cross member (parts colored in grey at the bottom of the rear bumper).

I have also moved parts G16, G33 e T4 to the new cross member.
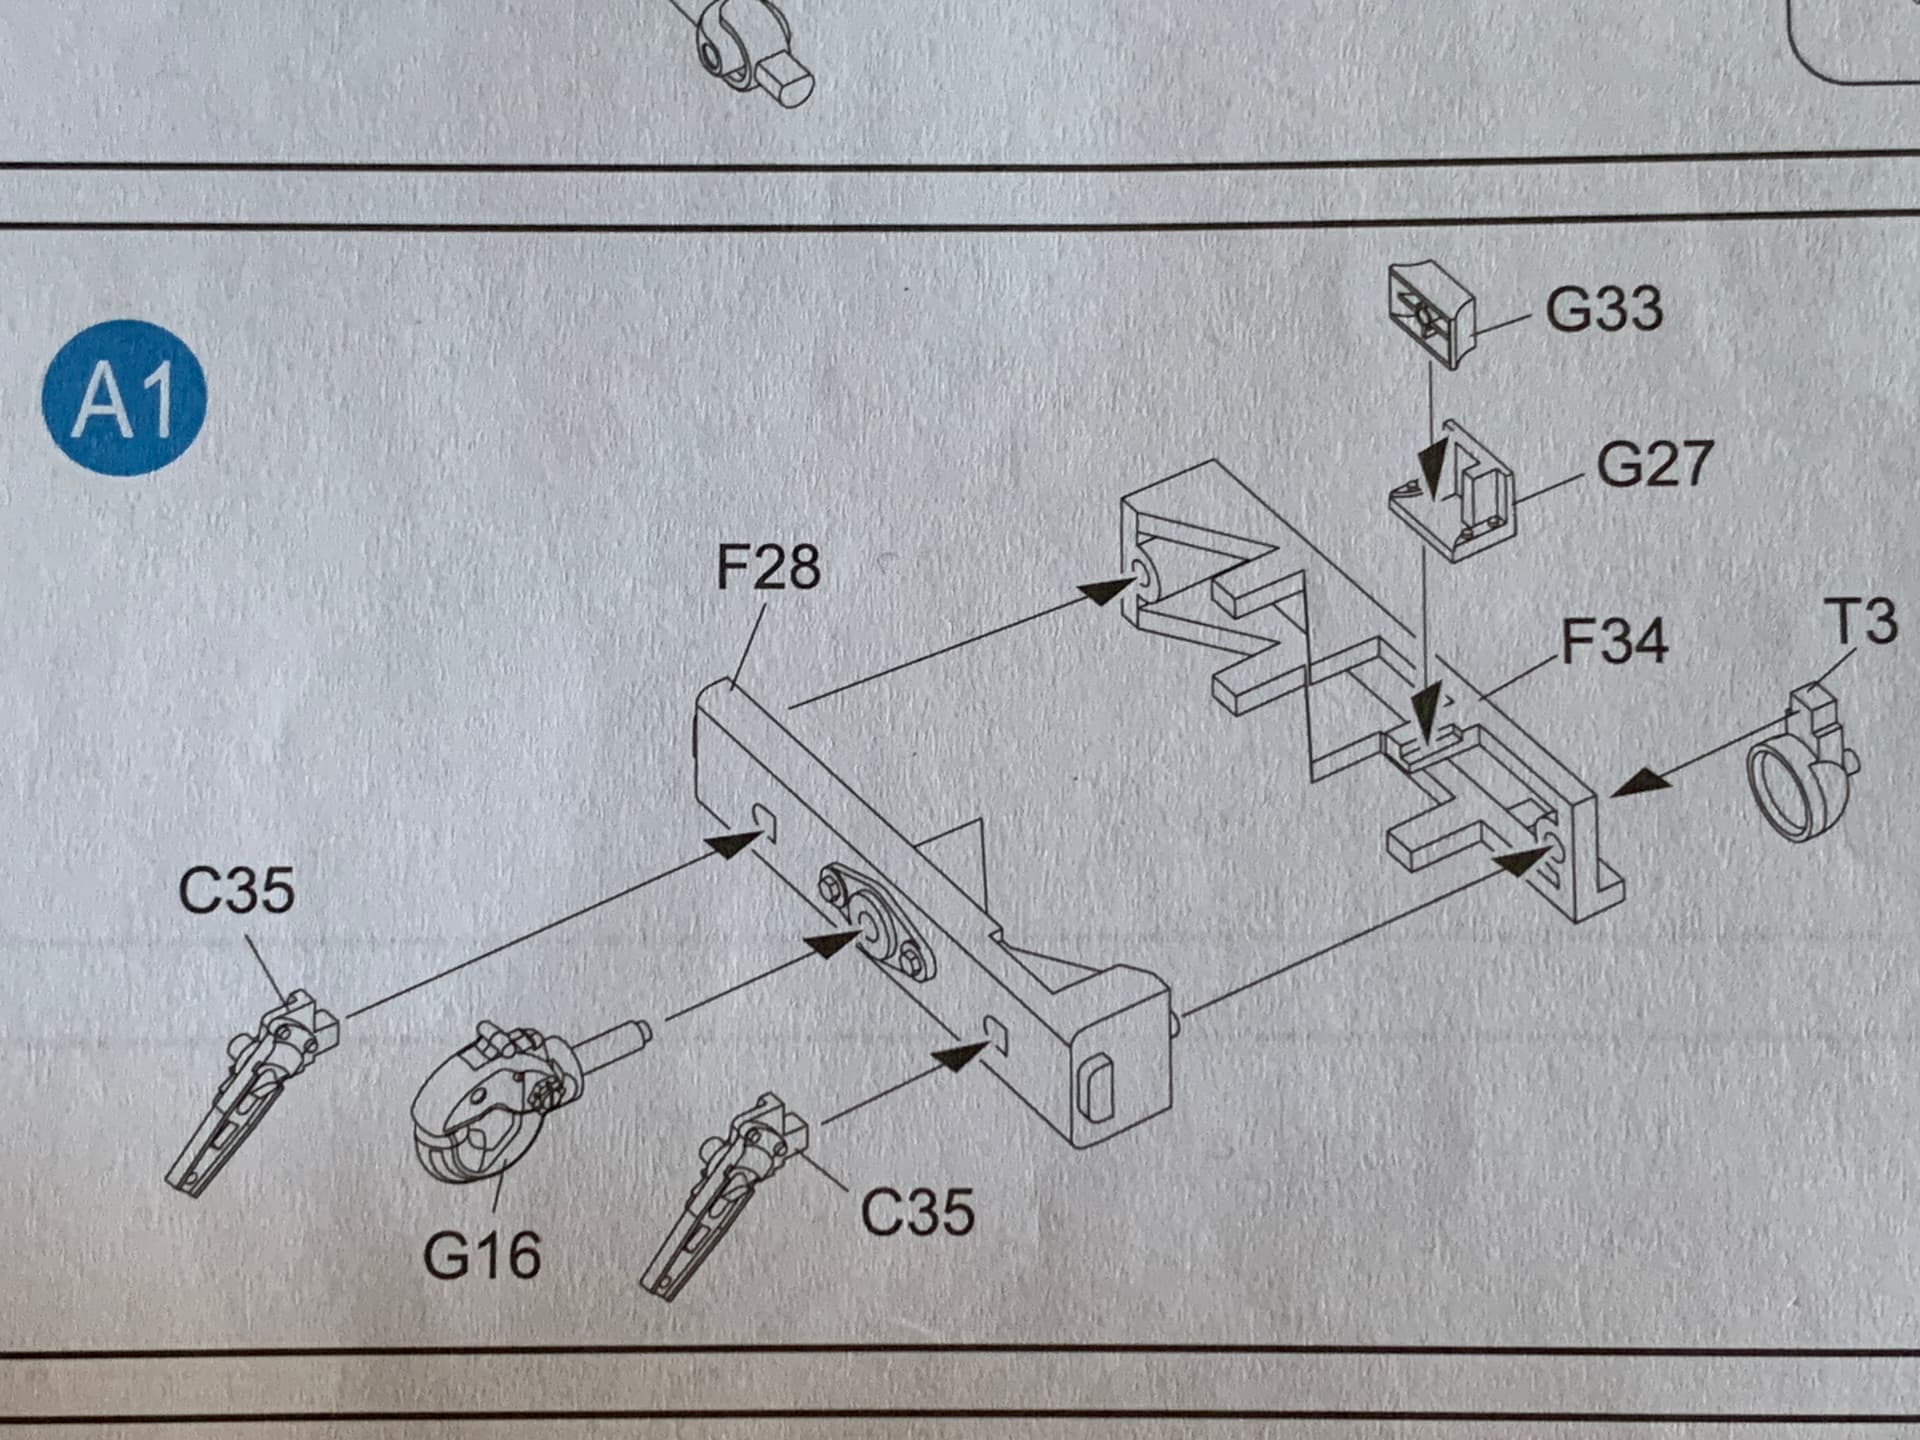
About parts C35 I haven’t found any picture displaying how they are attached to the cross member in M1245.
Is there anyone that can help me ?
Next are cargo walls.
These parts are called “glad hands” on the M1245, it looks like they have been relocated under the cross member :
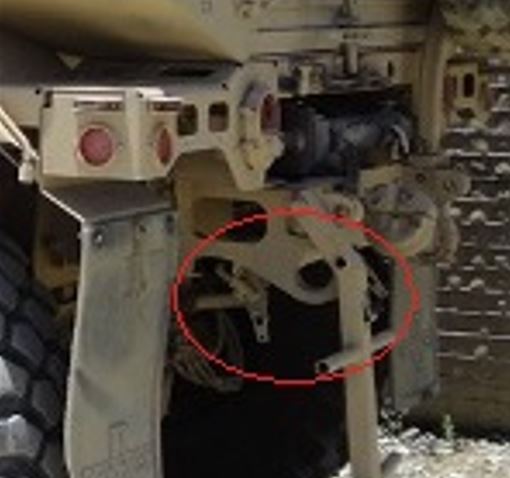
H.P.
Thank you Frenchy for the picture.
I have searched for the meaning of “glad hands” and now it’s clear to me what those handles are for:
Glad hands: the coupling device used to connect the service and supply lines of the trailer to the truck or tractor.
Looking at the picture another question arises:
what is that black object stored above the cross member ?
A heavy-duty hydraulic jack ?? ![]()
Another view of the glad hands :
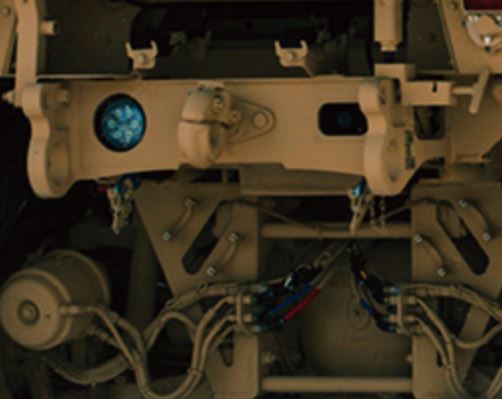
H.P.
Frenchy, you are the master of reference photos!
Mario
1 Like
Frency,
another great picture and your guess about an hydraulic jack is probably correct.
You’re welcome guys 
H.P.
1 Like
Walls are up.
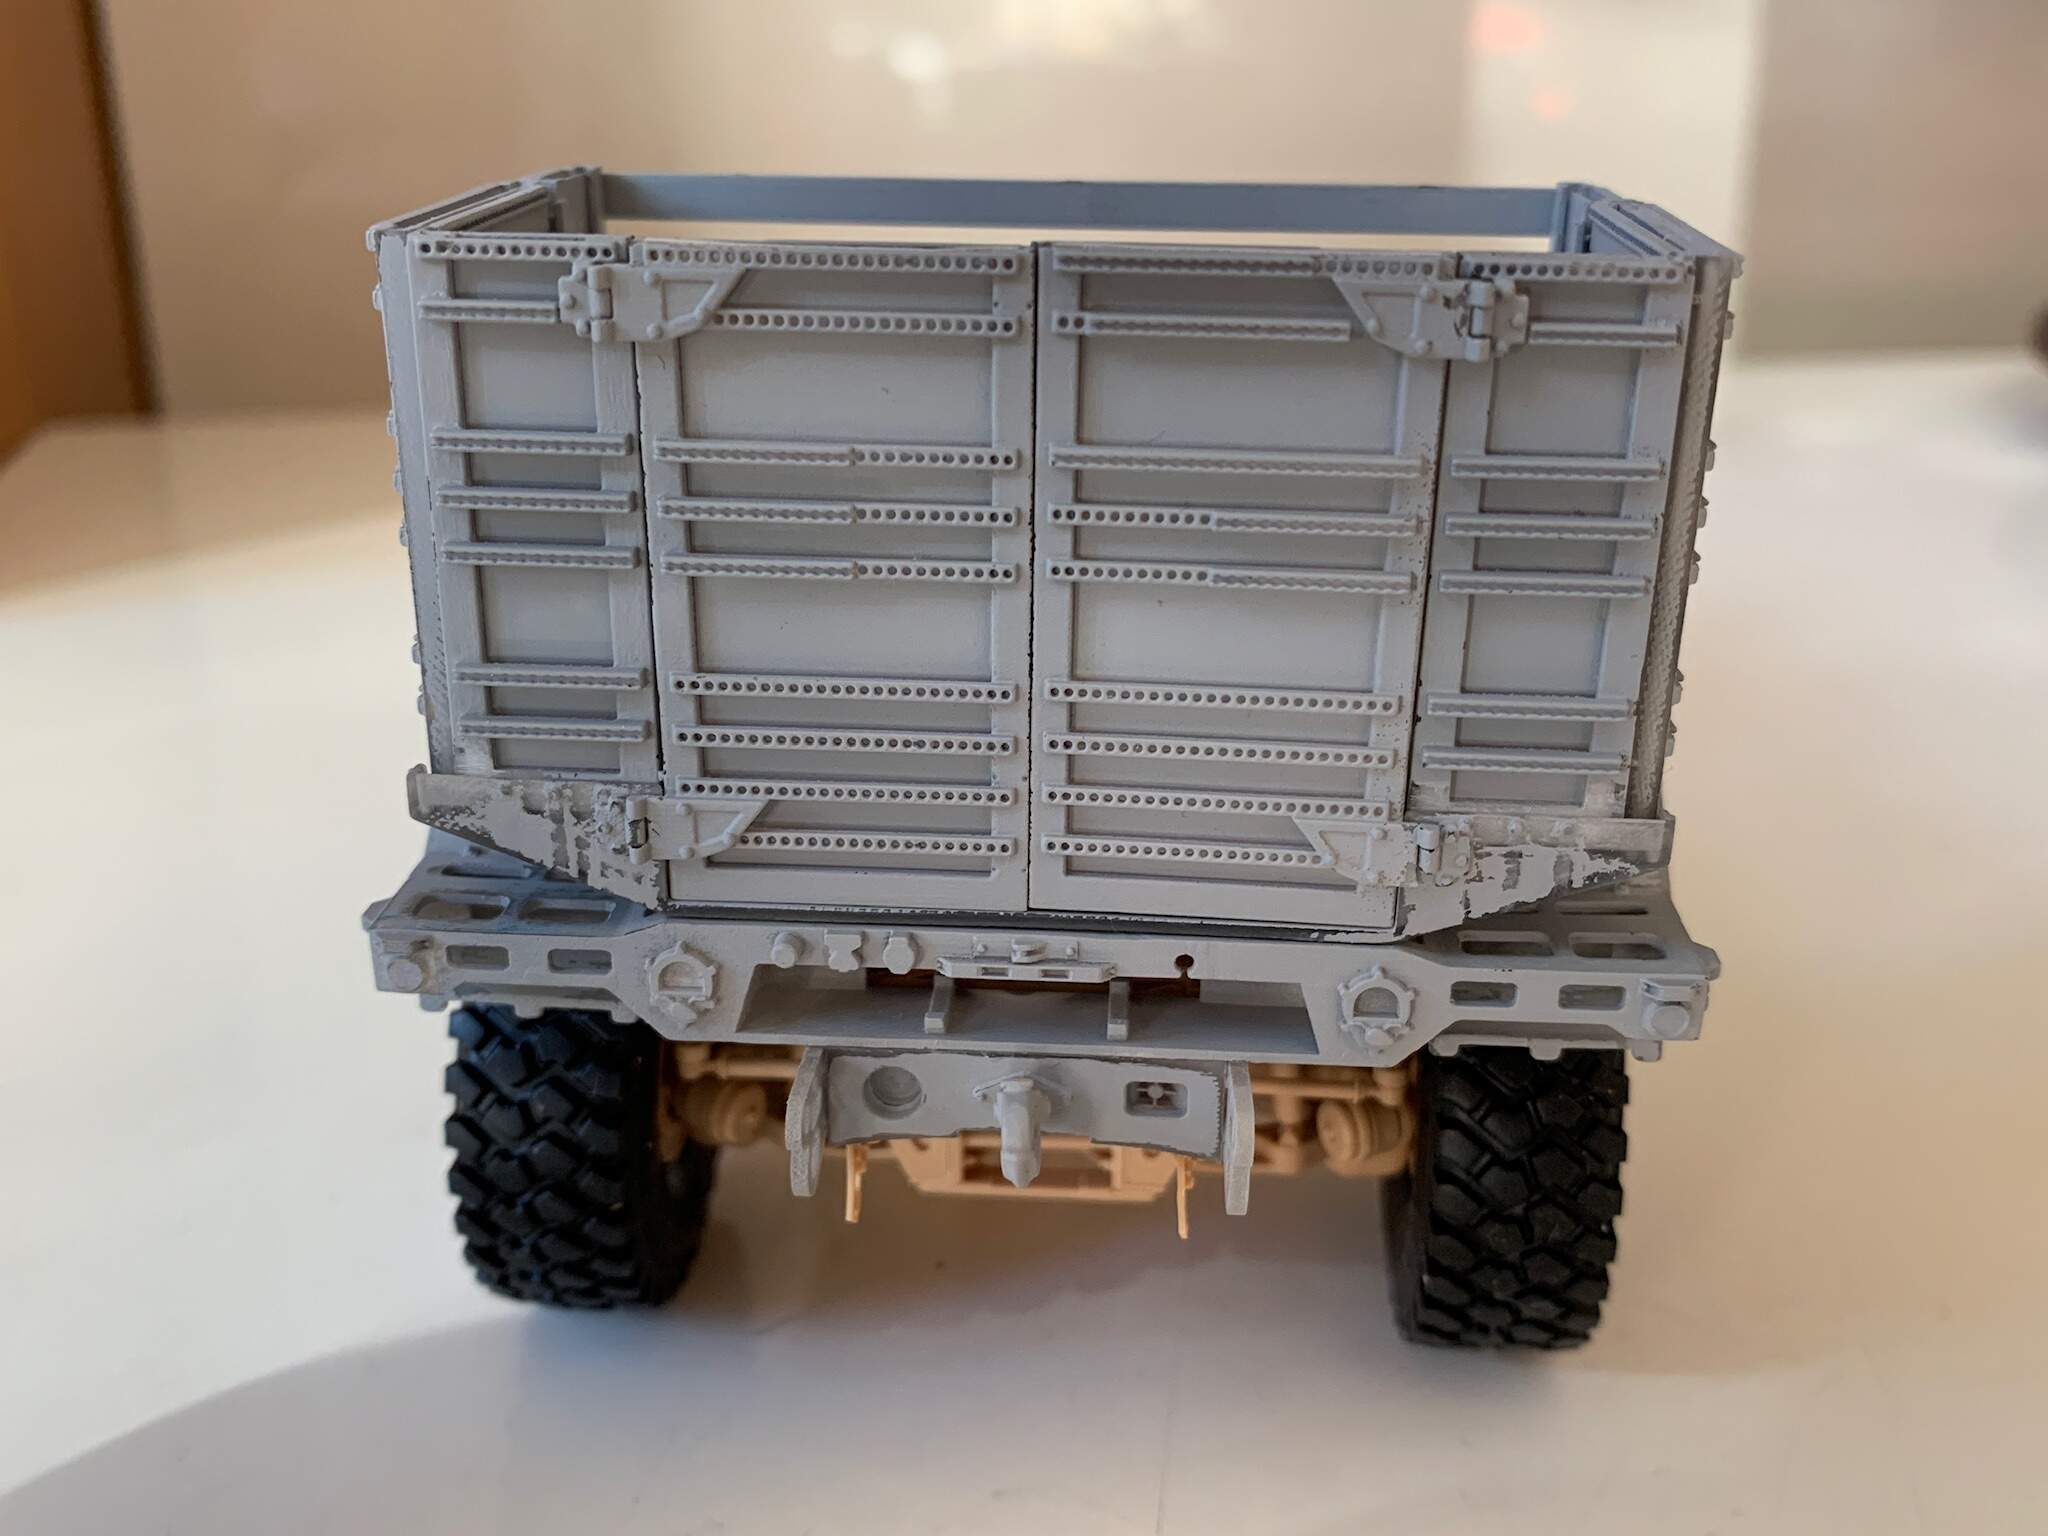
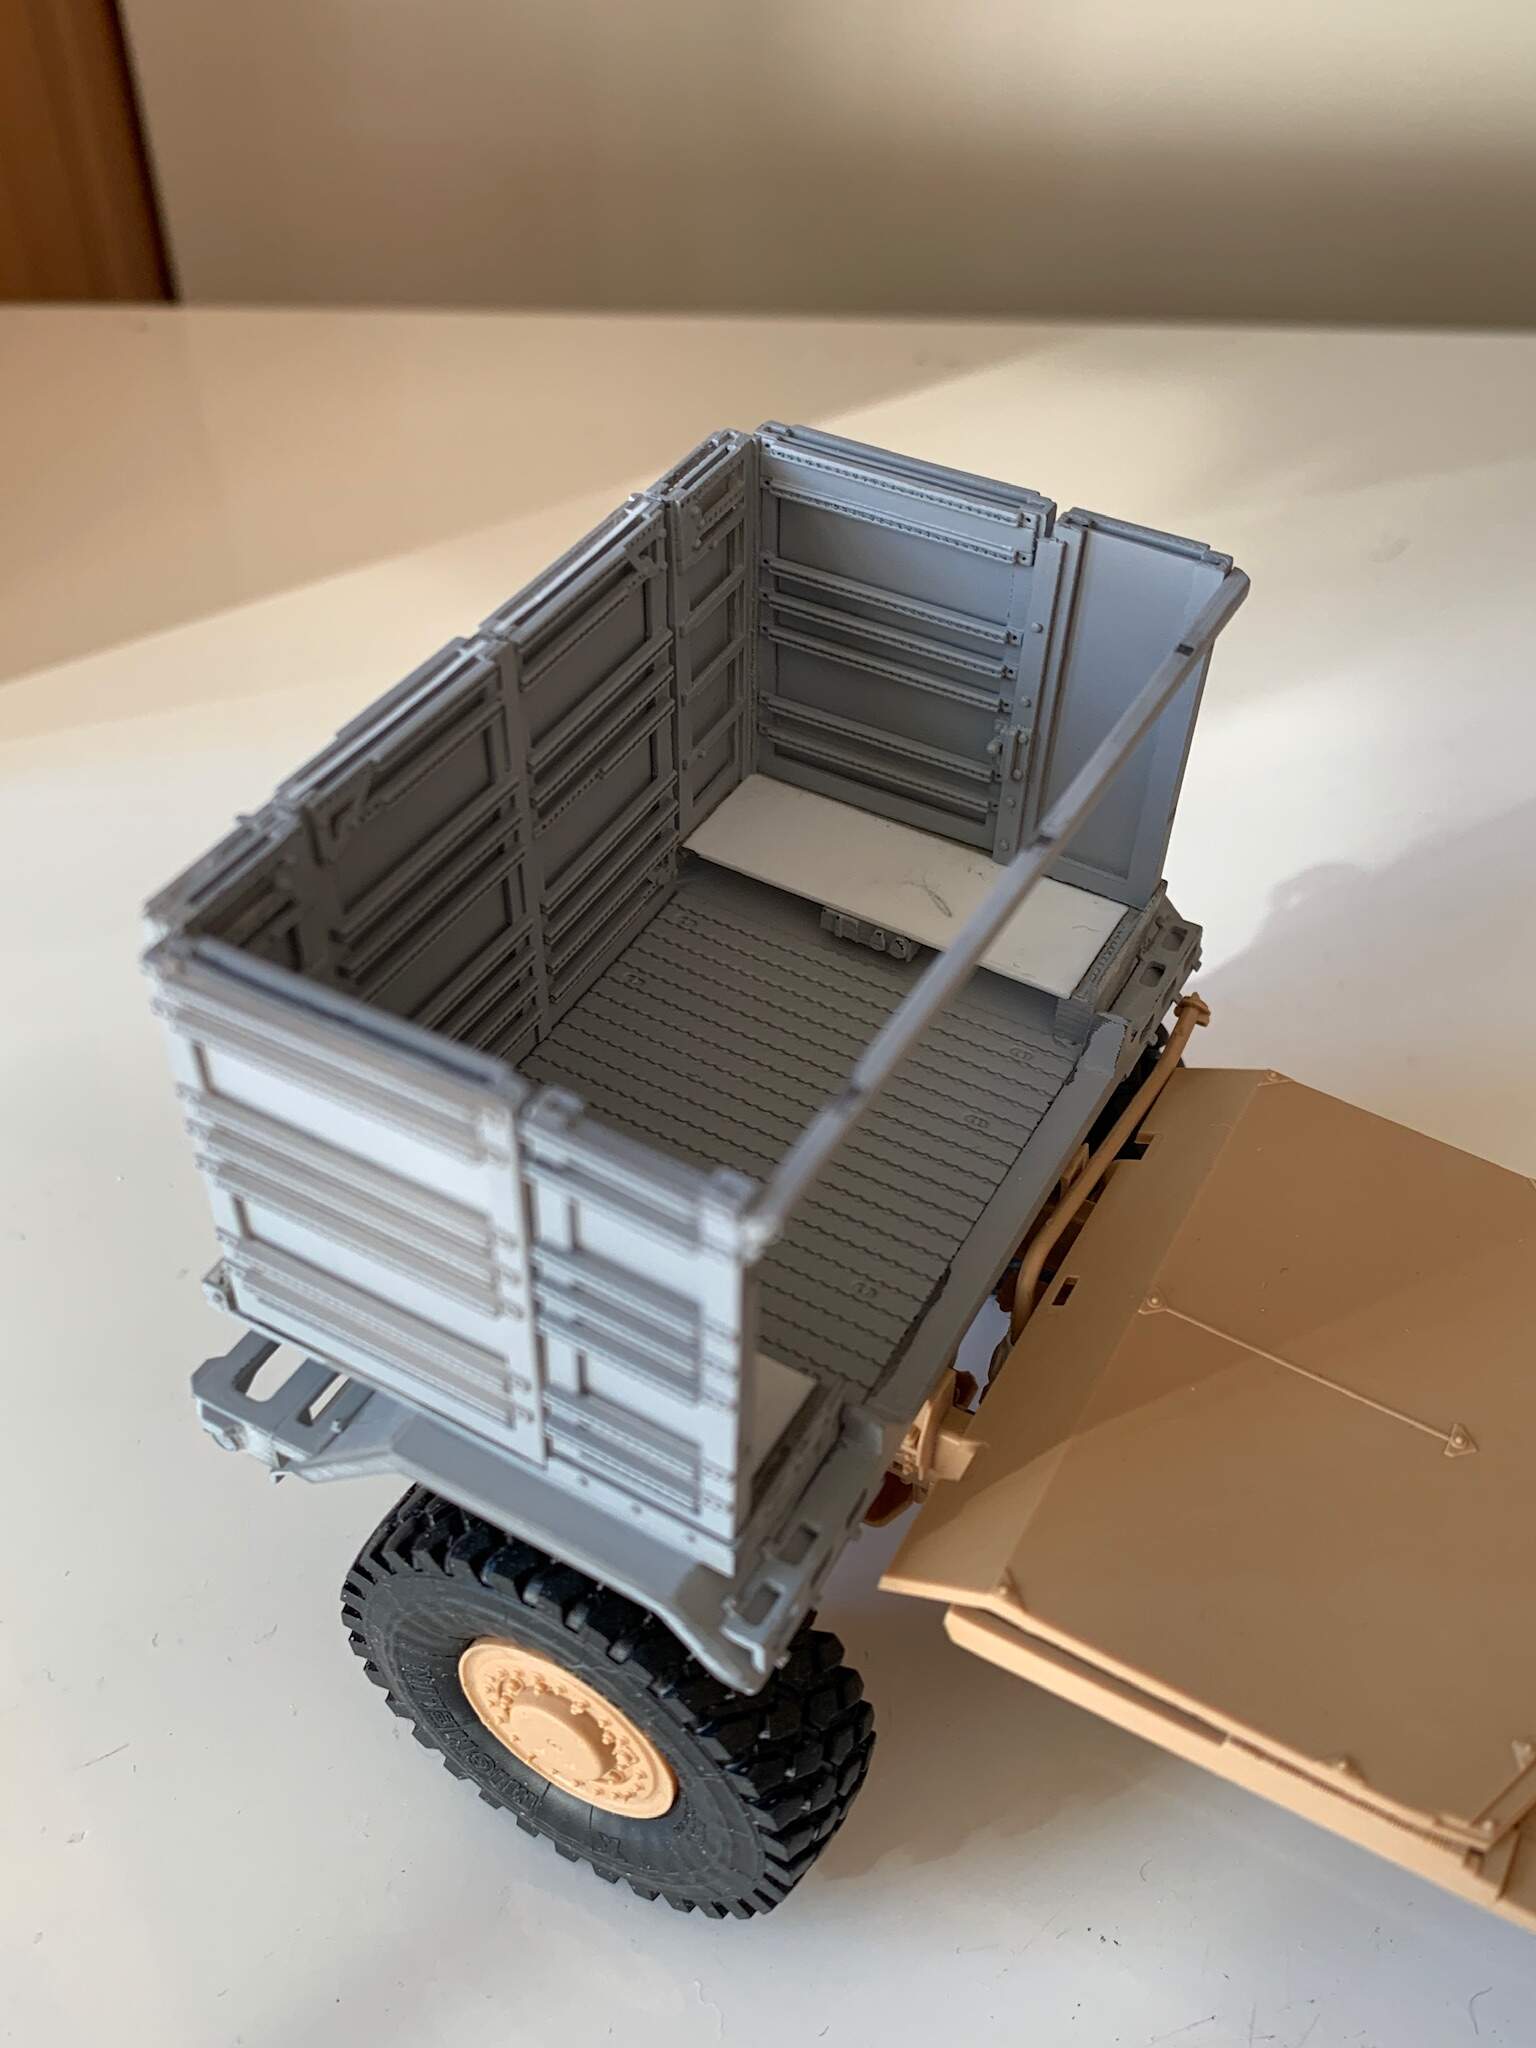
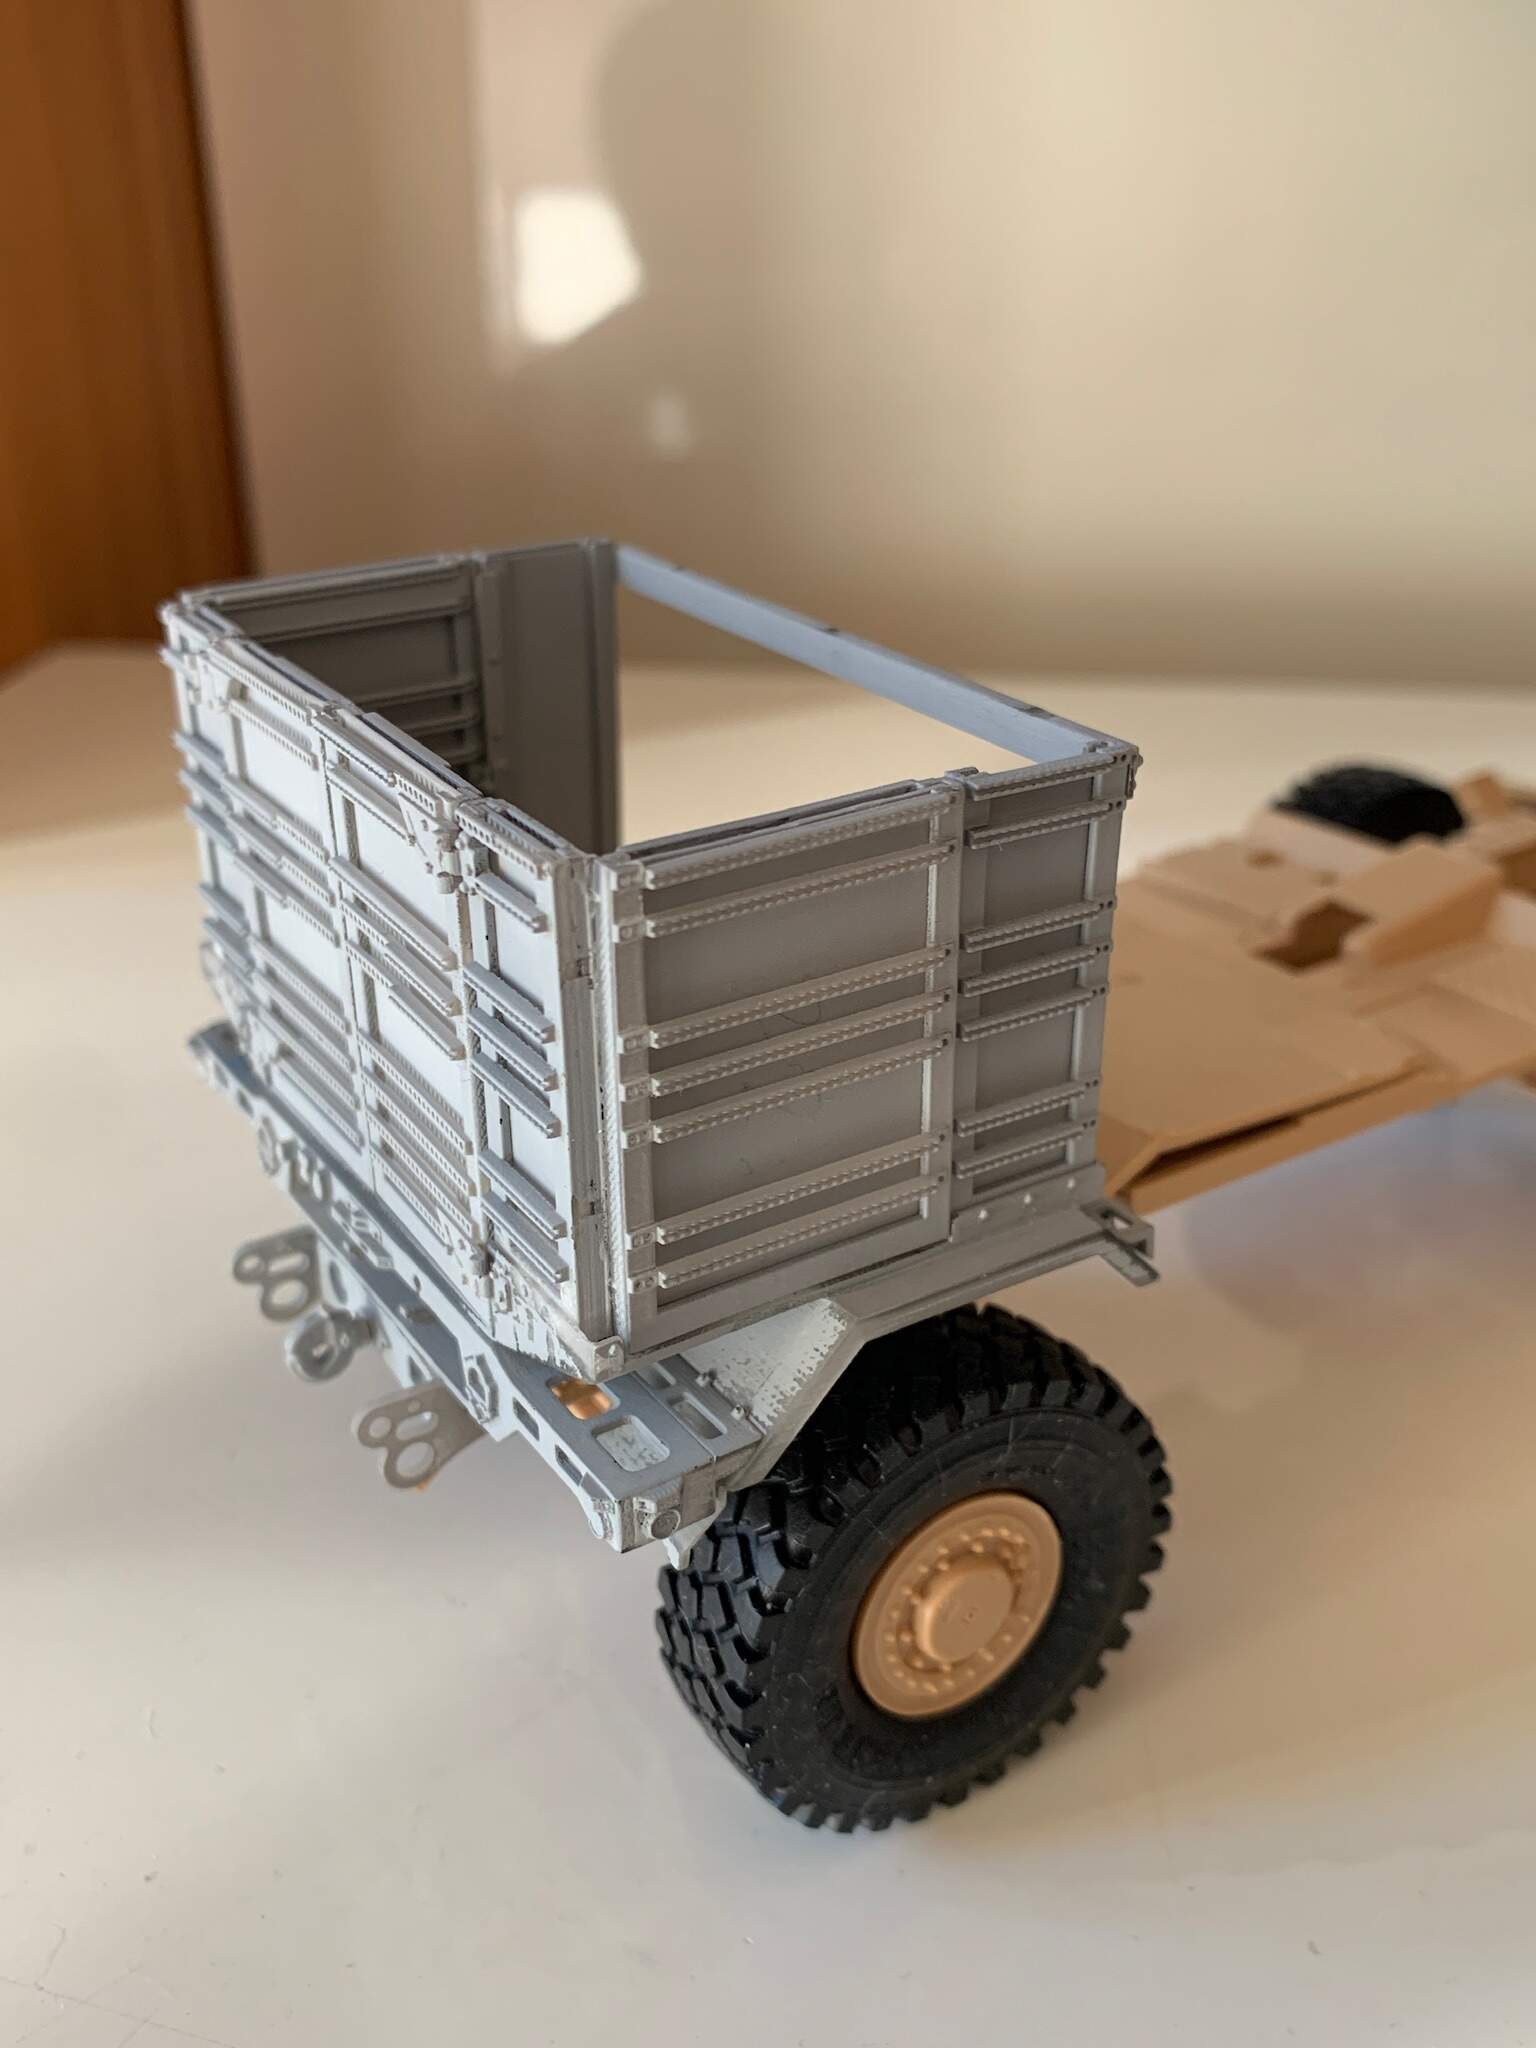
I designed and 3D printed the wall frames, then I have inserted in each wall part a plasticard sheet.

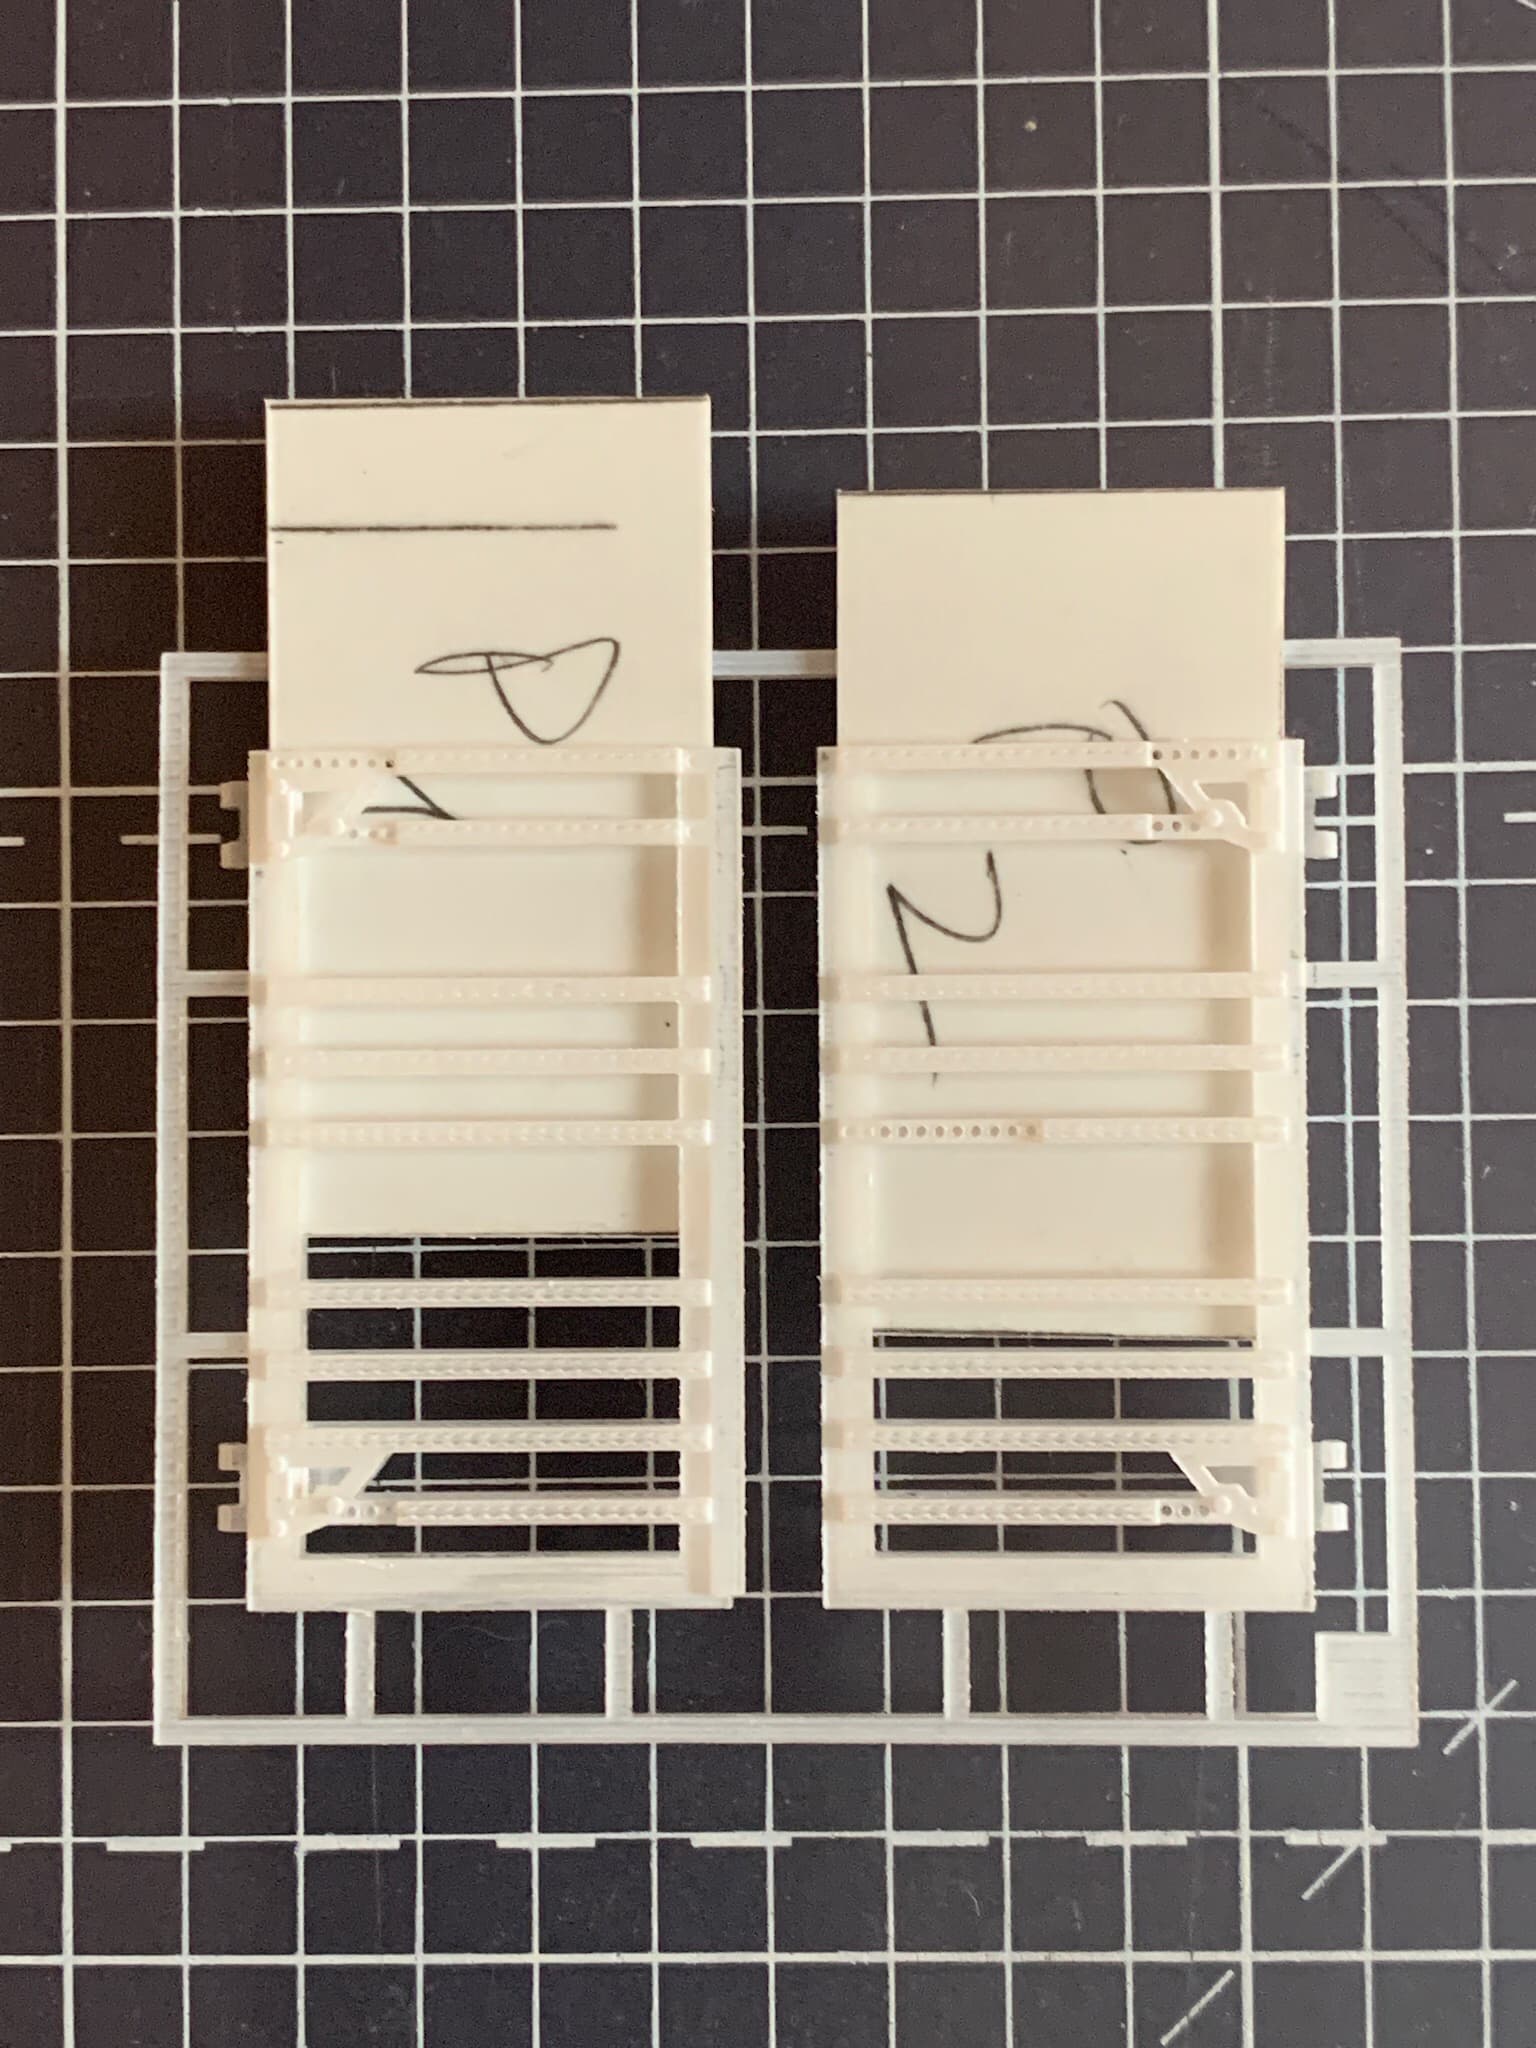
There are some parts still to be added, namely the the rear wall frame; I already have them printed but I want to wait until the final assembly phase before installing them.
I have almost completed the design of the door closing mechanisms that are quite complex.
5 Likes