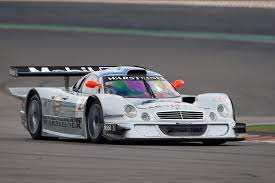
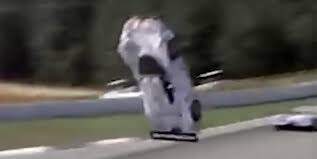
In 1998 things were becoming wild and woolly in the GT1 racing class. This was the year the Mercedes CLK was taking off and flying…multiple times.
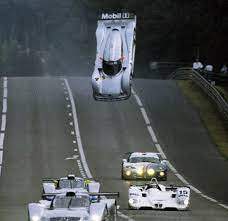
The Porsche 911 GT1 looked looked like it morphed into a psychedelic vision based on a lava lamp. It had a rear clip of a Porsche 962. (The Porsche was 911 in name only). It too was a flying car.
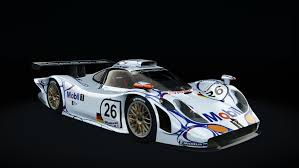
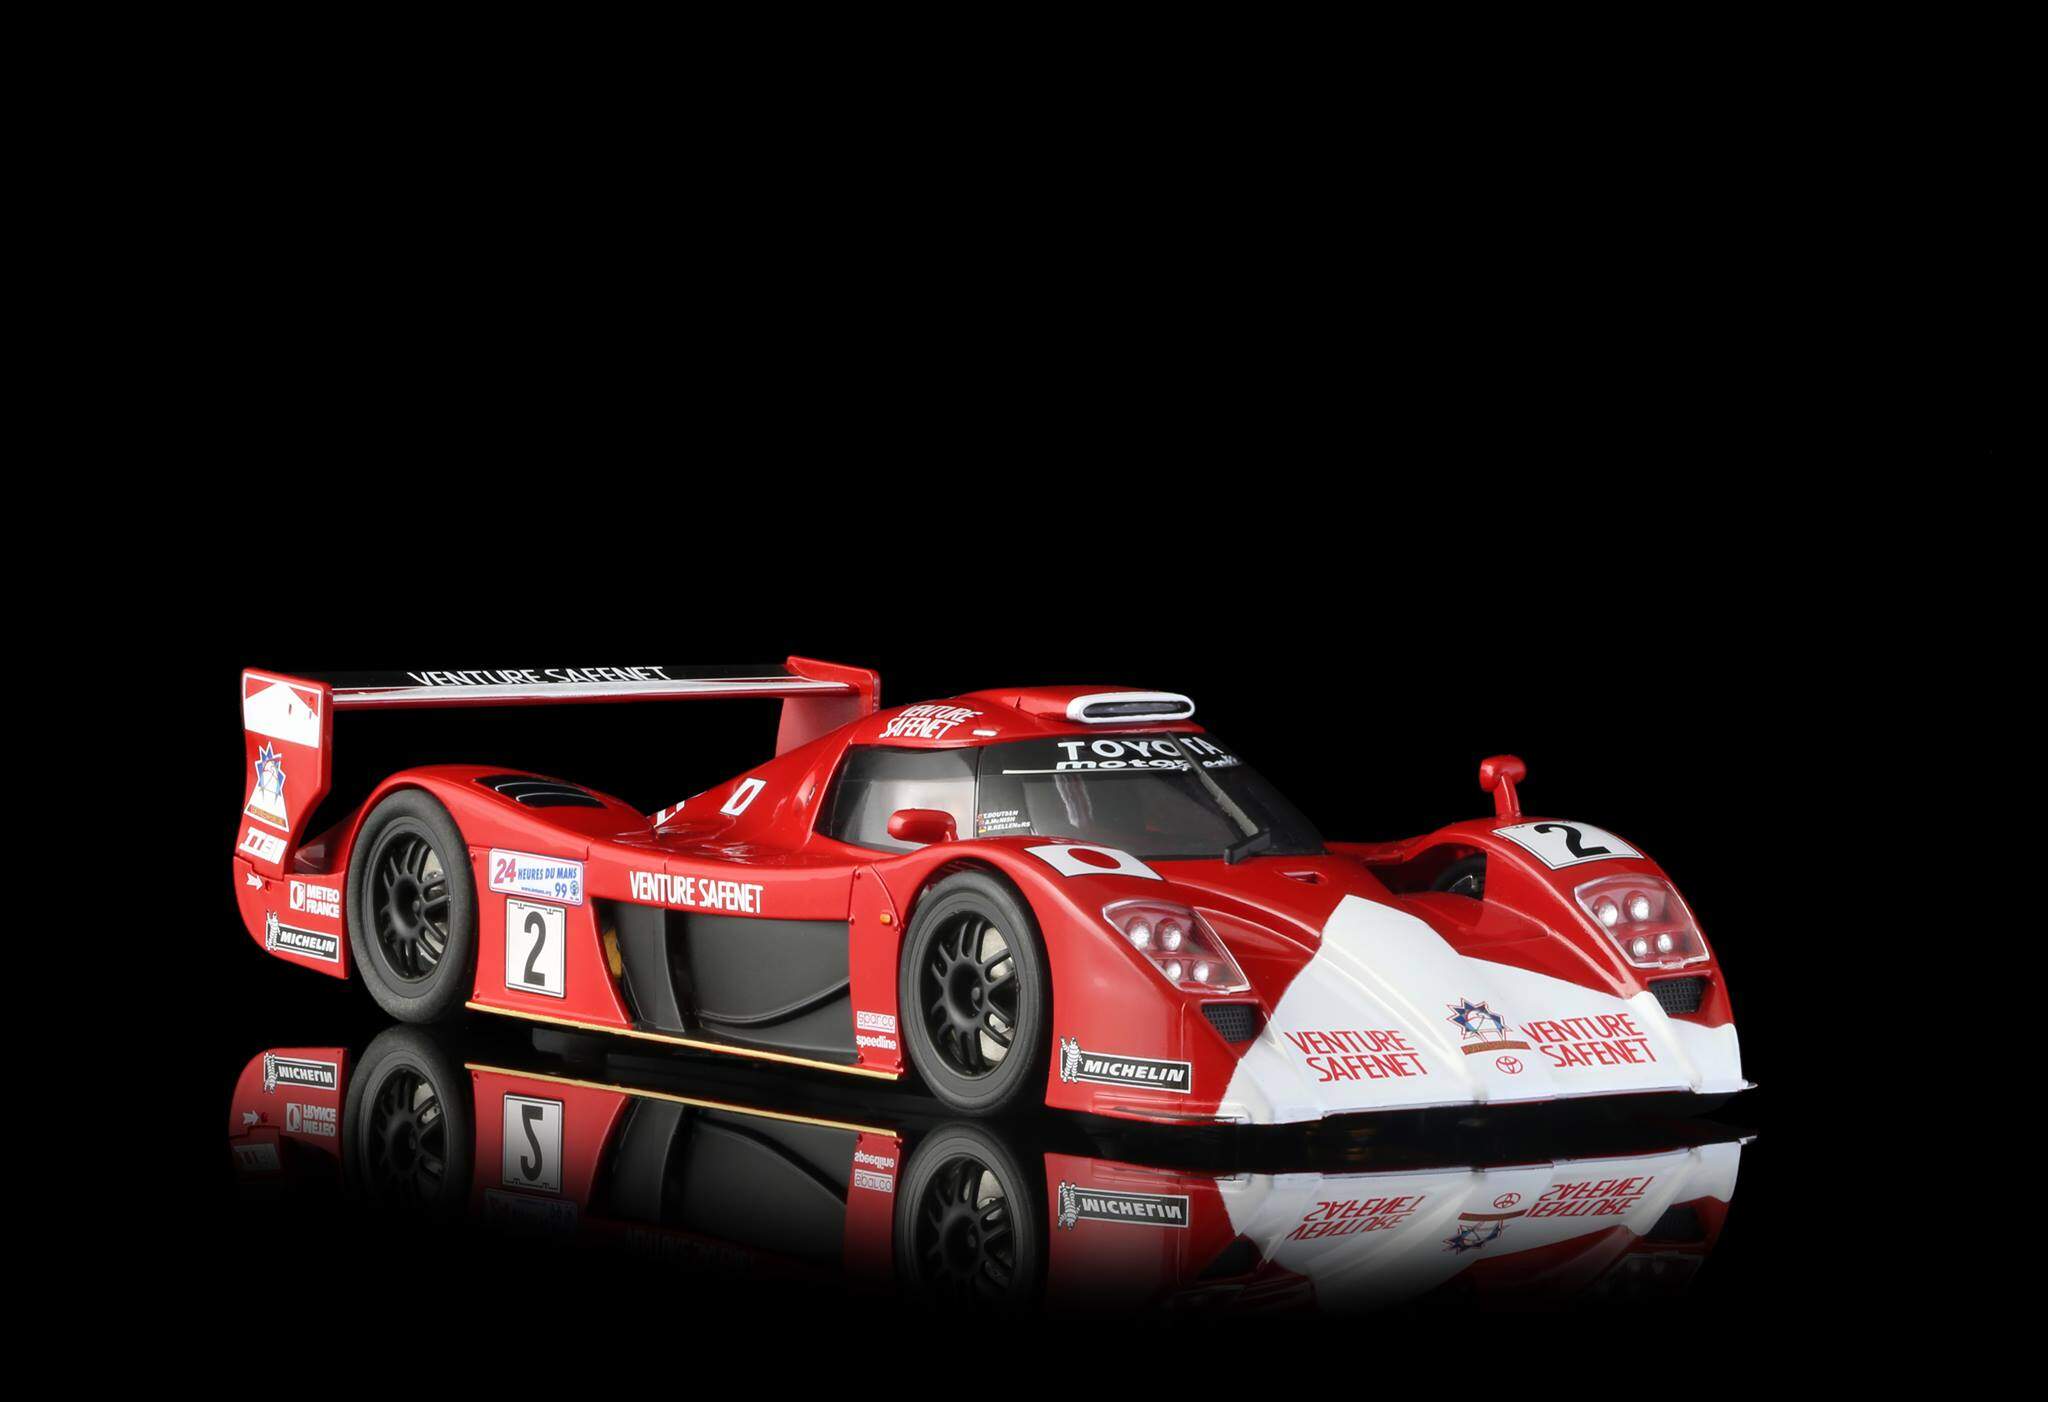
Toyota decided to push all the limits with its GT1 entry. They delivered a car that is a precursor to today’s LMP class.

Unfortunately the sleek design struggled with mechanical issues.
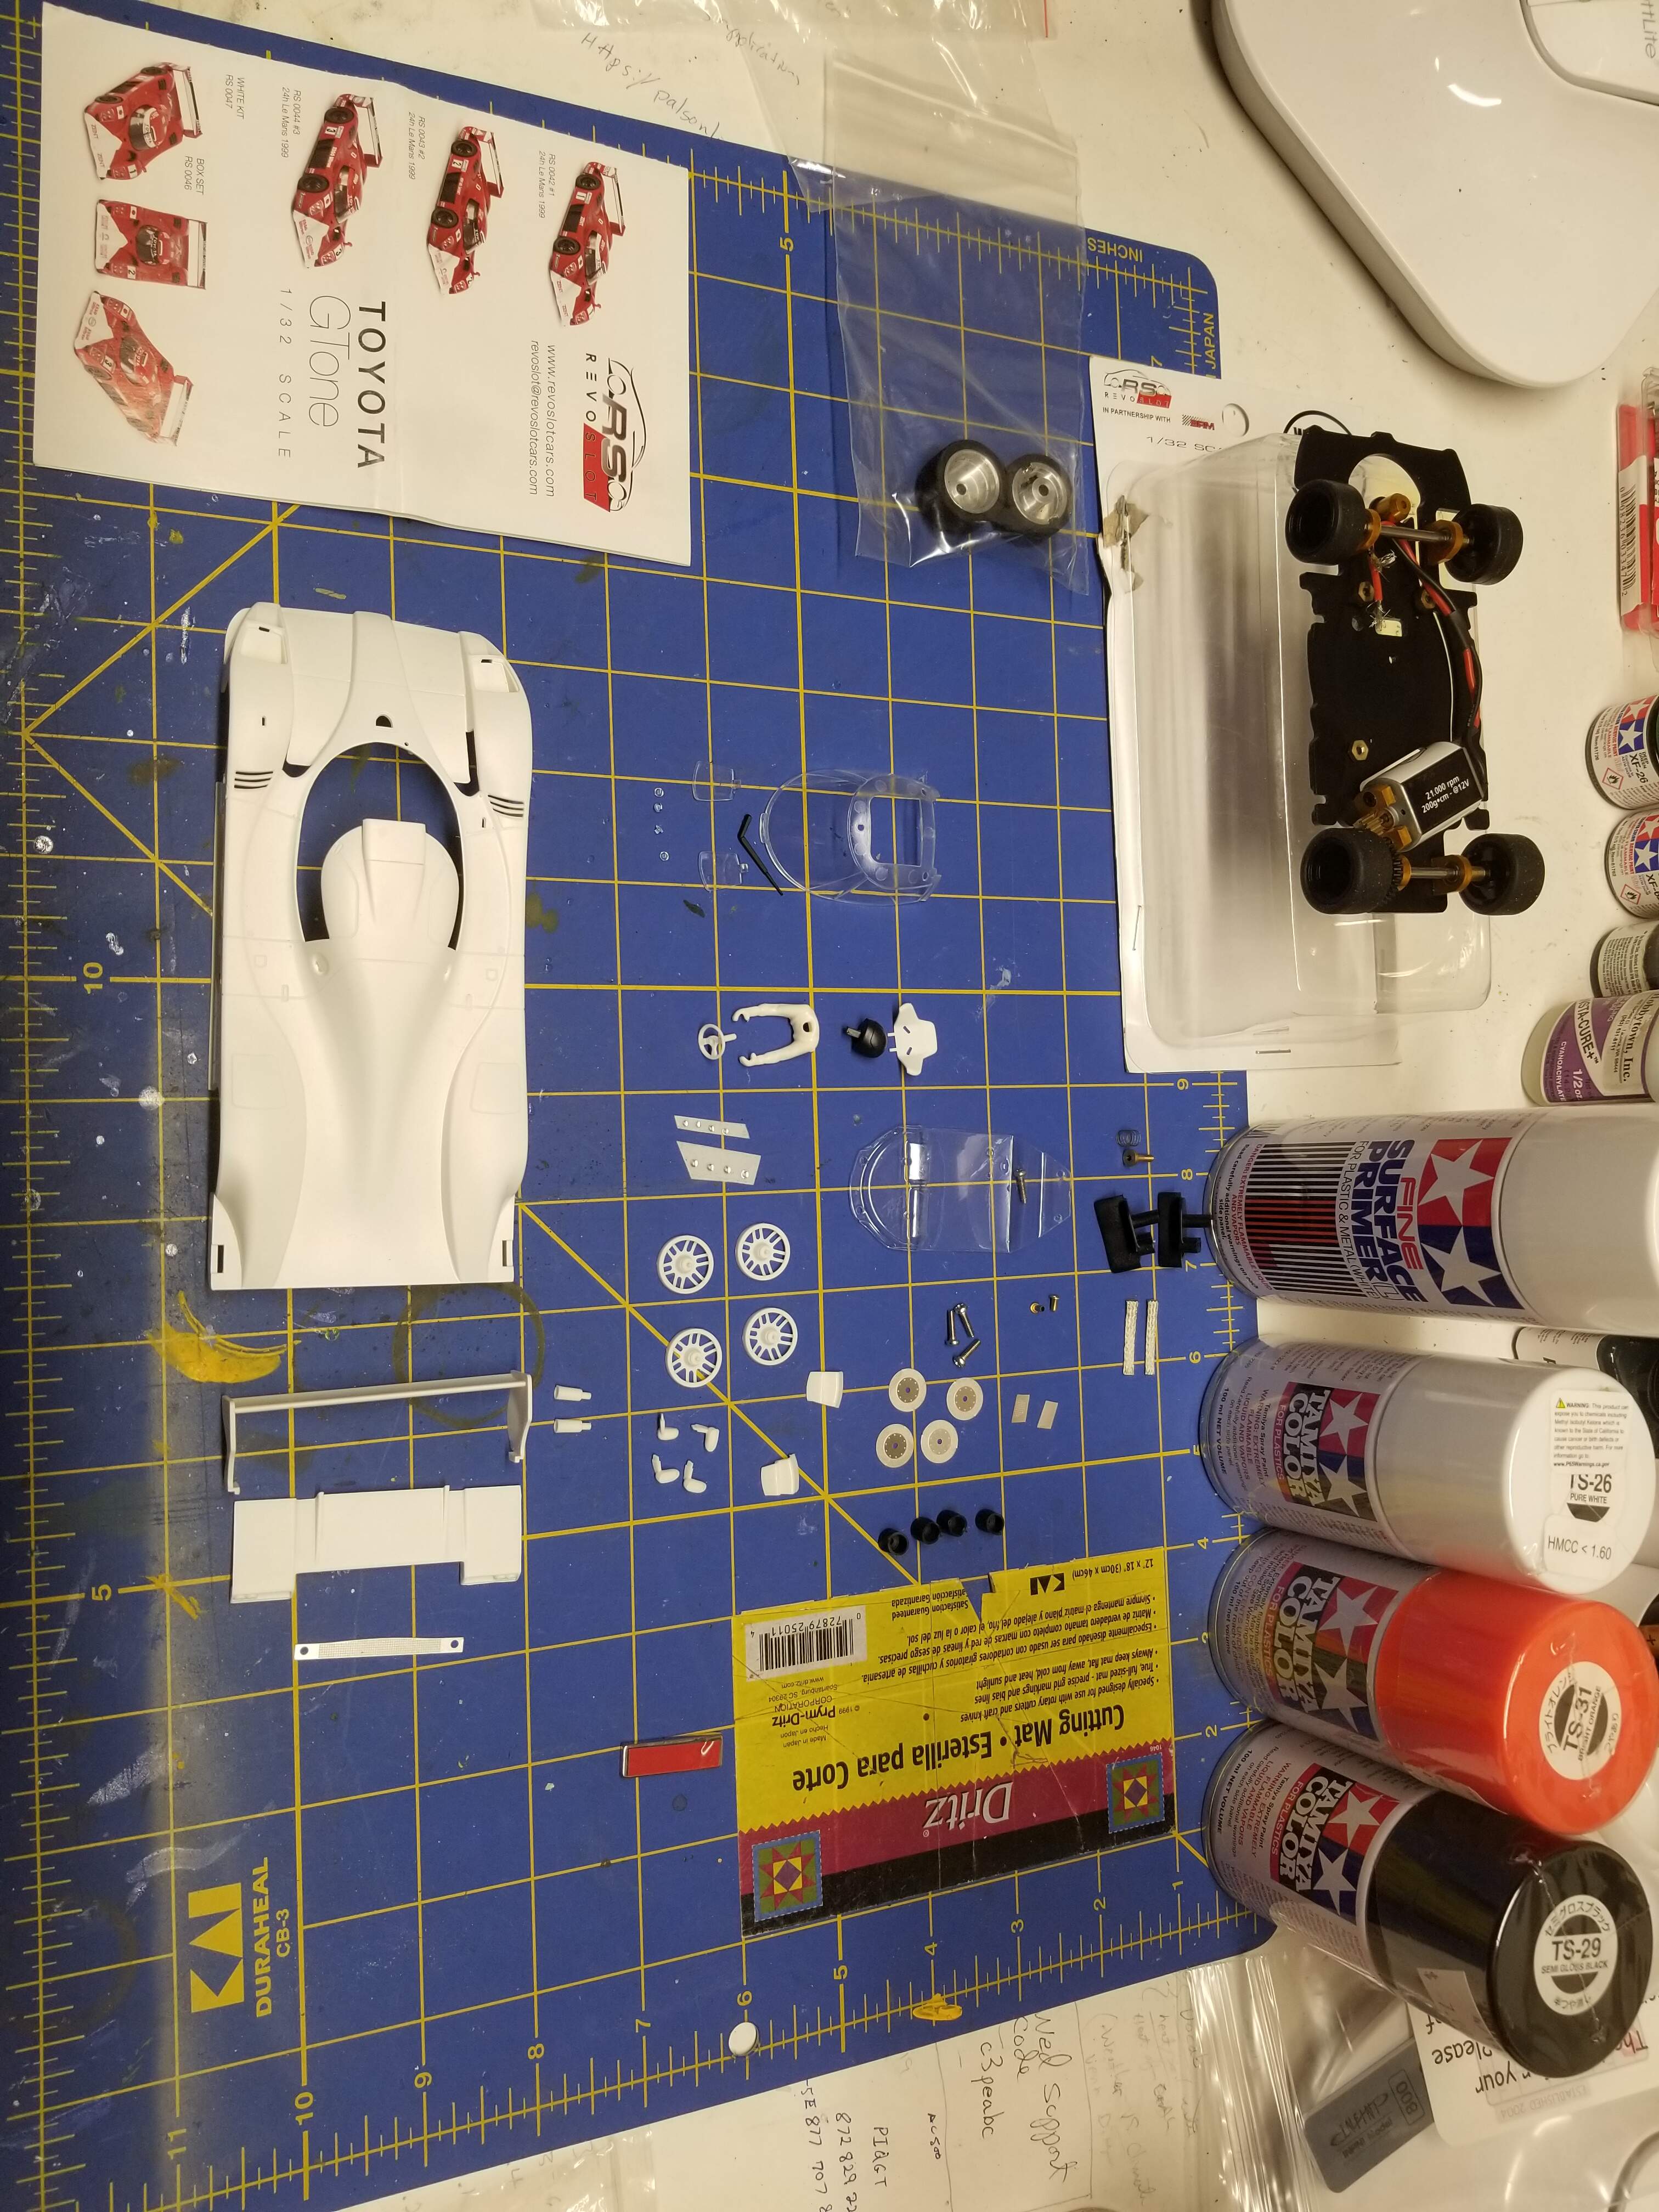
I am a slot car racer from time to time and I decided to build the Revo Slots 1/32nd scale Toyota GT1.
You can get this car prefinished and ready to race after some chassis tuning. However yours will look like everyone else on the track so I chose to do an unfinished kit and make my own livery.
The prefinished version…
My choice is below.
Over the next couple of weeks I will share my build with you. Stay tuned race fans.
4 Likes
Is that your finished build in that pic? If it is …all I’ve gotta say is that’s one cool a$$ ride!!!
Ha, no mine is the last picture, the unassembled, unpainted one.
1 Like
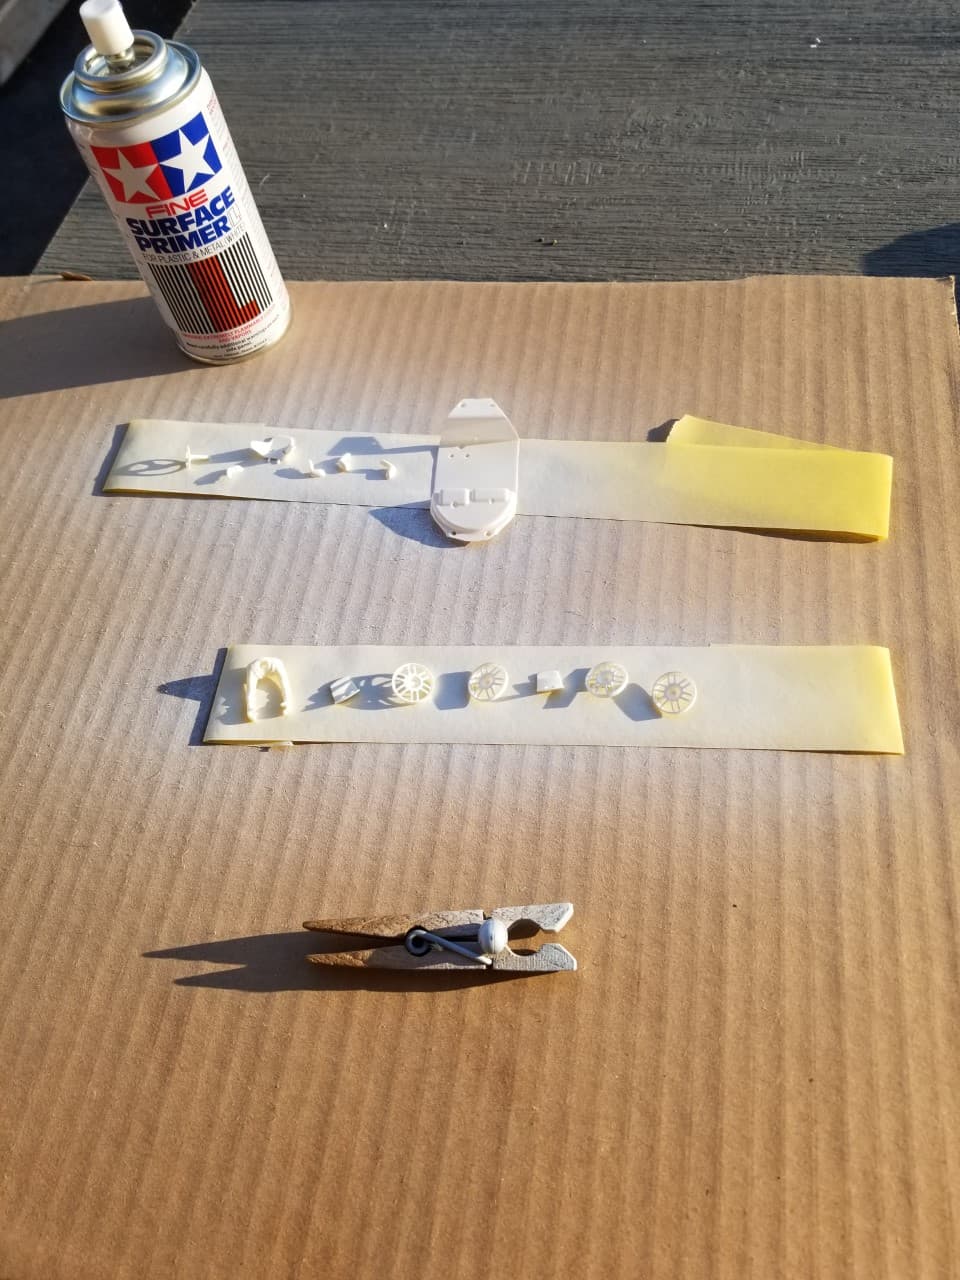
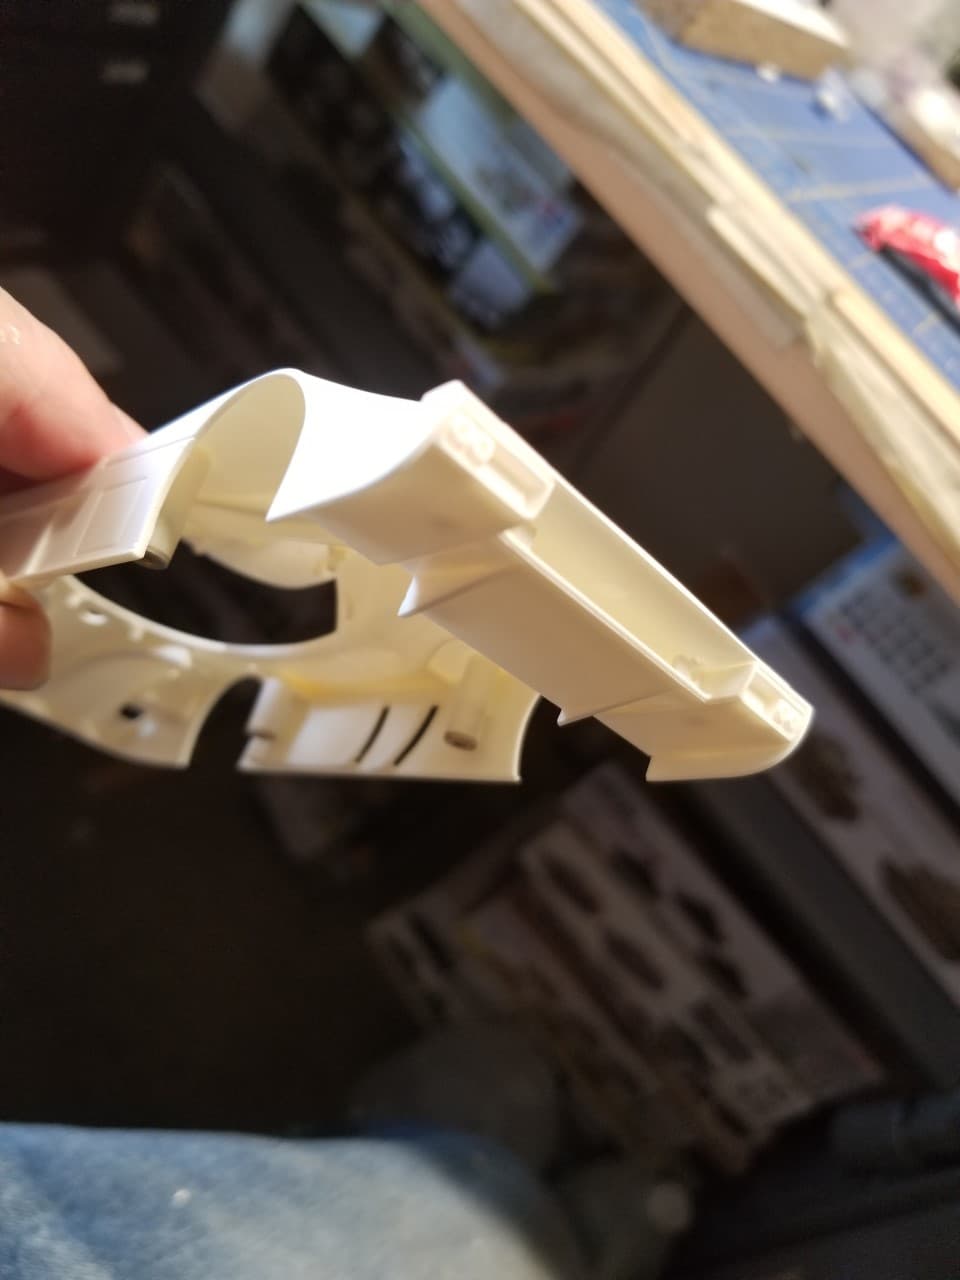
Here is a look at the parts and pieces that come with the unfinished kit.
This is a preview of the general paint scheme I will be working on.
The first step will be washing the parts and priming the parts.
4 Likes
LOL!!! No worries. I’ll be looking forward to this one!!!
Greg,
The Mercedes CLR and the Porsche 911 GT1 were prone to flipping on super long and fast straights like the Mulsane Straight at LeMans where the track had a slight incline, then a decline. The air that moved under the flat bottom cars funneled to the rear diffuser created more down force then the front end as the small front splitter just didn’t produce enough down force, coupled with the issue that the cockpit designs had a little lift issue at super high speeds. So when all three factors came together, both of these car types nosed up into the air and the flat bottom then contributed to going airborne and flipping the cars.
This seems to only have effected the closed cockpit cars, as open cockpit cars didn’t experience any lift issues. just the cars becoming lighter as the track fell away from them.
I don’t recall ever having any member paint a slot car body before on the forum other then converting it to a display model of a variant not available in kit form, so I’m rather curious to follow along to the conclusion of your build.
joel
Glad you are interested. I have done 1/24th and 1/32nd slot cars and there are some differences in construction that you do not have to account for with a static kit.
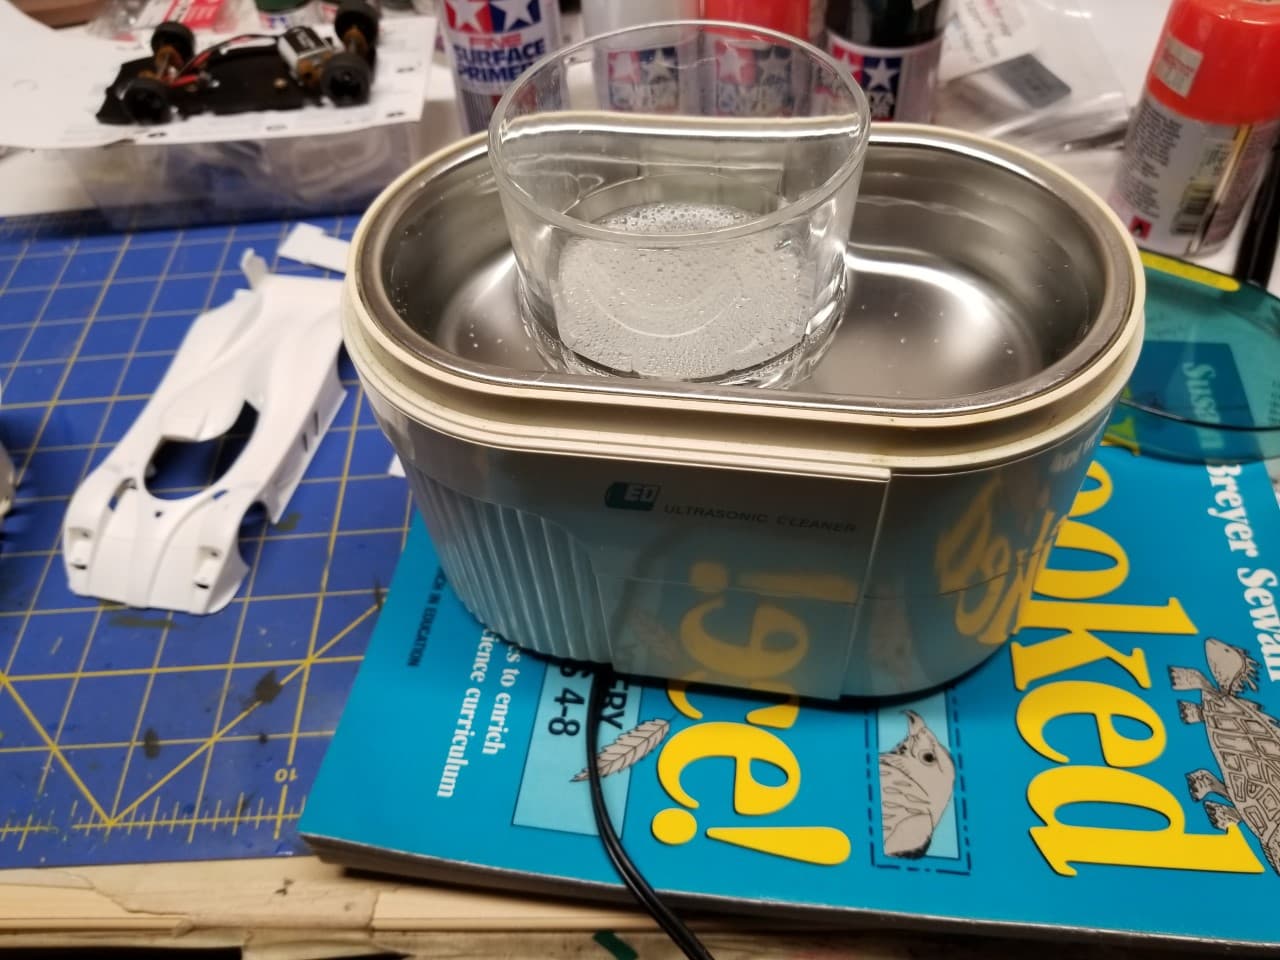
After I check to make sure all parts are there I put the parts into a cup of soapy water and place the cup into my ultrasonic cleaner. After cleaning I will let the parts dry.
After cleaning comes the priming.
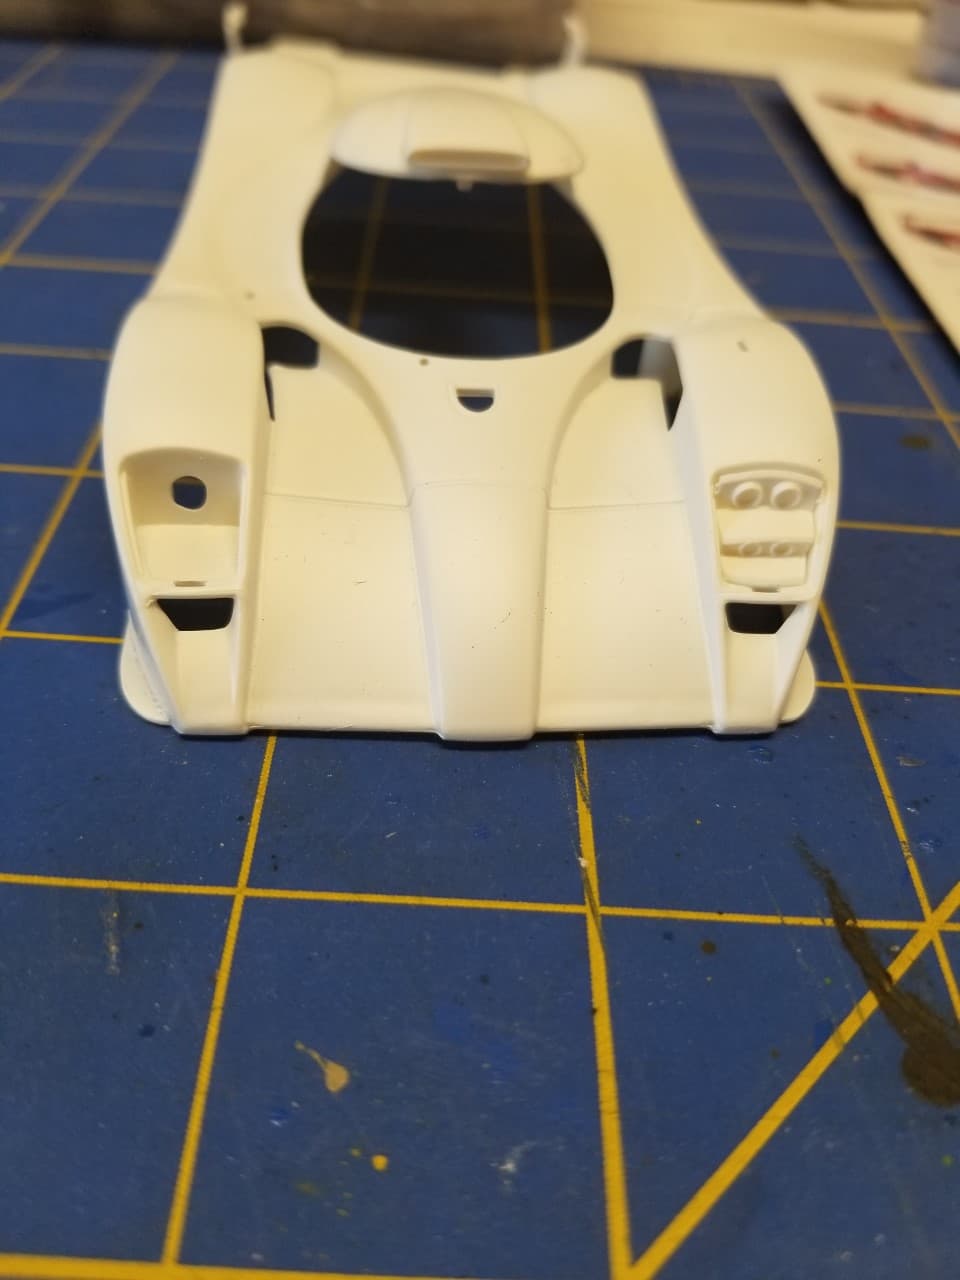
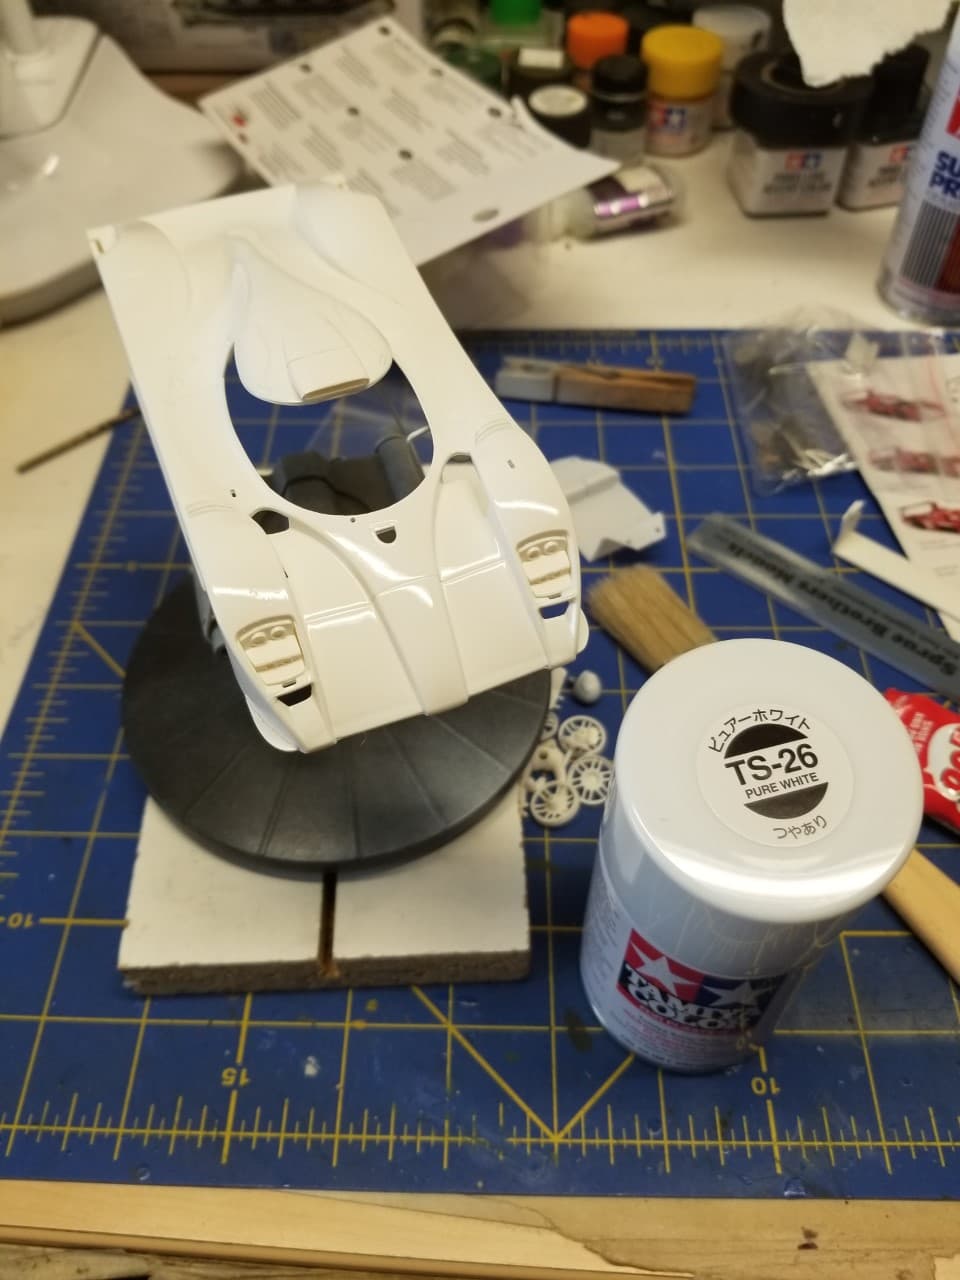
Once things have dried I can start assembly. I will prep the body for paint. I have to make a choice at this point. If I want to install lights to run in the dark I need to go with the hole where an led will mount. If I want to run in the light only I will go with the static lights that the GT1 had.
I chose the daylight version.
I need to install the lower rear panel but some ejector pin marks need to be trimmed and sanded so the panel will sit properly.
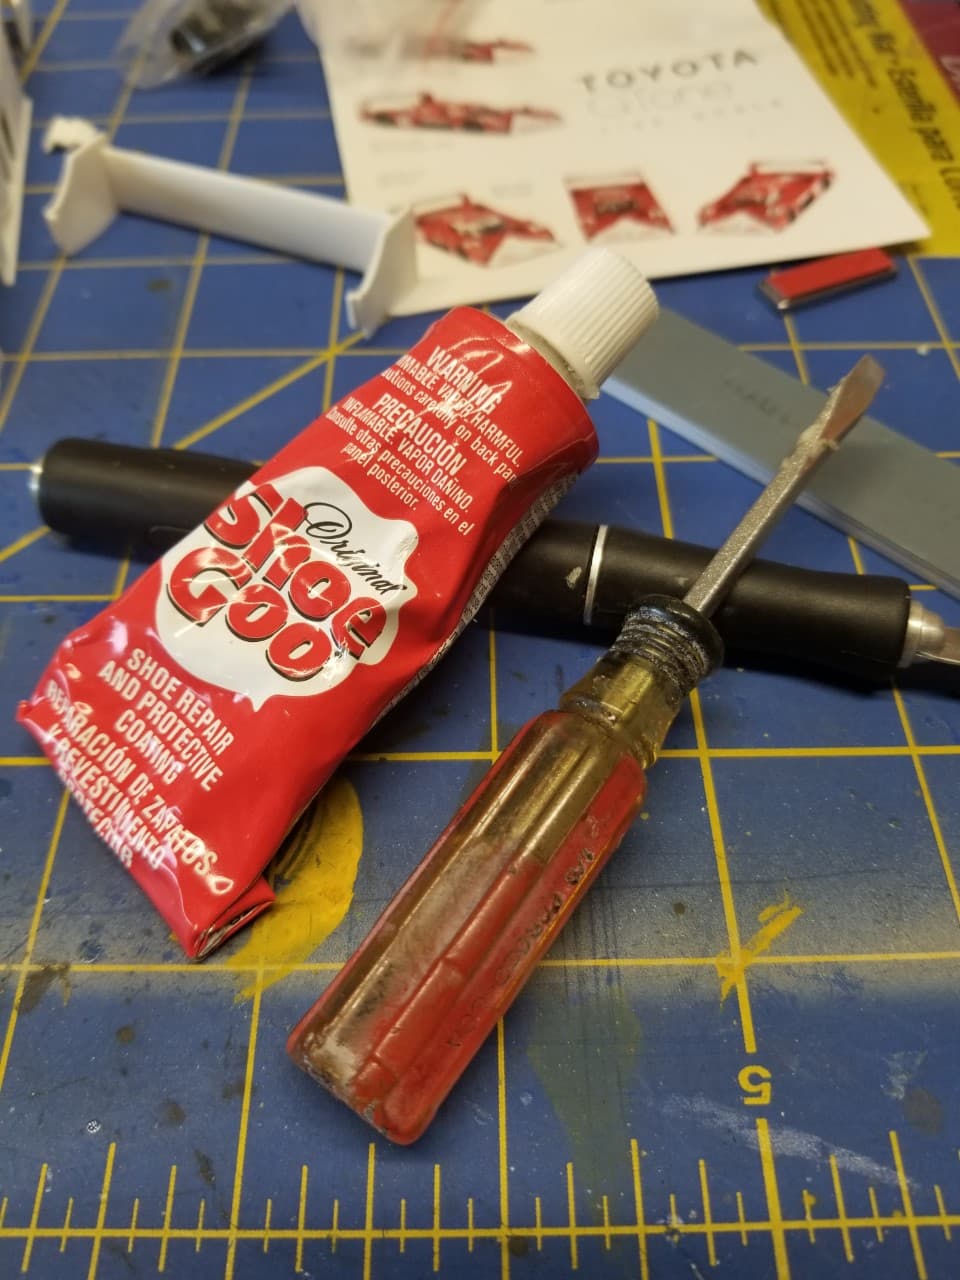
With slot cars you need a different glue. The car will occasionally take an excursion into a wall. If you use something like Tamiya’s or magic weld, the glue joint will be inflexible and the car will break and pieces go flying. What is needed is a glue that does not bond. It needs to have a strong hold but be flexible to absorb shock. My choice is Shoe Goo.
Different glues take different techniques. Shoe Goo is very thick and can be stringy. I use a small screw driver as an applicator.
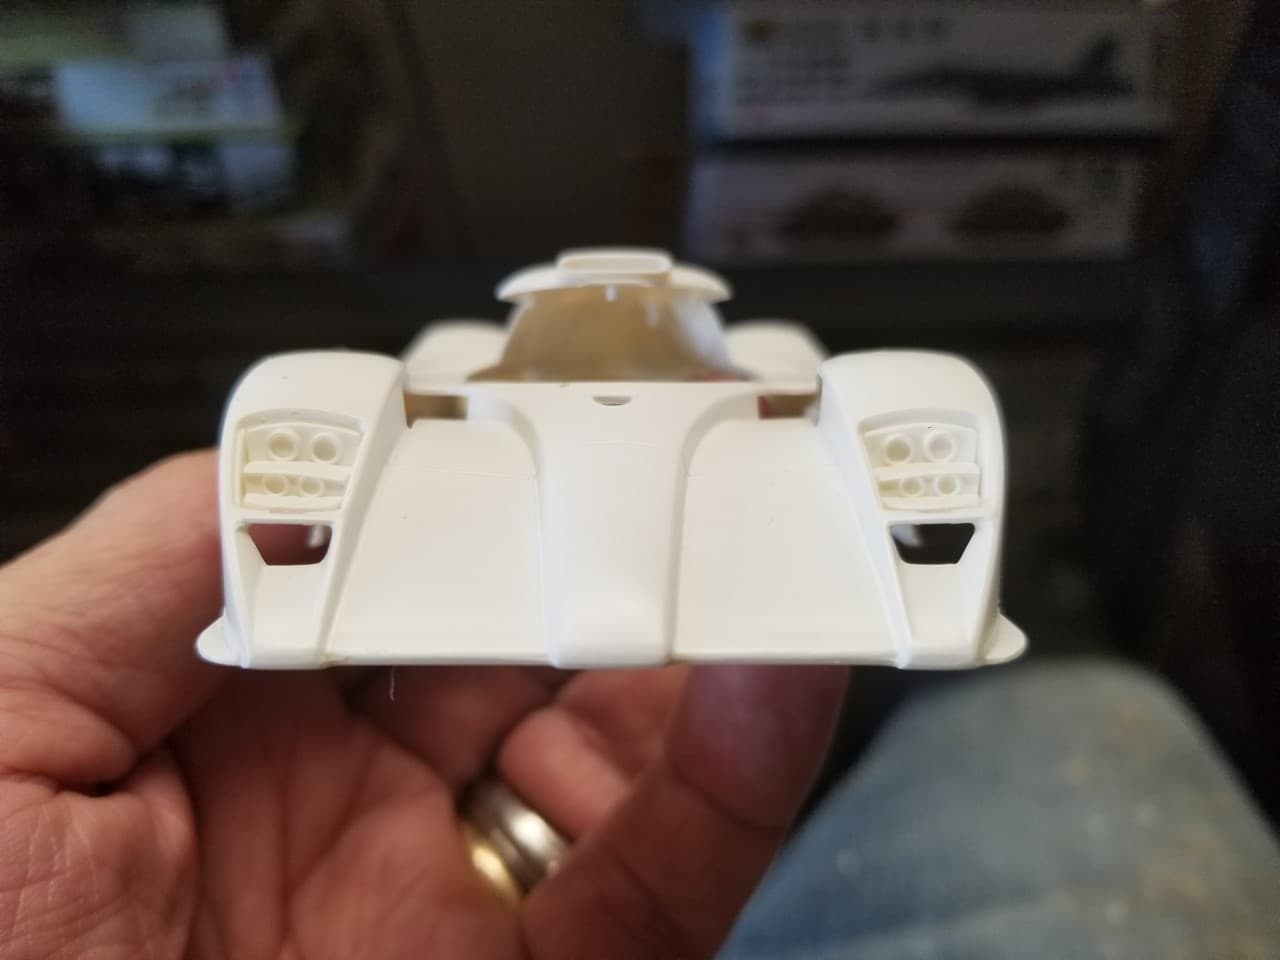
I finished installing the rear panel.
Next is the first coat of white on the top of the body.
Shoe Glue, now there’s one for the books. Sounds like it will do the job just fine.
joel
I will gave to go back and reinforce some areas under the body with Shoe Goo before it is ready to race.
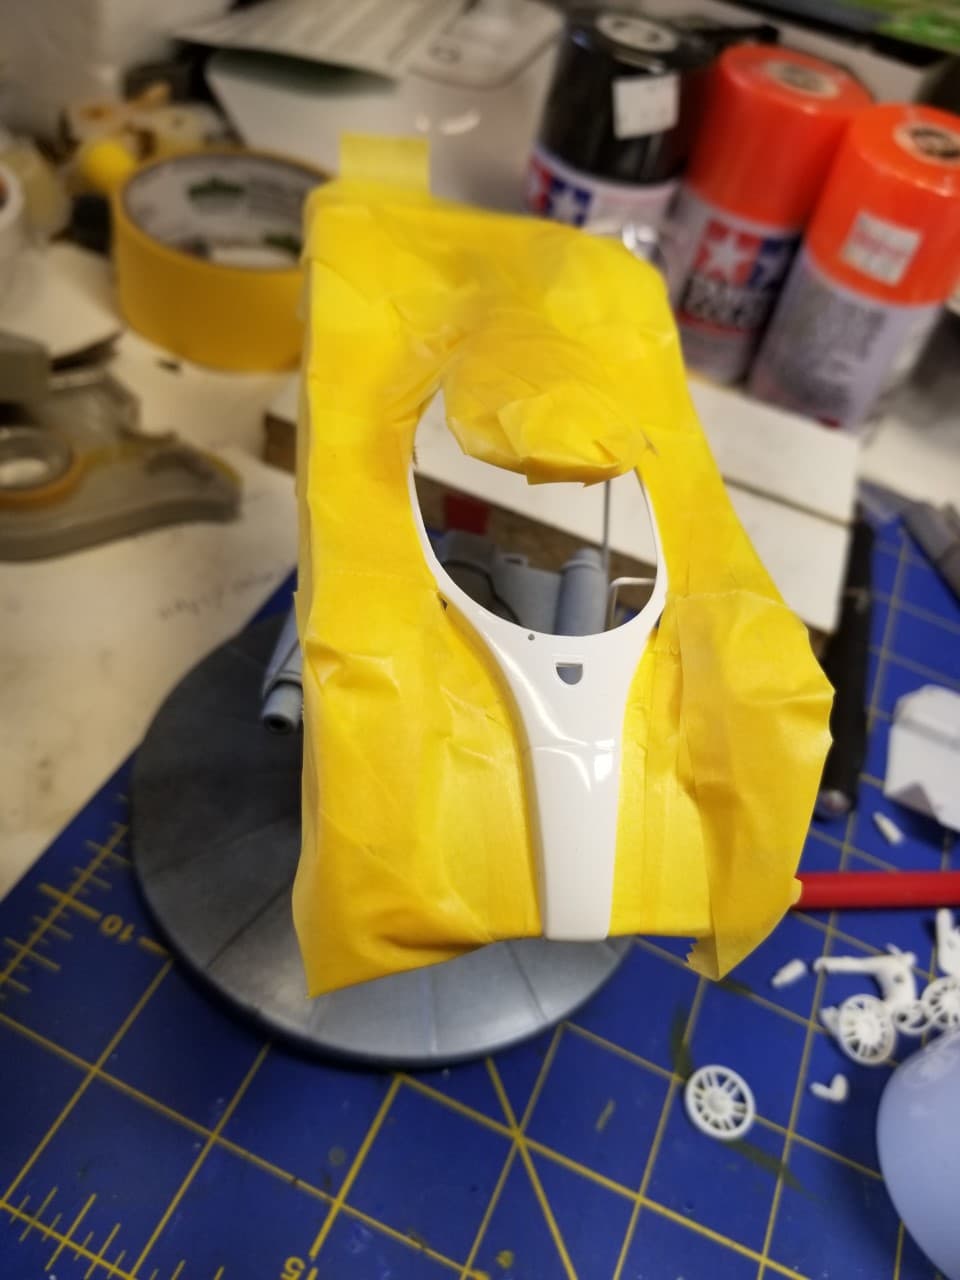
Now for my least favorite part of the paint process, masking. It is something that turns out well or there is a big oops We shall see how my luck hold today.
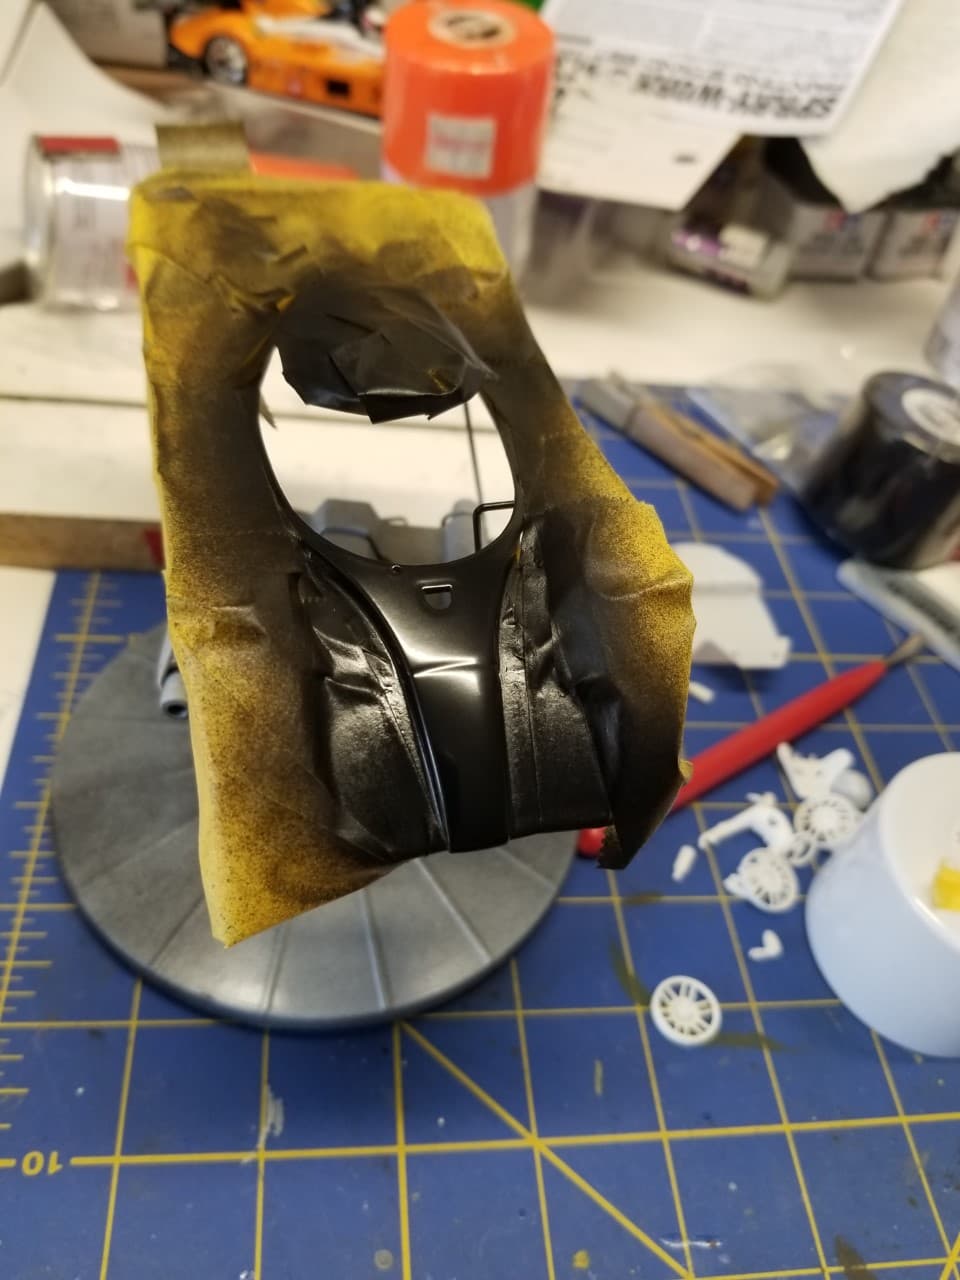
I am spraying the center section black to contrast with the white.
Now for the reveal.
I am not thrilled with the edges near the cockpit but the nose turned out well. I want to touch up the cockpit area, just got to think of a way to do it. If you have some good suggestions throw them my way.
Lets roll the taping die again and see if the next color goes on as well. This is a bit tougher to tape with the curves.
I use to get junk on the paint occasionally when drying so I started covering the painted items while they dry. I use a display cover and put a couple pencils or something like that under the edges so the solvents can vent out. This has greatly reduced my problems with stuff getting on the wet paint.
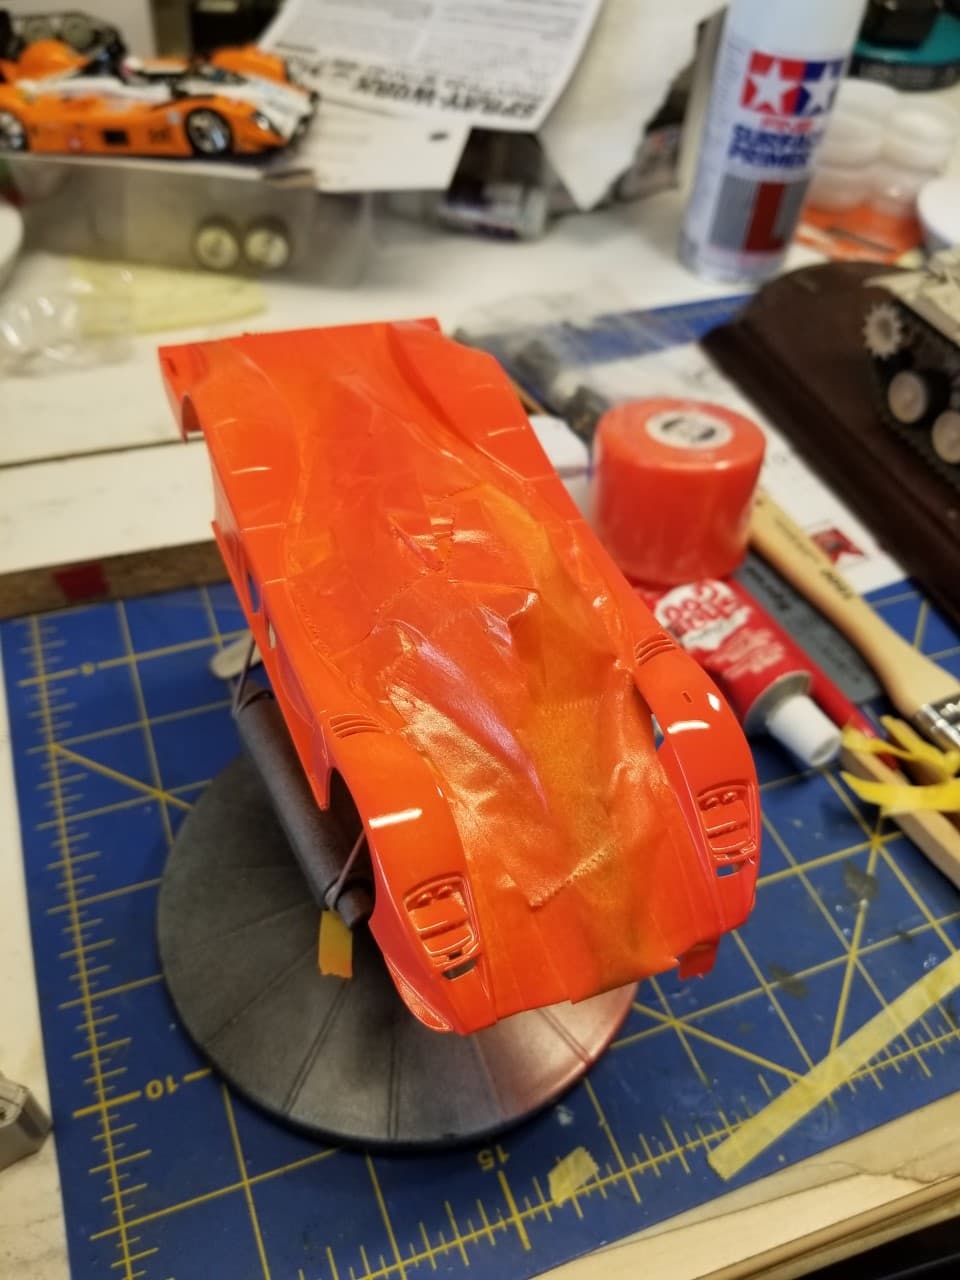
After removing the tape I found the tape gods were angry…
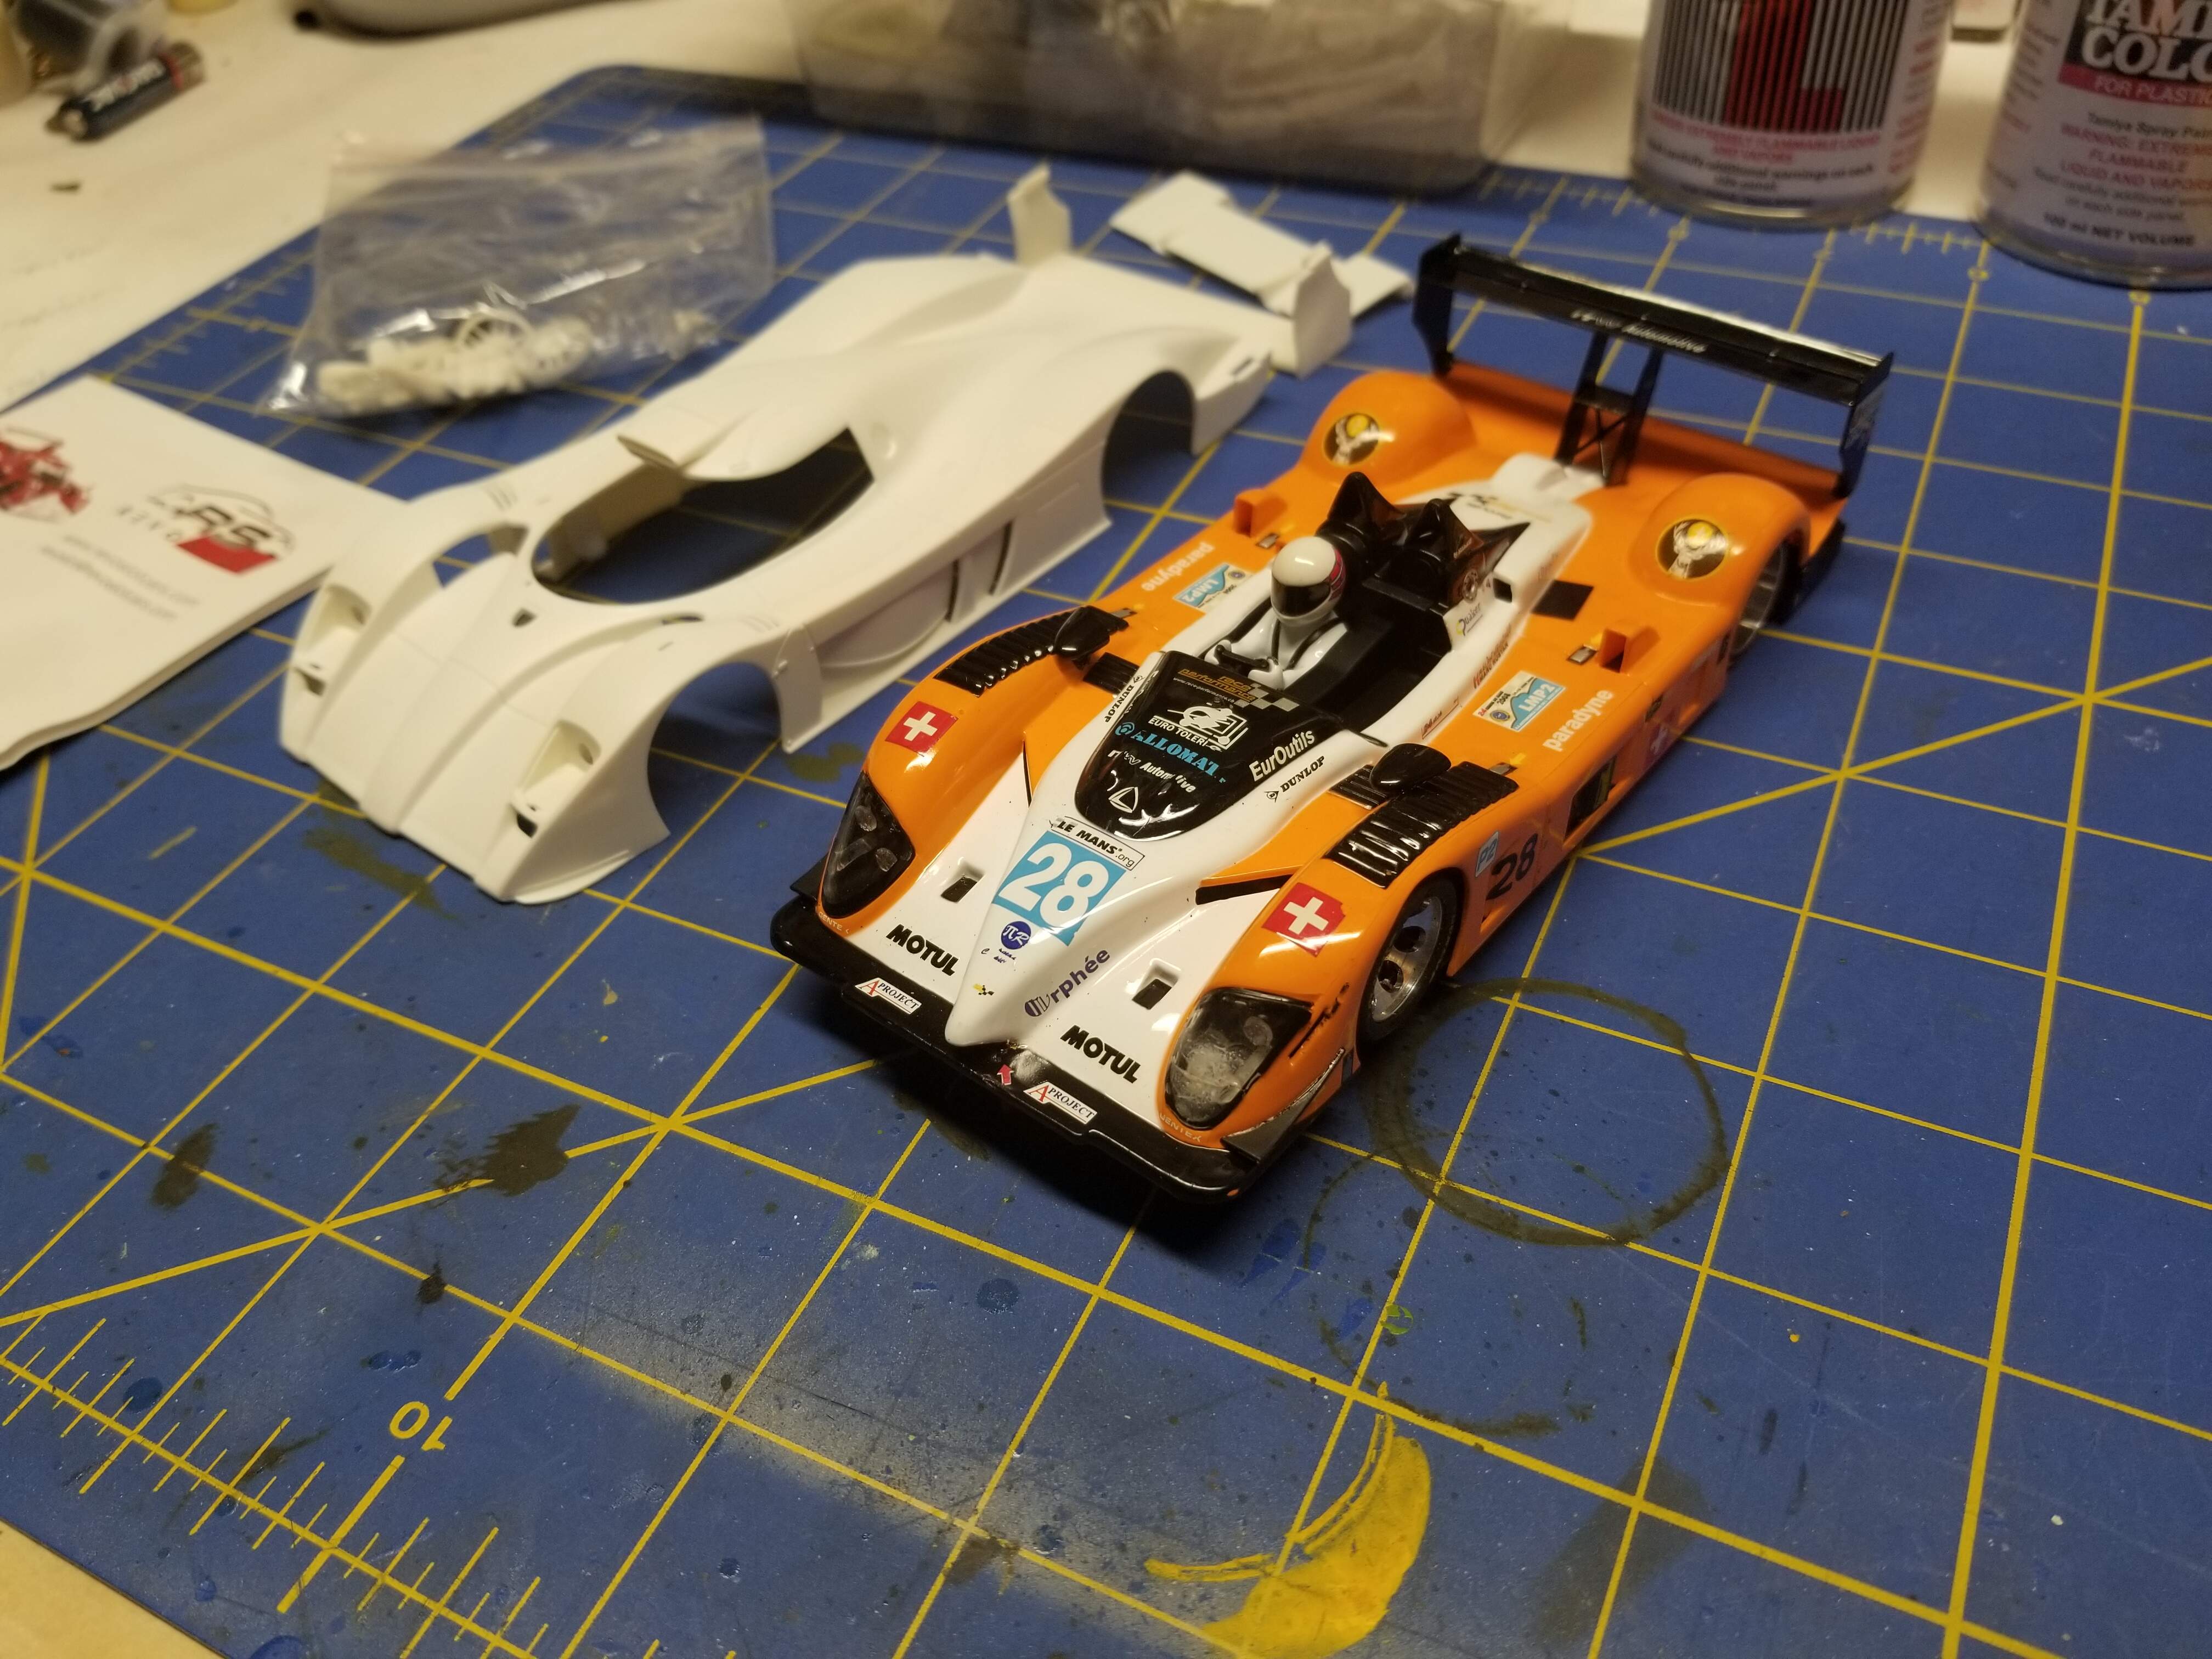
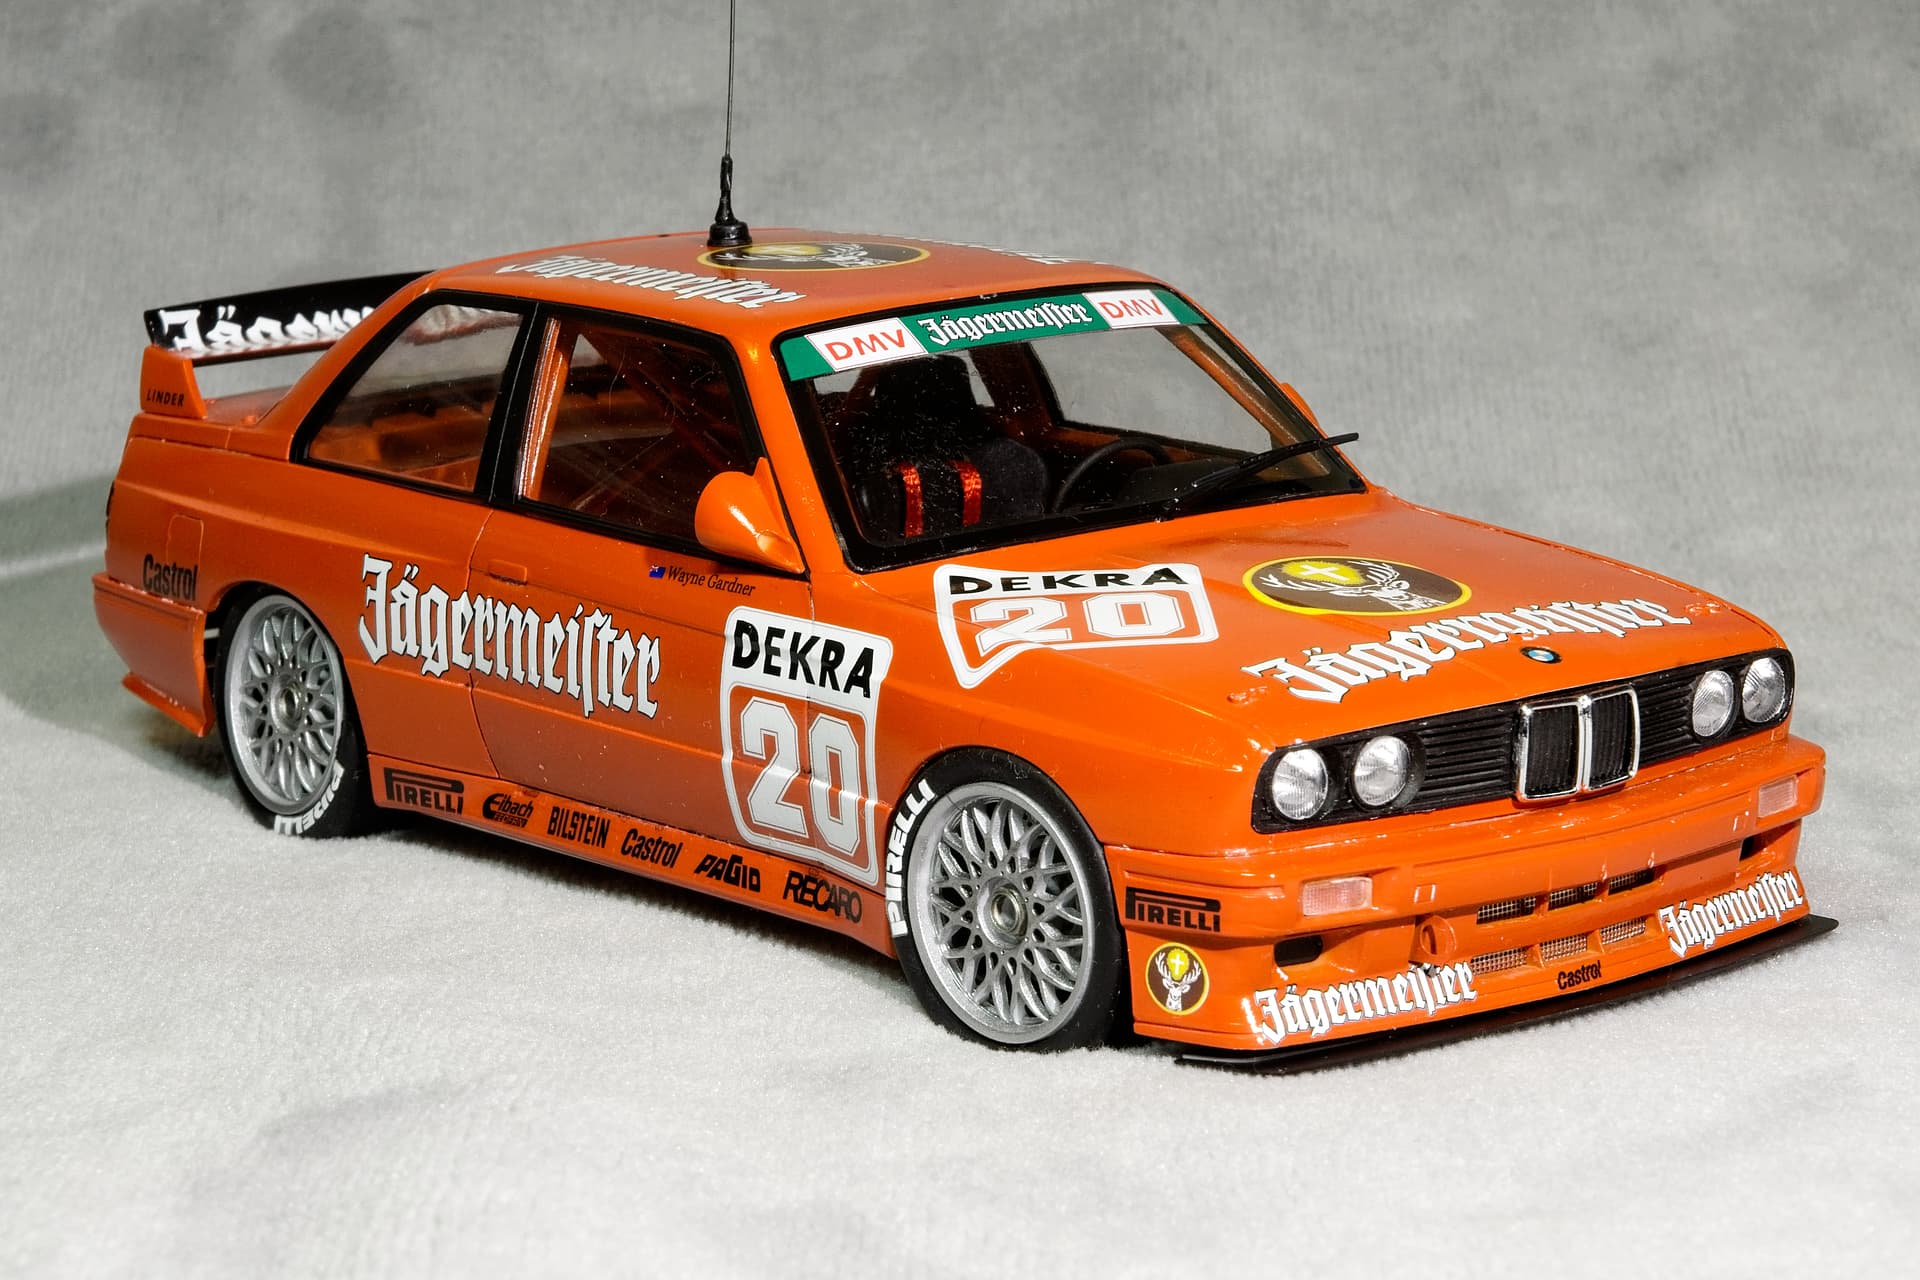
I am not happy with this paint job. There are two issues. First is the obvious problem with taping that caused a saw tooth edge and the second is the color. As you can see in the following picture the color is not orange. I used Tamiya’s Bright Orange and in 3 coats it became a red orange. I am using the Jagermeister livery and the color needs to be orange.
Here are some red cars so you can see the difference.
So… into the simple green to start over.
Hummm… Simple green easily removes Tamiy’s acrylics but not their spray cans. What do you to remove Tamiya’s laquer paint?..
While I wait on some more paint I will start working on the chassis.
Greg,
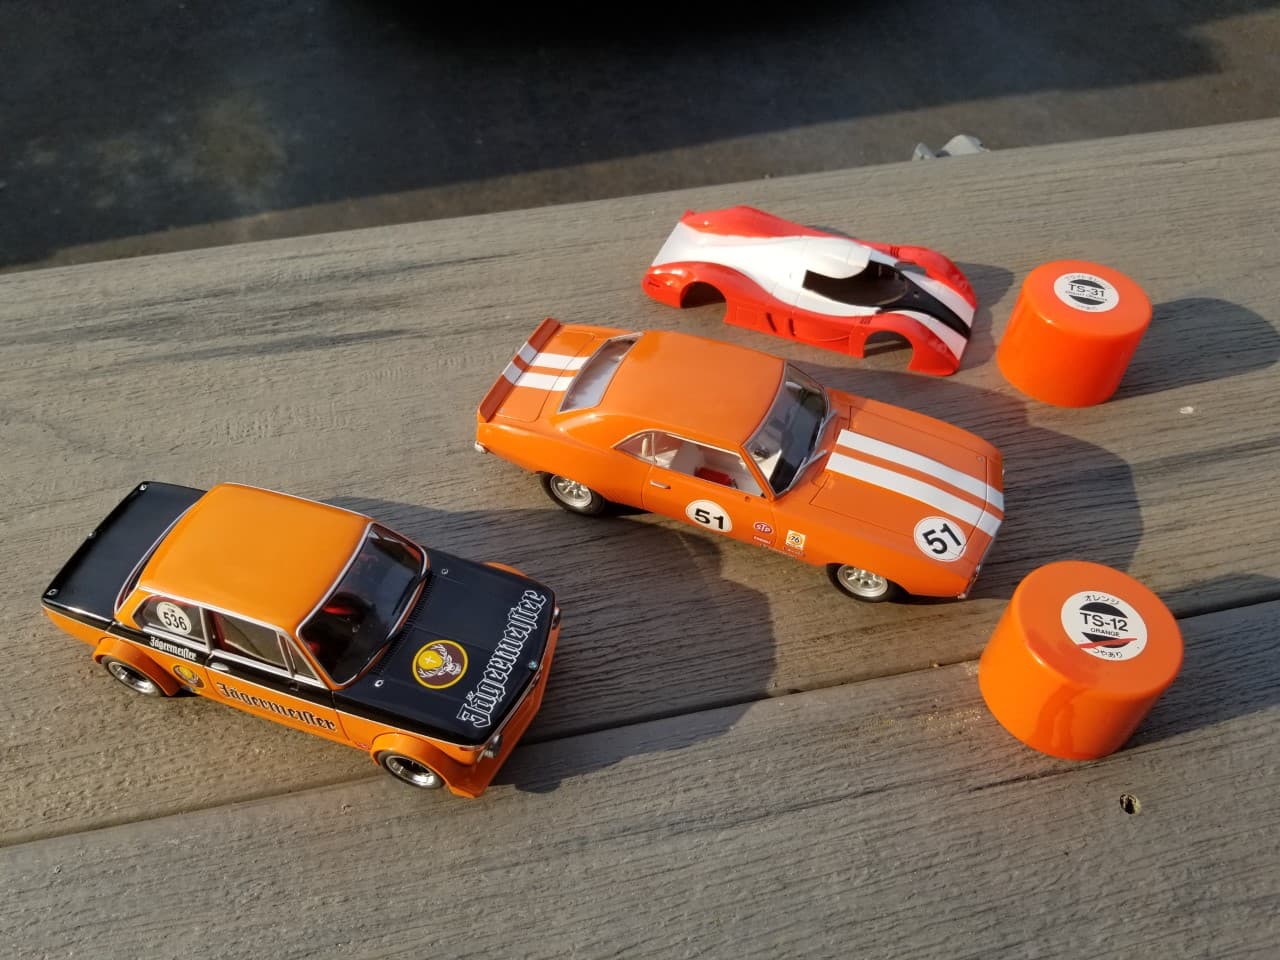
1st issue is the paint color. Since it’s over White, the primer changing the color can’t be responsible for it. Next I went back to your original post and enlarged the picture of the car body after painting. Two things became apparent. 1st that the paint matches the Tamiya rattle can top in the background perfectly. 2nd, the car in the background directly behind the painted body is the correct color you’re looking for, but isn’t the same as the Tamiya top and your currently painted body. So this leds me to the question of exactly what is the name and number of the Tamiya Rattle can.
The reason for the number is that I just went to the Tamiya site and they list 6 different Orange rattle cans: TS98 Pure Orange, TS96 Florescent Orange, TS92 Metallic Orange, TS56 Brilliant Orange, TS31 Bright Orange, and TS12 Orange. All seem like different shades but it’s hard for me to tell from those little chips. Maybe the shade you used was more of a Redish Orange.
As for your question concerning stripping the paint, Tamiya bottle paint is an Acrylic Lacquer and Simple Green does work on it. Tamiya Rattle cans are pure Lacquer base. For stripping lacquer I use Denatured Alcohol which does work and will even remove lacquer based primers. It won’t melt or damage plastic, and it doesn’t smell.
Joel
Home depot here I come, thanks Joel. The paint was TS31 and the paint chip looked OK on line… you know how accurate that is. The first coat looked OK but by the third coat the red had set in. I had used some Humbrol orange before on another car but it
had low adhesion between coats and some electrical tape pulled a layer of paint off so I use Tamiya instead. So I am going to go with TS12 or TS 98
Greg,
That’s where I get my Denatured Alcohol from too. Way cheaper then at your local drug store.
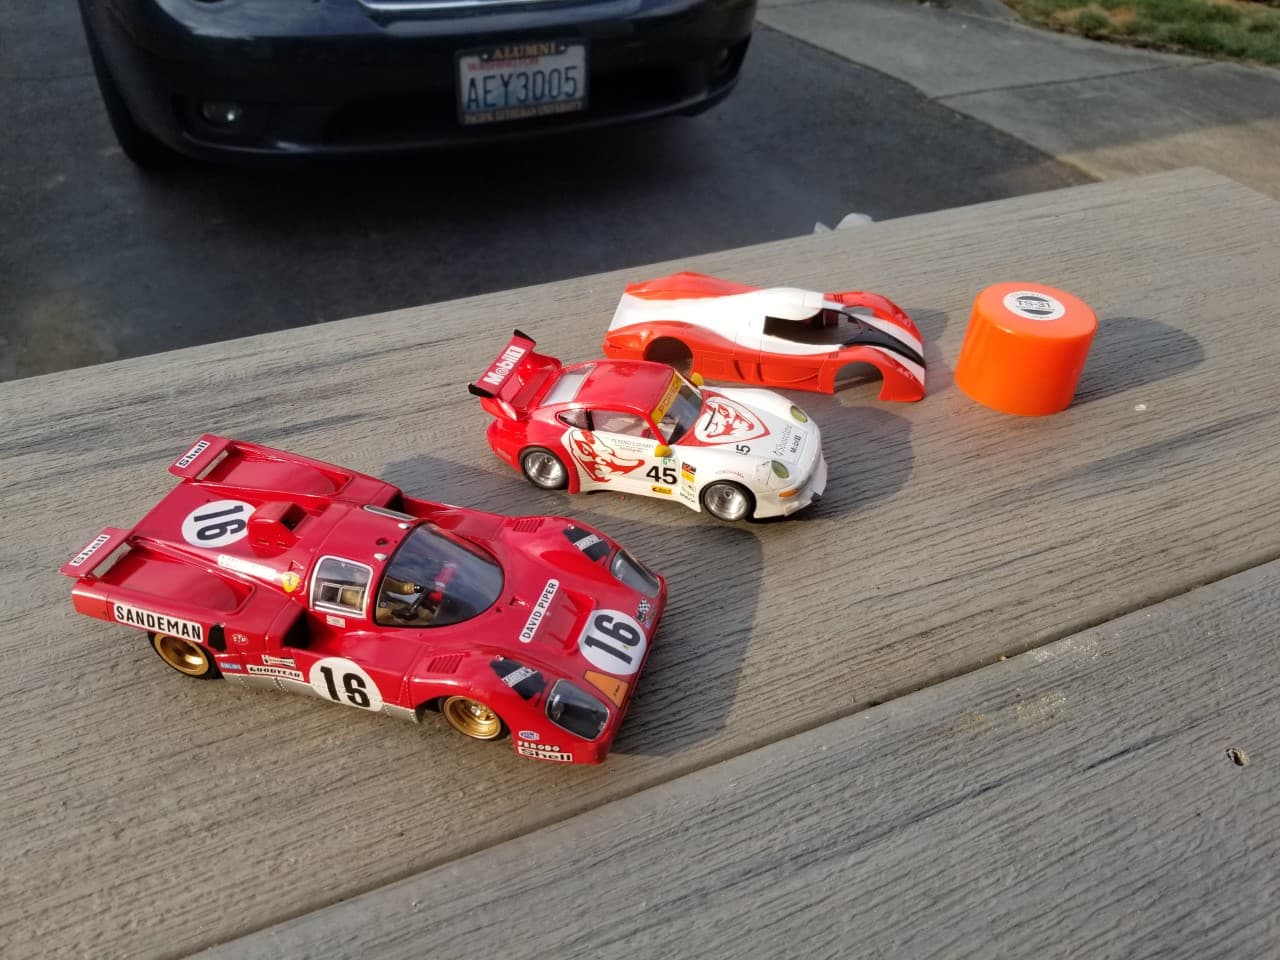
If you have a air brush I’d really consider either Gravity of Spain (not Florida), or ScaleFinishes. Both have Lacquer based Jagermeister Orange premixed and are perfect in color.
This is the Gravity paint.
Joel
Greg,
Just glad that I can be of some help.
joel
The body has been sanded and primed. the paint should be here on Monday or Tuesday and we can get started again on the painting.
In the meantime I will start work on the chassis.
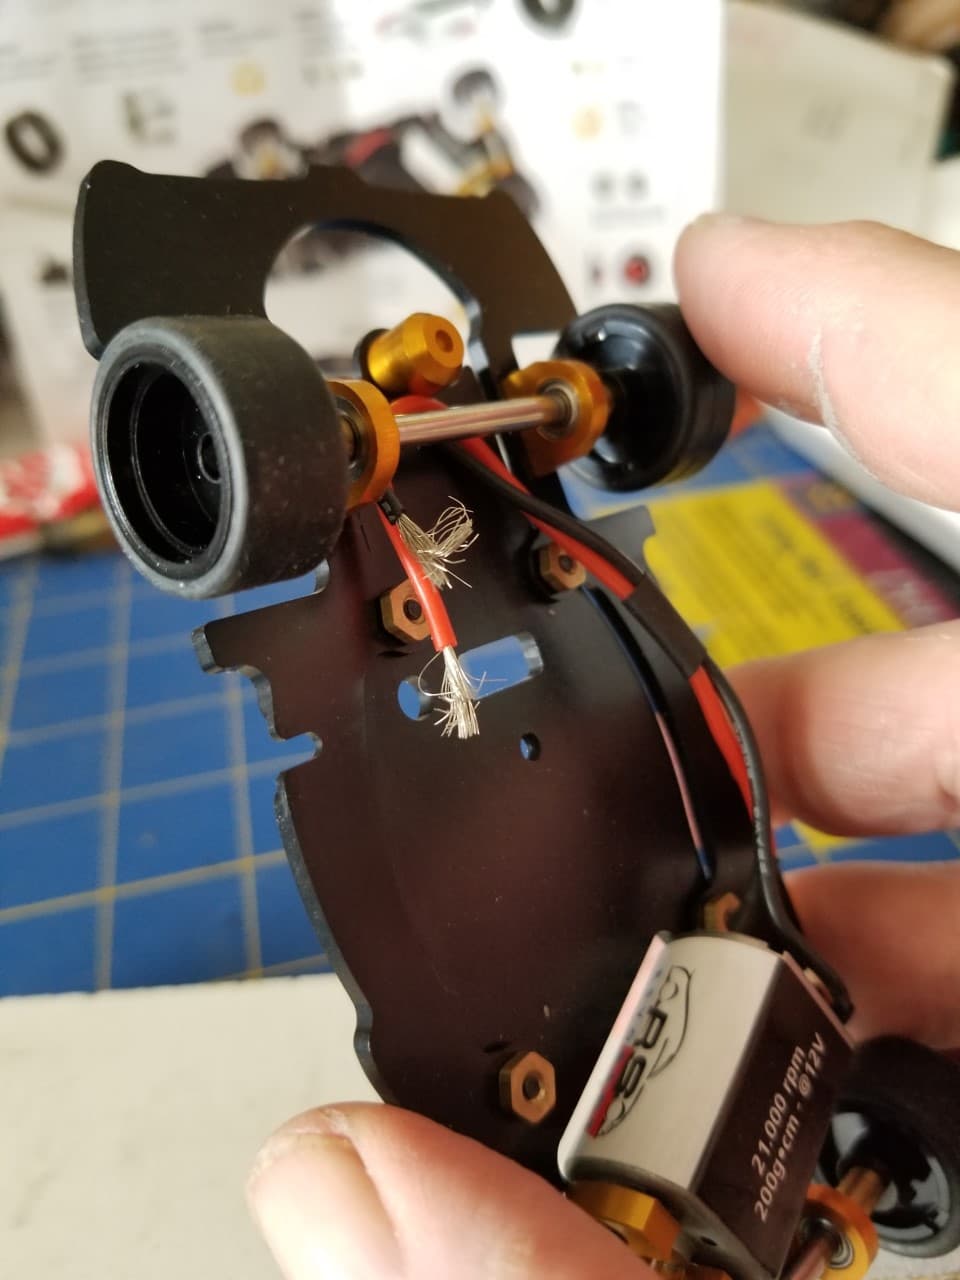
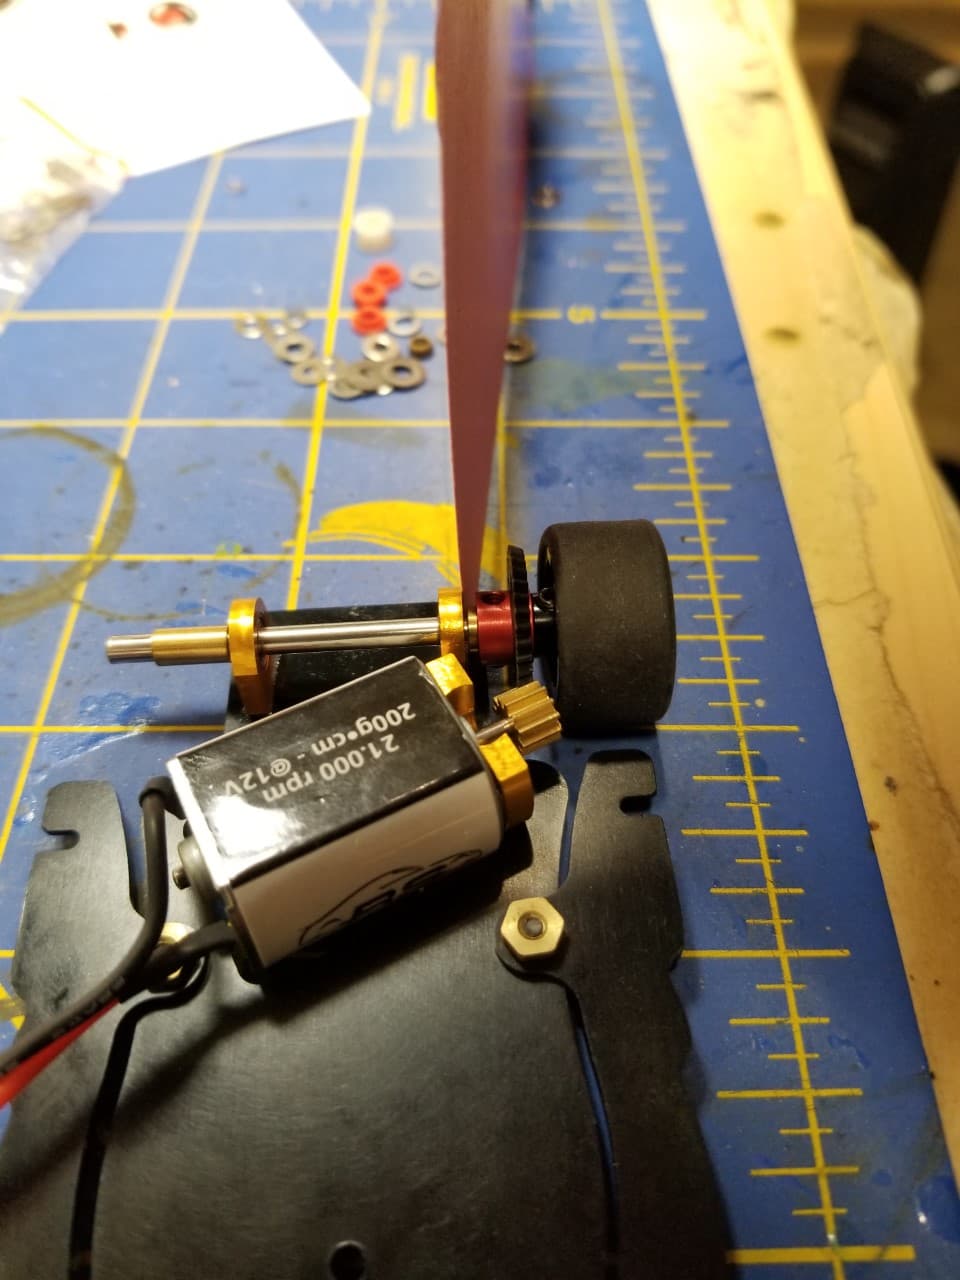
The chassis comes assembled. However it never comes race ready and often not even ready to run. What you get is a chassis that someone has attached the parts at the proper location.
I start with the front end. The front wheels should spin freely and have a paper thin amount of play left and right.
This chassis has neither. The front wheels rotate but do not spin.
First loosen the allen screw and remove the front wheel.
Carefully tap out the front axle, there are bearings that hold the axle in the mounts and you do not want to damage the bearings or axle. Note the axle should slide out normally.
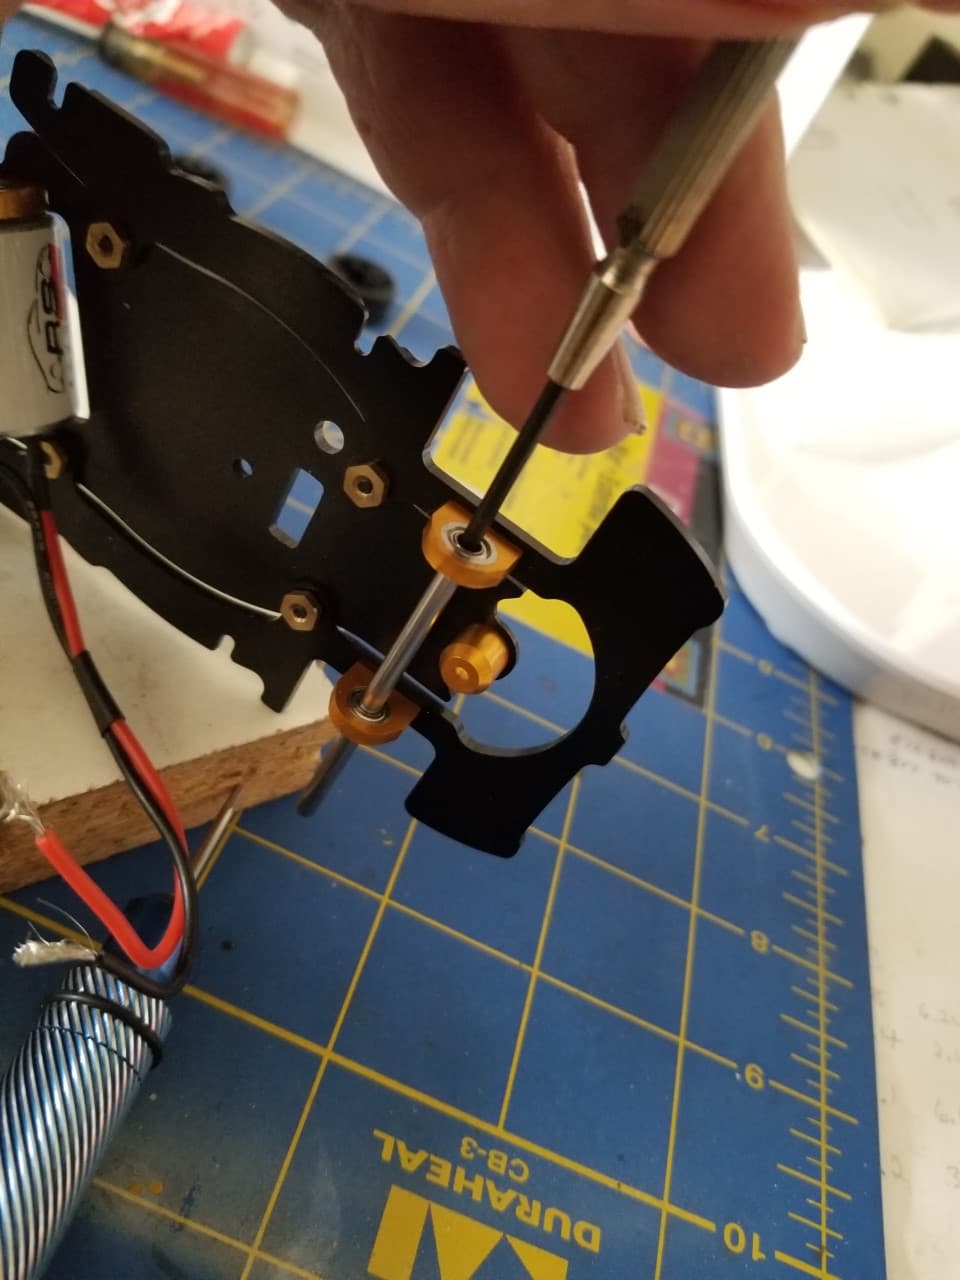
Loosen the screws that hold the axle mounts.
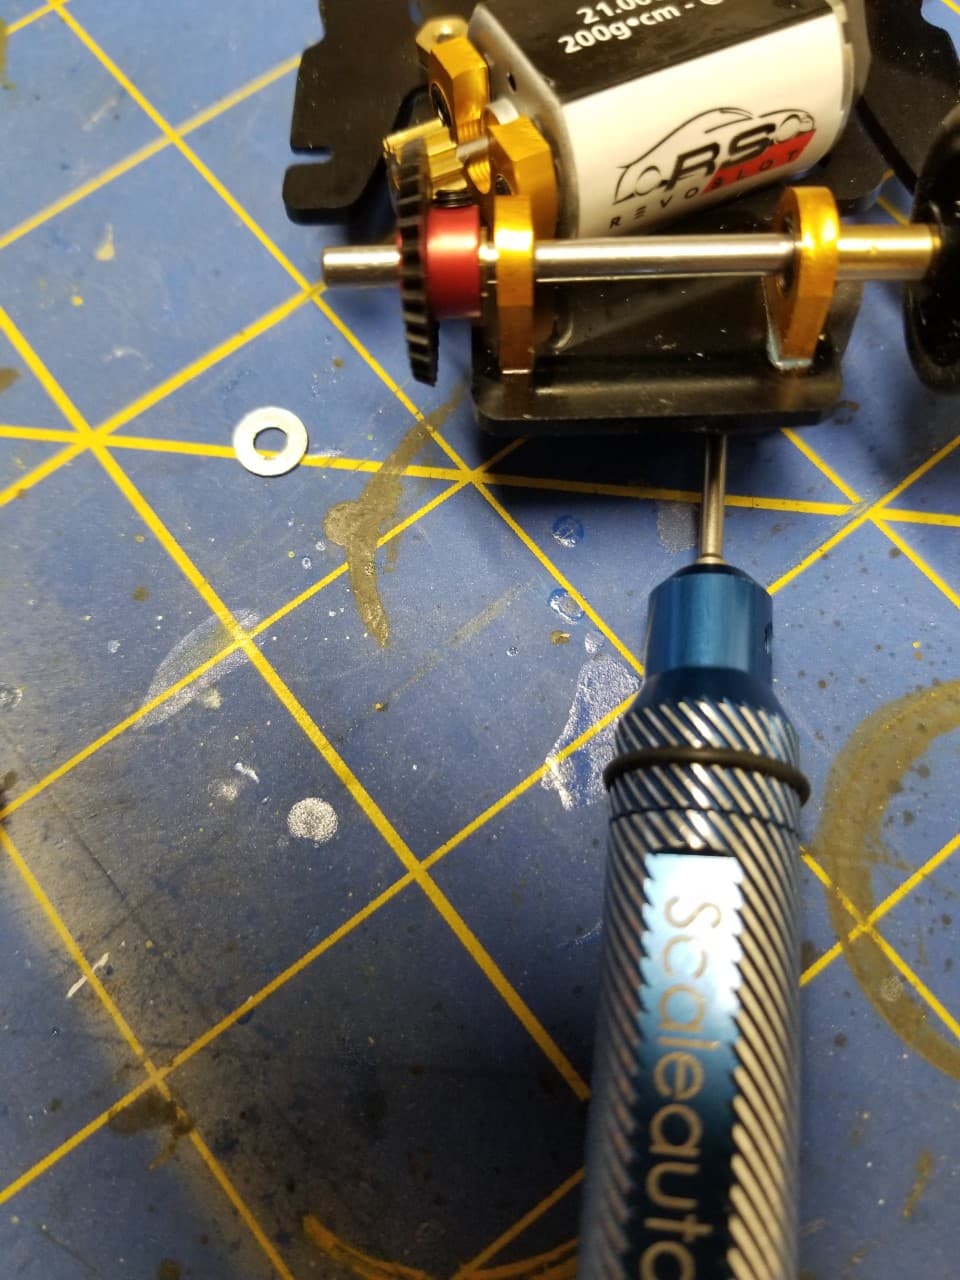
I carefully reinsert the axle and it now rotates some better. I apply some removable Locktite to the 4 screws and carefully re-tighten them with the axle inserted. I now lubricate the bearings. The front axle turns easier now. I now hook up my Dremel to the axle and run it for a minute.
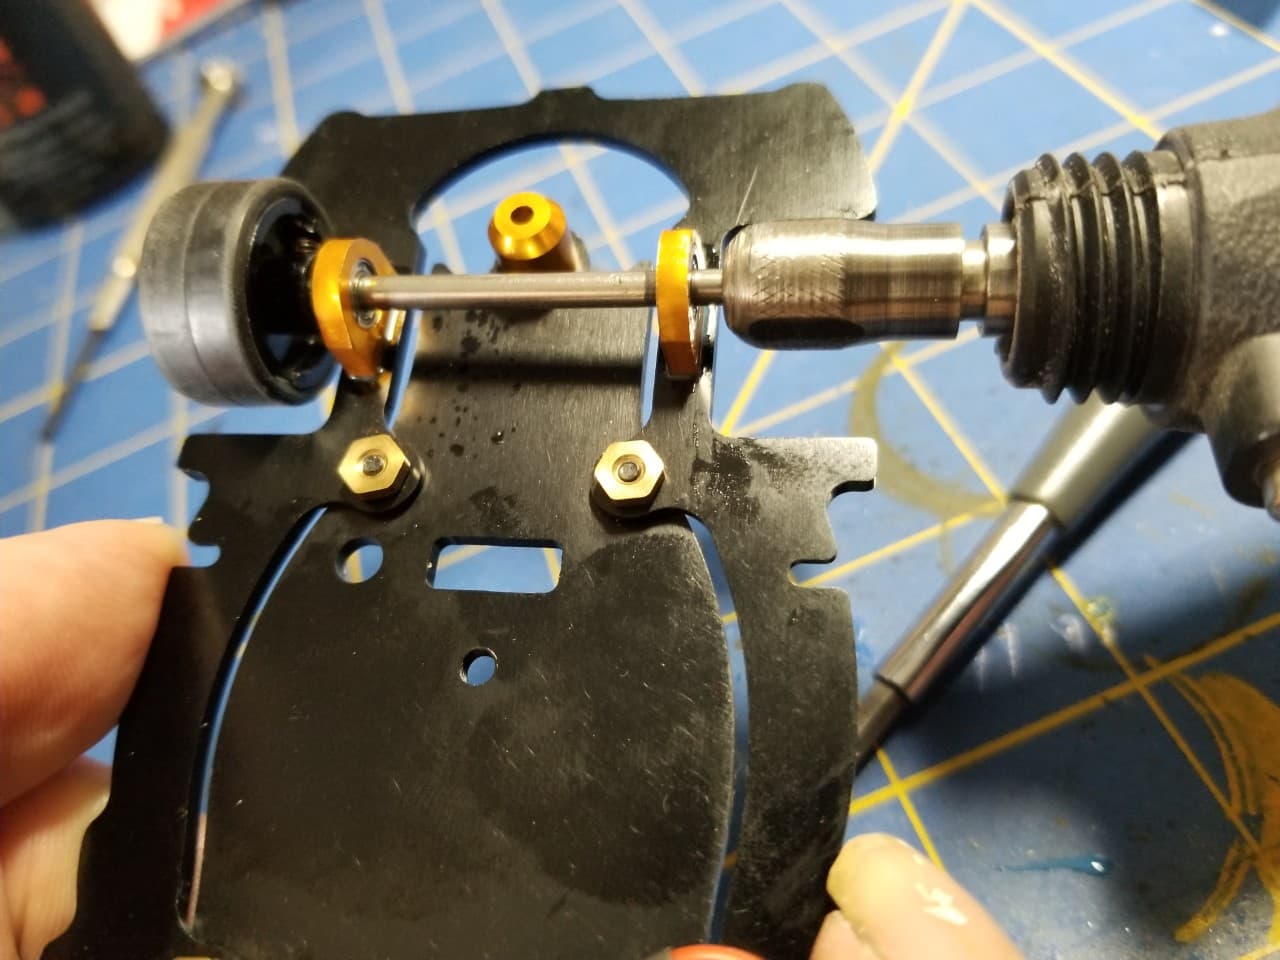
I reassemble the wheel and spacer and test the spin again. Much better but not perfect yet. An hour on the track and all should be fine.
I repeated the process on the rear axle. For the most part the rear axle spun easily. however I noticed that the spur gear had too much play from left to right.
Often this is not an issue because many spur gears are slightly warped so that they are loose against the pinion gear for about half of their rotation and tight the rest of the way going around. However this spur gear has no warpege so I will install a spacer between the gear and the chassis to take up the excess play.
I use an index card to set the amount of play between the gear and chassis.
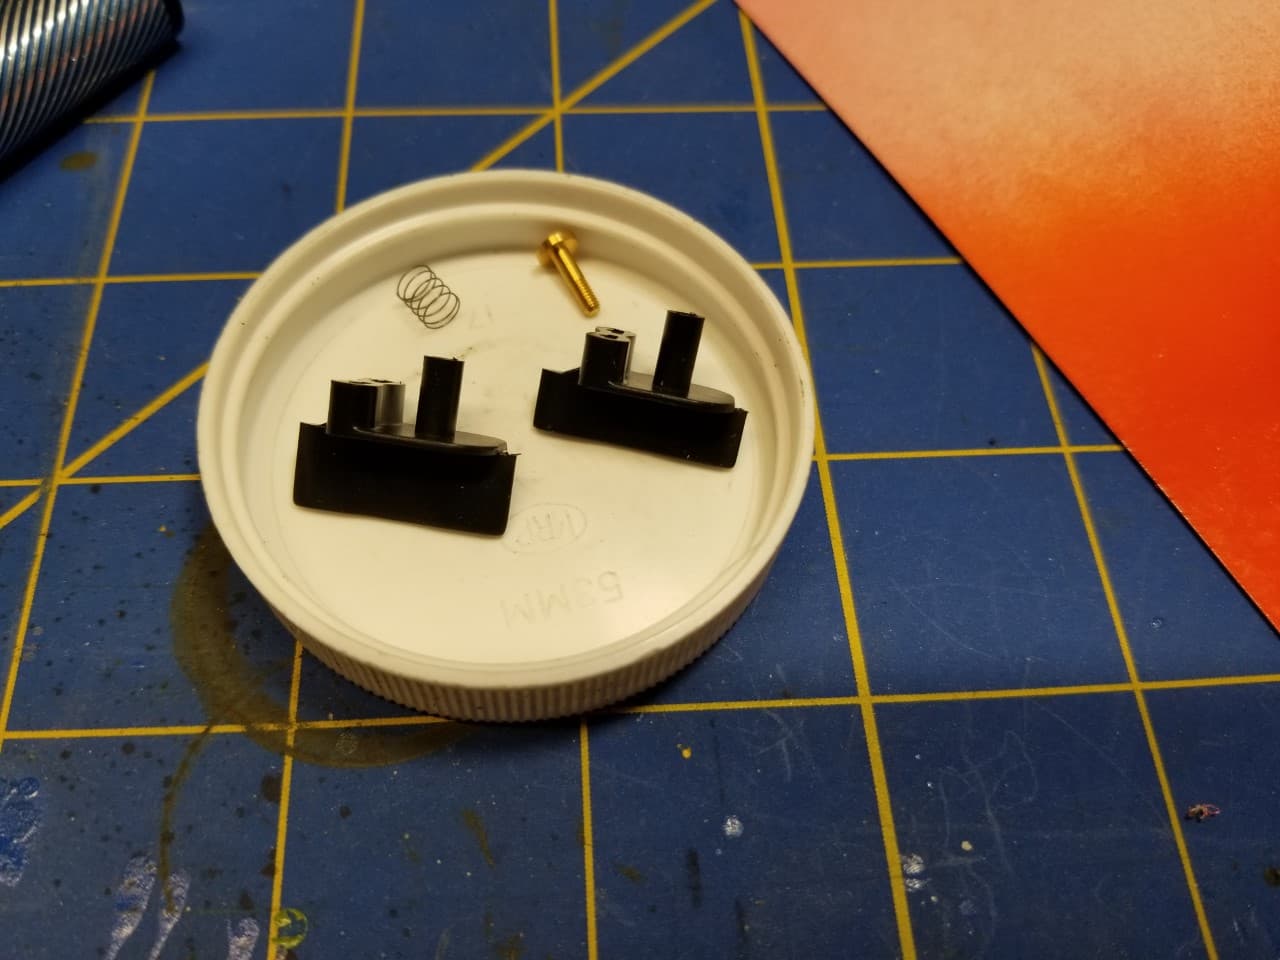
The next thing to do is to install the guide. There are two options. The shorter one is for plastic track and the deeper one is for wood track. I run on wood so I opt for the deeper one.
When adjusting the guide you want it to swivel easily but not to wobble in the mount. If the blade tilts left and right it will ride out of the slot in the curves at high speed.
This is a two part chassis. The powertrain and guide are on one piece and the front axle and body attachment points are of the second piece. The two parts must be able to float separately from one another without binding or else handling will be affected.
You may think that this much ado about the chassis. However if the other cars are 1% faster than you, they will be a lap ahead by the end of the heat race.
It’s amazing how much impact these seemingly small items have on the performance, thanks for taking the time to run through the process of fine-tuning!
Now I can only imagine the headache of scaling this up to 1:1 F1 and the integration required across the separate teams looking after each aspect of the car.
Cheers, D
Thanks, I still have to true the tires. The smoother the car runs , the better performance you can get out of it.