Very cool idea regarding the base … Look forward to it ![]()
1 Like
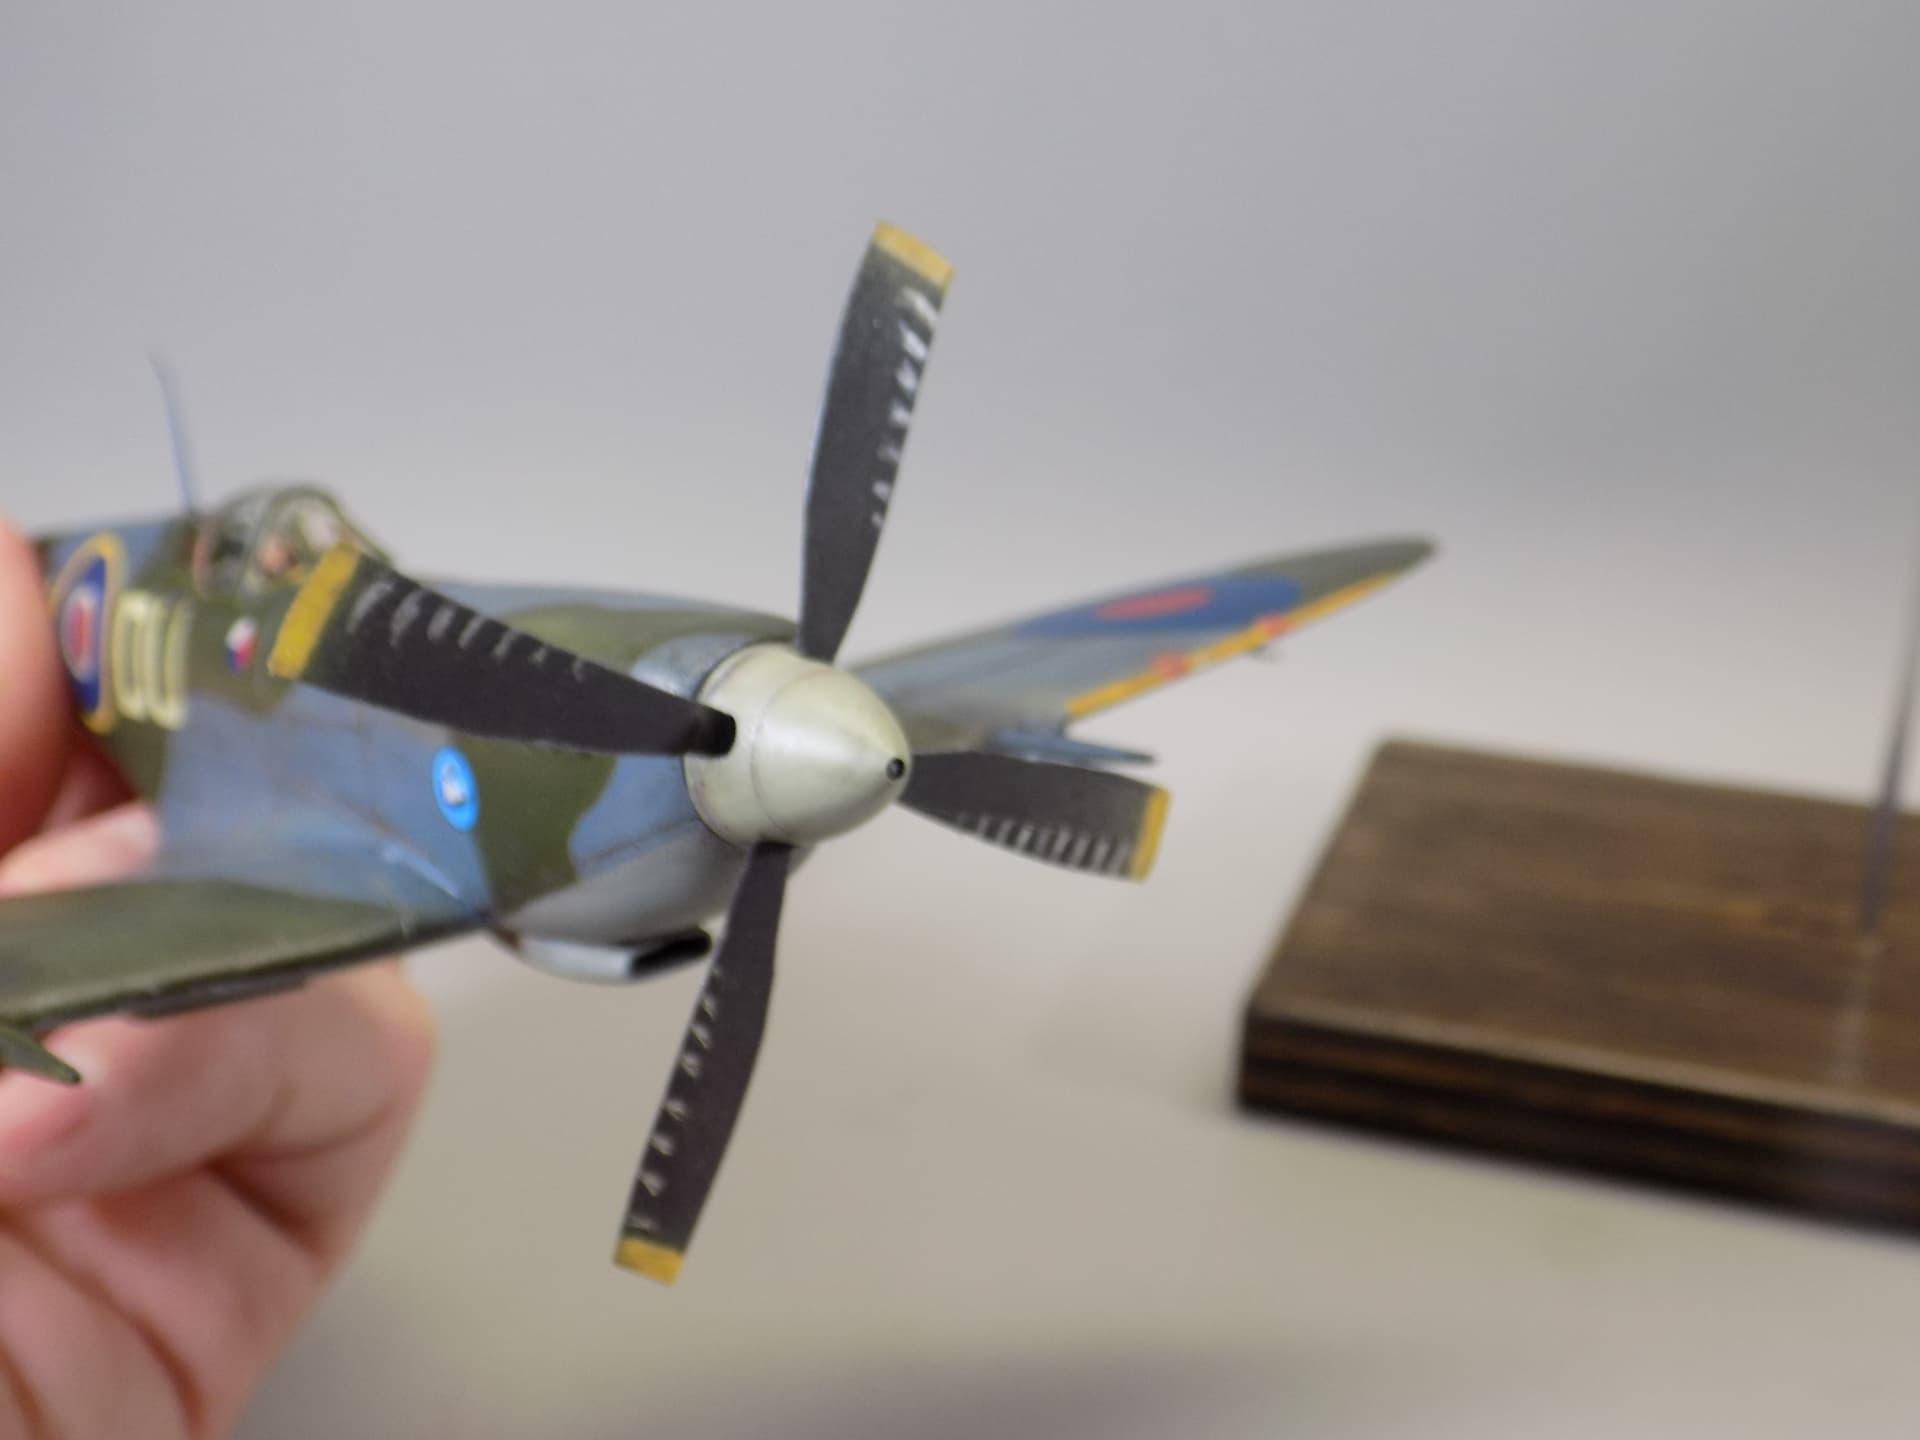
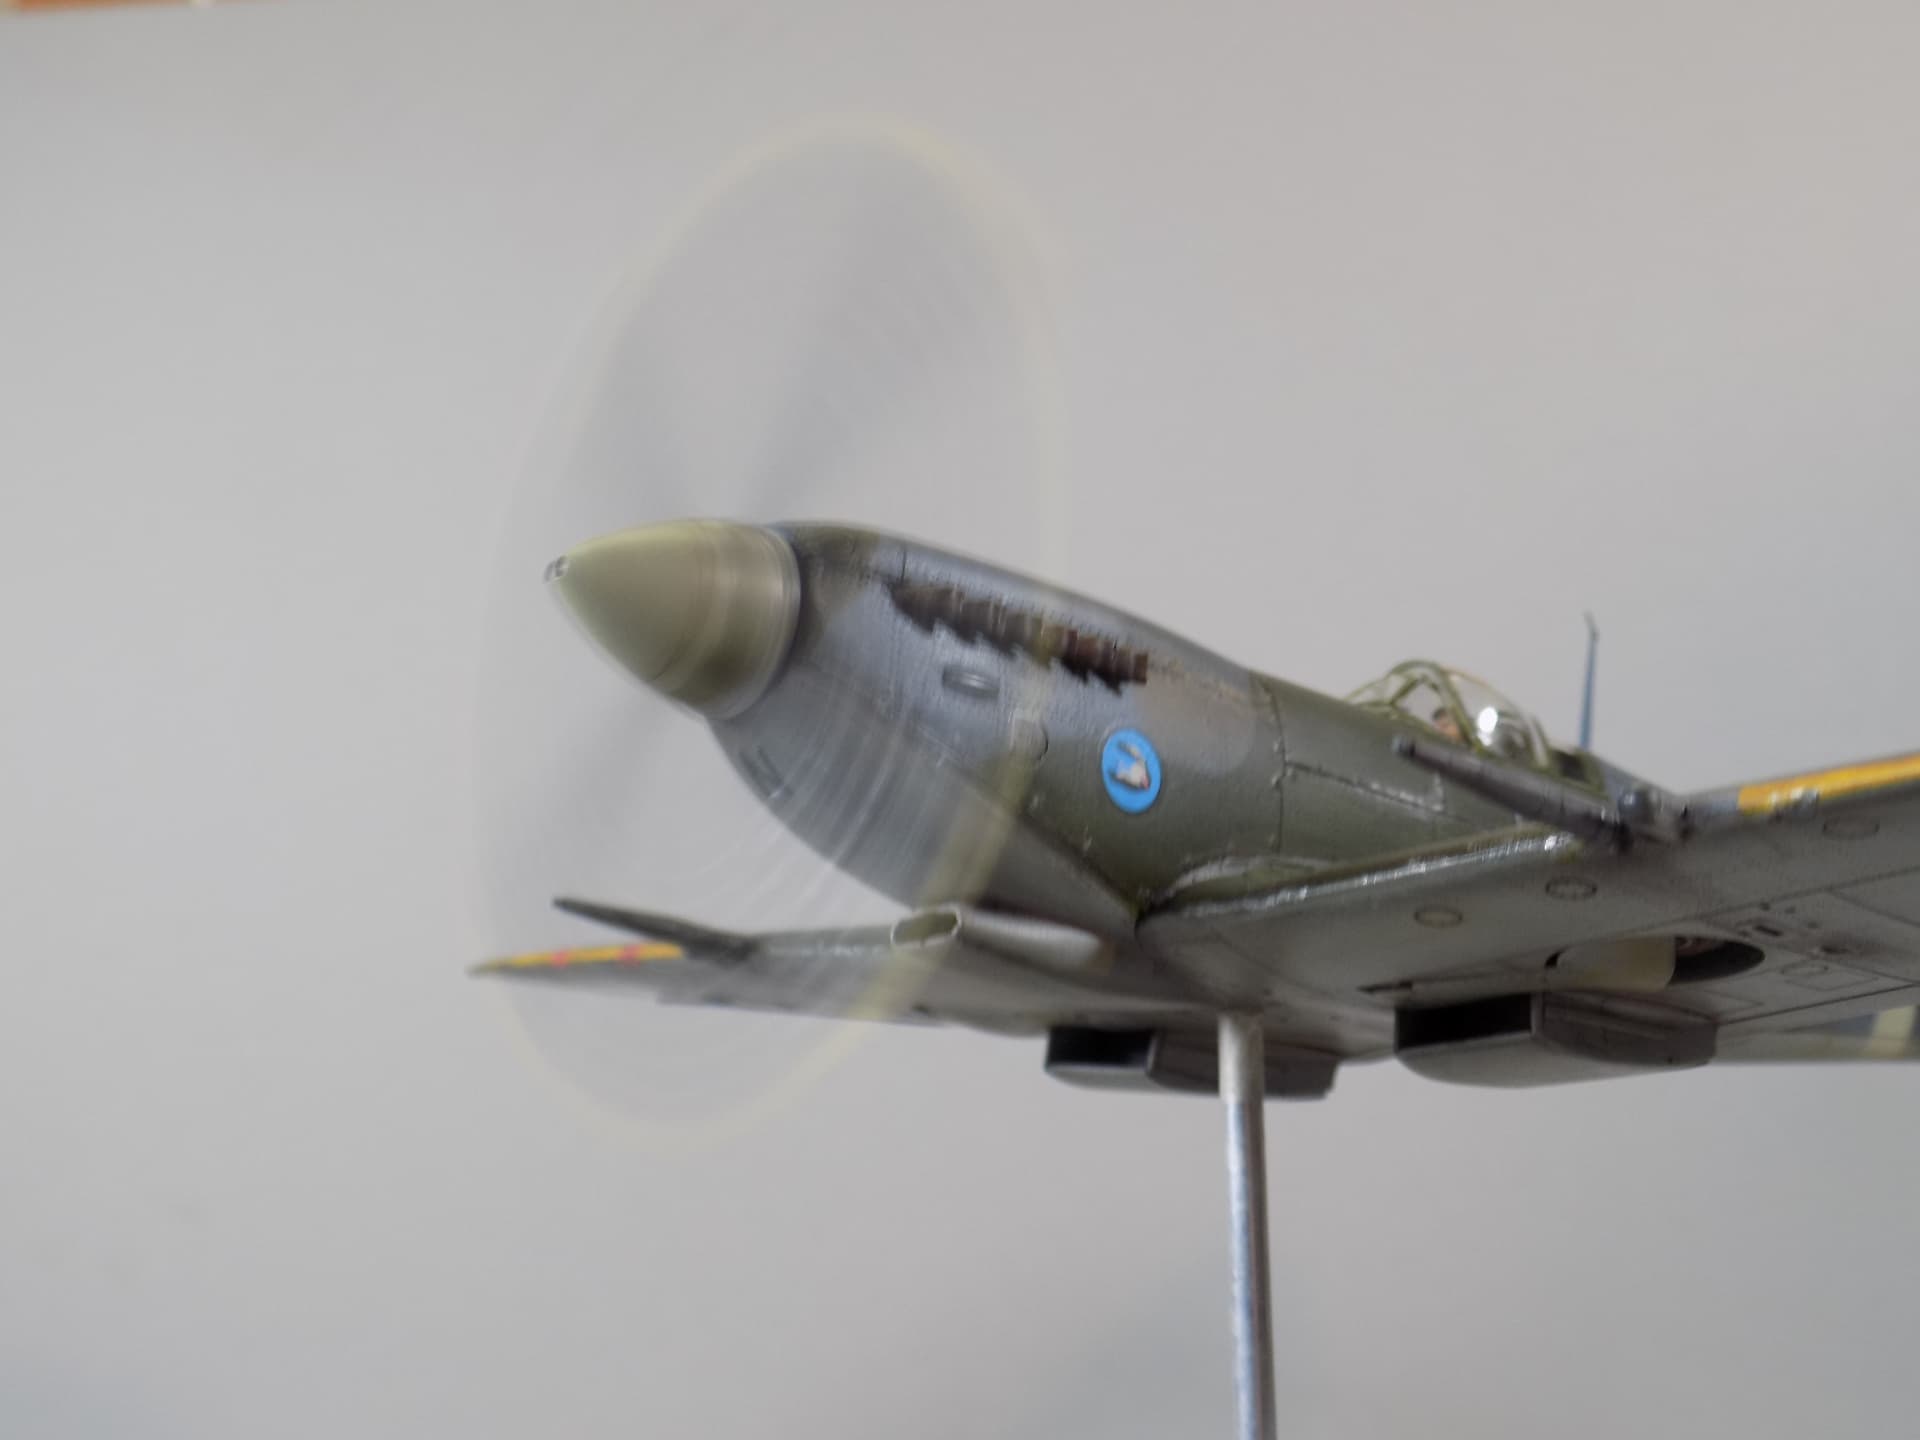
FINISHED!! , kind of. i am waiting to put the rear view mirror on until i find a replacement one piece canopy. i still have not fixed it, i have the part meant for the open for now and it does not fit right. not the best kit but not the worst either i guess since it is my first spit i have nothing to compare it to. i can tell you the cowl being of two pieces is a poor design, it should be one piece to avoid a bad join seam. the exhaust assembly is overly complicated and directions are poor. the fuselage joins were very good though requiring little work to blend.
i decided to go without the antenna as research shows there probably not any (thank you b- 17 peter for your help there )
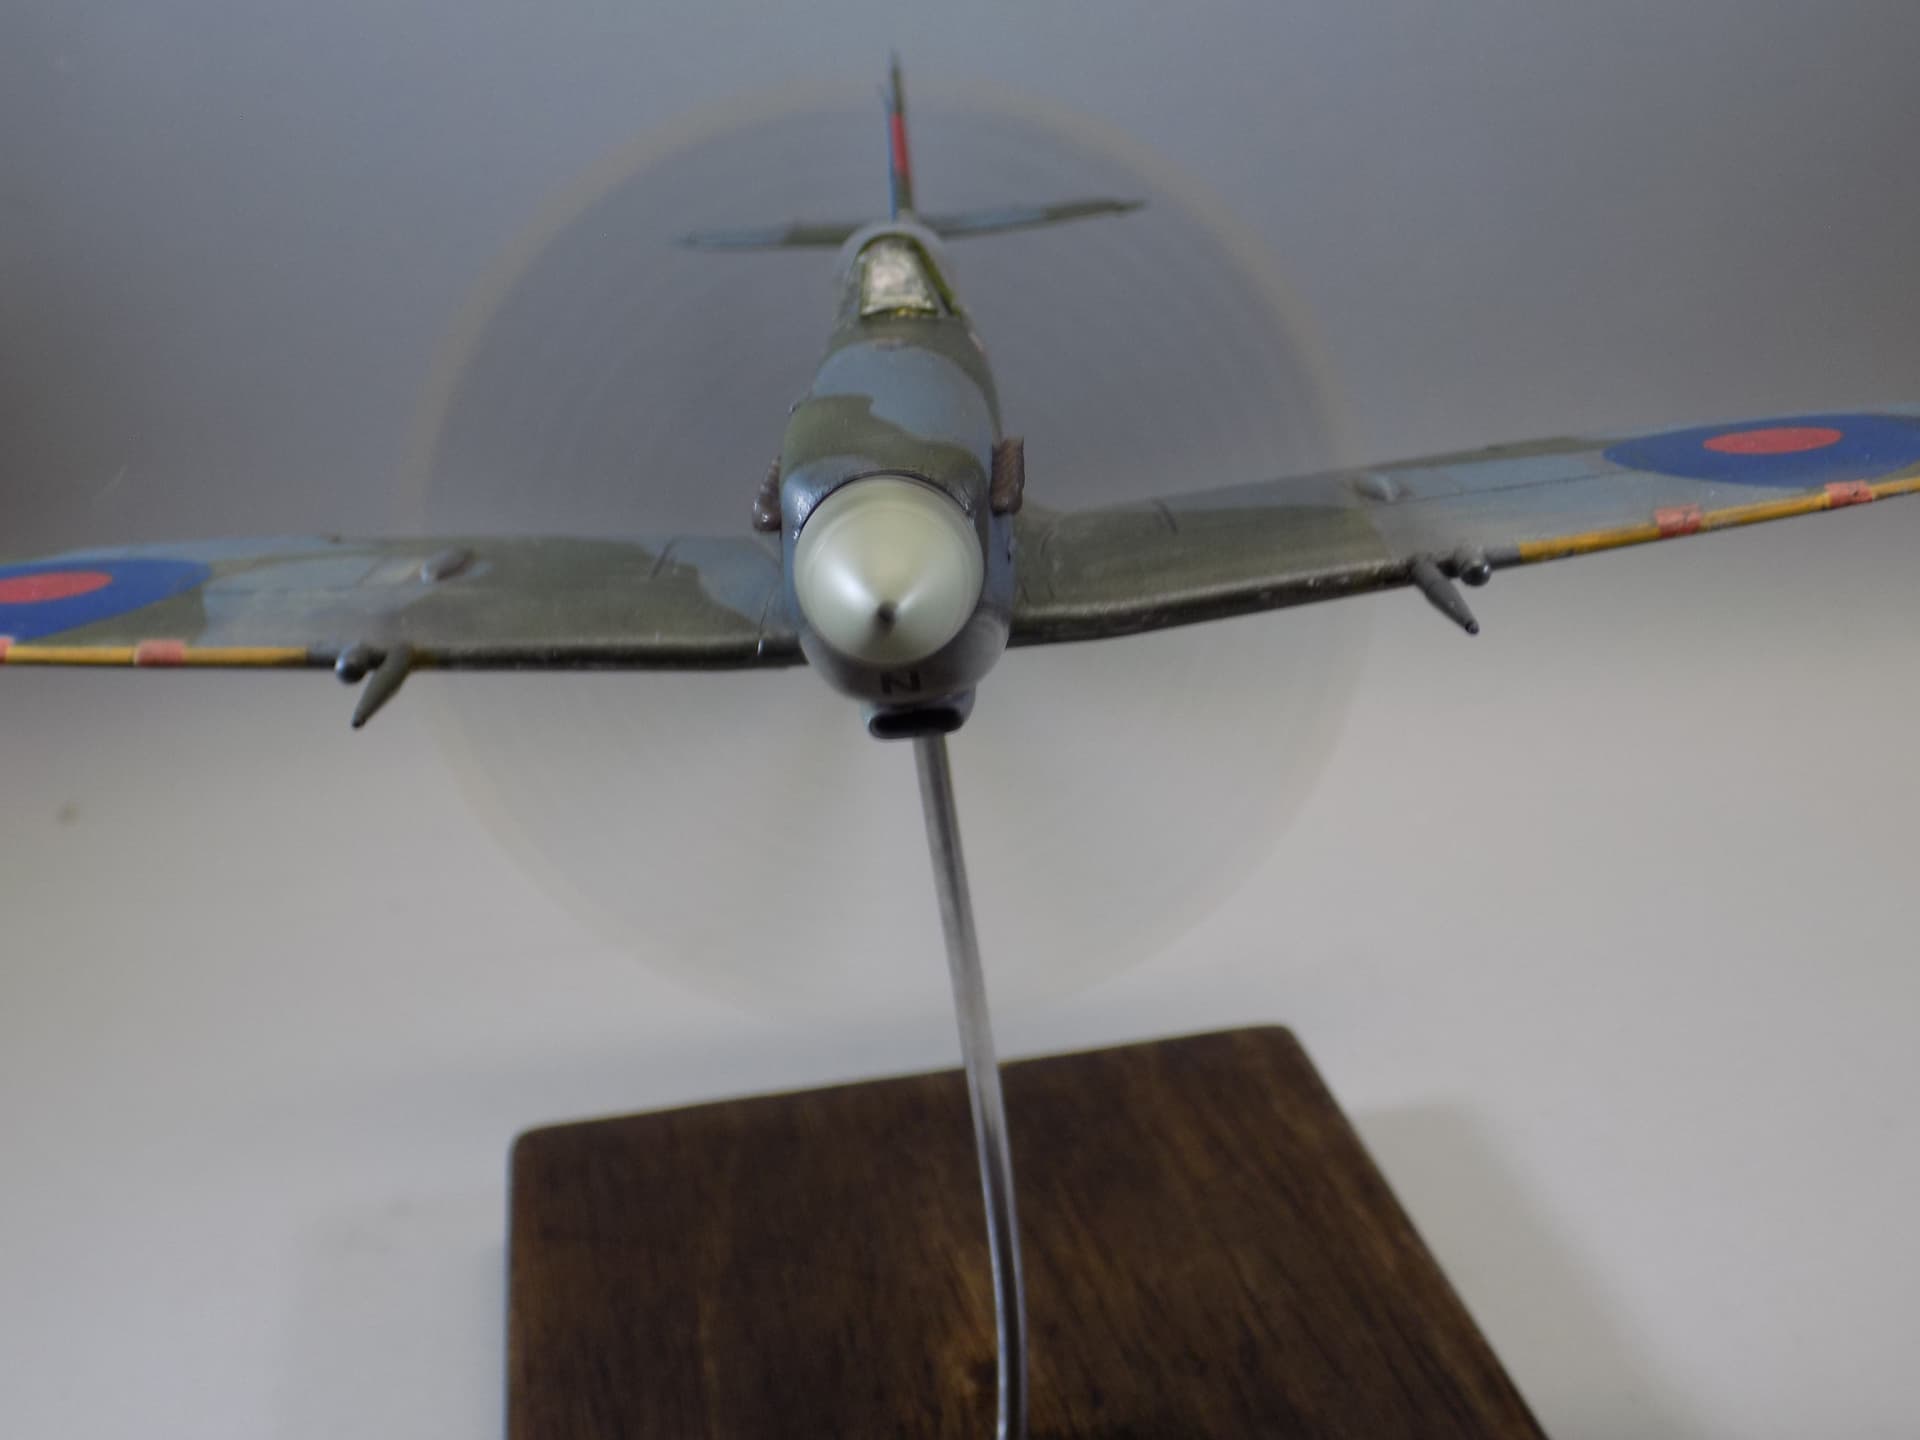
i always wanted to try and make my own prop blur instead of buying it so i decided since this is an in flight to give it a try.
came out well i think-

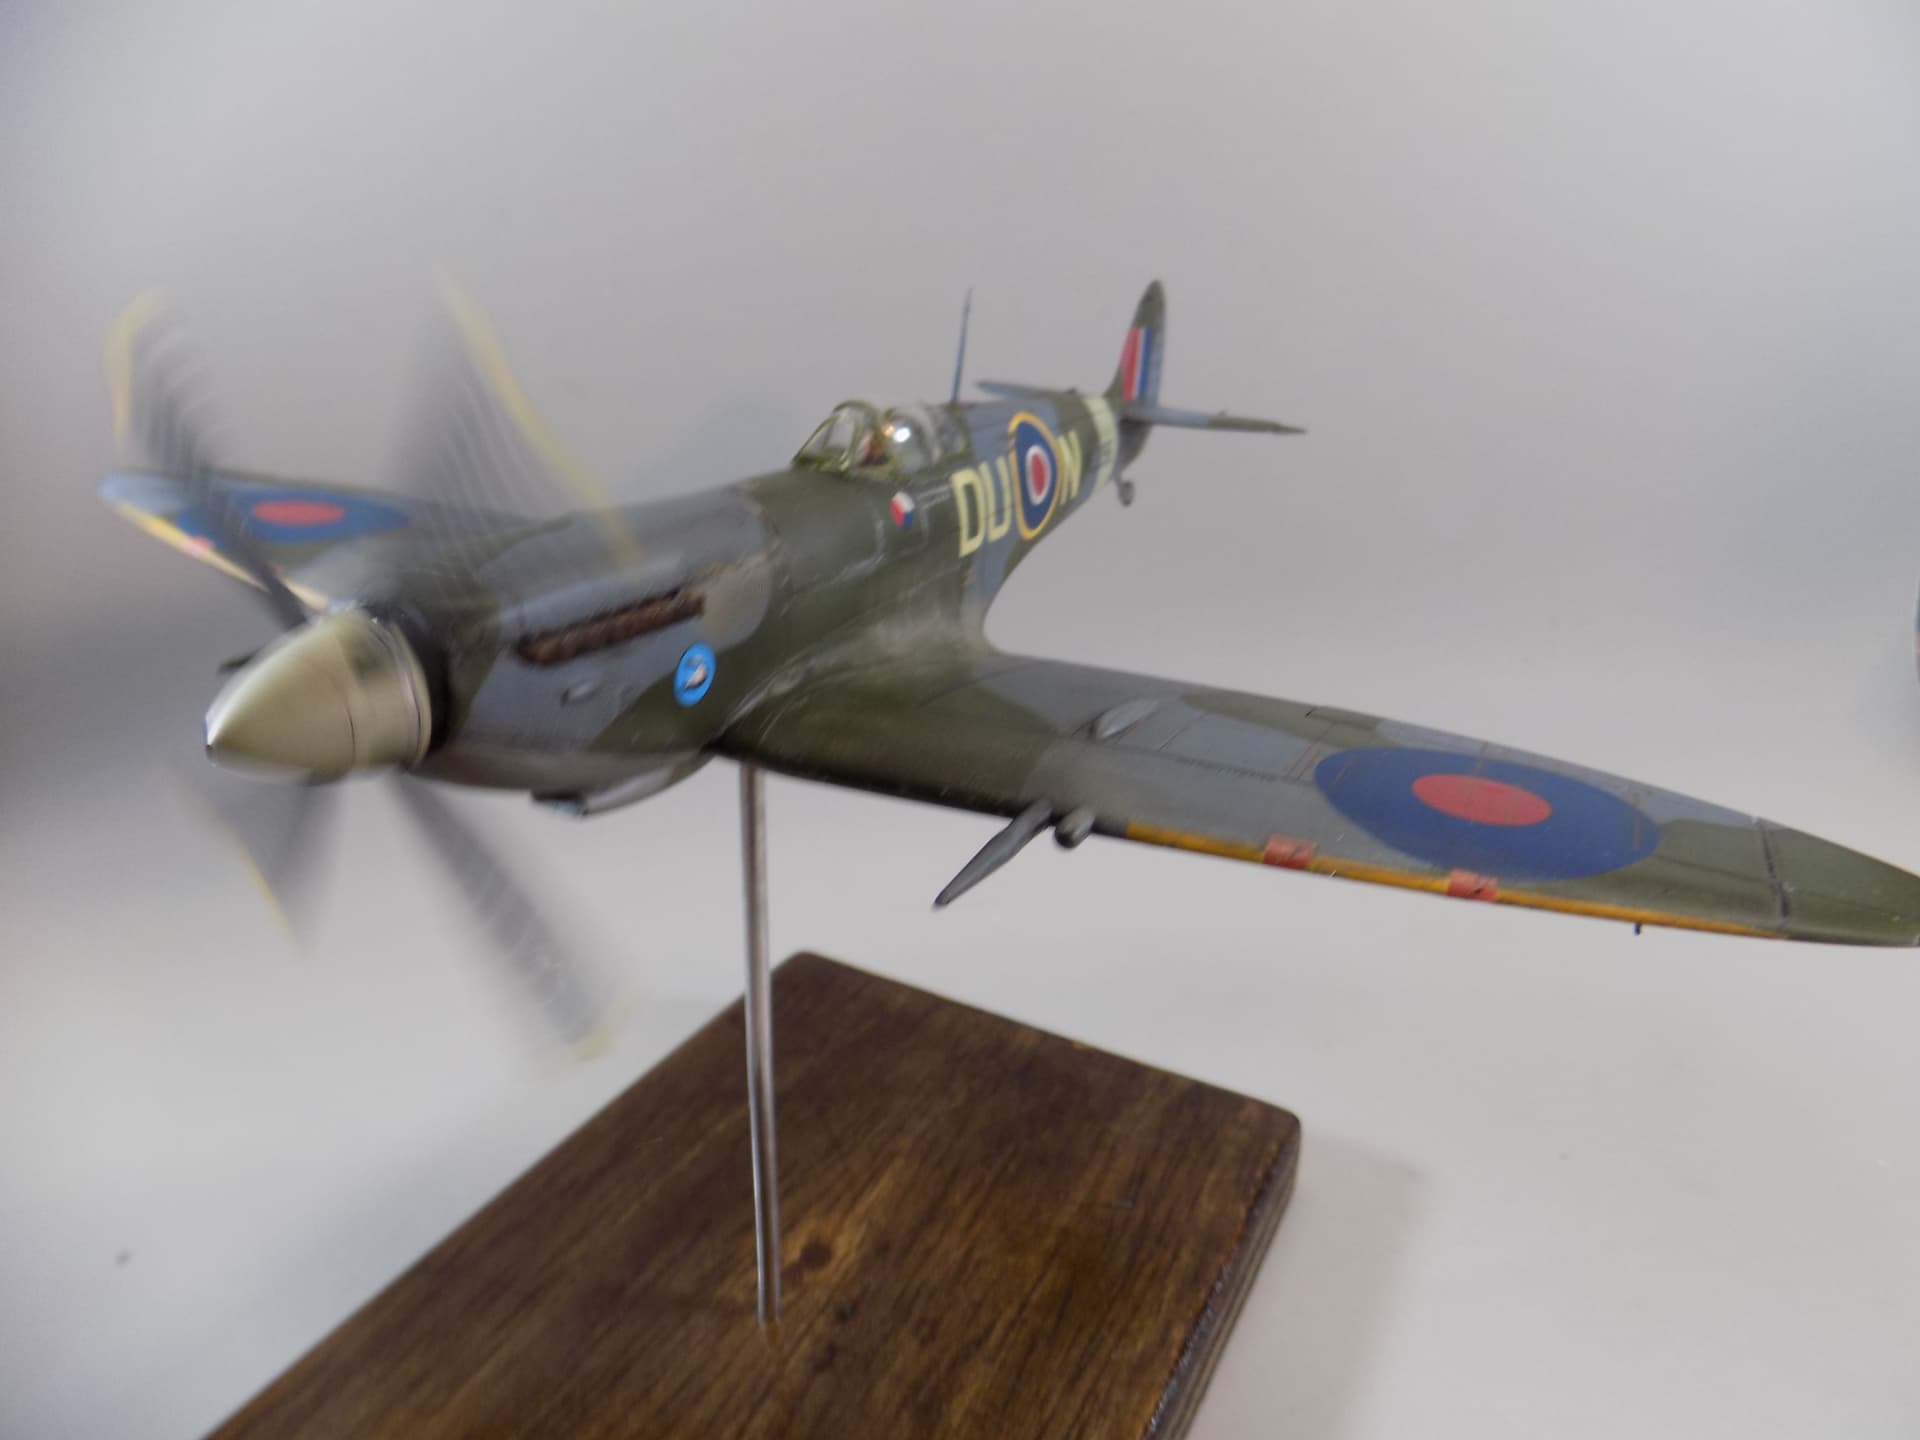
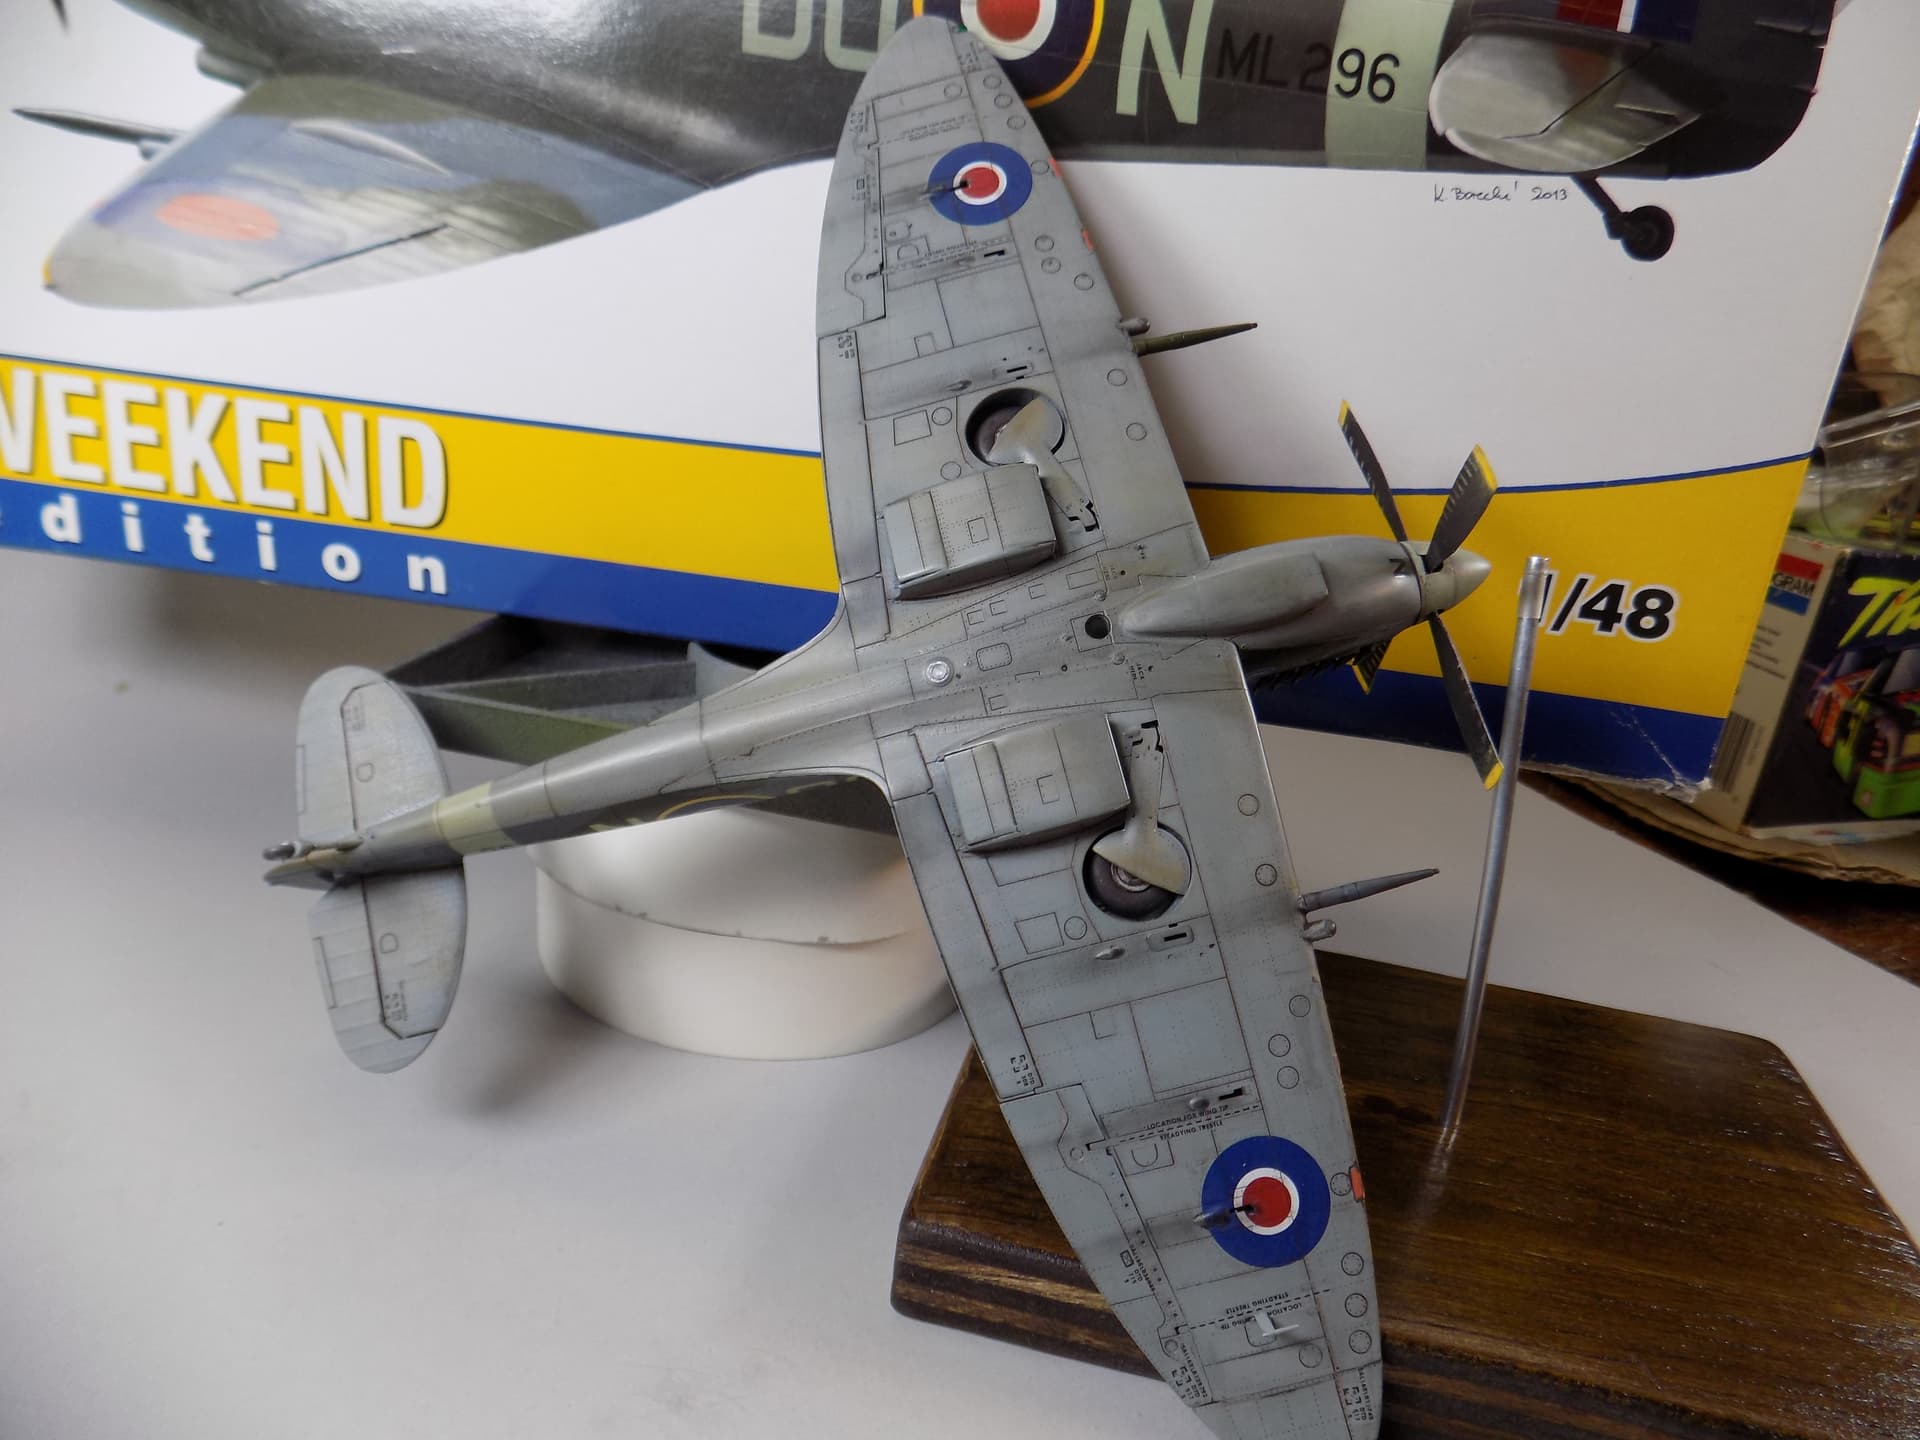
i also discovered a new technique although you all may know of it already. i used a medium brown artist pencil and lightly traced over the panel lines which seem to realistically represent dirt and dust in and along the lines. it even worked on the rivets as you can see in this shot. coupled with the the dark earth wash used first is very effective.

i kept weathering to a minimum, some light chipping and some mud on the wing root
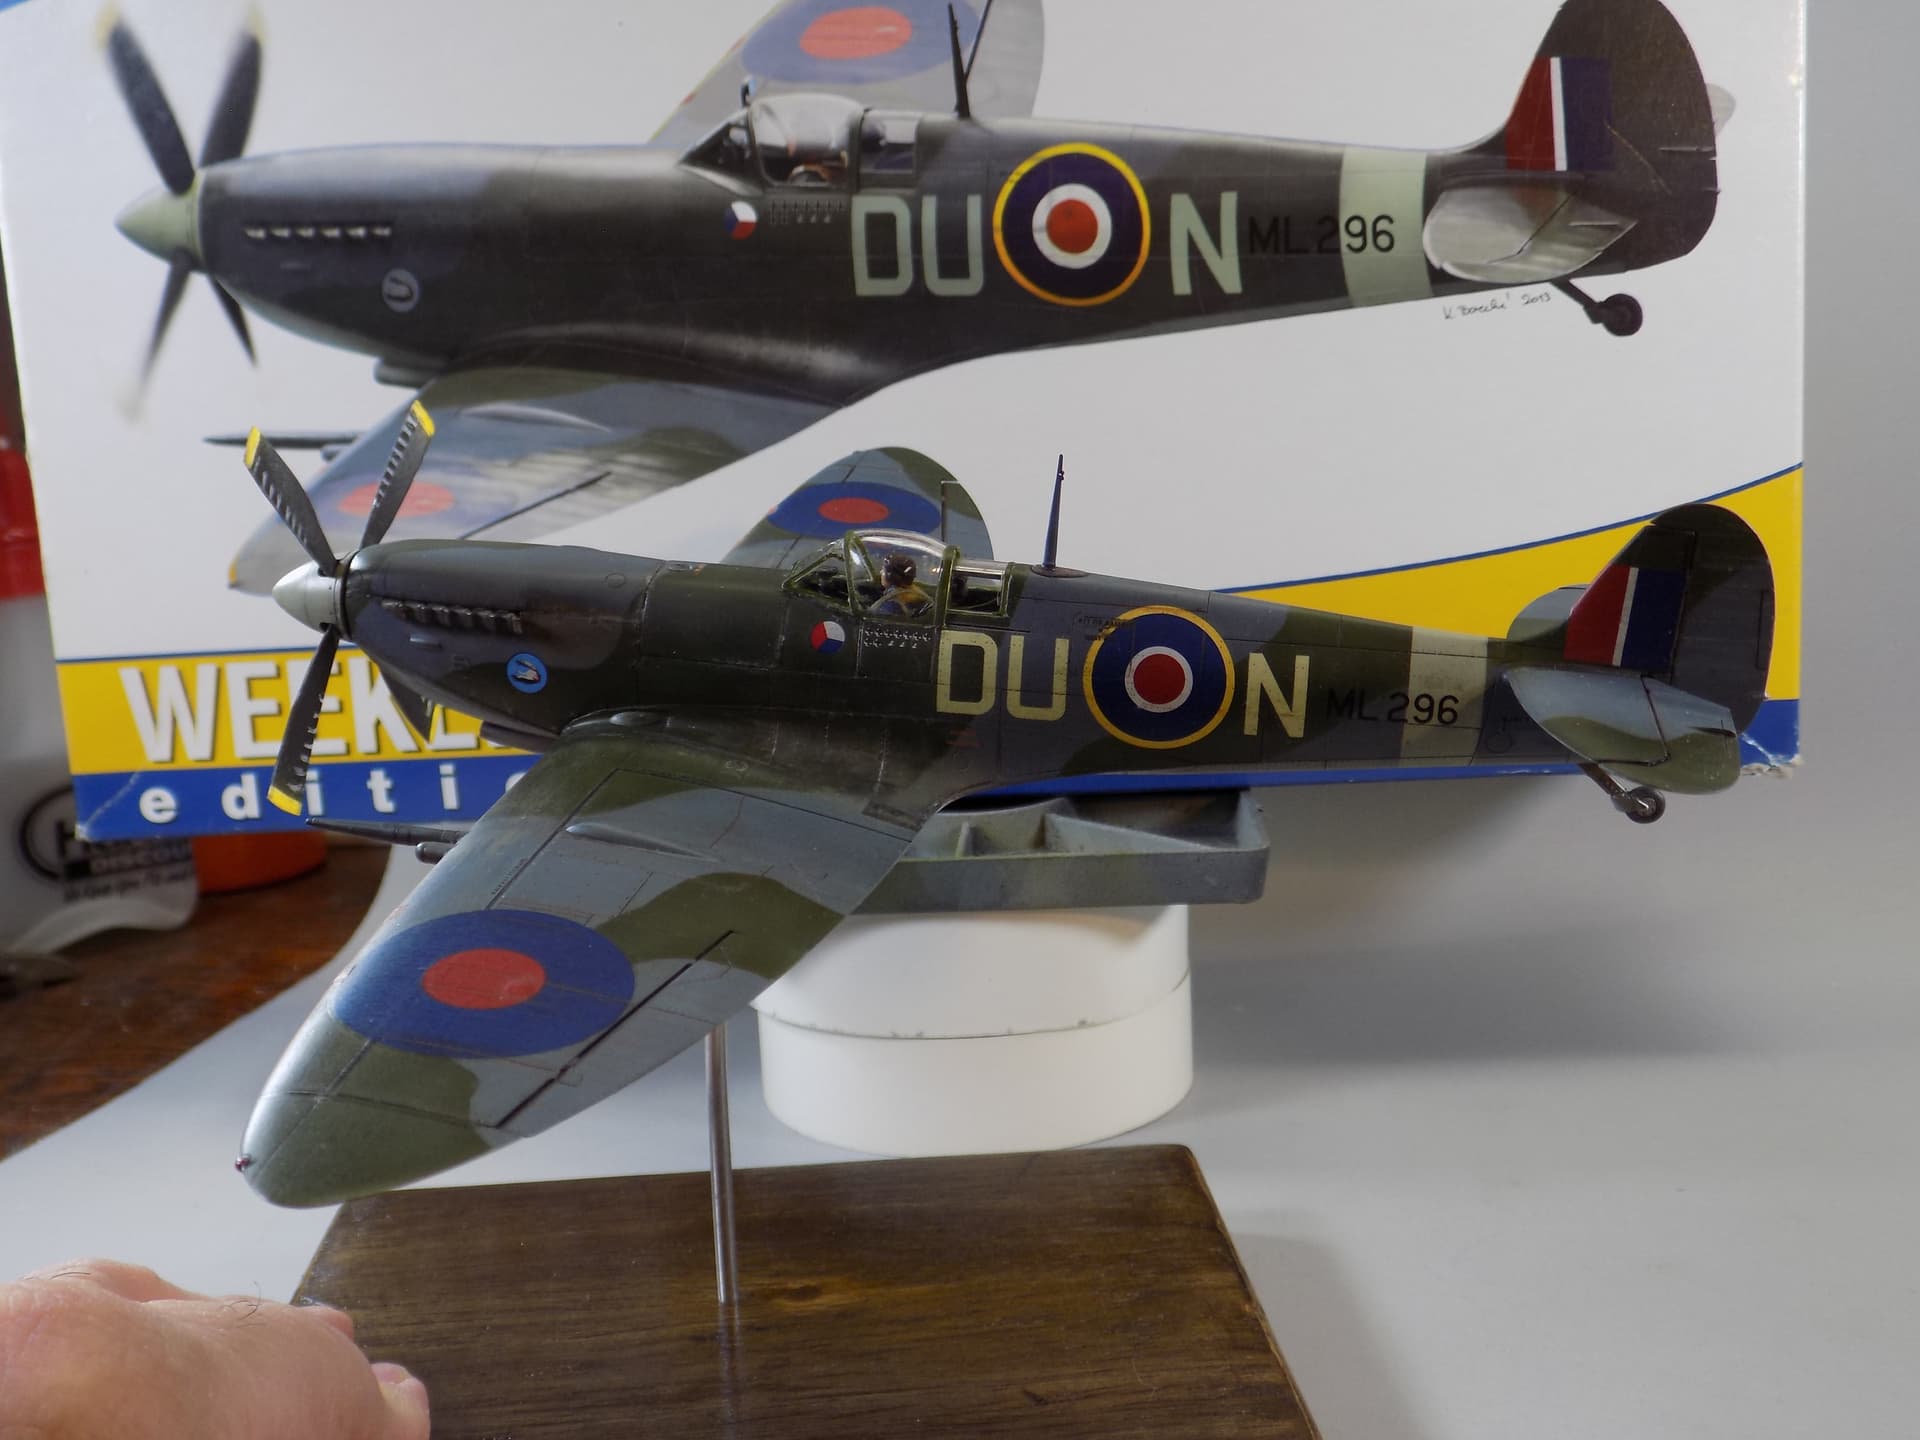
a decent representation of the box art, what do you think?


i bent the tip of the antenna on this photo
i had fun building it and with the campaign. some great work here, congrats to all your great builds!!
Joe
14 Likes
Came out great! ![]()
The prop blur is a good solution, too! ![]()
Excellent finish … That’s a great looking Spit …![]()
Very nice job. Really looks the part.
I too love the prop blur. How did you accomplish it? A fan perhaps?
Paul
Well done Joe, despite your issues it looks great as does the prop blur. Planes always look good in flight.
cheers
Michael
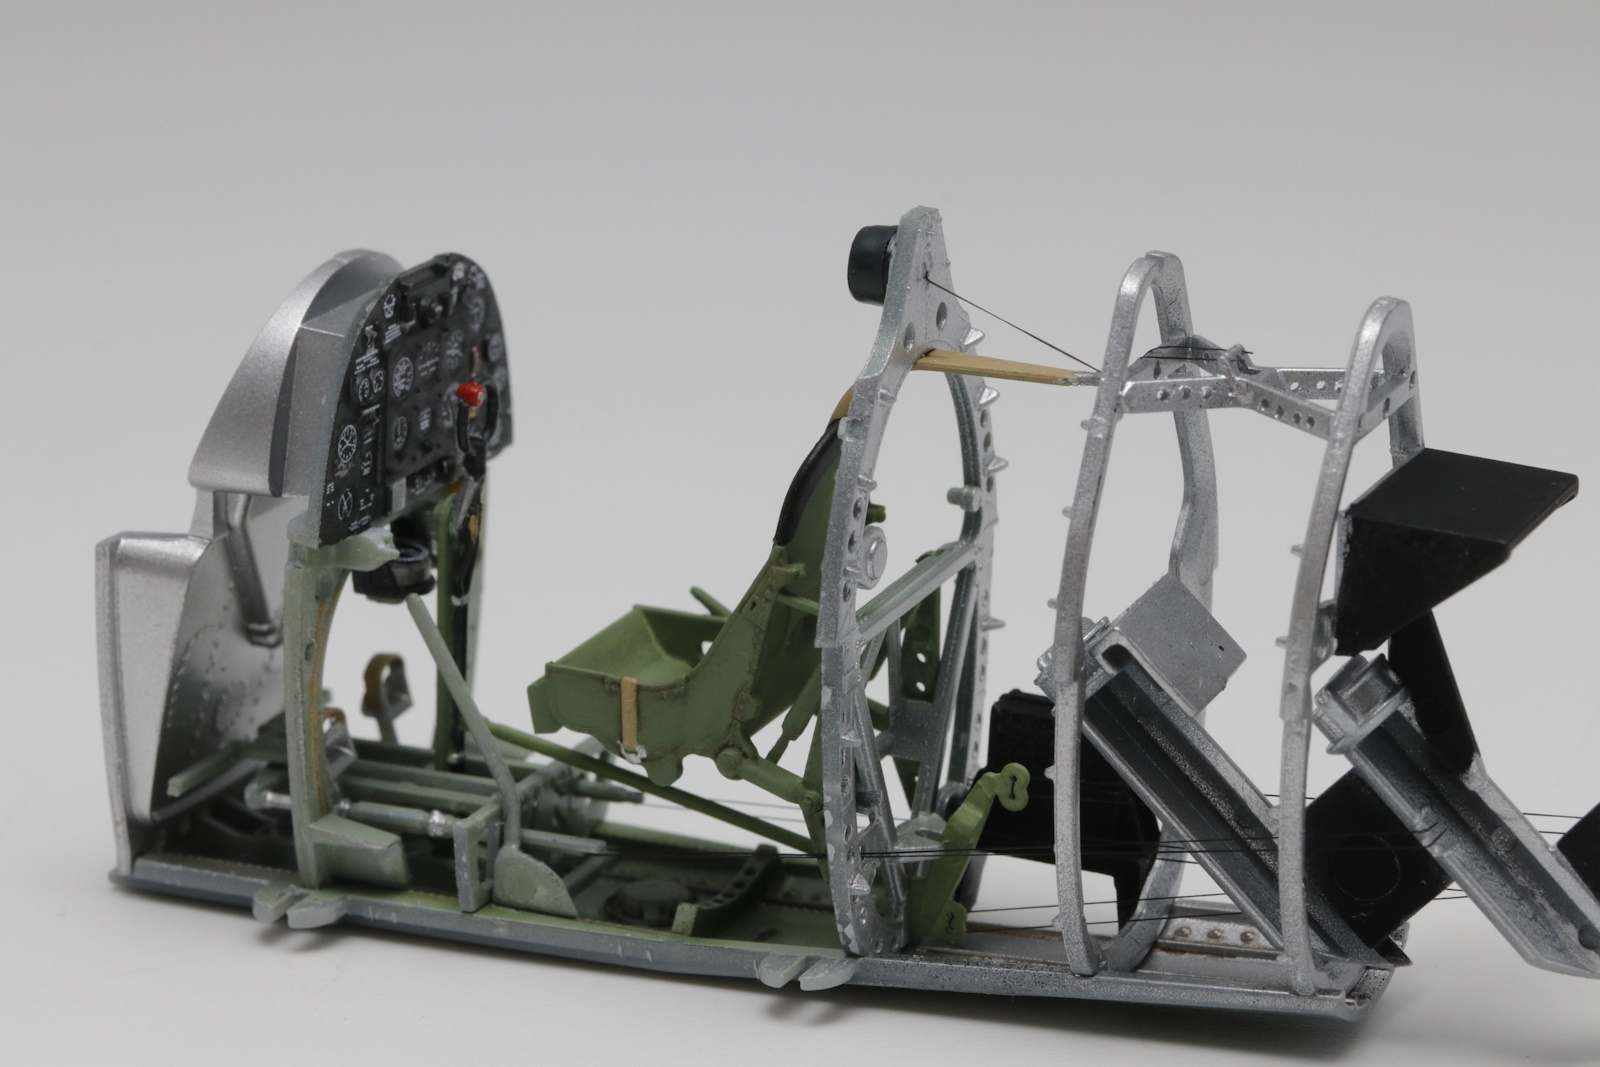
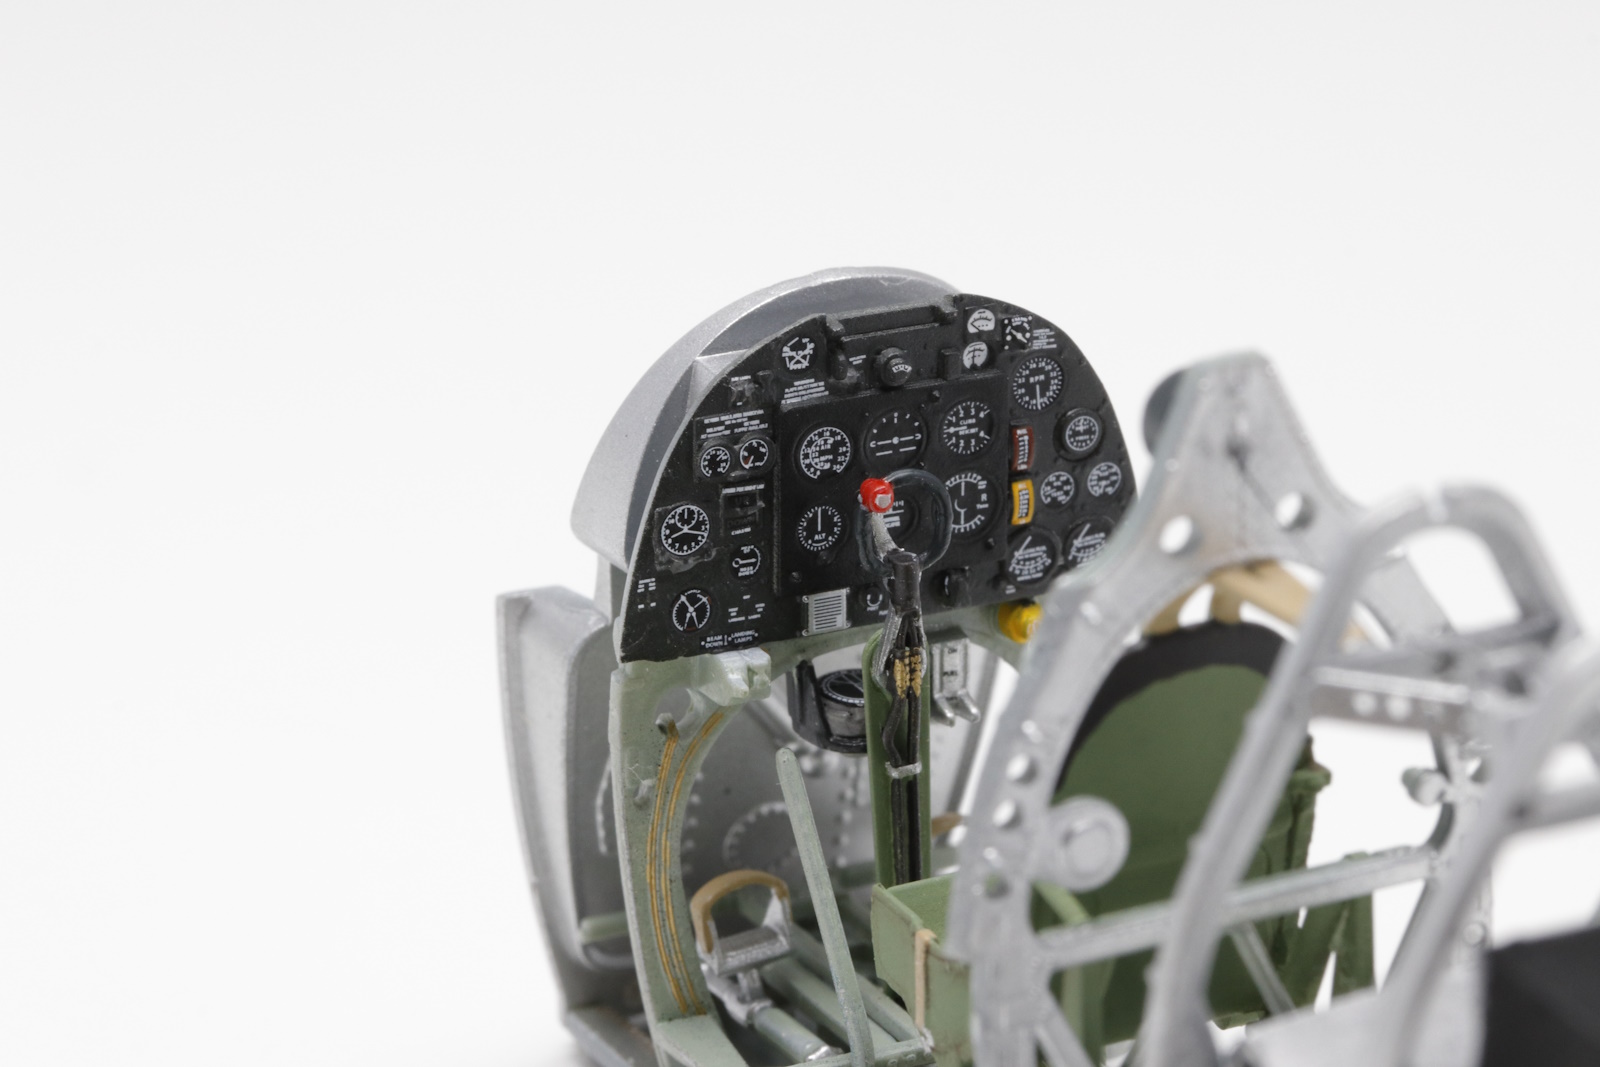
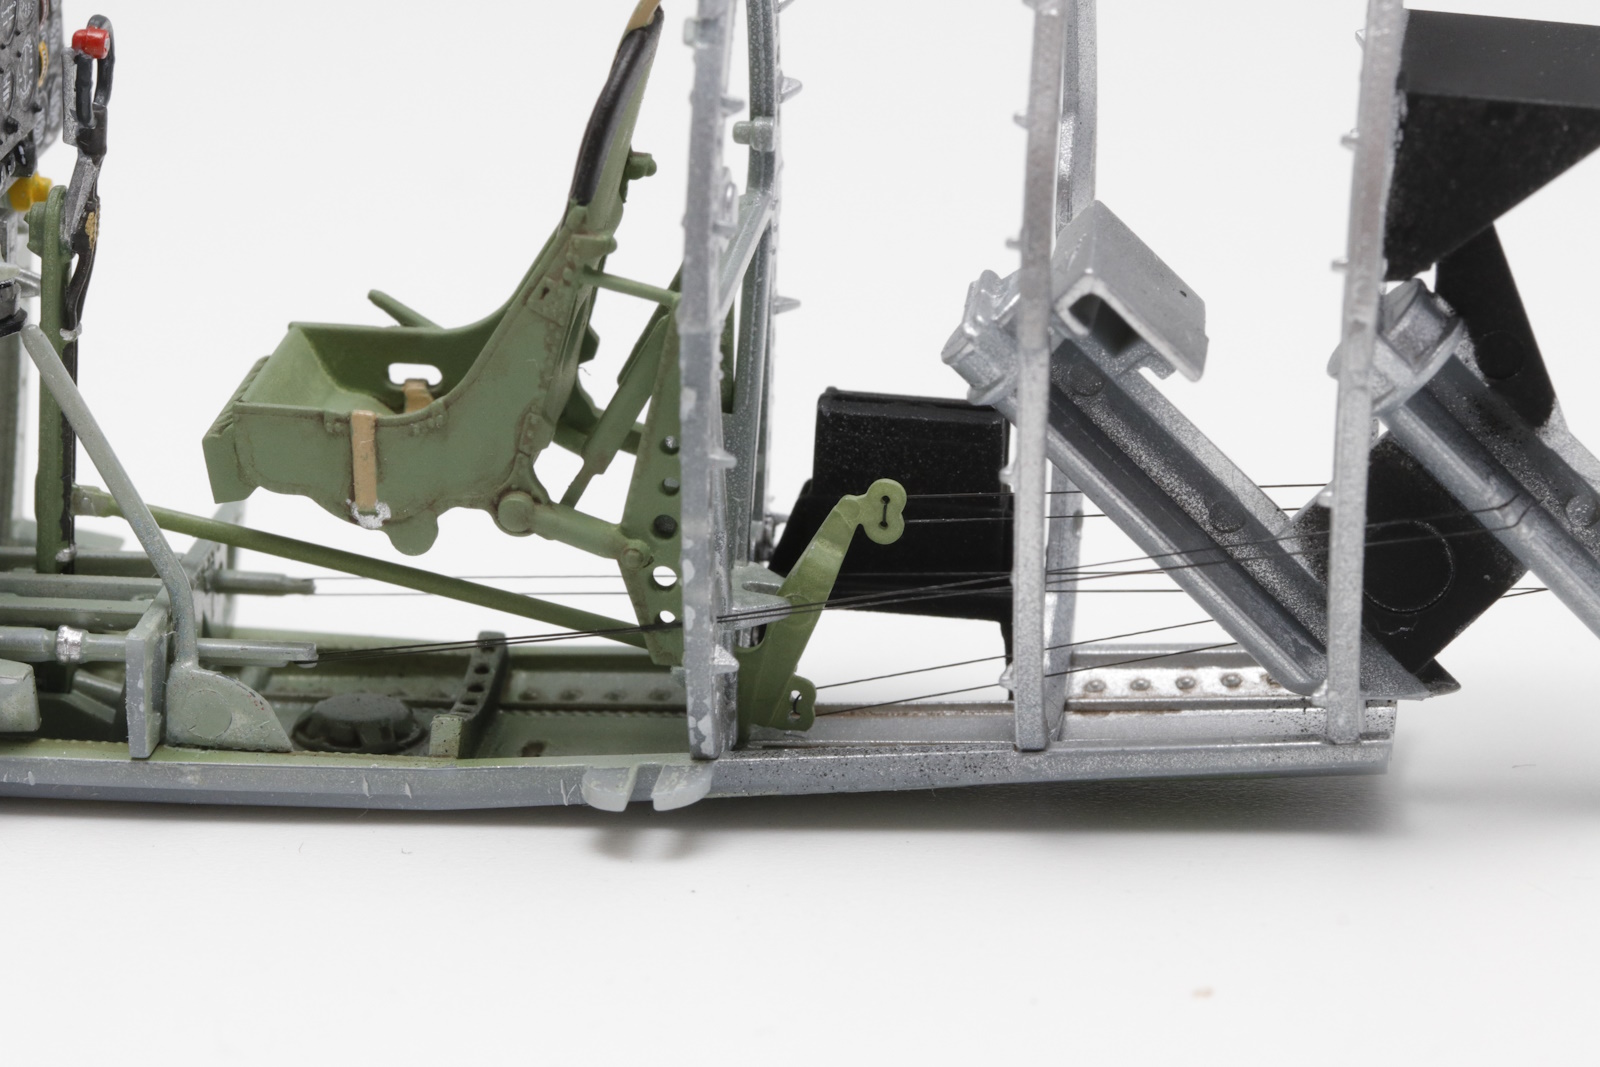
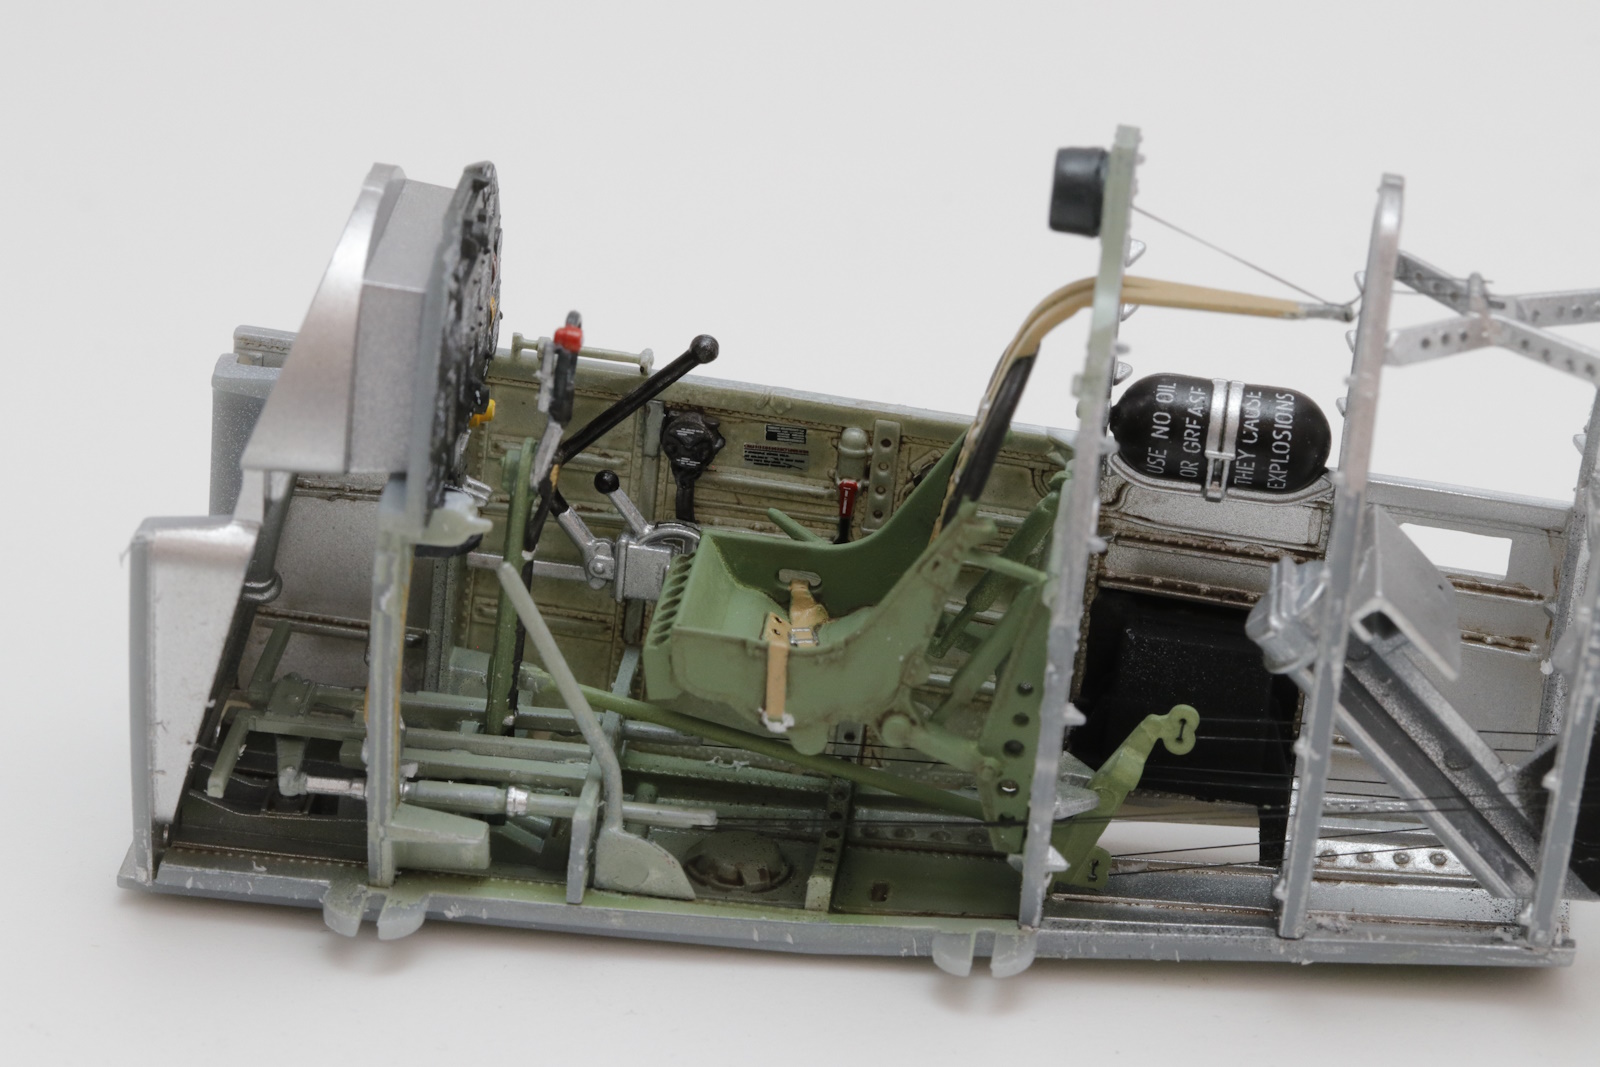
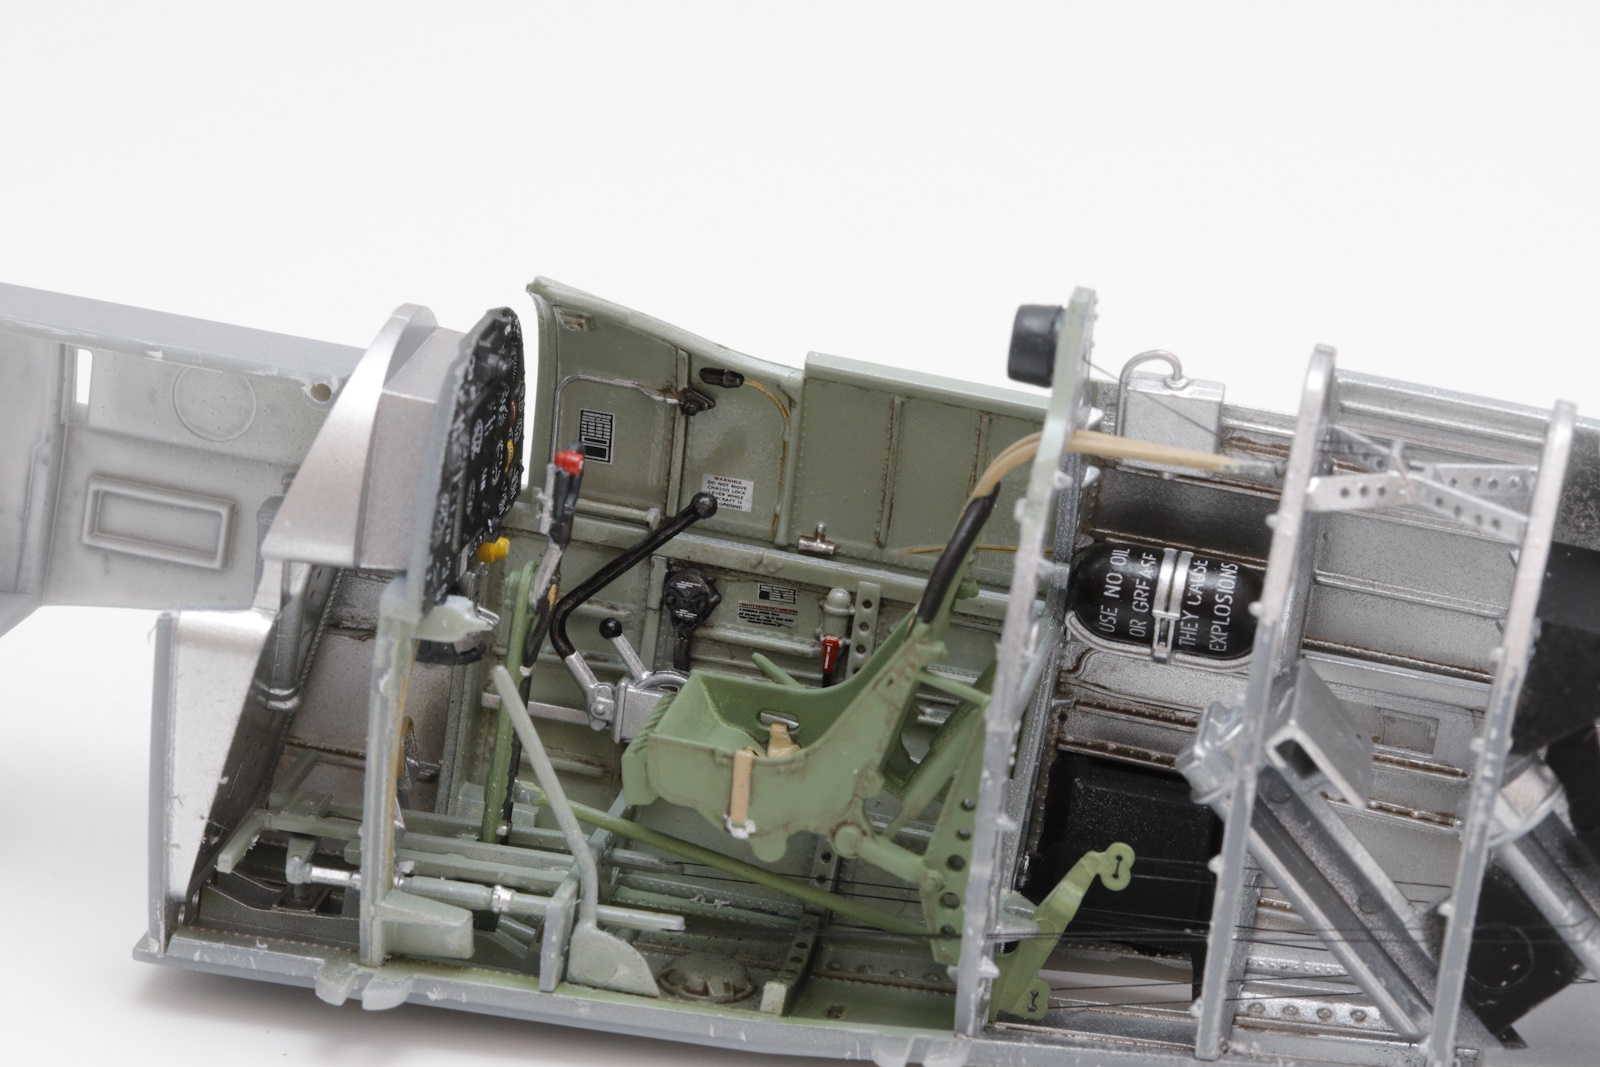
It took longer than I thought but I have the got the core of the cockpit complete.
As I said it would be out of the box which meant many decals for the IP. Good thing is that Kotare have ensured they fit with no excess carrier film to trim. There is a bit of silvering which the photo has shown up but can’t see looking at it
I chose the seat option with the seatbelts moulded on. I need to improve my detail painting skills.
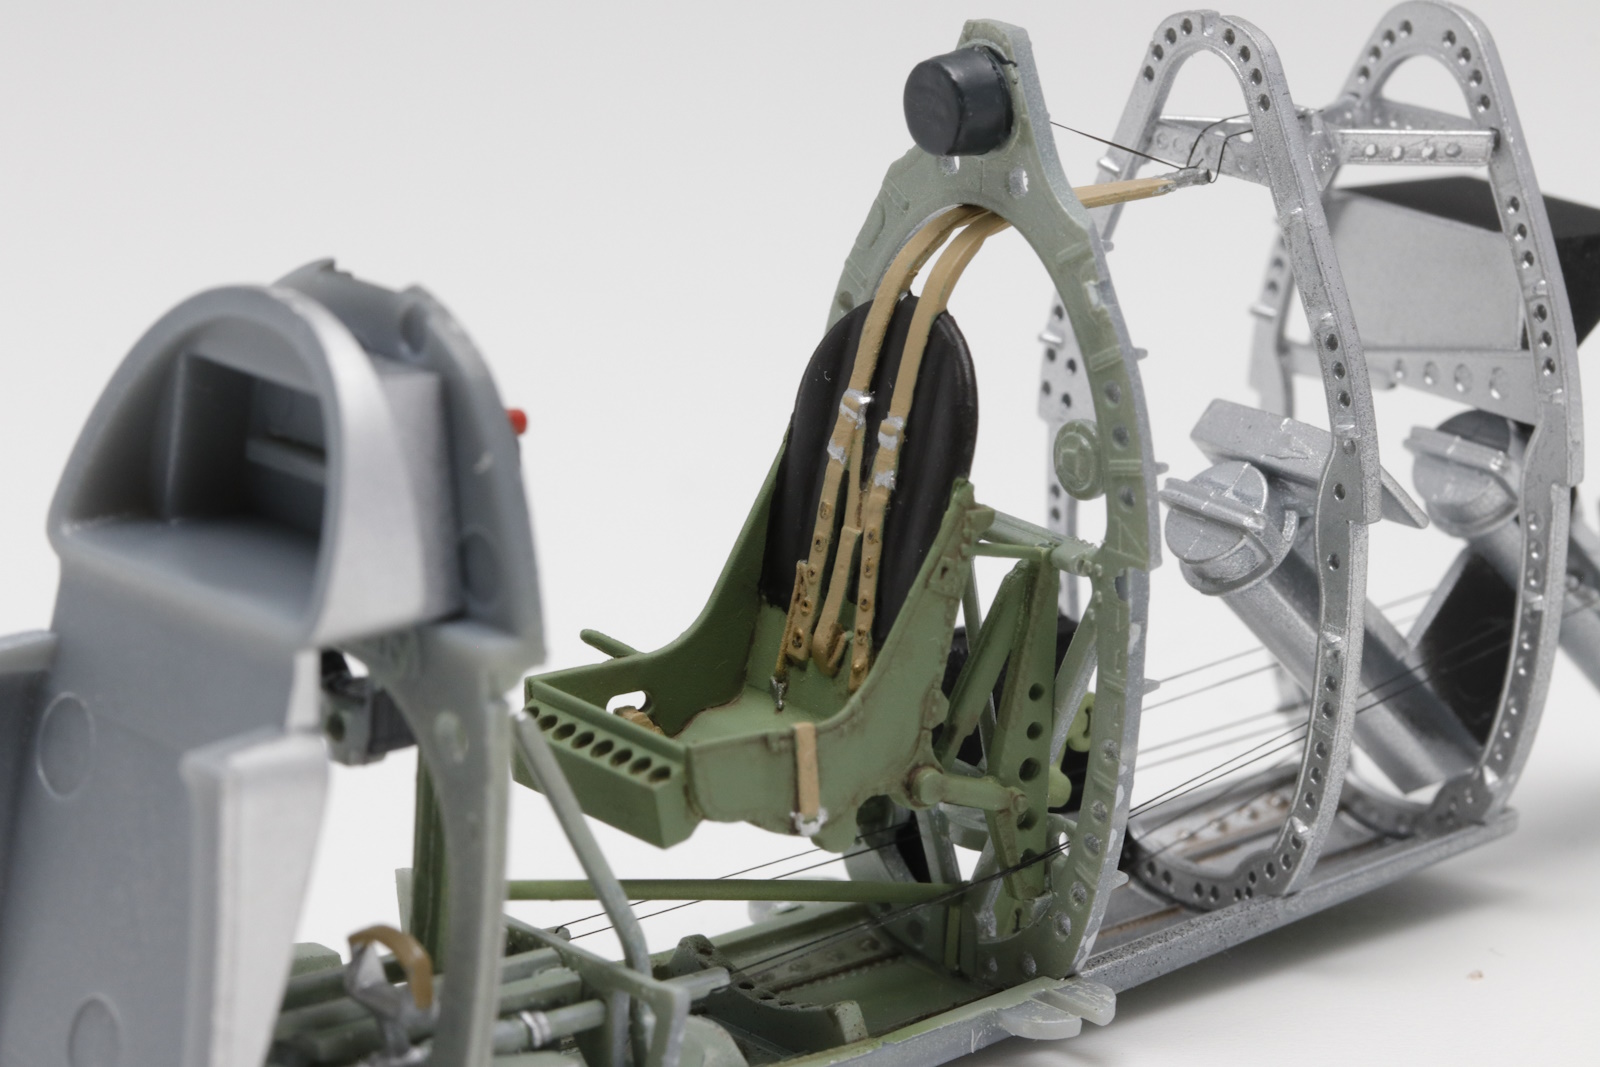
And as you may have noticed, some flight control cables. Kotare give you the directions and I had originally though why bother, nobody will see them but its was something different to do for me.
Cockpit walls up next.
cheers
Michael
9 Likes
Great looking cockpit area… details really jump out ![]()
1 Like
Hi paul.
my process for the prop was this
first i glued the kit prop to a clear sheet of plastic using Aleenes white glue. i used piece from discarded container then i sprayed flat black over it and removed the kit prop which left an outline of the prop in clear plastic. i positioned the nose cone over it and lined up where the shafts of the prop would exit the cone and marked the size the shaft that would be needed. i also marked the leading edge of the blades with a small x scratched in the black paint so i would nt get confused in the direction of rotation. when i cut the image out i did not cut the exact outline, i extended the width a little on the top of the trailing edge where the yellow tip would be painted and tapered the cut towards the bottom of the blade so it would meet the shaft approximately where it tapers to the prop shaft on the kit part. you have to blend the taper to the shaft and cut the base out so it fits through the holes in the cone. the added size on the trailing edge is meant to represent motion. before you start cutting out the prop mark the position of the base of the cone on the hub area, you want to leave a hub center slightly smaller than the diameter of the cone so your props don’t fall apart. try to give the top and leading edge of the prop a slight curve in the direction of the trailing edge again to simulate motion. after it is cut out and test fitted to the cone assembly to make sure it fits i misted flat black on both sides making sure it was not too heavy as to let light pass through. i then scraped off the black on the tips and airbrushed a light mist of insignia yellow. i tried cutting little slits on the trailing edge of the blades but that didn’t work well so i just scrapped clear lines in it to try to make a blurred appearance. i didn’t even glue the prop blur in the nose cone. it fit snug enough that it held tight when i glued the back plate to the cone.
i drilled a hole in the back plate and glued a short piece of rod the same size as the hole in the fuselage nose to allow it to be mounted and spin but you can also glue the prop to the fuselage too i suppose, i was initially planning to do it that way.
i am sure i will make some modifications when/if i make another one. but this is the base way i will probably go about it. if anyone has some ideas on improvements please let me know. Joe
Great build, Jow. Funny trick with the prop. I will try that at some point ![]()
Excellent weathering and finish! ![]()
1 Like
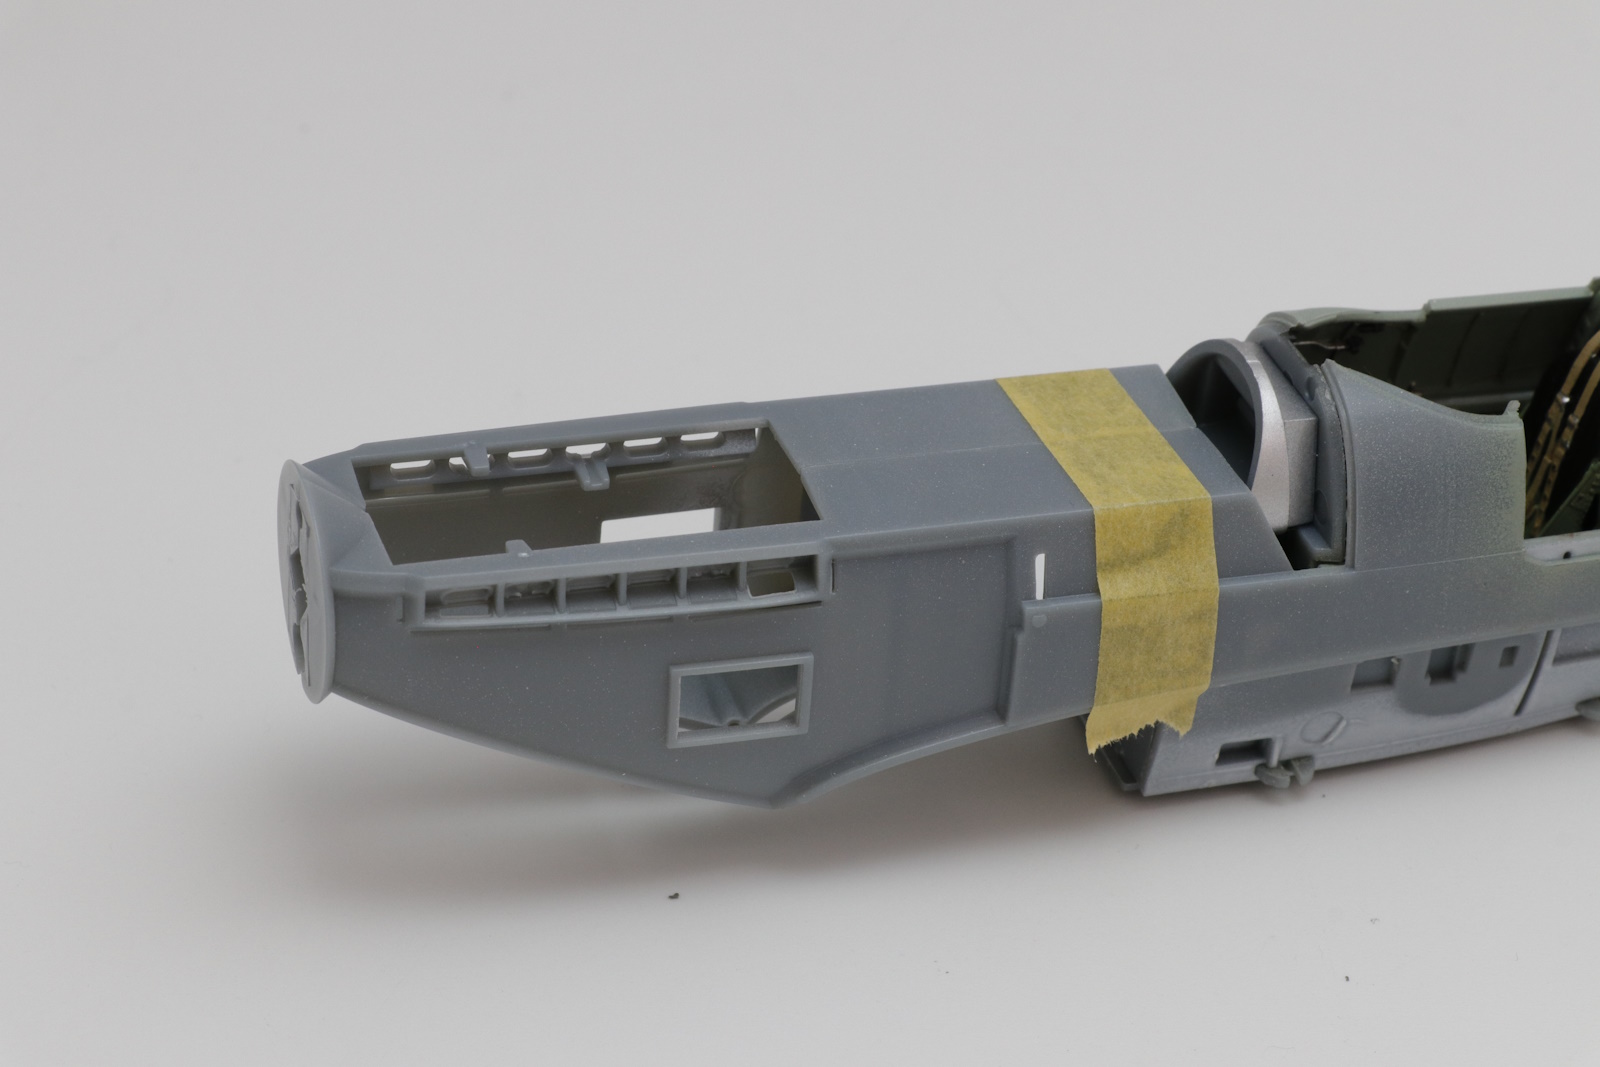
Completed the cockpit walls. There lower walls that come as separate parts and then the upper walls are the inside of the fuselage.
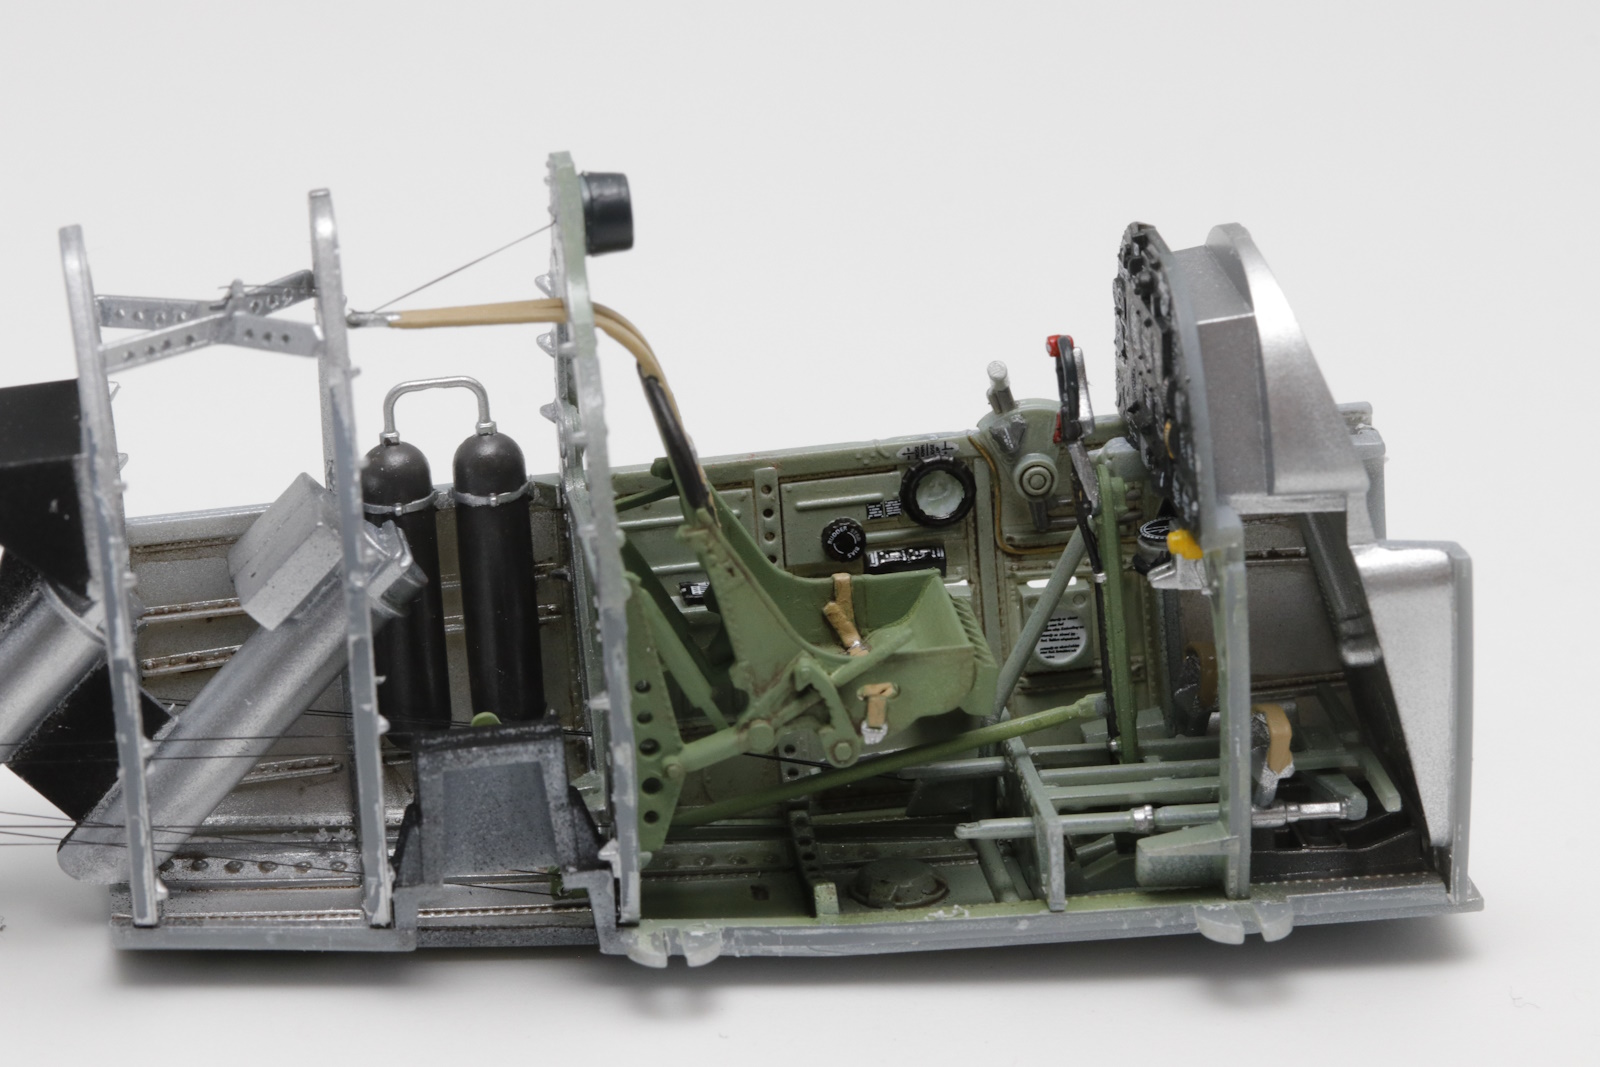
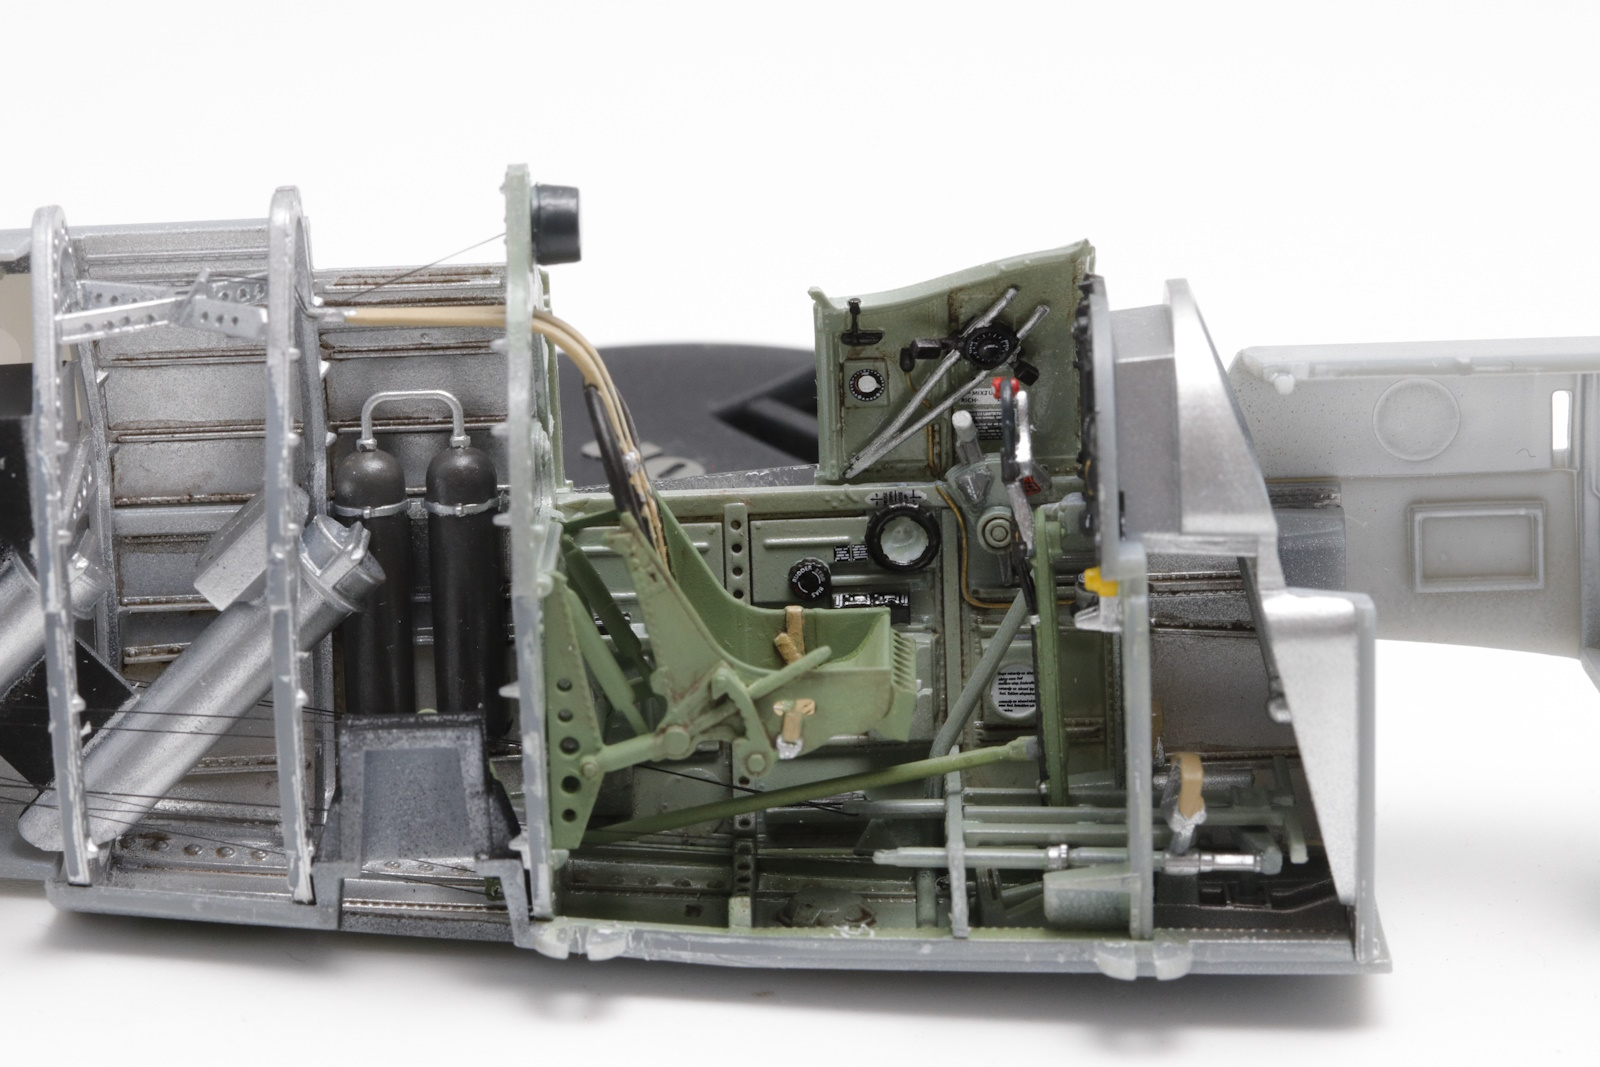
and the other side
All very snug in there
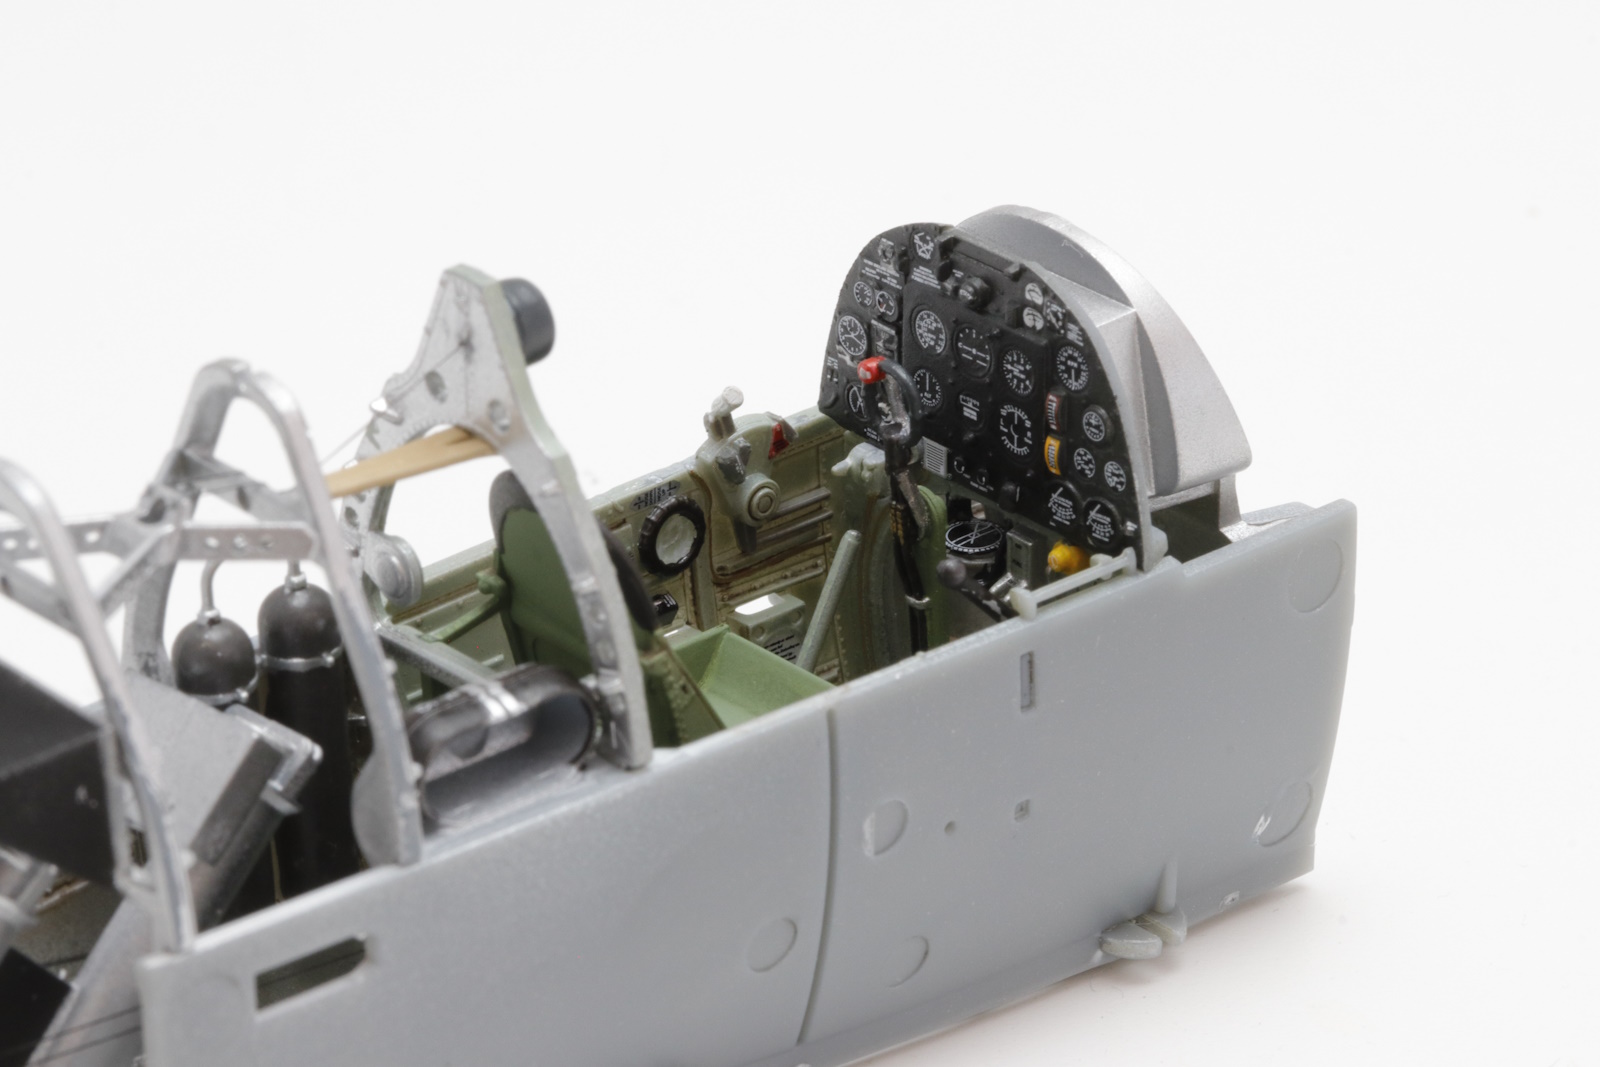
The way the fuselage is moulded allows for variants of the early Spits. You have different fuel tank fairings, with the early versions unarmoured, optional engine cowlings, different exhausts. The version I am building also has the ring and bead sighting option. All up next once I get the fuselage sealed up.
cheers
Michael
11 Likes
A beautiful kit and execution of it Michael!
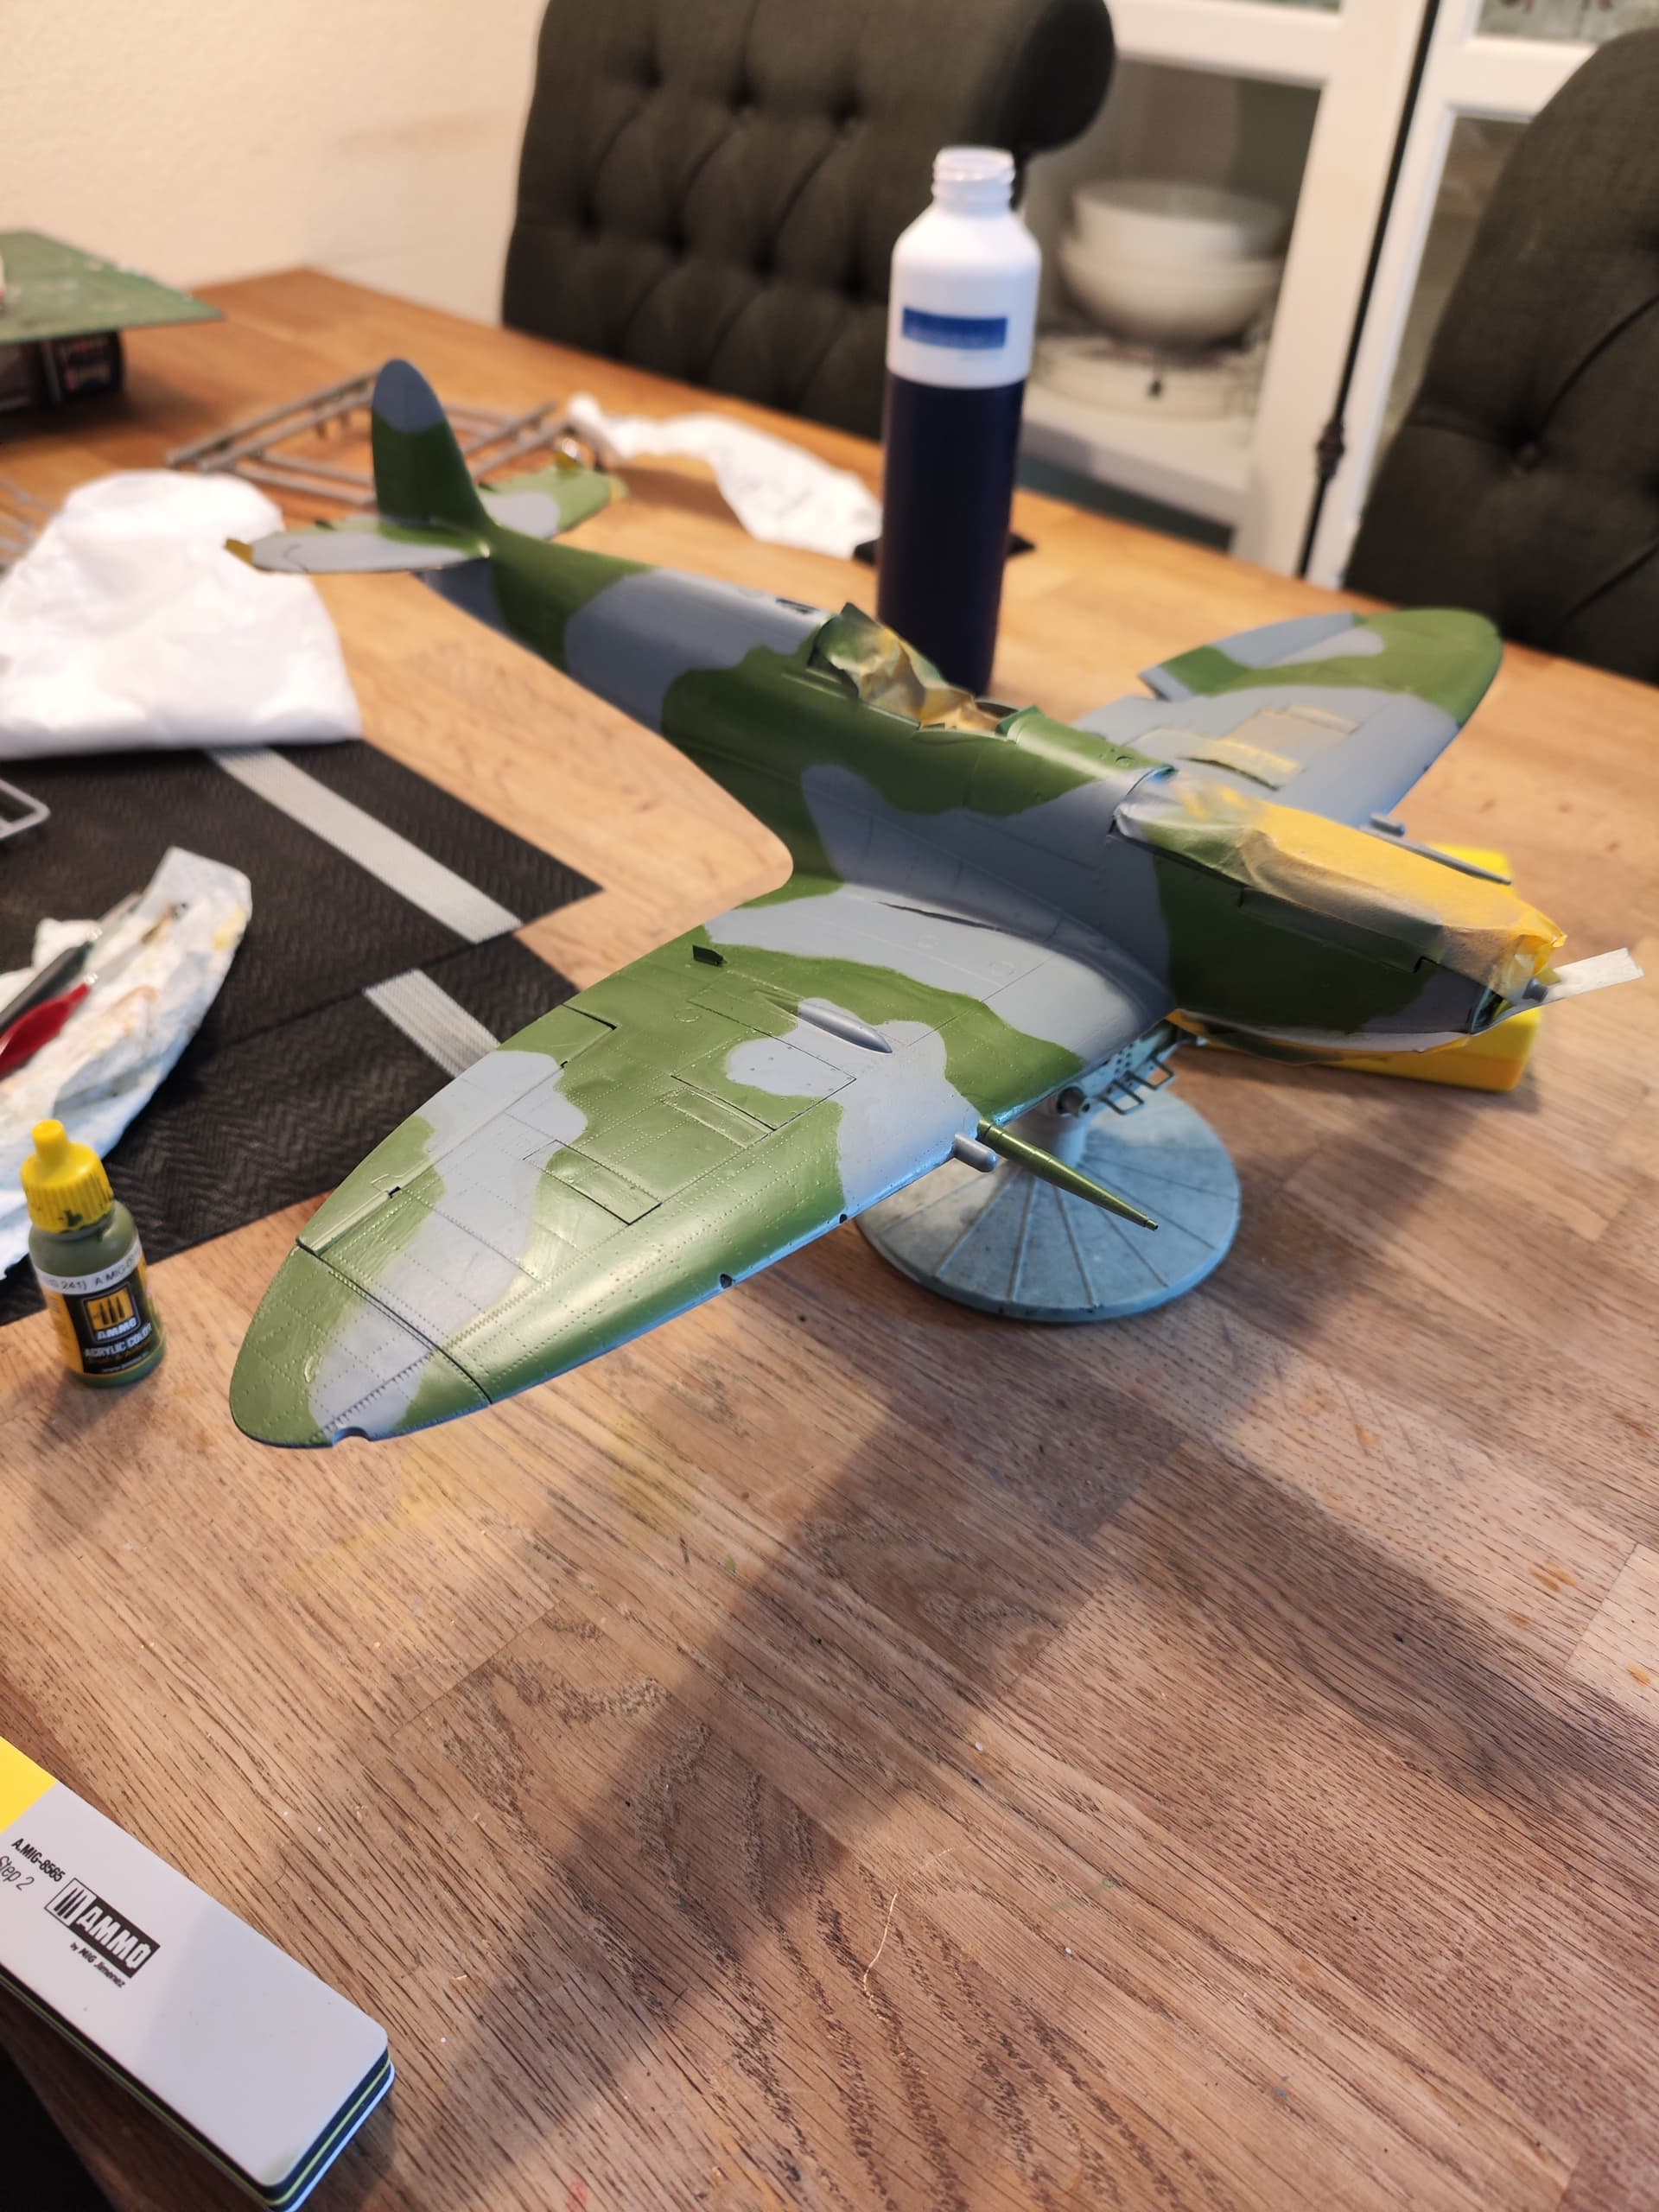
Mine received its base colours yesterday… Still quite some work to do, but getting there!
8 Likes
Beautiful work there @cosimodo
1 Like
Bending the acrylic rod was more challenging than I expected, probably because it’s so thin. Ruined 3-4 before finally getting something that works. I still may try another…this one has a very slight angle in the curve.
Thinking of this bank angle….
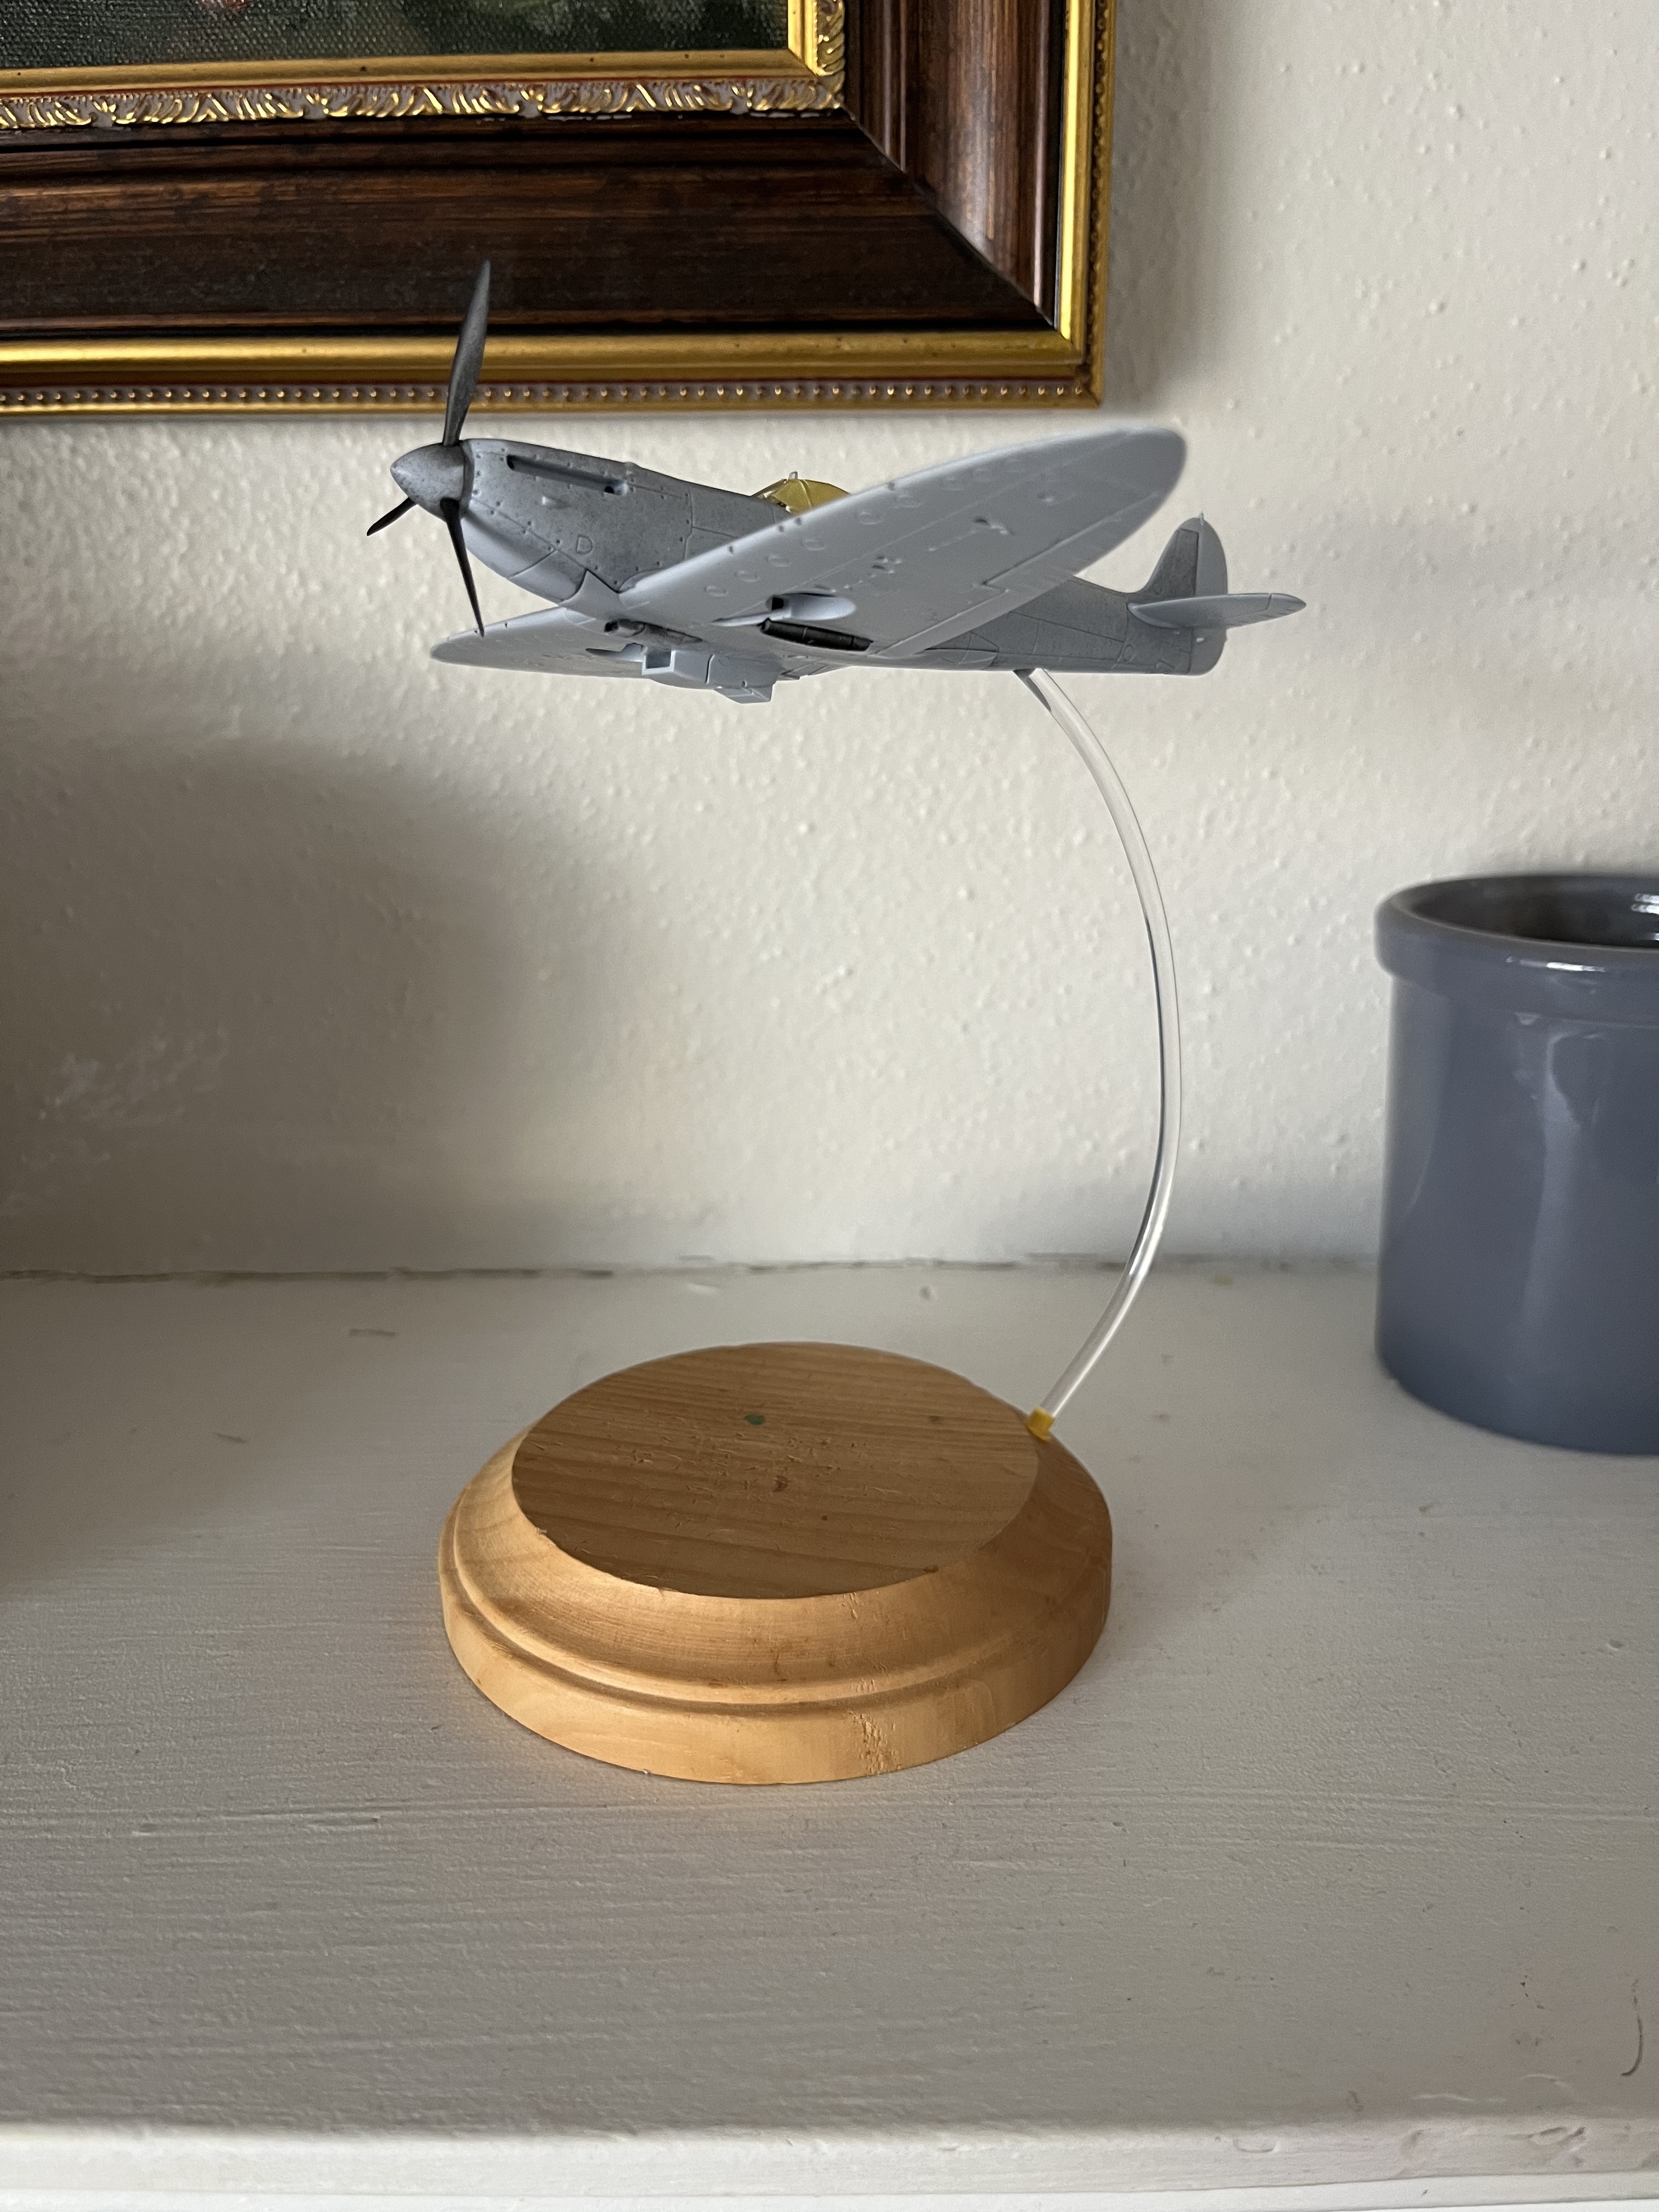
But may go more banked…not sure. Thoughts?

10 Likes
Erwin,
Given the issues you’ve had with it, would you still recommend the big Spitfire kit, or suggest giving it a miss?
Michael ![]()
![]()
I like the second, more banked angle. Nice eigther way though. ![]()
—mike
1 Like
The engine part is the only thing I would warn anyone for. Furthermore I have no big issues with the kit. I am looking for the correct red colour for the roundels.
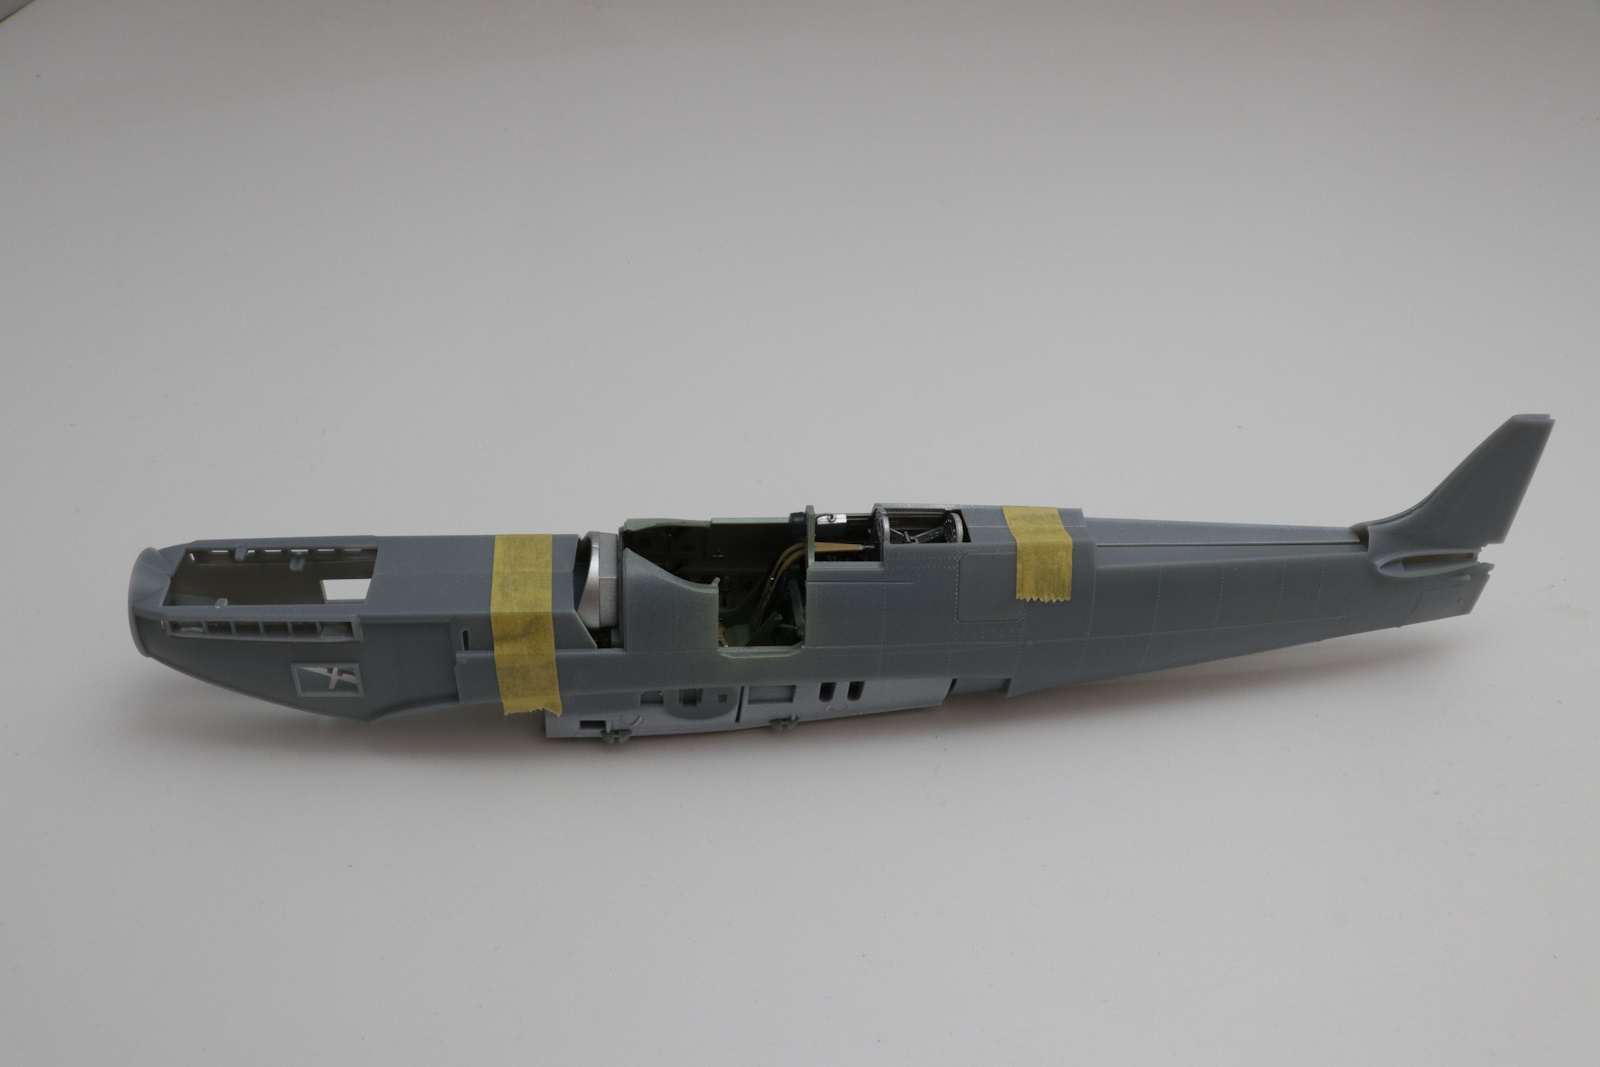
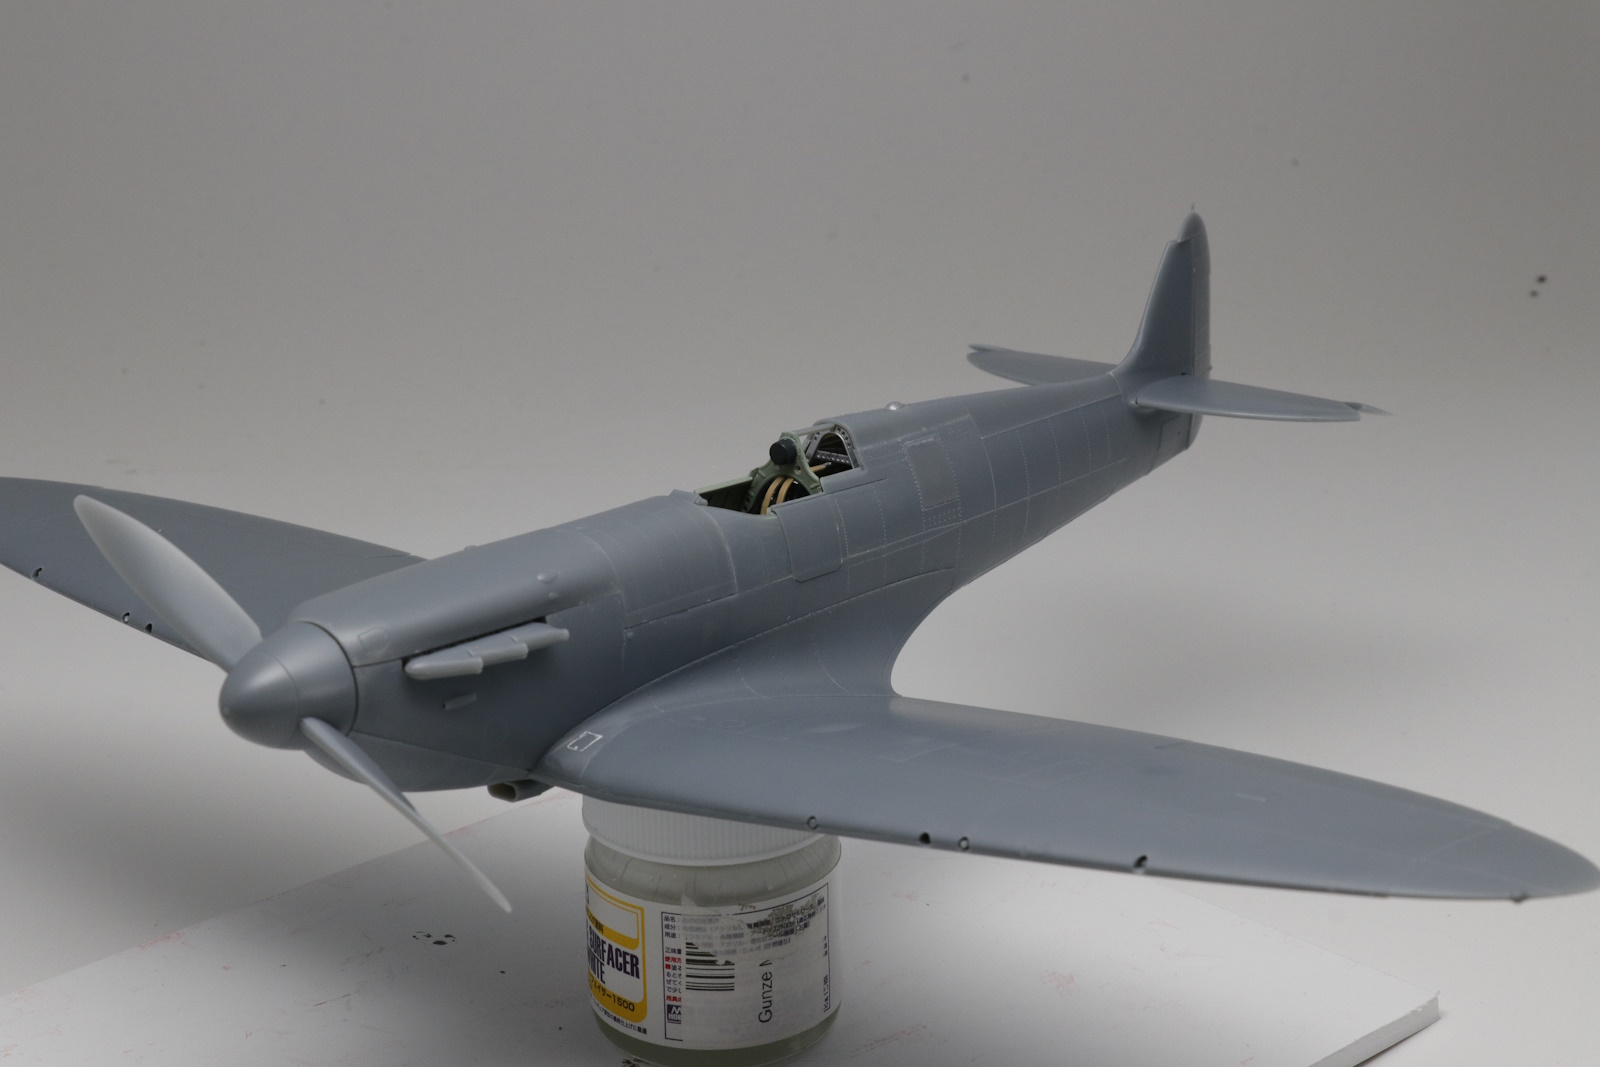
The Mk1 is just about assembled, not as straightforward as I would have hoped for, but now only some landing gear to sort and the canopy. I think I will go for closed on this one.
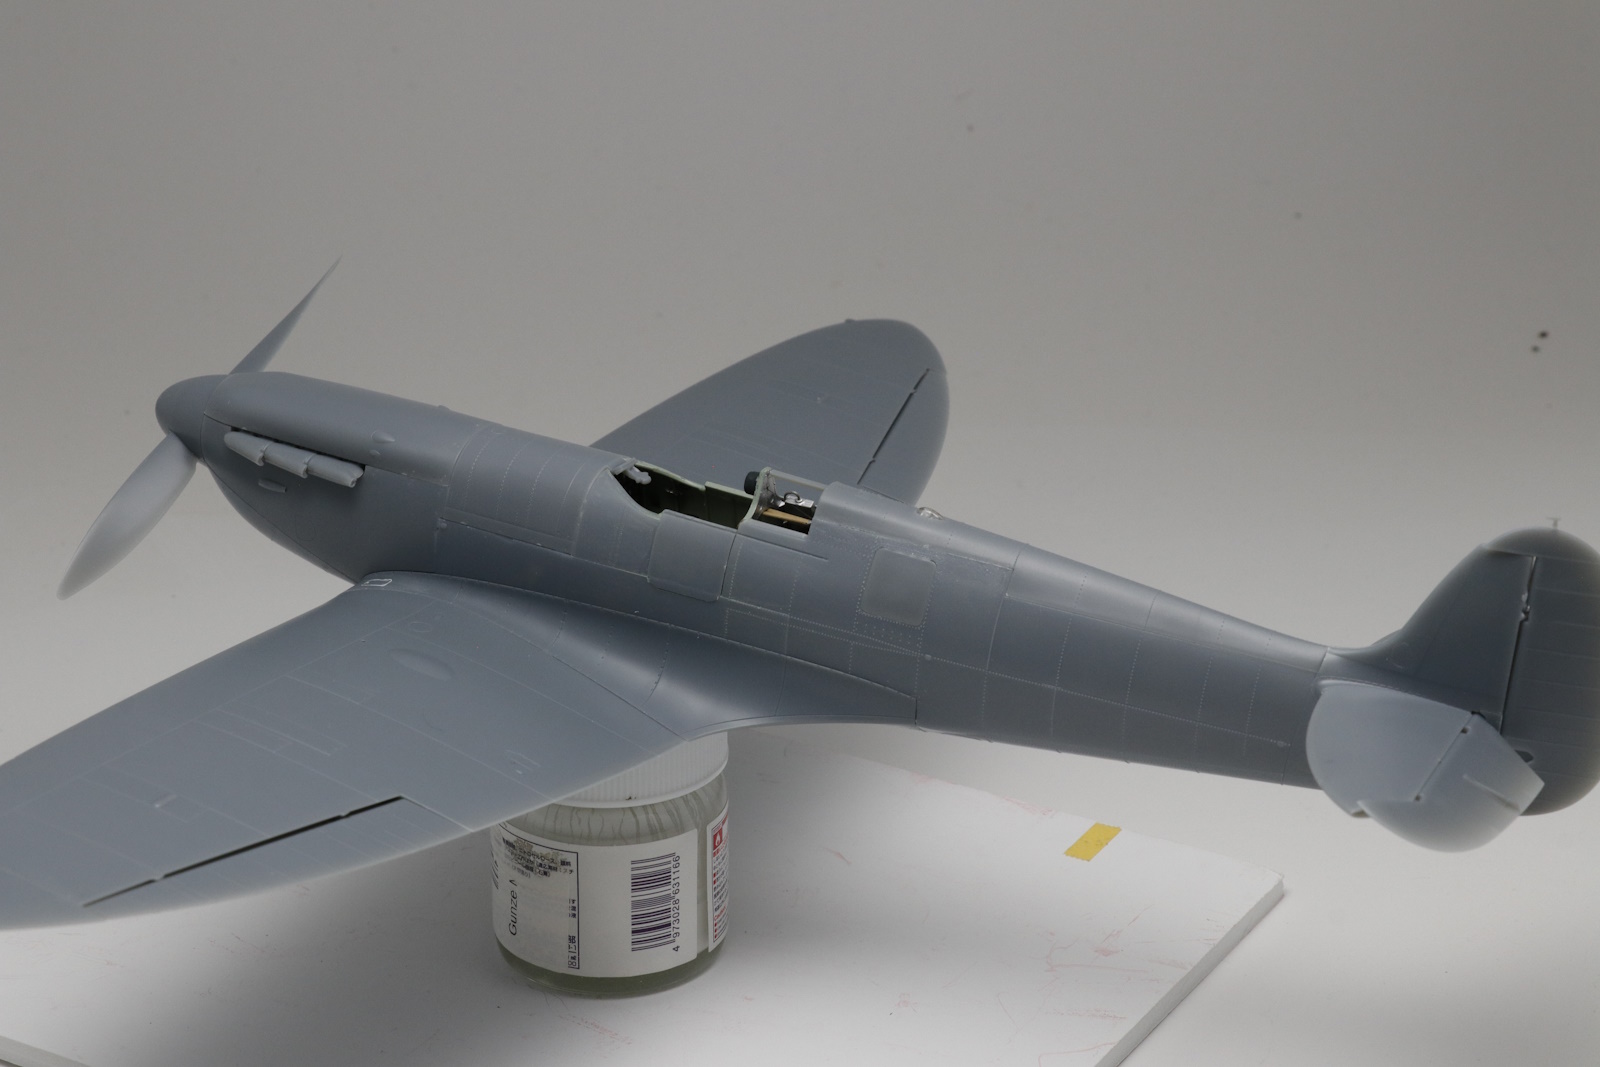
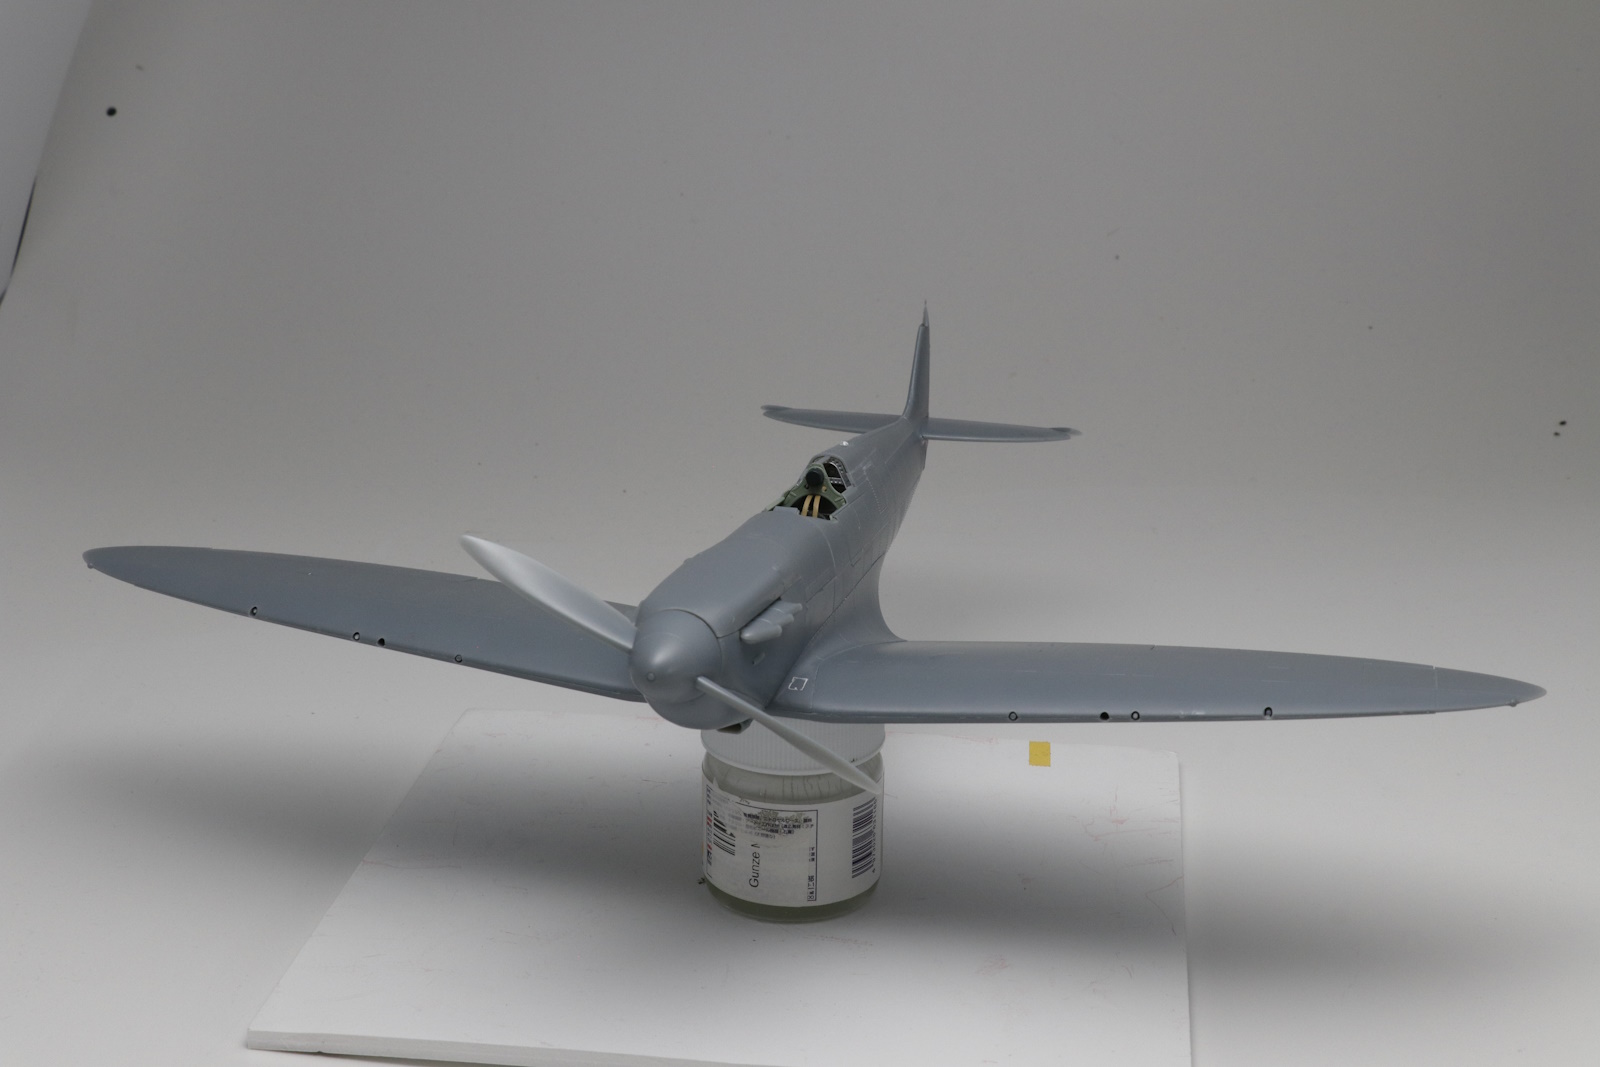
cheers
Michael
12 Likes
Looking good Michael. Look forward to seeing paint on her.
Pete
1 Like