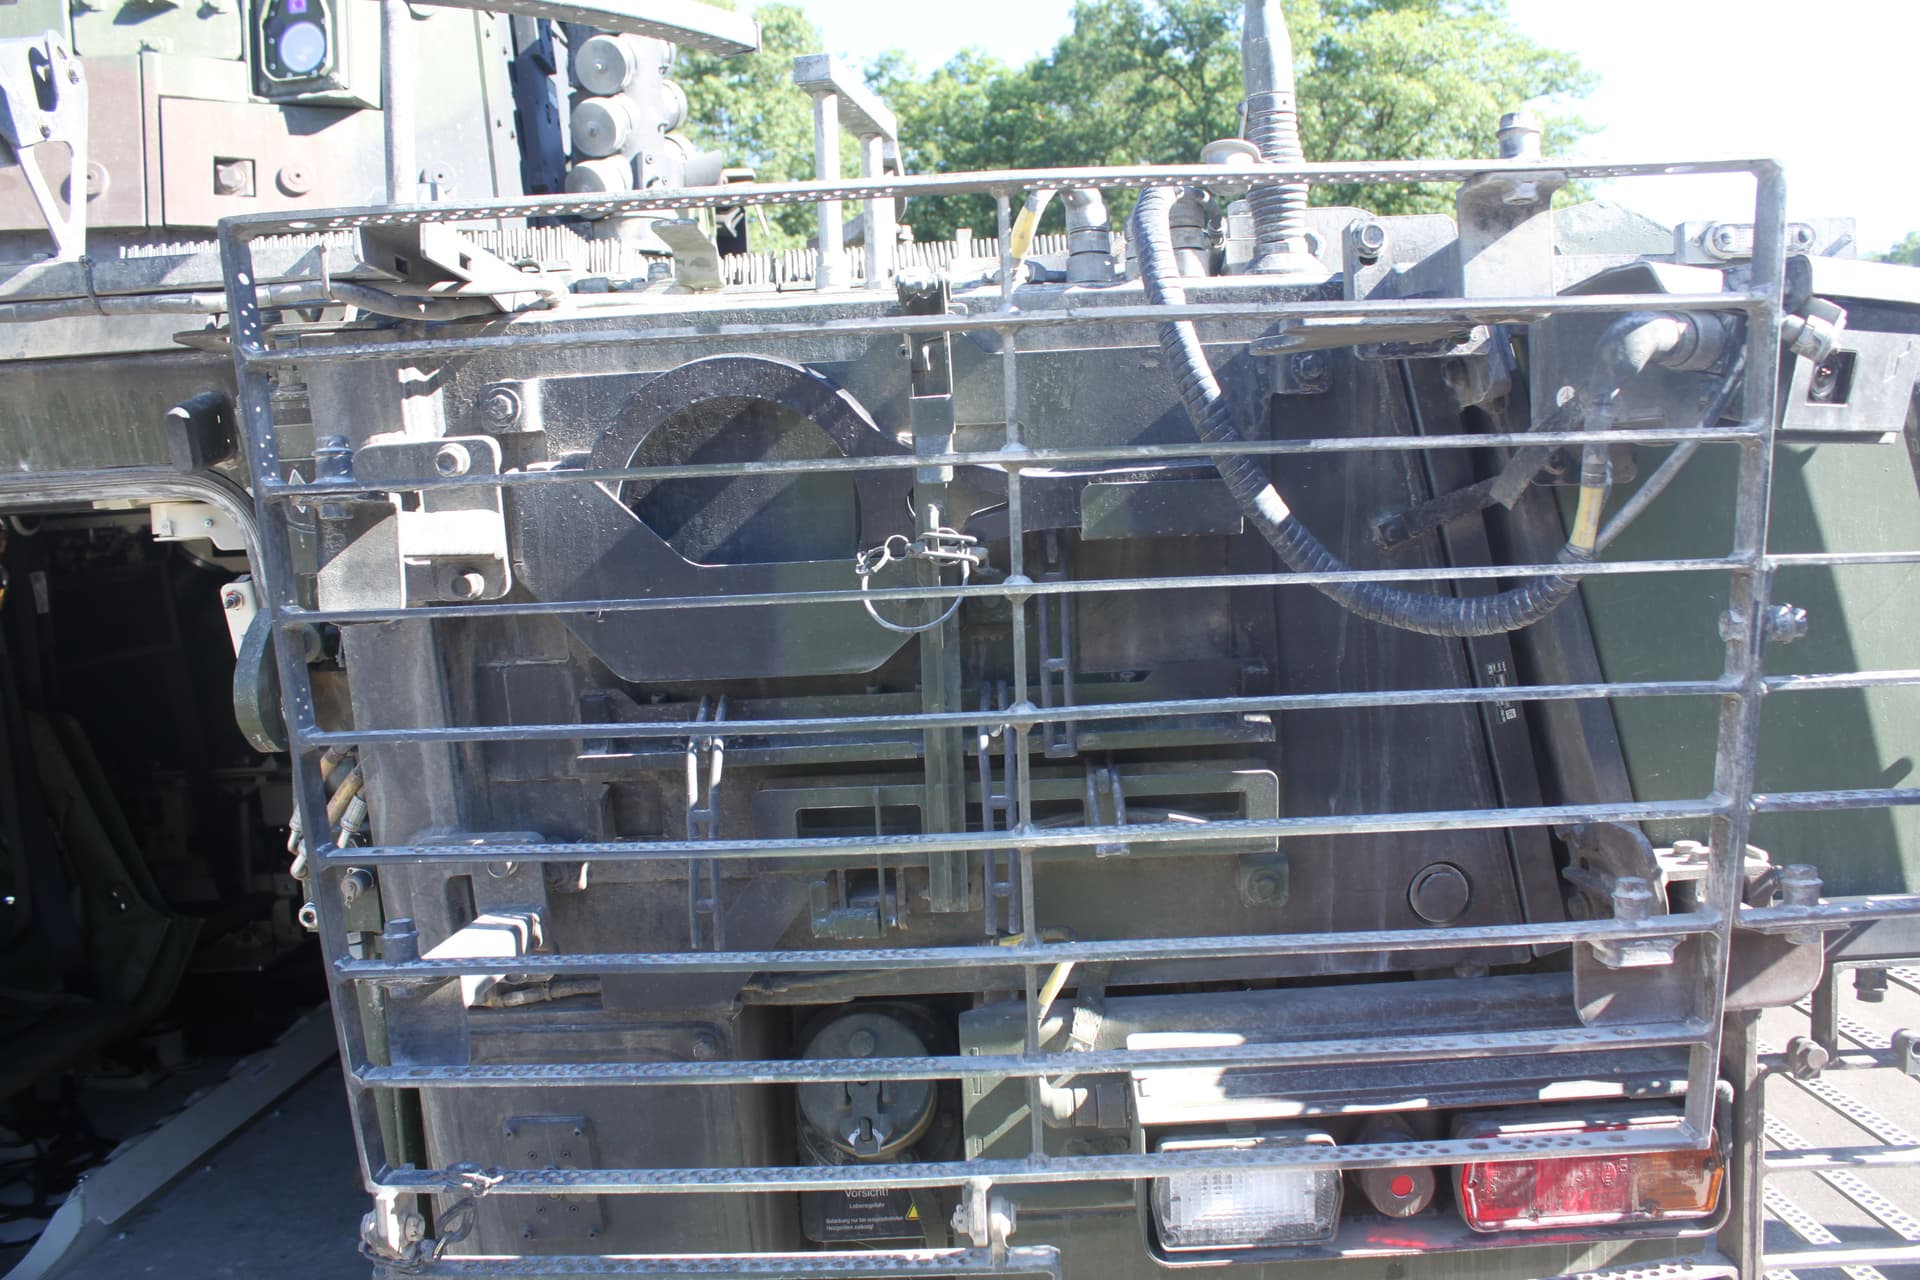
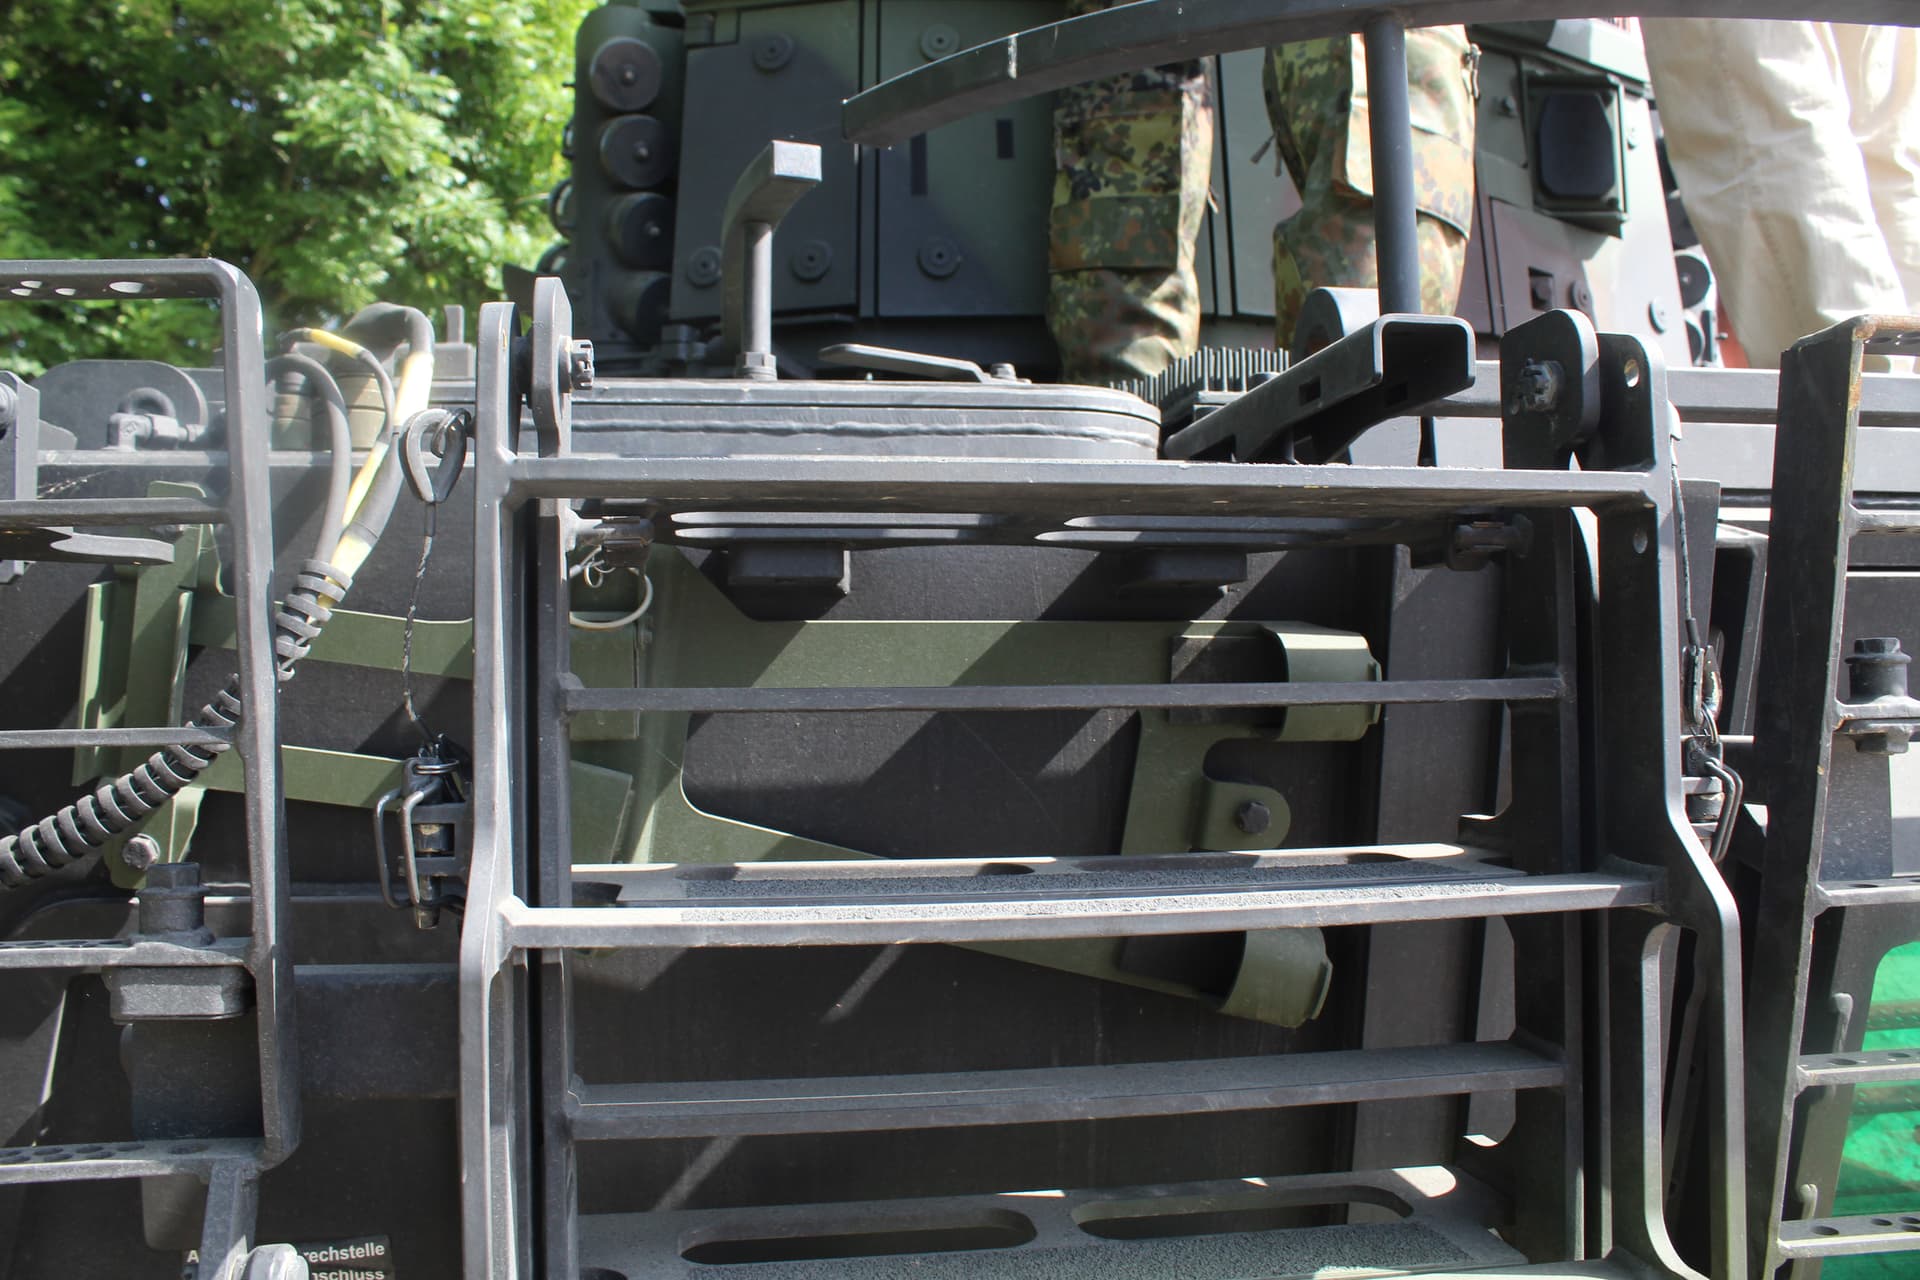
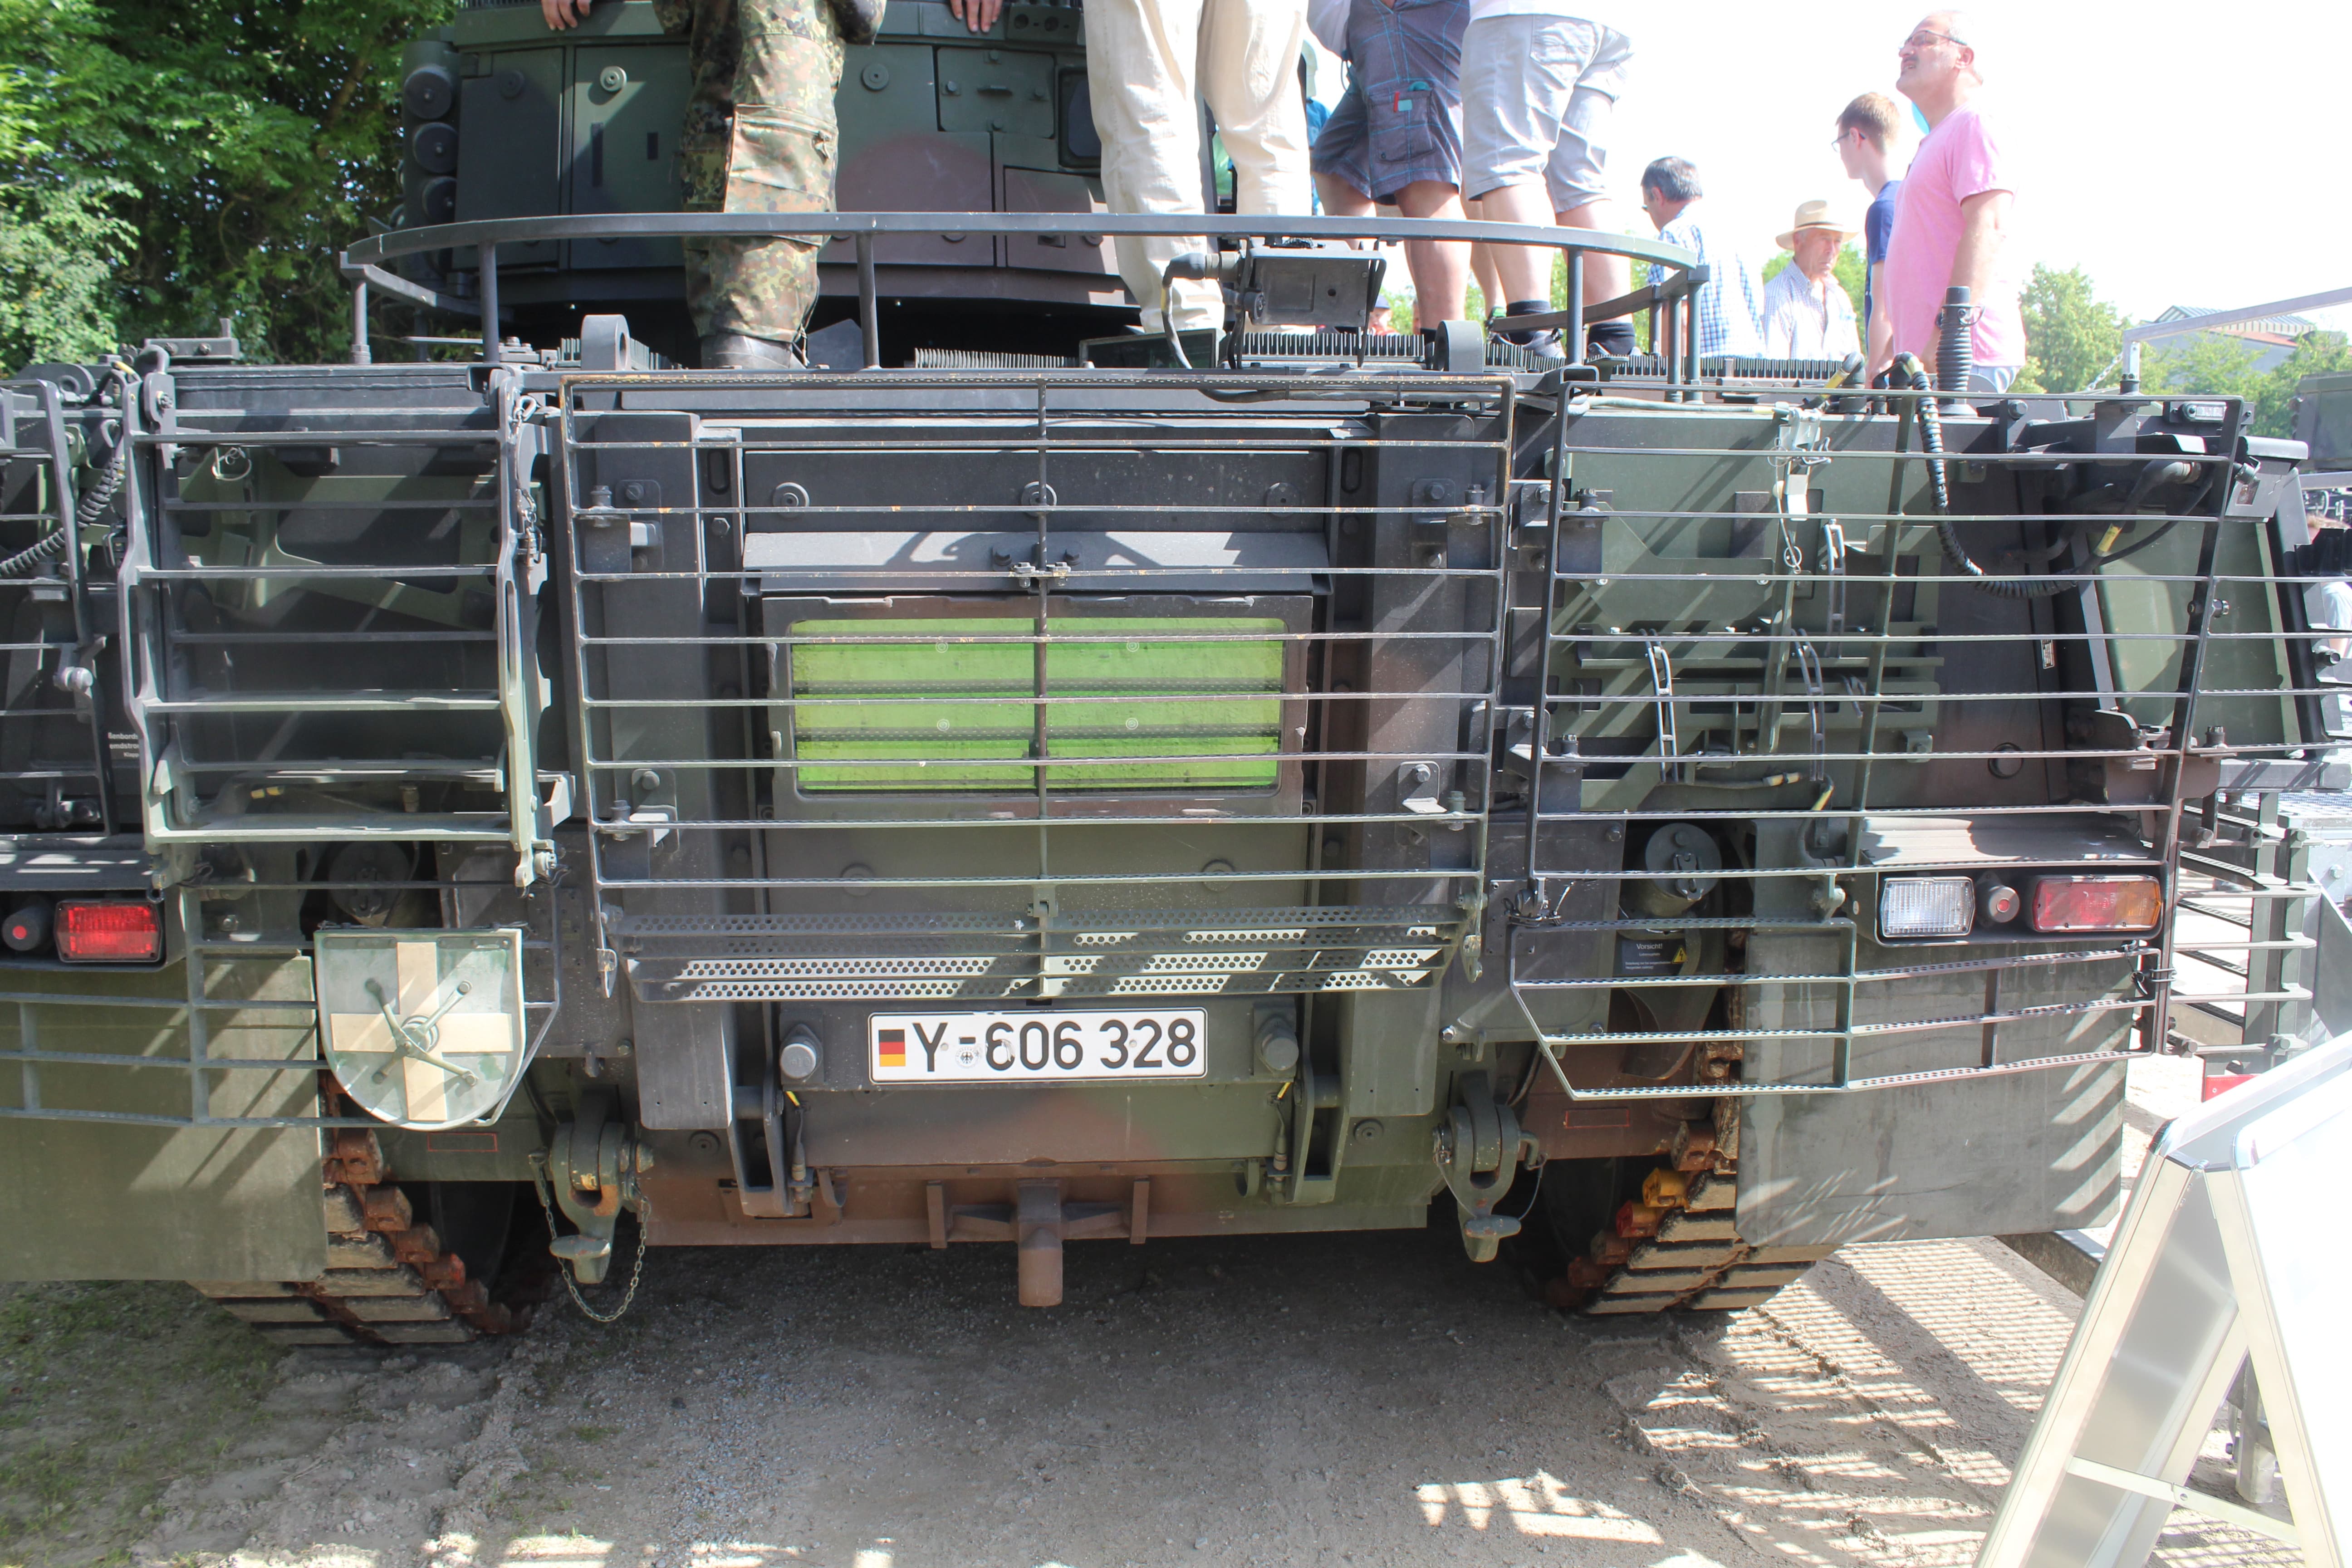
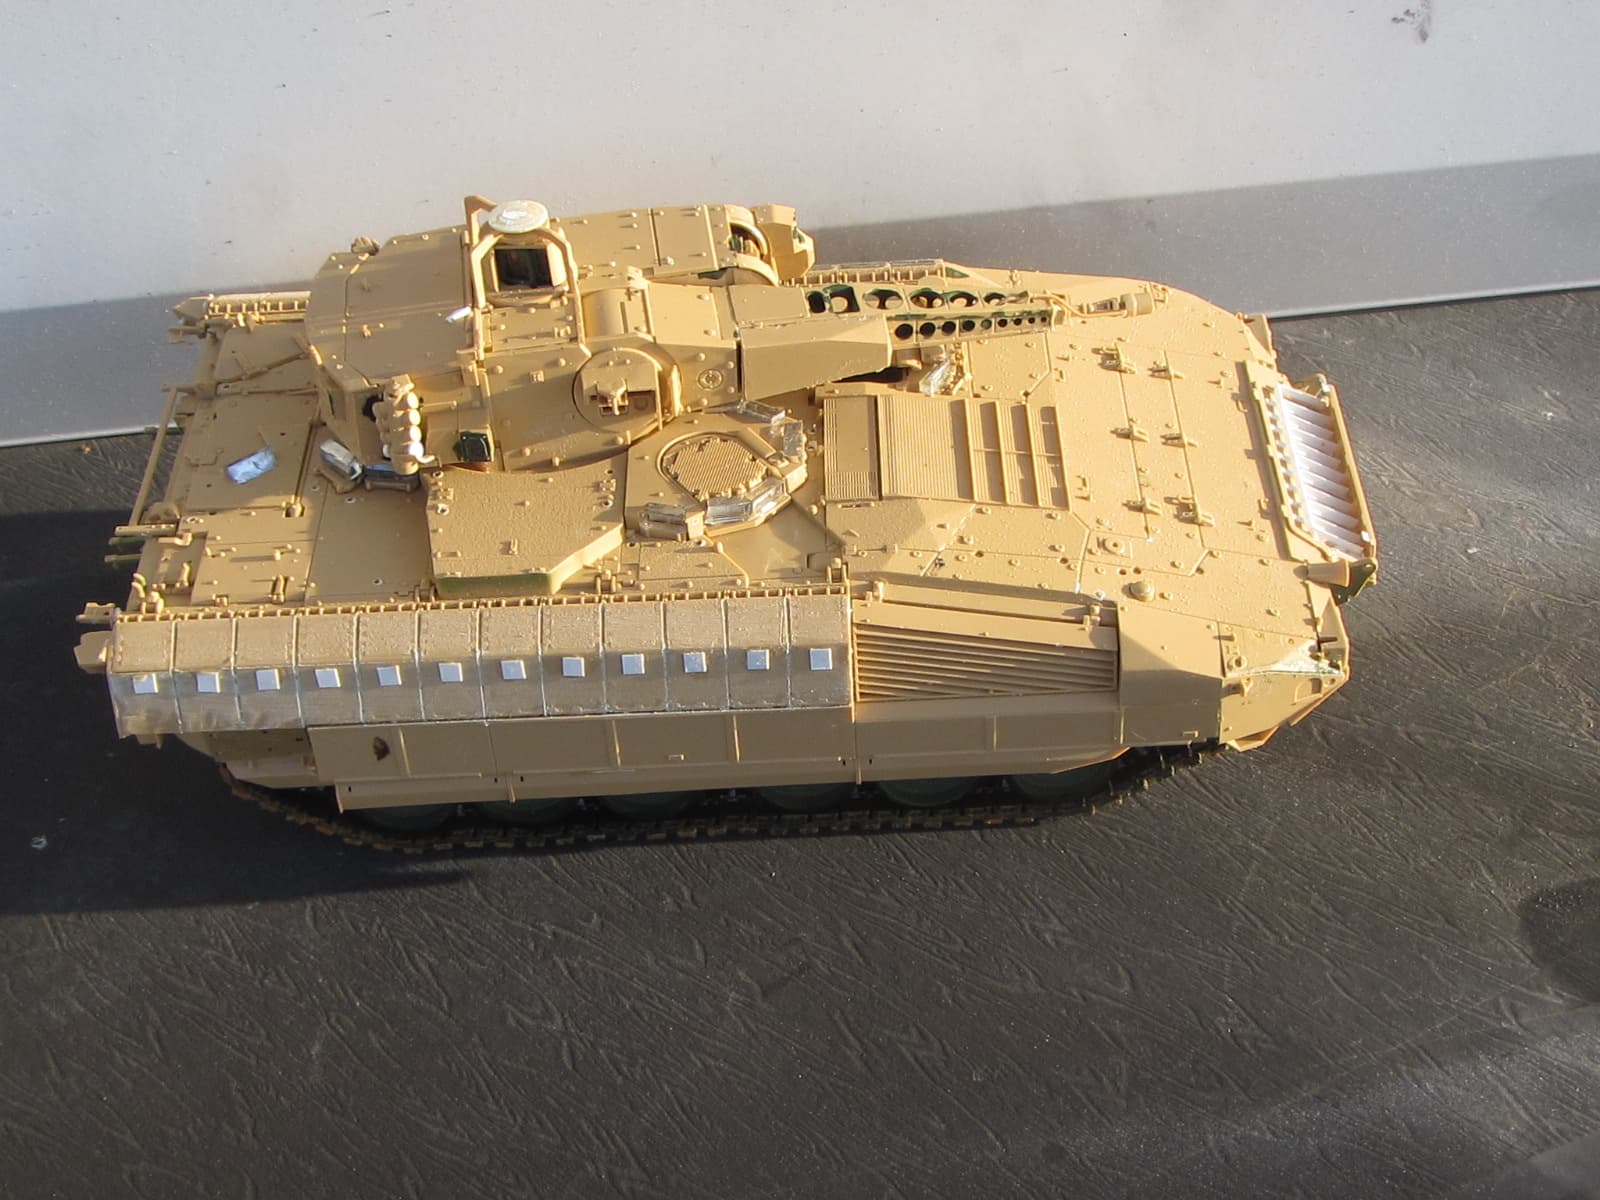
Salut Olivier, please take note that there are several tool mounts behind the slat armor.


2 Likes
Shade!
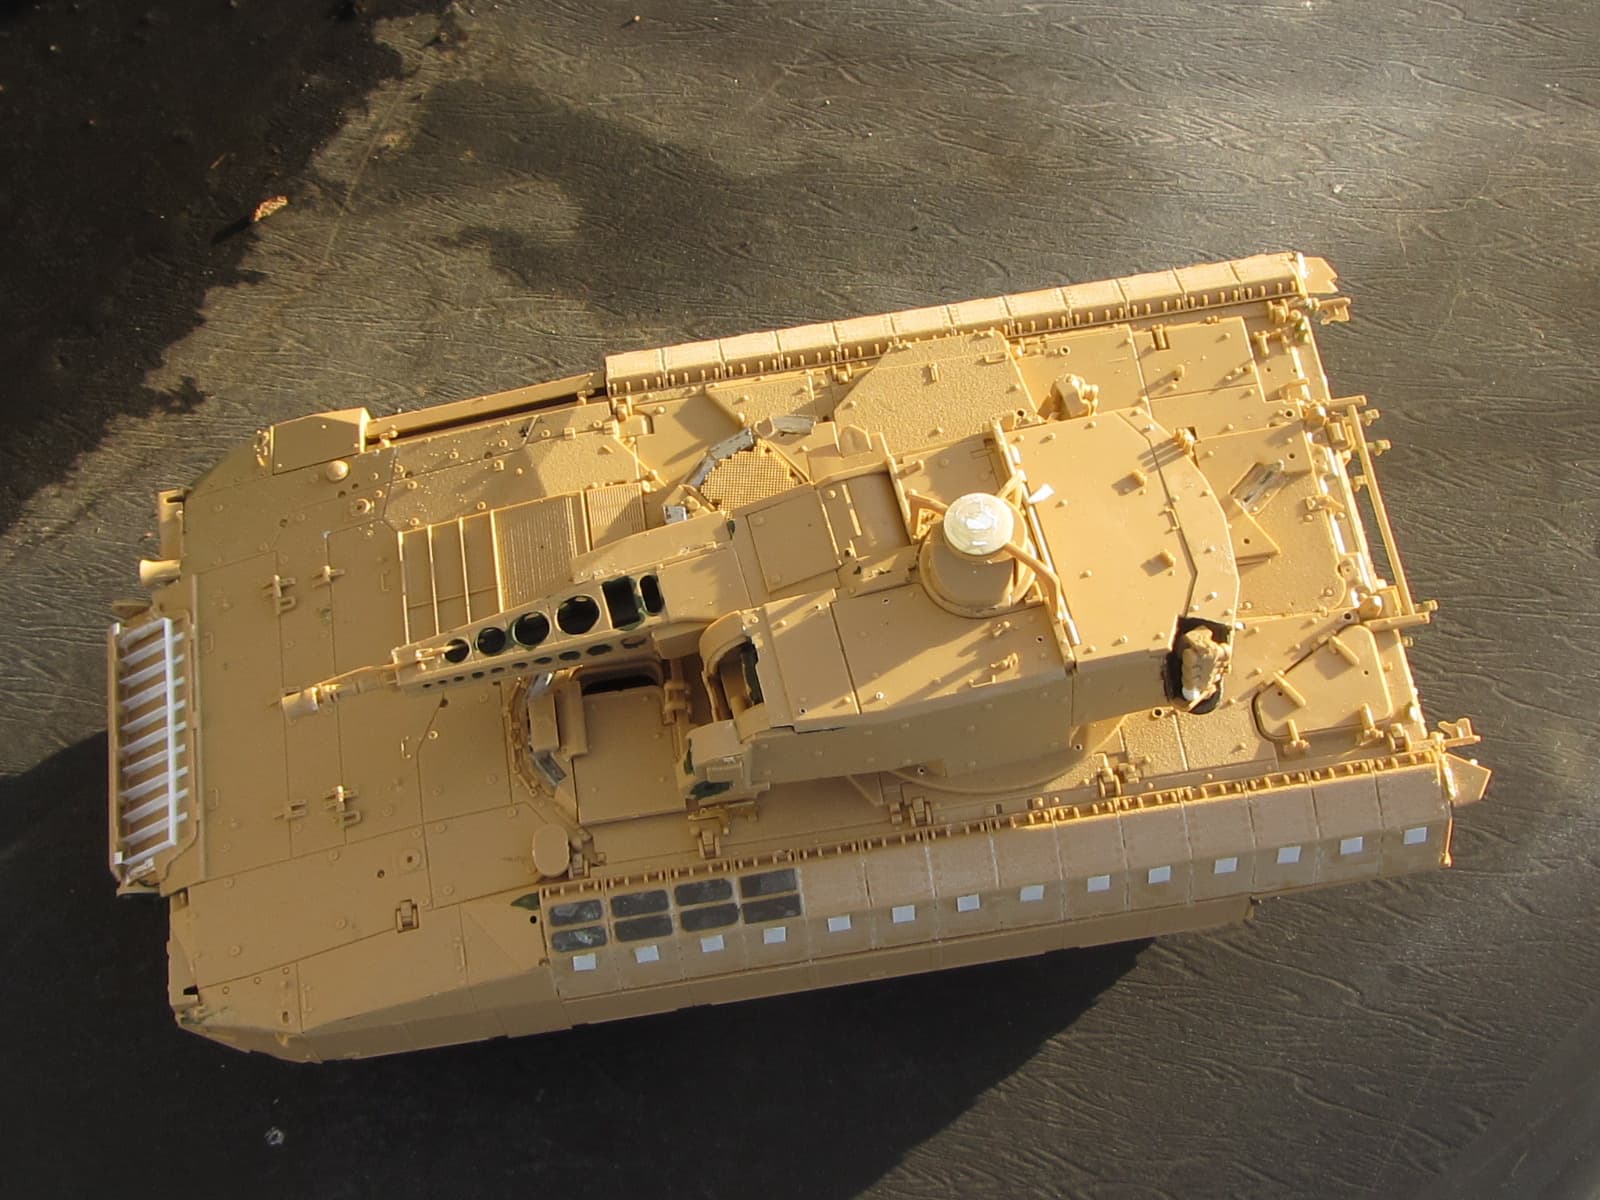
I fear it’s too late as the slat armor panels are glued.
I can’t believe RMF managed to miss this details.
Thank you for sharing the pictures.
Olivier
1 Like
Lovely work Olivier. The only thing that lets these kits down sadly is the manufacturers errors like the tools… How do they miss these things ?? You have done a great job and it will look great when it’s got it’s colours… 
1 Like
Salut Olivier, I don´t think its RFM´s fault. The tools were added on the real track later during production. The guy who has provided reference pics got access to an early production vehicle. During production of the real track, several changes were added. I think even HobbyBoss - whose references were provided by a very famous researcher here - get these details. Strange enough, no AM company has done these details.
1 Like
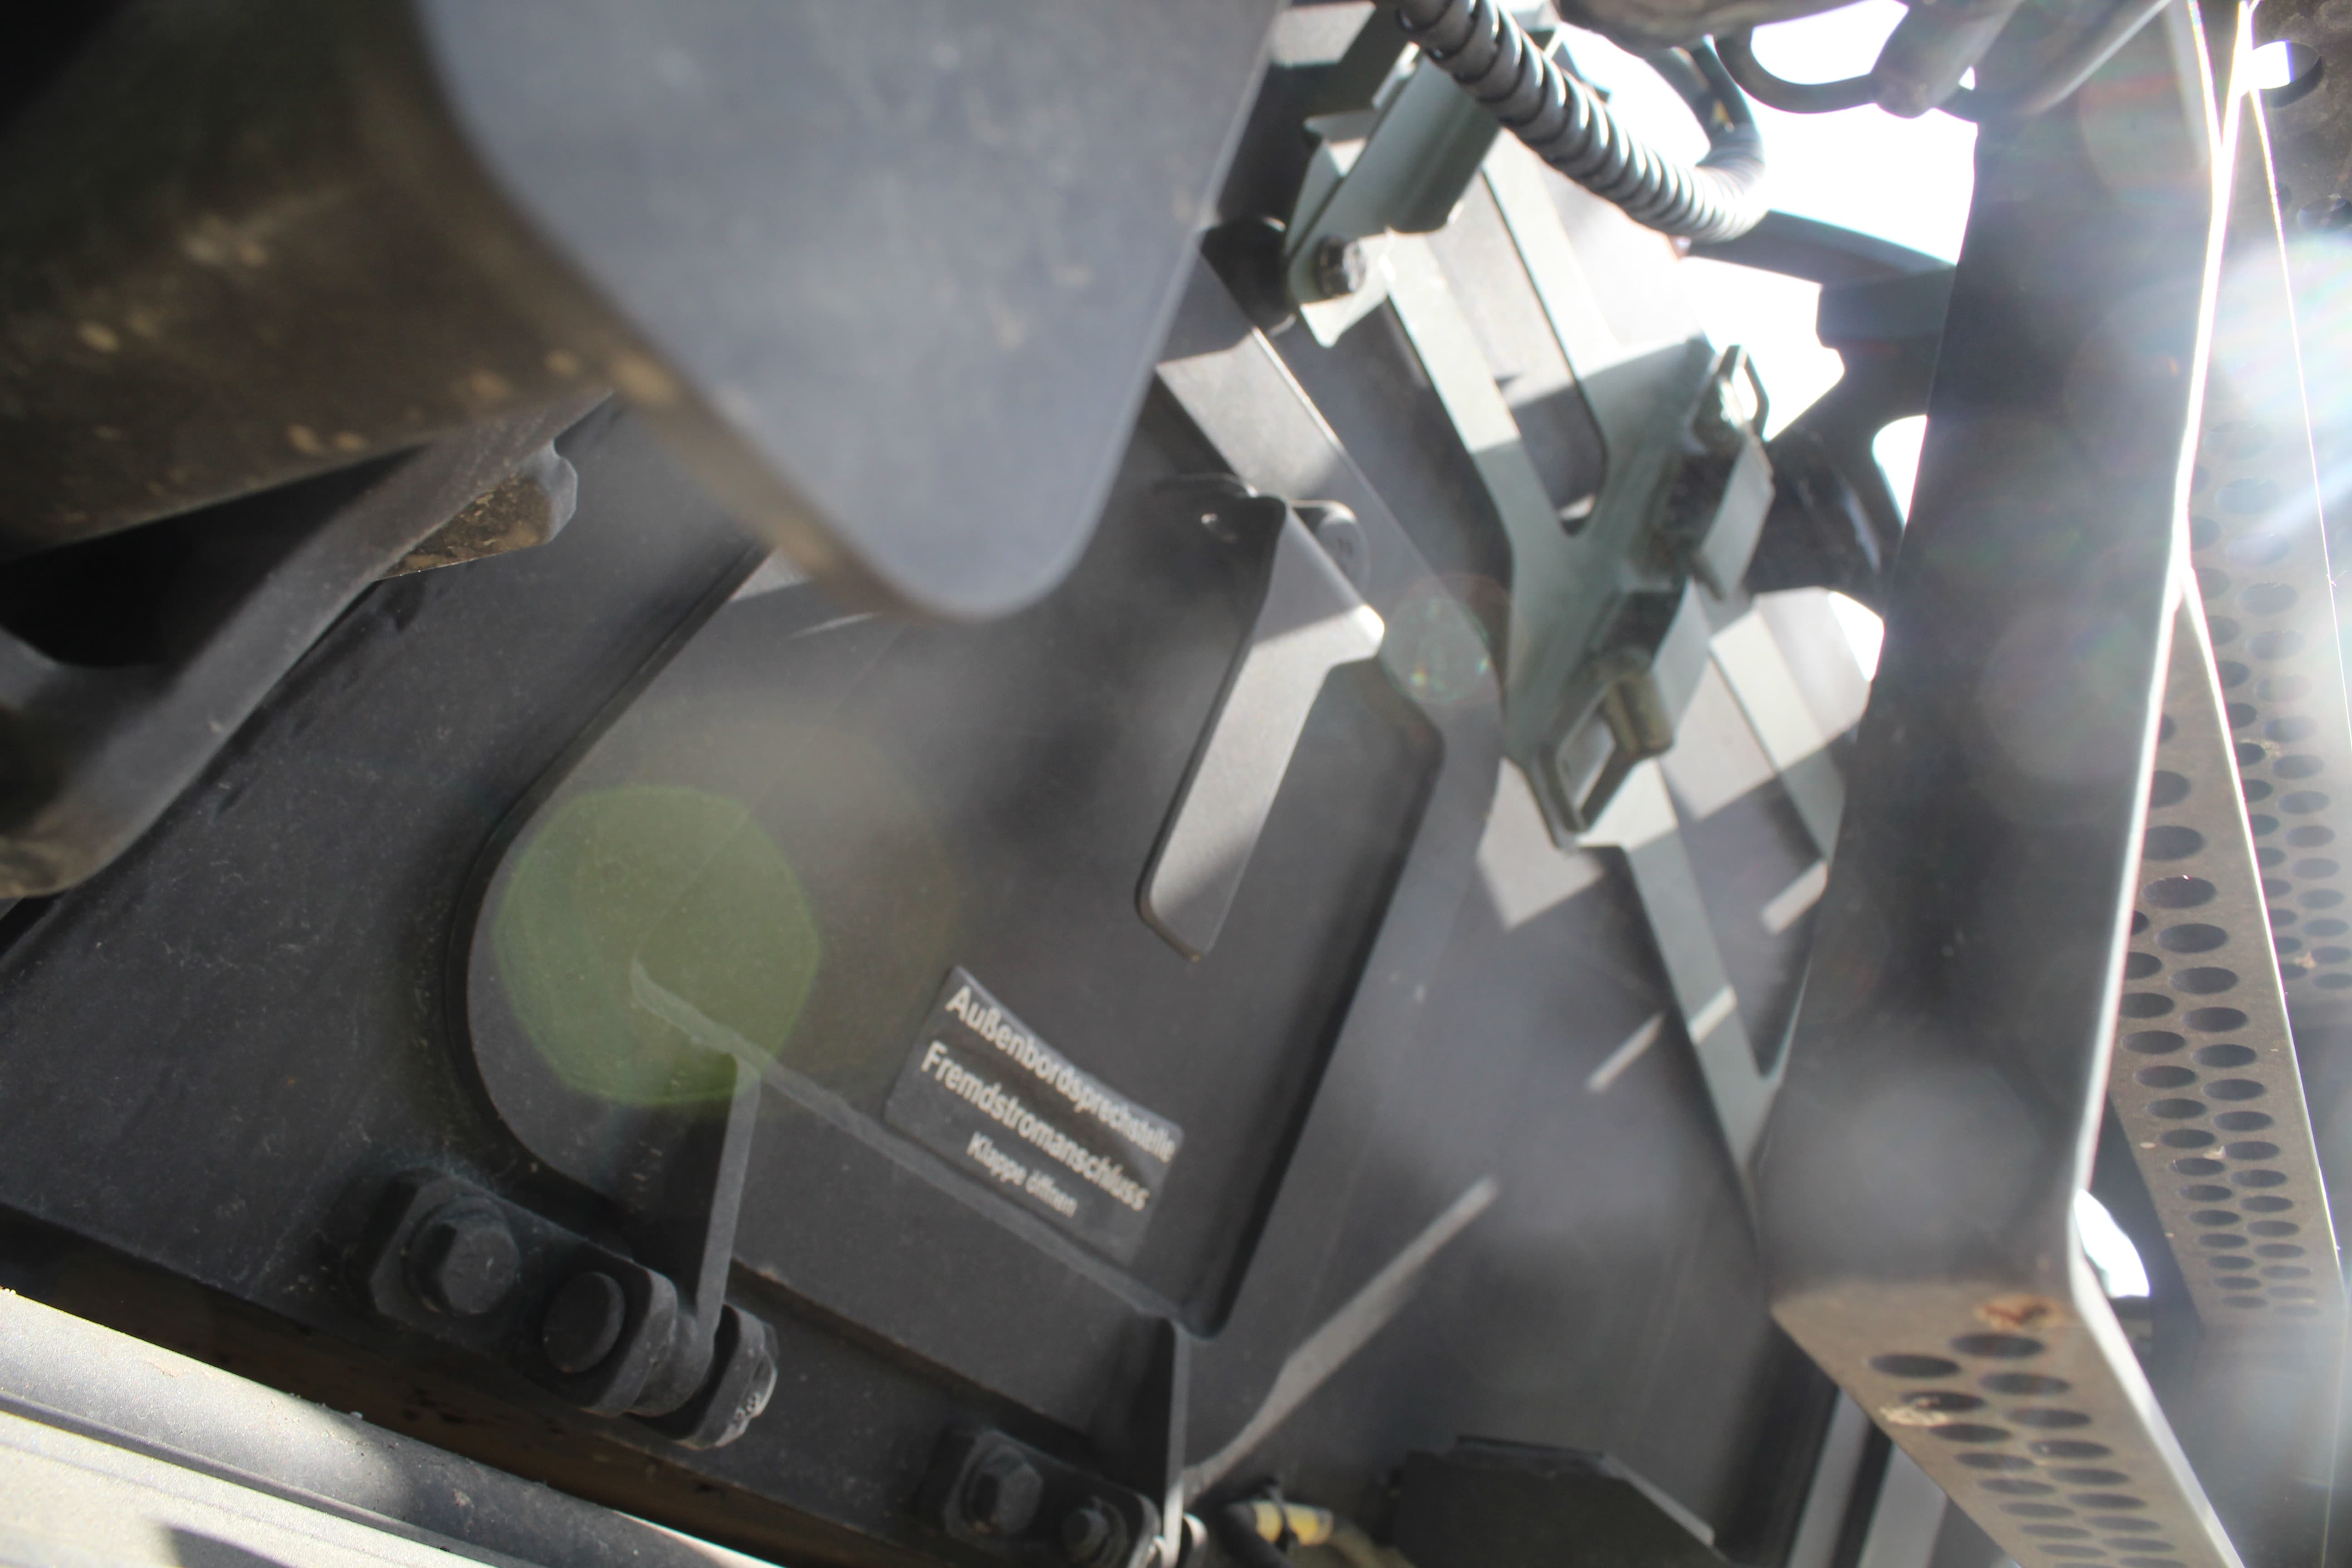
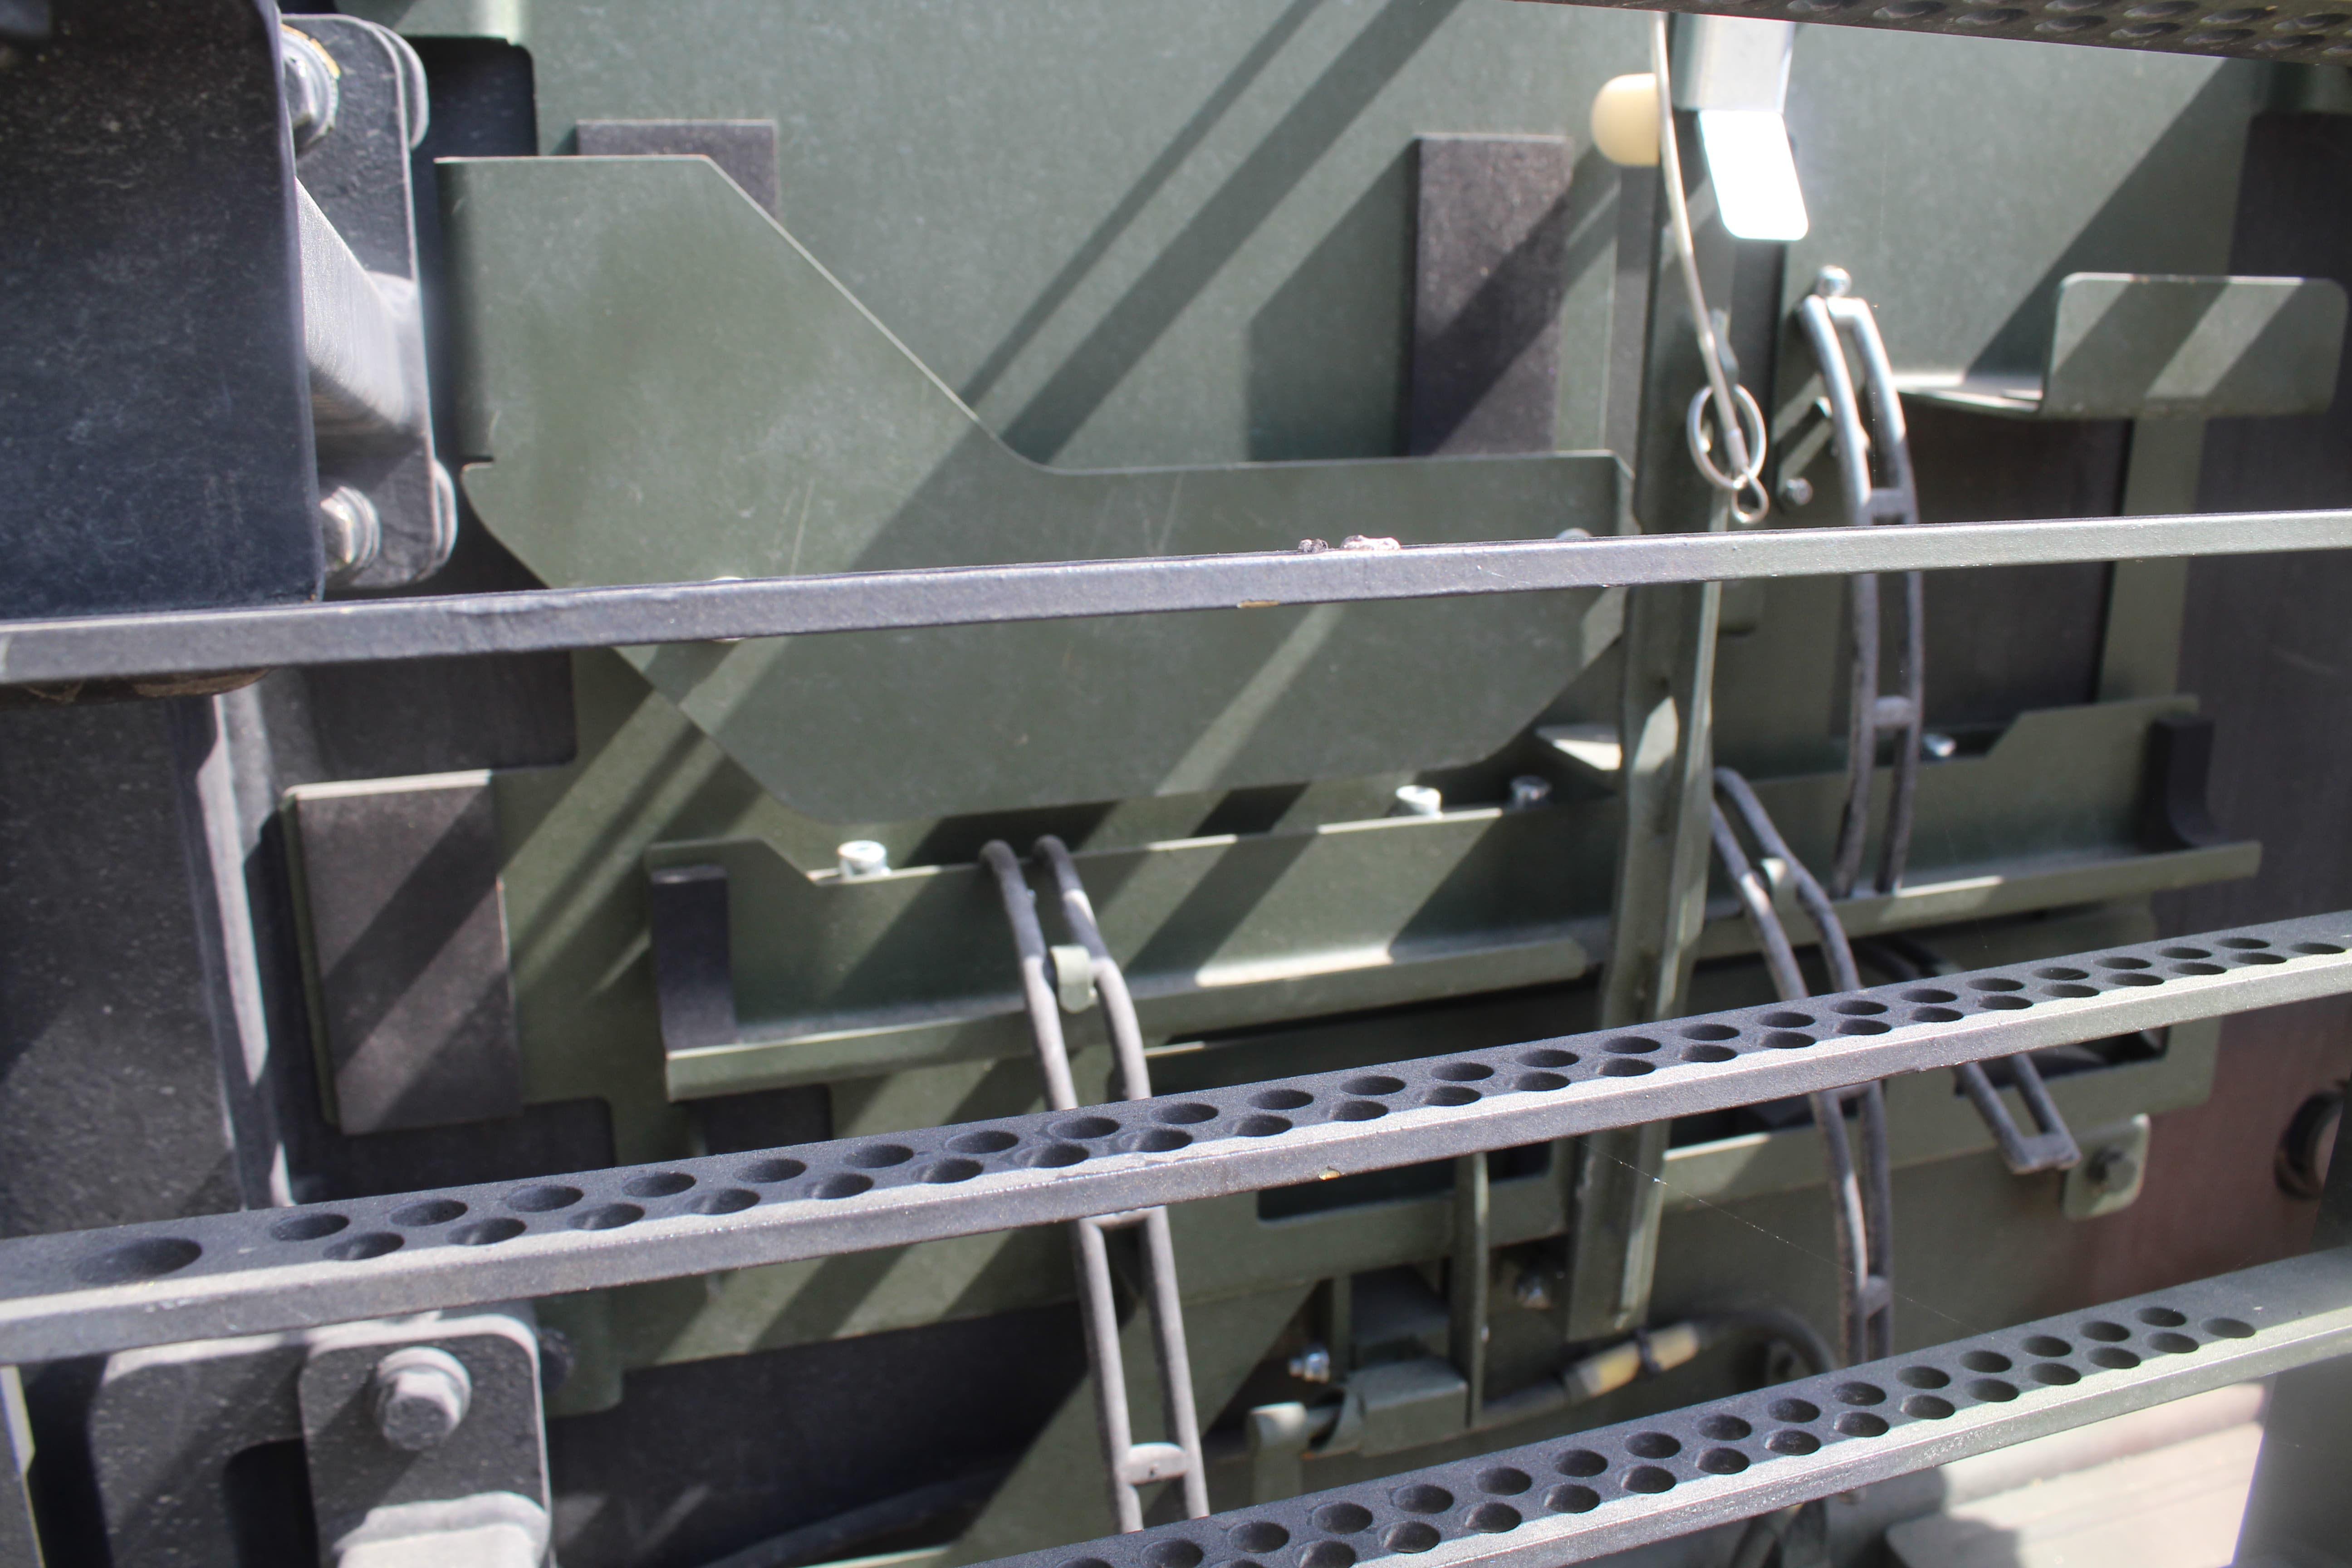
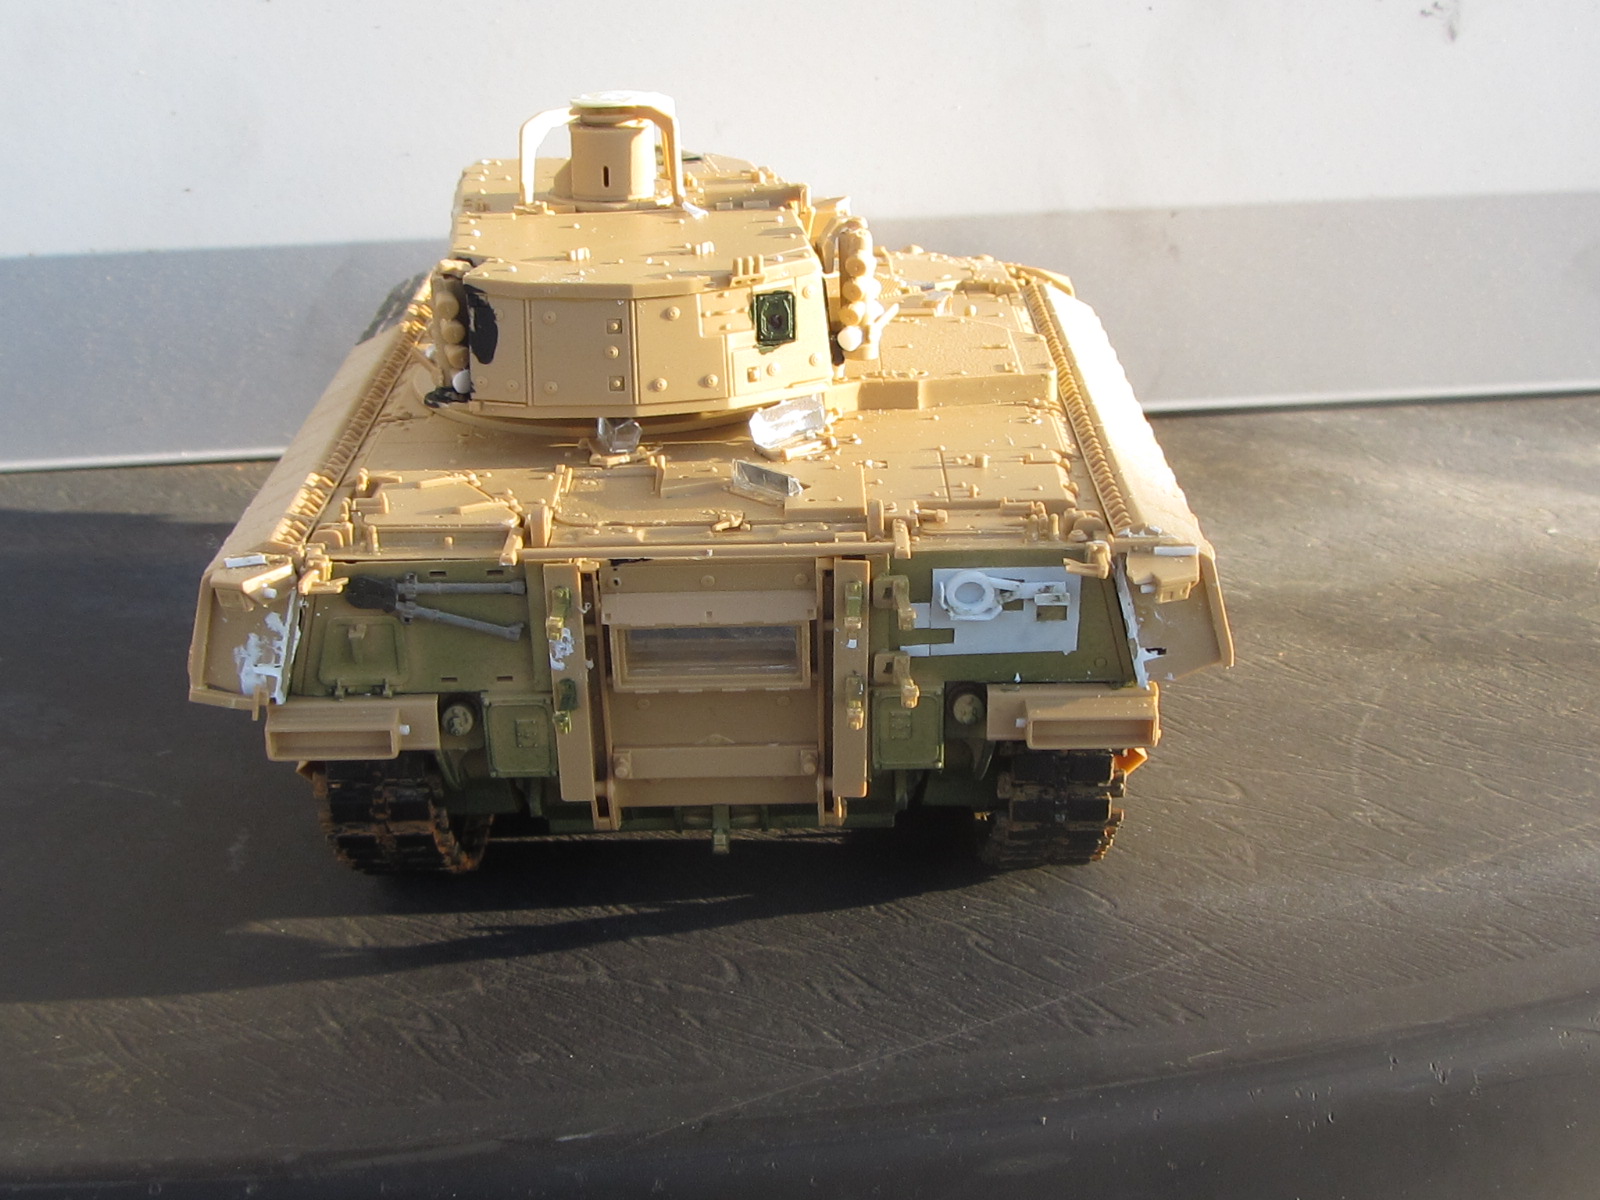
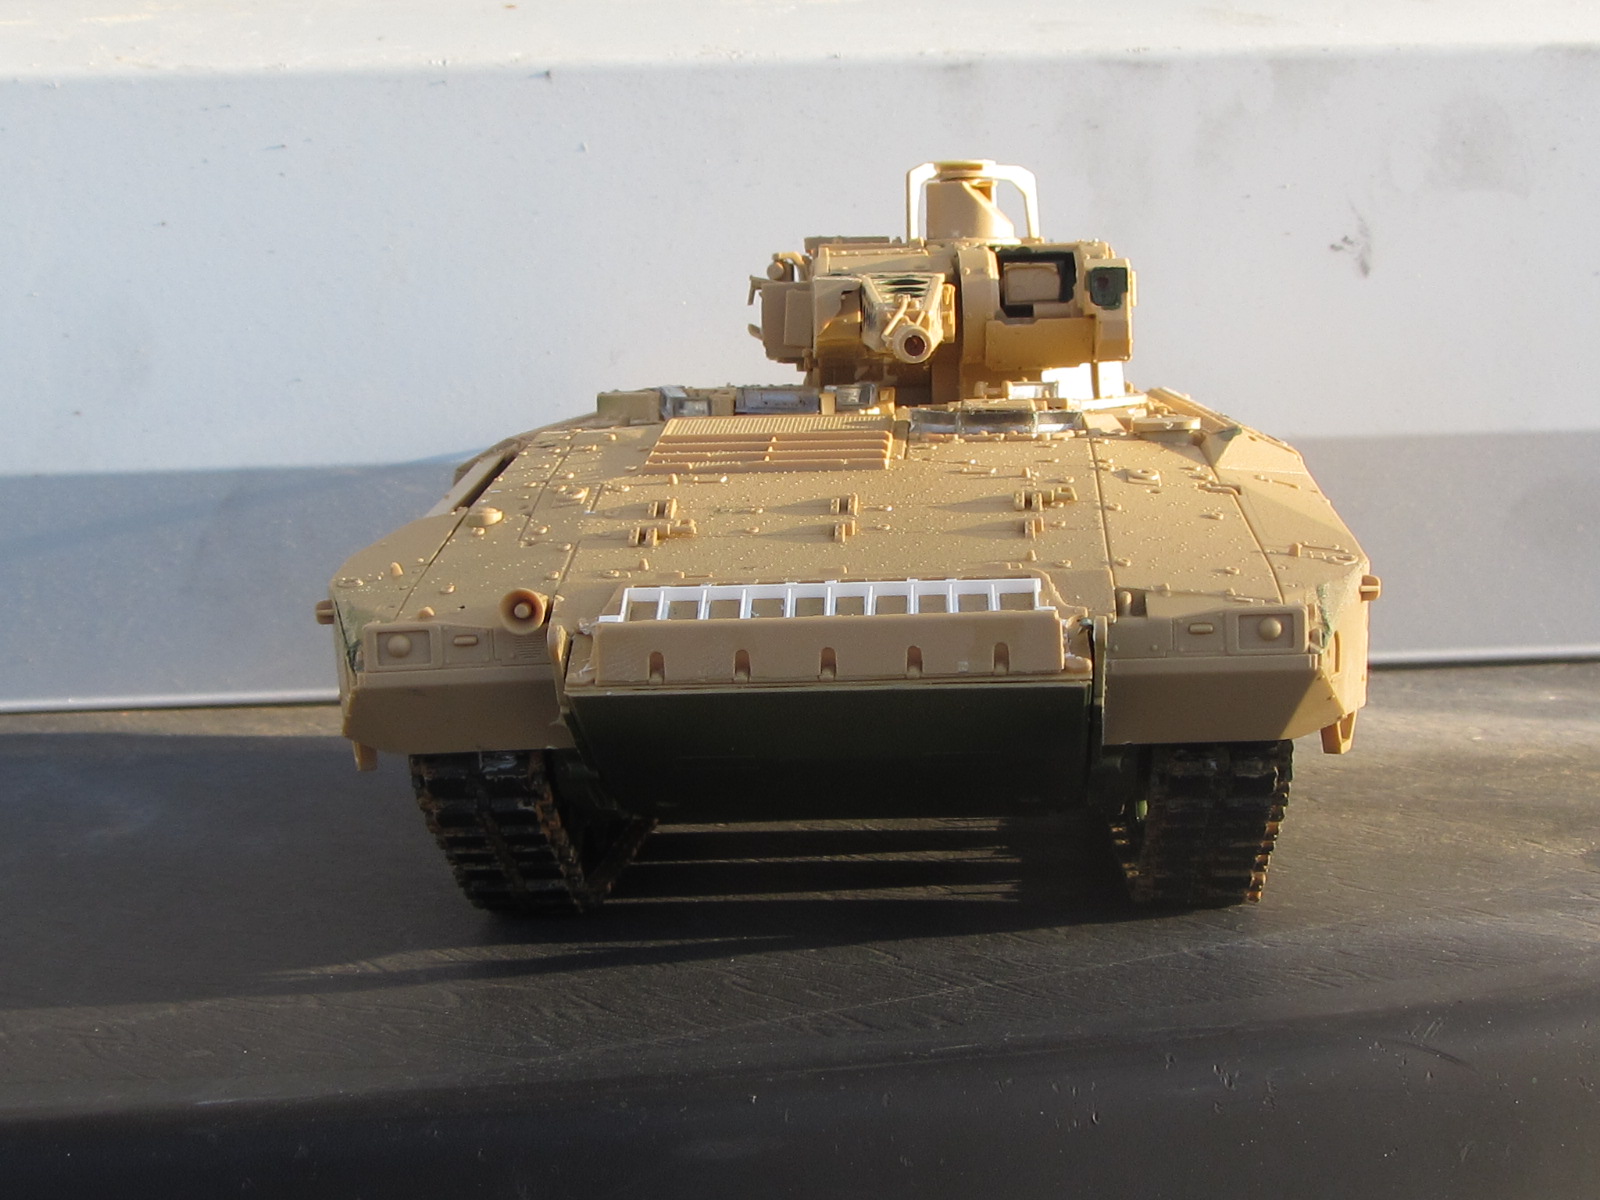
Any idea why the glass in the ramp is not darker? I have painted the inside of the vision “block” dark grey but now I see that I’ve made a mistake. I don’t know how I could fix this.
Olivier
Why not Tamiya Clear Green to give at least a shade of green? Speaking of camo painting, you might check the references of the camo pattern. RFM did make some mistakes in the pattern. I learned to distrust camo pattern that come from an external source (e.g. Ammo of MIG).
1 Like
The glass block in covered on the inside by a metal plate. Maybe in the pic, the metal plate is down and let some sunlight in?
1 Like
Sweet build and very interesting vehicle!
puma-ifv-armor-and-upgrade-speculations pretty interesting read IMO.
Advanced Modular Armor Protection
Mat 7720 new , a newly developed Aluminium-Titanium alloy, needs only 38% of the weight. That means that this alloy is more than twice as protective as RHA of the same weight.
Maybe you try painting the block with Molotov Chrome pen and then add Tamiya Clear green.
I’ll see what I can do. The slat armor being glued no solution will be easy-going.
Olivier
Nice build and interesting subject.


Nice modifications Hans Hermann.
Olivier
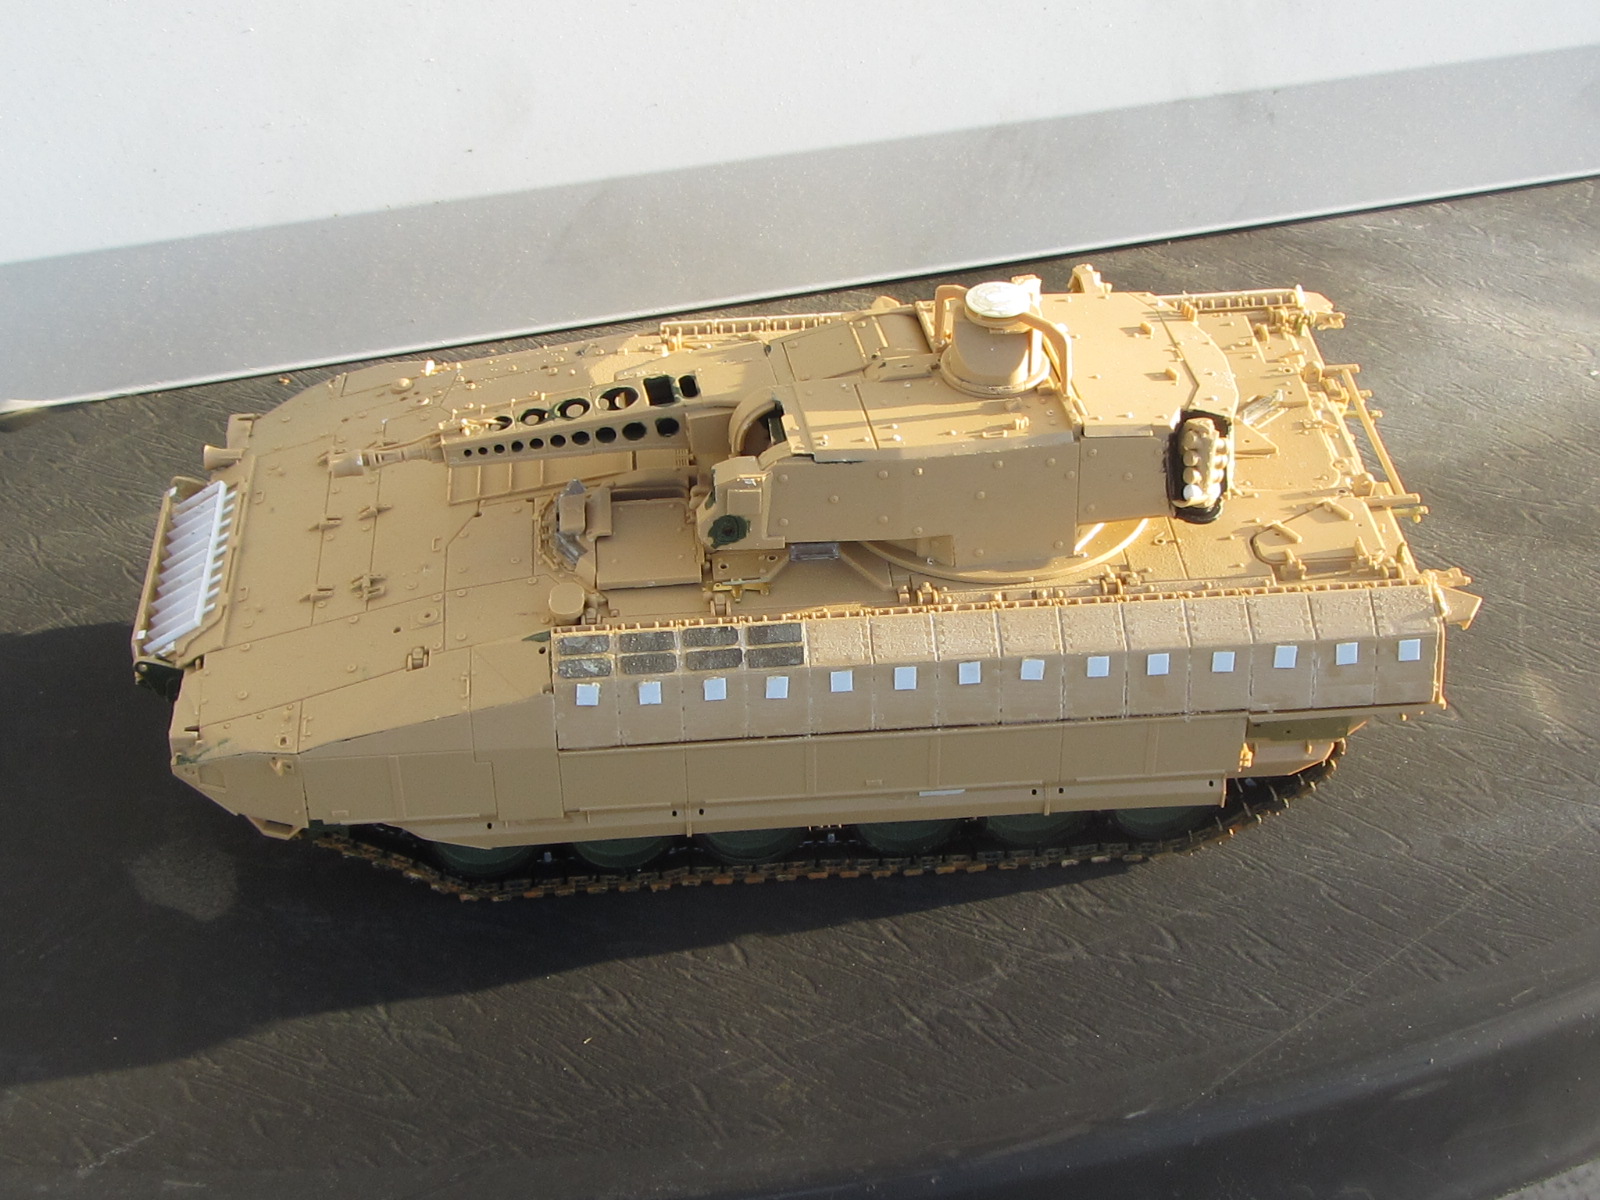
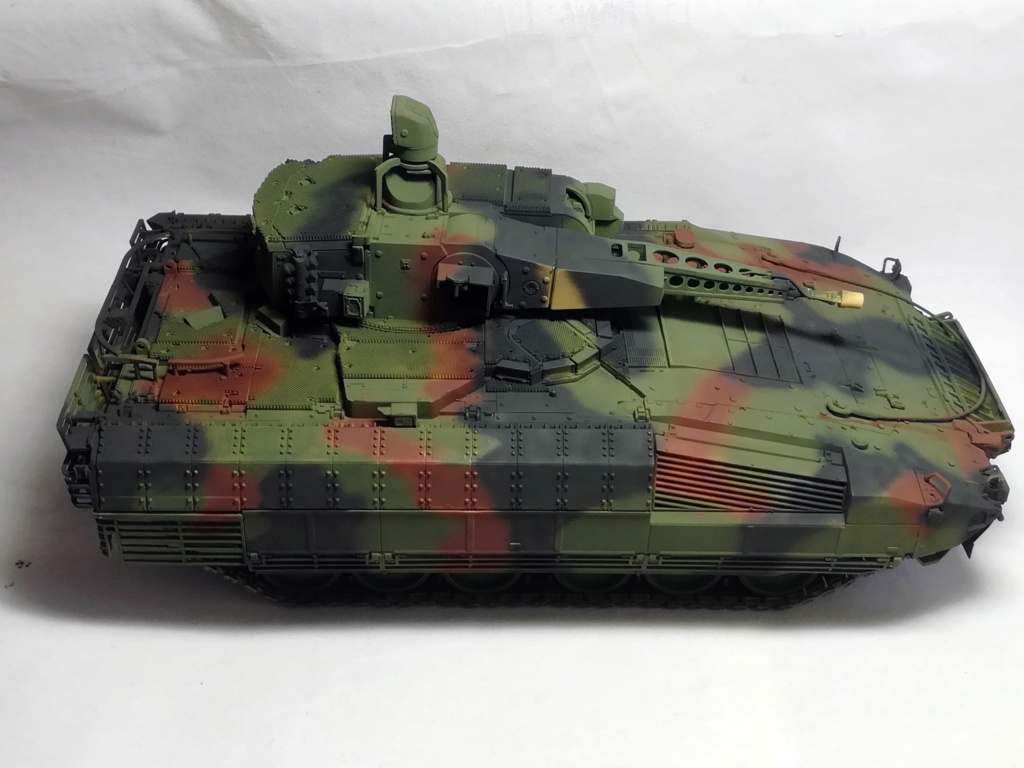
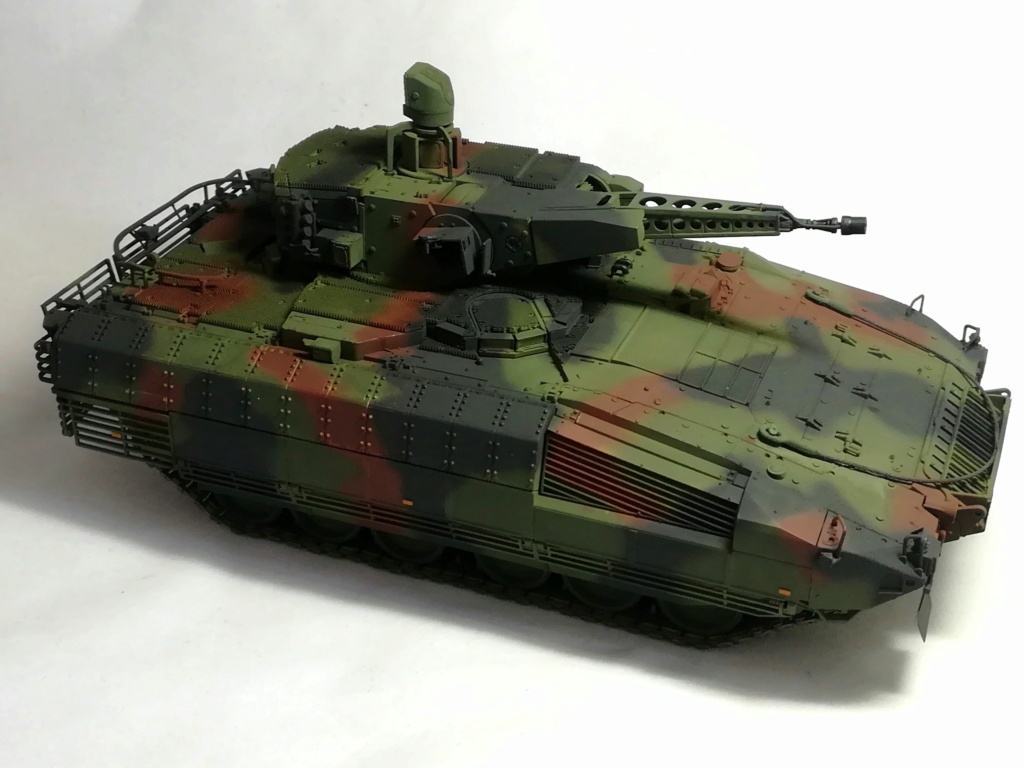
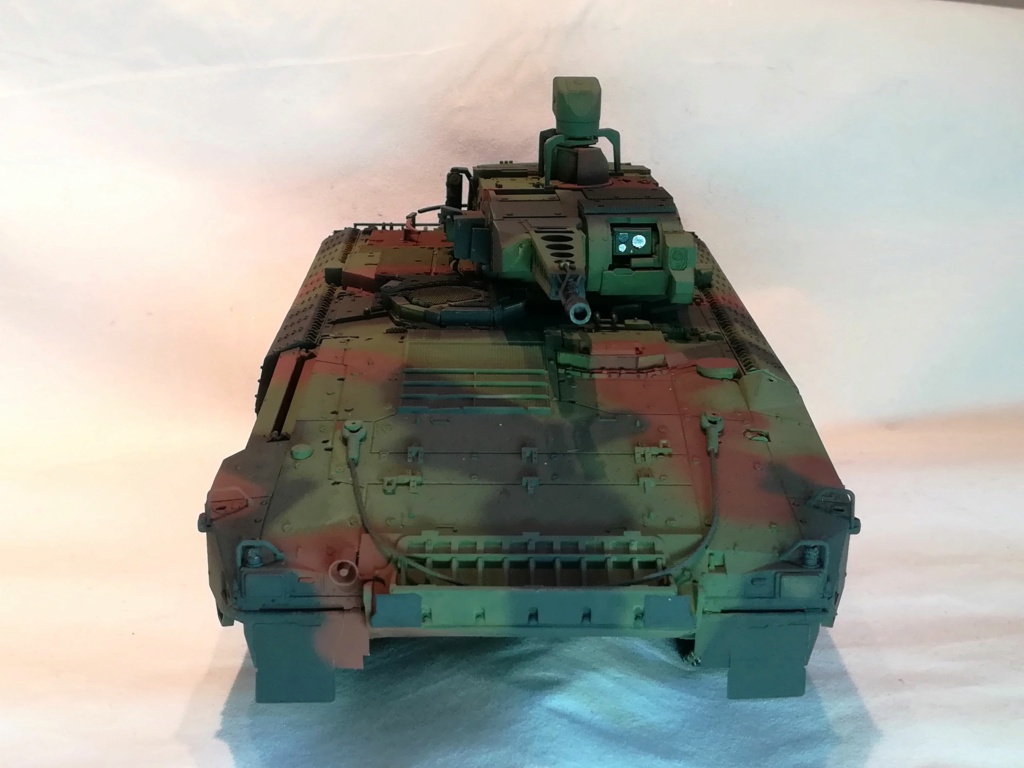
I’ve started the painting step. Following Hans Hermann’s advice I used the Revell painting instructions. However I also used some reference pictures to fix some flaws mainly on the turret. I have some touch-ups to do. I’ll sure the camo is not 100% true but it should do the trick after the weathering.
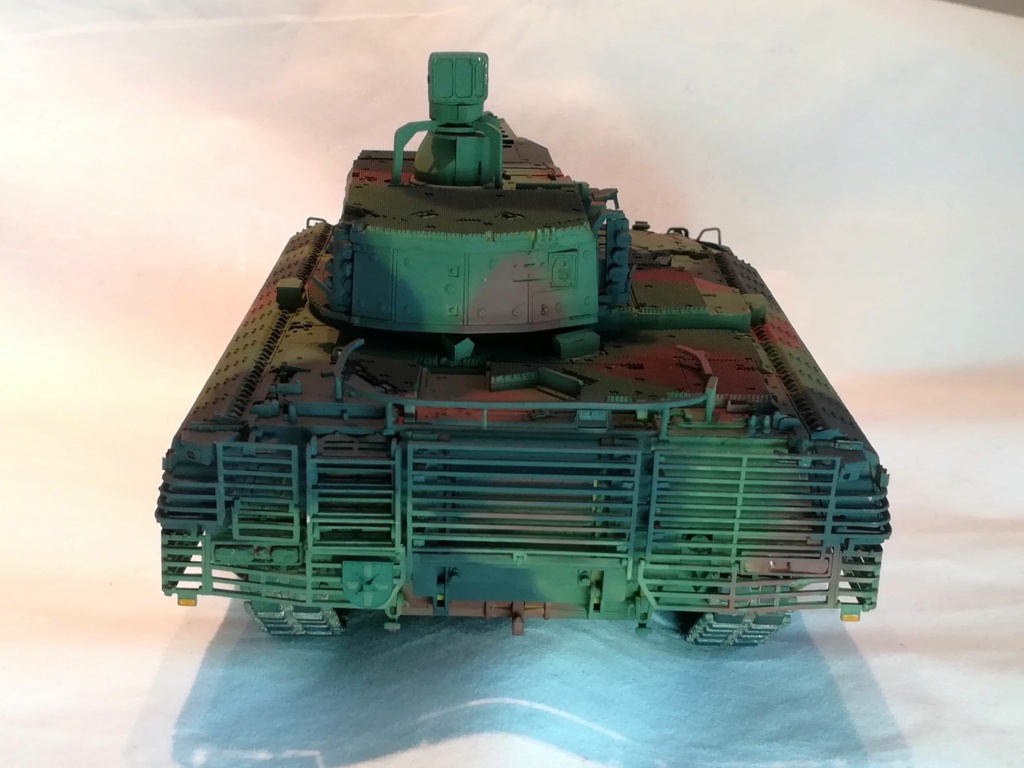
From my experience I think it is better not tot glue the rear slat armor before the painting. Reaching the areas behind the slats is a real pain.
The paints are the Tamiya NATO set.


Olivier
8 Likes
Really lovely work Olivier. You should be very happy with how it looks. It’s a very even cam and ties in across the whole vehicle. Very well done
1 Like
Looking good Olivier ! Looking good too Hermann and thanks for the images also. They will be very useful when I start mine. Thanks for all the tips guys AND thanks for sharing !
1 Like
This is the real aim of any forum in my opinion. ![]()
Olivier
Your usual excellent work. Liking the camo very much.
1 Like
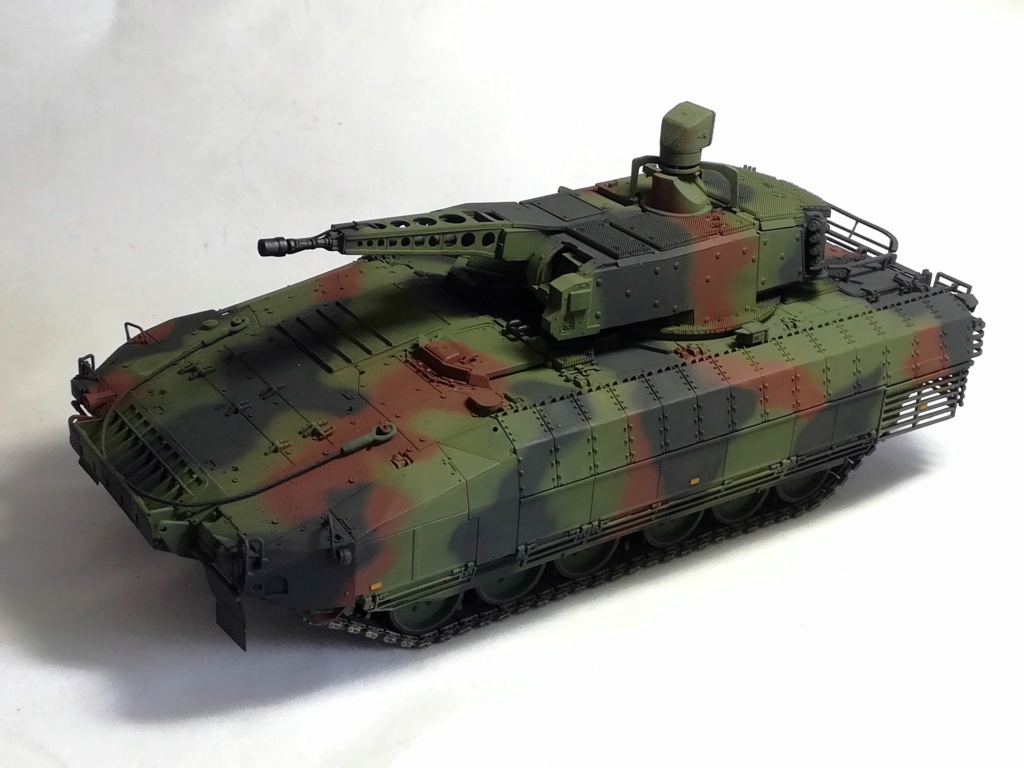
I have made the touch-ups and painted the rare “colored” detailed. It is now ready for the decals. To give it a more colorful look I’ll use the large red and white traffic warning stickers.
Olivier
5 Likes
Great looking camo scheme Olivier, the colors are spot-on.