Hi all
pending the arrival of decals for my VBCI I’ve started the RFM Puma, the new battle horse for the Panzergrenadiers.
This is the first model of this brand I build and I’m favorably impressed so far. The main low point is the lack of markings to glue the PE parts.
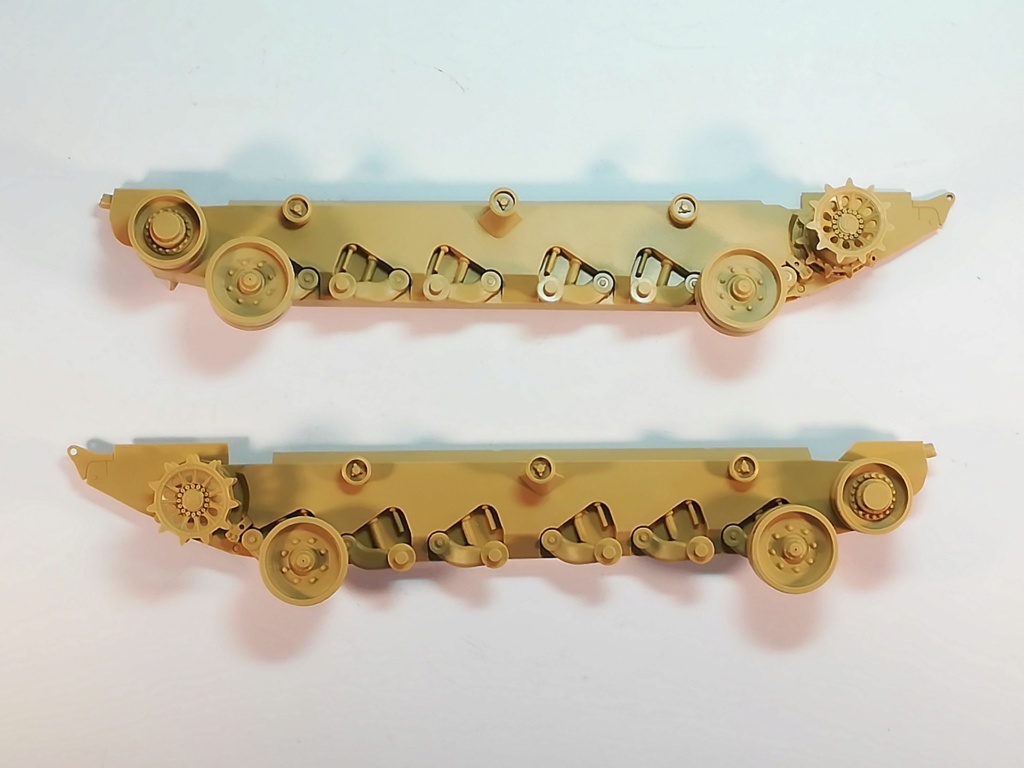
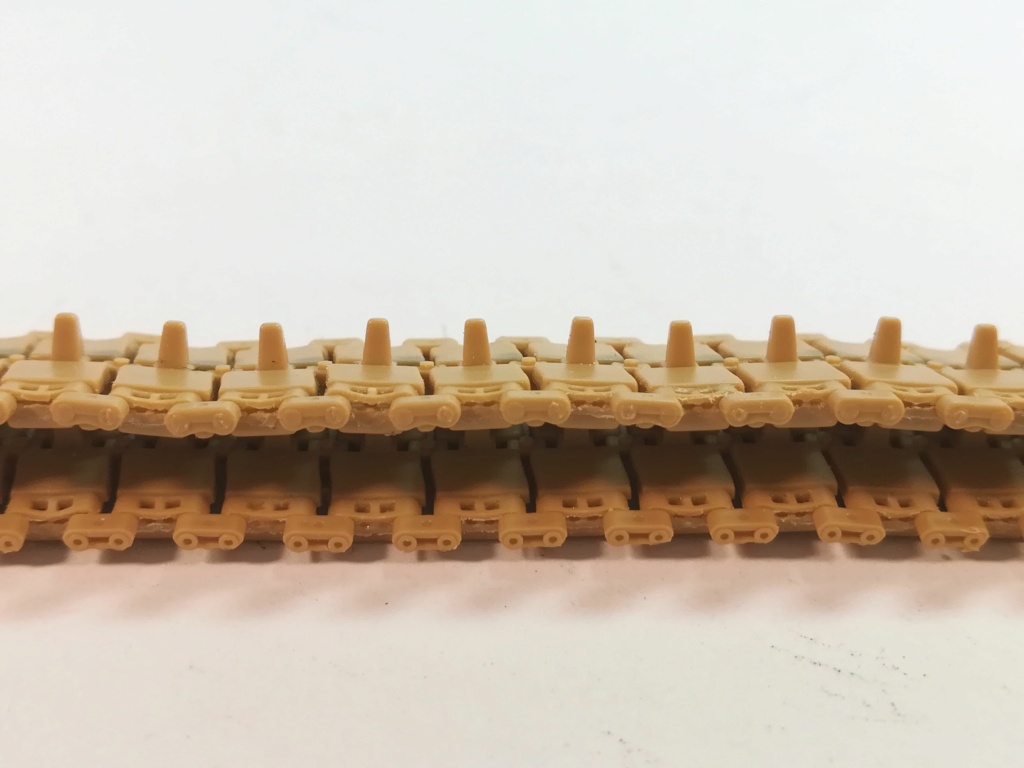
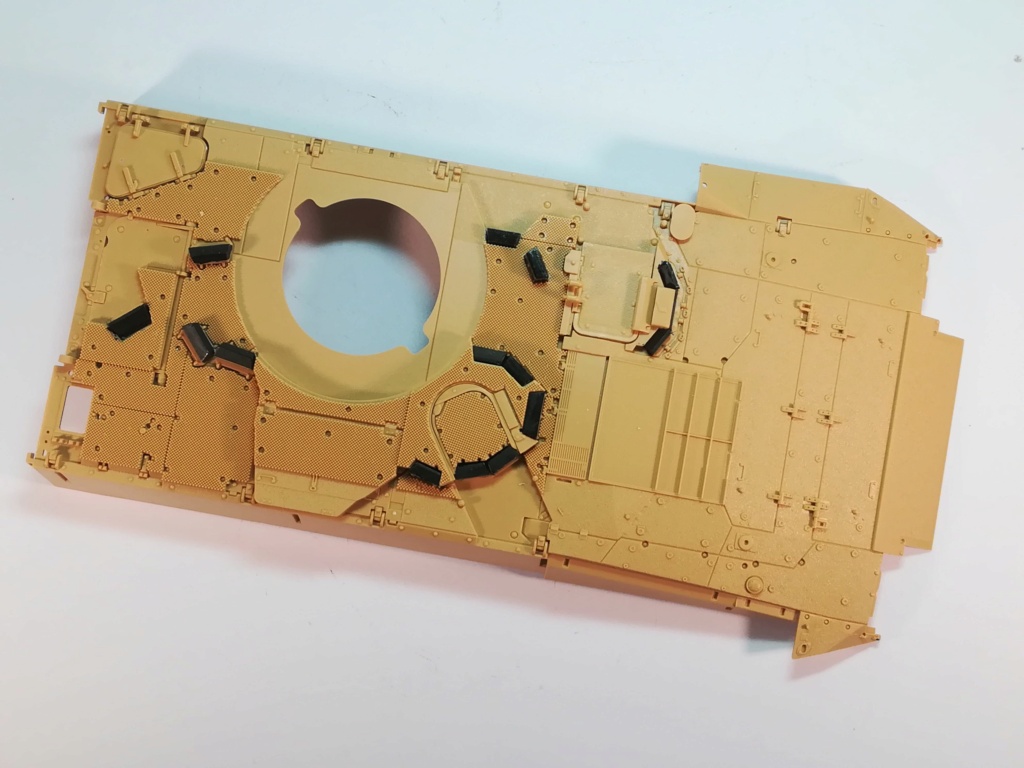
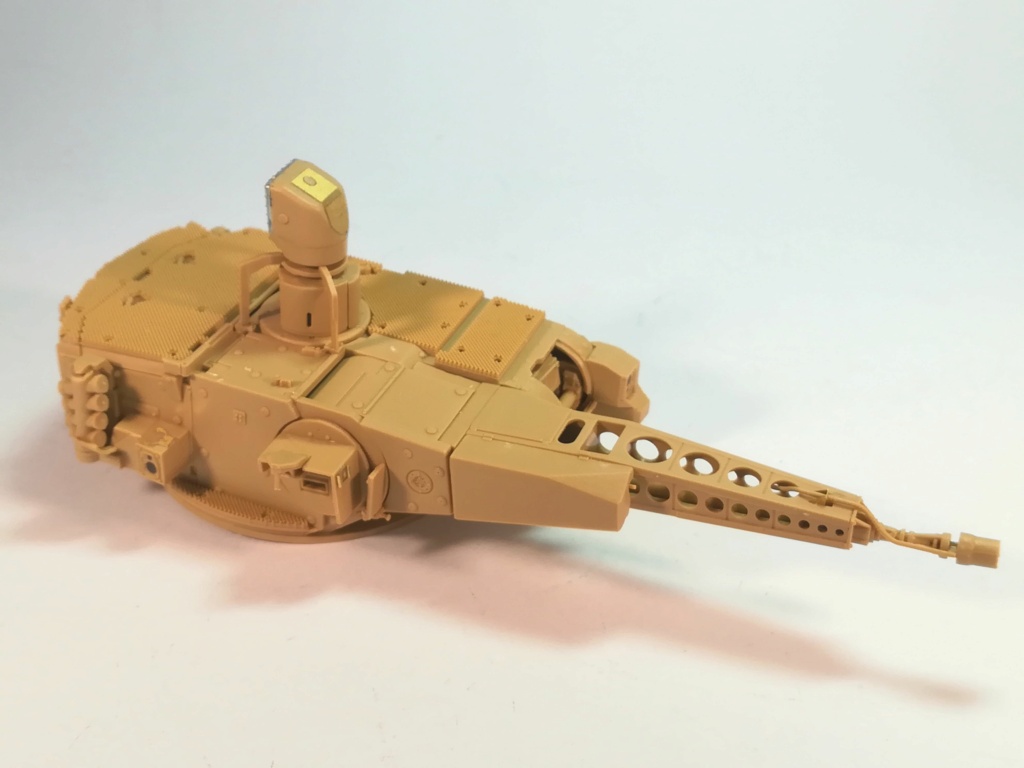
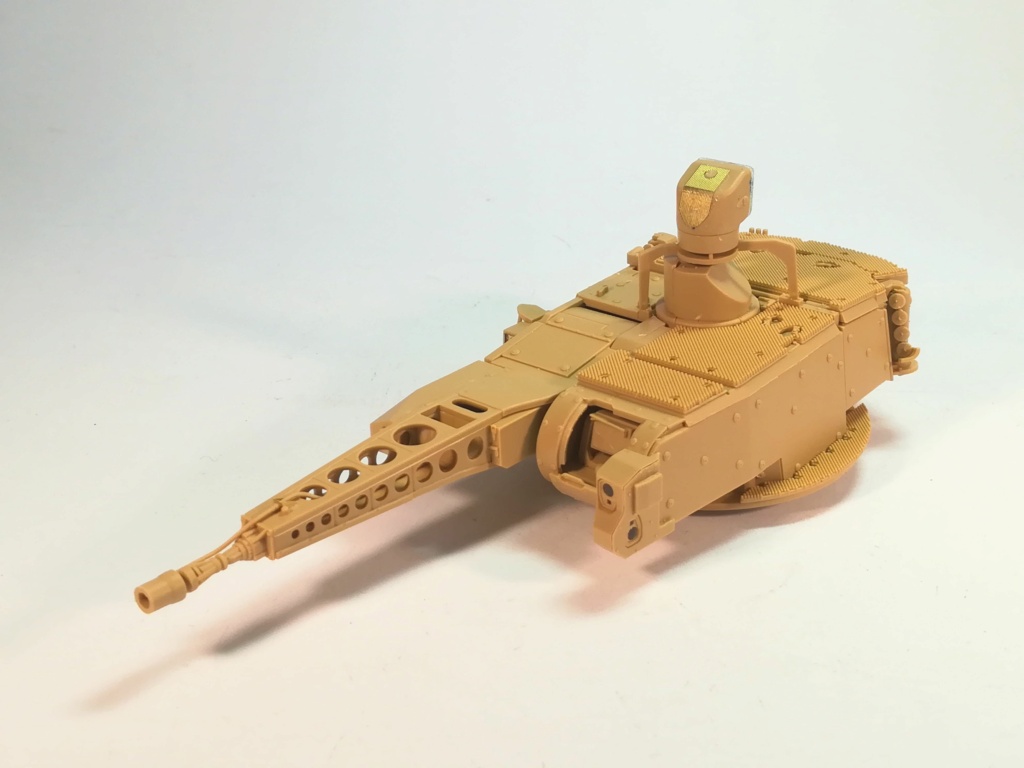
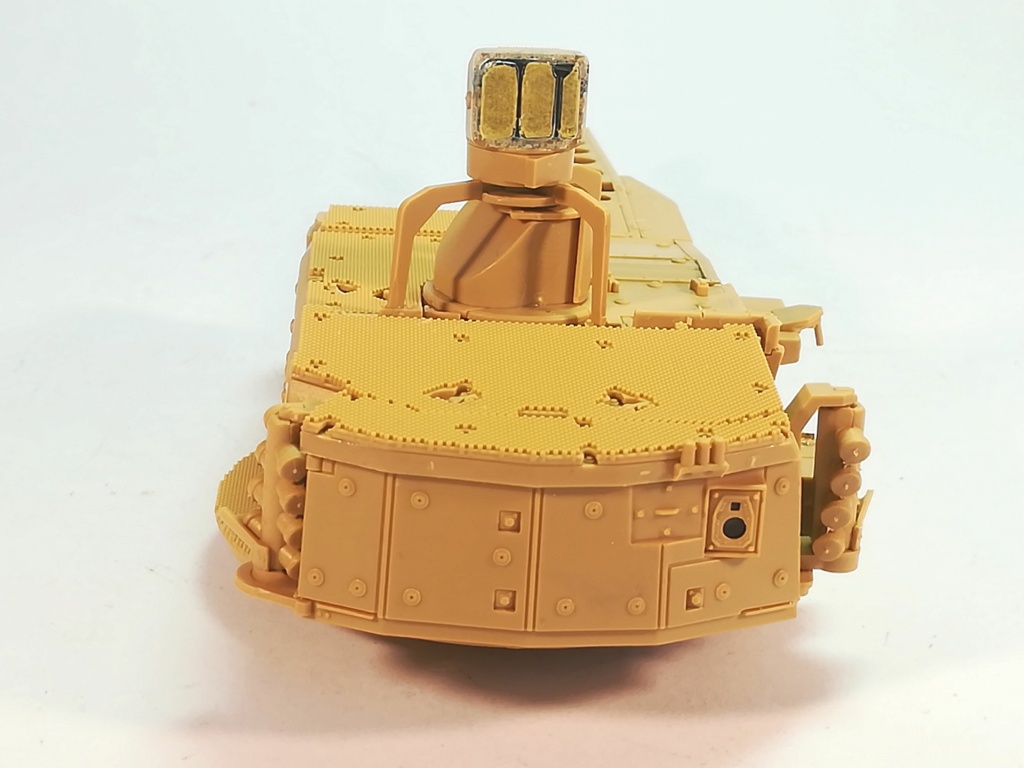
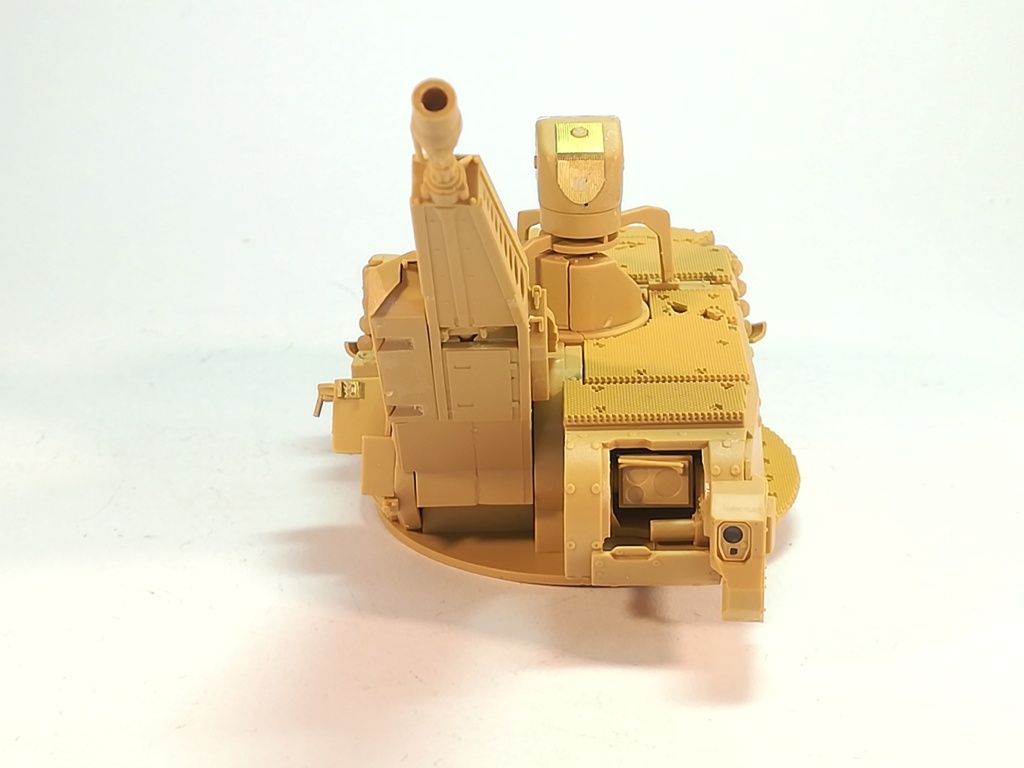
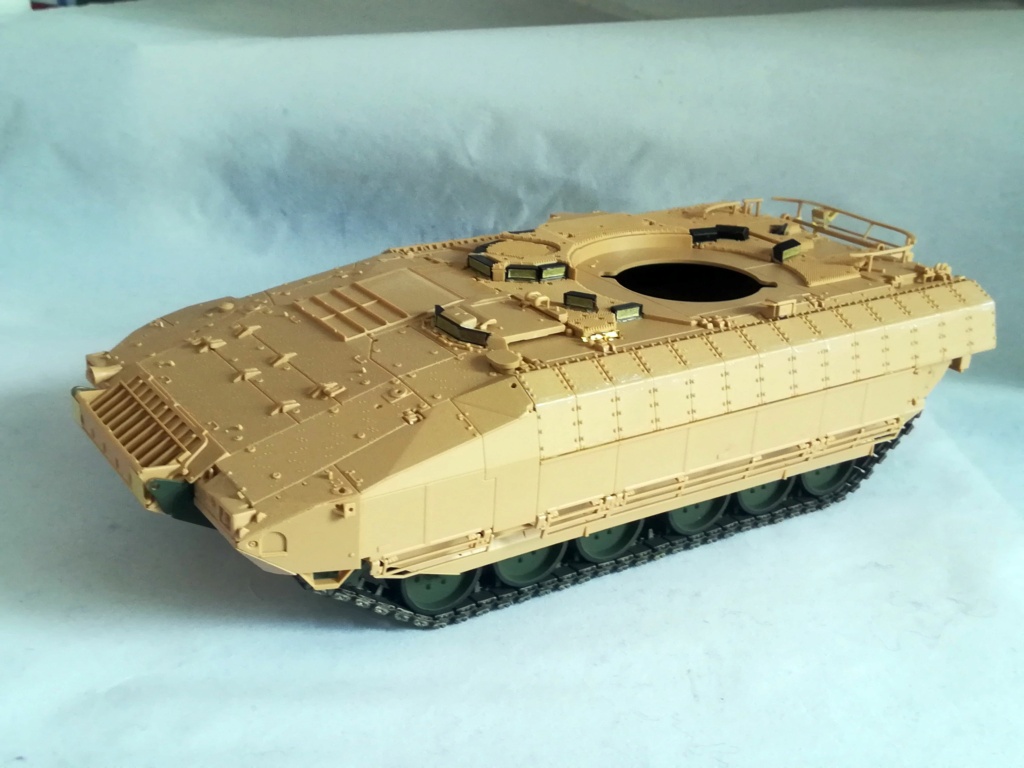
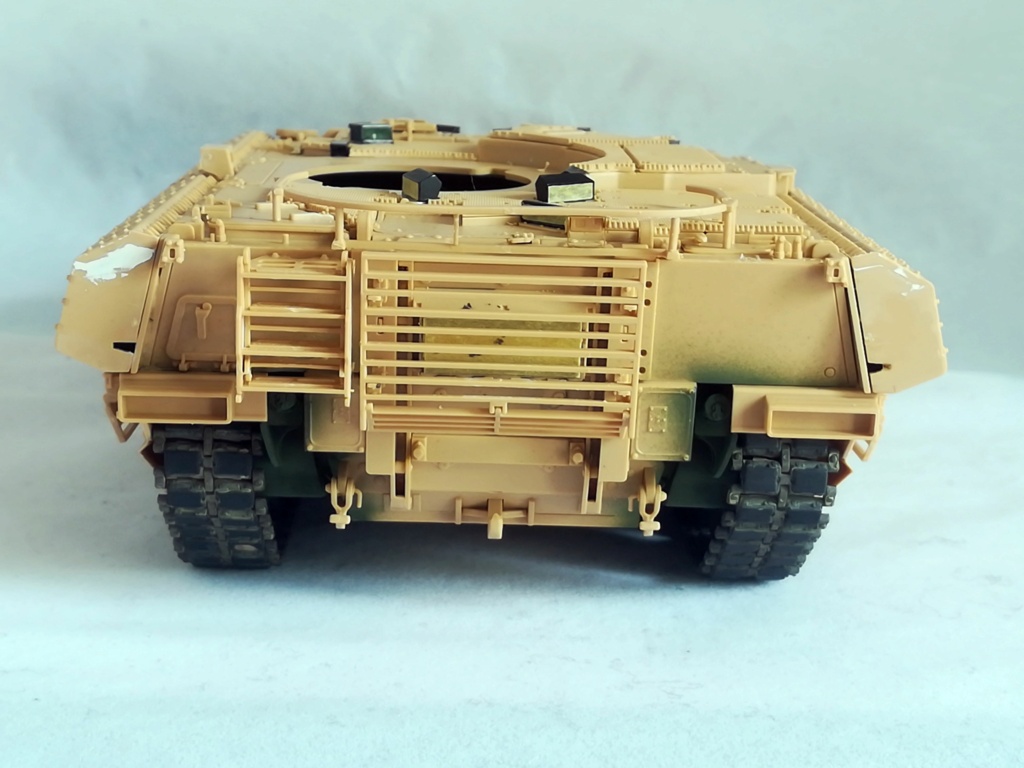
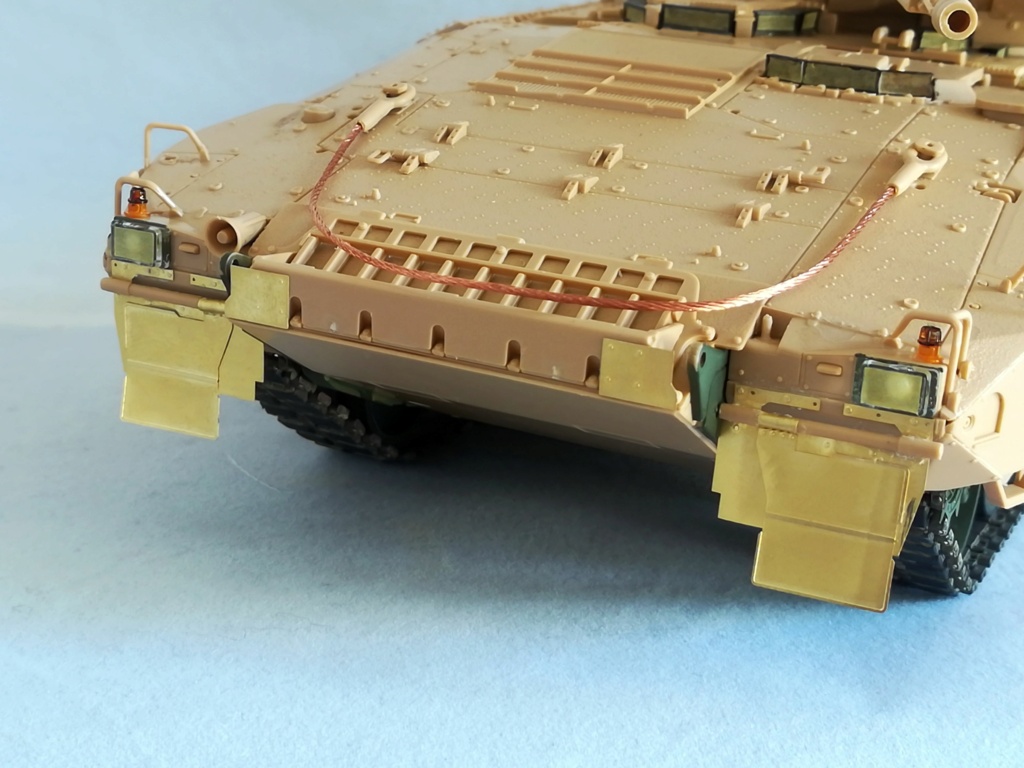
The details are quite crisp, the fit is excellent and the instructions are clear enough. The parts count is not insane. The tracks are the so-called workable one with the links in two parts which you have to glue around the connector parts. This is tedious and you need to pay attention to the connectors parts which are handed with only one side detailed. Considering the suspension and the sprockets are glued, I just can’t understand this choice for the tracks. Anyway after some hours on the workbench the both tracks are assembled as well as the suspensions and the main part of the upper hull. Note that all the add-on armor panels are separate parts which perfectly fit the hull. The hatches are moveable. However there is no stop for the ones which slide. So I decided to glue them shut to avoid losing them later.
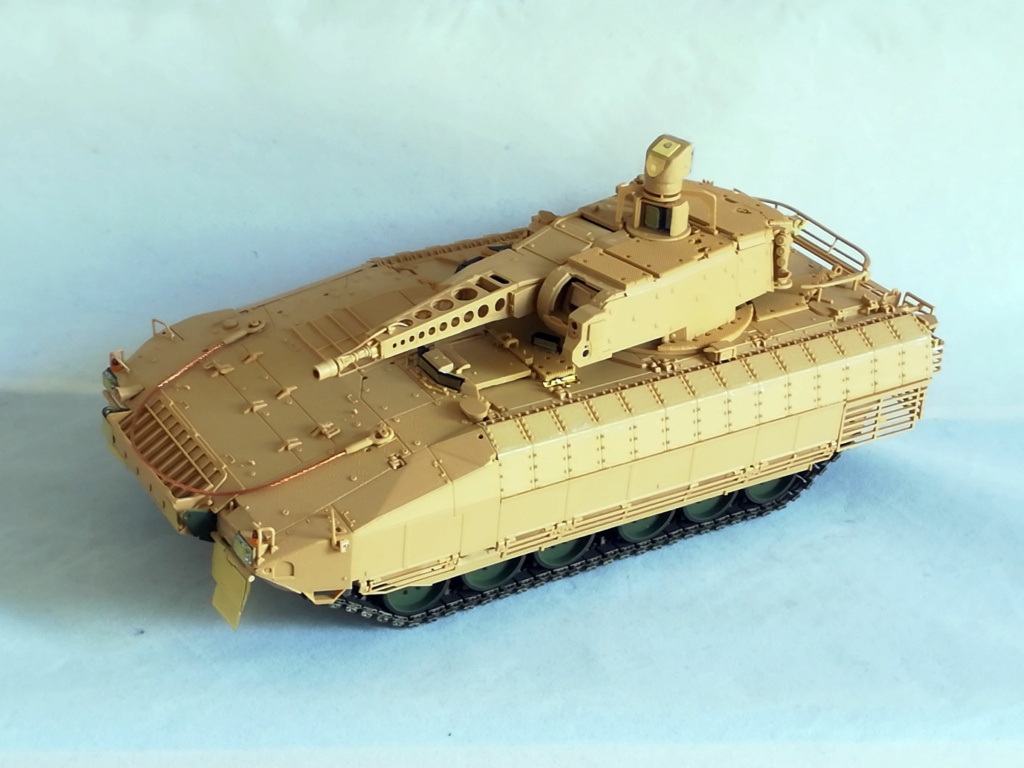
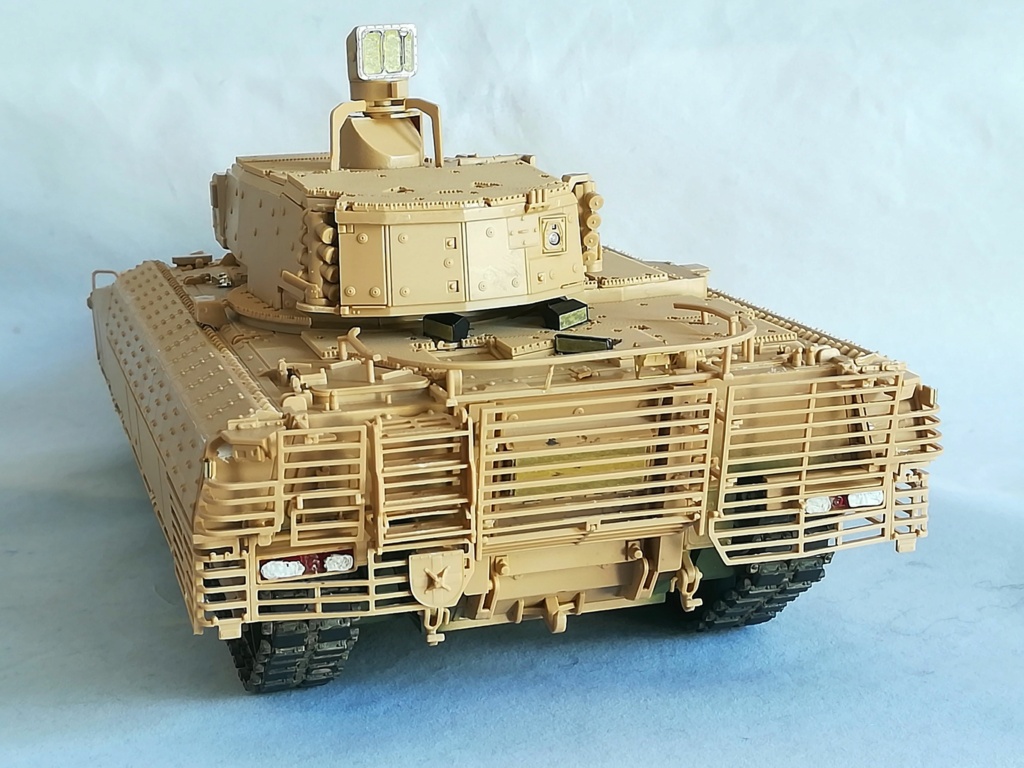
The turret is a bit tricky to assembly, the most tricky part being the gun muzzle.
Here are some pics.
The turret
Olivier
5 Likes
Nice clean start Olivier. I agree about the detailing… I’d not had an RFM kit before but the M1A2 and Chally 2 I got recently both look very nice and clear in the detailing. 
Lovely job. Have the HB version in the stash. Wonder how that one compares… 
I can’t tell about the HB kit. From my own experience HB tend to be less accurate than other manufacturers and they often mismatch the versions. In this case I wouldn’t be surprised their model still has some features of the prototype. Remember their MRAV Boxer.
Maybe @HermannB could help as he knows the actual vehicle.
Olivier
1 Like
Salut Olivier,
sorry, I don´t have the HB Puma. I am quite pleased with RFM kit. Heard that the kit was made with the assistance of a very renown researcher. But from seeing the sprues of the HB kit I am not convinced that its better than RFM. On the low side HB kits hatches can´t be opened.
1 Like
Thank you both.
Herma, given the lack of innards the hatches won’t be an issue 
Olivier,
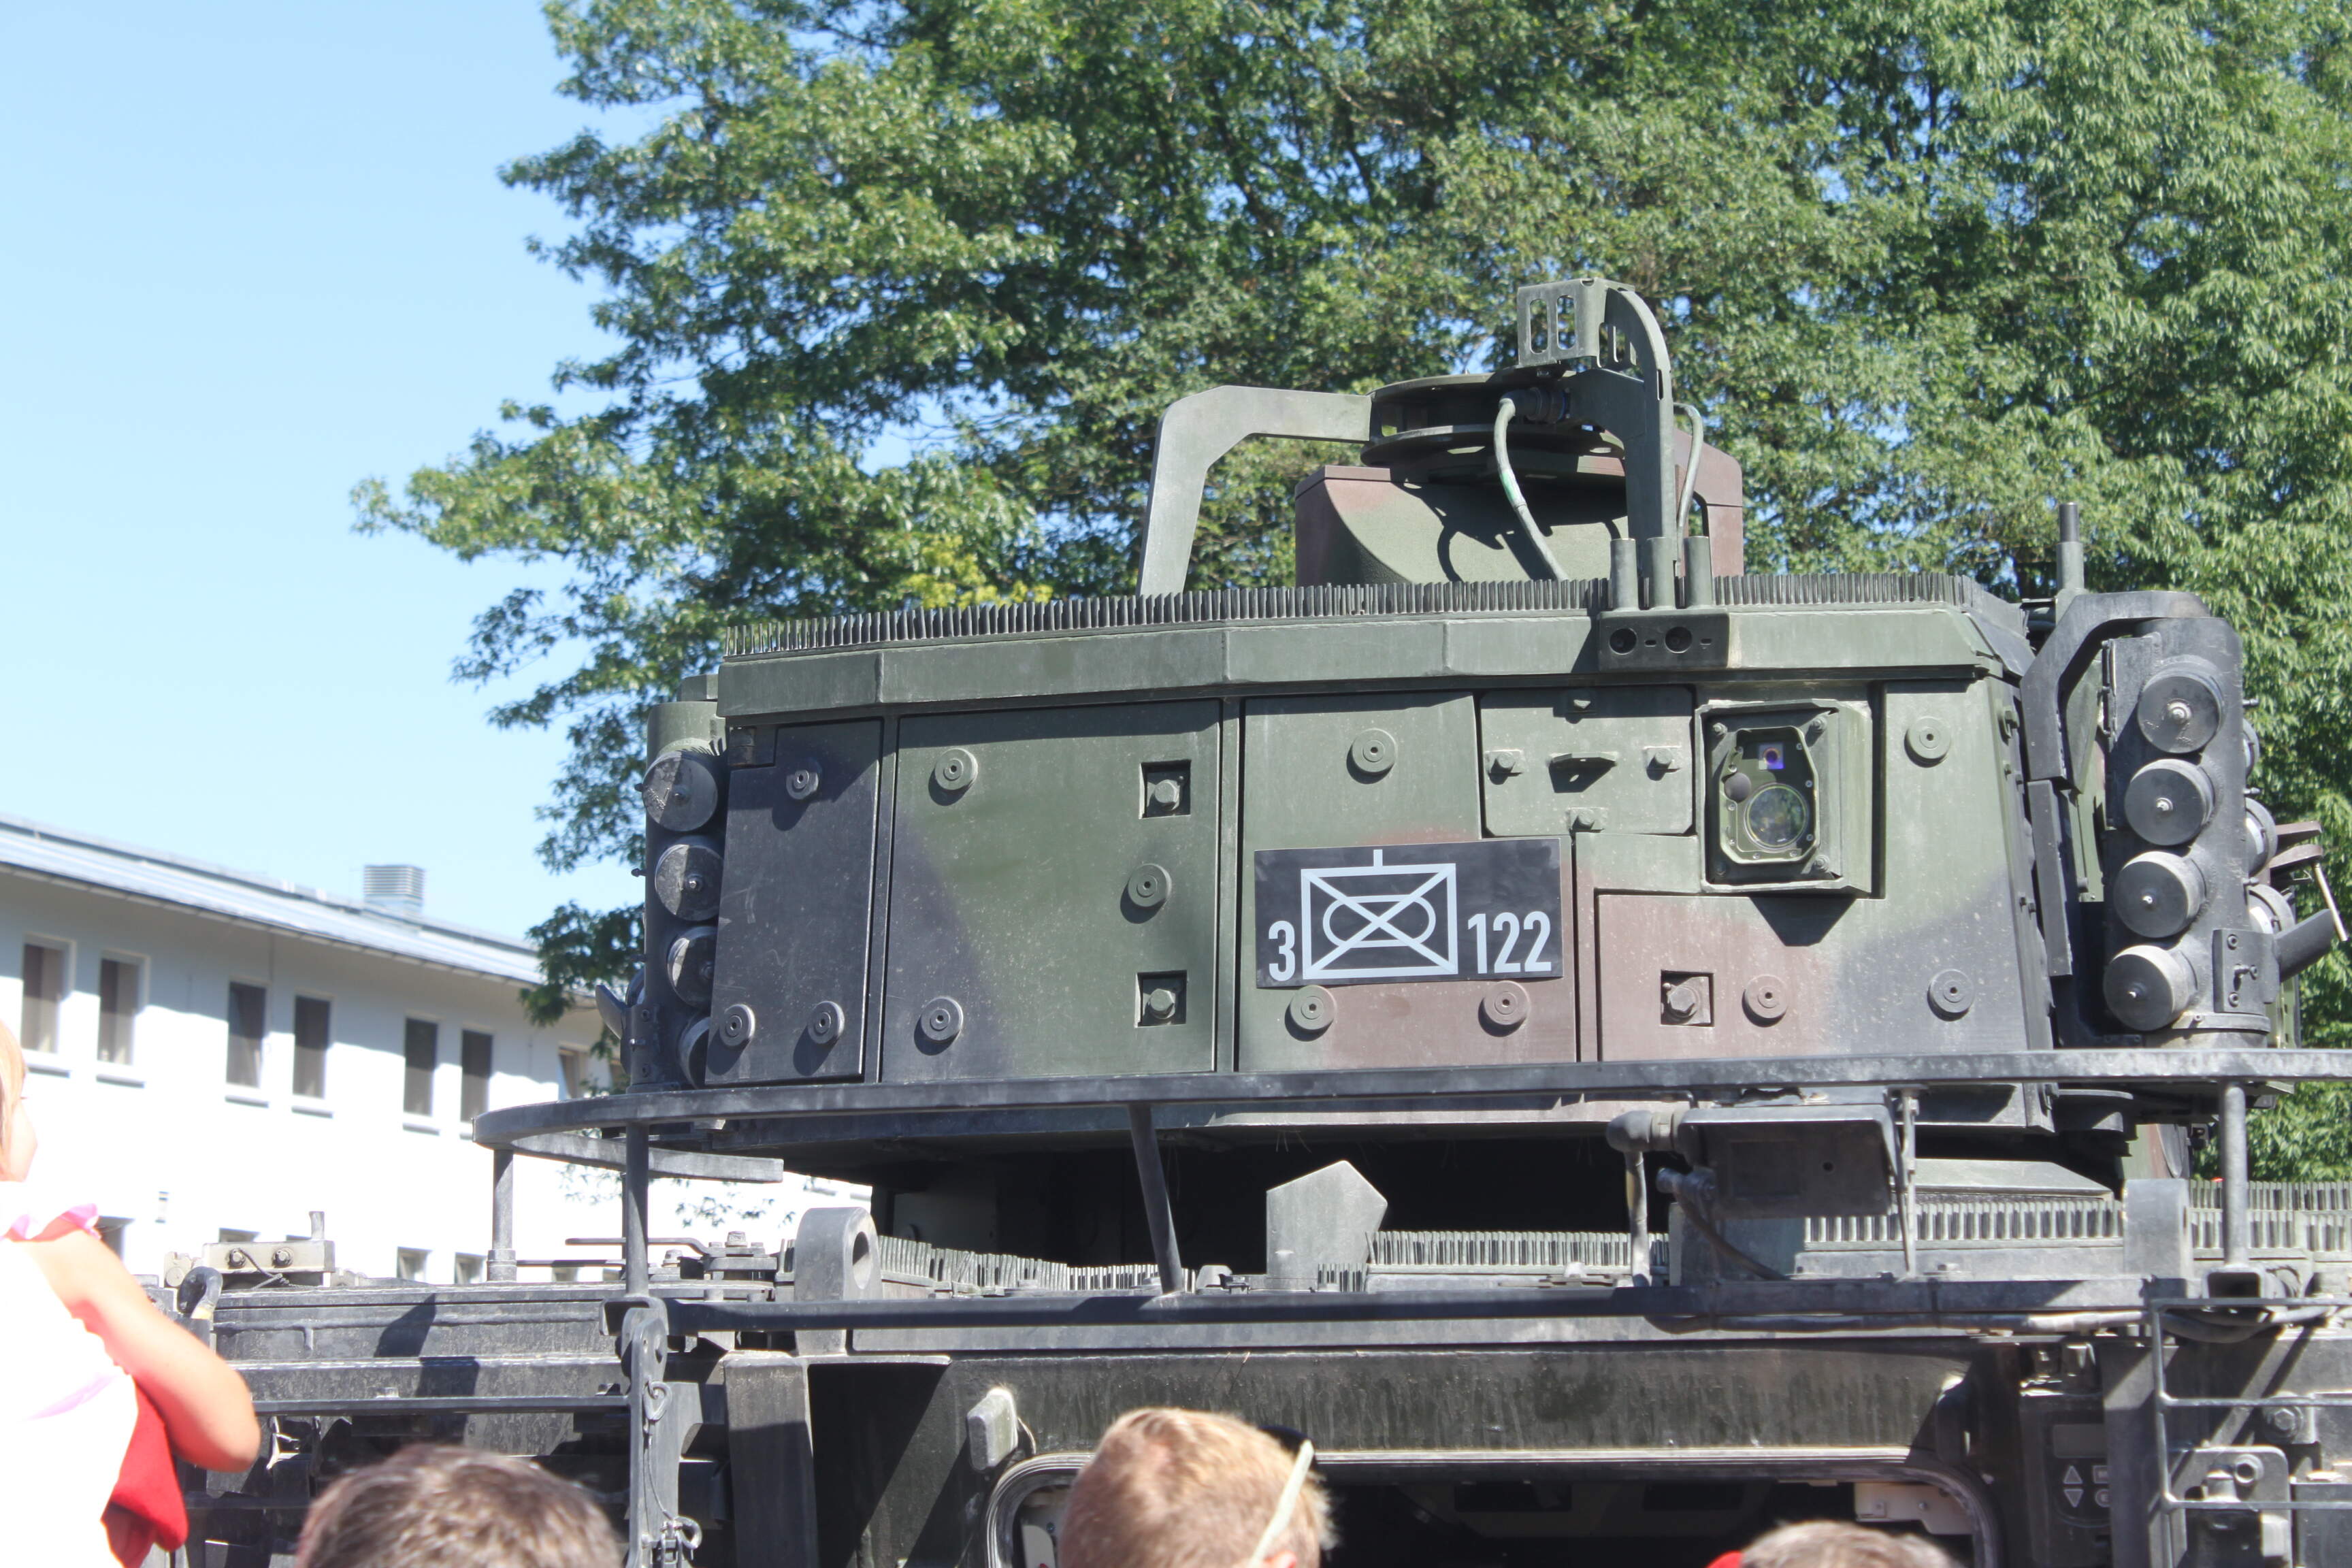
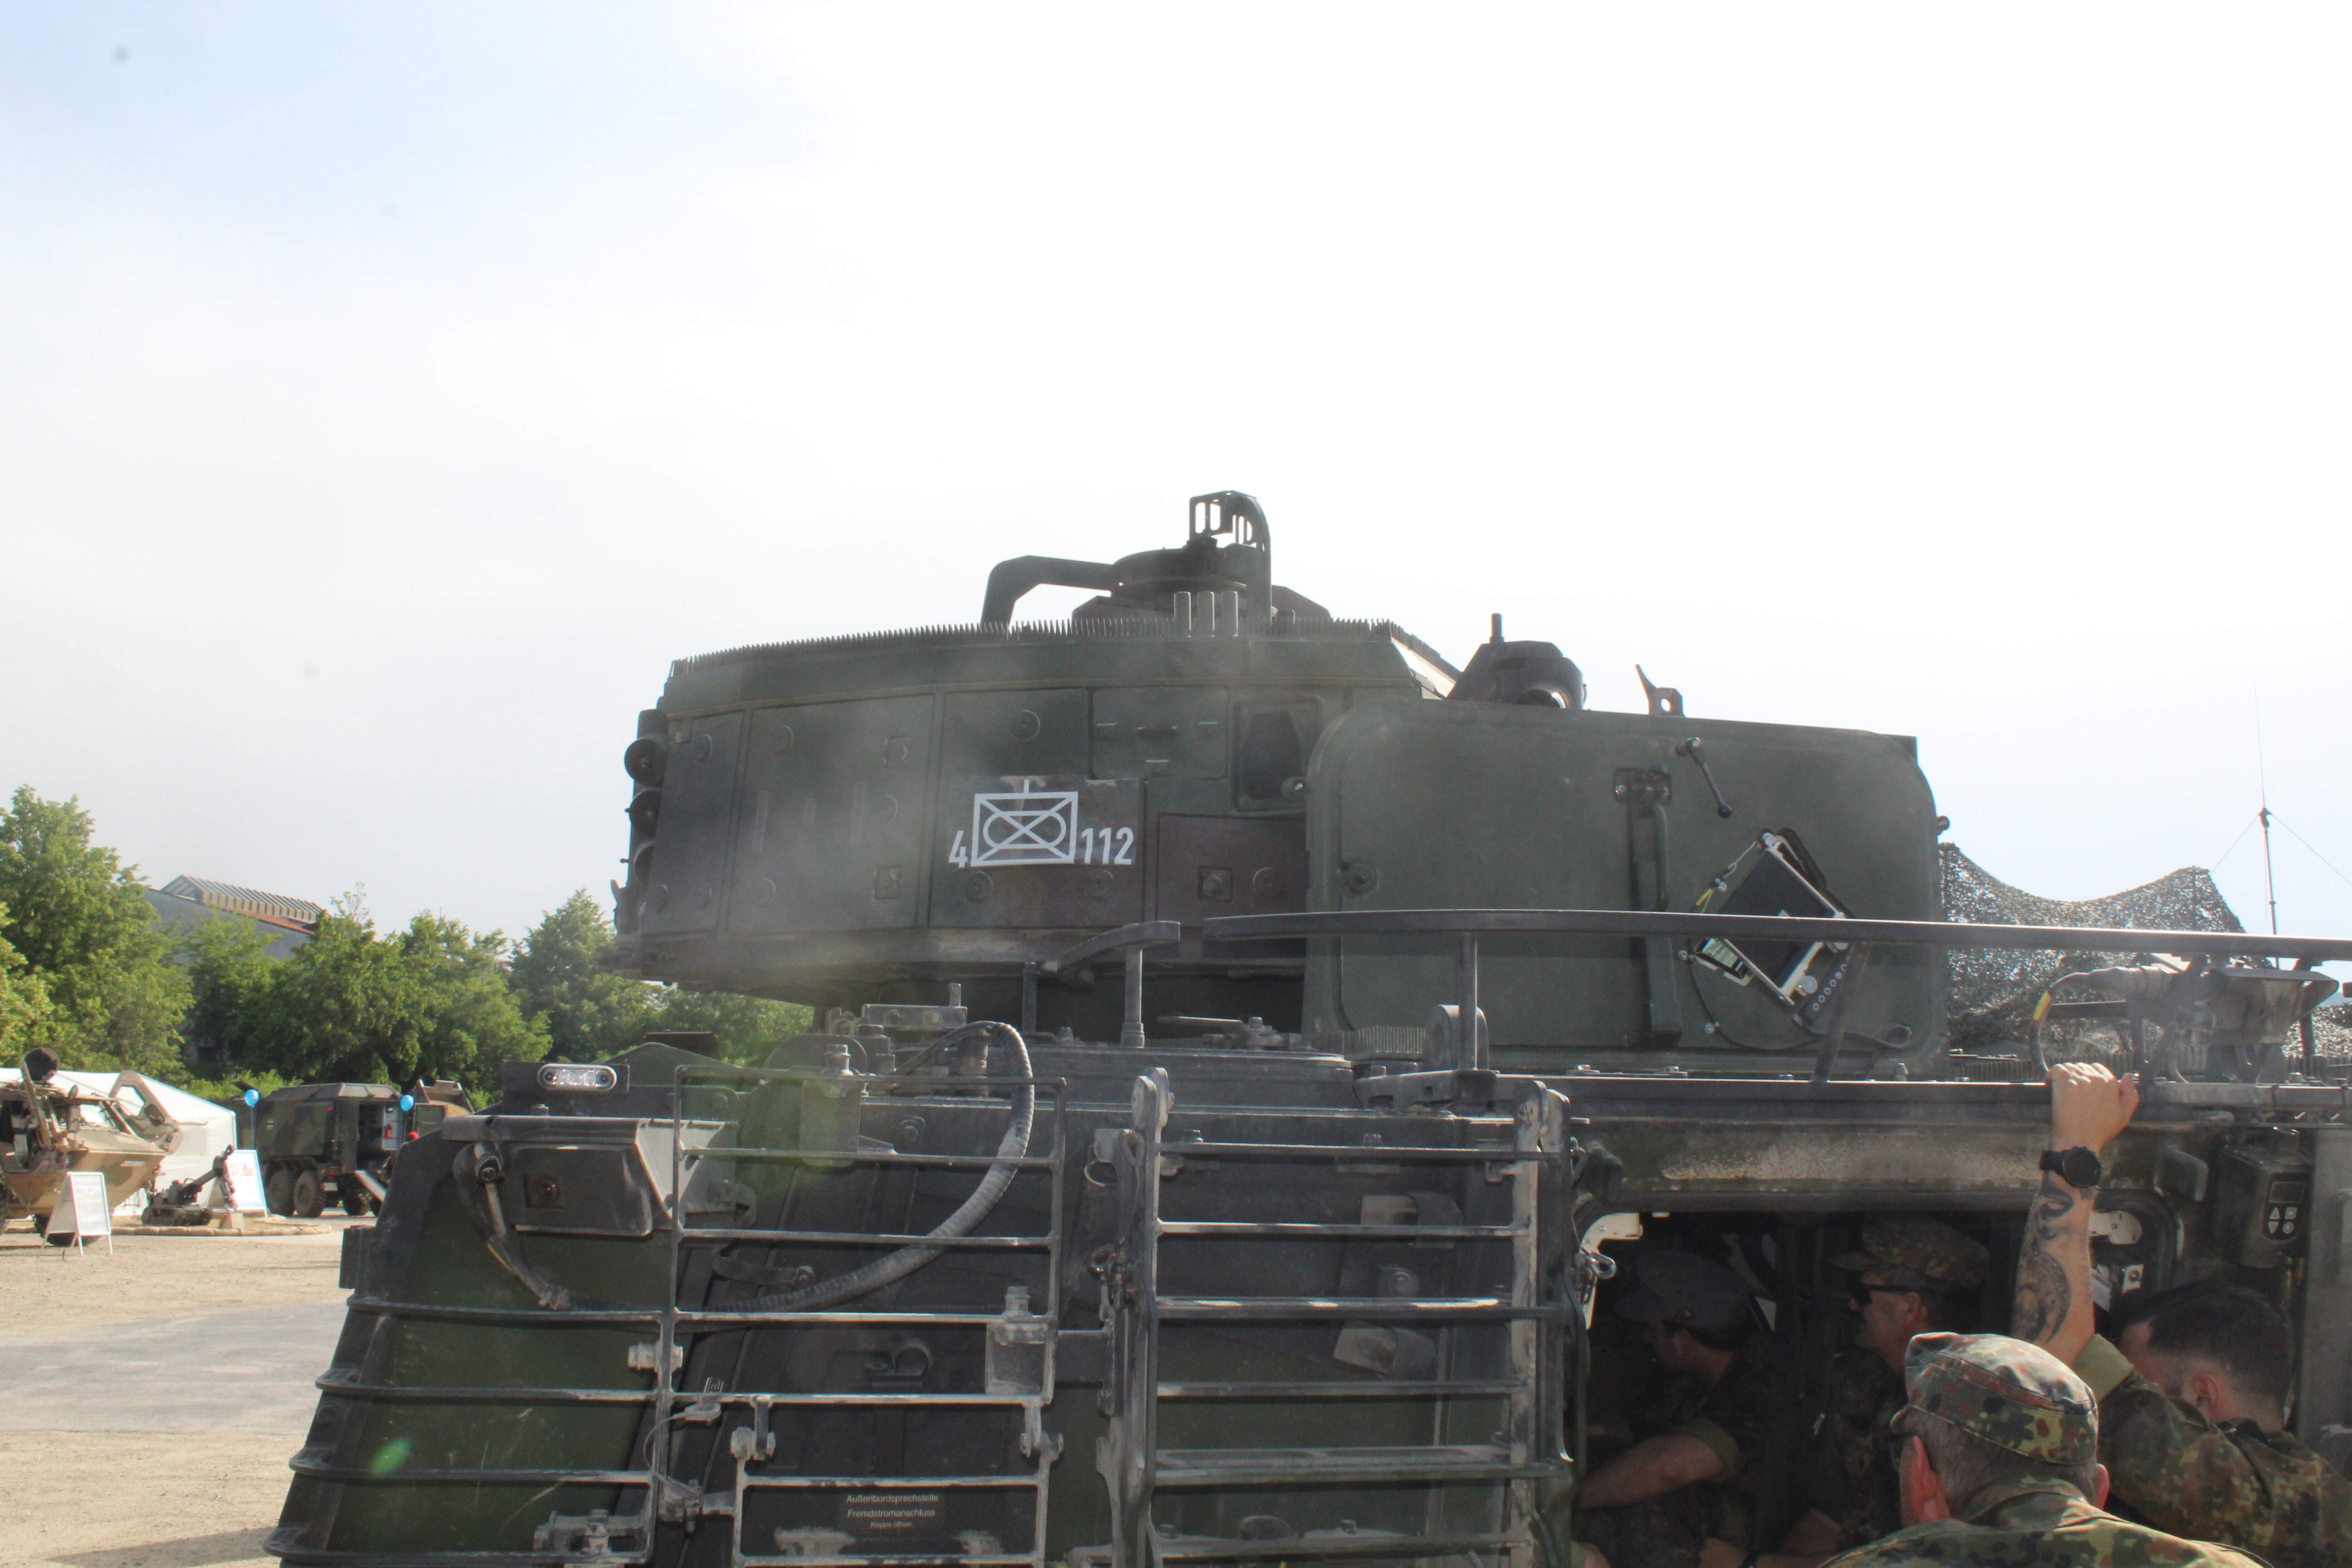
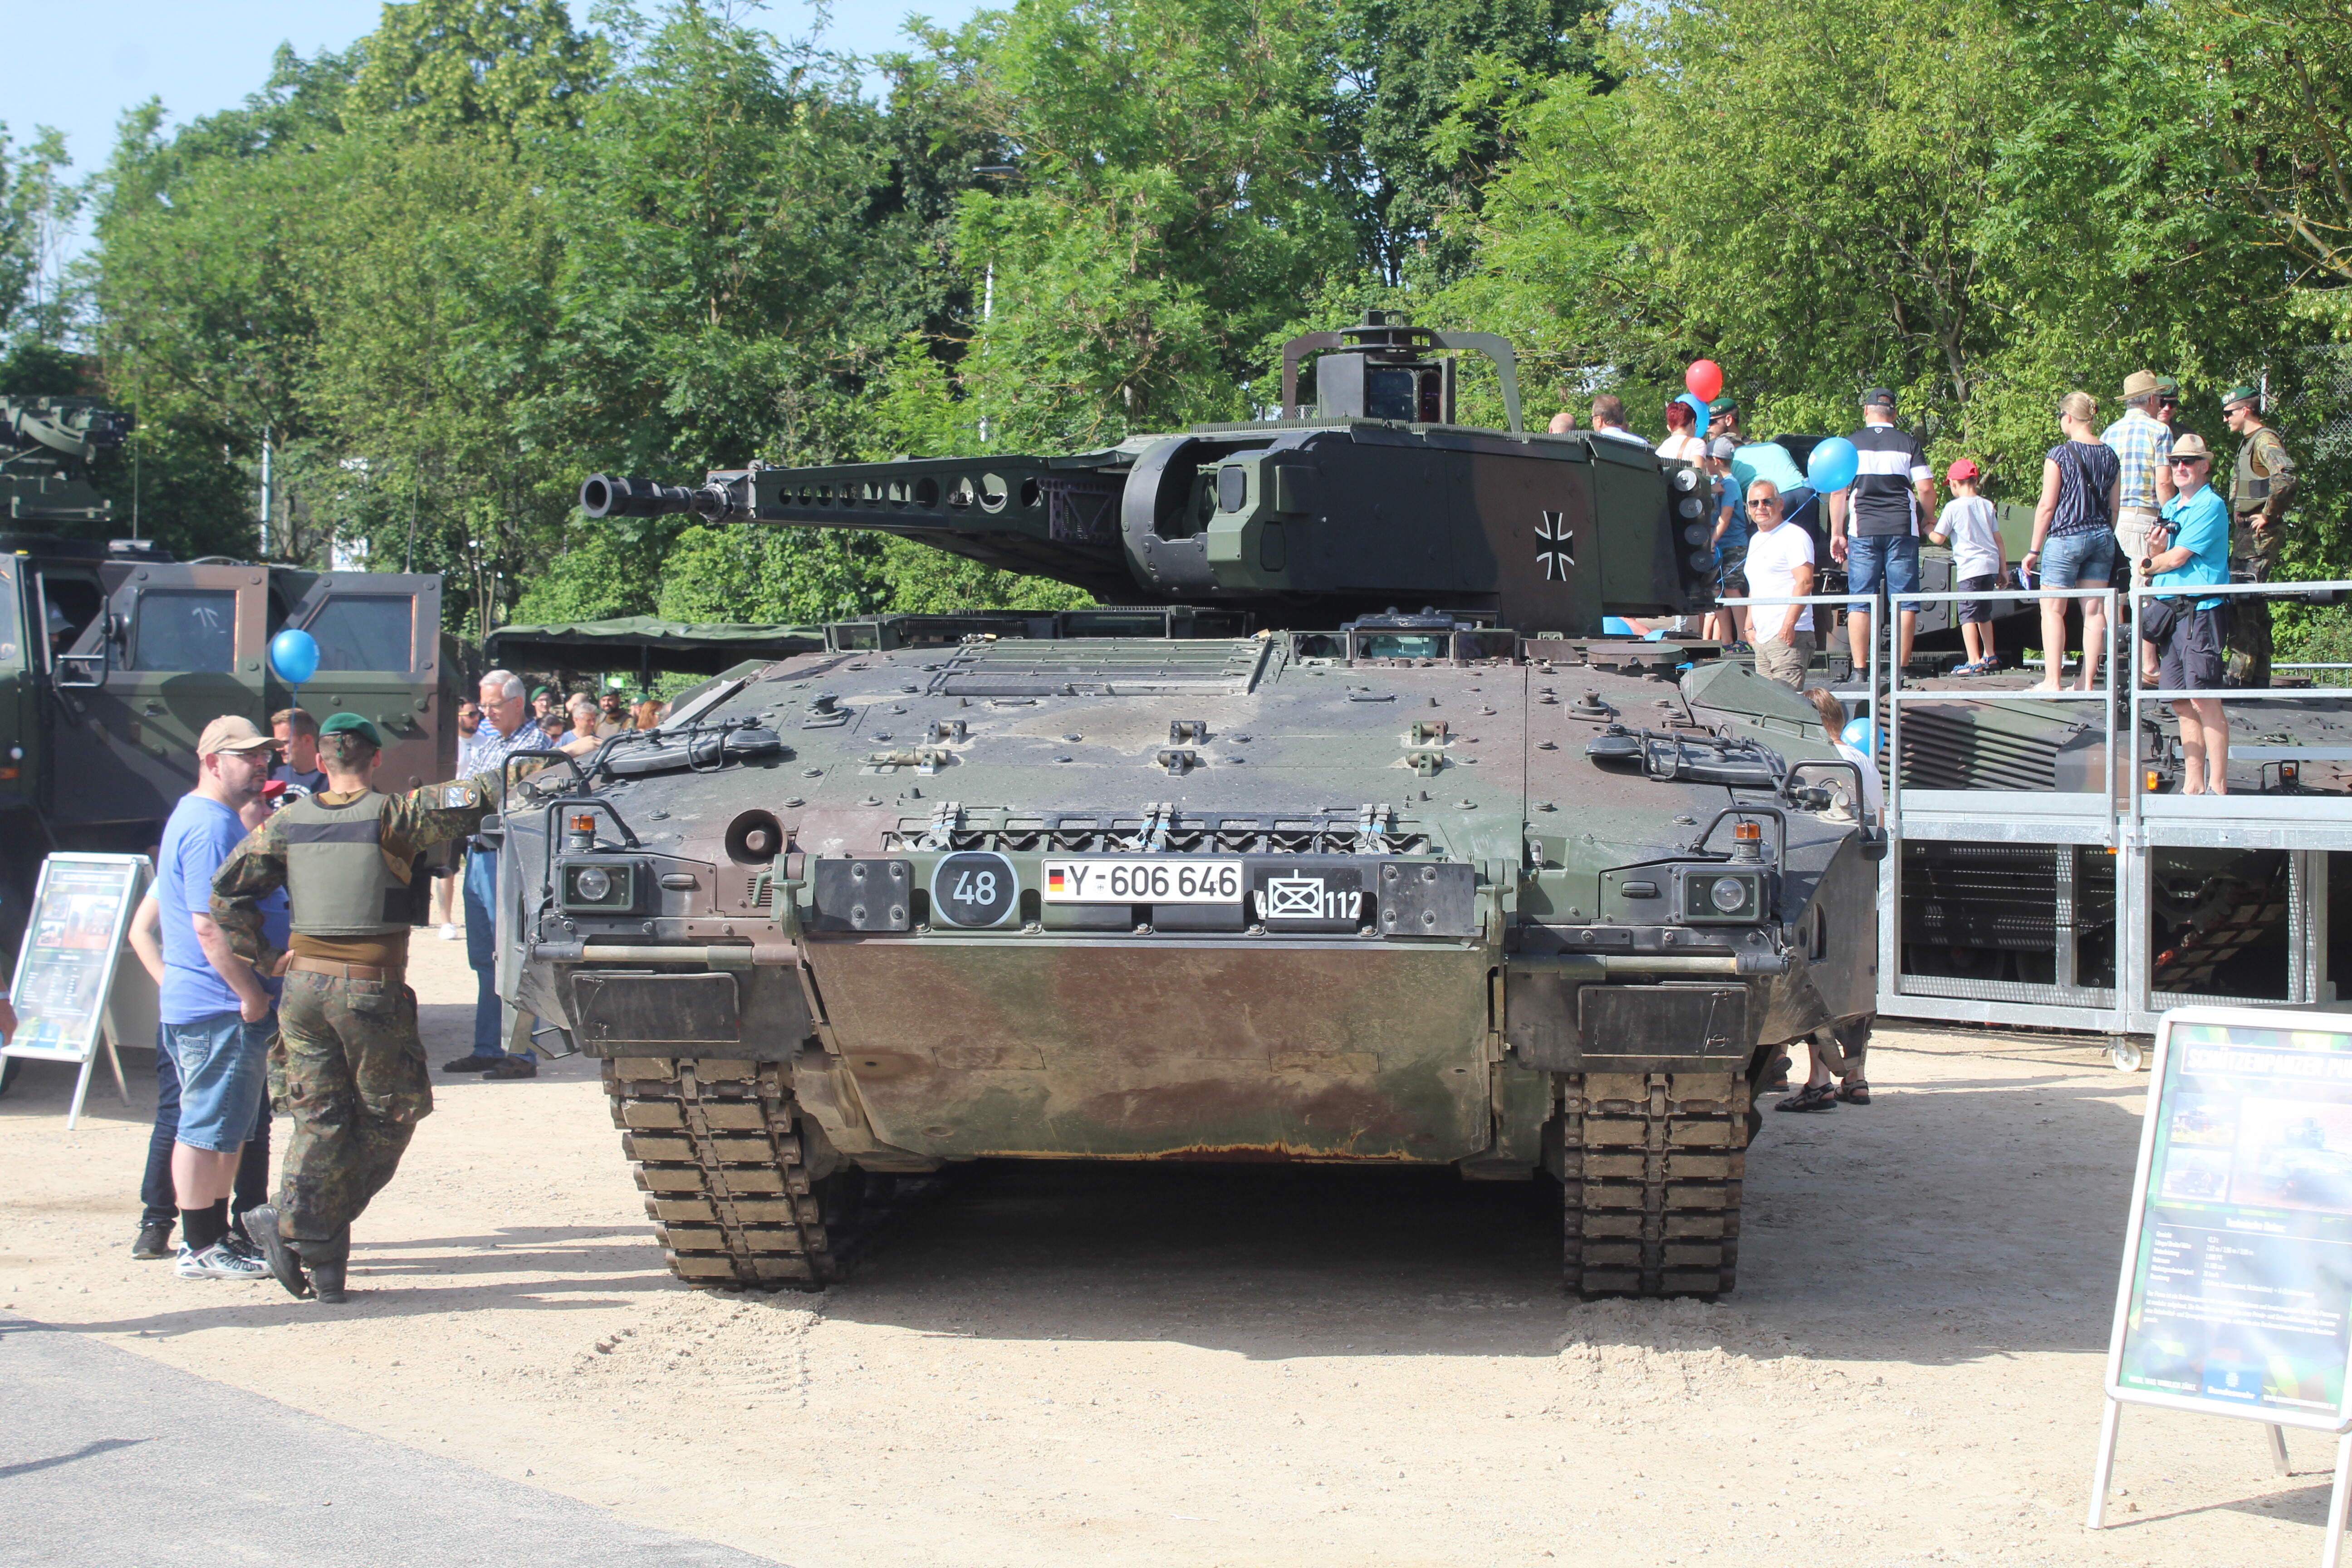
you might be ondering about the placement of the Taktische Zeichen. On the Puma they are not painted on but rather using magnetic placards on the rear turret.
1 Like
Thank you for the useful info, as usual 
I have found a walkaround at panzer-modell.de which shows another location. I’m far from applying the Taktische Zeichen for the moment. I’m still struggling with one track which definitely does not want to be closed. I really dislike this type of tracks.
Olivier
Olivier, there is no fixed location for Taktische Zeichen. The only fixed markings are the Eisernes Kreuz and the licence plates.
BTW The site you mean is panzer-modell.de
Thank you. I’ll fix the link.
Olivier
Various locations of the Taktische Zeichen possible.
Stickers this time.
2 Likes
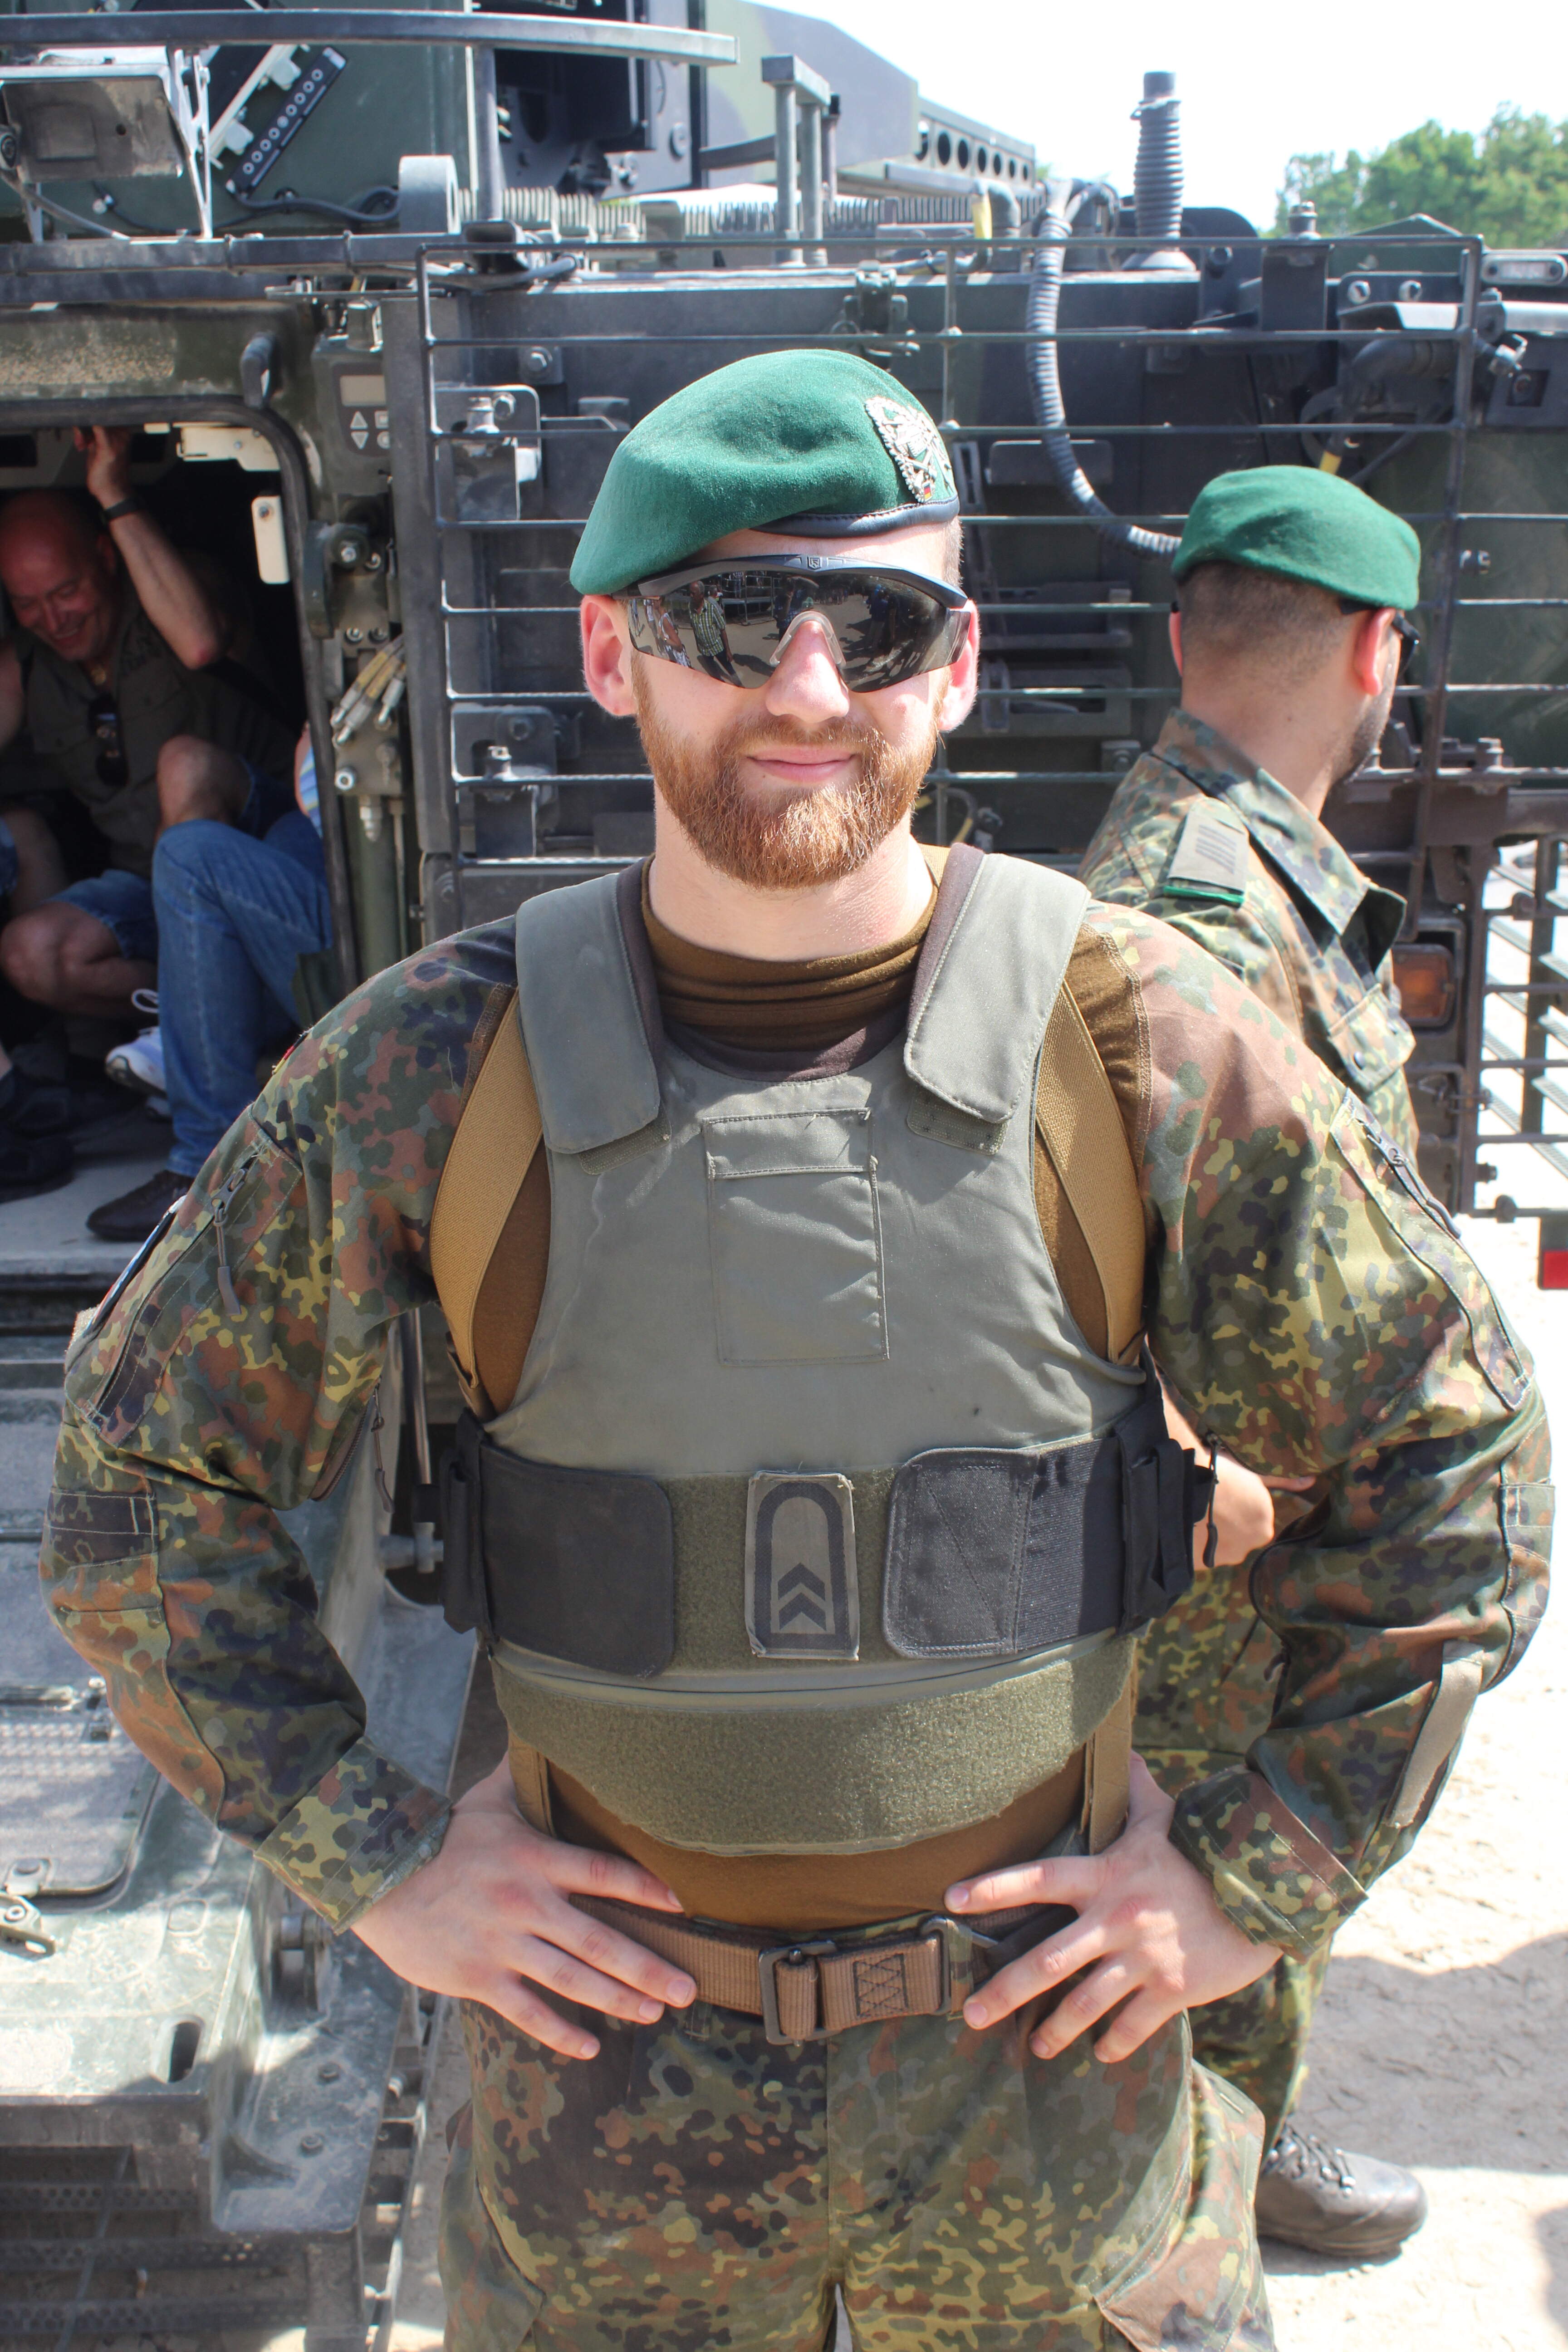
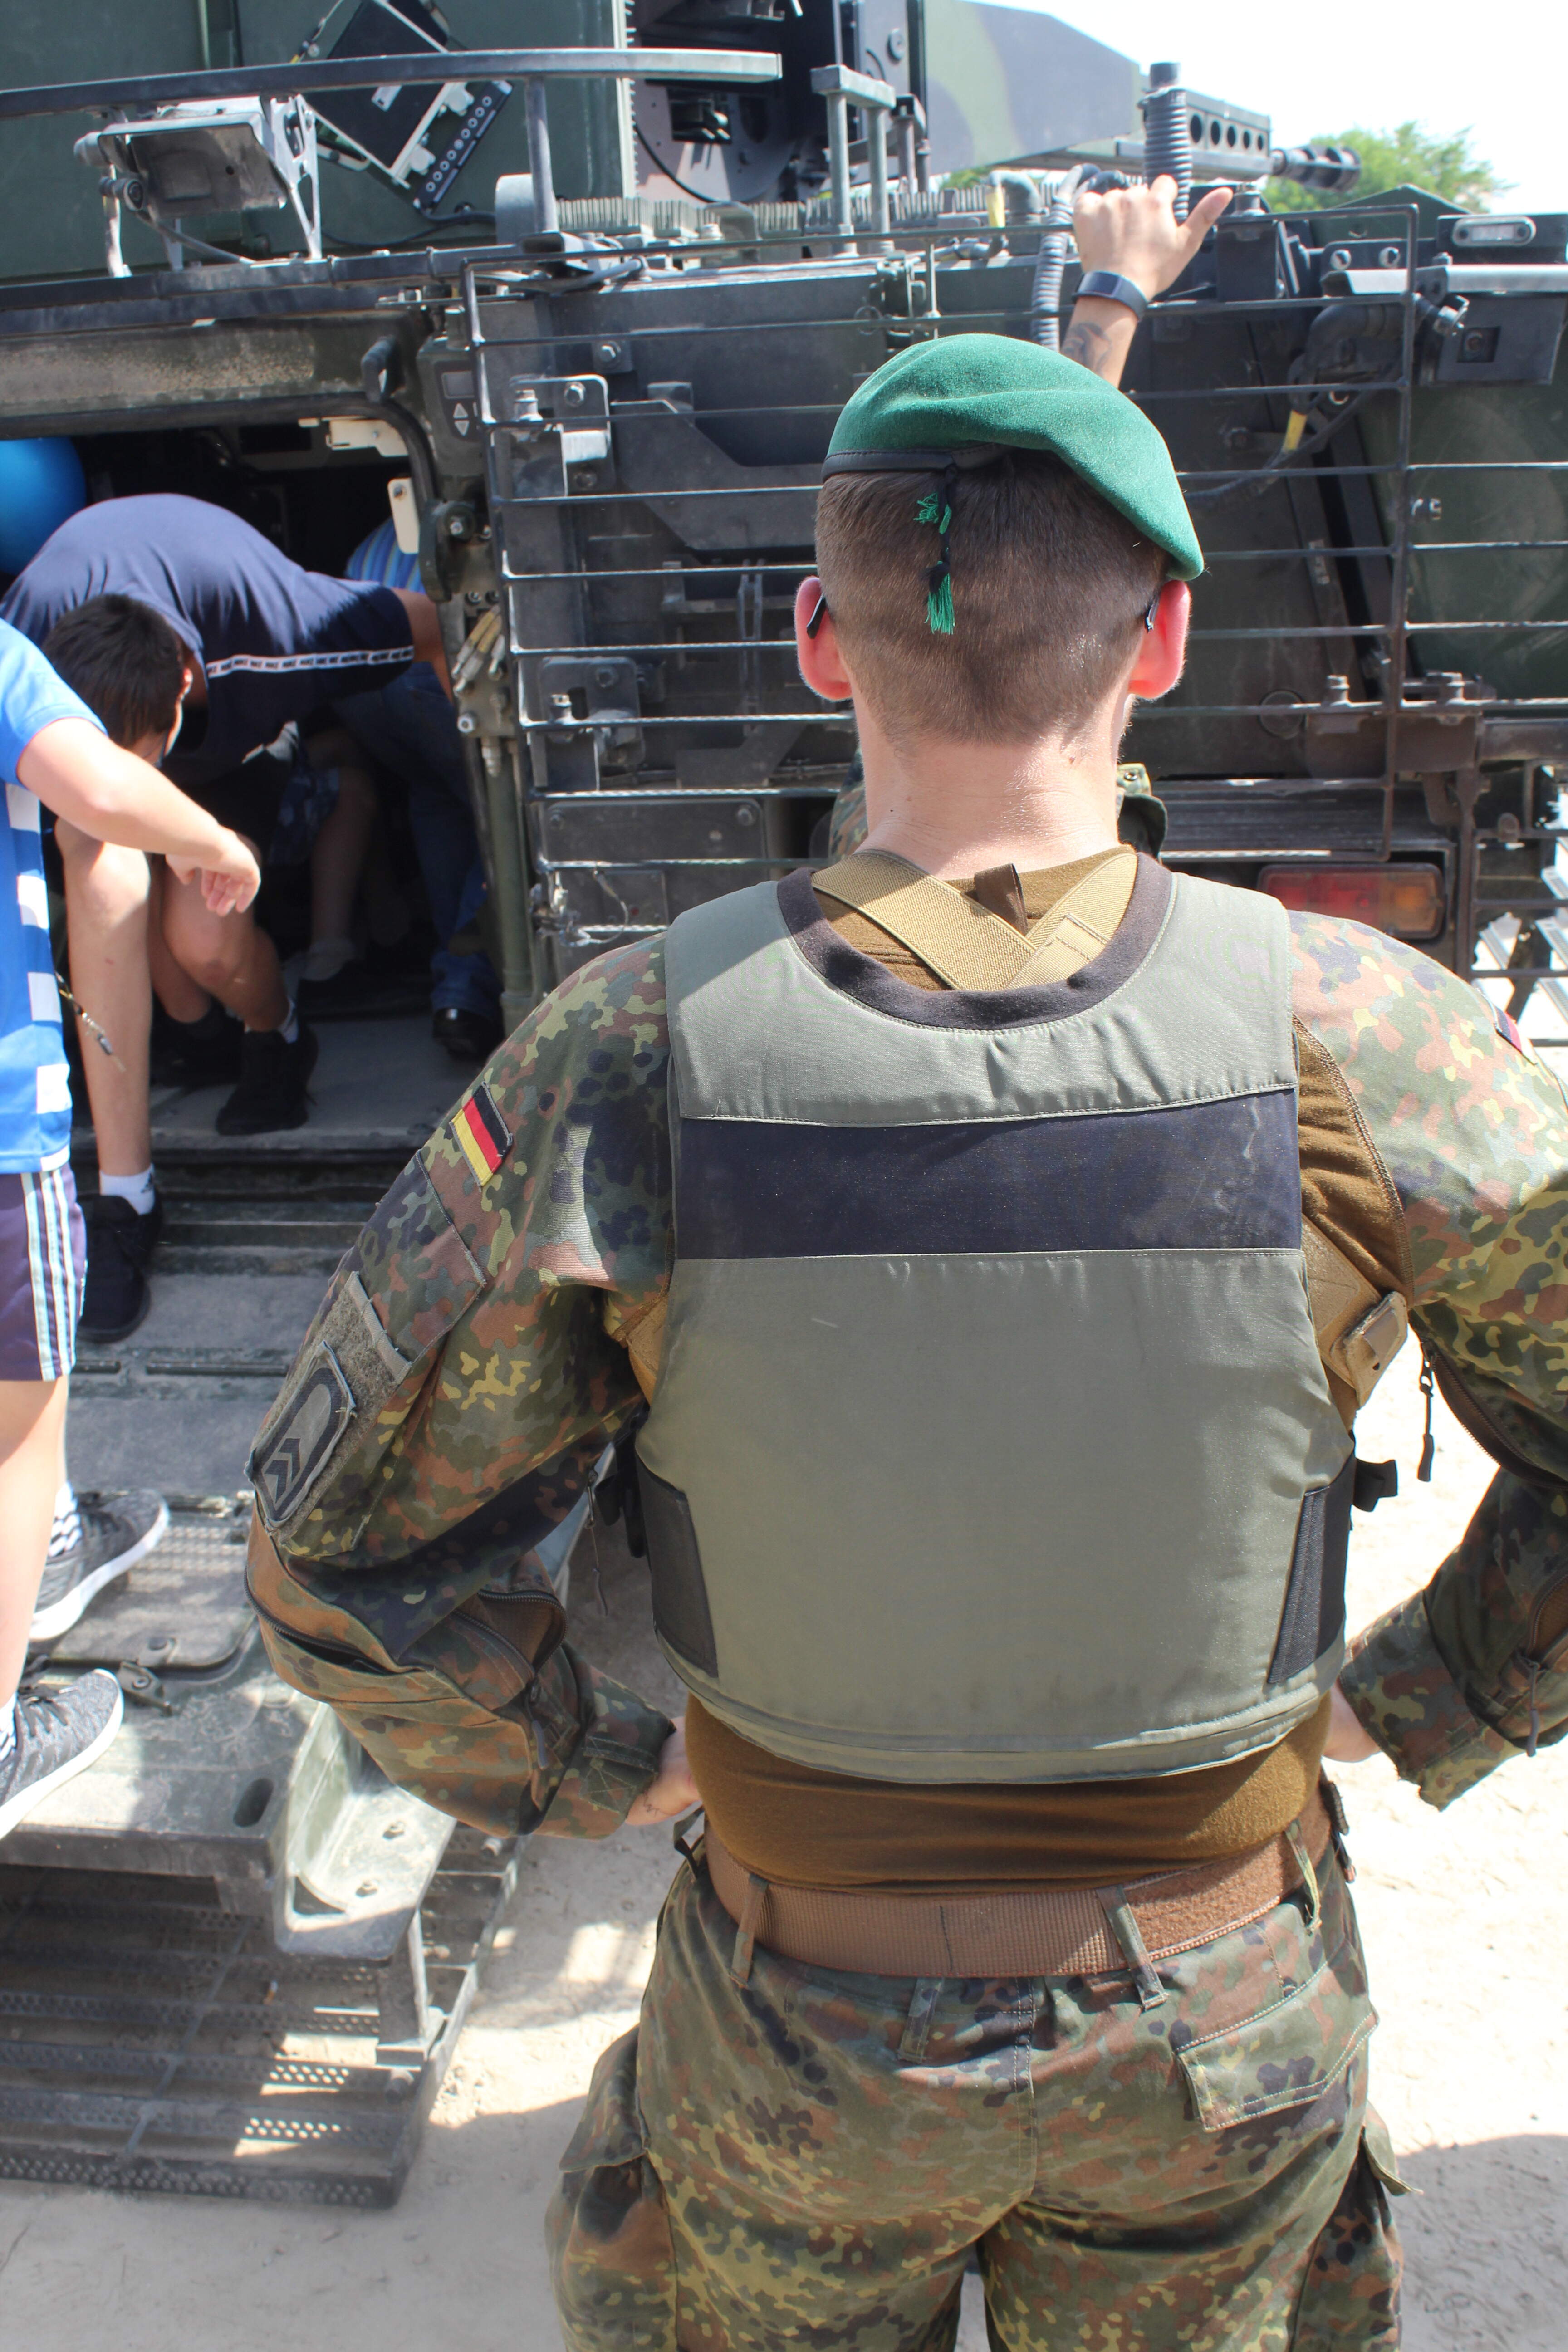
Puma Crew with bodyarmor.
1 Like
I haven’t posted for a while. However I’ve continued the build which is nealy complete 


Olivier
7 Likes
Looks like an excellent kit and you’re doing a great job on it Olivier. I have the Revell kit but this looks more detailed
Revell kit is an advanced prototype, not a serial vehicle.
Oh ok thanks Herman, I just found it in my stash and haven’t done any research on it yet. Good to know. Trying not to increase the stash but may have to get this kit
Very nice Olivier. Looks like a good kit to get hold off. Details look good all over…
Hi all
with the grand-children at home it’s not easy to find some time to glue anything. However I managed to finish the build. The only missing parts (rear view mirrors and rear mudflaps) will be added after the painting step.
Here is an advice for those who have the kit, glue the lower slat armor panel first at the rear. It’s way easier.

Olivier
9 Likes
Beautiful build Olivier! Can’t wait to see the beast painted up