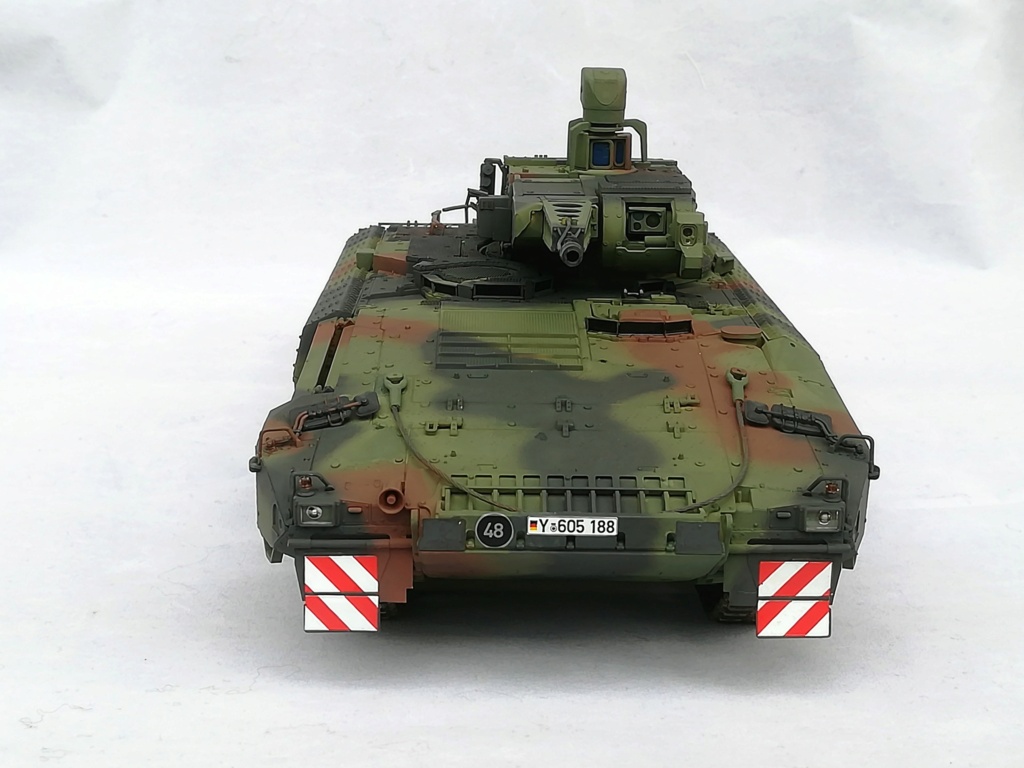
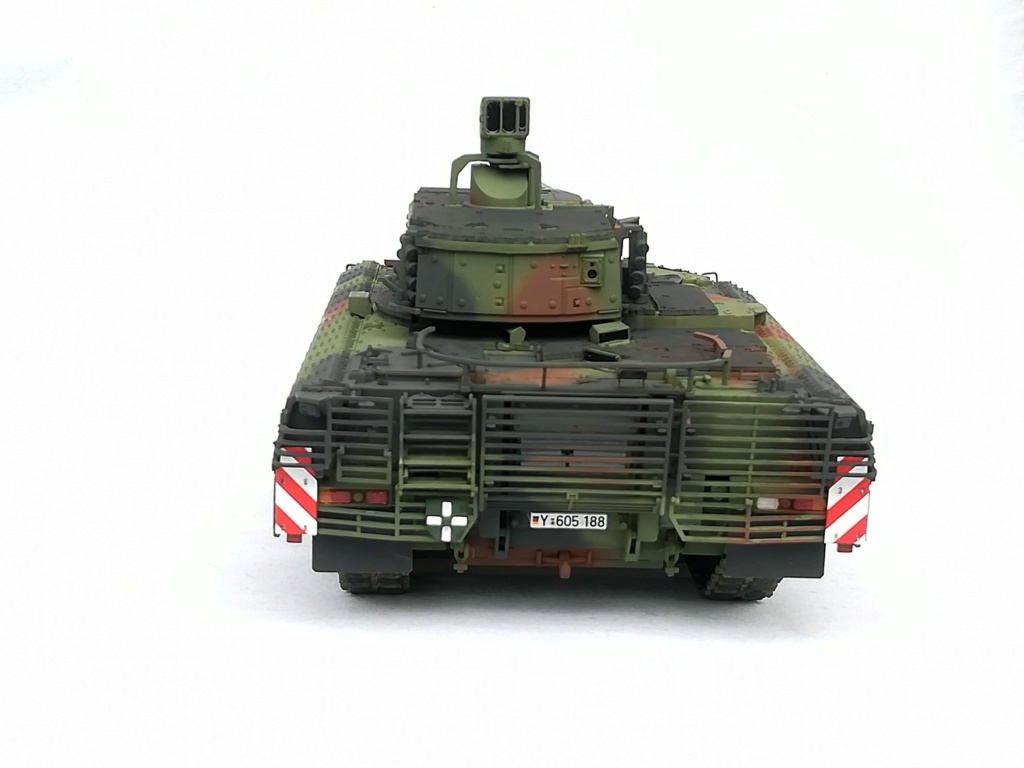
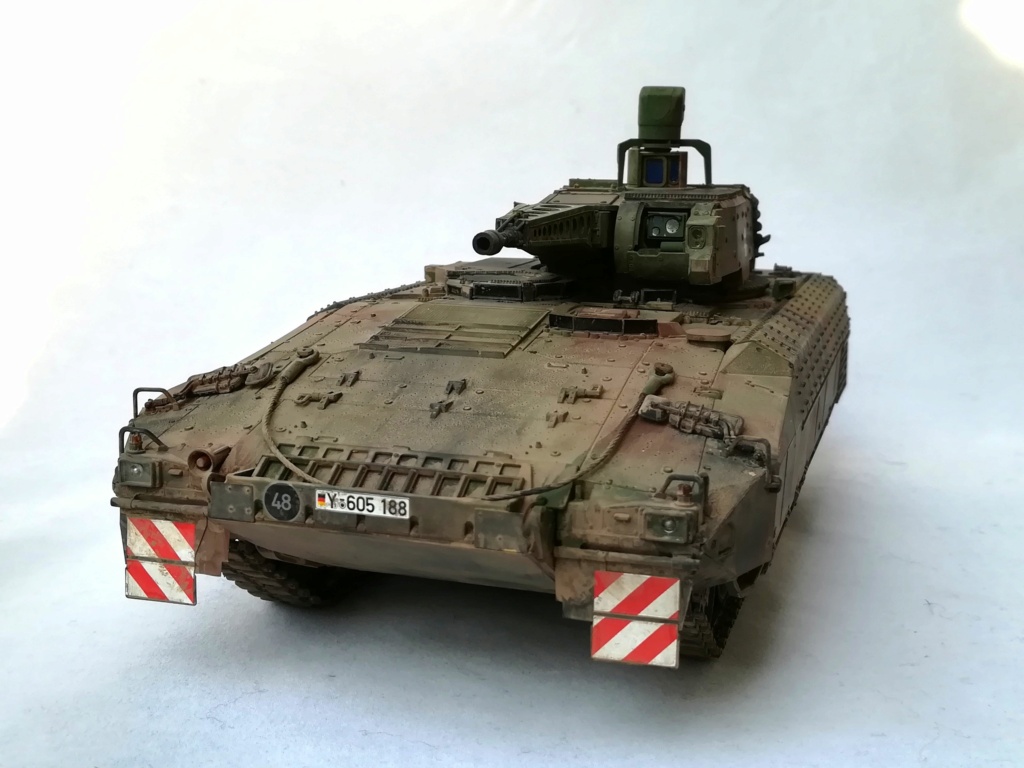
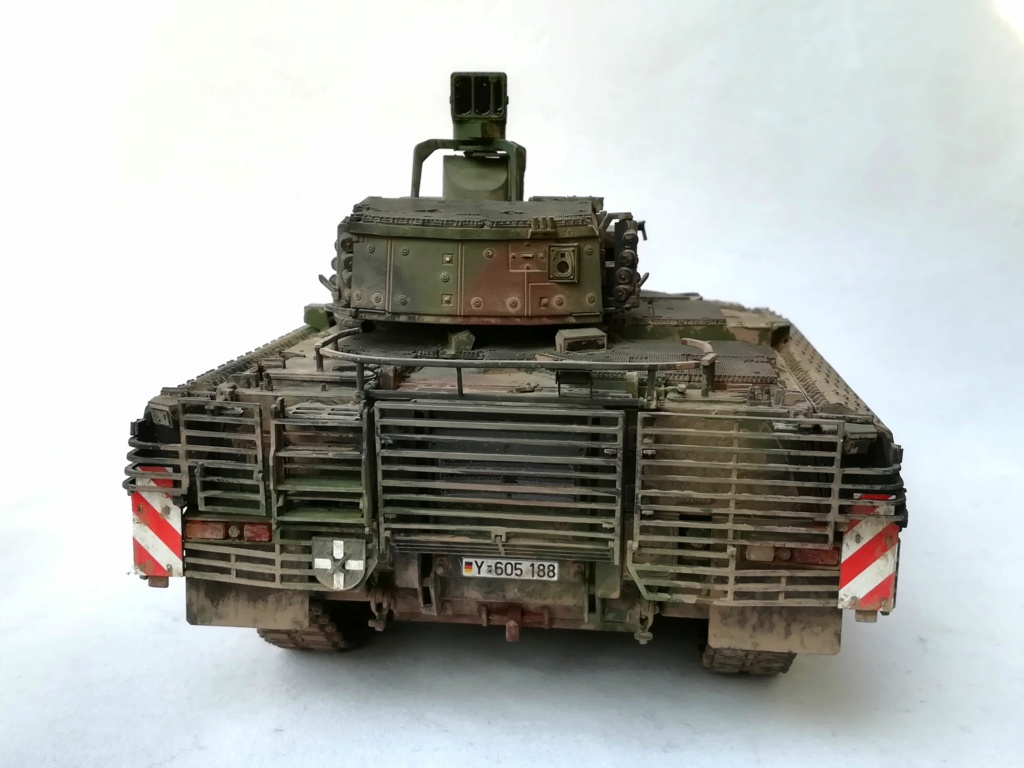
I’ve just applied the decals today. They are a bit thick but stick pretty well. RFM give you one set of registration plates plus 2 blank ones with separate numerals to create your own number.
Unfortunately there is no NATO tactical signs. I’ll see in my stash if I still have some from my Marder models. @HermannB in addition to those on the pictures in this post could you please give some Panzergrenadier Battalion numbers so I can use appropriate decals?
Olivier,
currently, Panzergrenadier Truppe has 5 Bataillons that are equipped with Puma. These are:
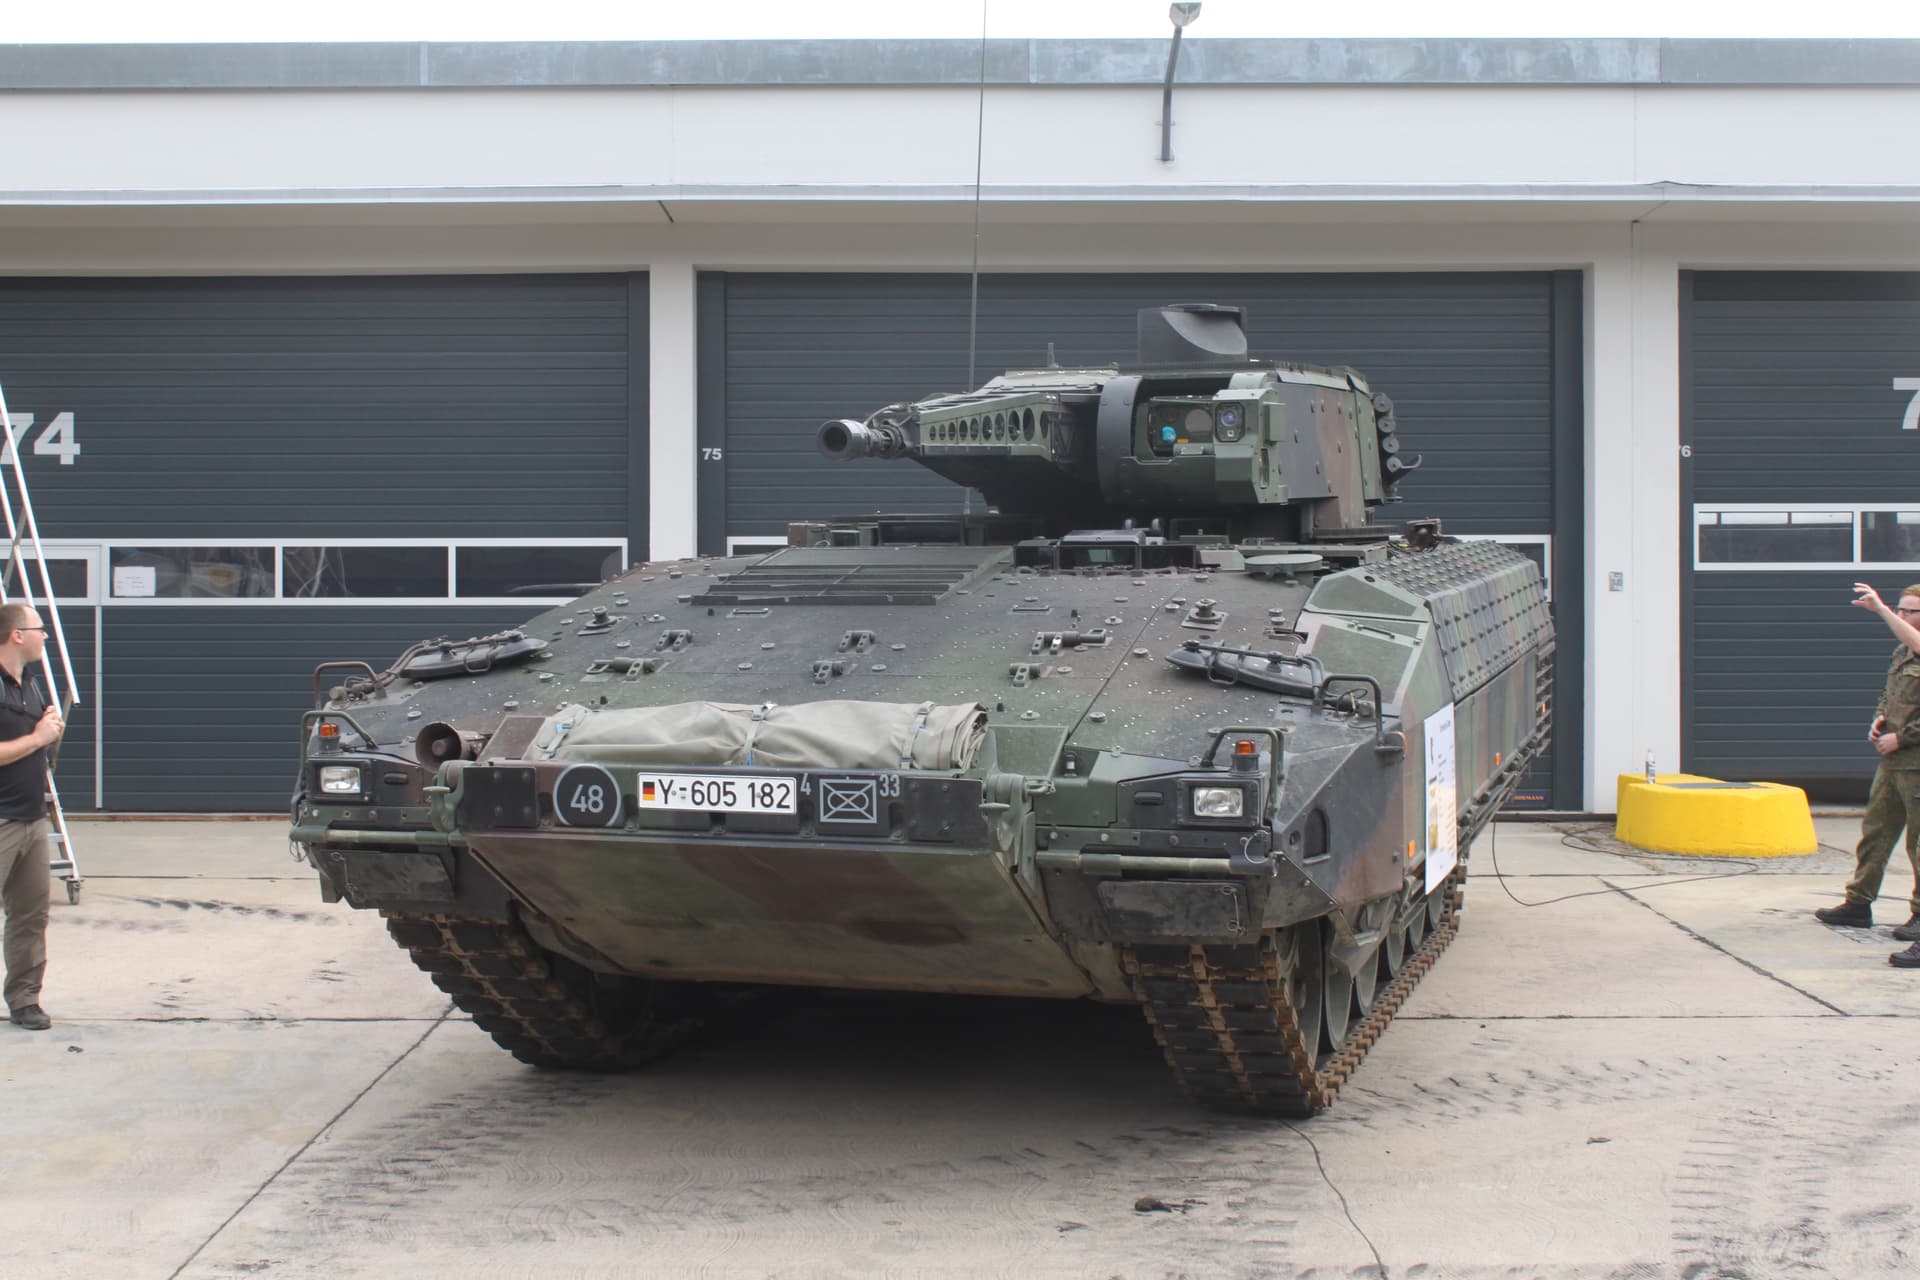
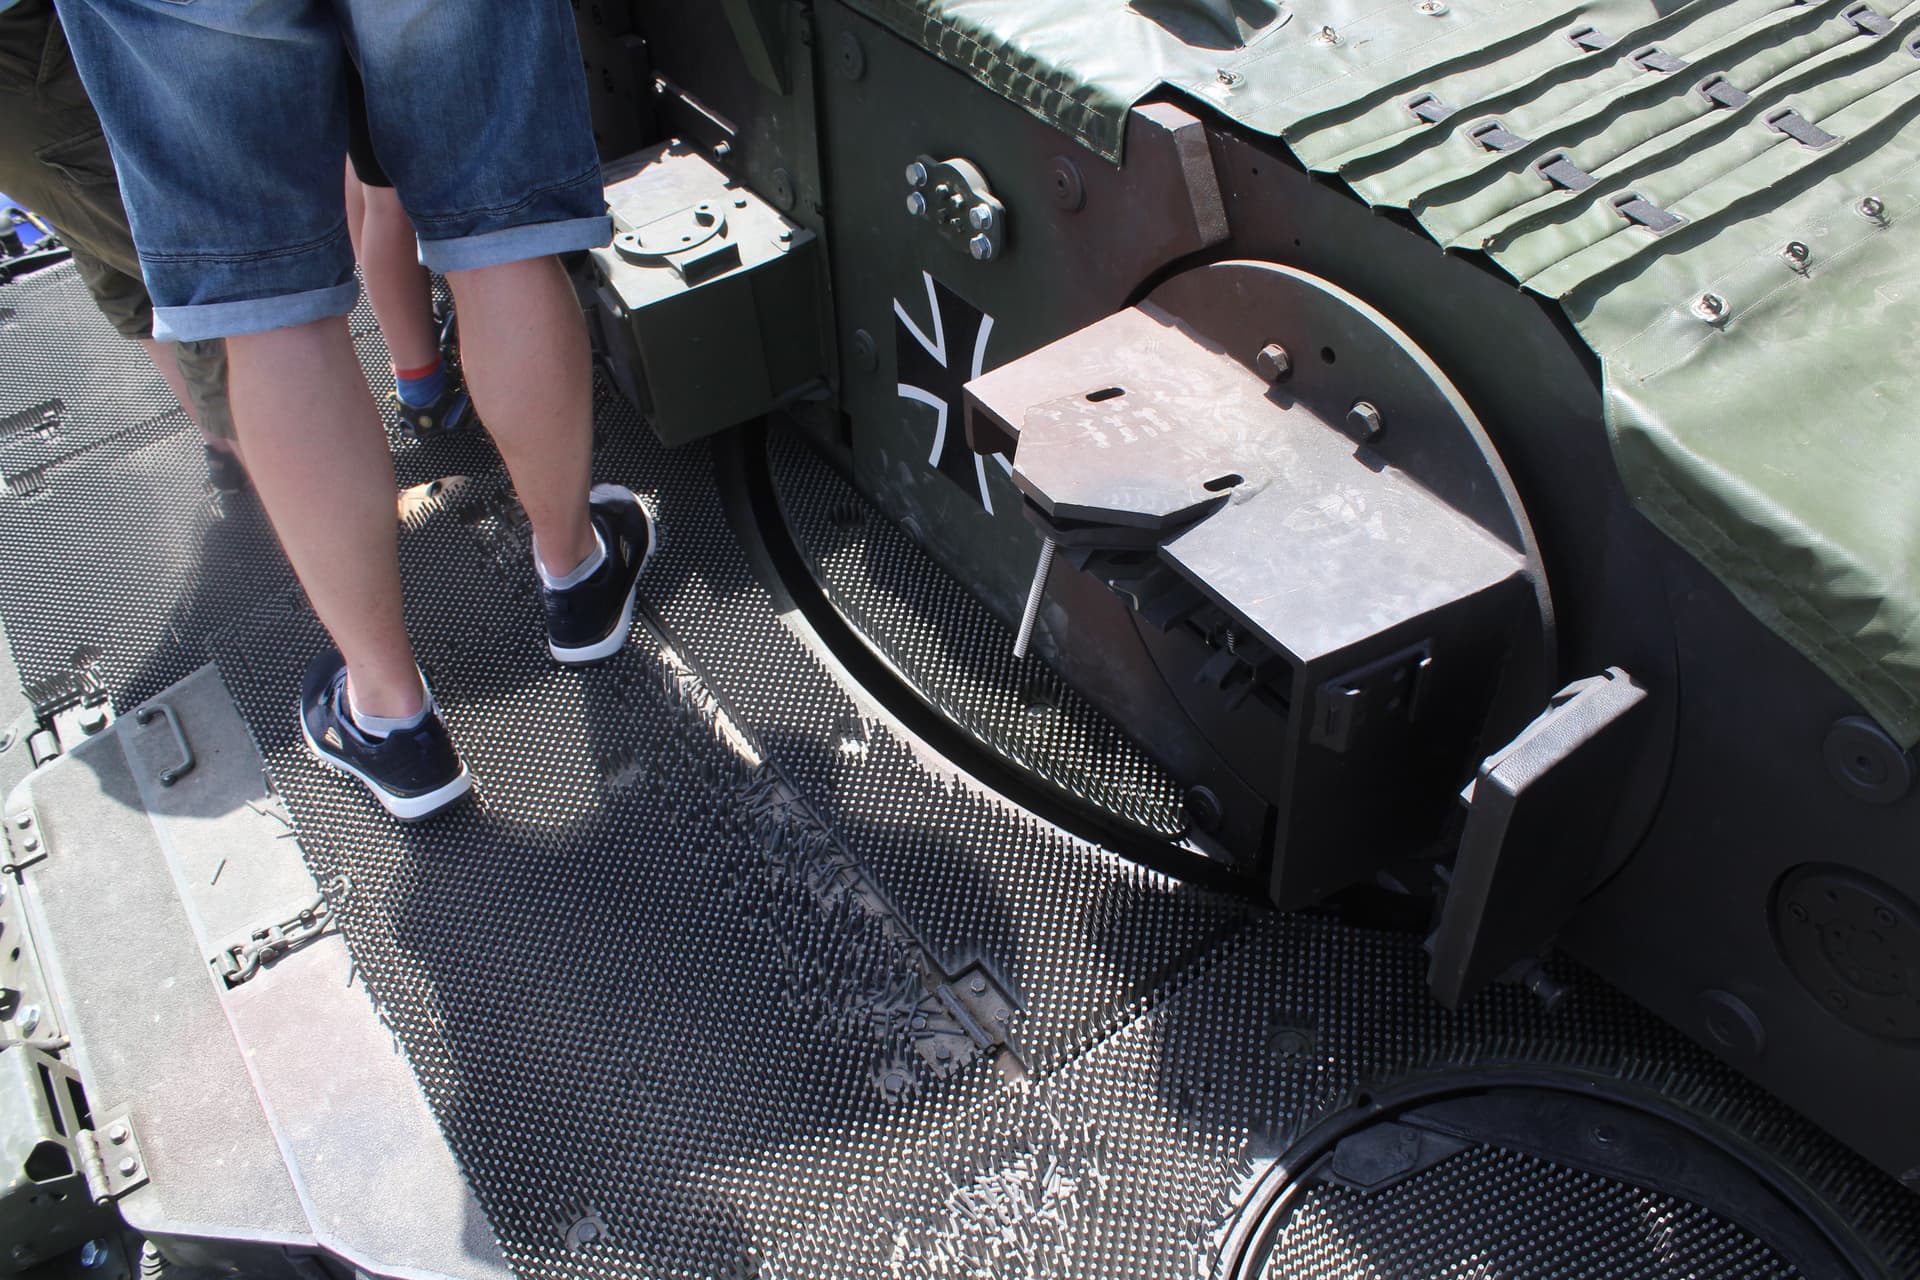
Pz Gren Btl. 92, Pz Gren Btl. 212, Pz Gren Btl.33, Pz Gren Btl.112 and Pz Gren Btl.122. The remaining 4 Bataillons will remain with their Marder1 A3/A5 for a while. As mentioned before, Pumas don´t have a tactical sign attached. Some units apply these on magnetic plates on the turret.
Thank you for the information. I guess I have more work ahead before beginning the weathering.
By the way it would help if you had a close picture of the folded rear view mirrors. I’d like to show them folded down as seen on most of the pictures I’ve seen.
Concerning the tactical sign I think I’ll leave the vehicle without them. I have correct ones in the stash but it is impossible to know if they are correct for this registration number.
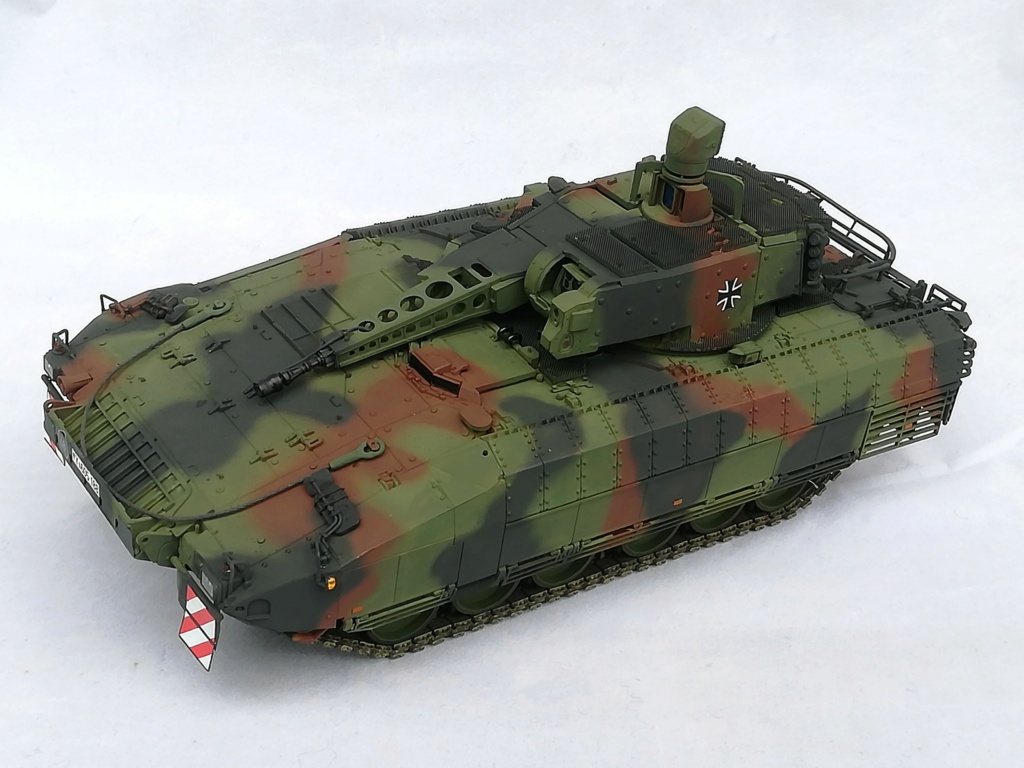
Fantastic Olivier, that really is a great looking build and the paint scheme stands out … The red & white chevrons are a lovely contrast and set the whole thing off… Great job
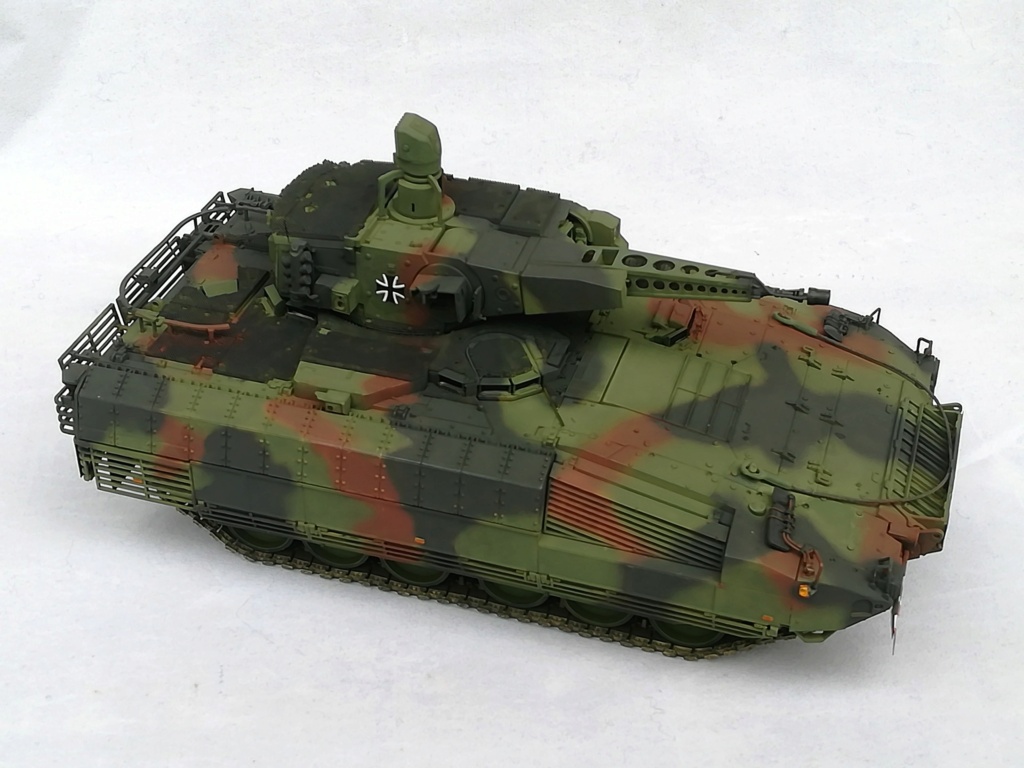
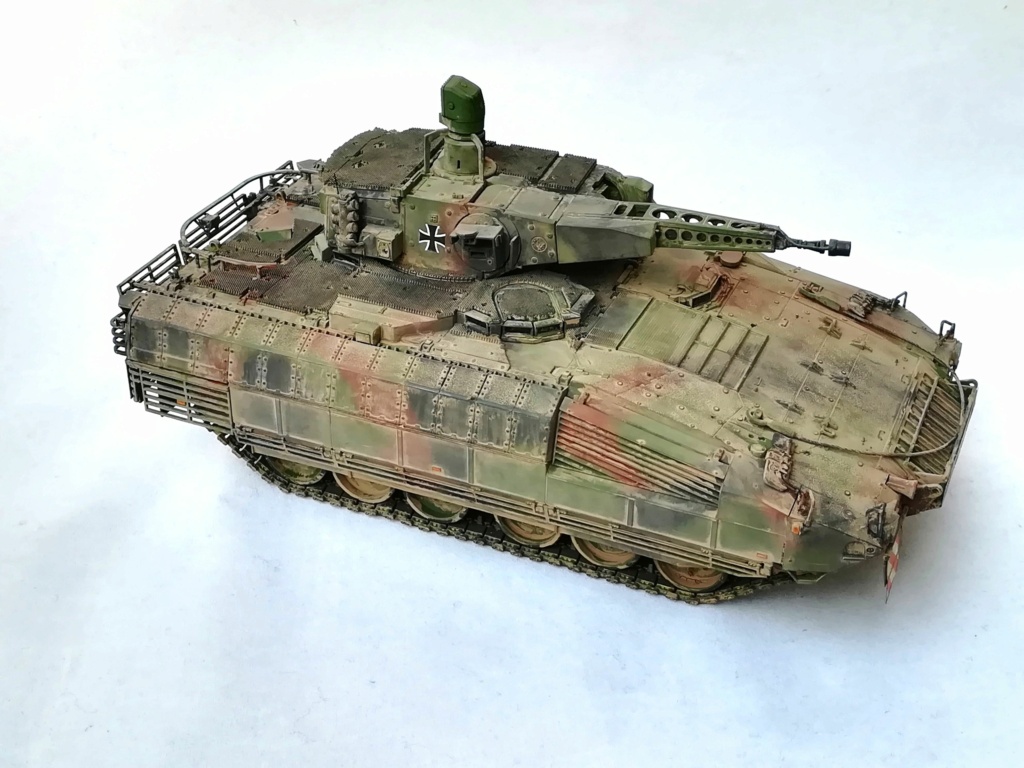
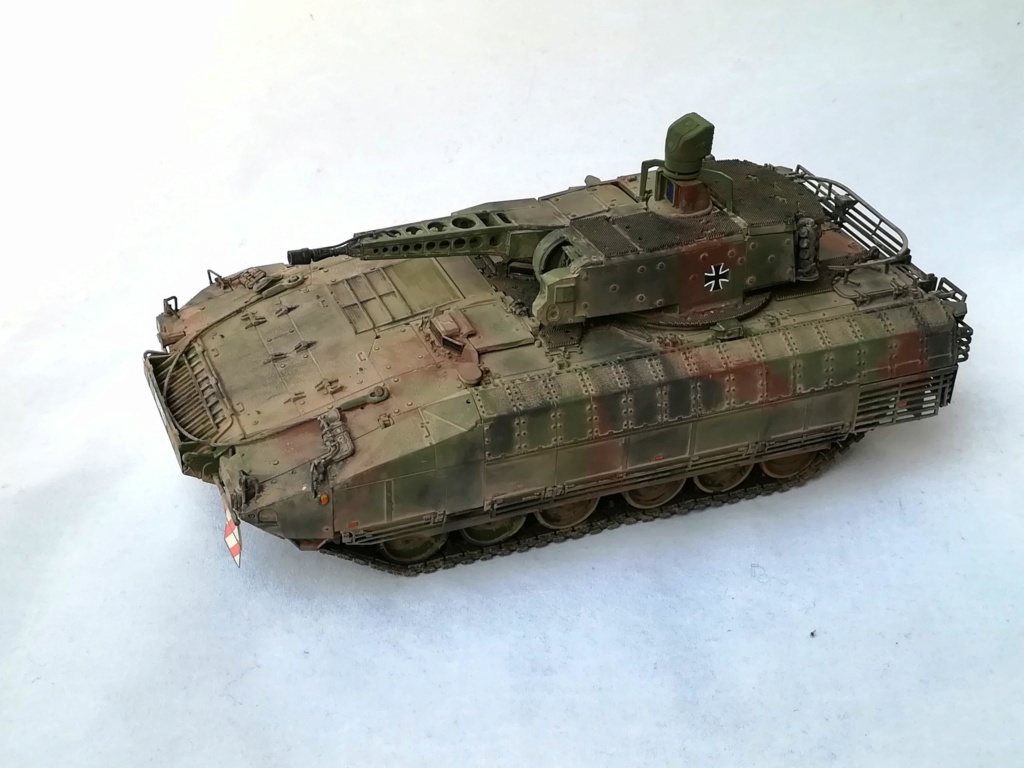
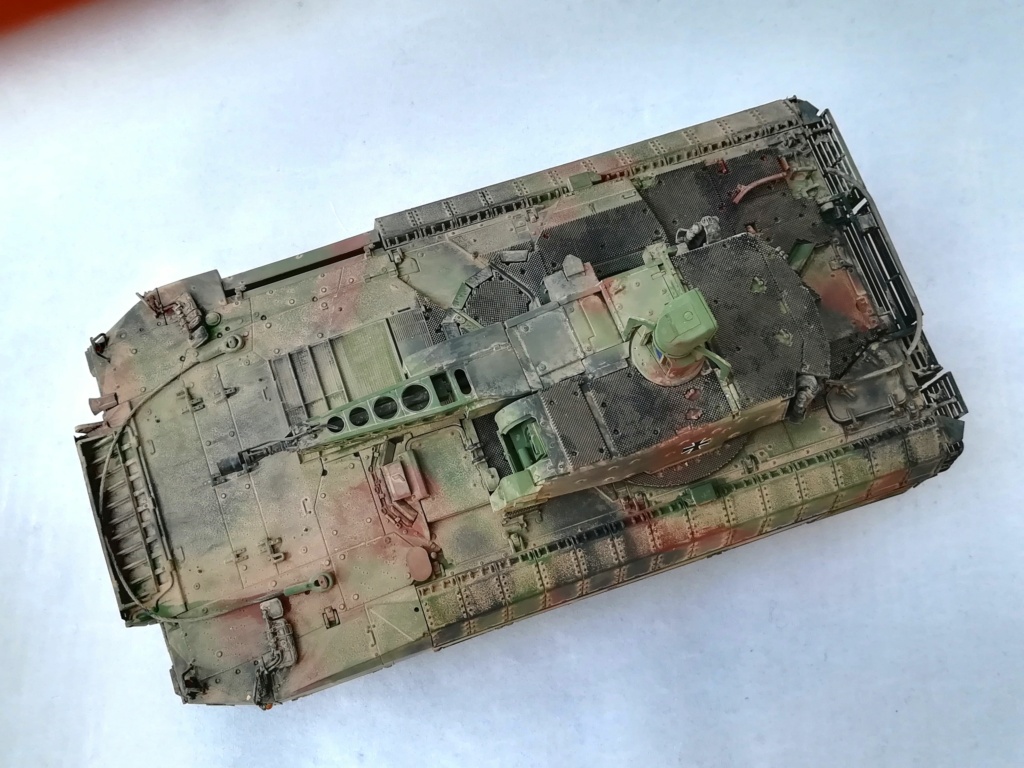
I have started the weathering and I guess I have been heavy handed. The camo seems it has vanished.
I would like to add some scratches to the sides but I can’t decide which color would be suitable.
Olivier, I am with the others, this is great. You can still see the camo work but it is blended nicely. I think it is the perfect amount for this kit, you could even say it could be more!