There’s no doubt about it - the Revell kit is a beast. And I mean that in more than one way. Straight out of the box, it’s a very good representation of the Cobia. Other than that, any other Gato you want to portray will require a lot of research and work.
I bought the kit when it first came out, and then life happened right after I started the build. Between deployments and contracting, it just sort of fell to the back of a very long line of projects. Ezra’s build has renewed my interest, so I’ve taken it down and dusted it off. Hopefully I’ll continue it soon.
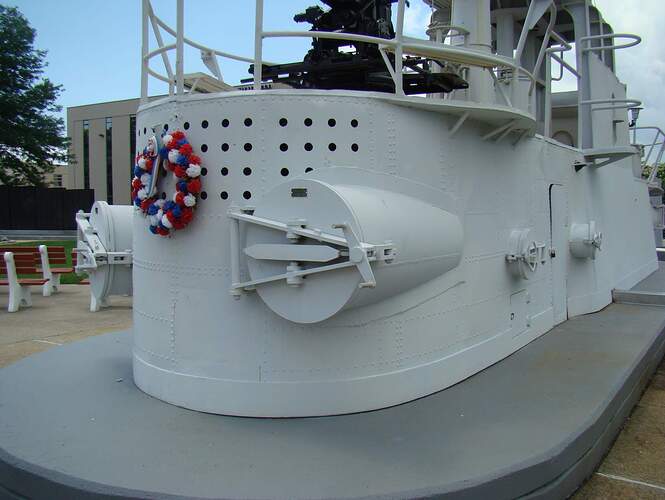
My “research” relies heavily upon a 112 photo walkaround of the Flasher’s sail I took when I visited the Navy War College for a conference a few years ago. Groton was not far away, and military conferences are notoriously liberal with their break times. (Between the last presenter and the social at the O club, I figured I had just enough time) Here’s the sail on display on Groton. I happened to have lived about a mile from it when I was very young.
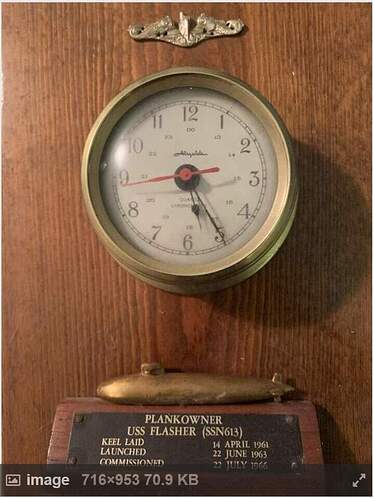
Turns out I had even more history with the Flasher. We were living in Groton while my dad prepared to take the Nuclear Flasher (SSN 613) on its maiden voyage to Hawaii. As a member of the crew when the Flasher was commissioned, he was a plankowner. The plank is from the SS 249, so the model will eventually be displayed on it.
So the first thing I needed to do was correct the sail to make it represent the Flasher’s sail.
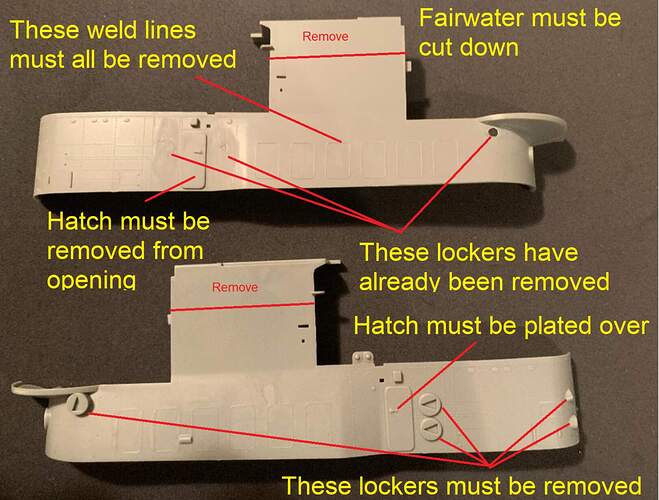
A lot of the ammo lockers were placed in different locations. Some needed to be added. Also, it lacks two tubes whichallow rapid transport of ammo through the front of the sail to the main deck gun. Then of course the fairwater need to be cut down, a wind venturi scratch built, a spray guard added, and the wire railing replaced with a pipe railing. The hatches on either side need to removed. There never were hatches there - that’s a museum addition to what in wartime were just openings. In the Flasher’s case one was even plated over late in the war and a locker was installed in its old location. Finally, air relief holes need to be cut into the rear of the sail. Here’s a brief overview of just the first steps needed:
3 Likes
I have this kit in the stash, some day I will crack it open…look forward to watching your progression.
David
Ive been waiting for this!!! Watching with great interest! 
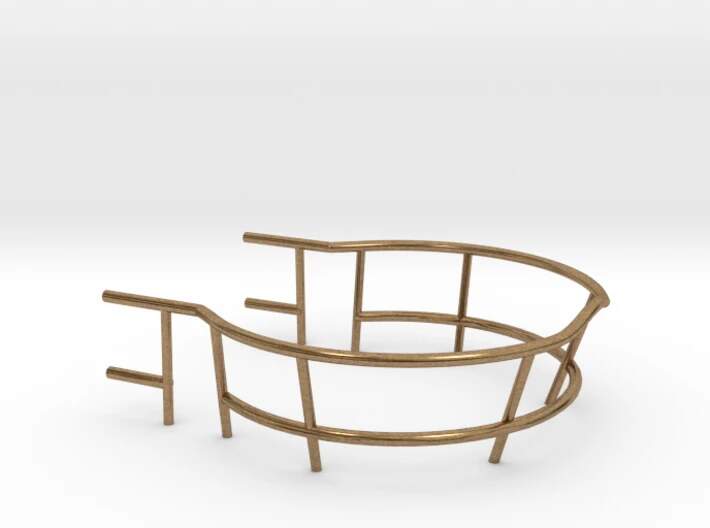
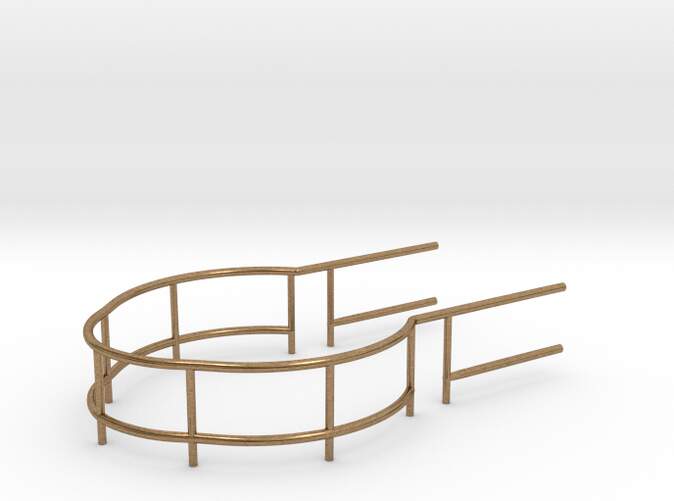
By the way, Im not sure if you have seen these already but Model Shapeways does pipe railings for this kit.
(Forward)
(Rear)
Ezra,
Thanks, but I had seen those rails. Unfortunately they are not quite right for the Flasher. The top rail for the front set must angle in at 90 degrees where it meets the sail. It would be very difficult to add that and have it look right. It also lacks the raised loop that keeps the gun from shooting the deck crew. And they are a tad on the thick side. I’m going to attempt to do the rails from brass. Failing that, I’ll try Evergreen rod.
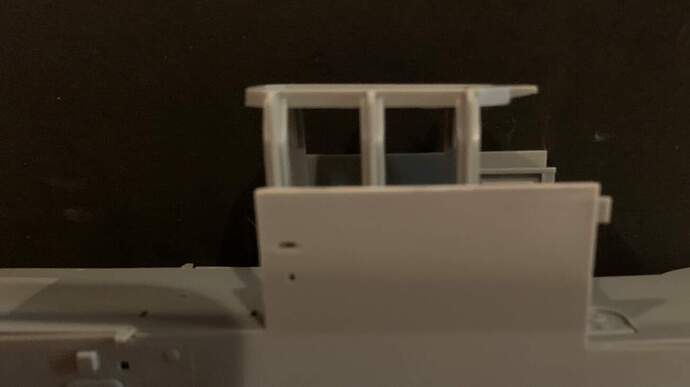
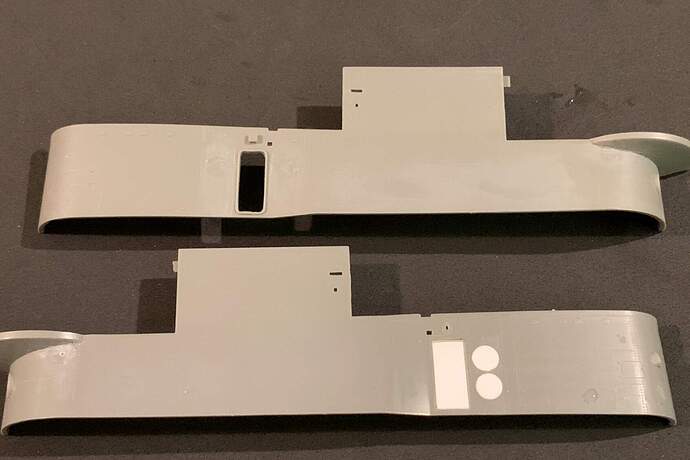
This is how the sail looked after I had cut the sheet metal down. A kit this expensive required a moment of reflection before doing the actual surgery. It’s easy to see how this mod helped earned the boats the covered wagon boat moniker.
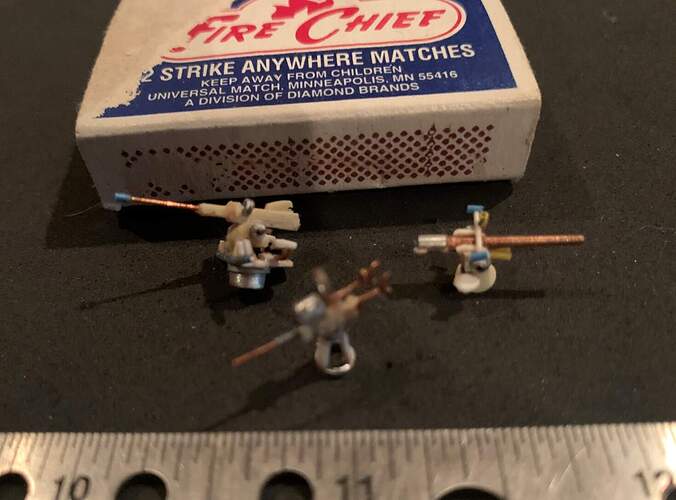
I’m assuming anyone reading this thread likes submarines, so this might be a better place to offer these than the Buy, Sell, Trade forum. These are 1/180 deck guns for the old Revell kit, which with similar modifications was not a bad little kit. Unfortunately I sort of lost interest in it, especially after the larger 1/72 kit came out.
PM me if you’re interested. You won’t find a better set anywhere.
1 Like
Hi Robert,
Are those the guns offered by Nautilus Models?
Its looking better! The one sad thing about this kit is how thick/ lacking in details it is as well as how many modifications are needed to build the Flasher or any other boat then the Cobia.
I think the breech end of the 4 inch might be. The rest is all pretty much scratch built.
In Ezra’s thread I mentioned I had done a lot of surgery to the sail.
Here’s where I was when I got sidetracked:
I cut the foredeck off as I’ll replace it with plank decking. I also removed the observation platform from the deck and filled in where it had been. Eduard’s set would have you replace the whole box structure with one made from PE, but the Flasher did not have this. It was likely removed when the front of the fairwater was cut down, You can also see my rudimentary conning tower, which will be partially visible underneath the planking There’s a trunk that leads up to the hatch on the deck. I might open the hatch for grins. The conning tower illustrates why I never throw out any kit parts, no matter how unlikely it seems that I might use them. That’s a chunk of PVC I use as axle spacers on bike builds, and the end of a fuel tank from a 1/24 semi tractor.
This shows the completed mods to the sail from earlier post:
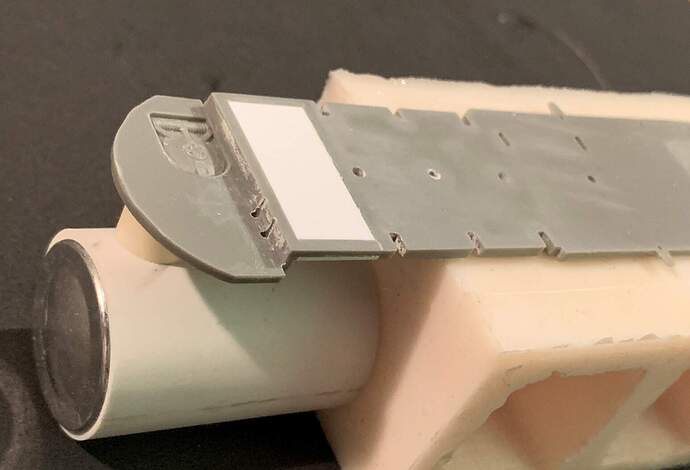
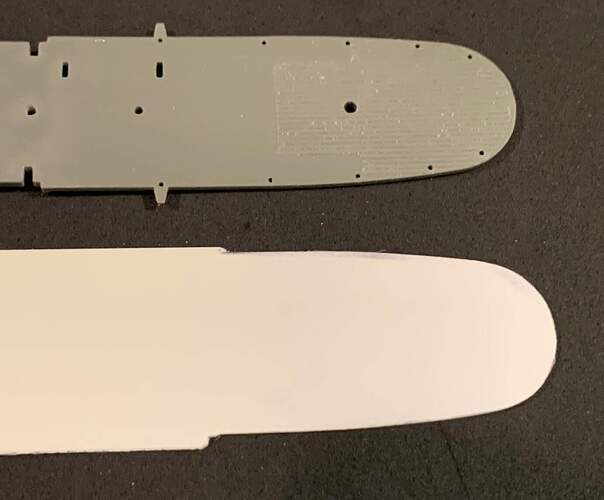
And here’s where I was on the afterdeck of the sail - I cut if off and made another from .015 styrene. It’s about a third the thickness of the original. So after I skeletonize it, I can drop it into place and add planking without raising the height of the deck, Underneath this is the scratchbuilt main induction valve, which along with the kit instructions and the Eduard Big Ed set, I still haven’t been able to locate. It’s around somewhere.
In the many years that have passed since I started this kit many aftermarket sets have sprung up. Among them is the White Ensign Models PE set for the cut down sail, and a late war radar mast, both of which are on order.
4 Likes
Nice work - can’t wait to see more!!
David
1 Like
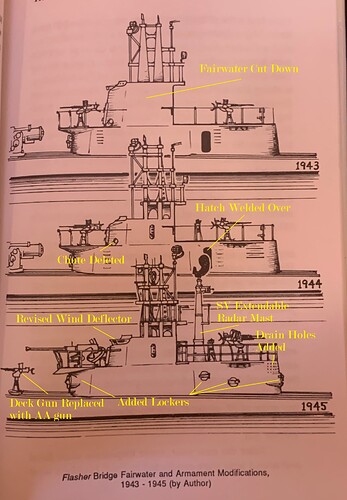
This page from War Patrols of the USS Flasher shows the evolution of the Flasher’s fairwater.
The final 1945 drawing jives with the actual fairwater displayed in Groton. For whatever reason the ladder rungs were all removed as well. Perhaps they created too much noise while submerged. Maybe they just interfered with the crew.
1 Like
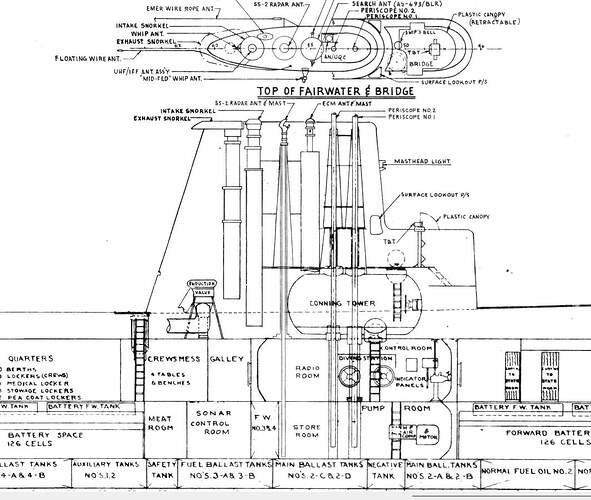
I’ve begun my scratch built pressure hull, parts of which will be visible through the decking and the limber holes. There was a resin piece that simluated the top of a portion of the pressure hull. I believe it had the main induction valve and large pipes running along the top of the pressure hull. I cannot for the life of me find it. I don’t want to buy it, just replicate the piping on my own hull. I’ve located a slew of cross section drawings of the Gato, even a few photos, but I can find neither this piece nor any good top drawings of the area in question. If any of you have a link I’d appreciate it. If not I’ll just go from memory.
Thanks.
I remember I had found a build for an RC Gato that the guy building it had built all of the details of the upper hull under the decking. I cannot locate it but will do some searching for it, it was on a somewhat forgotten corner of the web, really old site layout and suck.
Some photos I had saved
3 Likes
Thanks. The top photo is among those from the nav.source(?) site that I have. I have not seem the others. They are cool, but don’t show me what I need. But what I am seeing is that just just large pipe and some bulky objects will do just fine, a la Shep Paine’s Imagineering.
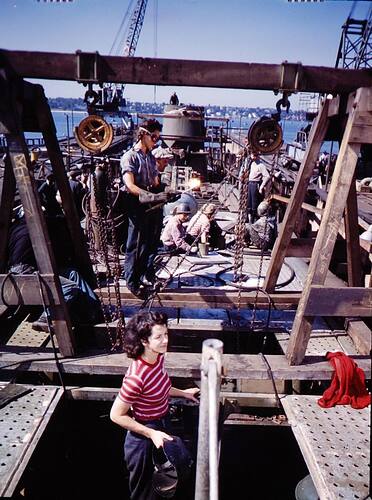
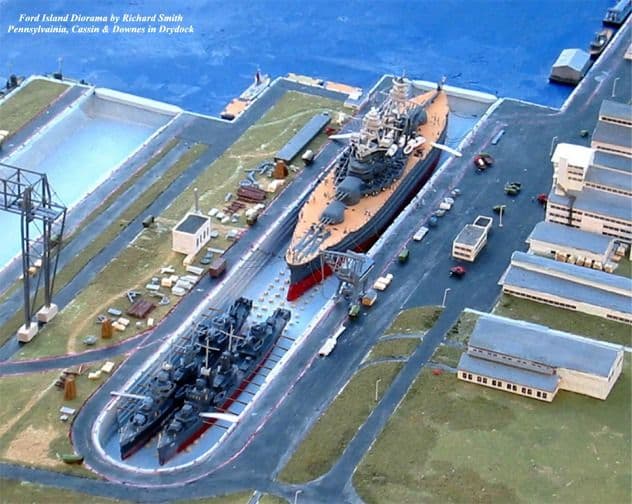
I’ve seen the RC Gato - dude had bow planes that rotated and extended. Very impressive. I’ll have to look for his site again. Maybe I’m remembering the resin conversion wrong - it’s possible it wasn’t 1/72 scale. But I’m more and more convinced it won’t matter much. My scratched conning tower inside the sail, and the main induction valve will both be barely visible, but I know people will look into the remaining tall hatch on the starboard side of the sail and say "That’s not supposed to be empty. Fortunately though I’ve got very good shots of that area. Thanks for the reply. The bottom photos give me an idea for what I might do with the Flasher. I think I want to display it being worked on in Dry Dock no. 3 at Pearl Harbor. Currently dredging up all available photos of that.
1 Like
I can send you the plans of the upgraded Gato class if you want, the upper hull at the front should have very few changes
3 Likes
I would appreciate that very much! I’ll PM you my email address.
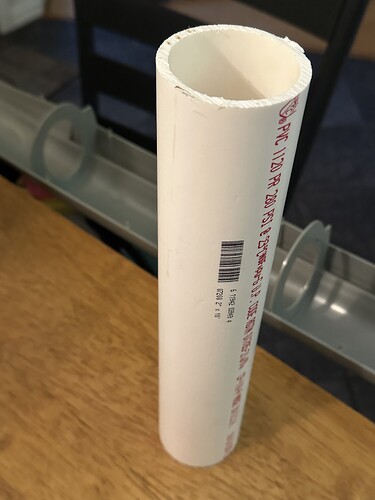
After doing some basic math, I calculated my pressure hull had to be 2.67 inches in diameter. A 2 inch ID piece of PVE, with wall thicknesses on either side, gets me very close. I happened to have a chunk lying about. PVC to the rescue again. If I really wanted exact diameter I could wrap it in .010 sheet styrene. Even I’m not that picky. Yet.
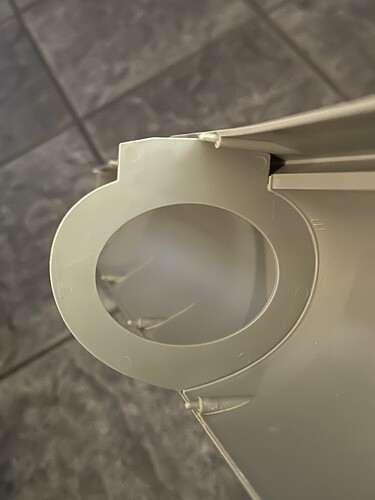
The interior bulkheads supplied by Revell have ellyptical openings that I needed to round out and enlarge.
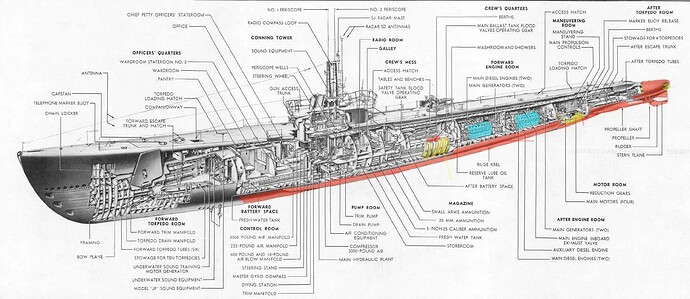
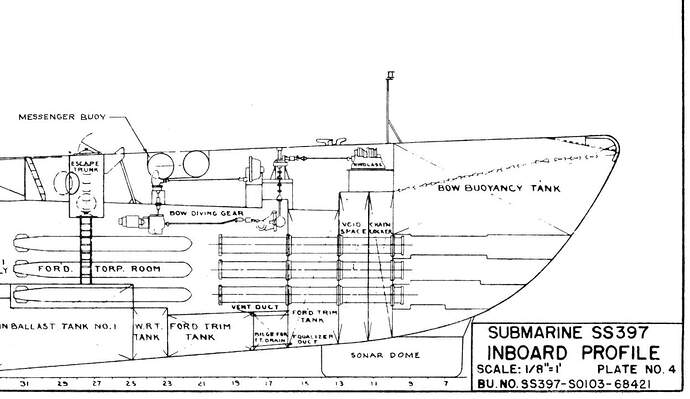
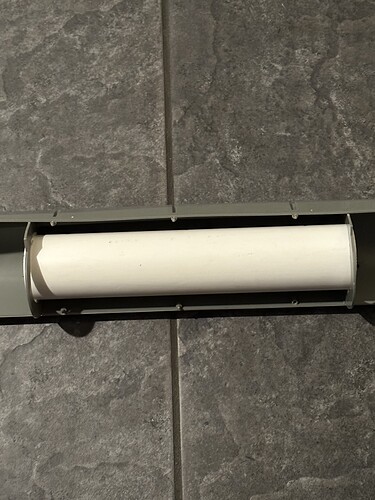
Fits like a glove. As you can see from the cutaway that Nikos posted above, the pressure hull is reinforced with exterior ribs. Those will come next. I may lengthen the pressure hull. It will be visible through the drain holes in the bottom of the outer hull. Those need to be added also. You can see them in Ezra’s build.
5 Likes
Watching this with interest Rob - in my queue someday is the Revell 1/72 VII C with loads of aftermarket.
That’s a cool boat as well.
I promise I’m making headway. I’m designing the dry dock and purchasing everything I’ll need for the diorama. I’m also going to have to scratchbuild two welding machines.
Does anyone know of a source for oxyacetylene bottle that is NOT 3D printed? They look universally horrible. I just want the bottles, not a hugely overscale cart.
I also can’t believe there’s no aftermarket Mk18 torpedo available in 1/72, given Revell puts out a 1/72 PT-109 in addition to the Gato.
I’ll have to scratchbuild one or two of those as well I guess.
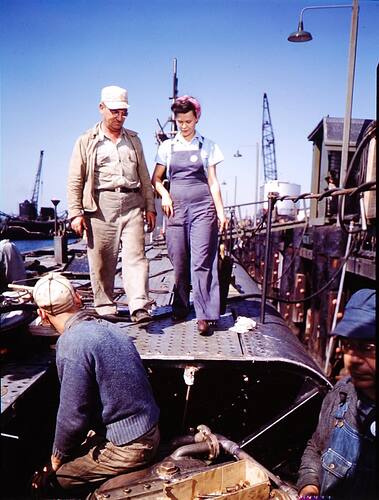
The diorama will definitely feature Wendy the Welder. I think if you look closely enough that’s a Gato behind her…
Uh yeah. Escape trunk hatch. Could it be the USS Bream?
8 Likes
