I’m not sure which beer that was, but I know I brought back the caps from our Hawaii trip to put in a shadow box diorama along with a 1/24 Sportster and a few other items. It must have been good stuff or I’d have thrown them out.
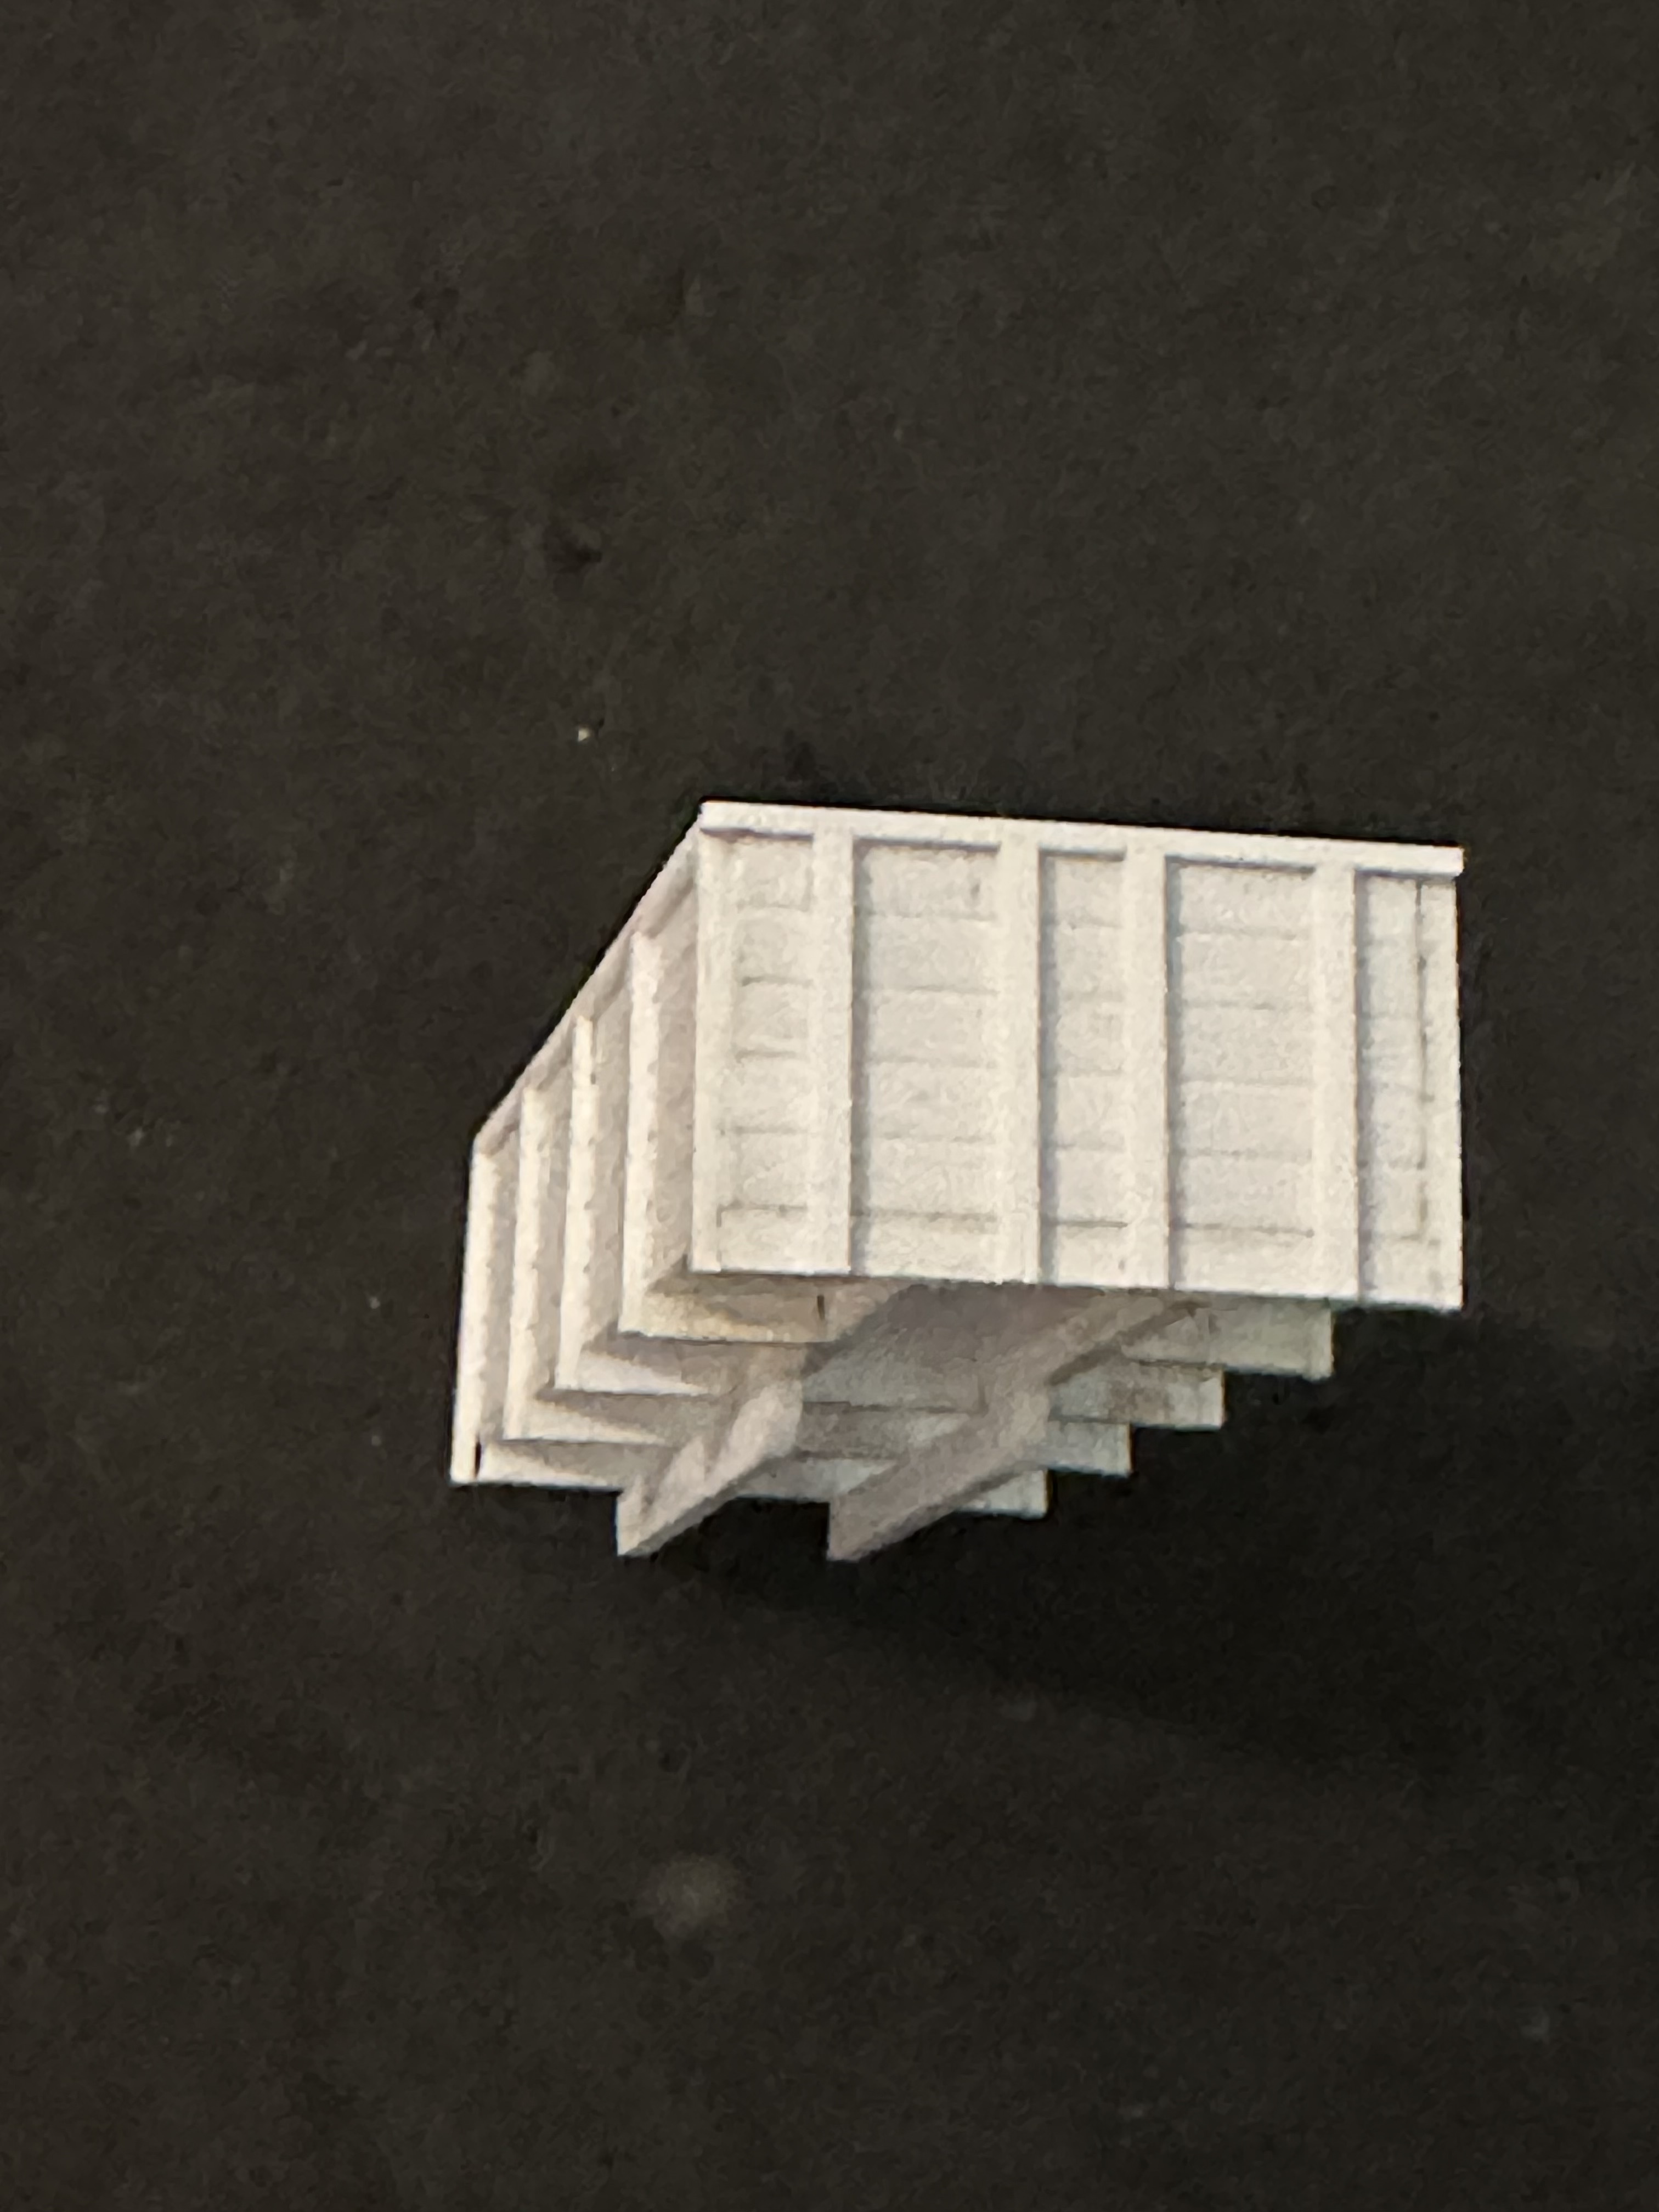
As for the trailer, I was quite pleased last night when the front panel went in “like butta” and the whole thing Is square. Today I was happy with the spacing of the vertical supports but something was off. Then I realized they’re too wide. When you look at just one you think that’s just about the right size. But when you put several into one space, the combined site errors shows dramatically. I’ll just redo the panels with thinner supports and everything should be fine. And since I already know the measurements of the panels it’ll go quickly.
I still needed more vertical, supports on the side as well, and it really would’ve been noticeable.
It kind of reminds me of an old fashioned wooden gondola. The kind I used to scratch build as a kid, but out of balsa wood. One of my favorite scratch builds was of an old pickle car. I think it was in some model railroader book that I have.
Of course, back then when I was building these things, they weren’t considered old fashion.
Unfortunately, I do not have any photos from his time in australia. Except maybe a somewhat blurry shot of him standing out a yard smiling at the camera. I don’t know if any of them made it back with him or what happened to them.
What I do have is his Navy book that lists everything from his enlistment to discharge. It has one entry that neither his brothers, nor friend with whom he joined USN, could explain. That friend was Mr. David Flynn, who’s son runs the USS Houston site ( http://www.usshouston.org/ ), and who survived bring a POW for 3 1/2 years. Having that connection corrected a mistake in the book The Ghost That Died At Sunda Strait by Houston SOC pilot and POW W.E. Winslow, that listed dad as KIA.
In spite of what many well intentioned folks will tell you, boiling water (210 degrees) is not hot enough to fix this particular plastic. This is one area where resin is easier to work with. No. I don’t douse those parts in boiling water either - I use a hair dryer. Works every time.
Gentle twisting usually gets a warped hull close enough, and when cemented to something else straightens everything. In this scale though the kit’s frame is not rigid enough to keep out the warp. Disappointing. But it’ll work out.
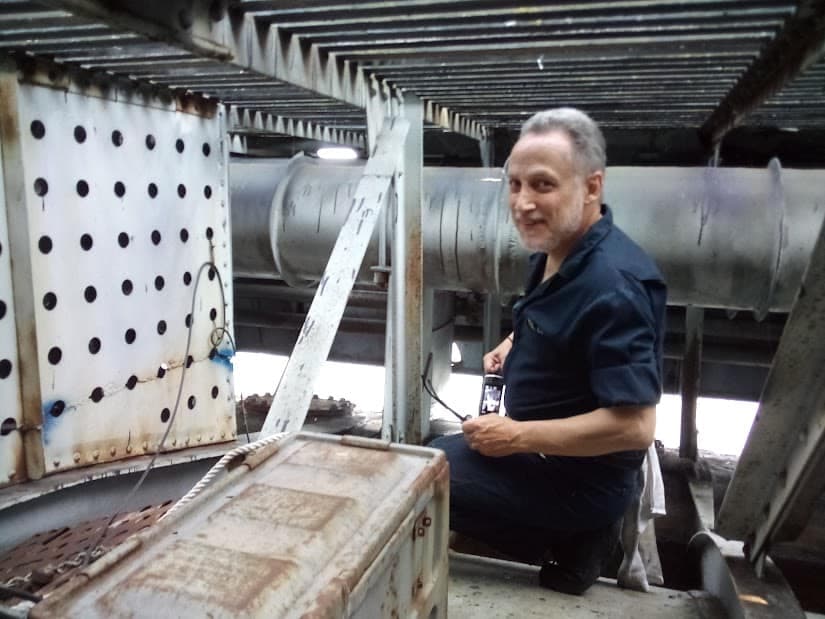
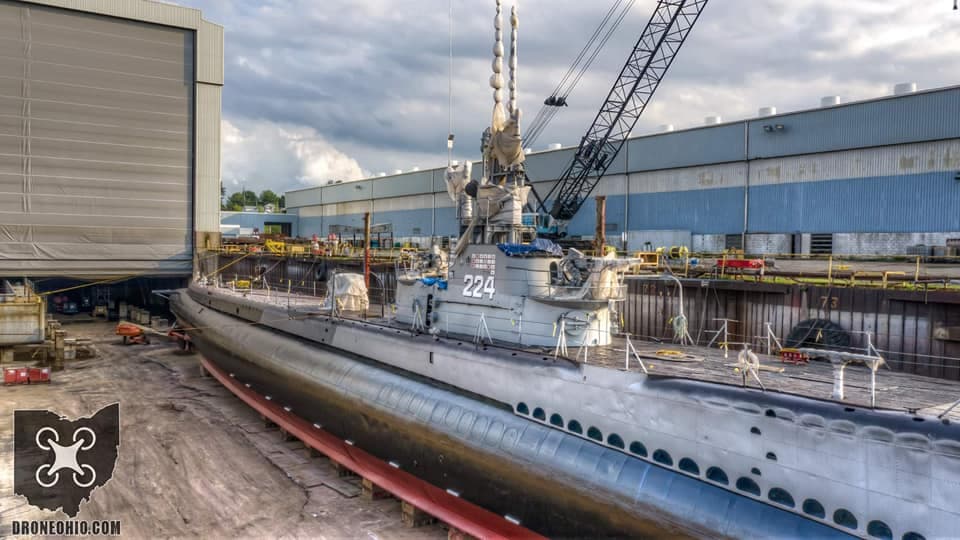
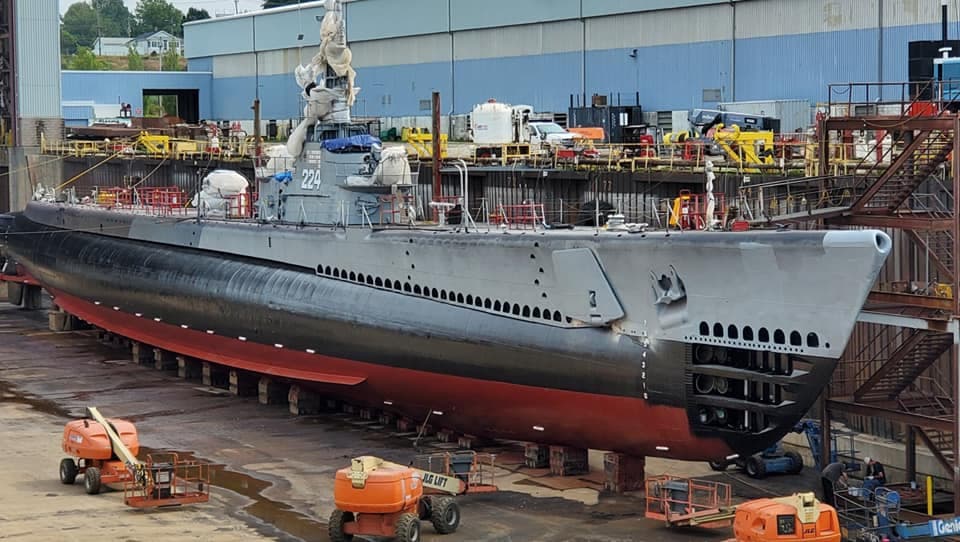
Bill, you may have missed the very beginning of the thread. I lived in Groton as a kid before moving to Hawaii. I revisited several years ago when I was at the Navy War College nearby for a conference, and my main reference for turning the Gato kit into the Flasher is the walk around I did of the Flasher’s sail that is on display there.
And as for the bed, I took another technique I’ve used - scoring the plastic to make it weaker - to the extreme and just removed most of it. I can cover the resultant gap with some sort of load. All is good now.
I have a whole new respect for the Braille scalers. I actually had to work on some 1/35 projects to get my sanity back.
Despite a warped part and a short shot, this kit is well engineered - all the little drive shafts fit well. You just need an Optivisor to see what’s going on.
Now I just need to work on getting rid of that seam on the tarp, which was way worse on both sides. I’ll probably lay some stretched sprue into and sand it down.
Then I just have to wait for the PE set I ordered, which is pretty minimal for this kit.
As for the Flasher itself, I guess I’ll work on the four inch gun. I’ve got Eduard PE for it, so another exercise in visual accuity and manual dexterity.
I can’t wait to delve back into a 1/35 scale anything for a while.
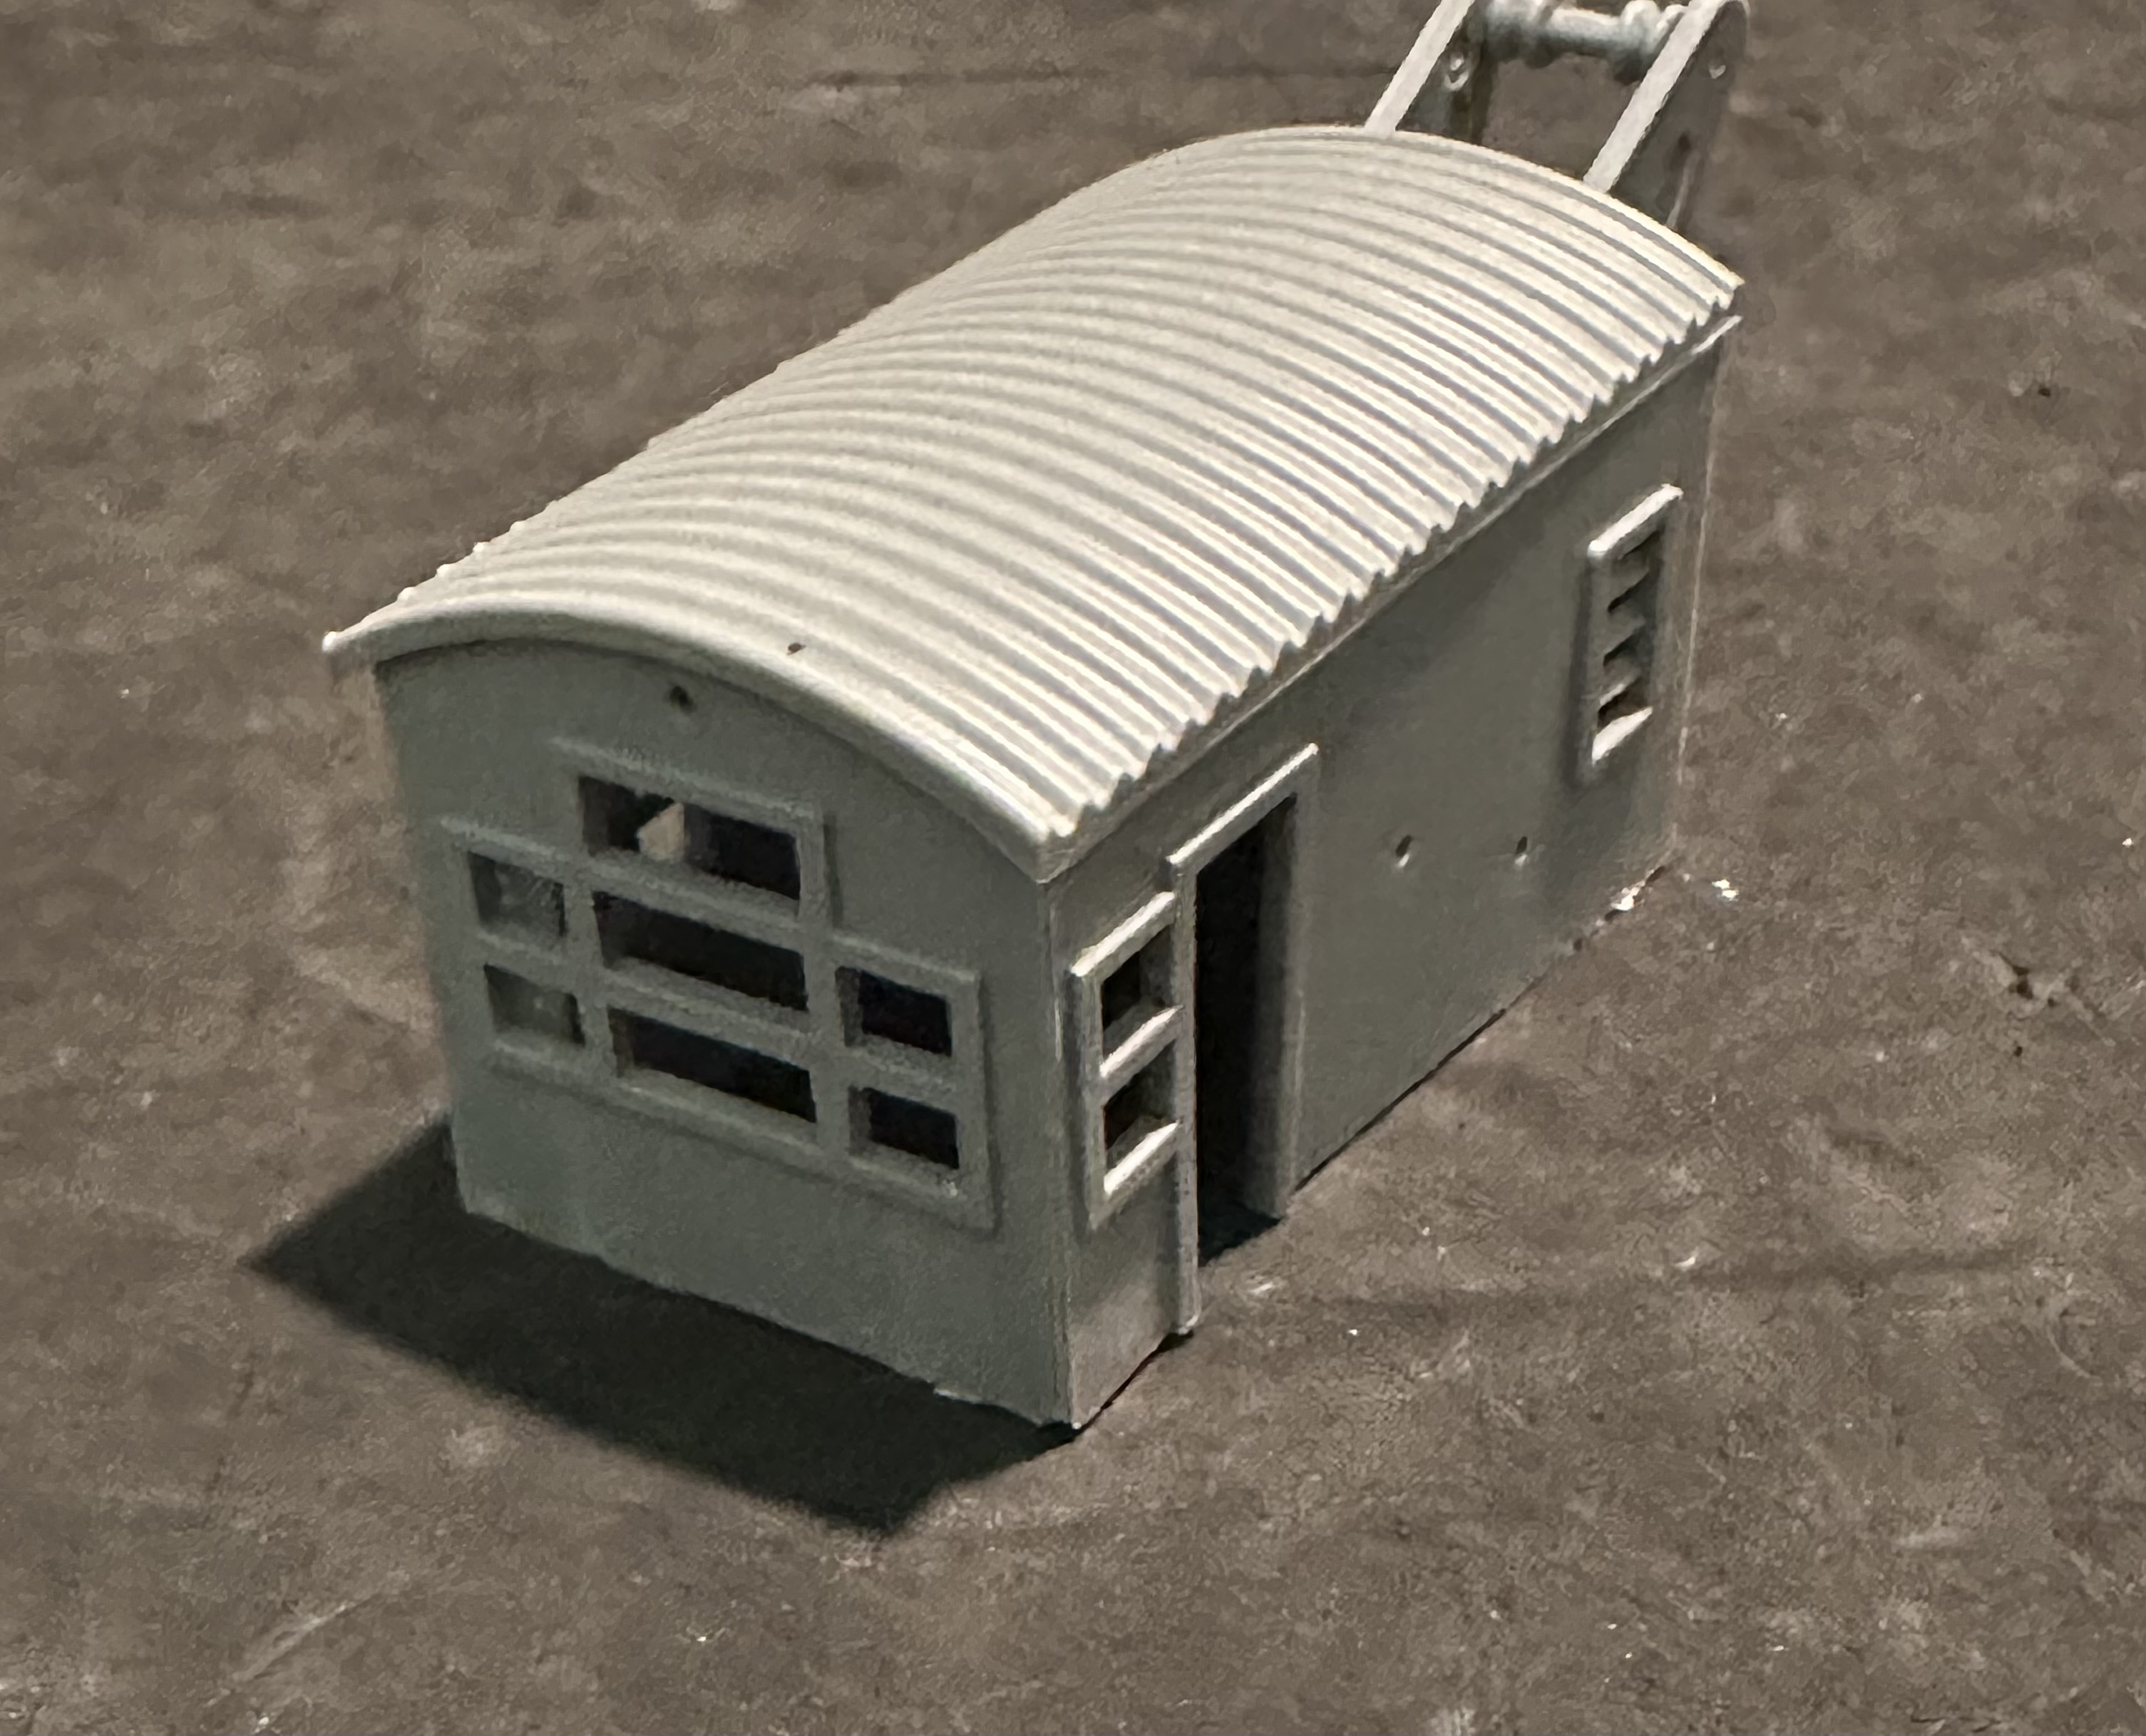
So I’ve decided I’ll have to scratch built two cranes now. I’ll stick with the B&W crane because I like it, but I’ll definitely need a smaller one as well.
The one from this photo has the curved roof:
Looks like thois particular style has been around a while, I’ve found quite a few photos of the same style if not the same crane:
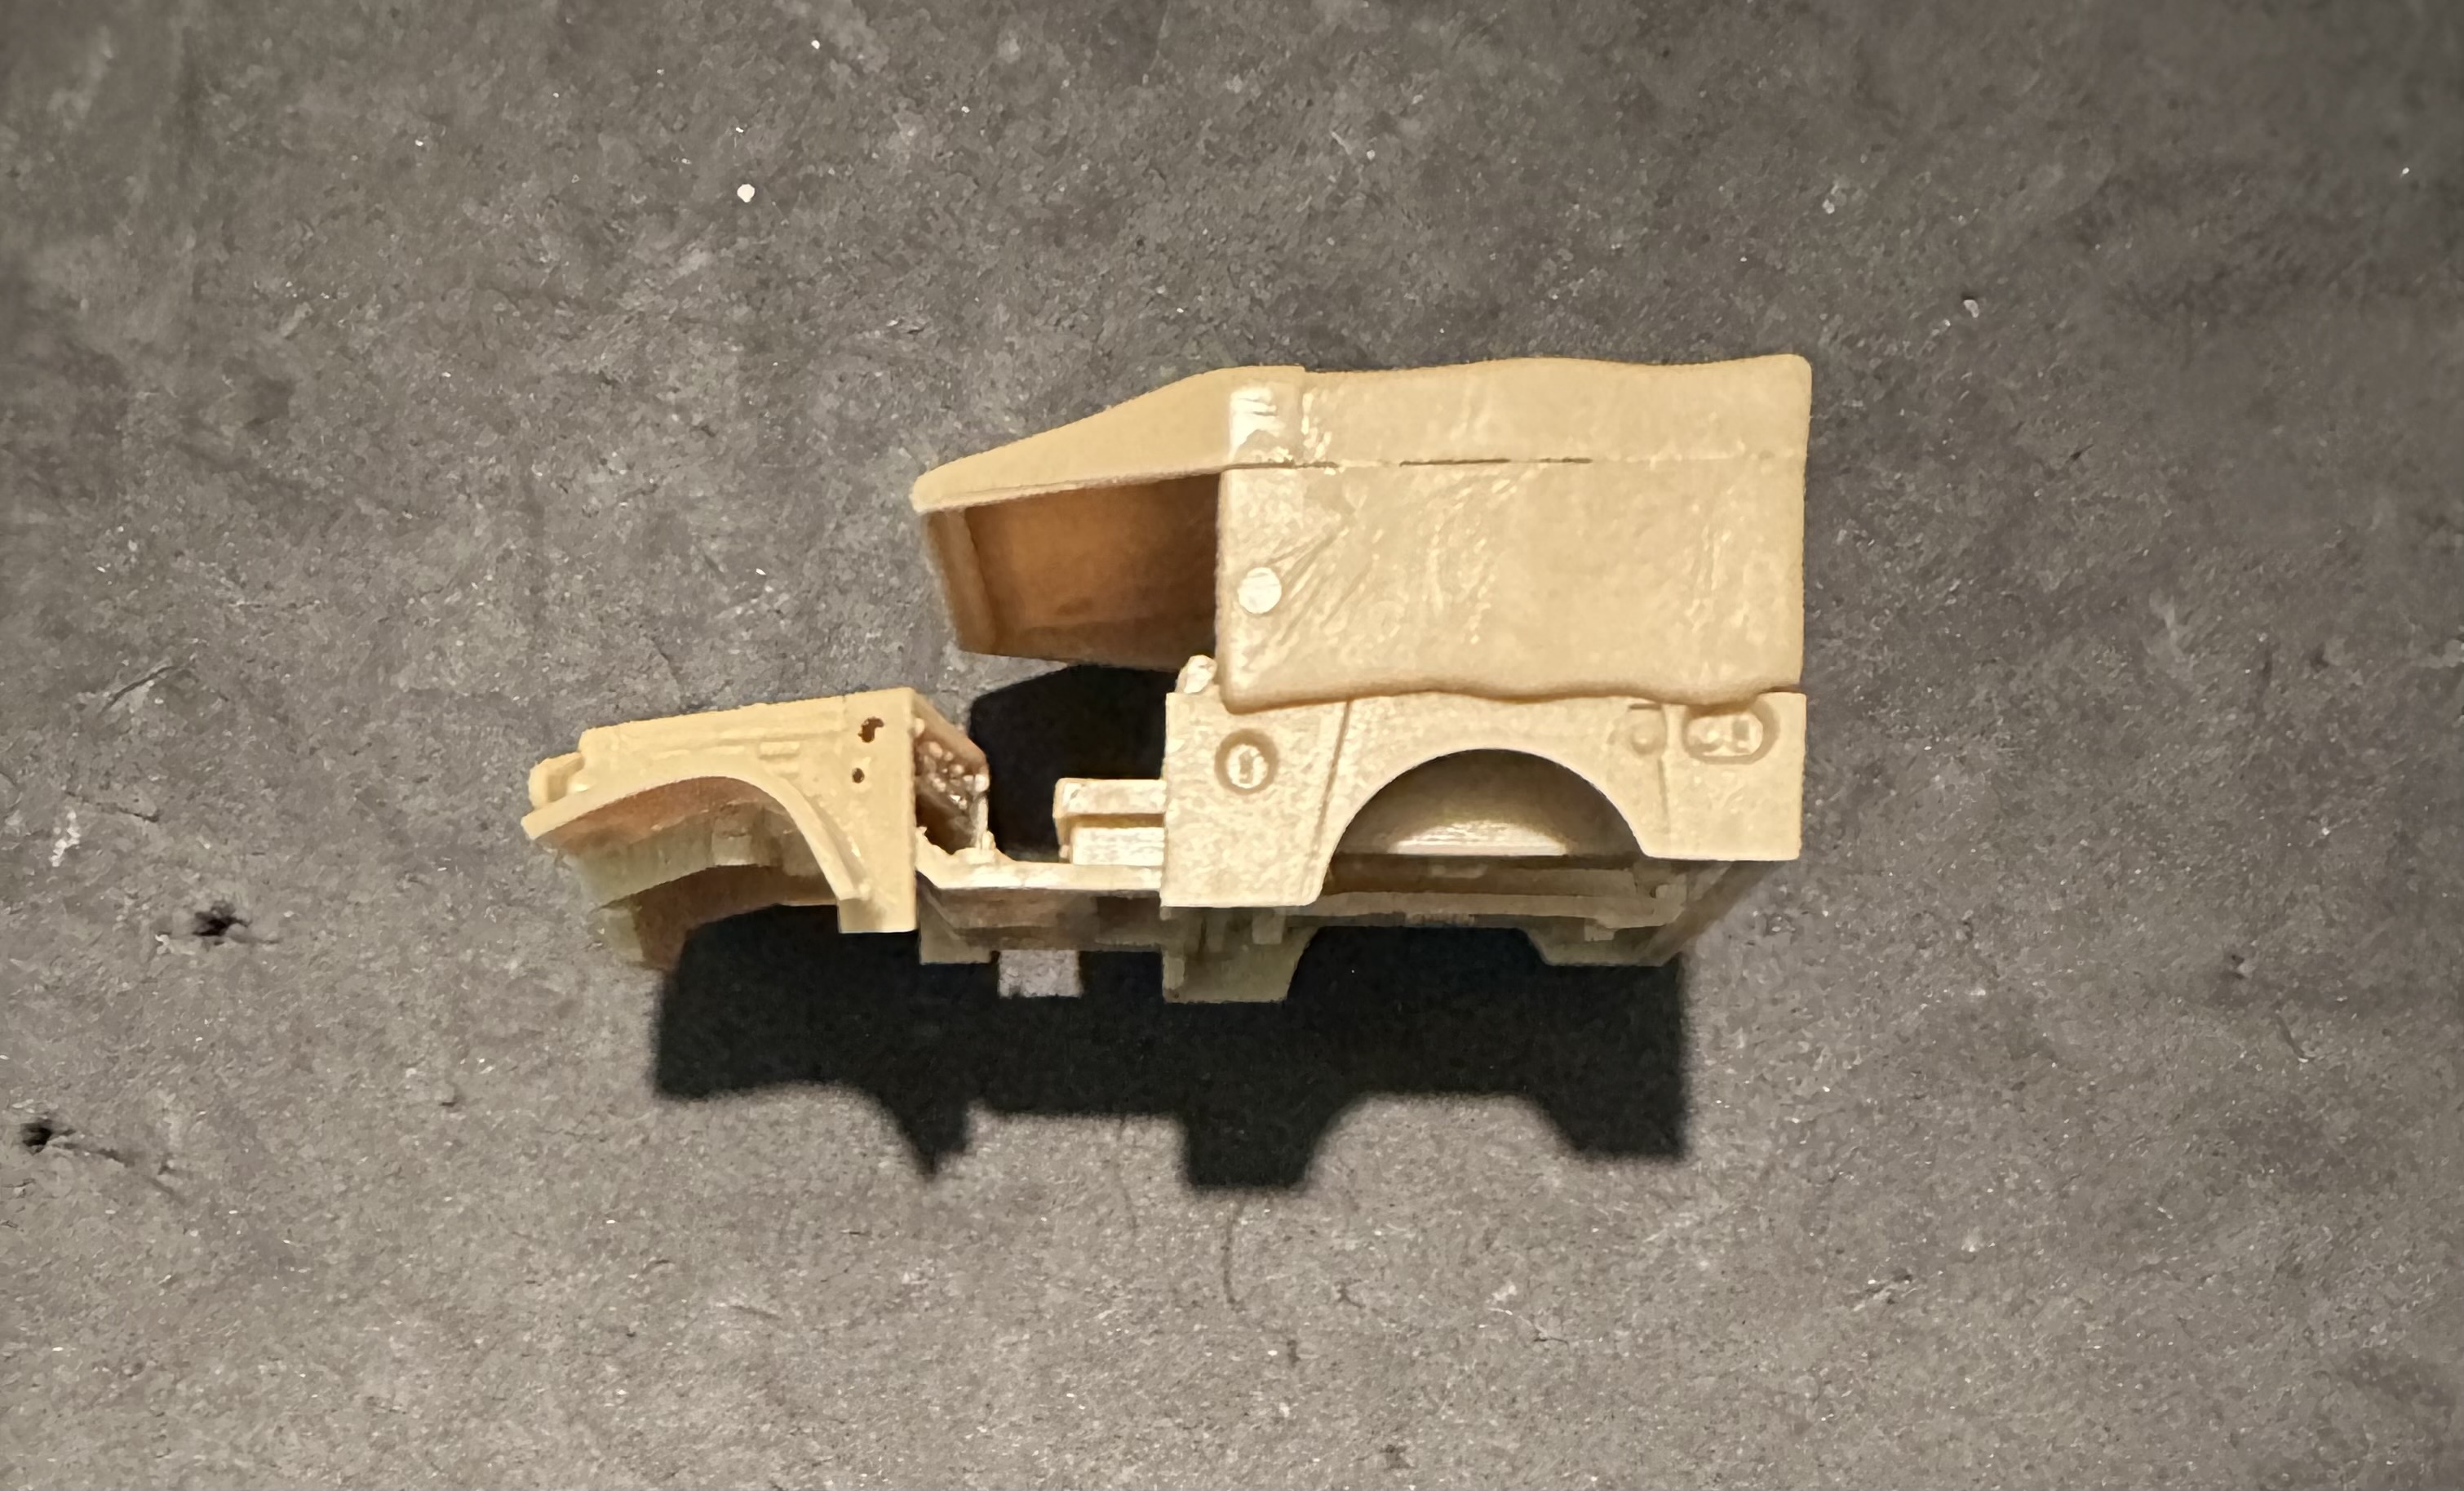
Good thing I didn’t toss this. I’ll redo the entire cabin but I can use the roof. And the panels will make good patterns for the new ones in which I can put better windows where they’re supposed to go.
I’ve obviously been stalling on this build, putting off the inevitable by working on my little side projects.
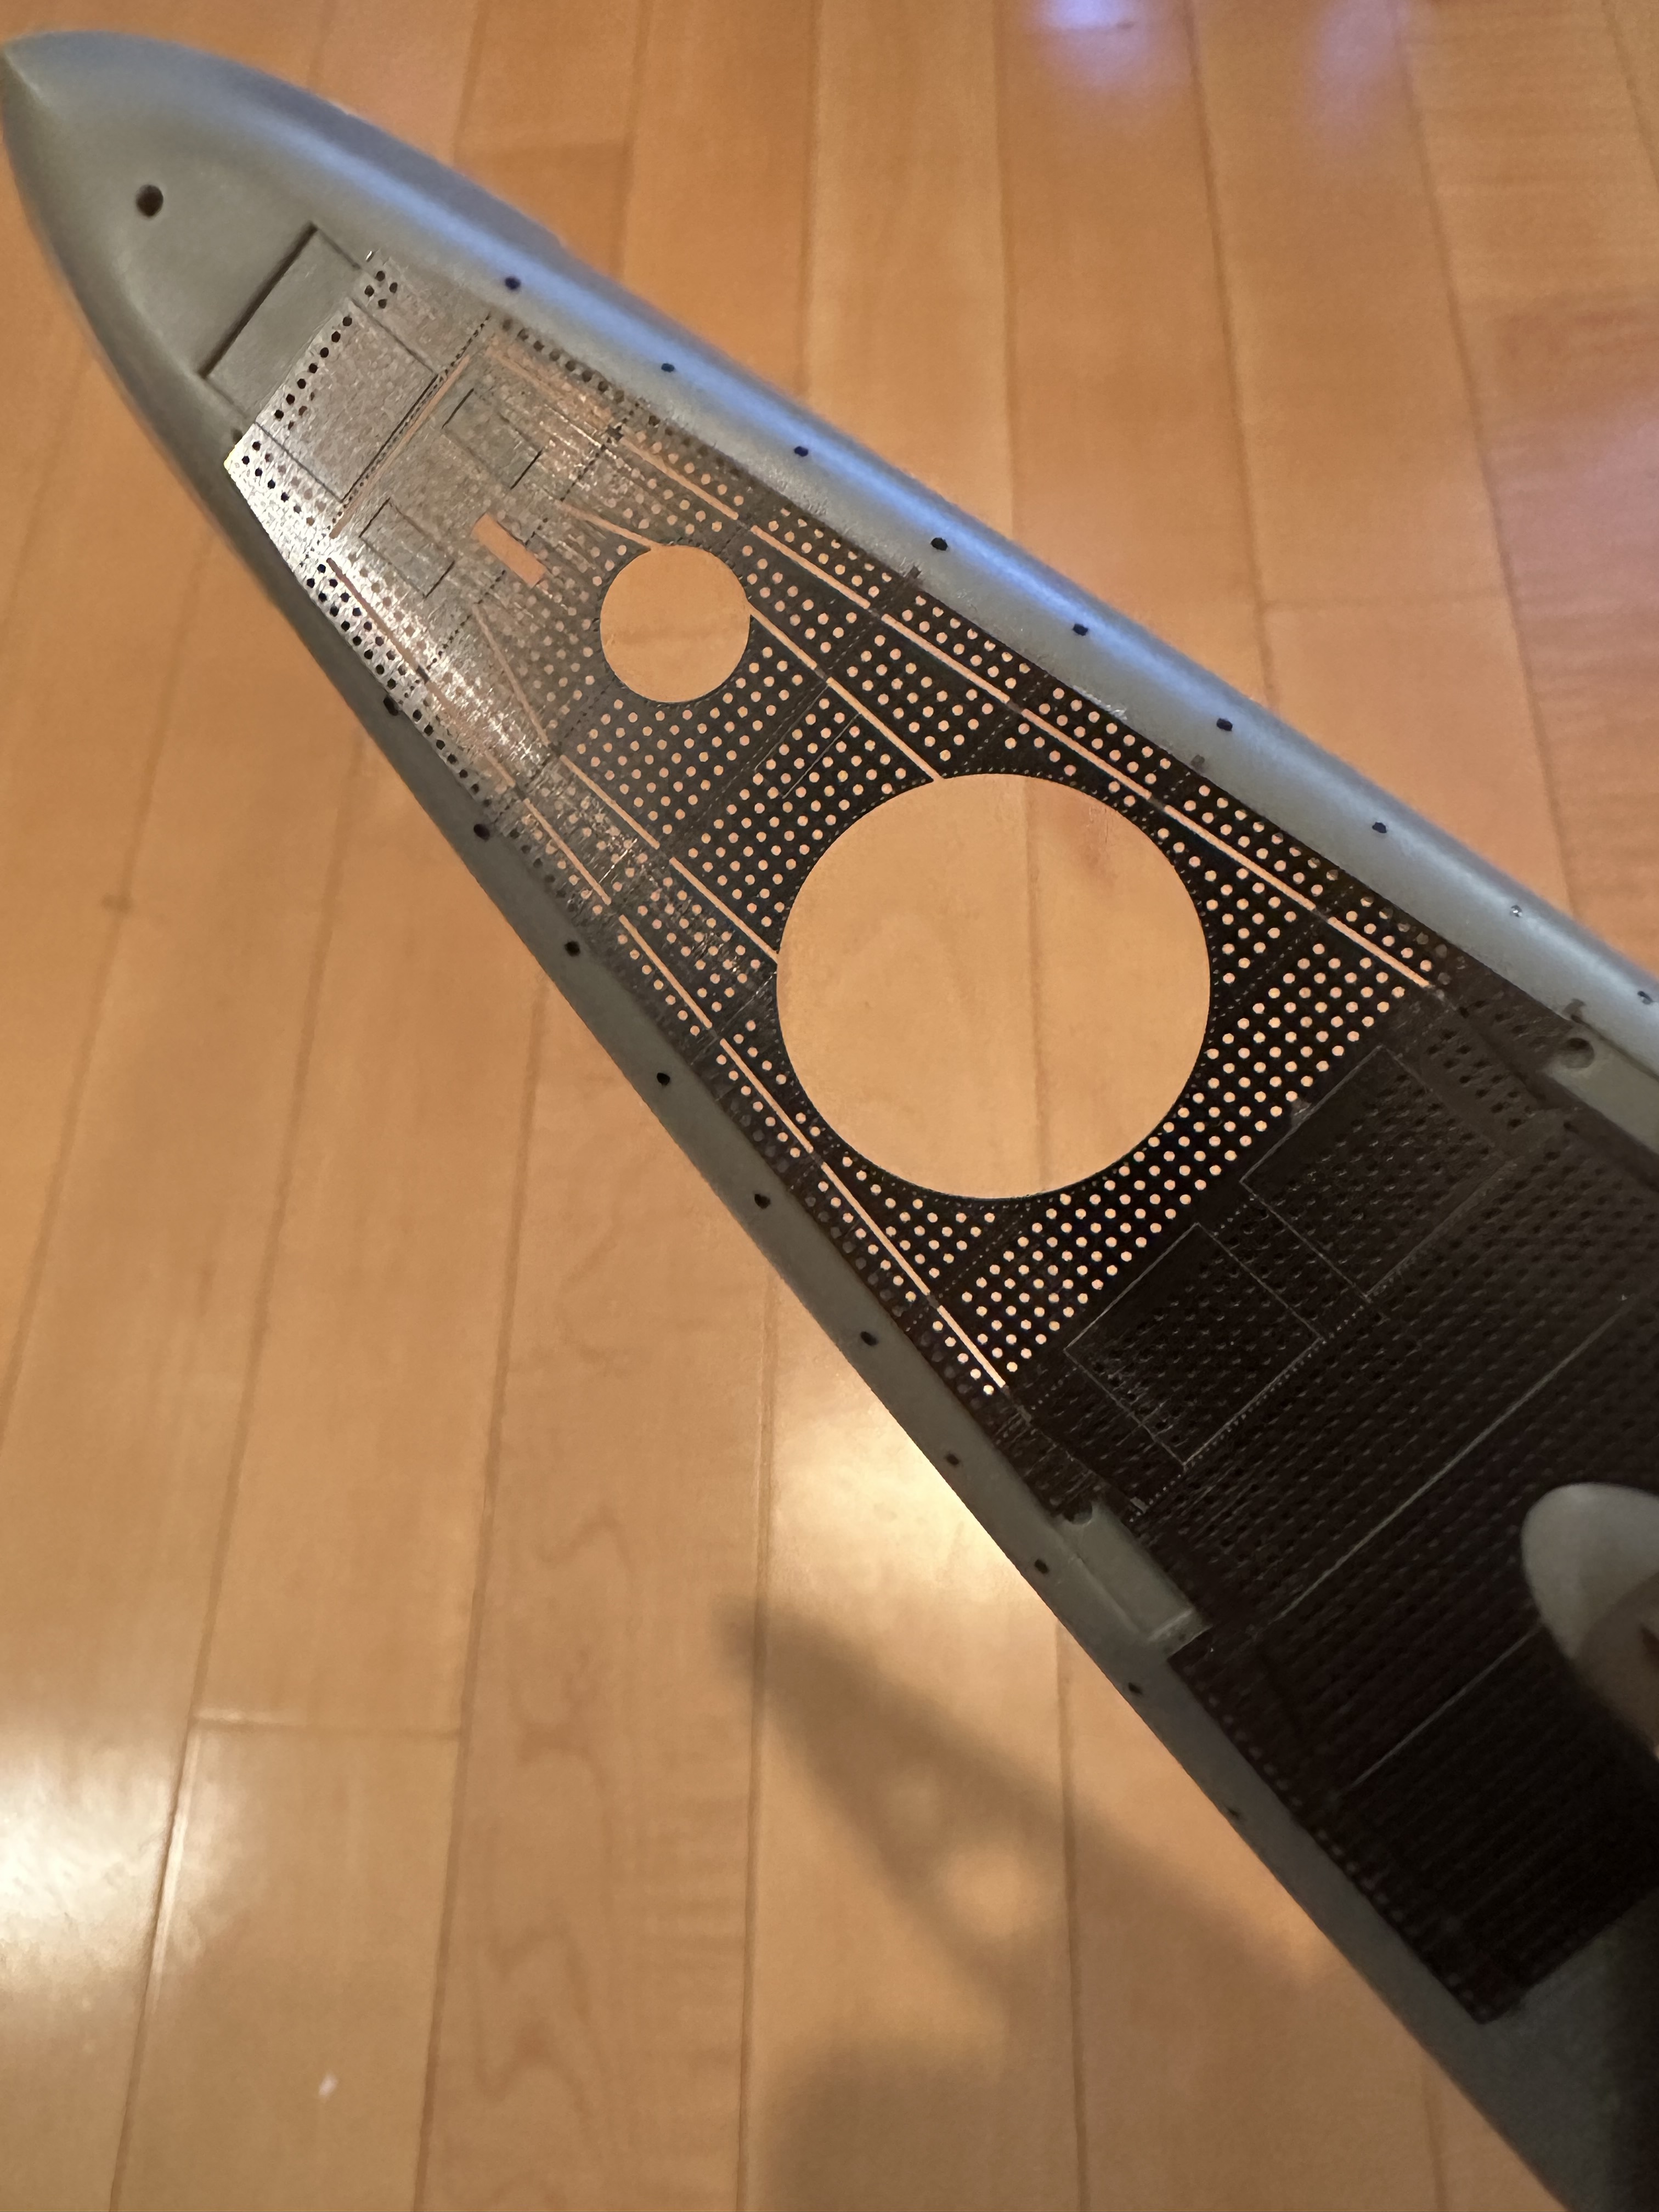
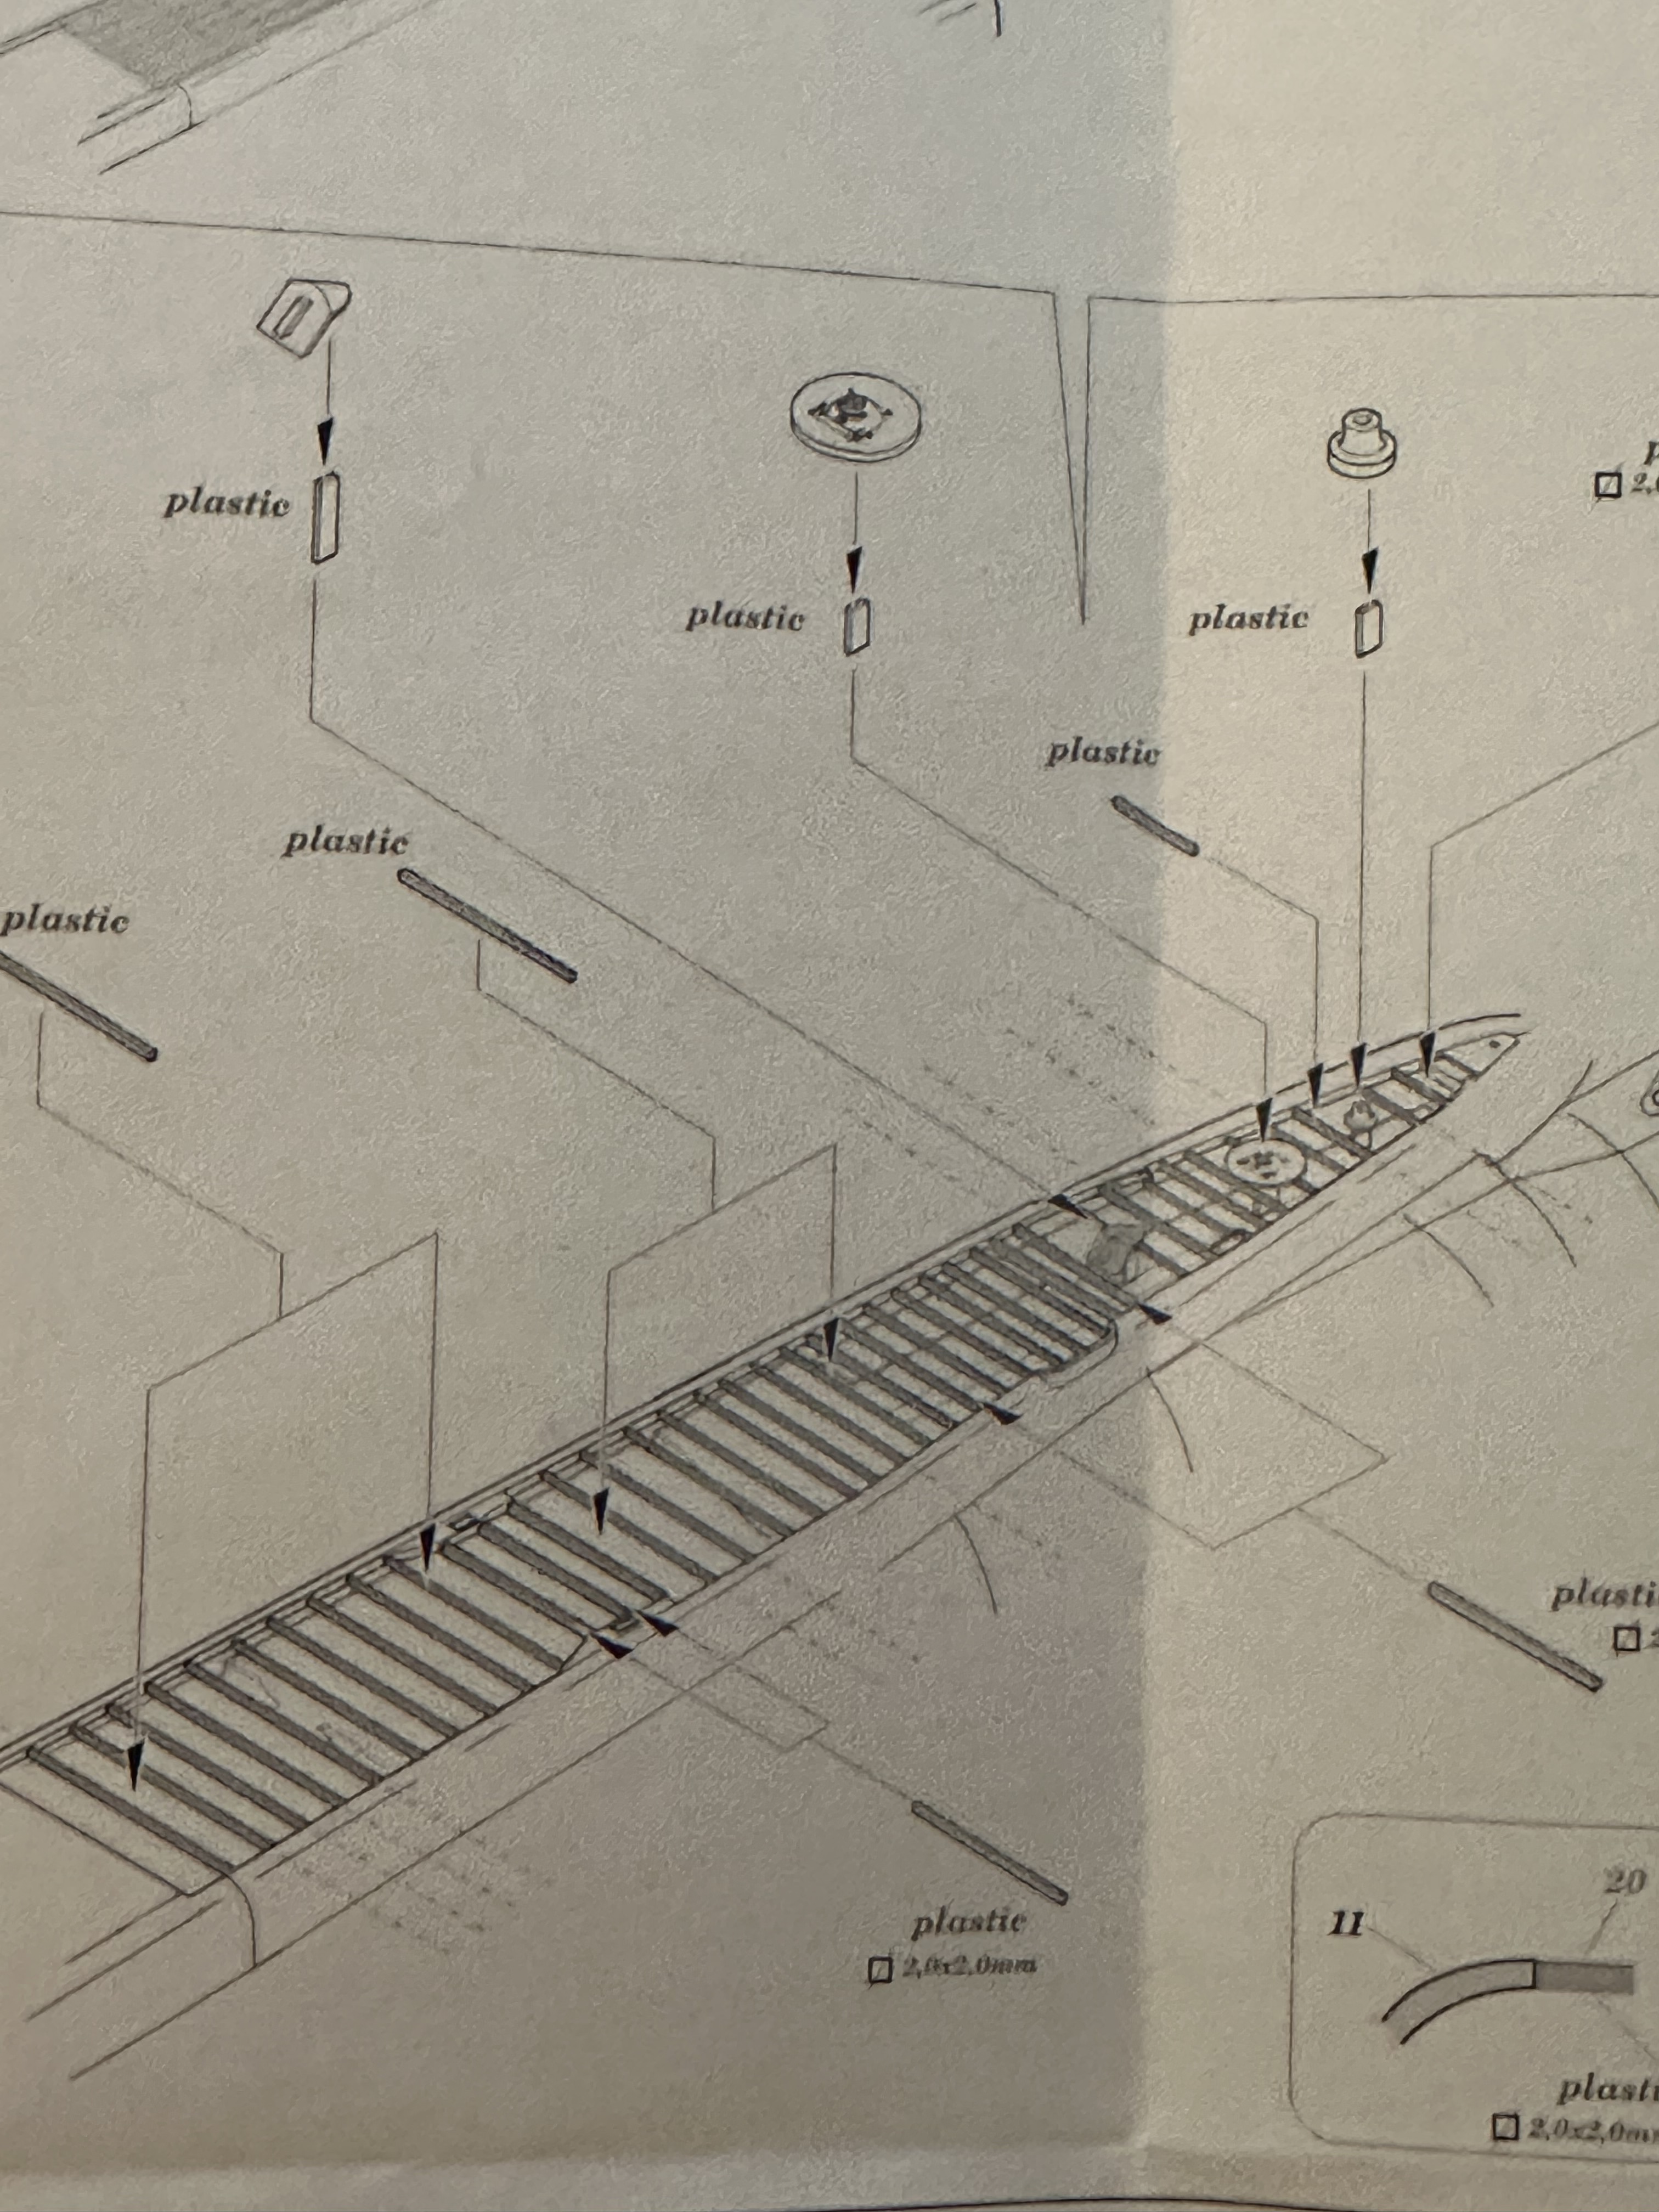
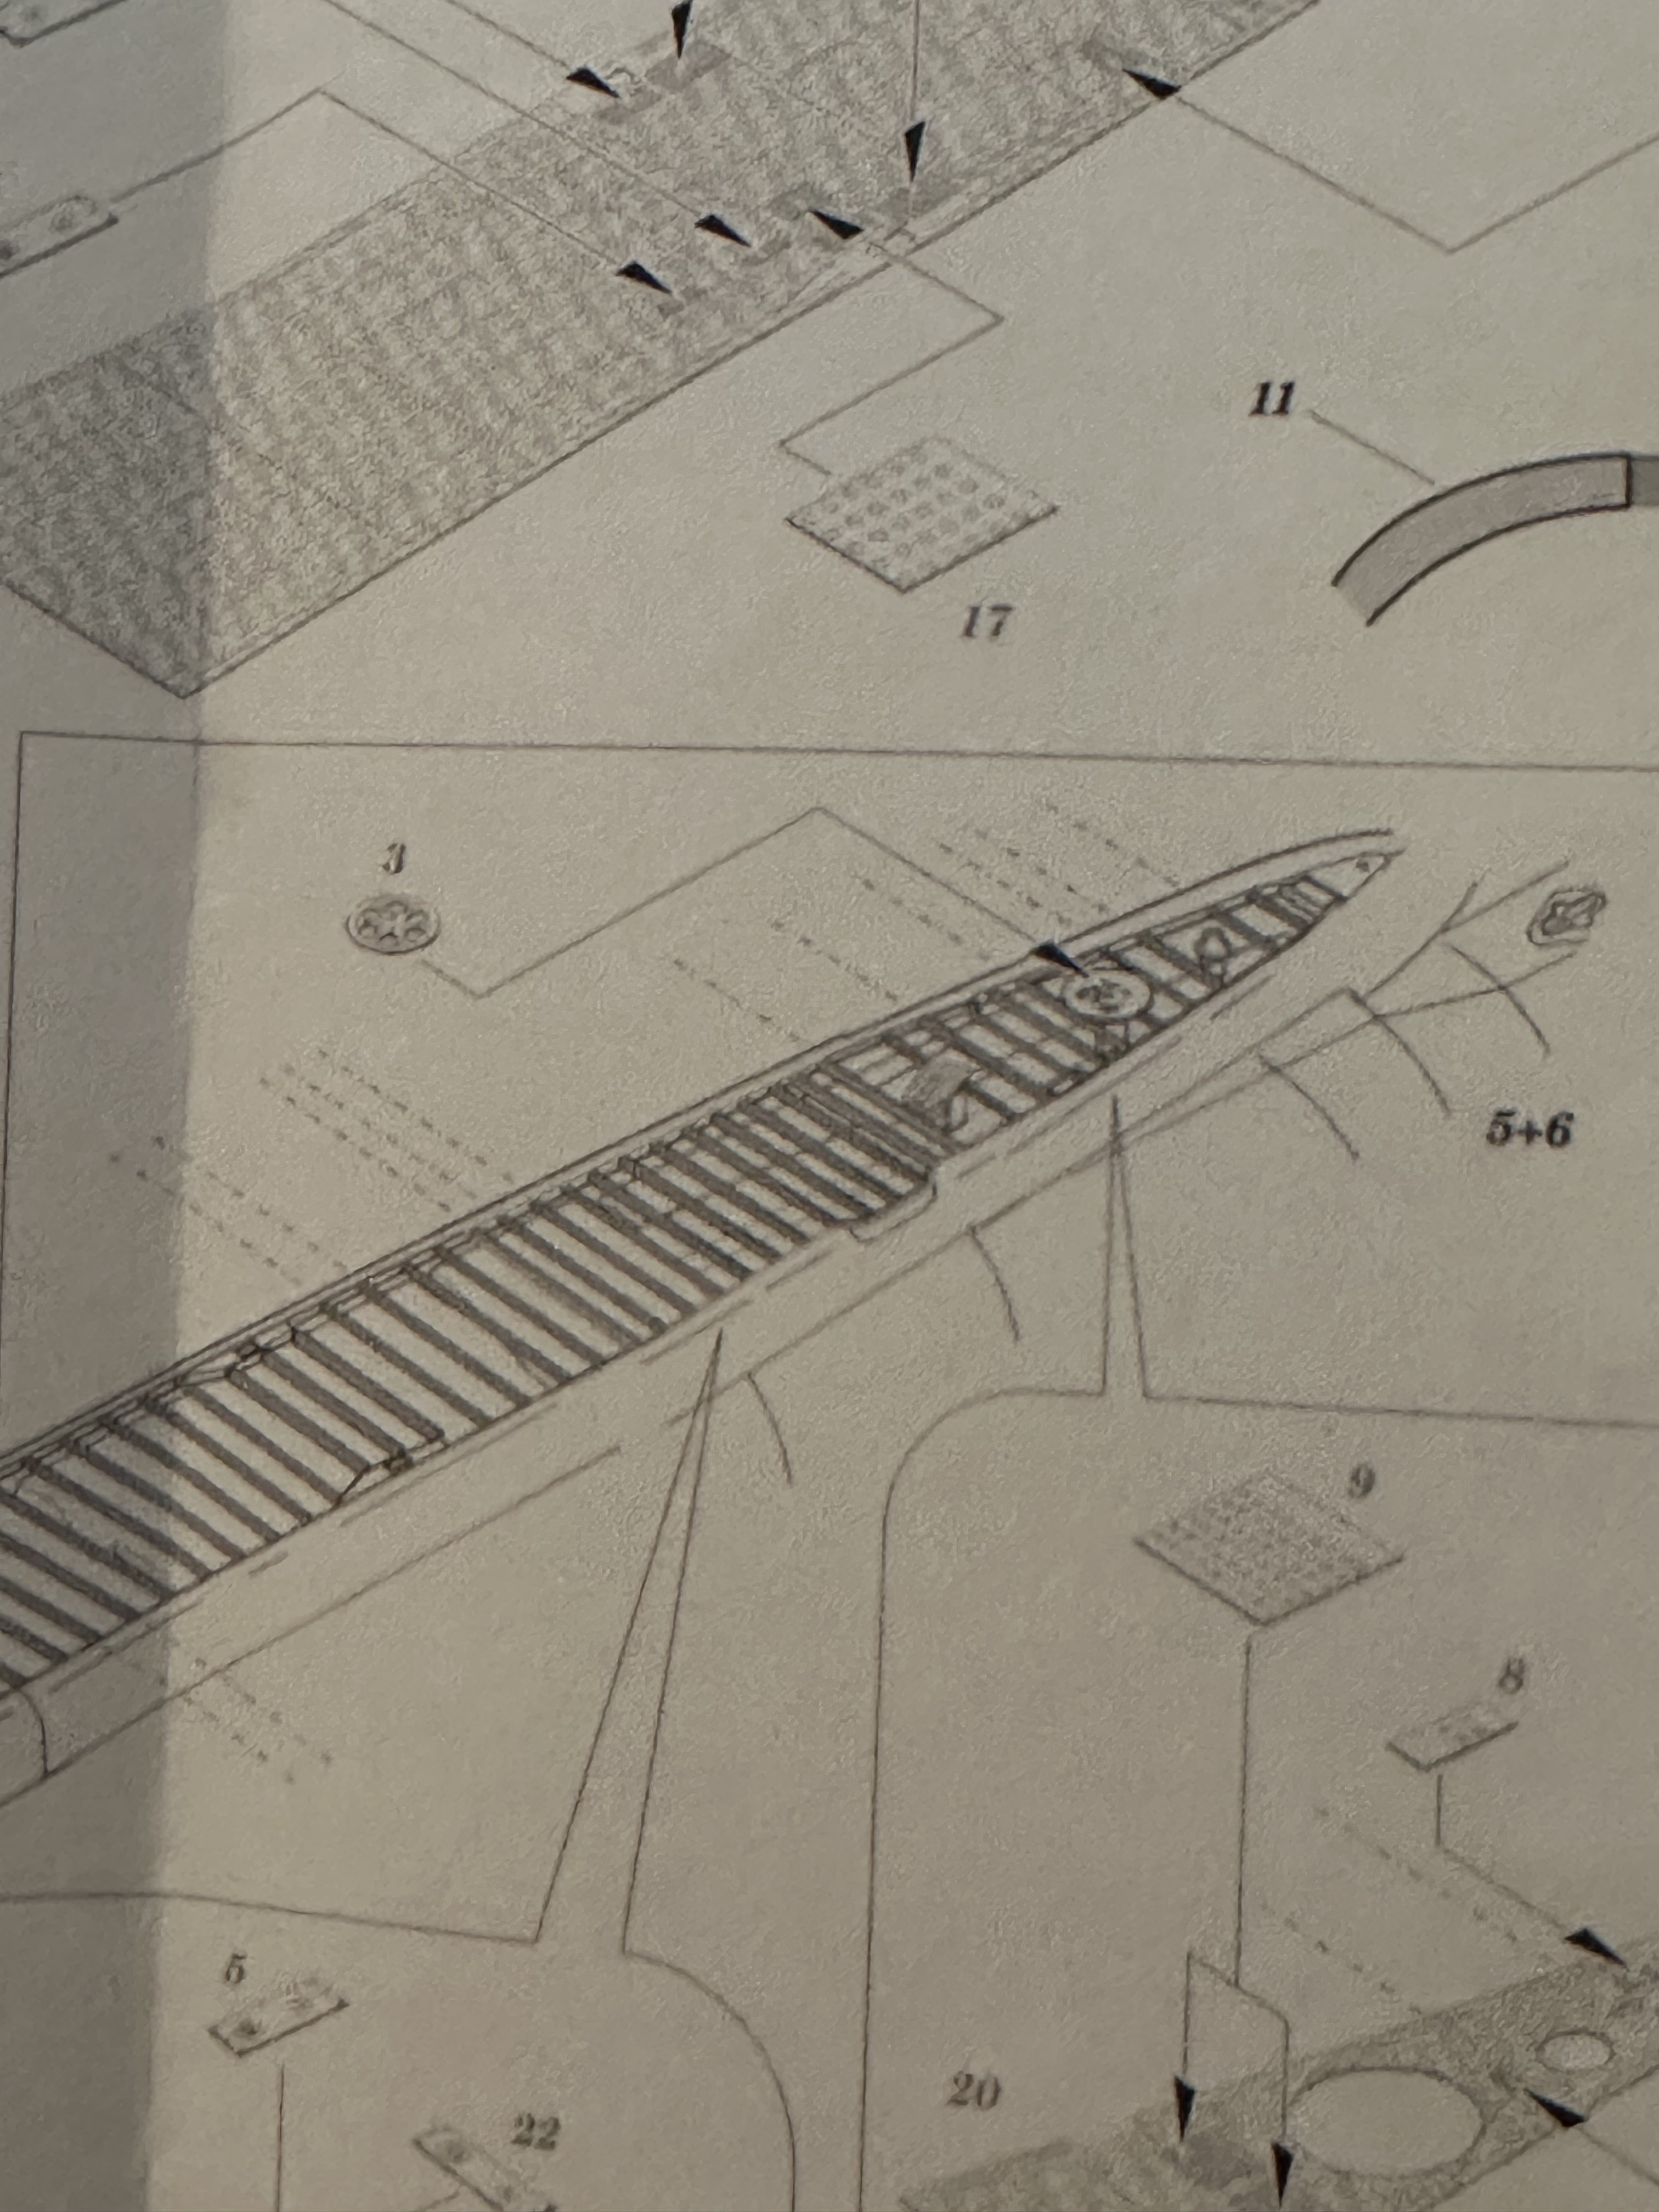
I purchased the Big Ed PE set for this quite a while back. It comes with some of the largest PE pieces I’ve ever seen.
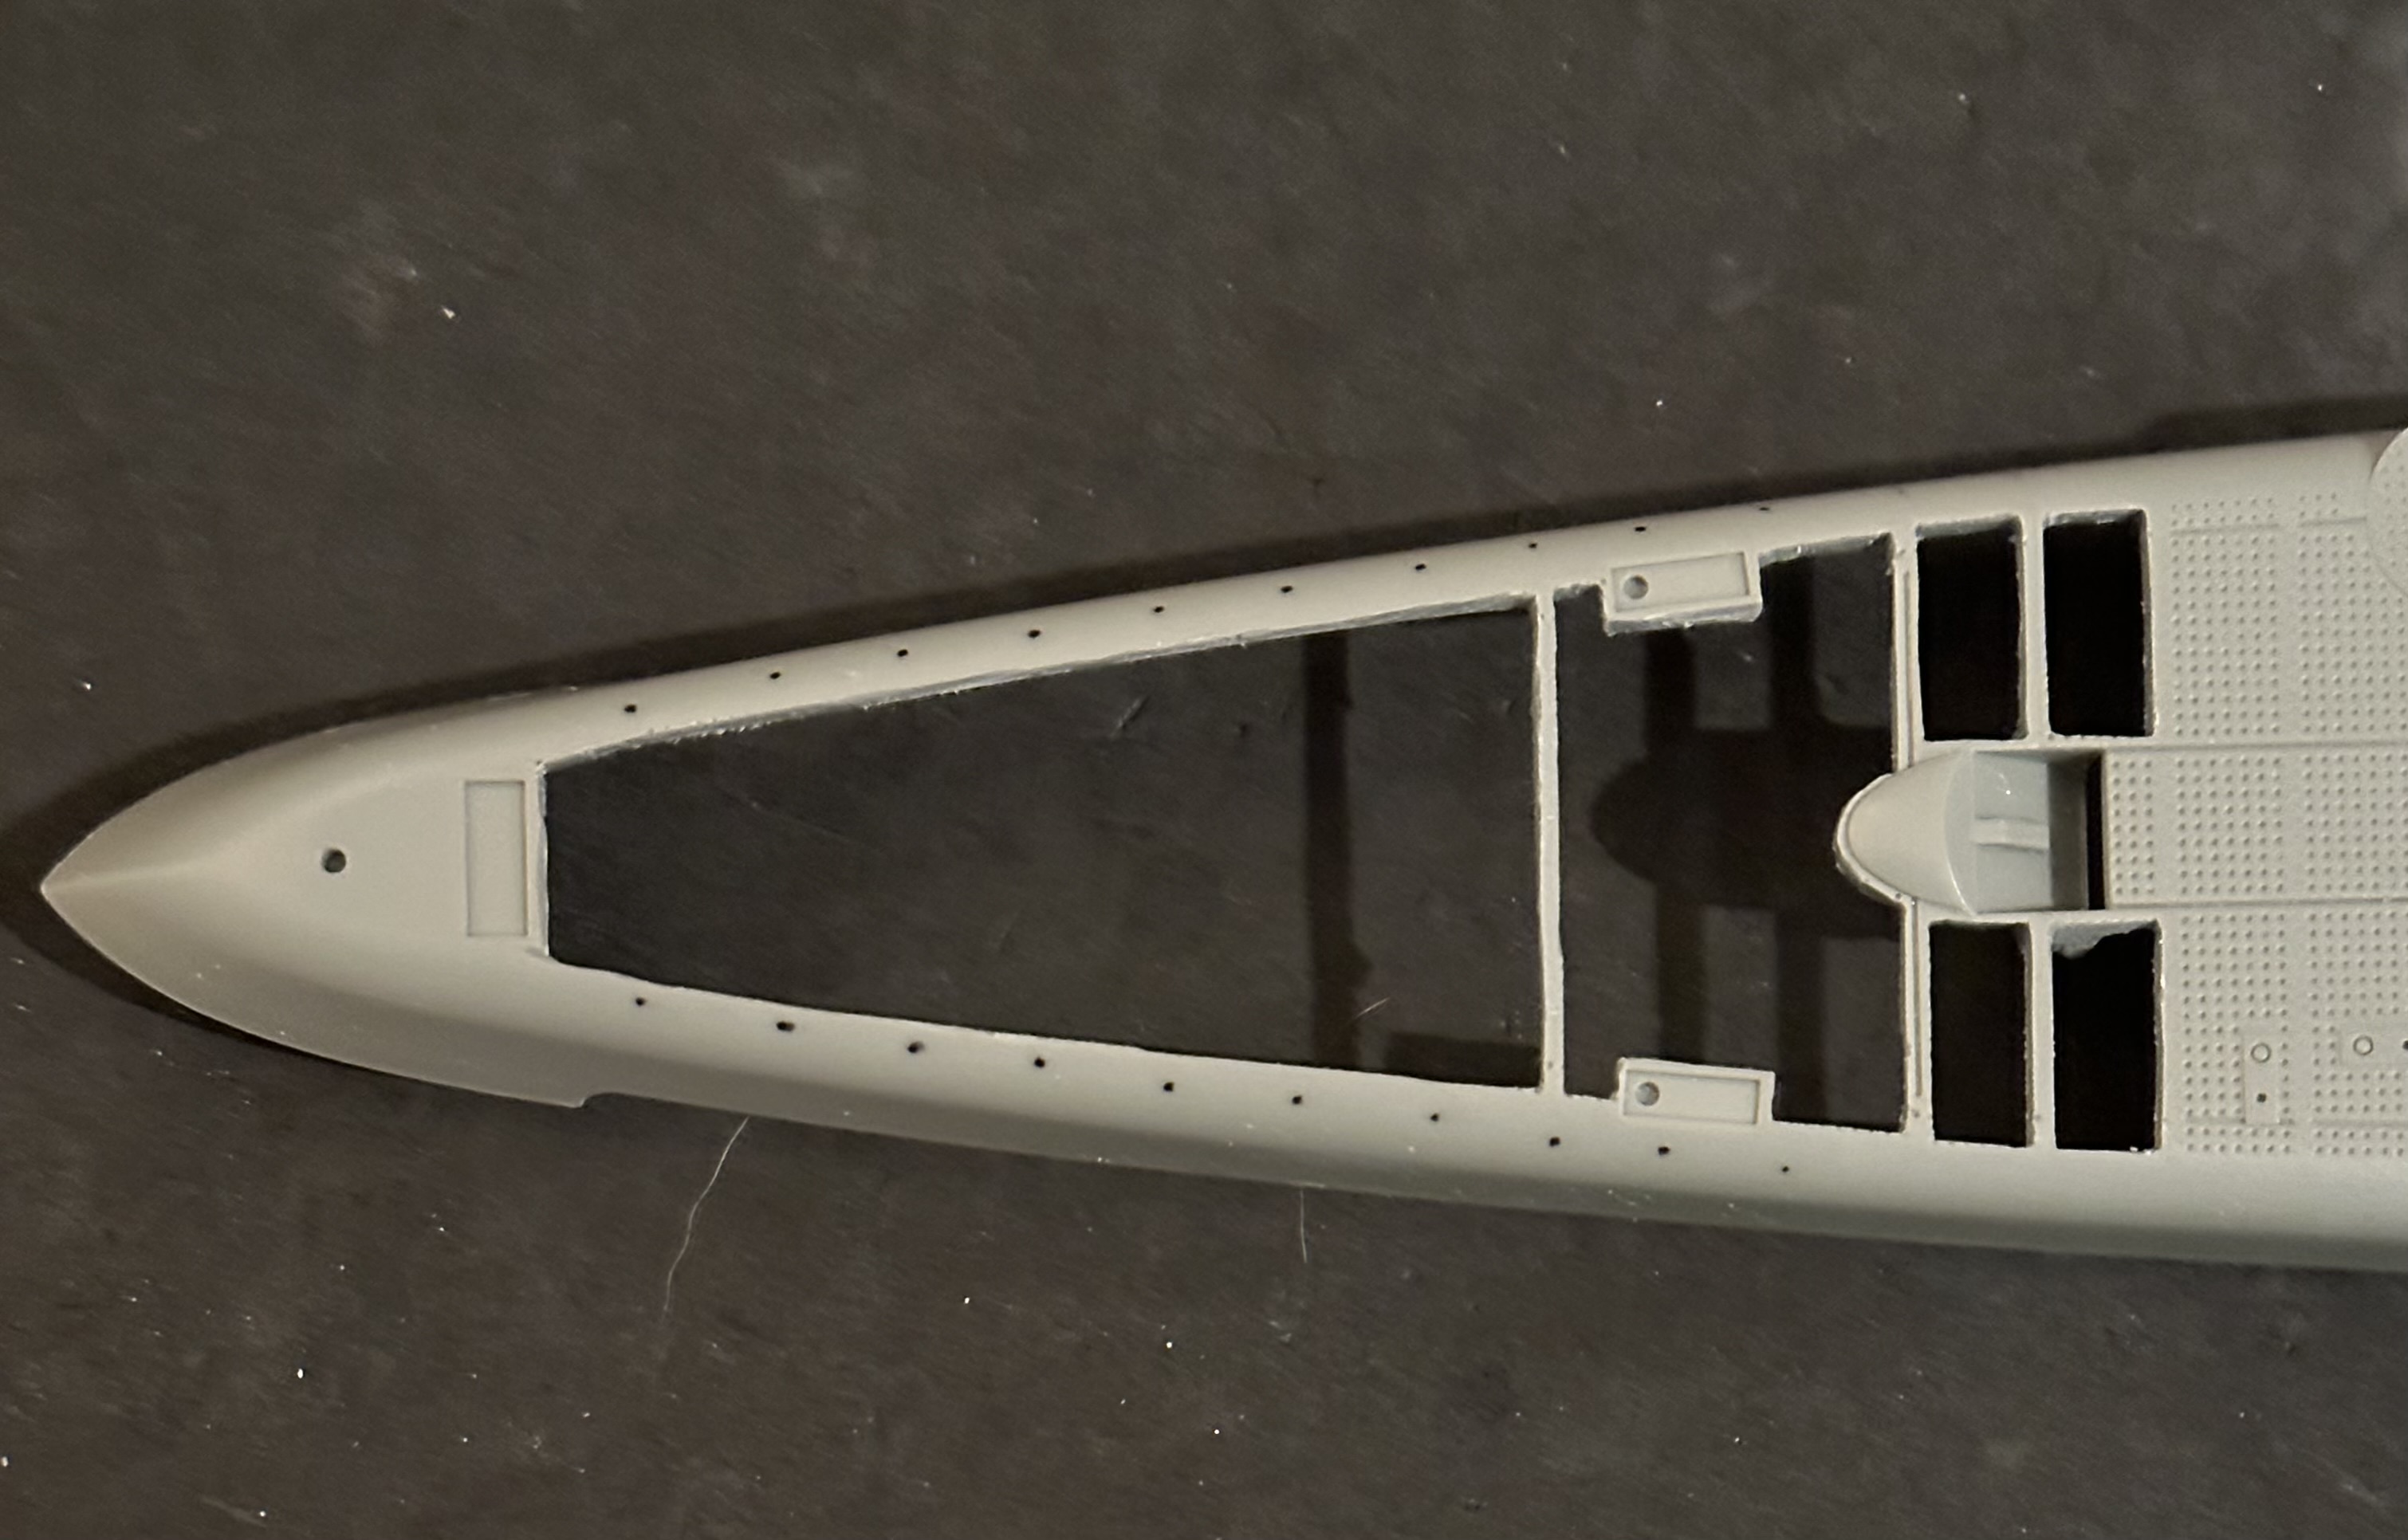
Part of the Big Ed set is intended to replace these plates. You could simply glue the PE onto the deck and call it good. And if you do, that’s exactly what it will look like. The instructions would have you remove all of the metal decking, and replace it with the PE, but not before adding the underlying framework from strips of .080 x .080 styrene. I’ll use I beam where I have panels opened.
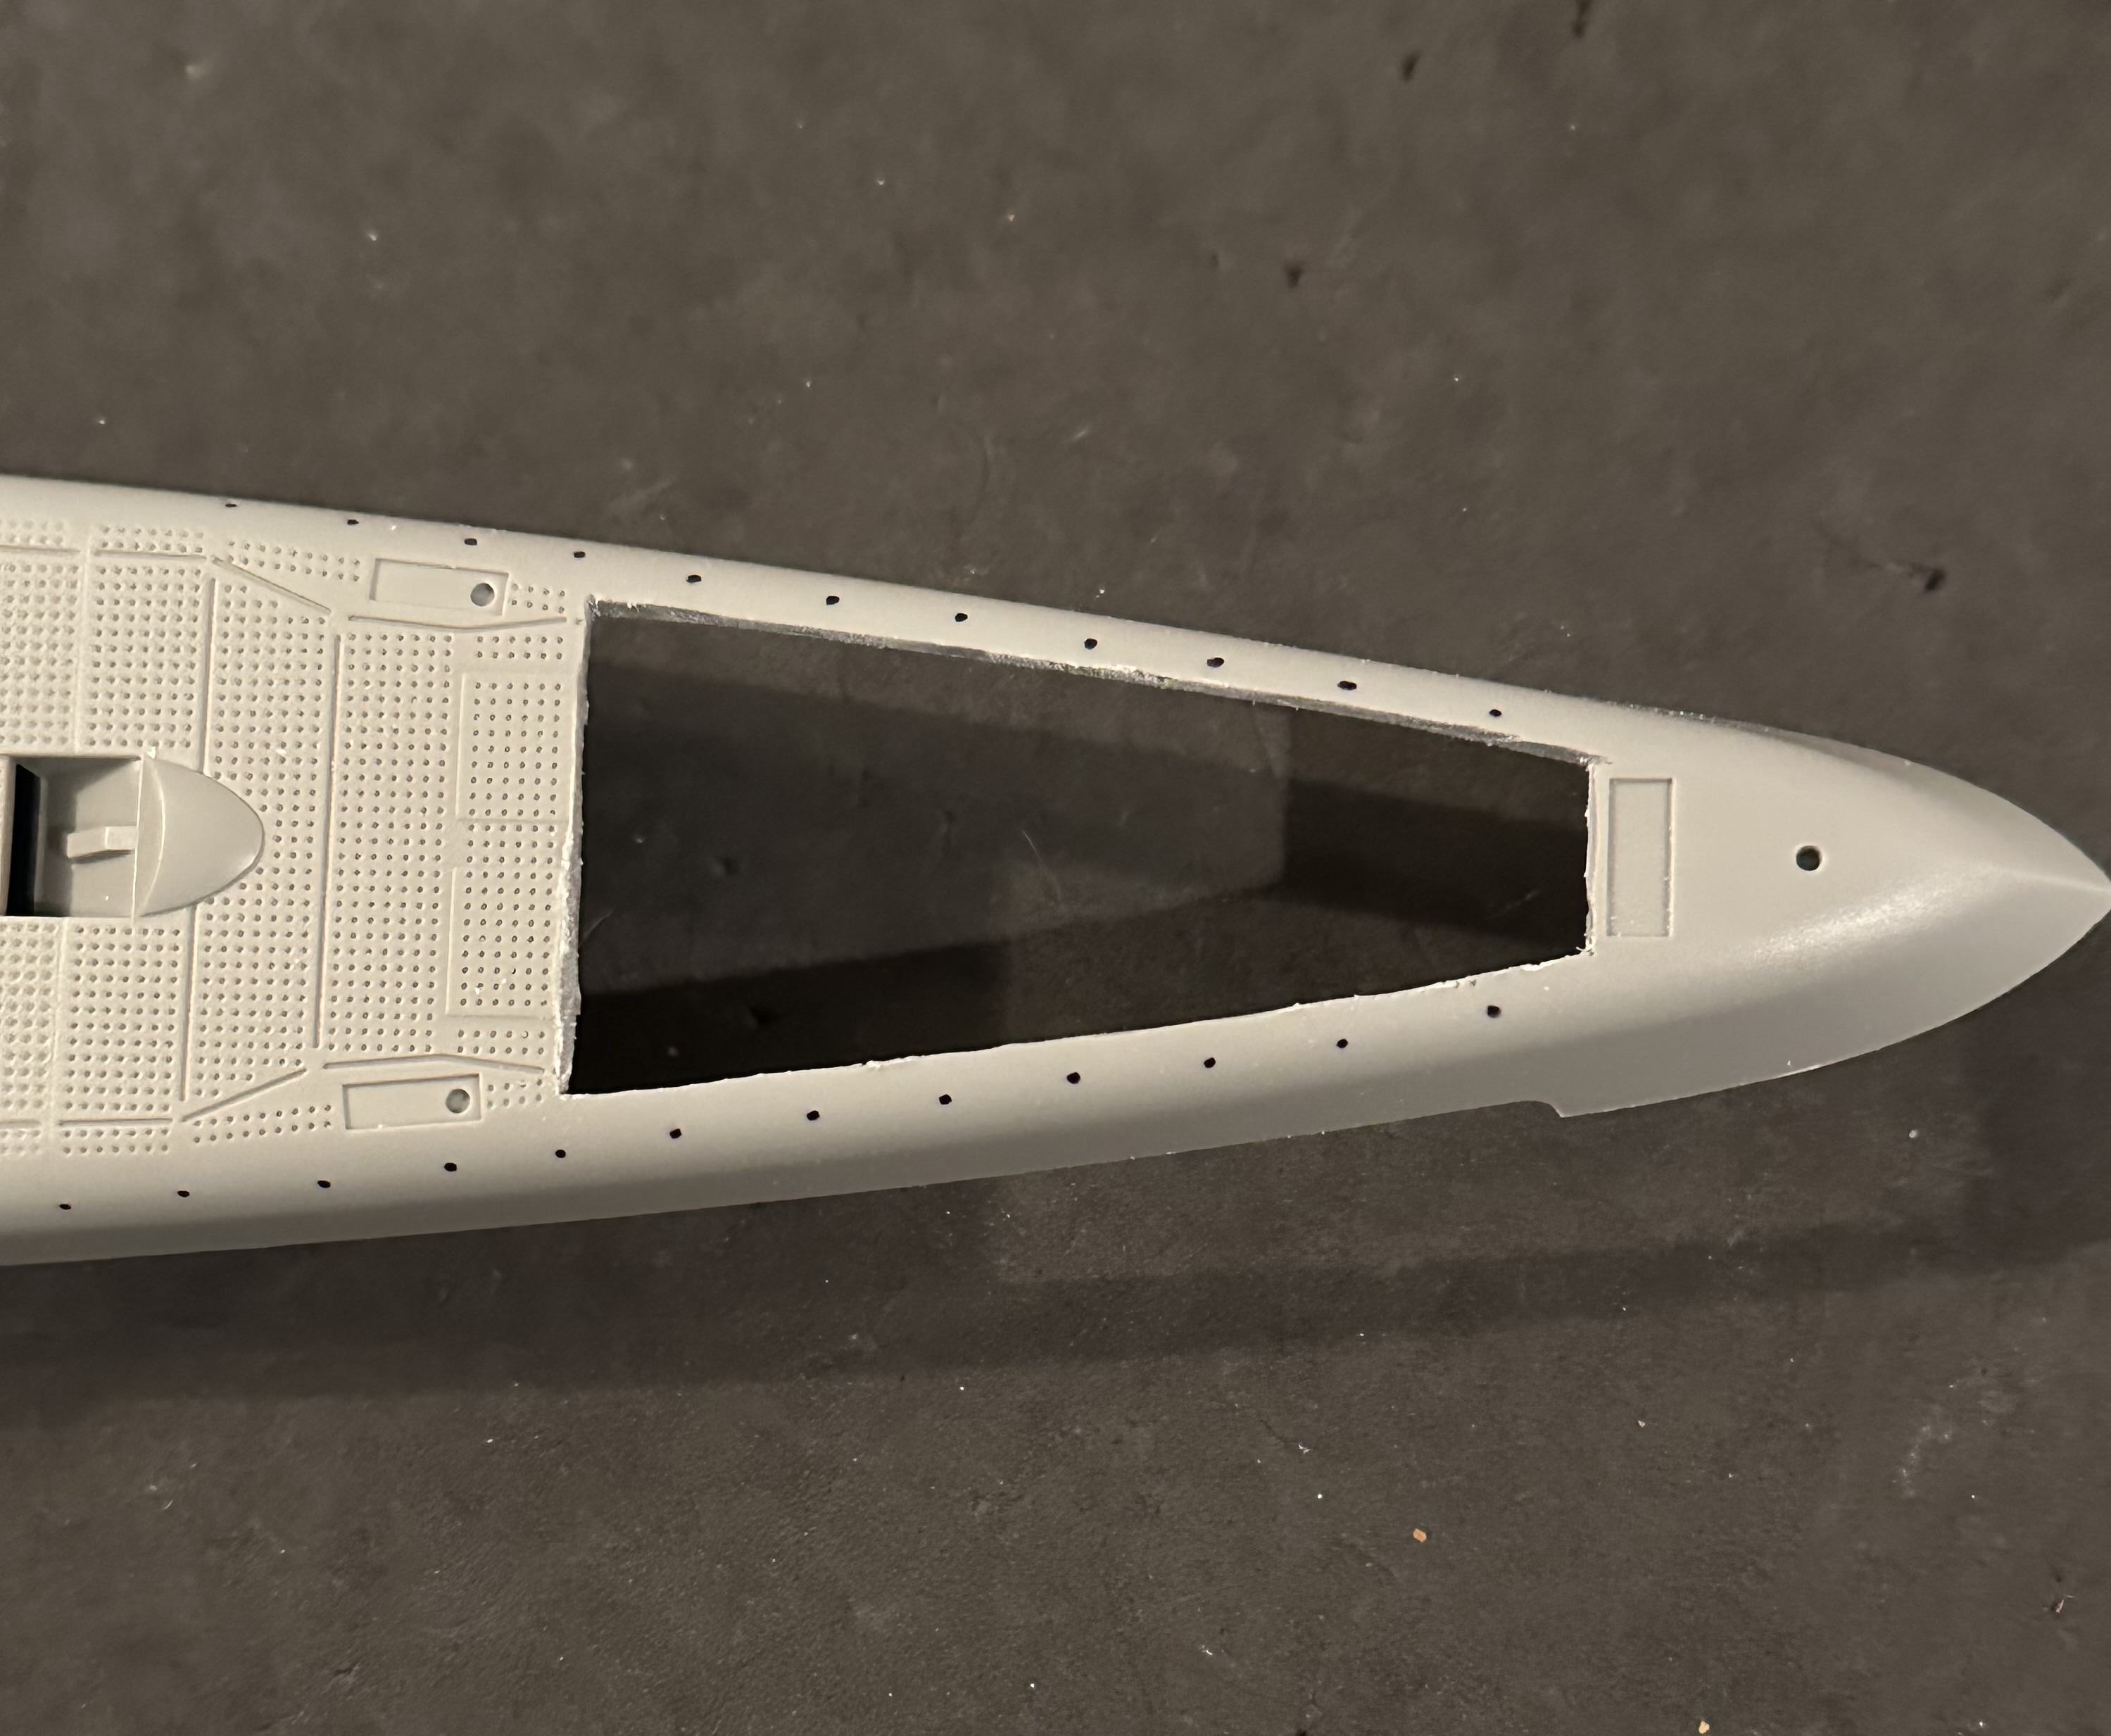
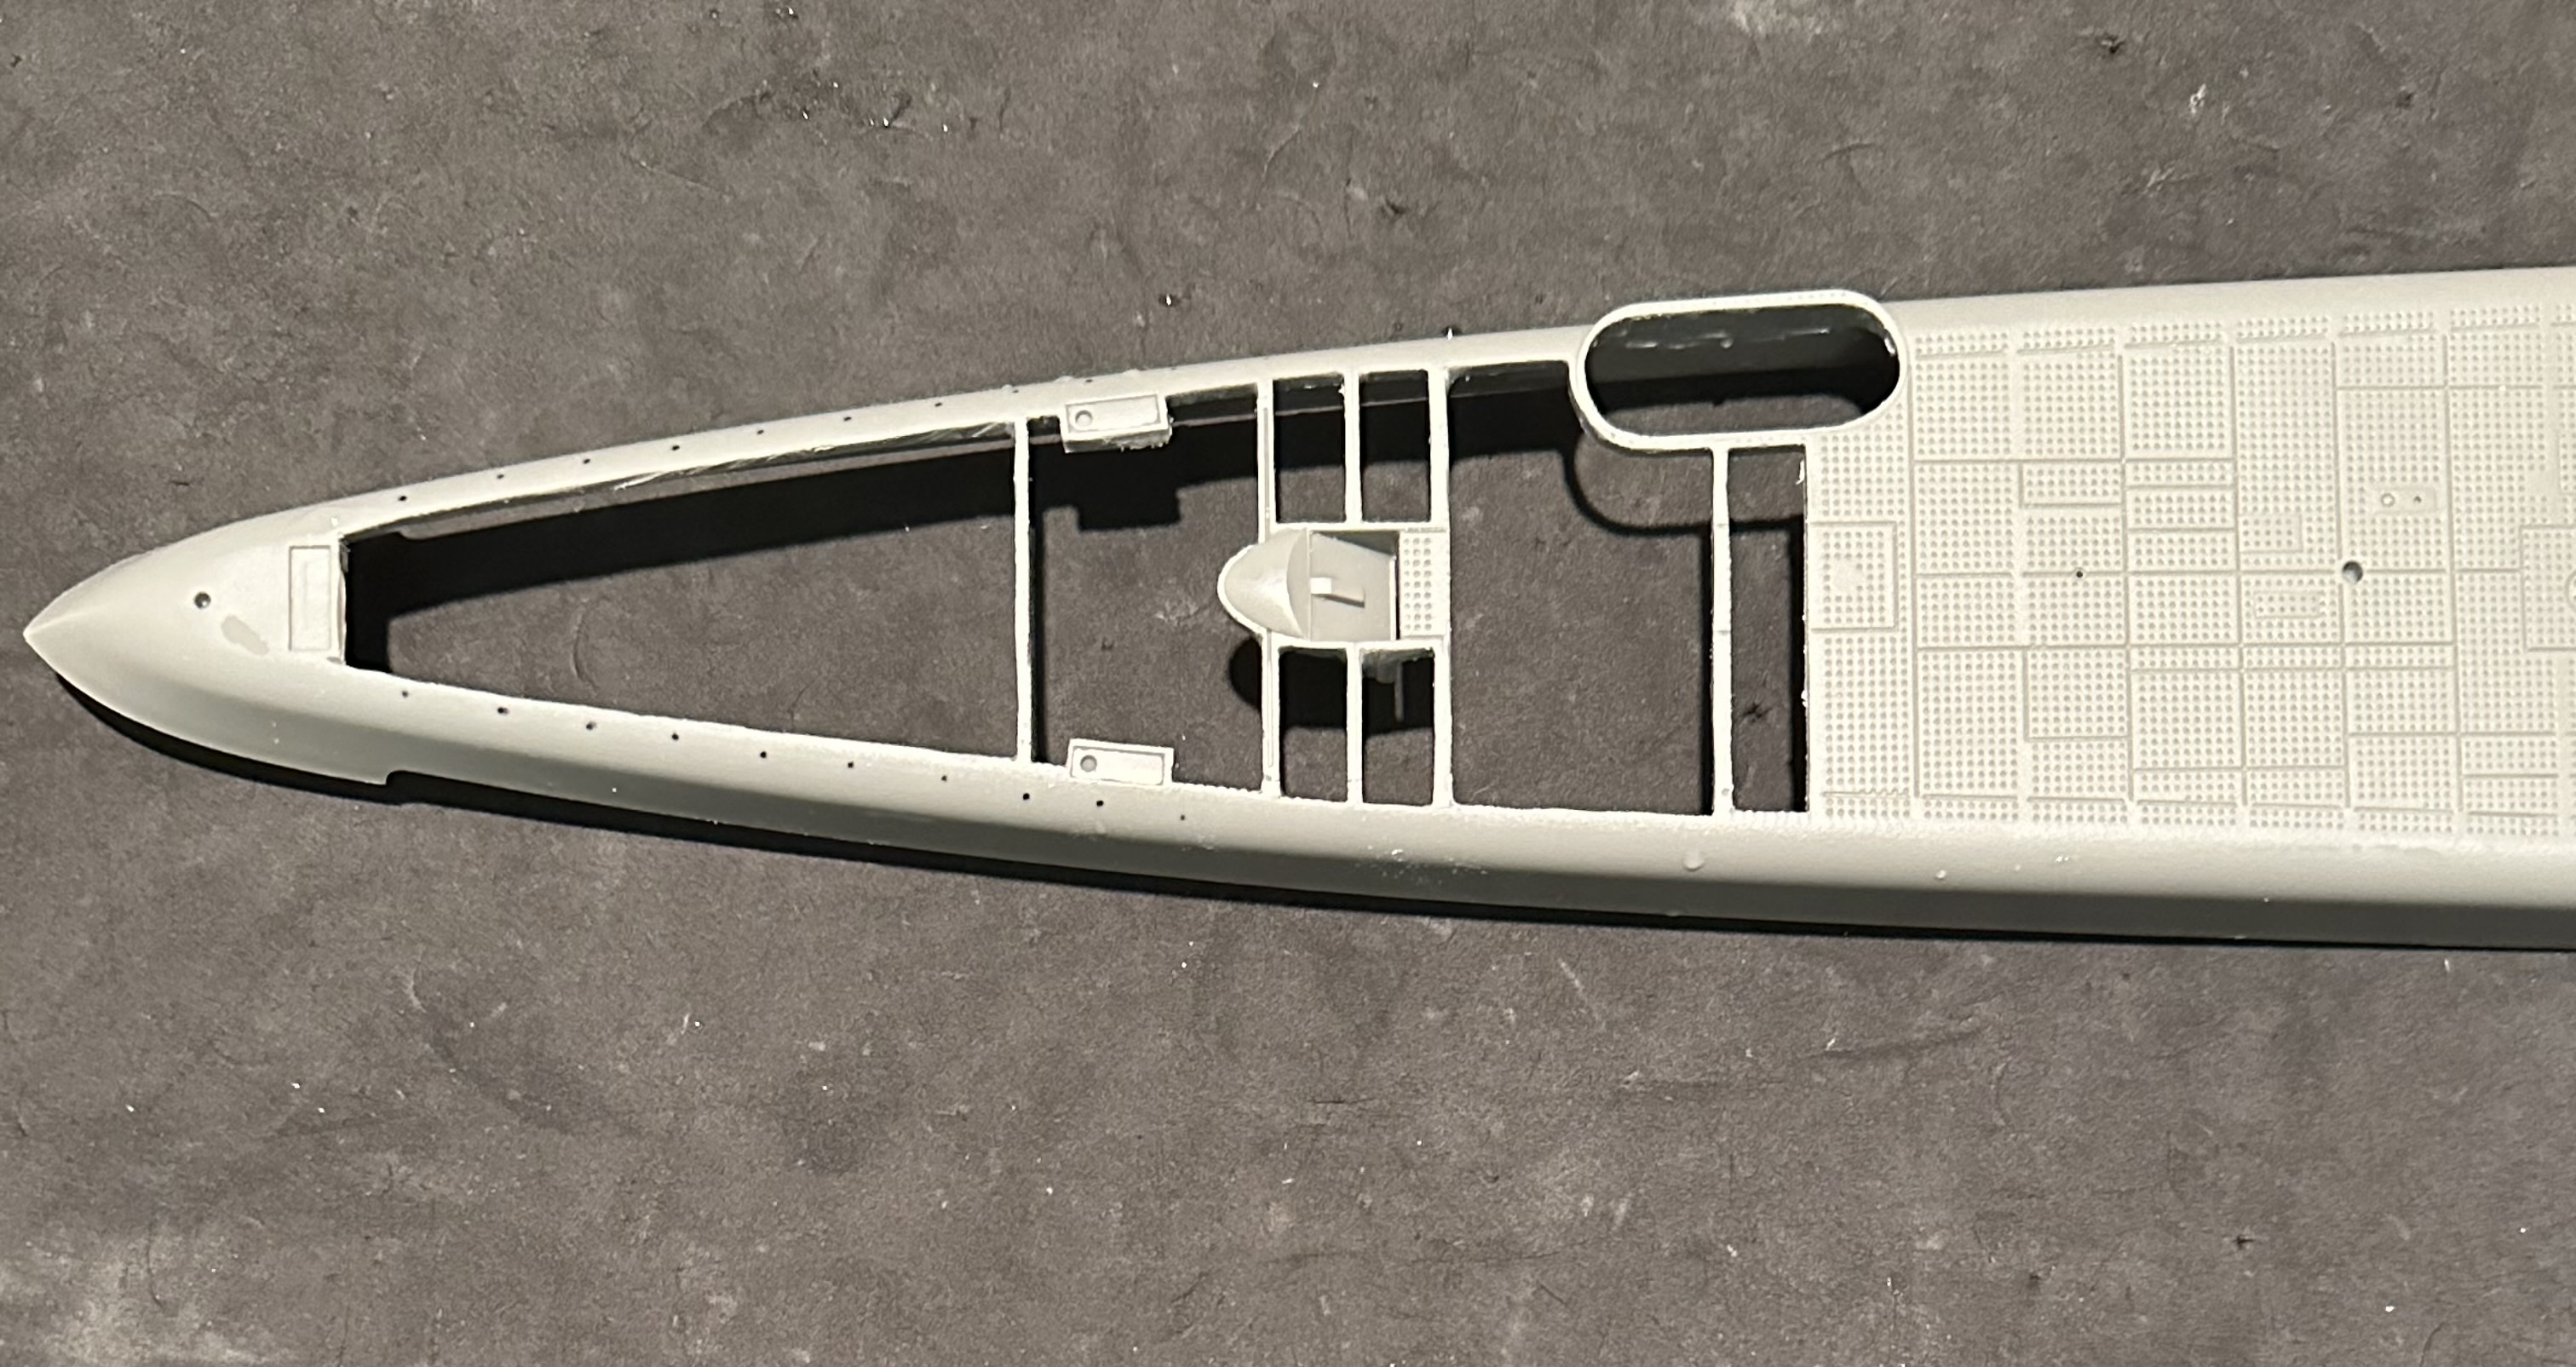
I finally decided today was the day. However, I’m leaving some of the original bracing locations in as I go along so the deck maintains its original rigidity. I suppose they intend you to do this after the decking is cemented in place, but I still have work to do underneath showing the ship’s plumbing and the pressure hull.
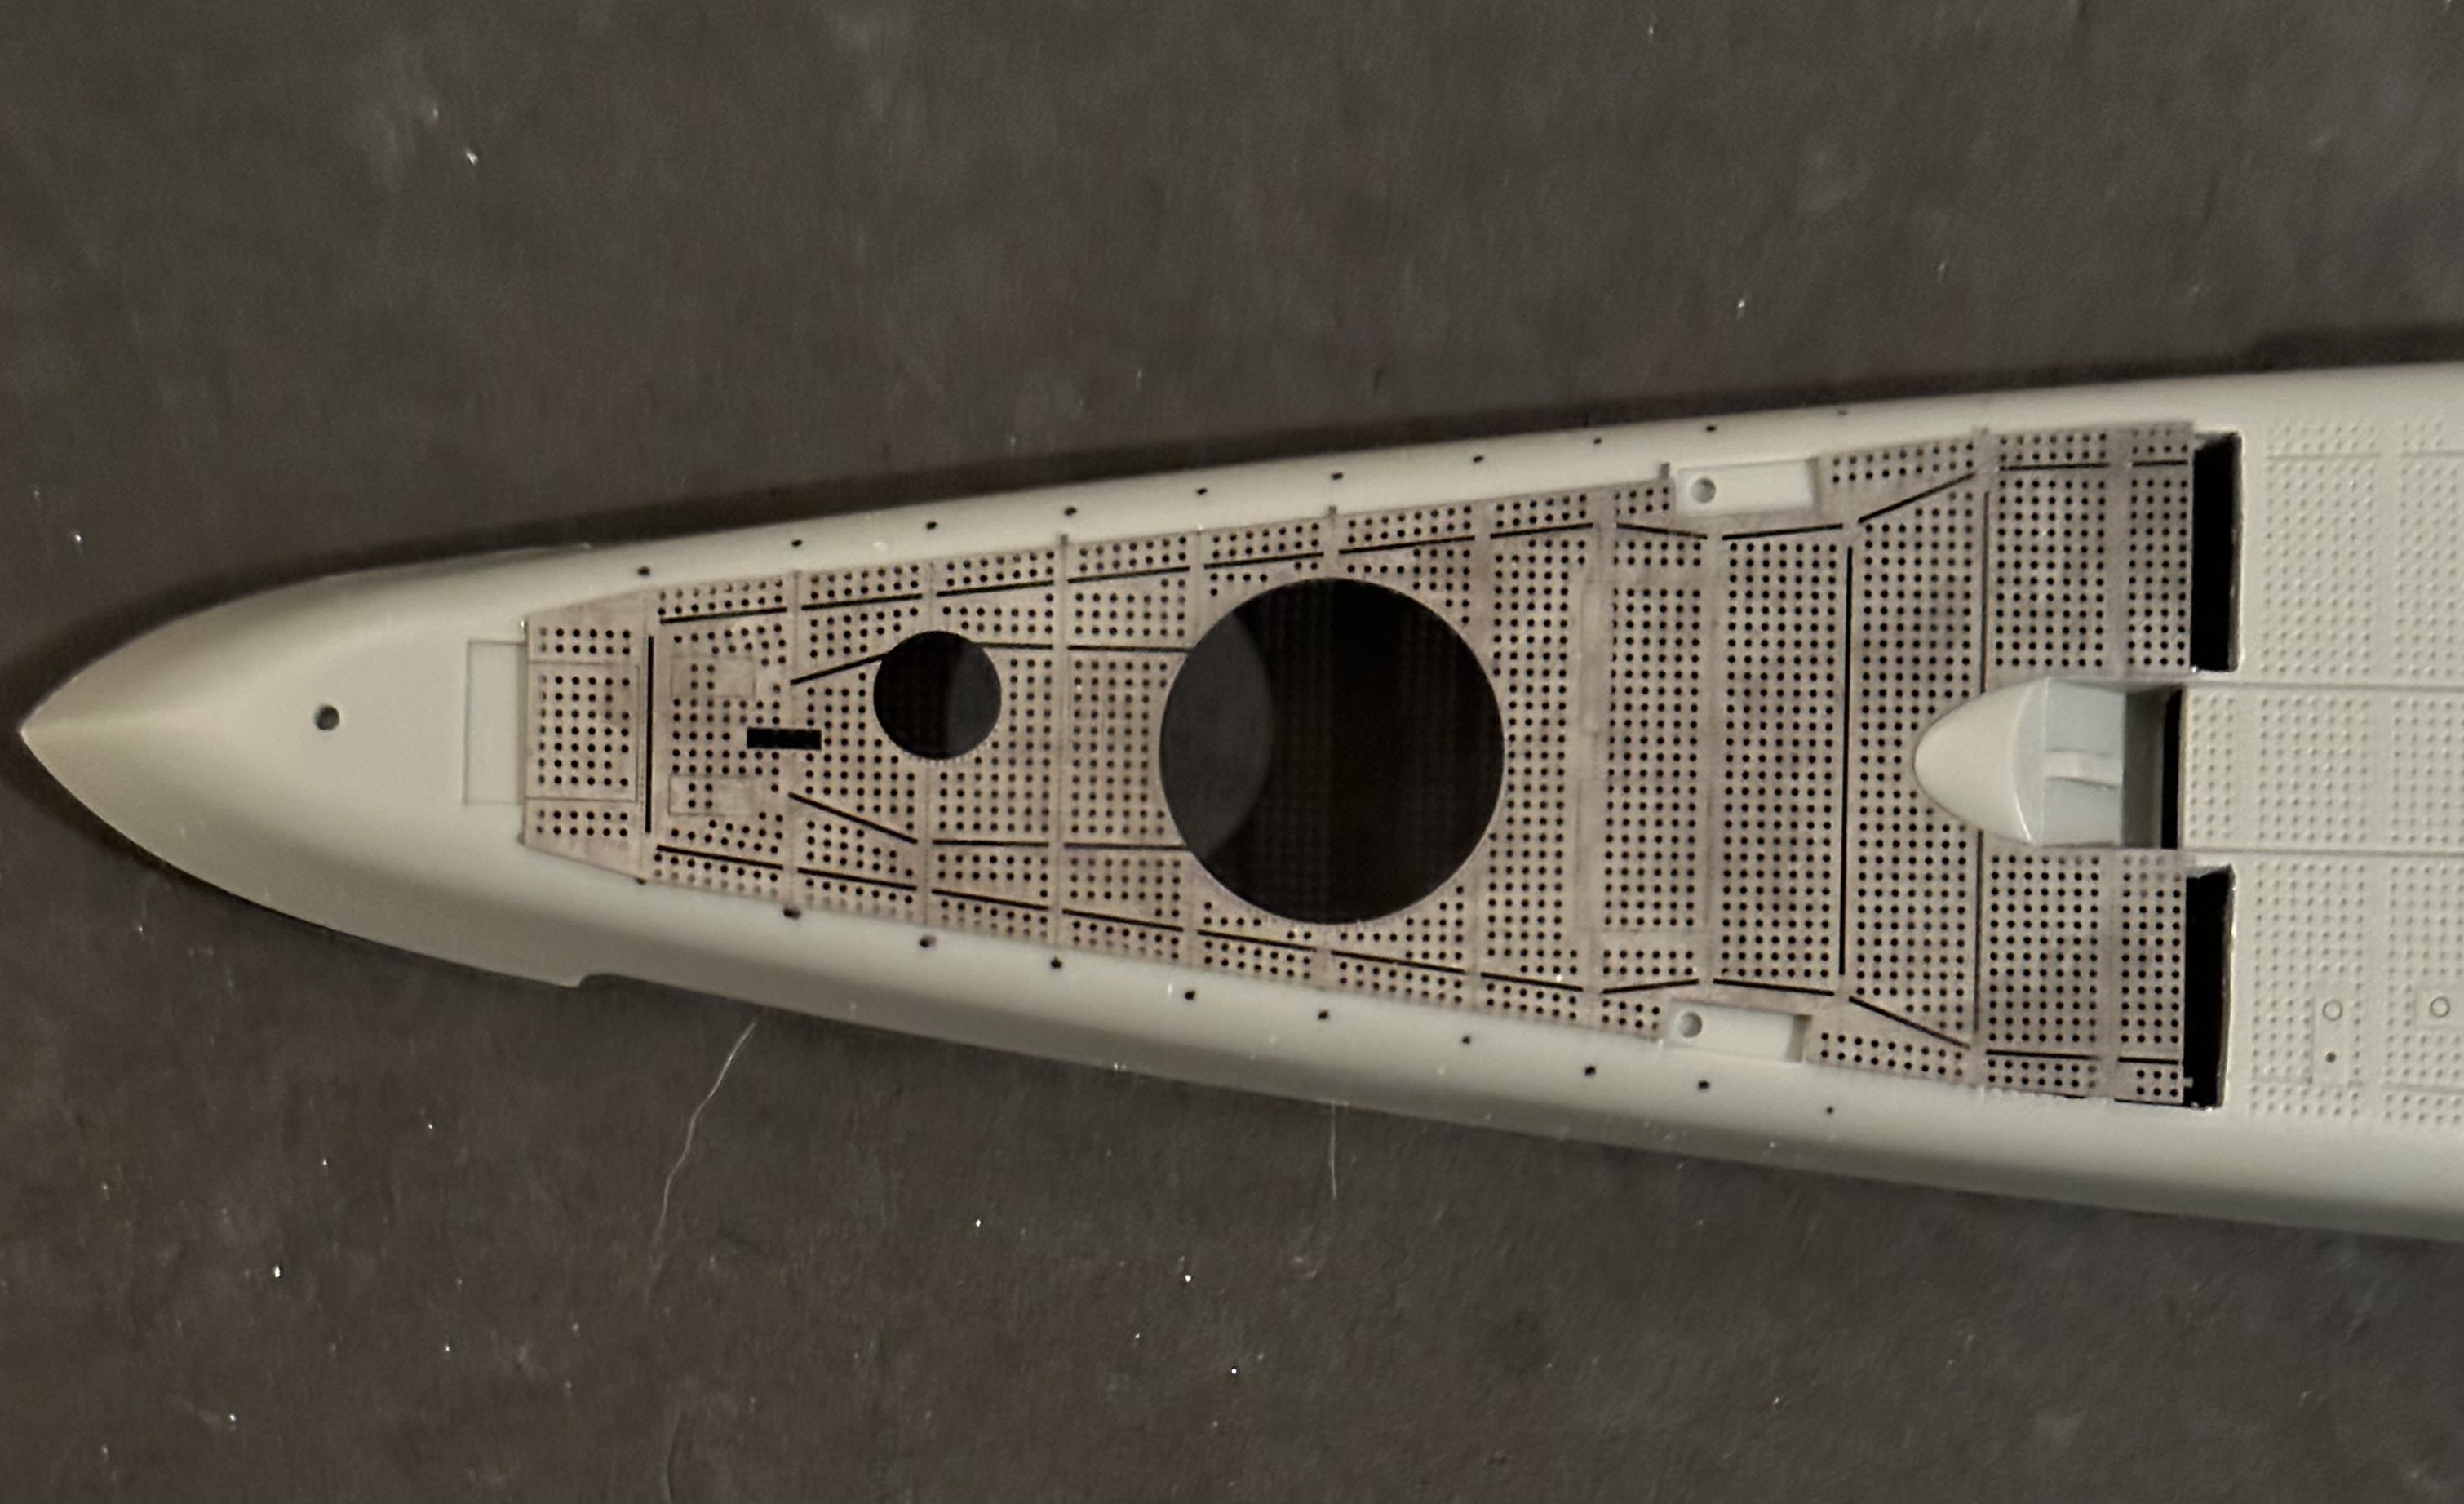
Here’s the result of the first cut:
I still need to add the bracing underneath, but you can see how much better it looks where the plastic decking is cut away compared to where it is not. It should look all the more striking when I open some of the deck and put one of the LED welding circuits inside.
I’m well pleased with the progress. It’s going better than I expected, i.e. looks good, but more importantly thus far no bloodletting.
The gap is not a mistake - the net xpanel will cover it. It is an odd choice by Eduard’s designers though, to have a part end mid panel. The PE parts should have ended at a panel joint. It would look better in asddition to have the joint over a cross member.
I’ve looked at the part layout - it certainly wasn’t to make them all fit. Who knows? It is what it is.
Holy cow, man! thanks for that. Now I’ll never finish.
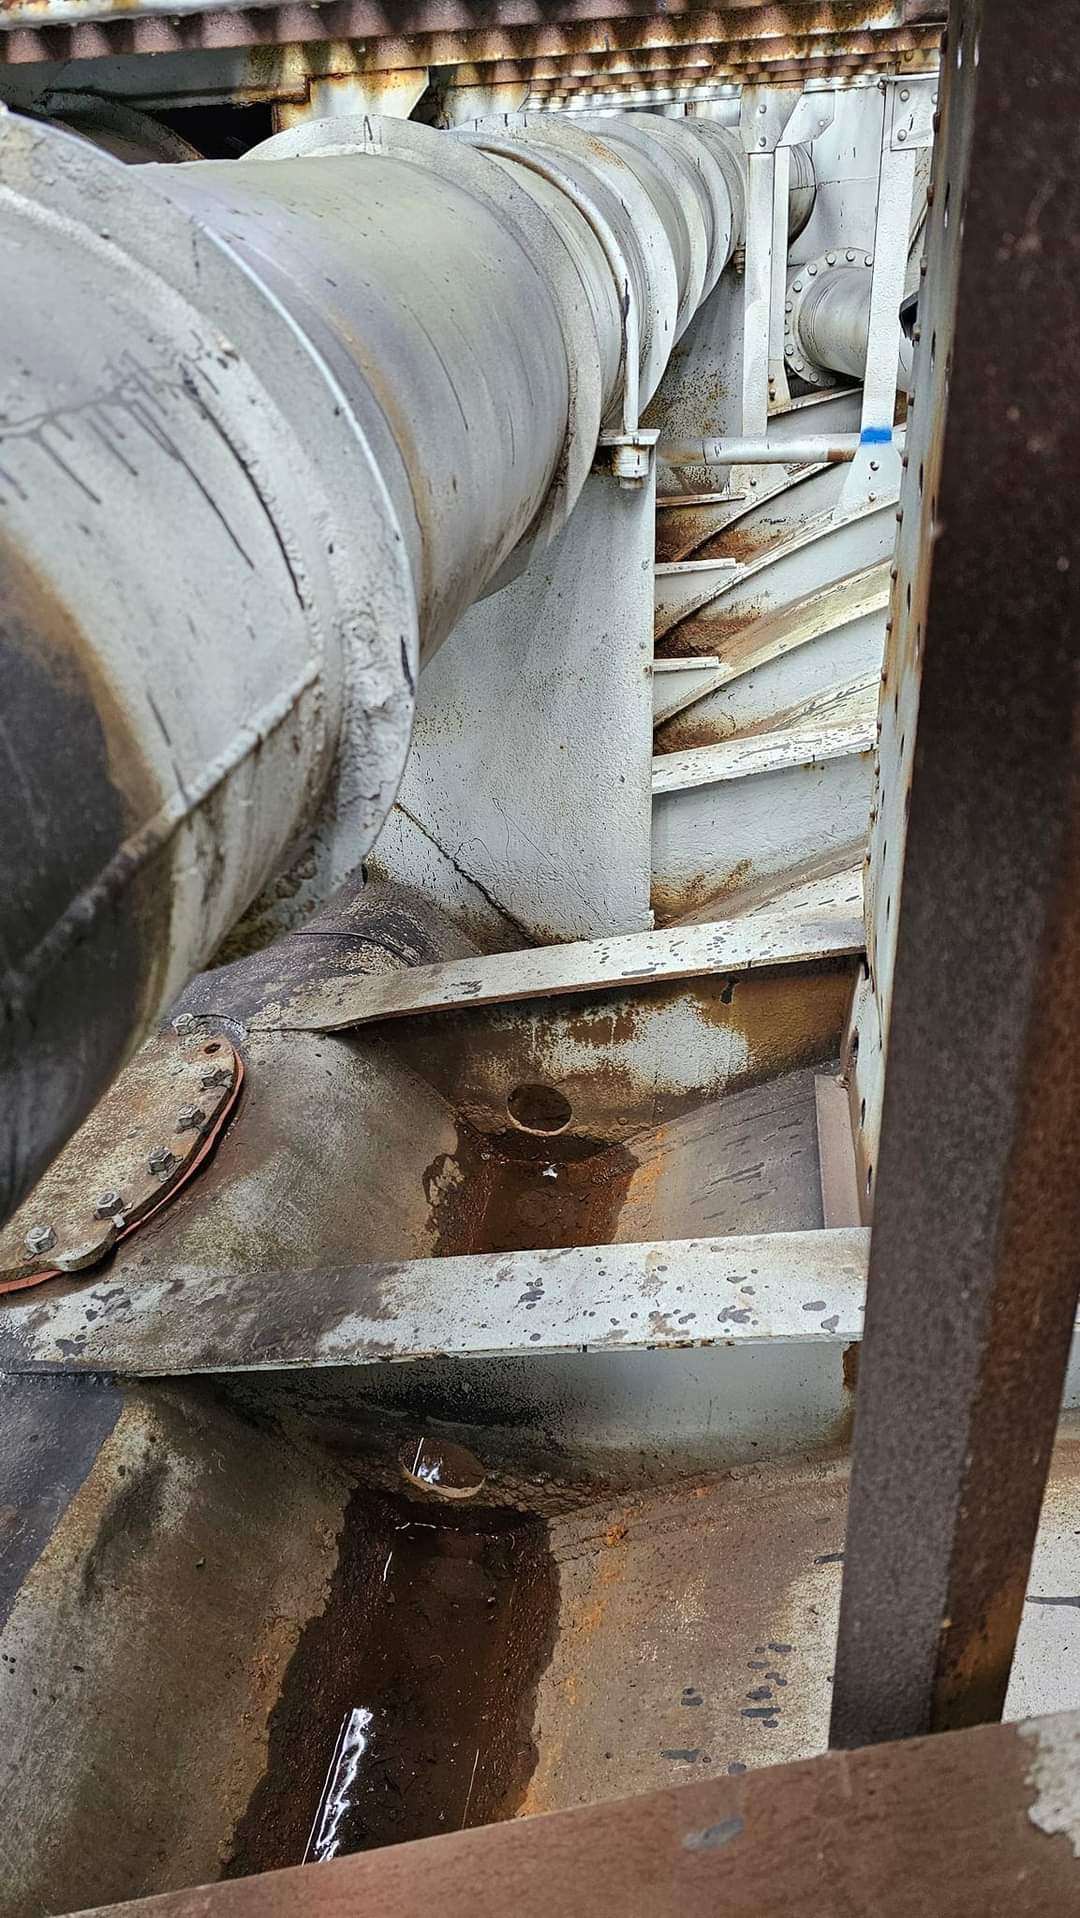
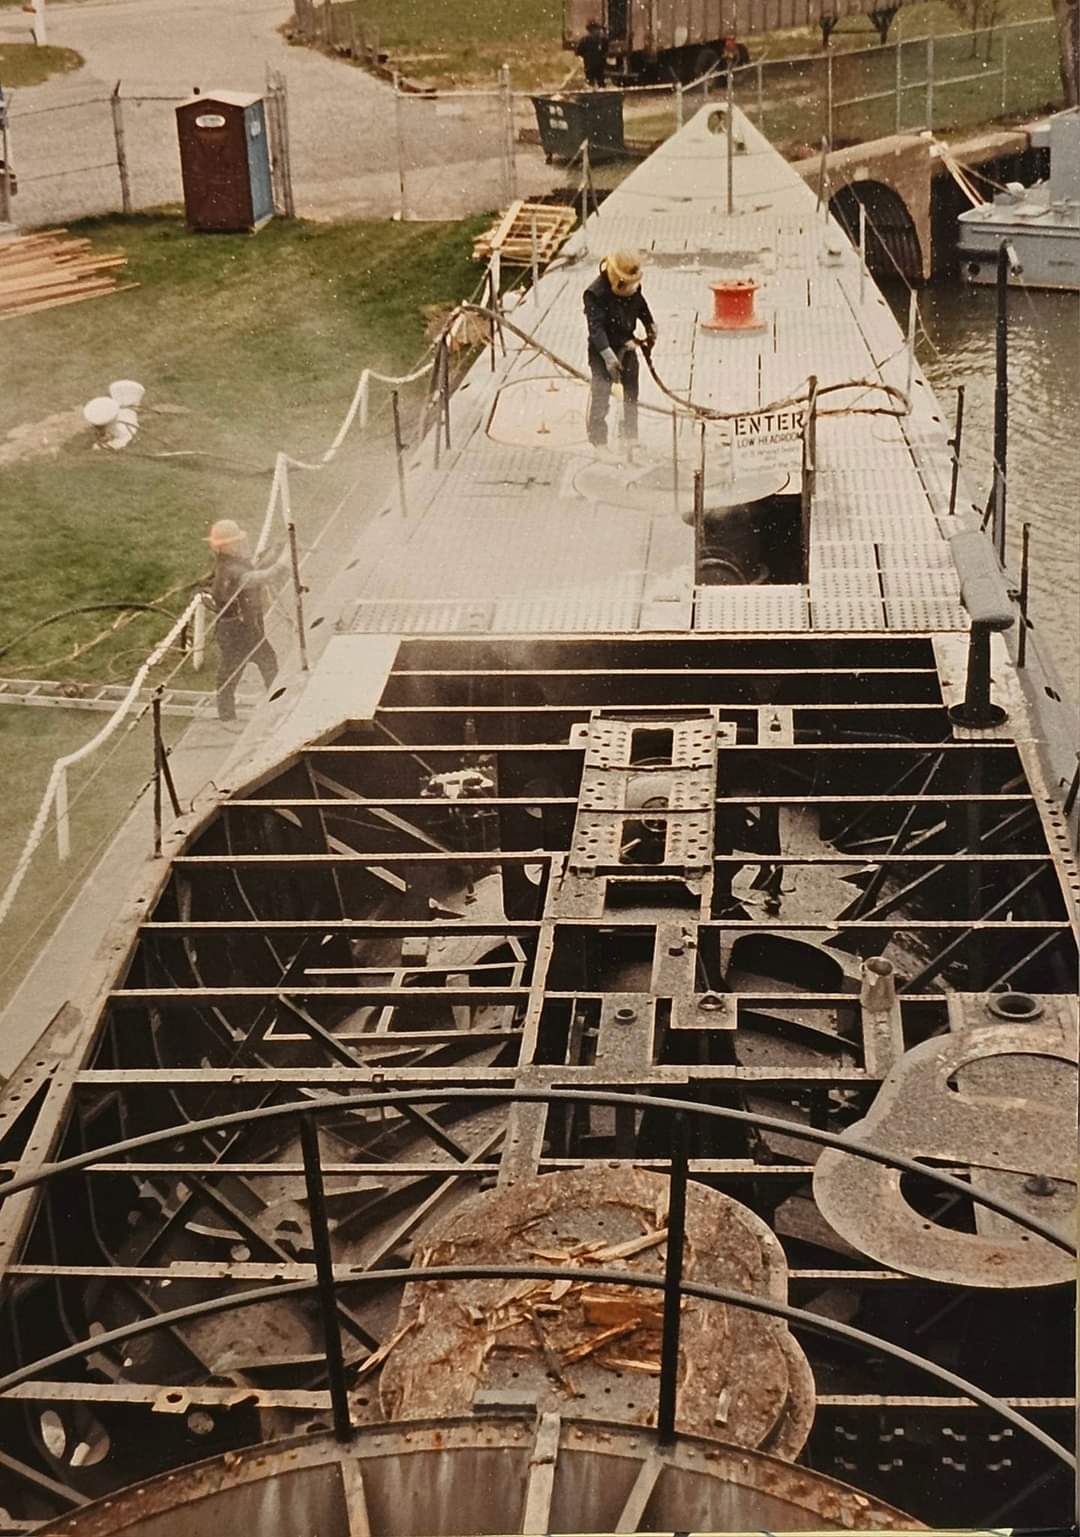
Seriously, that’s exactly the photo I’ve been looking for. I"m visiting the Drum in a few weeks, but my understanding is most of that plumbing has been removed. And even if it hadn’t been, I couldn’t very well ask them to remove the deck plated for me.
You know, with those giant sheets of PE, you’ll have plenty of room beneath to make what could be at least a representation of all that’s shown in the pics shared by @gtdeath13. This will be great!
It appears the holes in the PE might be just big enough to give the viewer a hint of what’s going on under there, without making it so clear that you’d need to show something that is an exact representation. Looking forward to seeing a built up, under deck!
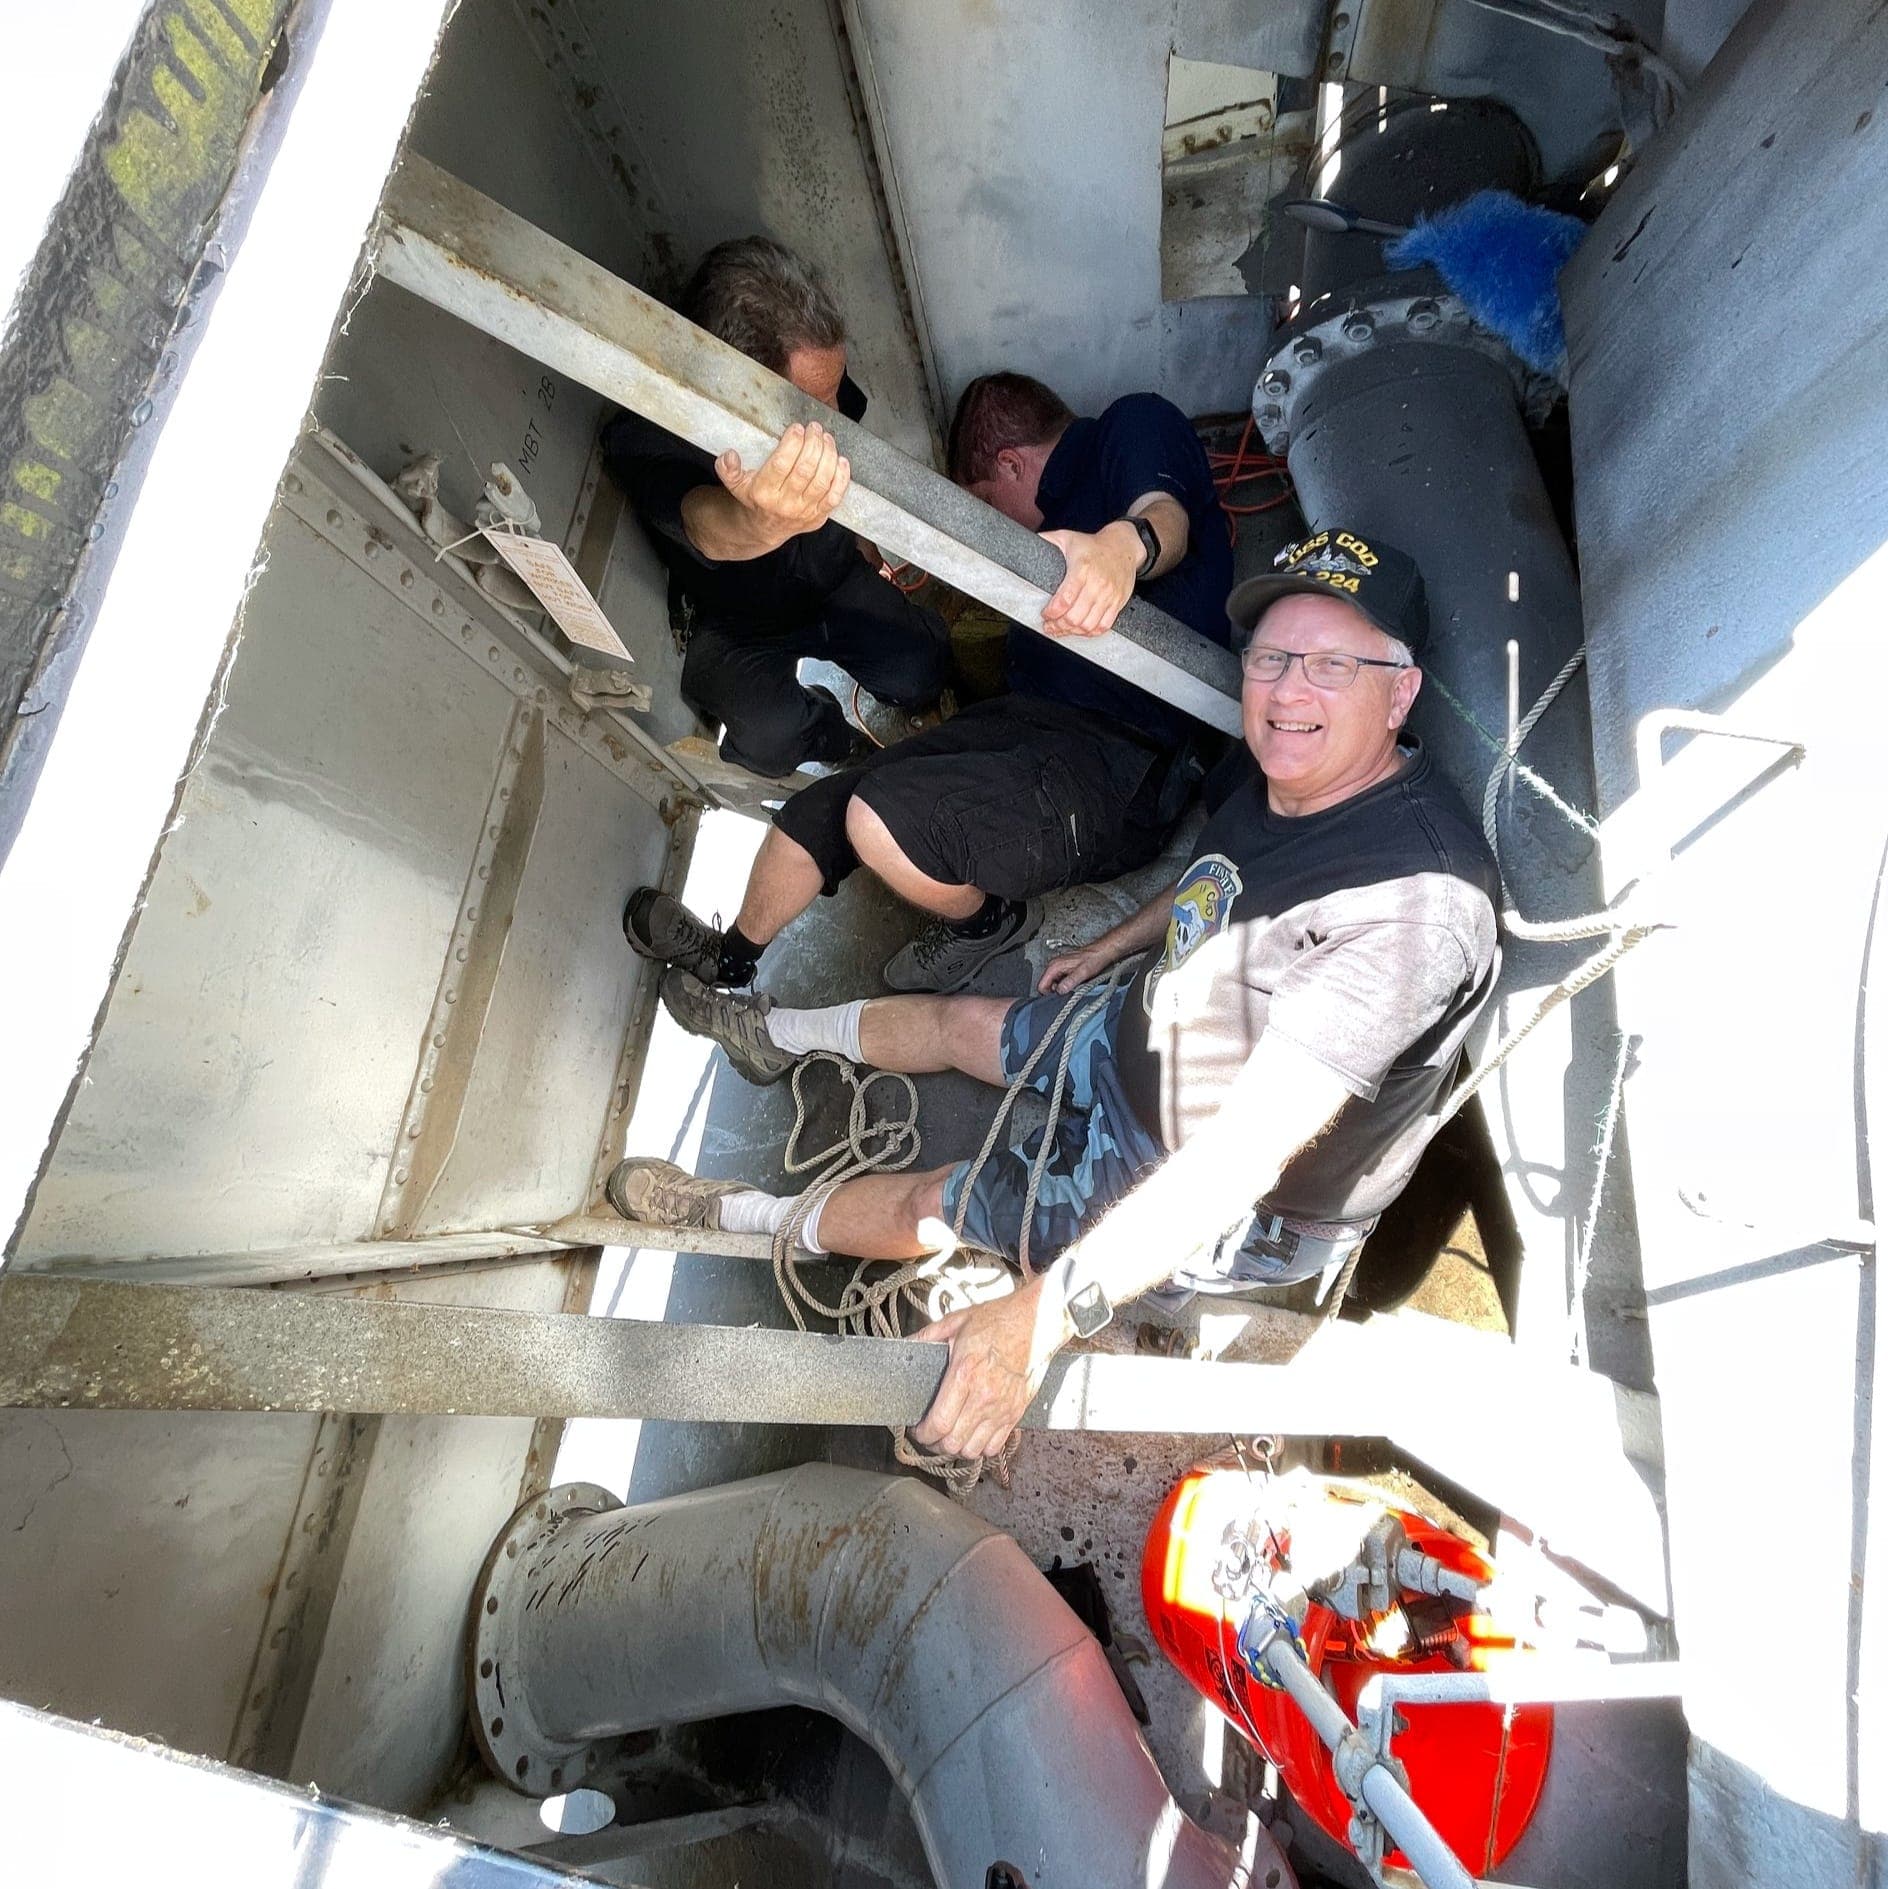
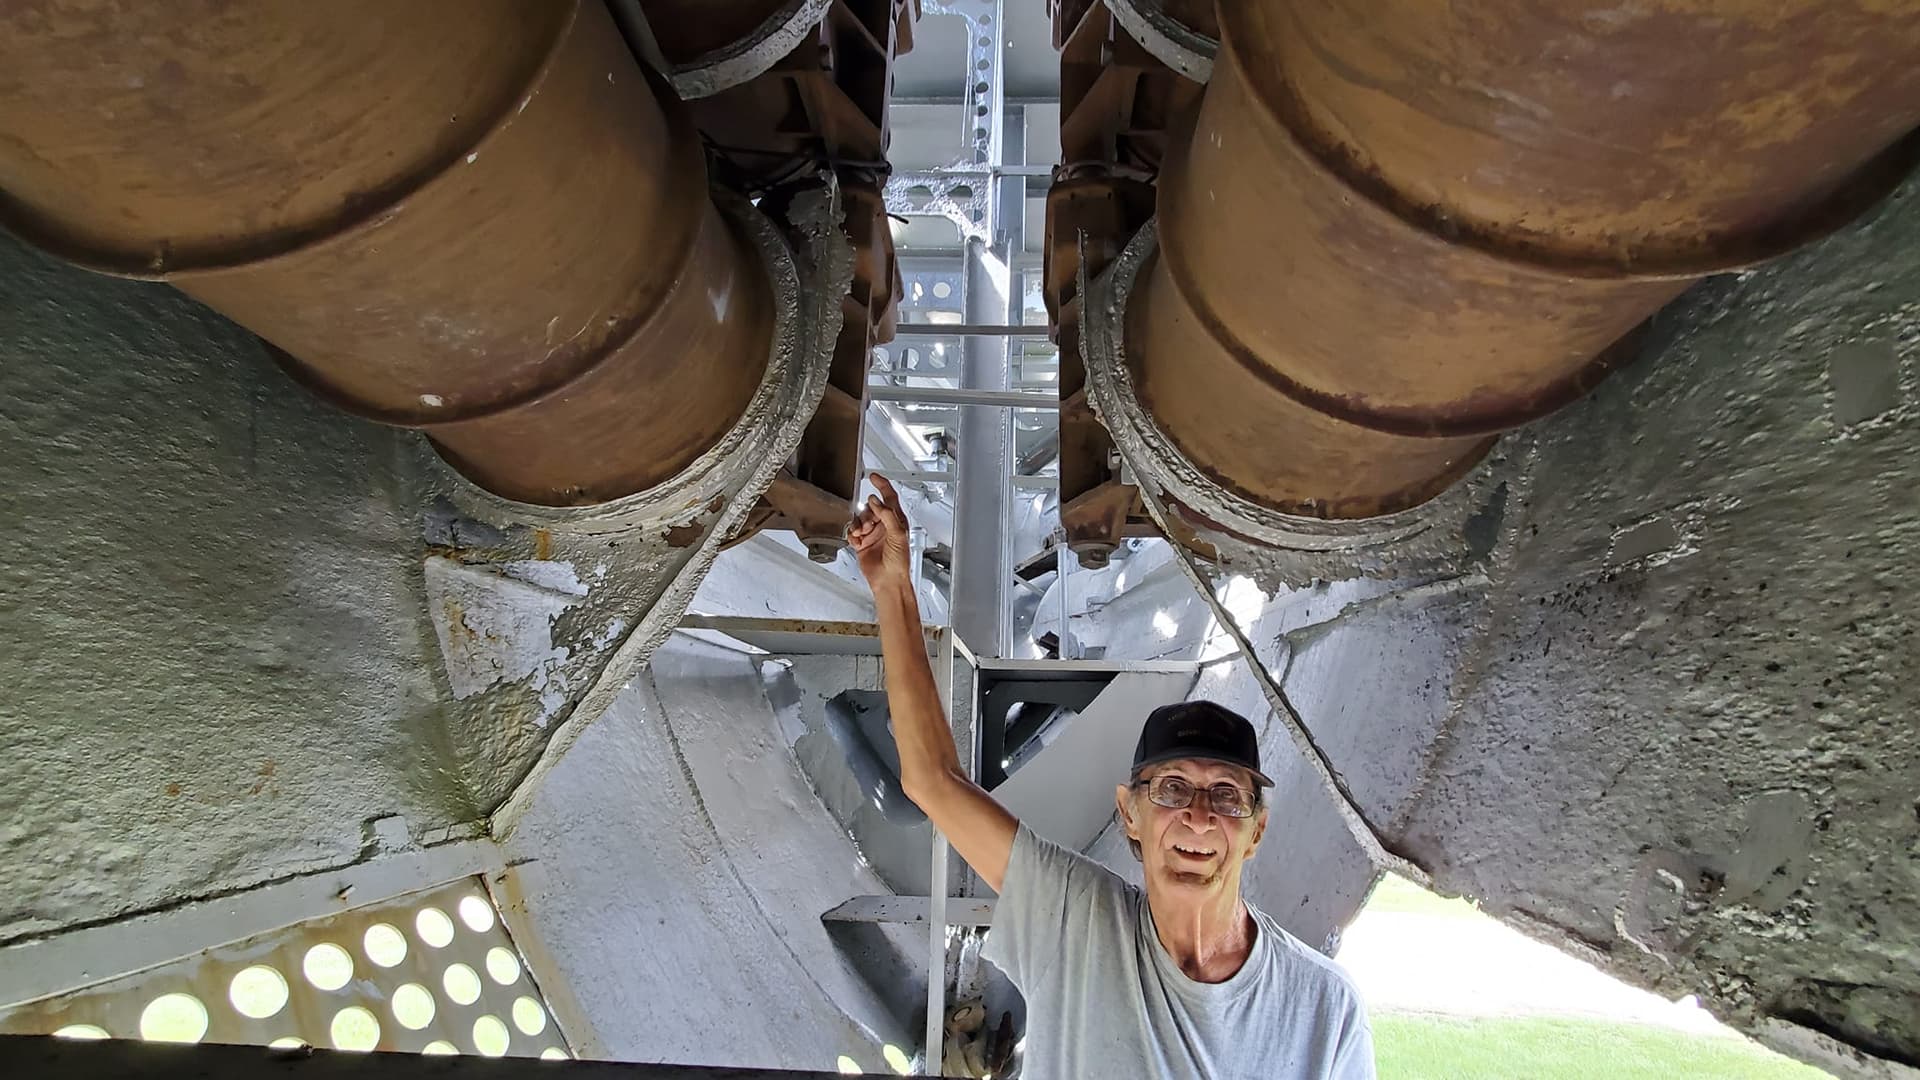
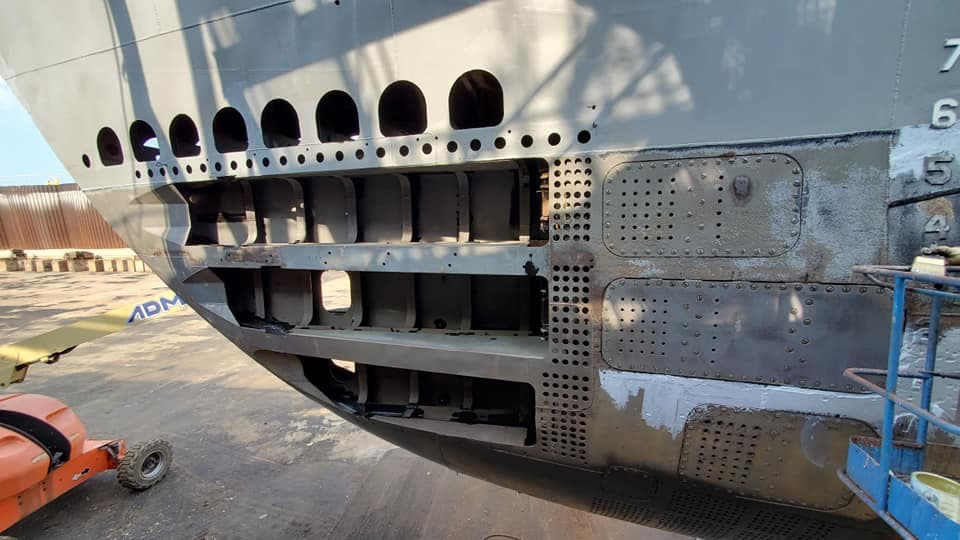
I think it was her fifth war patrol - I’d have to go back and reread the record - the Flasher was heavily depth charged twice after attacks, many were “very close.” It has alway been my intention to show repairs being made underneath the decking, and even to the outer hull. Hence the two welders. Those photos are invaluable. I’ve found schematics for every single component and system on the Gato class, but my head hurts looking at them. I will definitely have some of the large air ducts seen in the photos. They run along the pressure hull from the main induction valve down to the engine room. The largest ones are 36 inches in diameter - exactly .5 inches in 1/72 scale. I happen to have .5 inch Evergreen tubing on hand.
So yes, much will be suggested, but a fairly large portion will be esposed, almost certainly underneath the wooden decking, which I’m replacing as well with .020 x .030 Evergreen. Removing a lot of it like you see in the photo will make it easier. That is one step I’m not looking forward to.
The Eduard instructions would have you add stringers all the way across the hull and down its length. We can see from the photos Nikos posted that’s not good enough. I left some of them in place just to add rigidity while I’m working, and also to support the torpedo access hatch. As I did it, the hatch remains exactly where it should be. The way they show it, you have to support it with a piece of plastic. Good luck getting the height and theb position right on the first go. Or even the second. Anywhere where something need to be supported, the original braces stay. There are two large oval strorage areas, one on the fore deck and one on the aft deck that the instructions show stringers running through. That can’t be correct, so I made adjustments. If only I could just follow the instructions - I’d be done by now. All I’d have to do is cut a huge section out and call it good.
Once I get past this I’ll just keep every third stringer. It should go a bit faster. Then I’ll replace the cut out ones with Evergreen as the instructions show, along with any necessary changes as seen in the photos.