Attention Frenchie ! What happened to your post with the great intel linked from it ?
J
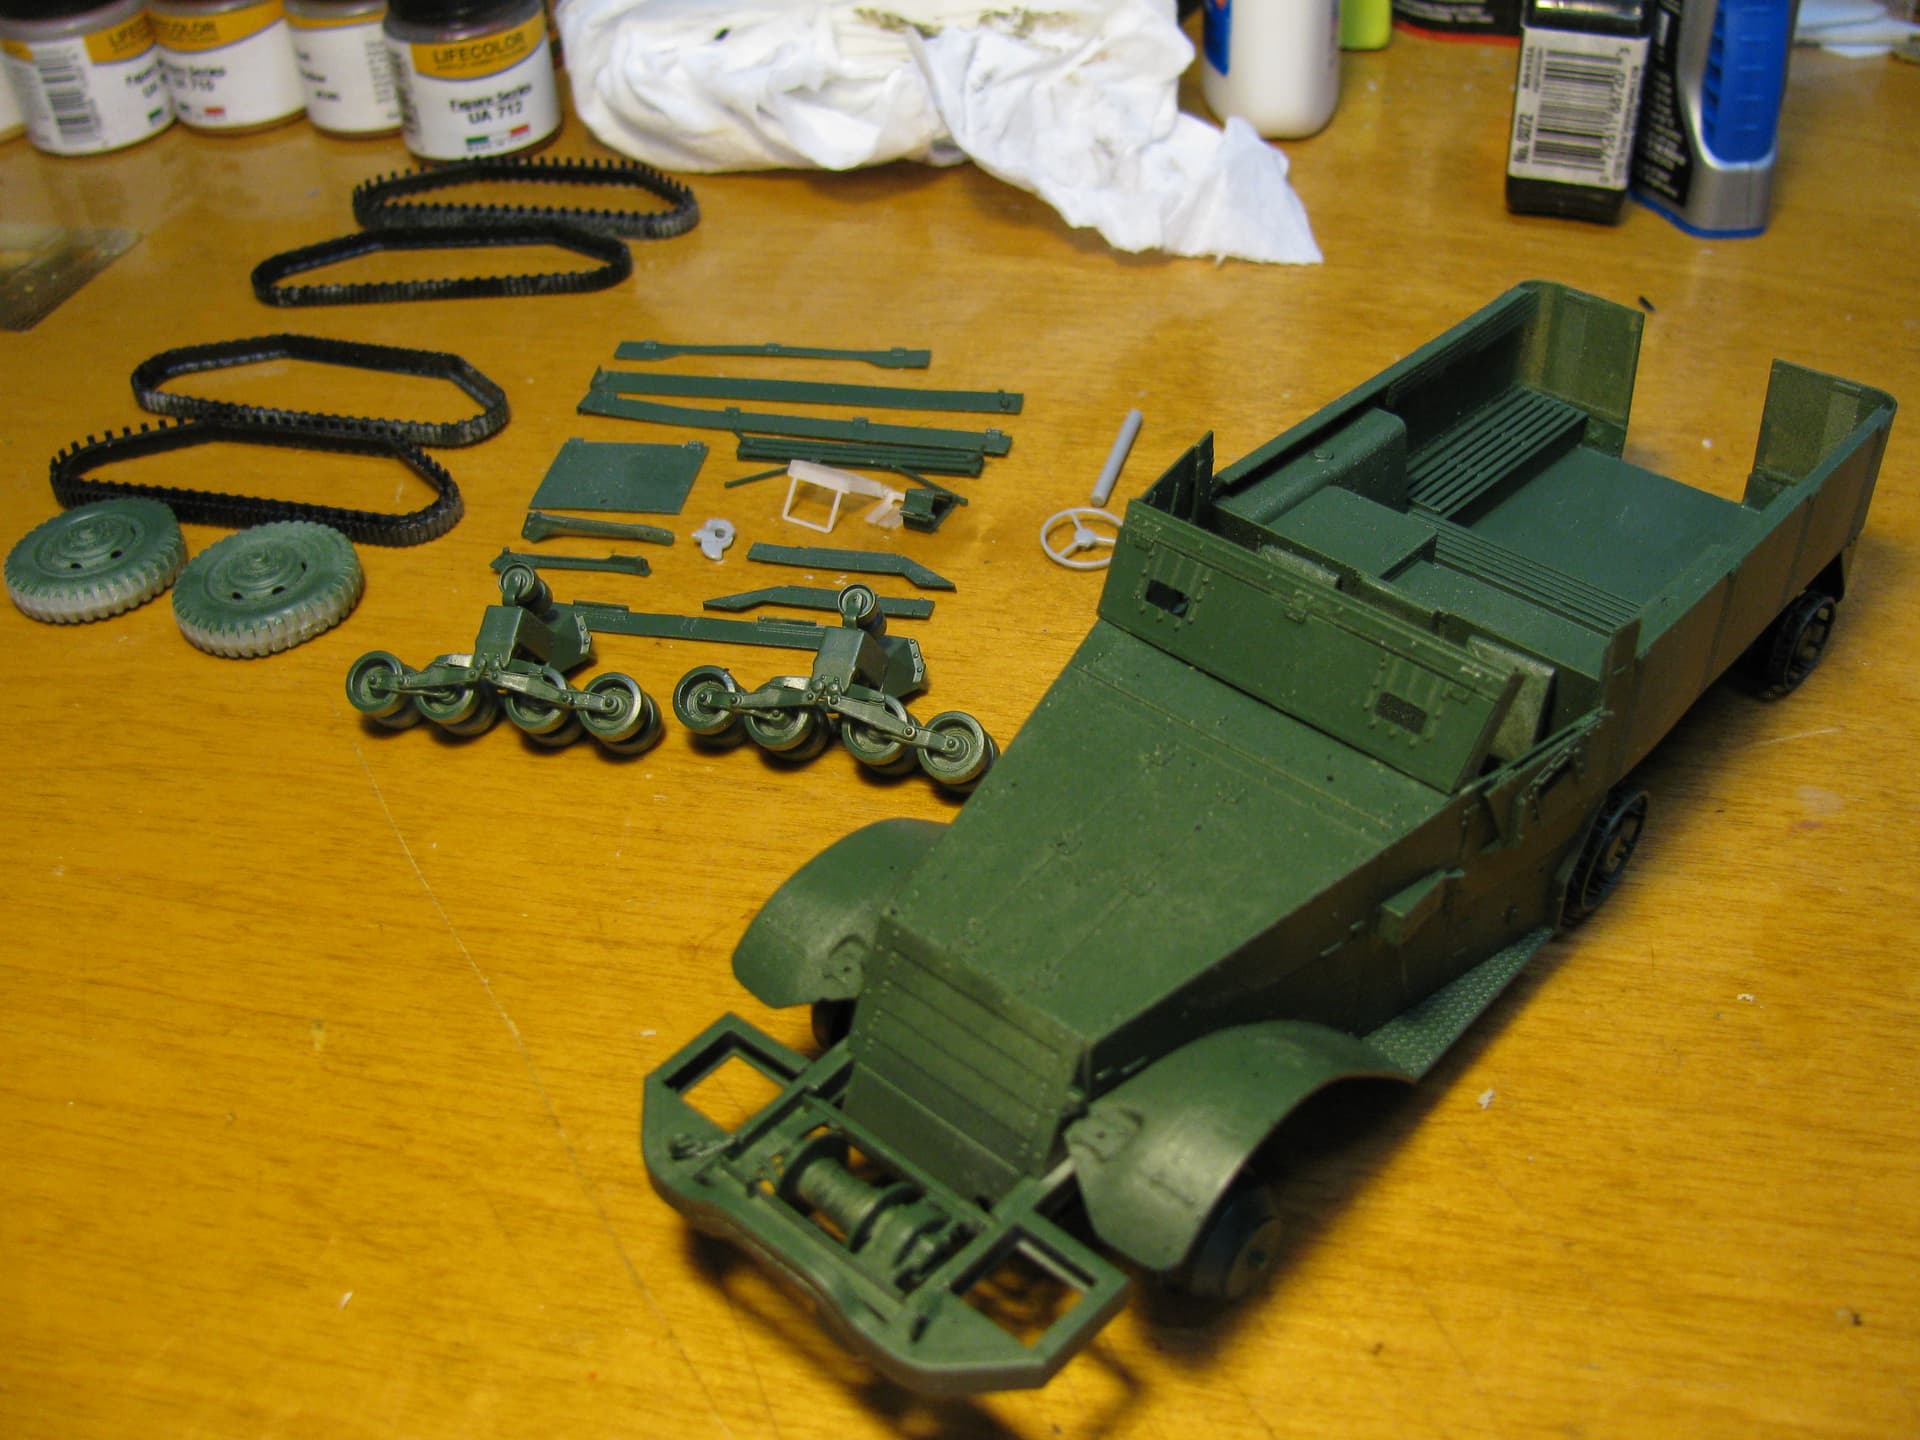
Update on the IH track.
I was having fits trying to fit things together with those clear parts so I sprayed a quick coat of green from a Rustoleum rattlecan. Several parts are just resting in place and havent’been glued yet.
No issues so far but the very very thin and flexible printed parts are a real pain to work with and almost impossible to sand smooth. Nice detail though.
7 Likes
Now showing all of the clearly obvious characteristics of a Commonwealth halftrack - flat front fenders and rounded rear corners!
![]() “I’m lovin’ it!”
“I’m lovin’ it!” ![]()
Thanks buddy.,
Not a fan of this printed stuff though. Too flimsy.
J
1 Like
It can be difficult to work with. It is NOT the same material as urethane resins, and its working properties are quite different.
3D printed resins generally do not respond to heating and reforming. They are also generally very brittle. However, the person printing the parts can modify the brittleness by changing the types of resin used. Not many guys printing scale modeling parts have caught up with tabletop gamers who have advanced their knowledge of mixing up resins to improve the durability and add some slight flexibility to the final prints. Gamers are able to print up minis that are quite durable and can stand up to being dropped and handled during play.
(I’m guessing that Shapeways, which uses a different type of printing tech, is not even trying.)
There’s also a period after printing when the 3D resins are not fully cured, and if they are allowed to warp during that period, correcting the problem is very, very iffy. Post-printing processing - to include cleaning and final curing - is pretty important, can’t be overlooked and should be done properly.
1 Like
I don’t know if there can be a fix to this issue with these parts because they are pretty big. The 2 halves of the rear compartment are the main culprits. Both were warped, one way more than the other. I beat them into submission but I think PE would be better in this particular application…The thin top rear cross piece is so flimsy it will never be straight no matter how I affix it. I may have to replace it with aluminum or brass…
I just wanted to build a Brit halftrack man and was not really wanting to deal with all this. It reminds me of my former life scratchbuilding whole airplanes.
J
2 Likes
Sometimes the bits and pieces we buy for $$$ can only be used as templates for making our own …
2 Likes
So true…so true.
J
Repeat to yourself five times,“Model building is fun!” Then take a nice stiff shot of your favorite libation and laugh like hell at the joke you just made!
Regards, Bob
2 Likes
good plan !
J
![]() Are you sure it was in this thread ?
Are you sure it was in this thread ?
I’ve posted 2 links in this other related thread :
https://forums.kitmaker.net/t/british-halftracks-in-normandy/28504/2
But you can also check your PM box…Maybe that’s what you’re talking about ![]()
H.P.
Oh Ok man, thanks,
J
Ran into some challenges with this baby. For starters the chassis did not line up horizontally with the bottom line of the cab assembly. I checked and re-checked and I assembled it correctly so…WTF ?
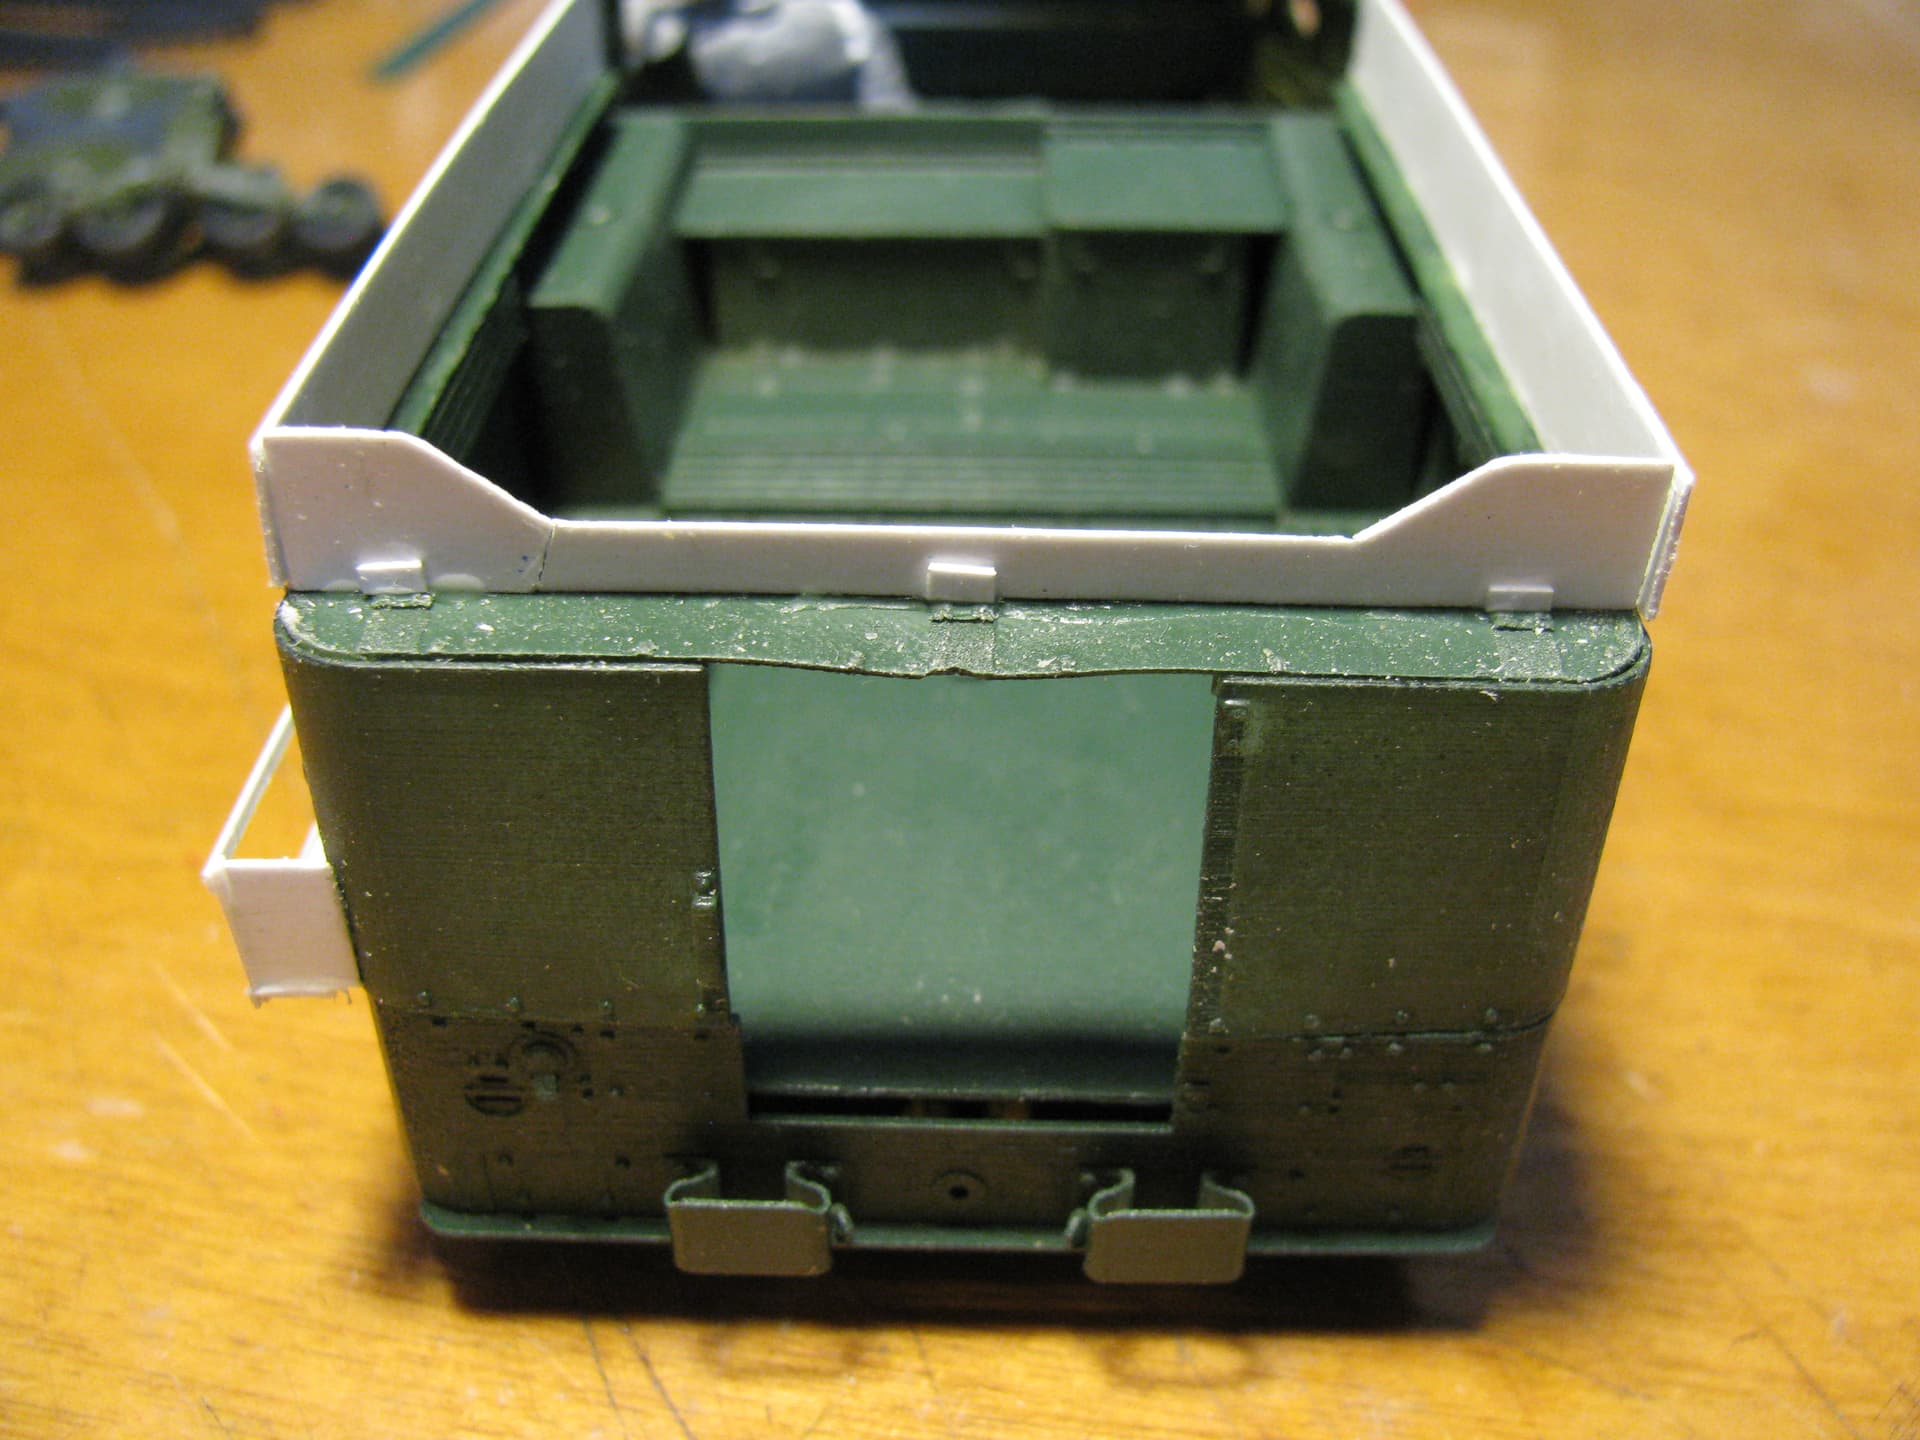
This caused alignment issues with the rear printed assembly. So I had to put wedges in between the cargo box and th chassis frame in order to have the front and rear line up.
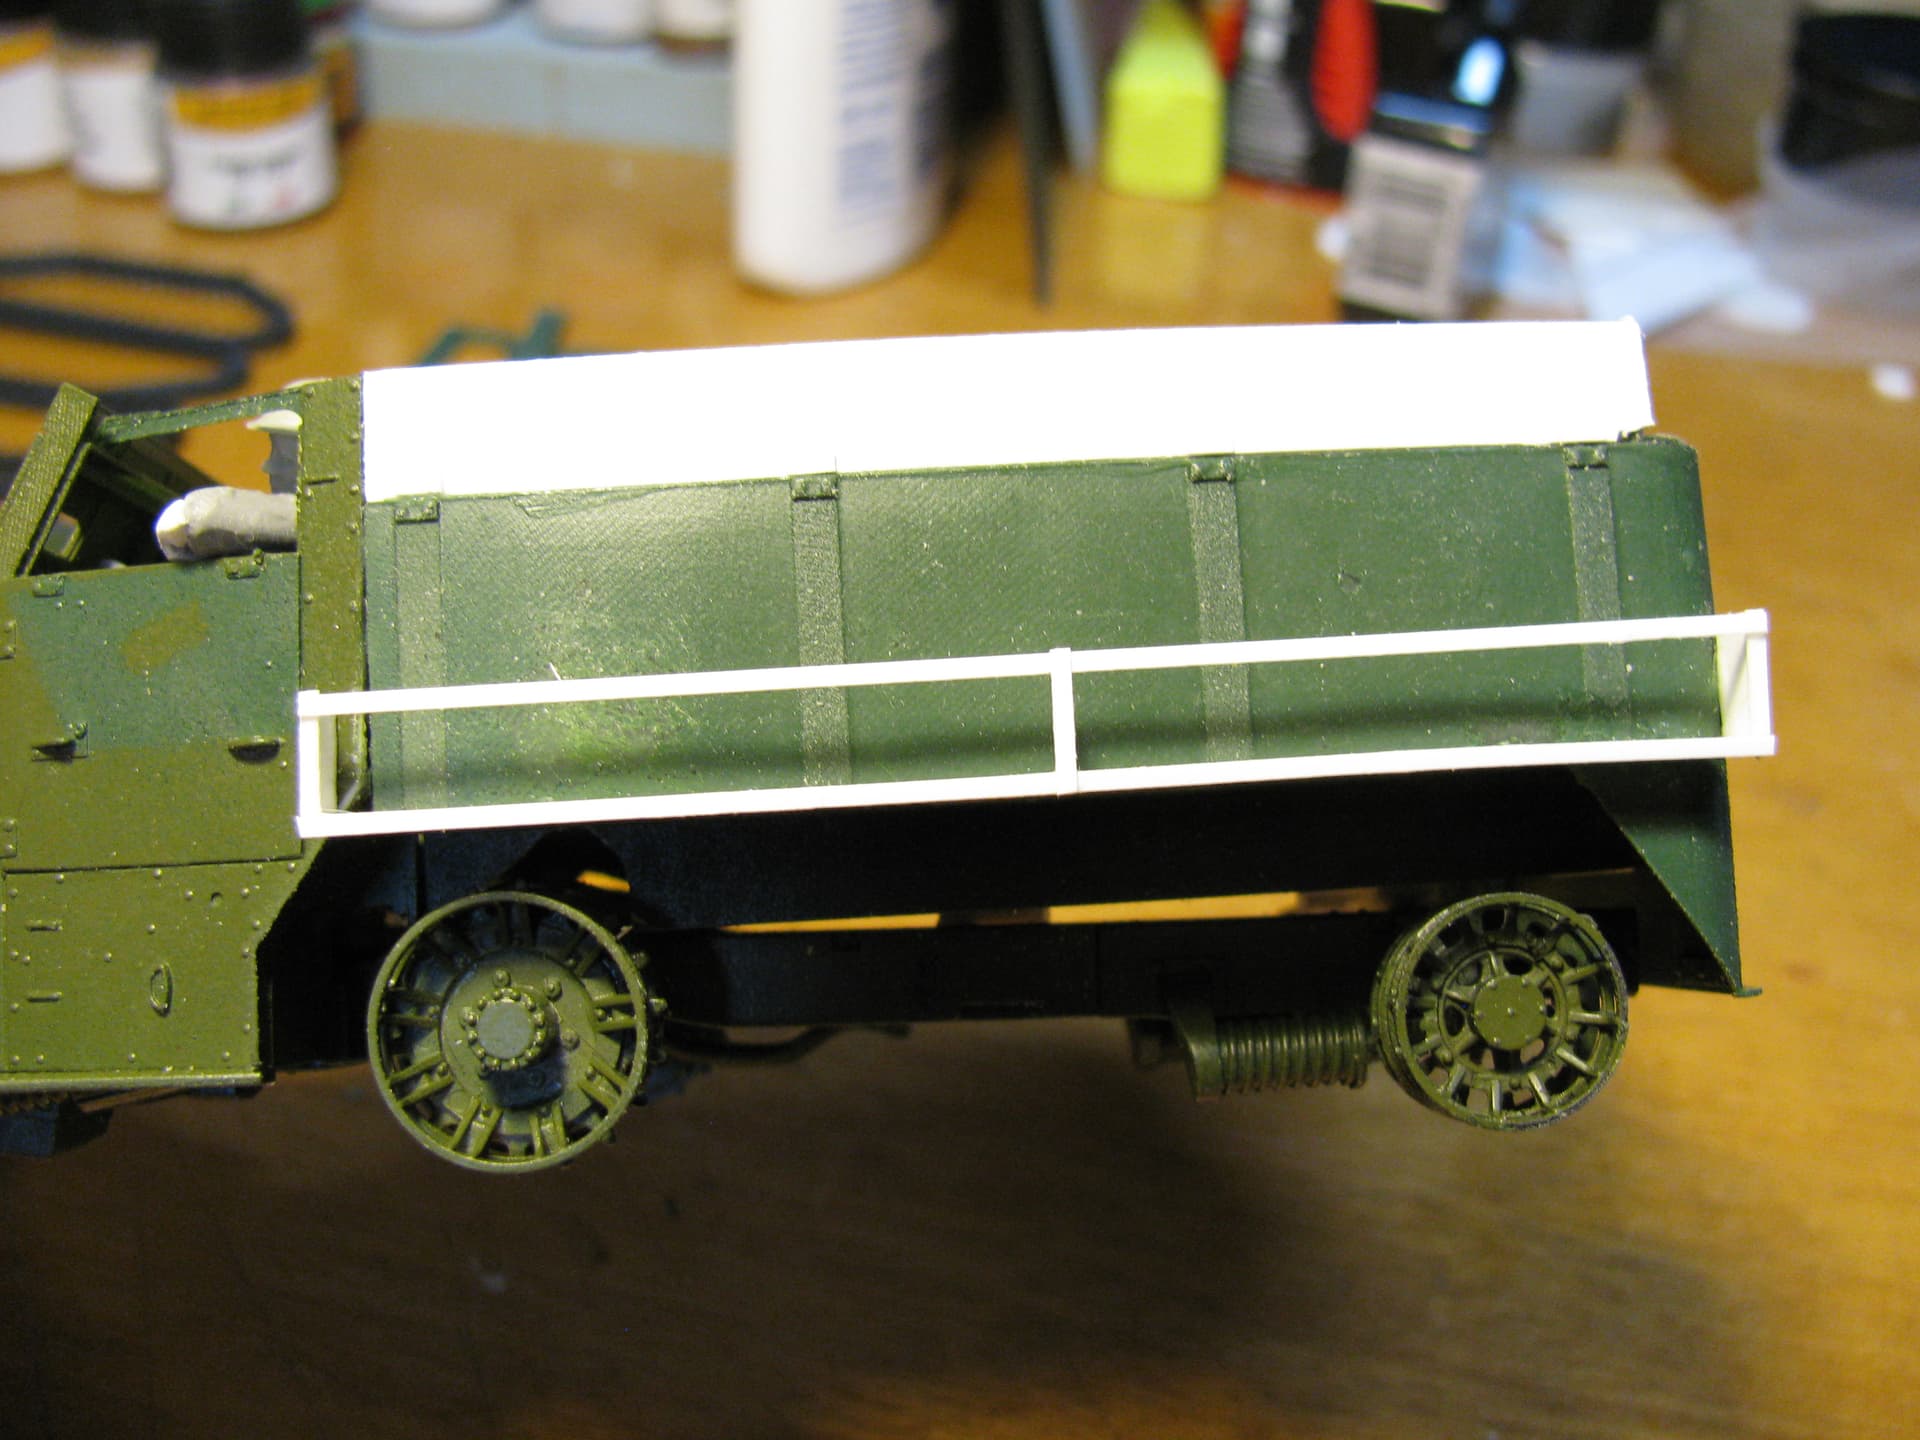
I also had to move the rear cargo bit down so there wouldn’t be such a large gap in between the body and the chassis. This caused me to have to build new top portions of the folding side and back walls for the cargo bay. and also new side racks. The racks were extended a bit to cover the bit between the cab and cargo bay that now had a wonky triangle at the bottom. I will cammo that with a strategically placed water can or whatever in the rack. The printed bit that spans the rear door at the top was very thin and flimsy so I had to stiffen it with a brass rod underneath.
There is still a tiny sag dead center but I can work that out.
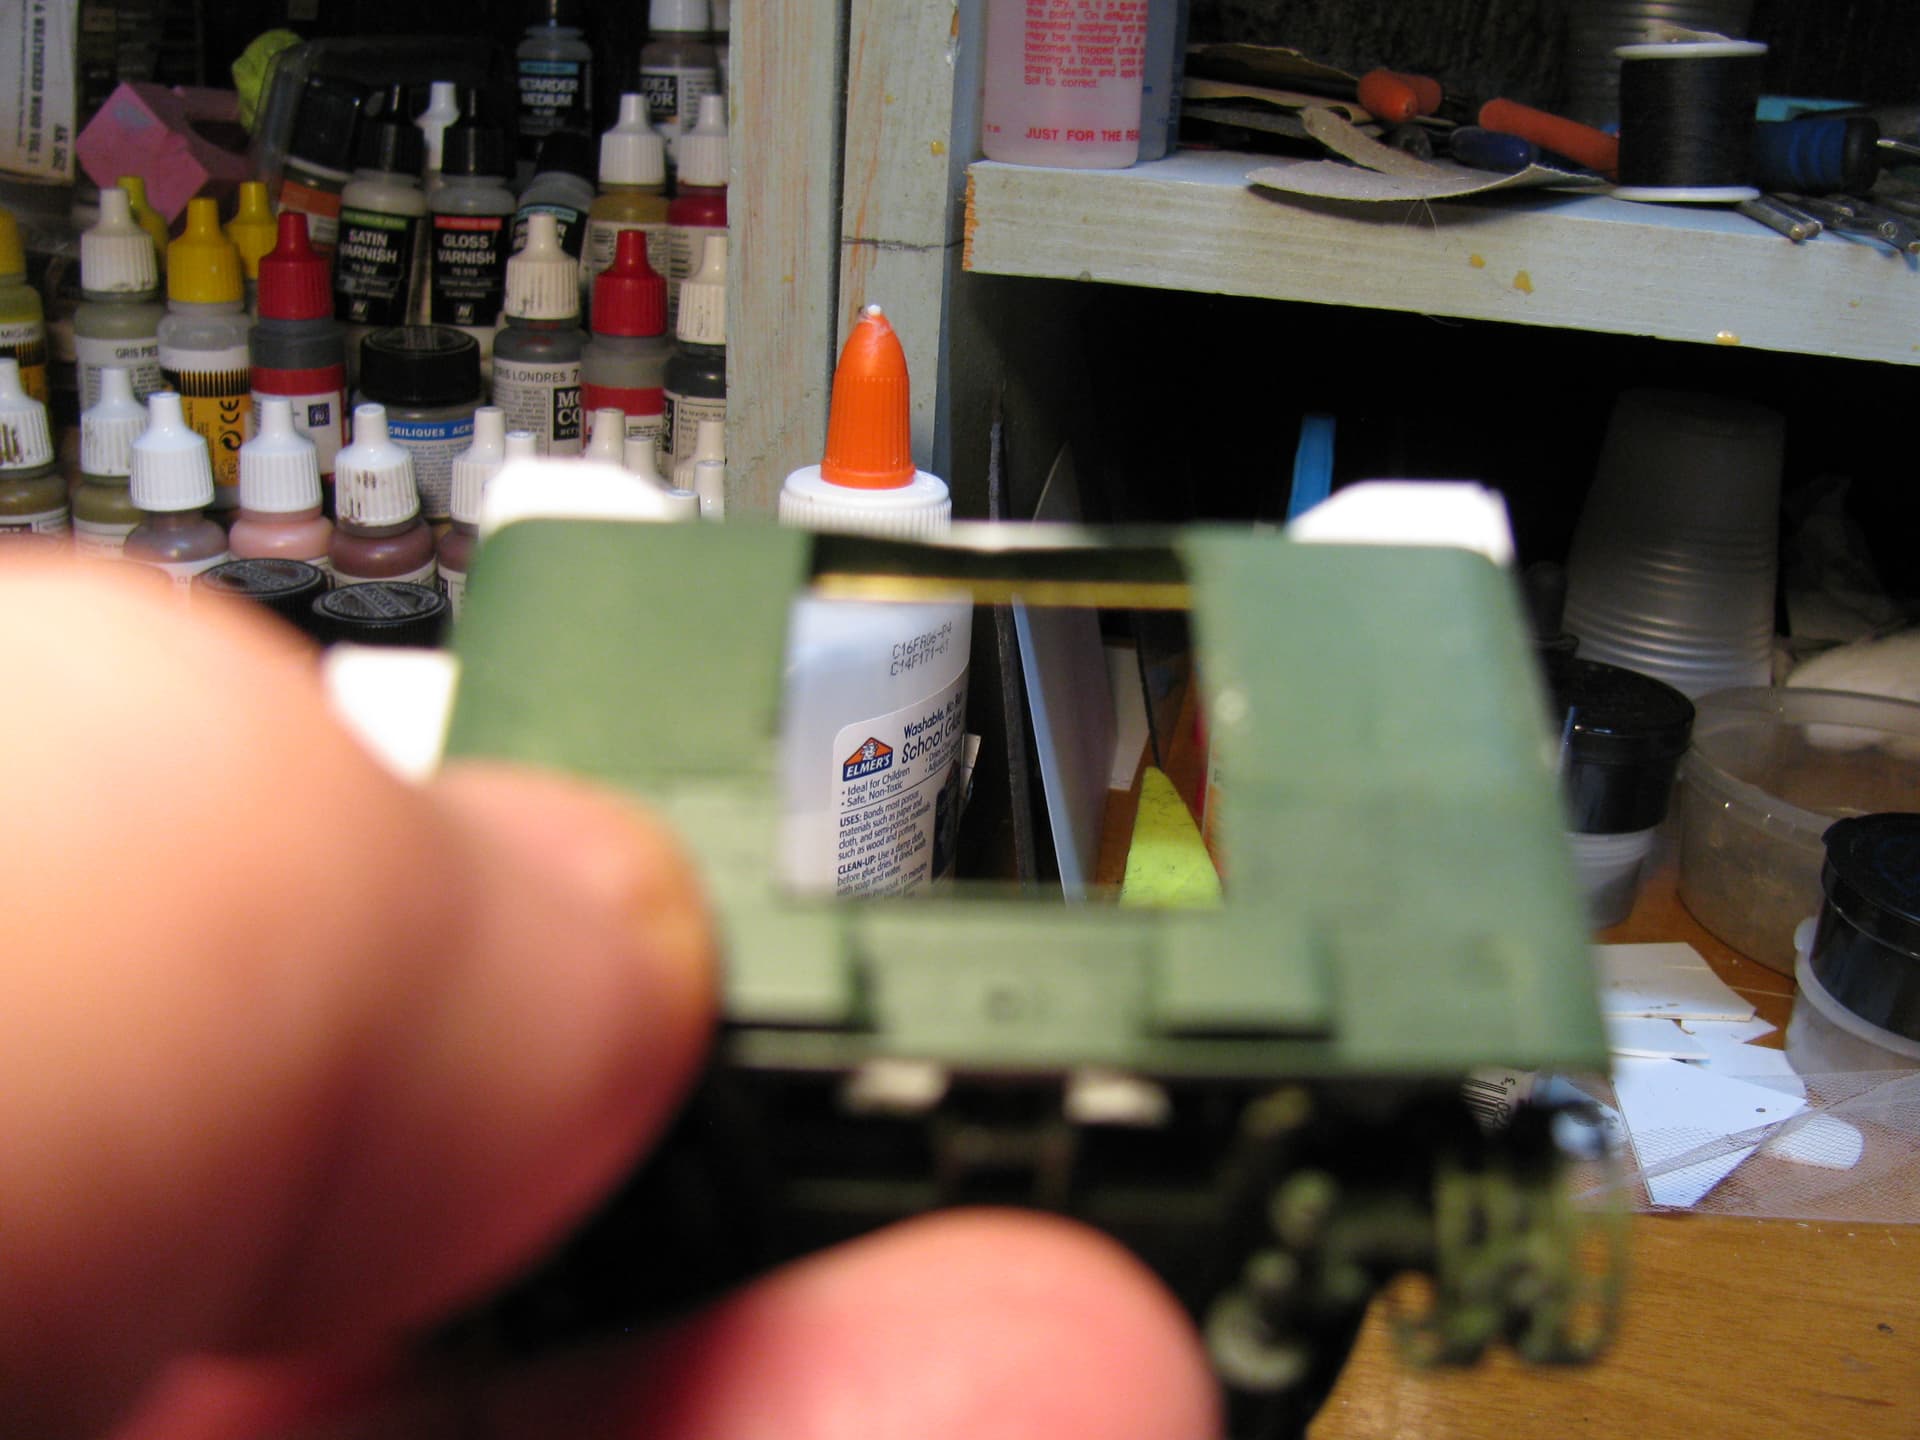
It was pointed out to me by another expert that the lower rear of the drivers’ door on the IH version had an angle that followed the front fender opening for the tread. So I scribed a new opening and filled in the old lines. It will be sanded after the putty dries.

The new driver will have to be done before I make the canvas tilt so he is checking out his new duty station before he goes to the paint shed for color to be slathered on.
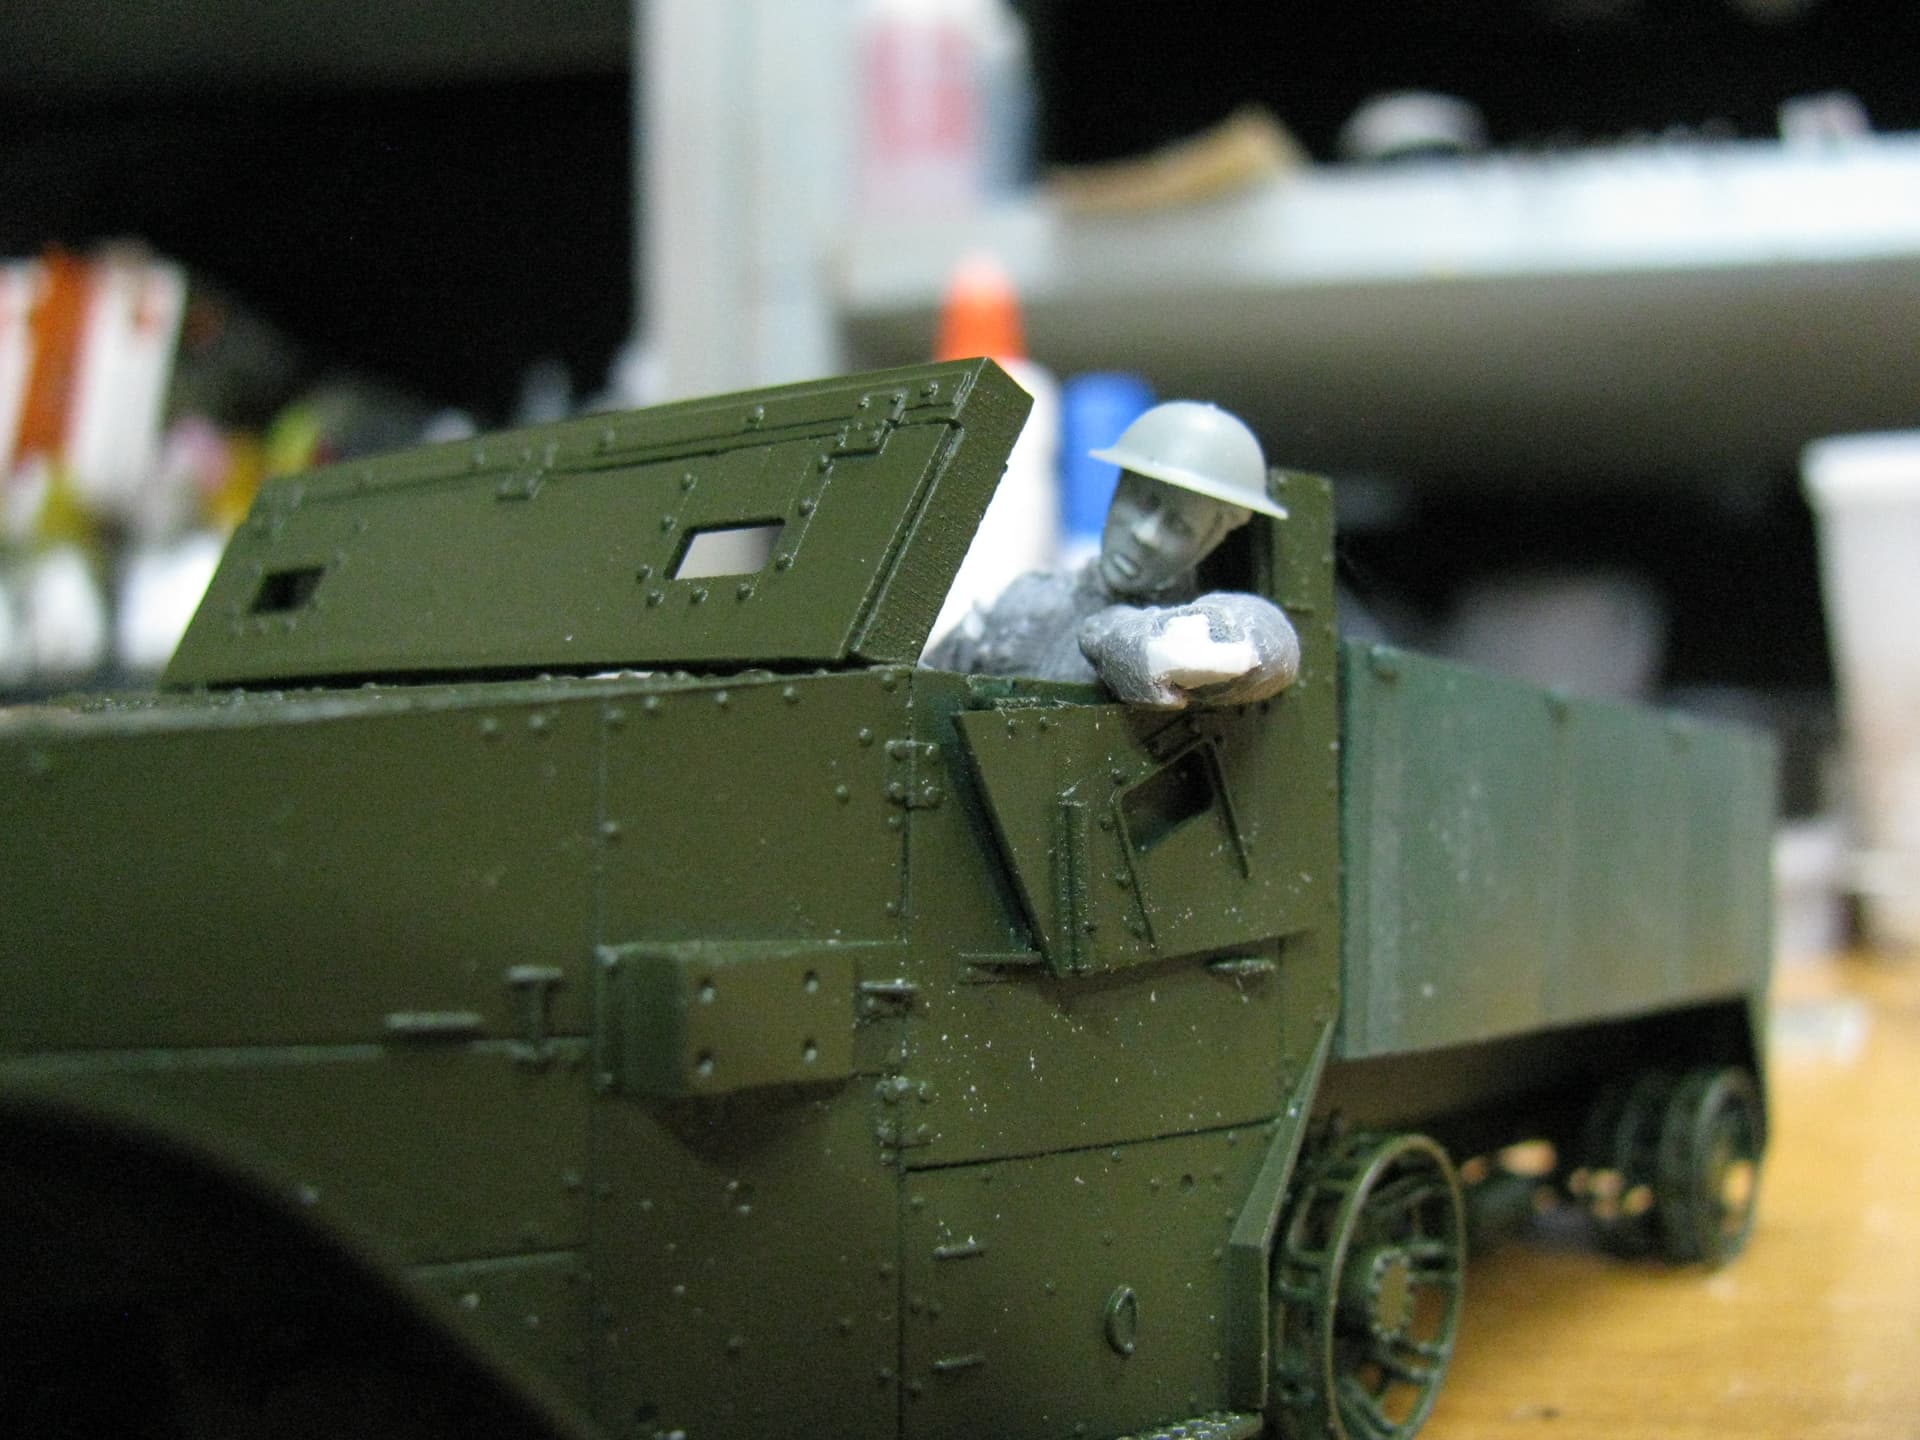
It doesn’t look like much has been done but it seems to me like this took more than a few hours.
J
8 Likes
I get the impression that the angles marked by the red and yellow arrows are roughtly the same?
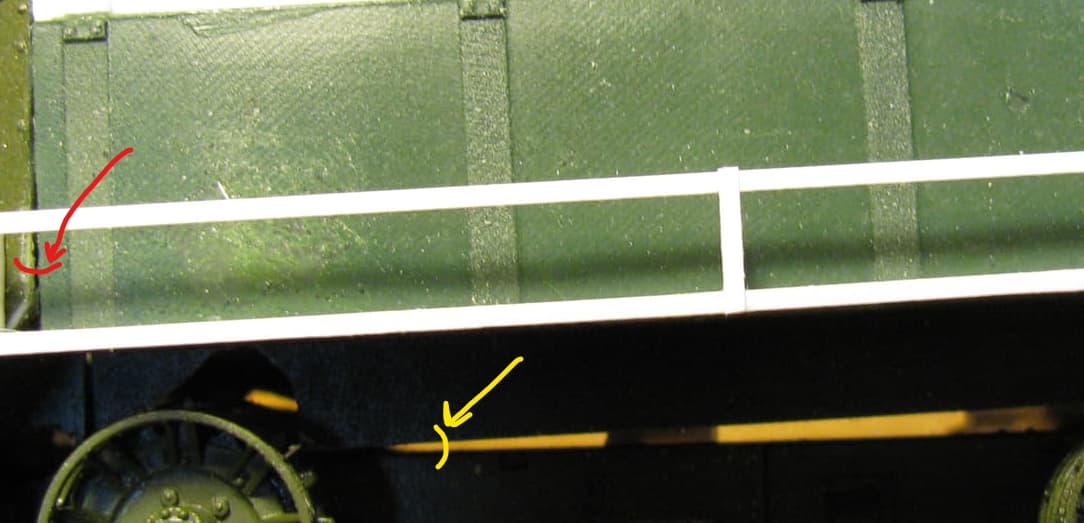
If the angle between the cab and the rear armour was eliminated (by lowering the rear end of the cargo area) then the angle between the cargo area and the frame would also disappear.
2 Likes
It may seem like that from that pic but sadly no. The gap at the back of the cab is mainly a shadow from the angle caused by the side panel being warped. I tried sanding a bit of the vertical plane off the back of the cab to decrease the gap with the chassis but in order to make it go away completely the difference on the cab would be glaring and out of kilter. So I figured I would go with the gap on the bottom since after you add the treads and some mud it will not be seen anyway.
2 Likes
Don’t worry too much Jerry; do what I do viz mud, grass stalks, shrubs/bushes, camouflage net carelessly placed etc, but then I do have form as a somewhat lazy modeller!
1 Like
Yes, that was the target I aimed at !
It would have been easier to just build my own cargo portion for this thing. I got lazy.
But the things you mentioned will all but eliminate the boo=boos in the end. No worries.
J
The IHC halftracks also used different size tires (9.00-20) than the White/Autocar/Diamond T versions (8.25-20). The diameter difference was 2 inches. This was a result of the differentials and gear ratios used by IHC that were not the same as the Timken units used by the other manufacturers. The tire size had to change to match the surface speed of the tires and the tracks.
KL
1 Like
Yes I know but after flinging almost 200 bucks out the window on this build so far the tires seem close enough to me. Two inches transferred down to 1/35 scale is easily overlooked ma brother,
Thanks for the good intel though. Could help some folks later on.
J
I’m sure some Chinese company will see your struggles and say: let’s do this in 35th plastic!
Dan
3 Likes