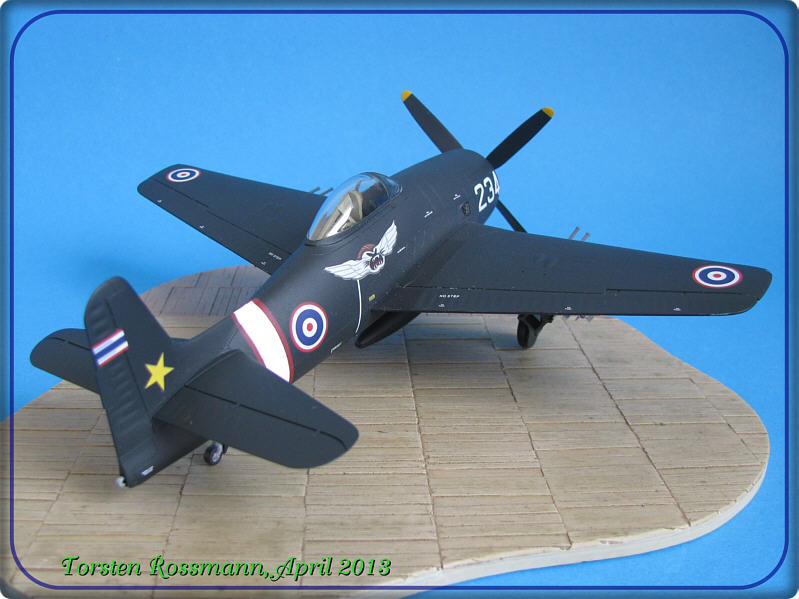
With two Hellcats and now a Bearcat in the campaign, I’m definitely getting the itch to tackle a Grumman cat of some sort soon! Please let the rumours that have been around for a while prove true that Eduard are planning a series of state-of-the-art 1:48 Wildcats…
That would be nice, though I also like the Hobbyboss Wildcats. Some years ago I’ve built a Martlet out of their early Wildcat kit. Still have 5 Hobbyboss Wildcats in my stash. So no chance for Eduard in the near future for me …
Many thanks for your generous comments. I’m looking forward to seeing your Emil take shape - I’ve sure it’ll be a real gem!
It’s rather ironic how the conversation turned to Hobby Boss’s Wildcats, because I just remembered that Steffen sent me their FM-2 many years ago. He’d decided he didn’t want to build it - and, to be honest, I didn’t really feel like it at the time either, so it went straight on the “one day…” shelf, and sat forgotten. I’ve just had a look again, and Steffen had also included a couple of Vector resin correction sets and an Eduard pre-coloured etched set!
It would be really fitting make it my main build for the campaign - but I’ve already committed to doing the Do 17 next and I daren’t take on too many builds, or I’ll end up doing my usual trick and not finishing any of them. So, instead, I’m going to do the next best thing and rescue it from the “one day” shelf and give it pride of place among the priority projects to tackle when the decks are looking clearer.
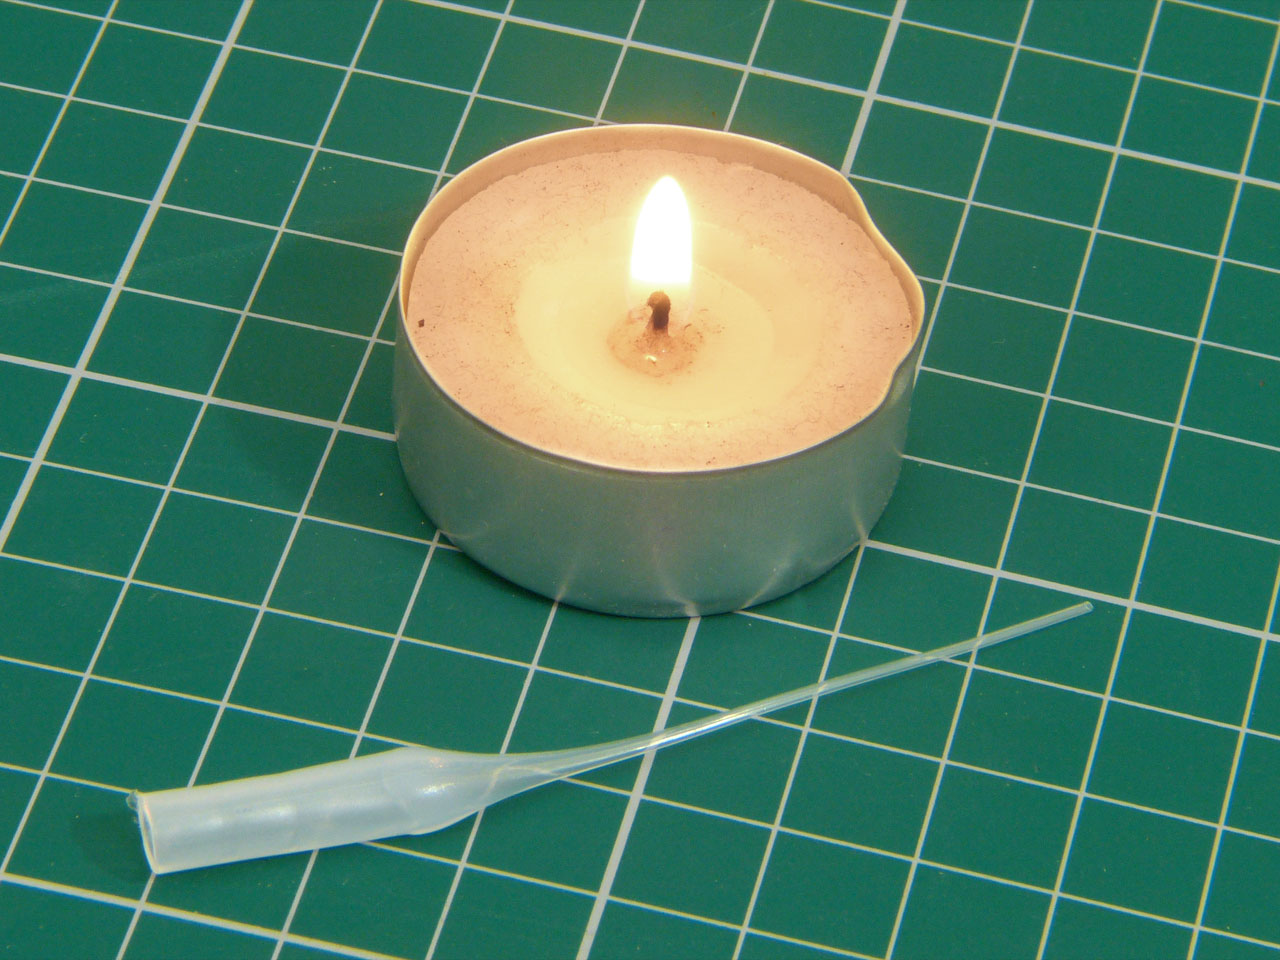
A little while ago I bought a cheap bumper pack of precision glue applicators on Amazon and had the idea that the finest of the tubes would work as connectors and rigging sleeves.
In fact, even the thinnest turned out to be much too big for the job at hand, but the tube stretches easily over a candle flame, producing a much finer tube:
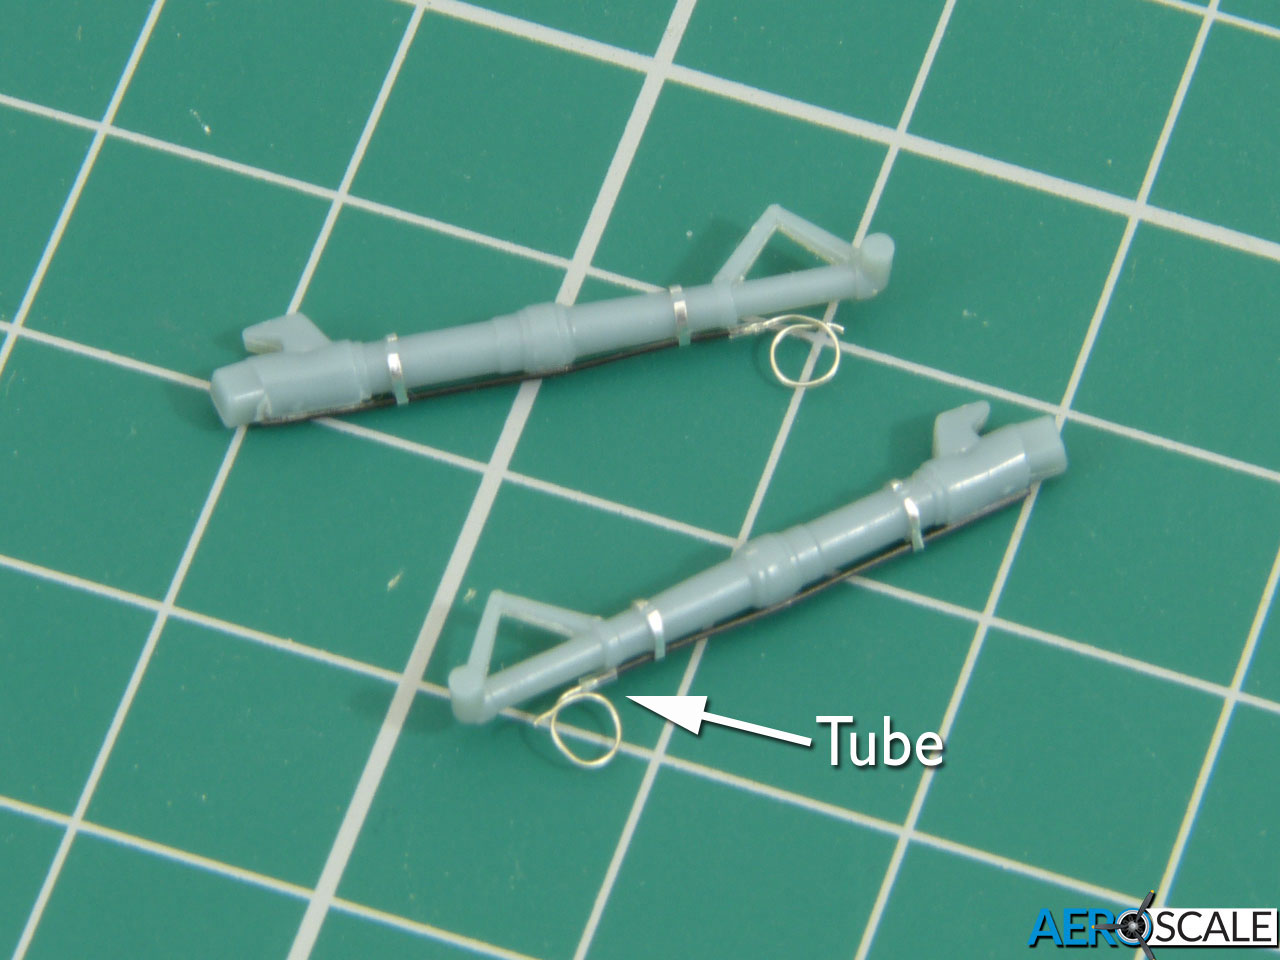
I’m probably going to replace the looped flexible sections of the brake lines, and the beauty of using the tiny connection tubes is that it’s as simple as unplugging them and trying different pieces of wire.
Sorry - I wasn’t very clear. The main brake lines are stretched sprue with aluminium tape straps, and the loops are fuse-wire. The stretched tubes are the connections between the sprue and the wire:
Looking at reference shots, the loops need to be thicker - almost the same as the connectors. I might try coating them with with PVA, rather than ditching them in favour of thicker wire which could be a struggle to squeeze into the tubes. (They’ll mostly be hidden behind the wheels anyway, so I might get away with it…)
I haven’t looked to see what the glue applicators are made of but, whatever it is, it stretched beautifully at the first attempt (my only attempt so far). It really was a case of “Oh - that’s worked well enough for what I want”, so I didn’t investigate further. But you may well be able to stretch it thinner while maintaining the tube, so I wouldn’t rule out 1:72. I was actually only thinking earlier that I wish I’d replaced the brake lines on Special Hobby’s new-tool Bf 109E, because the moulded-on renditions are very overscale.
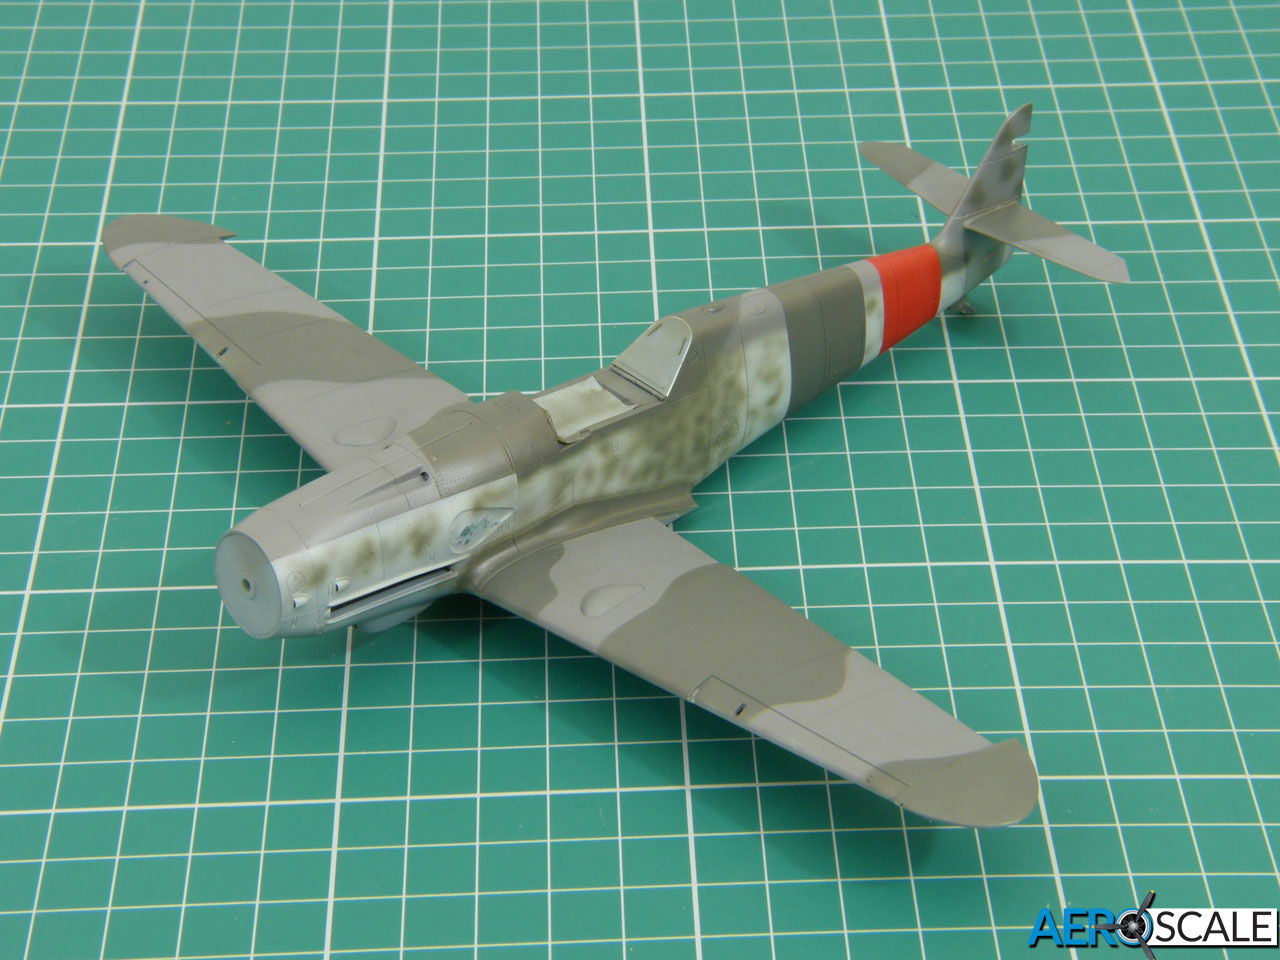
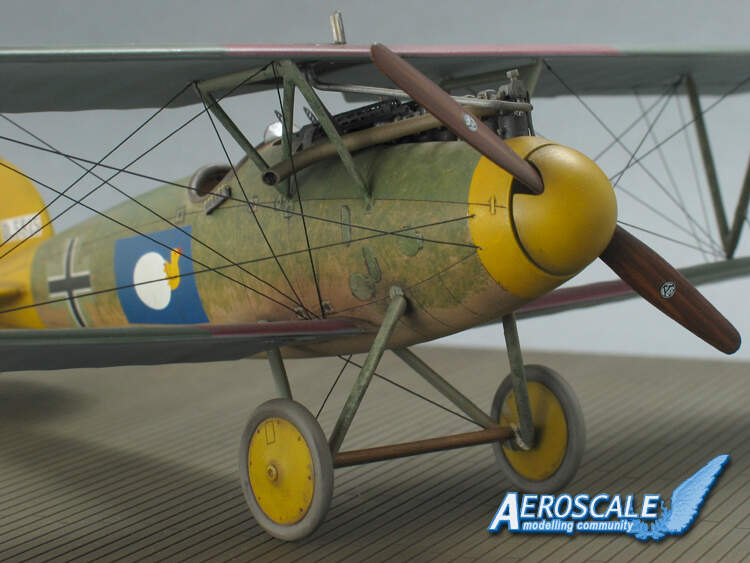
I’ve got underway painting the Gustav. It’s got an interesting mix of factory and field-applied camouflage, with some heavy overpainting in some places:
I’ve indulged in a bit of artistic licence on the nose. Eduard show the soft camouflage division continuing further forward, but I’ve done it with a hard break as though the nose is either a pre-painted subassembly from a dispersed production plant or has had replacement cowls from another airframe fitted at some point.
I need to apply the swastikas and fuselage crosses before I go any further, because they have to be partly overpainted.
I’d like to change my entry if folks don’t mind. I was going to do an Eduard Albatros D III. I’ll finish it, but it’s a pretty simple kit. It seems like this warrants something more serious. So, I’ve acquired some aftermarket with quite a bit of detail for my Albatros DV (and I’m trying to get my hand on some aftermarket undercarriage bits too). If no one objects?
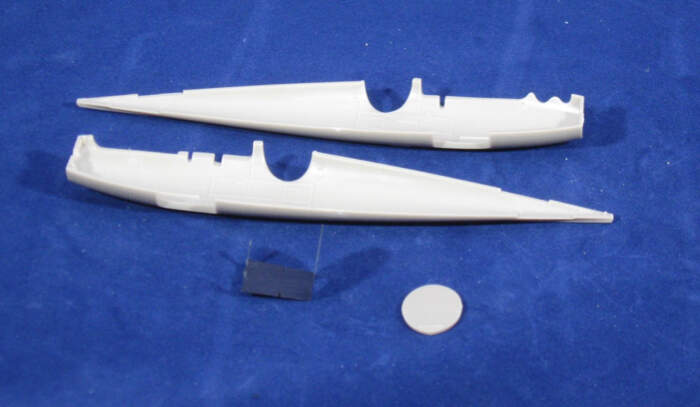
Moving right along on the DV then. There is a choice to be made right away. My PE set allows an assembly of the platform holding the seat and the wood panel behind the seat. It’s pretty clever but a fair bit of detail. Since I plan to have the pilot seated, I’m not sure it will be worth it. The panel behind the pilot is the thick plastic piece and I’ve already folded the PE seat frame. It has a couple of nice things to it including what I think is the altimeter coming up from the floor?
Regardless, that injection mark behind that frame on each side of the fuselage is visible with both the plastic piece or the PE piece, so I’ll fill it. And I’ll also fill the pin mark above the engine. I seriously doubt that is visible, but as long as I’m filling…
Hmmm. Sorry about that pic, the details of the fuselage are not pronounced but are at least clear on the photo on my screen but seem a bit lost on the upload. I’ll take a pic of it filled tomorrow.
It’ll be great to see the D.V with extra aftermarket details. I’ll be especially keen to see what you’ve got in mind for the undercarriage, because Eduard made the struts slightly too short, giving the finished model a rather stocky appearance (I didn’t realise this when I built the kit many years ago):
There is a guy in the UK, Brian Fawcett (1/48 Scale resin detail/correction parts - Brian L Fawcett Models and Patterns), who makes replacement undercarriage for the DV. I have both the Eduard D III and D V kits. The undercarriage braces are exactly the same. But you’ll note on the DV the attachment point is higher on the fuselage. I think this explains why the DV may look a little squat…
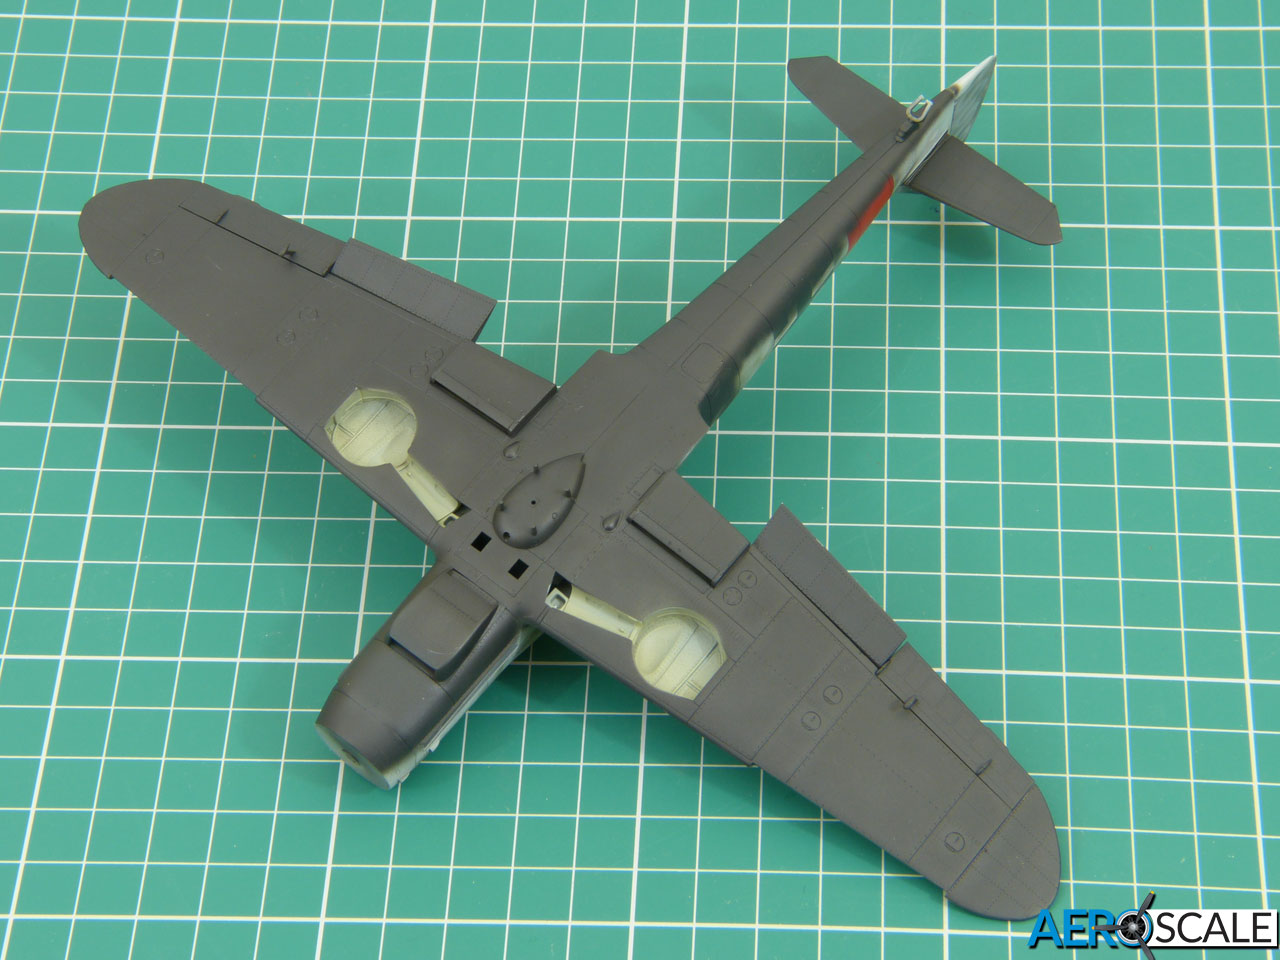
As you can see, I’m getting on with the undersides. I’ve used “tyre black” which allows for some shading on the panel lines etc. (I really don’t like pale panel highlighting).
Ironically, before taking the photo, I’d decided the shading shows up too strongly - but it’s basically vanished in the photo! It’s that classic conundrum; do you do what looks best to the naked eye or the camera?
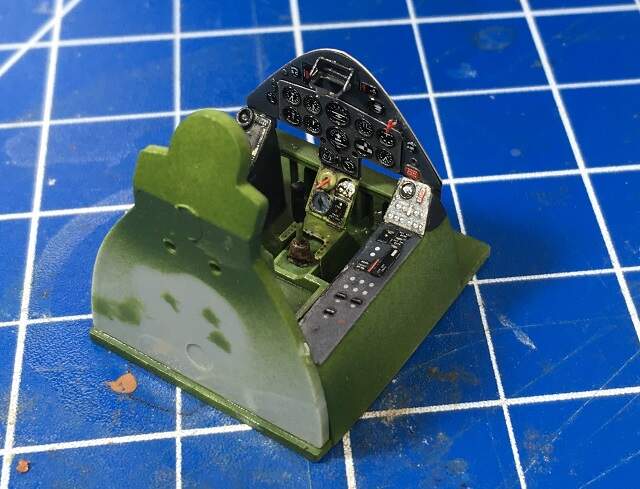
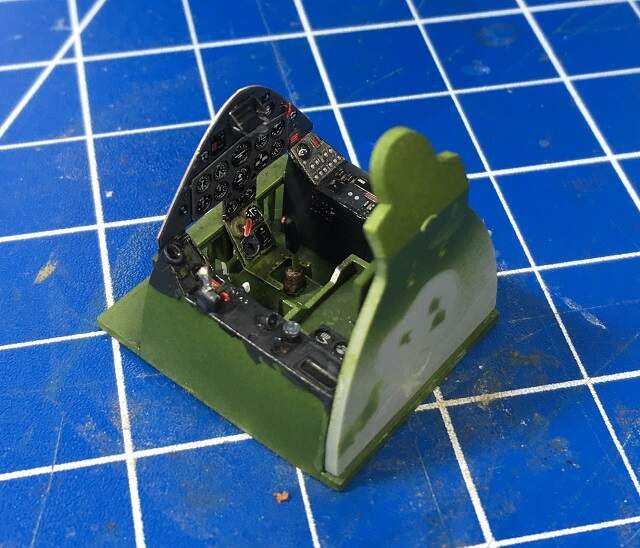
Everything fitted nicely into place. But now, I reckognize that I have should thin the pilots seat. By the way, does anybody know, why modeling flaws are not noticed before posting?
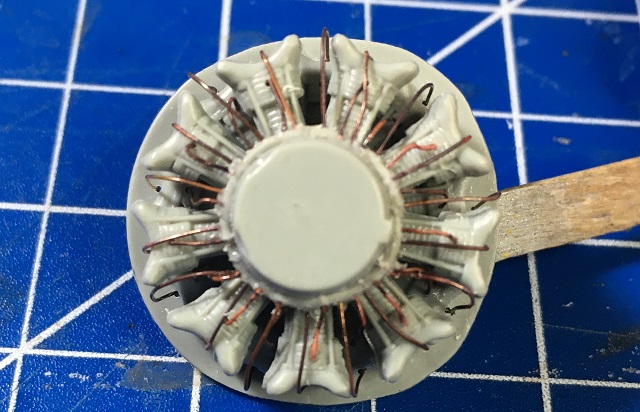
The engine is well molded, but not very well represented. In my reference, the gear box is more edged with a lot of nuts on it. As I saw no chance in changing the design of the gear box, I decided to do only some wiring.
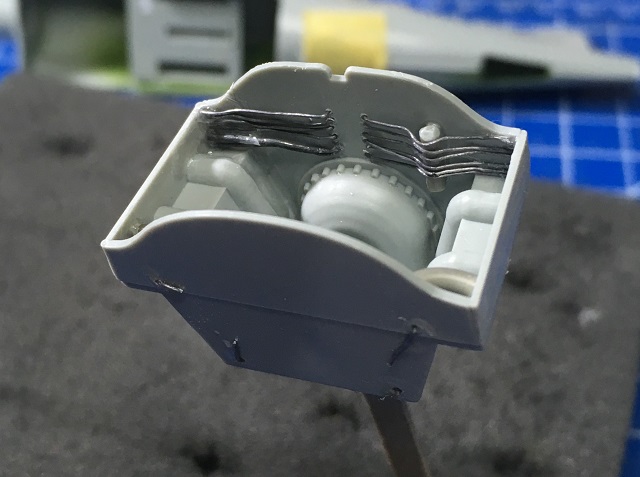
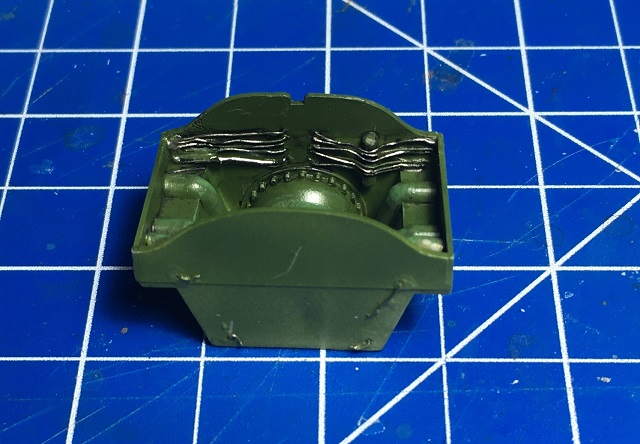
Next will be the landing gear bay. This area again, is totally different from my reference photos. I decided to change some edges and ad more wires and cables.
Hopefully, something will be visible after closing this area.
Great work on the Bearcat! The cockpit looks a treat, and the extra work wiring up the engine and adding cables in the wheel really bring them to life!
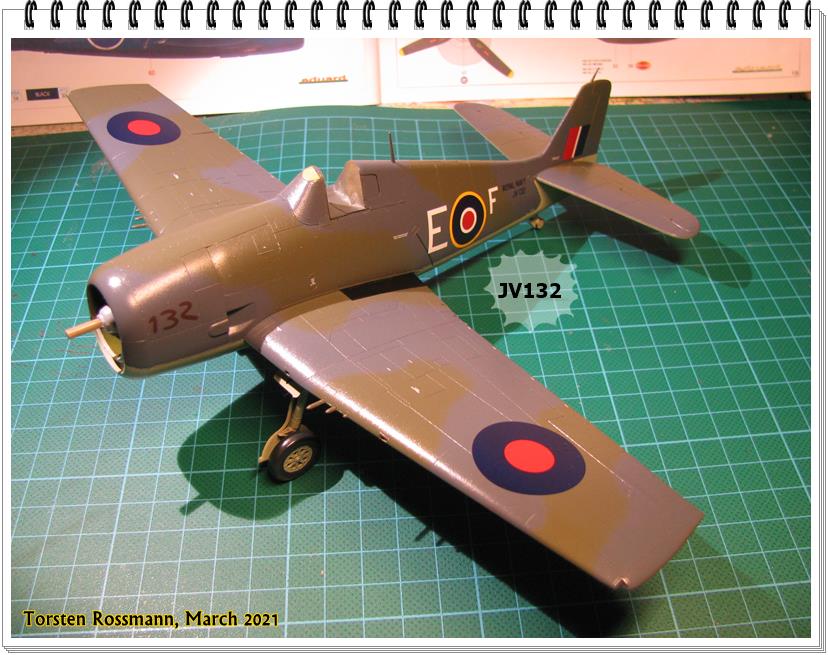
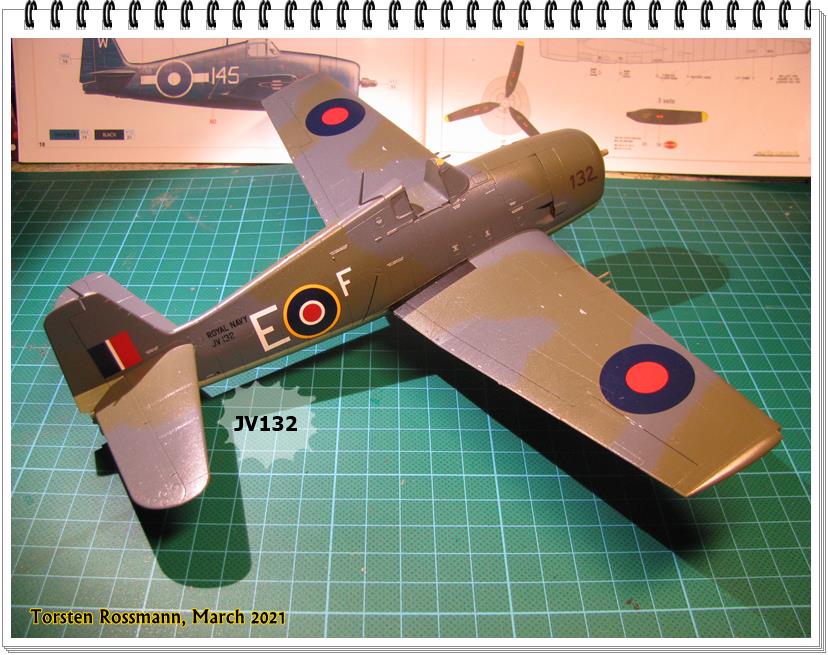
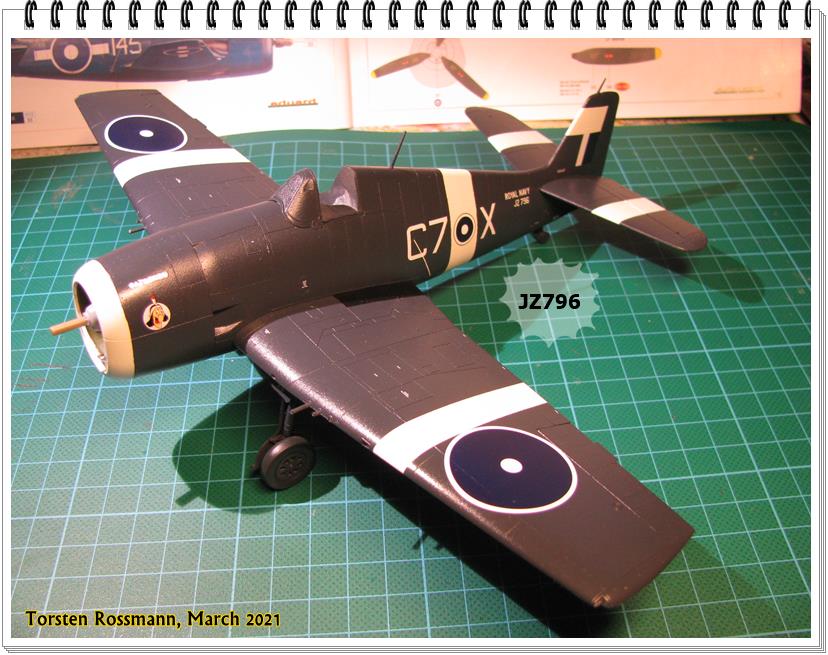
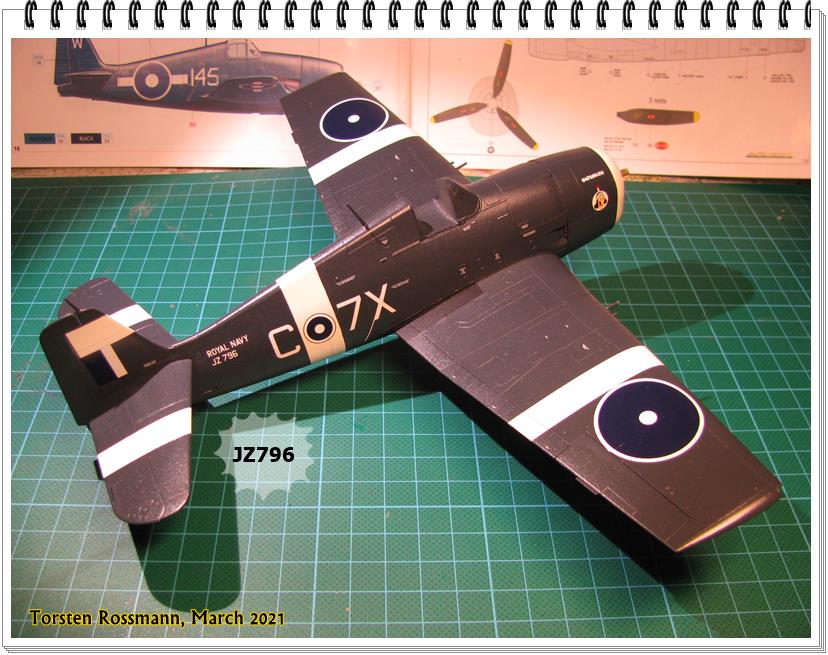
Strenuous working weeks have slowed down the building speed of my Hellcats a lot but most work is done now. Have to add a few small parts still but I hope to have done everything during the Easter Holidays. I’m not sure if the cartoon is shown on both sides of the cowling on JZ 796. Eduard offers 2 decals so I decided to use them, no matter if it’s right or wrong. I further didn’t like the decals for the walk ways, so I brush painted them. That looks much better now. After the landing crash of JZ796 on my work bench everything is repaired now.

 Please let the rumours that have been around for a while prove true that Eduard are planning a series of state-of-the-art 1:48 Wildcats…