Welcome to the campaign honoring our friend, Steffen Arndt, a frequent and much appreciated contributor to AeroScale who, sadly, passed away recently. Steffen was an aficionado of The One True Scale, 1/48. Merlin (Rowan) is leading this campaign which is open to any model of any subject between the scales of 1/40 and 1/50.
Welcome aboard! Thanks to Michael for setting up our official home for the tribute build.
As noted in the description, the campaign will centre around Steffen’s beloved One True Scale, allowing a bit of leeway from 1:40 to 1:50 to encompass genres where it’s hard to find a suitable model to build in 1:48. I’ll also allow occasional exceptions where a modeller wants to pay their respects to Steffen, but simply can’t find anything close to his favourite scale. It’s also fine to enter a build that you’ve started, so long as you haven’t made much progress.
Above all, let’s make this a real celebration of modelling, despite the tragic circumstances; Steffen loved modelling in all its forms, even though he made it unmistakably clear that he felt 1:48 was the “one scale to rule them all”.
It’s still where I left off back at the end of November, with the cockpit part-assembled and waiting for paint, and some scratchbuilding work to do on the wing ribs in the wheel wells.
Thanks for the kick off, Michael! And thanks for leading this campaign, Rowan!
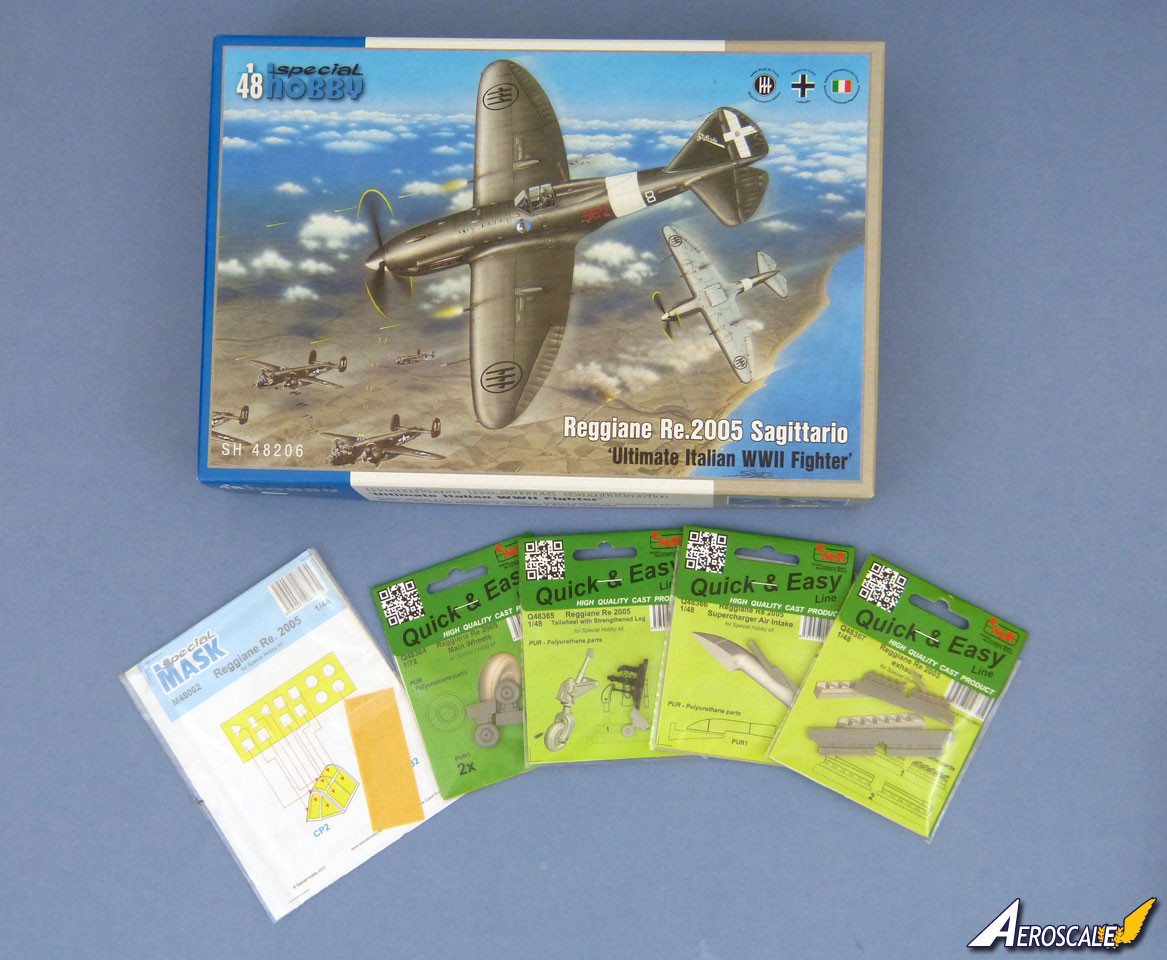
This will be my entry. I had this kit in my “production plan” for later in this year anyway, so it moved just a little forward. And yes, I intend to build both kits …
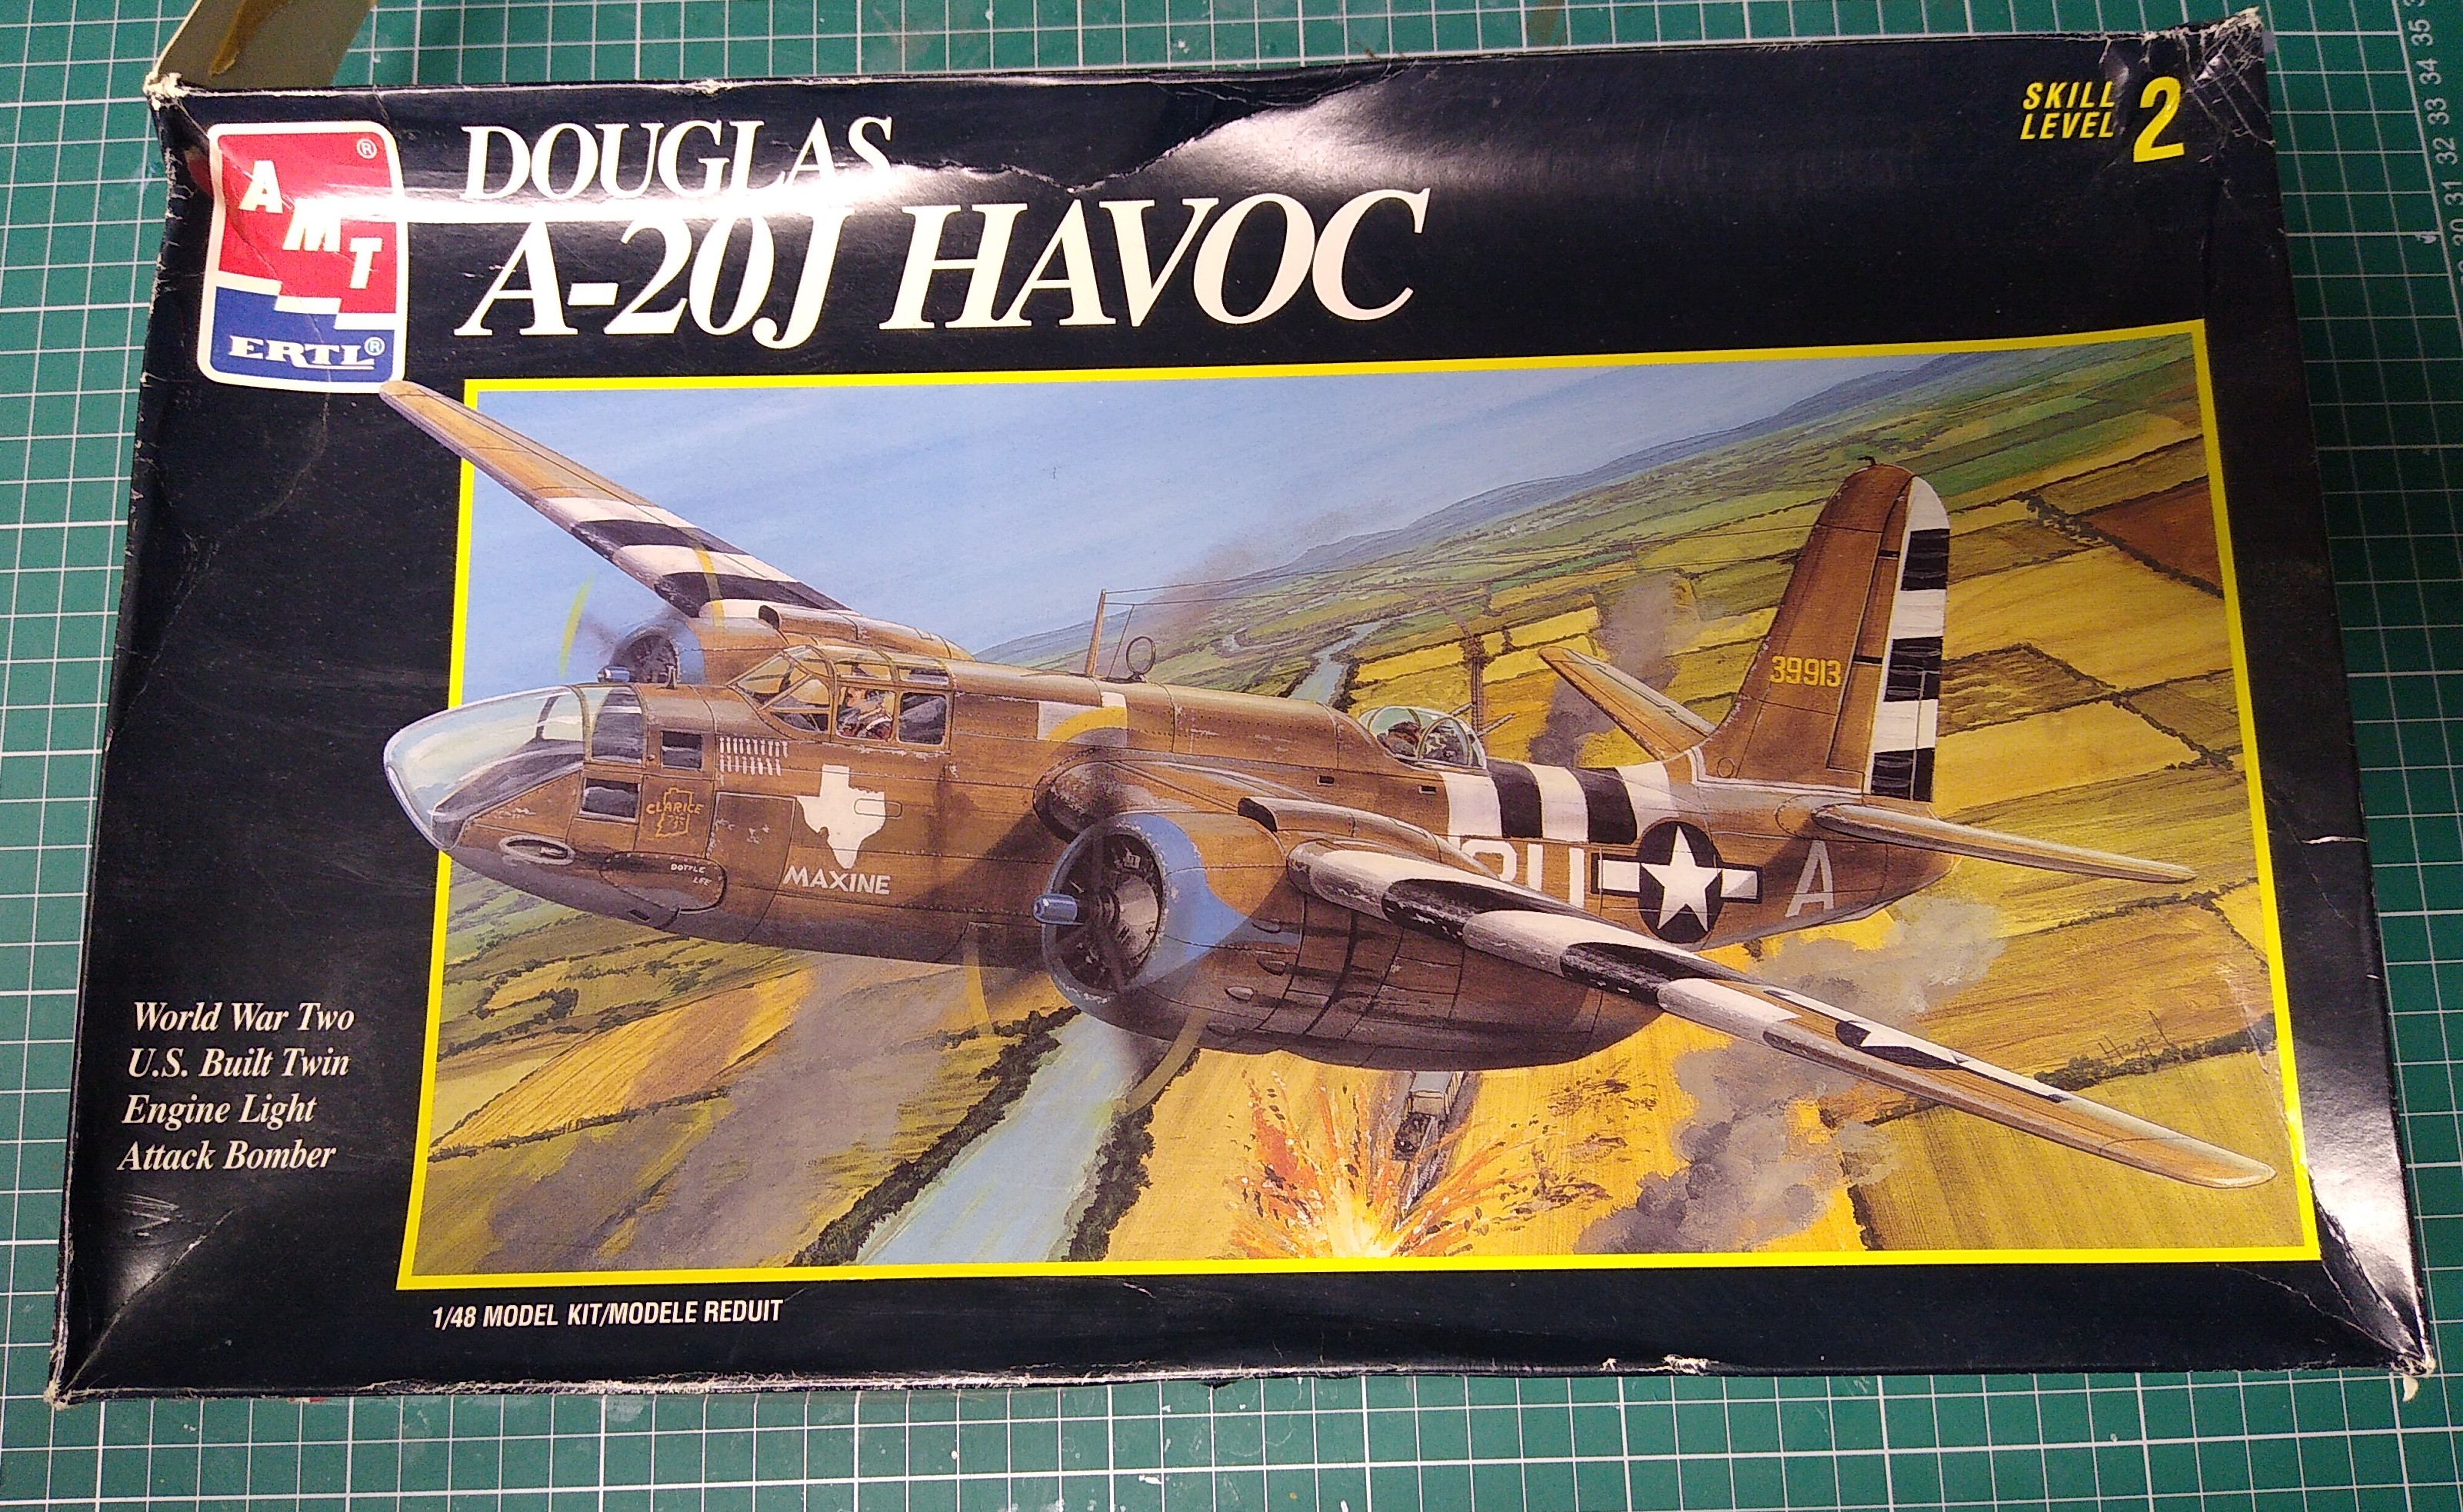
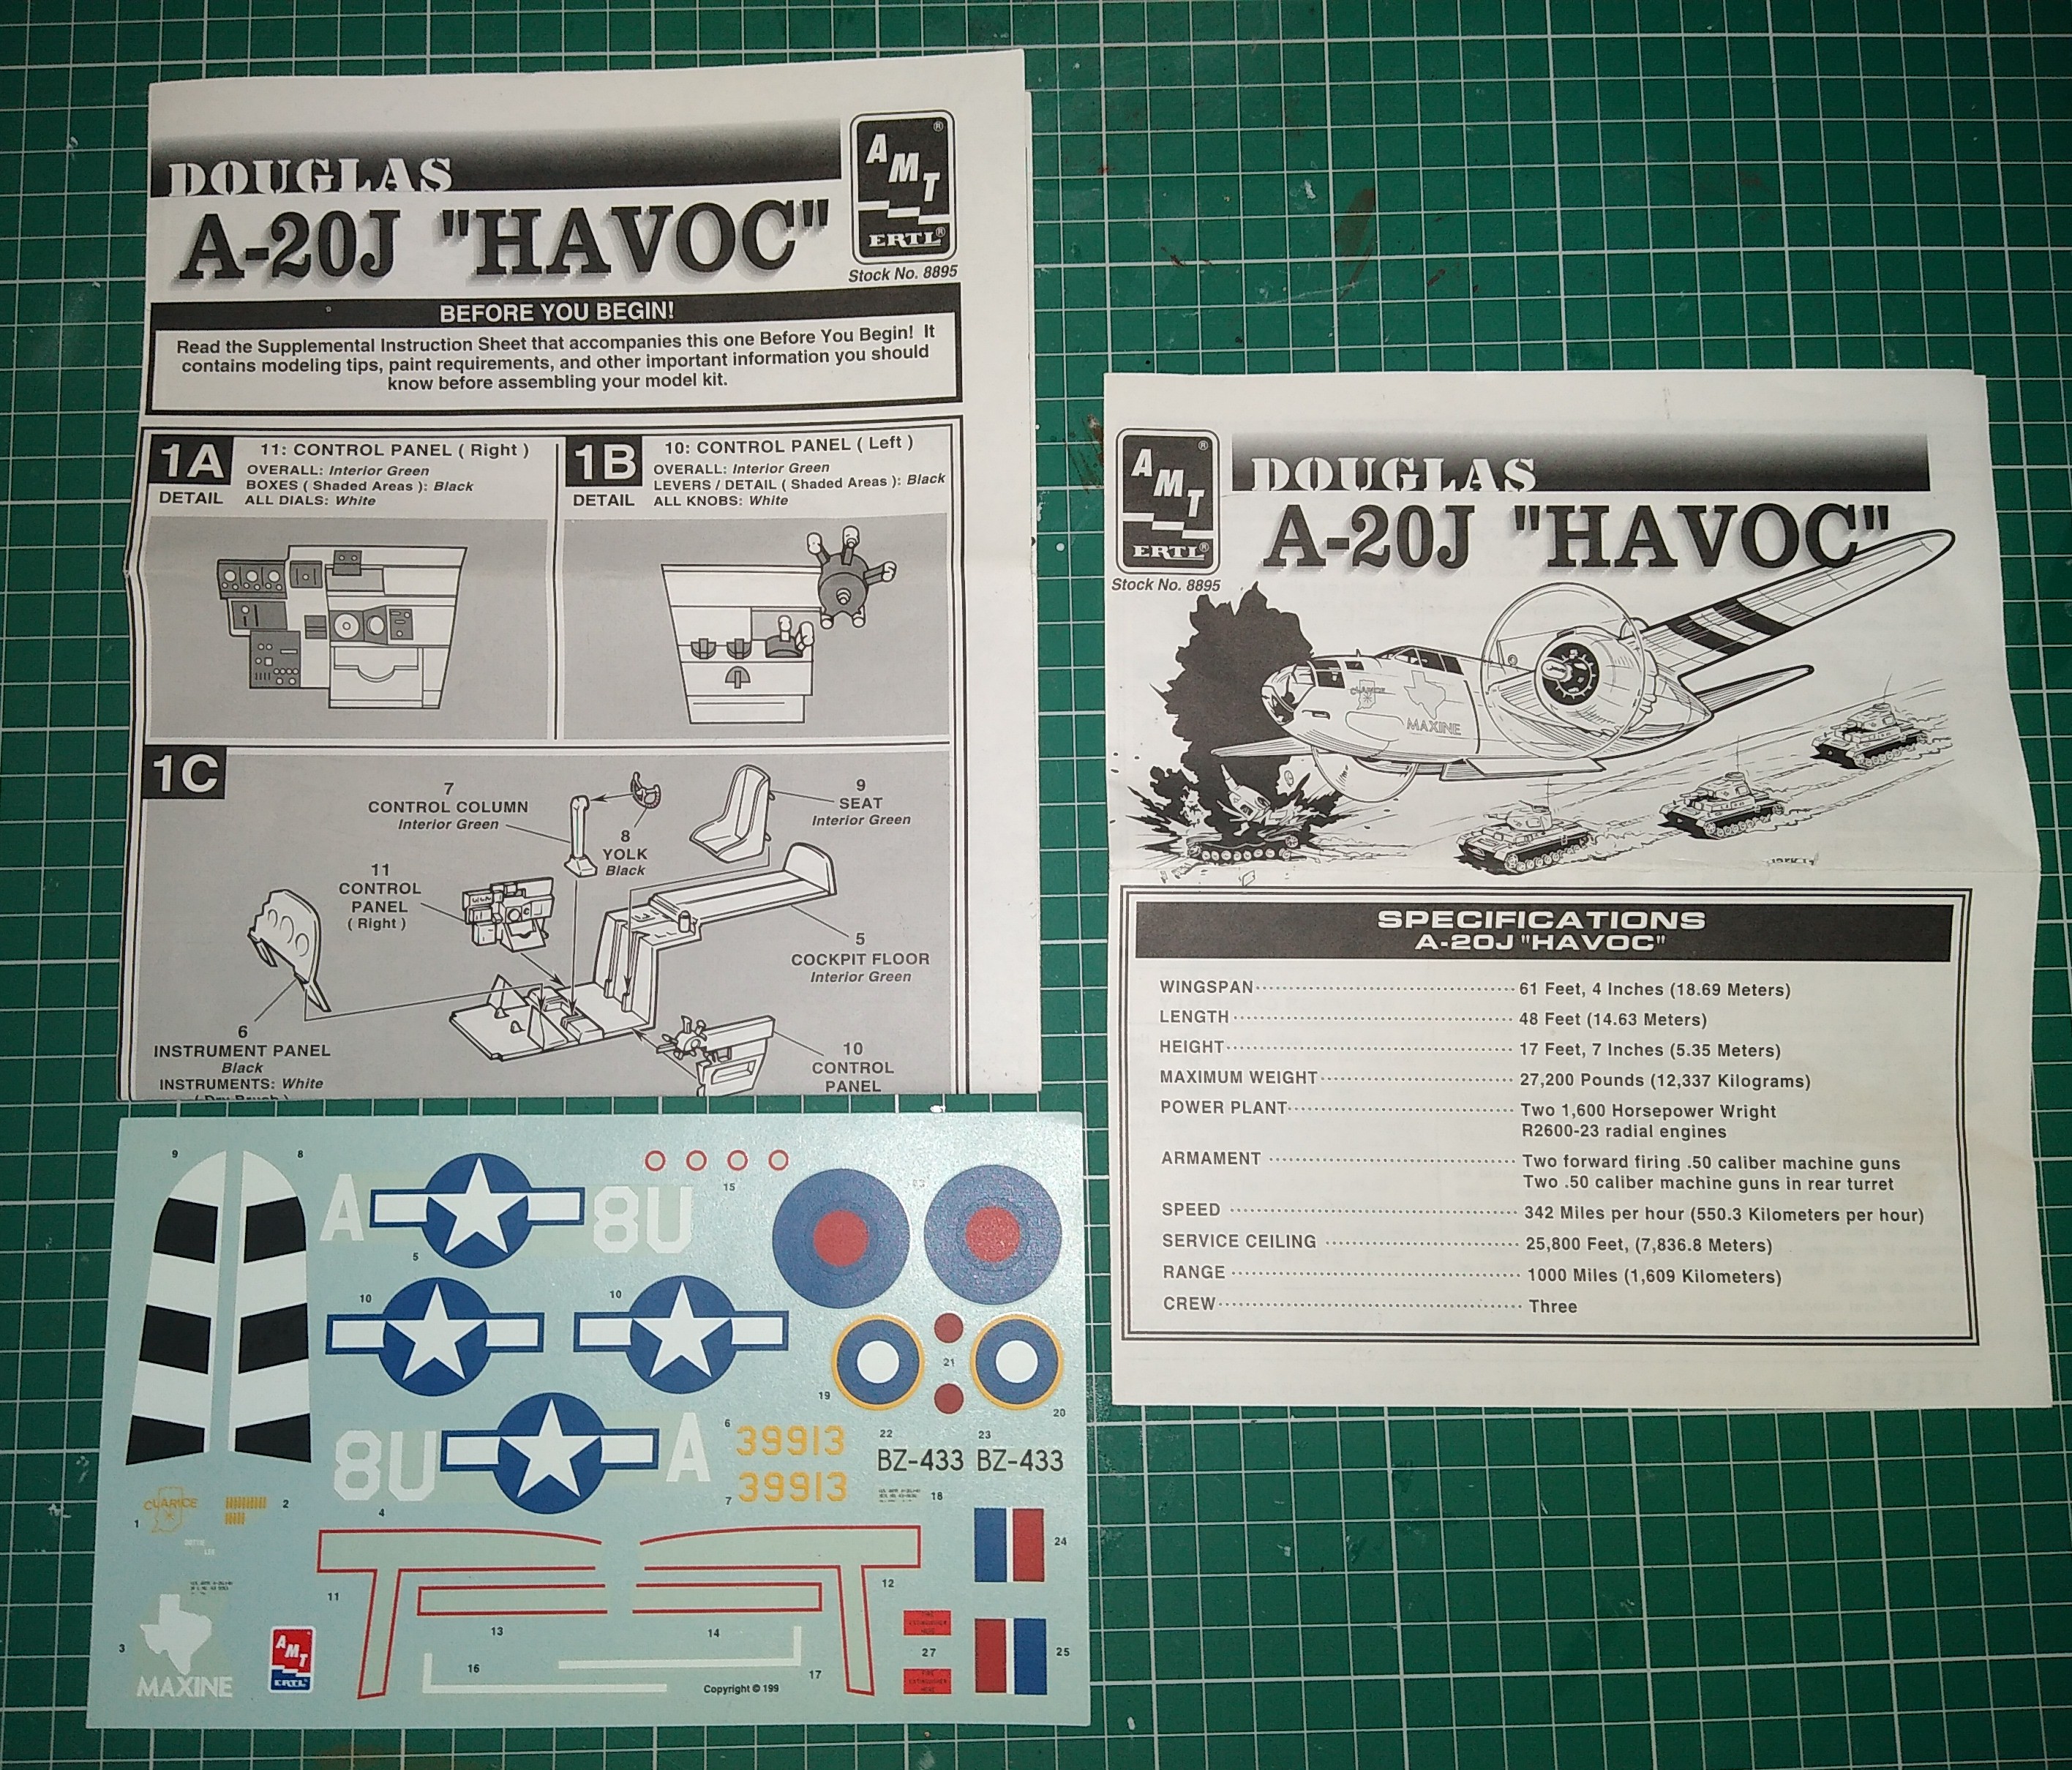
I’ll be building the AMT 1/48 A-20J. A kit I have had for a very long time and it’s about time I got her built. It was a Christmas present from my grandparents some time in the late 90’s.
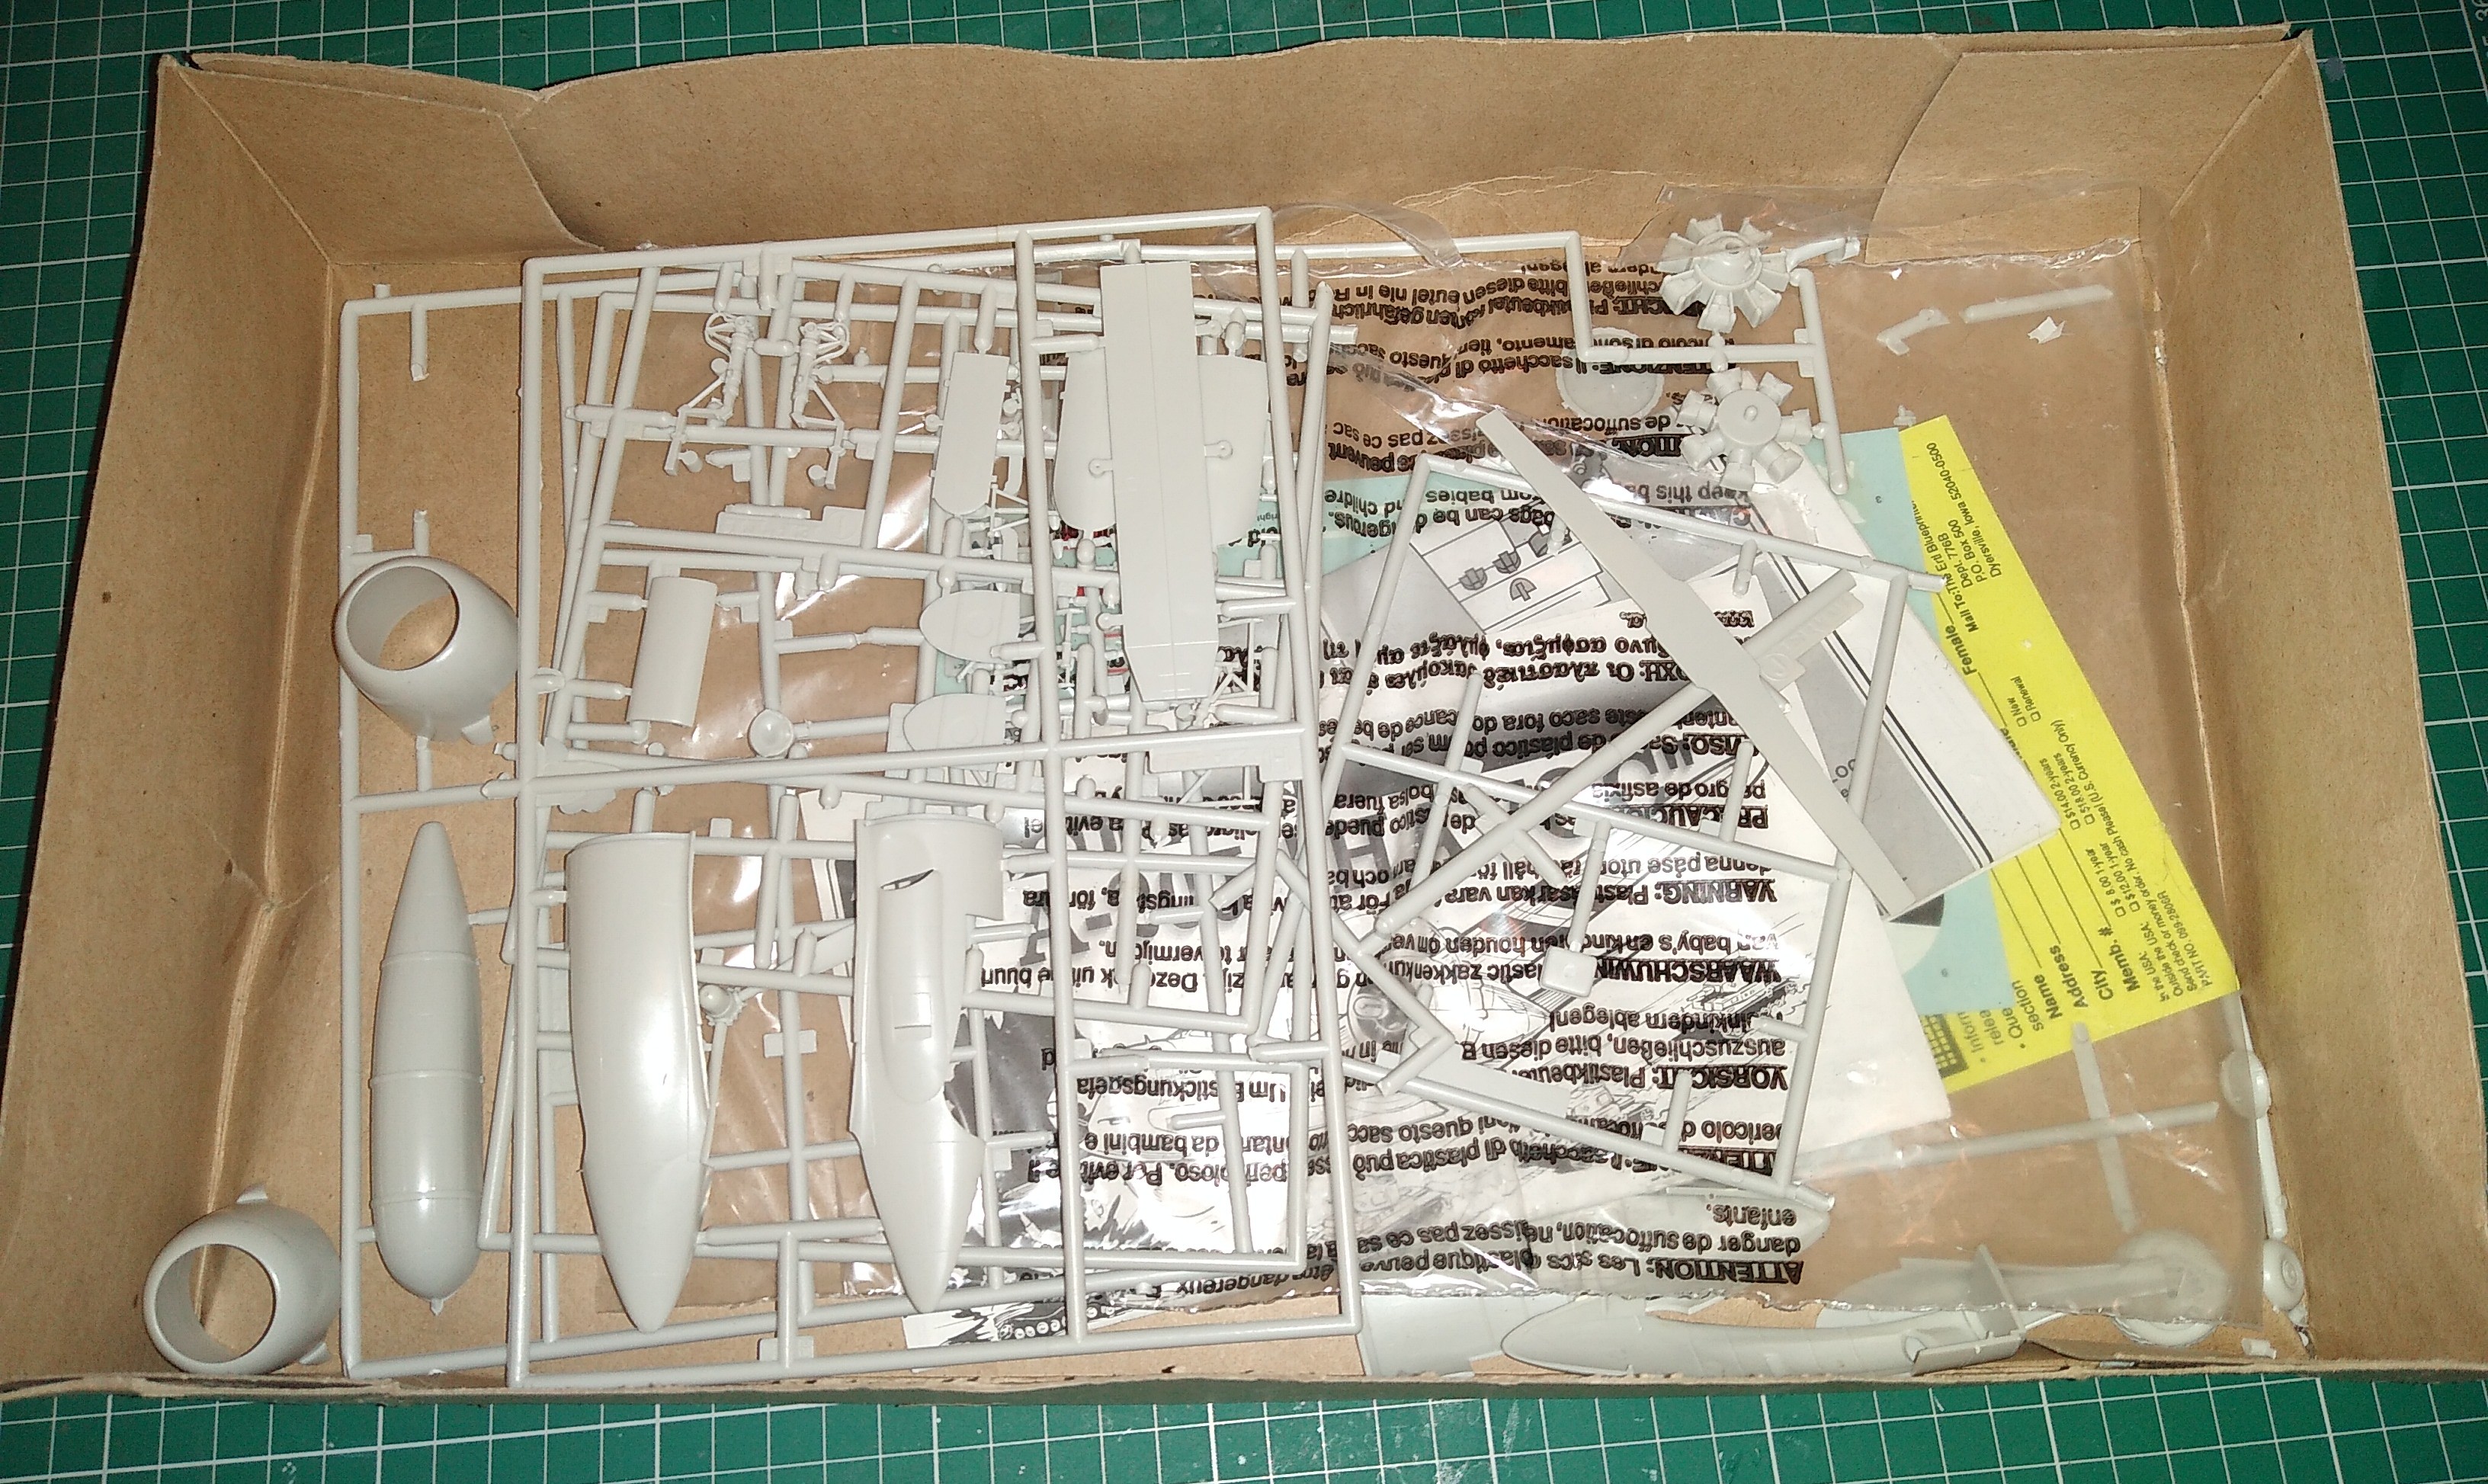
Quick look in the box and found that I had already glued together the wings, tailplane and rudder. Hope that’s ok for the build?
Some of the interior parts have a thick coat of Humbrol RAF interior green. Not only the wrong colour, but slapped on! Obviously that will have to go. Learned a lot since those days and I’m pretty sure I can do a much better job than I was able to back then.
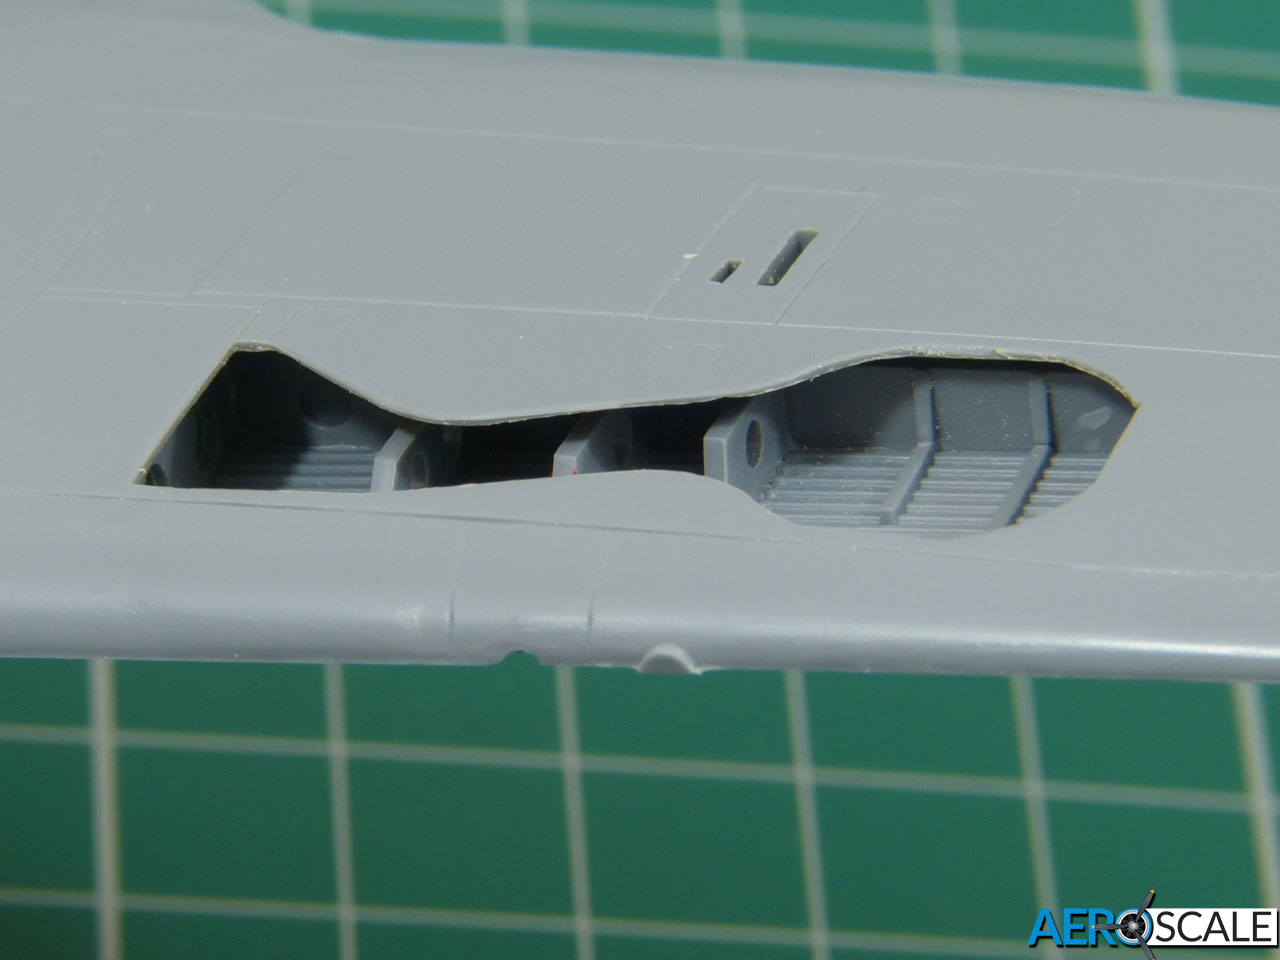
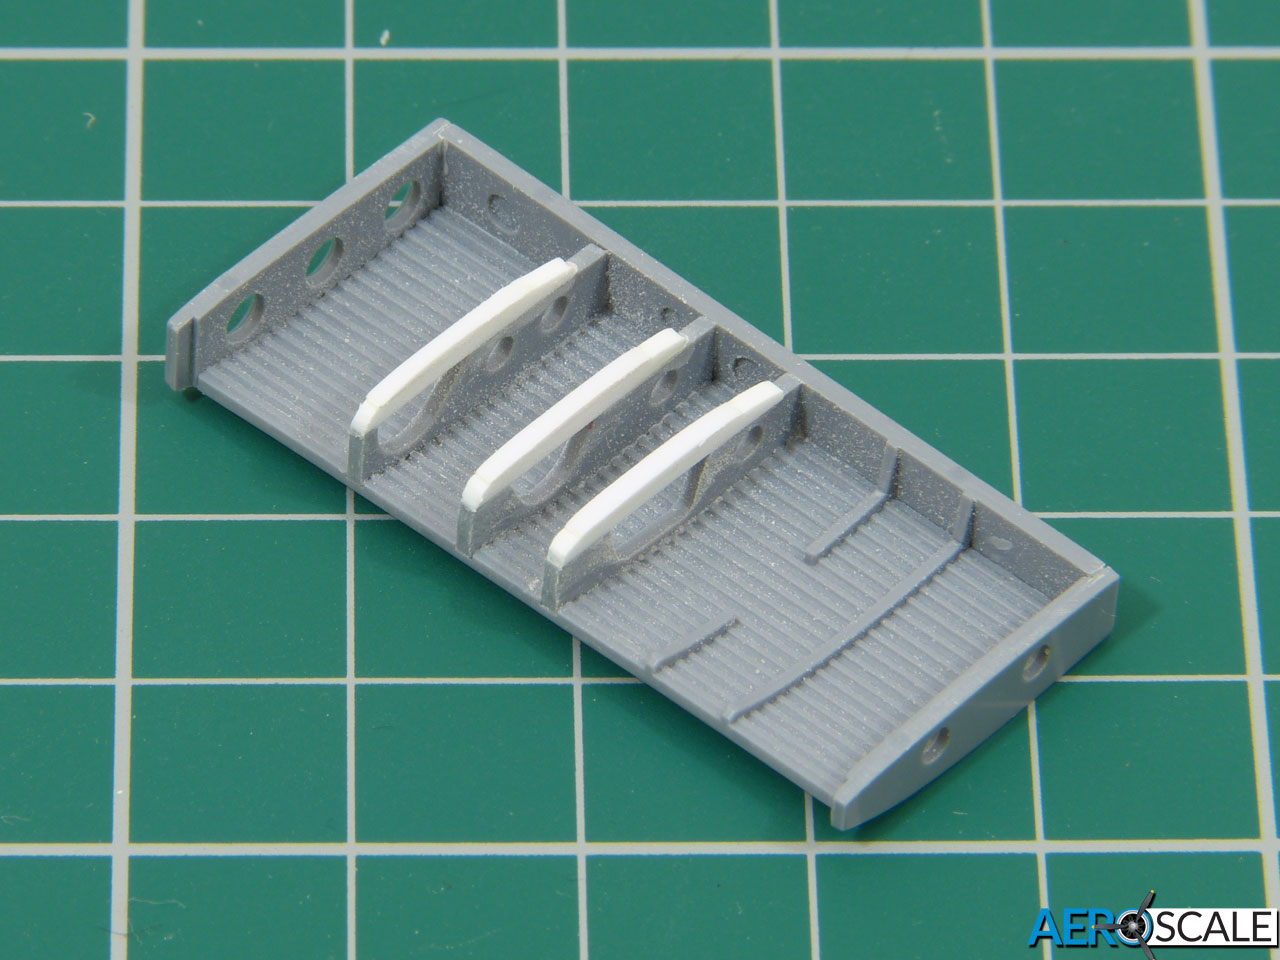
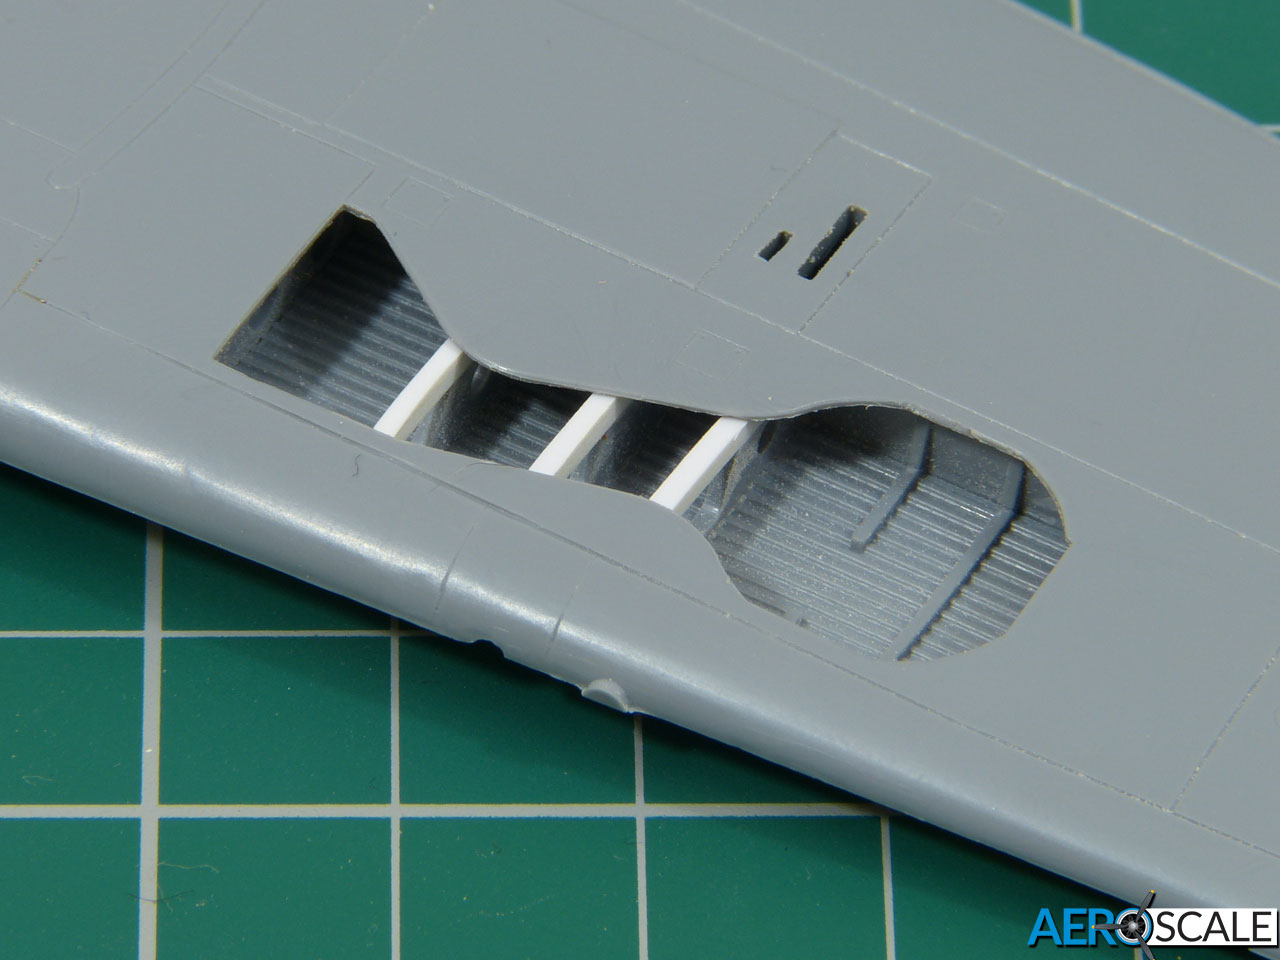
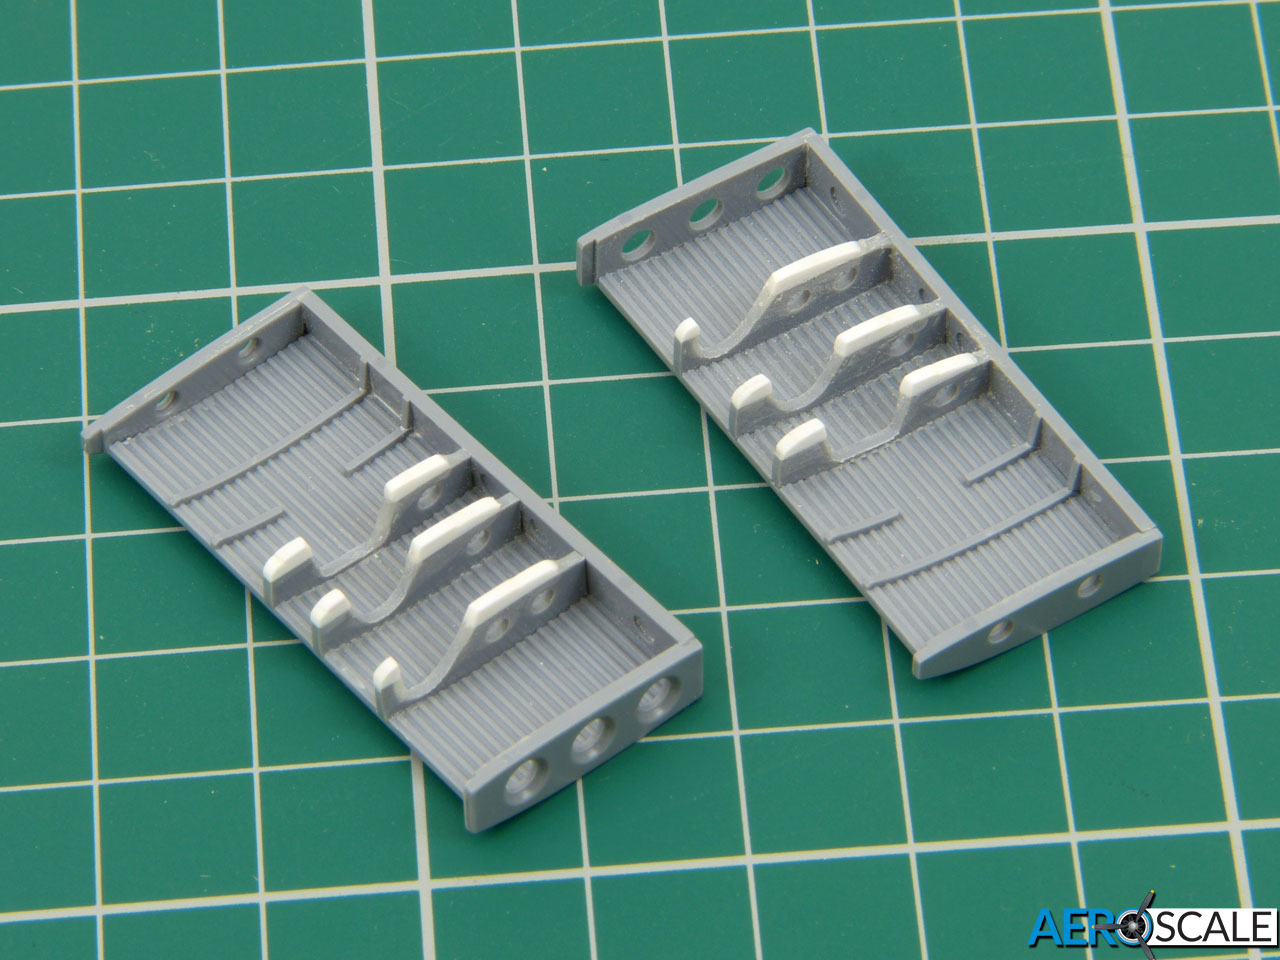
It all seemed straightforward at this stage, but creating the gap over the ribs also means the shape of the cut-out for the undercarriage leg needs to change too, so I used CA+talc to create the new contours:
Great work improving the undercarriage bays Rowan. Looks much more in scale.
Looking forward to seeing your Albatros Phil, one of my favourite aircraft.
I started today by stripping the old Humbrol paint from the interior parts of my A-20. Used the old oven cleaner method. Pretty quick and got everything nice and clean.
Question is though what interior green I should use? Zinc Chromate or the darker green sometimes seen?
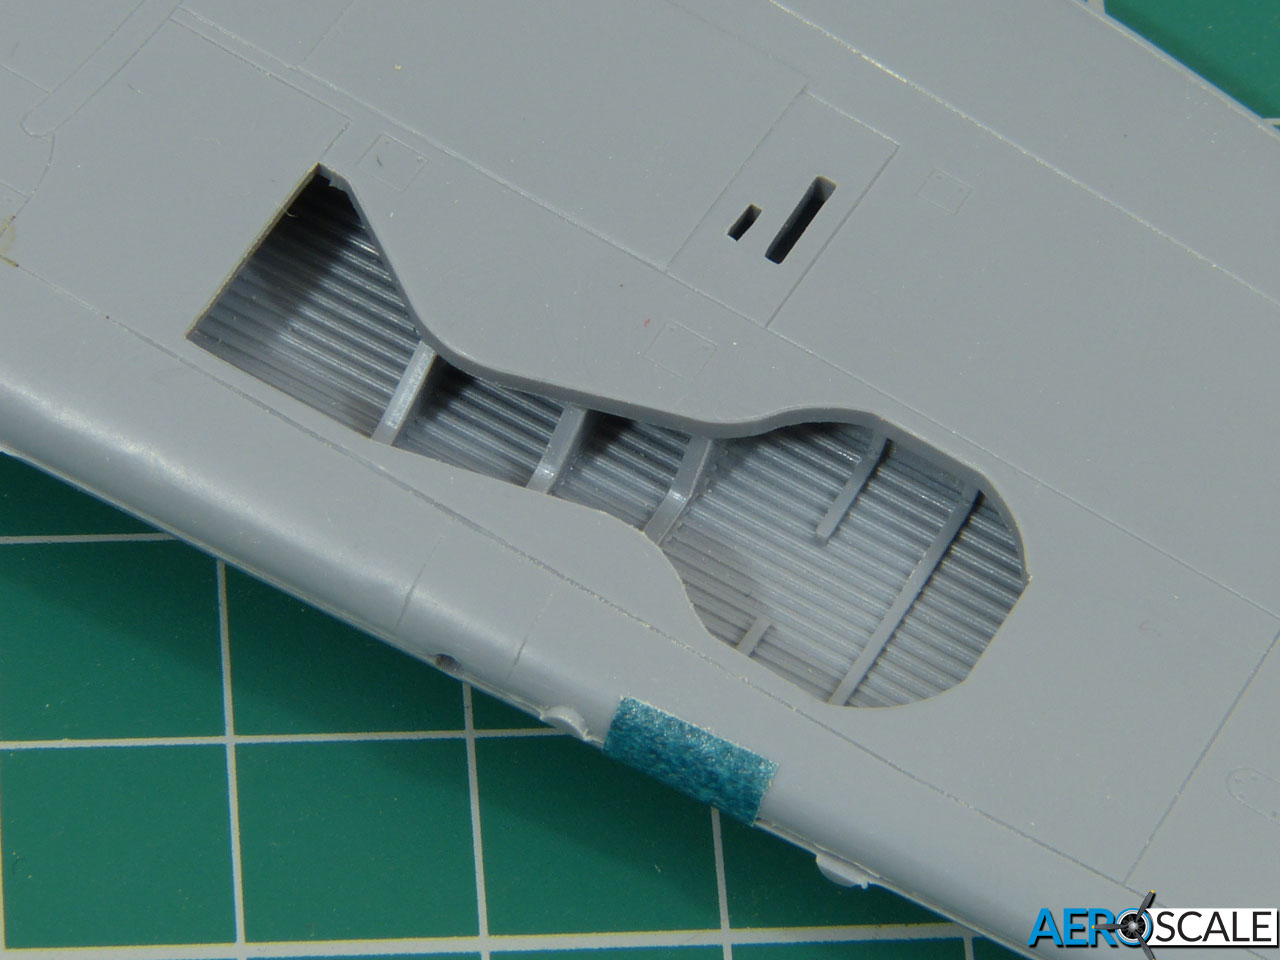
Another question is, what should be behind these intakes in the sides of the engine nacelle? They open up into the wheel wells and you can see straight through. Surely this isn’t right? I’m guessing they might be part of the oil cooling system.
The Interior Green looks pretty vivid in the second set of photos and might look a bit overpowering on a model. I’d knock it back a little bit - call it “scale effect” - but that’s just my opinion.
Well he is my entry for the campaign.
Eduard Overtrees boxing of the 1/48th Fw 190A-3, along with a Brassin cockpit and engine, and decals from Xtradecal.
Start date unknown atm .
Assuming the wheel wells still fit OK, I should be able to make quick progress on the wings. If they don’t, it’ll be a totally self-inflicted wound, because the stock parts fit beautifully!
(In case anyone’s wondering, I haven’t increased the depth of the wells - just the apparent depth - so the “sit” of the finished model will be unchanged.)
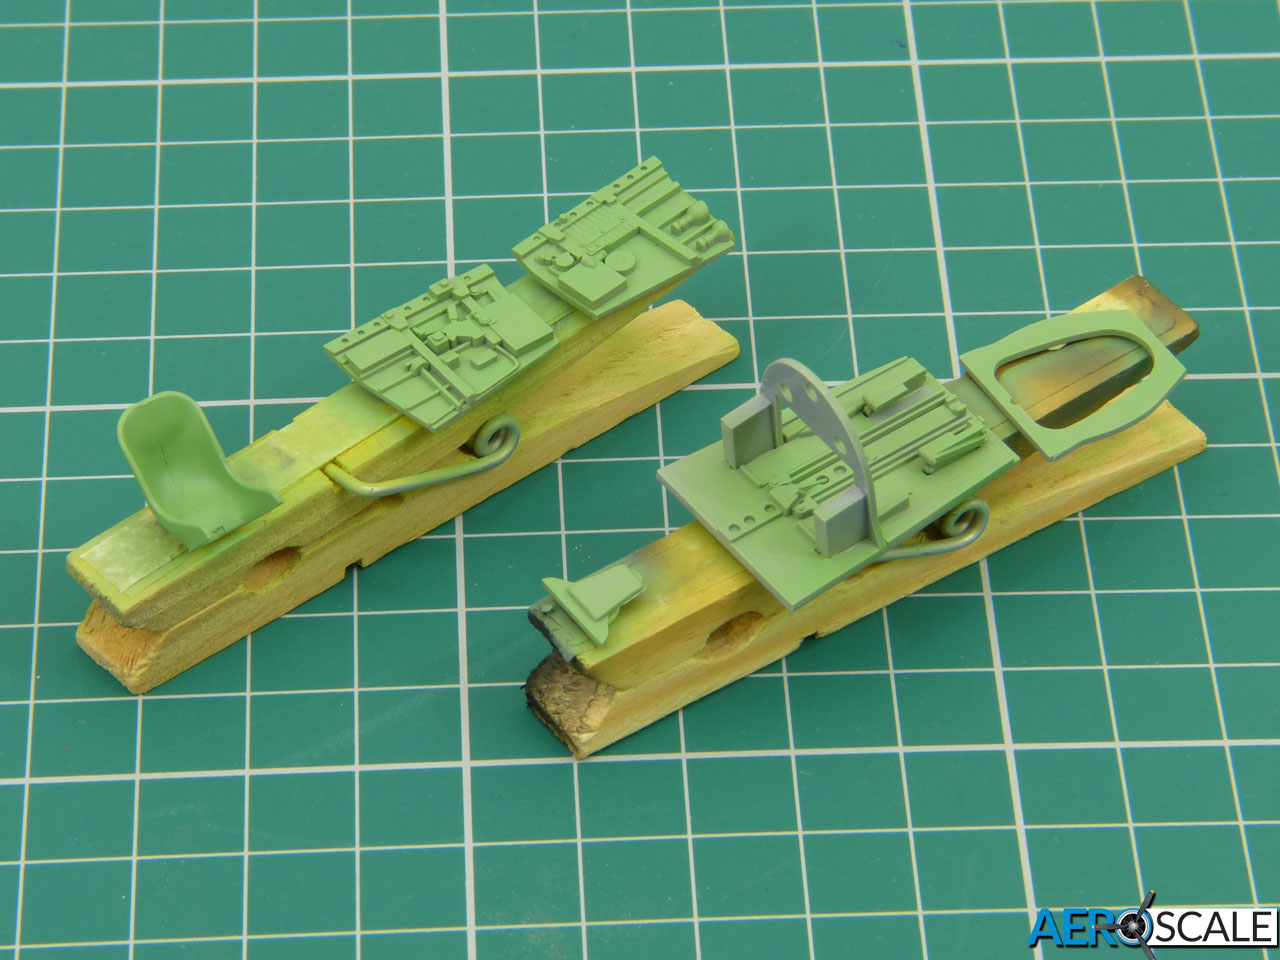
I consulted Stormo!'s website for the cockpit colour and found a reference to Reggiane using quite a vivid variation of “interior green”, so I tried a home-brew mix as an experiment/undercoat. I think it’s on the right lines, but it also highlighted that I need to do more work to hide the seam running down the middle of the seat. I predicted that would be a troublesome joint and so it’s proved.
I’ll hope to post more progress by the end of the week.
I think it does all good to get out of our personal comfort zones occasionally. In total contrast to you, I’ve got a jet-build which I seriously need to get back to, and that’s totally removed from my usual fare. It should be fun!
I’m going to throw in an extra little build to balance all the aircraft entries we’ve got so far. I was sorting through some other stuff in the house this afternoon and found this tucked away in a box that I’d forgotten about:
It’s a real blast from the past for me, because it’s still got a Modelzone price tag on it and I guess I must have bought it in London about 15 years ago.
Don’t worry - I’m sure I’ve got plenty of those still stashed away! I used to trundle along to the High Holborn Beatties branch (later Modelzone) every week when I was a video editor in Soho.


 .
.


 I used to trundle along to the High Holborn Beatties branch (later Modelzone) every week when I was a video editor in Soho.