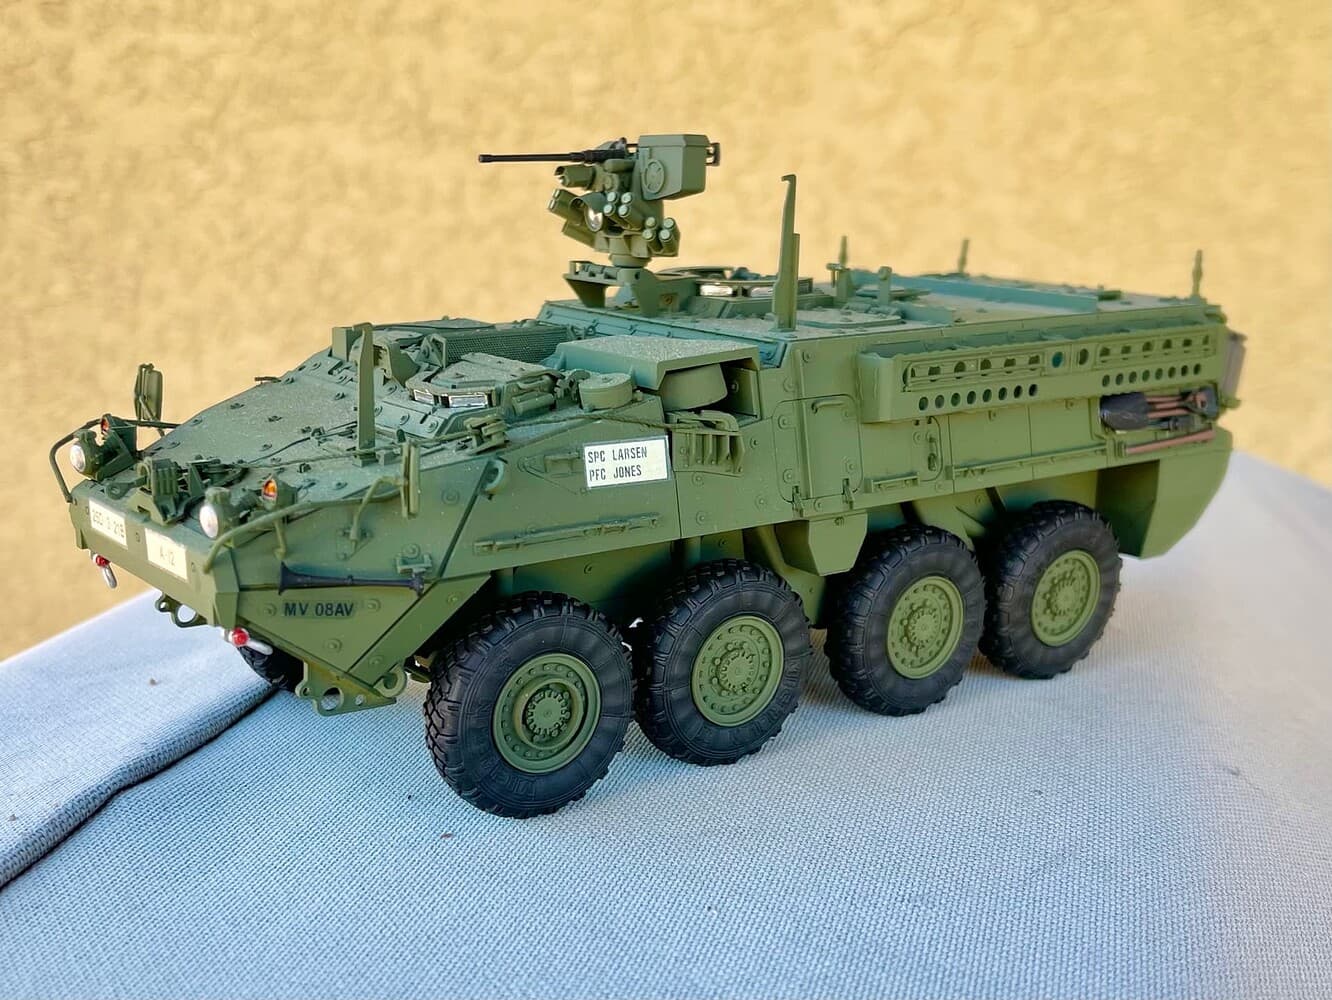
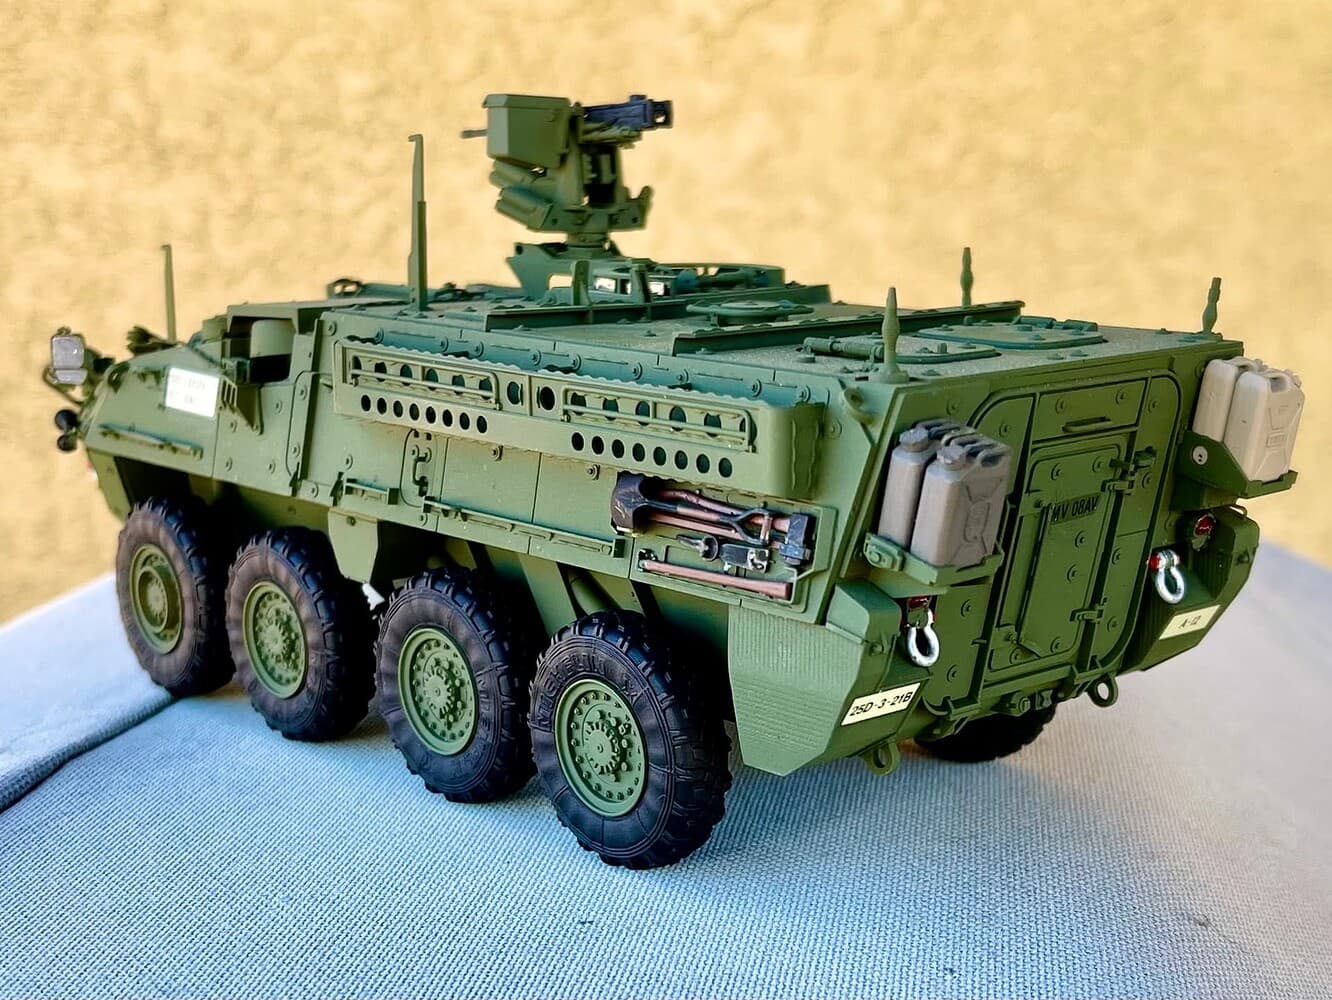
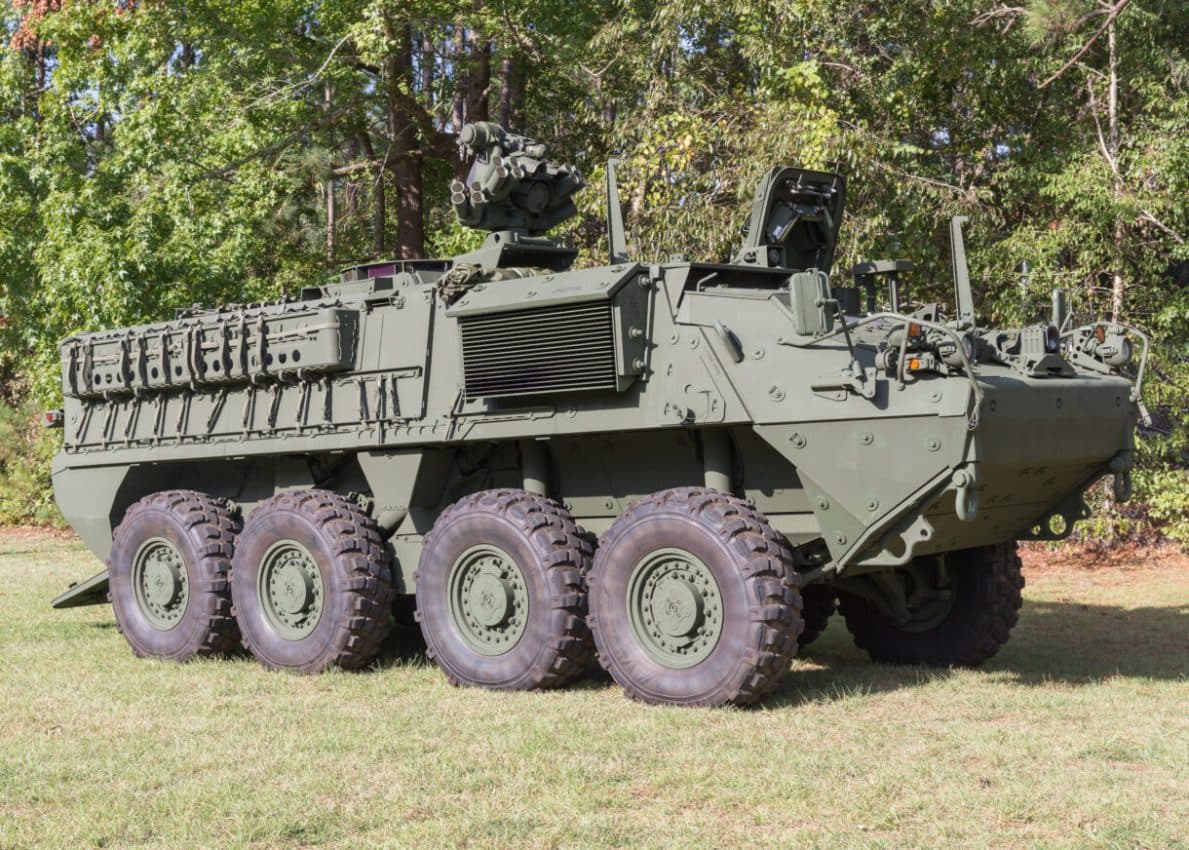
The Stryker A1 version is the latest evolution of the Stryker platform.
It is based on the DVH version with significant changes in the engine deck area and the introduction of an external unit on the right side of the vehicle. Wheel rims have a different design.
The model I’m building is based on the AFV Club M1130 kit with 3D printed parts that I designed and are included in two conversion sets:
- the Stryker DVH conversion set that I designed a couple of years ago and I have updated for this model
- a new conversion set including the parts specific to the A1 version: engine deck hatches, rims, external unit and other parts
7 Likes
The most visible differences between a 1st generation Stryker and a DVH (Double V-Hull) version are in the front armor area and the rear fuel tanks, see photo below as a reference, where the DVH version is at the left.
To address these differences I used the following parts from my DVH conversion set
where:
• Part 4 of my conversion set replaces part E14 of the AFV Club Stryker scale model
• Parts 2 and 3 replace parts F26
• Part 1 replaces part C1
• Parts 5 and 6 replace parts C22 and C23
7 Likes
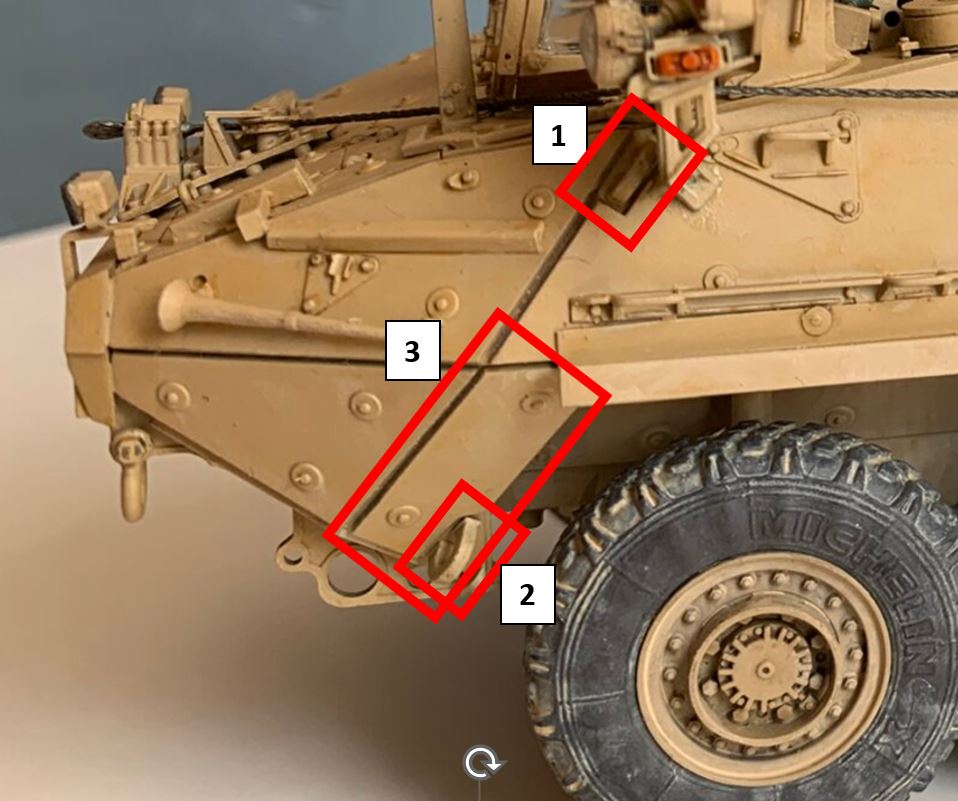
The other major differences between DVH and 1st generation Strykers is in the front-side armor and lifting points. This is something I did not address in my previous DVH conversion set.
4 Likes
Lifting point “1” has been moved forward:
I closed the gap with plasticard in parts E6 and E7 and created a gap in parts D16 and D17 where to place the lifting points
Lifting point “2” is not present anymore in the DVH version.
6 Likes
I bought your earlier DVH conversion and it looks great.
9 Likes
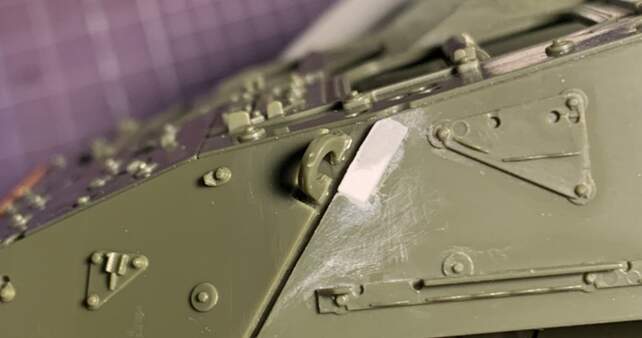
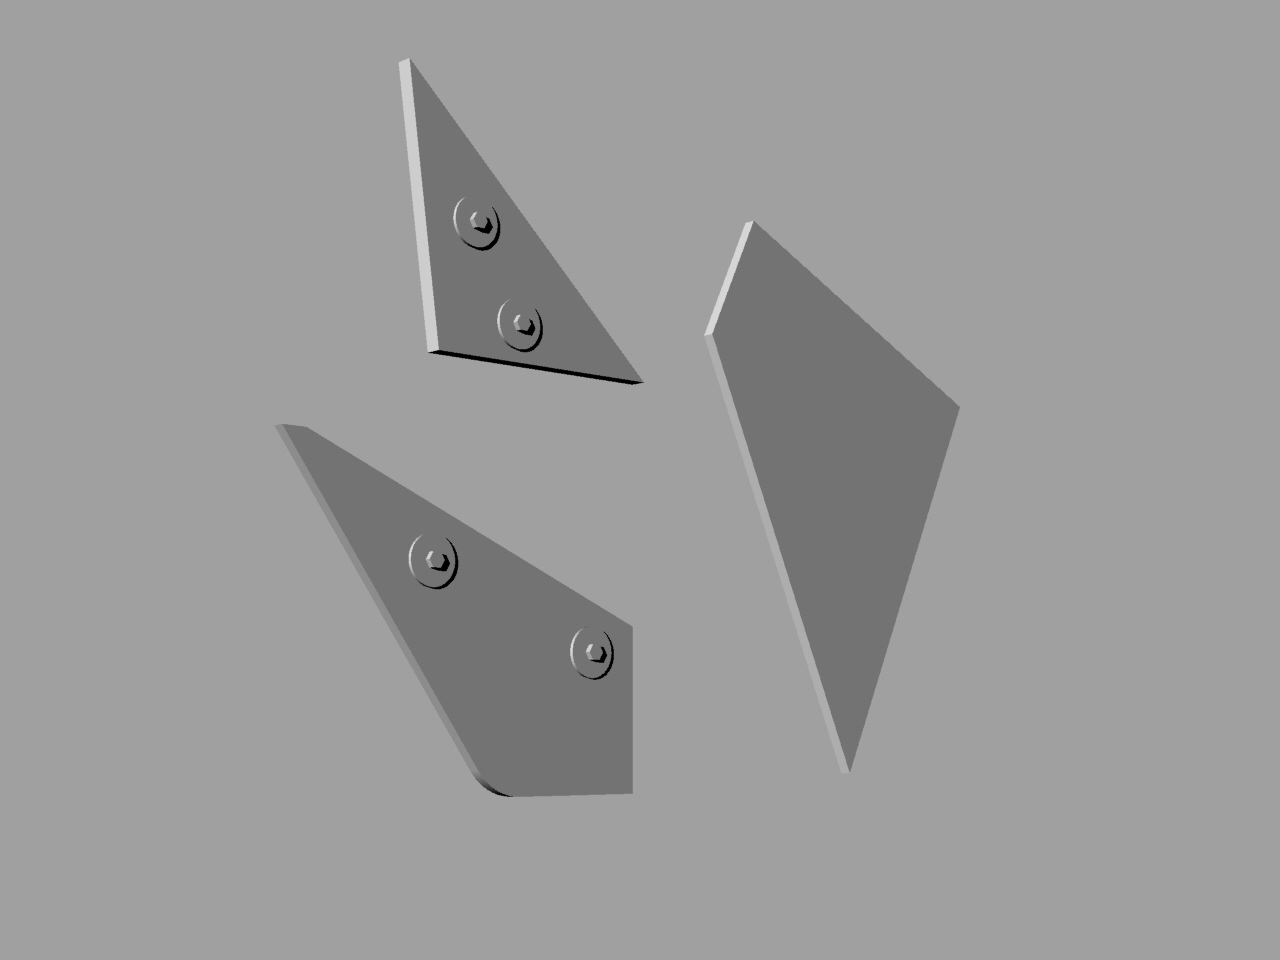
Side armor plate “3” has a different shape and position.
This modification requires some “surgery” on the model hull and the intallation of three new panels on each side.
These panels are included in the new version of my DVH conversion set.
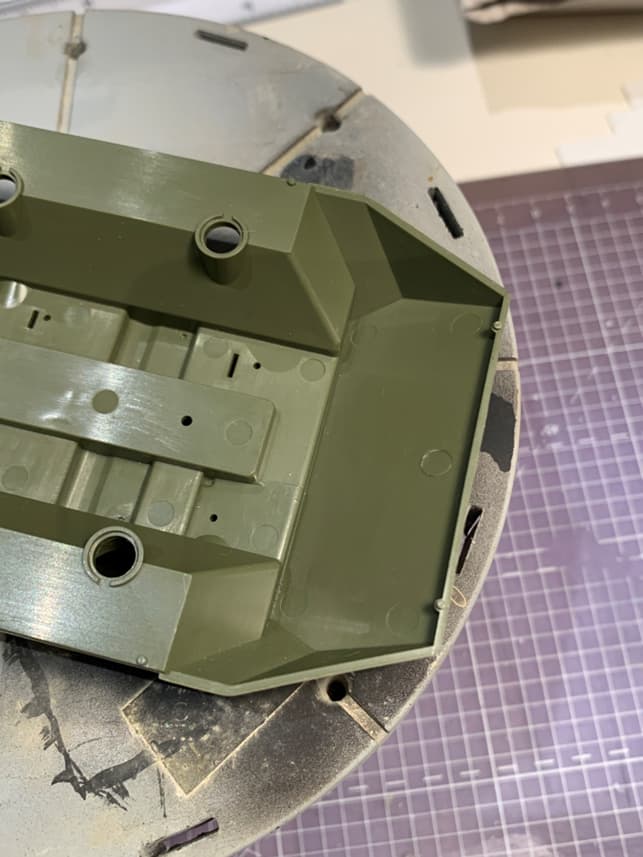
This is where I started from
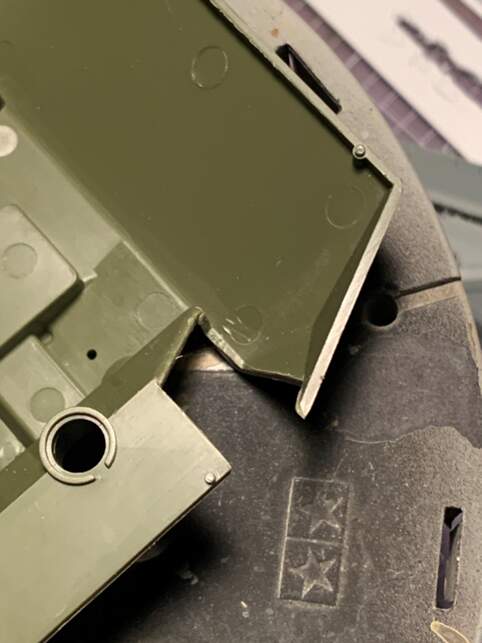
And this is the hull after “surgery”
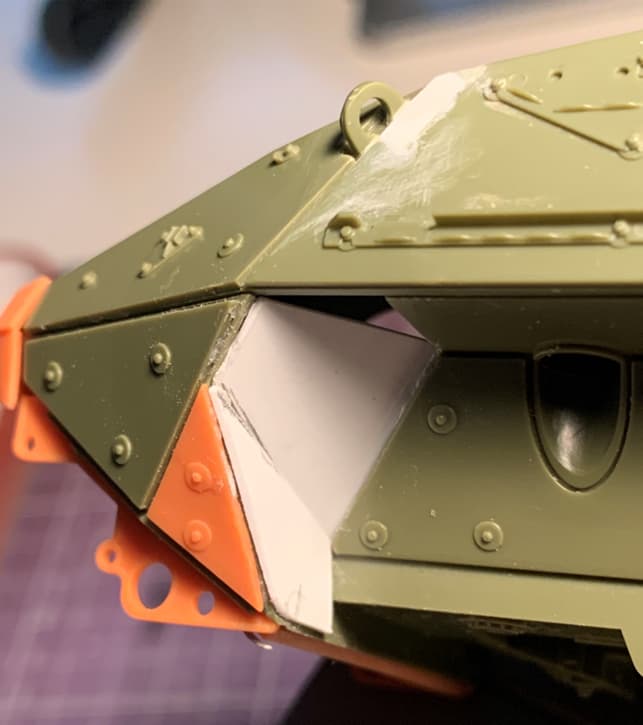
I have then placed the panels from my conversion set (the two white panels are mockups in plasticard, not the final 3D printed parts).
4 Likes
This is awesome. Is the conversion set a 3D print? Is the file shareable or for sale?
1 Like
The “Striker DVH conversion set” is going to be soon available for sale at Seller Profile – 3Dp Train.
If you want to build an A1 version you need also a second set, the “Striker A1 conversion set”, that I will show in this forum thread in the next days and will be available for sale at the same website as above.
P.S. if anyone is interested in my products and is resident in Europe, please contact me because I can print and ship also from inside the EU.
4 Likes
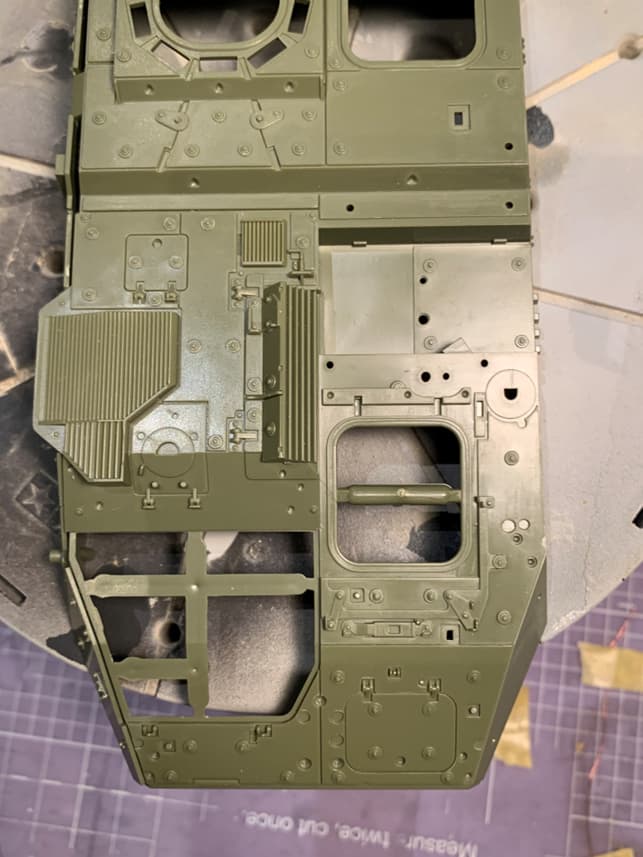
Now, let’s move on modifying the upper hull.
Deep “surgery” is needed because the engine deck of the A1 is completly different than the M1126 and M1130.
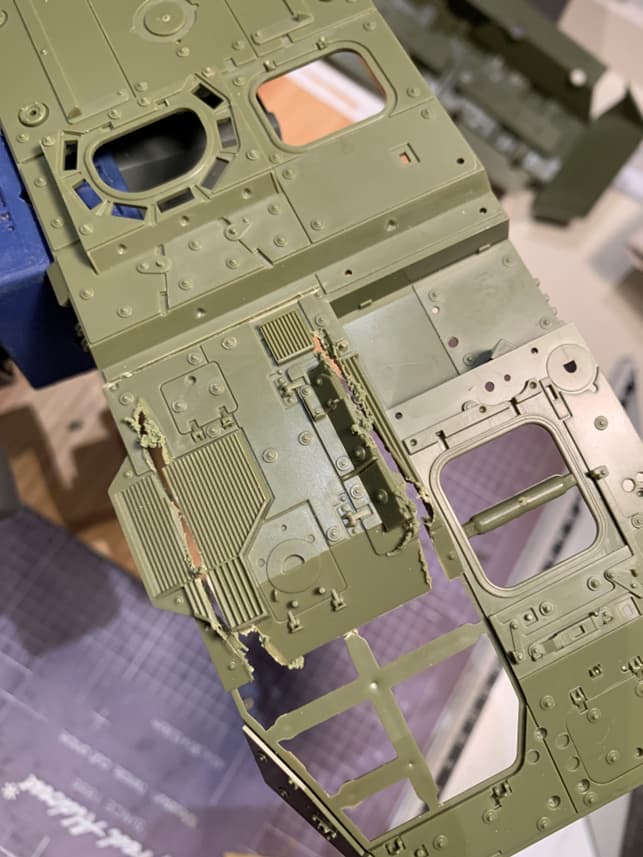
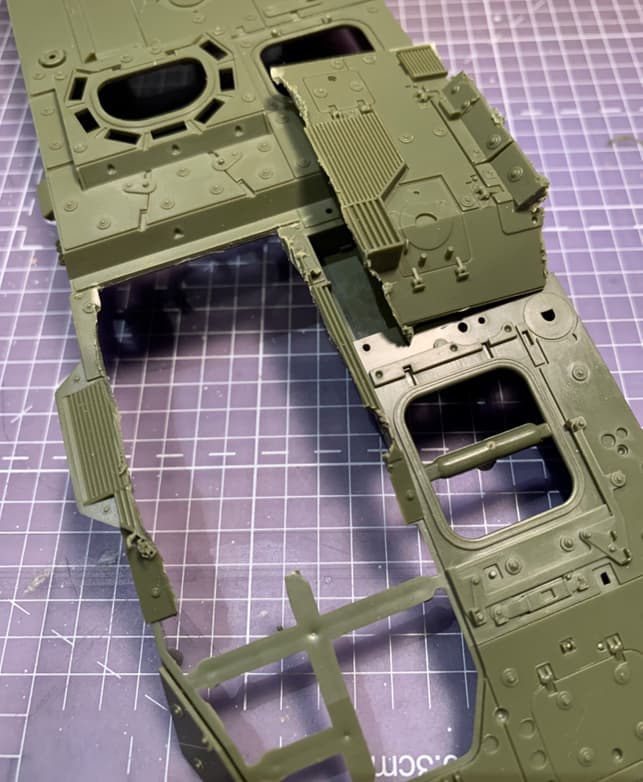
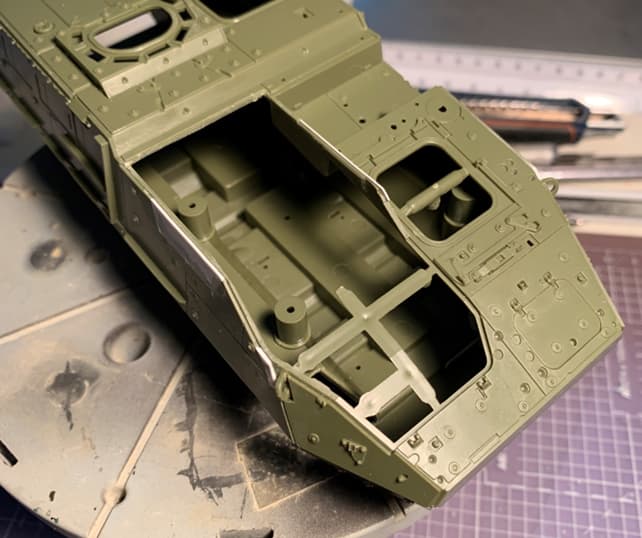
Here are photos of the original hull and of some intermediate “surgery” steps; last picture shows the upper hull ready to receive the new engine deck.
To make this “surgery” I used a Dremel with a PVC cutting disc, an X-Acto cutter and sand paper.
3 Likes
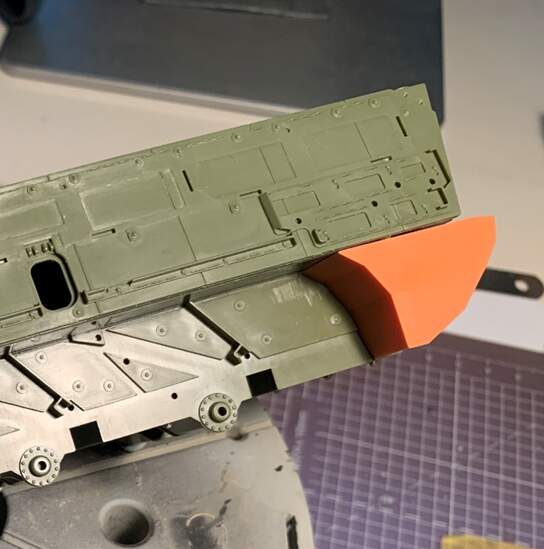
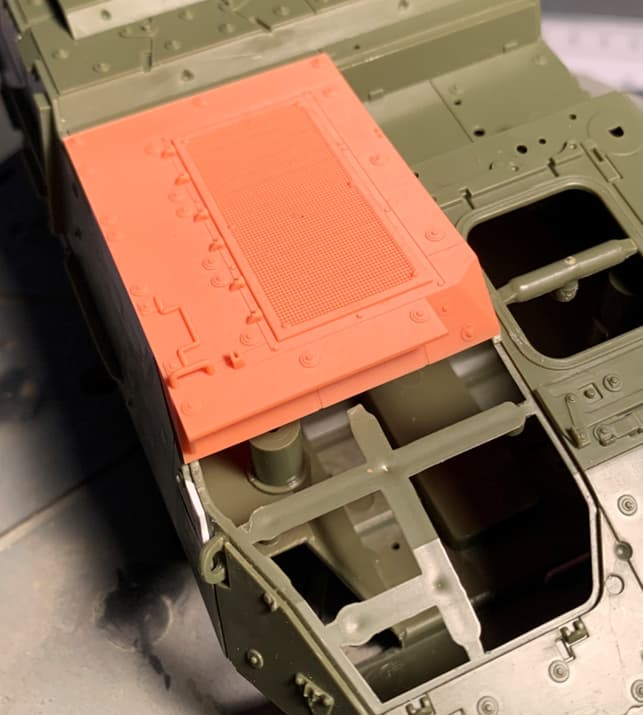
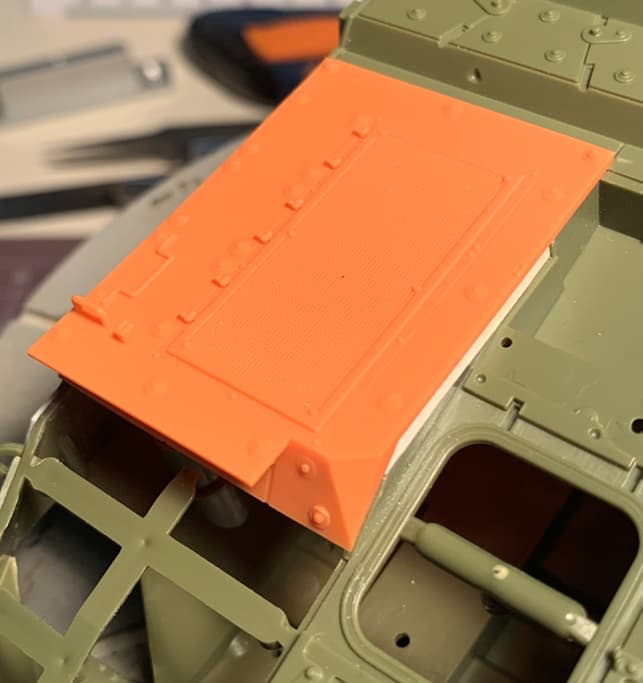
And here photos with the new engine deck in place
7 Likes
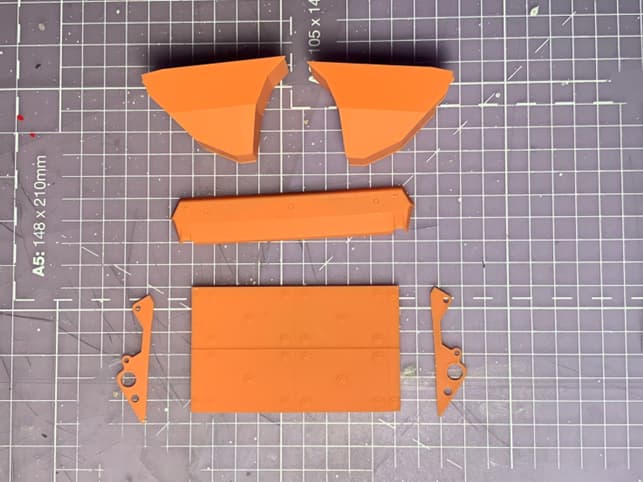
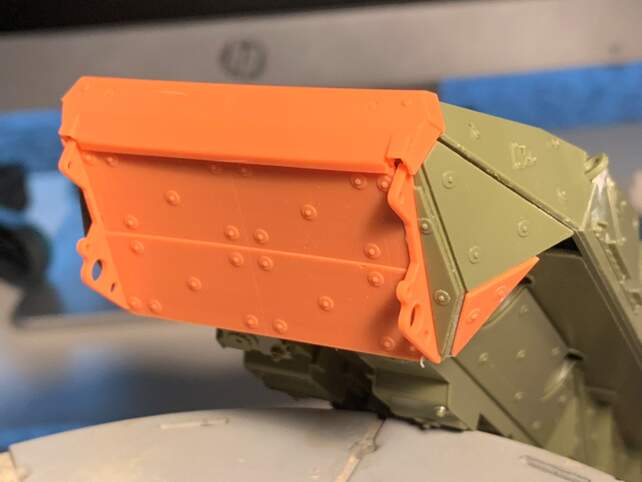
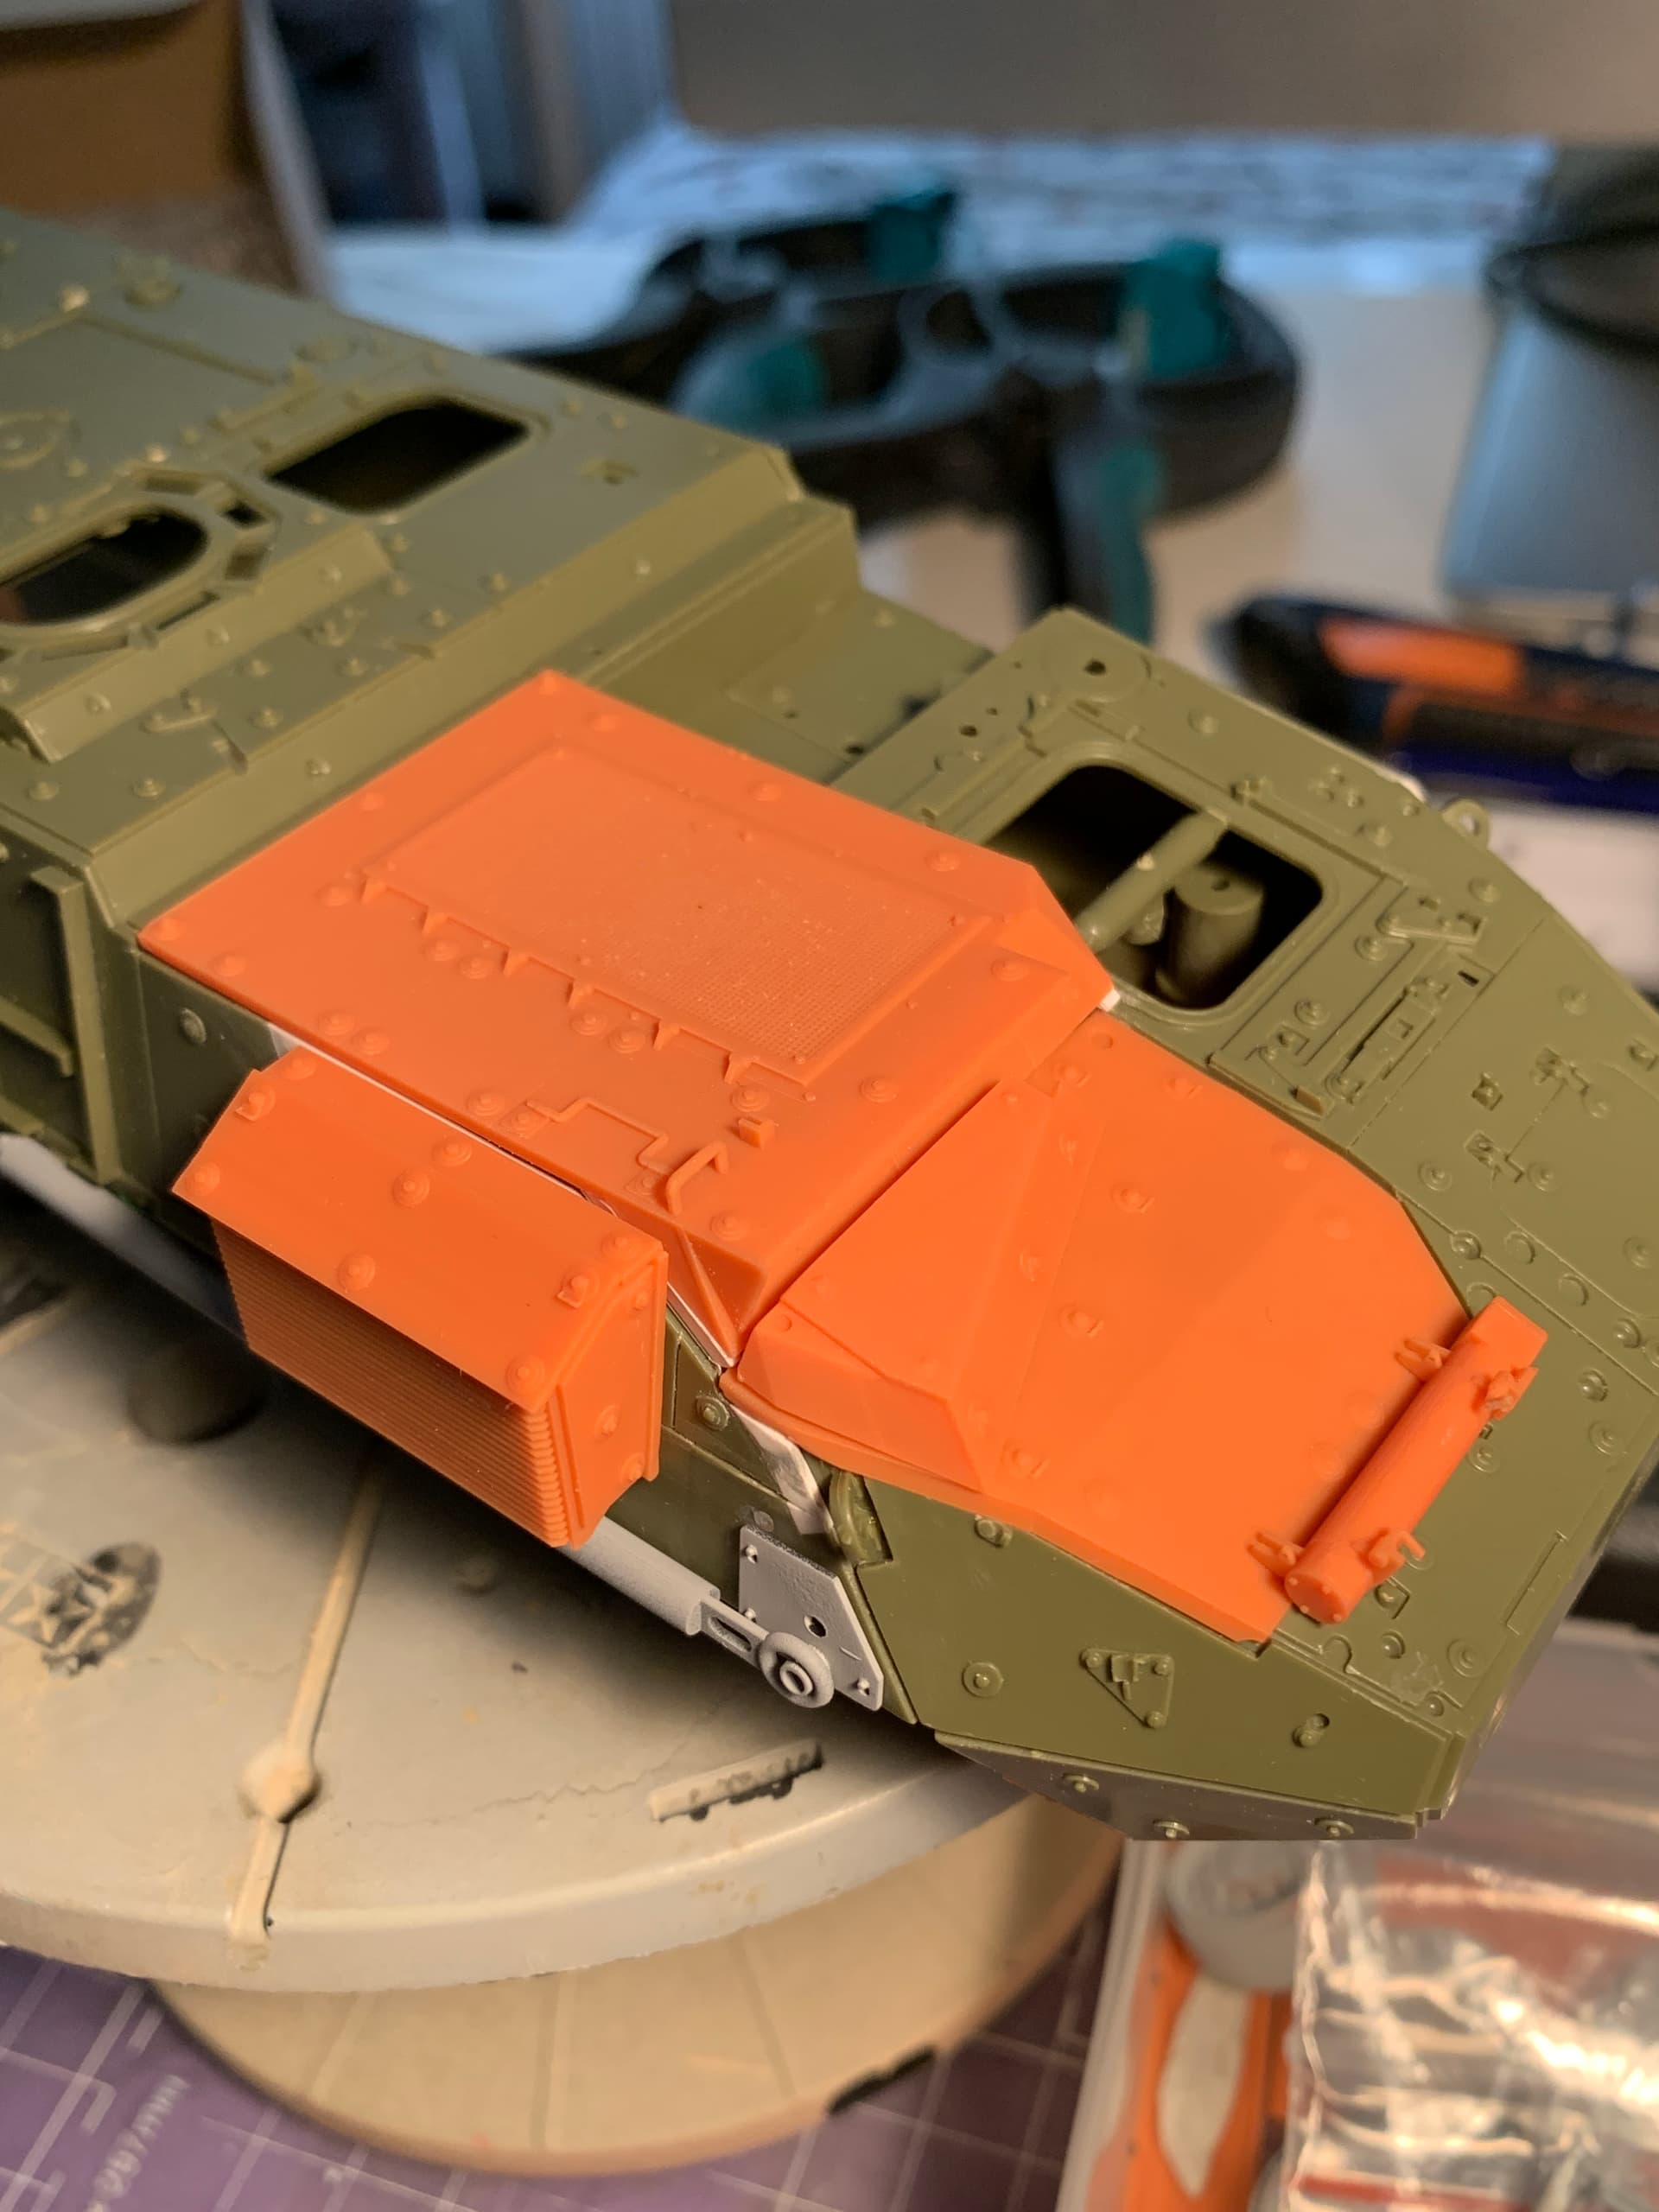
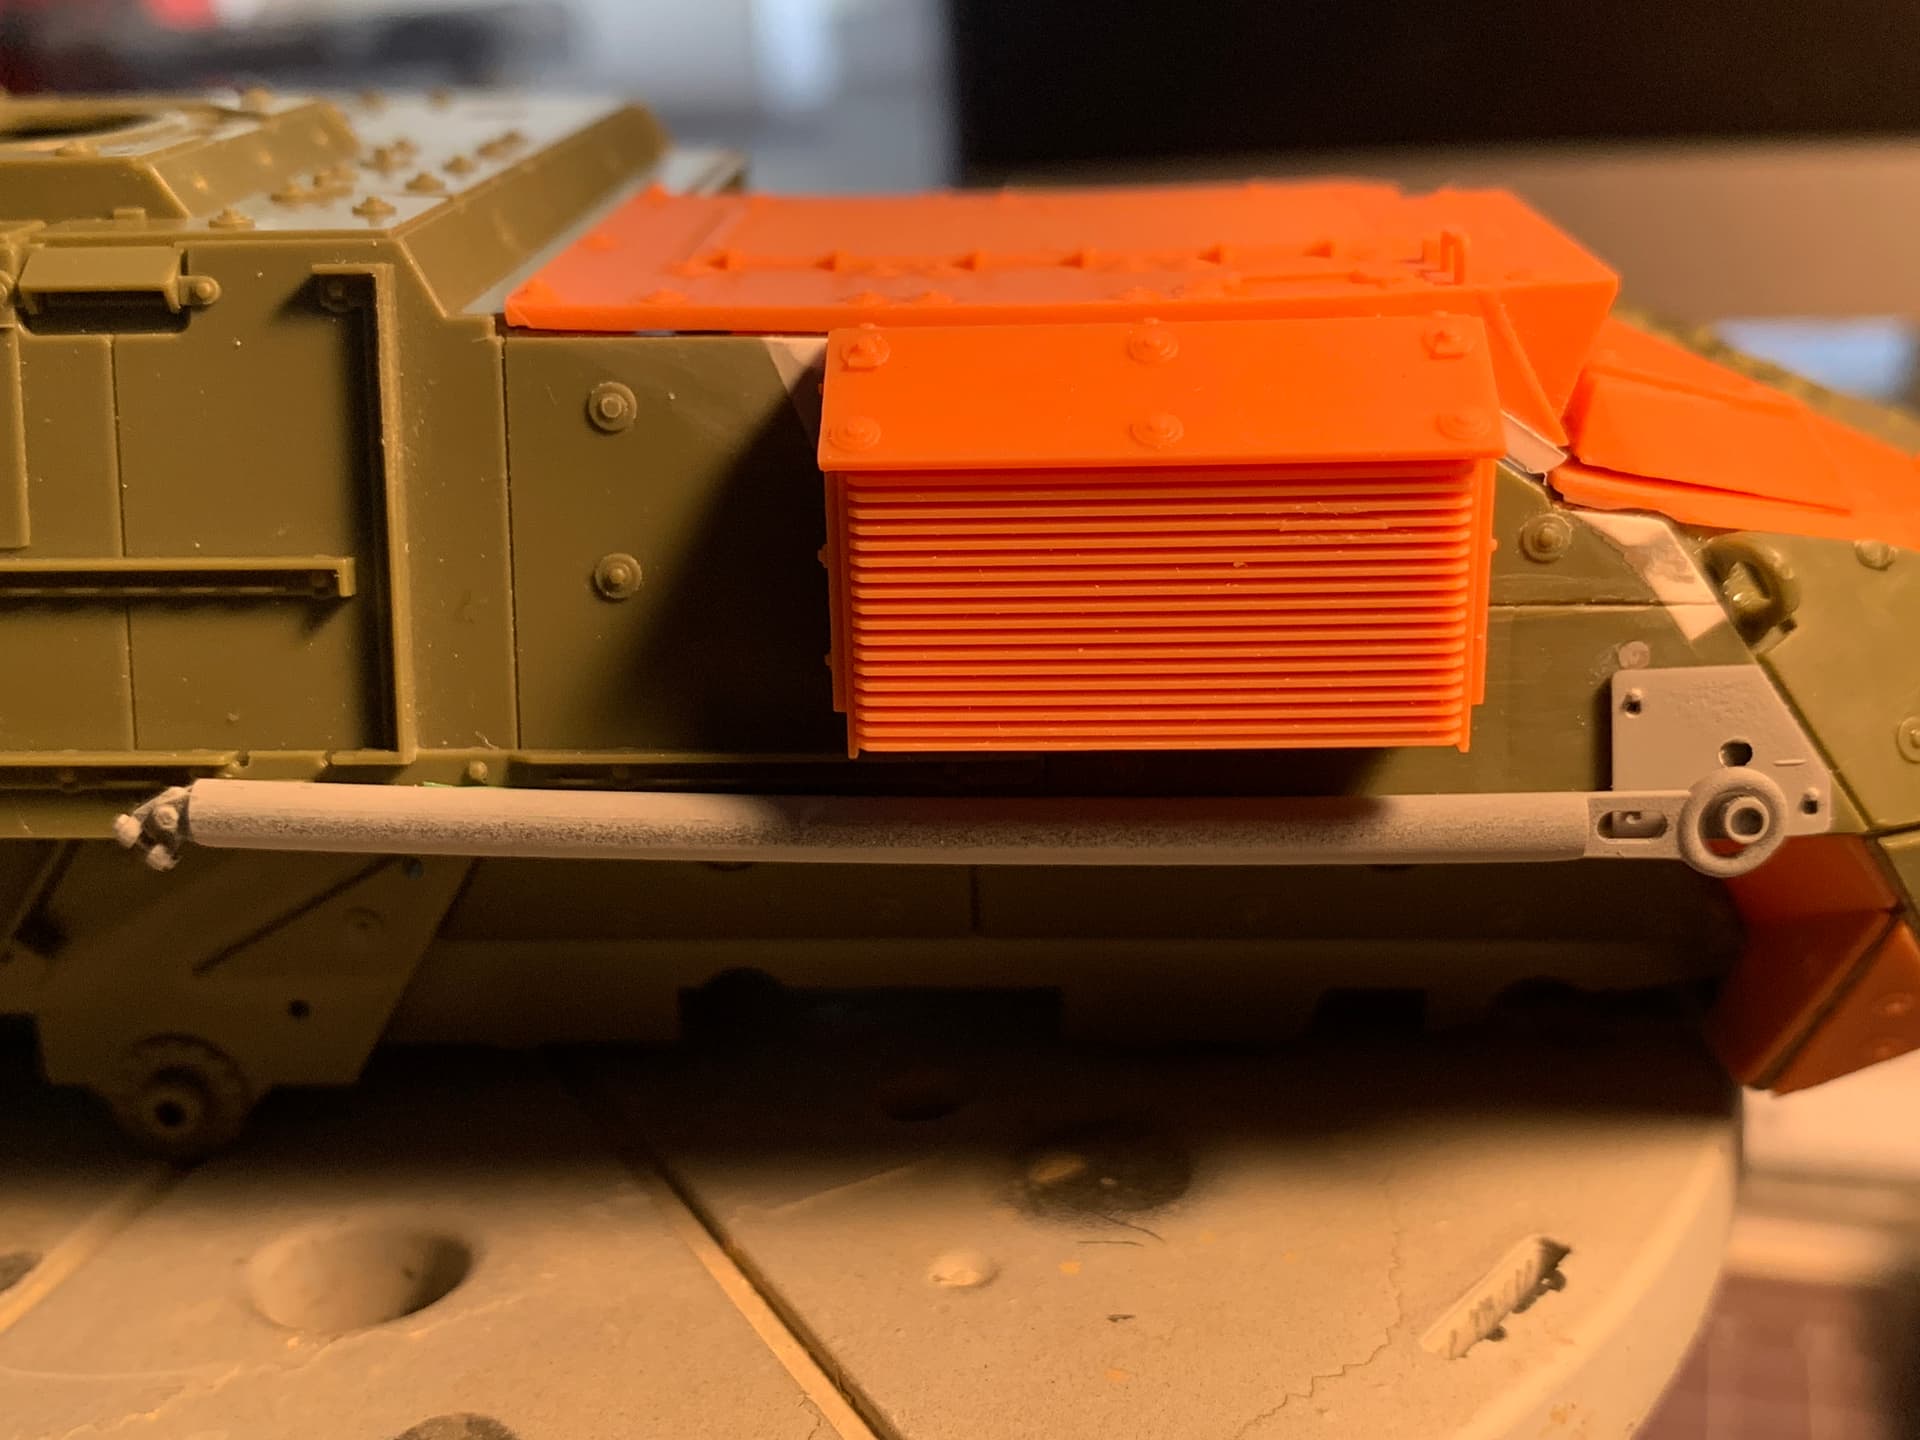
All the conversion parts in place now but not yet glued: engine hatch, hydraulic hinge, external unit
5 Likes
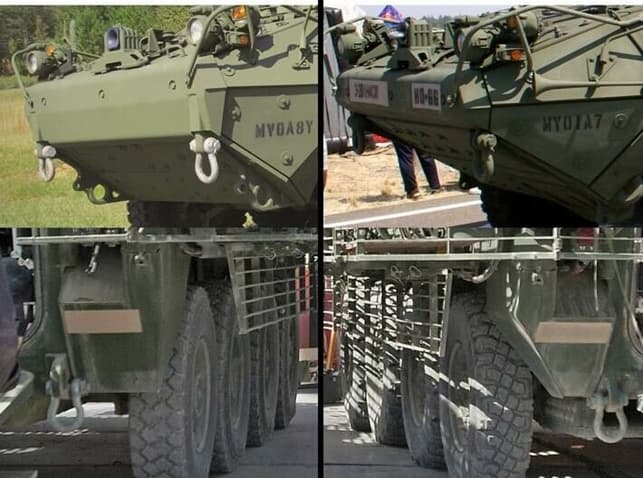
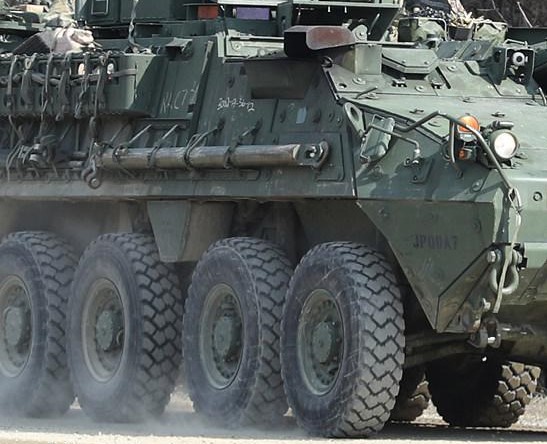
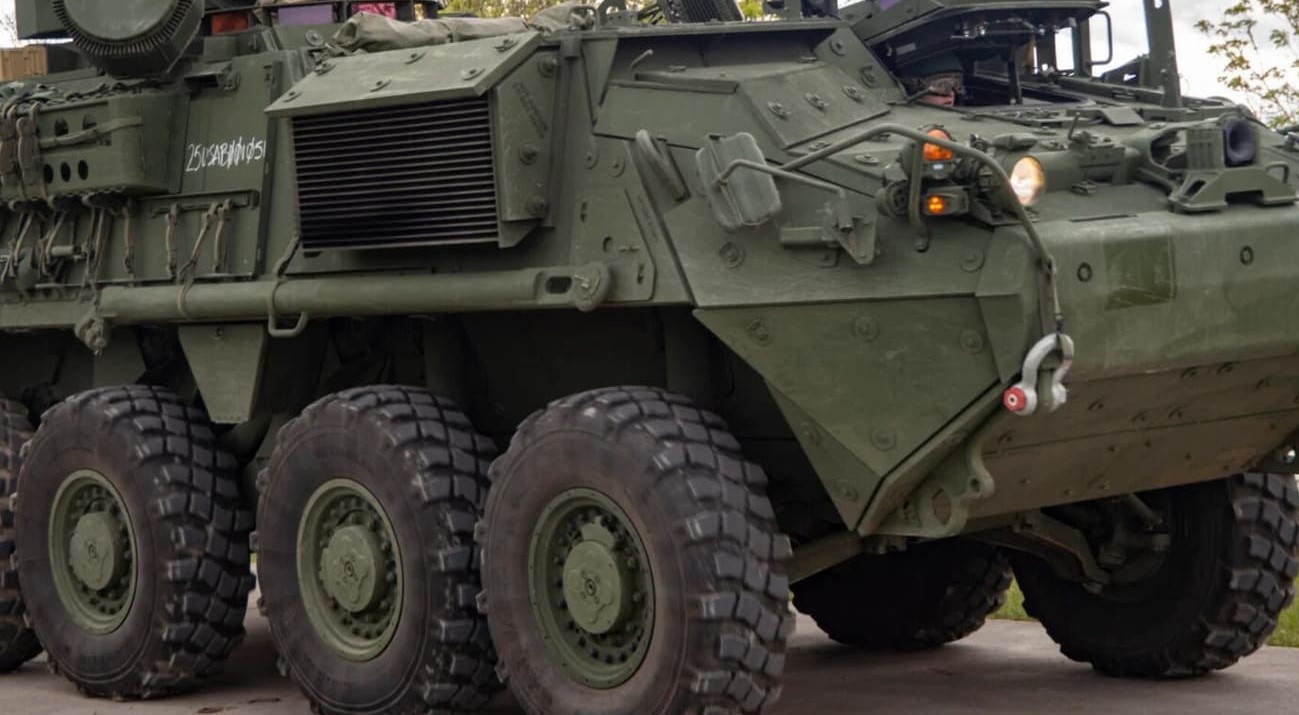
Another difference between the A1 version, the original one and the DVH one, is the position of the tow bar on the right side of the vehicle.
In the A1, due to the presence of the external unit, the tow bar has been moved downwards (see photos).
In my model I therefore removed the tow bar attachment plate and added a new one, designed by me; both the tow bar and the attachment plate will be included in my conversion set.
6 Likes
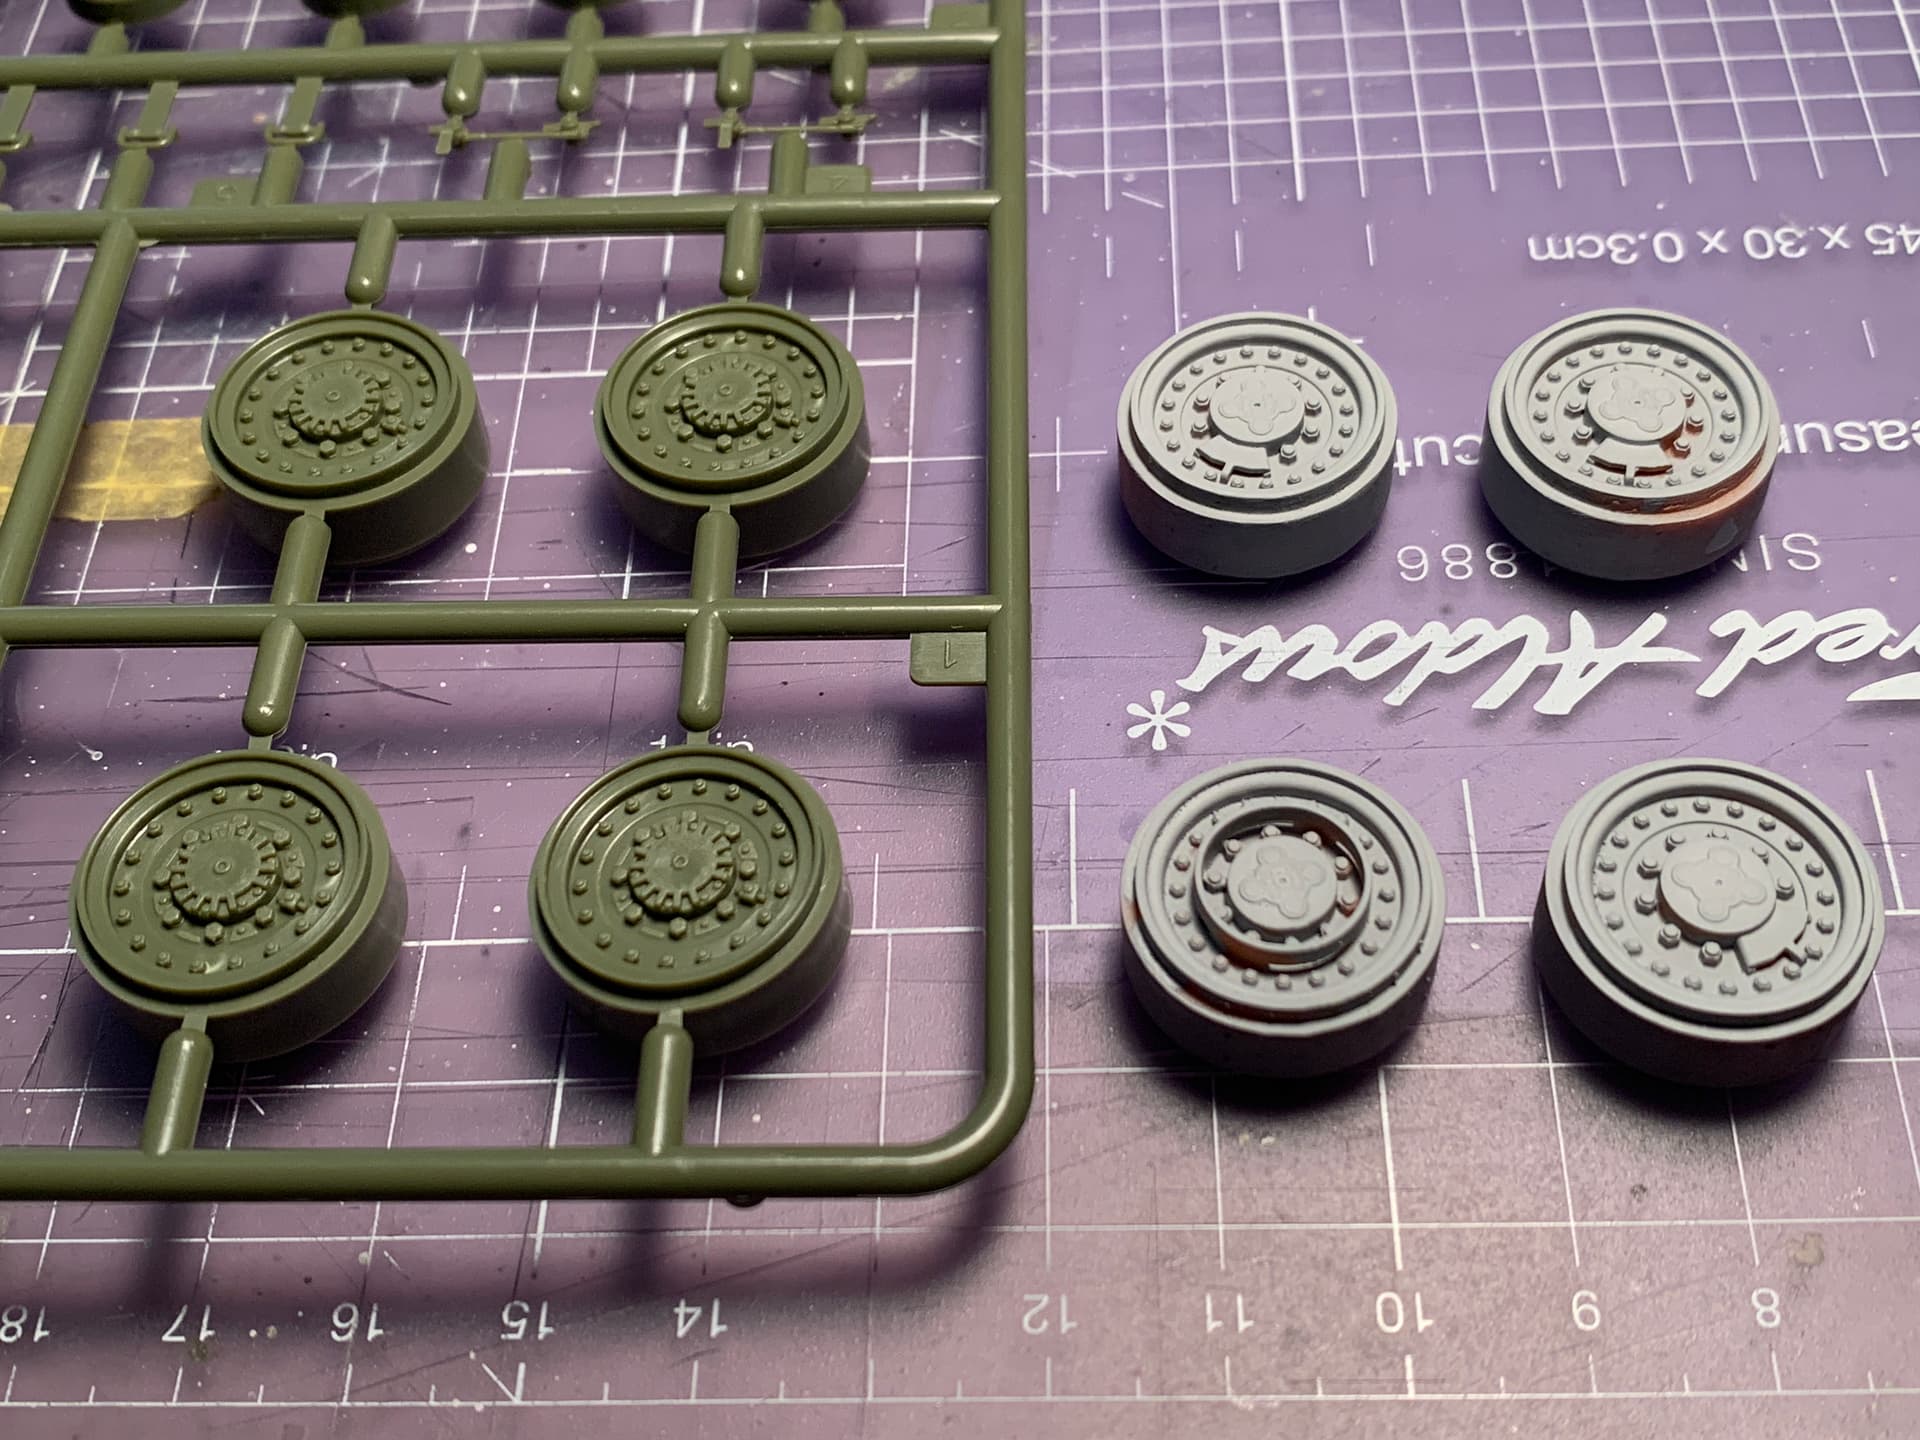
The A1 version of the Stryker has different rims than the previous versions.
In the photo, on the left are the rims of the old versions, on the right are the ones I designed and printed for the A1 version.
Note that the new rim on the bottom left is slightly different from the others; it is the one that goes on the driver’s side, in the first position.
6 Likes
Outstanding looking parts.
2 Likes
Everything looking great so far. Keep doing this and I will have no choice, but to build a second Stryker, using your updated parts. 
3 Likes
Nice work you have going there.
Lots of cutting ect, Not really my cup of thea.
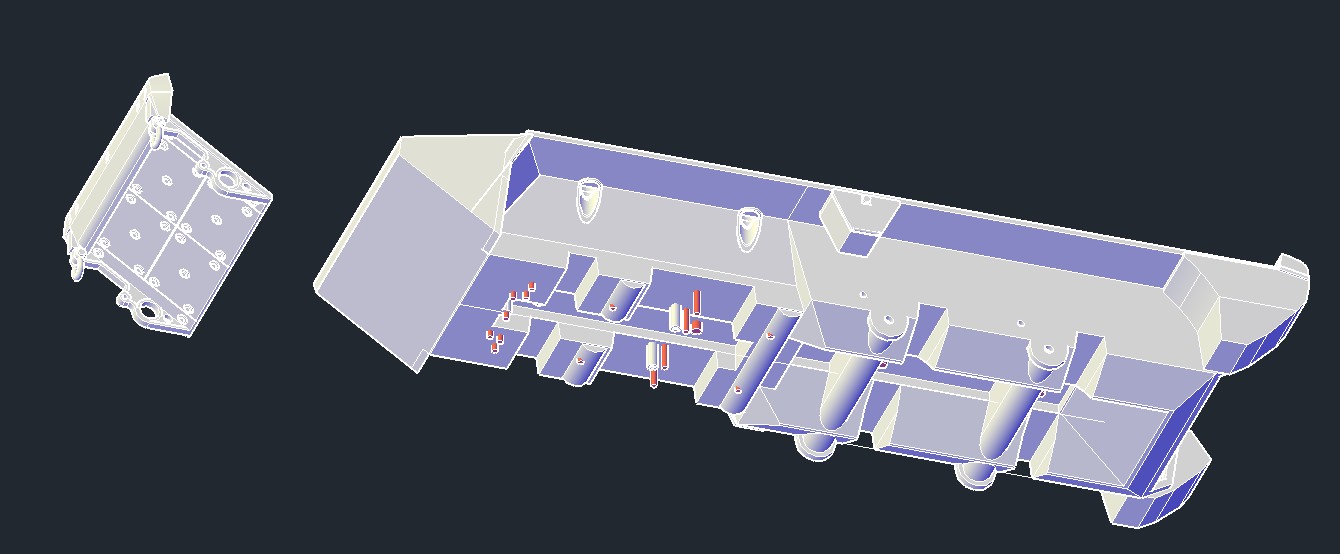
I’m going to redesign and print the whole bottom part for the Trumpeter kits.
Red is where the holes are.
5 Likes