
Sorry for the cryptic reference. The sci-fi movie series Star Wars and the follow on series The Mandalorian includes little scavenger creatures called Jawas that strip old or abandon vehicles. The Jawas are a nasty lot! LOL see the films
I think the cryptic reference HermannB mentions is re Ezra’s ‘Double Double’… which to the rest of us is a coffee with 2 serves of sugar and 2 serves of cream.
Slang not as well known as Coffee (or Tea) with milk and 2 sugar which from the 1950’s became very commonly referred to as 'NATO Standard".
2 Likes

Minor progress.
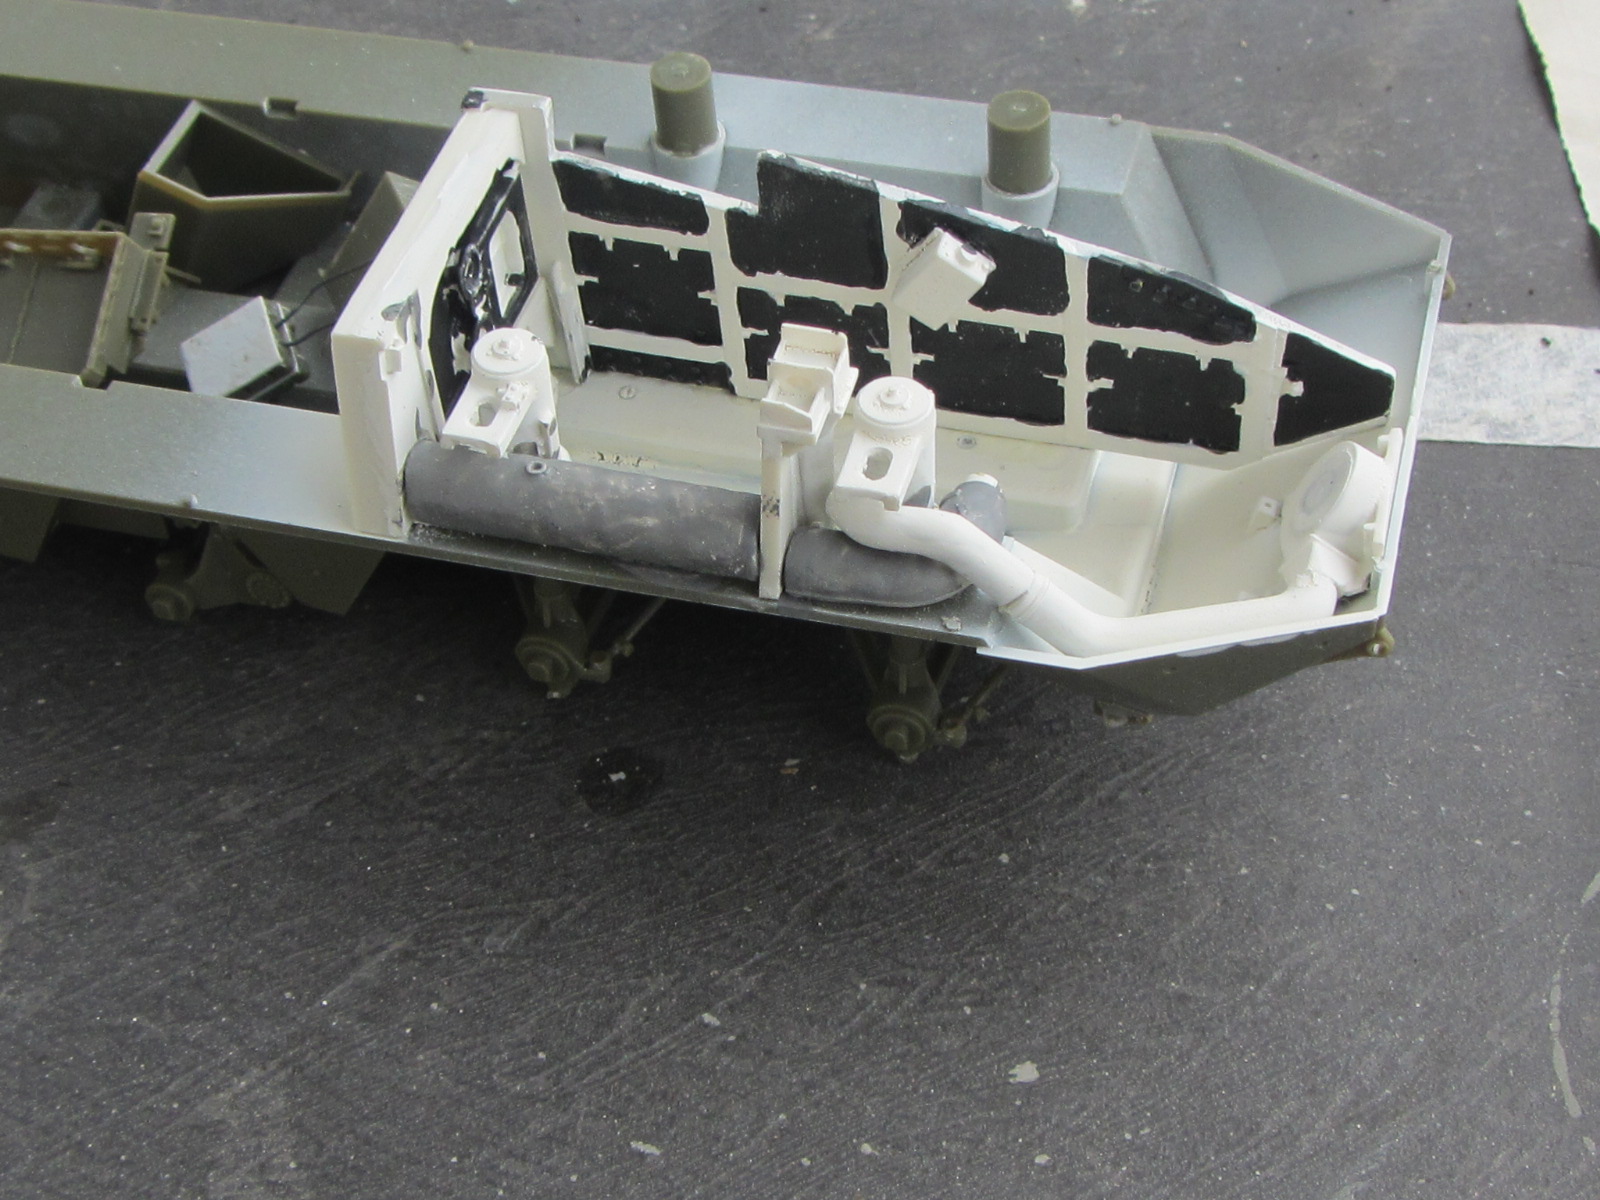

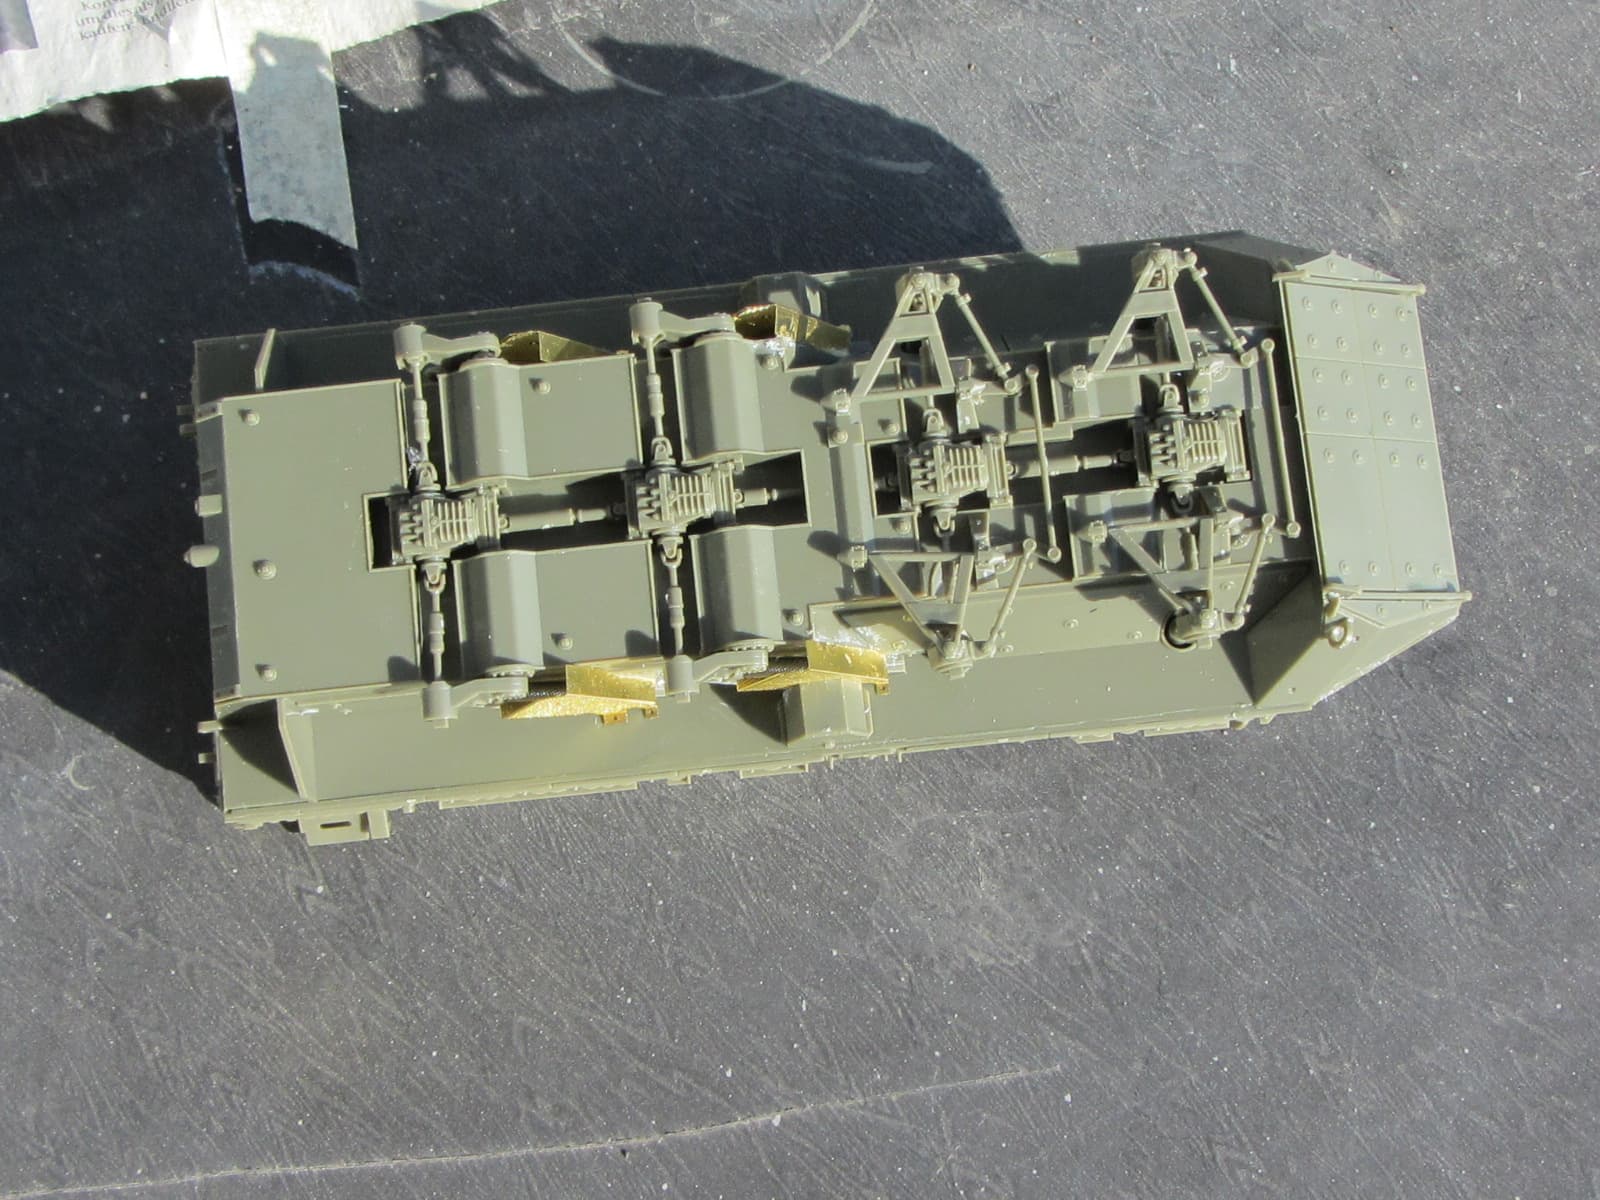
Engine compartment finished.

Not much to see of the compartment.

First try on brake lines.
3 Likes
Very nice work. It is a shame so much of the detail is covered, but you know and we know it’s there, and the work that went into it. Well done 
And the finished kit will show a view not often seen so that’s an added bonus.
All very nice builds indeed, especially that driver’s compartment armor.
Legend used some of my walk around photos for the painting guide. Unfortunately they could not include more - there’s more to see if you remove more panels.

Hermann - I like your engine compartment but I find the Caterpillar Yellow to be very much on the green side. It’s late now but I find Union Pacific Armor Yellow to be a fair match - not perfect, but at least looks good straight from the bottle.
1 Like
Rob, I used Tamiya Yellow-Green OOTB. I have to do much more work on the kit (i.e. brake lines) so I don´t care to much about the engine. Somehow I knew that the pics in the instructions are from you. 
I think that Lee is very grateful to have such references.
Double double? Don’t you mean Canadian-grade rocket fuel?
1 Like
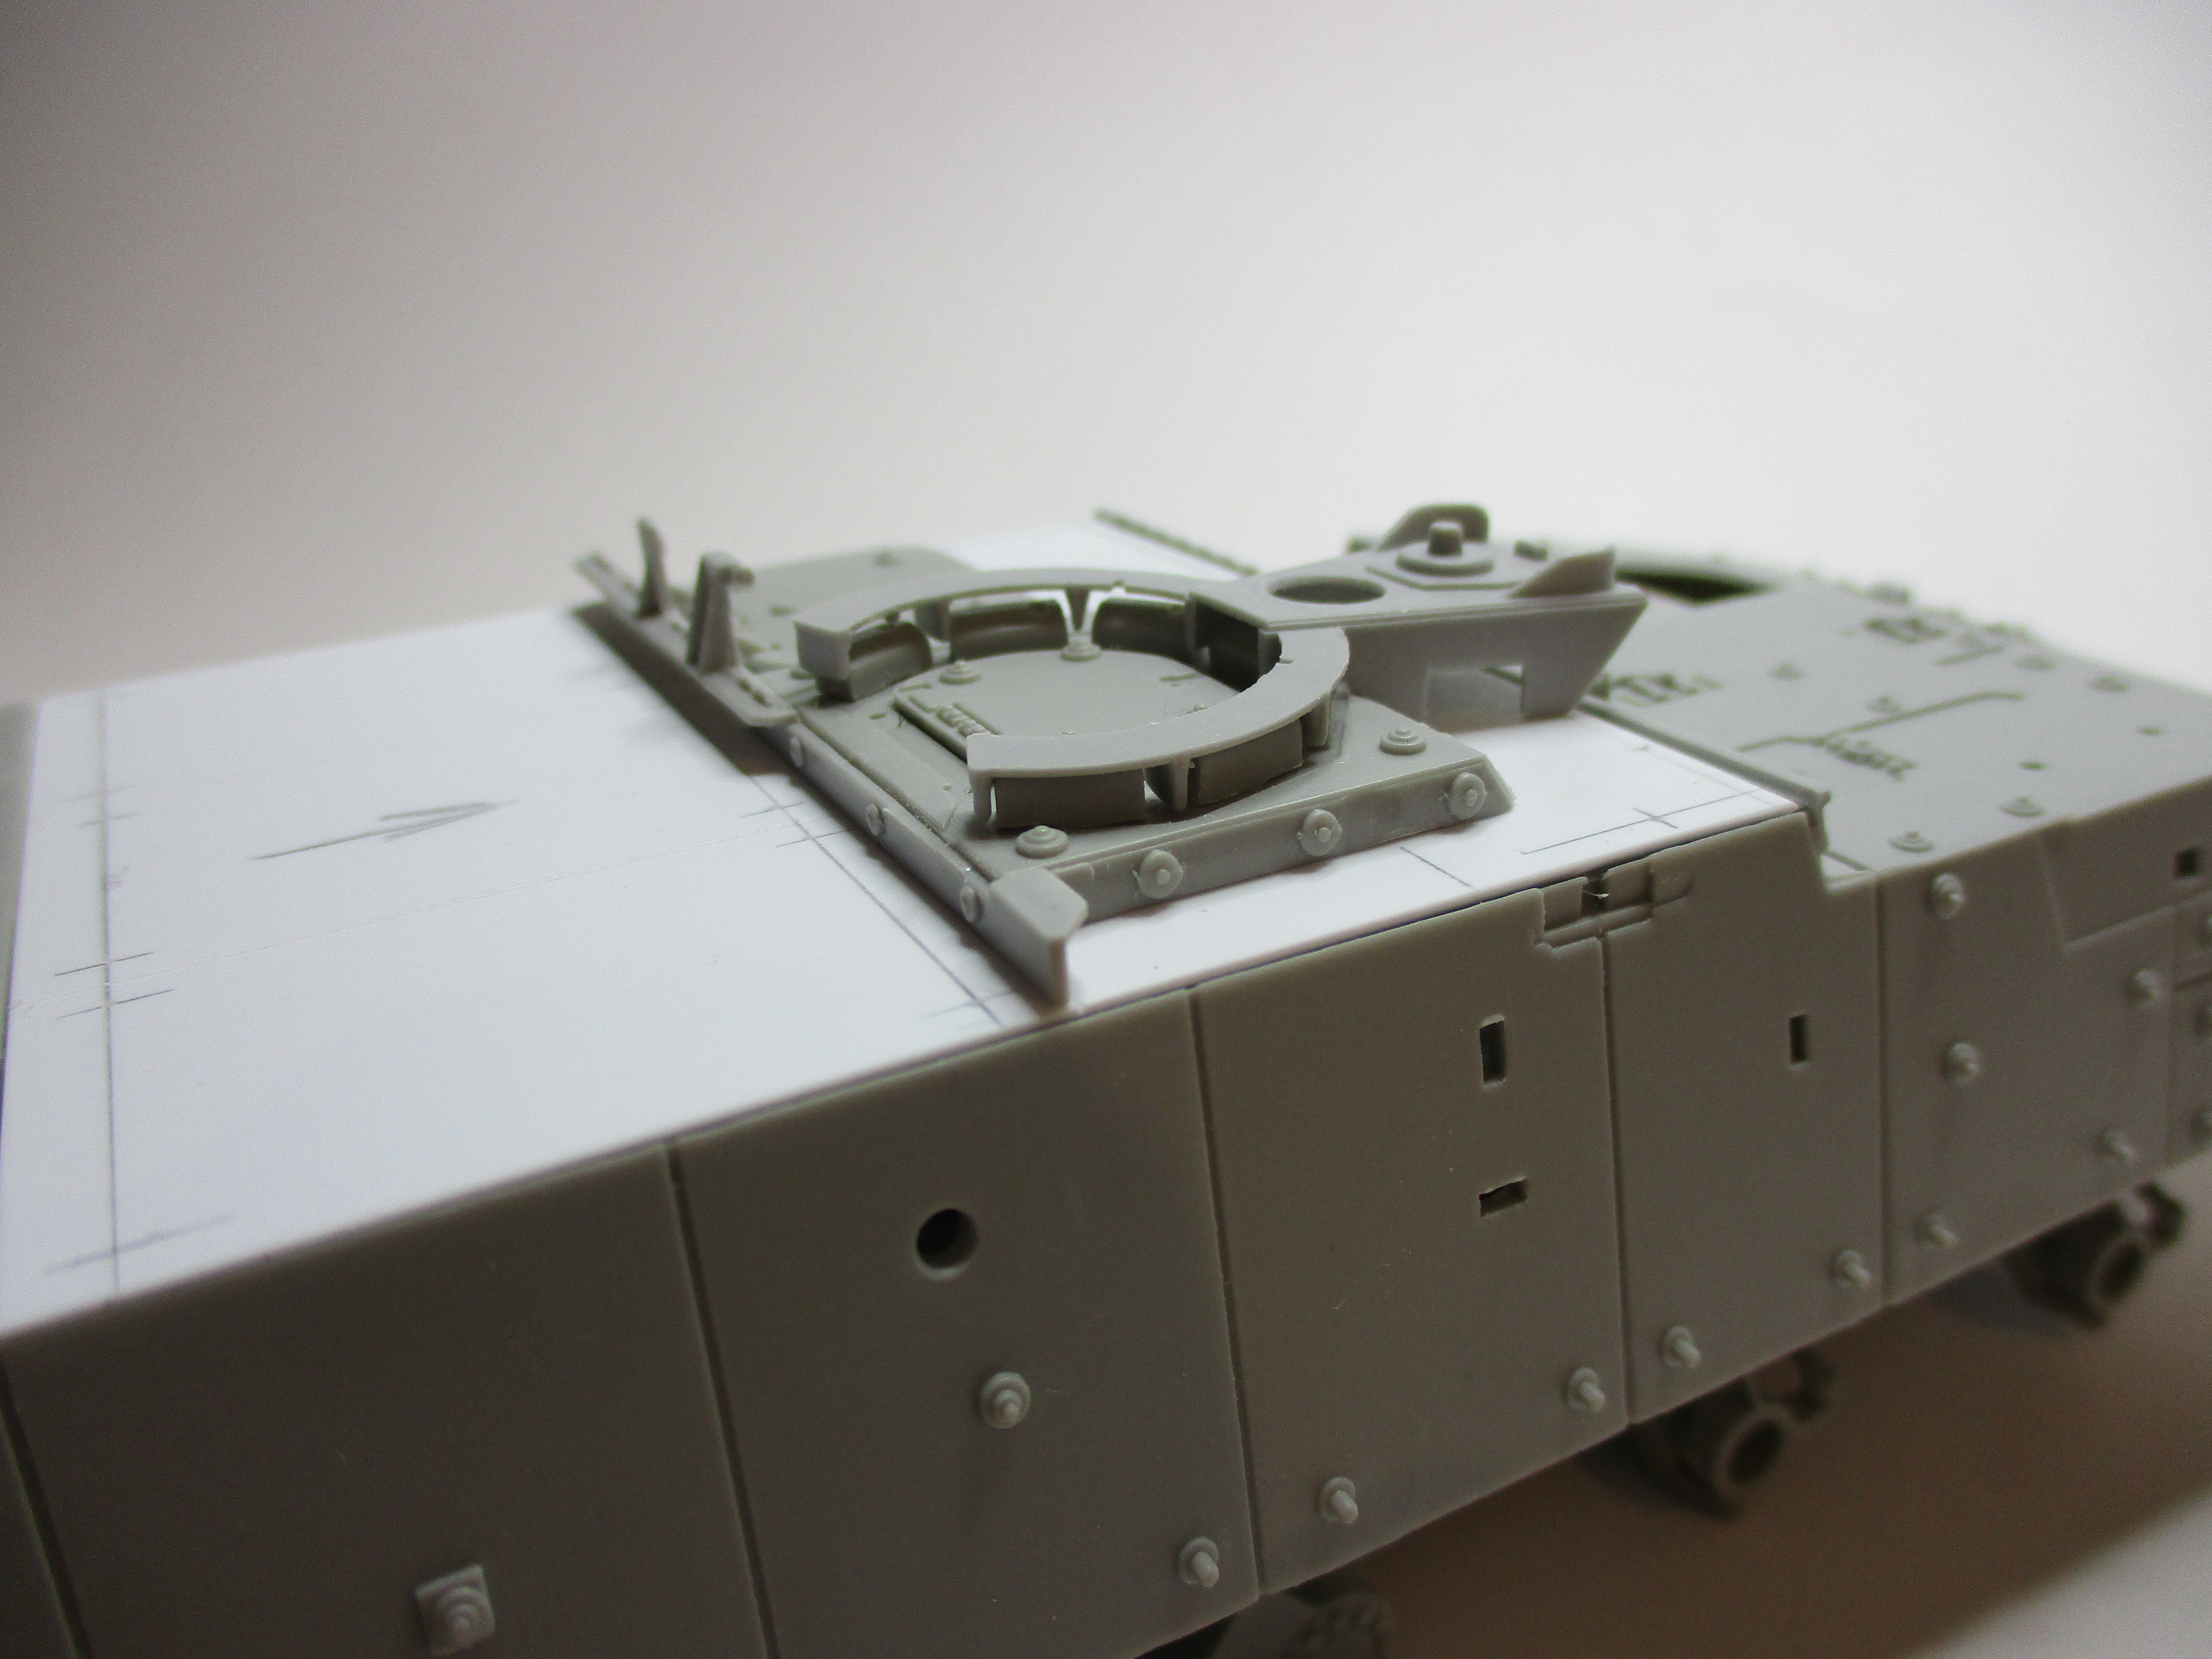
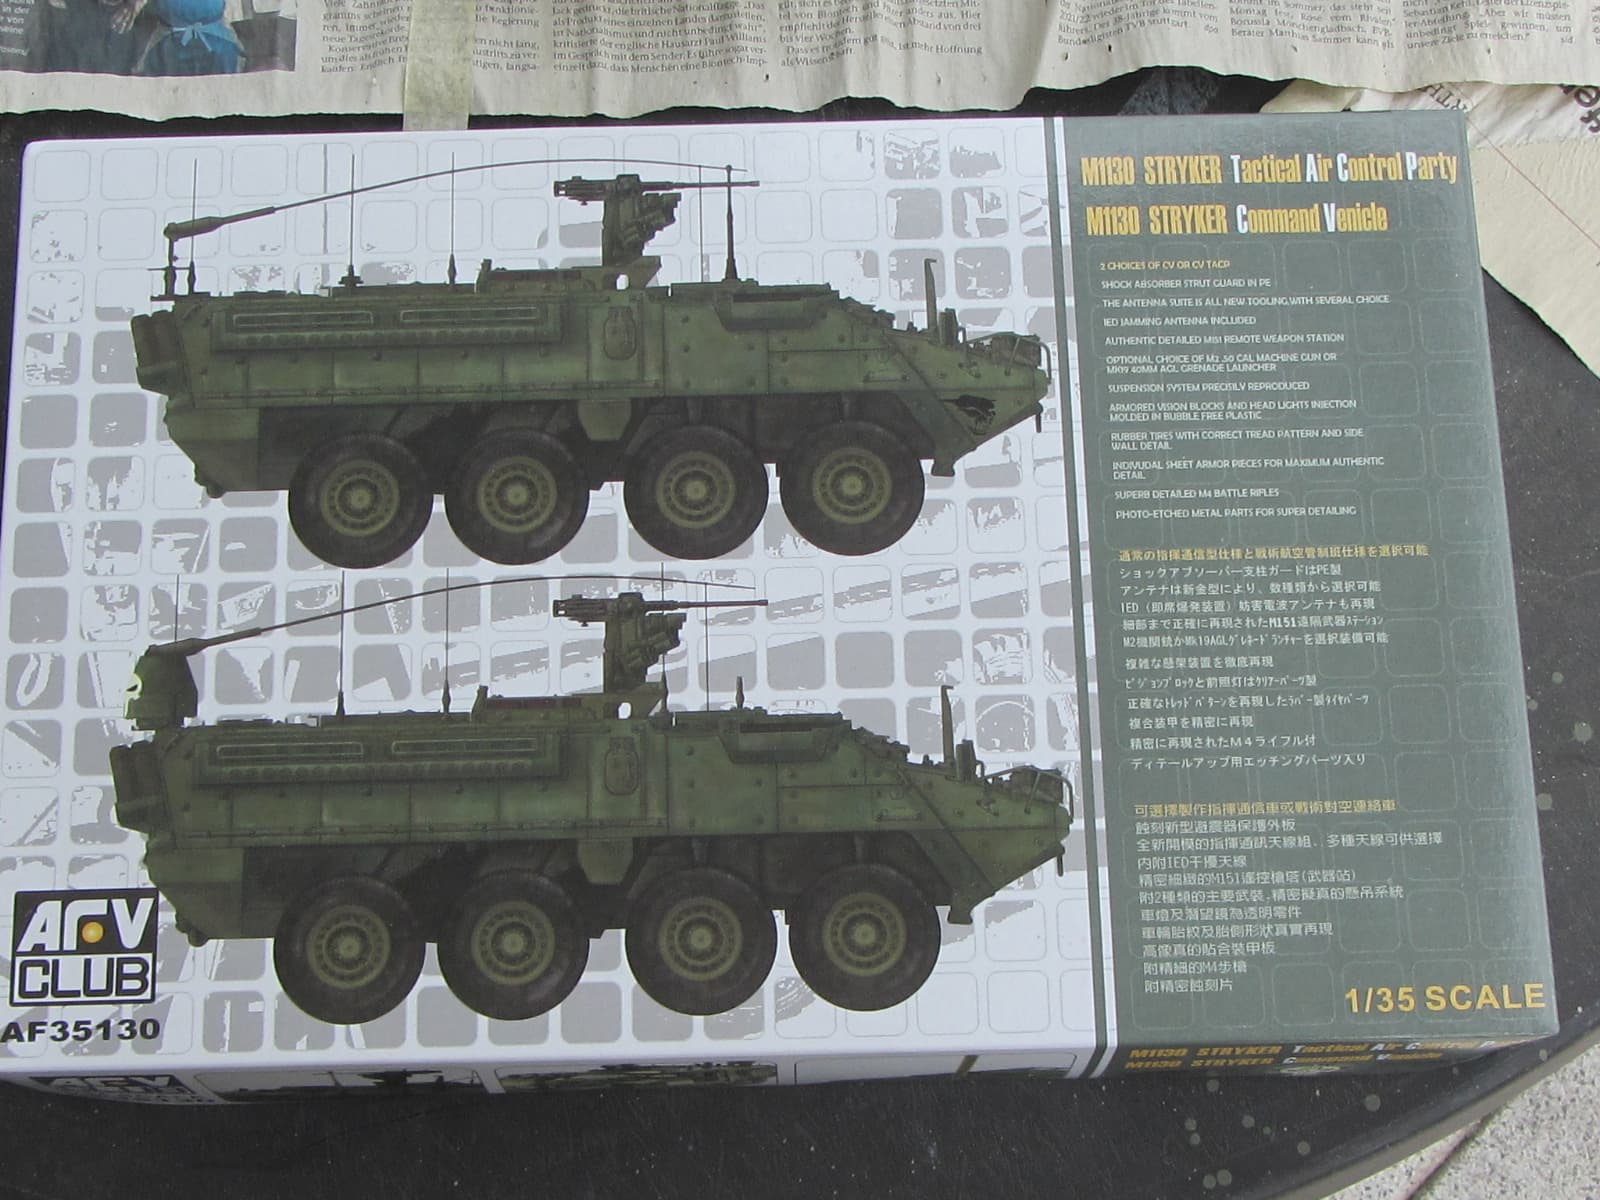
Now, the actual transformation from a “Trumpeter M11127 reconnaissance vehicle” into a “M1126 Stryker Infantry Carrier Vehicle – Scout (ICV-S)” started:
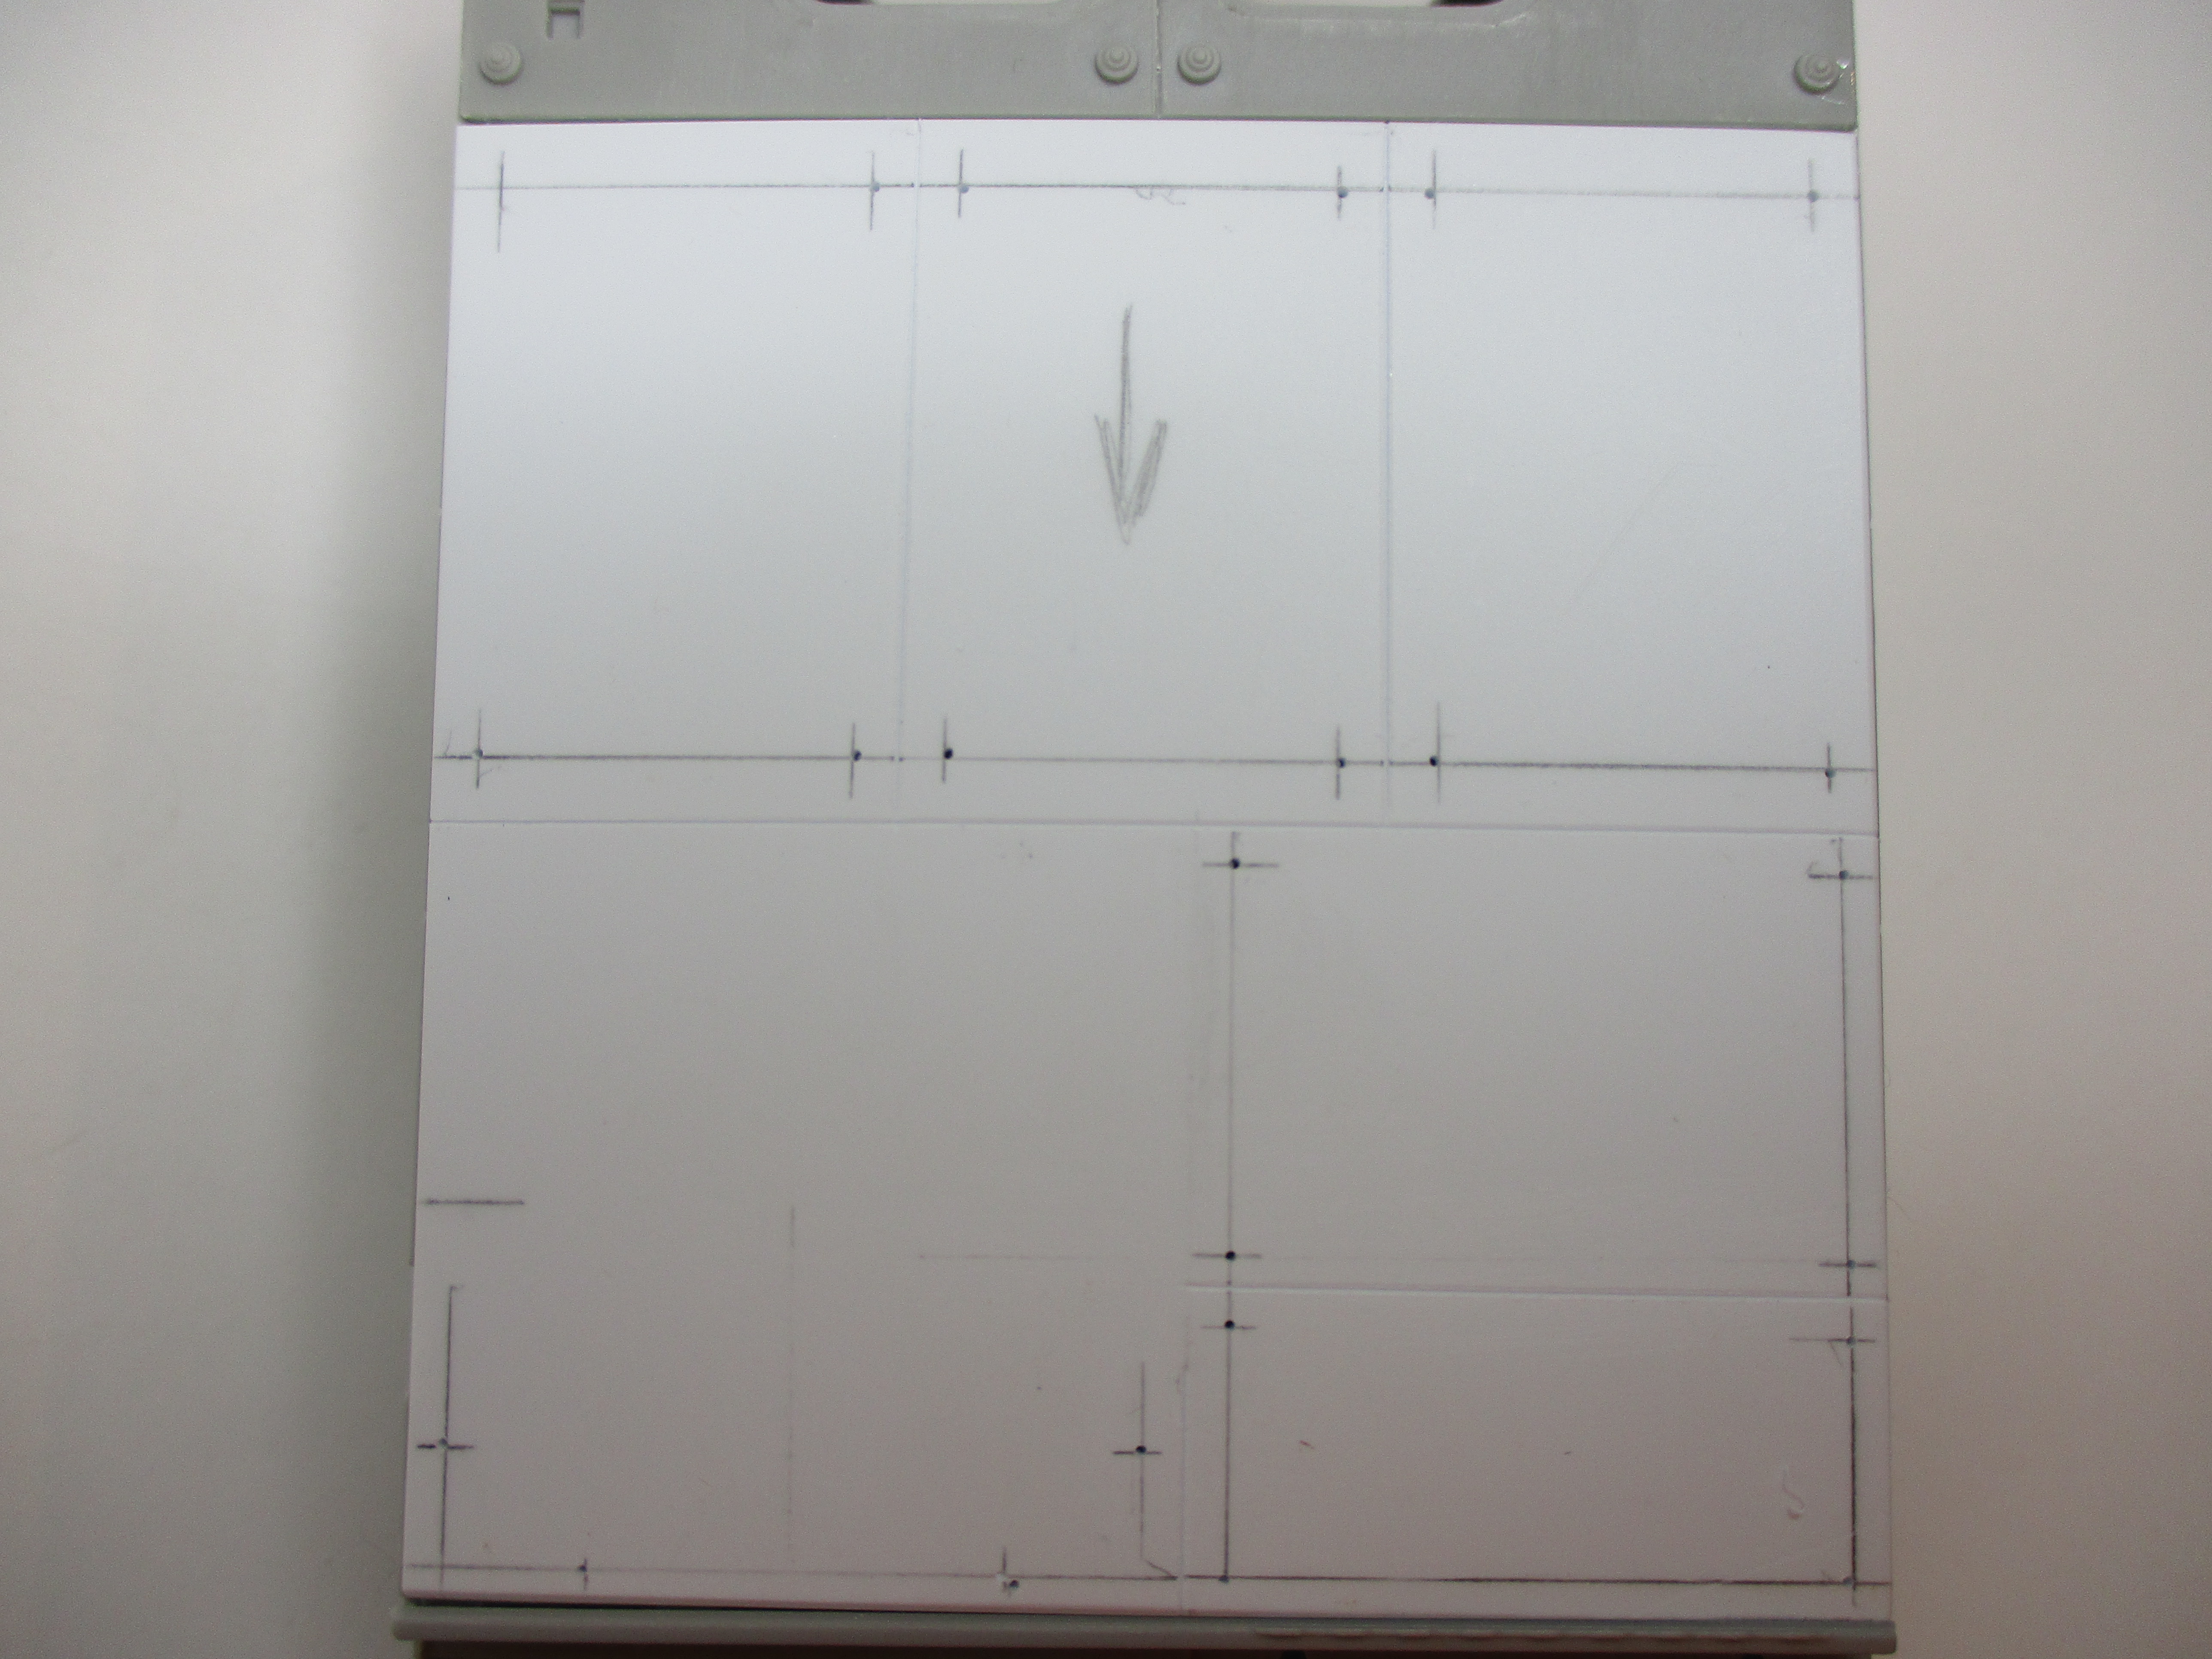
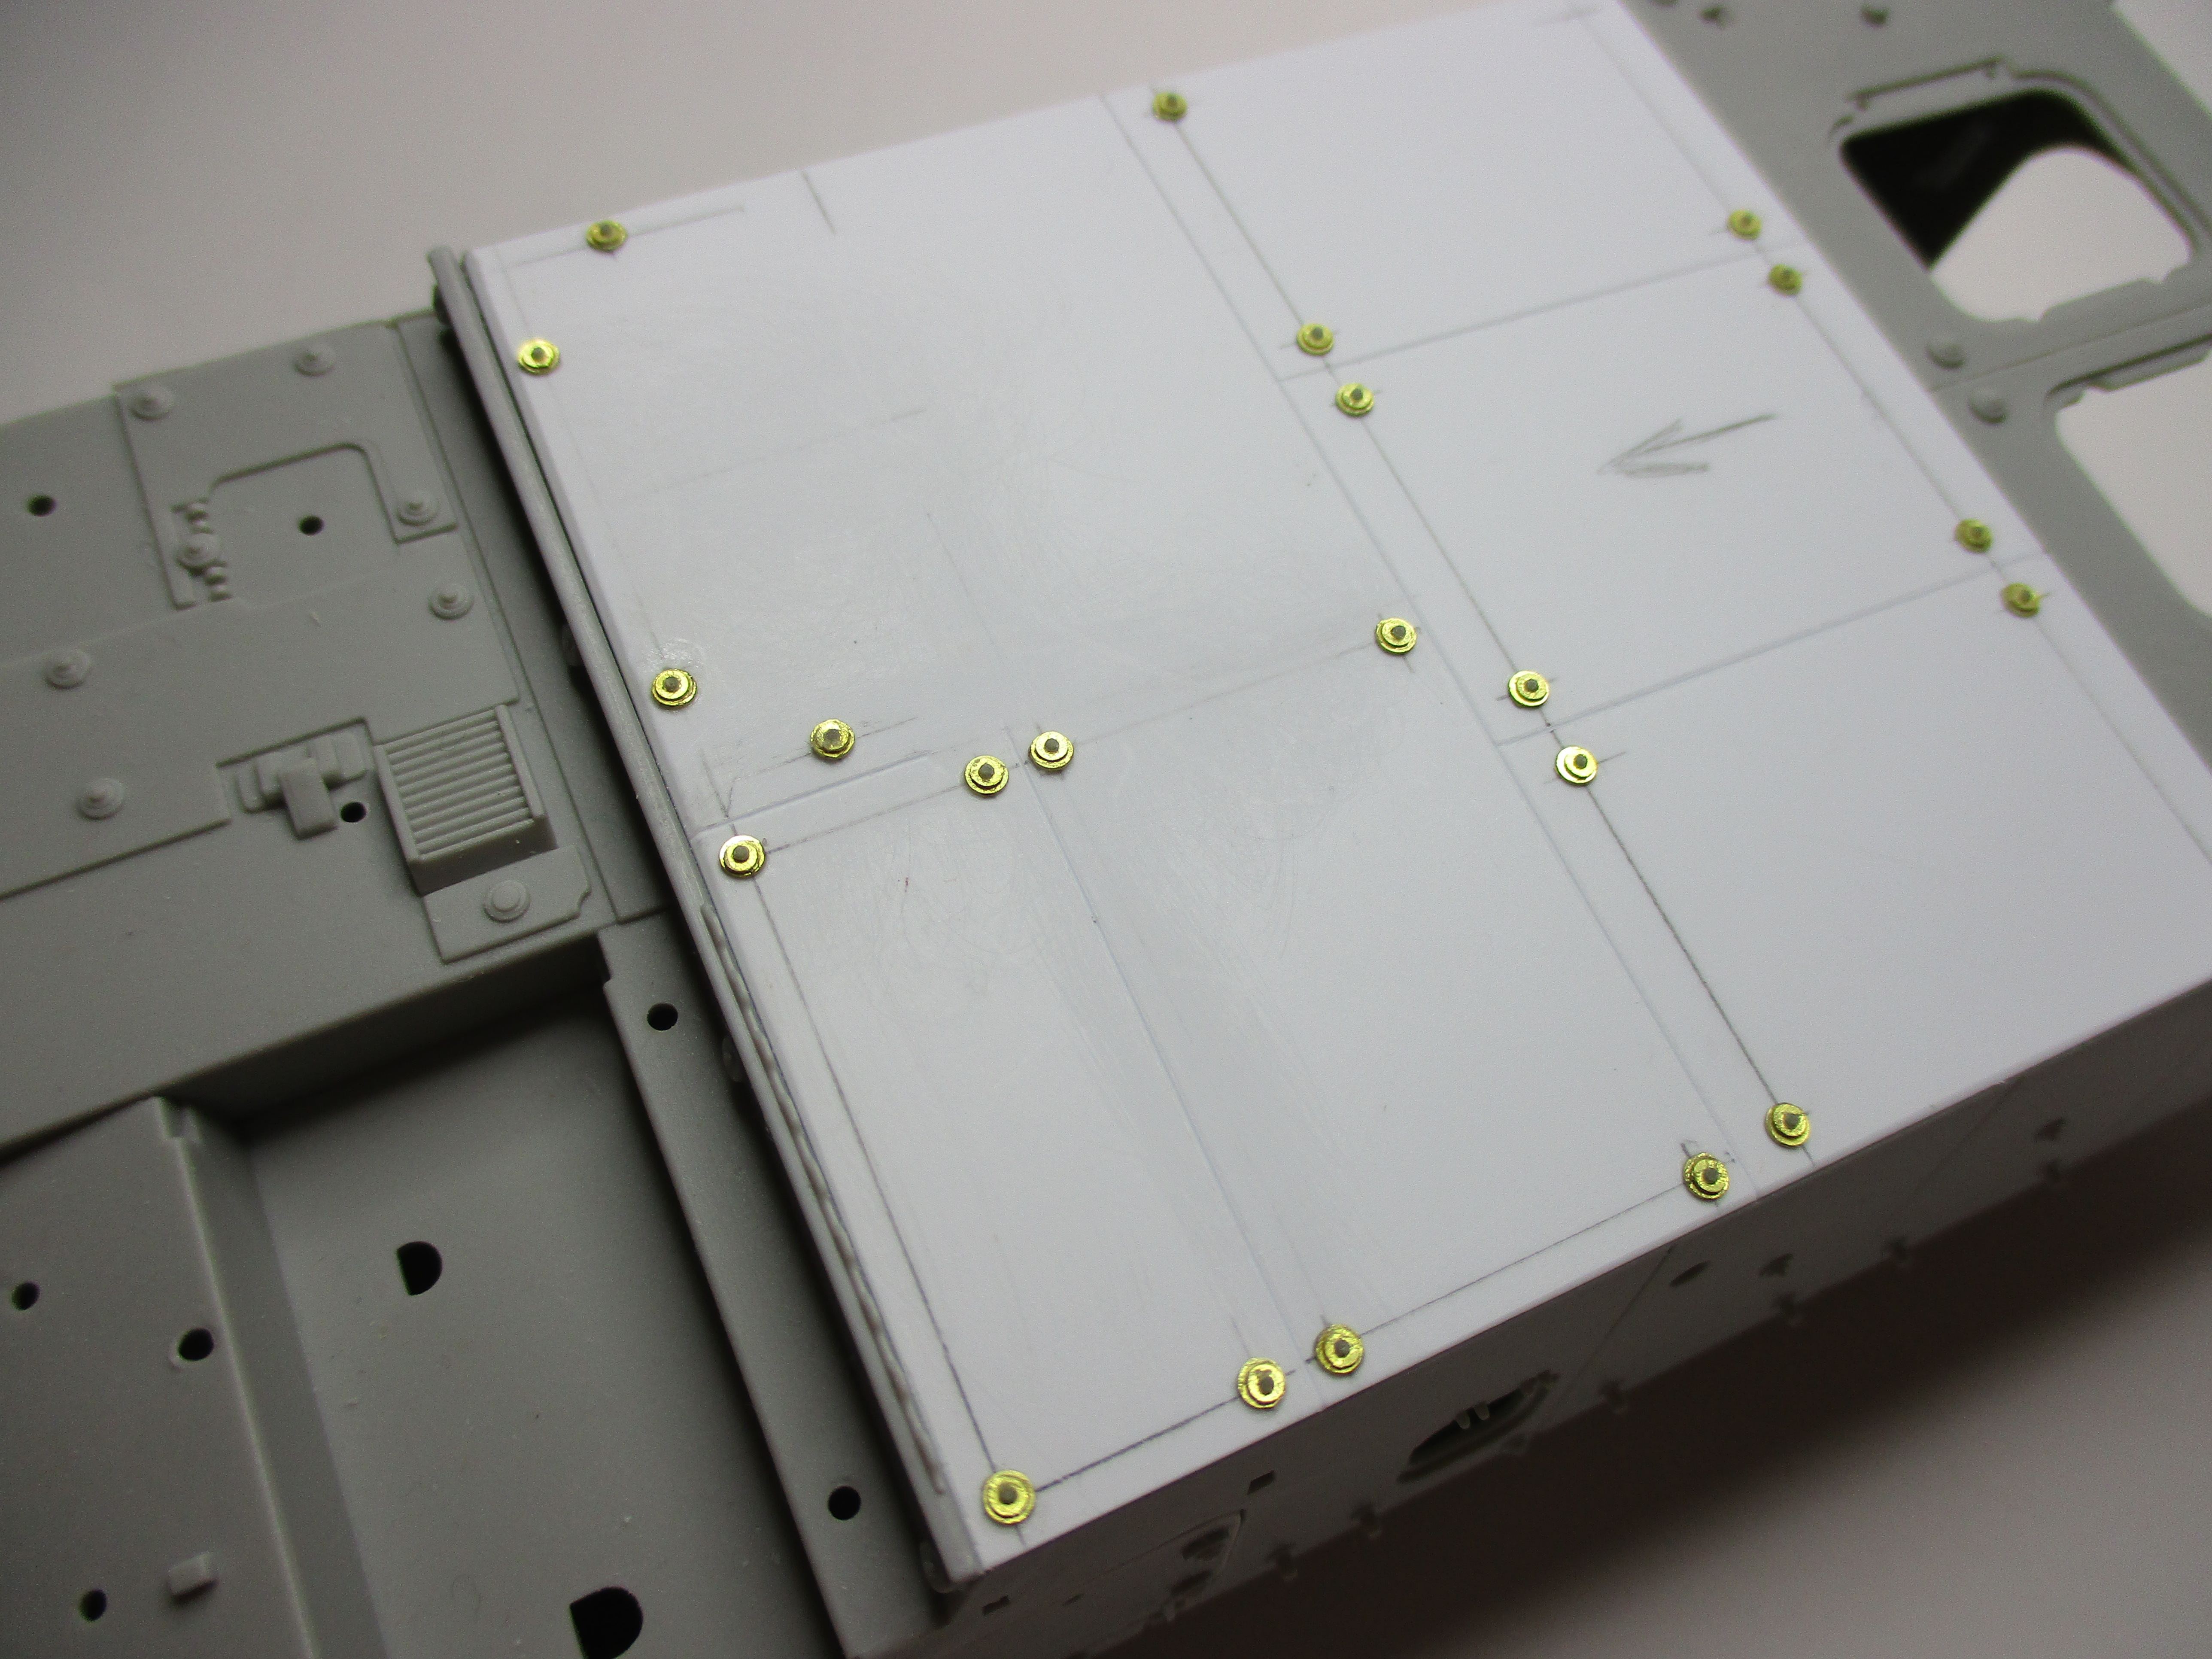
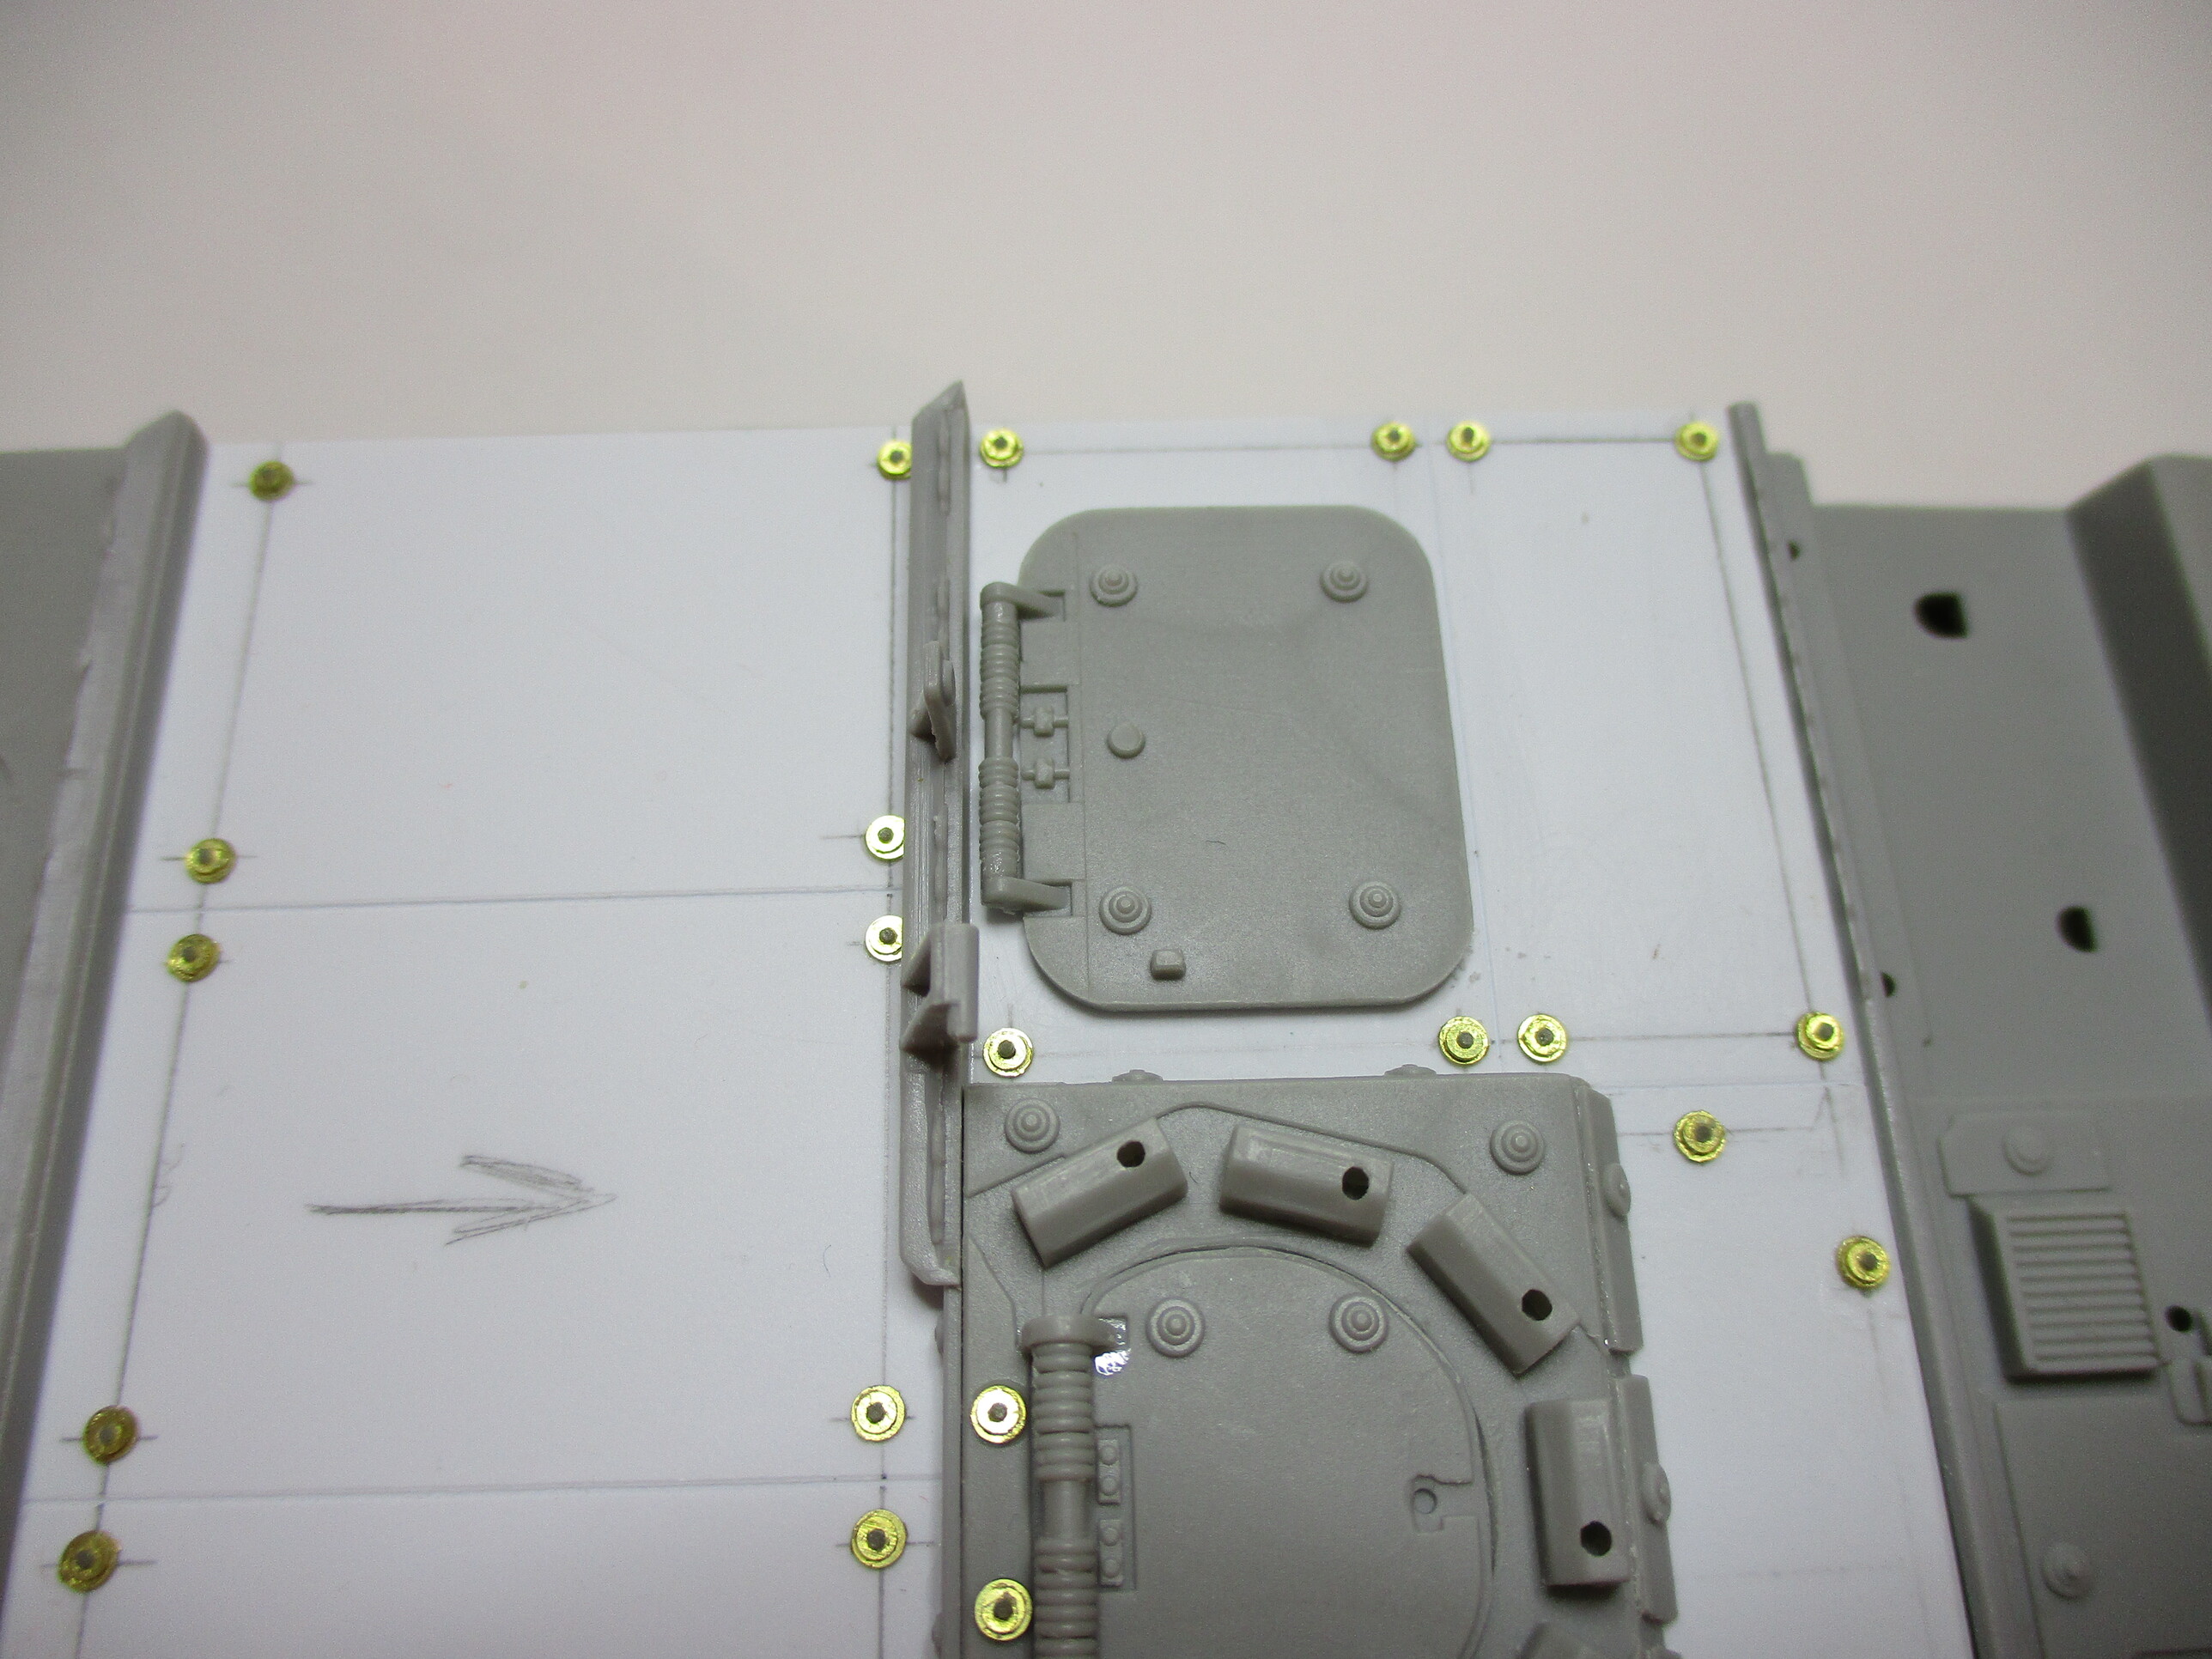
First of all, I exchanged kit part H13 for a 1mm sheet of the same dimension. There I engraved the necessary lines and marked the places for the fastening bolts.
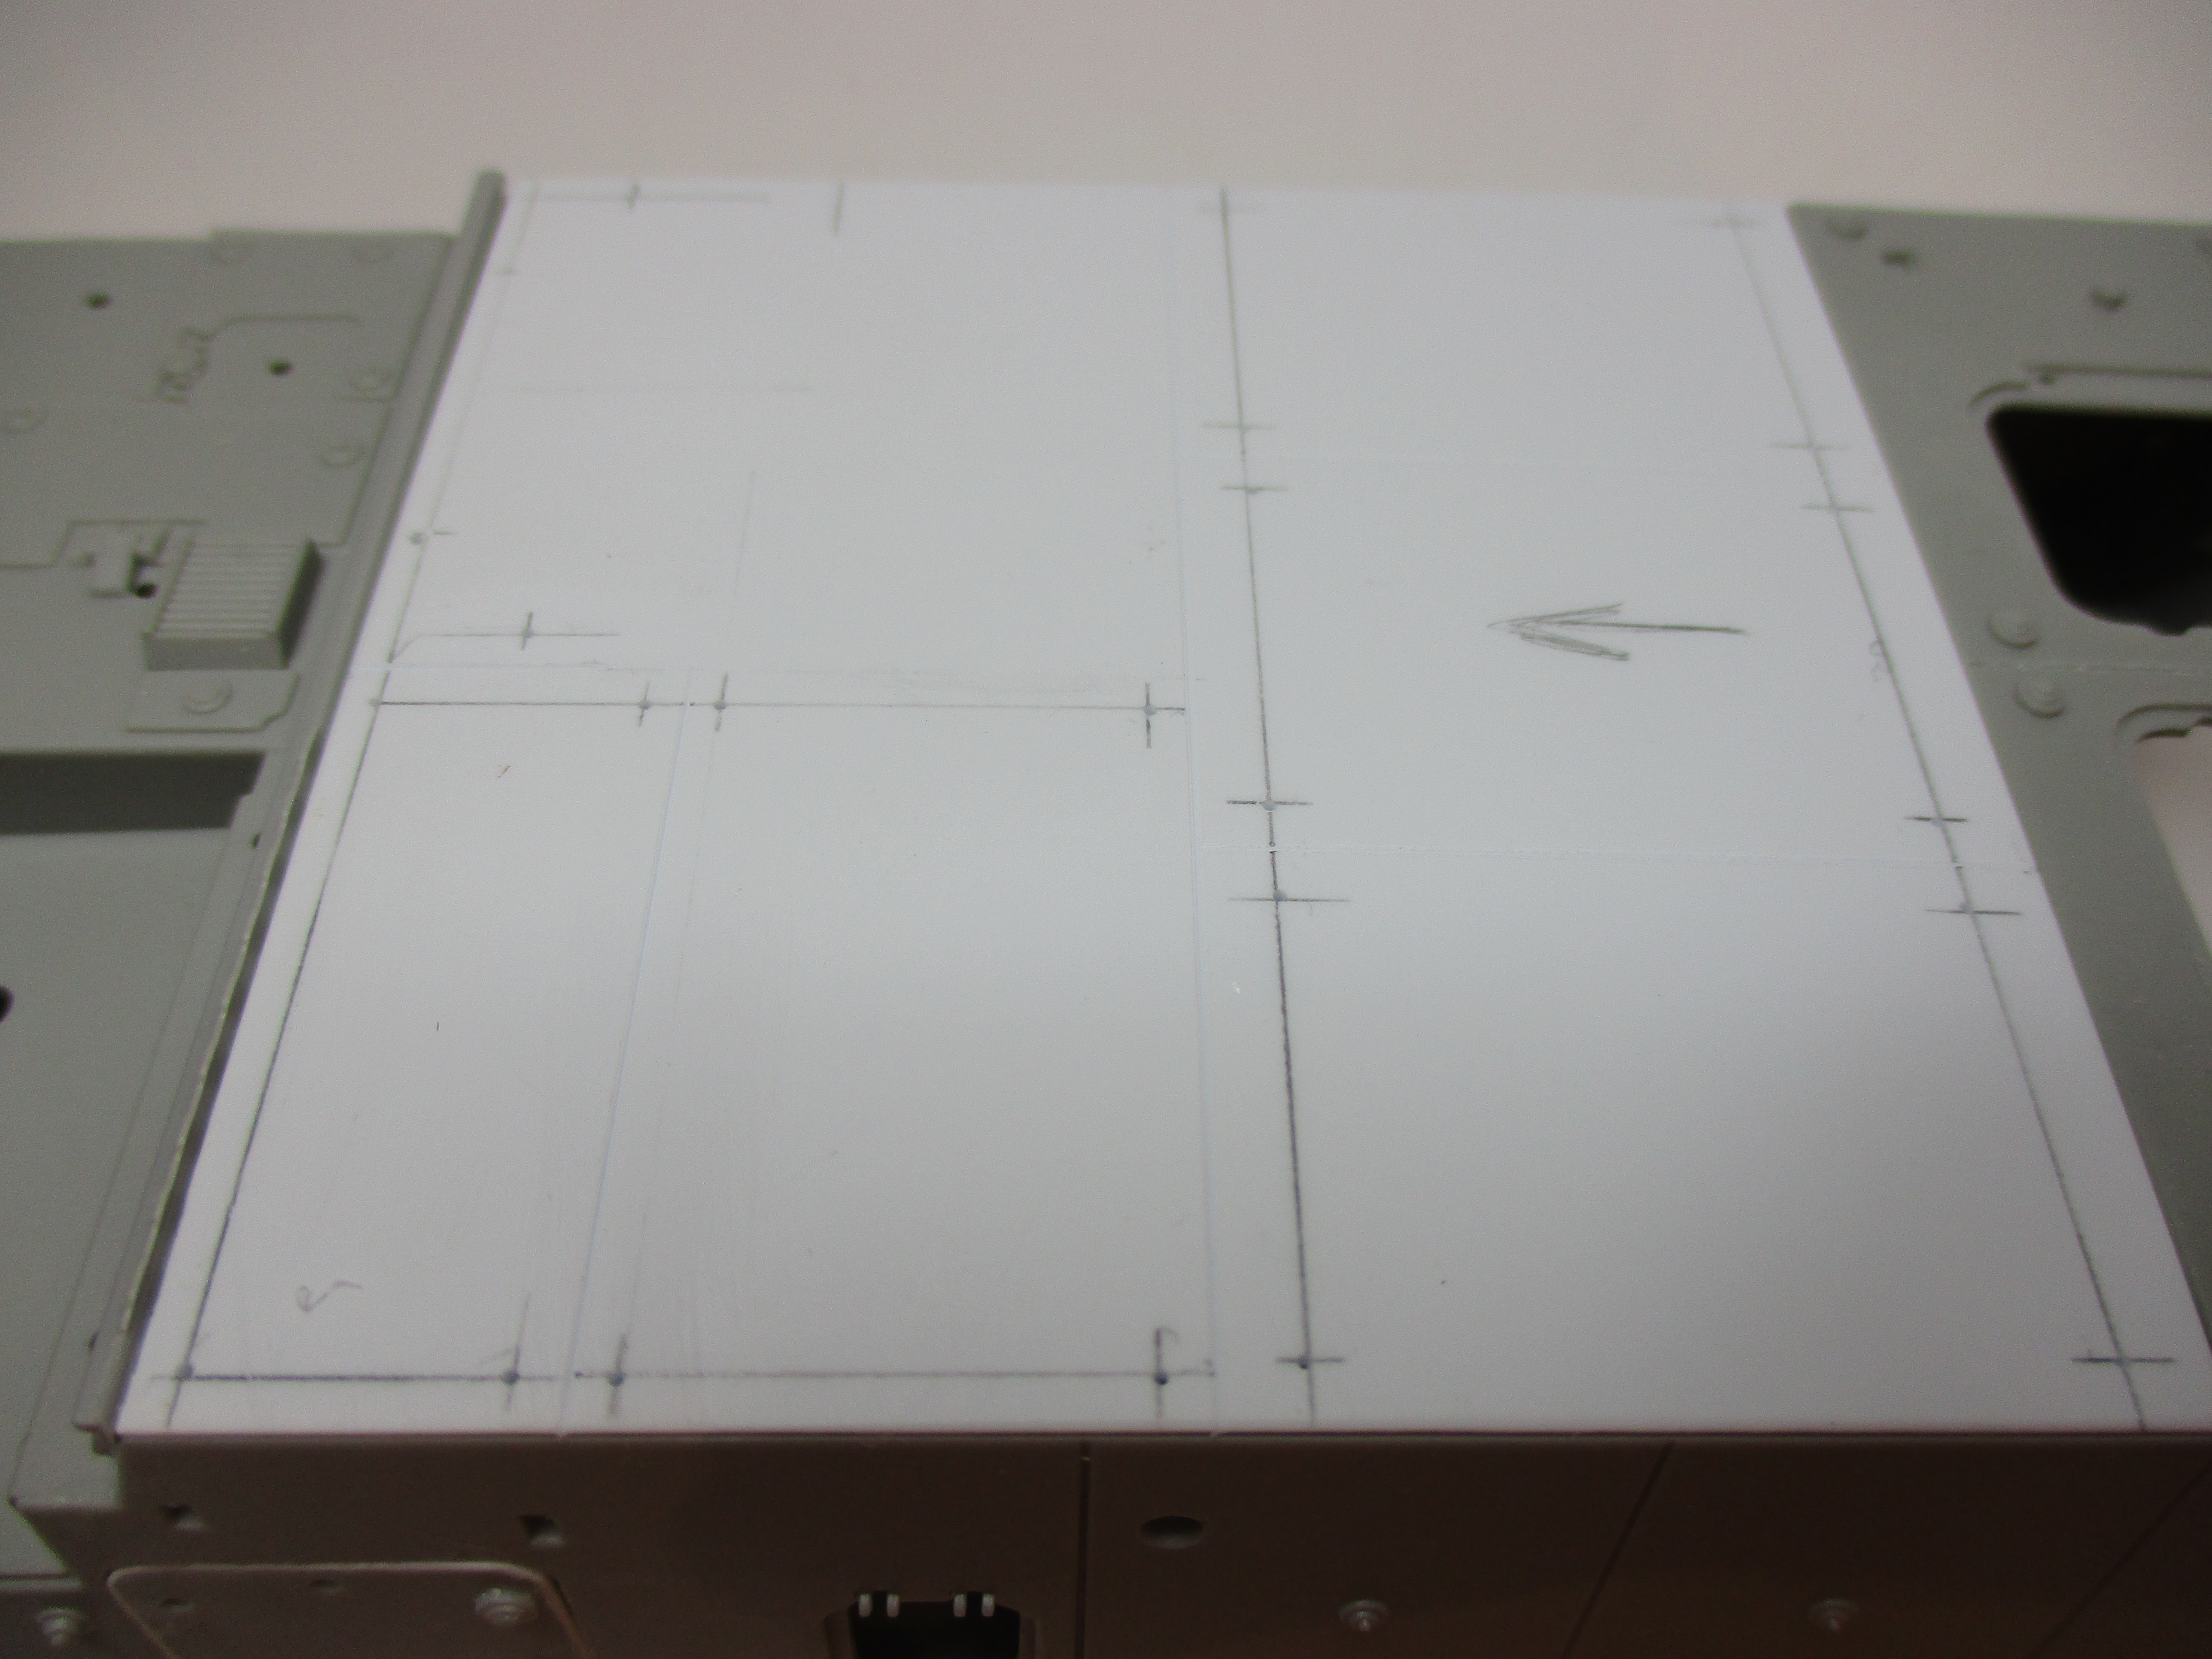
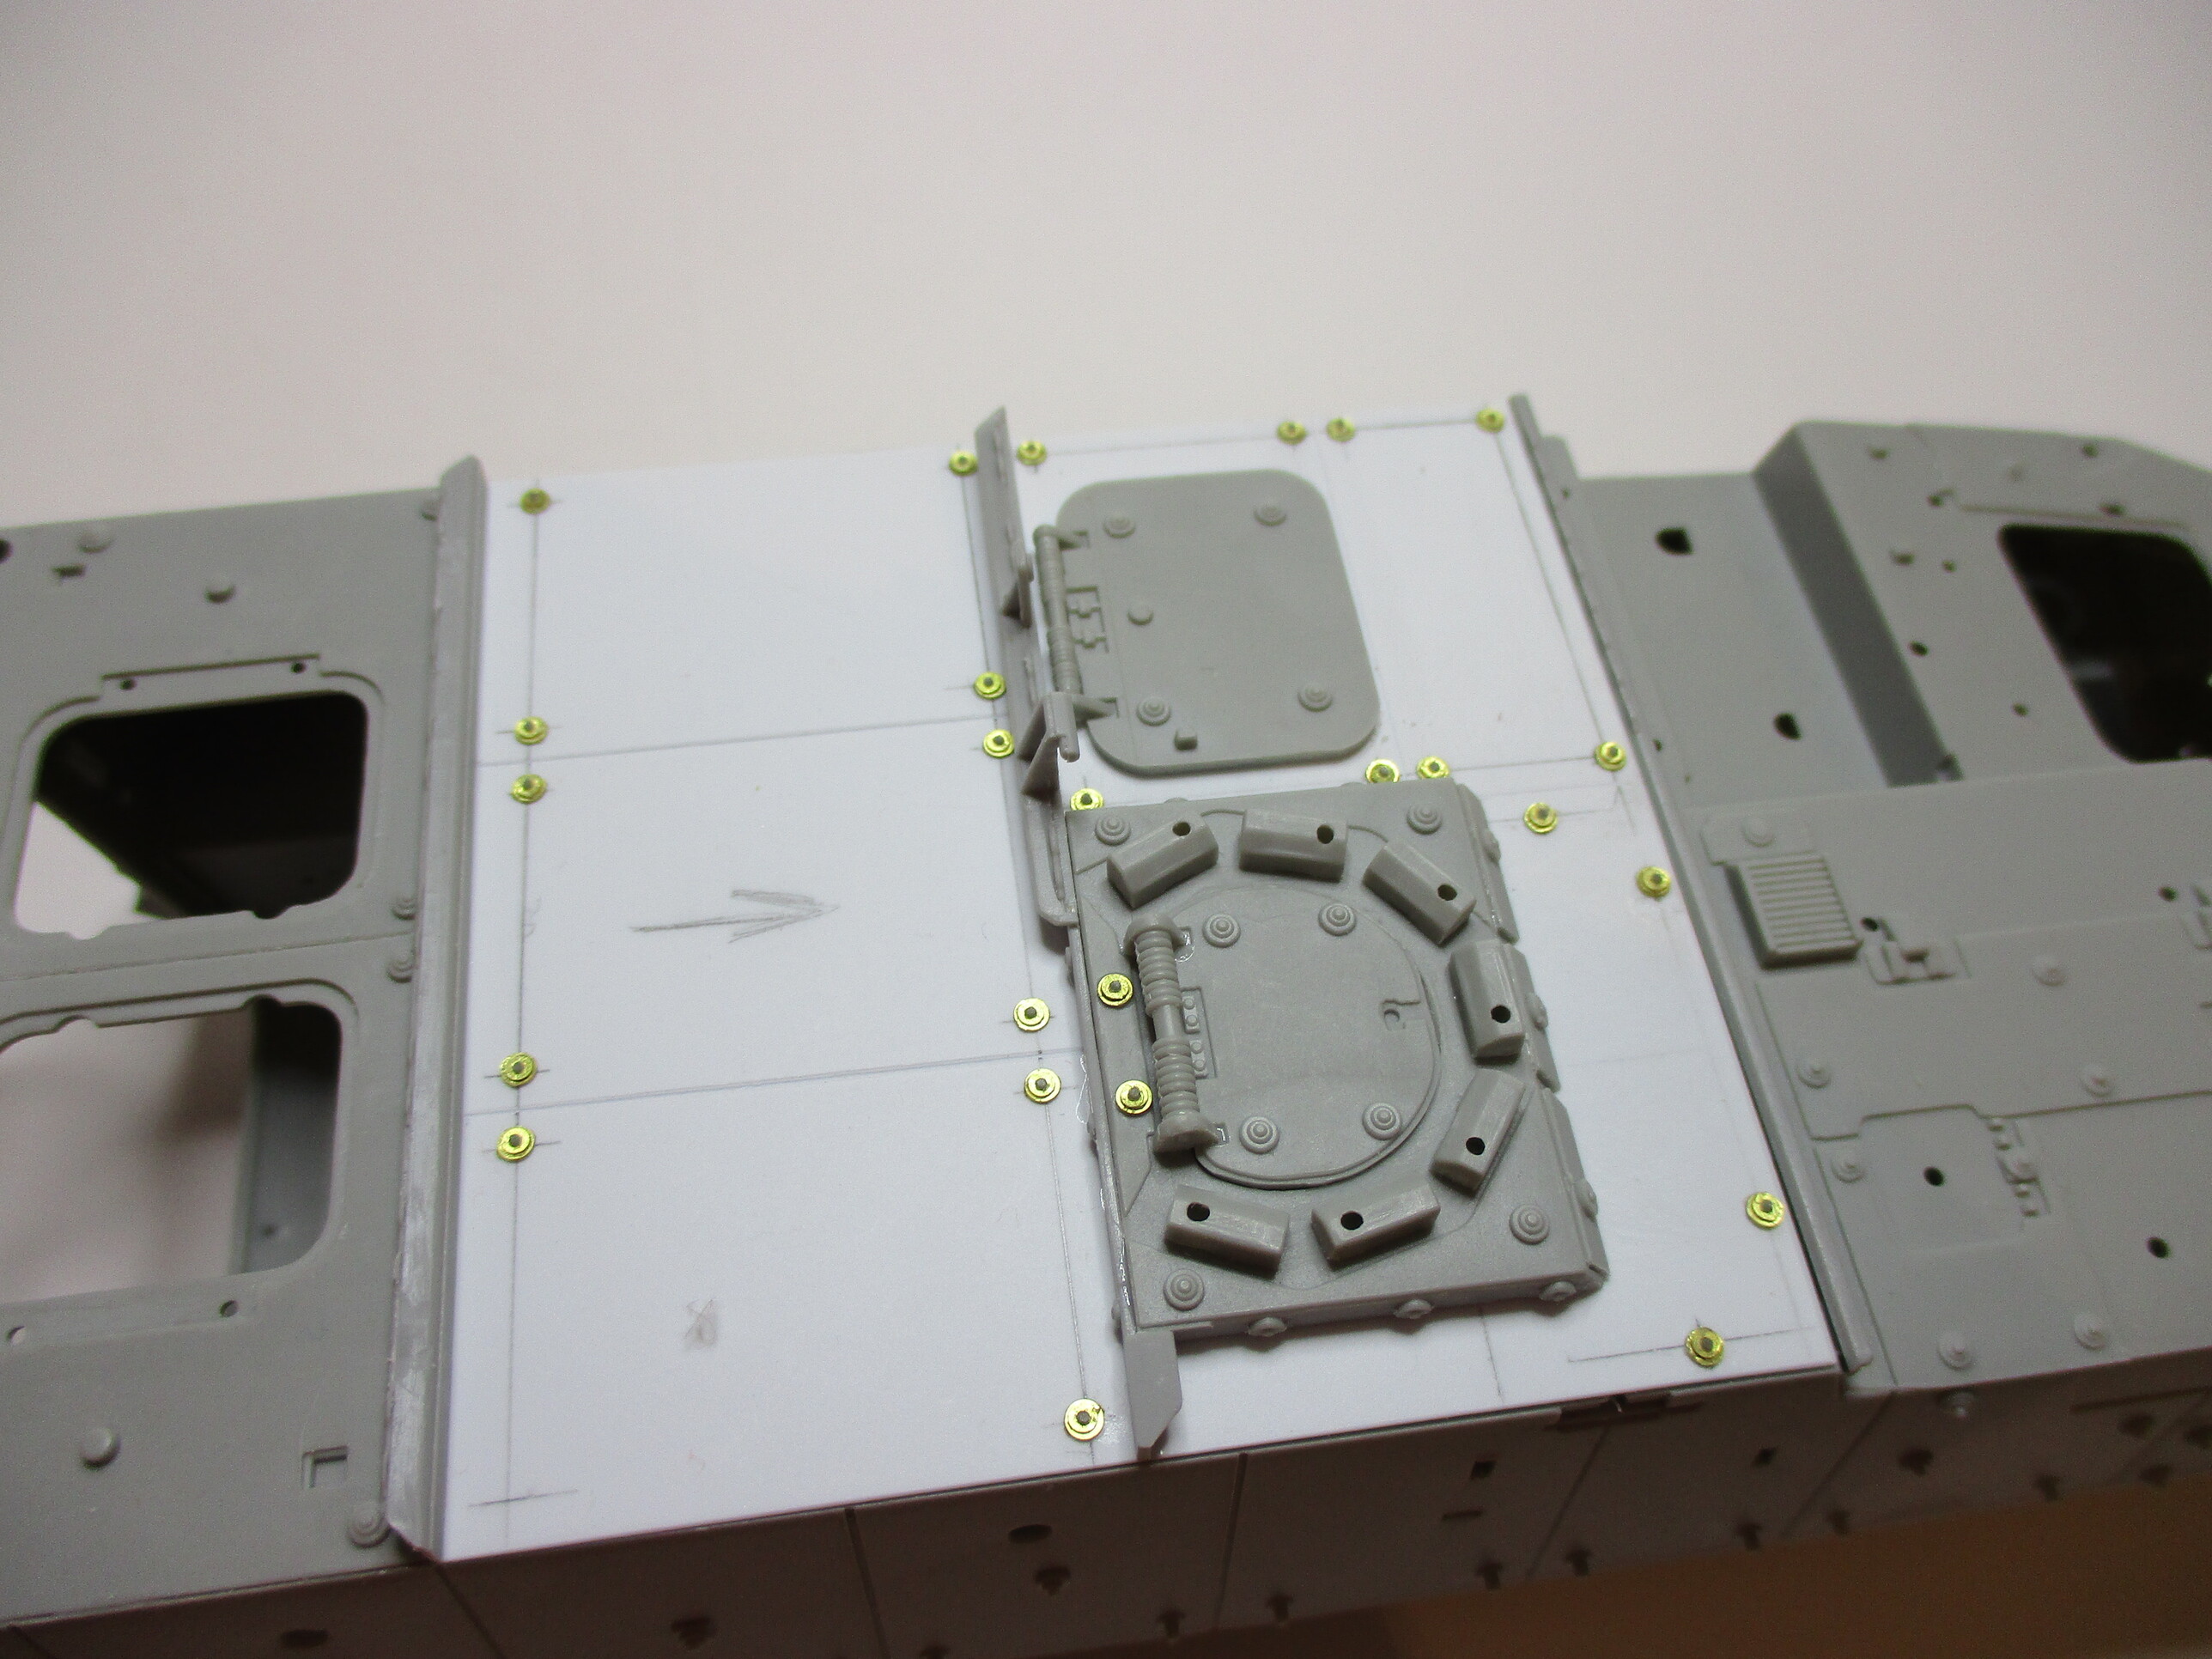
The parts for the commander’s hatch are included in the Trumpeter kit, also the squad leader’s hatch. The rail behind these both hatches and the one in front of the air guard hatches are part of sprue “C”.

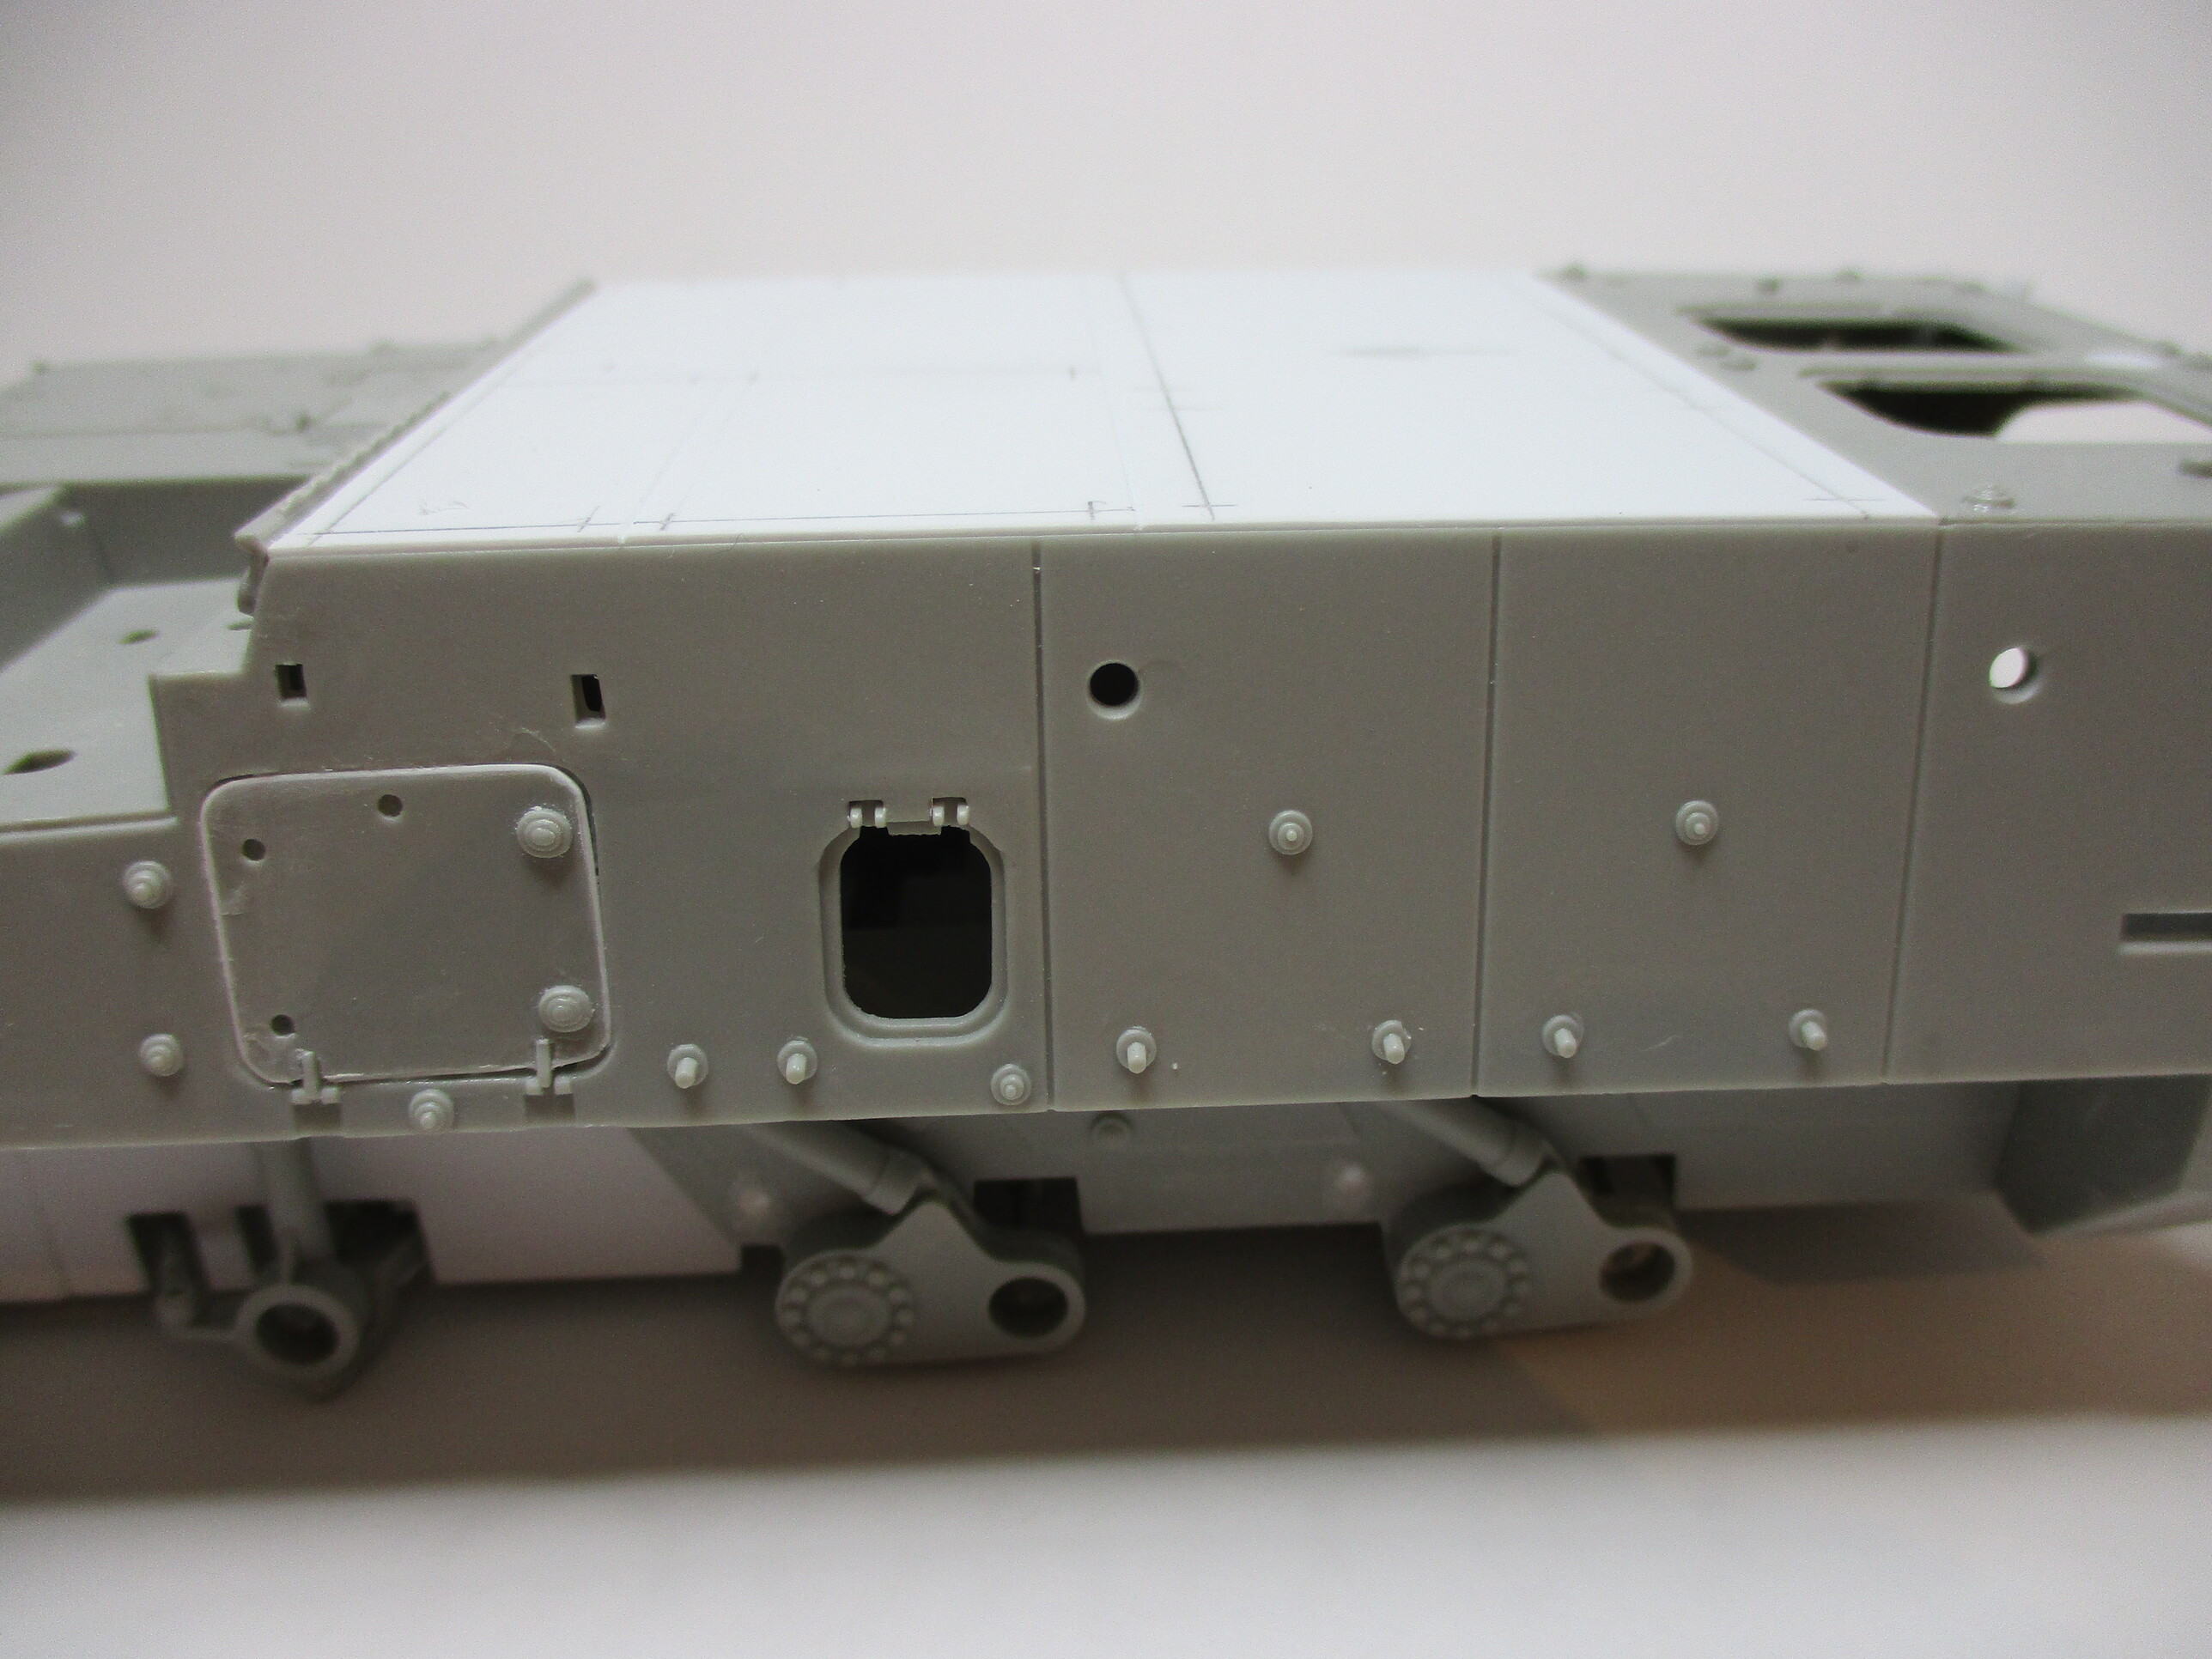
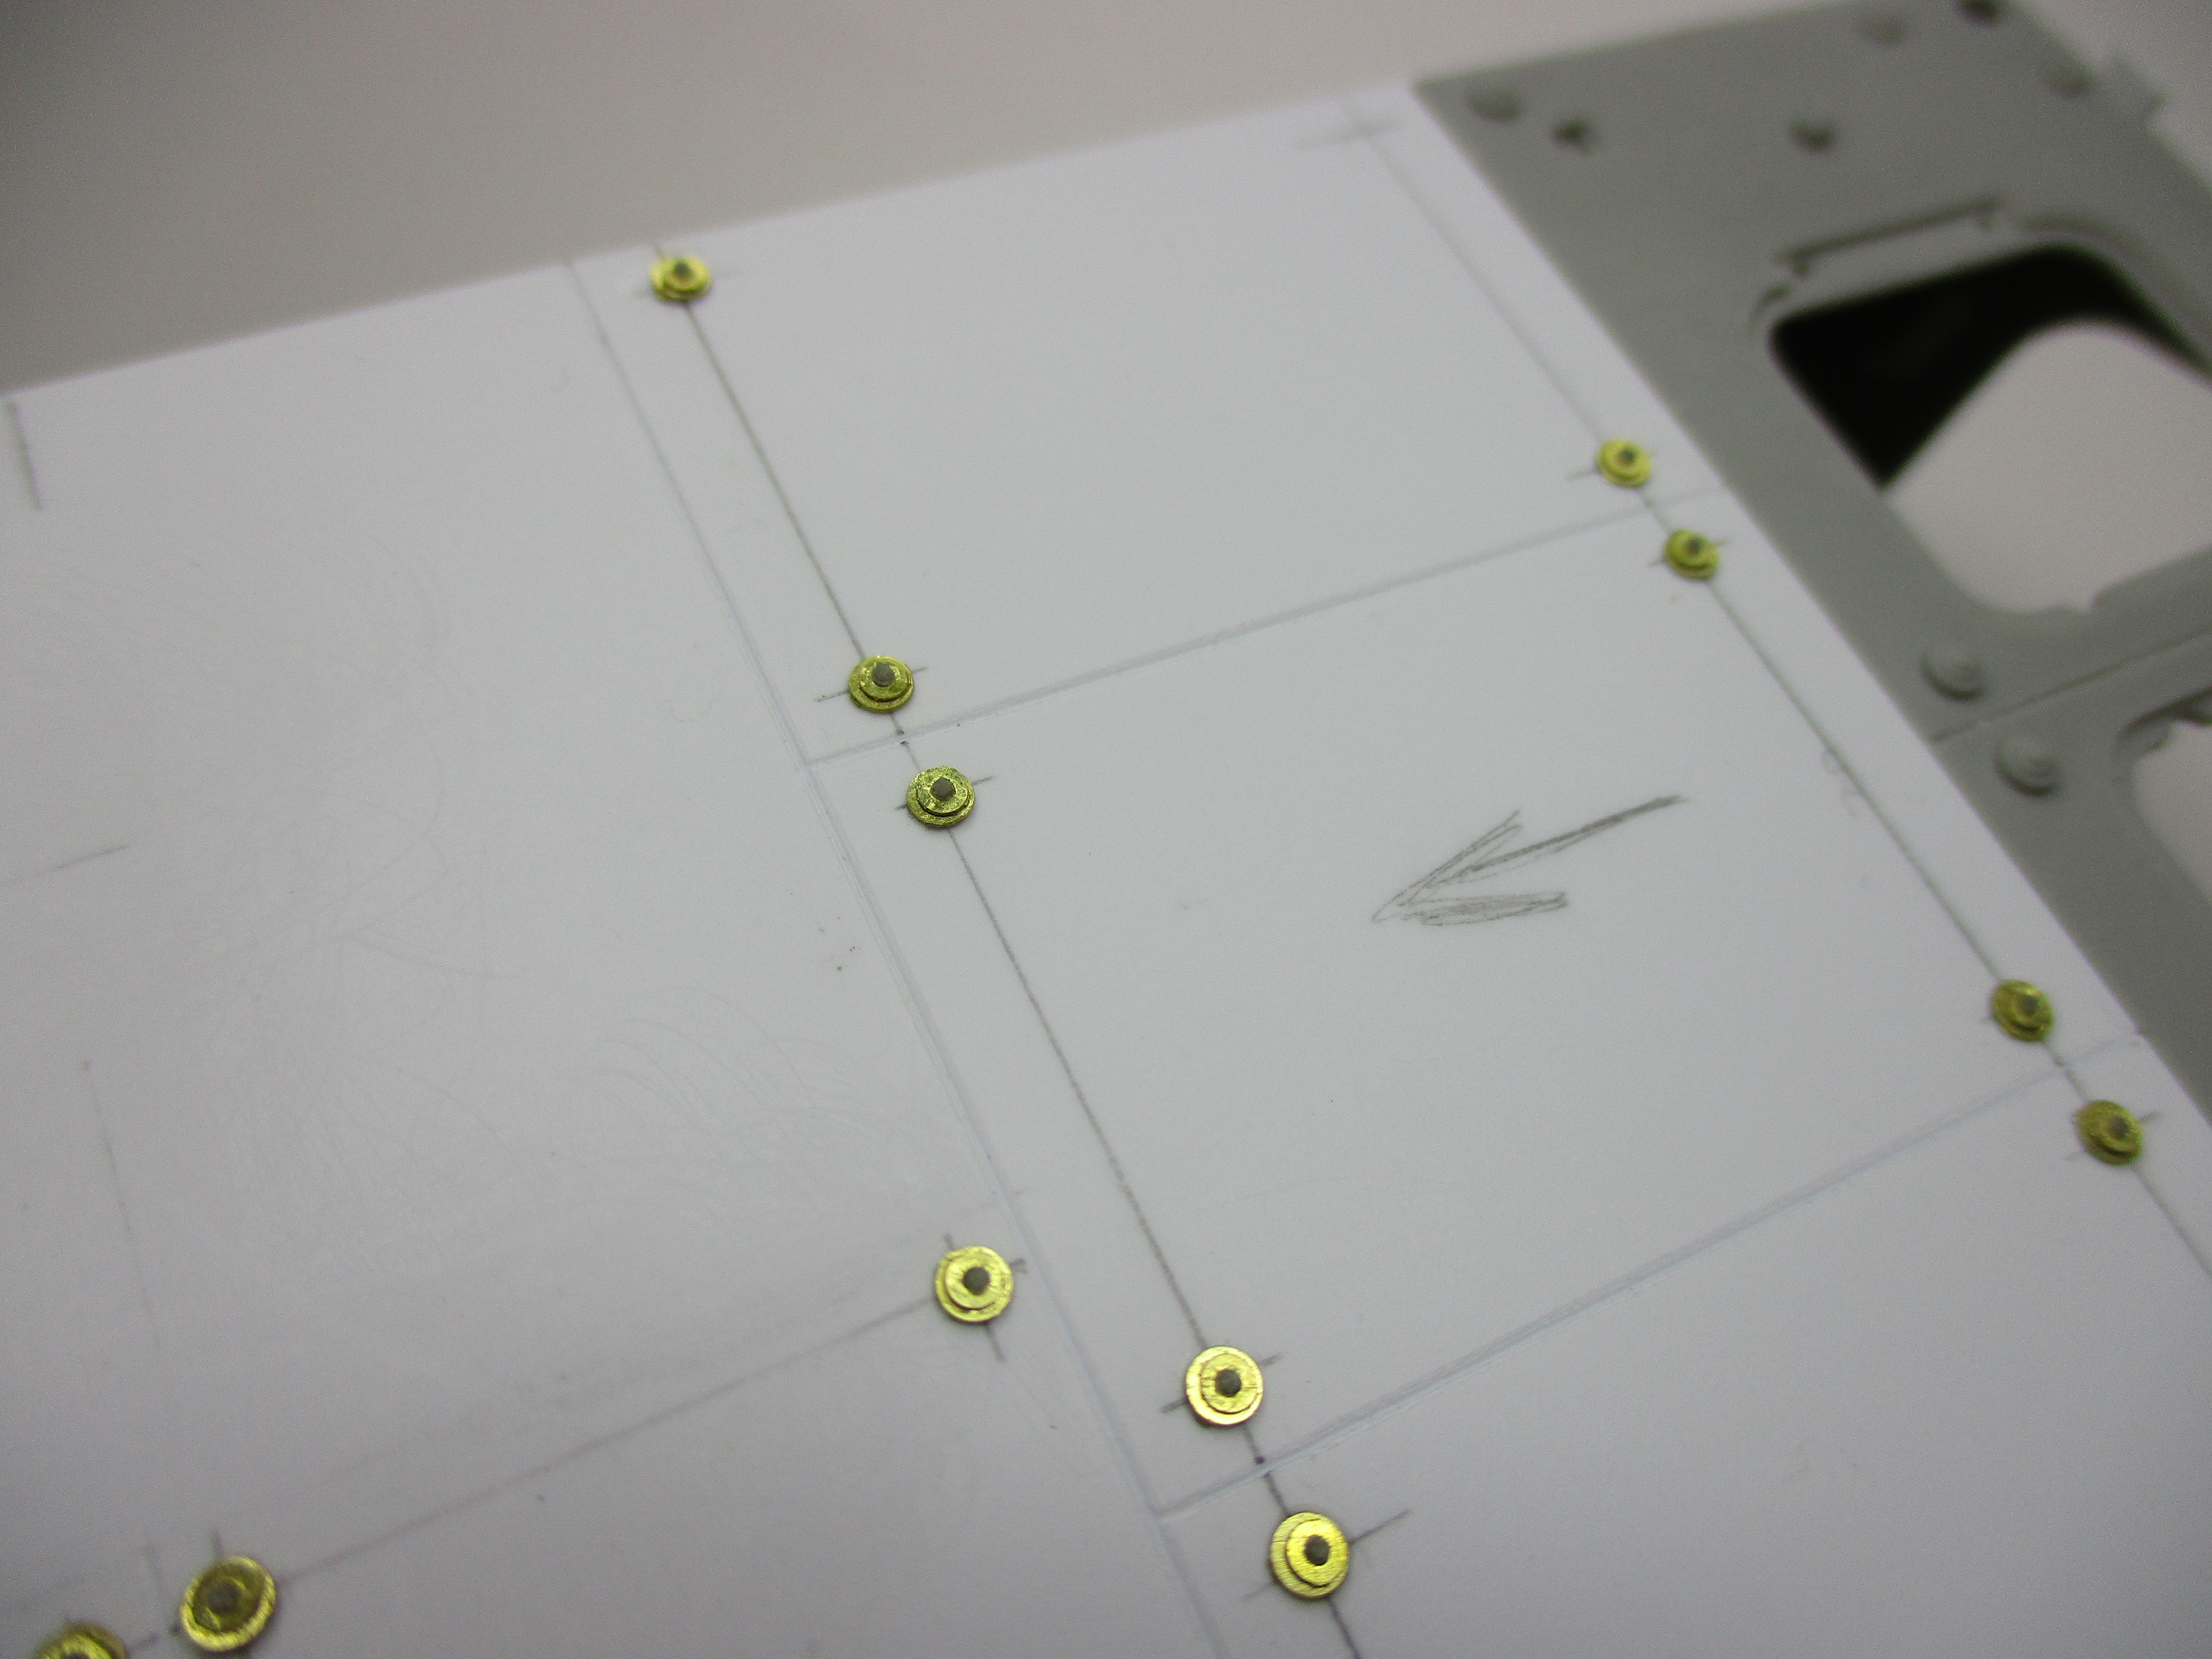
I drilled 0.5mm holes and glued the fastening bolts in place. The “disks” come from the voyager model set no. PEA097 “fastening bolts for Stryker”, the bolts are from plusmodel, no. 404 “bolts &nuts 0.6mm”.
Finally, the completed sheet, including the rails and hatches, was glued into the vehicle’s torso.

Peter
9 Likes
That’s looking great Peter. Very clean and precise reworking … Be good watching this develop
Been lurking for awhile. Some impressive scratch and PE work.
Thank you guys, for your friendly comments!!!
1 Like
An important part for every Stryker M1133 kit is the MEDCHEST by Pelican-Hardigg. Up to 4 chests are carried by a Stryker MEV.

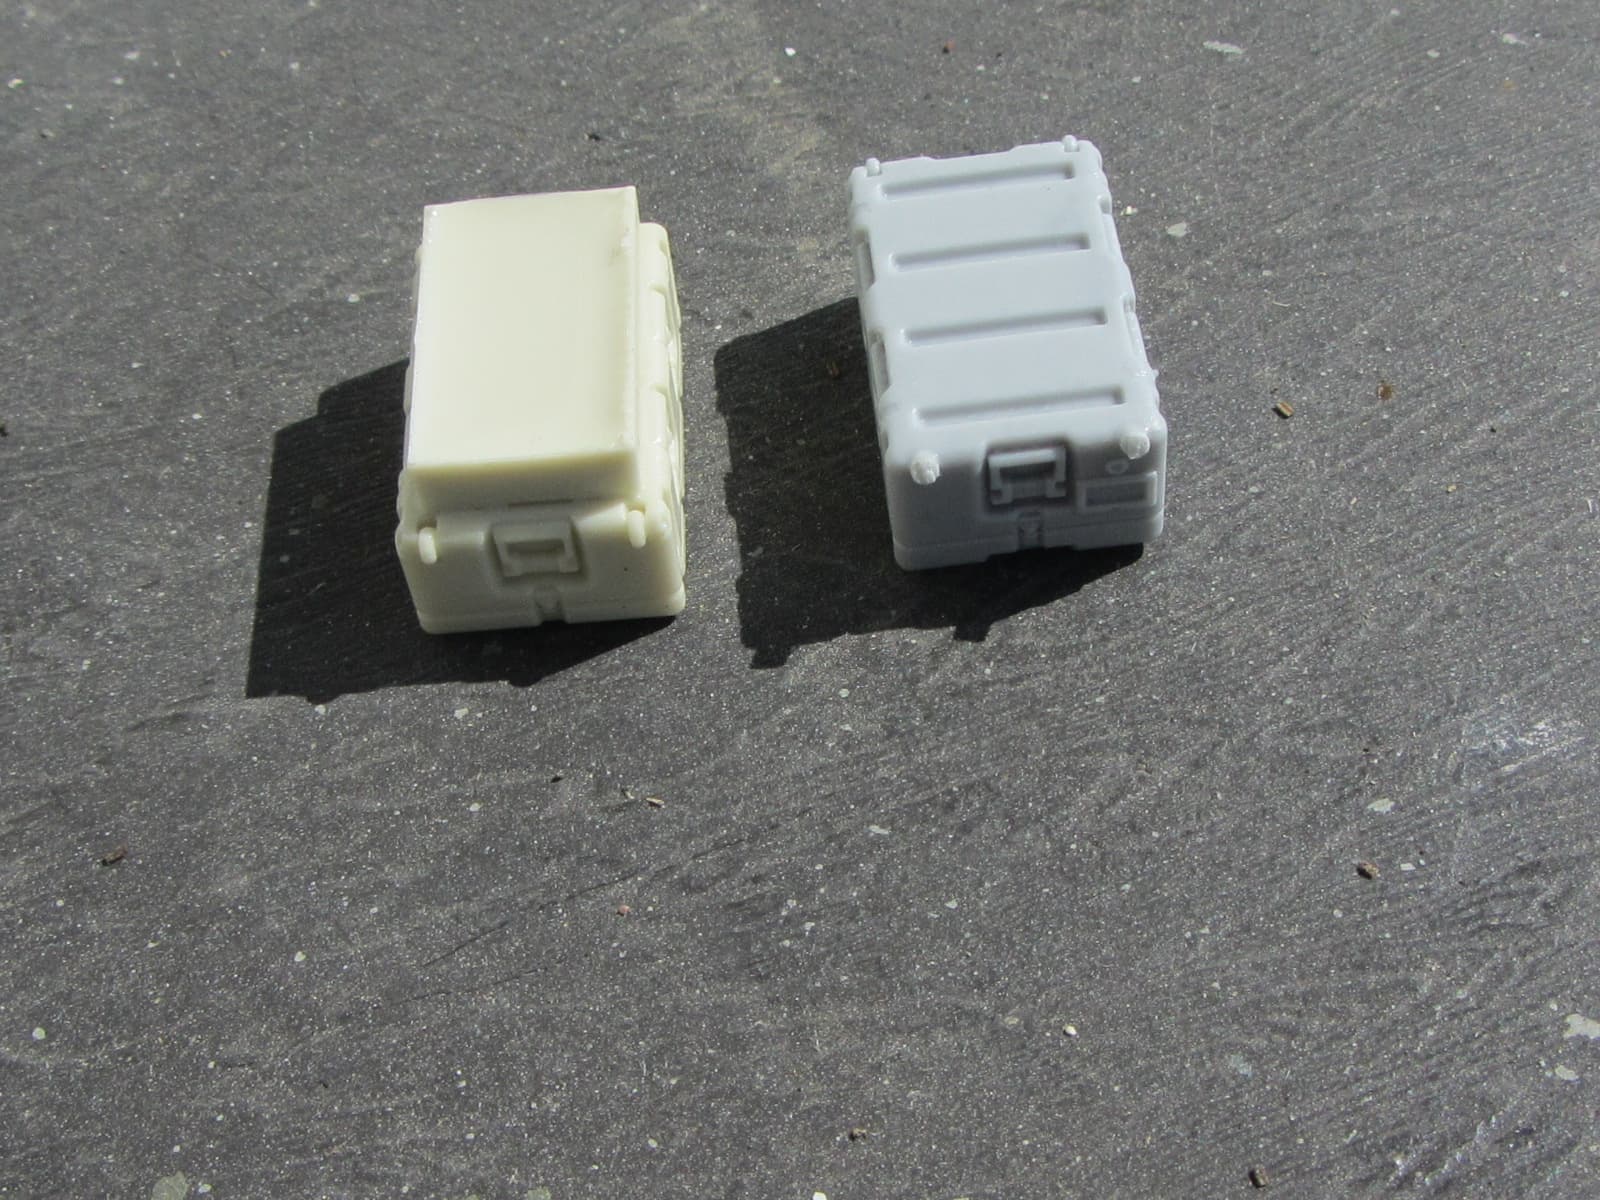


There are two companies making resin parts of the MEDCHEST, Eureka XXL (gray) and Legend Production (tan). The overall proportion of the parts are good, with Legend providing the MEDCHEST 3 and Eureka XXL the MEDCHEST 4. But you will notice that EurekaXXL is more crisp and detailed and has virtually now pouring blocks.
3 Likes
Ettore was kind enough to send me an example of his A/C unit and it is just as good as it appears in the drawings. The detail is amazing, and even with my trusty Opti-Visor I’m unable to see any striations that often plague 3D printed items.
I highly recommend this. It matches my photos perfectly.
2 Likes
3 Likes
AFV Club provides clear vision blocks, which should be painted before installation. Since the fit is very tight, you should - unlike me - take care of the fit of the blocks.
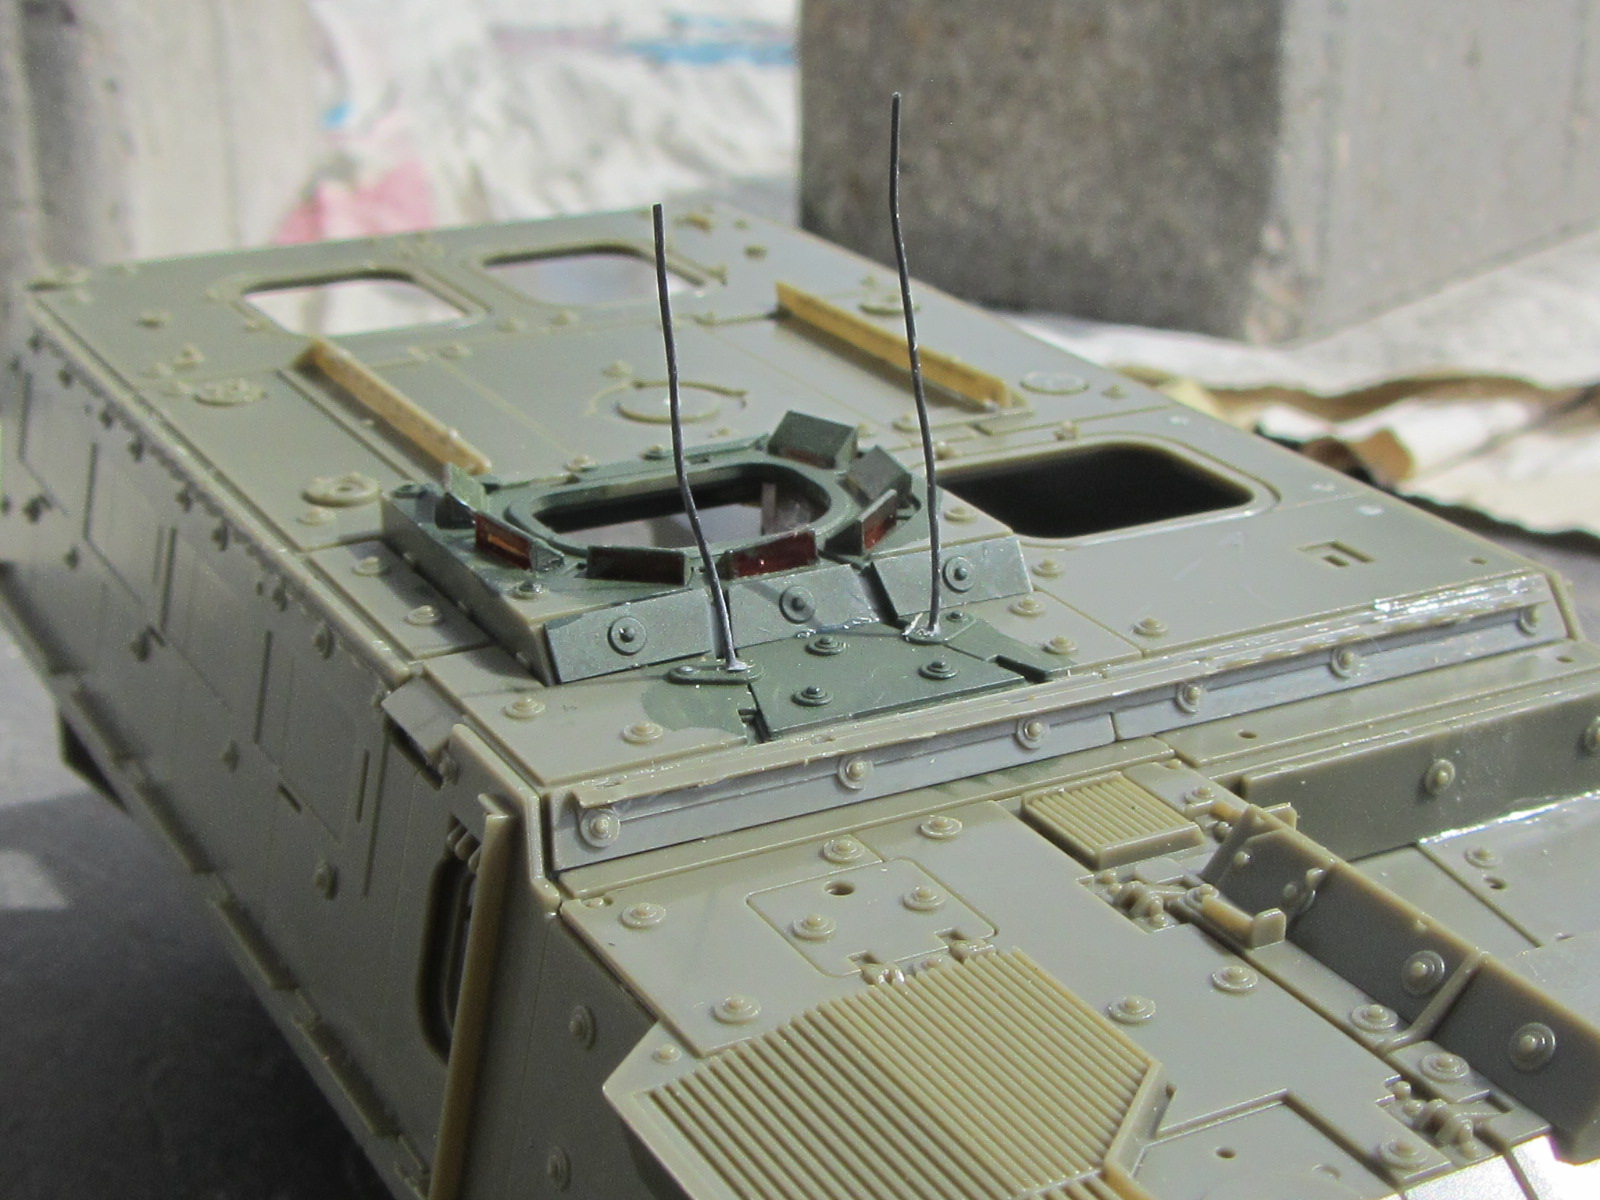
I painted the back of the blocks with Molotov Chrome Pen and the lens with Tamiya Clear Red. The wires are for the M151 RWS.
2 Likes
One of the few external components I use is the winch cable set by Eureka XXL.
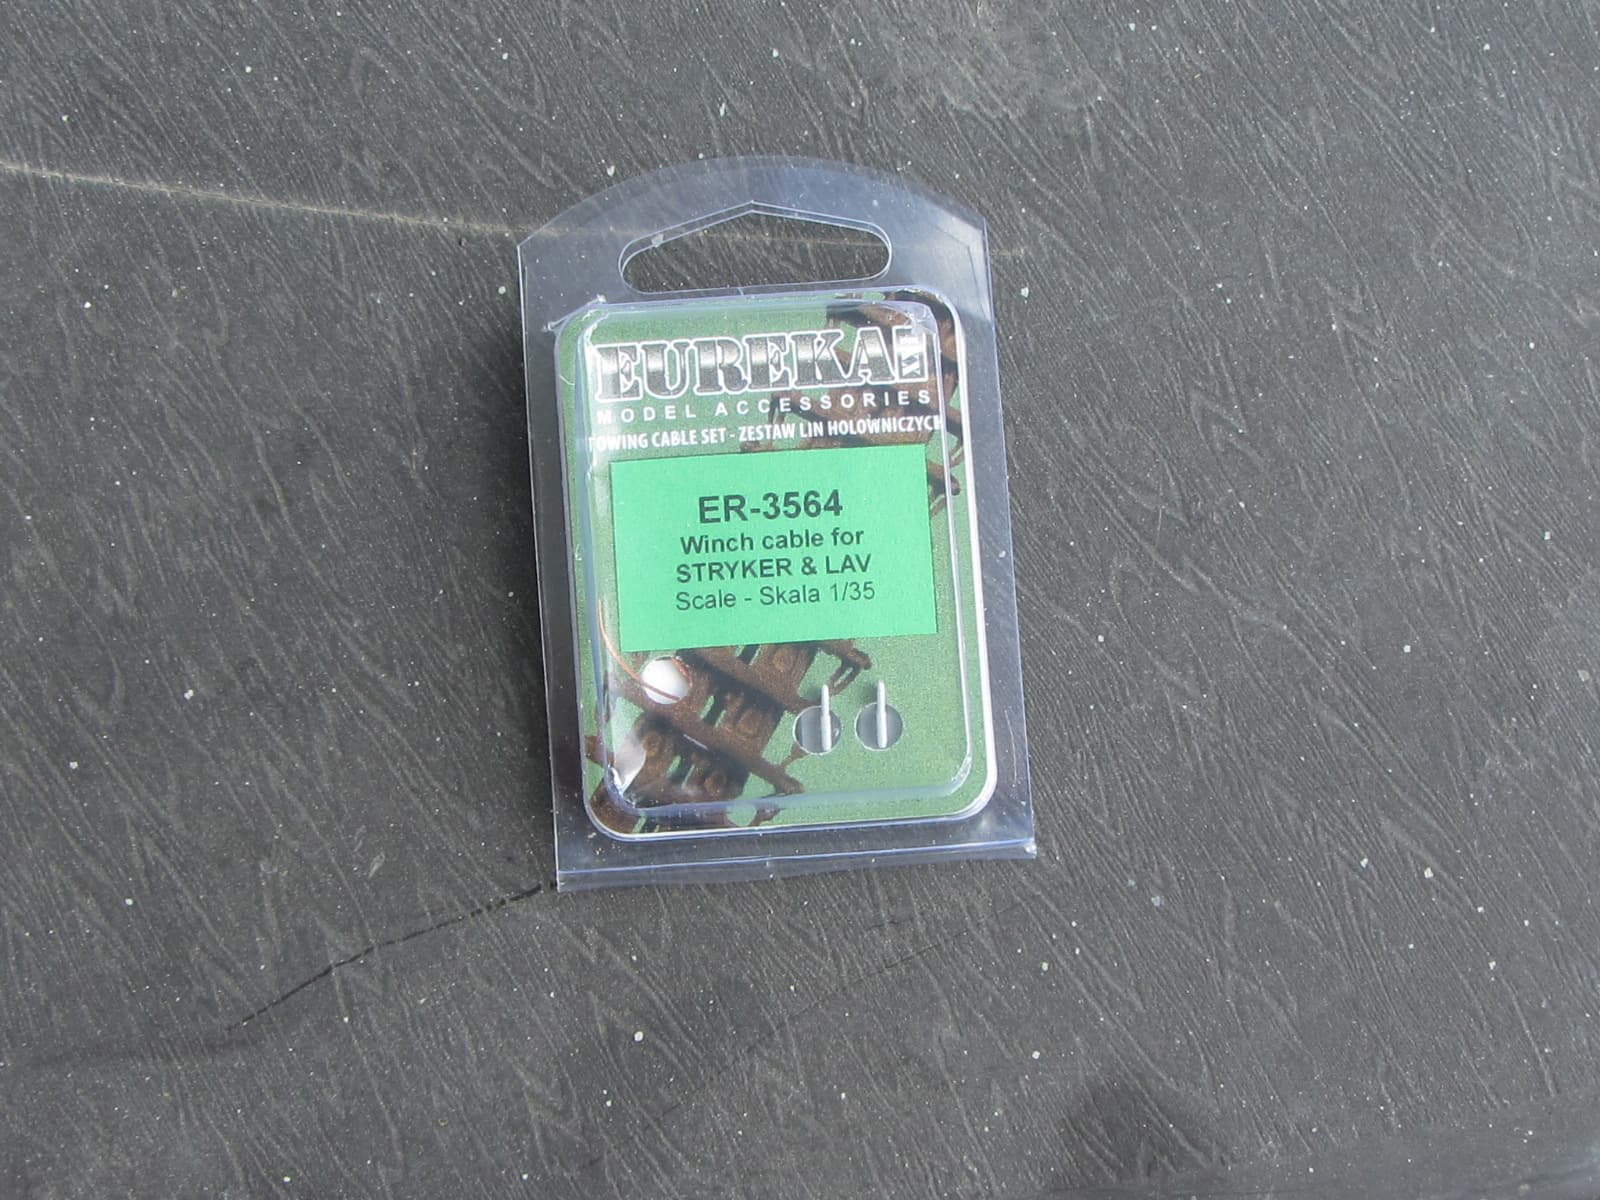

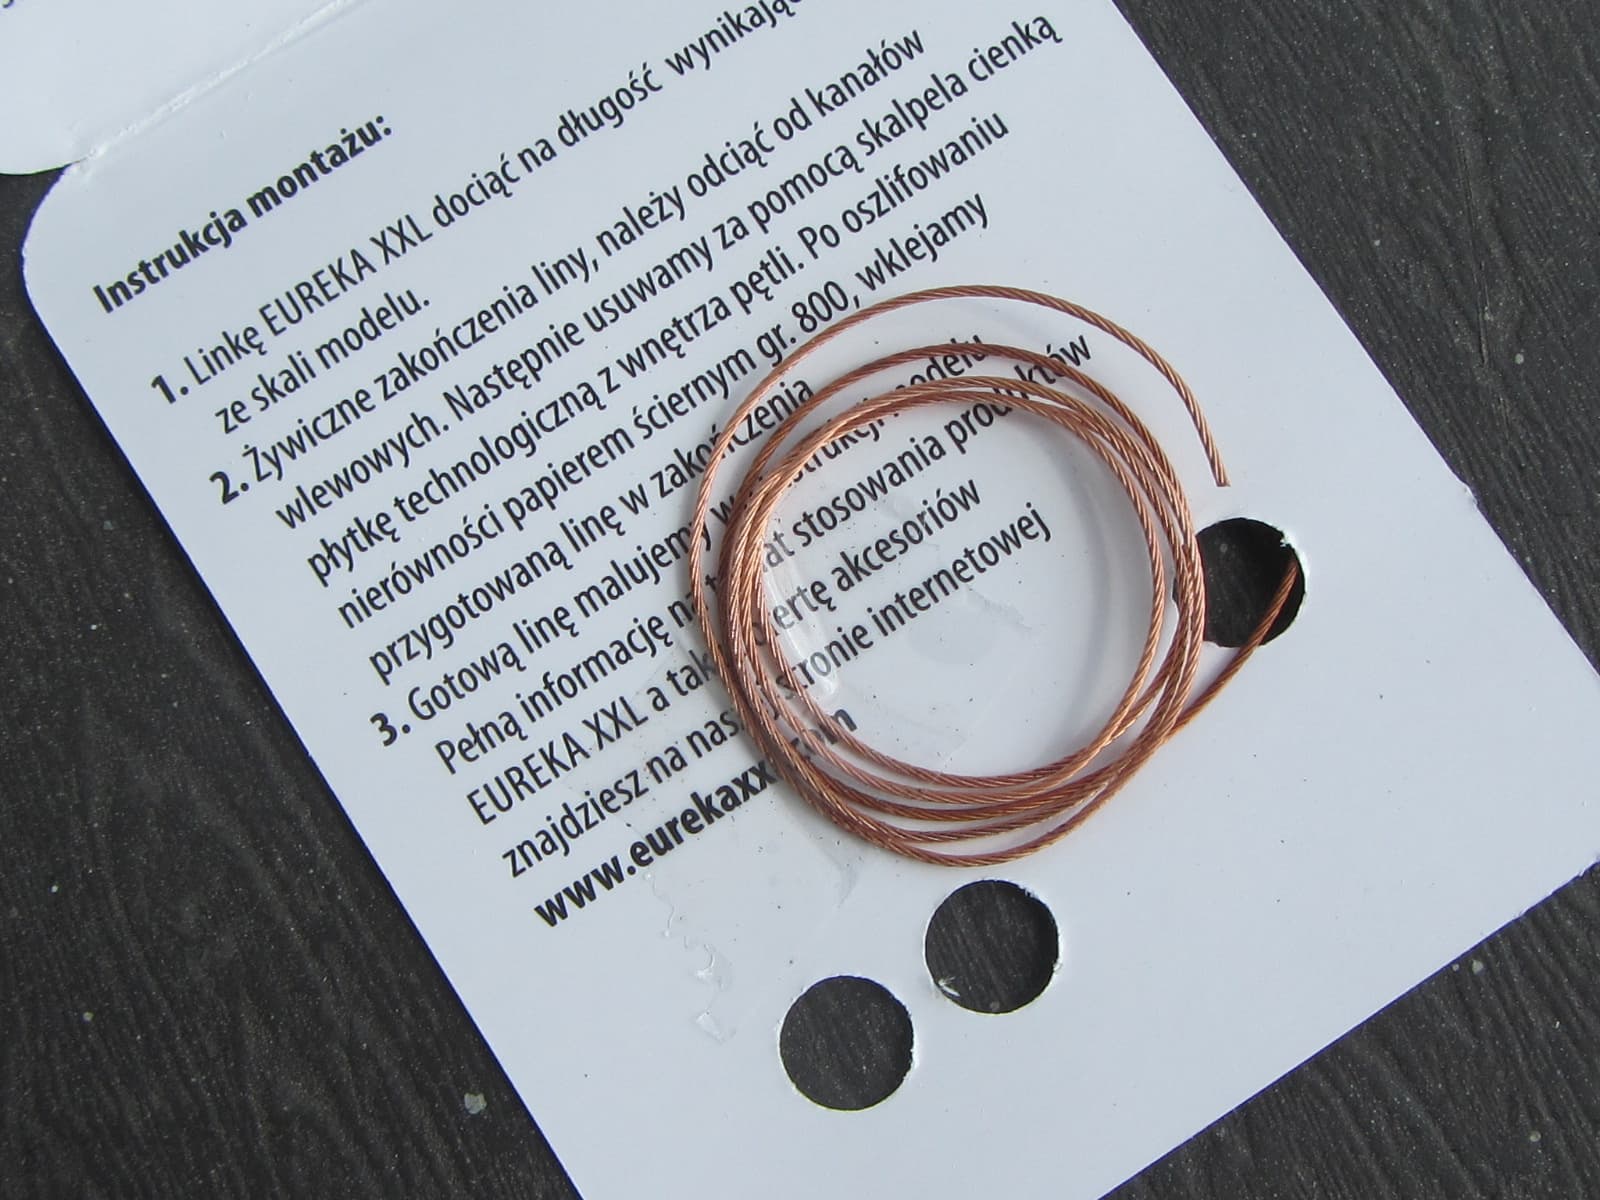
The set contains two resin eyelets a and strand of 0.5mm copper wire. It´s enough to build two Stryker models.
3 Likes
That is very useful to know Hermann, thanks for putting that up

Voll geil, ee.