Stryker Upgrade and the new A1 Family

Hello,
So I have a thing for Stryker vehicles, that and HEMTT, LVSR, M1 Abrams ect.
I find it fun the design and build all variations of a vehicle to see the evolution.

So here I go when I noticed the Stryker’s…

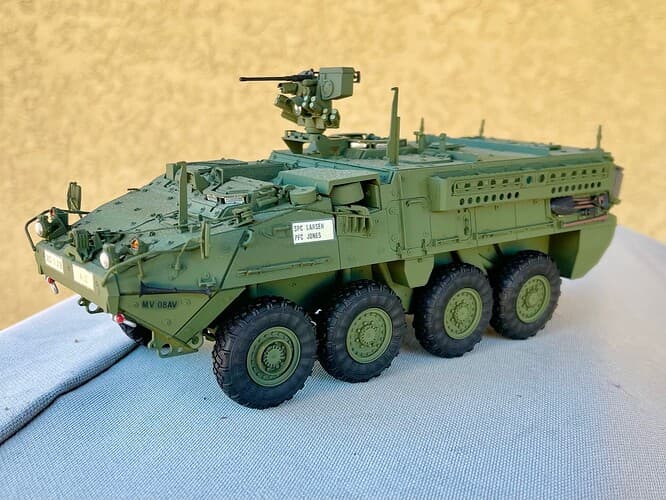
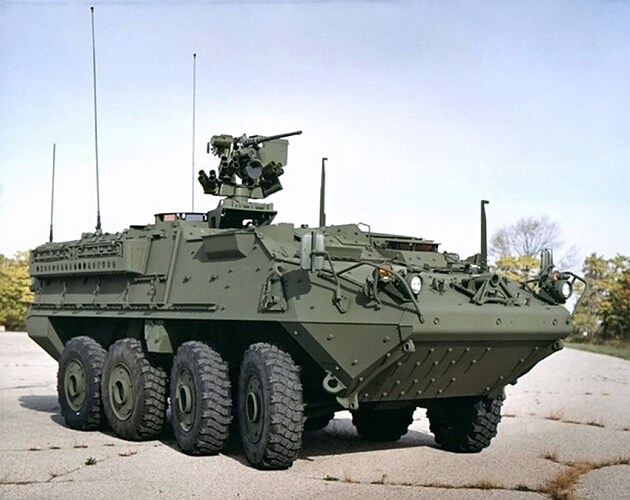
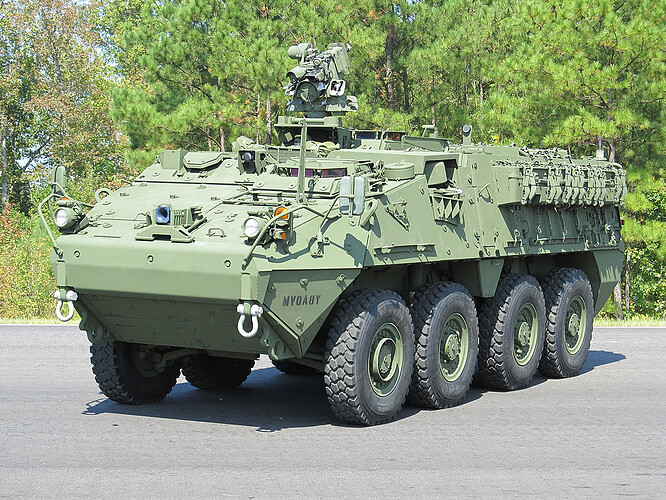
This is the original stryker derived from the Canadian LAVIII (just found that on Wikipedia), I don’t know how many versions there are, I counted 14 different plastic kit versions, all based on the original Stryker:

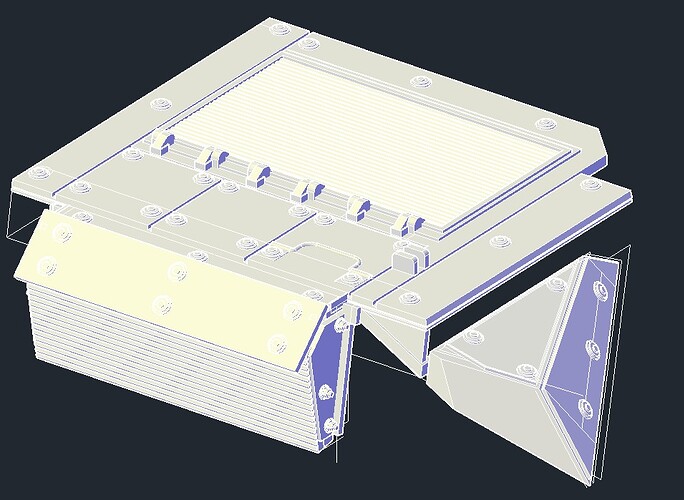
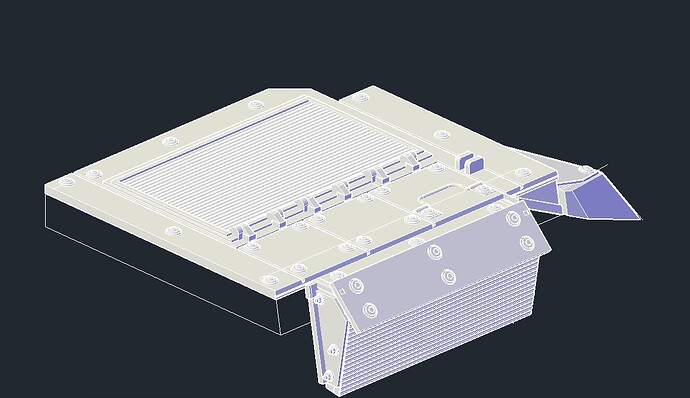
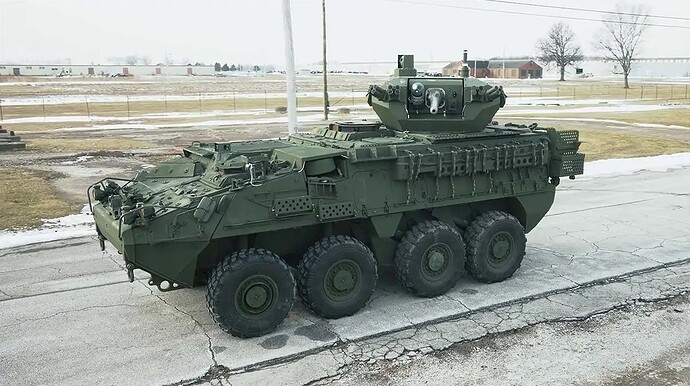
And there is an upgraded version, they changed the front and back, and the bottom.
Don’t know the internal works, so I just go based on what I can see.
Since you can’t see the bottom I didn’t bother to design that.

Galactica already designed these parts:

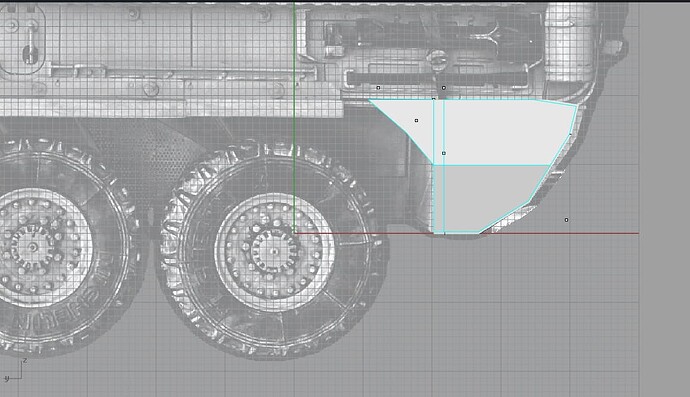
But I have my own printer and CAD software, so I design and print my own stuff.


![IMG_20241116_205239451_HDR|690x310]


Some adjustment might be needed once I get building.

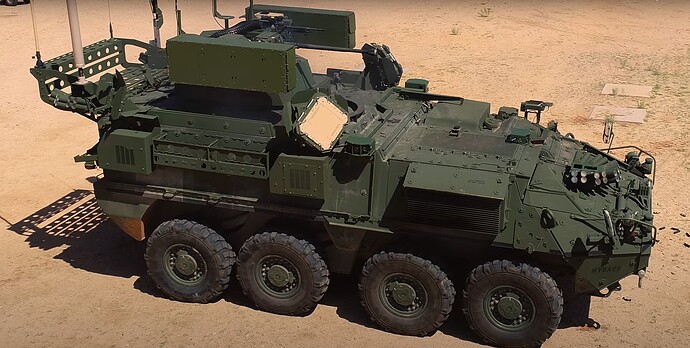
Last night I noticed the Stryker A1 vehicles.
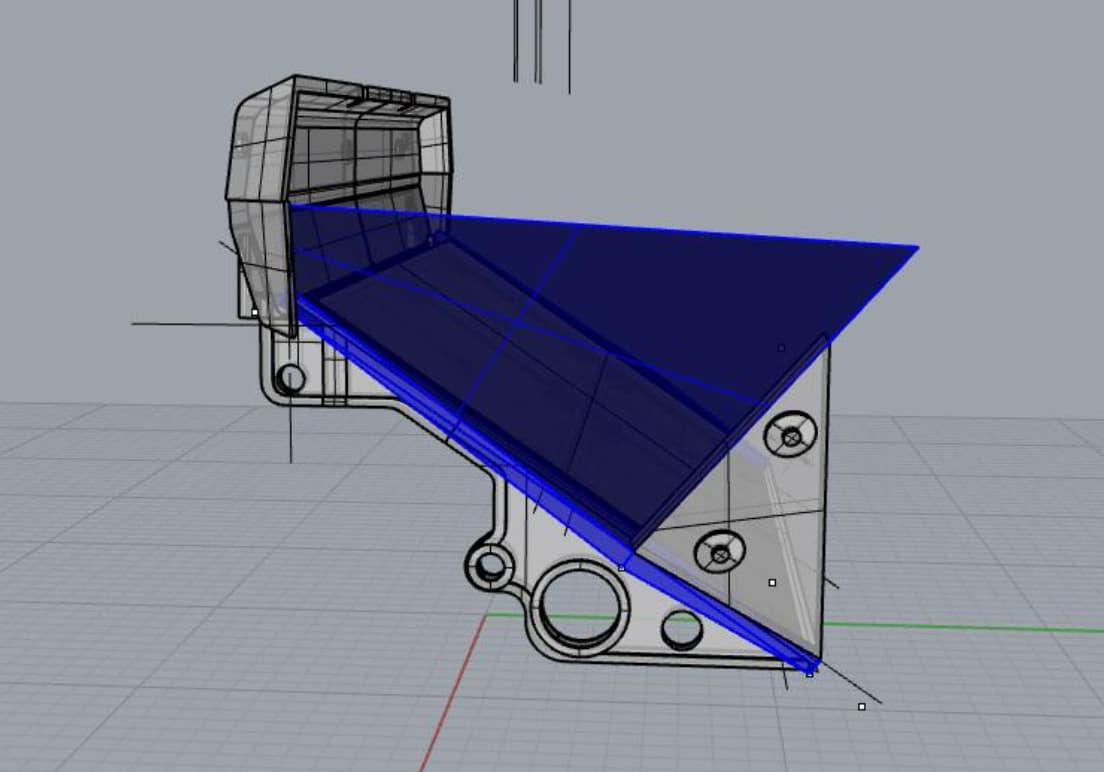
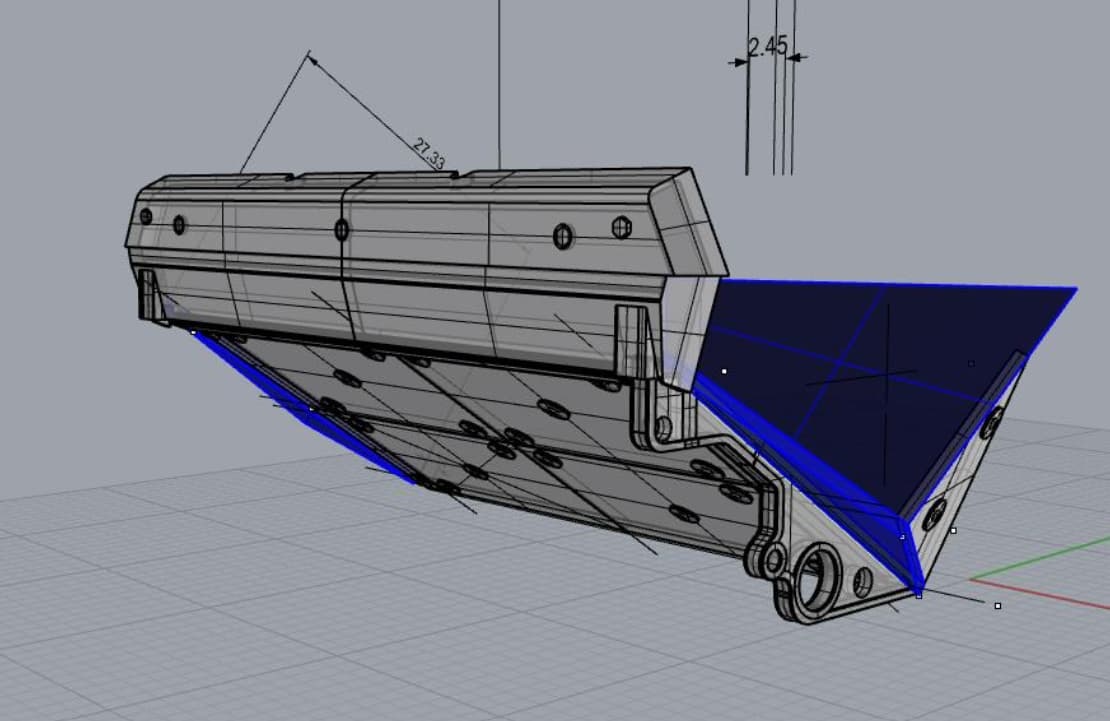
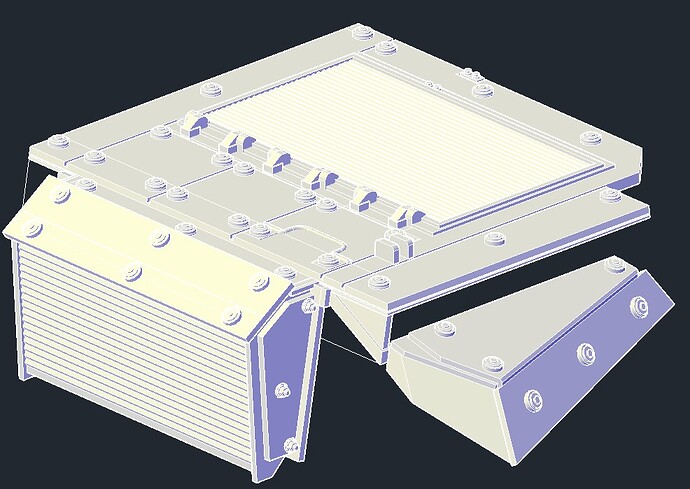
I already have the front, back and sides, but the engine part is completely different.
So I grabbed some cold cola from the fridge and there we go.

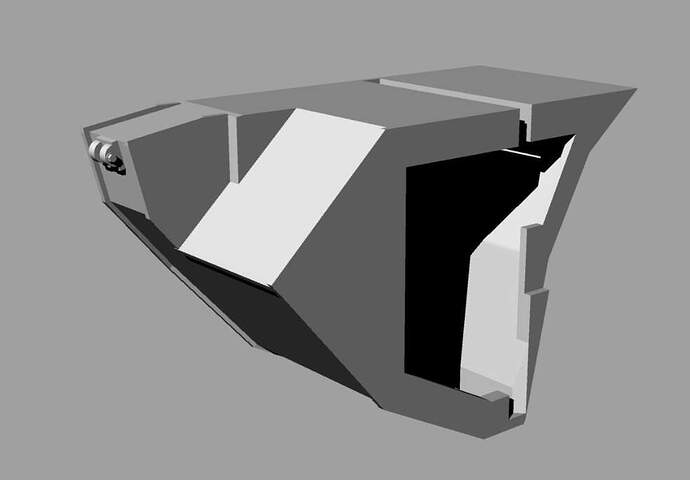
2 hours later, I came up with this:


Sand the correct area clean on a Trumpeter Stryker and it should fit.

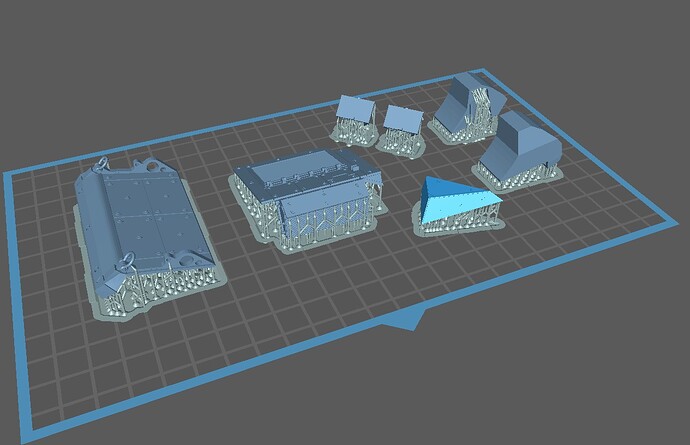
Lets have a look how this prints today:

Now I have to order an other M1126, thank the good folks from China the Trumpeter kits are not that expensive. So 3 versions in the pipeline: Original Stryker, Improved and Double V Hull.
12 Likes

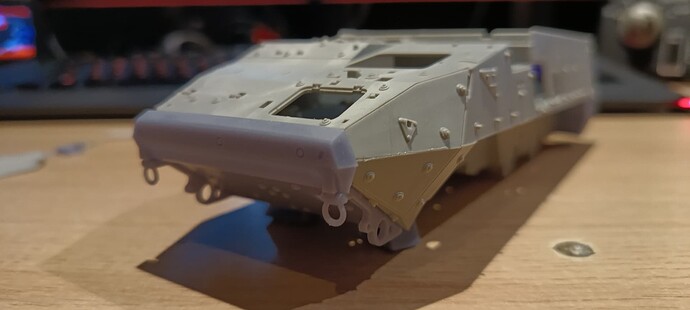
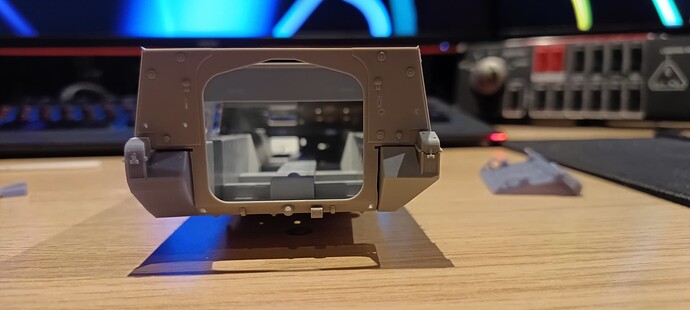
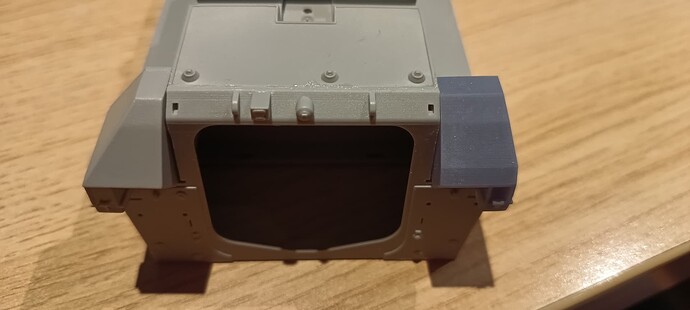
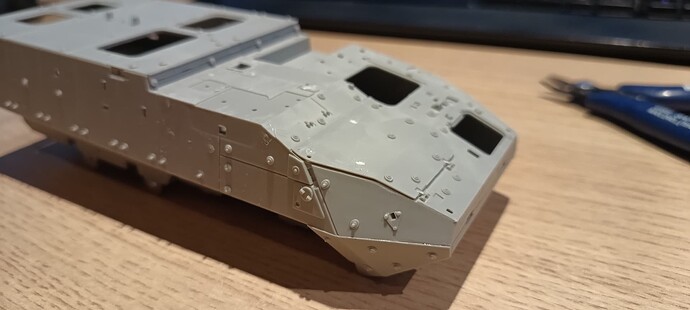
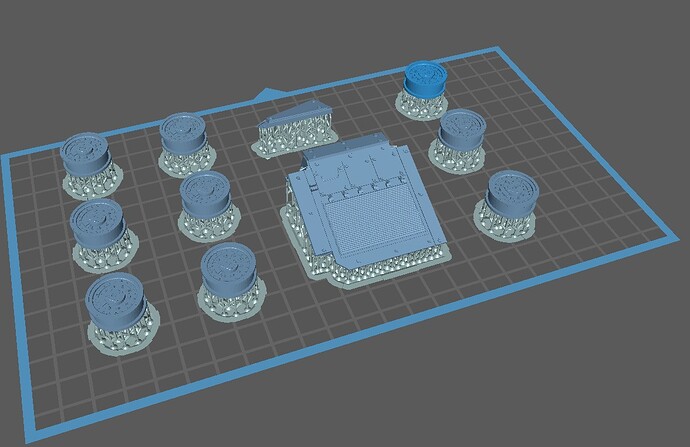
Print is ready, some removing of obstacles required:


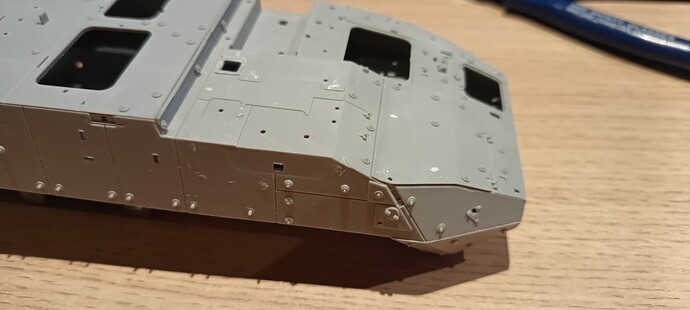
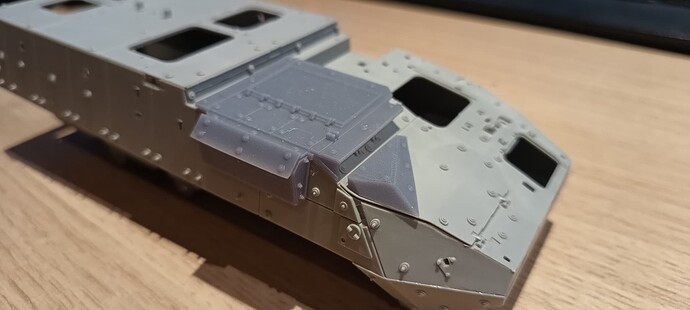
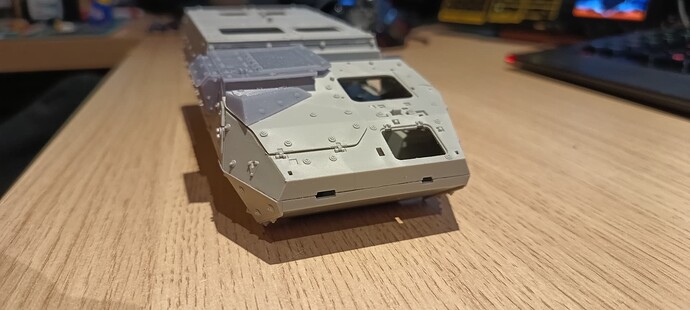
And placement of the printed parts.


Maybe some small adjustments required?
The radiator, should be longer towards the bottom.
And the pyramid thing in front need some adjustment in shape.
What do you think?

10 Likes

Looks great, I’ve not recently taken a deep dive into the Stryker family. Looks like the wheel hubs are different too

1 Like

Yup, your right.
Going to do that to then.

2 Likes

Looks good. Seems to be a popular subject all of a sudden. A friend of mine has been working these up based on my research. As you can see they’re pretty far along. These are for AFV Club. Yours are for Trumpeter. How fortuitous! Maybe we’ve saved each other some work.

4 Likes

I tend to go for the cheaper brands, since I change to much on them.
And my wife…

5 Likes

I remember Shapeways offered a Double V-Hull upgrade for the AFV Club Strykers.

@galactica (Priamide Models) and Peter Samofalov (Samofalov Prototyping) offered different upgrades, with Ettore offering a full conversion kit to convert the M1126 to the Spec Ops variant used by SF in Northern Syria.

2 Likes

Ettore is the one completely reworking his parts for the DVH A1. I’ve got full confidence that it’s going to look great.
There are some changes to the photos that you see there.

1 Like

I’ll buy another AFV Club M1126 kit, just to add Ettore’s parts and make it better.

2 Likes

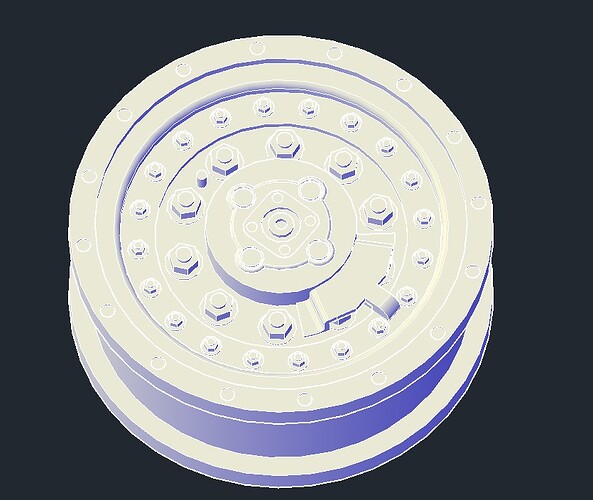
Changes made to the A1 parts, and tyres designed.
Tomorrow I’ll print them.


3 Likes

Dang, that was fast!

1 Like

Normally I only help one person at a time. But since I’m tryna be all environmentally friendly like - no sense wasting resin. You can add this - I’ll bet it takes you less than two minutes.

1 Like

Nah, Been watching tv while I was doing it.

1 Like

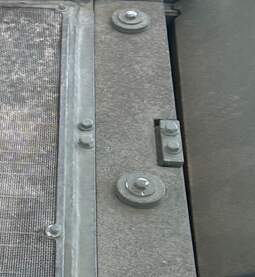
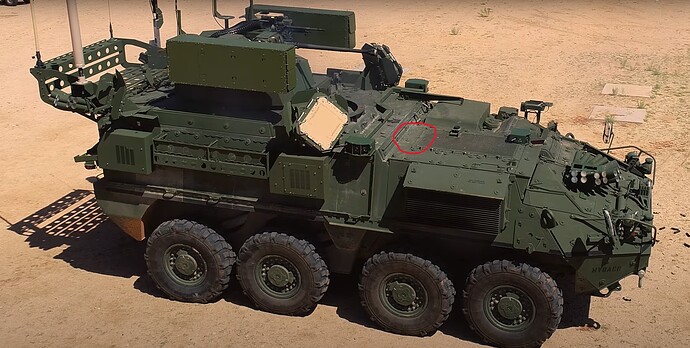
Thanks for the picture.
Its around here I presume, right?

1 Like

Actually it’s a little farther forward, where that rubber bump stop is. That has been removed in my photo, but place it just next to the large washer.

2 Likes

Oh, ok - I didnt know that was a rubber stomp.
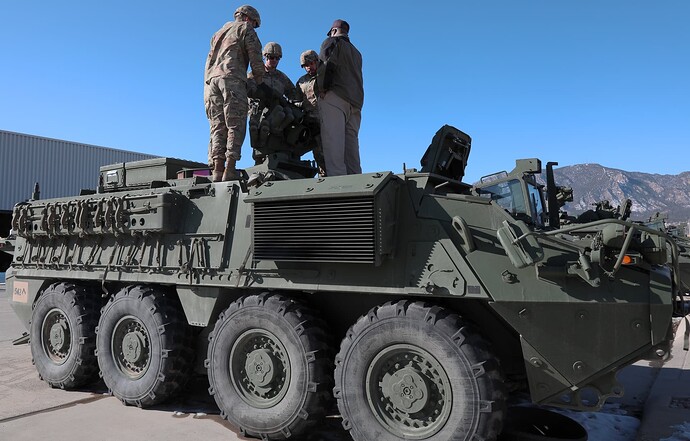
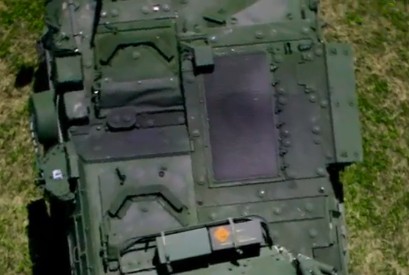
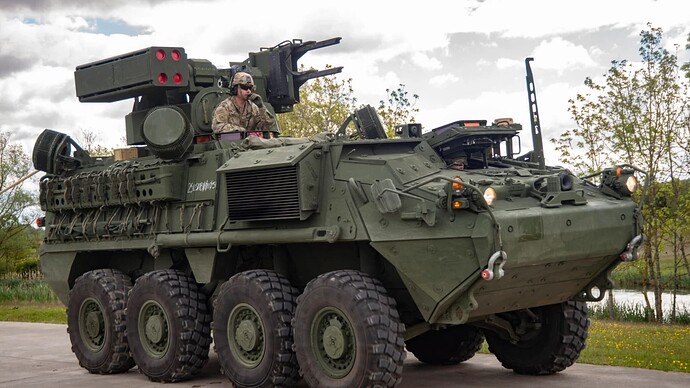
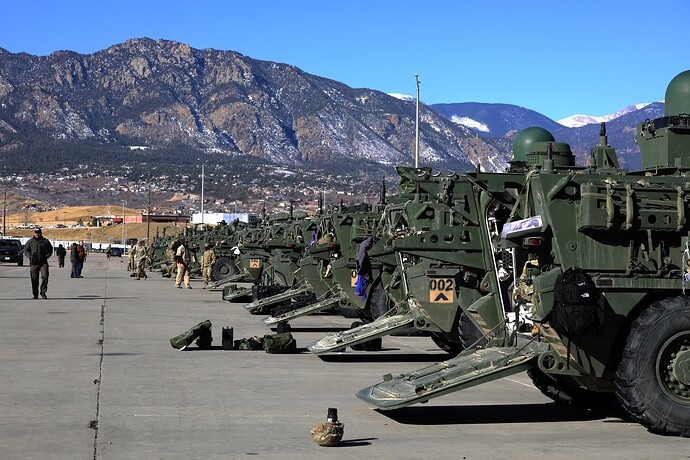
These are the pictures I used for designing the parts:


I used this picture for the Tyres.

Just eyeballing the pictures and measuring the Trumpeter kit to get it correct.
But I know most bolt measurments, human avarge height ect.
If I find a reference point its easy to design, its a weird gift I have.

1 Like

That’s the Shoppette in the background. Man, bought a lot of beer there.

1 Like

ow, wait - these are the bolts where the rubber stomp needs to come.
Damn, took me a while to figure it out. Lol

1 Like

Added

6 Likes

Perfect

2 Likes