For anyone interested, this video shows how the port mechanisms worked on the ones with the scope opening. These are on a Grant tank - the demo is about 7:30 into the video:

For anyone interested, this video shows how the port mechanisms worked on the ones with the scope opening. These are on a Grant tank - the demo is about 7:30 into the video:
Thanks for sharing this interesting video ![]()
![]()
I like all the detail you have added.
Cheers,
Ralph
Thank you Ralph, yes it was quite some work but now comes the painting stage for the interior but my holidays are off and last week was very busy so I didn´t had time nor energy for this. But next weekend I will be able to show more - hopefully ![]()
![]()
Sorry for the update delay - My holidays were over and I had to work overtime again and had not much time to sit at the modelling table. But now I do have some new pictures for you:
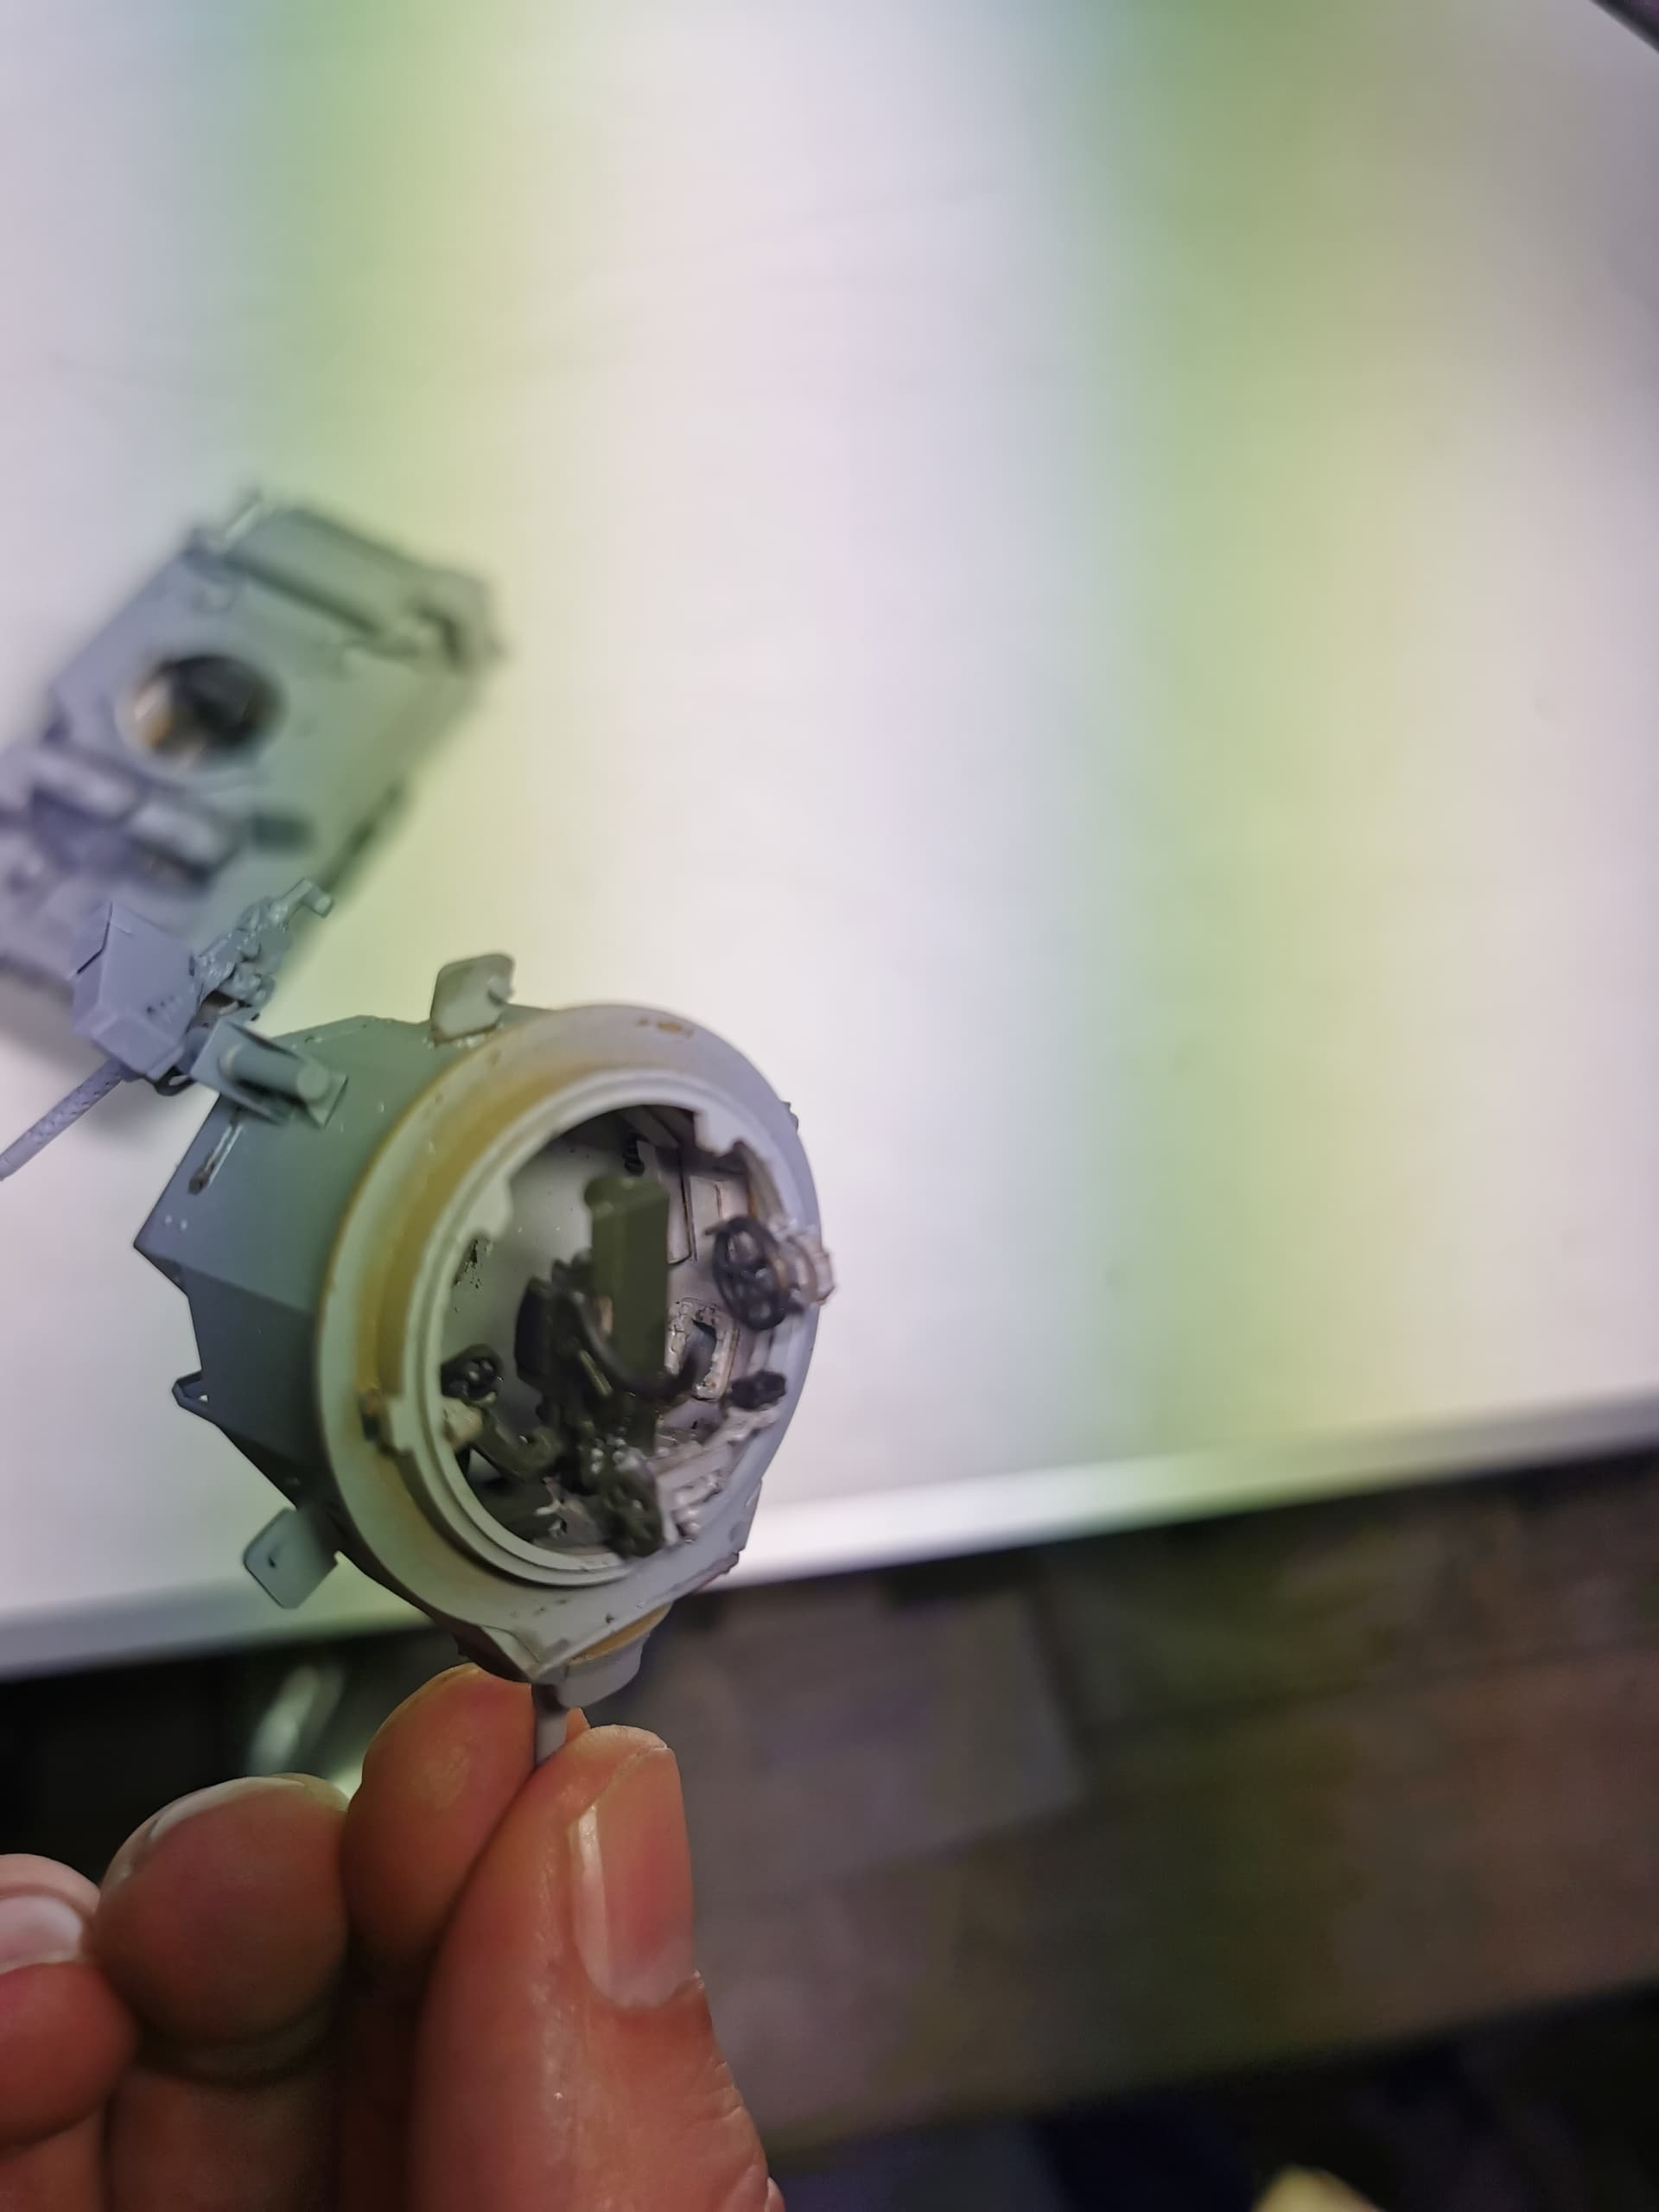
I have finished all the outside details exept for the fragile headlight covers and the extended metal bars at the sandshields; these will only be installed after the upper and lower hull parts are glued together. The smoke mortars are from armorscale and the turret MG is from VLS. Oh and I decided to change the vehicle into a diesel engined one as I have a conversion set for this from MR-Modellbau.
Now it is really time for start painting the interior ![]()
Gentlemen, I report I´ve finished the complete interior paintwork.

Though the interior is very tiny, especially in the turret (feel sorry and respect for these poor lads which have to do their duty inside these crammed and unbearable hot interior space of these tanks) it was quite some work. I used the colors as adviced in Tiger Model Designs instructions and used some desert dust pigments after the wash did dried up thoroughly. Here are the pictures:
Hull:
turret (sorry for the bad quality; it was difficult to picture properly):
In the end you will not see too much until you approach very close with a tiny pocket lamp ![]()
Finally glueing now the two hulls together ![]()
Great job!
The details on the inside of the commander’s hatch, and the lack thereof in my build, made me decide to close up my honey and not bother with the interior of the turret.
The interior looks great. You put a lot of time and effort in to it.
Cheers,
Ralph
I really tried willingly my hands at BRONCO`s single link plastic tracks for the Stuart. It rarely happenes but this set broke me and I decided to give up with this one. It is said each side needs 67 track links, so I did. Each track link is consisting of 6 fragile parts. Handling and glueing is really a fiddly job, you have not much extra parts though some snipped off into the carpet monster´s realm never to be seen again… In the end it shows that this kit only needs 64 links so I had to remove 3 again. During test fitting the first side some links again broke apart which triggered me to capitulate…
I then tried the plastic single link tracks which are provided within the original kit. But these are not much better: they are more chunky and are of a brittle plastic molded very tightly at their frame, making it somewhat difficult to remove from the sprue. In the end they are also falling apart as you can not glue the connectors to the track pads at the beginning so I also tossed them…
Sticking now with the kit´s vinyl tracks, and I think they are also looking ok. Patience is very low now at the moment ![]()
Thats it for this weekend, need some rest

Thomas, there are certain types of tanks that certainly benefit from individual link tracks, many German and Soviet WW II tanks for instance. However, on the U.S. M2, M3, and M4 families of WW II tanks, they used “live” tracks, which means they had no sag. If you can find well detailed vinyl tracks, by all means use them. With careful painting you won’t be losing a thing (except the headaches) and no one can tell the difference. I use Asuka M4 vinyl tracks all the time. Don’t beat yourself up over it!
The Bronco ones are just sheer insanity… however I thought the Academy/Italeri/Airfix ones were not that bad. Not great, but not too bad.
Funny thing is that the vinyl ones will neither fit a Tamiya nor an AFV Club Stuart. So I need to source a set for both.
Unless… do you have pictures of what the intrior looked like?
Maybe I can scratch some stuff.
Love the camera work.
Ron are you talking of the interior of my stuart? Regrettably I have tossed already Tiger Model´s instruction manual. All I can offer is to copy the instructions of the interior for the M3 Stuart as I also have an interior set for this kind of tank. Let me know if you need this.
Thanks a lot Greg ![]()
![]()
I meant just the visible turret bit.
I´ve finished all exterior detailing work and primed the vehicle and vinyl tracks with Mr. Surfacer 1000. This is how it looks like before I try myself at the Caunter camouflage:
Meanwhile the ordered figures for my small diorama arrived at my desk. These are italian “Guastatori”, the elite fighting units of the italian infantry. These are comparable with assault engineers or german “Sturmpioniere”. The quality of Soga is, as always, excellent
Will assemble and paint them parallel to the vehicle painting
It does!
Visionslits, mapscase, bino-case, pistolholster… but what is the other thing? Looks like ammoclips or something? And several boxes?