Hi all, I have recently made a start on building Tamiya’s Stug III ausf. b kit (kit 35281).
I generally build pretty slowly it seems, might be lucky to finish 2 kits in a year if im lucky! I have learned its the process I enjoy, and not so much the end result, so in a way I drag the process out by going overboard with extras, and with research at the same time.
I actually ordered this kit from a local online retailer, from my phone, whilst I was sitting through a rather un-interesting work meeting!
Obligatory box photo:
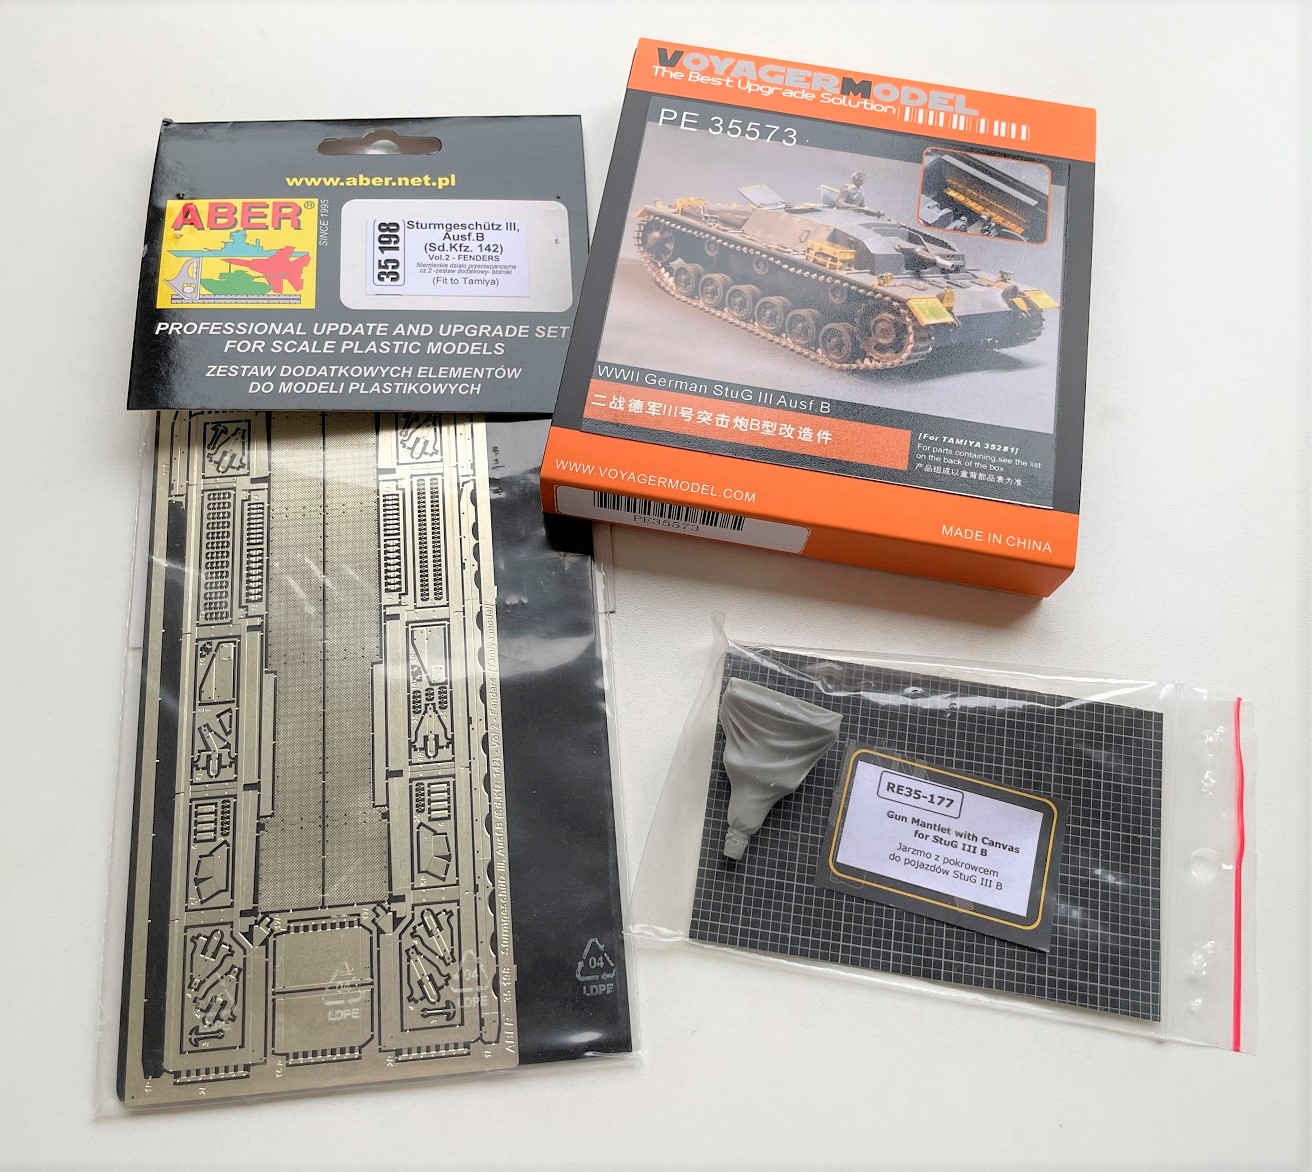
Some of the extras I currently have, Voyagers P/E set, Abers P/E fenders set, and Panzer Arts Canvas mantlet/barrel shroud:
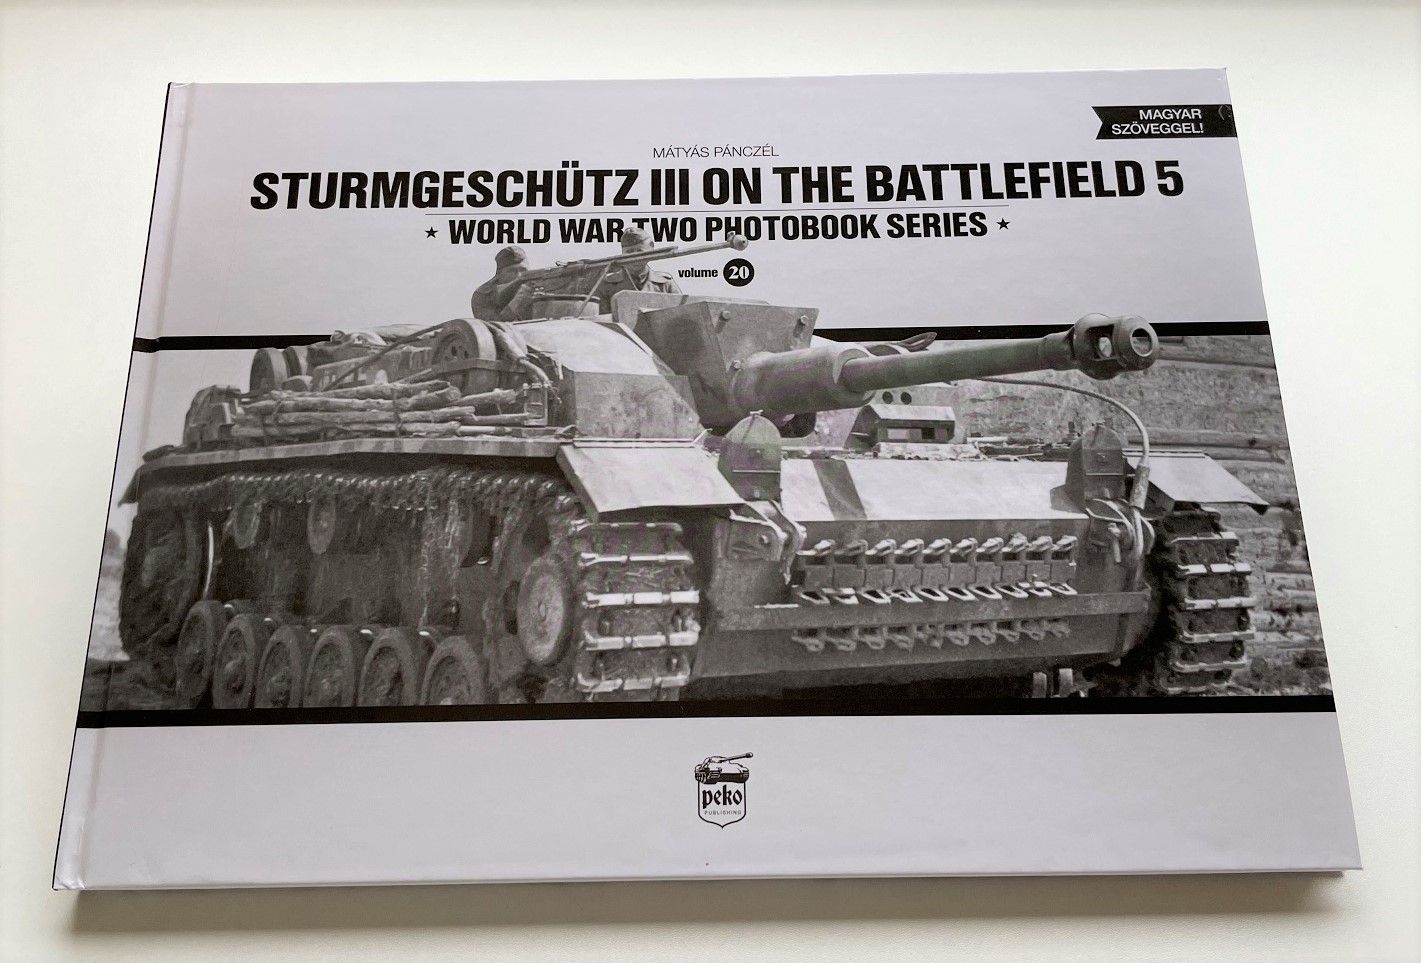
A first for me as well, I have never purchased any books related to armour, but thought I would see what they were all about. I picked up this book, and it has impressed me very much. Its a pleasant change from using google for research, the images in the book are fantastic. I will be purchasing more in this series in the future:
I am hoping this thread will bring me some extra motivation and help with this kit, as I have made a start and already have hit a major hurdle! Anyone else who has used the Aber fender kit may be able to help me… I hope!
3 Likes
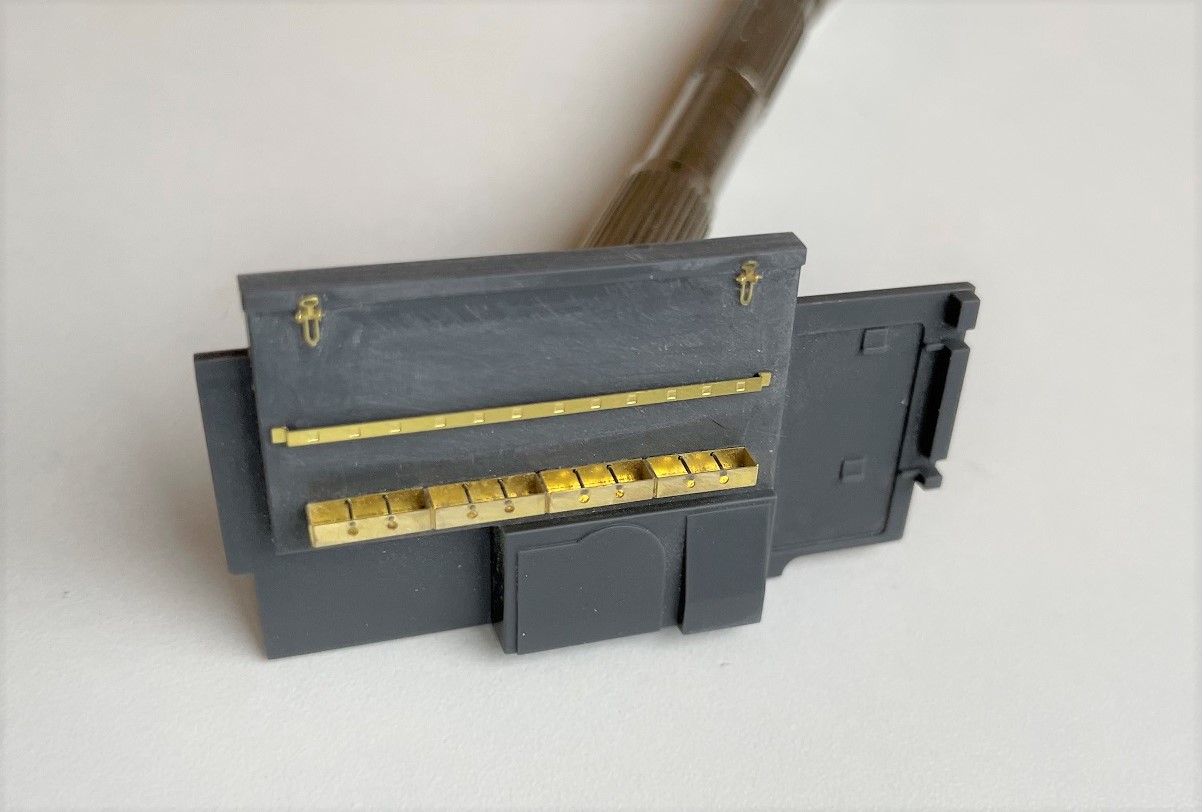
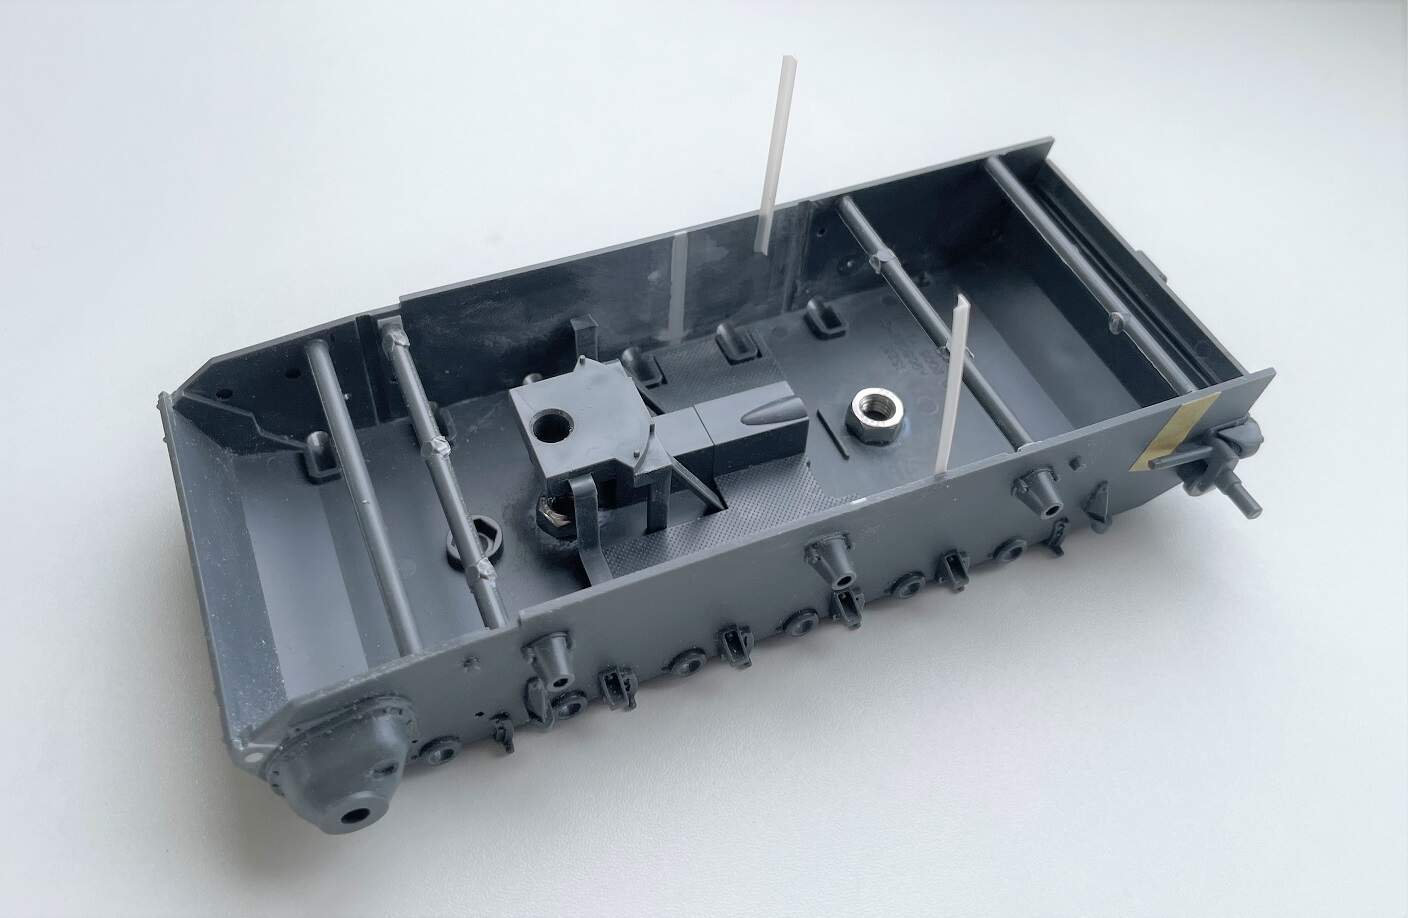
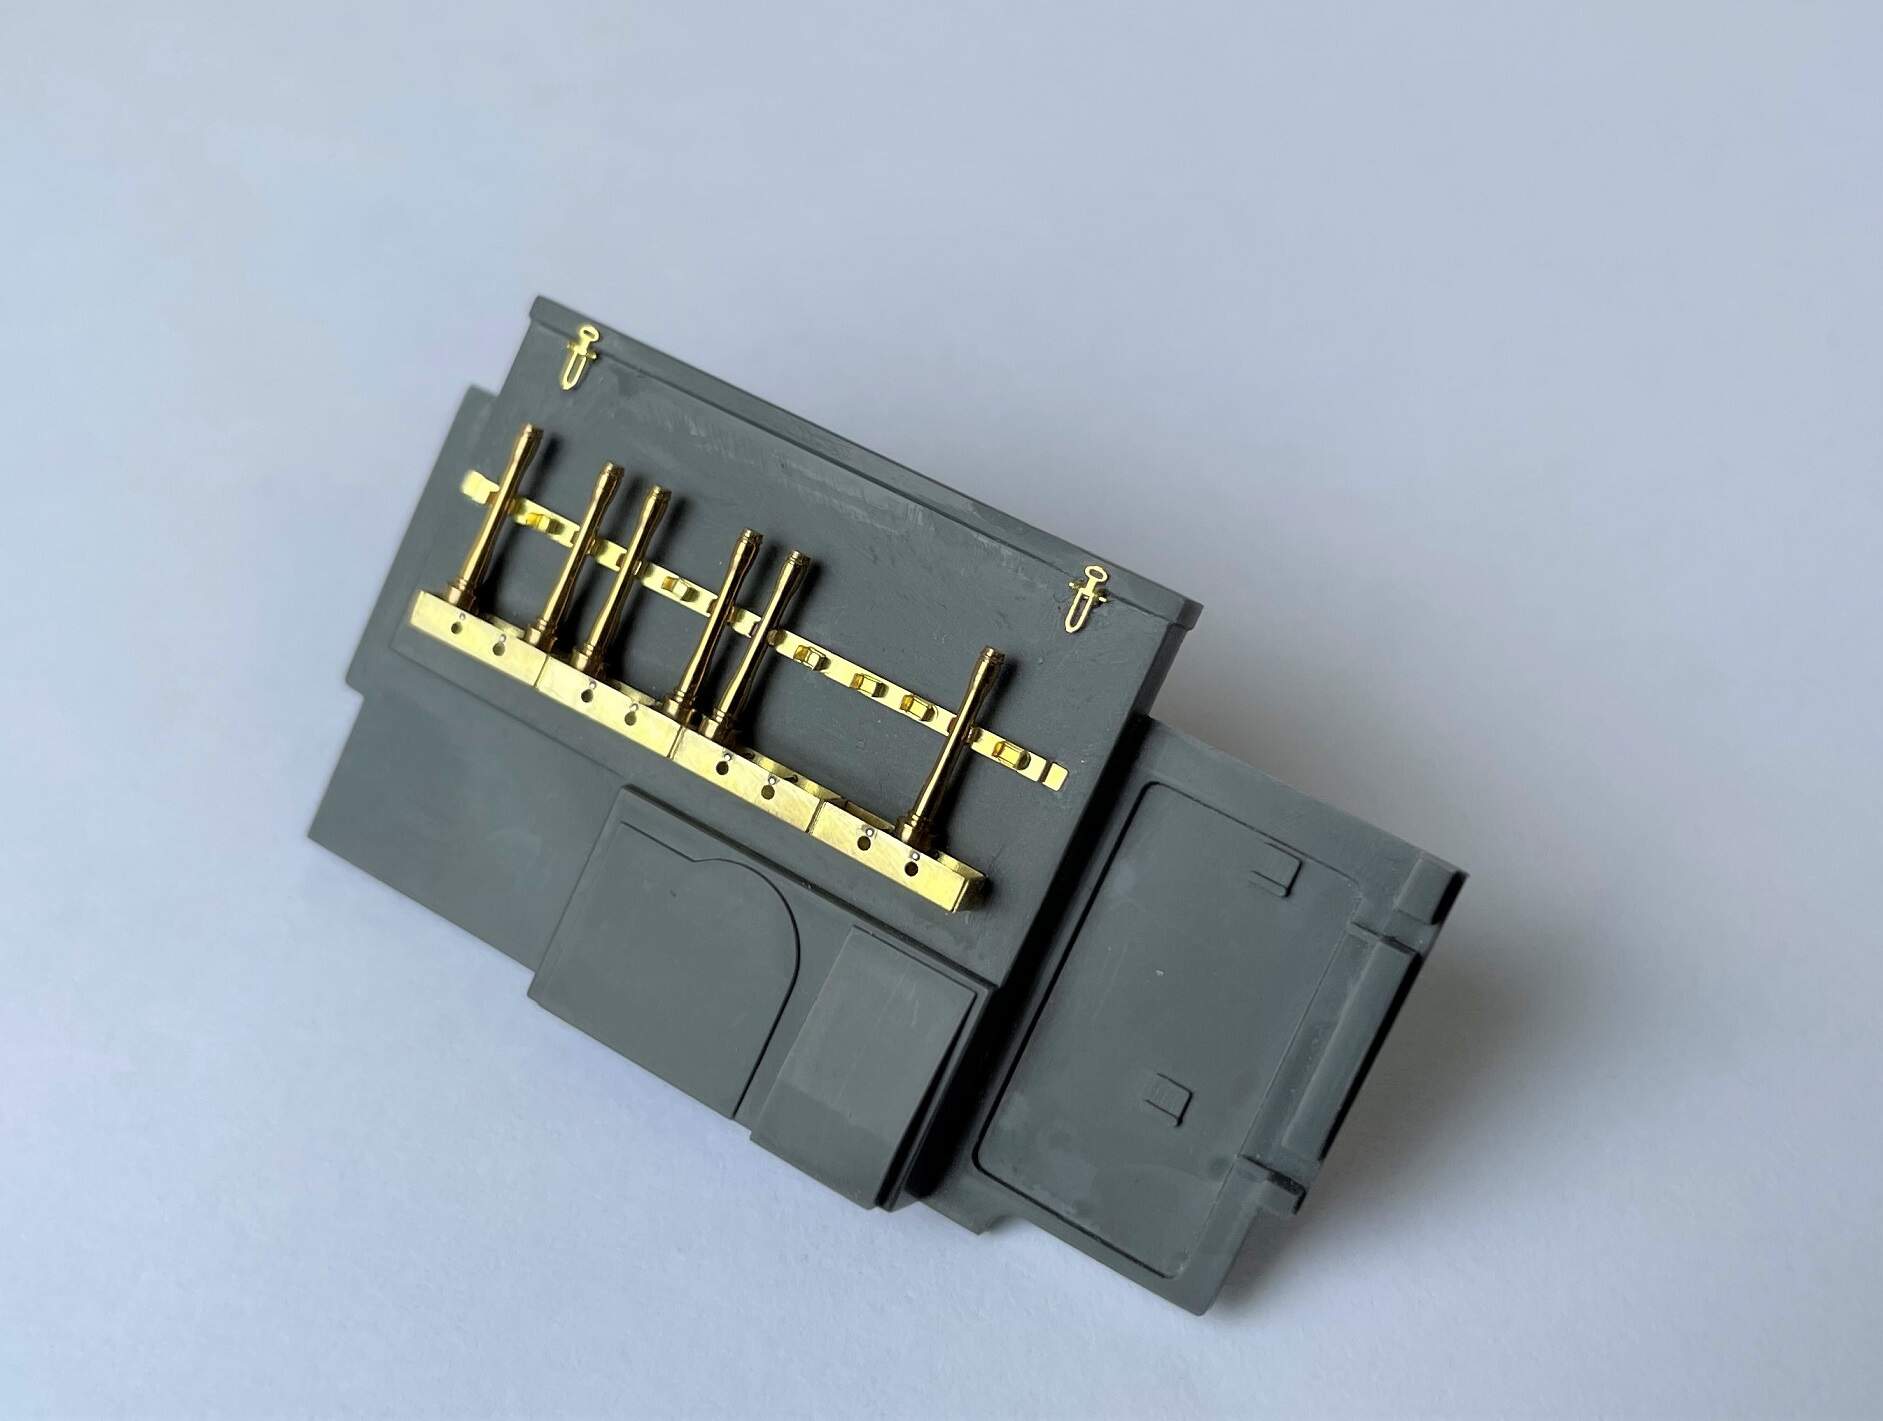
I have made a start on a few of the sub-assemblies. Below is part of the interior (rear wall separating fighting compartment from engine). Im not going for a super detailed interior, I just want to show some detail that may be seen through open hatches.
I have ordered some RB model grenades to fill the rack shown below, once those arrive that will tidy this section up nicely. The latches I don’t think are accurate, but adds a bit of detail.
The lower hull is partially assembled, nothing overly exciting going on here. The exhaust pipes are very thin on the Stug’s, so its definitely worth drilling these out for a nice effect. These were drilled very carefully with a 1.5mm drill bit. I think that I will also add a weld bead along the long bottom edge.
2 Likes
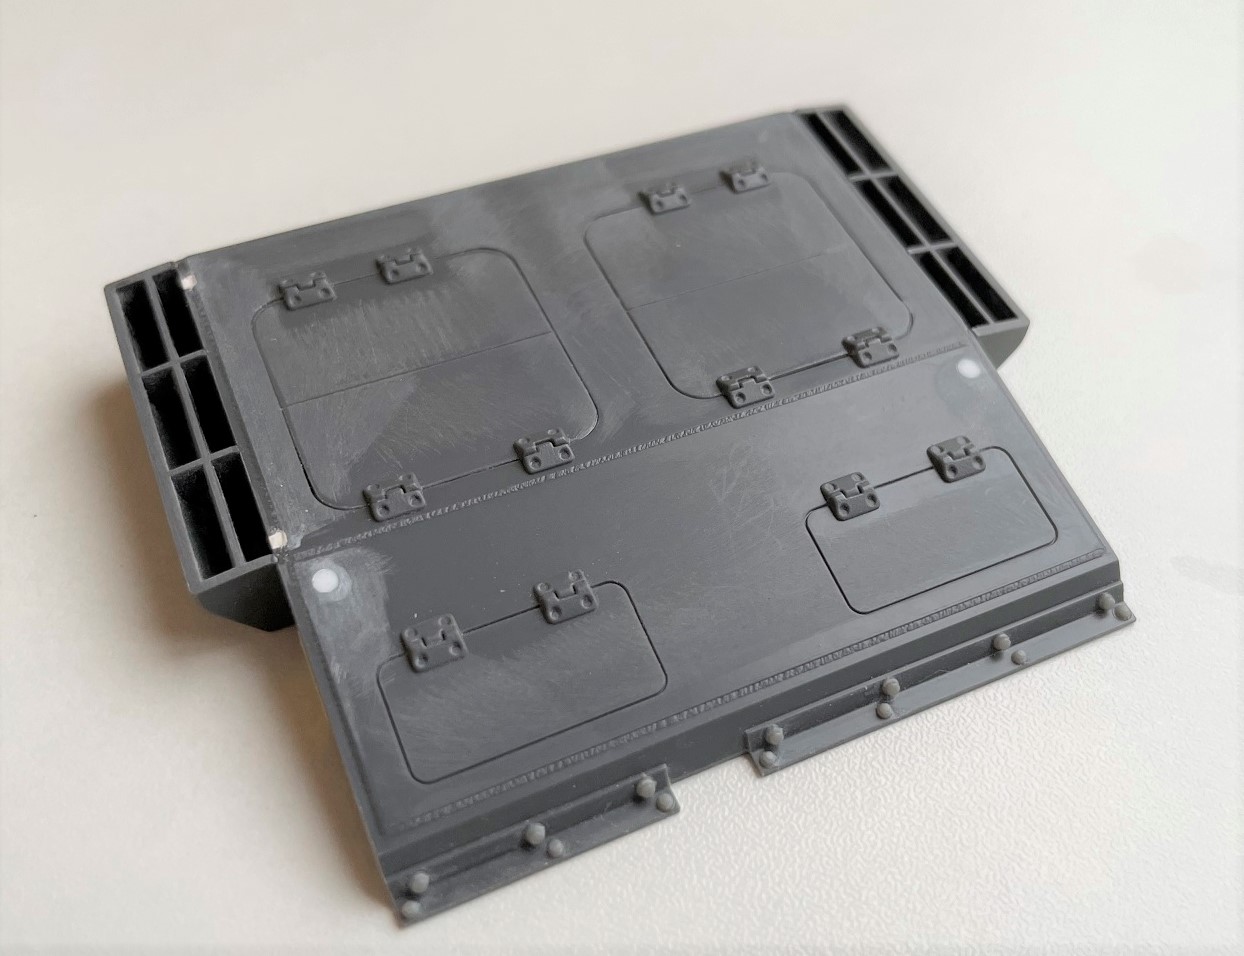
Use of the Aber P/E fenders requires some commitment… you need to cut off the plastic fenders from Tamiyas one piece upper hull. Once cut off, it leaves a pretty flimsy piece of plastic holding the front of the upper hull to the back of the upper hull, so I went ahead and discarded the flimsy segment and ended up with separate front and rear portions.
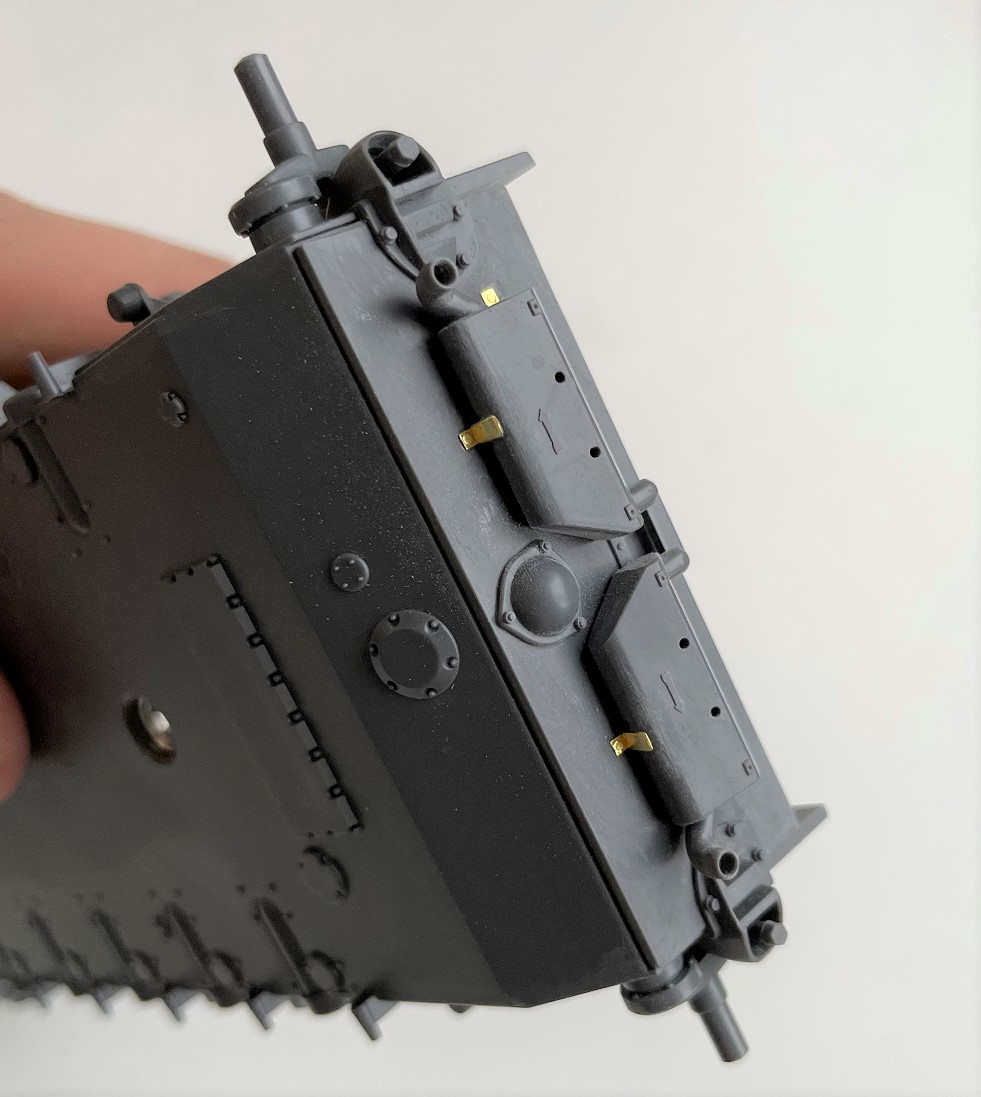
The rear portion is shown below.
The main engine hatches (separate parts) refused to sit flush with surrounding deck, after much test fitting it turns out there is some extra plastic on the underside of the hinge portion of the loose hatch part that needs trimming off to get them to sit flat.
I have also added some bolt / nut heads to the rearmost portion. These aren’t included at all by Tamiya, but definitely existed! For this I used Meng’s nuts/bolts. Very good value for money and highly recomended! These look much, much better than some of the P/E nuts and bolts you can get (and Meng’s offering is quite cheap, with plenty coming in each pack.
1 Like
You are not the only scale modeler that is slow pace. I’m to finding that the rate of model kits that I’m building is very low. At least that is what I’m thinking. And with more and more tasks and things getting added to the hobby. I’m getting even less model kits build in a very long period of time. I’m personally haven’t had much luck with doing research for scale modeling projects online. I’m caring about my privacy and security, I’m not using Google because that is a nightmare for privacy. Instead I’m using duckduckgo.com. I also have searx.me, qwant.com and startpage as search engines at my disposal. But my experience is doing research on the internet is taking lots of time. I’m much more willing to spend that time reading a book or magazine then just searching the entire internet for one piece of good reference or information about the subject. You can use the internet for general information is my experience. But for the more interesting information you still going to need books.
Best of luck with your scale modeling project and hope you will come to a result that pleases you the most.
Great job so far! I also use books in lieu of the internet for researching my models, and I can be a slow builder.
Bill
Following! really like the look of the short barrel Stug
Cheers,
C.
Thanks for following, and thanks for your comments so far. Glad to hear im not the only slow poke around here!
Small update time. Fortunately I have read another very good build log for this kit when using the Aber fenders, over on brit modeler forum. The issue is that when you remove the Tamiya moulded on fenders, its becomes apparent that Tamiyas upper hull part is wider than its lower hull part, by something like 1.4mm, so when you trial fit the top to the bottom you see this step. However, the Aber P/E fenders needs there to be no step to work!!!
This issue has been bugging me, as im not sure how to deal with it yet.
Anyhow, I made some progress regardless. As well as the Tamiya upper / lower being different widths, the Tamiya lower is bowed inwards. To fix this I have placed some internal spacers inside the hull to spread it apart to more correct width, as per below:
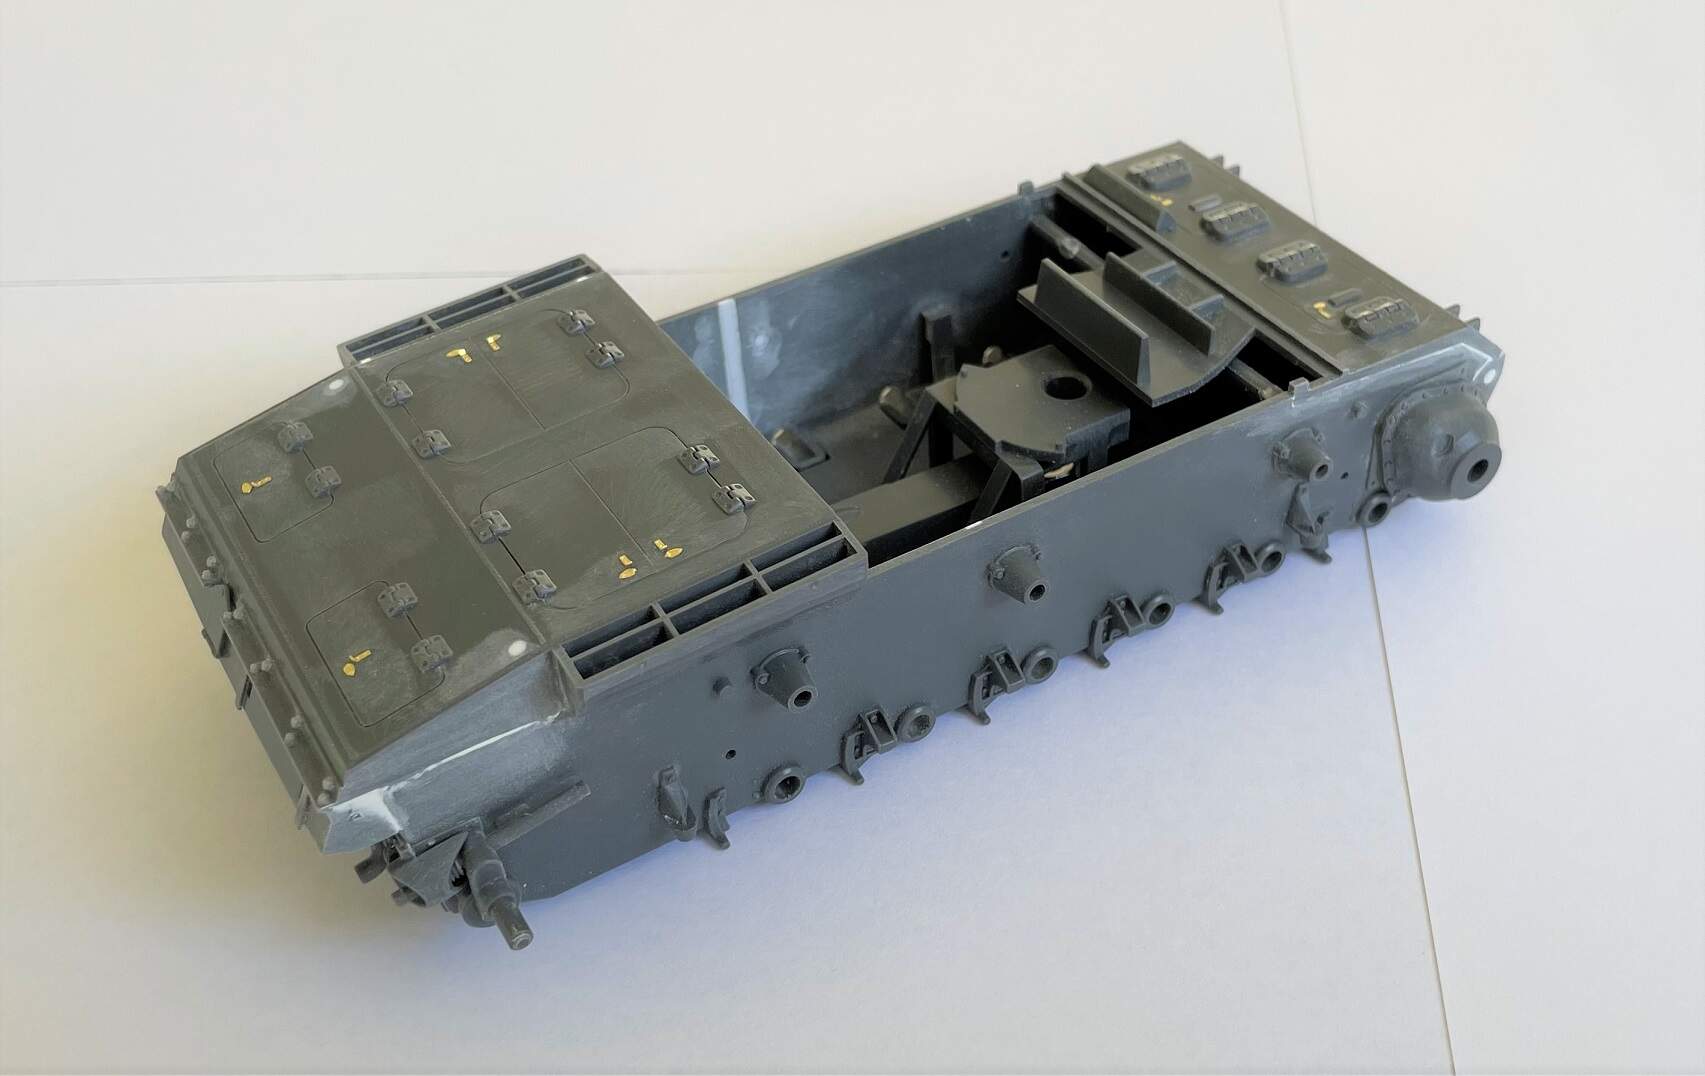
Once this spacers were set, I then added the upper hull parts (which are now a separate front and back), as below. There is a bit of filler needed at this seams, but not too much.
Starting to look the part now.
3 Likes
Its been a two step forward, one step back type of day today (or is that two steps forward, five steps back?!?!).
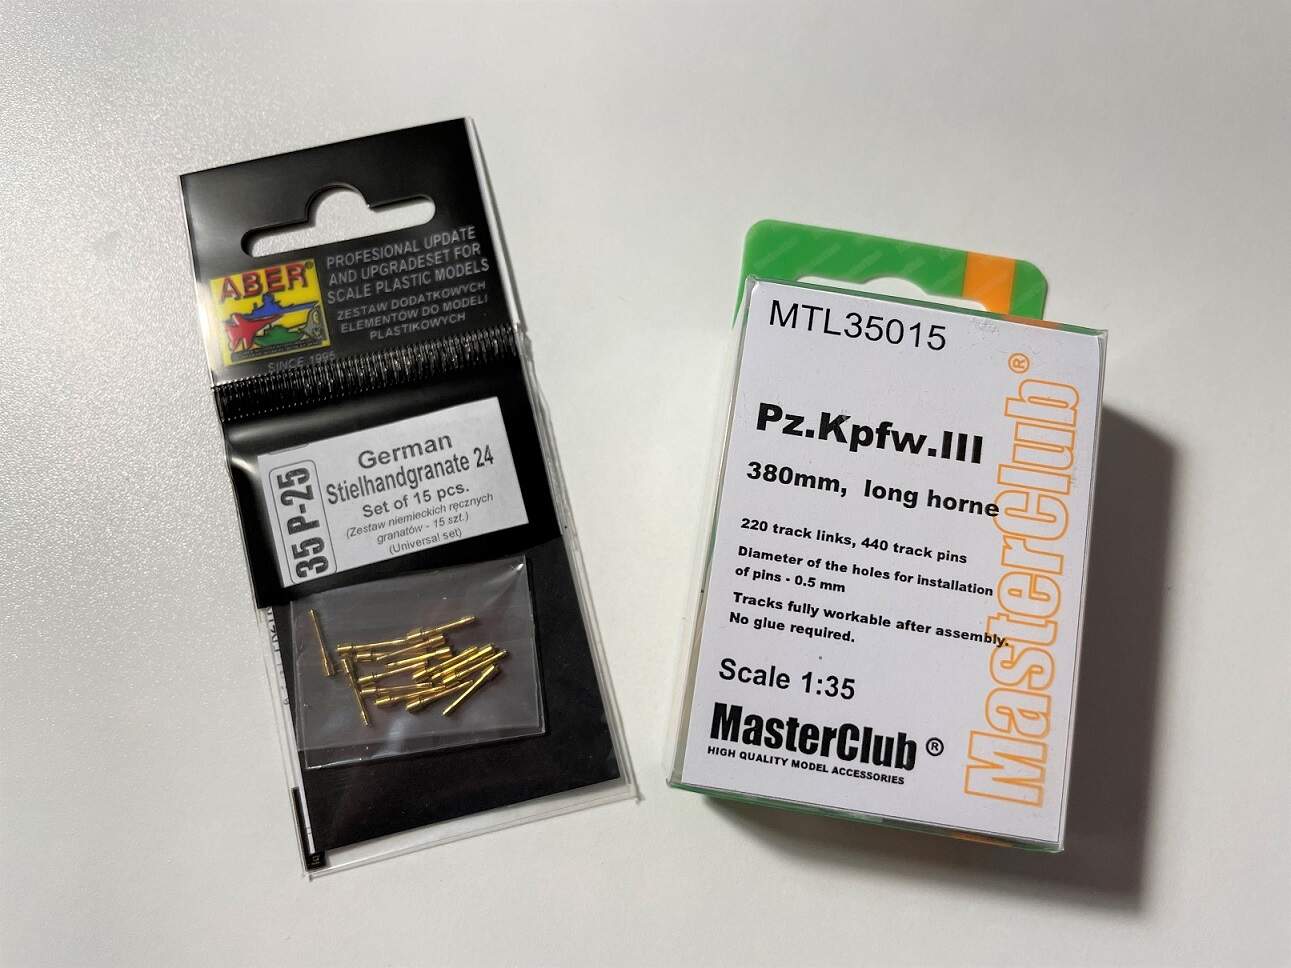
Things started well with a package arriving from BNA Model World (im in NZ, so just a short transit):
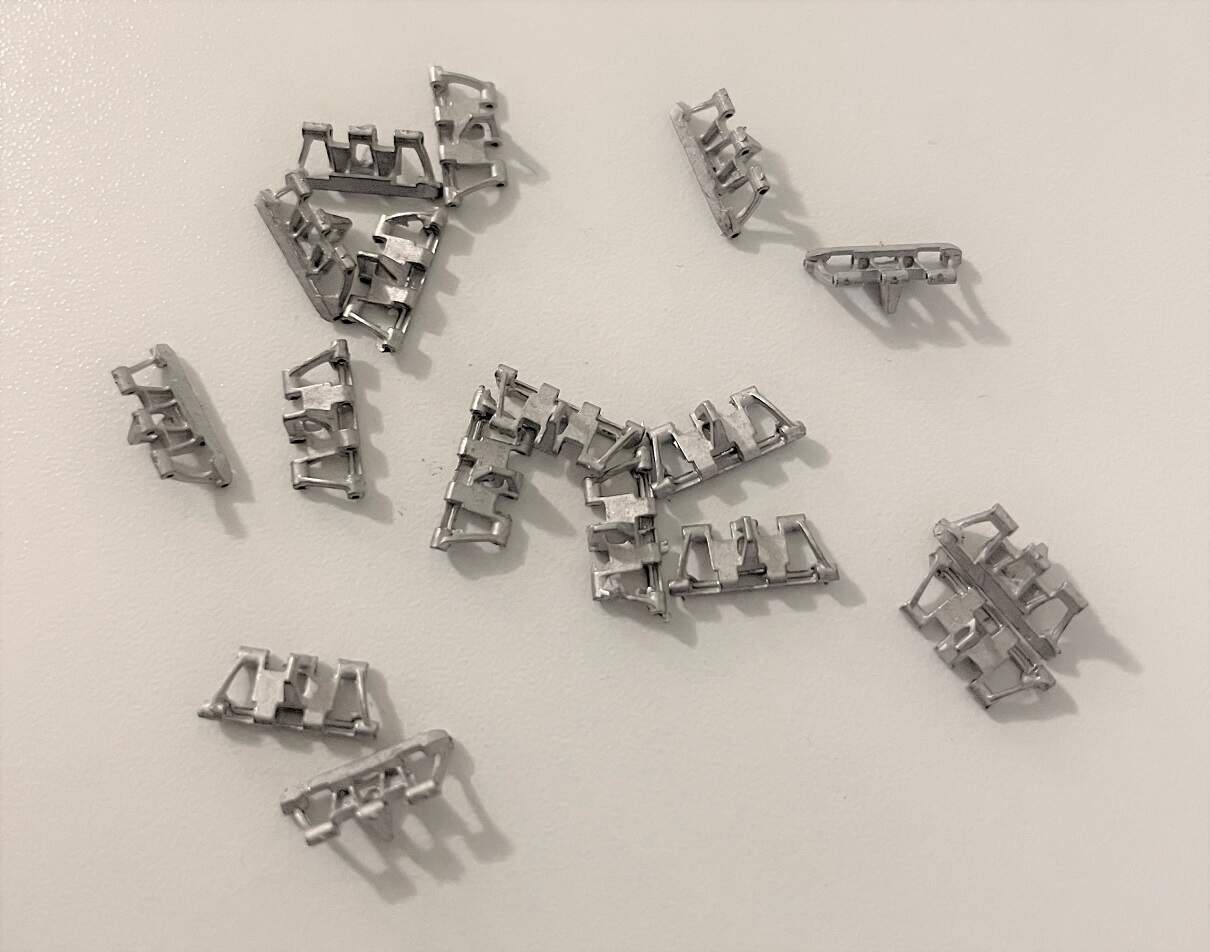
Not much to say about the Aber product, very good and ticks all the boxes. The masterclub tracks look nice, not too much flash to be seen, but some flash here and there:
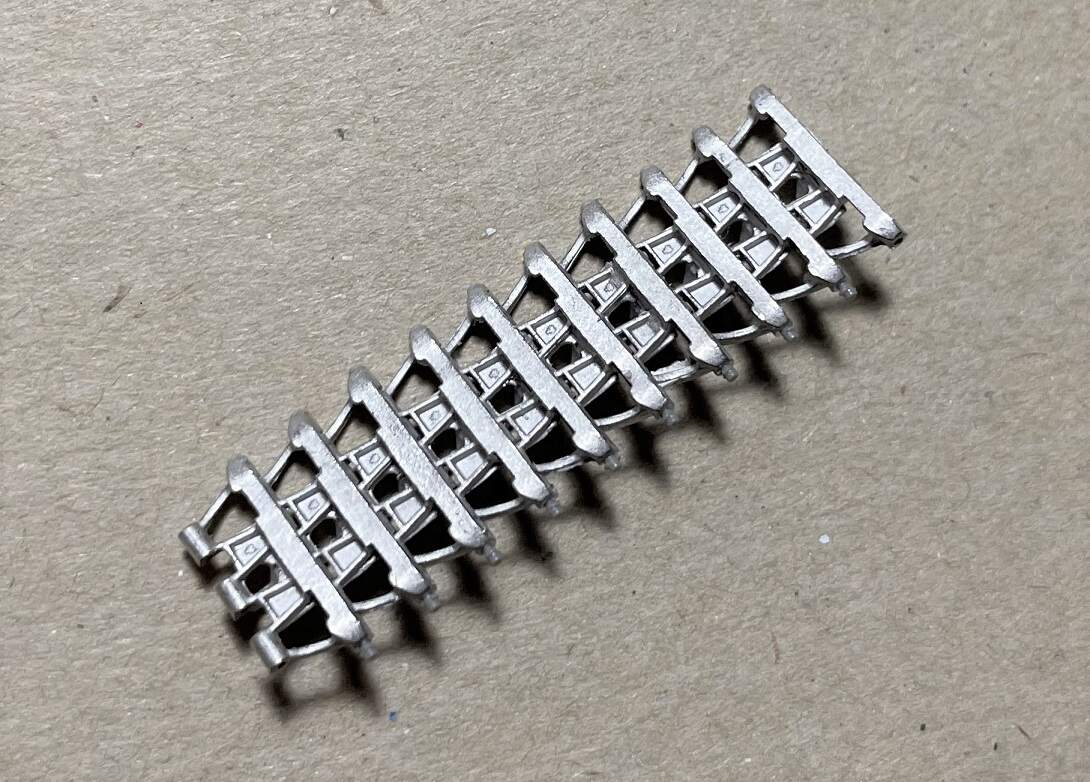
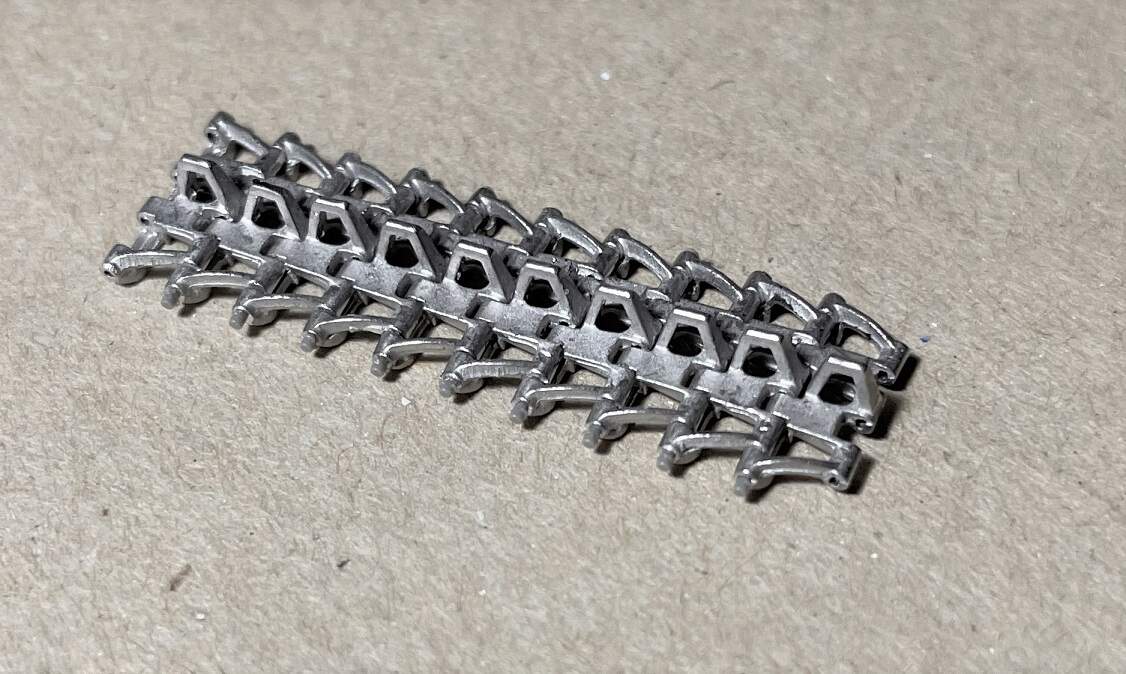
I assembled a run of ten links, just too see how easy (or hard it would be):
Assembling the run is when the day starting to well… not go so great. They are a bit tricky to assemble, it seems there’s some flash in the mating parts which means they don’t exactly pop together. There’s a bit of force needed. The pins don’t really pop in either, I ran a drill through each connection (the pins themselves are nicely detailed, but a bit fragile so you cant just brute force them into place). They do look good though which is a bonus!
I then went to check the short section I had assembled fitted onto the Tamiya sprocket… BUT THE TRACKS DONT FIT!!! Im not sure why yet, but I think the Tamiya sprocket is sized to suit 400mm wide tracks, but the Masterclubs are 380mm wide. Which confuses me as I had thought that all ausf b. models were fitted with 380mm tracks…
Time to start thinking of a plan B!
1 Like
How do you use the filler? And what filler do you use? This is part of my modeling that I need to learn. That’s my experience with my half track project of the Tamiya Sd. Kfz. 9 Famo.
Did you use cutted piecies of sprue as seperators for the whole? To keep it on the right width?
Maybe they were made for so called Winterketten? Because I have read of the Germans developing and making special tracks for the eastern front to fit to their vehicles going to the eastern front. They were also called Ostketten. But much more I don’t know.
I follow your topic, because it looks interesting. I can learn a lot, also from your modeling project. And I’m a military scale modeler as well. Focussing on World War II topics mostly of the European axis forces.
Keep up the good work, you’re doing great.
The Tamiya kit represents an Ausf. B with the updated late production drive sprocket designed for 40cm track. You could backdate your Ausf. B with the early drive sprockets that were found on early Panzer IIIs or you could go with some RFM 40cm tracks that are workable as well.
1 Like
Hi @anon87215710 , I use Tamiya putty for filling, their White Putty. In general I use Tamiya products most of the time, and when thinning paints or putty, I use Tamiya thinners.
Normally I use the putty straight out of the tube, but it can be thinned if you want. I dont do much special, I spread it on with a small flat head screw driver, and sand off with sanding sticks once dry.
And yes, the spreaders / spacers I used in the hull are leftover bits of spruce from the same kit.
1 Like
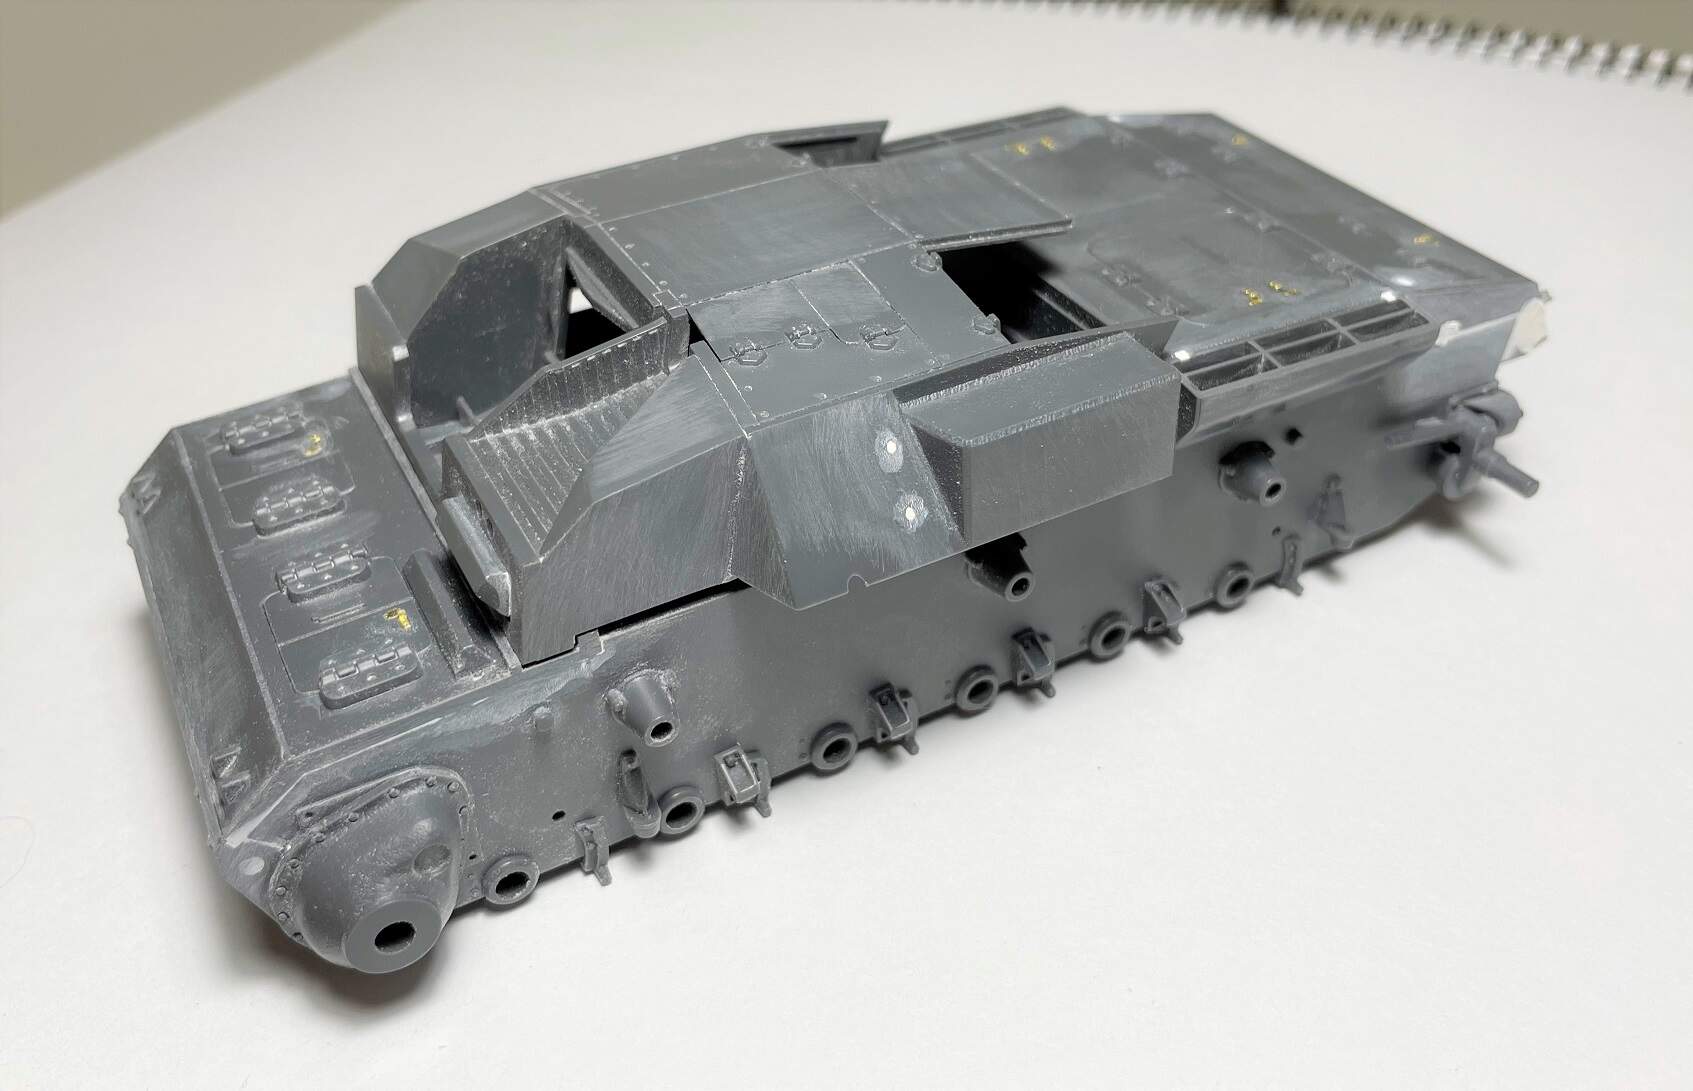
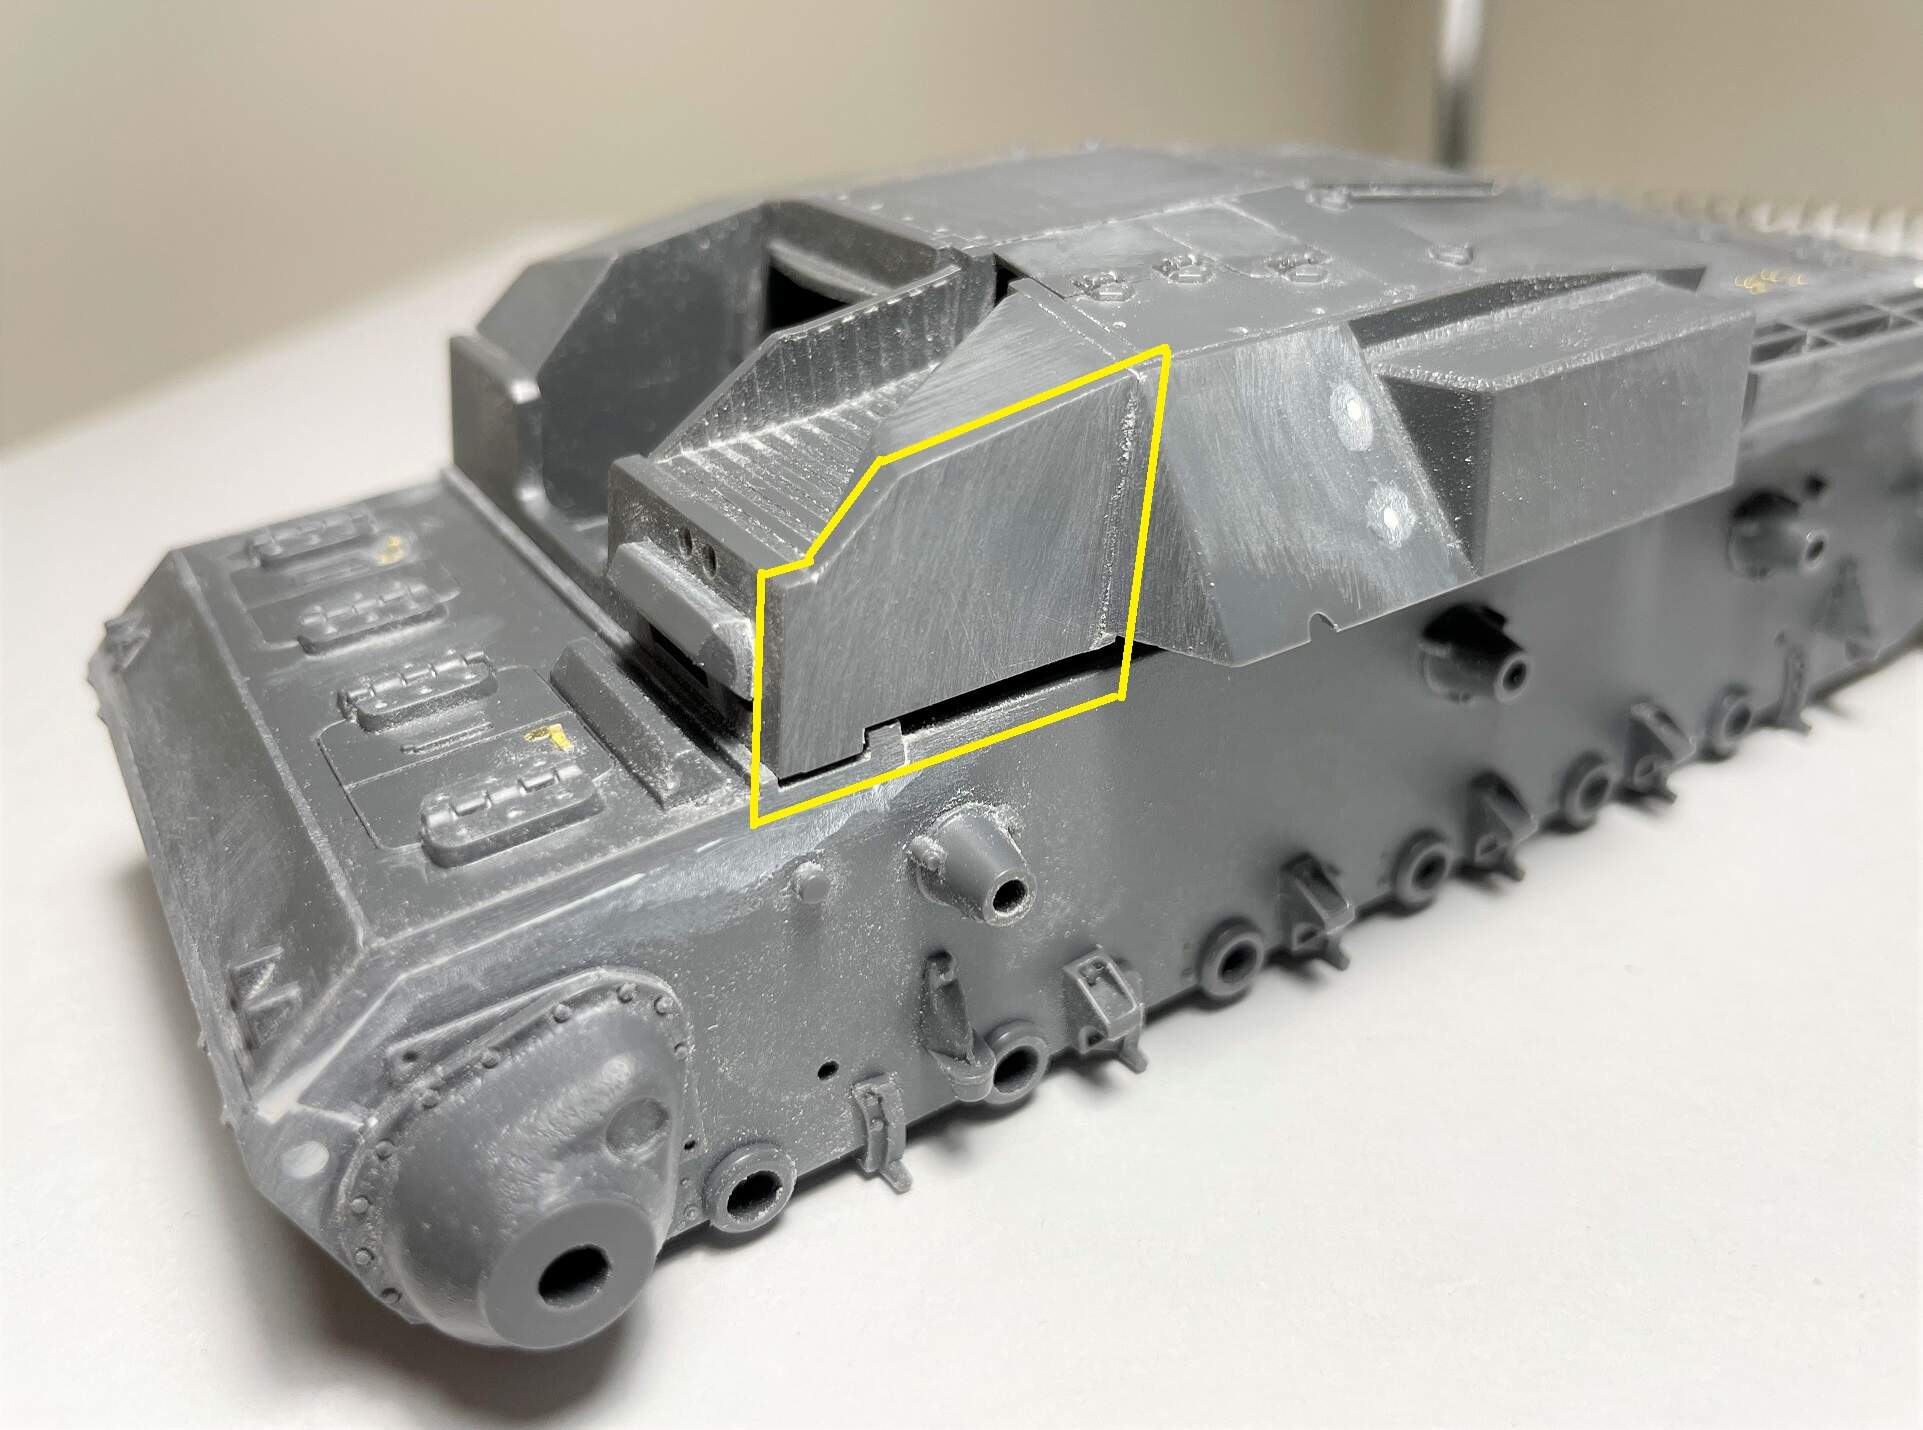
To fix the issue with the differing widths of the upper and lower hull, I ended up doing a lot of sanding of the upper hull to get it to match the lower hull.
I think its pretty good now, so im calling it solved. Now thats sorted im a lot happier with the kit. Dry fit below:
In essence you just need to sand this one flat area on both sides of the upper hull, outlined in yellow. Mind you, it is a lot of sanding, something like 0.7m to sand off on both sides. That takes a lot of time, even with a 220 grit sanding stick! But all good now.
1 Like
Hi @Nathan_Smith , I will definitely be looking into tracking down a different drive sprocket to suit those 380mm tracks… my strong preference is not too waste a set of metal tracks!
It is probably cheaper to get the right drive sprocket rather then a new set of metal tracks. They are pretty expensive.
How much time did your sanding take exactly? And how are you making parts fit well?
Do you just constantly check if it is right and when it is not you just keep making small changes like sanding?
I’m asking this because this is probably another skill I have to learn and master to improve the build quality of my own scale modeling projects.
I’m seeing you are making good progress so far, keep up the good work. 
Where do you find all the time to work on your project?
Small update, I have been putting quite a bit of time into this project ltely, but visually it certainly doesn’t look like much has changed! I am a die-hard Tamiya fan, but this kit is testing me for sure.
Stick grenades I had on order arrived, allowing me to glue them into place as below. These are Aber items, very very nice:
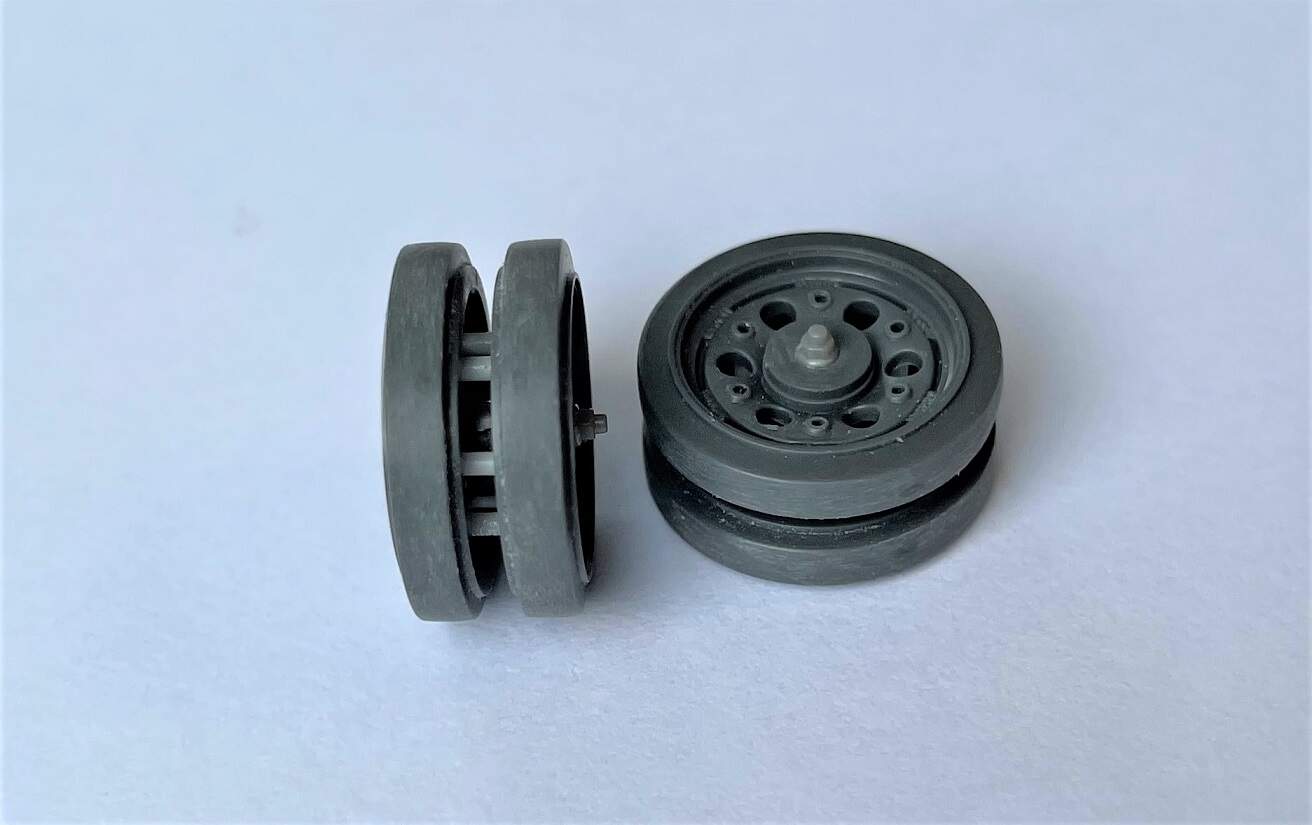
The kit includes a couple of spare road wheels, which I have added some Meng nuts onto the centre of, and also I have drilled out and put in 6 x connecting rods internally in the road wheels, these are now ready (will be mounted to side of the upper hull). There is quite a pronounced moulded seam on the road wheels, which takes a bit of faffing about to clean up:
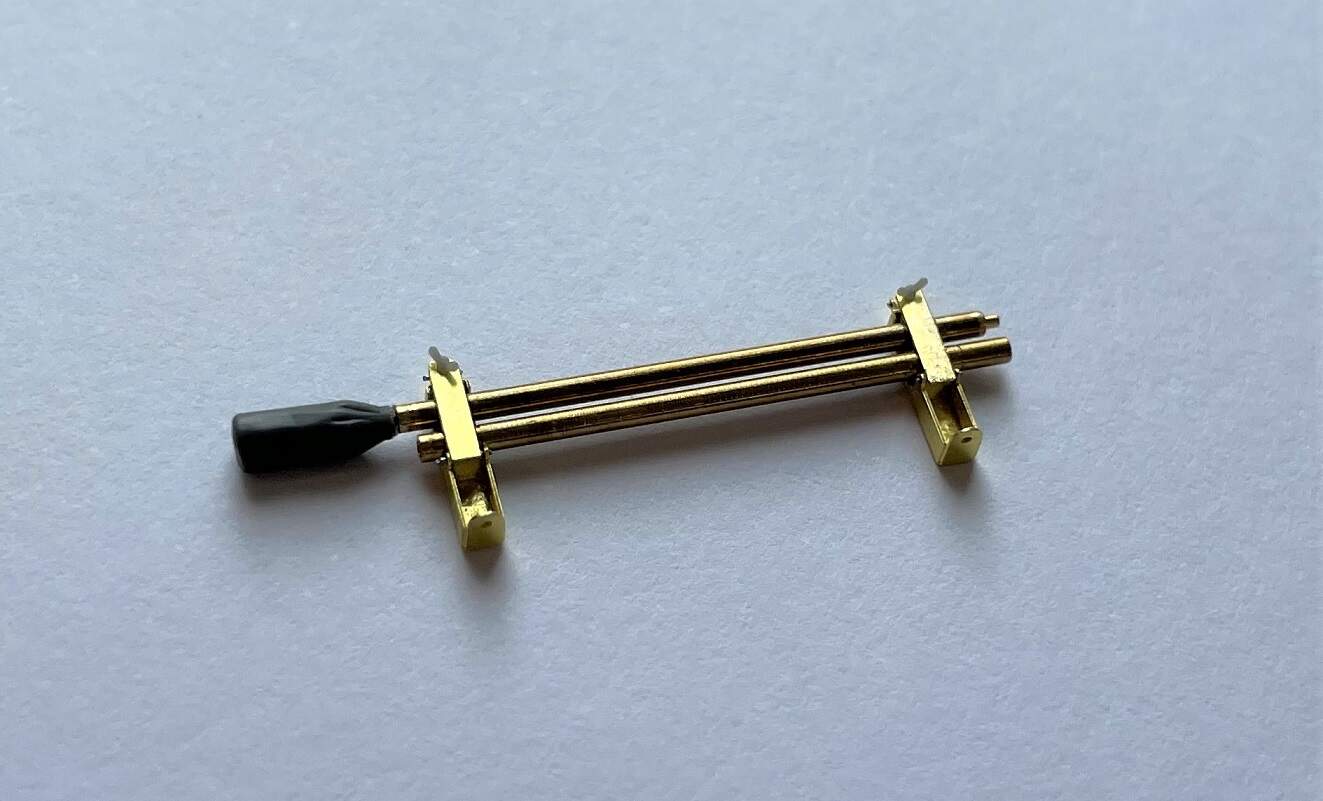
Barrel cleaner made, this is essentially the Voyager PE item, but I did use Bronco wingnuts instead of the Voyager ones, as I find the plastic moulded Bronco ones much better (3-dimensional rather than flat P/E parts… I question myself sometimes as to how much time I spend on items like this. I think this subassembly probably took me between 2 and 3 hours of work. Which is ludicrous when I think about it… but hey thats just me and im a bit OCD. Anyone care to share how long something like this might take them???
Another update coming later today, as I need to eat some lunch before a work teams meeting shortly (the joys of working from home during our current lockdown!).
6 Likes
Very sweet work on the gun cleaning kit! All the hard work shows in the excellent results.
3 Likes
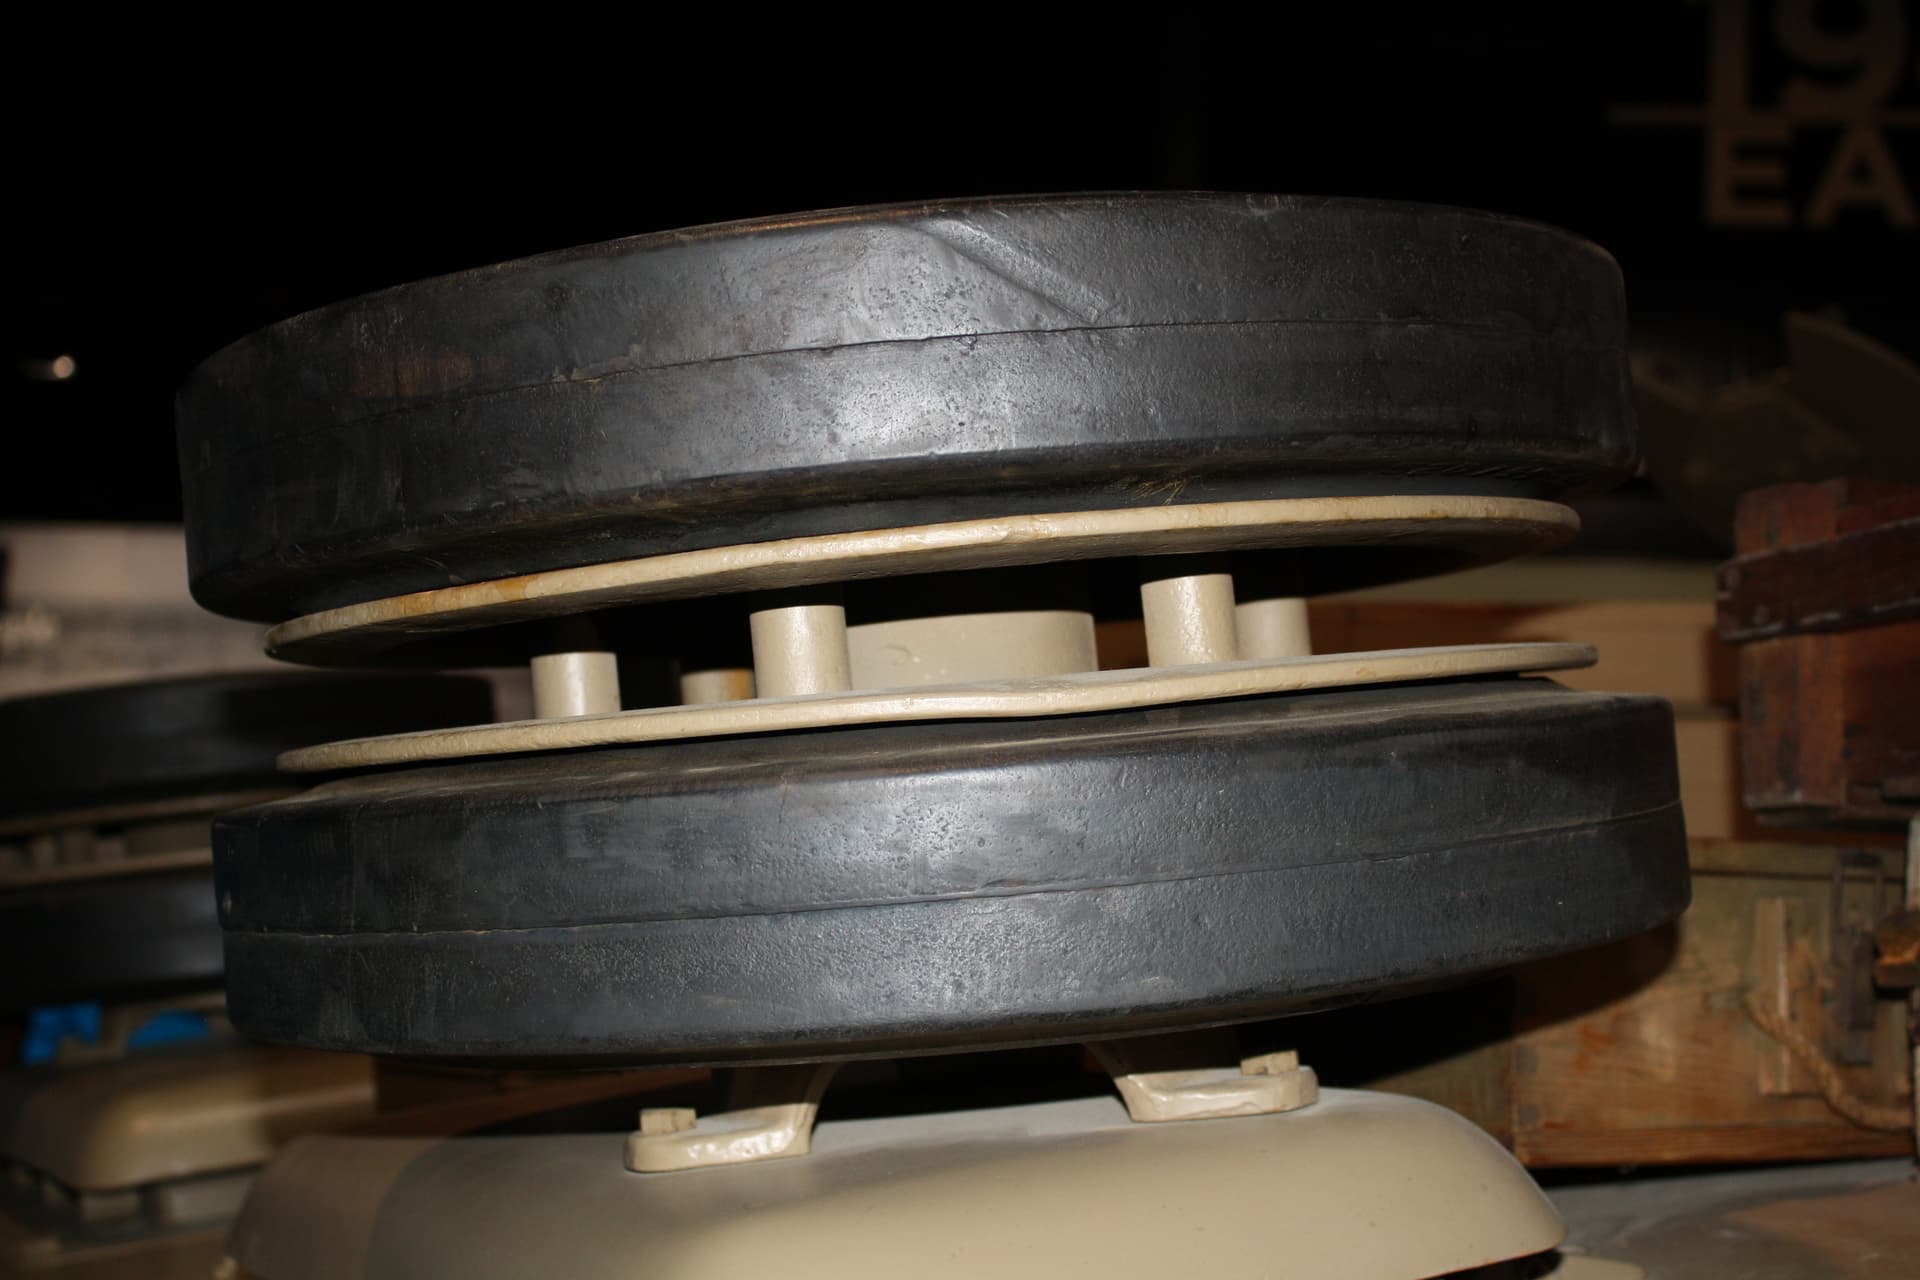
It is too bad you sanded down the seams on the road wheels. Here’s a shot of them on a fully restored Stug III G. You could use this photo for anyone who judges you and watch them eat crow.
2 Likes