Stug. III ausf. B (Tamiya kit 35281)

Hey David,

Been following your splendid work here. Here’s an historical accuracy question that I hope to resolve. I have been going over, very carefully, the beautifully done StuG III B of Michael Rinaldi, which was built with the same kit you are working on (35281). Here"s my issue…The gunner’s sight opening on this kit and others that I have seen is just an uncovered opening. If you review the reference of the StuG III B that Michael Rinaldi used to model his III B in the book; Sturm & Drang StuG III/IV this port opening appears to have a cover over or behind it. Thoughts on this from the StuG experts? Keep up the beautiful build.

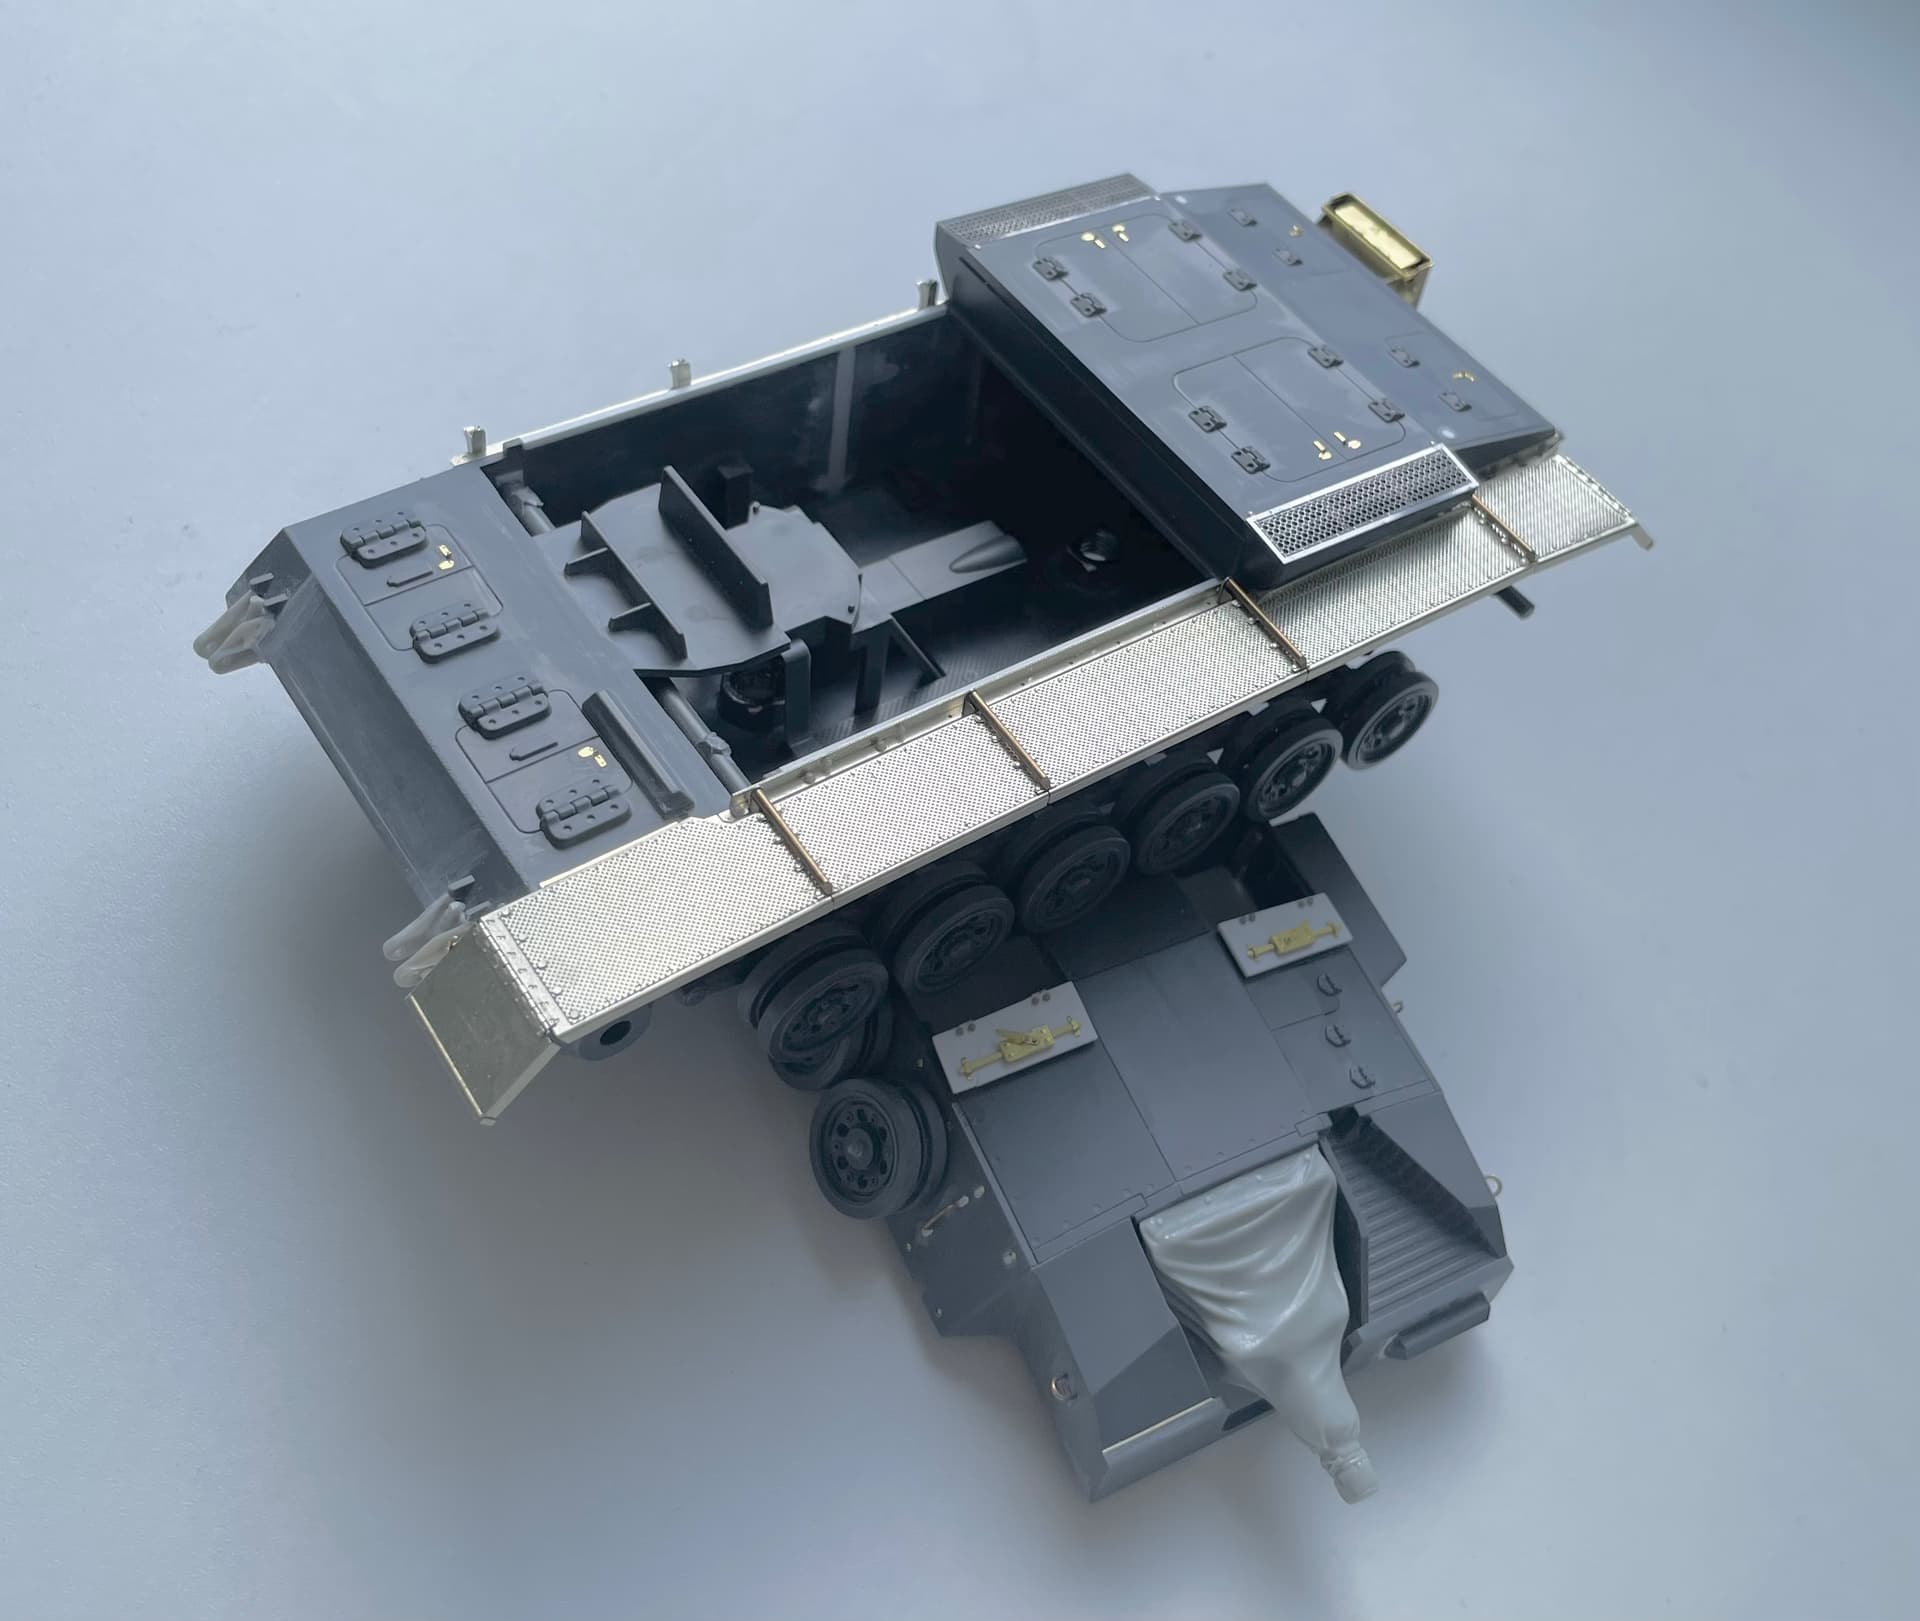
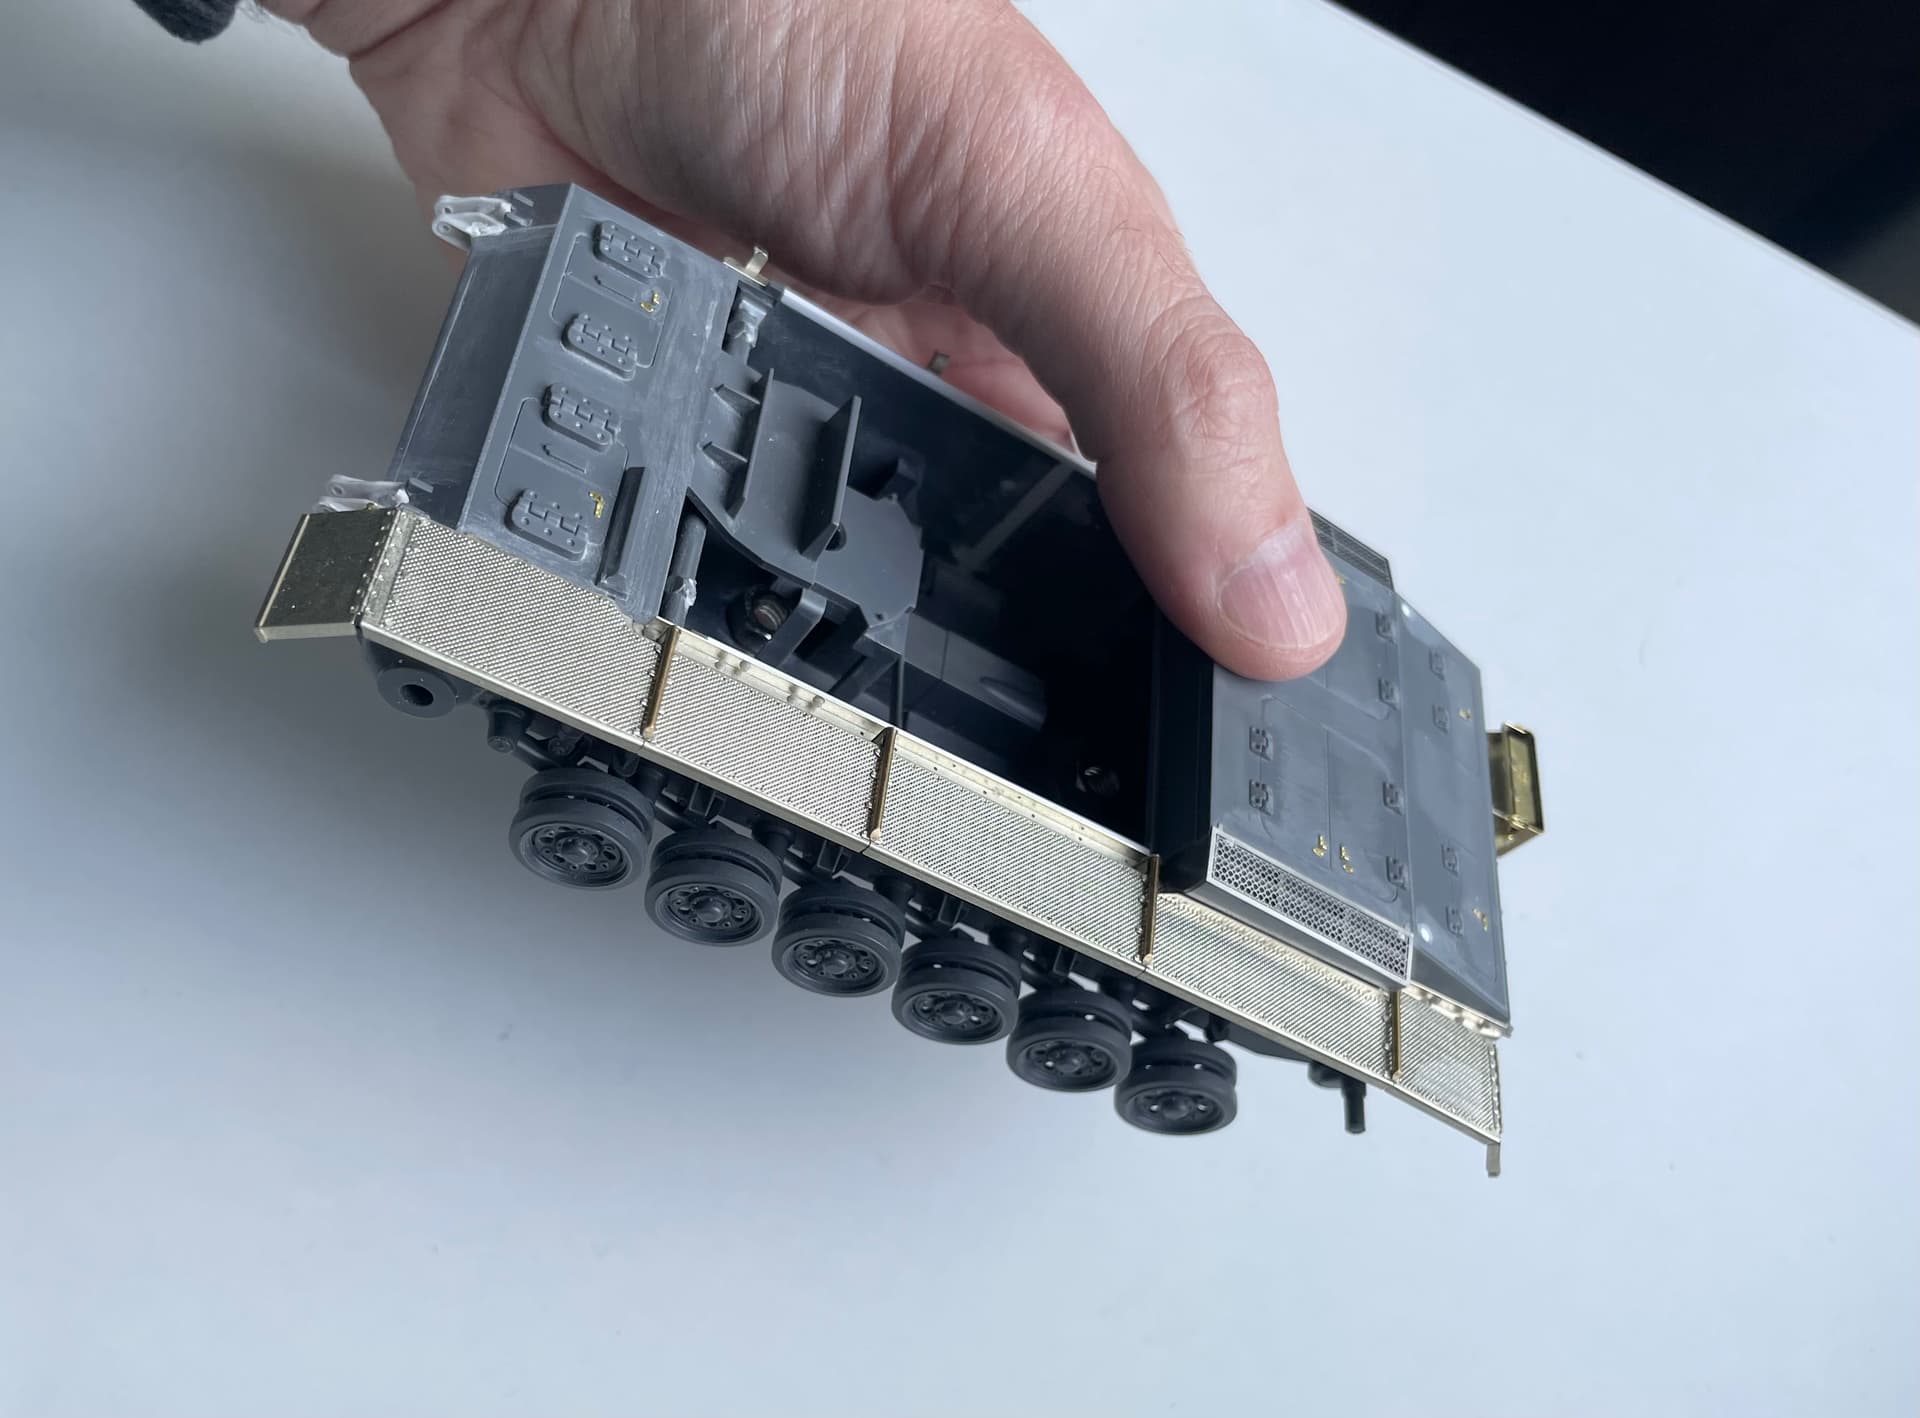
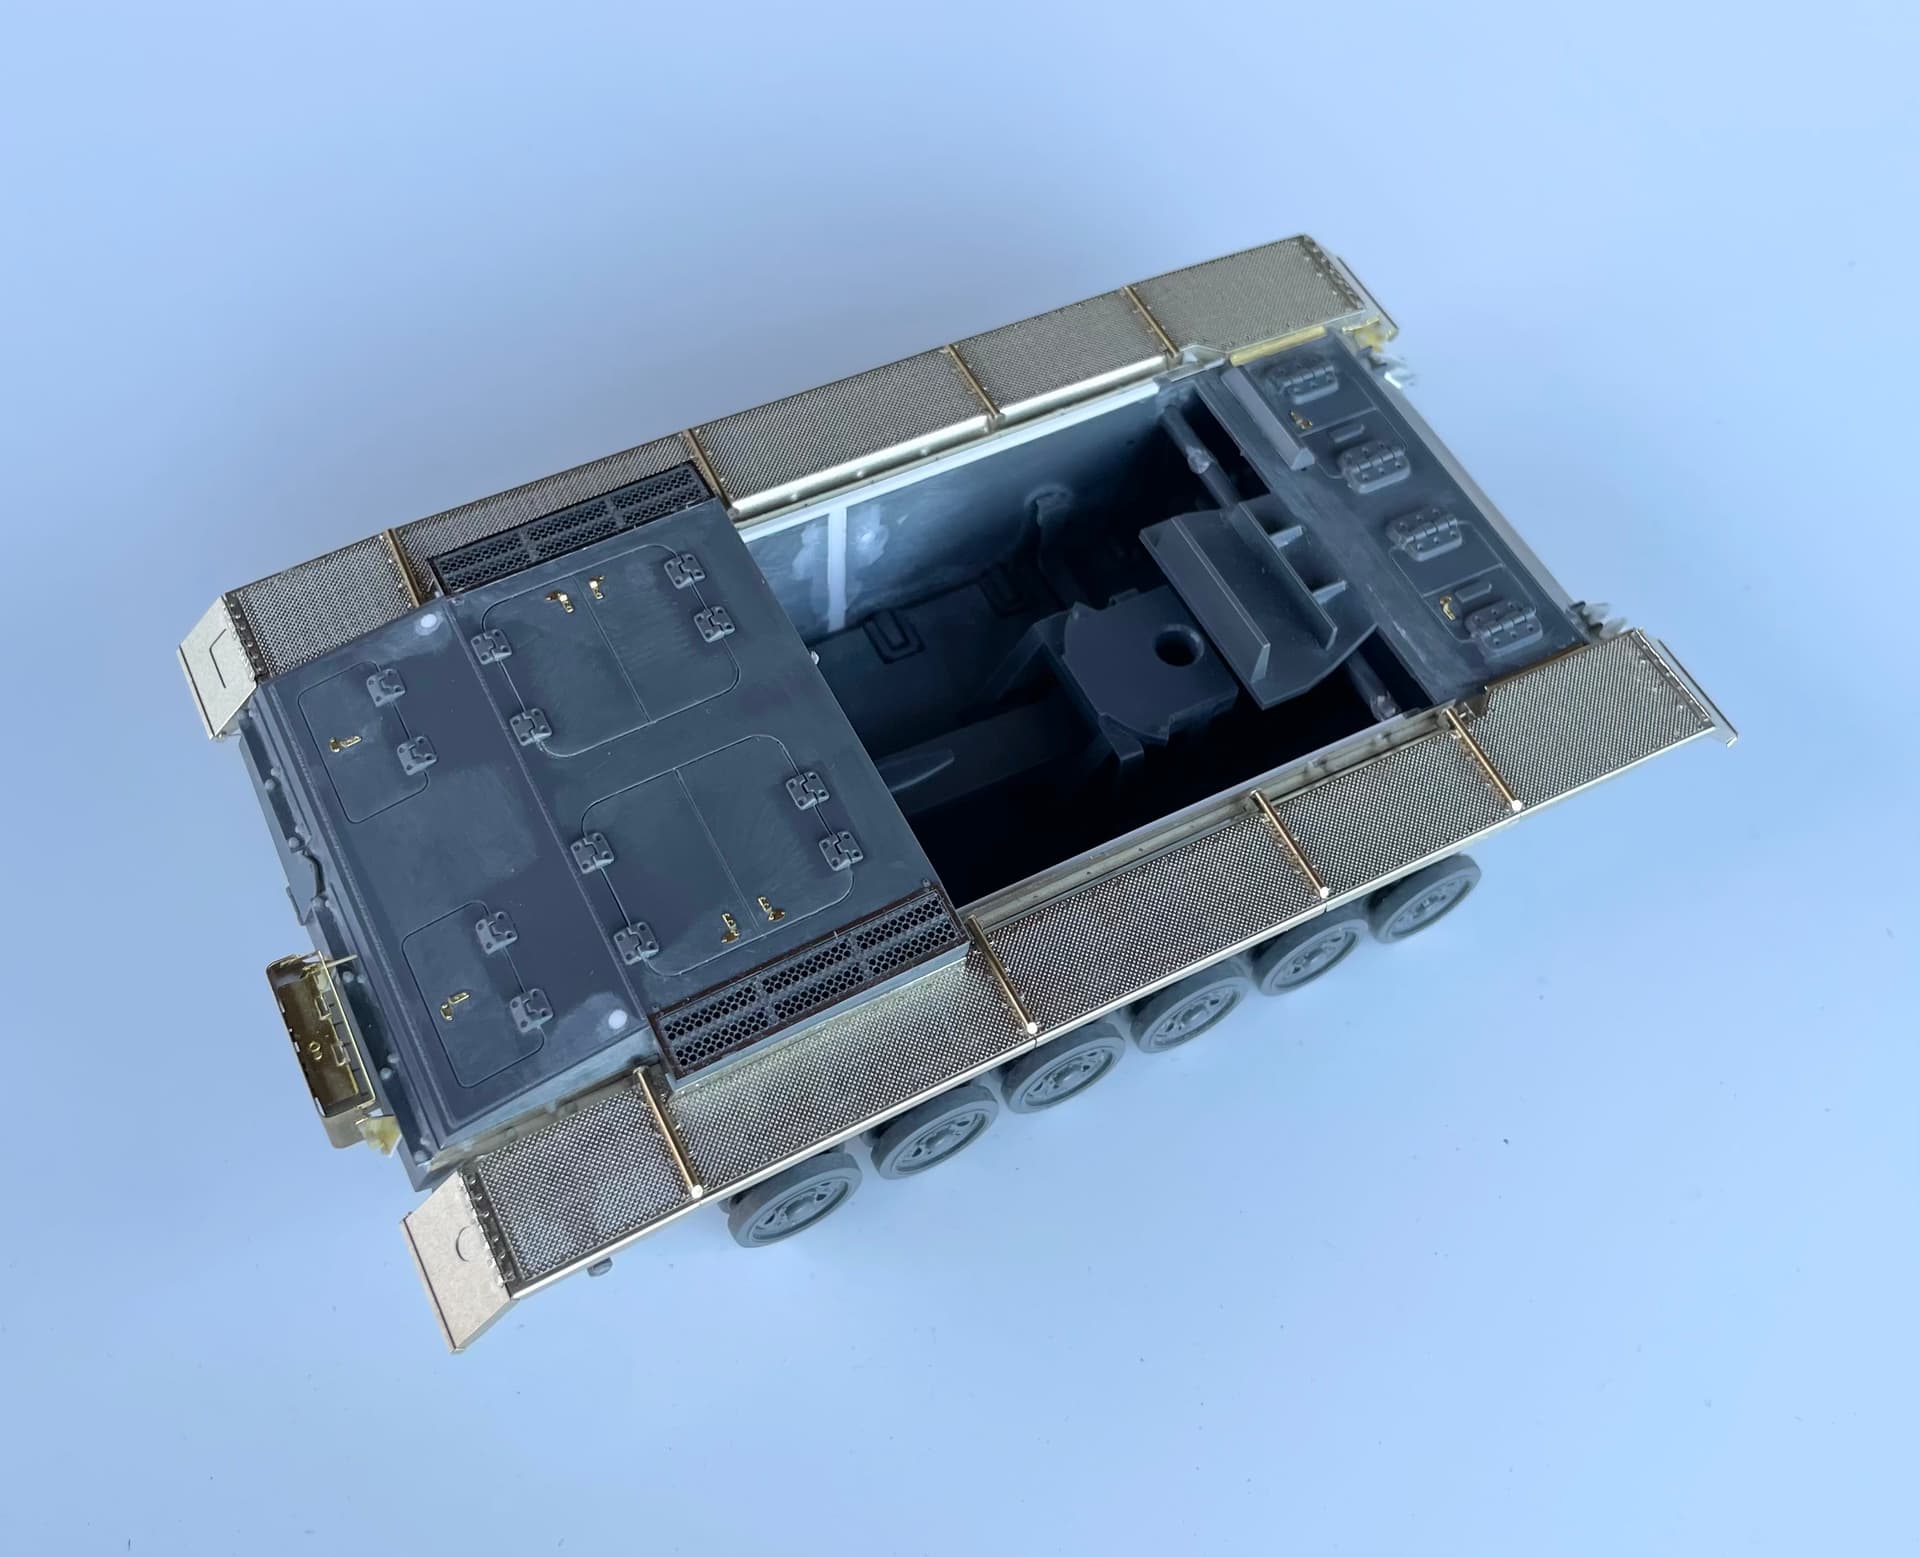
This project has been benched for quite some time……. I was virtually complete with the first etched gaurd, which to be honest was a real challenge, fiddly to work on, and a real head scratcher to figure out the build sequence.

I thought i’d cracked it…… until I realised I hadn’t.

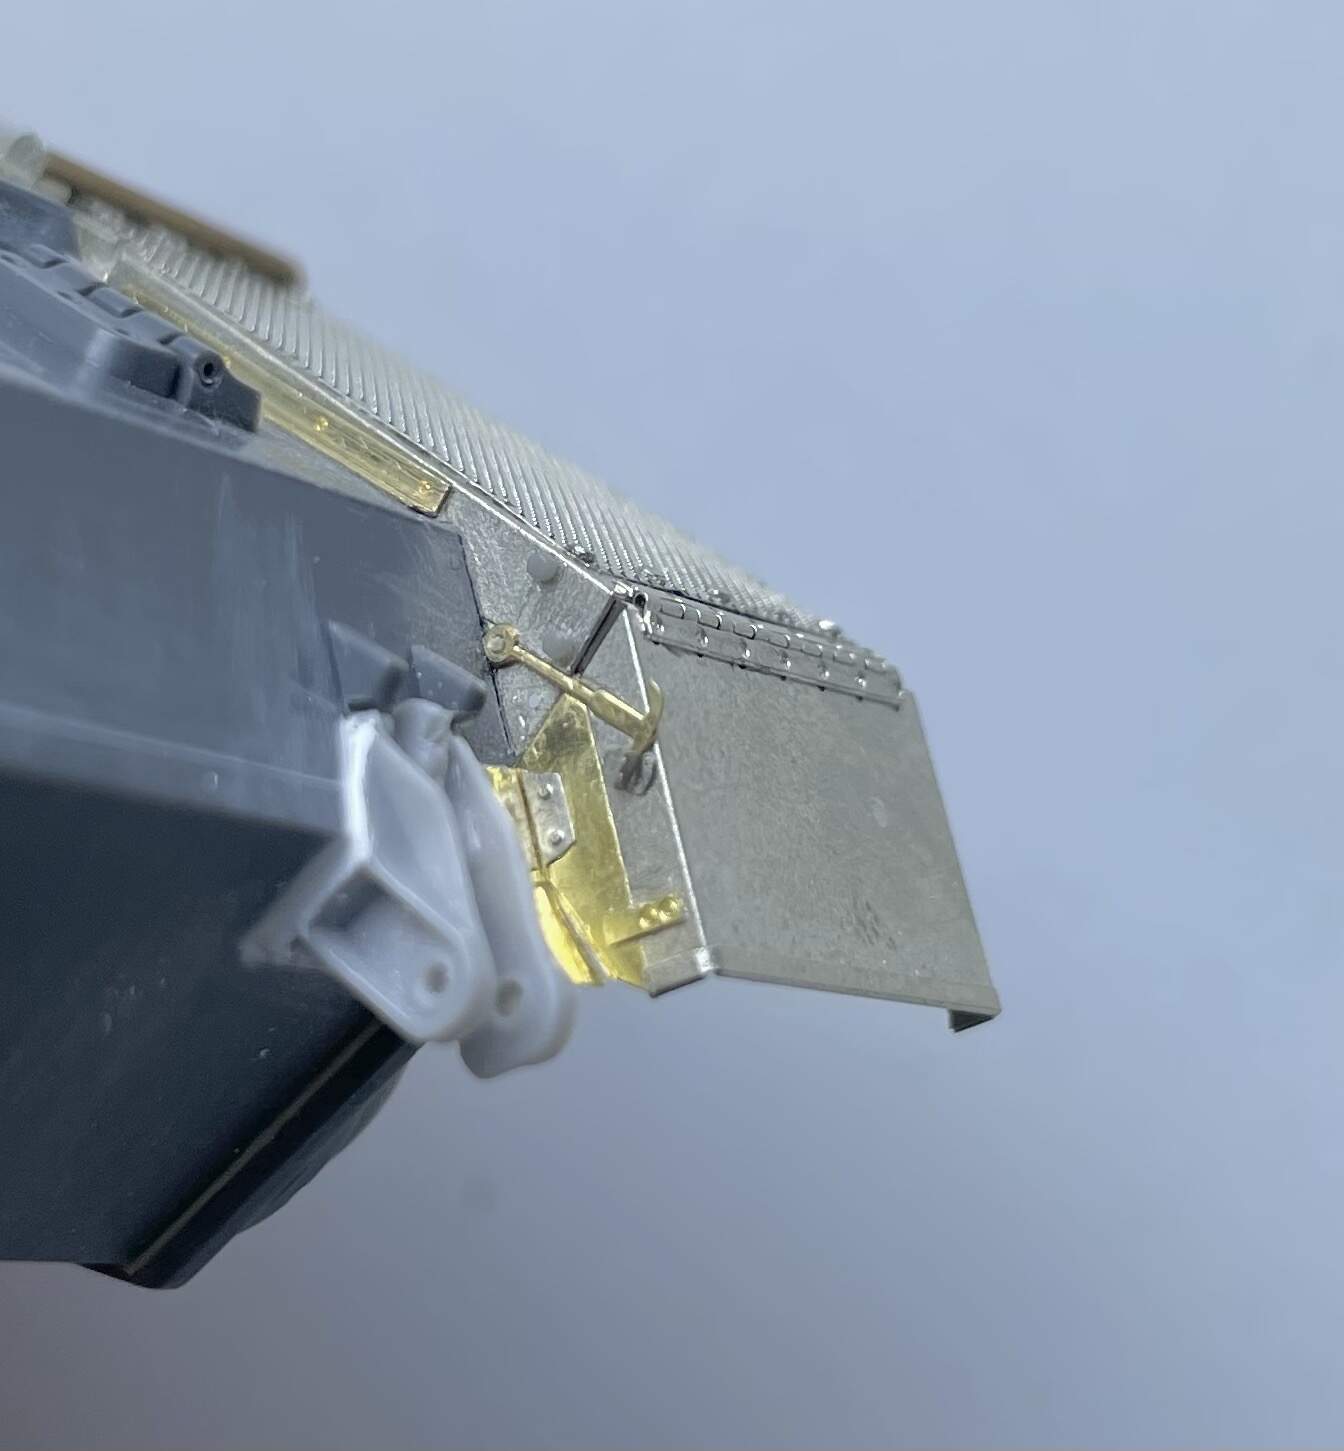
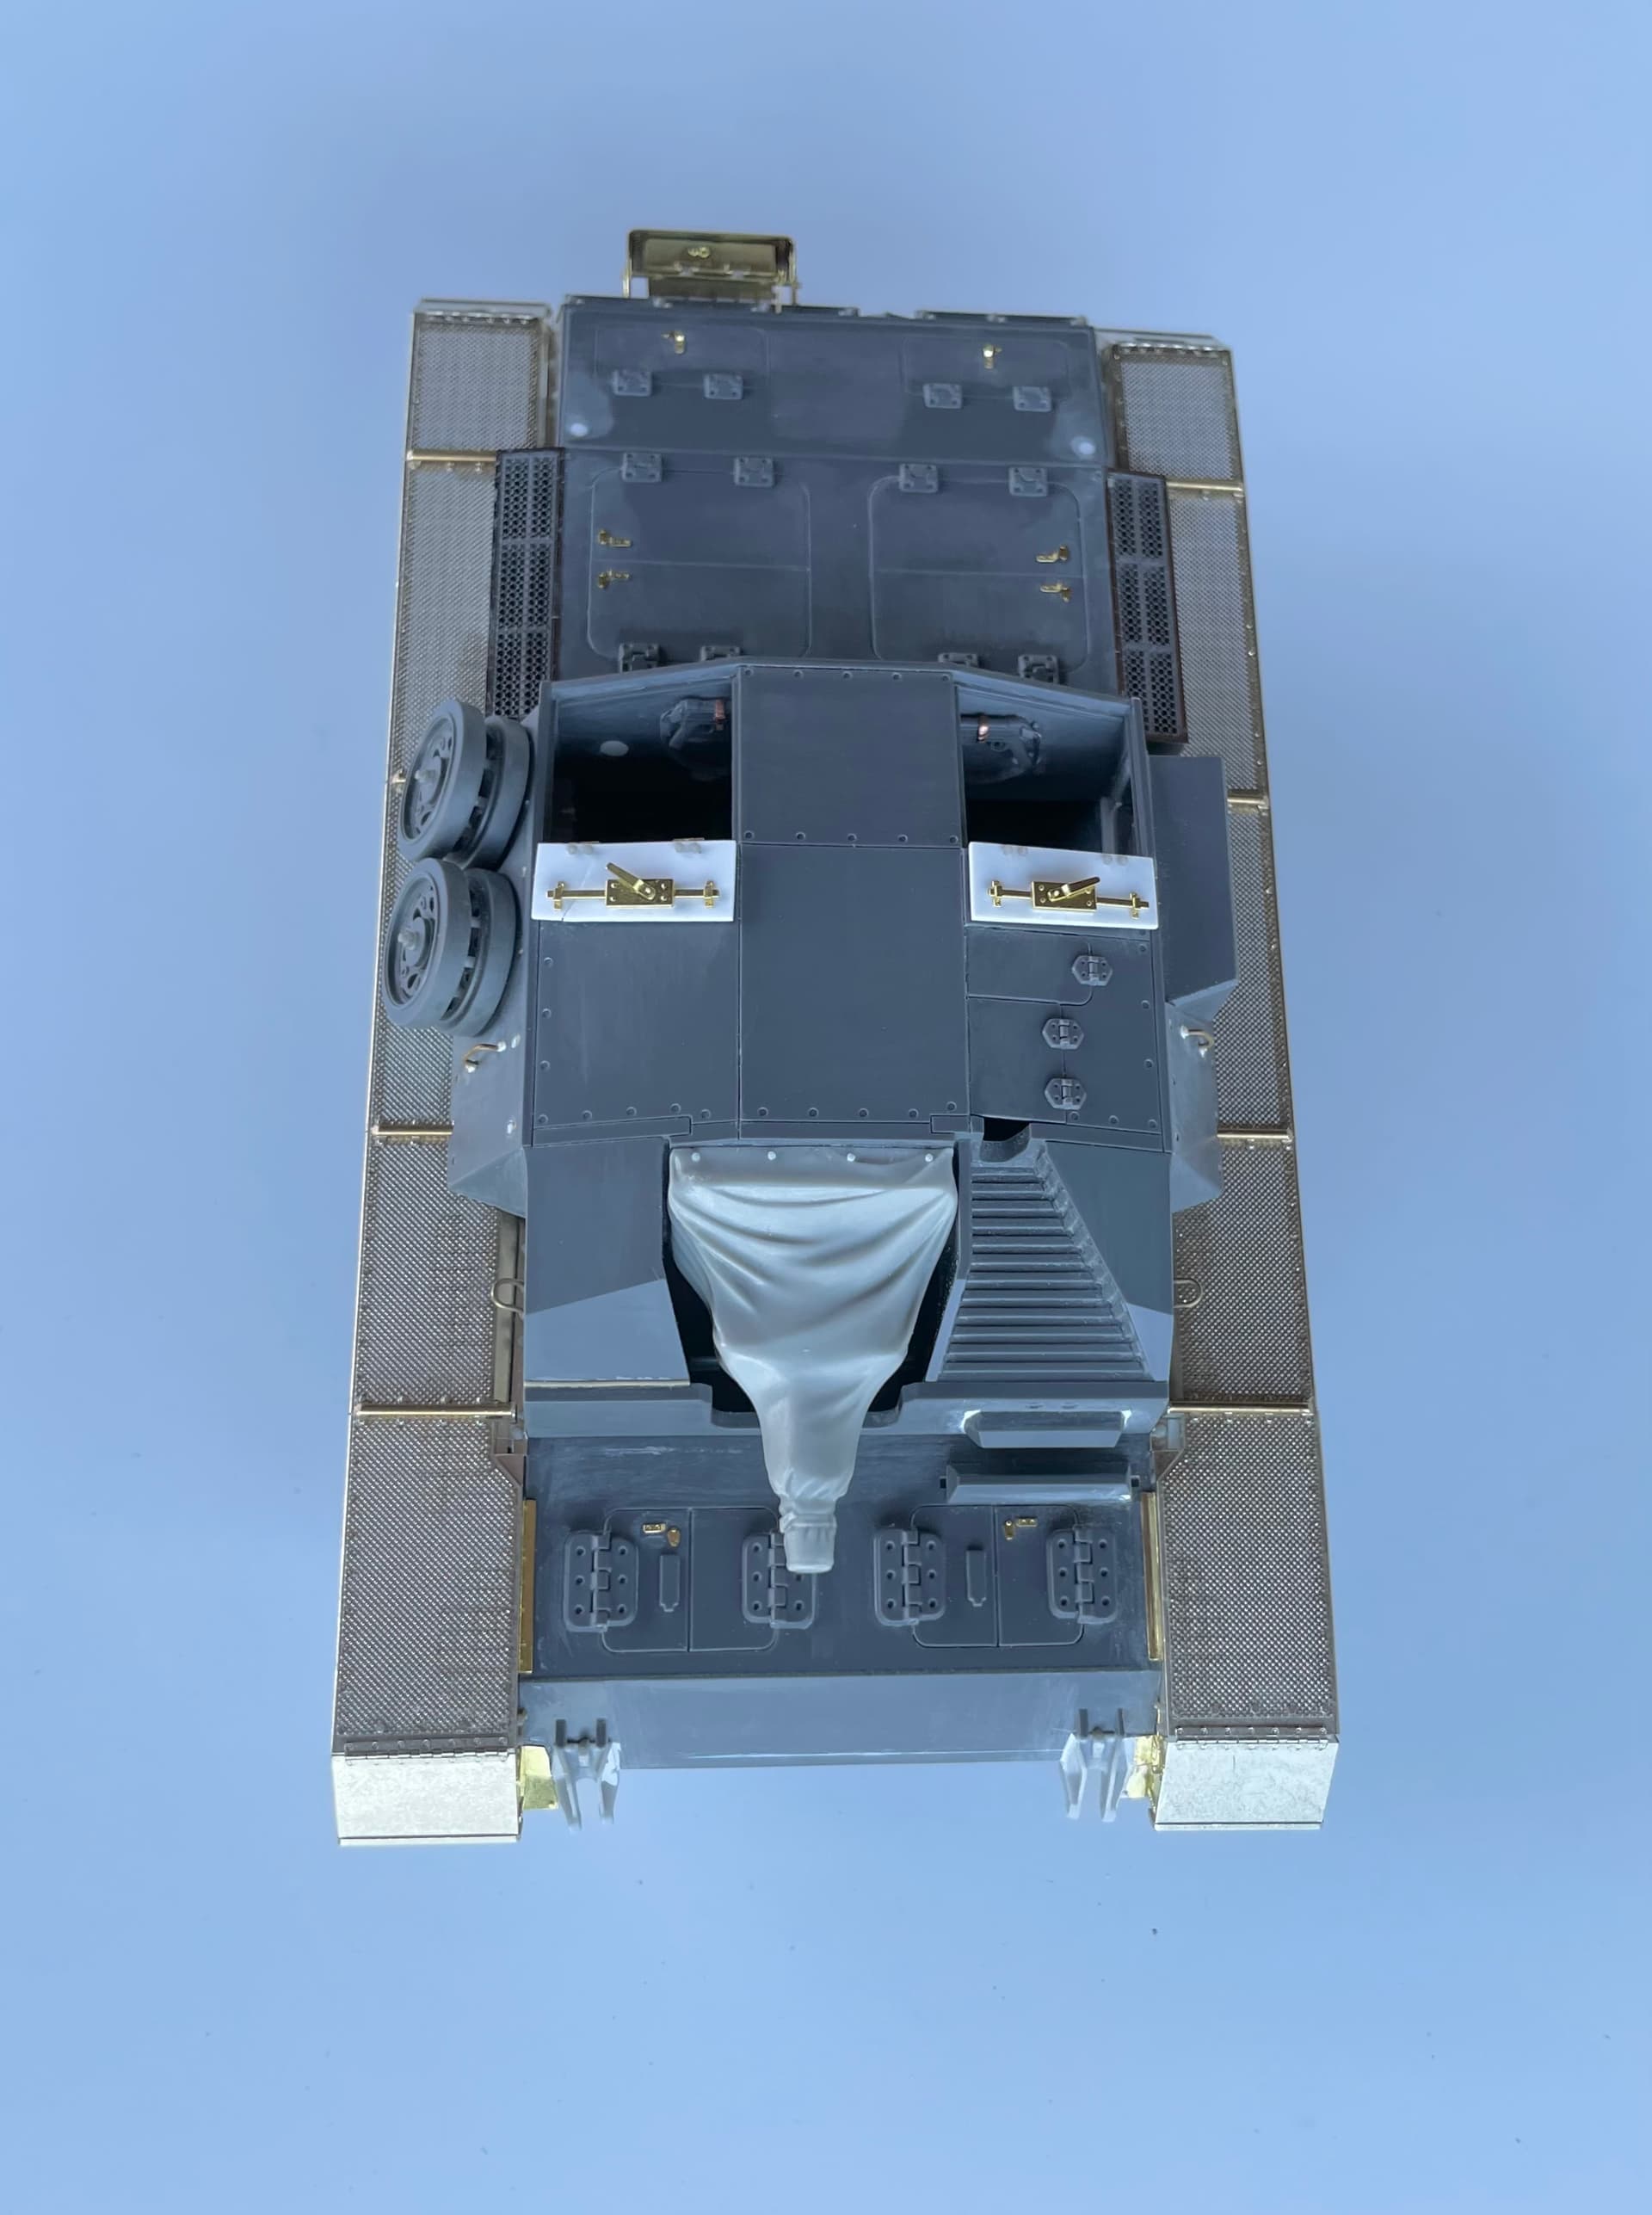
I had got the front fender misaligned…….

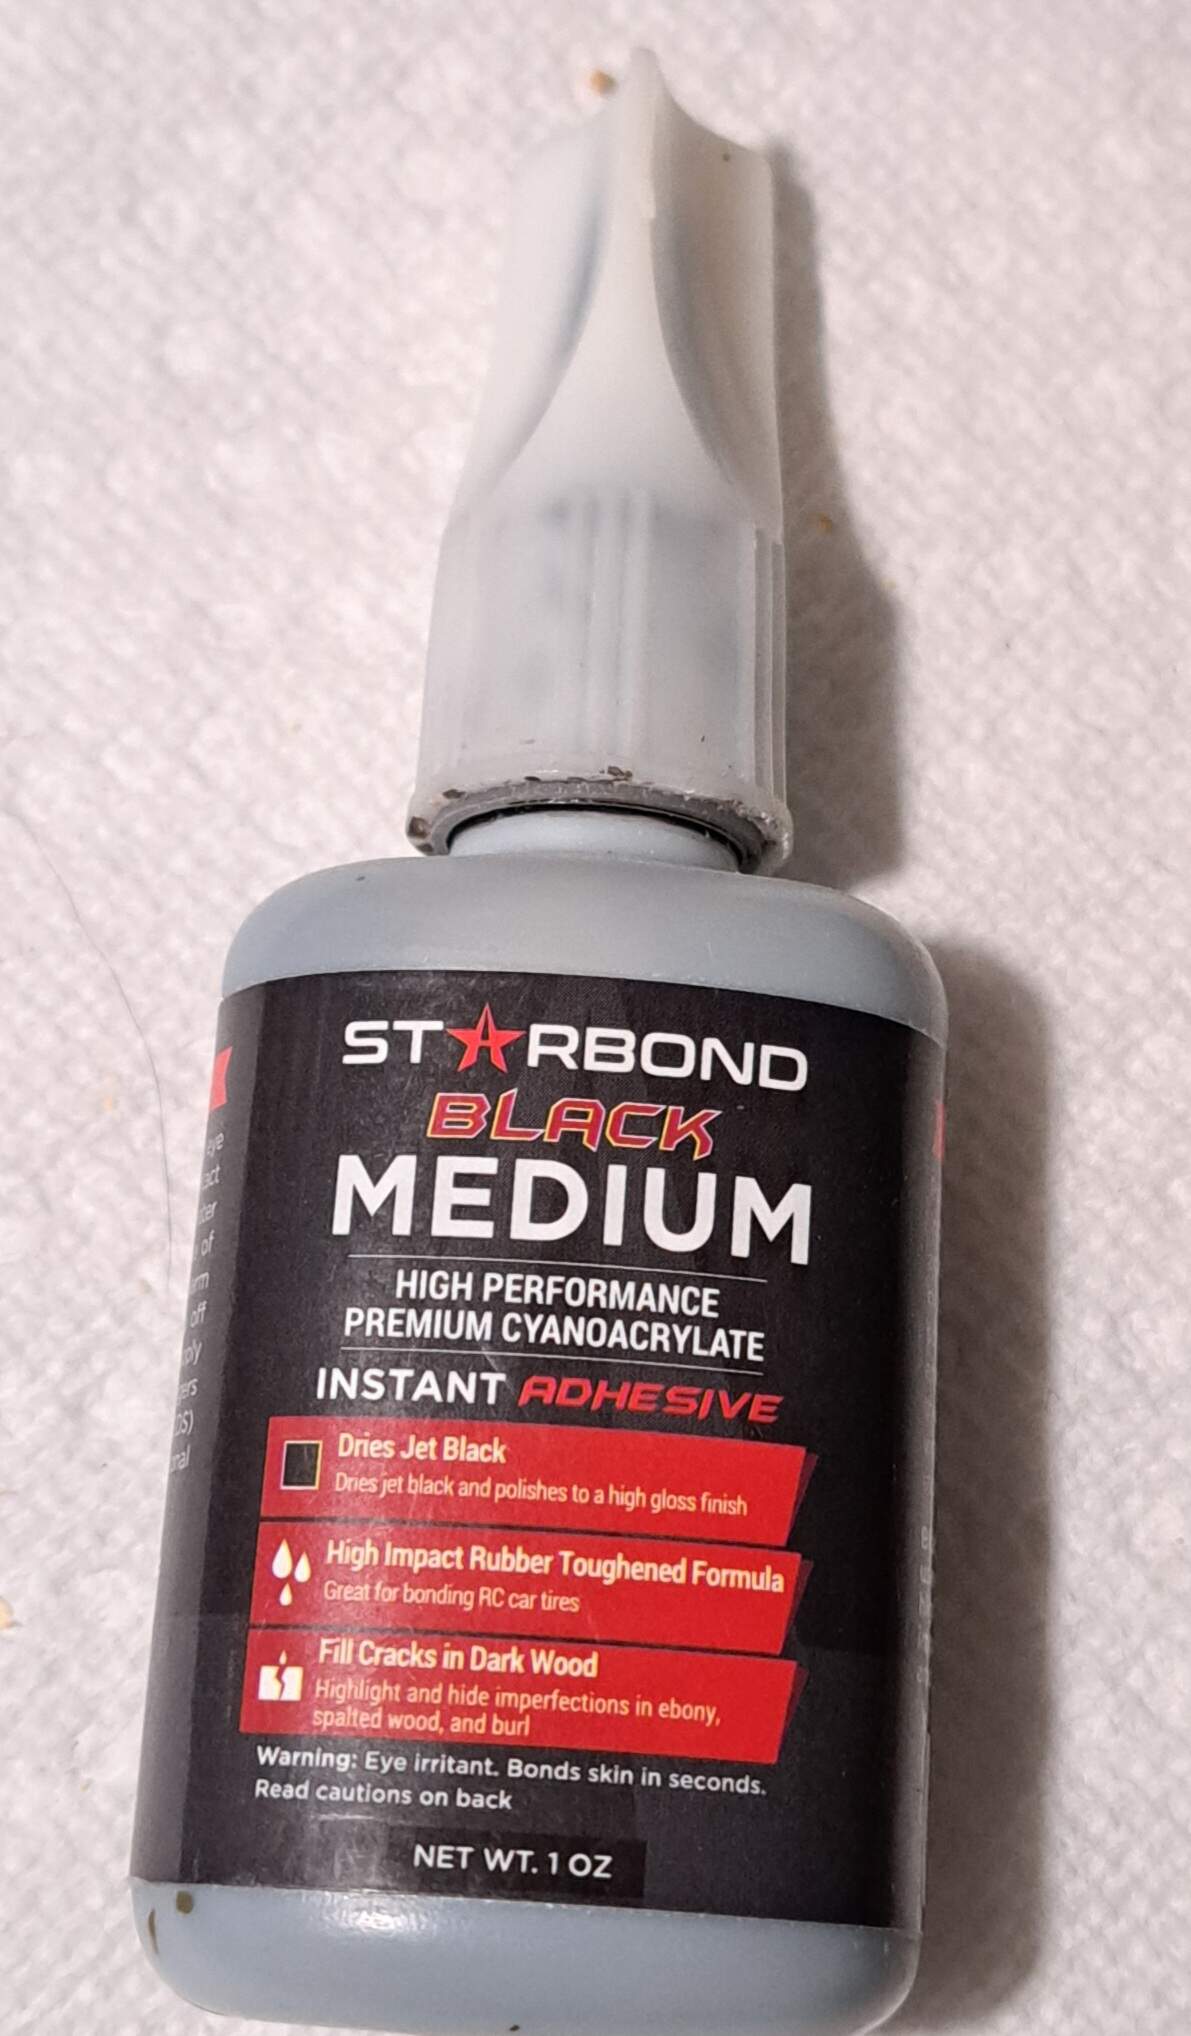
And at the time I thought superglue was a one way street, no backing out.

A few months passed, then I found out about debonder…. but that didn’t work.

A few more months passed, and then I found out you could dissolve super glue with acetone…… so I gave that a go. Worked! pretty harsh on the plastic though.

So, the alignment issue was fixed and 8 months later I have completed the first gaurd :grin:

Onto the next one now, pity I have forgotten how I did the last one :thinking:

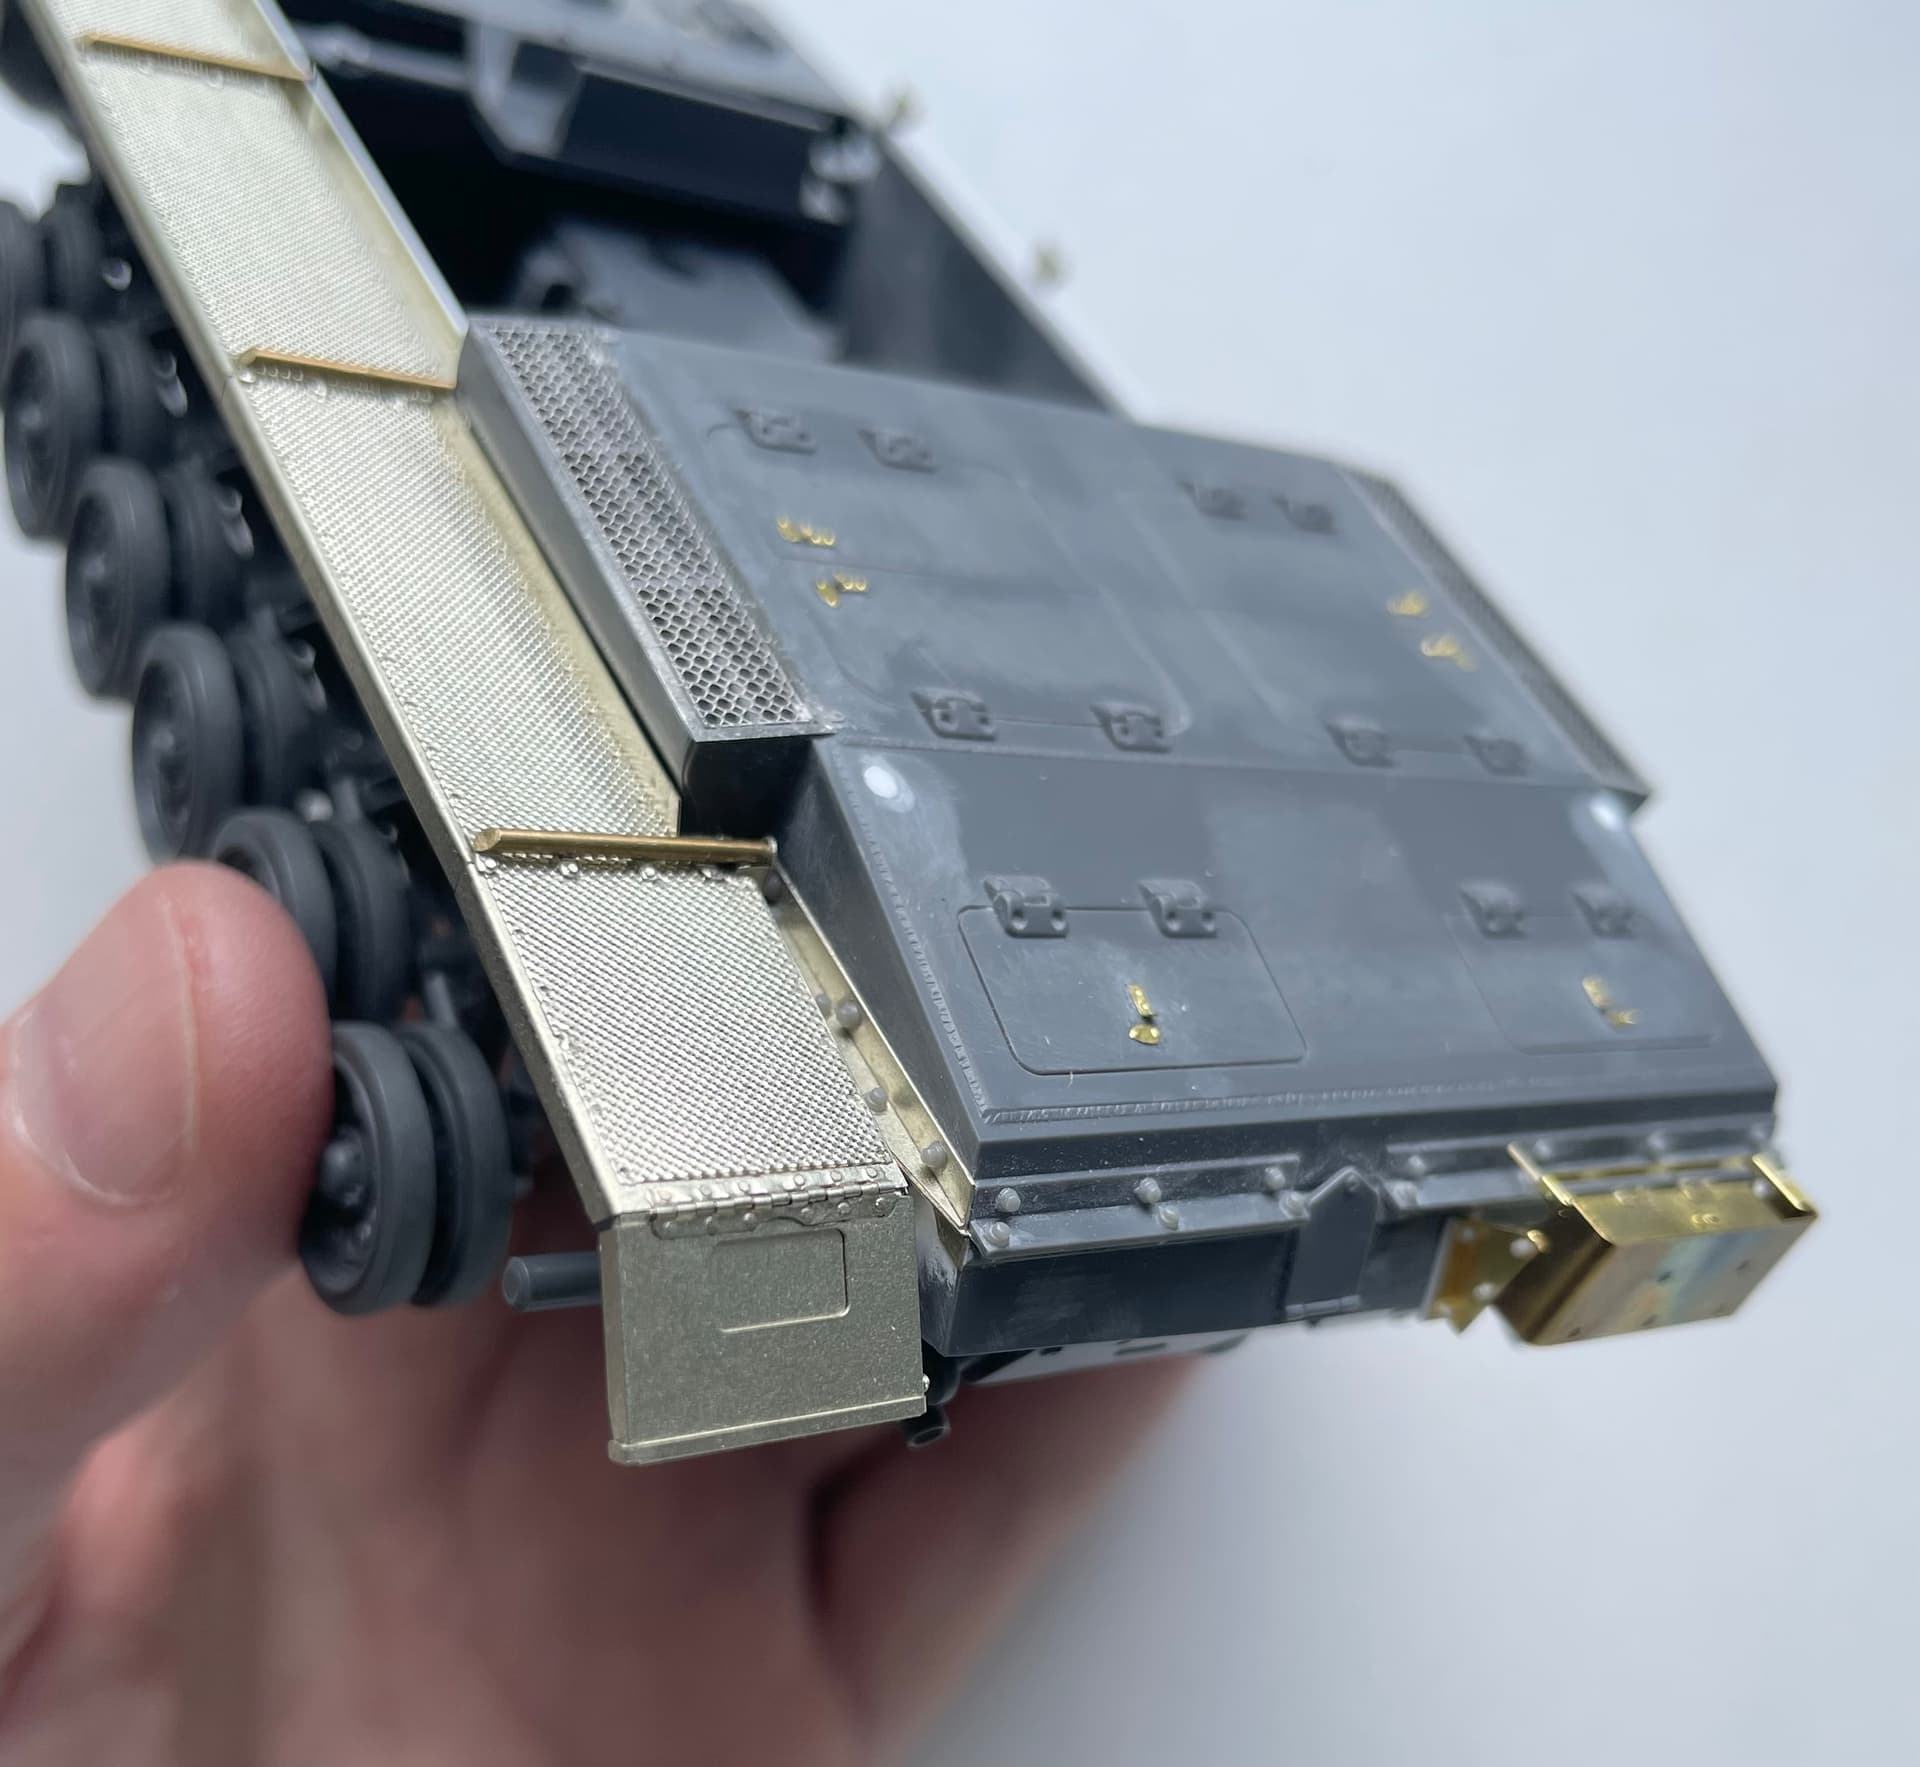
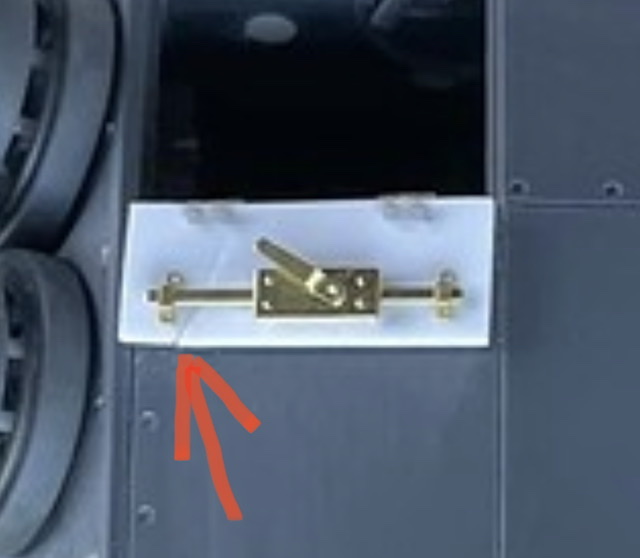
The problem was that I had glued all of the main fender in place, rigid. The front hinged guard was still able to move on its hinge, but other than that had no scope for adjustment. When I fitted the brass coloured item below the front flap, there was about a 1mm gap between the brass part and the front flap, with no way to close it up…… which looked absolutely terrible.

However, use of acetone allowed me to remove some of the parts and have another go. Below has now been fixed so there is no gap…… although there is another mistake below :grimacing: but far less obvious so i’ll let this one slide…….

I have to say…. I don’t think I would recommend this combination of these aftermarket fenders with this kit, they don’t play nicely.

3 Likes

Love the work you are doing Mate. If I can get to this level with my Armour Builds (Still learning) I will be a happy Chappy…Cheers Mark

2 Likes

Fortunately the second guard didn’t take another 8 months to complete…. closer to 8 days this time:

Dry fitted the top to see how she looks:

I couldn’t help myself, and had a count up of parts used on the gaurd.

Each of the two etch guard assemblies contains 86 yes e i g h t y s i x individual parts per guard :triumph:

5 Likes

If you were to look really closely, you’d spot that hatch on the left is cracked, as below:

It’s weird, it’s the second time this has happened to me recently. If i’m holding a plastic part with a little tension when I apply superglue (thin) the superglue seems to make the plastic brittle and crack?!?! is this a thing?!?!

So i’m currently dis-assembling the etch off of it, and making a replacement…… going backwards to go forwards.

I’ve had the supperglue thing happen a few times with certain brands in the past, they seem to get warm too when adhering. I cant for the life of me remember what brands though LOL So you arent alone. You do have more patience than me now though

Keith

Following your build blog with interest. Would love to do the PE fenders, but 86 parts scares the junk right out of me. I would be deluding myself if I thought I could get 86 parts to go together in a row without mishap, I am grateful now to get 1 or 2. Enjoying your work, it is top notch. Can’t wait for more!

Best,
Walter

Also contemplating starting his Tamiya Stug 3b. I was the one having problems with the thick drive sprockets and T-rex track.

In my opinion & experience not all CA is equal. With the Starbond Black rubberized super glue, I’ve not had that happend so far.

StarBond Black is premium quality CA that the best CA I’ve used. The black squeeze out is easy to see and remove with a little quality debonder in a small paint brush when working with PE etc. The rubber addition to the CA helps make a CA bond with better shear strength. That’s a nice plus with PE in my experience. It was a little pricey but well worth while for my hobby bench.

2 Likes

I’ve been following your StugIII build, and can really appreciate your efforts in keeping at it.
It looks great so far, I have yet to attempt anything w PE. Can’t wait to see how its finished!
Cheers
Dave :slightly_smiling_face:

Great detail that you’re adding