Sturmtiger RFM 5035

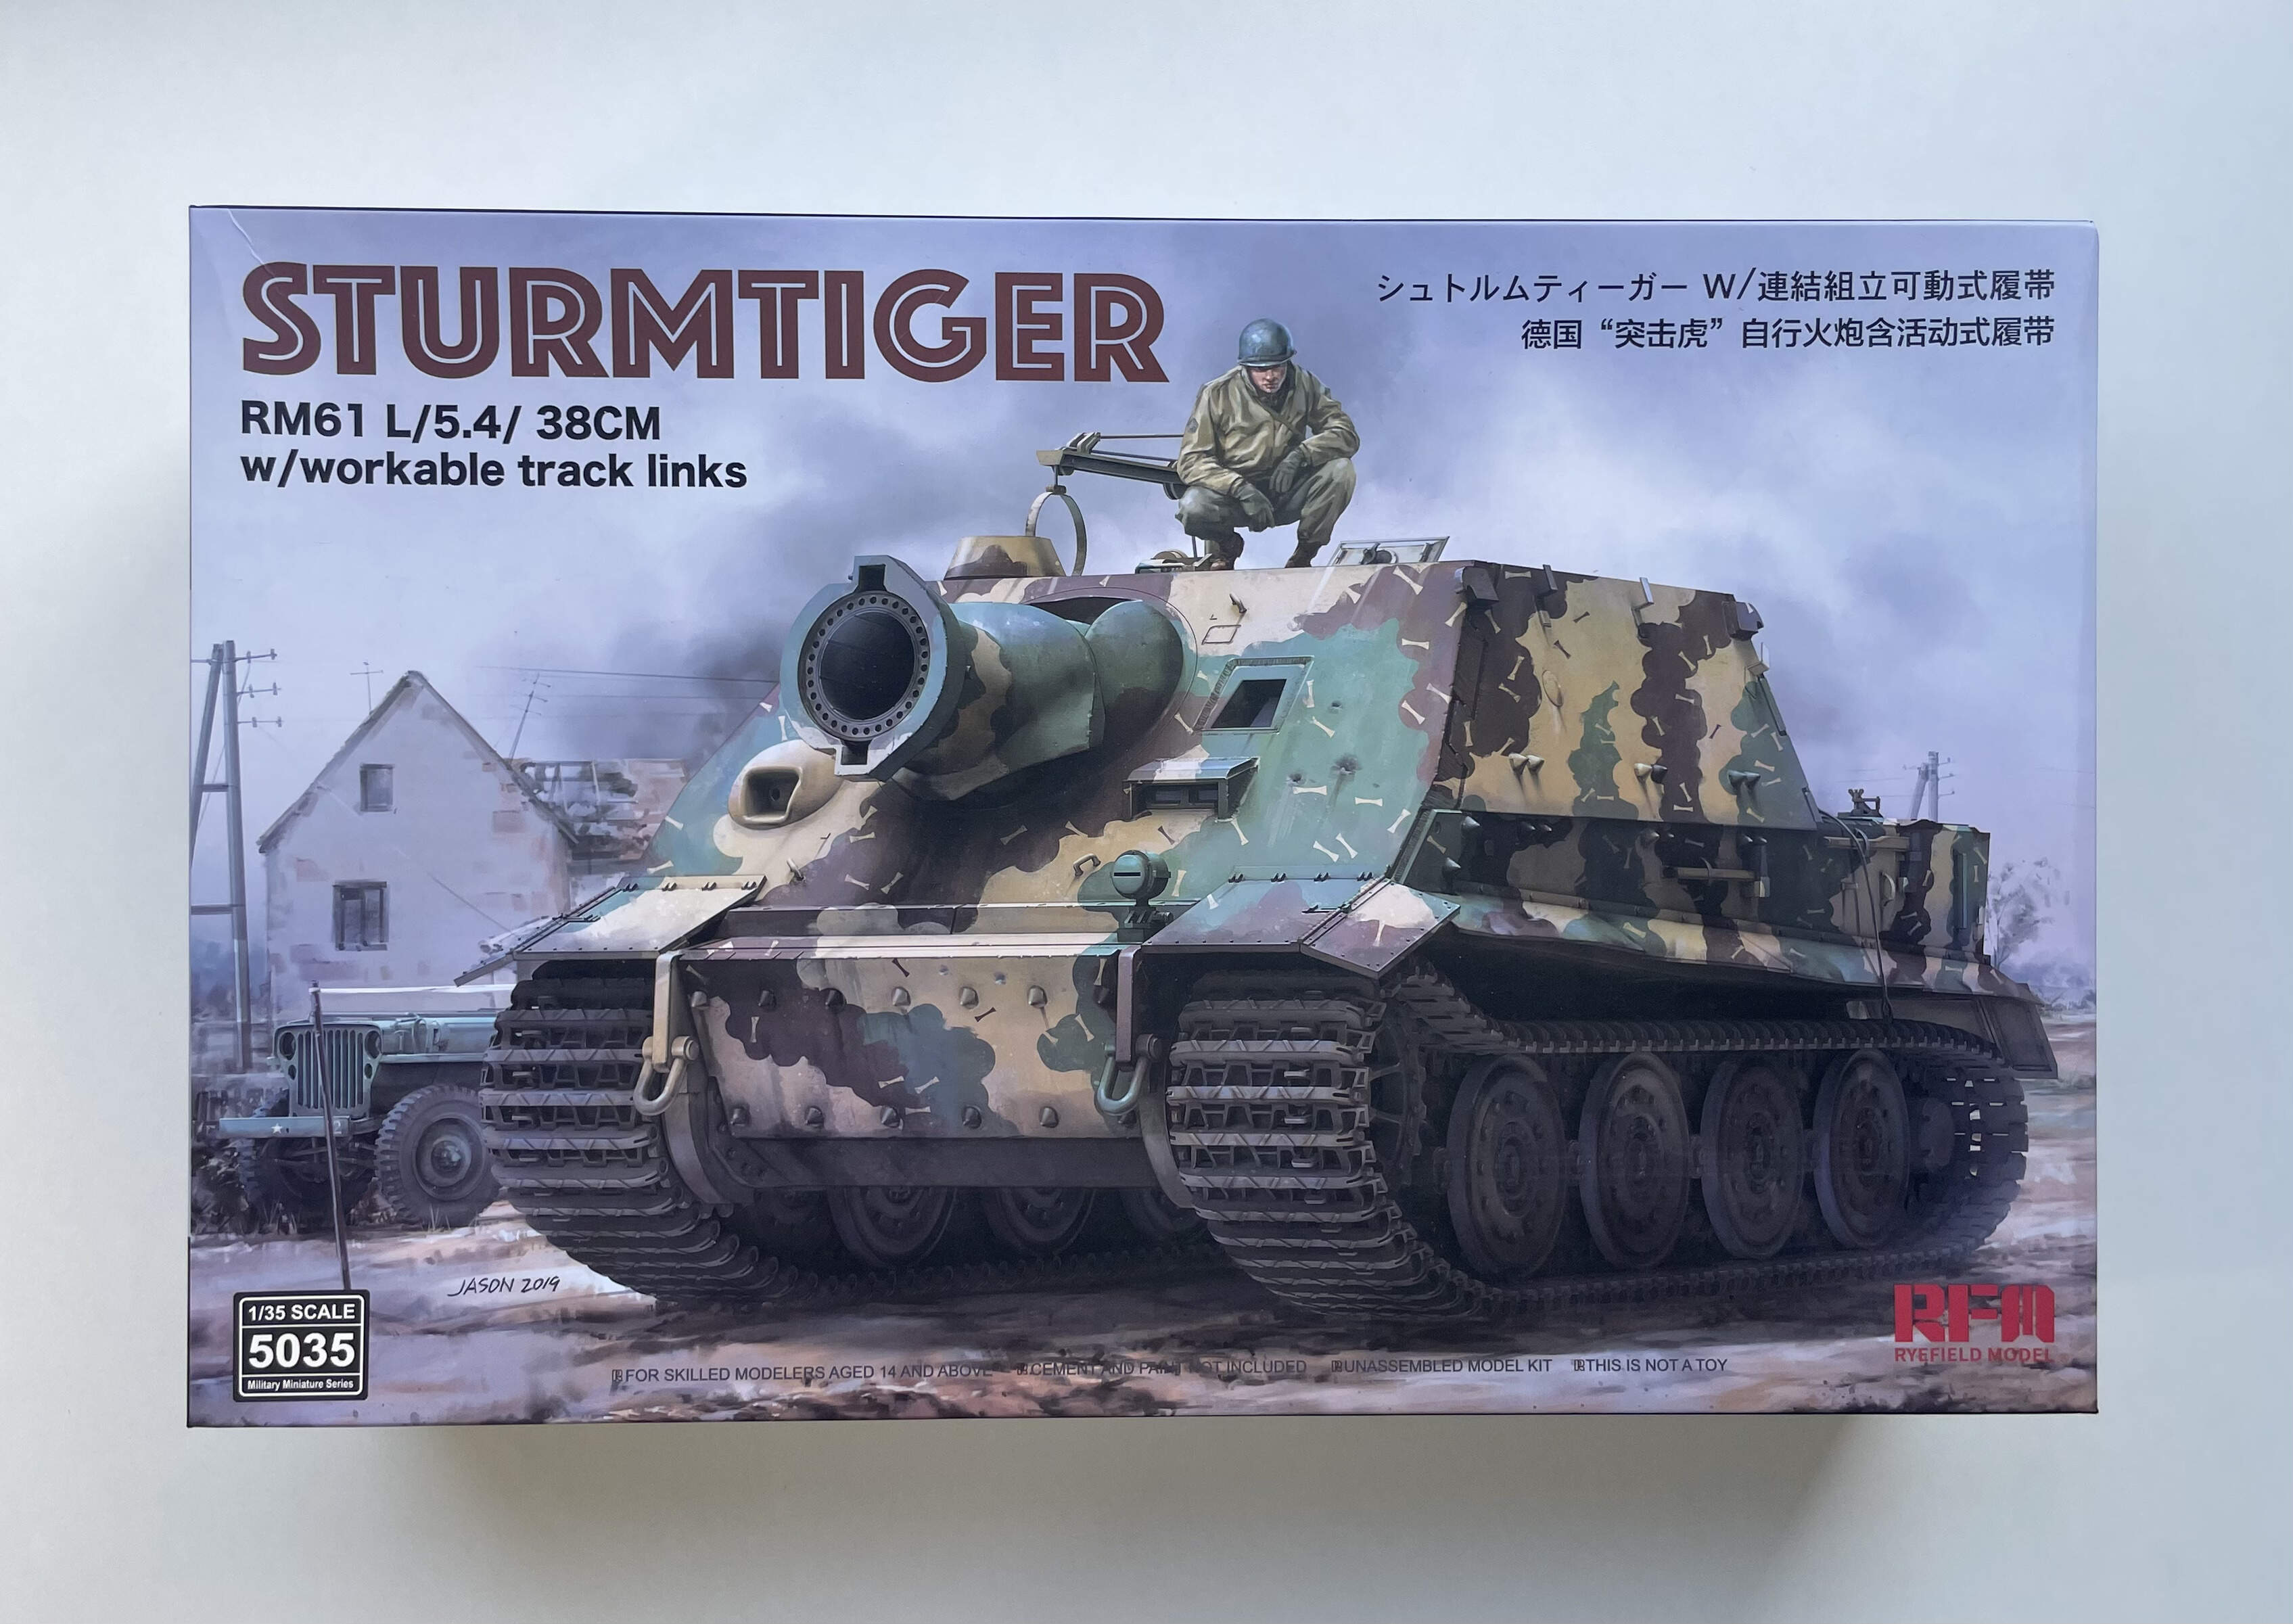
Evening all, on my bench at the moment is RFM’s pretty tidy looking Sturmtiger 1:35 kit. Kit number 5035, which is the one without the full interior.

First impressions are good, there’s plenty packed in the box with lots of options.

I’m hoping that starting a thread to cover the build will give me some extra motivation to nudge the build along in a forwards direction, as opposed to sideways or backwards like most of my builds seem to flow these days :rofl:

I have a few aftermarket items to go with this one, Voyager etch set, some pre-formed Passion Models exhaust shields, and the always reliable Eureka tow cables:

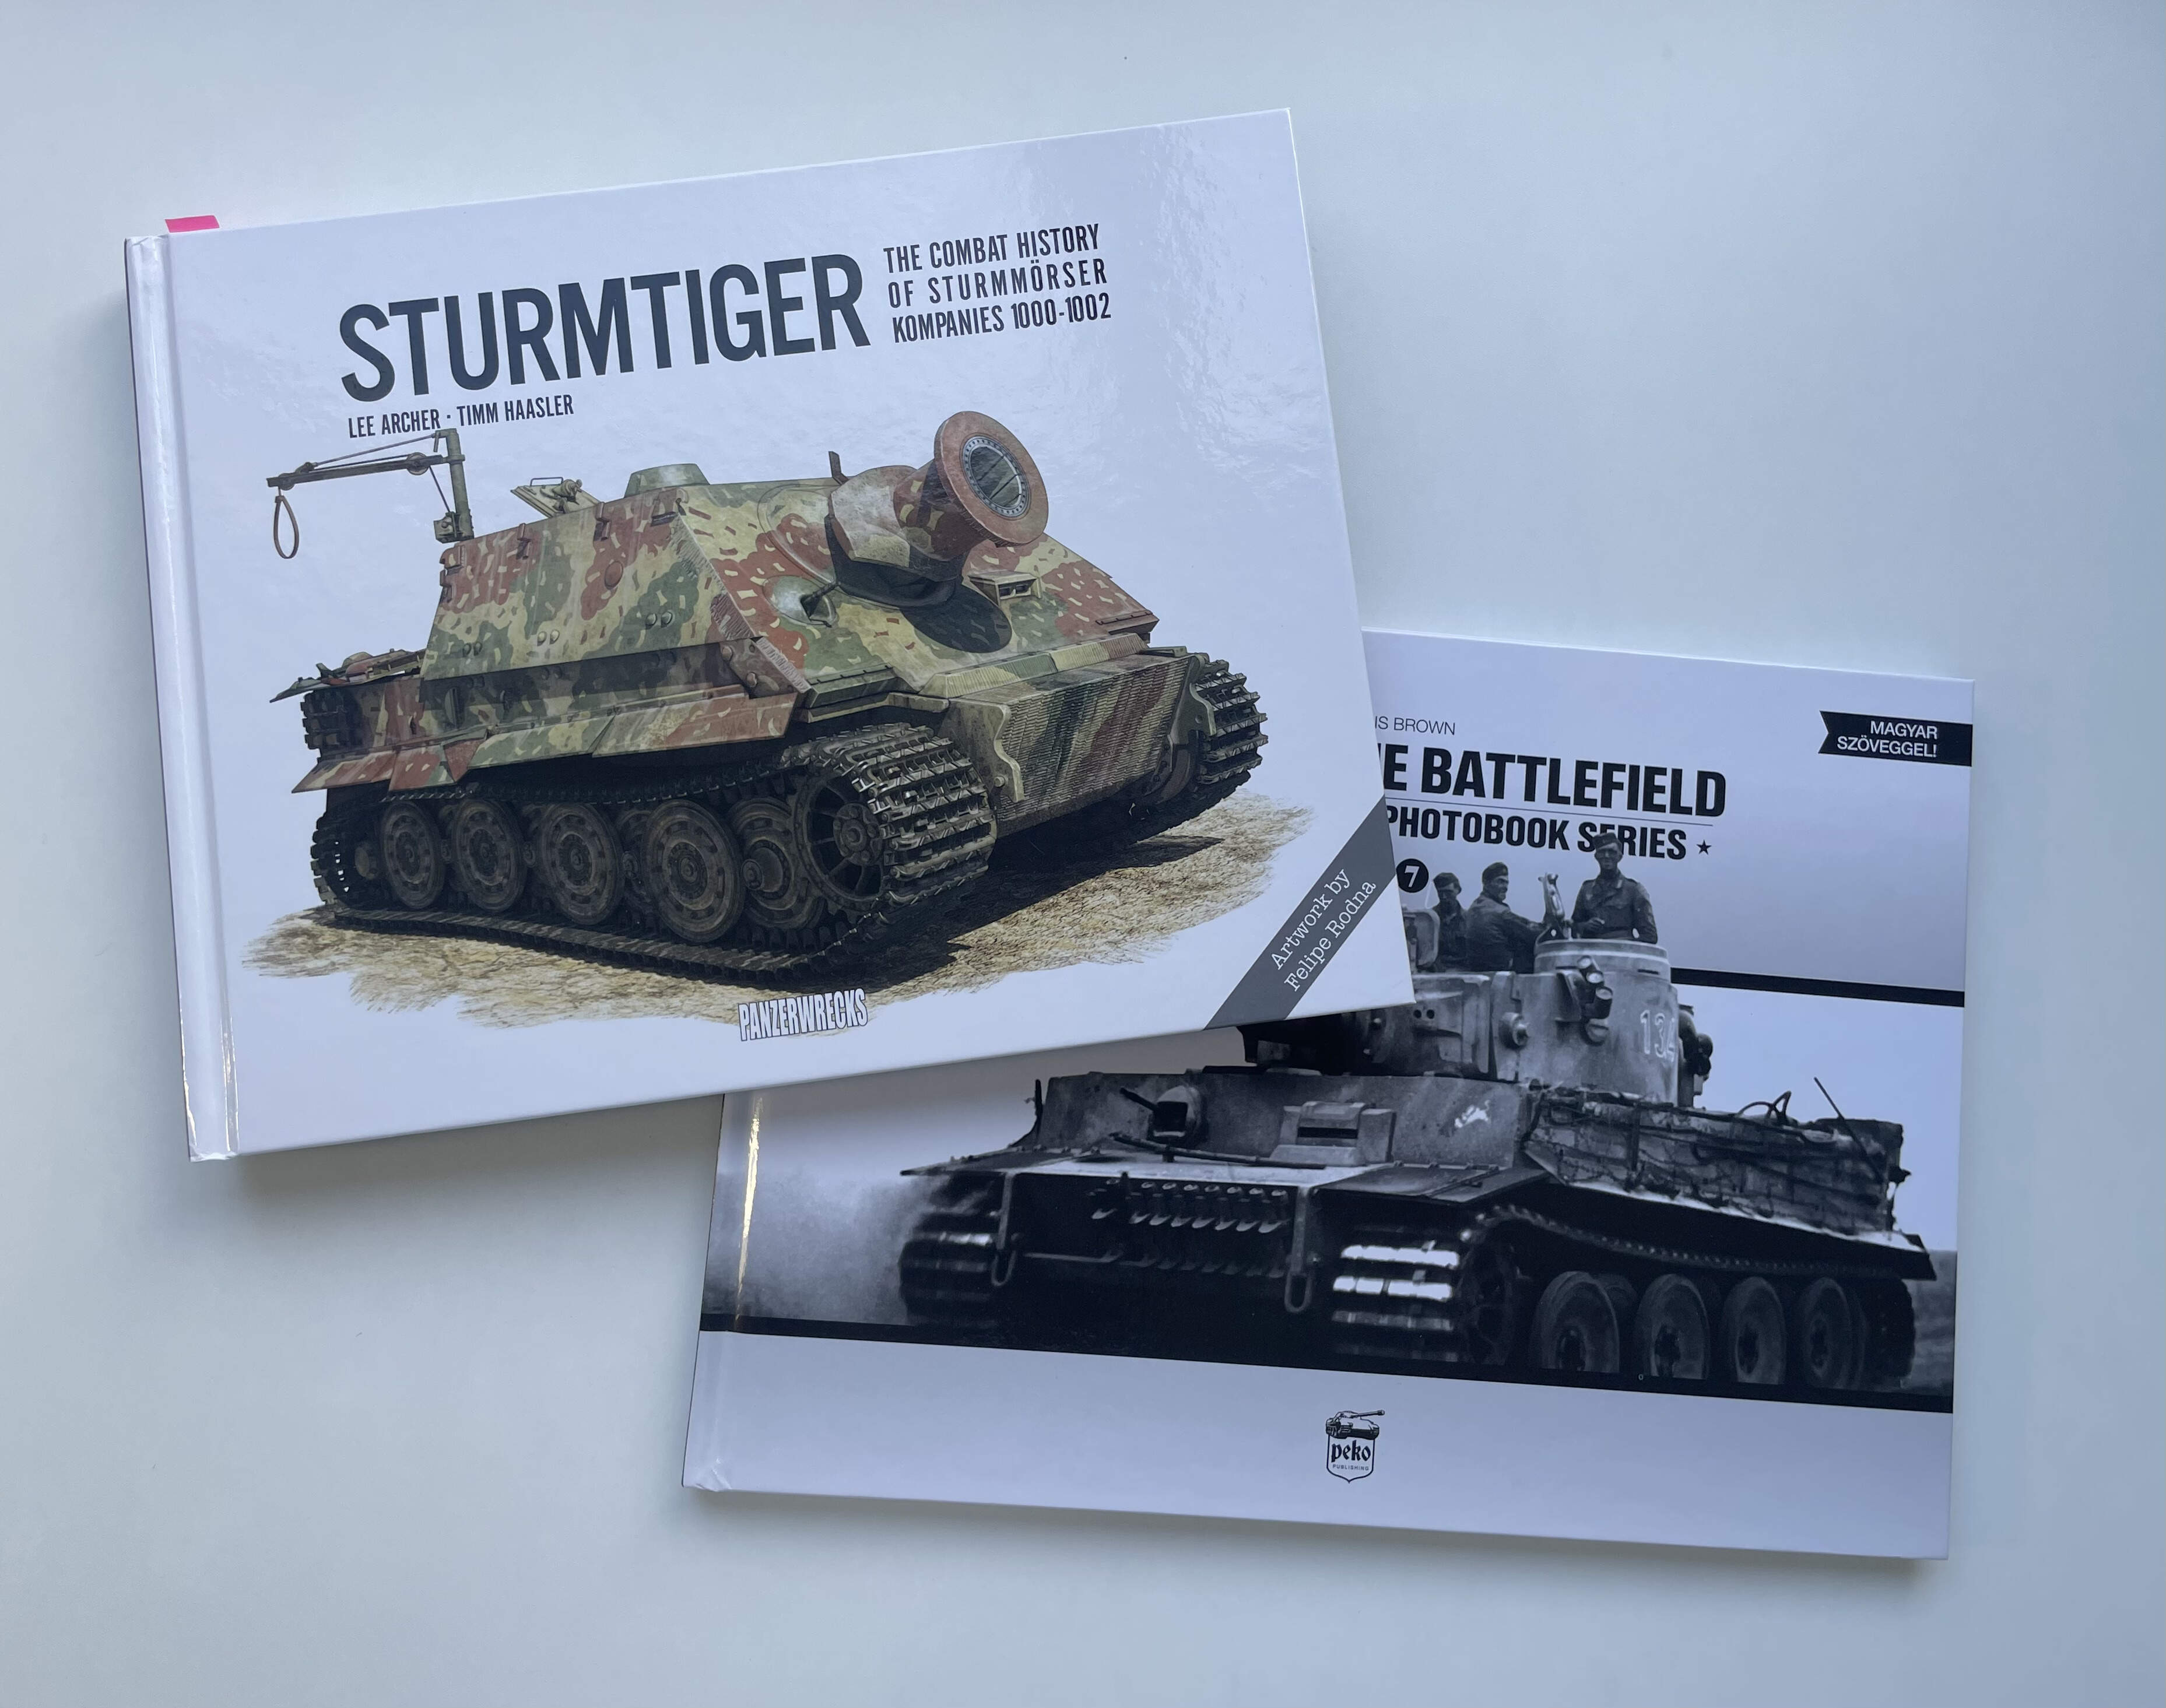
I’ve recently also found that I enjoy books…. much more pleasant flicking pages over in a nice book than endless trawling of the interweb, so these two books will be where the inspiration comes from. Both are magnificent, and um also quite distracting from the task at hand….

Wish me luck and feel free to offer advice / critique.

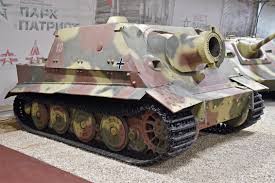
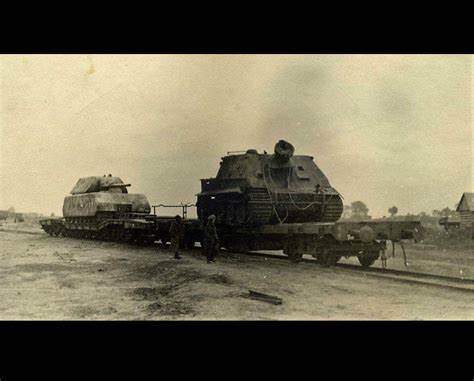
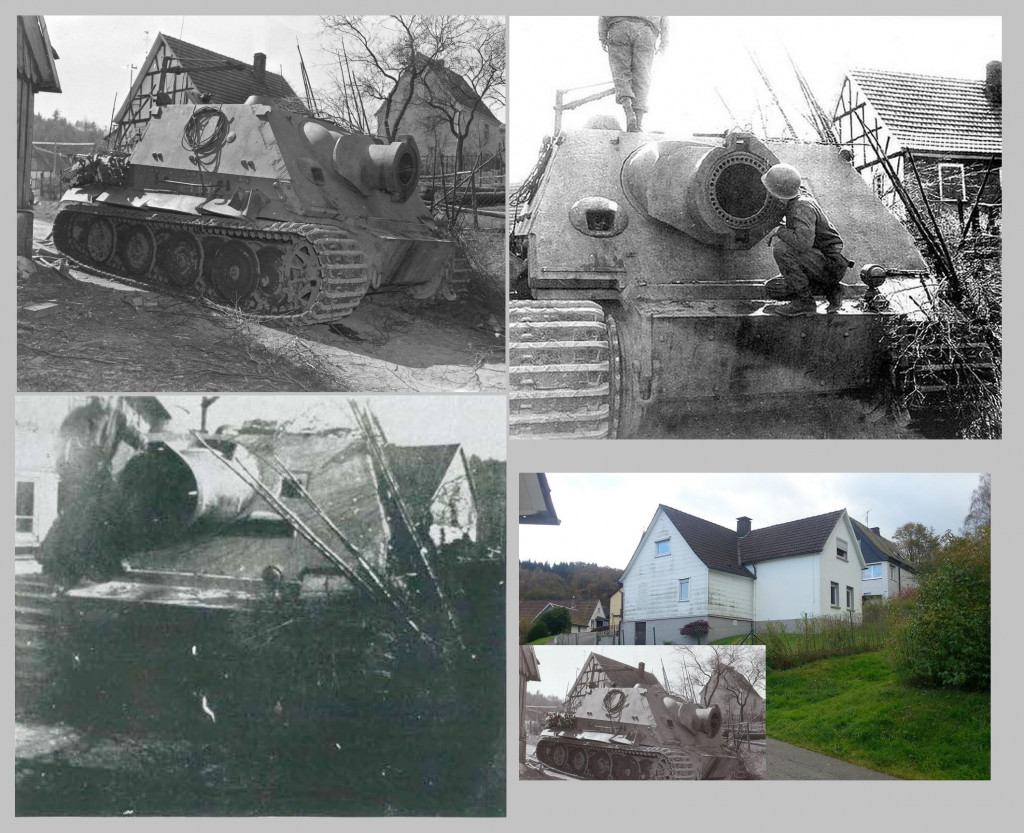
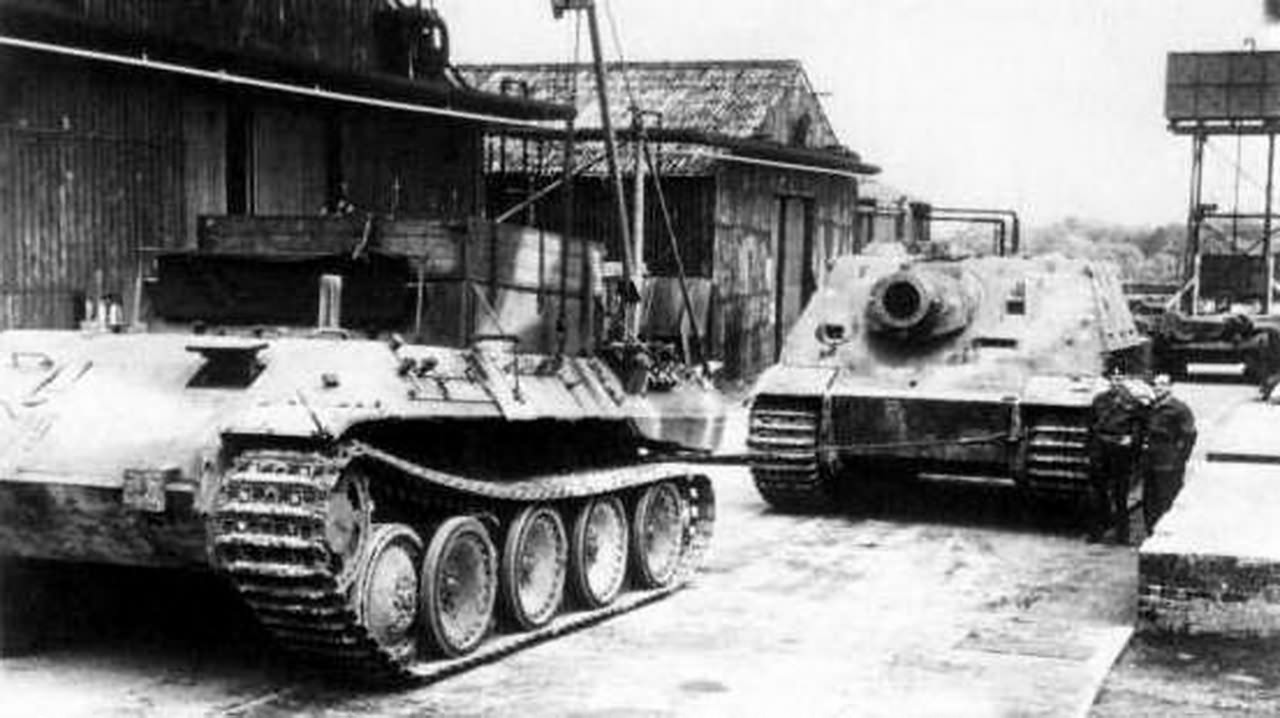
There were only 18 Sturmtiger vehicles ever built, and all differed it seems, arguably no two were alike. Partially because they were built on second hand Tiger chassis, which in themselves had lots of variety, and partly also because the conversions differed as well.

Of the 18 built, I think there is only photos of perhaps 11 or 12, which means a modeller has a lot of free reign!

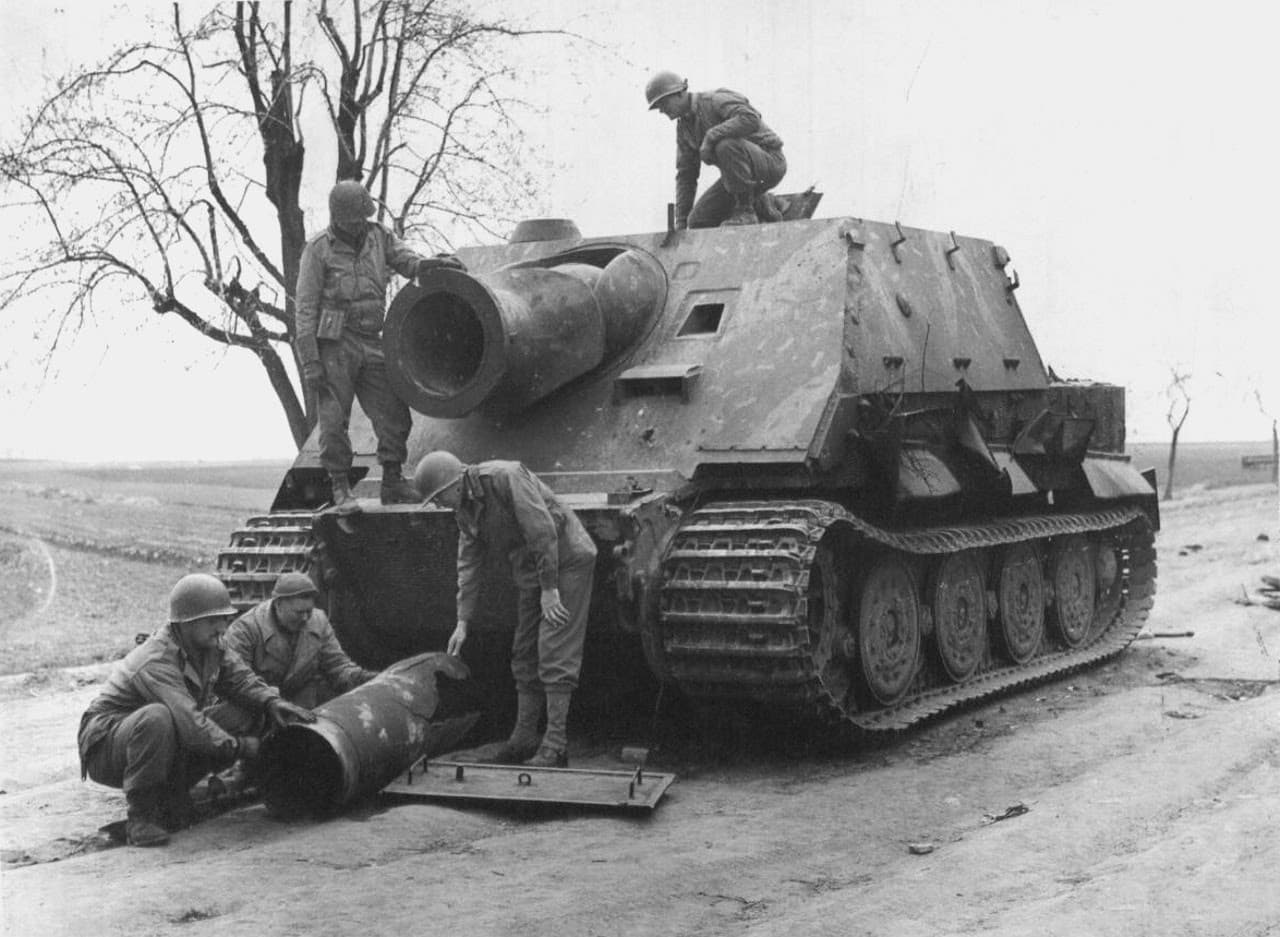
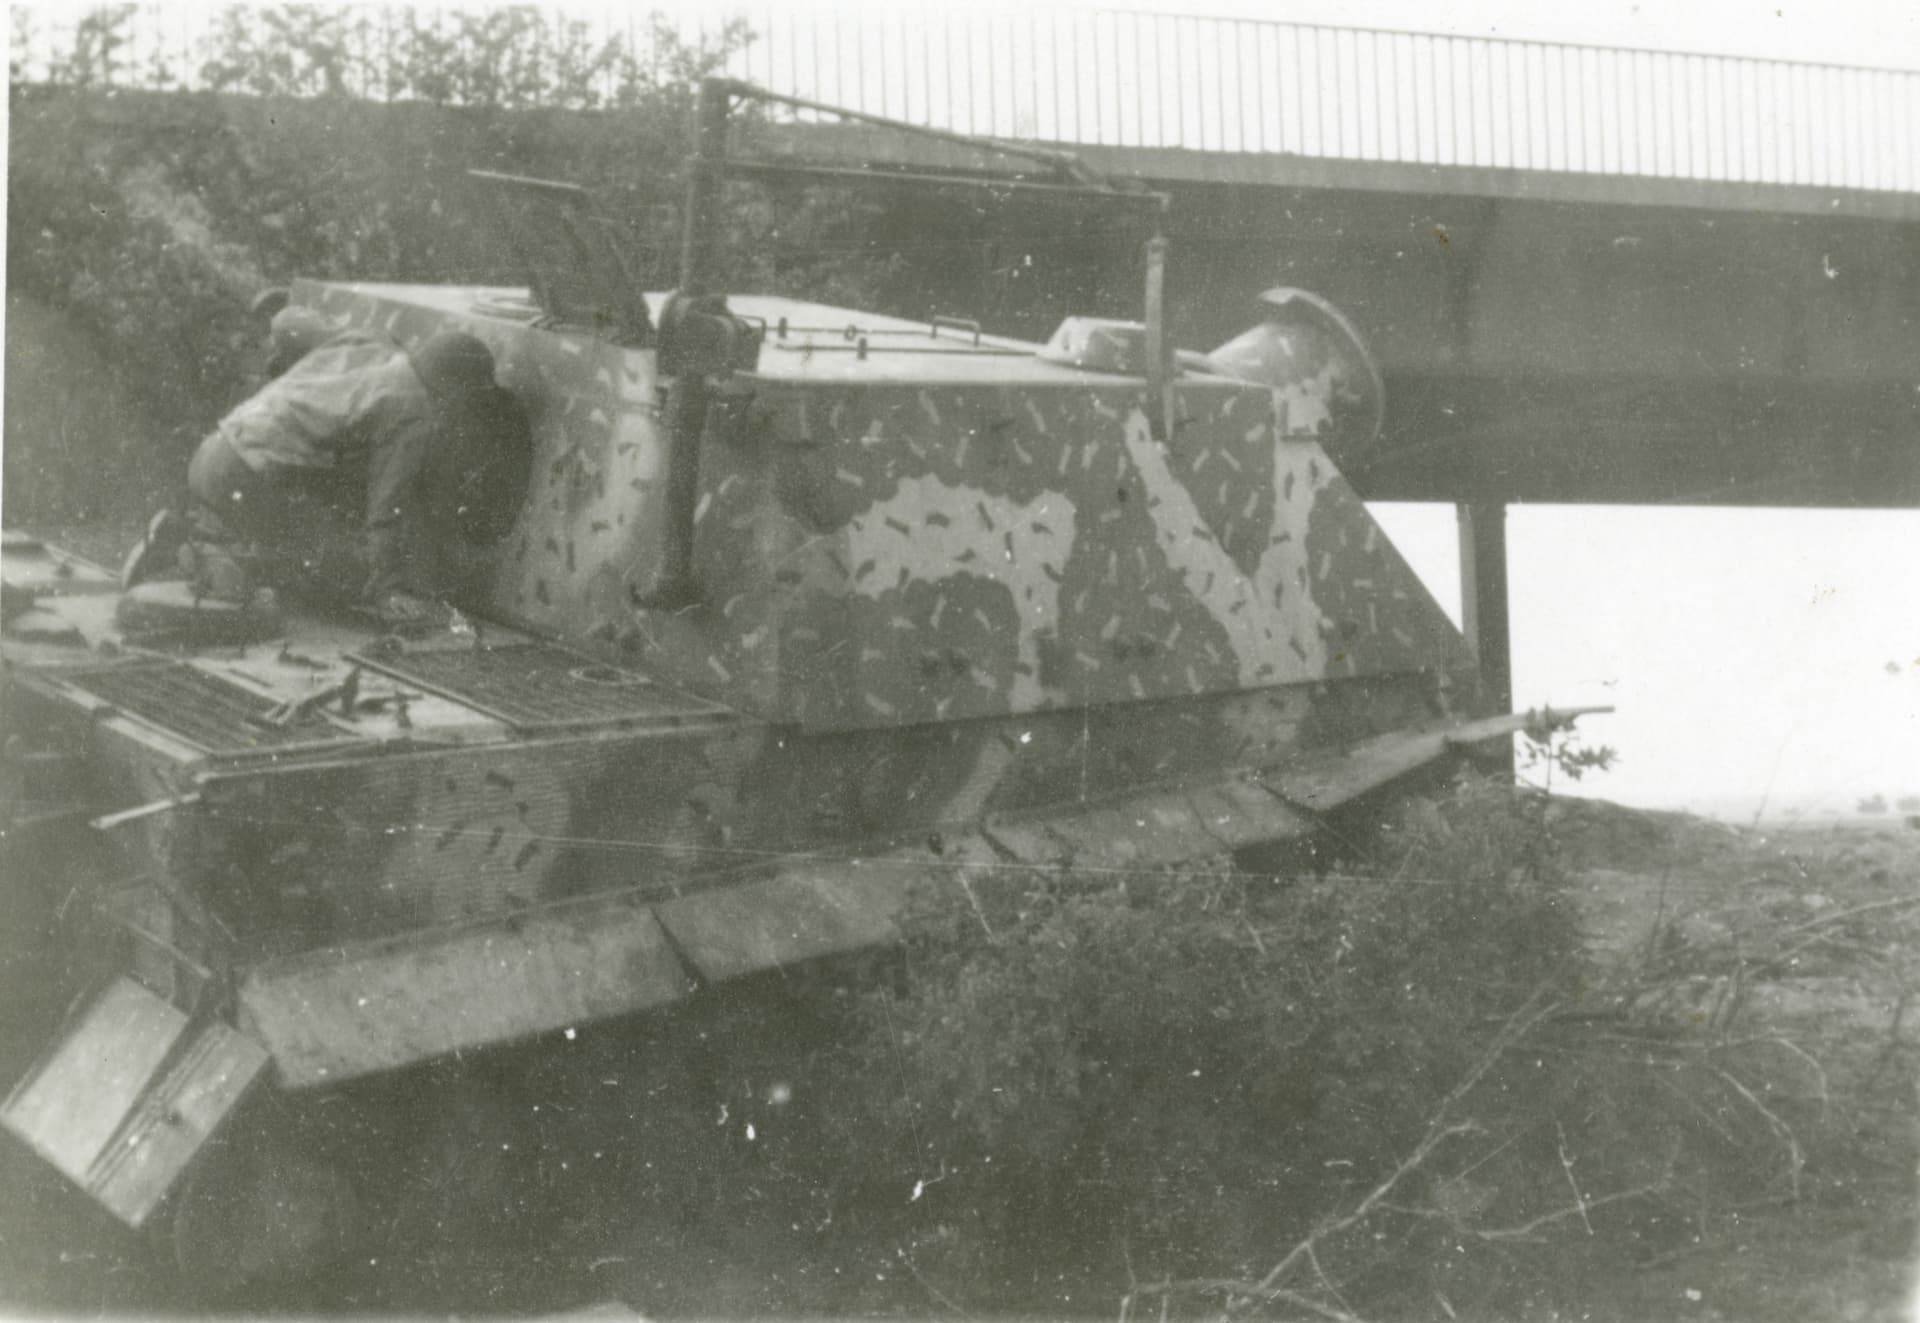
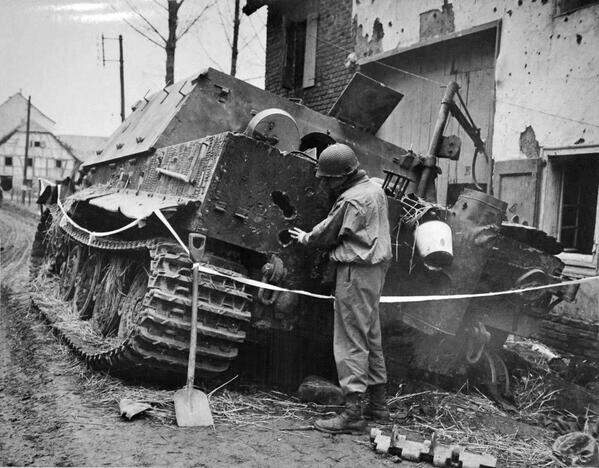
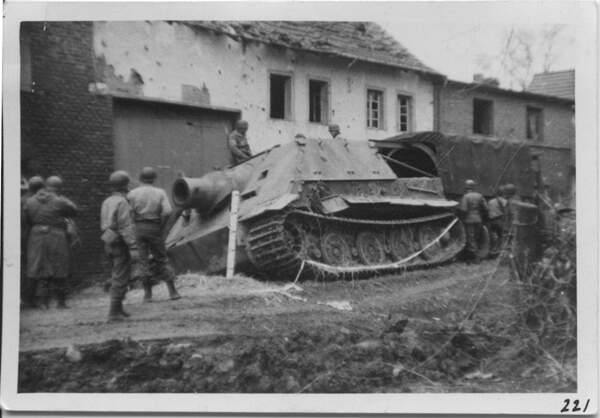
I do have a particular vehicle in mind though, the so called “Lichtentanne” Sturmtiger. As described below there is only one known photo of this vehicle, and nothing much known of it, this excerpt is from Panzerwrecks fantastic Sturmtiger book as shown previously:

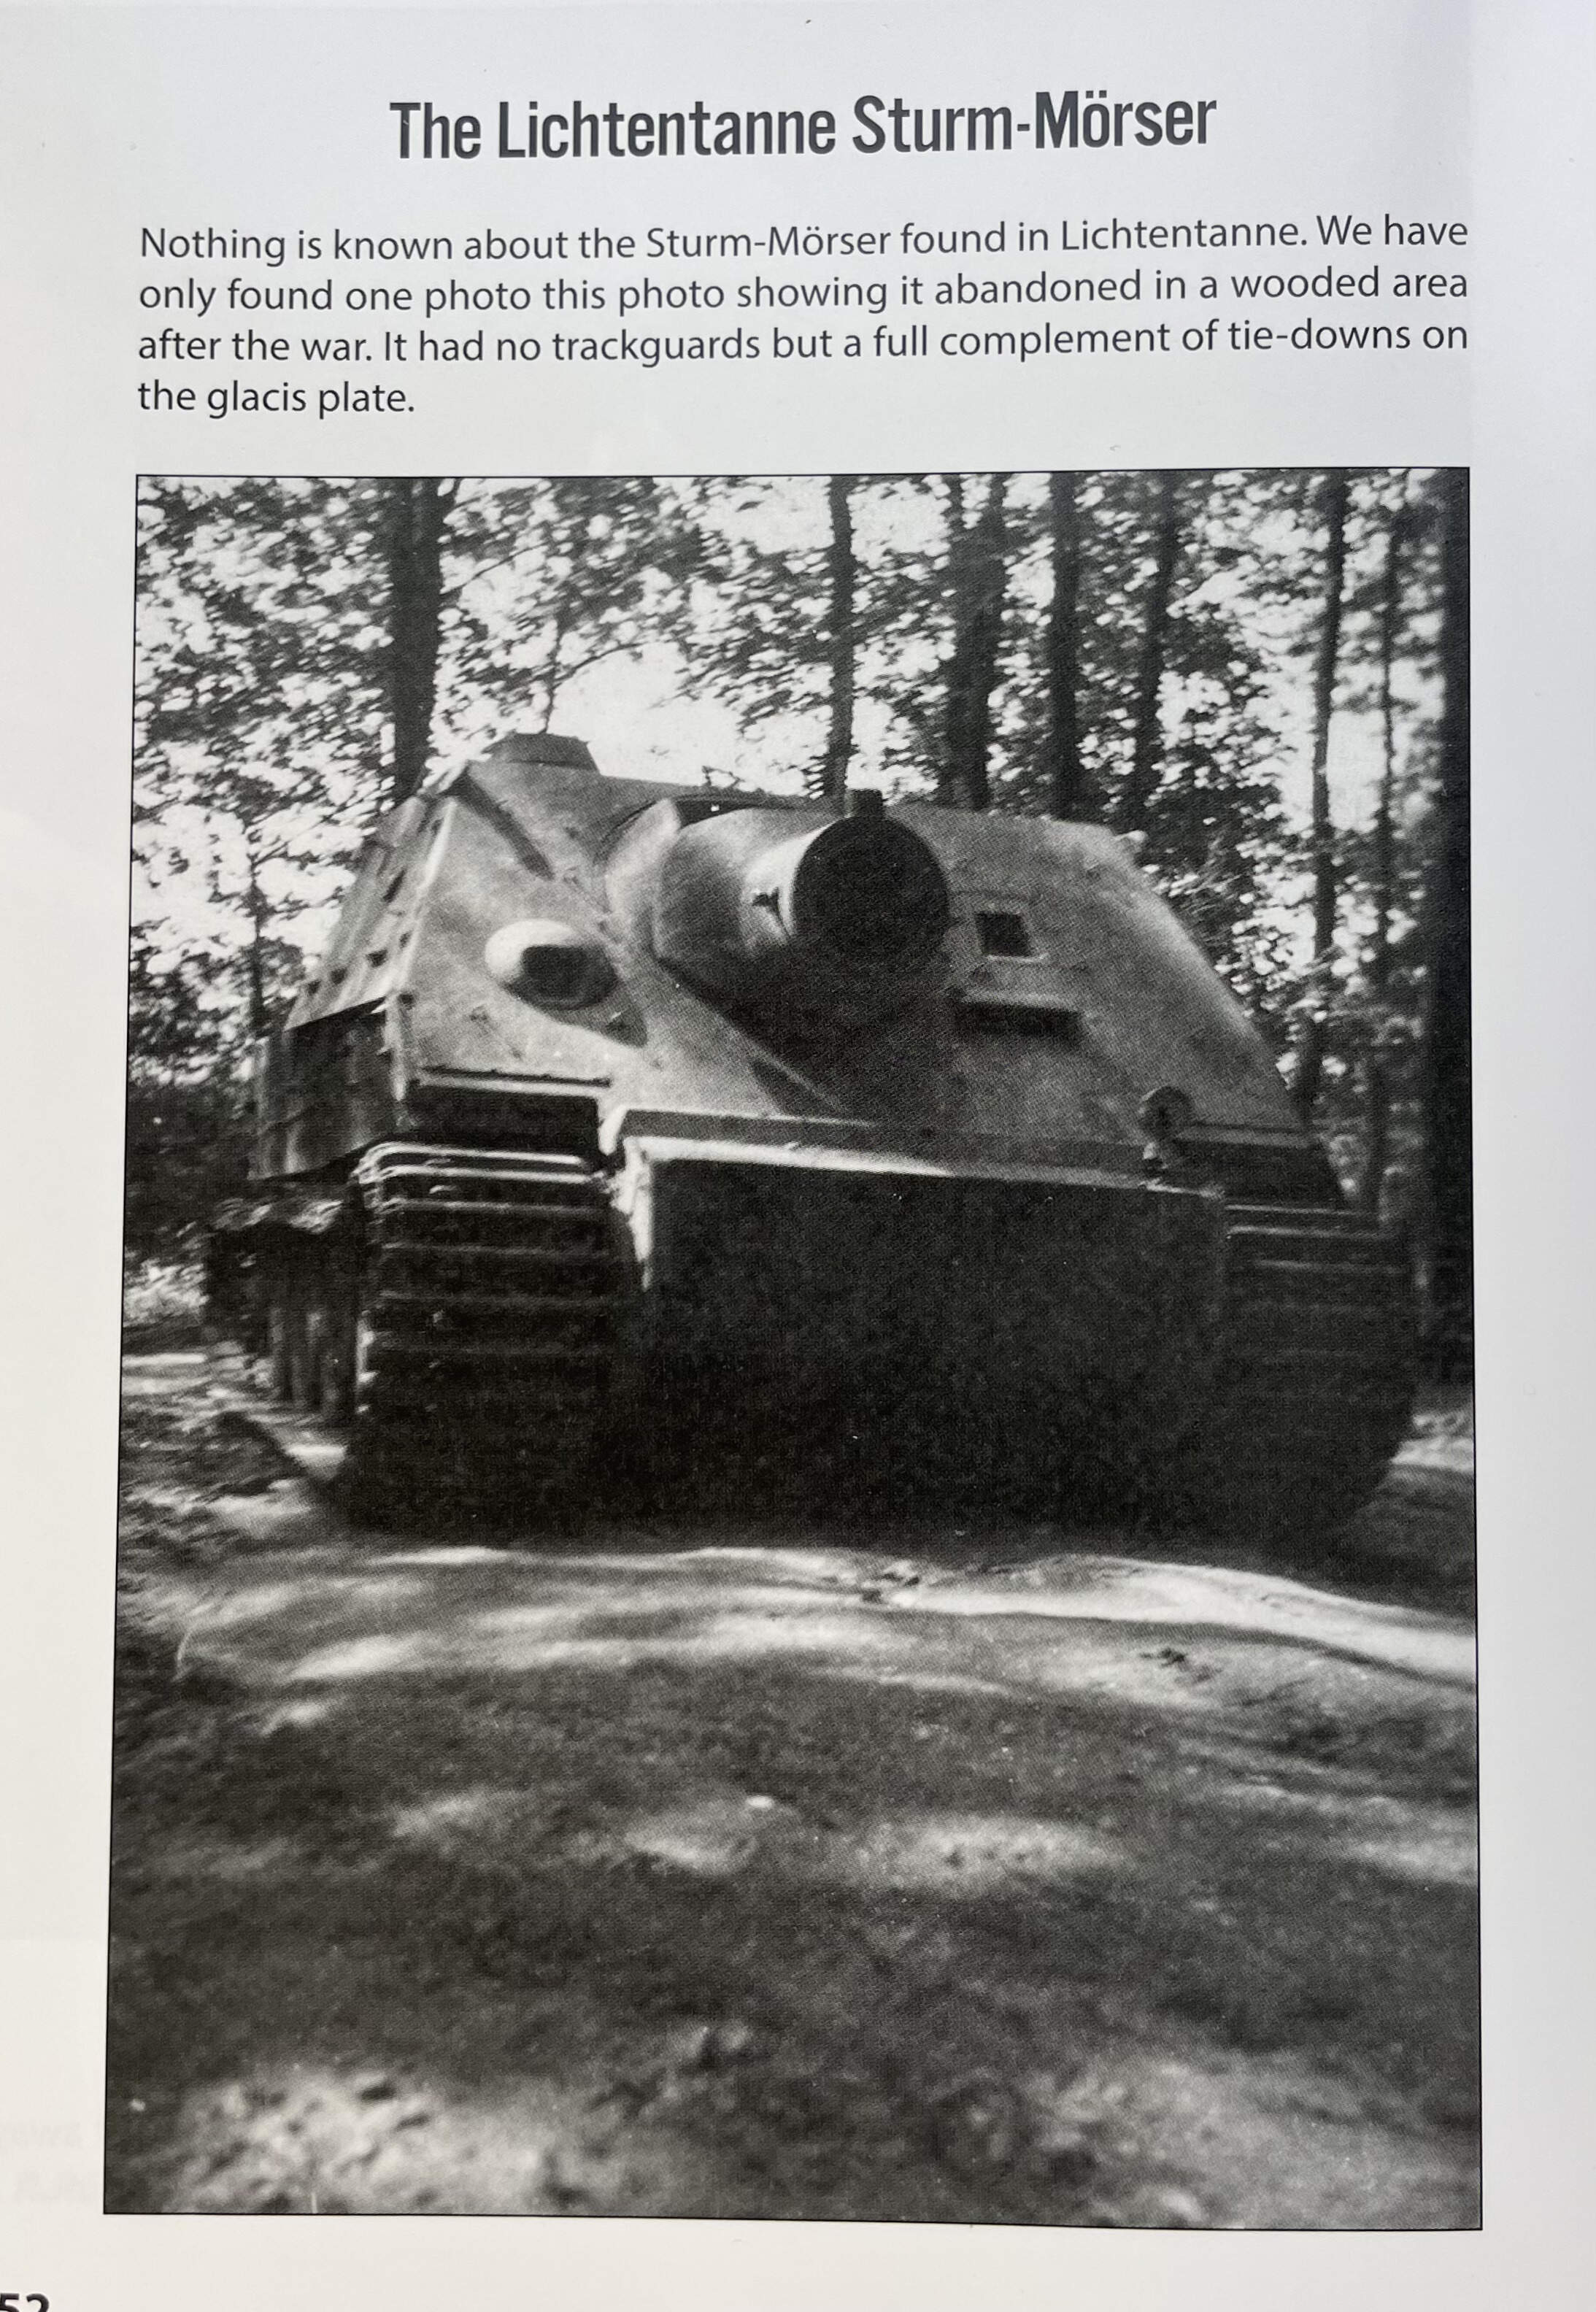
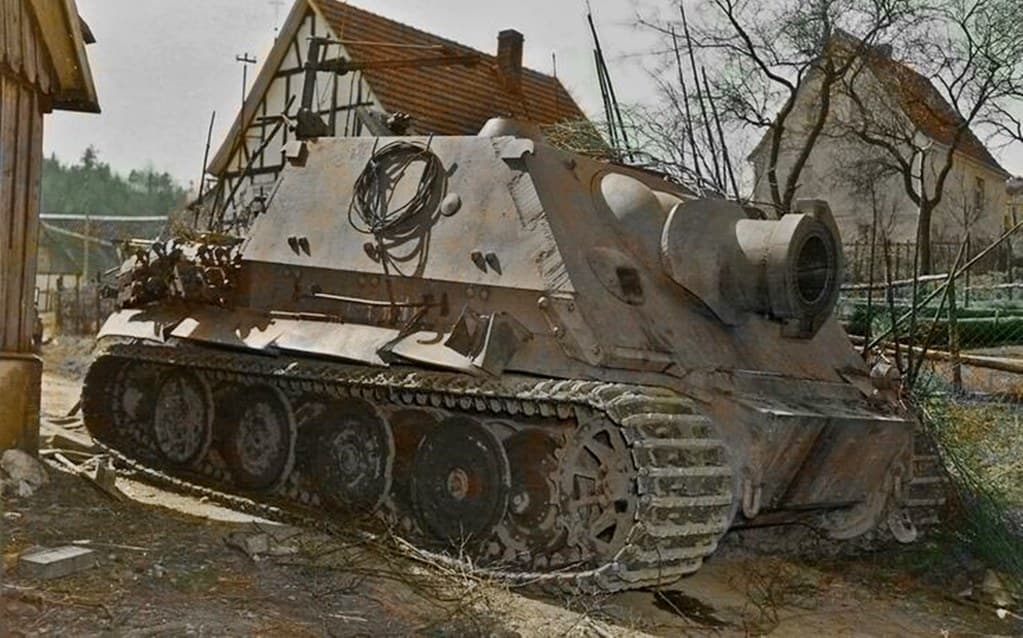
One of the reasons I chose this vehicle, is it’s lack of zimmerit, which will make my life just a touch easier.

Let the build begin!

15 Likes

Looking forward to seeing build progress as I have one in the stash
for a future build.
Cheers,

2 Likes

Looking forward to following along as the only SturmTiger in my stash is the mid 90’s Tamiya one. Looks like excellent aftermarket and quality references! A++

1 Like

I’ll be watching too as I have the kit as well.
RFM make great kits!

1 Like

I have the Tamiya version and I will get to it soon. I’m using these pictures as reference.

image

Sturmtiger at the Kubinka Tank Museum. I’m pretty sure it is not painted in the original colors it wore before getting captured.

Original WW2 Picture.

2 Likes

More Sturmtiger:

image

Sturmtiger and a “Maus”.

image

3 Likes


3 Likes

Well, thats more Sturmtiger photos in one place than I have ever seen before. I was really surprised by the one with the Maus!
Ken

I’ve got more!
Lots of pics on the internet


1 Like

untitled (2)
VH221

3 Likes

Some of pics out there are of the same vehicle taken by different people.

2 Likes

Thanks for the photos @Dan and @SableLiger. I believe the photo of the Sturmtiger and Maus on the rail wagon is a photo either just after or close to the end of the war, and this is Russians loading these vehicles to take back home, and the Sturmtiger is now on display at Kubinka. I also believe that the vehicle is the original ‘prototype’ Sturmtiger.

Don’t forget that the Russian Maus is actually two vehicles put together.

And so it begins!

I apologise in advance…. my build sequence will inevitably not follow any clear logical sequence, and it will also very much not follow the kits instructions sequence. It will be dictated by thoughts that may be similar to ‘well that’s boring, i’m going to avoid that step for as long as possible’ or ‘mmmm shiny bits…. we like the shiny’ (trying to channel my inner gollum).

Speaking of shiny bits…… I couldn’t resist cracking open the Passion Model exhaust shields.

A test fit reveals that only 4 of the 6 mount points line up with their counterparts on the rear panel…… I had a bit of a scan around, and it seems many photos agree with the setout of the etched part? The uppermost points seem to be too high by RFM:

Not to worry, slice off the offending mounts and replace with some slices of evergreen square sections, offer up the etched part and drill through the evergreen, and Bobs your uncle. 0.4mm drill bit used:

Moving along to the tow shackle…. kit C shackle glued into place, and the start of its retaining features… 1.0mm diameter hollow brass rod and 0.8mm evergreen round. I chose hollow brass as it will make placing a wingnut (with a stalk) in that location much easier later on. P.S, there are a loooot of holes to be drilled through the rear wall at this stage….

One thing we know most likely of the Lichtentanne Sturmtiger, is that the Tiger chassis that it’s built upon was built in January of 1944 or earlier, this logic is based upon the shape of the hull around the front tow hook mount, as circled in blue below. This probably means that the chassis serial number is less than 250800 give or take.

image

3 Likes

Totally agree, you can’t beat a real book. The internet is brilliant but turning a page is far more rewarding. The Sturmtiger is an interesting subject and with nice after market details looks like a great project.

2 Likes

I have the intention to build the following setting:


I do have both vehicles, yet am looking for suitable figures.

1 Like

@barleeni David, definitely enjoying following along! Looks like good progress to me!

If there might be a kit part coming up in the build that was designed with a potential fitment issue would that be of interest?

2 Likes

I will be following as well. I too have the Rye Field kit, albeit the version with full interior. Just wrapping up another project before starting it. I also have the same panzerwreck book :wink:

I am still debating on how to build it TO show atleast some of that detailed interior. Thinking of doing my first hull cutout model, which the Sturmtiger should make an excellent specimen to try.

1 Like

Hi Wade, yes please - your input on any issues would be welcome by me, and many others i’m sure!

1 Like